Celebrate with a Milkshake

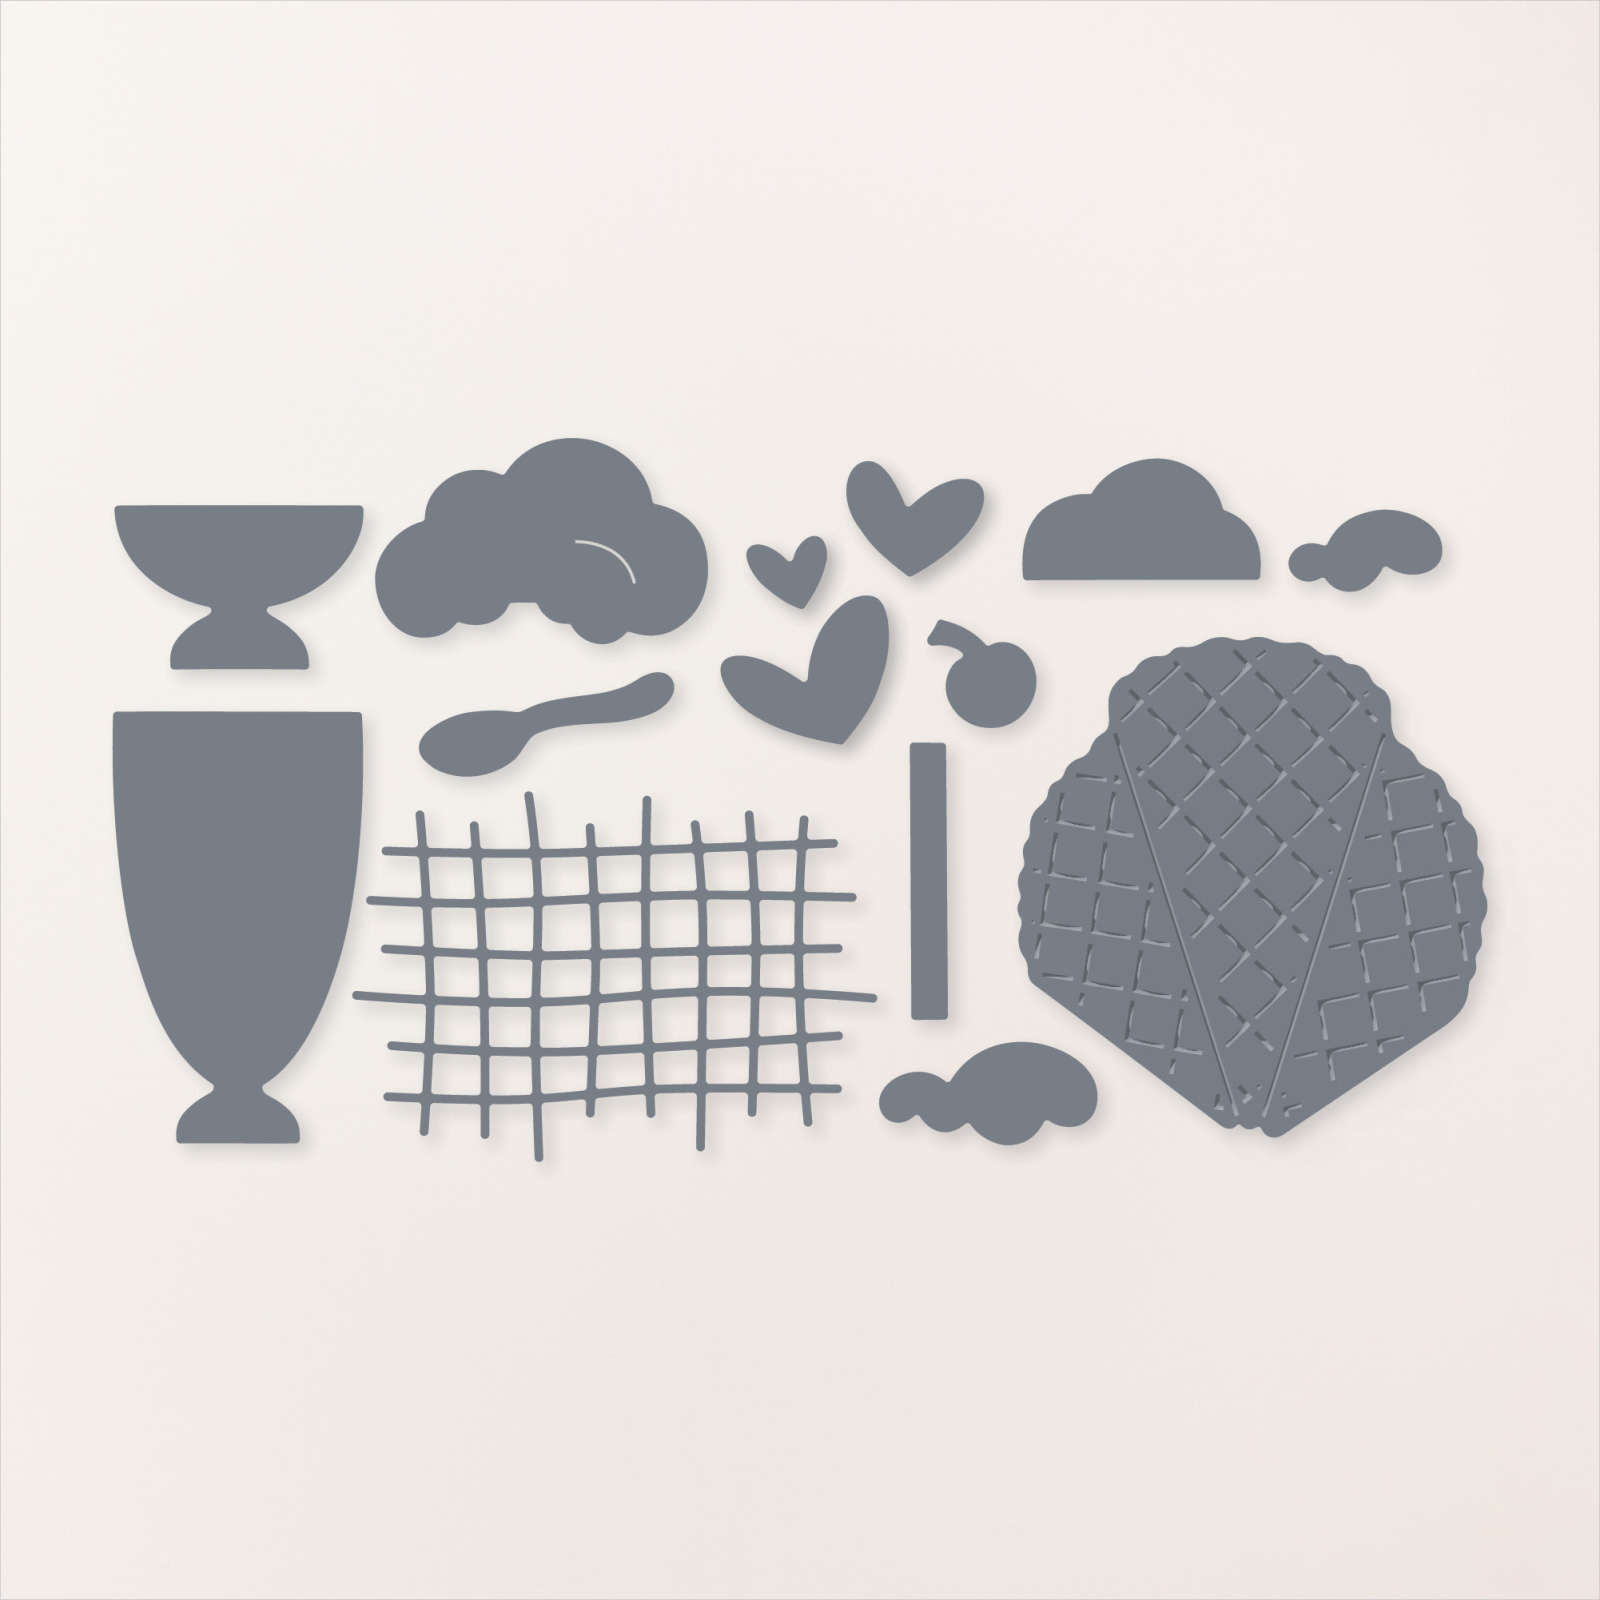
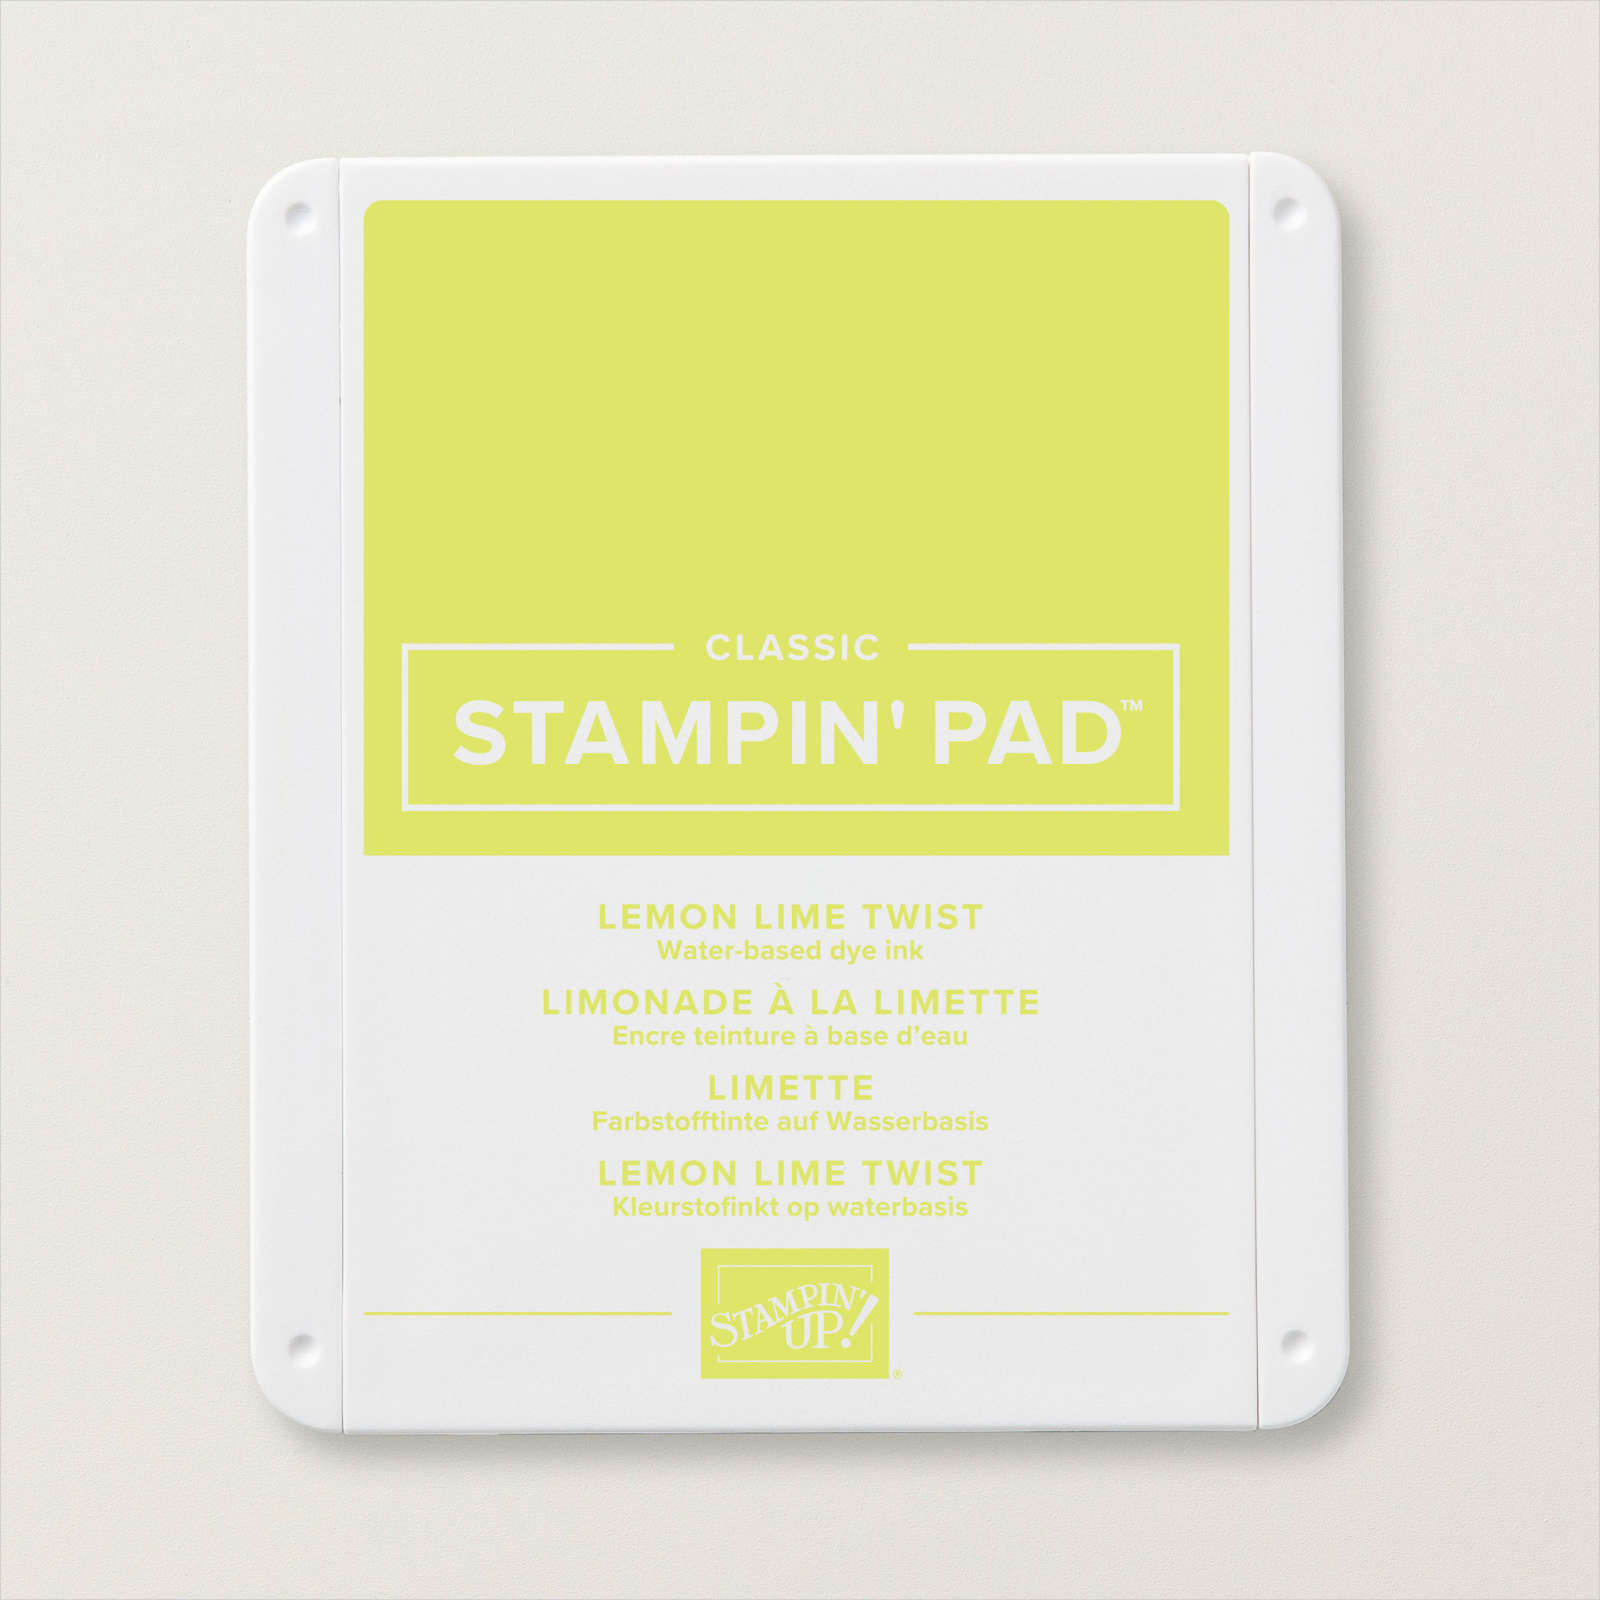
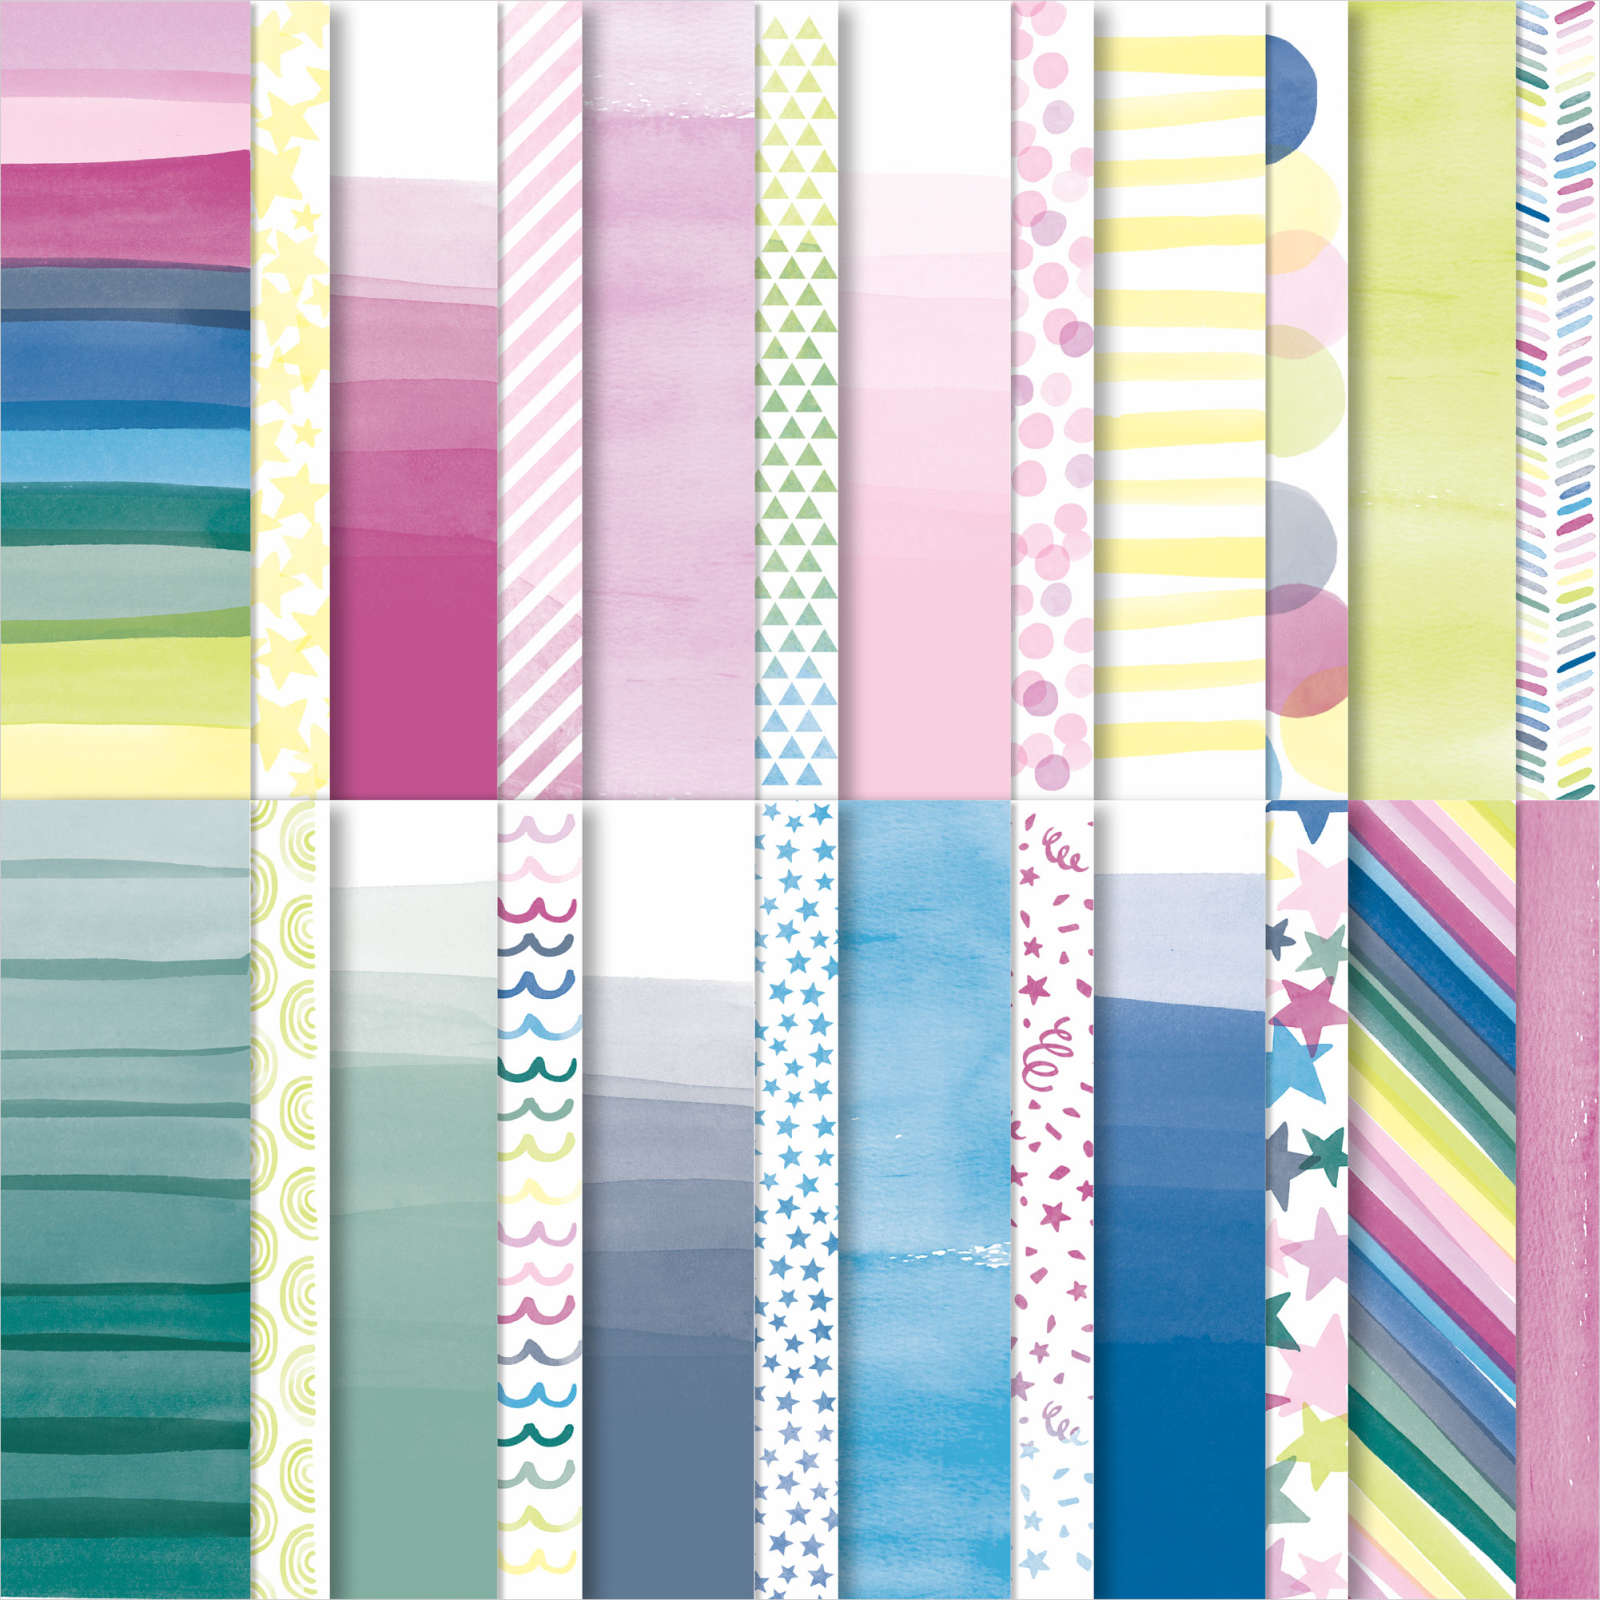
Today’s card was inspired by one that Amy Richel shared on a Demonstrator only Facebook Page. I changed up the colours and the Designer Series Paper but the layout is all hers. I attached a panel of Bright & Beautiful 6″ x 6″ Designer Series Paper down the left hand side of Basic White card. I added a very narrow strip of Misty Moonlight card before attaching to Lemon Lime Twist card. The whole panel is attached to scored and folded Misty Moonlight card. I stamped the solid glass image from the Share A Milkshake stamp set onto Basic White card using Lemon Lime Twist ink which I stamped onto scrap paper first. I added the detailed glass image over the top using Lemon Lime Twist ink.

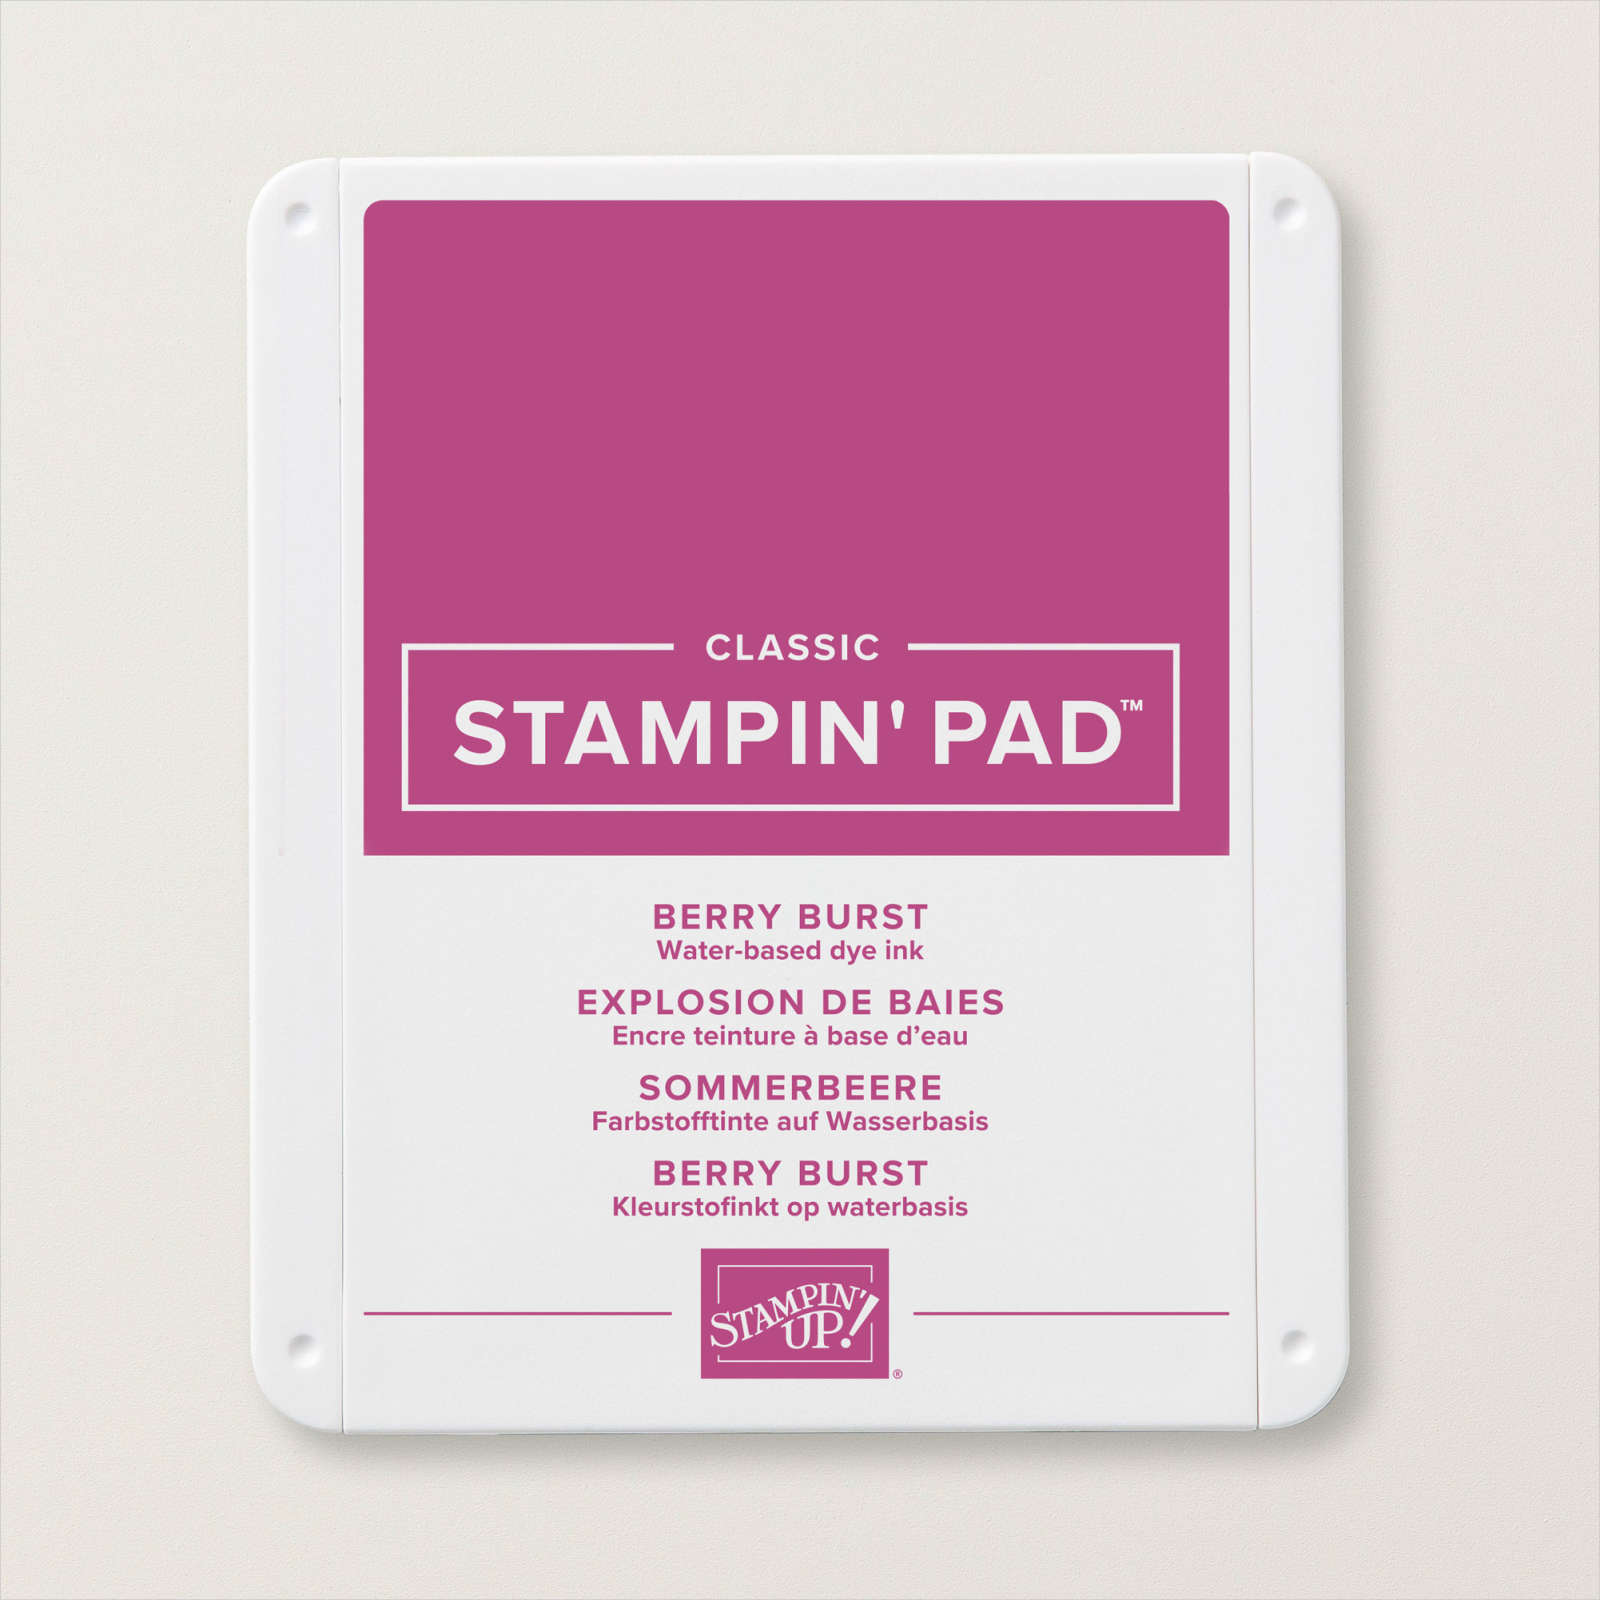
I stamped the ice cream image from the Share A Milkshake stamp set onto Basic White card using Berry Burst ink. I also stamped the decorative straw panel onto Basic White card using Berry Burst ink. I cut out all the images using the co-ordinating Share A Milkshake Die. I also cut Misty Moonlight card using the background die from the Share A Milkshake Dies.

I attached the background image to the Basic White part of the card front. I attached the ice cream to the top of the glass and added the straw. The whole glass/ice cream image is attached to the card front using dimensionals. I stamped “celebrate” from the Share A Milkshake stamp set onto Misty Moonlight card using Misty Moonlight ink. I cut out the greeting using one of the banners from the Stylish Shapes Dies. The greeting is attached to the card front using dimensionals. To decorate the inside of the card, I attached a narrow strip of the same pattern Bright & Beautiful Designer Series Paper across the bottom of Basic White card. I attached a very narrow strip of Misty Moonlight card next to the Designer Series Paper. I also stamped the greeting from the Charming Sentiments stamp set on the Basic White card using Misty Moonlight ink.
Thanks again to Amy for the inspiration.
Bye for now,
Kris
Product Used: