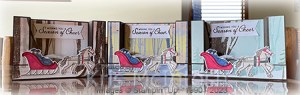
Christmas Bridge card

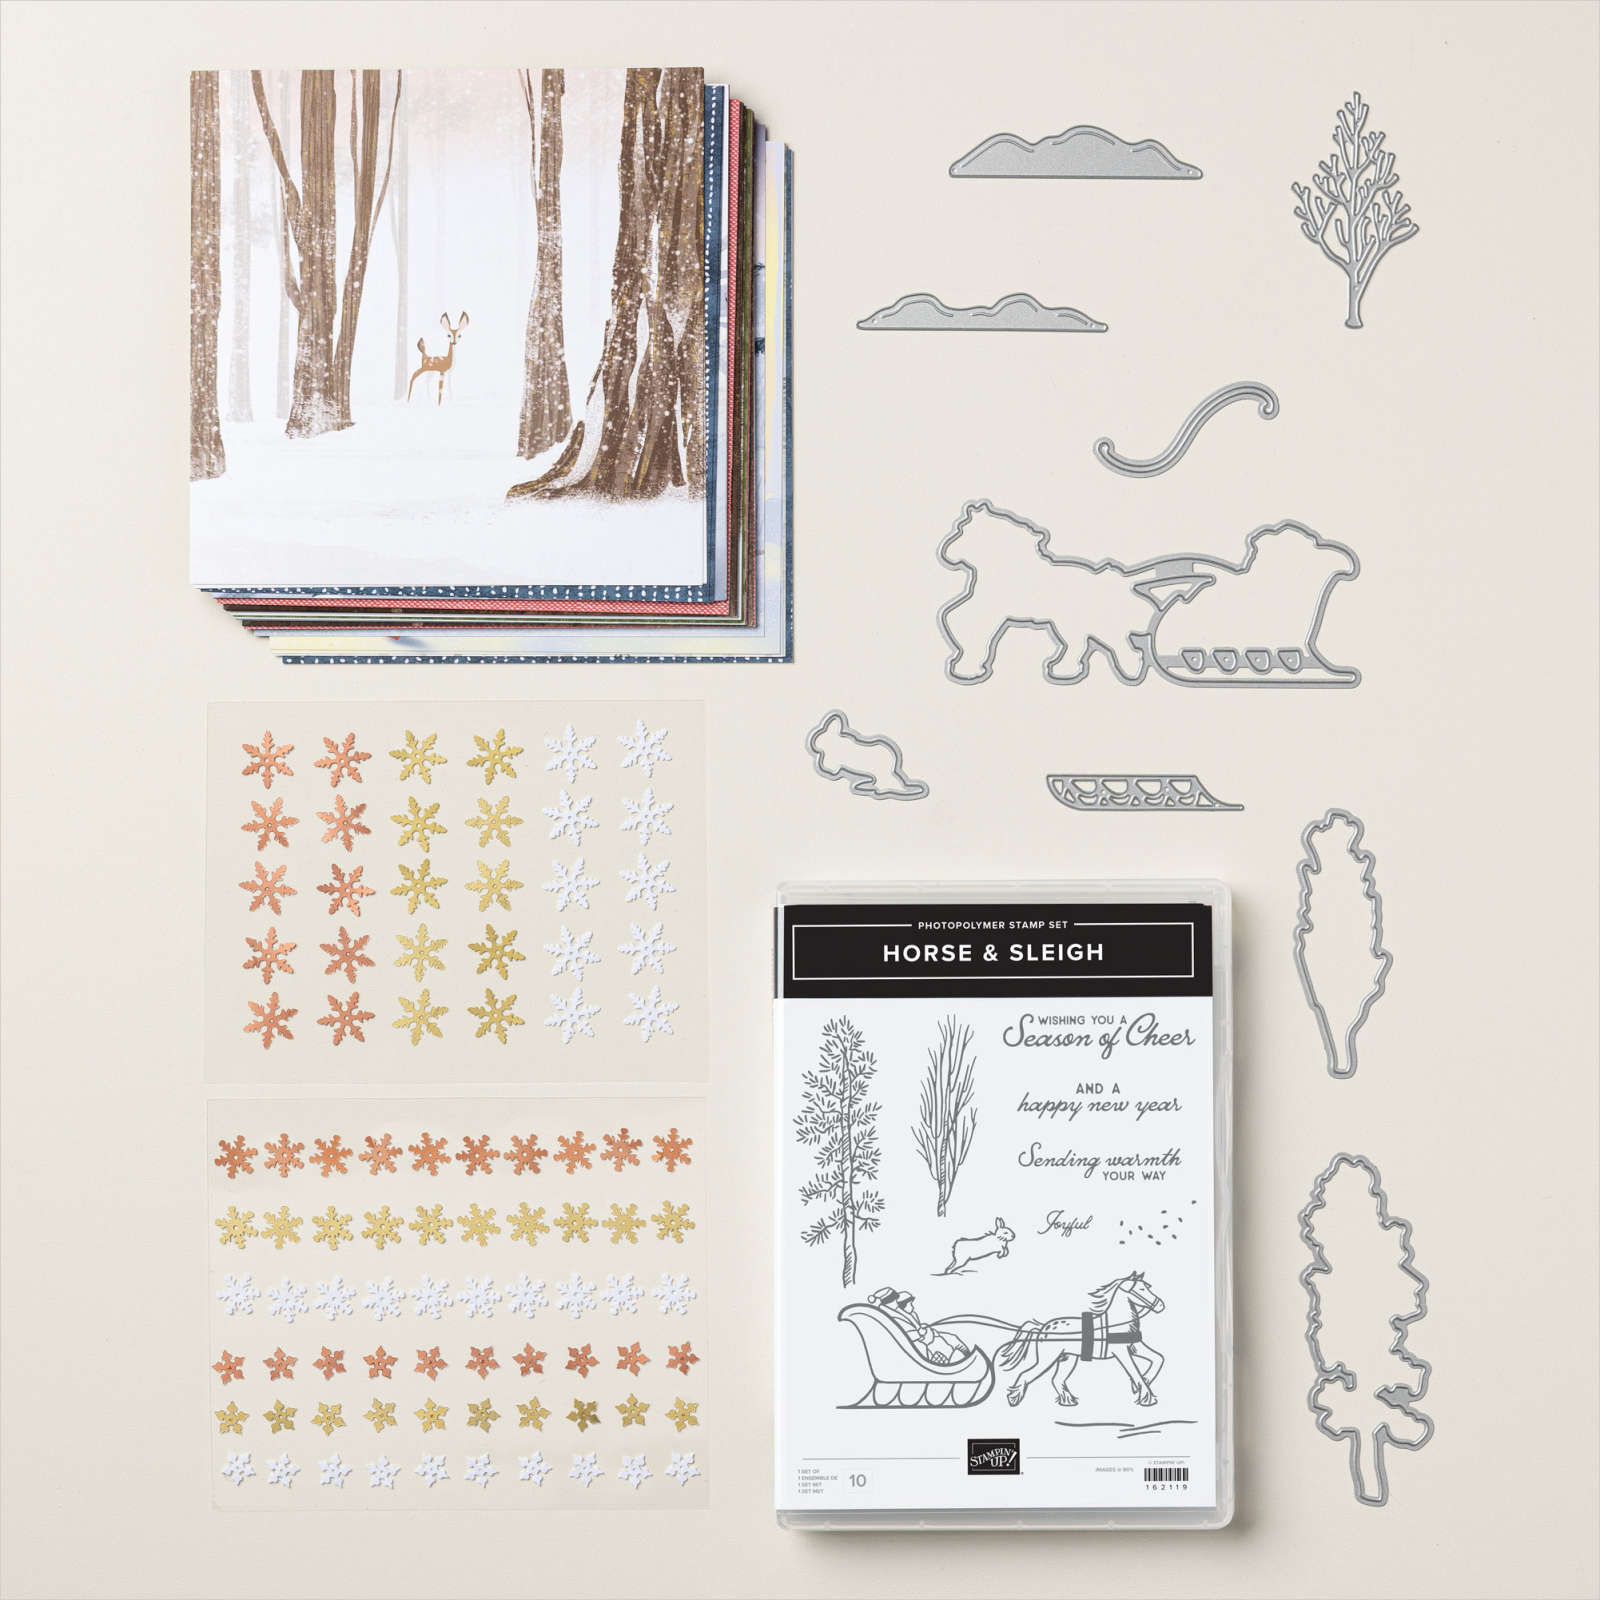
Today I am sharing a card that was part of my September Class. I created a Bridge Card using the Horse & Sleigh collection because I wanted to show my class attendees how to cut the Designer Series Paper to keep the pattern intact. I used Early Espresso for my card base and bridge and attached pieces of the One Horse Open Sleigh 6″ x 6″ Designer Series Paper to the outside panels and centre panel of the card base and across the bridge panel.

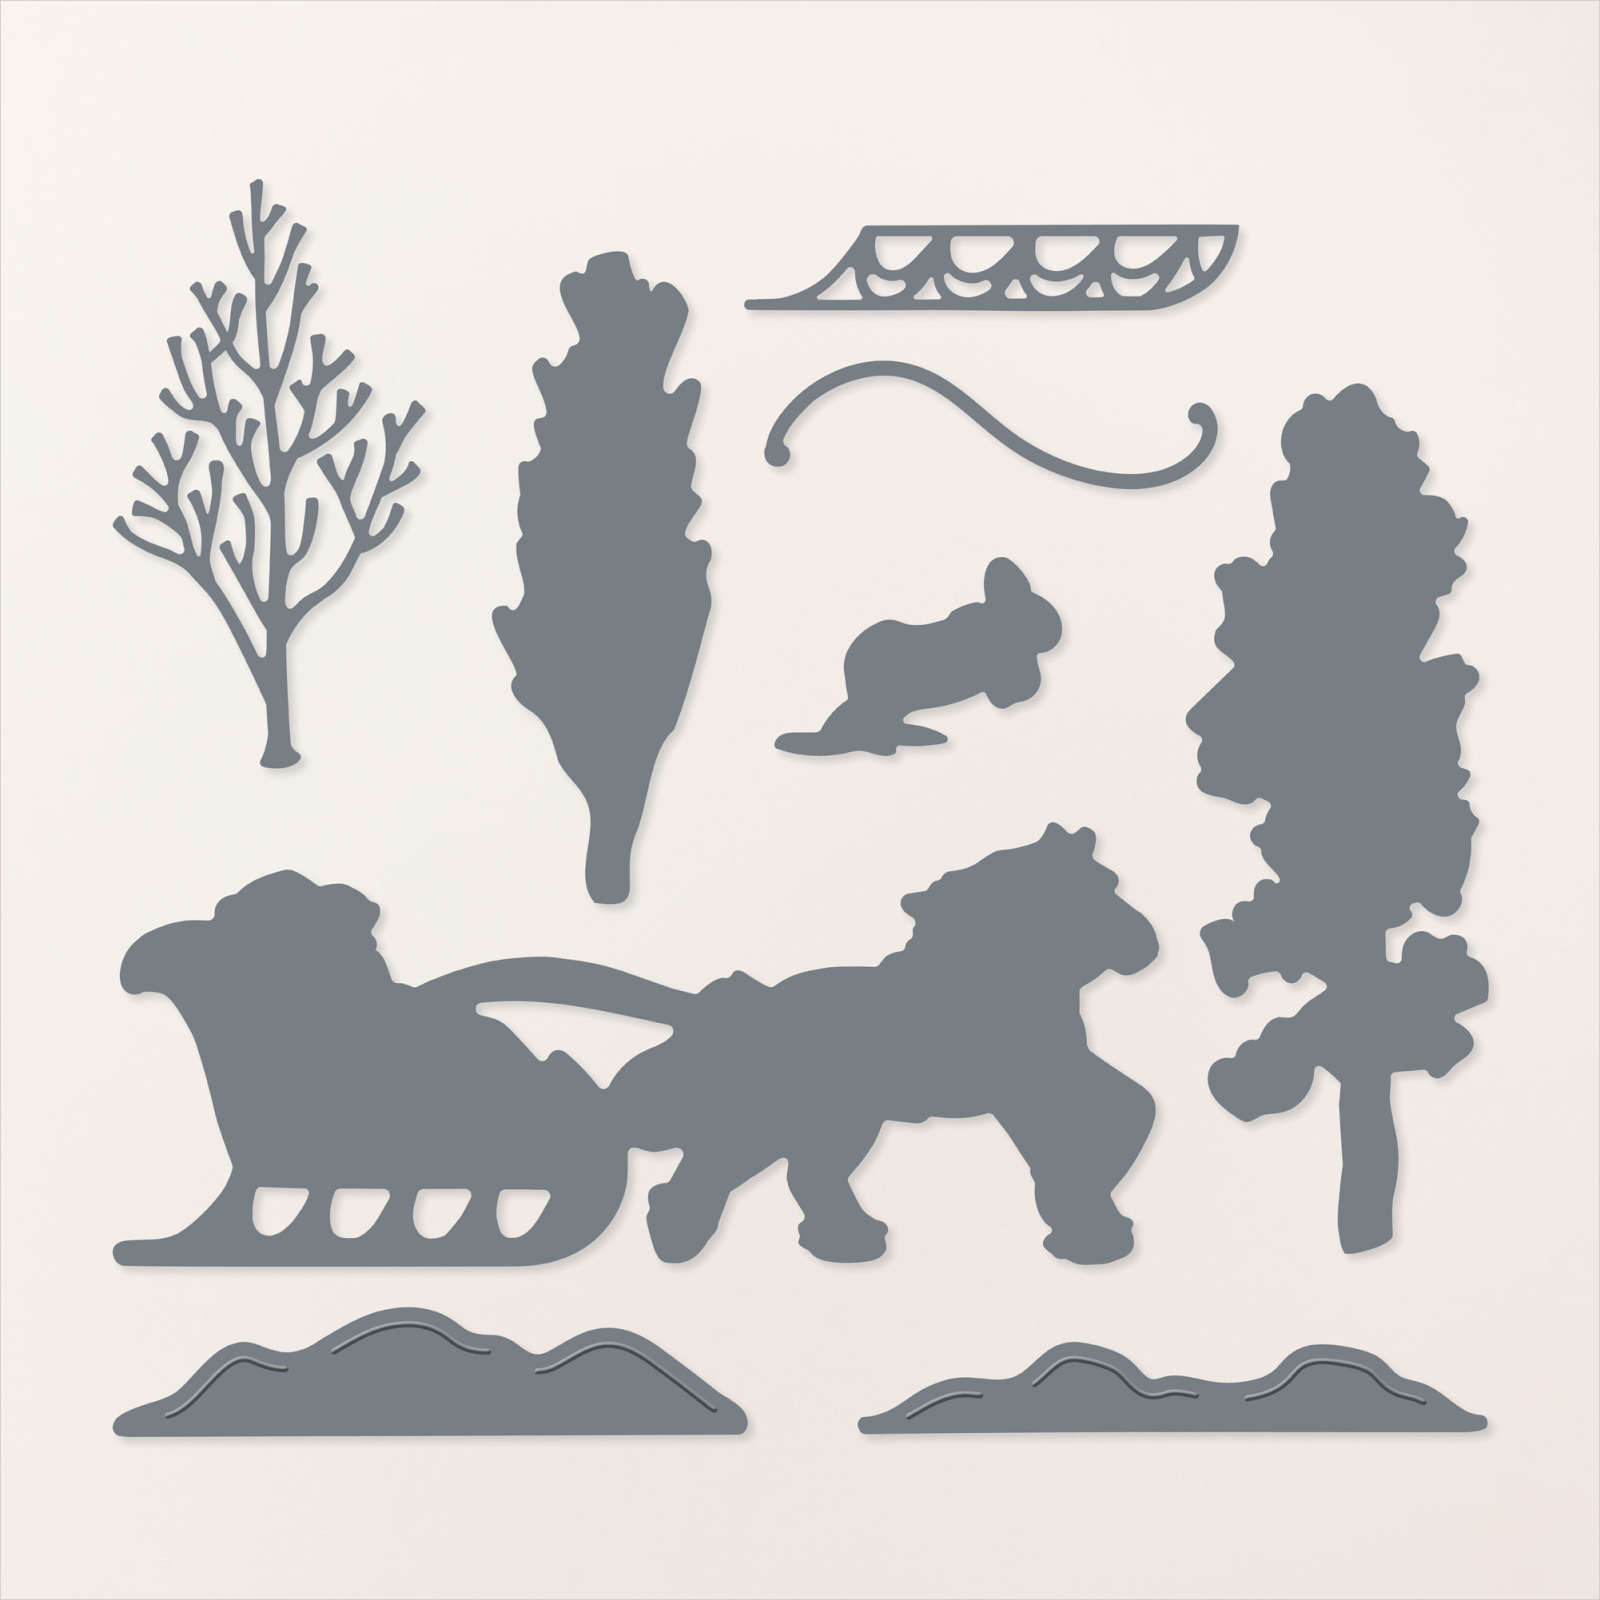
I embossed two pieces of Early Espresso card using the Painted Texture 3D Embossing Folder and attached them to the remaining panels on the card base. I stamped the greeting from the Horse & Sleigh stamp set onto Basic White card using Early Espresso ink and cut it out using the largest banner from the Stylish Shapes Dies. I stamped the horse & sleigh image from the Horse & Sleigh stamp set onto Basic White card using Memento Tuxedo Black ink.

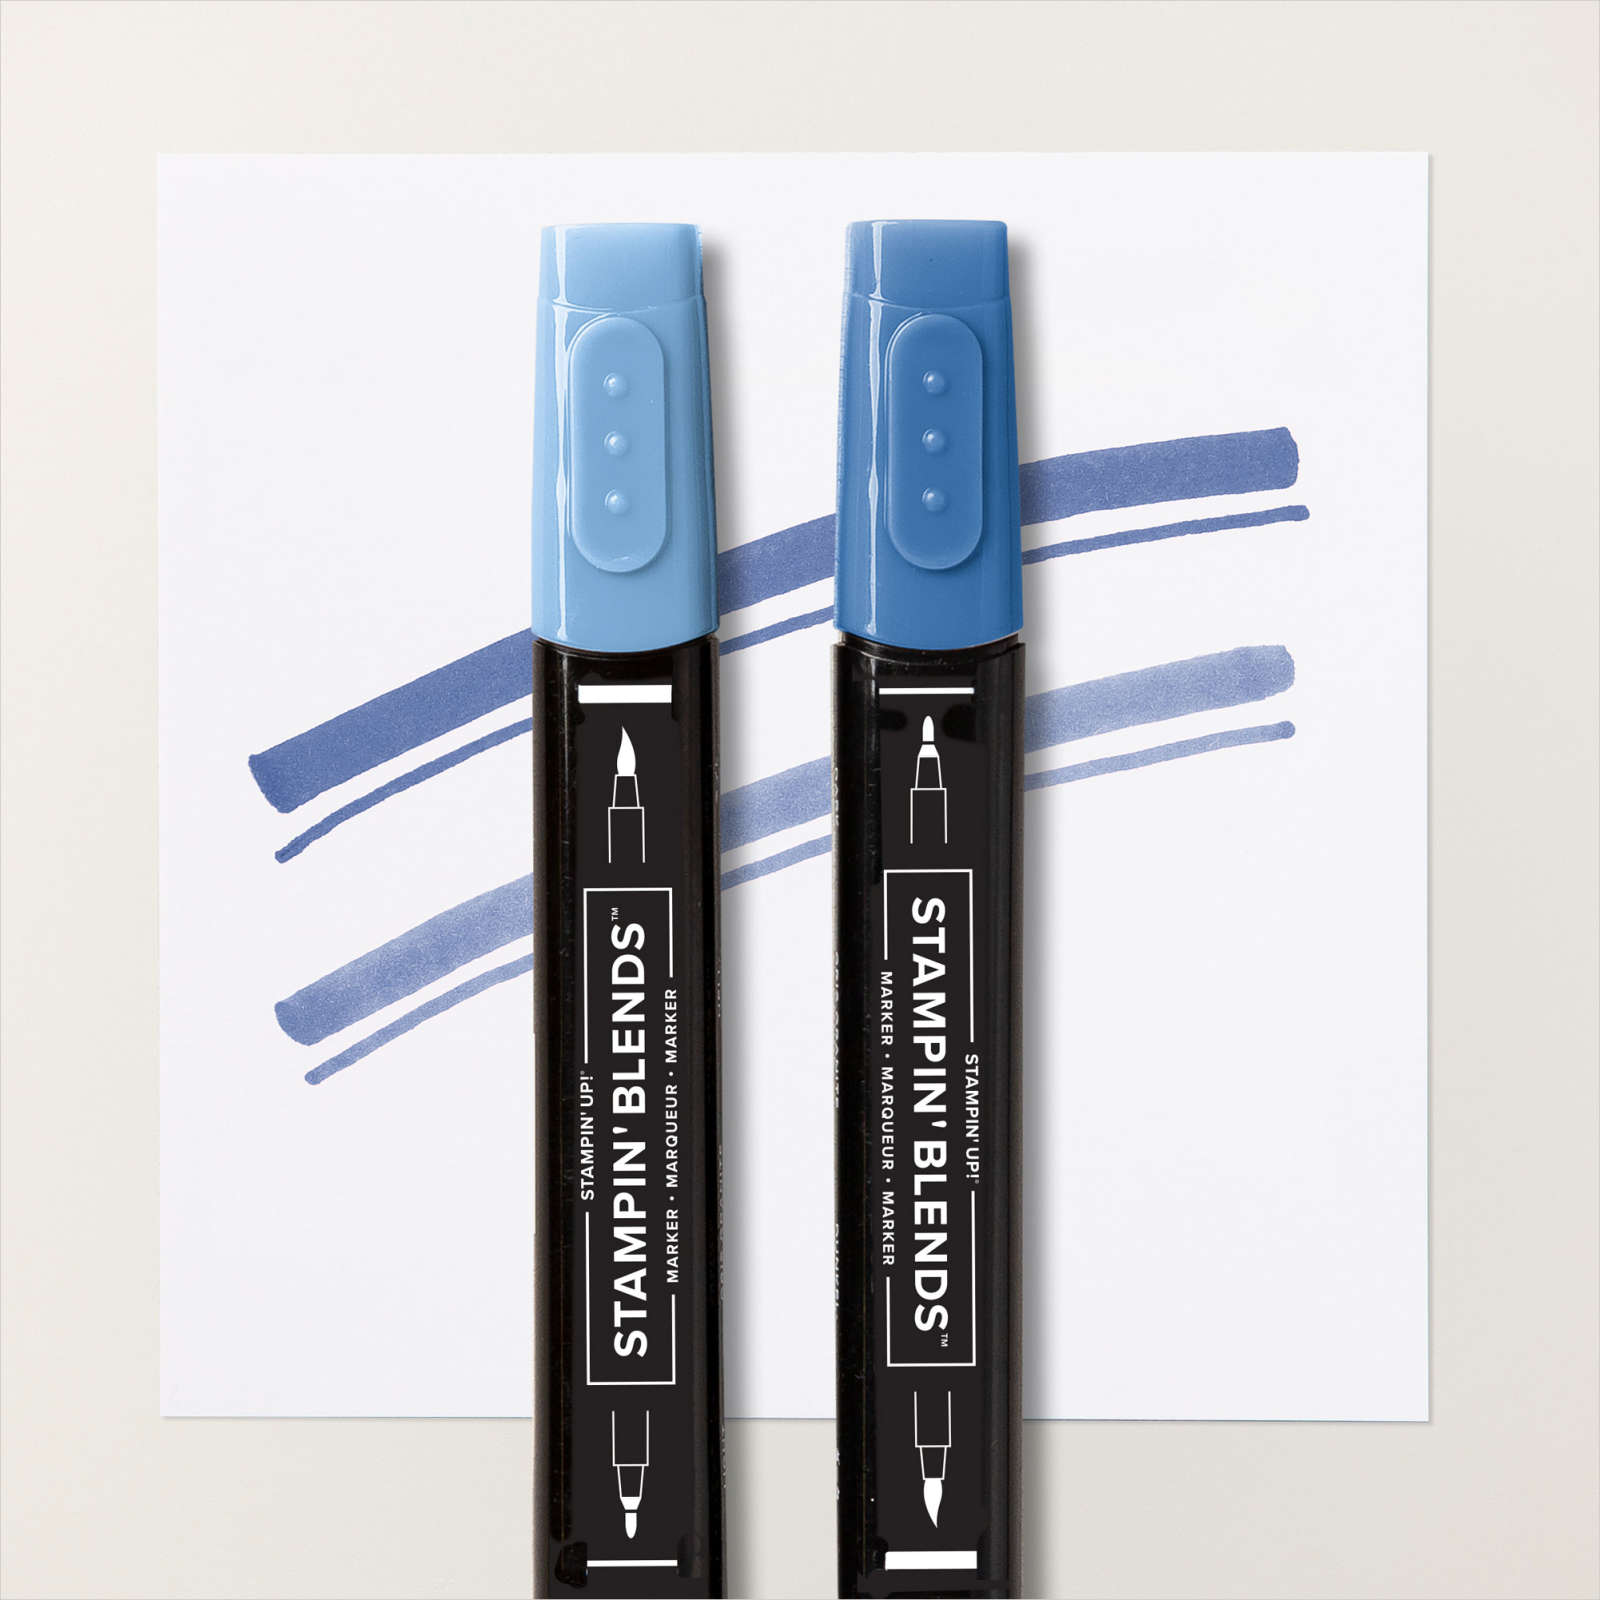
I coloured the image using Night of Navy, Crumb Cake, Light Real Red and Ivory Stampin’ Blends. I cut out the image using the co-ordinating Horse & Sleigh Dies. I also cut real red card to add the decorative piece across the top of the sleigh. I attached the horse & sleigh image across the front of the card using adhesive only where necessary. To decorate the back of the card and create somewhere to write a message, I stamped the tree image from the Horse & Sleigh stamp set onto the lower left hand corner of Basic White card. I wanted to show the ladies at my class how you could use any pattern from this beautiful paper to create this card so I created two more cards using different papers.
I think they all turned out great, don’t you?
Bye for now,
Kris
Product Used:


so, what are the measurements and fold lines for the back/base of the card. you don’t give that information
LikeLike
Cut card base from Early Espresso card 20.5xcm x 10.5cm.
Score along the 20.5cm length at 2.5cm, 5cm, 15.5cm, 18cm. Fold on score lines using your bone folder.
I use centimetres & A4 card.
LikeLike