Note Card Boxes
This week on Facebook Live, I shared some boxes I made which will hold nine Note Cards & Envelopes. I have a lot of these as I usually create a Note Card first when I start to create with a new stamp set. I mainly use Basic White and Very Vanilla Note cards and these do not come with a co-ordinating box. The box is created pizza box style – dimensions 7′ x 10-1/4″. Scored on the 7″ length at 3/4″ and 6-1/4″. Scored on the 10-1/4″ length at 3/4″, 4-3/4″, 5-1/2″ and 9-1/2″. You can watch my video on my Facebook Page if you want to see me create the box and share four different decorations.

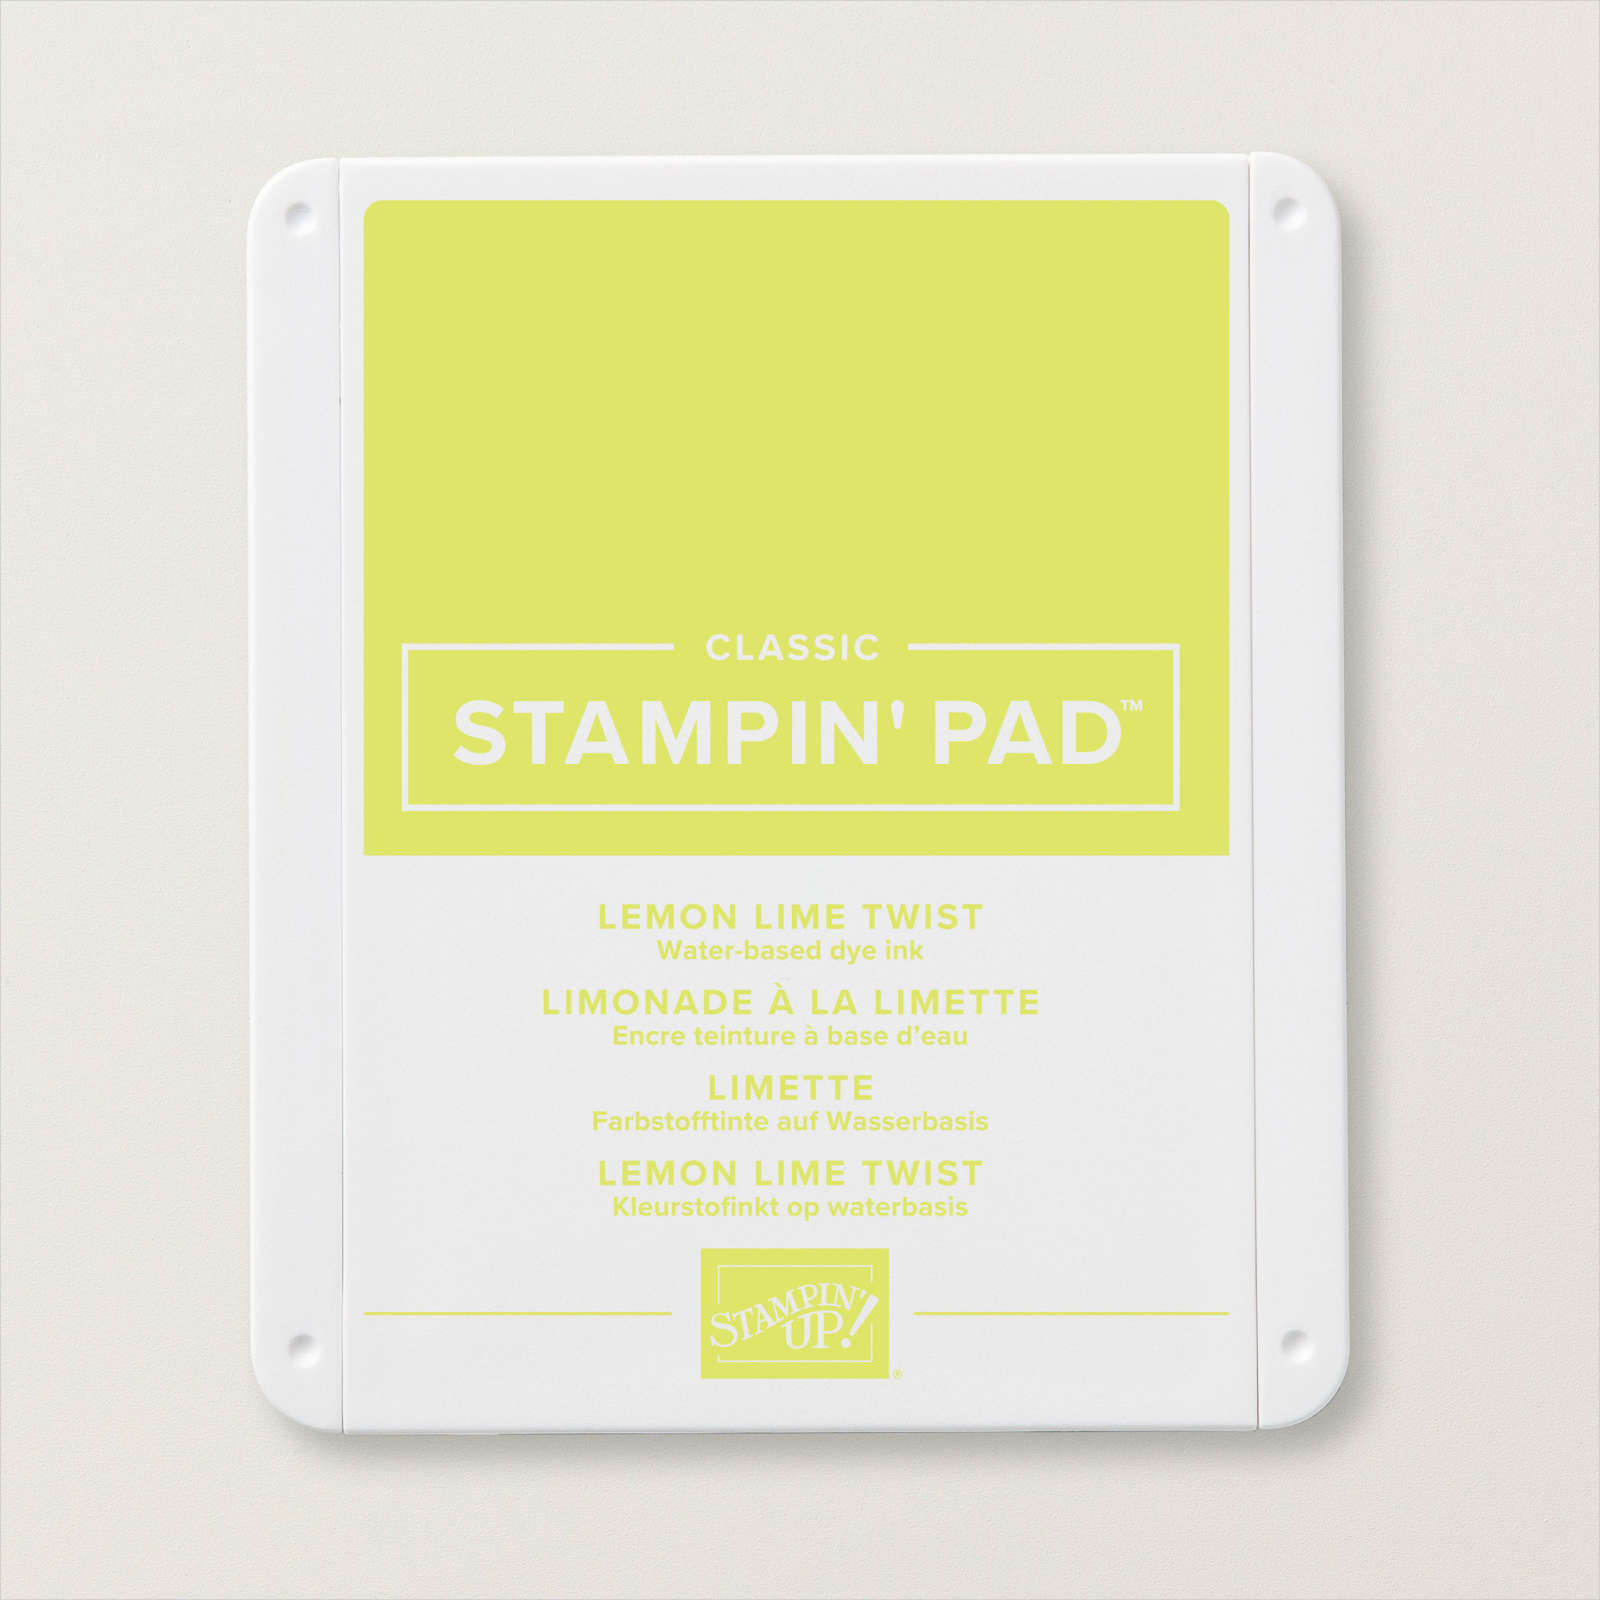
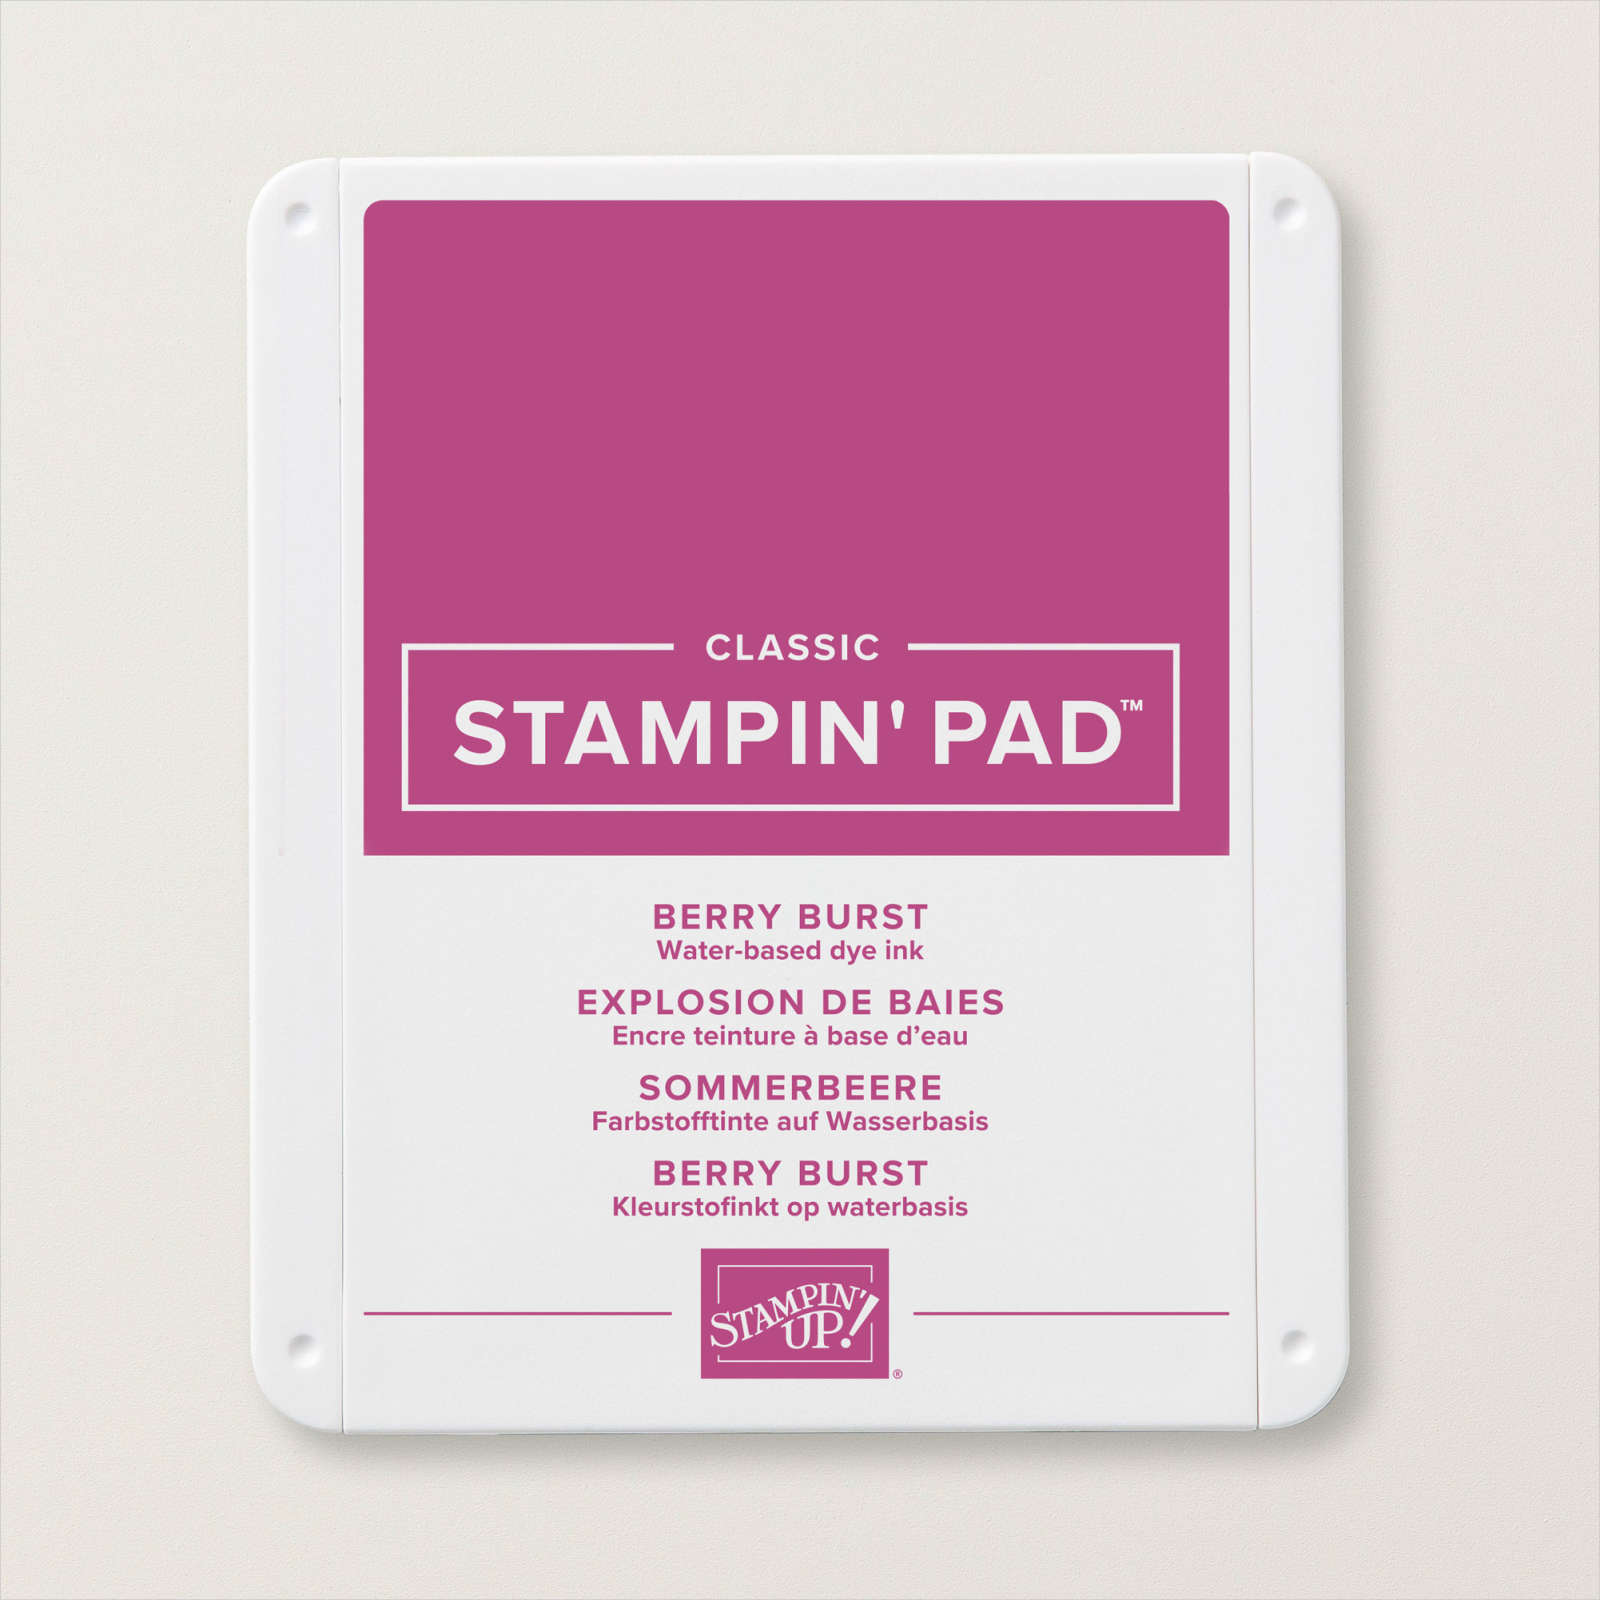
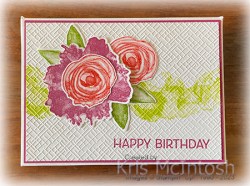
Today I have two more boxes to share with you. For the first one I used the Artistically Inked stamps set which has been neglected of late because of all the new stamps I have been creating with. I stamped the background image from the Artistically Inked stamp set across the centre of Basic White card 5-1/4″ x 3-3/4″ using Lemon Lime Twist ink. I stamped the greeting from the Artistically Inked stamp set onto the lower right hand corner of the Basic White panel using Berry Burst ink.

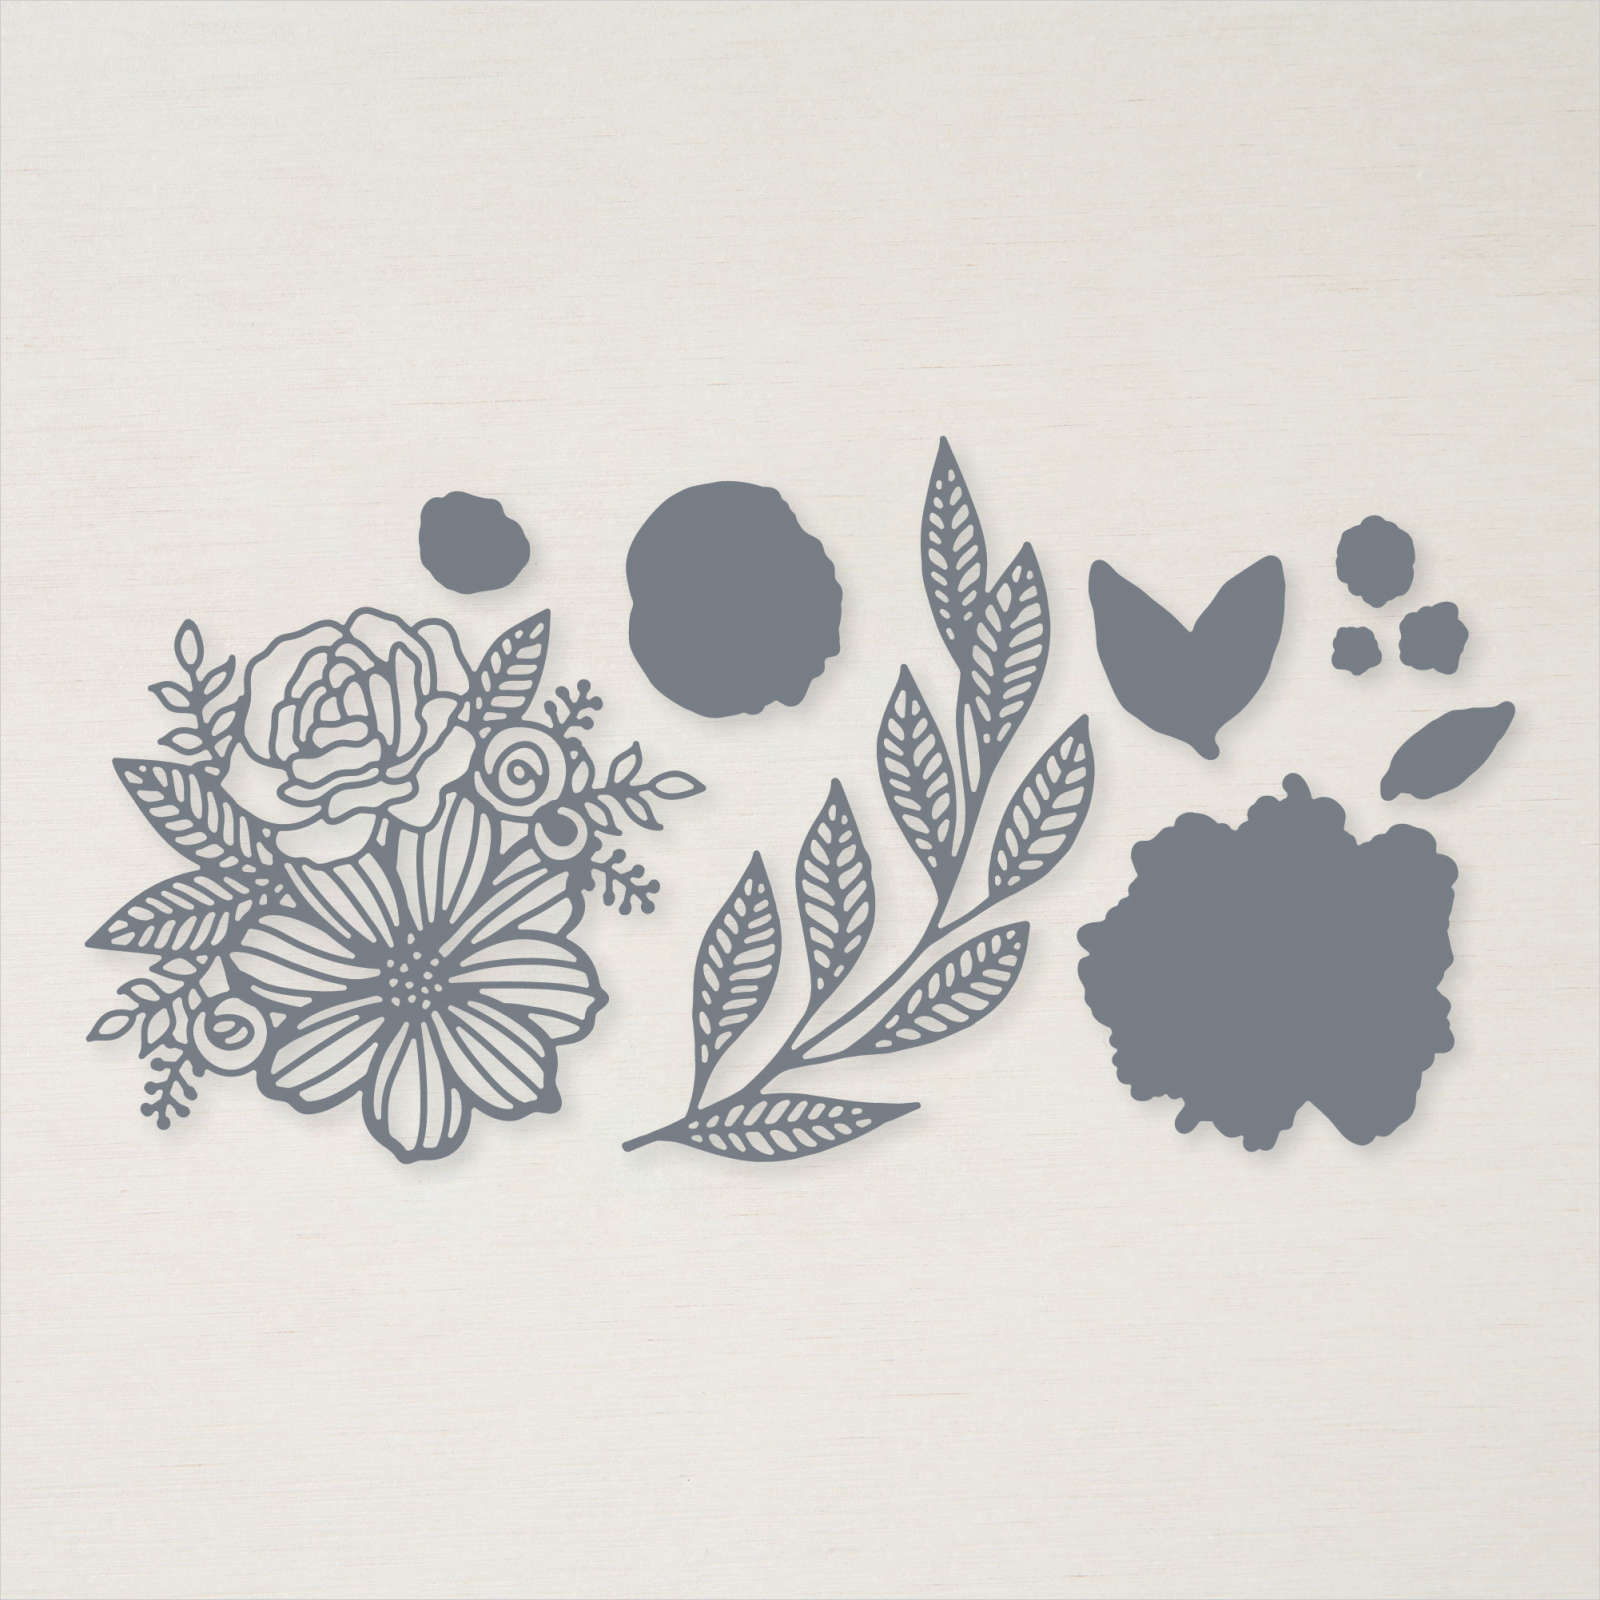
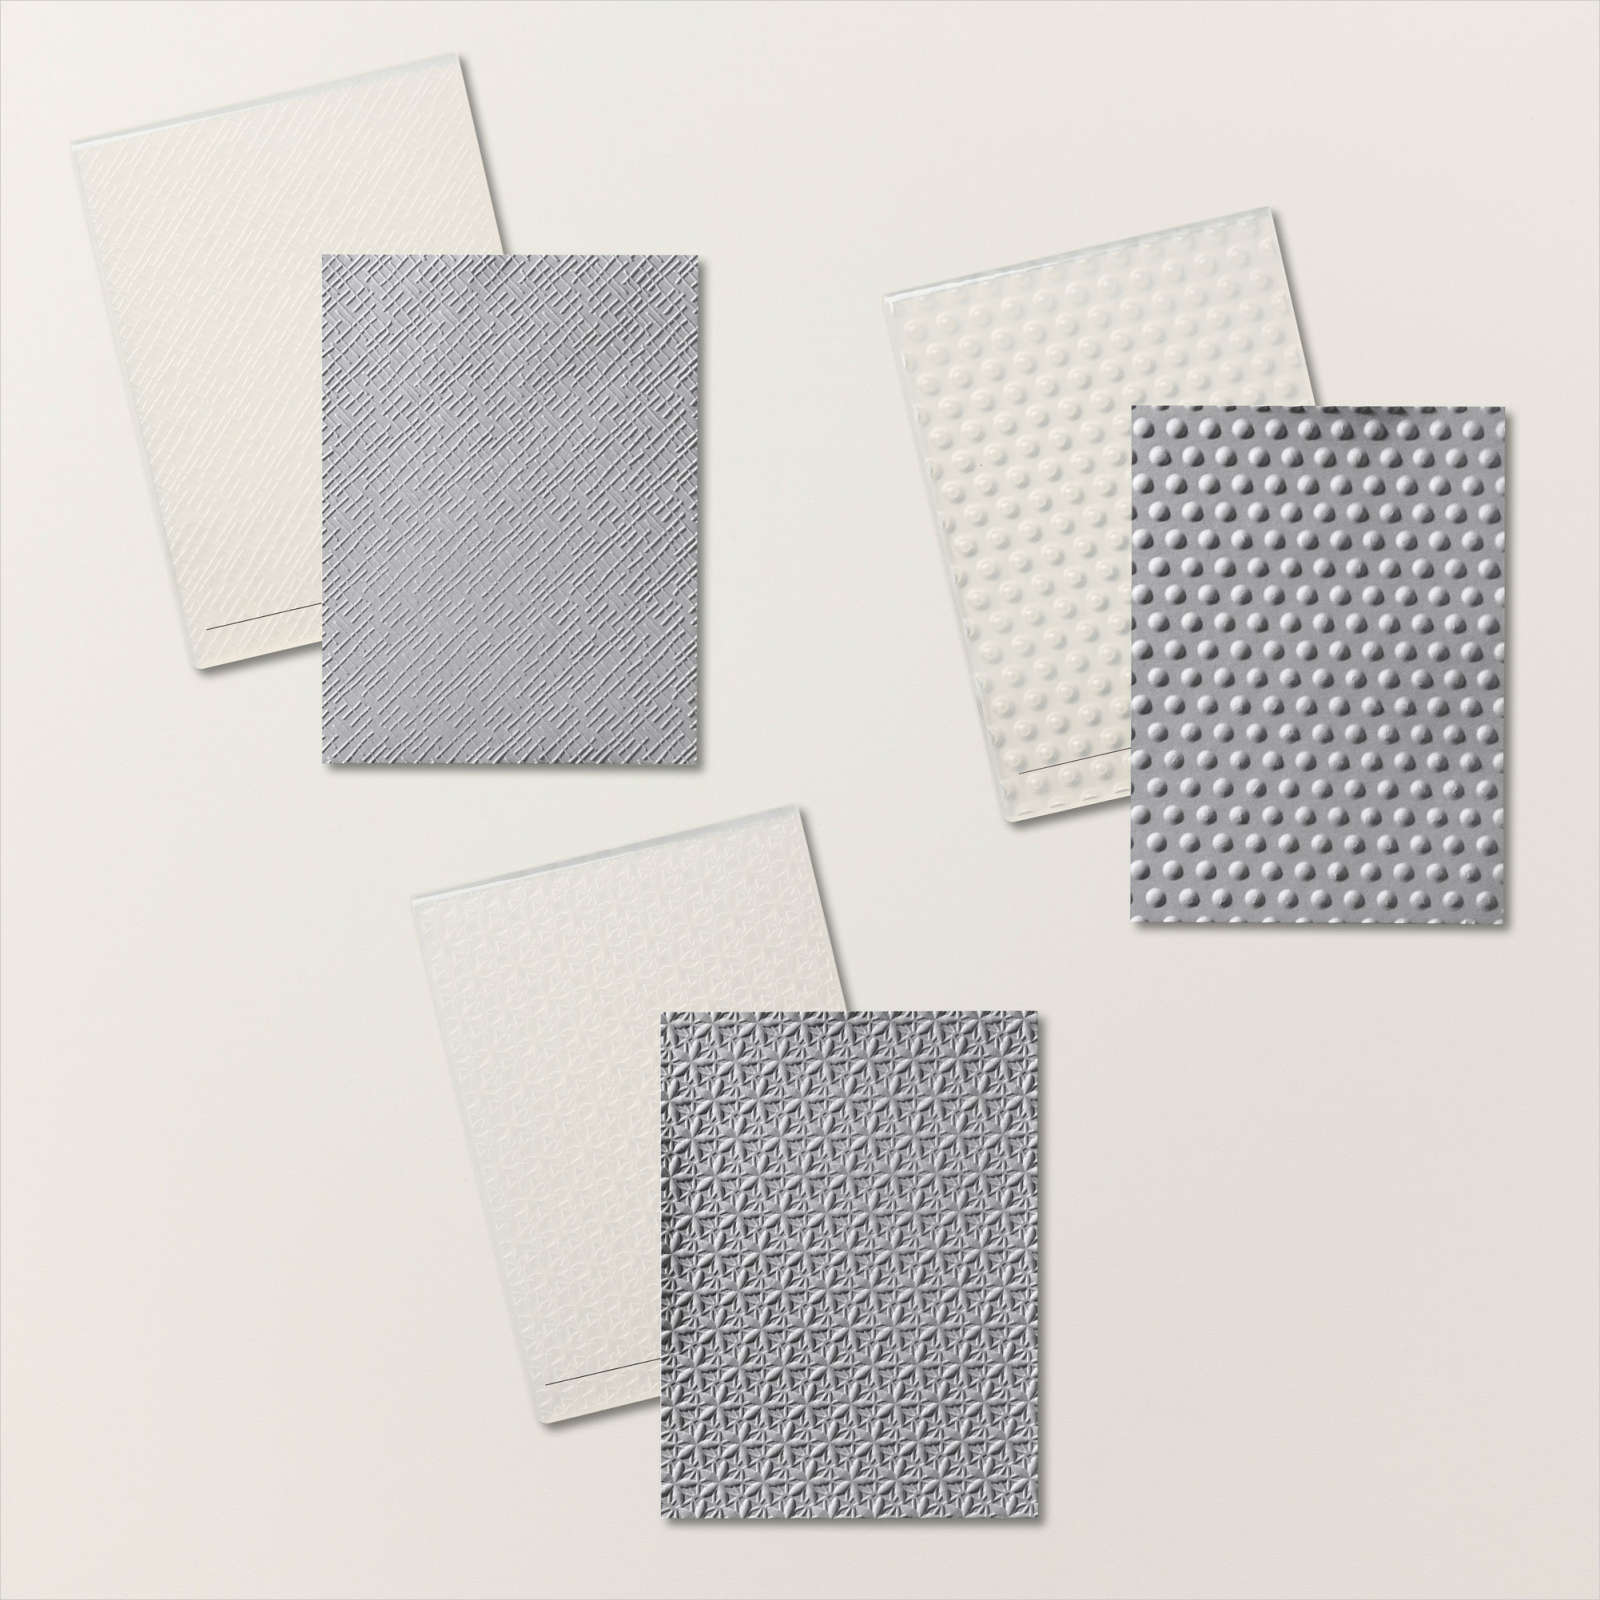
The stamped panel is embossed using one of the folders from the Basics 3D Embossing Folders before being attached to Berry Burst card (5-3/8″ x 3-7/8″) and then the top of the box. I stamped one large flower from the Artistically Inked stamp set onto Basic White card using Berry Burst ink and two smaller flowers using Poppy Parade ink. I also stamped the double leaf image from the Artistically Inked stamp set onto Basic White card using Granny Apple Green ink. I cut out the flowers and leaf using the co-ordinating Artistic Dies. The flowers and leaves are layered together onto the upper left hand corner of the embossed Basic White card.

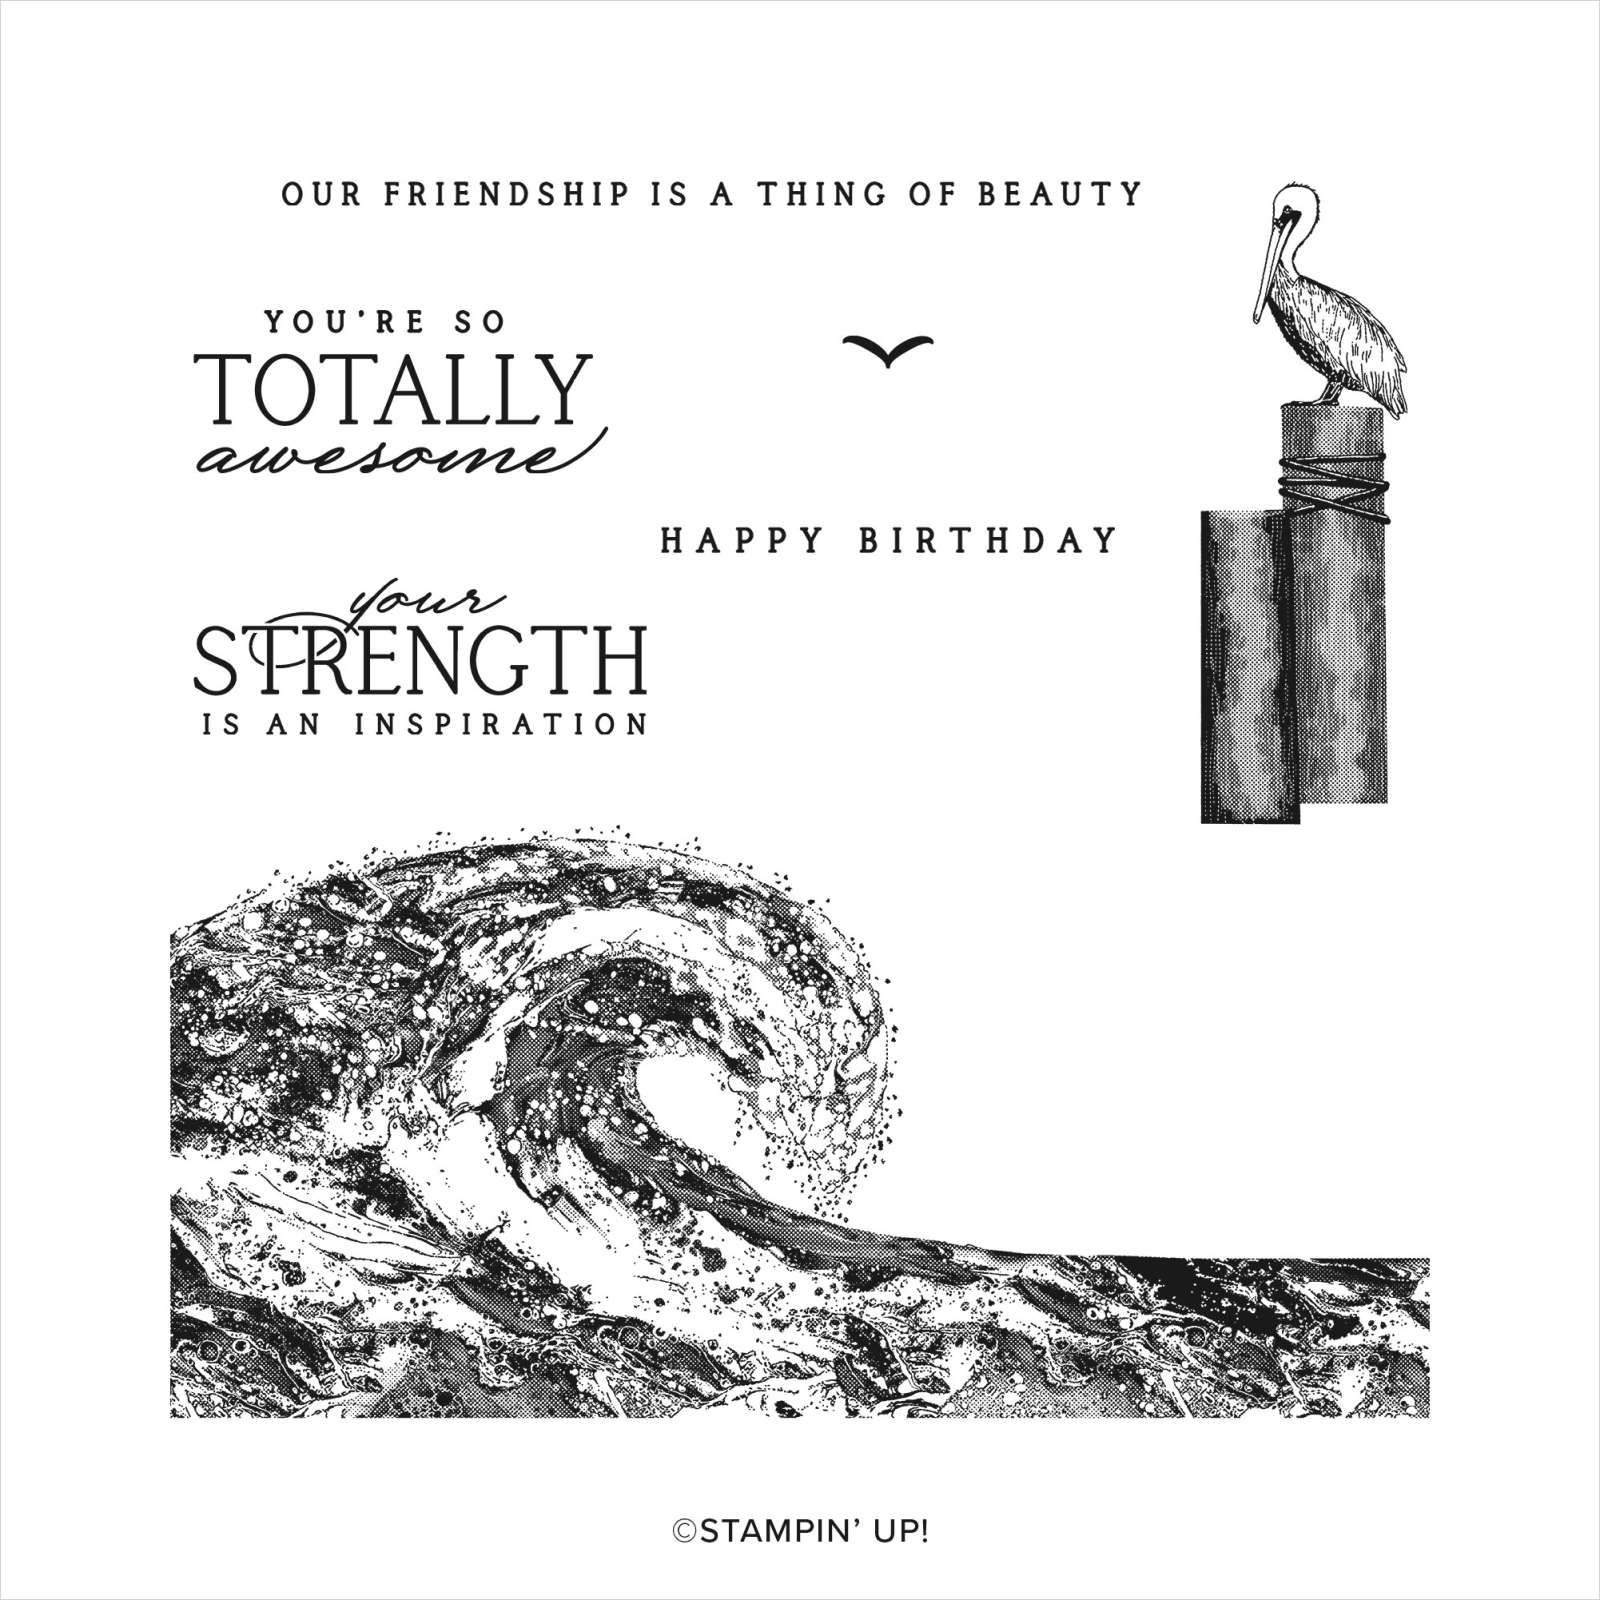
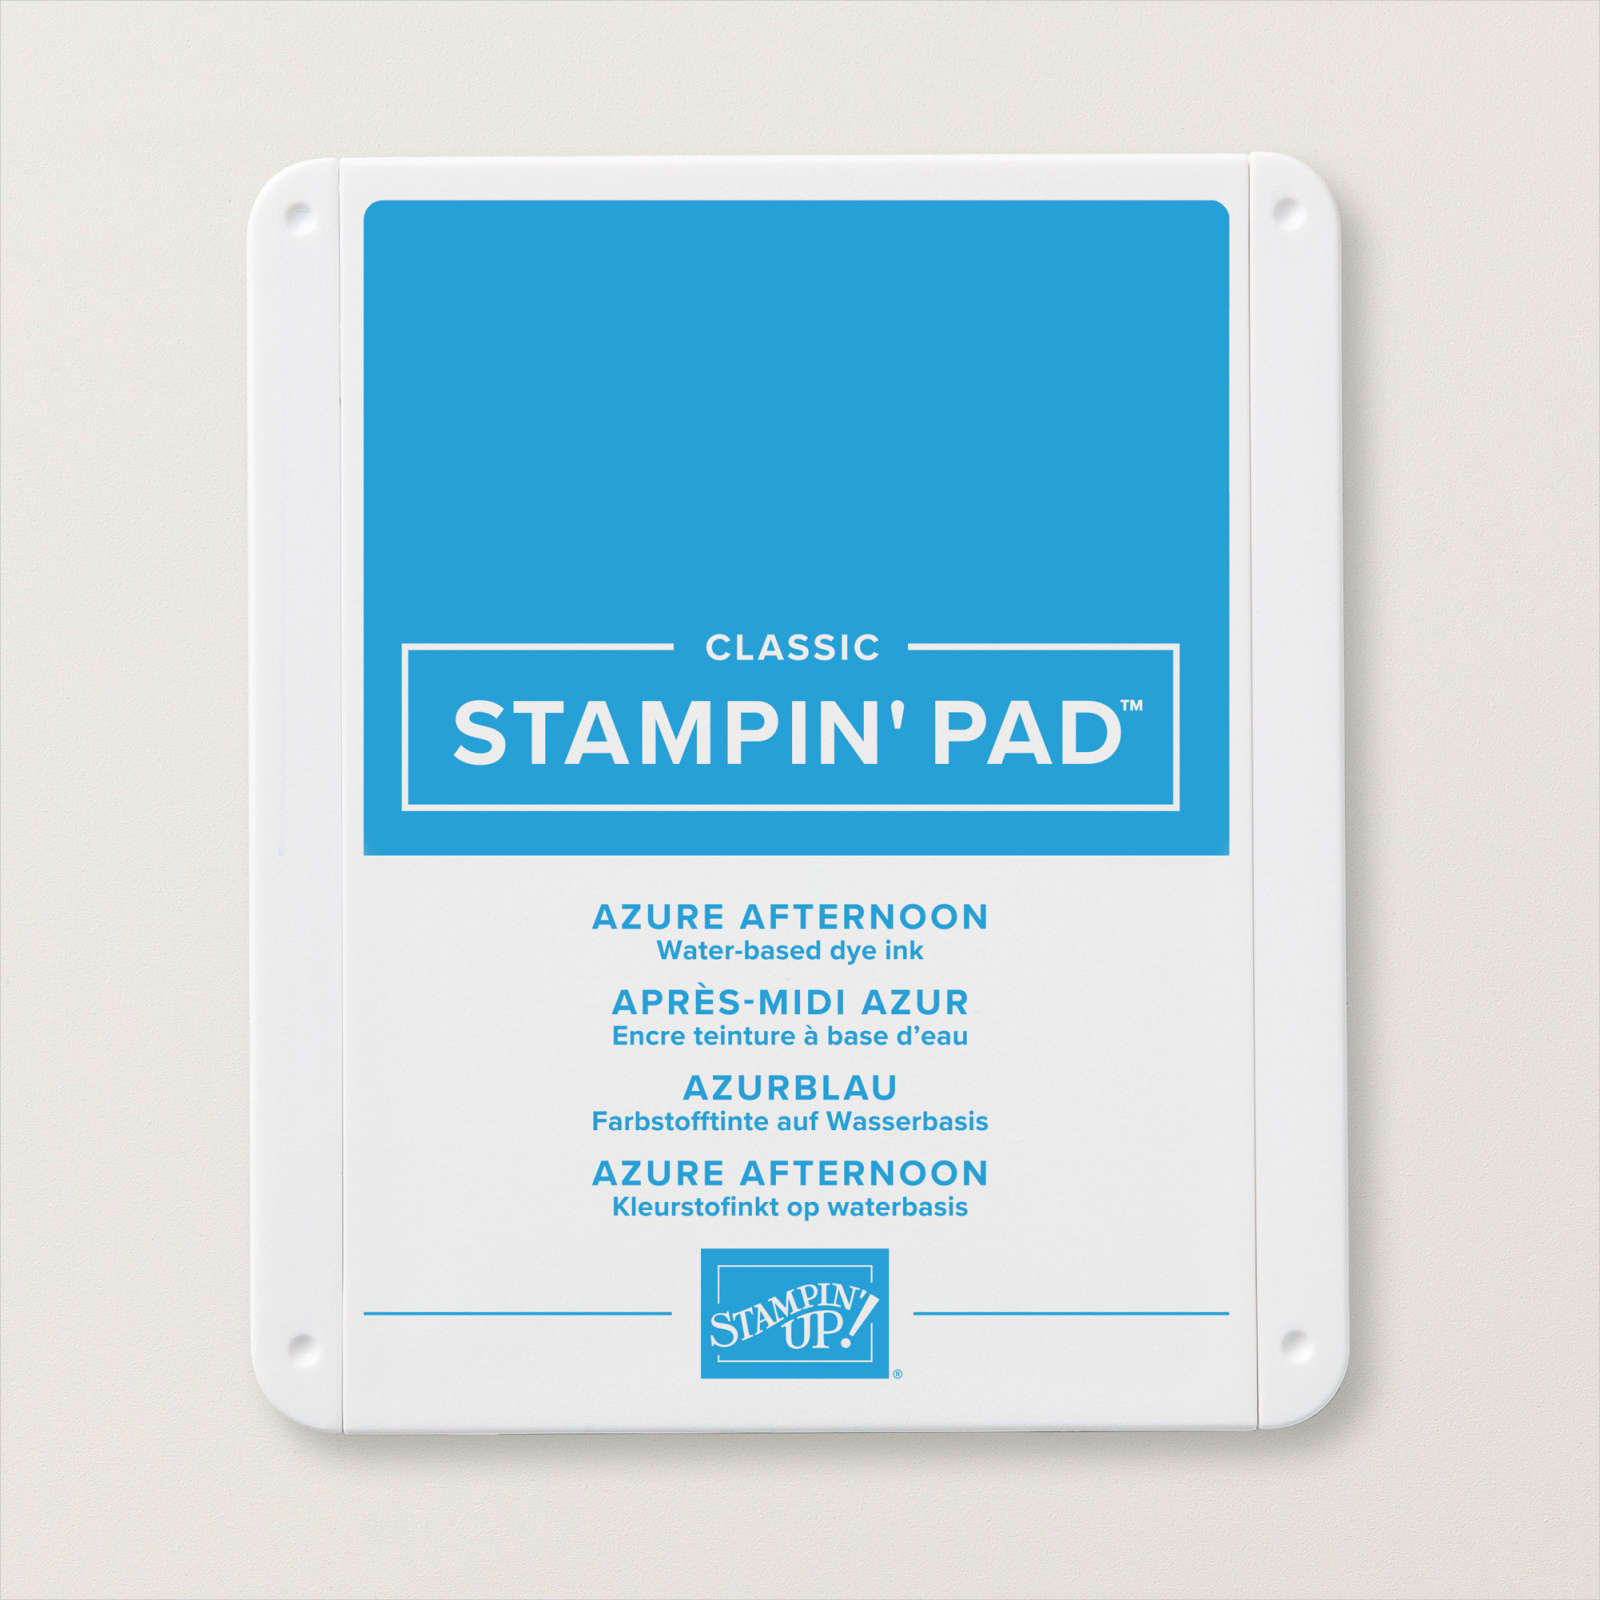
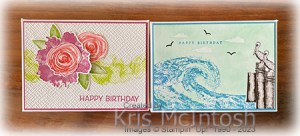
The second box is decorated using the Waves of Inspiration stamp set. I stamped the pelican image from the Waves of Inspiration stamp set onto the right hand side of the Basic White card using Early Espresso ink and covered it with the mask. I stamped the pelican image again so that it sits slightly over the first image. I masked the second image and stamped the wave from the Waves of Inspiration stamp set across the bottom of the Basic White card using Azure Afternoon ink. I stamped the cloud images from the Whale Watching stamp set twice onto Masking Paper and cut our three images which I attached to the Basic White panel.

I used a Blending Brush to add Coastal Cabana ink over the masked images and the stamped wave. I removed the masks and added a little more Coastal Cabana ink over the clouds. I stamped the greeting from the Waves of Inspiration stamp set using Azure Afternoon ink. I also stamped three of the bird images from the same stamp set using Early Espresso ink. The stamped panel is attached to Azure Afternoon card and then the top of the box.
I didn’t decorate the sides of the boxes but I think they look great and will make great stocking fillers this Christmas.
Bye for now,
Kris
Product Used: