Noel
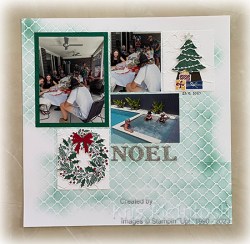
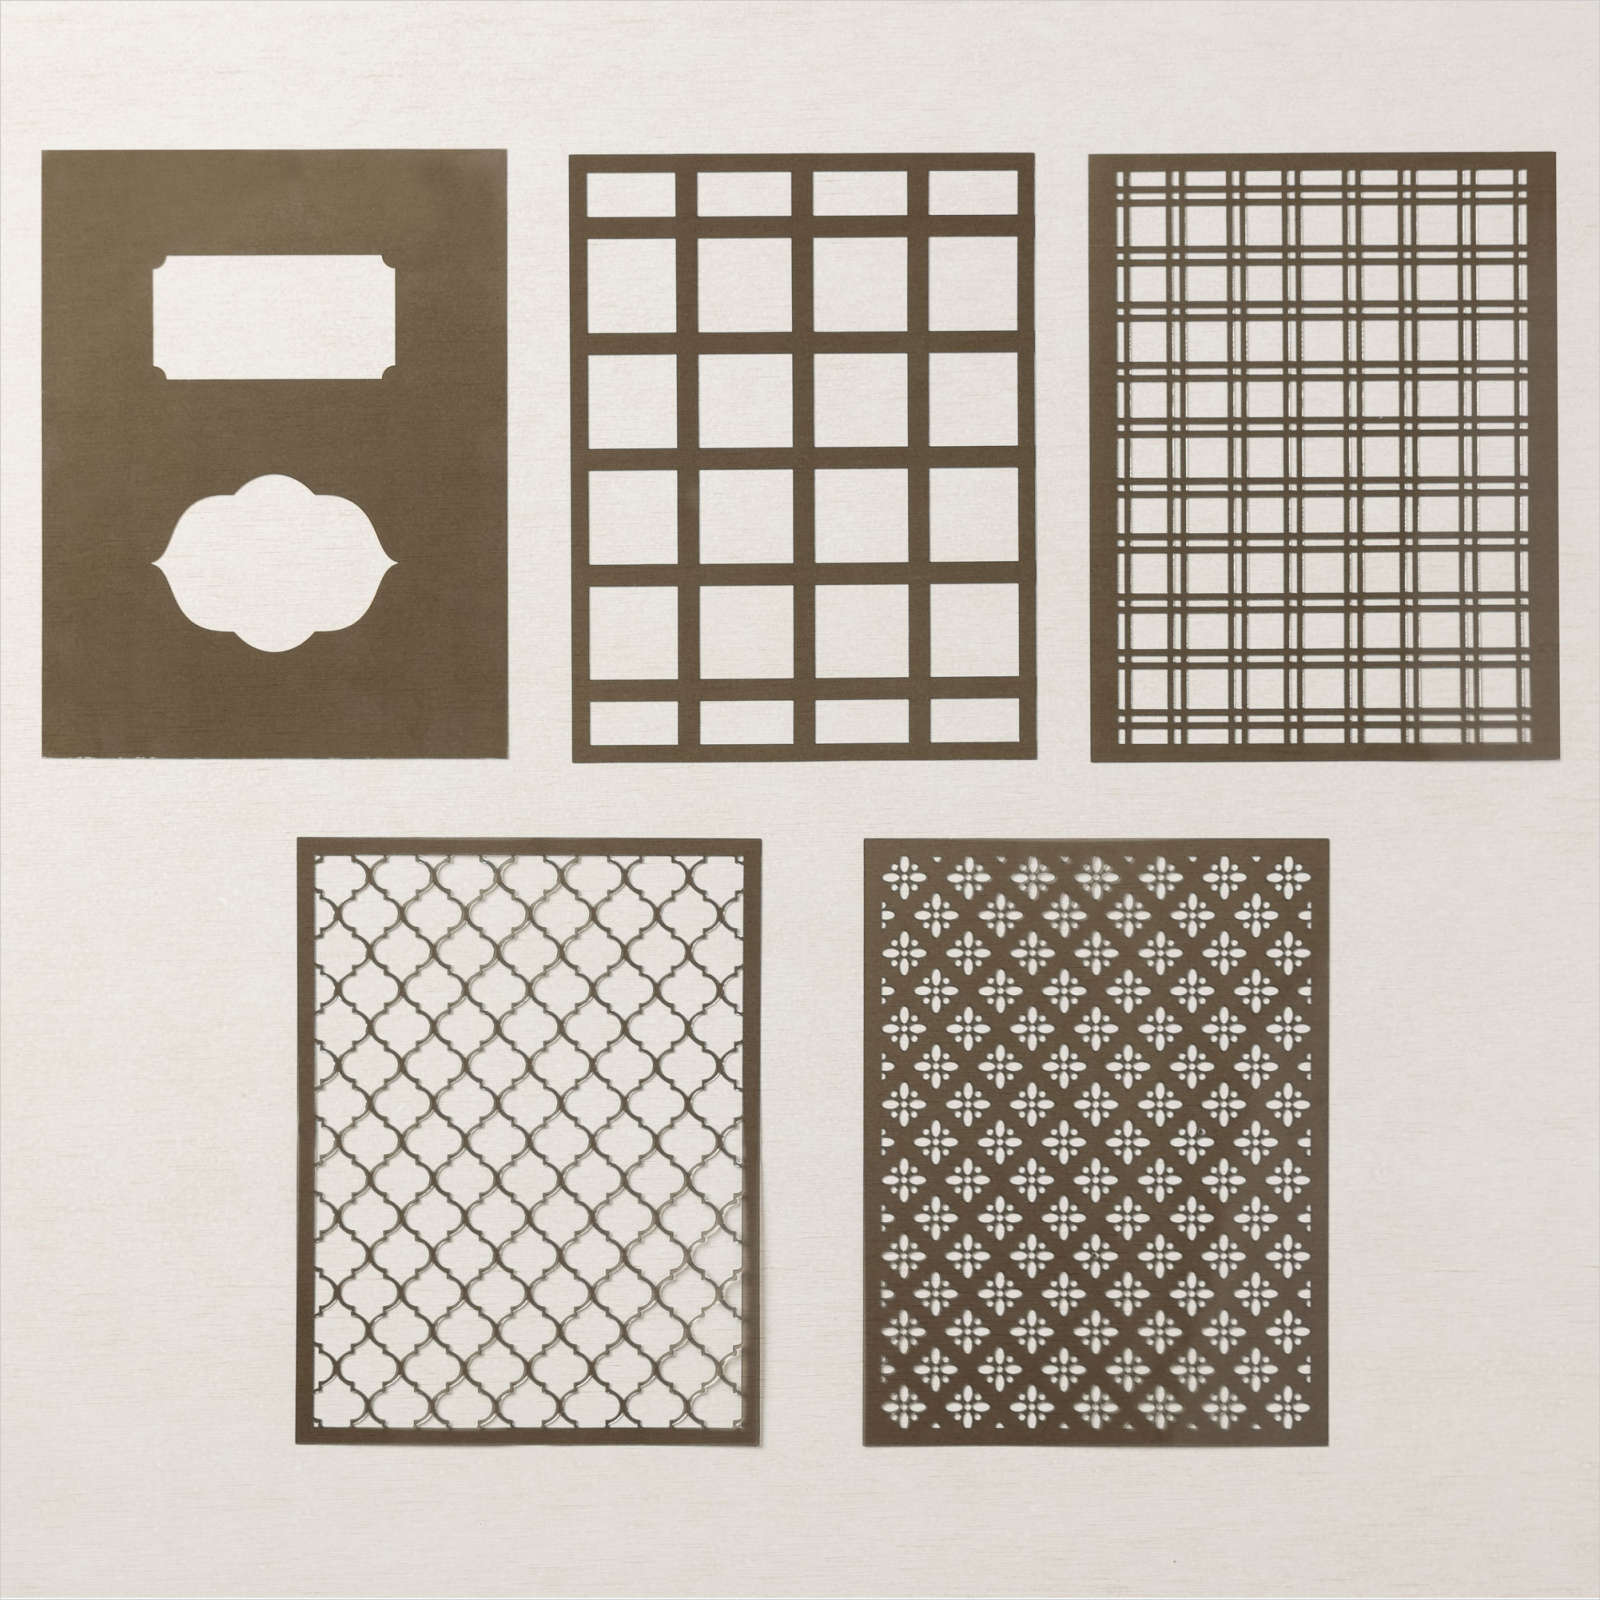
My page today shows off some photos from our family get together just before Christmas at our youngest daughter’s home. I used one of the Artistic Mix Decorative Masks to add Shaded Spruce ink to a Basic White 12″ x 12″ page. I embossed a panel of Shaded Spruce card using the Painted Texture 3D Embossing Folder and attached the main photo before attaching the photos to the page. I don’t have any Christmas Designer Series Paper left as I created lots of cards for this year and some for next, so I decided to decorate a couple of panels to add to the page.

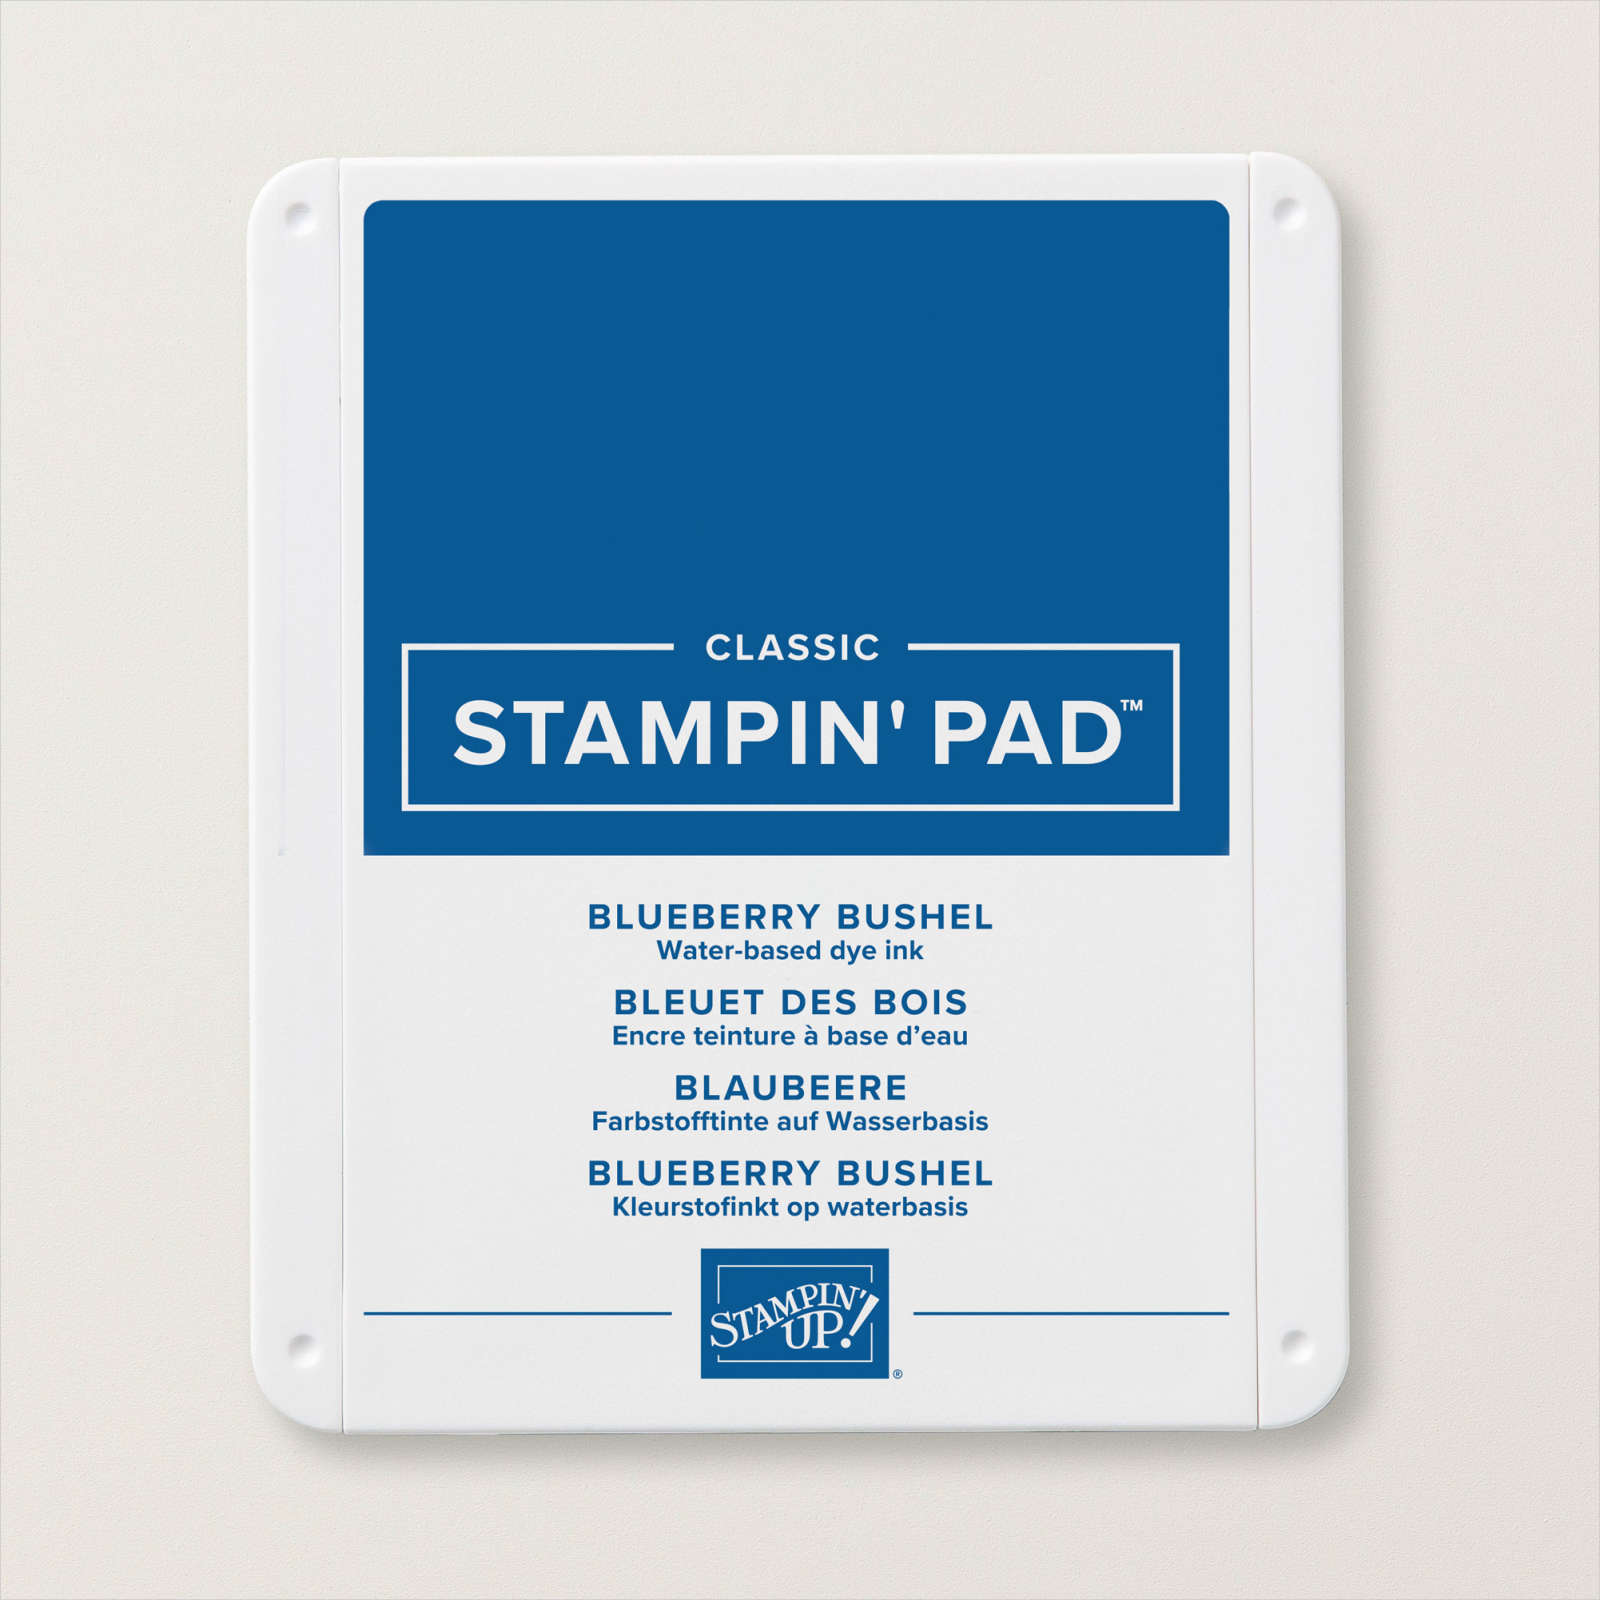
Each panel is Basic White card which I embossed using the Painted Texture 3D Embossing Folder. For the panel on the top right hand side of the page, I used the Merriest Trees Bundle. I stamped the tree image onto Basic White card using Shaded Spruce ink. I also stamped the presents and bows using Blueberry Bushel, Crushed Curry & Real Red ink. Each of the images are cut out using the co-ordinating Merriest Trees Die. I also used the dies to cut the tinsel and the star from retired Silver Adhesive Backed Glimmer Paper
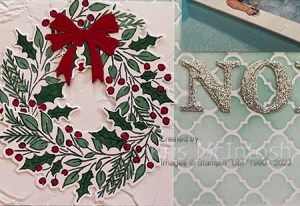
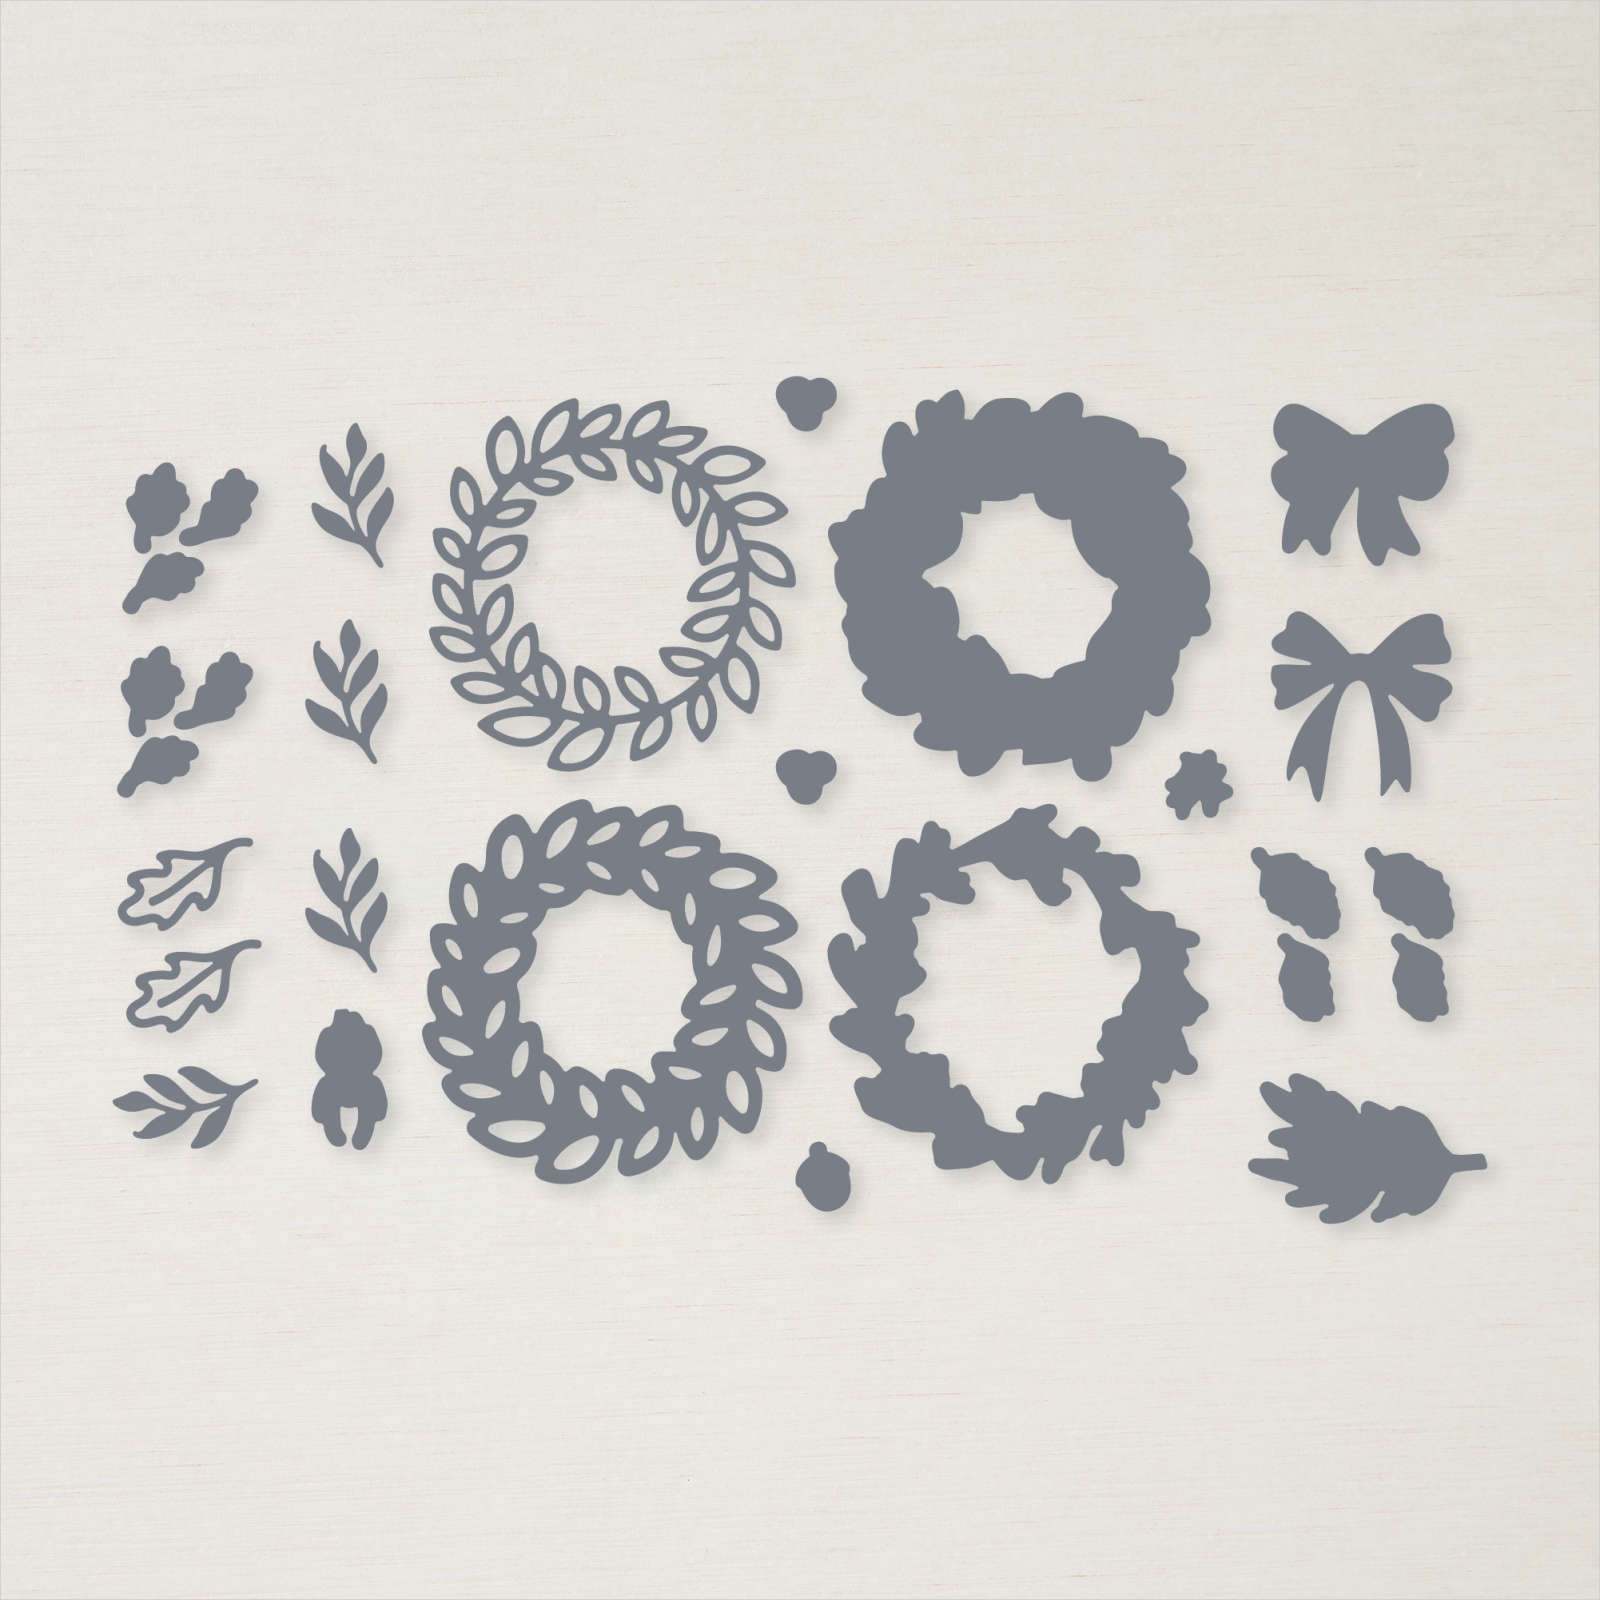
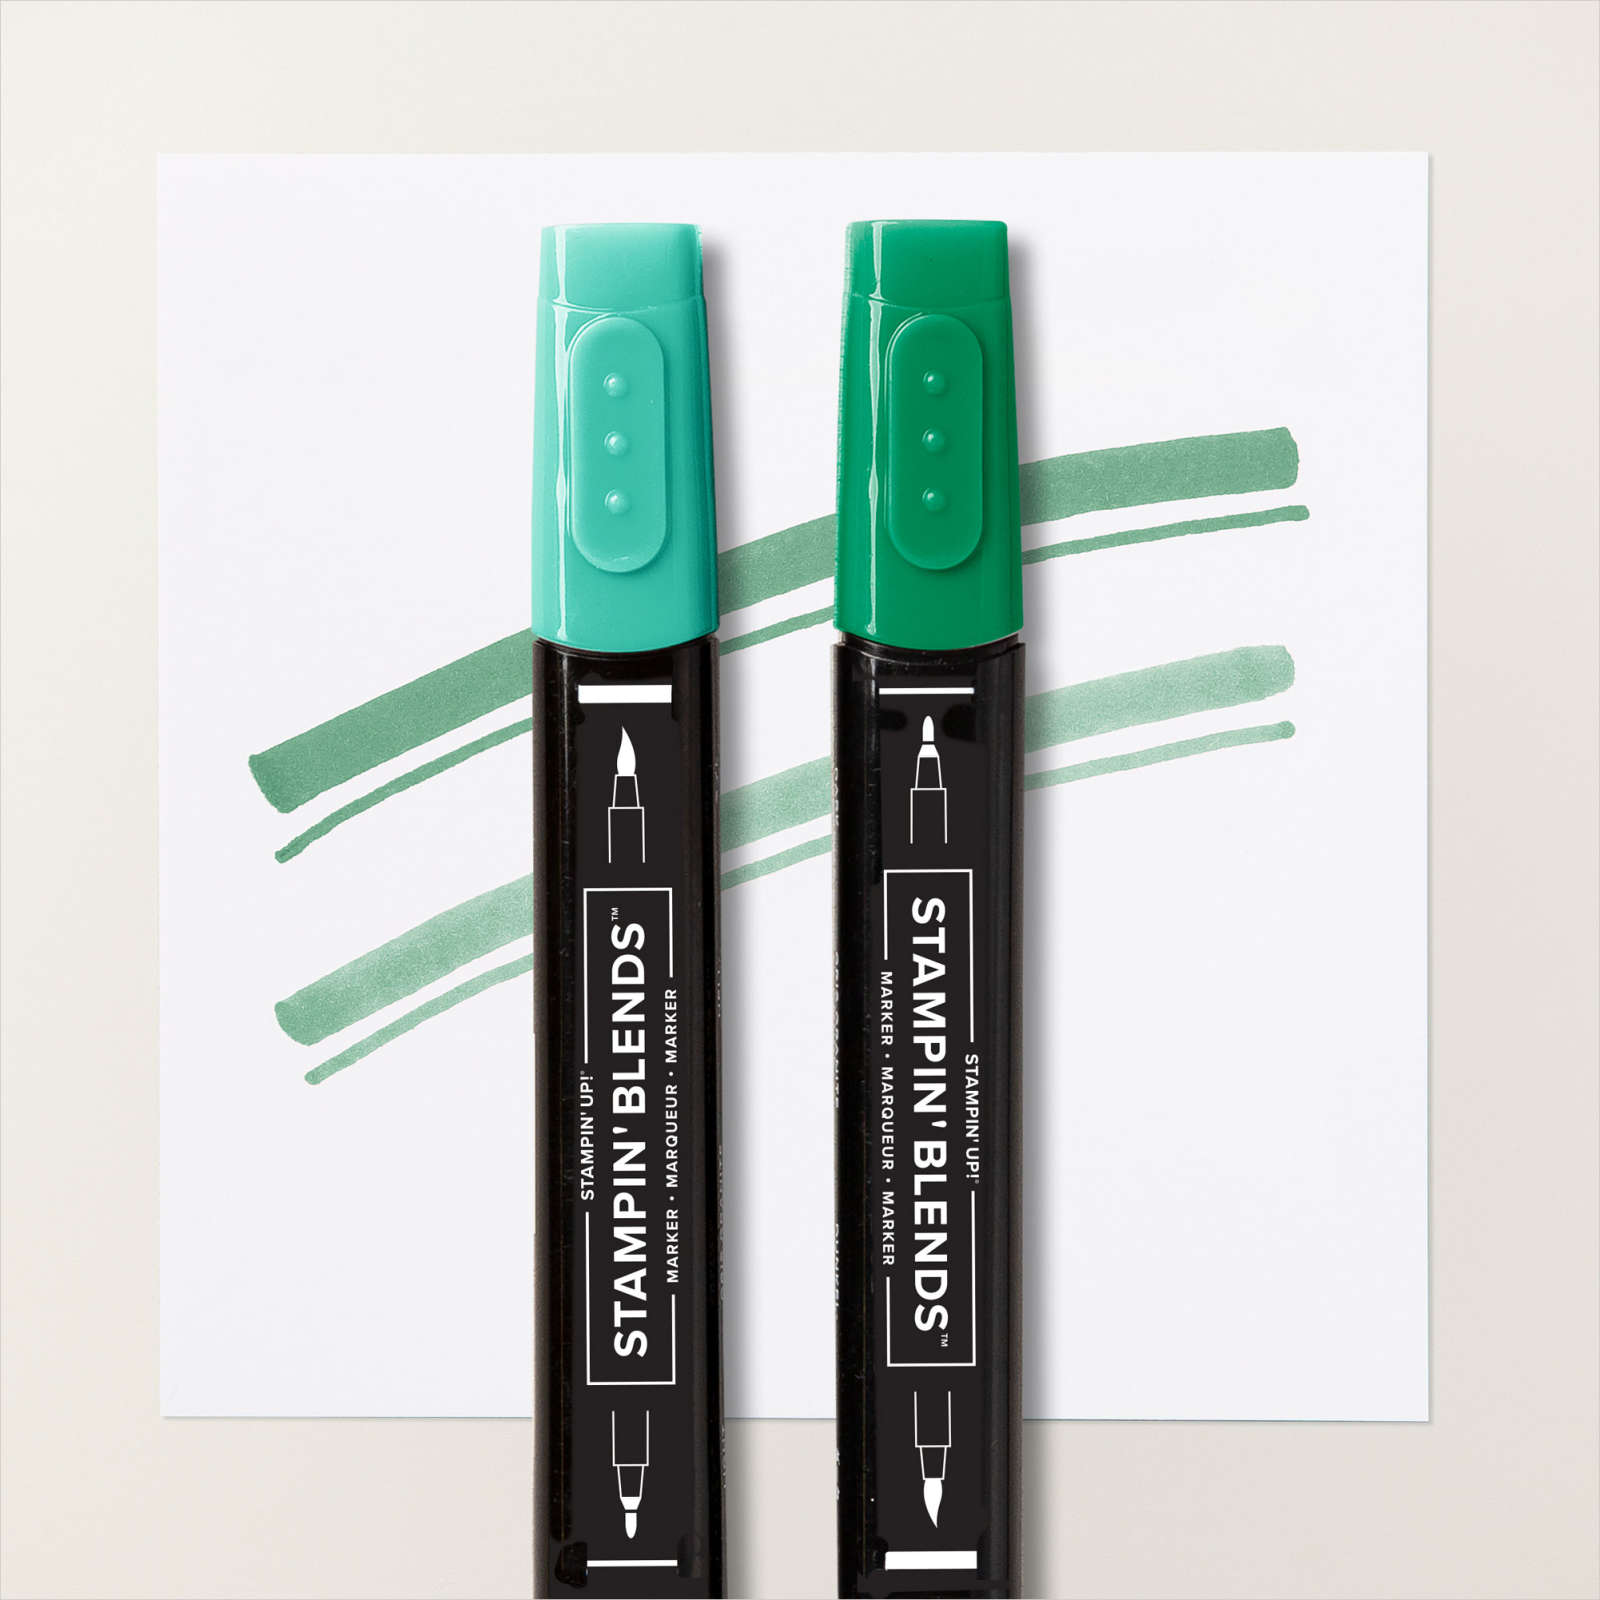
For the panel on the lower left of the page, I stamped the image from the retired Joy of Noel stamp set onto Basic White card using Memento Tuxedo Black ink. I coloured the images using Shaded Spruce and Dark Real Red Stampin’ Blends. The images are cut out using the co-ordinating retired Joy of Noel Dies before being attached to the embossed Basic White card. I die cut Real Red card using the bow die from the Country Wreaths Dies. Lastly I cut Silver Adhesive Backed Glimmer Paper to create the title using the Joy of Noel Die. I love using the Decorative Masks but I think I need to practice my technique more, however, I just love how the page turned out, don’t you?
Bye for now,
Kris
Product Used: