Stripey Birthday
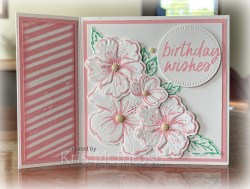
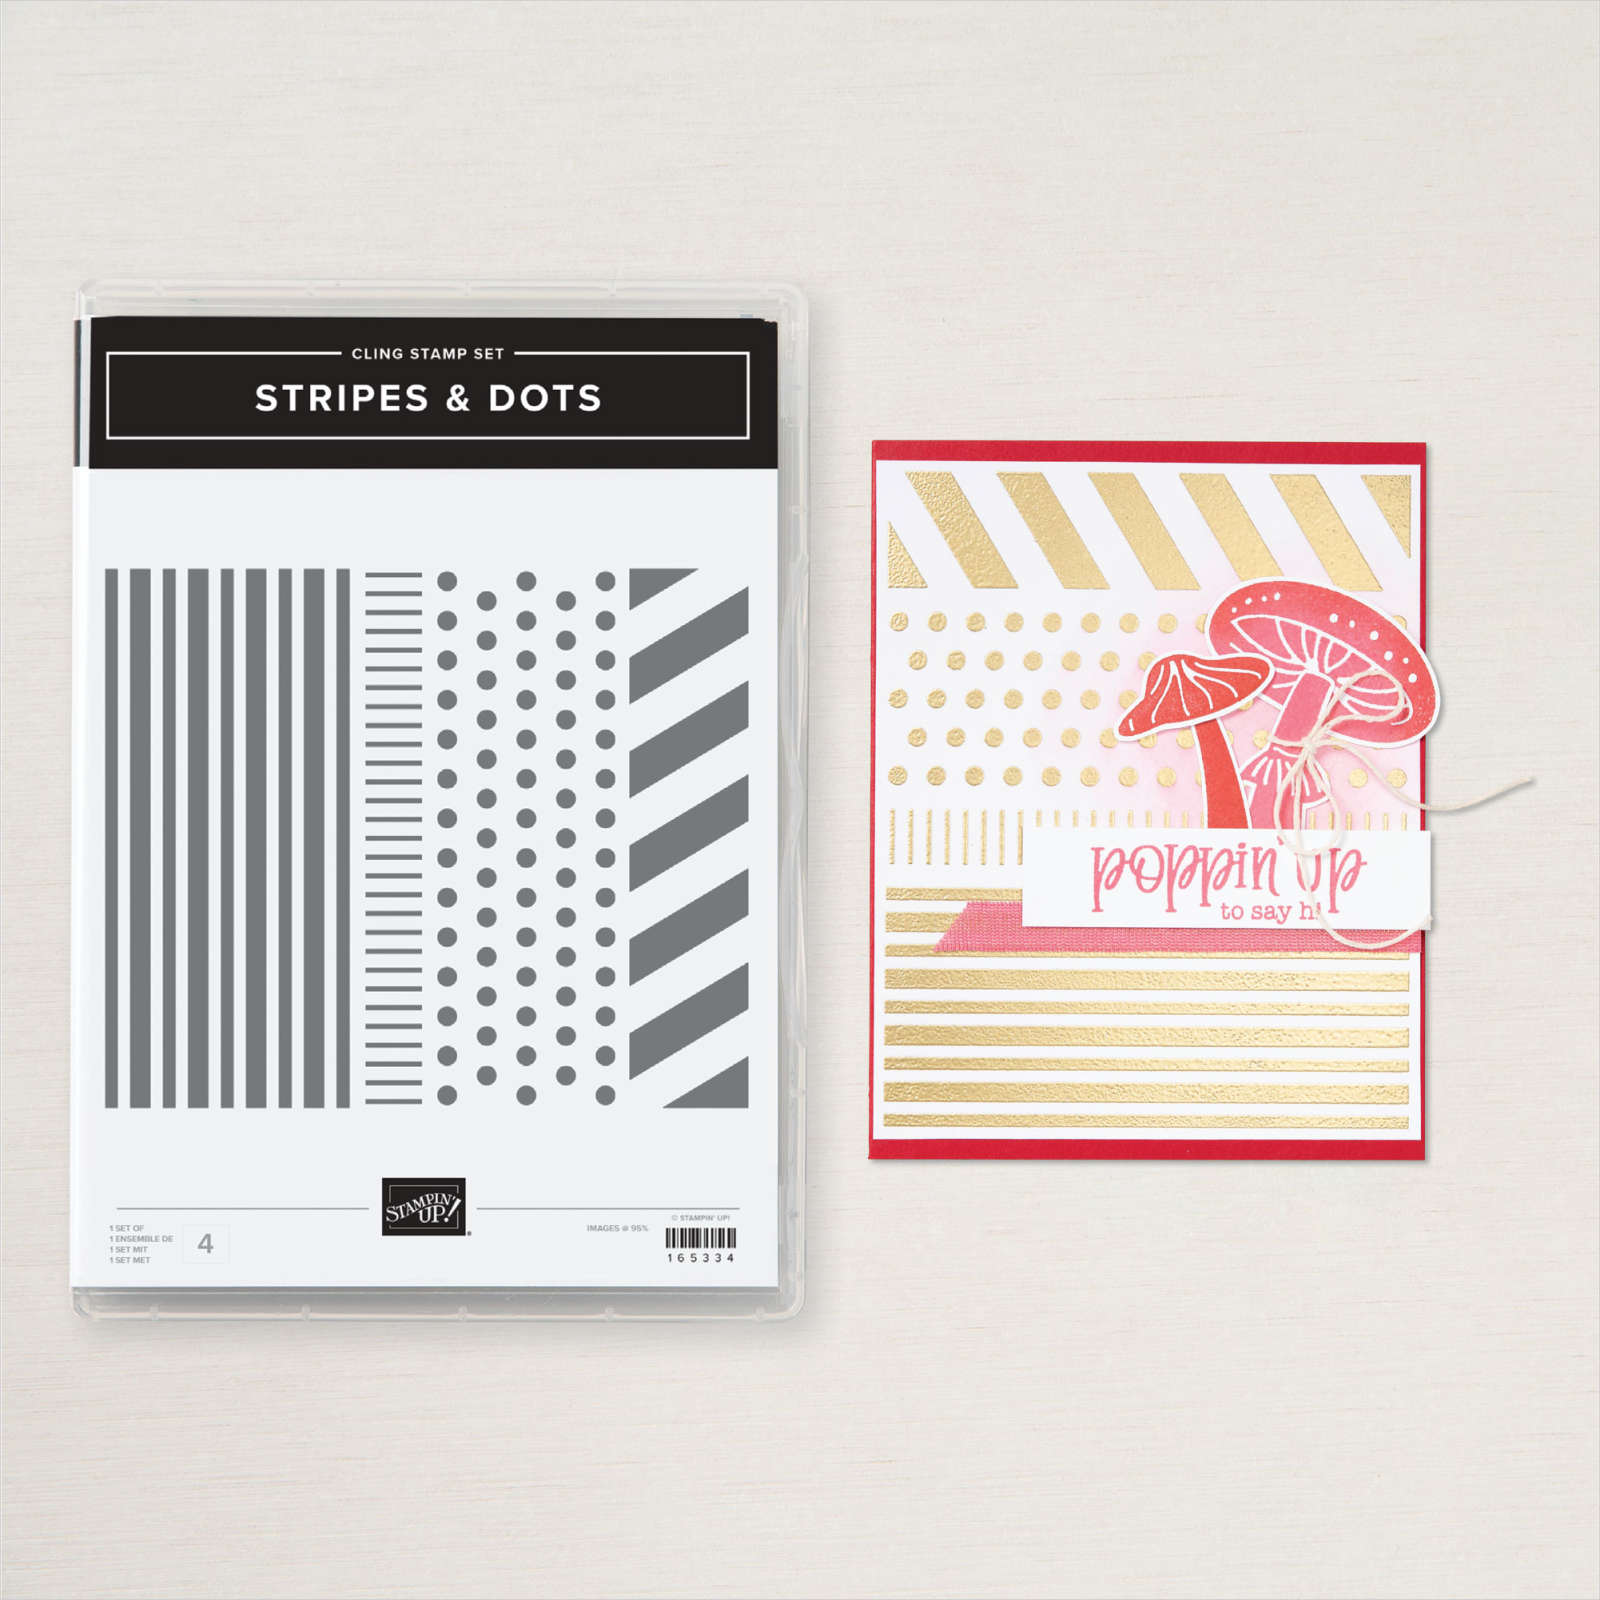
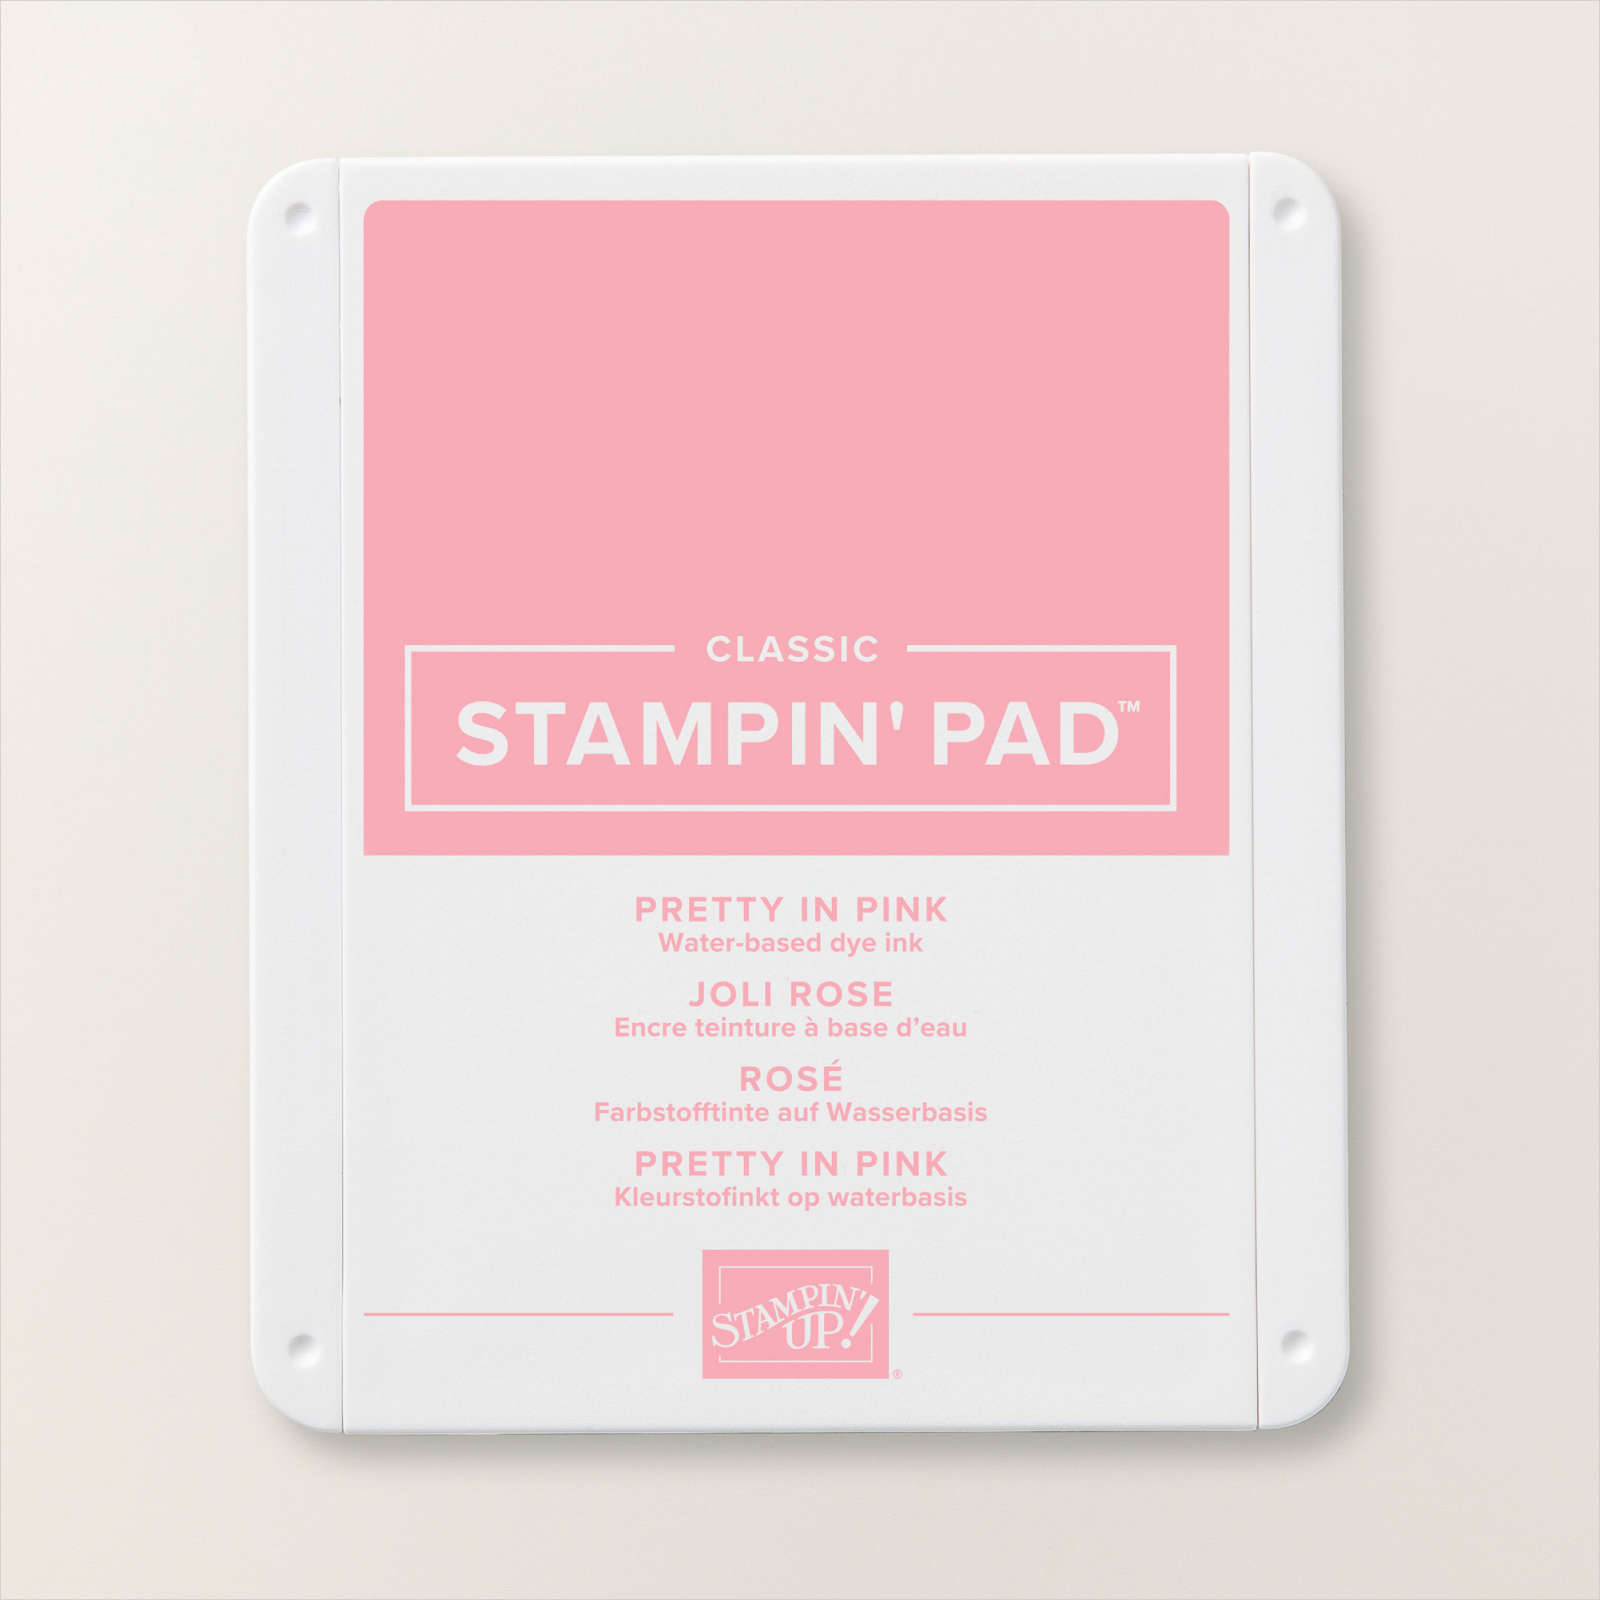
This week in my Facebook Live, I shared some ideas using the Stripes & Dots stamp set. Today I have another card to share with you. For this card I cut my card base and glued the small left hand section together. I stamped a piece of Basic White card using the striped stamp from the Stripes & Dots which I stamped diagonally across the card using Pretty in Pink ink. I sponged the edges of the stamped panel using Pretty in Pink ink before attaching it to Pretty in Pink card. This panel decorates the small section on the left hand side of the card front. I stamped the flowers from the Happy Hibiscus stamp set onto Basic White card using Pretty in Pink ink.

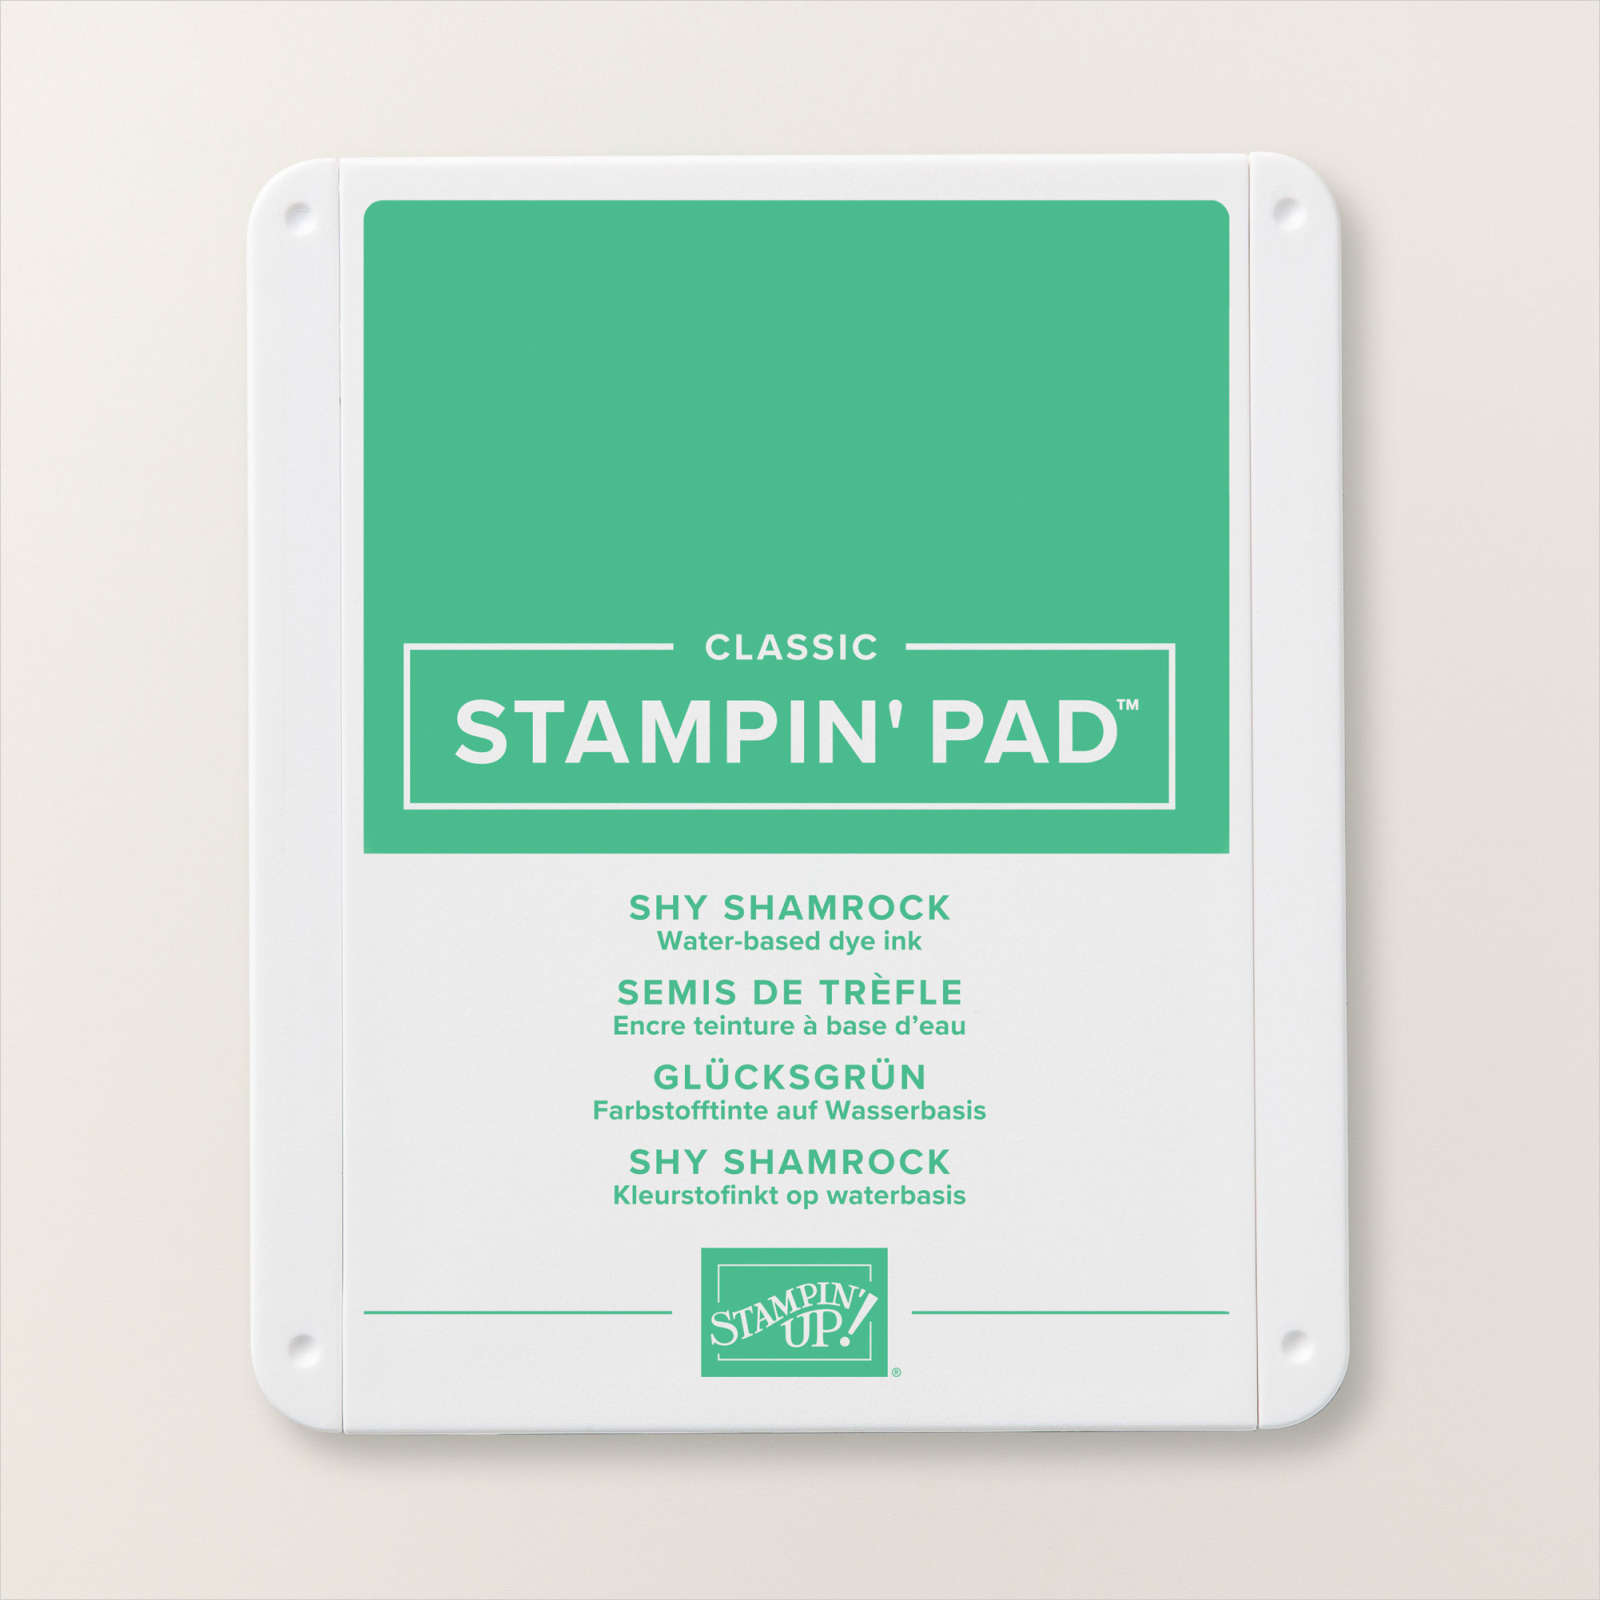
I ran the stamped flowers through the Cut n’ Emboss maching using the Happy Hibiscus Hybrid Embossing Folder, cutting out the flowers at the same time. I stamped the large and small leaf from the Happy Hibiscus stamp set onto Basic White card using Shy Shamrock ink and cut them out using the co-ordinating Happy Hibiscus Die. I attached the flowers to the card front using dimensionals and tucked the leaves underneath the flowers. I stamped “birthday wishes” from the Simply Said stamp set onto Basic White card using Pretty in Pink ink. I cut out the greeting using the circle die from the Happy Hibiscus Dies. I attached the greeting to the card front using dimensionals.

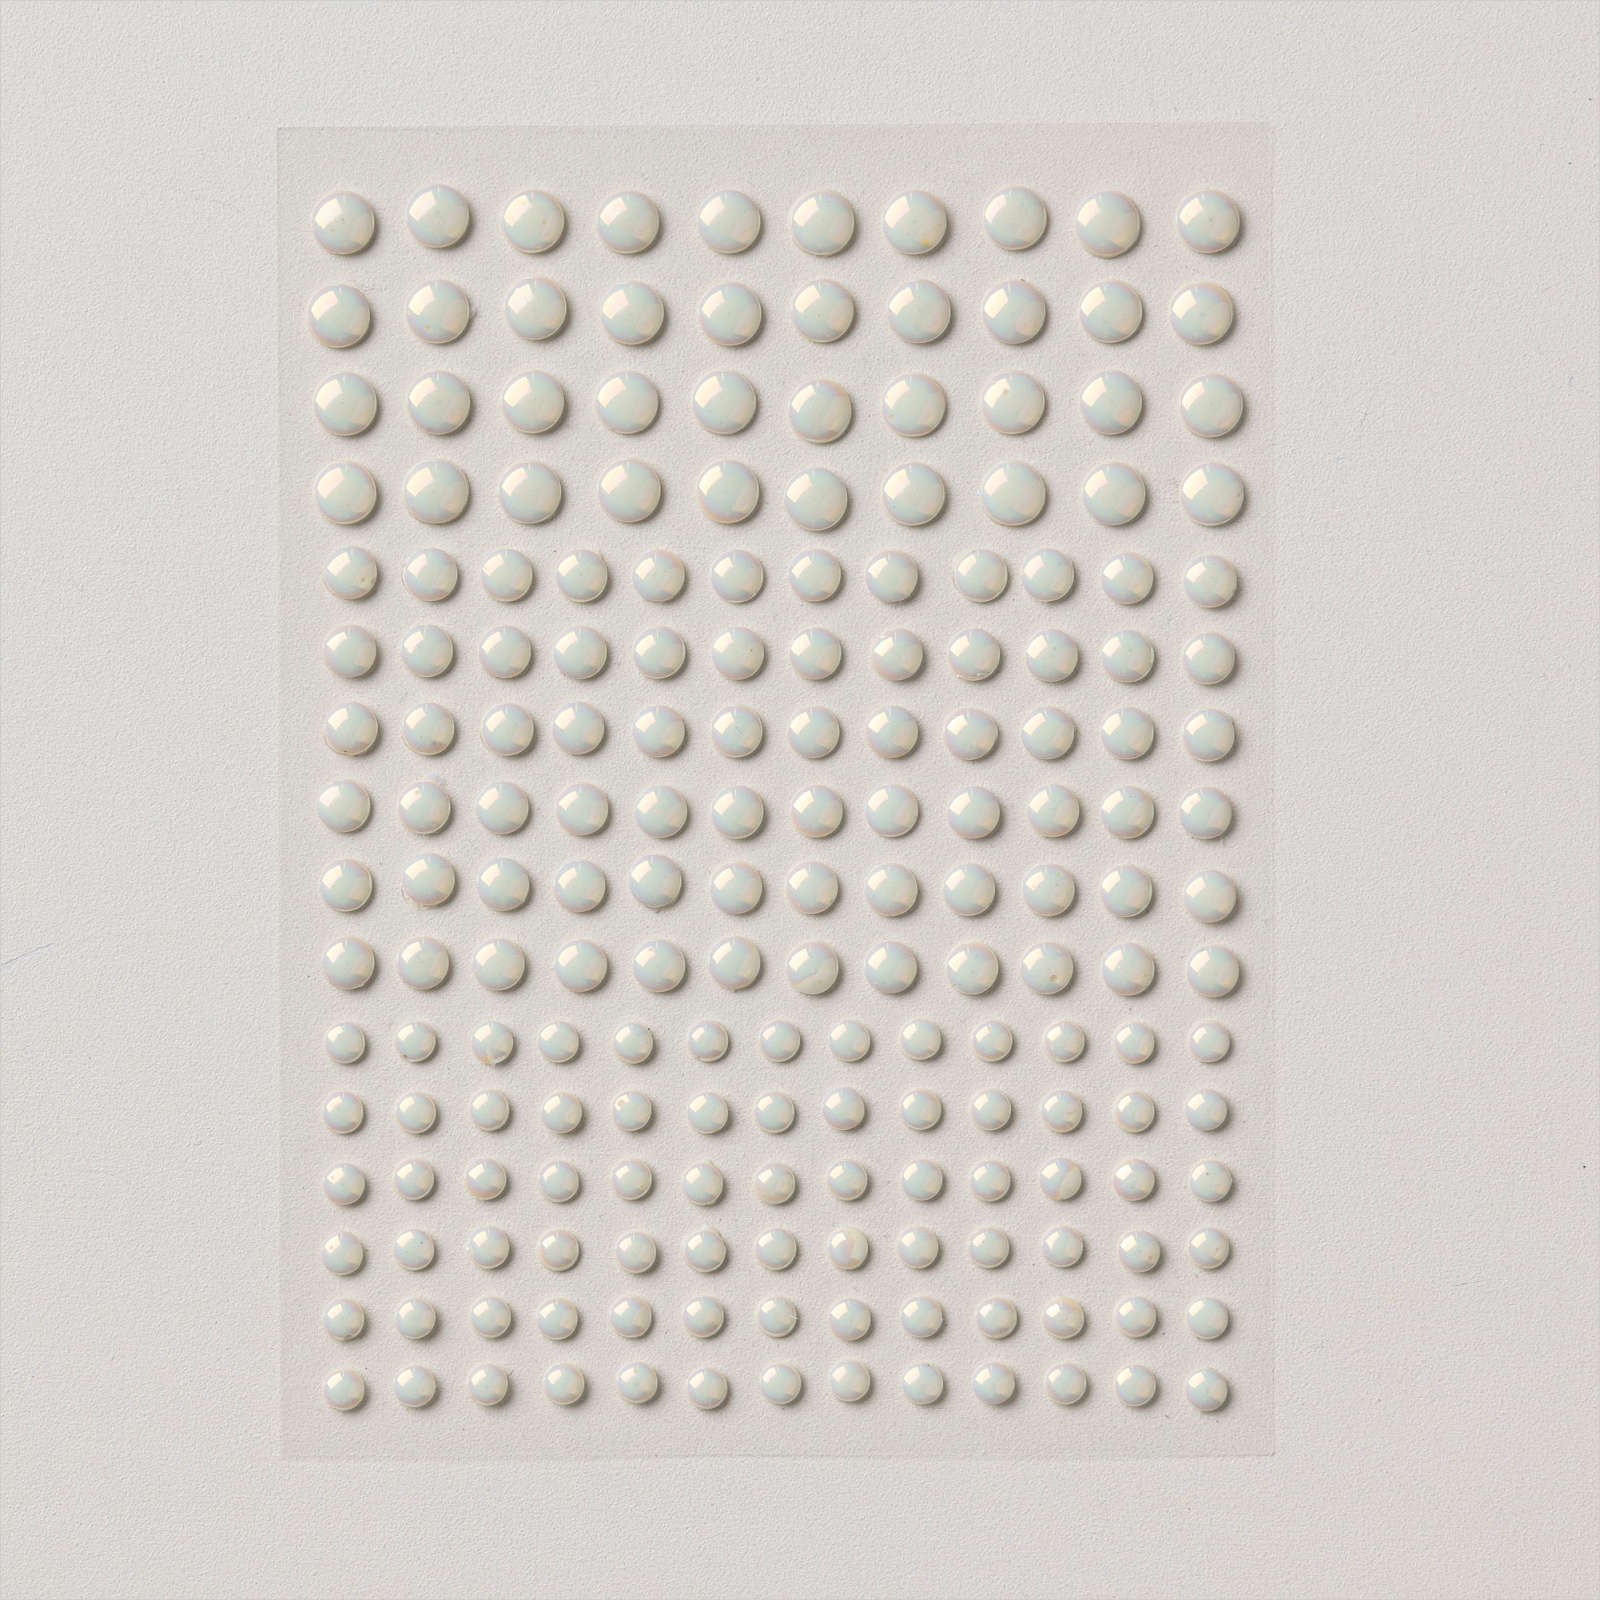
Lastly I added some Antique Pearls to the card front. To decorate the inside of the card, I stamped the largest flower from the Happy Hibiscus stamp set onto the lower left hand corner of Basic White card. I masked the flower and stamped a large leave on either side using Shy Shamrock ink. Such a fun card style to create and I love how using the Stripes & Dots stamp set I can create my own “Designer Series Paper” to complement my card design. I would love to hear what you think.
Bye for now,
Kris
Product Used:


Beautiful card
LikeLike
Thank you Catherine.
LikeLike