Advent Birthday

When the 12 Days of Crafting Advent Calender first came out, I just had to purchase it, however, using it took me a little longer! My Mum celebrated her 89th birthday just a few days ago and I couldn’t help but use the gorgeous paper and stamps from the Advent Calender. I added three narrow strips of two designs from the 6″ x 6″ paper to a Basic White panel before attaching it to a Misty Moonlight card base. I cut a circle from Basic White card using the largest circle from the Stylish Shapes Dies. I stamped “birthday wishes” from the 12 Days of Crafting Advent Calender stamp set onto the die cut circle using Flirty Flamingo ink.
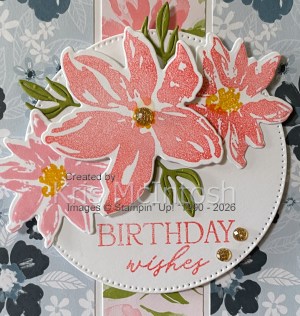
I stamped one large and two small flowers from the same stamp set onto Basic White card using Flirty Flamingo ink. I cut out the flowers using the co-ordinating dies from the Advent Calender Dies. I stamped the flower centres onto each flower using Daffodil Delight ink before I attached the two small flowers onto the stamped Basic White circle and the large flower using dimensionals.
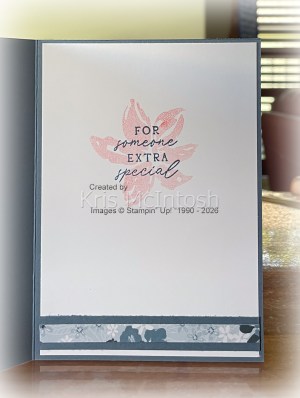
I die cut the leaves from Old Olive card using the die from the Advent Calender and attached them around the flowers. Lastly I added three gold sequins also from the Advent Calender. The image panel is attached to the card front using dimensionals. To decorate the inside of the card I stamped the large flower from the Advent Calender onto Basic White card using Flirty Flamingo ink, making sure to stamp onto scrap paper first. I stamped the greeting from the Advent Calender over the flower using Misty Moonlight ink. I attached a narrow strip of Designer Series Paper to Misty Moonlight card before attaching it across the bottom of the stamped panel. So many amazing things in the Advent Calender, I can’t wait to see if we get another one next year!
Bye for now,
Kris
Product Used:


