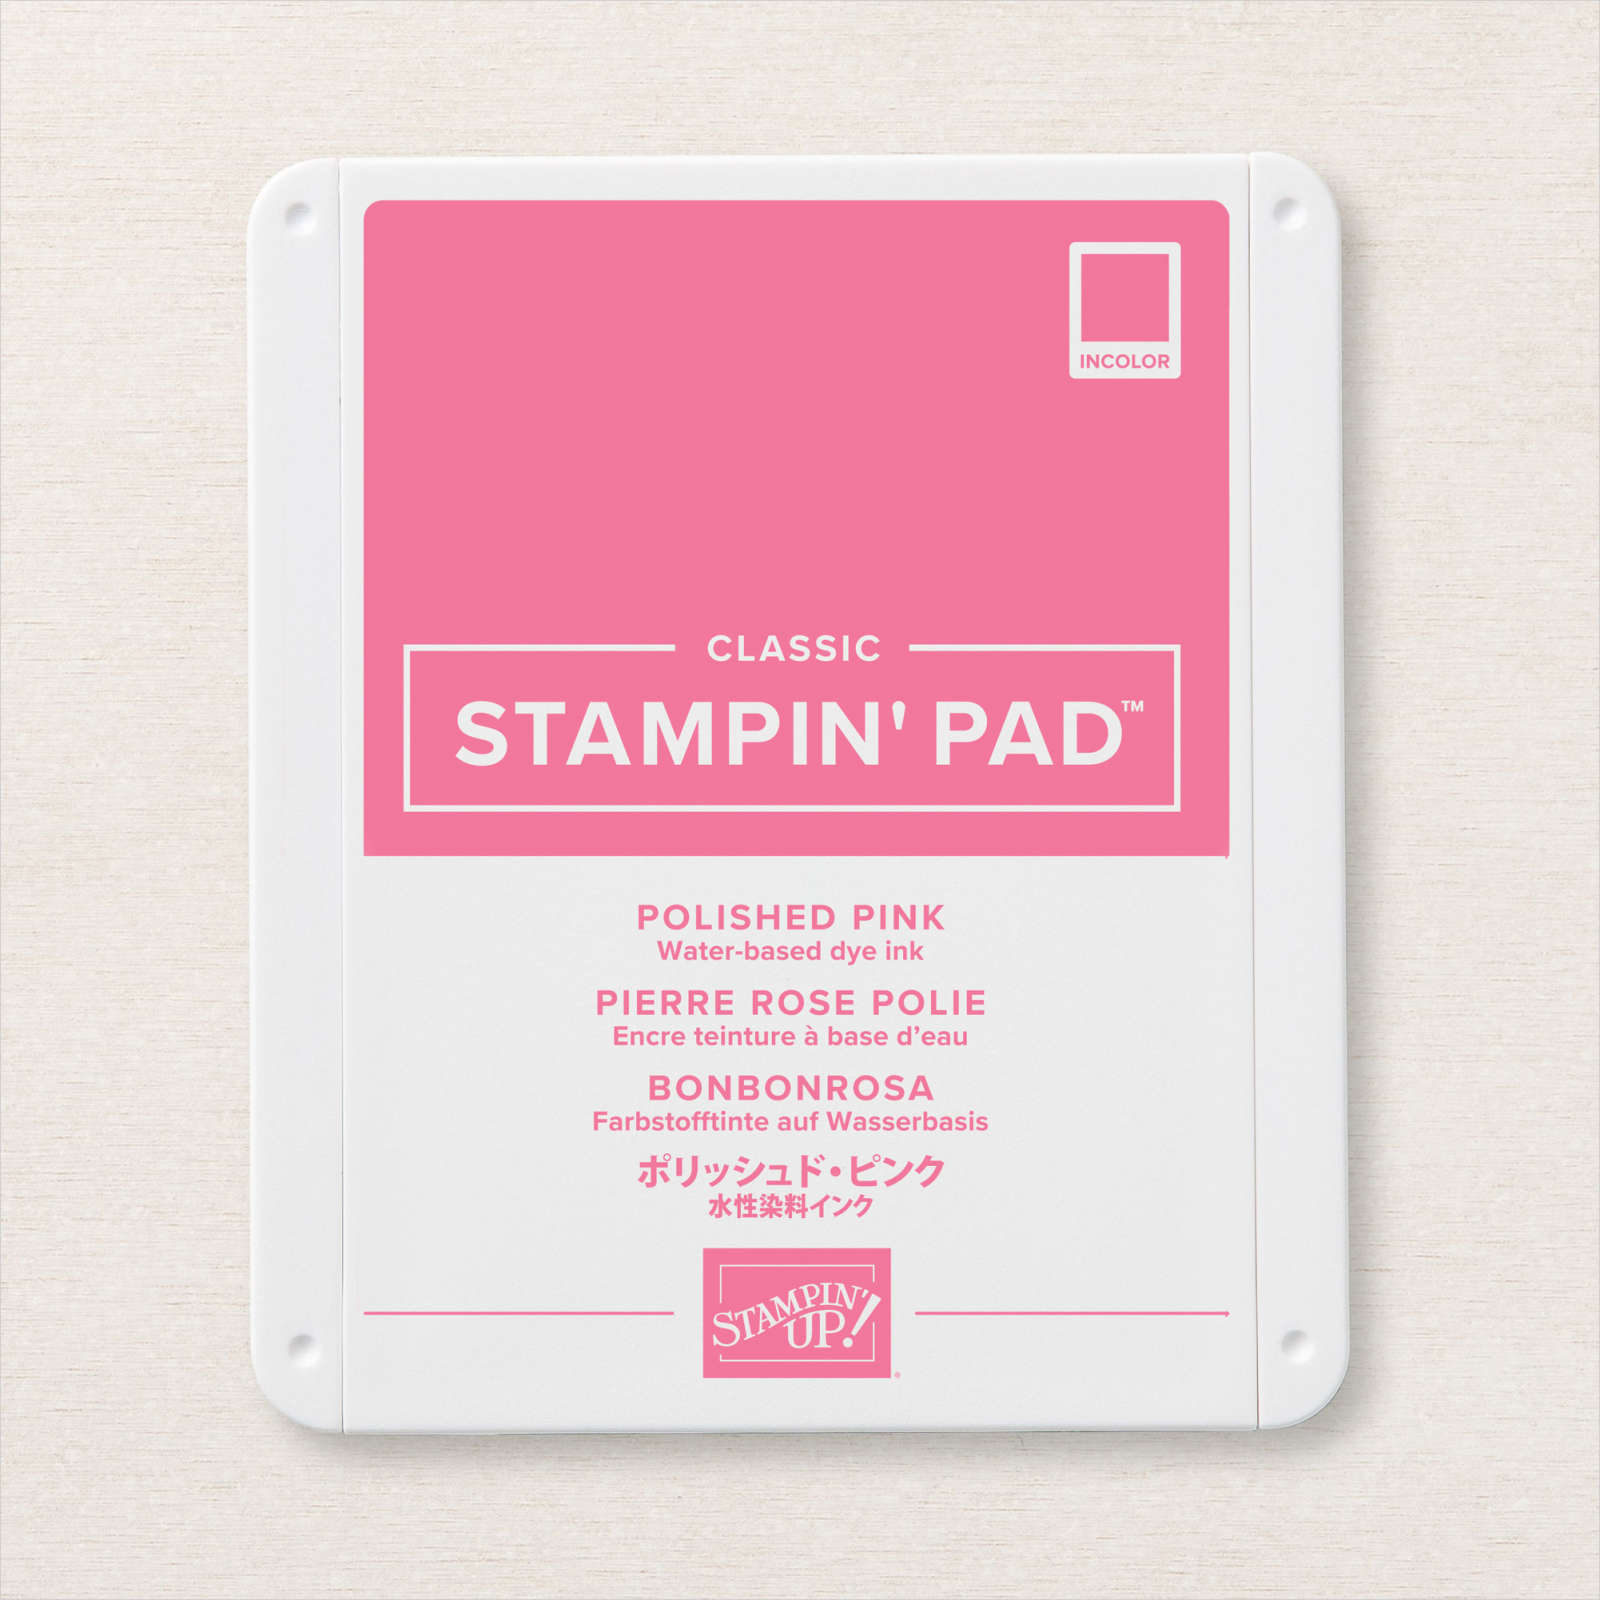
Polished Pink

Since I shared the Colour & Contour Bundle in my Facebook Live yesterday, I thought I would share another card, I made using products from this Bundle. I embossed Basic White card using the Tasteful Texture 3D Embossing Folder. I cut the edge of Polished Pink card using the scalloped edge die from the Scalloped Contour Dies before embossing the panel using the Tasteful Textile 3D Embossing Folder. I only embossed the panel to just below the scalloped edge so that I didn’t spoil the beautiful fine stitching on the edge of this die. I attached the embossed Polished Pink card to the embossed Basic White card.

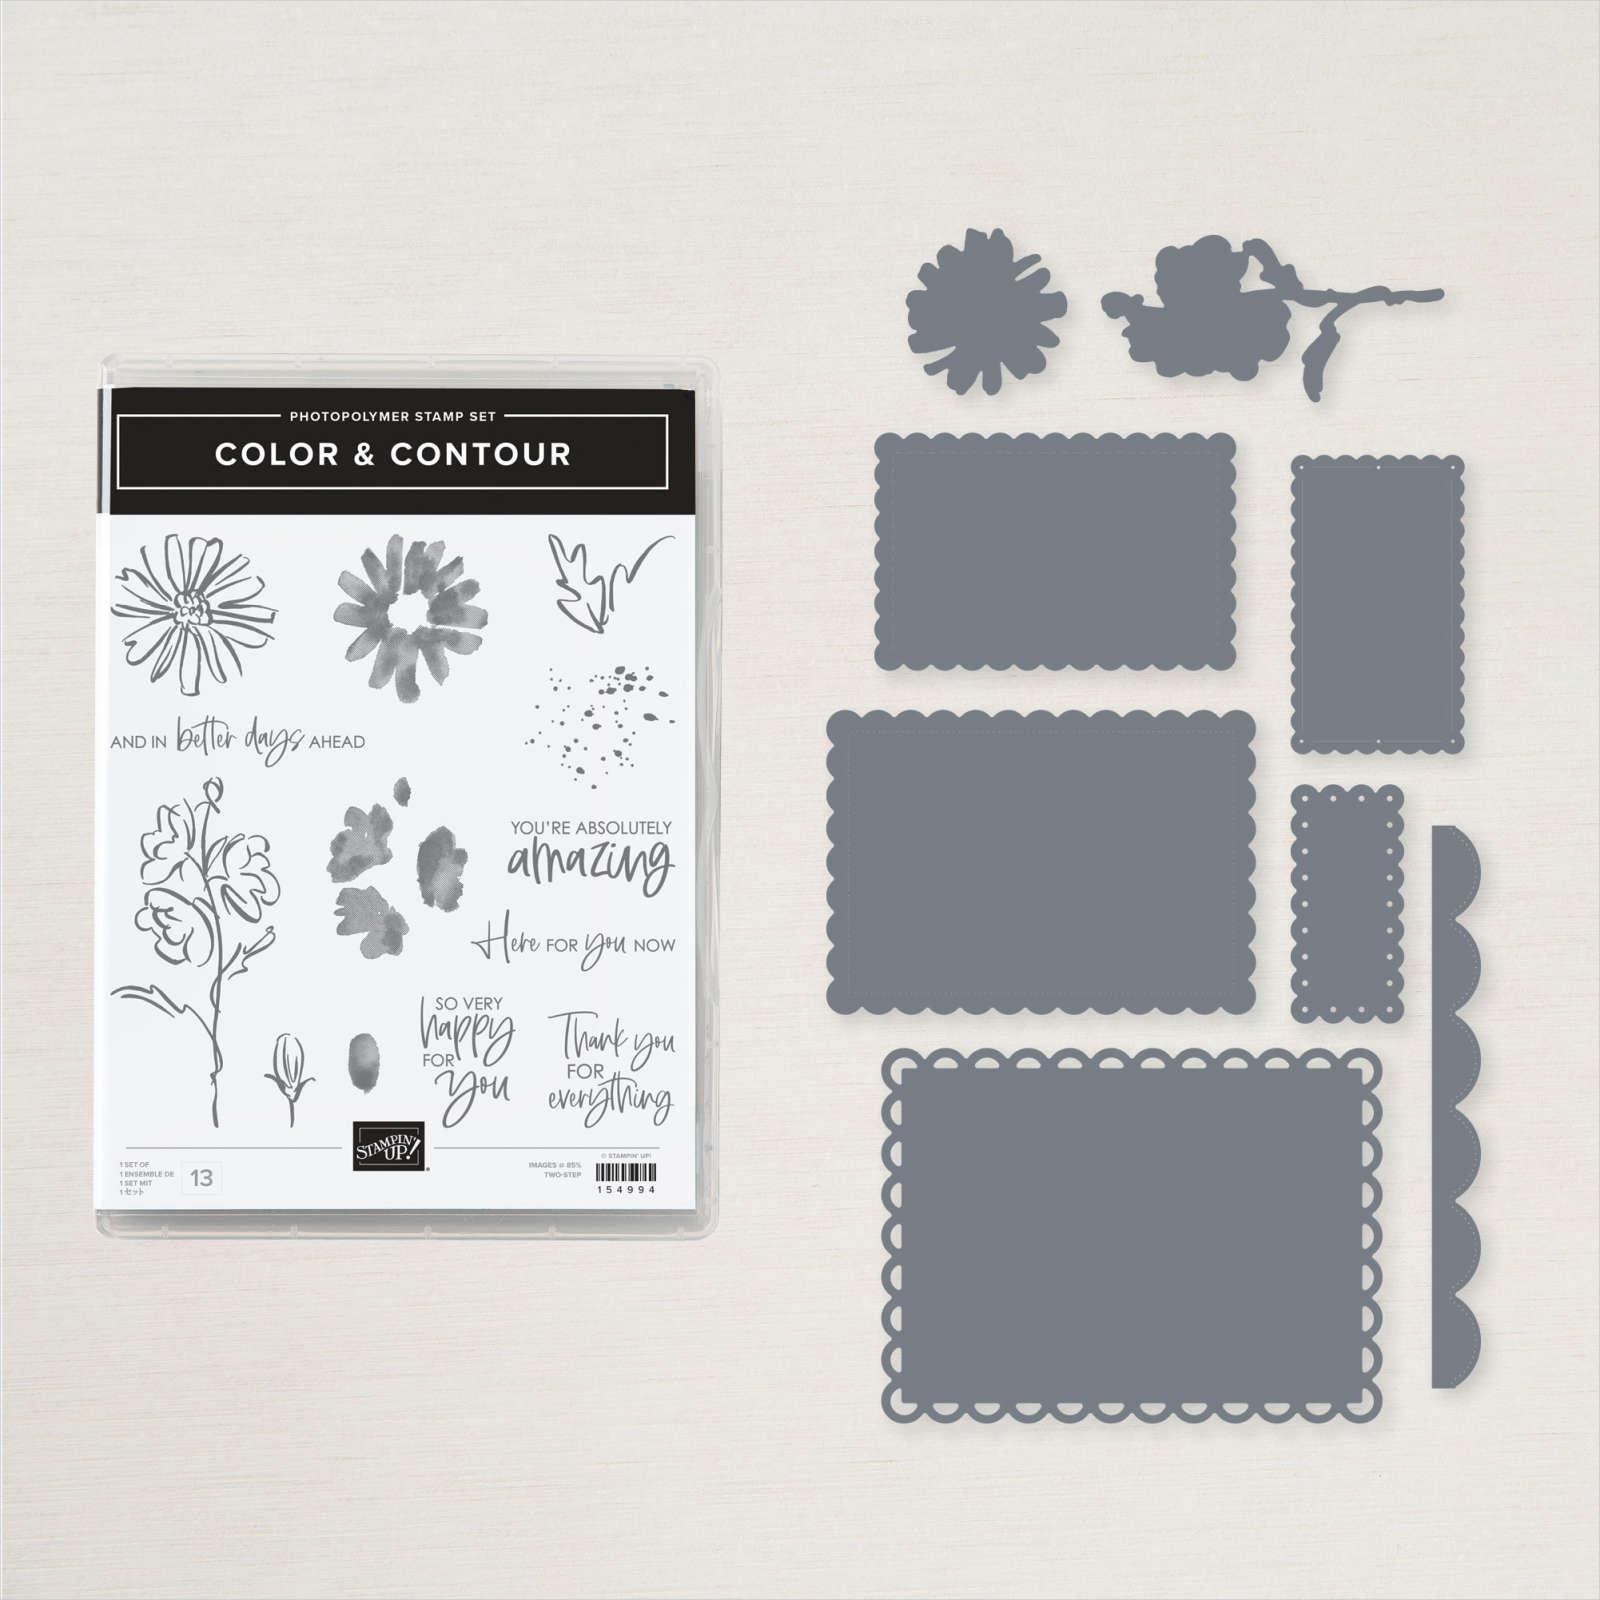
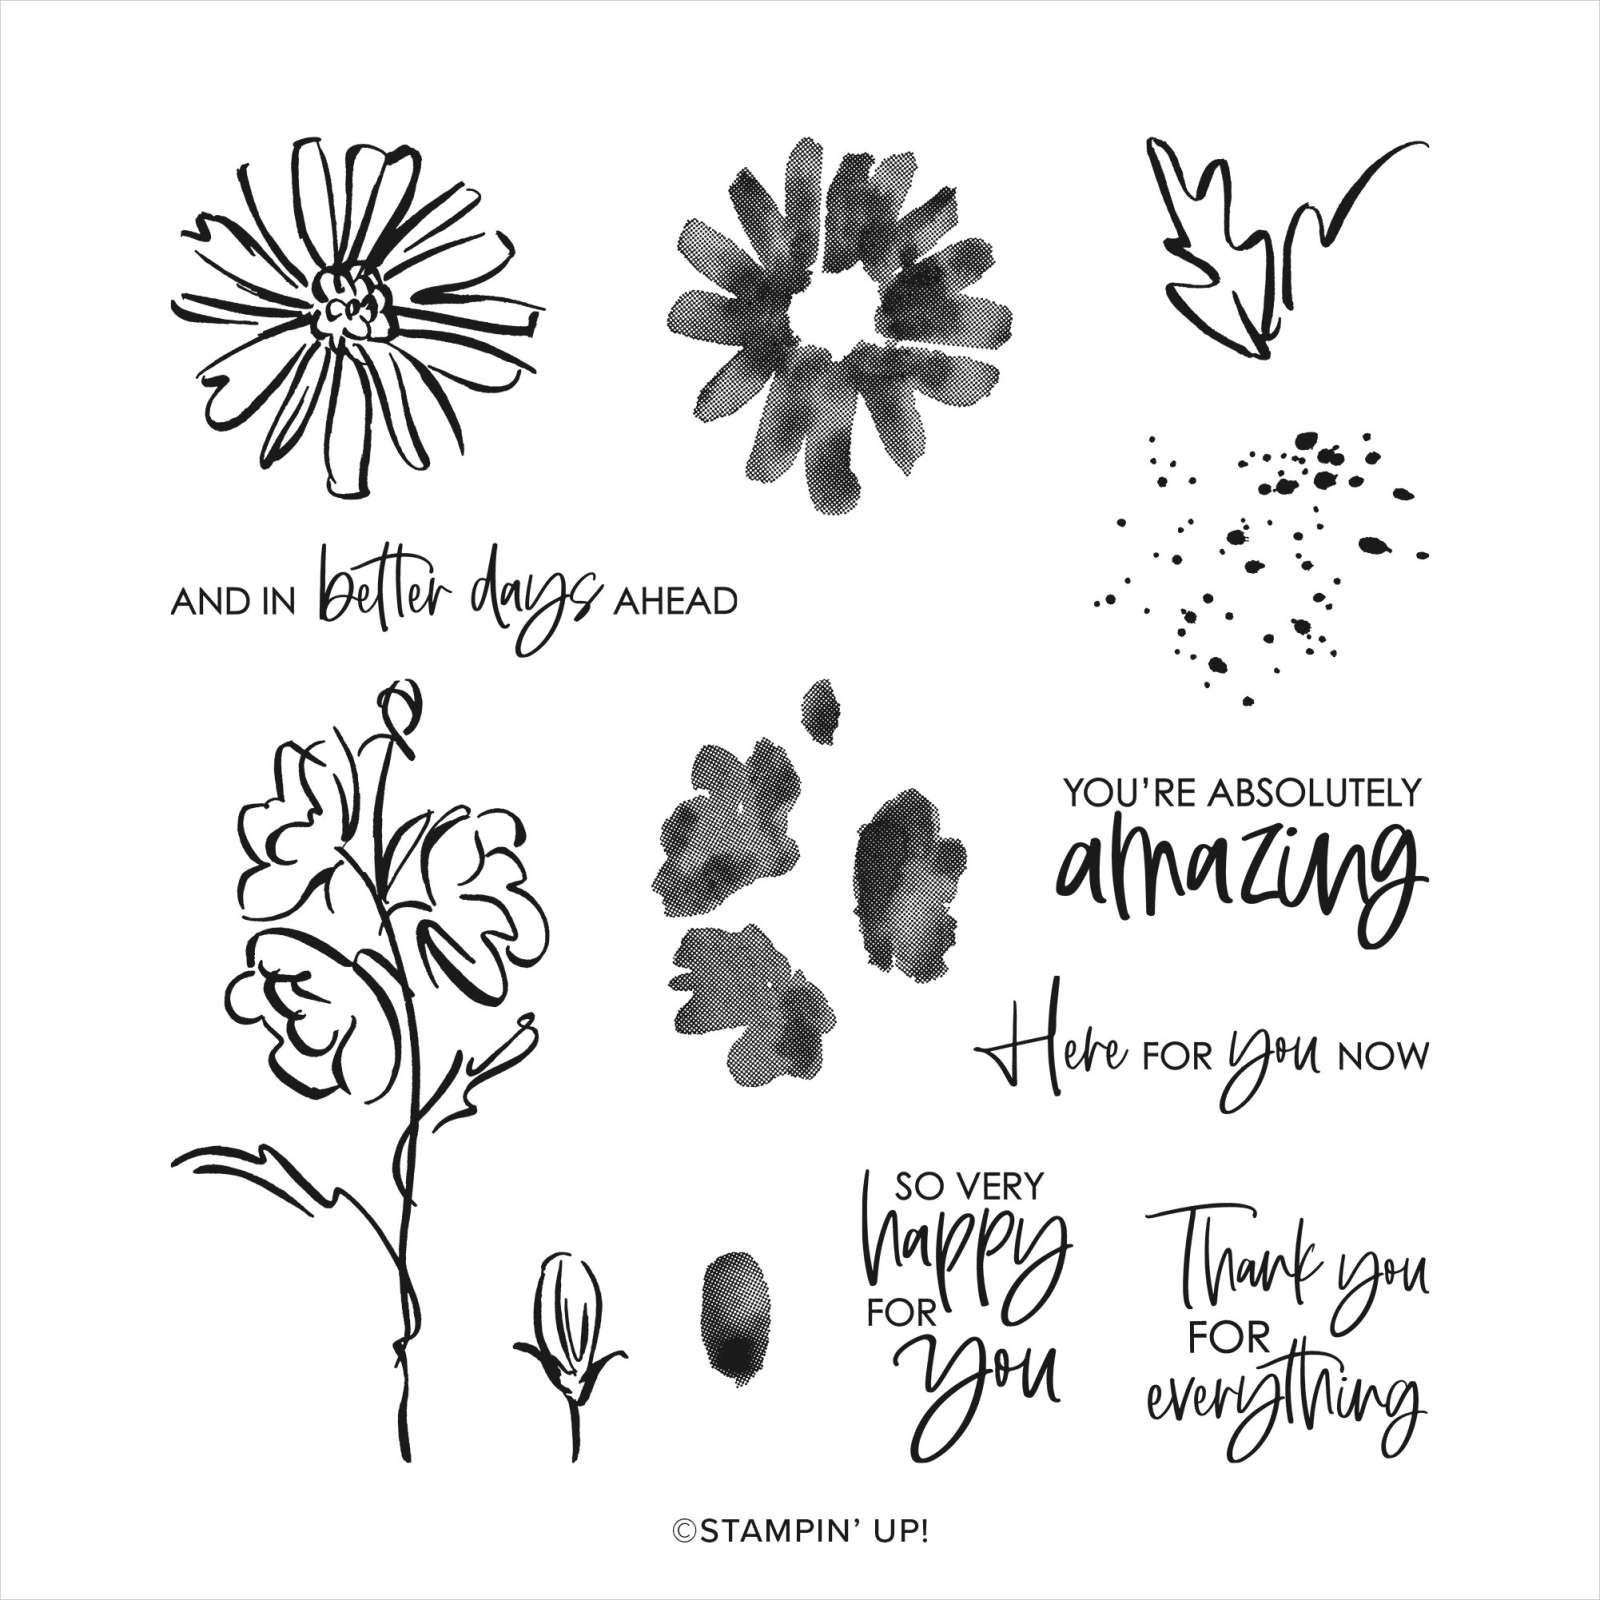
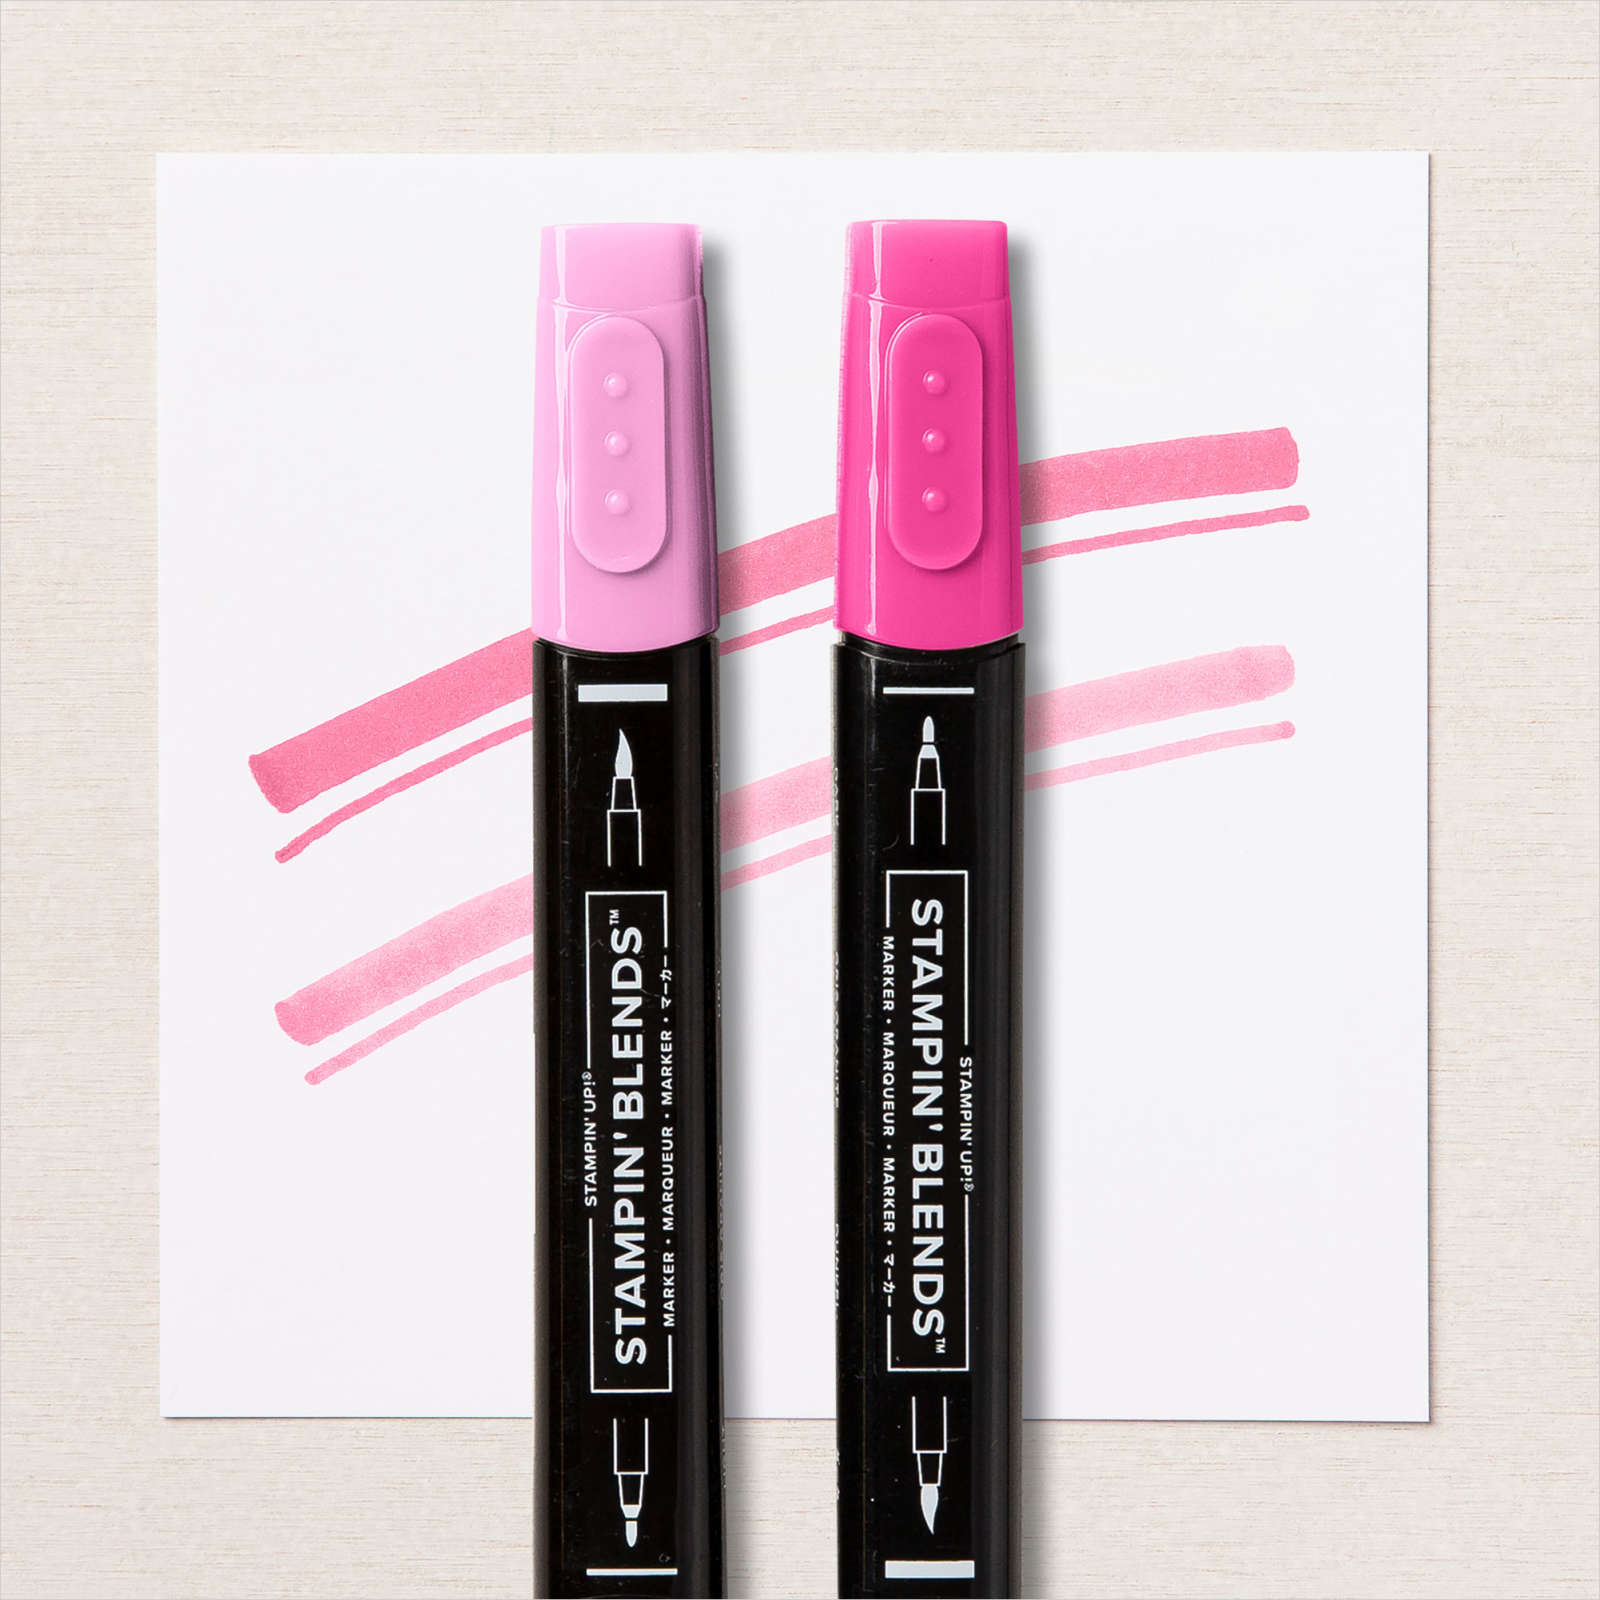
I cut Basic White card using one of the scalloped rectangle dies from the Scalloped Contour Dies and attached it to the embossed panel. I stamped the floral image from the Colour & Contour stamp set onto Basic White card using Memento Tuxedo Black ink. I coloured the image using the Dark Polished Stone and Dark Soft Succulent Stampin’ Blends.

I cut out the flower using the co-ordinating Colour & Contour Die and attached it to the scalloped rectangle. I wrapped the panel to cover the edge of the embossing on the Polished Pink card using the Polished Pink 3/8″ Open Weave Ribbon. I attached the whole panel to scored and folded Polished Pink card. I tied a bow in a length of the Polished Pink 3/8″ Open Weave Ribbon and attached it to the card front so that it sits over the flower stem. To decorate the inside of the card, I stamped the floral image from the Colour & Contour stamp set onto Basic White card using Memento Tuxedo Black ink. I coloured the image using the same Stampin’ Blends as on the card front. I stamped the greeting from the Colour & Contour stamp set beside the greeting using Polished Pink ink.
Such a pretty card, don’t you think? You are going to love the new in-colours they are just gorgeous.
Bye for now,
Kris
Product Used: