Always and Forever

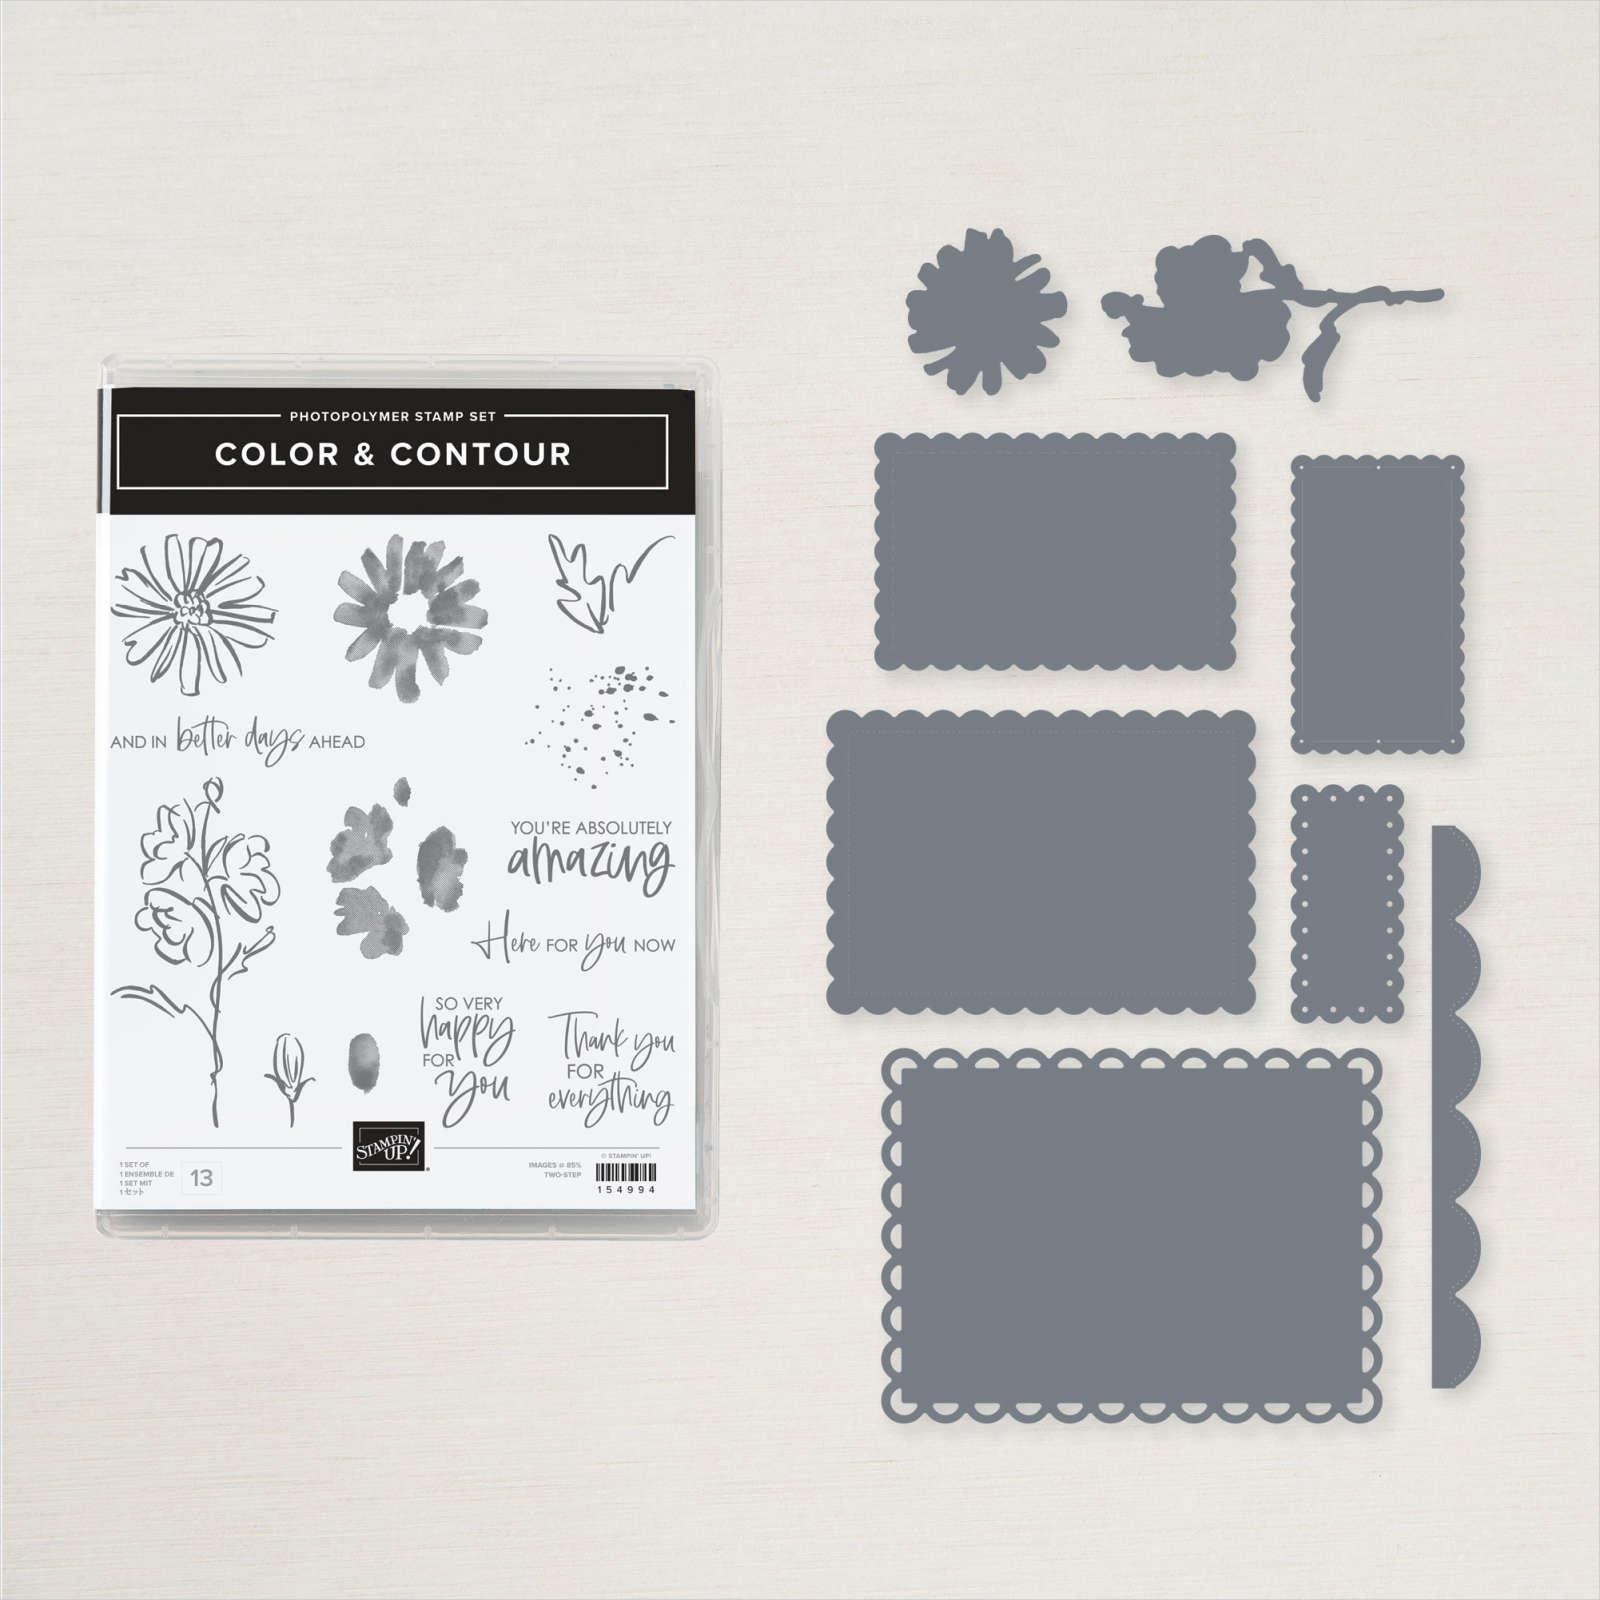
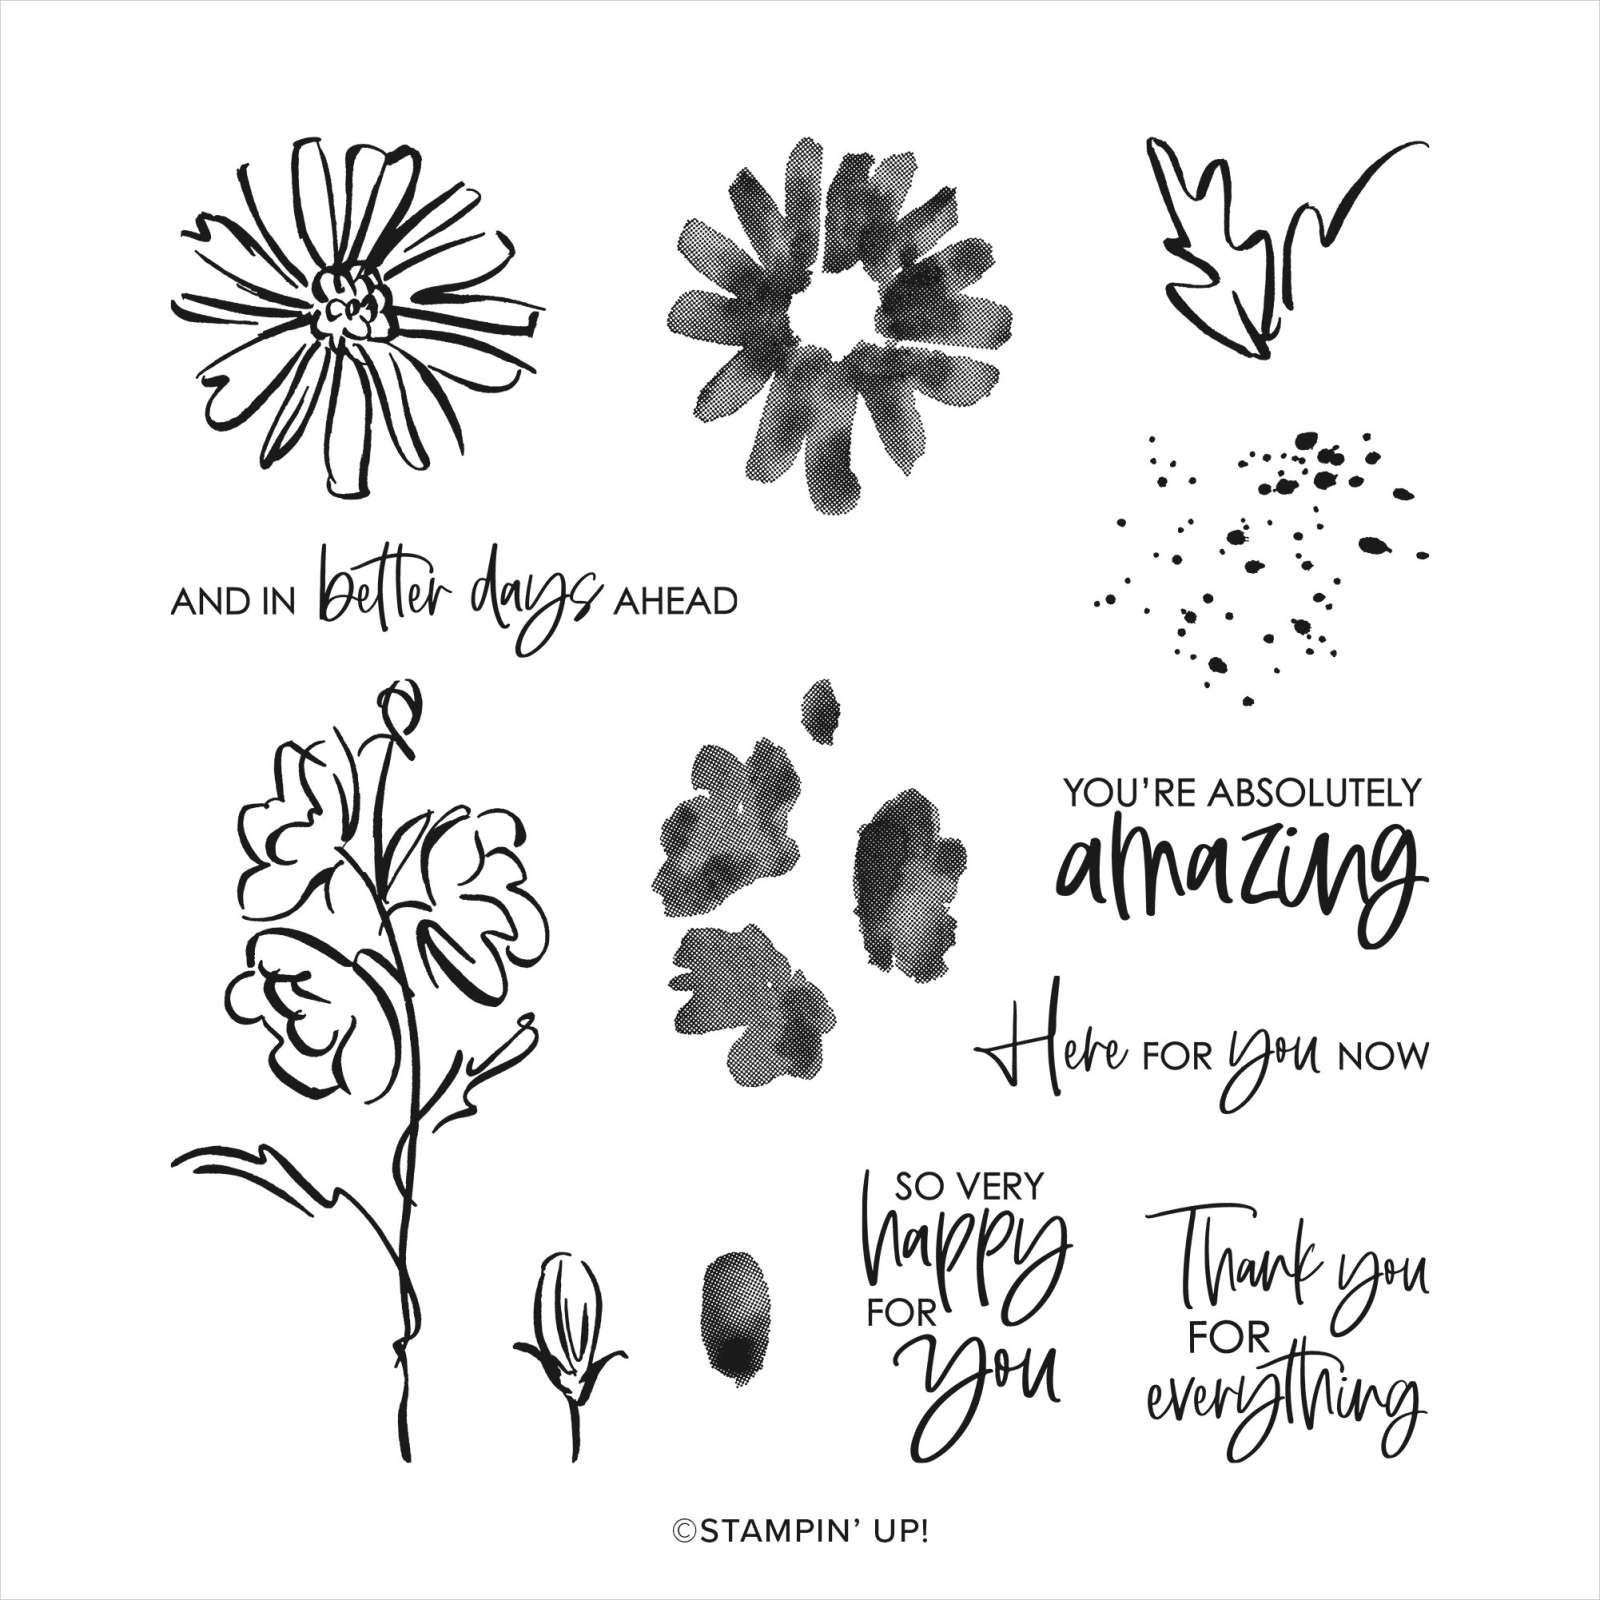
Today’s card is one of the first I made using the Colour & Contour Bundle. I embossed Basic White card using the Tasteful Textile 3D Embossing Folder. I cut a narrow strip of Polished Pink card using the scalloped edge die from the Scalloped Contours Dies. I cut the right hand edge of a strip of Basic White card using the same scalloped edge die. I stamped the flower image from the Colour & Contour stamp set onto the Basic White card using Memento Tuxedo Black ink. I added the flower fill image from the Colour & Contour stamp set using Polished Pink ink.

I attached the Polished Pink scalloped edge behind the Basic White scalloped edge before attaching the panel to the embossed Basic White card. The whole piece is attached to scored and folded Polished Pink card.
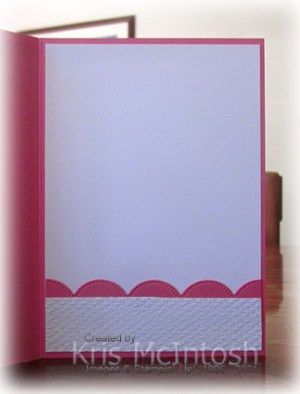
I stamped “always and forever” from the Forever Blossoms stamp set onto Basic White card using Polished Pink ink. I punched out the greeting using the Double Oval Punch. I attached the greeting to a Polished Pink scalloped oval punched using the same Punch. The greeting is attached to the card front below the stamped image. I tied a bow in a length of Polished Pink 3/8″ Open Weave Ribbon and attached it to the flower stem using a Glue Dot. To decorate the inside of the card, I cut one edge of a strip of Polished Pink card using the scalloped edge die from the Scalloped Contour Dies. I embossed a strip of Basic White card using the Tasteful Textile 3D Embossing Folder. I attached the Polished Pink scalloped edge behind one long edge of the embossed card before attaching the panel to the bottom of Basic White card.
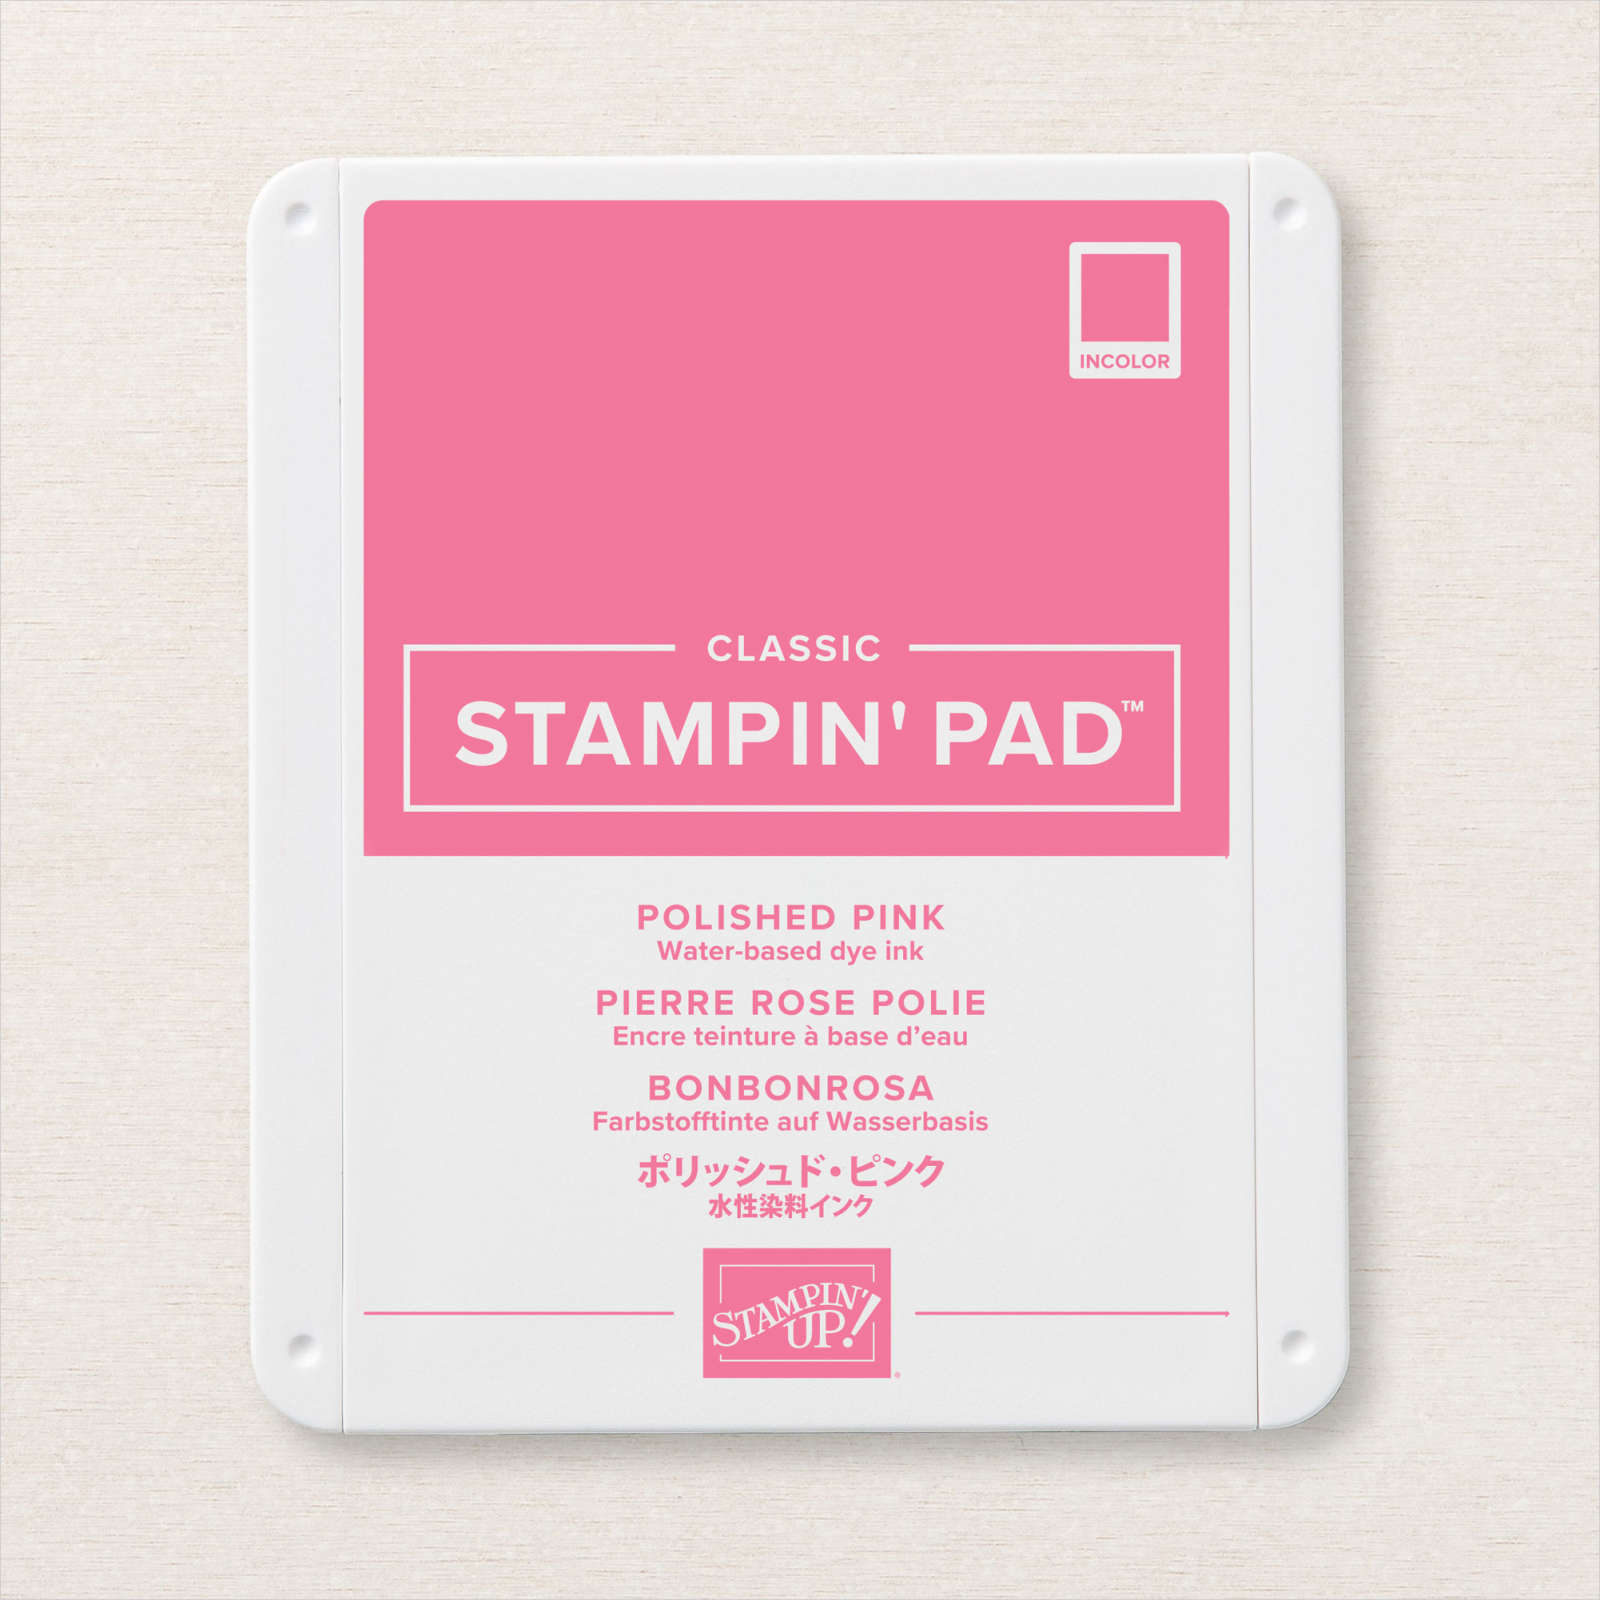
I am really loving this beautiful Polished Pink colour.
Bye for now,
Kris
Product Used: