Set Sail
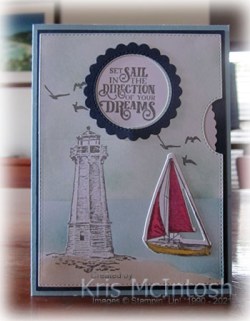
Today’s card is another that I made using the Give It A Whirl Dies. I cut Basic White card using the card front die and using the circle window at the same time. I stamped the lighthouse from the Sailing Home stamp set onto the lower left hand corner using Basic Gray ink. I used a post it note mask to cover the lighthouse and more post-it-notes to mask off all but a small portion across the bottom of the card front. I used a Blending Brush to add Crumb Cake ink.
I masked the Crumb Cake section using post it notes and added Balmy Blue ink using a Blending Brush to create the sea. I masked the Balmy Blue section and added Pool Party ink to the rest of the card front for my sky.
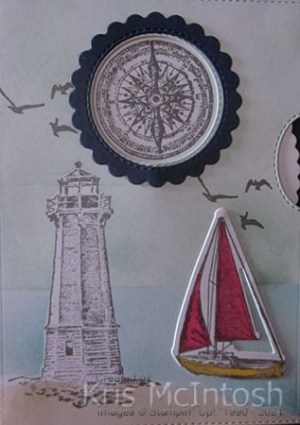
I stamped the bird image from the Sailing Home stamp set twice onto the card front using Basic Gray ink. I stamped the large sailing ship from the Sailing Home stamp set onto Basic White card using Basic Gray ink and coloured the sails using a Light Real Red Stampin’ Blend and the hull using Dark Daffodil Delight Stampin’ Blend. I cut out the ship using the co-ordinating Smooth Sailing Die. I attached the sailing ship to the card front.
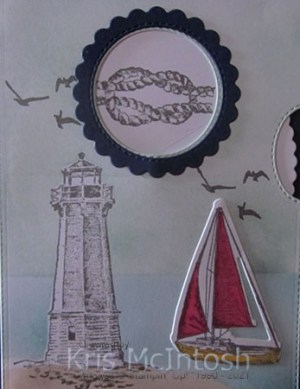
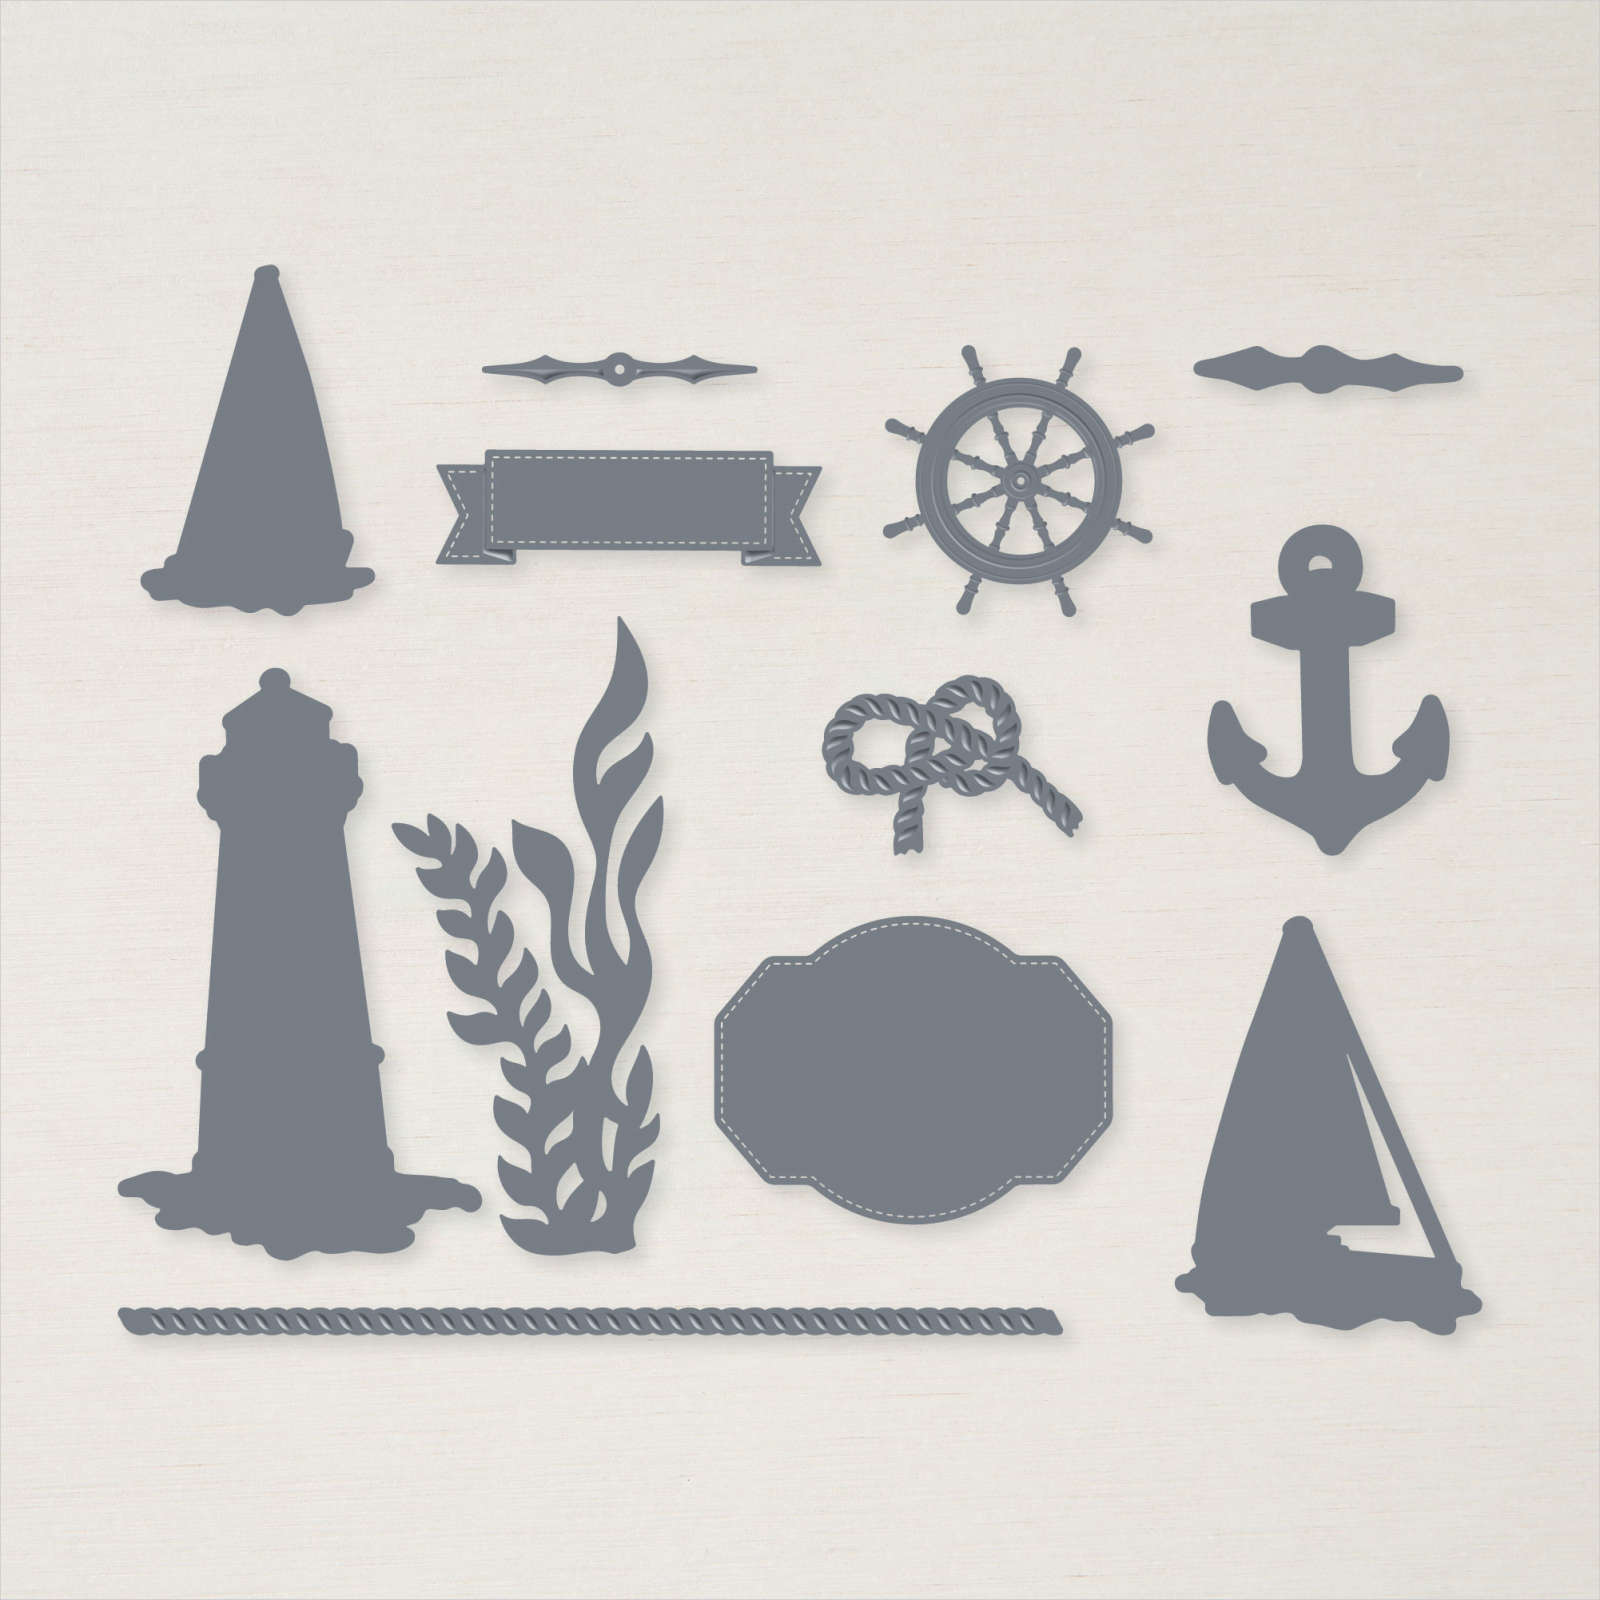
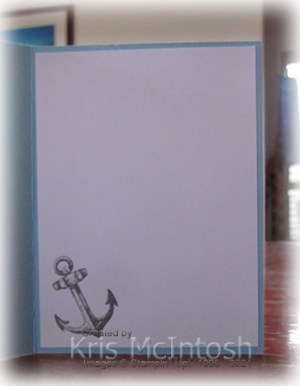
I cut the turning mechanism from Basic White card using the Give It A Whirl Die and stamped the compass, rope and greeting from the Sailing Home stamp set using Basic Gray ink so that they would show in the circle window. I attached the circle from the card front to the back of the turning mechanism and attached it to Night of Navy card using dimensionals. I attached the card front also using dimensionals in the corners only. The whole panel is attached to scored and folded Balmy Blue card. I cut the frame for the circle window from Night of Navy card using the Give It a Whirl Die. To decorate the inside of the card I stamped the anchor image from the Sailing Home stamp set onto the lower left hand corner of Basic White card using Basic Gray ink.
I hope you are inspired to take another look at these dies and perhaps create a card (or two) using them.
Bye for now,
Kris
Product Used: