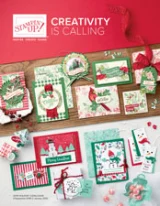
Festive Framed
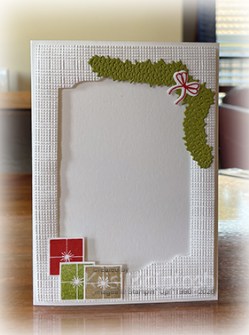
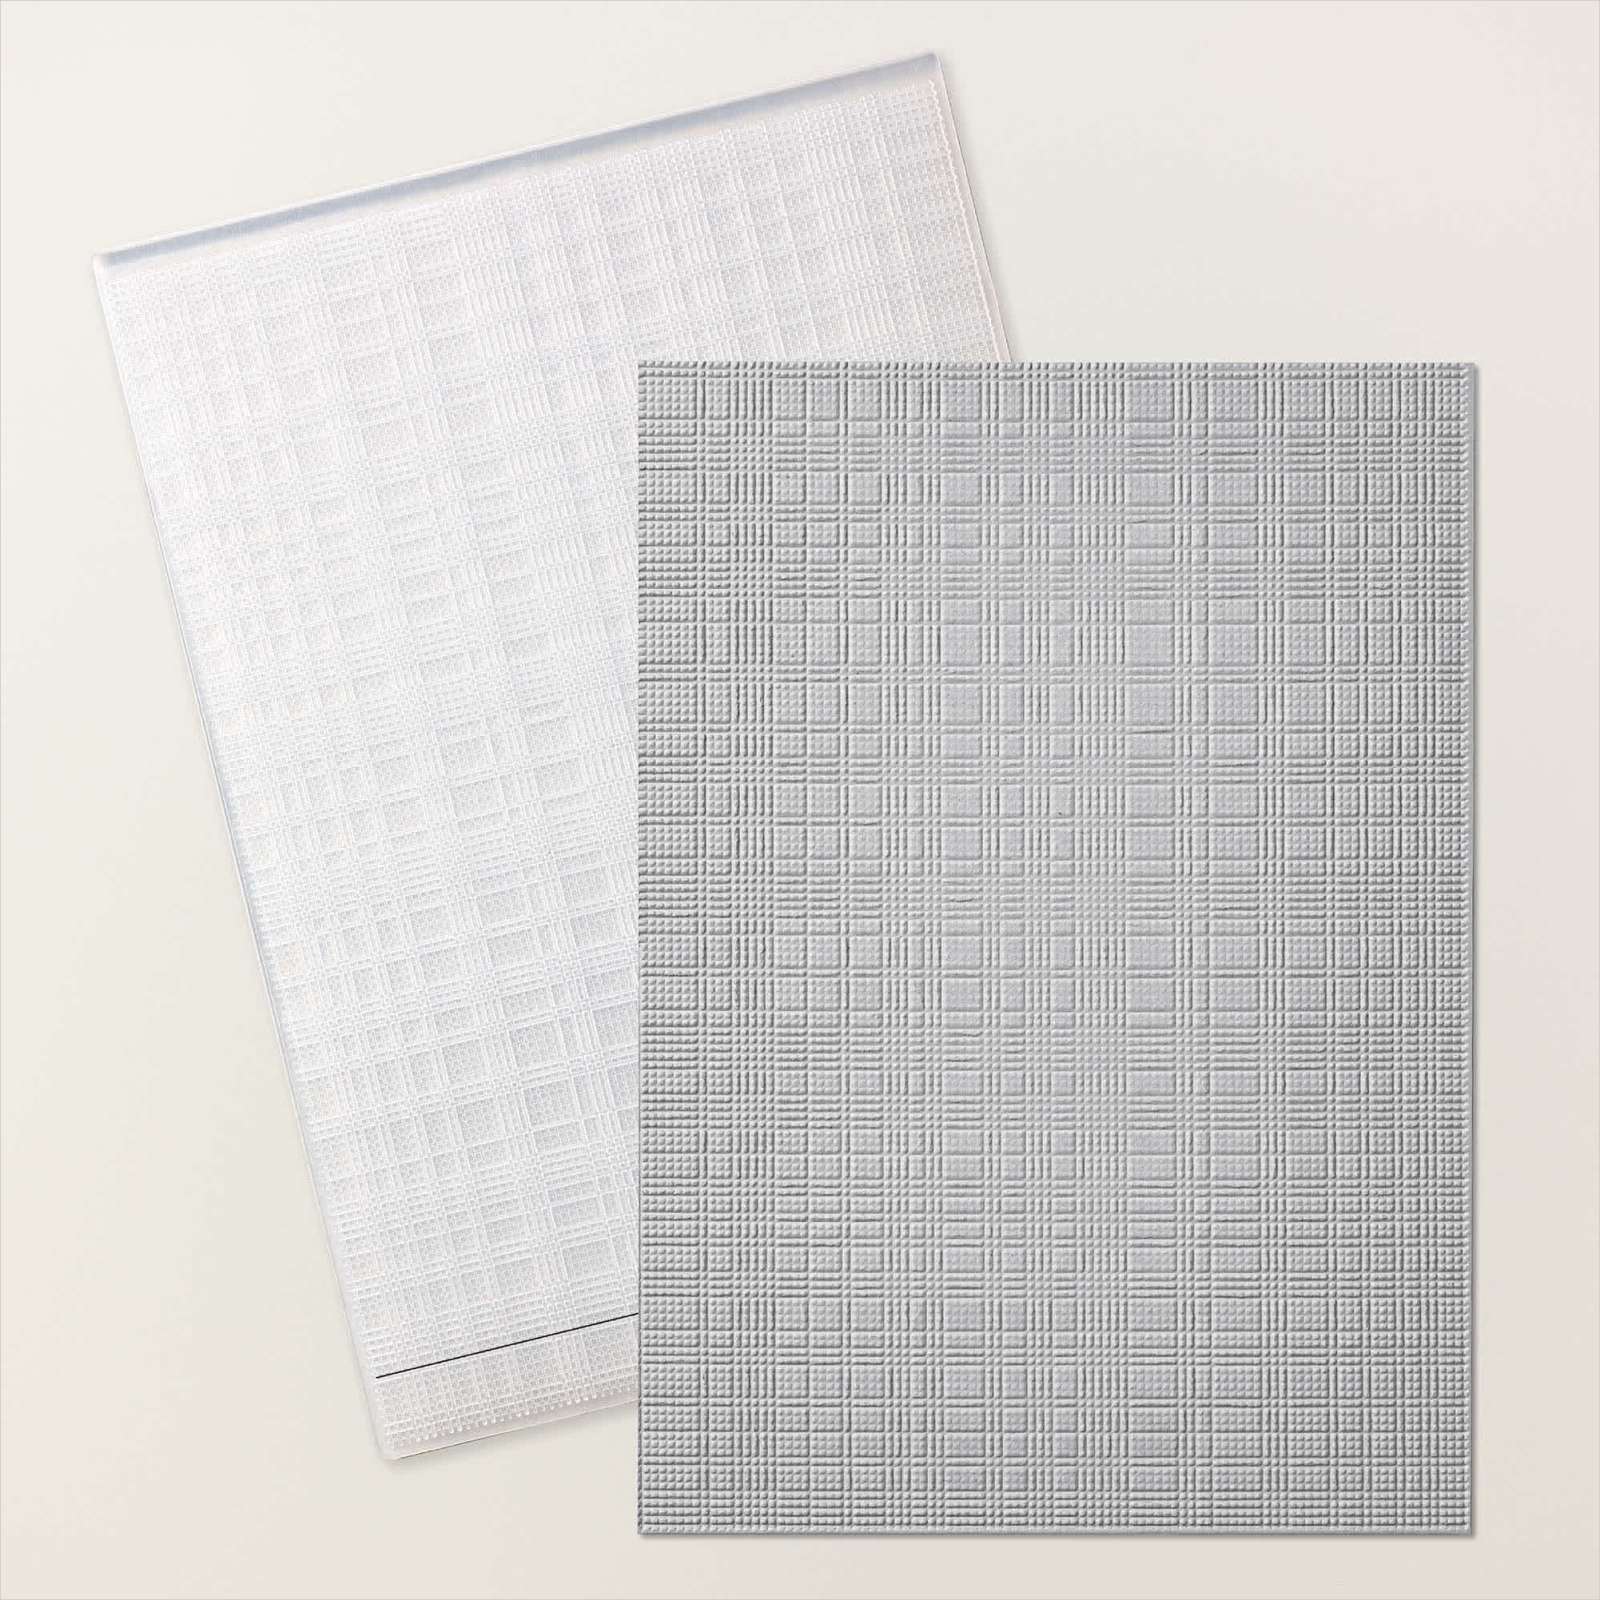
This week in my Facebook Live I shared some cards I created using the Festive Framed Photos Bundle. Today I have another card to share. I cut a piece of Basic White card using the smaller frame from the Festive Framed Photos Dies. I embossed the frame using the Softly Woven 3D Embossing Folder. The frame is attached to a Thick Basic White card base using Foam Adhesive strips. I die cut Old Olive card using the corner leaf die from the Festive Framed Photos Dies.
I stamped the bow image from the Festive Framed Photos stamp set onto Basic White card using Real Red ink. I attached the bow to the corner leaf die and trimmed the strings before attaching it to the upper right hand corner of the frame. I stamped the large present image from the Festive Framed Photos stamp set onto Basic White card once using Old Olive ink, once using Real Red ink and once using Crumb Cake ink.
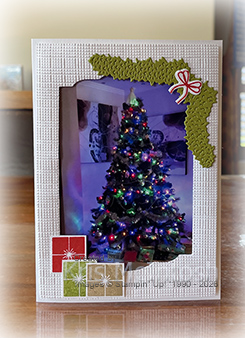
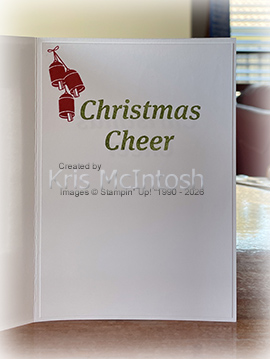
I cut out the images using the co-ordinating Festive Framed Photos Die. I layered the die cut images onto the lower left hand corner of the frame. To decorate the inside of the card I stamped “Christmas” & “Cheer” from the Festive Framed Photos stamp set onto Basic White card using Old Olive ink. I stamped the bell image from the Festive Framed Photos stamp set onto the upper left hand corner of the Basic White card using Real Red ink. I love the idea of using a photo to decorate the front of the card.
Bye for now,
Kris
Product Used: