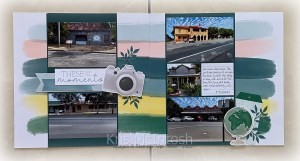
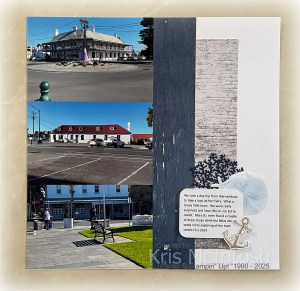
These are the Moments

Today I am sharing a double page layout I created using the Make a Memory Scrapbooking Kit following instructions I purchased from Janice Gilhooley. You can watch a video showing off the layouts with a link below the video to purchase the instructions. Although the kit comes with instructions to create the pages, I wanted to use Janice’s guide because it creates 8 double page layouts. Today’s page is Layout 1 from her guide. I added some photos from our stopover at Jerilderie on our way home from the Great Ocean Road.

We loved Jerilderie, a lovely friendly town with a great caravan park. The fabulous town swimming pool is right next door and has free entry. I especially loved all the Ned Kelly history and the fact that some of the places that were visited by Ned and his gang are still there. The background for these pages were created from just one page from the kit. Janice added some Pretty Peacock two-tone 12″ x 12″ paper for the photo mats. There are also some added stickers from the kit to create the title and embellishments. Love how beautiful these pages turned out! I especially love that you can add any photos you want to create your own memories.
Don’t forget that you don’t have to purchase additional directions to create your pages as you get instructions with your kit.
Bye for now,
Kris
Product Used:

Charming Thank You
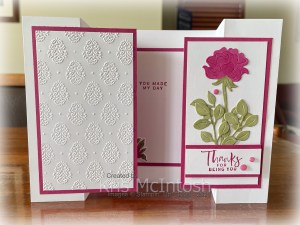
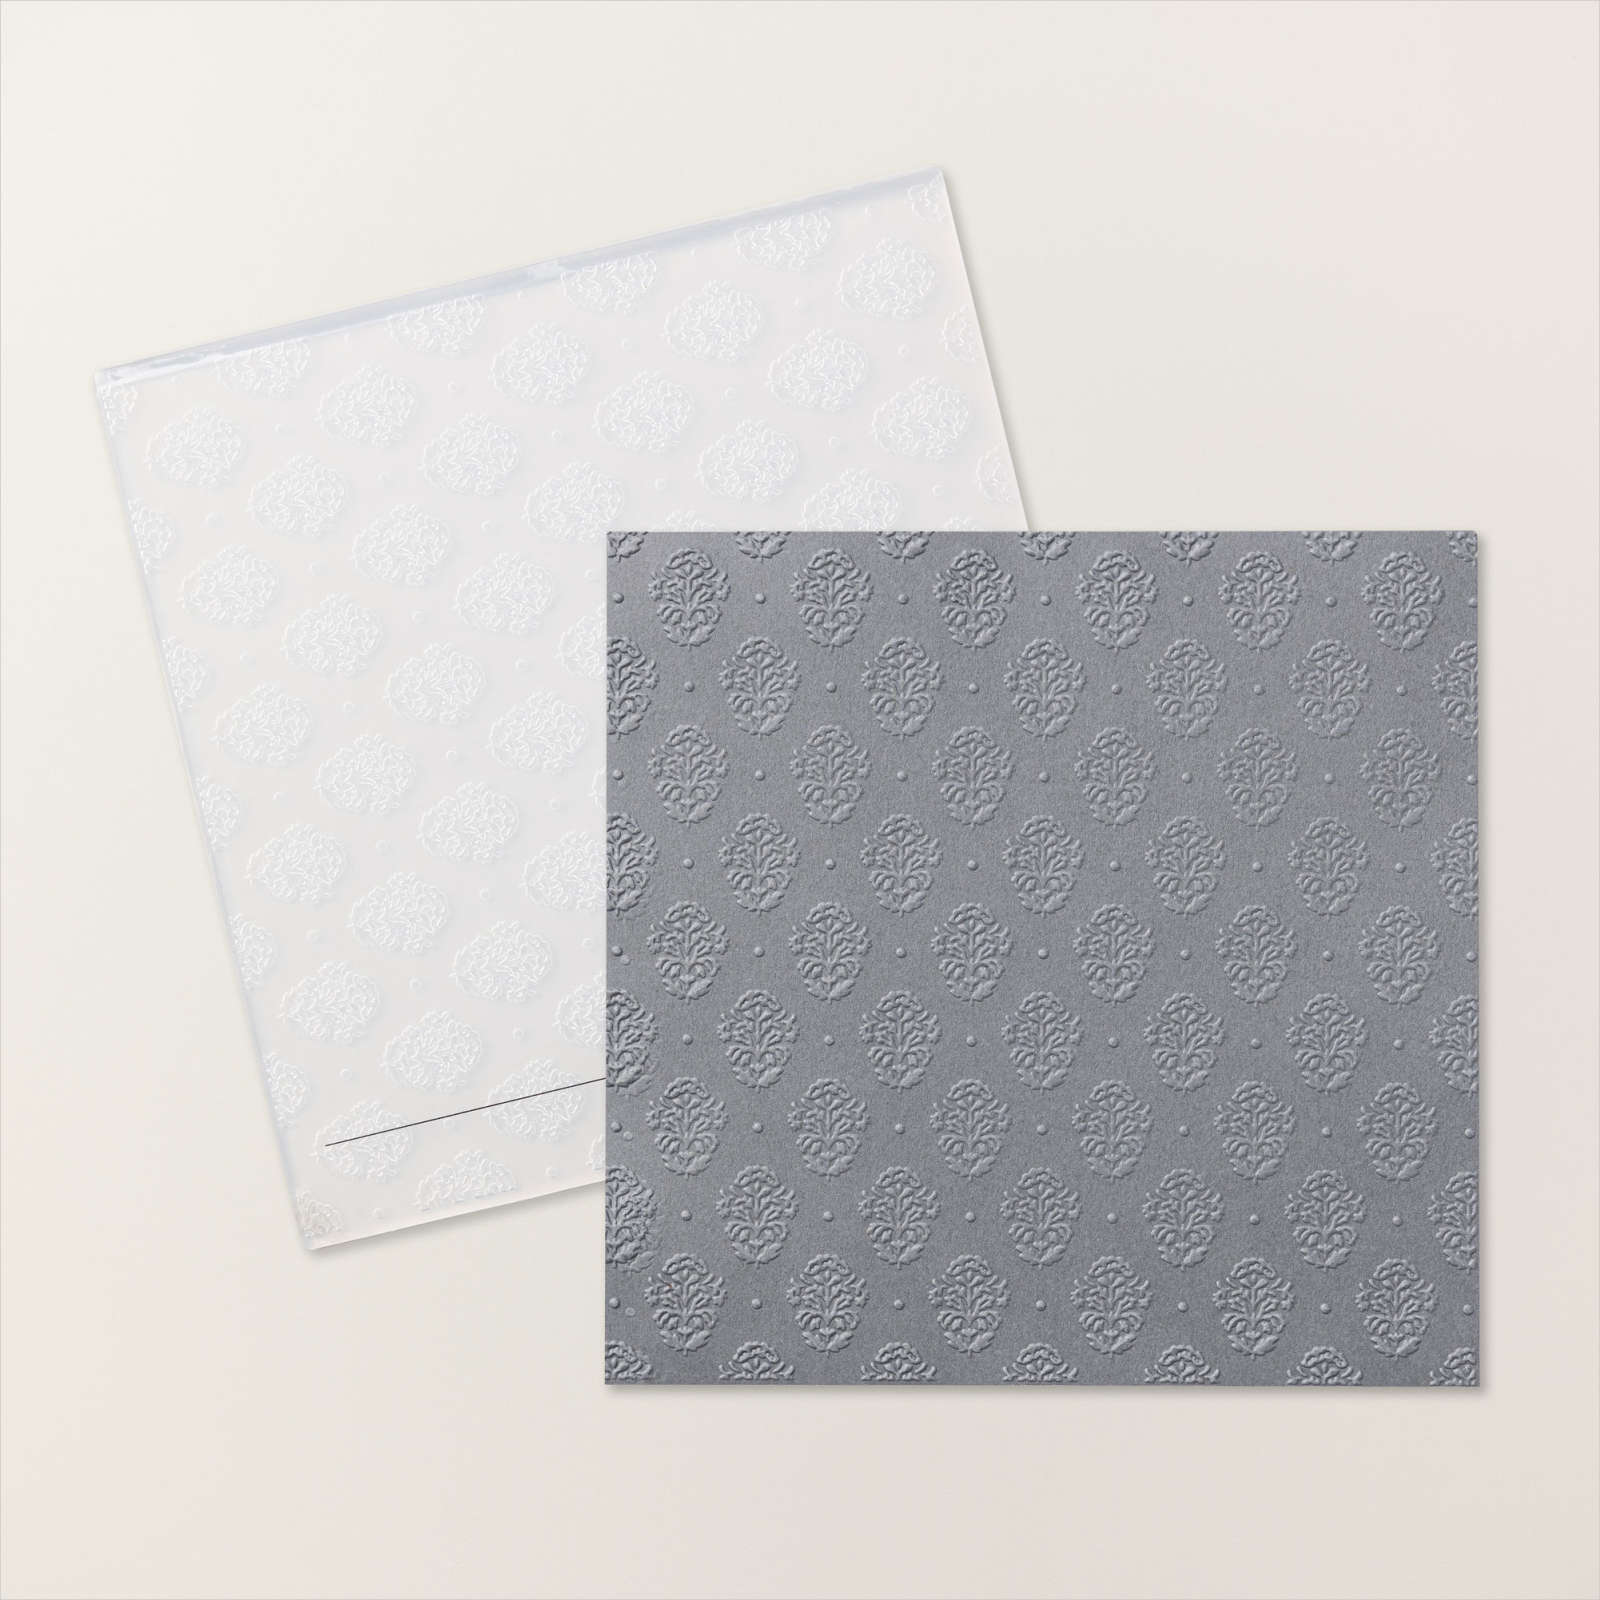
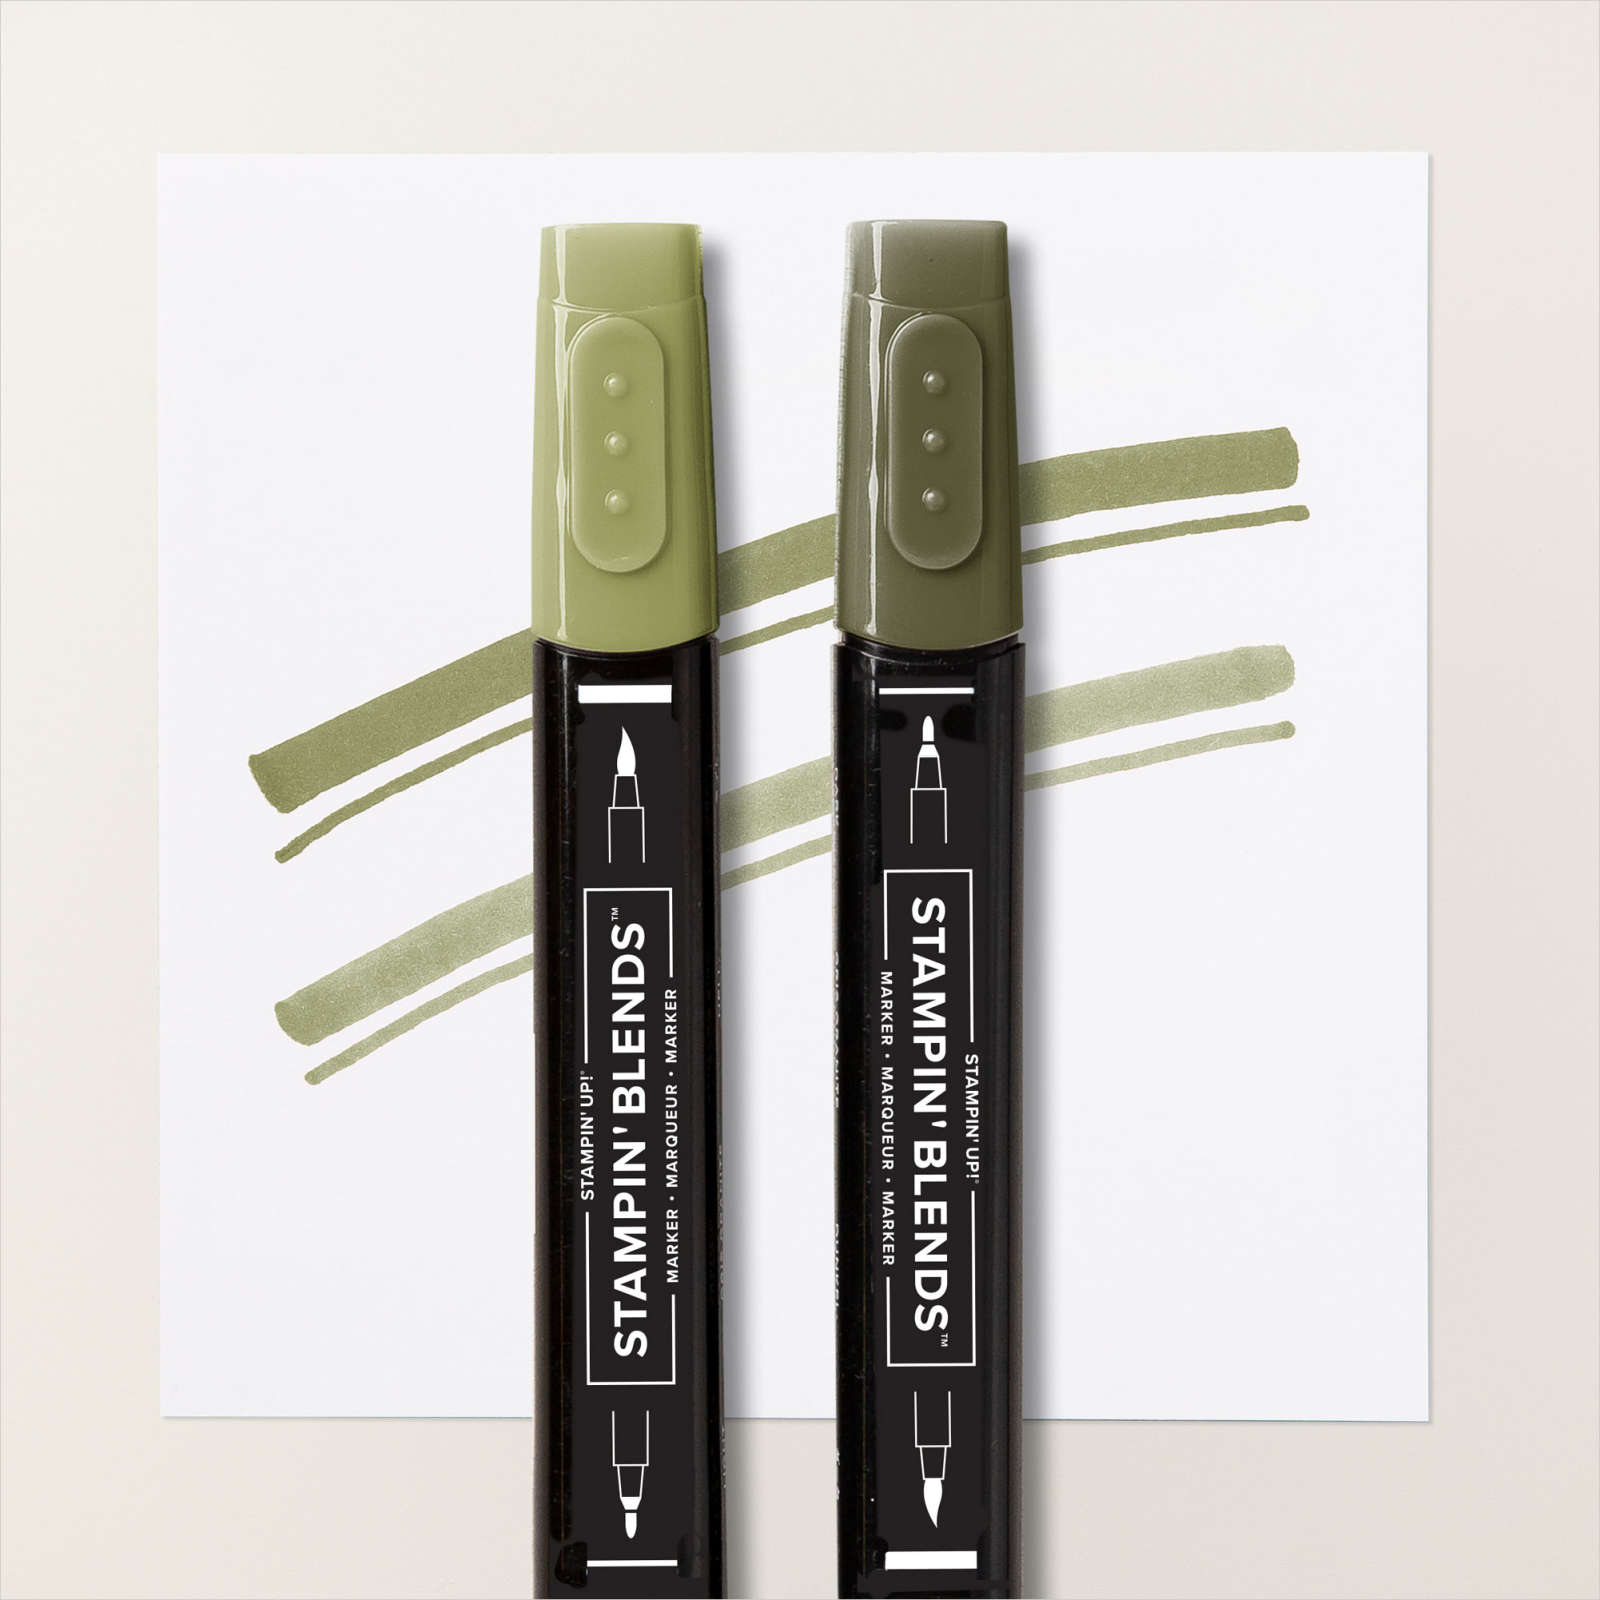
This week in my Facebook Live I shared some cards I created using the Charming Day Bundle. This bundle is part of the new Online Exclusives released yesterday. Today I have another card to share with you using this Bundle. I decided to create a fancy fold using this bundle which I found here on Terri Gaines blog. I cut my card Base from Basic White card, making sure to use my bone folder on all of the score lines. I embossed Basic White card using the Damask Designs Embossing Folder and attached it to Berry Burst card. This panel is attached to the small fold on the left hand side of the card front. I cut Basic White card using the flower die and twice using the leaf die from the Charming Day Dies. I used the Light Berry Burst and Light Mossy Meadow Stampin’ Blends to add colour to the images before attaching them to Basic White card.
I stamped the greeting from the Charming Day stamp set onto Basic White card using Berry Burst ink and attached it to Berry Burst card. The greeting is attached to the bottom of the image panel using dimensionals. The image panel is attached to Berry Burst card before the whole panel is attached to the small fold on the right hand side of the card front. I made sure that when I attached it I left enough room for the left hand panel to slide underneath the right hand panel when closing the card. I thought that the image panel needed a little something to finish it off so I added three of the Charming Shimmer Faceted Dies. I stamped “you made my day” from the Charming Day stamp set onto Basic White card using Berry Burst ink before attaching the panel to Berry Burst card. I die cut Berry Burst card using the small single flower die from the Charming Day Dies.
I also stamped the leaf image from the Charming Day stamp set onto Basic White card. I coloured the leaves with the Light Mossy Meadow Stampin’ Blend before cutting out the image with the co-ordinating Charming Day Die. I attached the flower to the leaves, trimming away any excess from the leaves before attaching the image to the lower left hand corner of the stamped Basic White card. The whole panel is attached to the inside of the card. This is such a fun card to create, so thank you Terri for the instructions.
Bye for now,
Kris
Product Used:
You can view the Charming Day bundle here in my Online Store.
You can view the Floral Charm Suite Collection here in my Online Store.


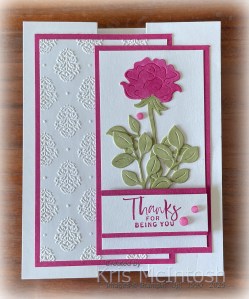
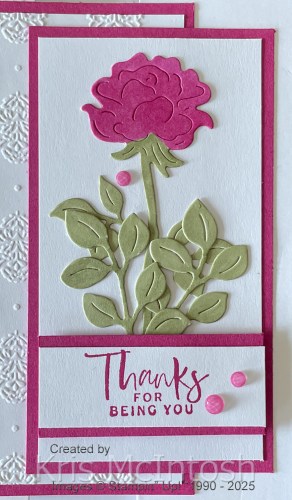
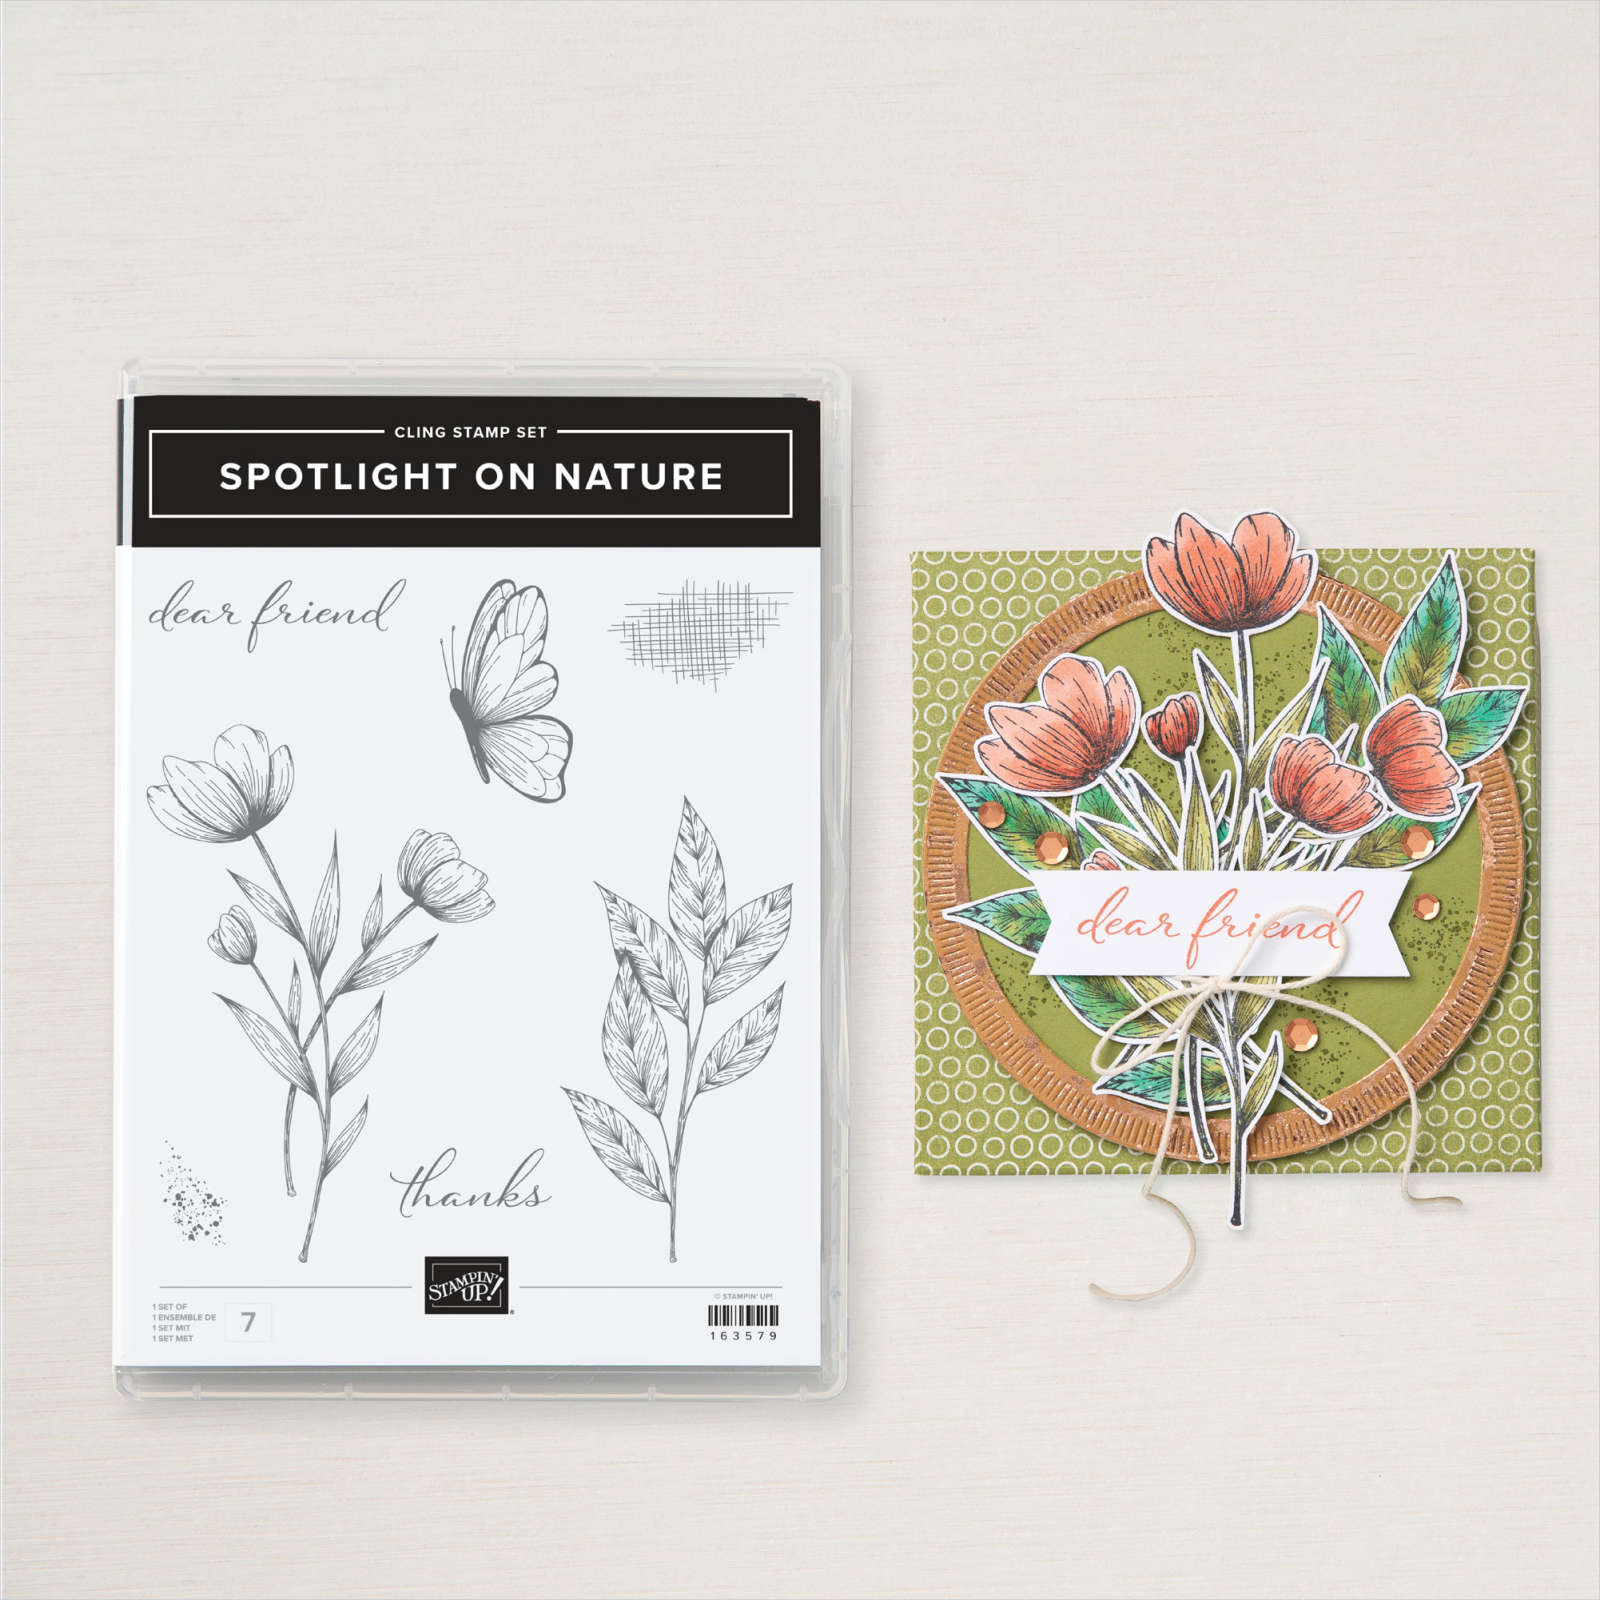
Spotlight on Thanks
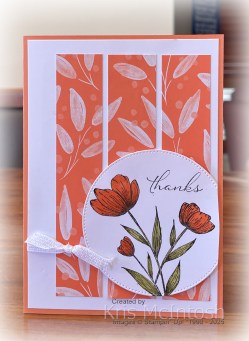
For today’s card I decided to play with the new 2025-2027 In-colour 6″ x 6″ Designer Series Paper. I cut three strips of Timid Tiger patterned paper and attached them to the right hand side of Basic White card. I wrapped the panel with White 1/4″ Ribbon and tied a knot. I stamped the floral image from the Spotlight on Nature stamp set onto Basic White card using Memento Tuxedo Black ink. I coloured the image using Timid Tiger & Old Olive Stampin’ Blends. I cut out the image panel using the largest circle from the Stylish Shapes Dies.
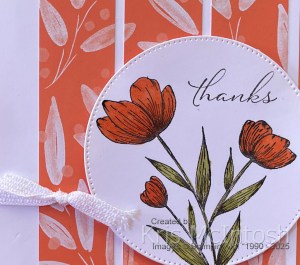
I stamped “thanks” from the Spotlight on Nature stamp set onto the image panel using Memento Tuxedo Black ink. I trimmed the right hand side and attached the greeting panel to the card front using dimensionals.
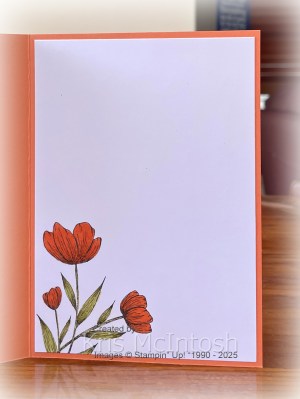
The whole panel is attached to scored and folded Timid Tiger A4 card. To decorate the inside of the card I stamped the large floral image from the Spotlight on Nature stamp set onto the lower left hand corner of Basic White card using Memento Tuxedo Black ink. I coloured the image using Timid Tiger & Old Olive Stampin’ Blends before attaching the panel to the inside of the card base. This new in-colour is a lovely shade of pumpkin, don’t you think?
Bye for now,
Kris
Product Used:
You can view the Timid Tiger A4 card here in my online store.


Celebrate 6

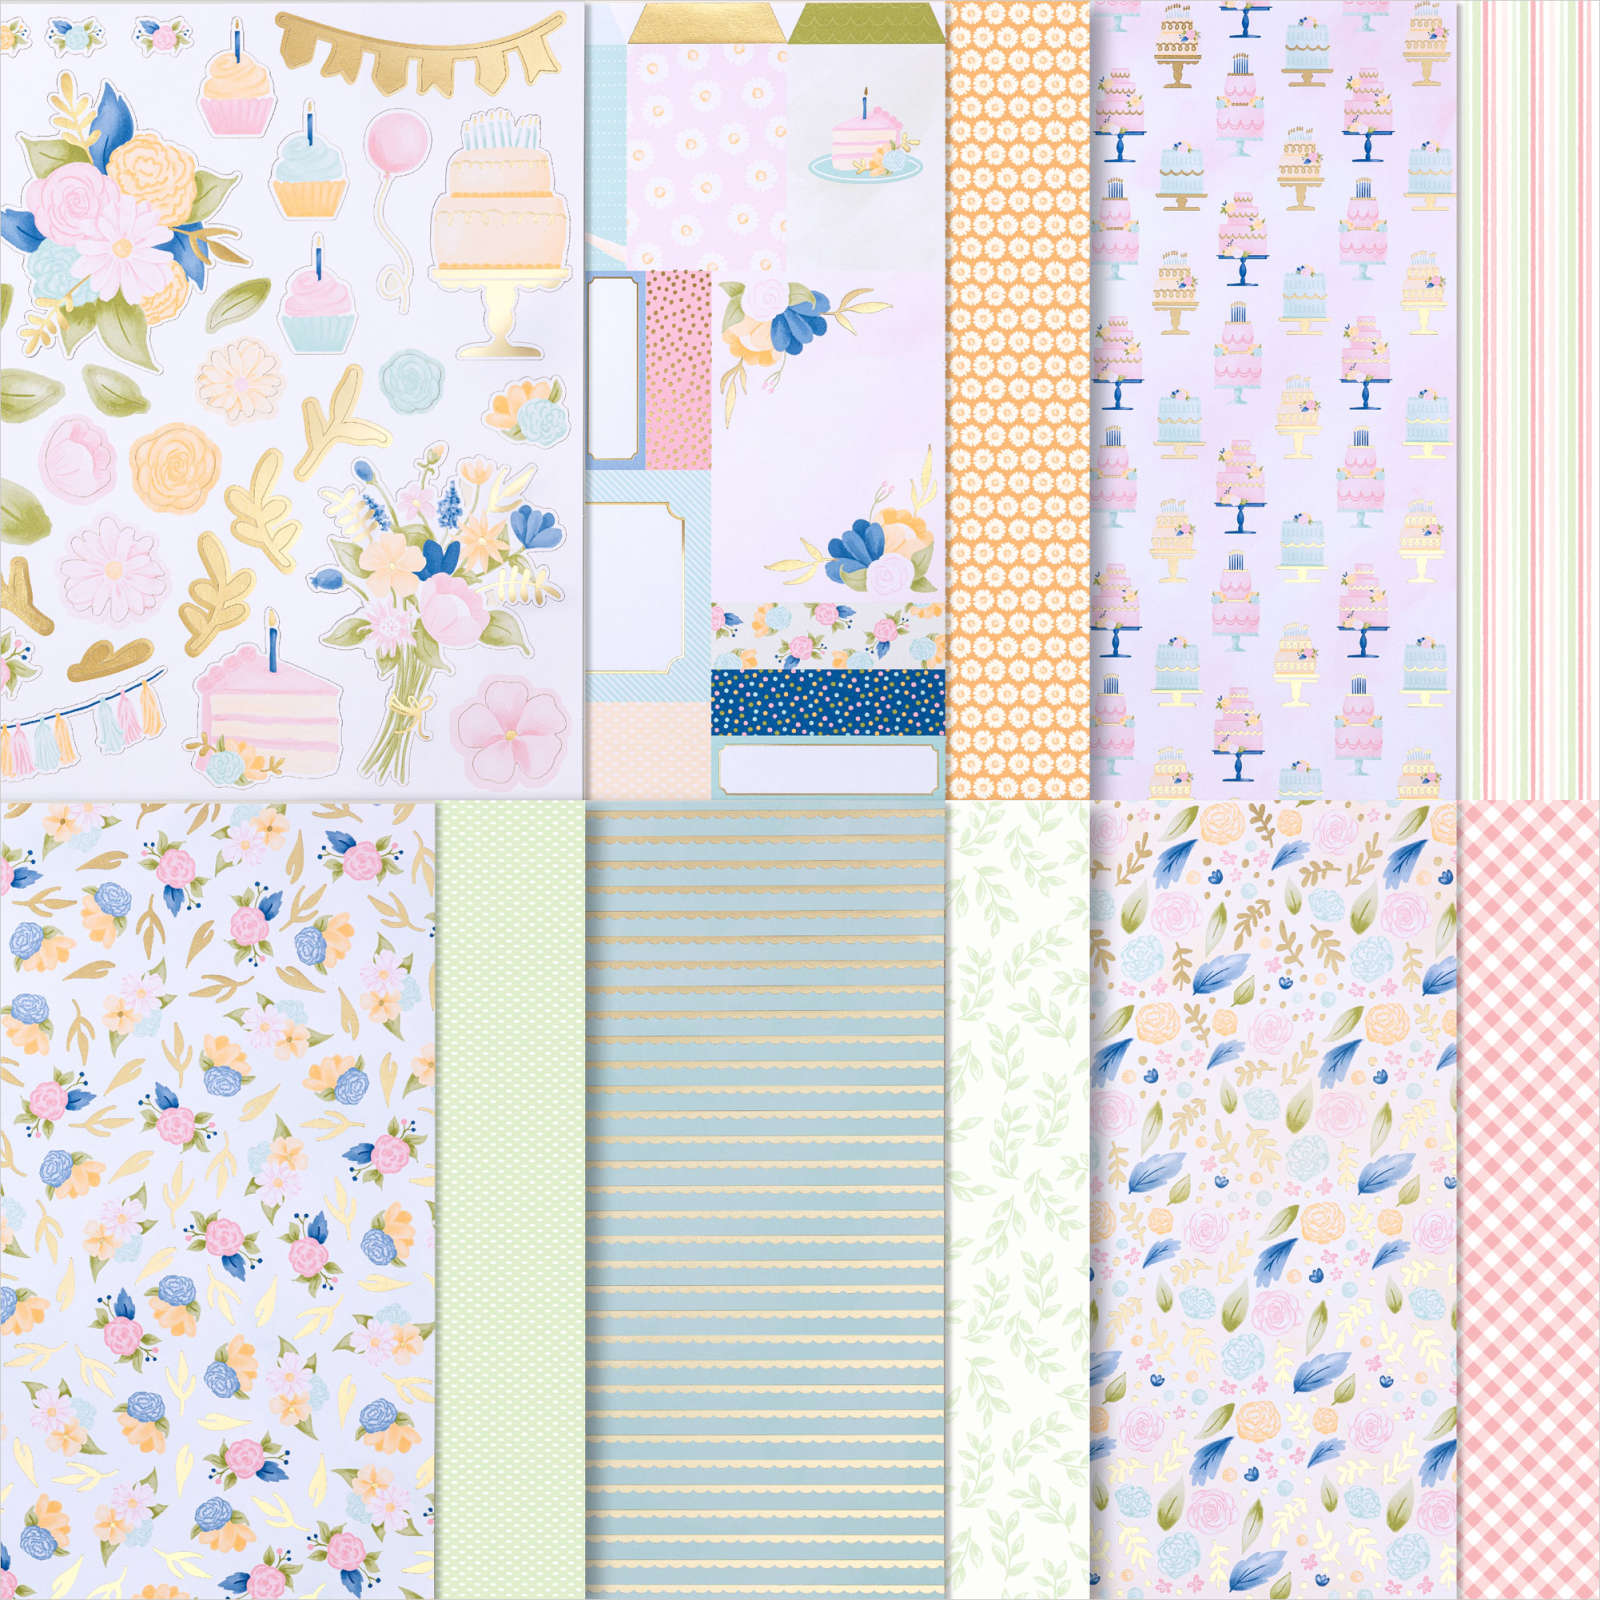
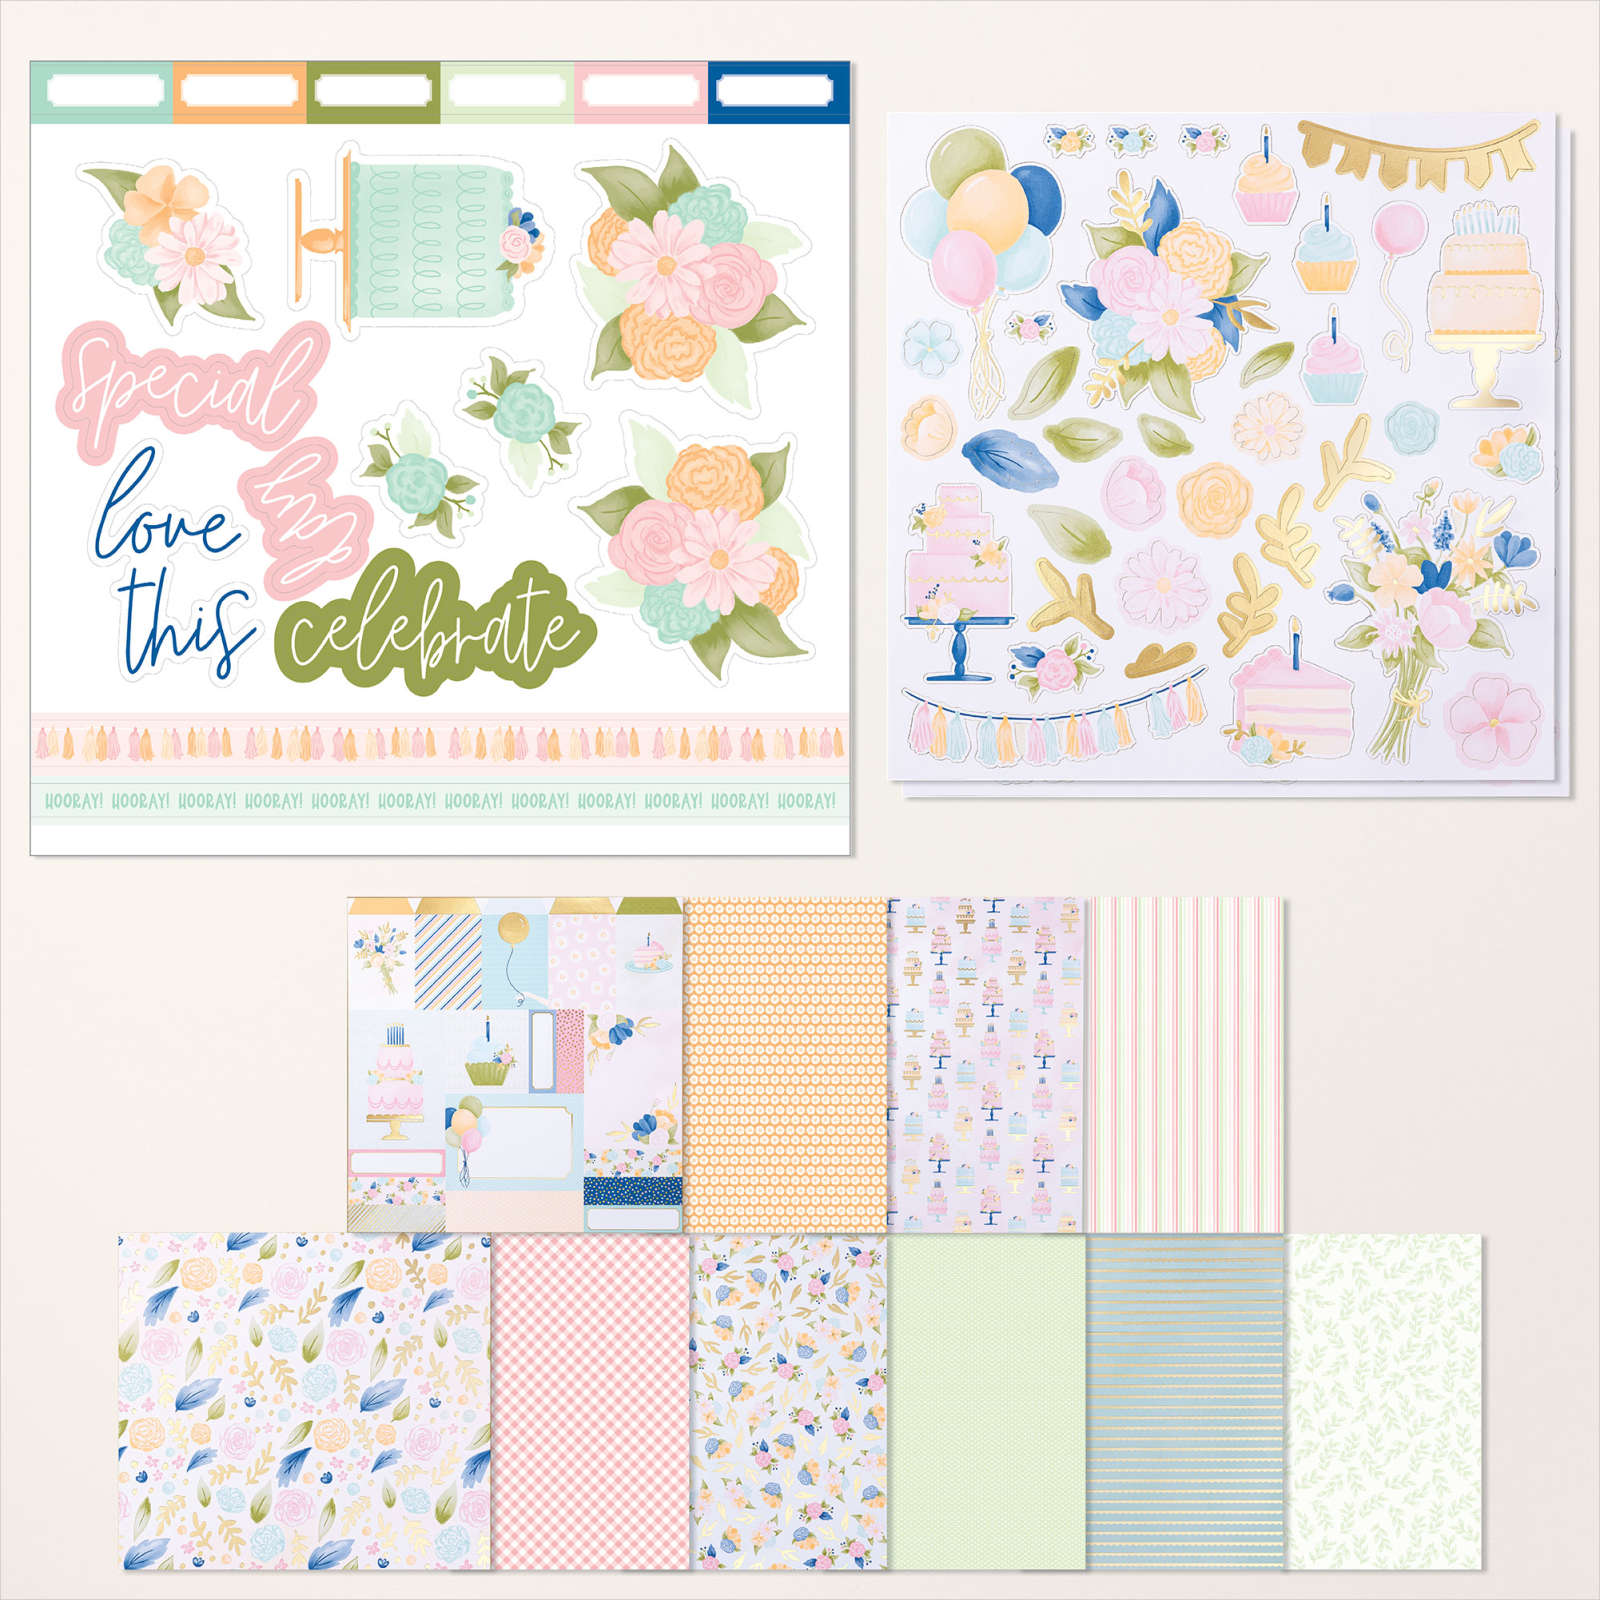
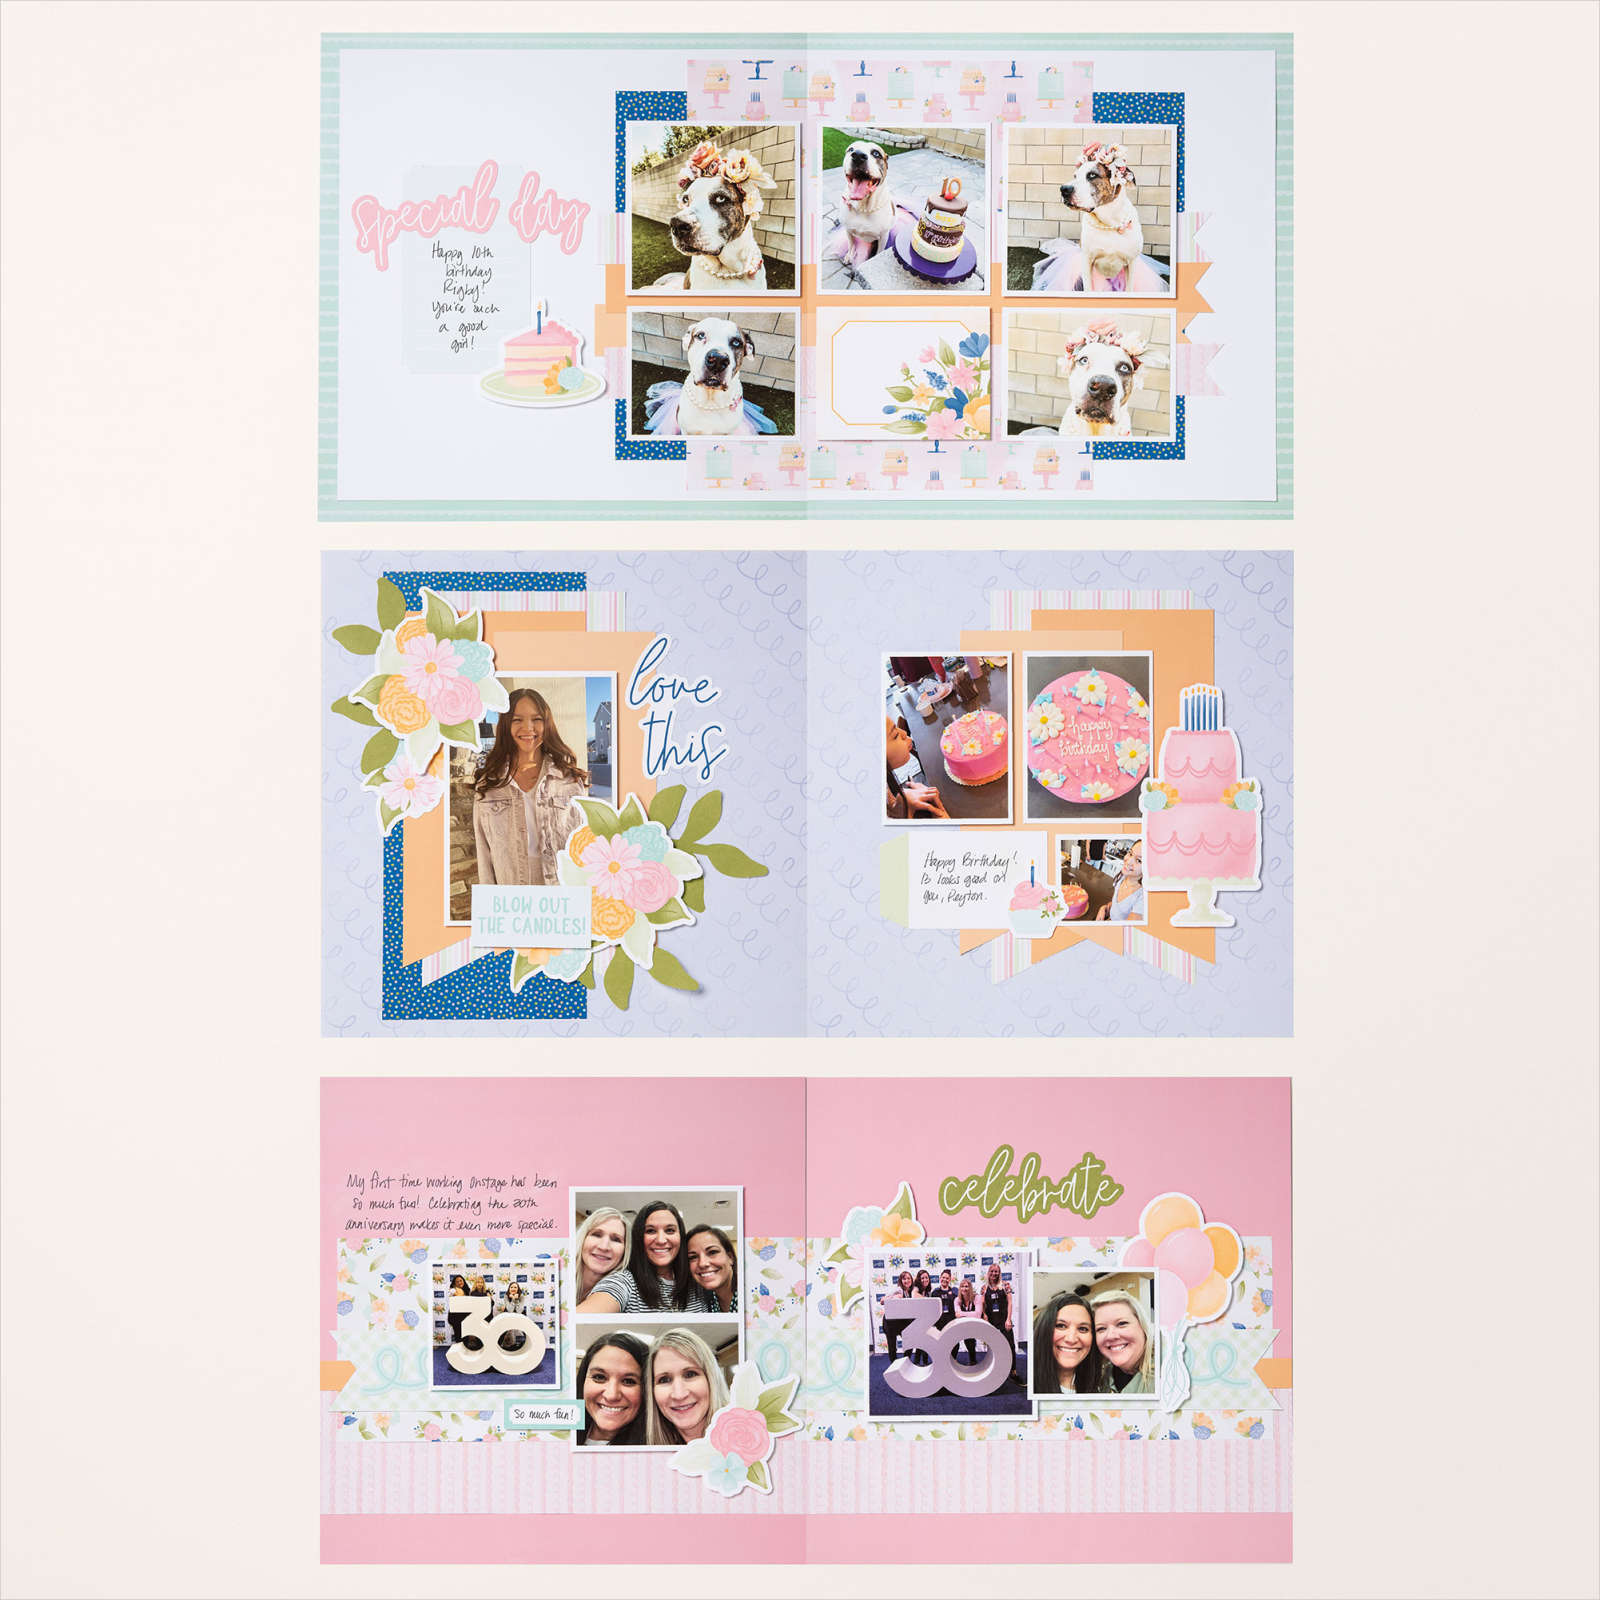
Today’s pages show off some photos from my granddaughters 6th birthday party. Her birthday is near Christmas so she celebrated early with her school friends. I used the second layout from the Wildflower Birthday Scrapbooking Workshop Kit. I have an idea that this kit is the first kit I assembled and I did discover a few differences in my layout to the instructions.
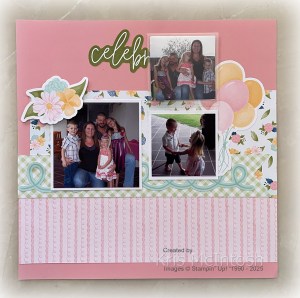
However, I am still happy with the way my pages turned out. I used some of the embellishments from the Scrapbooking Kit to decorate the pages but I did use dimensionals under the flowers which sit over the photos. I printed my journaling onto Basic White card and cut it out using one of the retired Greetings of The Season Dies. I used another die from the Greetings of the Season Dies to cut some of the scraps of Designer Series Paper from the kit.

I attached the journaling and tags to the top left hand corner of the page and added bows tied using Linen Thread. The only other thing I did was use a 3″ x 3″ flip flap so that I could add a couple of extra photos to the layout. I don’t think the “mistakes” I made with the layout spoil the finished result, do you?
Bye for now,
Kris
Product Used:

Peace on Earth
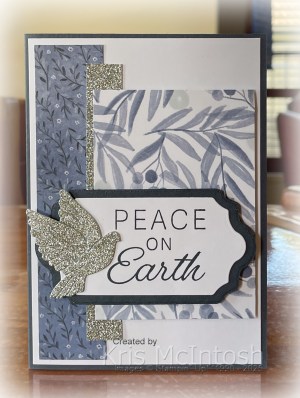
This week in my Facebook Live I created some cards using the Peaceful Garden Suite Collection. This product suite was released to Demonstrators early so that we could participate in an event hosted by Stampin’ Up! for Demonstrators only but will soon be available for everyone to purchase from the 3rd September. I cut two pieces of Peaceful Garden 12″ x 12″ Designer Series Paper and one piece of Peaceful Garden 12″ x 12″ Glimmer Paper. The three pieces are layered onto a piece of Basic White card. I did add dimensionals underneath the right hand side of the largest piece of Designer Series Paper.

The whole panel is attached to scored and folded Secret Sea card. I stamped the greeting from the Peace on Earth stamp set onto Basic White card using Secret Sea ink. The greeting is cut out using the smaller banner from the Peace on Earth Dies.
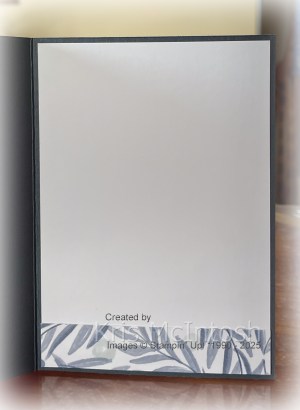
The greeting is attached to a slightly larger banner cut from Secret Sea card. The two banners are attached together before attaching them to the card front using dimensionals. I cut the dove from the lightest coloured paper in the Peaceful Garden Glimmer Paper. The dove is attached to the left hand side of the greeting panel using dimensionals where necessary. To decorate the inside of the card, I attached a piece of the Peaceful Garden Designer Series Paper across the bottom of Basic White card. You are going to love this product suite I am sure. There is also a Scrapbooking Workshop Kit which uses this Designer Series Paper. So watch the calender and hop online on the 3rd September to make your purchase.
Bye for now,
Kris
Product Used:

Butterfly celebration
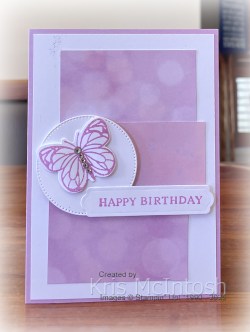
Today I have a card to share using the Beautiful Butterflies stamp set. I attached three pieces of Fresh Freesia patterned paper from the Beautiful Bokeh 6″ x 6″ Designer Series Paper to Basic White card, I did use both sides of the paper. The whole panel is attached to scored and folded Fresh Freesia card. I cut Basic White card using one of the circles from the Stylish Shapes Dies and attached it to the card front using dimensionals. I stamped the butterfly from the Beautiful Butterflies stamp set onto Basic White card using Fresh Freesia ink.
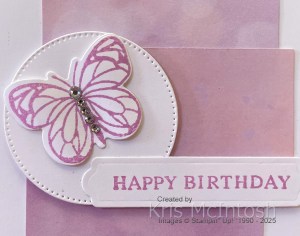
I cut out the butterfly using the co-ordinating Beautiful Butterfly Die. I like to curl the wings of my butterflies and I add dimensionals under the curve and multipurpose glue behind the body. This helps to keep the dimension when the card is stored. I also added Basic Rhinestones down the centre of the butterfly to give a bit more dimension.
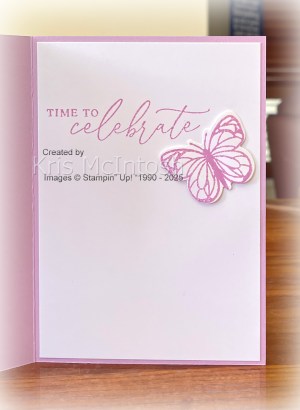
I stamped “happy birthday” from the Beautiful Butterfly stamp set onto Basic White card using Fresh Freesia ink and cut it out using one of the banners from the Beautiful Butterfly Dies. The greeting is attached to the card front using dimensionals where necessary. To decorate the inside of the card I stamped the greeting from the Beautiful Butterflies stamp set onto Basic White card using Fresh Freesia ink. I stamped and die cut another butterfly, the same as the front, and attached it to the inside of the card. Again I did use dimensionals underneath the wings to give it some dimension. A simple card, but pretty, don’t you think?
Bye for now,
Kris
Product Used;


Port Fairy
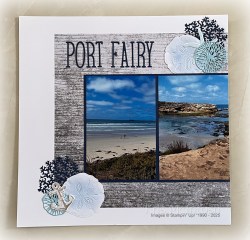
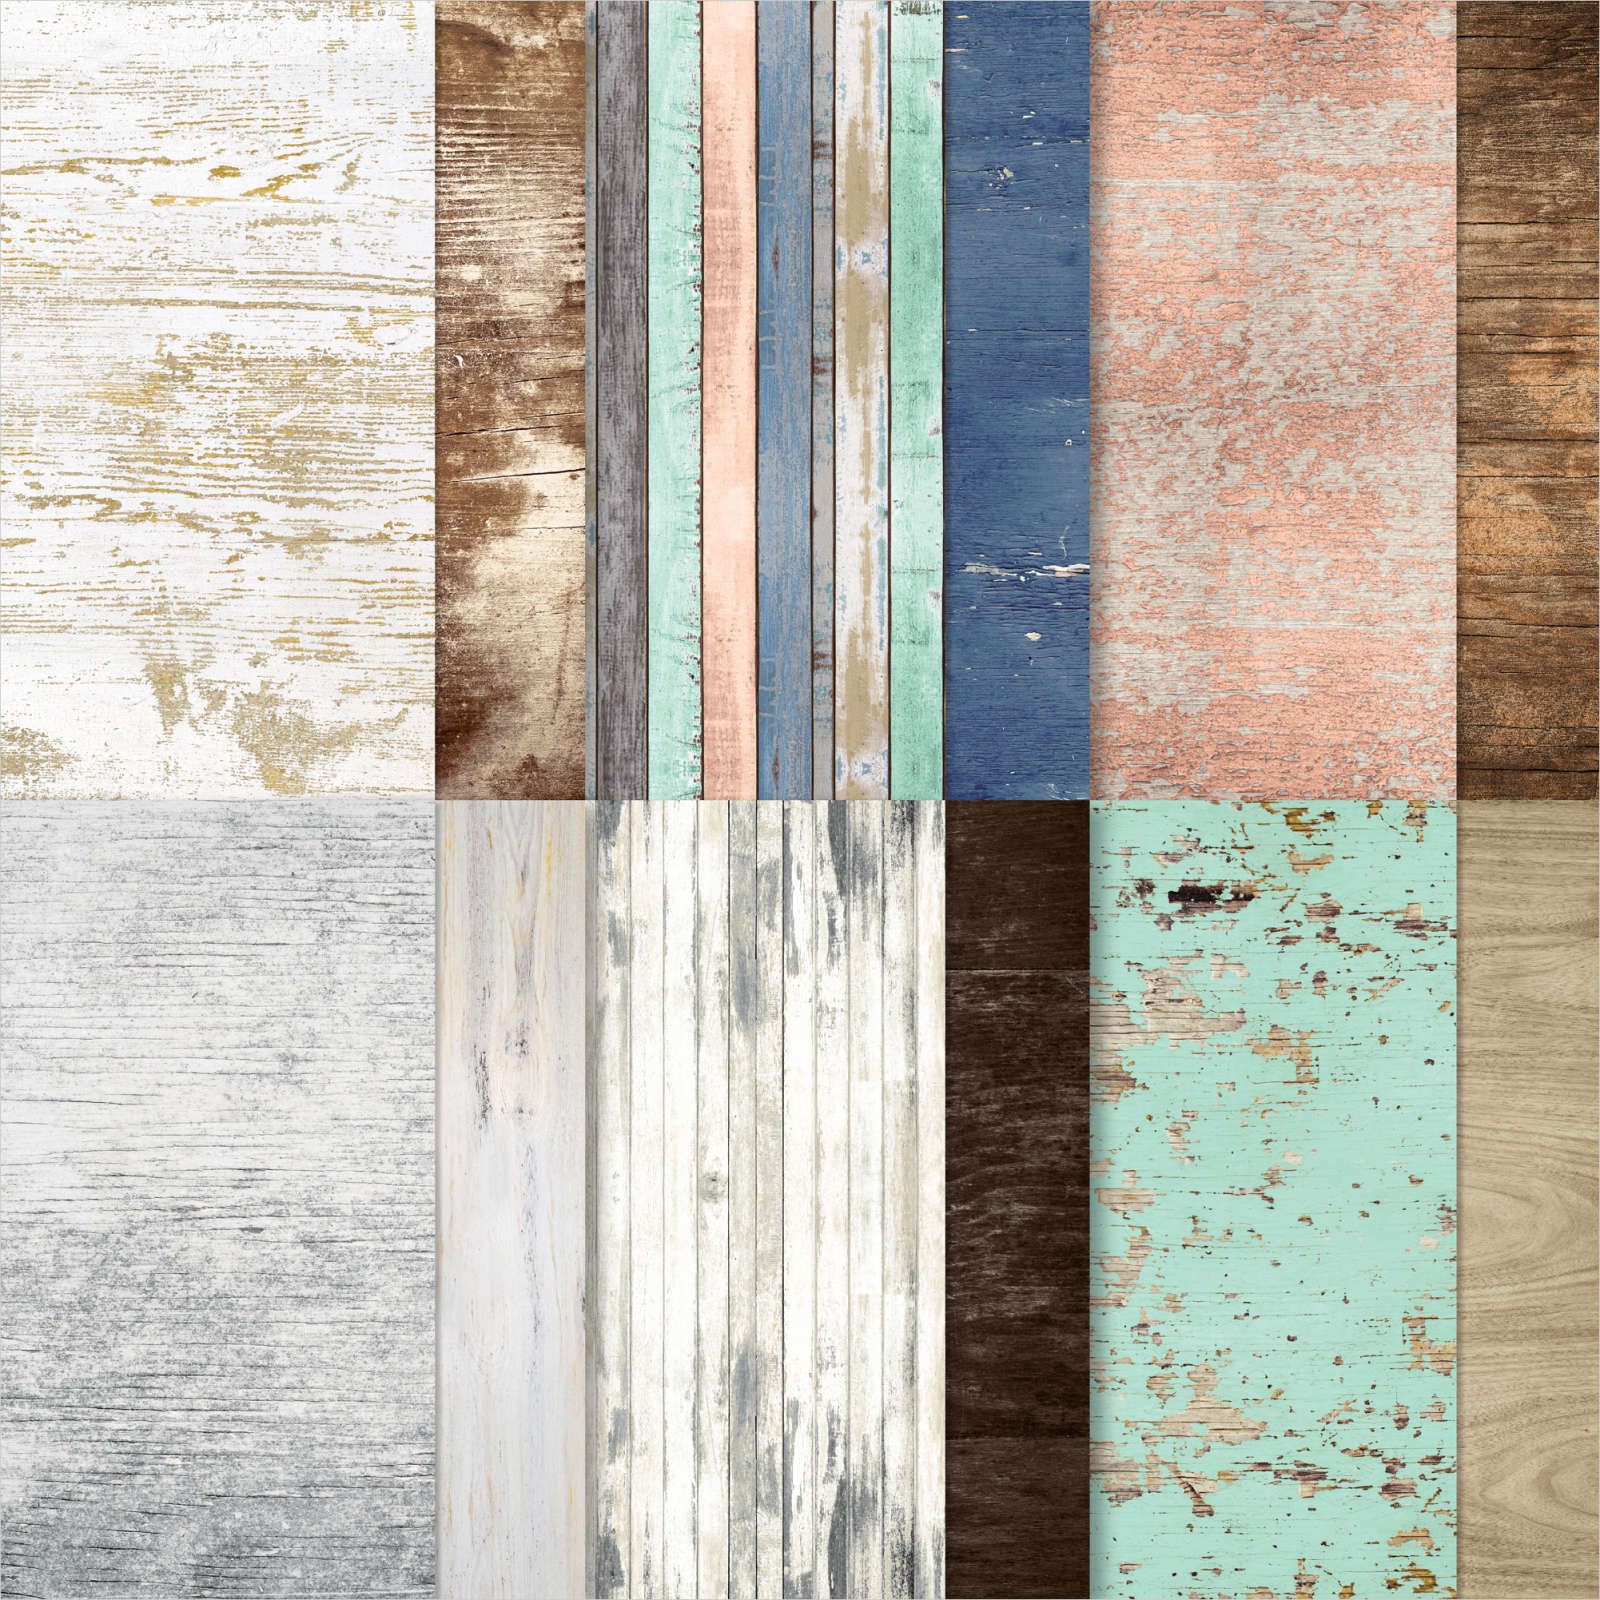
Today’s page shows off some photos from our visit to Port Fairy on our Great Ocean Road trip. We were staying at Warnambool and took a short drive to visit this lovely little town. I used the 1, 2, 3 Layout from June’s Memory Keeping class. Don’t forget you can check out Noreen Smiths 1, 2, 3 Layouts here on You Tube. I cut two different pieces of Country Woods 12″ x 12″ Designer Series Paper to attached to my White Willow pages. I attached the photos on the left hand page to Night of Navy card before attaching them to the page but I didn’t add any mats to the photos on the right hand page. I cut the title from Night of Navy card using the Alphabet A La Mode Dies.
I did attach Adhesive Sheet to the back of the Night of Navy card before cutting the letters to make it easier to attach them to the page. I die cut Night of Navy card three times using one of the retired Beauty of the Deep Dies. I also cut Basic White card using the retired Seaside Wishes Hybrid Embossing Folder to create my sand dollars. I used a Blending Brush and Night of Navy ink to add a little colour to each of them. I stamped the anchor image from the retired Beauty of the Deep stamp set twice onto Basic White card using Crumb Cake ink and cut them out using the co-ordinating retired Beauty of the Deep Dies. I also stamped the small and large starfish images from the retired Seaside Wishes stamp set onto Basic White card using Balmy Blue ink.

The star fish are cut out using the co-ordinating retired Seaside Wishes Dies. I printed my journaling onto Basic White card and cut it out using one of the Nested Essential Dies. I layered a group of the die cut image onto the lower let and upper right hand corners of the left page. I also layered some of the die cuts behind the journaling panel on the right hand page. All in all I love how this turned out. I have to admit the scenery along the Great Ocean Road is absolutely stunning. I know that I am using some retired product on my pages but I really wanted them to have the ocean feel.
Bye for now,
Kris
Product Used:


Cheers

This week in my Facebook Live, I shared some cards created using the Cheers & Sips Bundle. Today I have a fun fold that I found on Pinterest and decided to create. I did however convert the instructions to suit Australian A4 card. I scored and folded Thick Basic White card and attached pieces of Celebratory Sips 12″ x 12″ Designer Series Paper. I cut Basic White card using one of the Textured Notes Dies and stamped the greetings from the Cheers & Sips stamp set across the bottom using Memento Tuxedo Black ink. I stamped the outline of both the “glasses” from the Cheers & Sips stamp set onto Basic White card using Memento Tuxedo Black. I die cut post it notes to get the outline and inside shape for the glasses using the Cheers & Sips Dies.

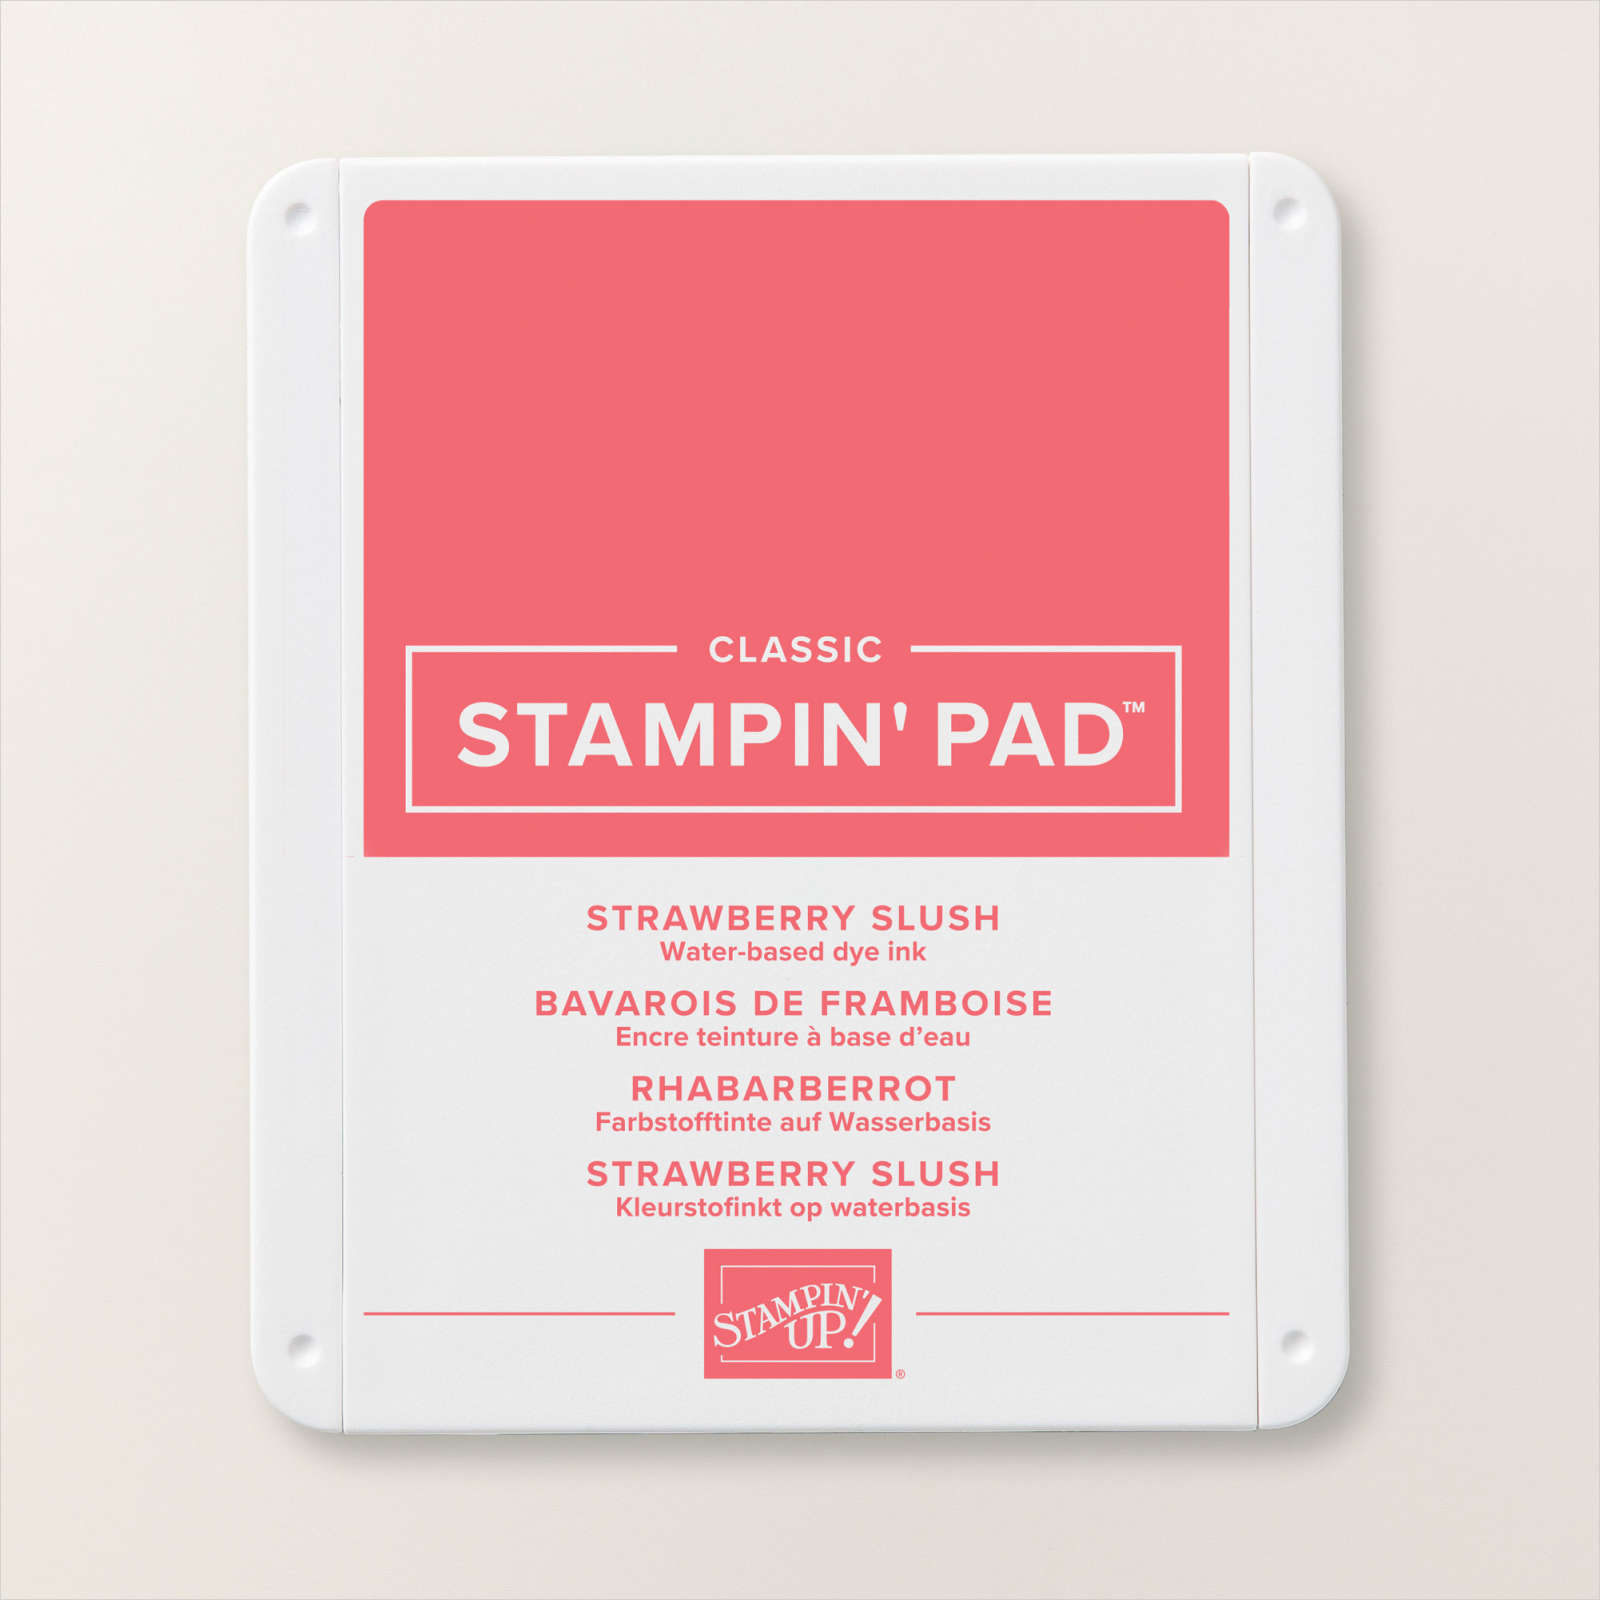
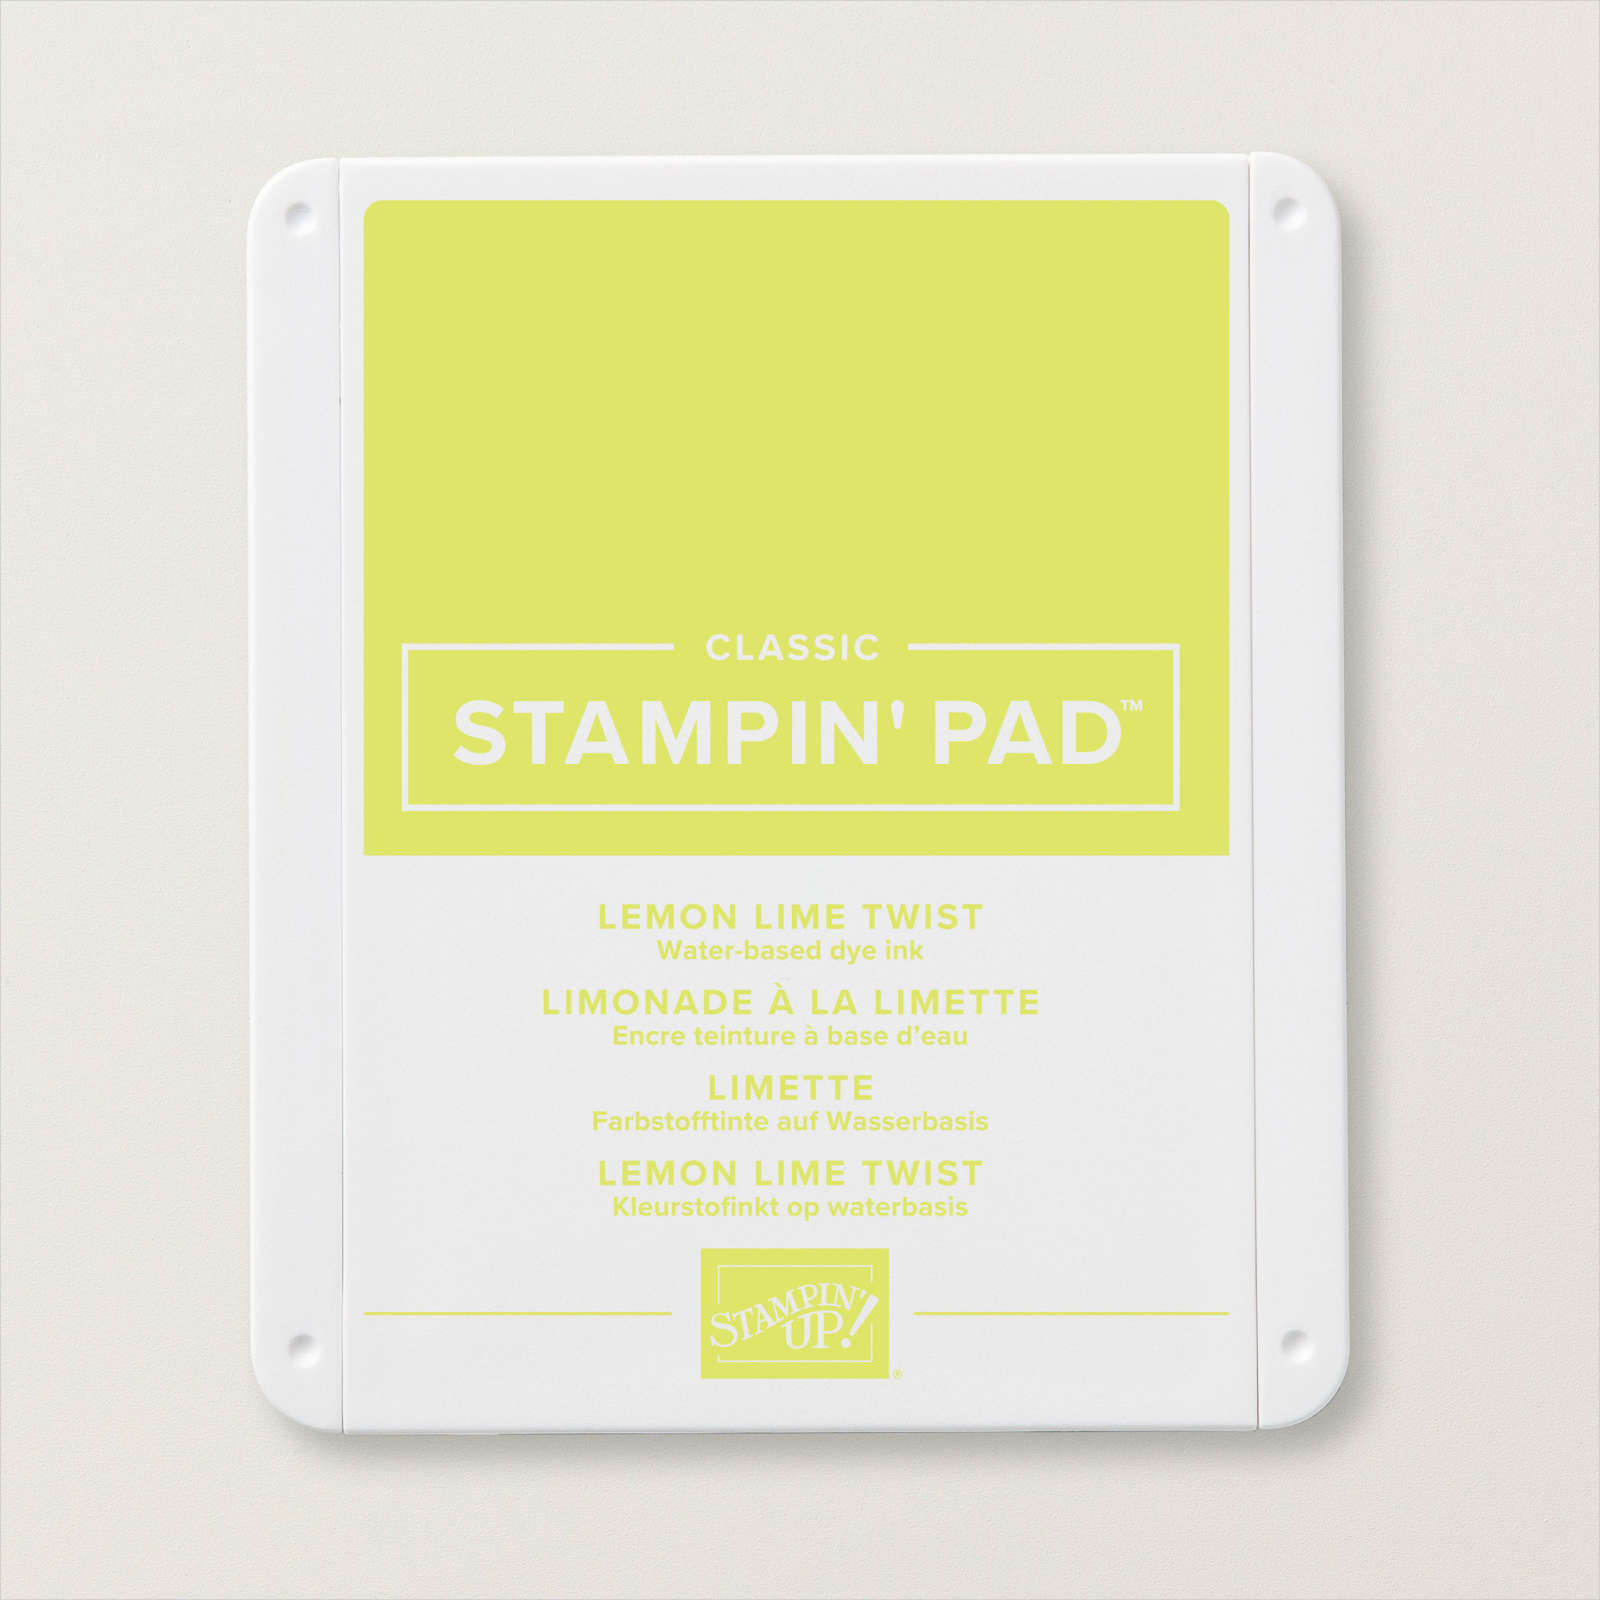
I used the outside shape to mask the images so that I could add Strawberry Slush ink to the tall glass and Lemon Lime Twist ink to the smaller glass. I also stamped the lime image inside each of the glasses using co-ordinating ink. I attached the tall glass flat to the stamped Basic White die cut and the smaller glass using dimensionals. I attached the image panel to the outside of the card base. I stamped the leaf and umbrella images from the Cheers & Sip stamp set onto Basic White card. I coloured the leaf using the light Lemon Lime Twist Stampin’ Blend and the umbrella using the Light Strawberry Slush Stampin’ Blend.

The images were cut out using the co-ordinating Cheers & Sip Dies and attached to the card front using dimensionals. I die cut another rectangle from Basic White card using the Textured Notes Dies. I stamped the smaller glass onto Basic White card using Memento Tuxedo Black ink. I coloured the image using Lemon Lolly Twist ink and cut it out using the co-ordinating Cheers & Sips Die. The image is attached to the Basic White die cut. I stamped “let’s celebrate” from the Cheers & Sips stamp set beside the glass image using Memento Tuxedo Black ink. I stamped, coloured and die cut another umbrella image from the Cheers & Sips stamp set and attached it over the top of the glass image using dimensionals. This panel is attached to the inside of the card, so that when the card is closed, you cannot see it. Such a fun card, don’t you think? I had fun playing with this bundle in my Facebook Live this week.
Bye for now,
Kris
Product Used:


Beautiful Thinking of You
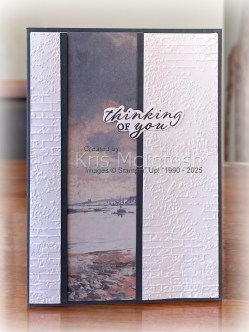
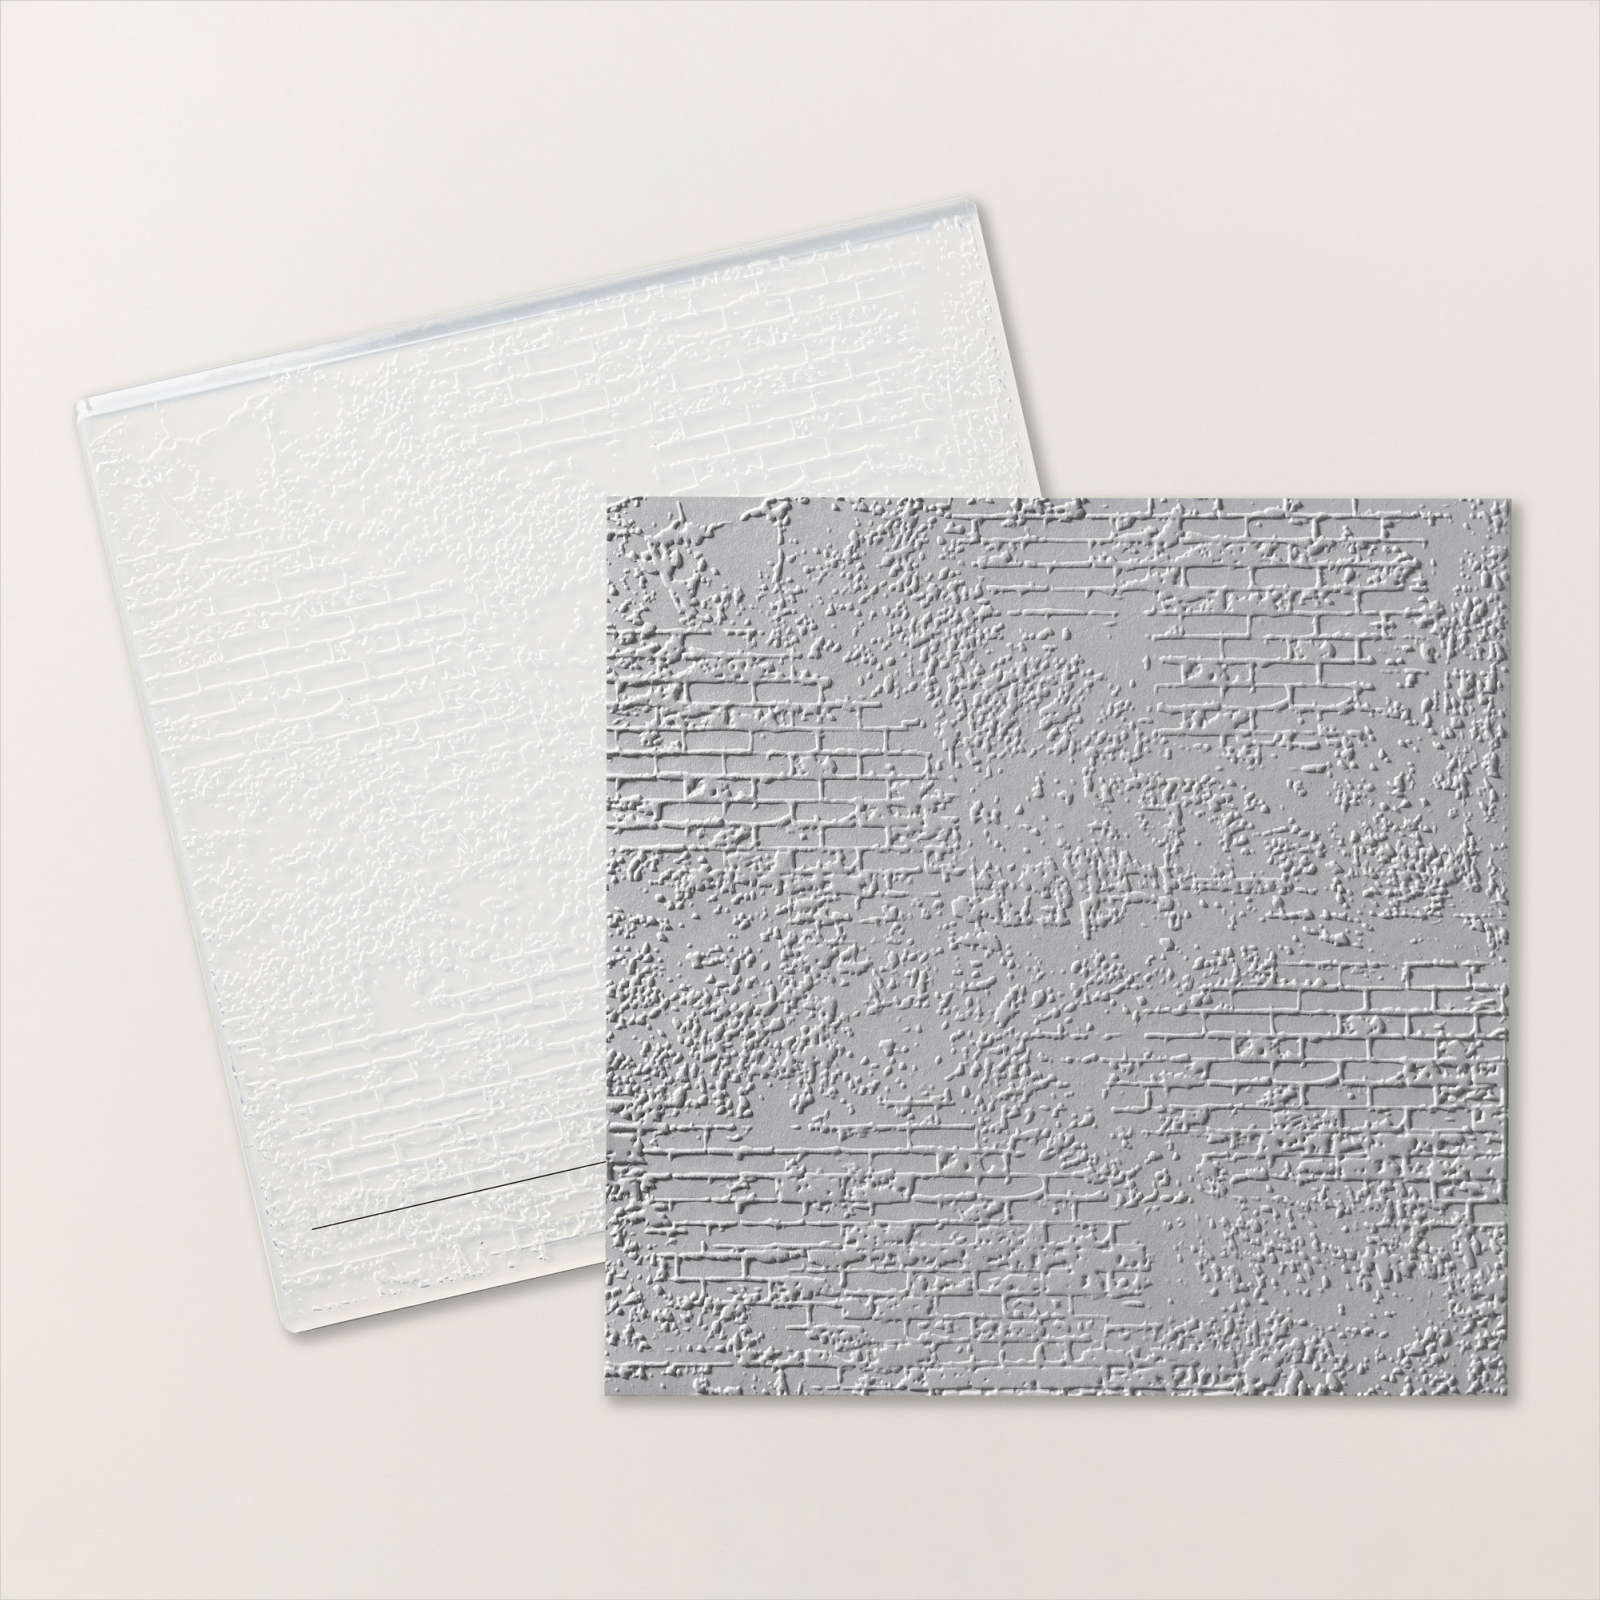
I recently shared some cards I created using the Beautiful Gallery 6″ x 6″ Designer Series Paper and today I have another card to share with you. For this card I attached a strip of Beautiful Gallery Designer Series Paper to Basic White card. I embossed two panels of Basic White card using the Exposed Brick 3D Embossing Folder. I attached a narrow strip of Secret Sea card to one side of each embossed panel before attaching them to the Basic White card using dimensionals. The whole panel is attached to scored and folded Secret Sea card.

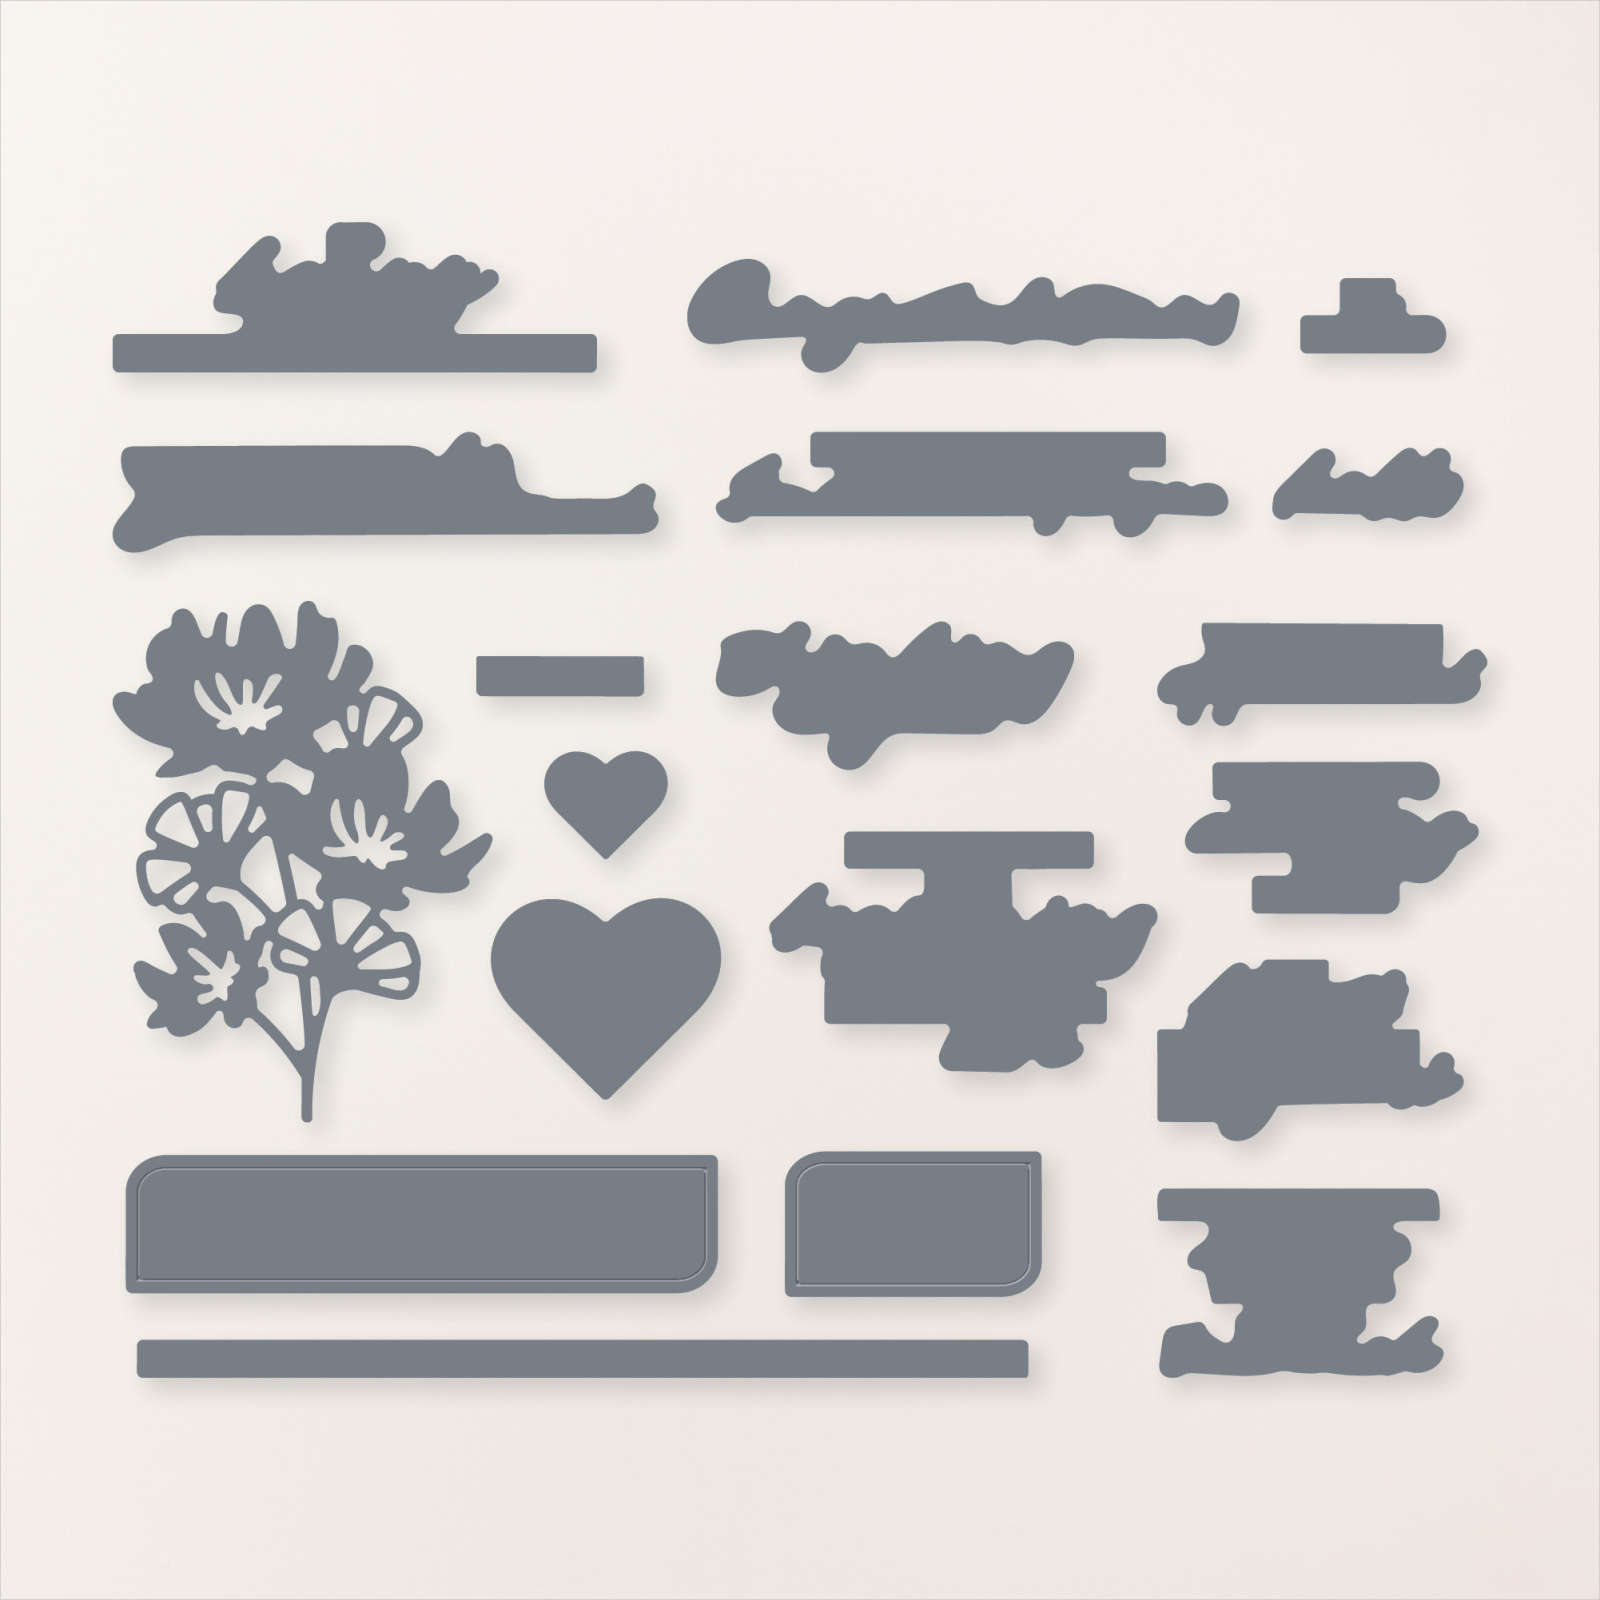
I stamped “thinking of you from the Wonderful Thoughts stamp set onto Basic White card using Secret Sea ink. The greeting is cut out using the co-ordinating Wonderful Thoughts Die and attached to the card front using dimensionals where necessary.

To decorate the inside of the card, I attached a narrow strip of the same Designer Series Paper to the left hand side of Basic White card. This is a simple card and could be created using any Designer Series Paper. However the best part is it is a great way to use up those strips of Designer Series paper we all have in our stash!
Bye for now,
Kris
Product Used:
You can view the Secret Sea A4 card here in my online store.

Port Campbell
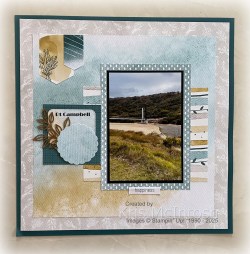
More photos of our trip along the Great Ocean Road. This time from Port Campbell. This was a very pretty little town but it was freezing when we were there. I used a layout from the Everyday You & Me Scrapbooking Workshop Kit (which is now a last chance product) for my photos. When I receive my Kit I like to cut all the Designer Series Paper and create the three double page layouts.

I keep the pages with the instructions so that I can add the embellishments once I know which photos I am going to use. For this page I changed the embellishments slightly and I did add Basic Black card to mat my photos.
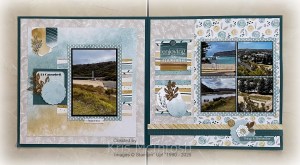
I created the title on my computer and printed it onto a piece of left over paper before cutting it out using one of the Nested Essential Dies. Other than that my pages are created pretty much as per the instructions in the kit. I love having these pages read to go when I find the right photos.
Bye for now,
Kris
Product Used:


