Comfort & Peace
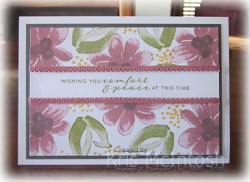
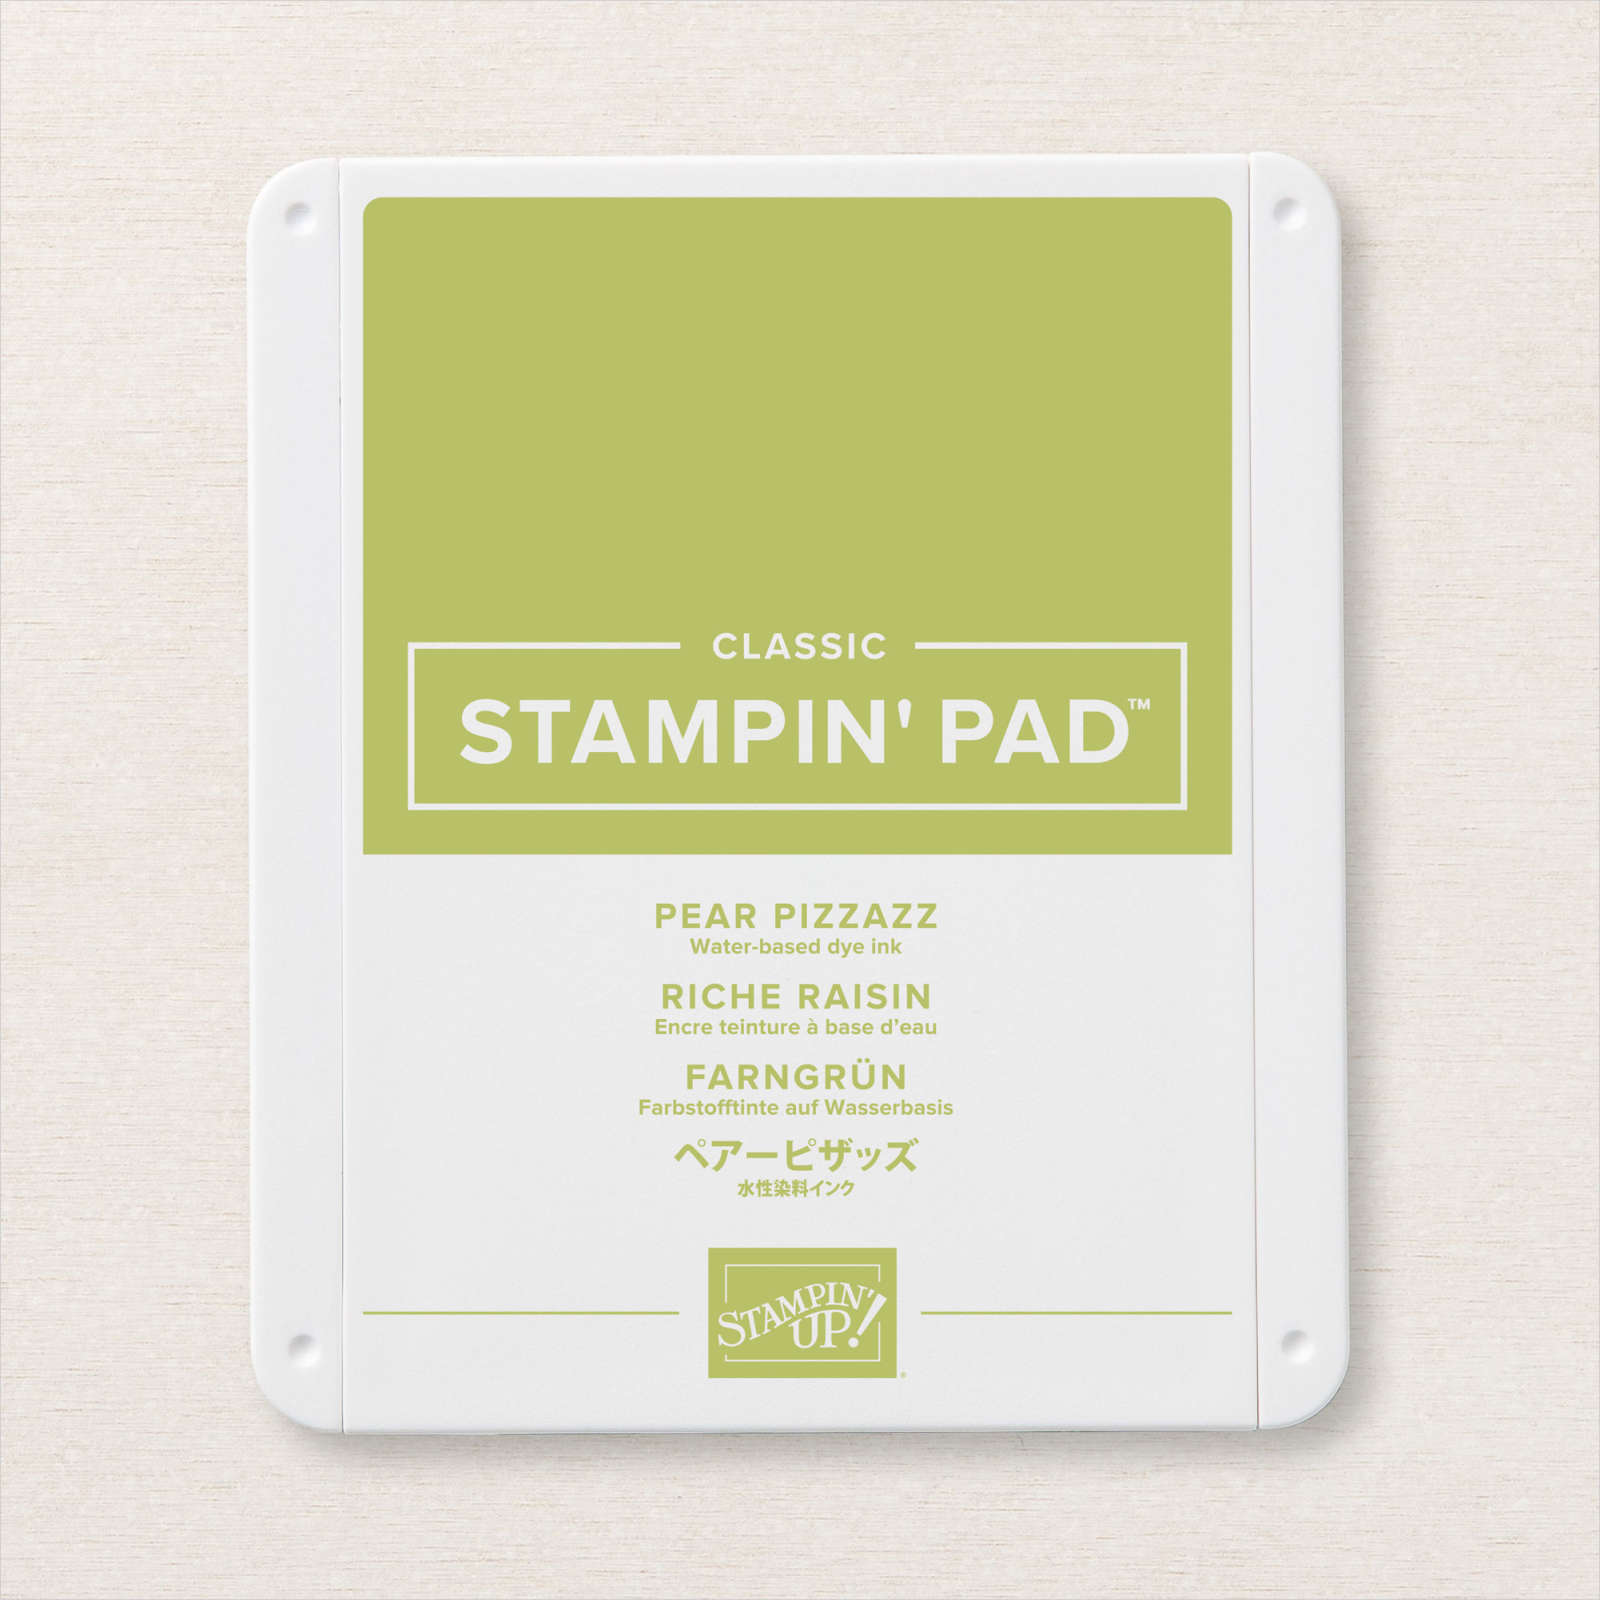
Today I decided to have another play with the Gorgeous Posies stamp set. I really love the images in this set! I stamped the greeting from the Gorgeous Posies stamp set onto Whisper White card using Pear Pizzazz ink. I masked the greeting and the bottom half of the Whisper White card using post-it-notes and stamped the flower from the Gorgeous Posies stamp set using Rococo Rose ink.

I stamped the flower centres using Basic Gray ink and the leaves using Pear Pizzazz ink. I also stamped the “dotted” image using So Saffron ink. I removed the post-it-notes and rotated the Whisper White card and masked the greeting and the already stamped part of the card.

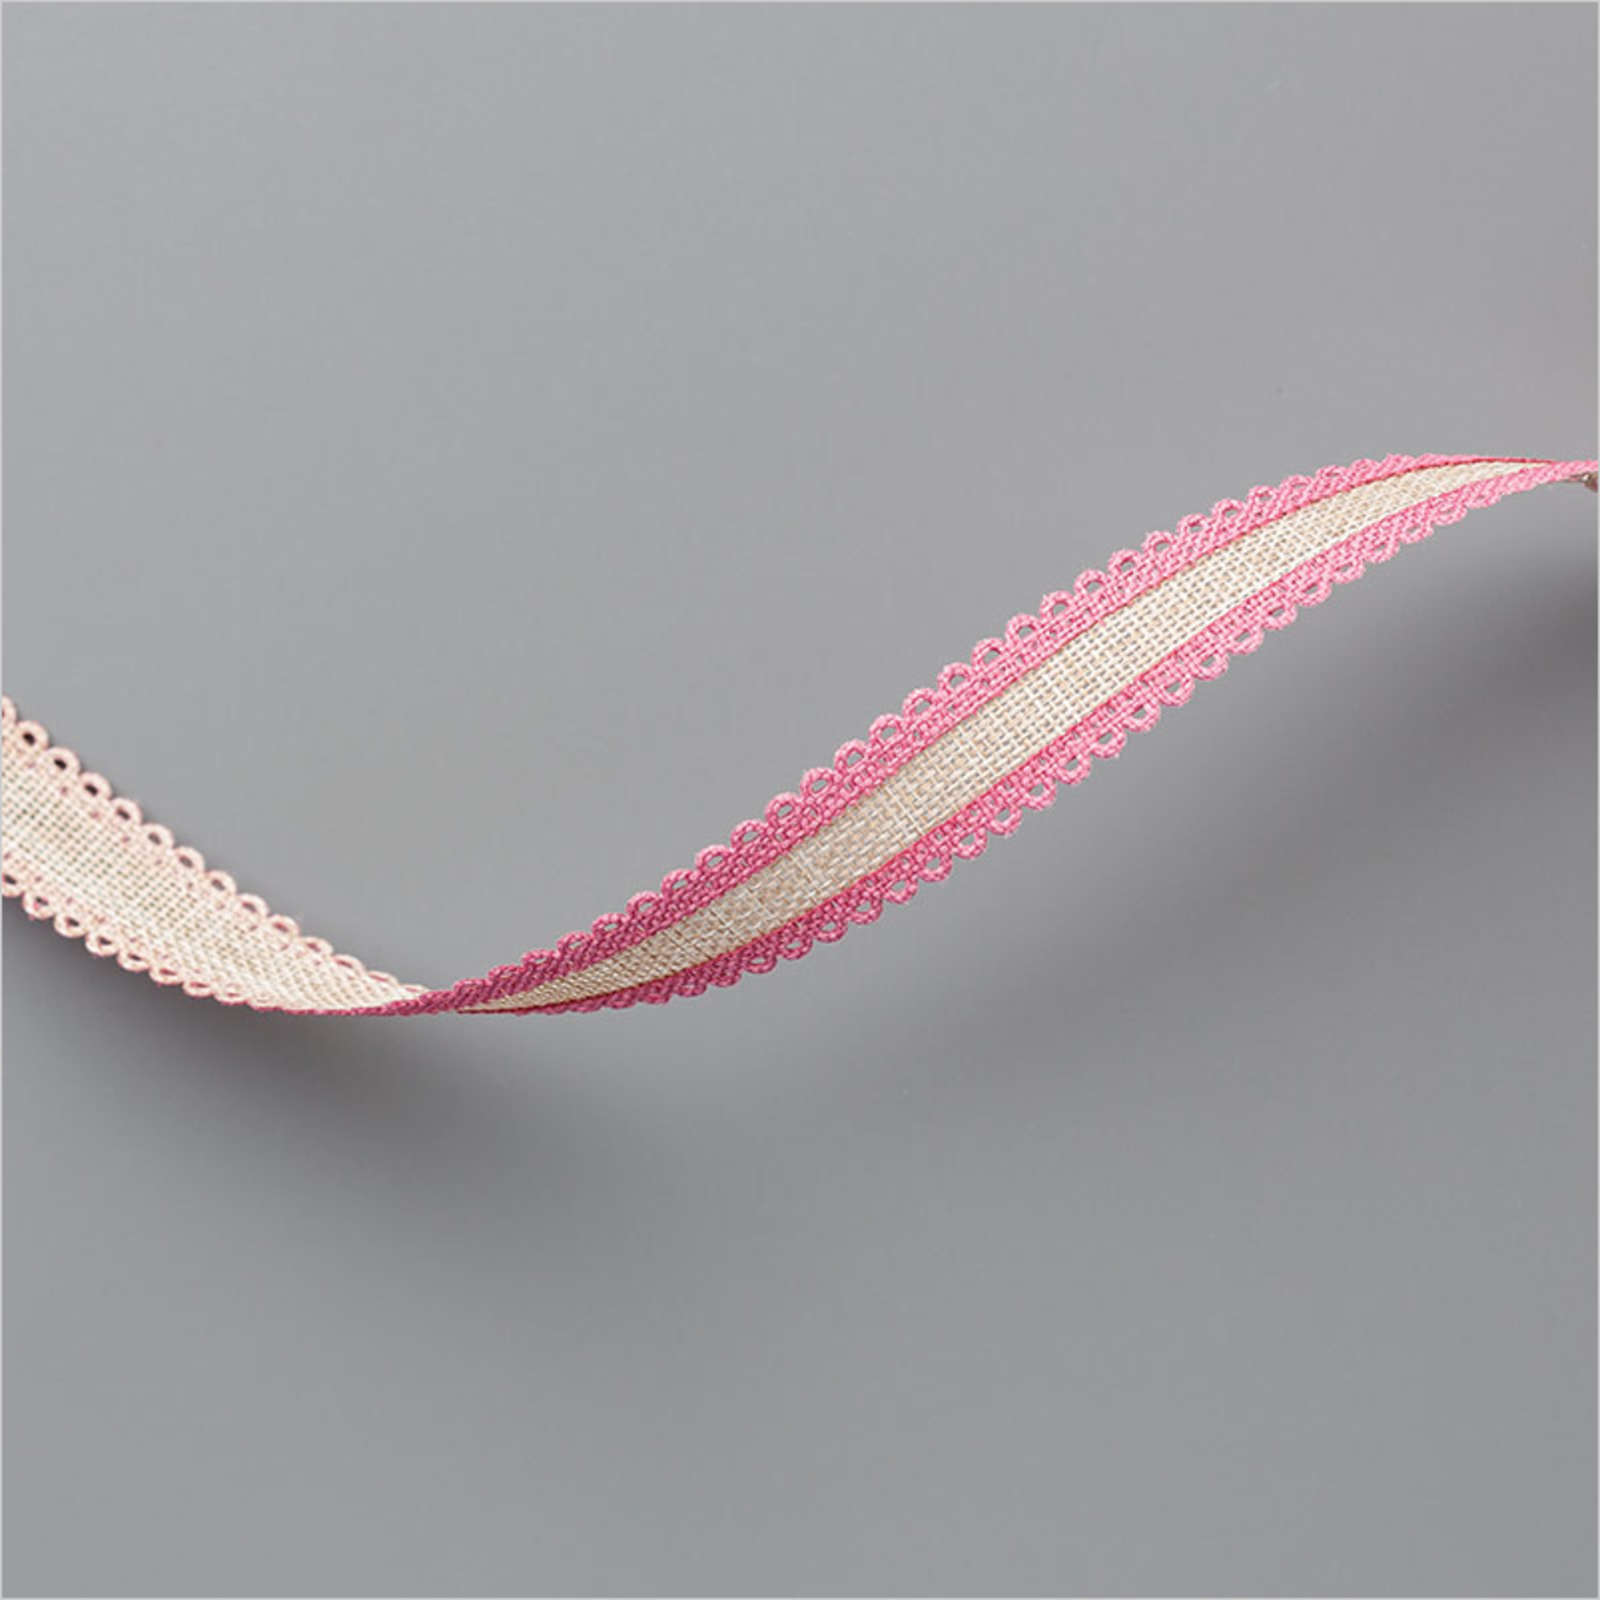
I stamped the same images using the same ink and removed the post-it-notes. I cut a length of Rococo Rose Scalloped Linen Ribbon and then cut the scalloped edges away. I used the scalloped edges to cover the edge of the stamping. The stamped panel is attached to Basic Gray card and then scored and folded Thick Whisper White card. To decorate the inside of the card, I stamped the flower from the Gorgeous Posies stamp set using Rococo Rose ink. I stamped the flower centre using Basic Gray ink and the leaves using Pear Pizzazz ink.
Such a pretty card, don’t you think?
Bye for now,
Kris
Product Used:


Curvy Christmas
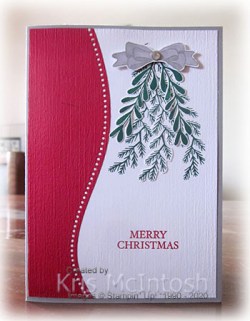
Yesterday in my Facebook Live, I shared a couple of cards made using the Curvy Celebrations product suite. This product suite has just become available for demonstrators to purchase (customers beginning on the 3rd November). The Quite Curvy stamp set and the co-ordinating Curvy Dies are an early release from the January to June 2021 Mini Catalogue. The Curvy Christmas stamp set which co-ordinates with the Curvy Dies is only available during the pre-order period (3.11.2020 – 4.1.2021). For my card today, I cut Real Red card using the dotted border die from the Curvy Dies. I attached the Real Red card to the left hand side of Whisper White card.
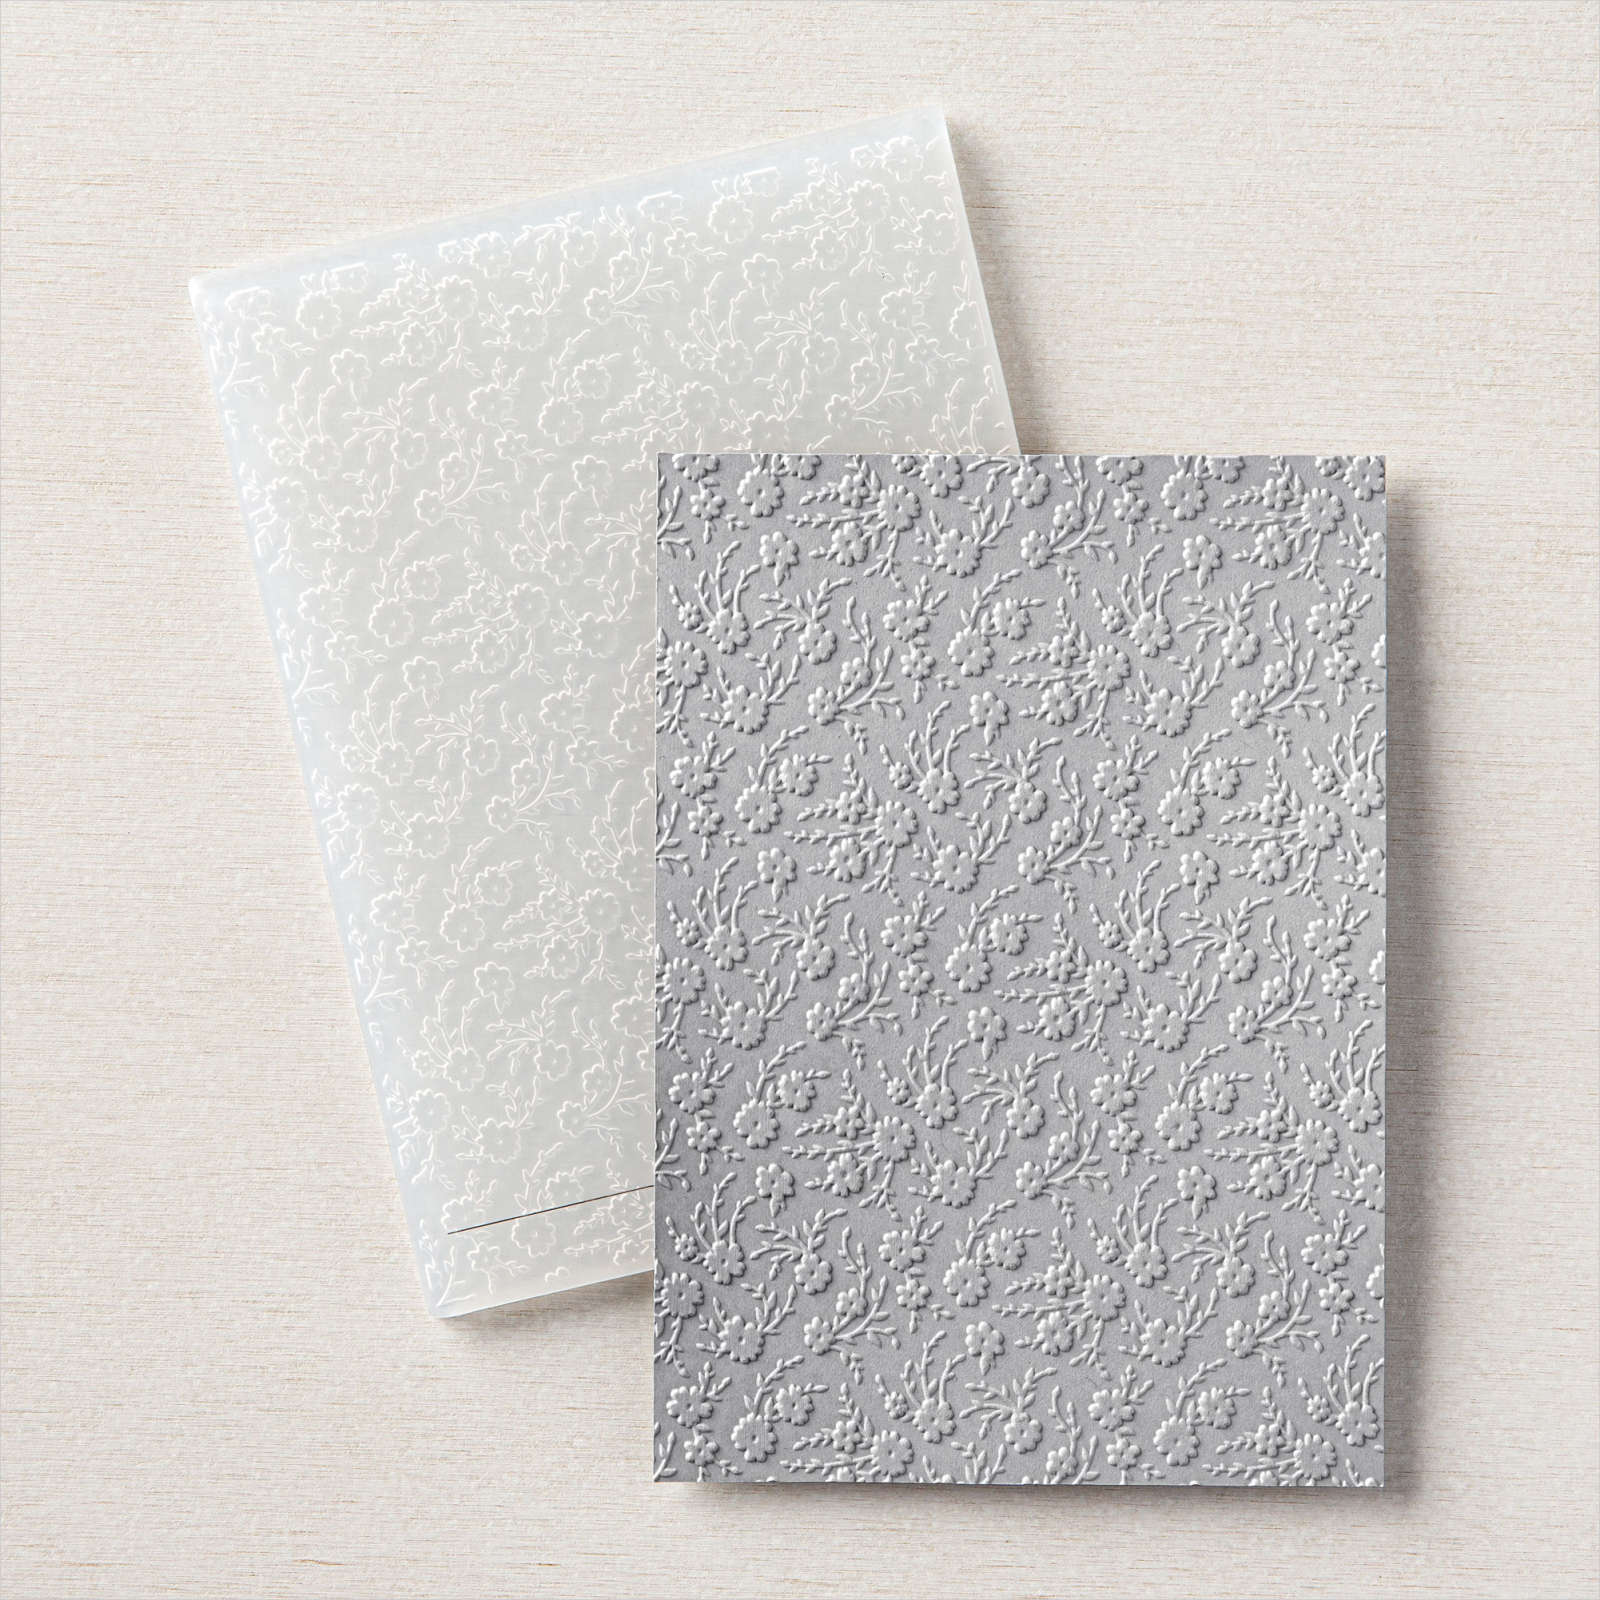
I stamped the ferny leaf from the Curvy Christmas stamp set twice onto the Whisper White card using Shaded Spruce ink. I also stamped the greeting from the Curvy Christmas stamp set using Real Red ink. I embossed the whole panel using the Subtle 3D Embossing Folder before attaching the panel to scored and folded Smoky Slate card.

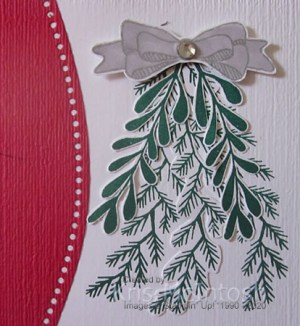
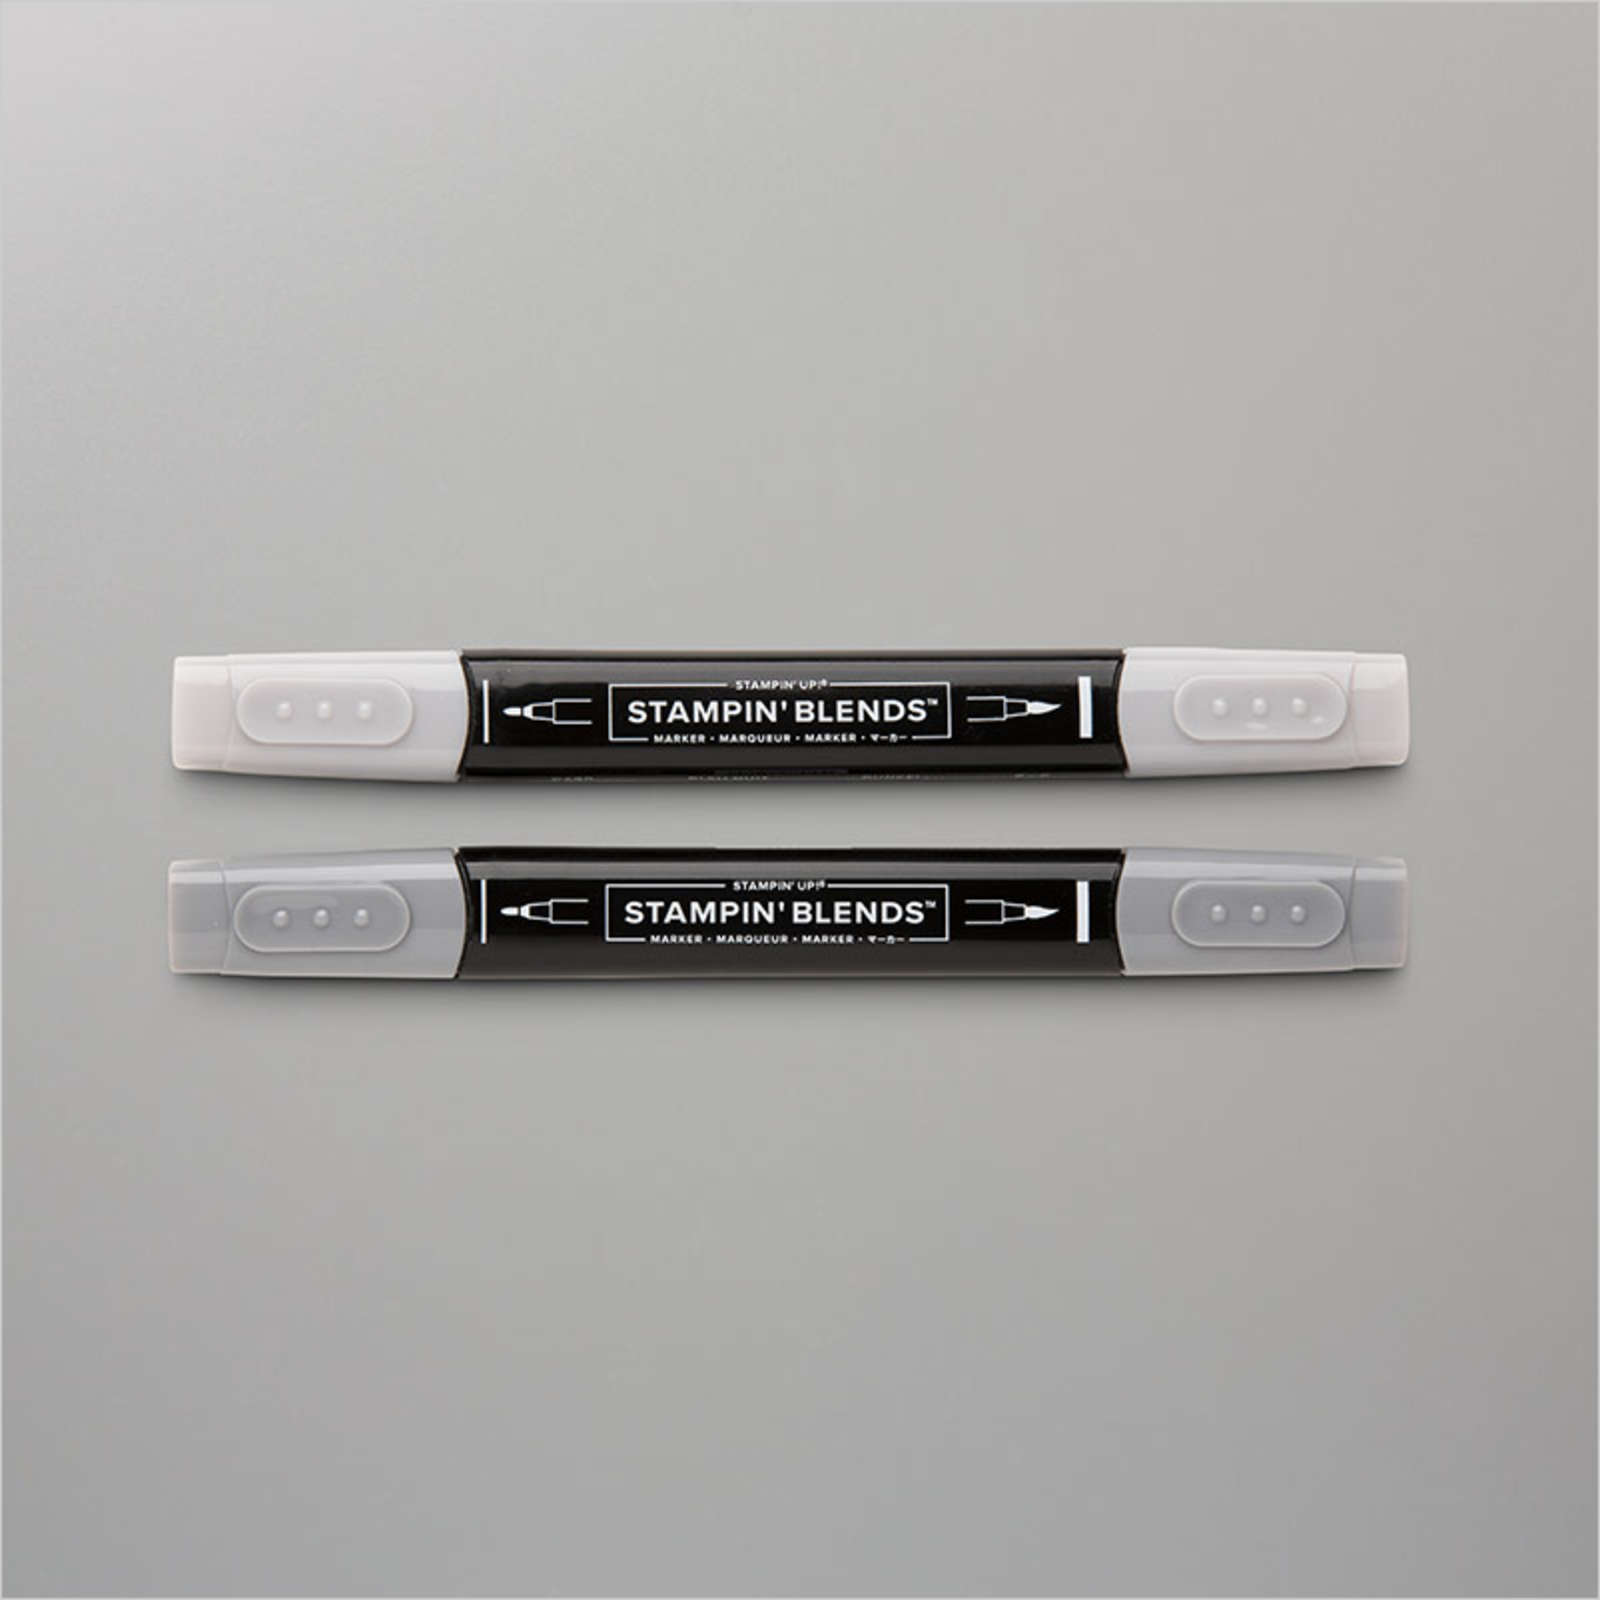
I stamped the ferny leaf image once and one other leaf image twice onto scrap Whisper White card. I cut out the images and attached them over the stamped images on the card front. I stamped the bow image from the Curvy Christmas stamp set onto scrap Whisper White card using Smoky Slate ink. I coloured the bow using the Light Smoky Slate Stampin’ Blend and cut it out. The bow is attached over the ends of the leaves using Mini Dimensionals. I added a Basic Rhinestone to the centre of the bow just because you sometimes need a little bling! To decorate the inside of the card I stamped the greeting from the Curvy Christmas stamp set using Real Red ink. When you cut out the Curvy Dies you get the piece with the dots and another piece with no dots. I decided to use some of the piece with no dots on the inside of the card. So I embossed the Real Red piece using the Subtle 3D Embossing Folder and attached it across the bottom of the stamped card.
I love the colours in this card, so Christmassy! Let me know what you think.
Since I am sure you will love this product suite, you can download the PDF here.
Bye for now,
Kris
Product Used:


Toasty Birthday
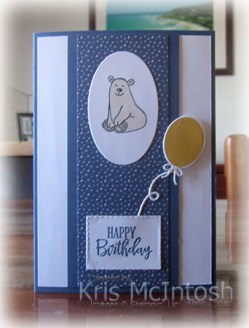
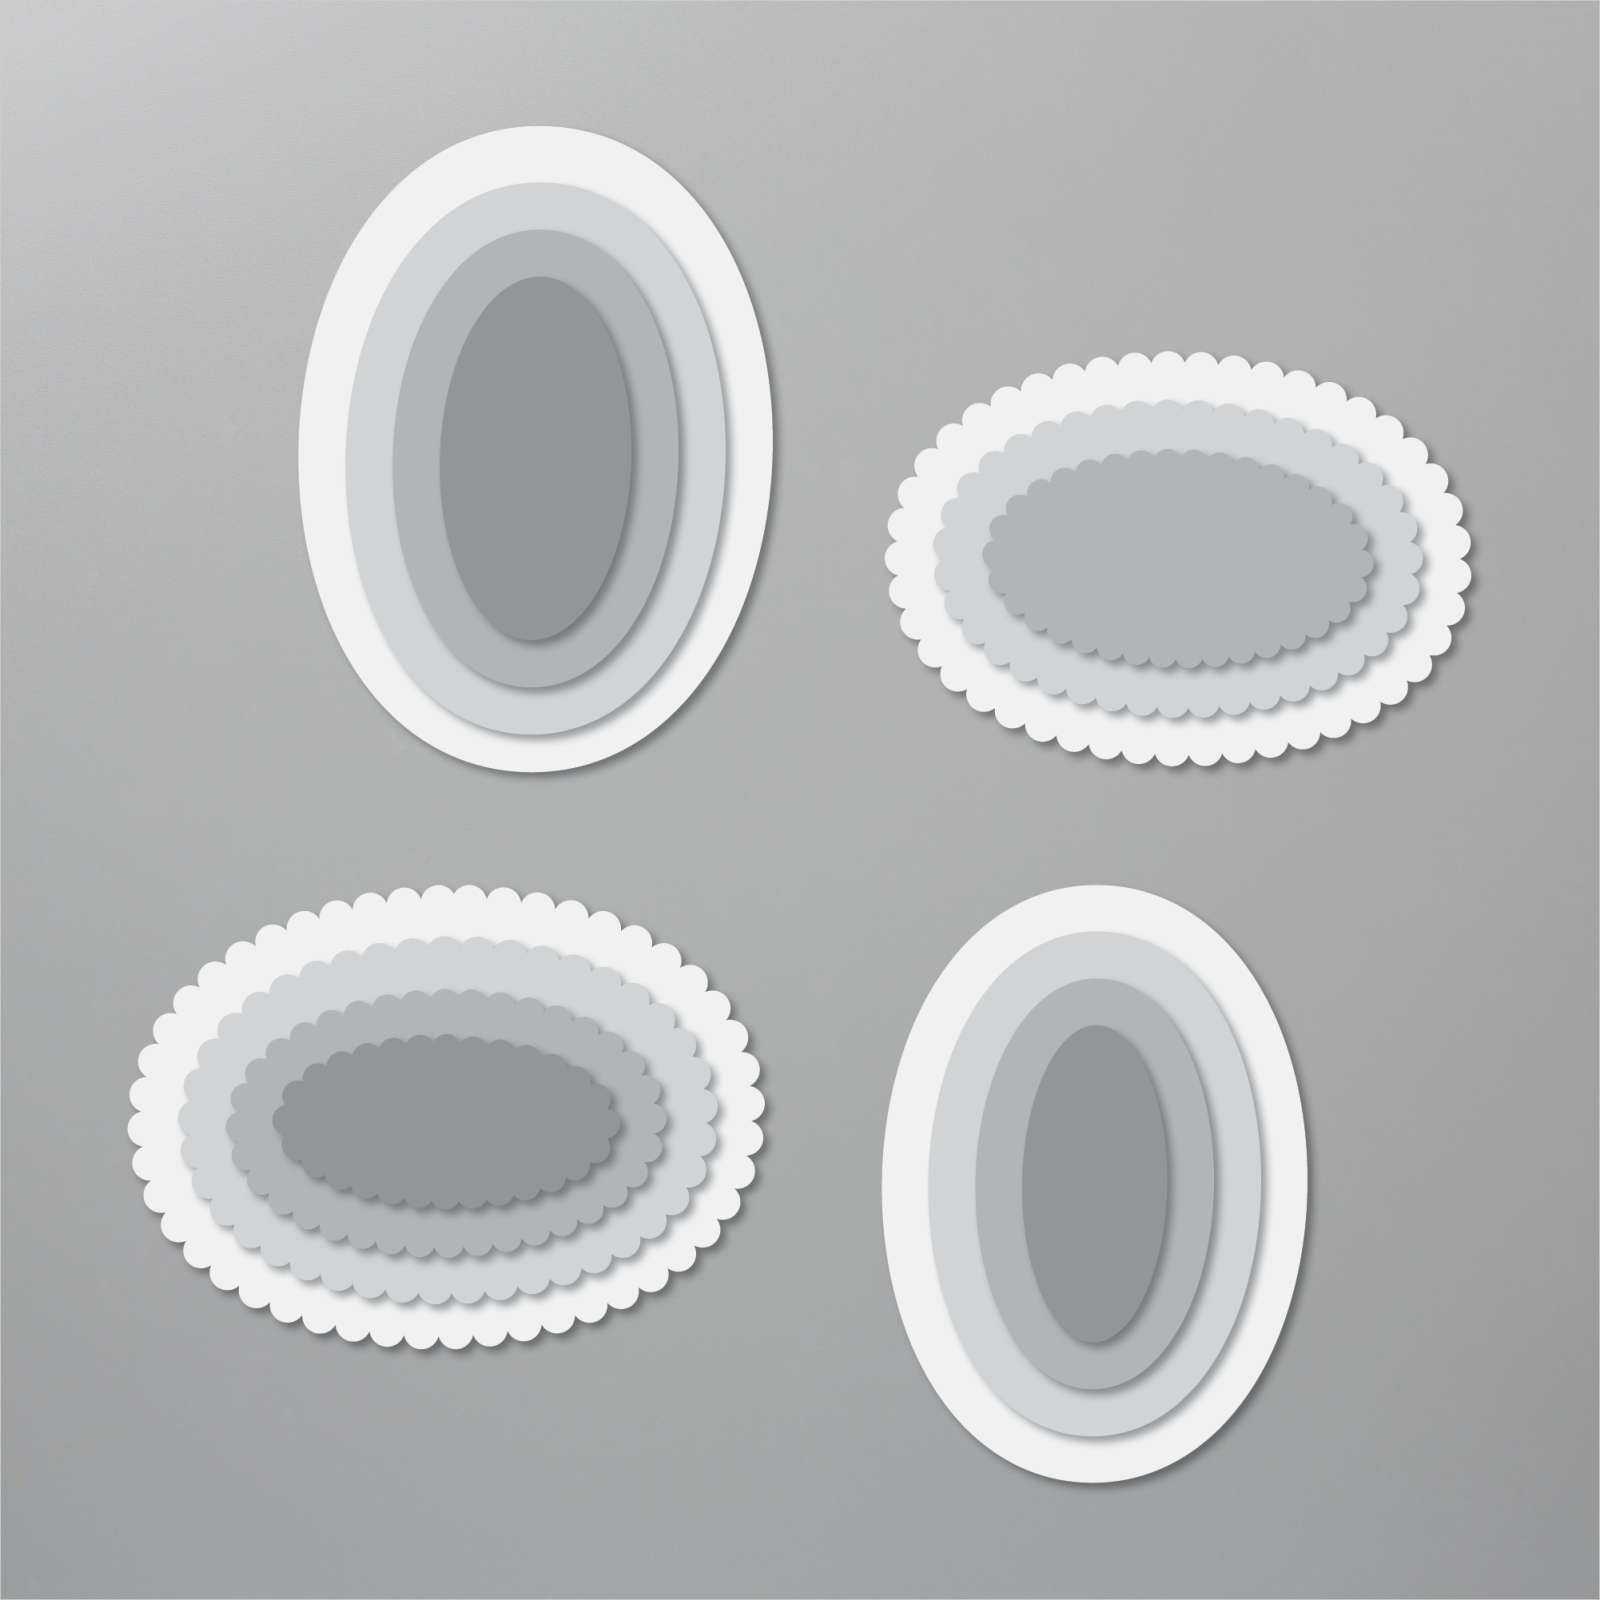
I love the Warm & Toasty stamp set but I wasn’t quite sure what to do with the small bear, so today I used it for a birthday card. I attached Flowers For Every Season 6″ x 6″ Designer Series Paper to Misty Moonlight card and then Whisper White card. The whole panel is attached to scored and folded Misty Moonlight card. I stamped the bear from the Warm & Toasty stamp set onto Whisper White card using Memento Tuxedo Black ink and coloured him using Crumb Cake Stampin’ Blends. The bear is cut out using the Layering Ovals Dies and attached to the Designer Series Paper.
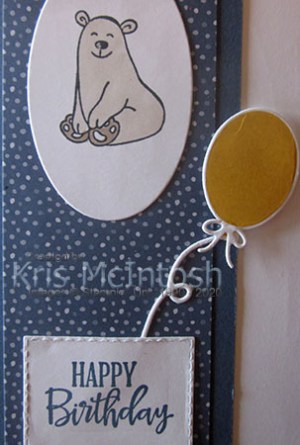
I stamped “happy birthday” from the Peaceful Moments stamp set onto Whisper White card using Misty Moonlight ink and cut it out using the Stitched Rectangle Dies. I cut the string and bow from Whisper White card using the Happy Dies. I stamped the solid balloon image from the So Much Happy stamp set onto Whisper White card using Bumblebee ink and cut it out using the co-ordinating Happy Die.
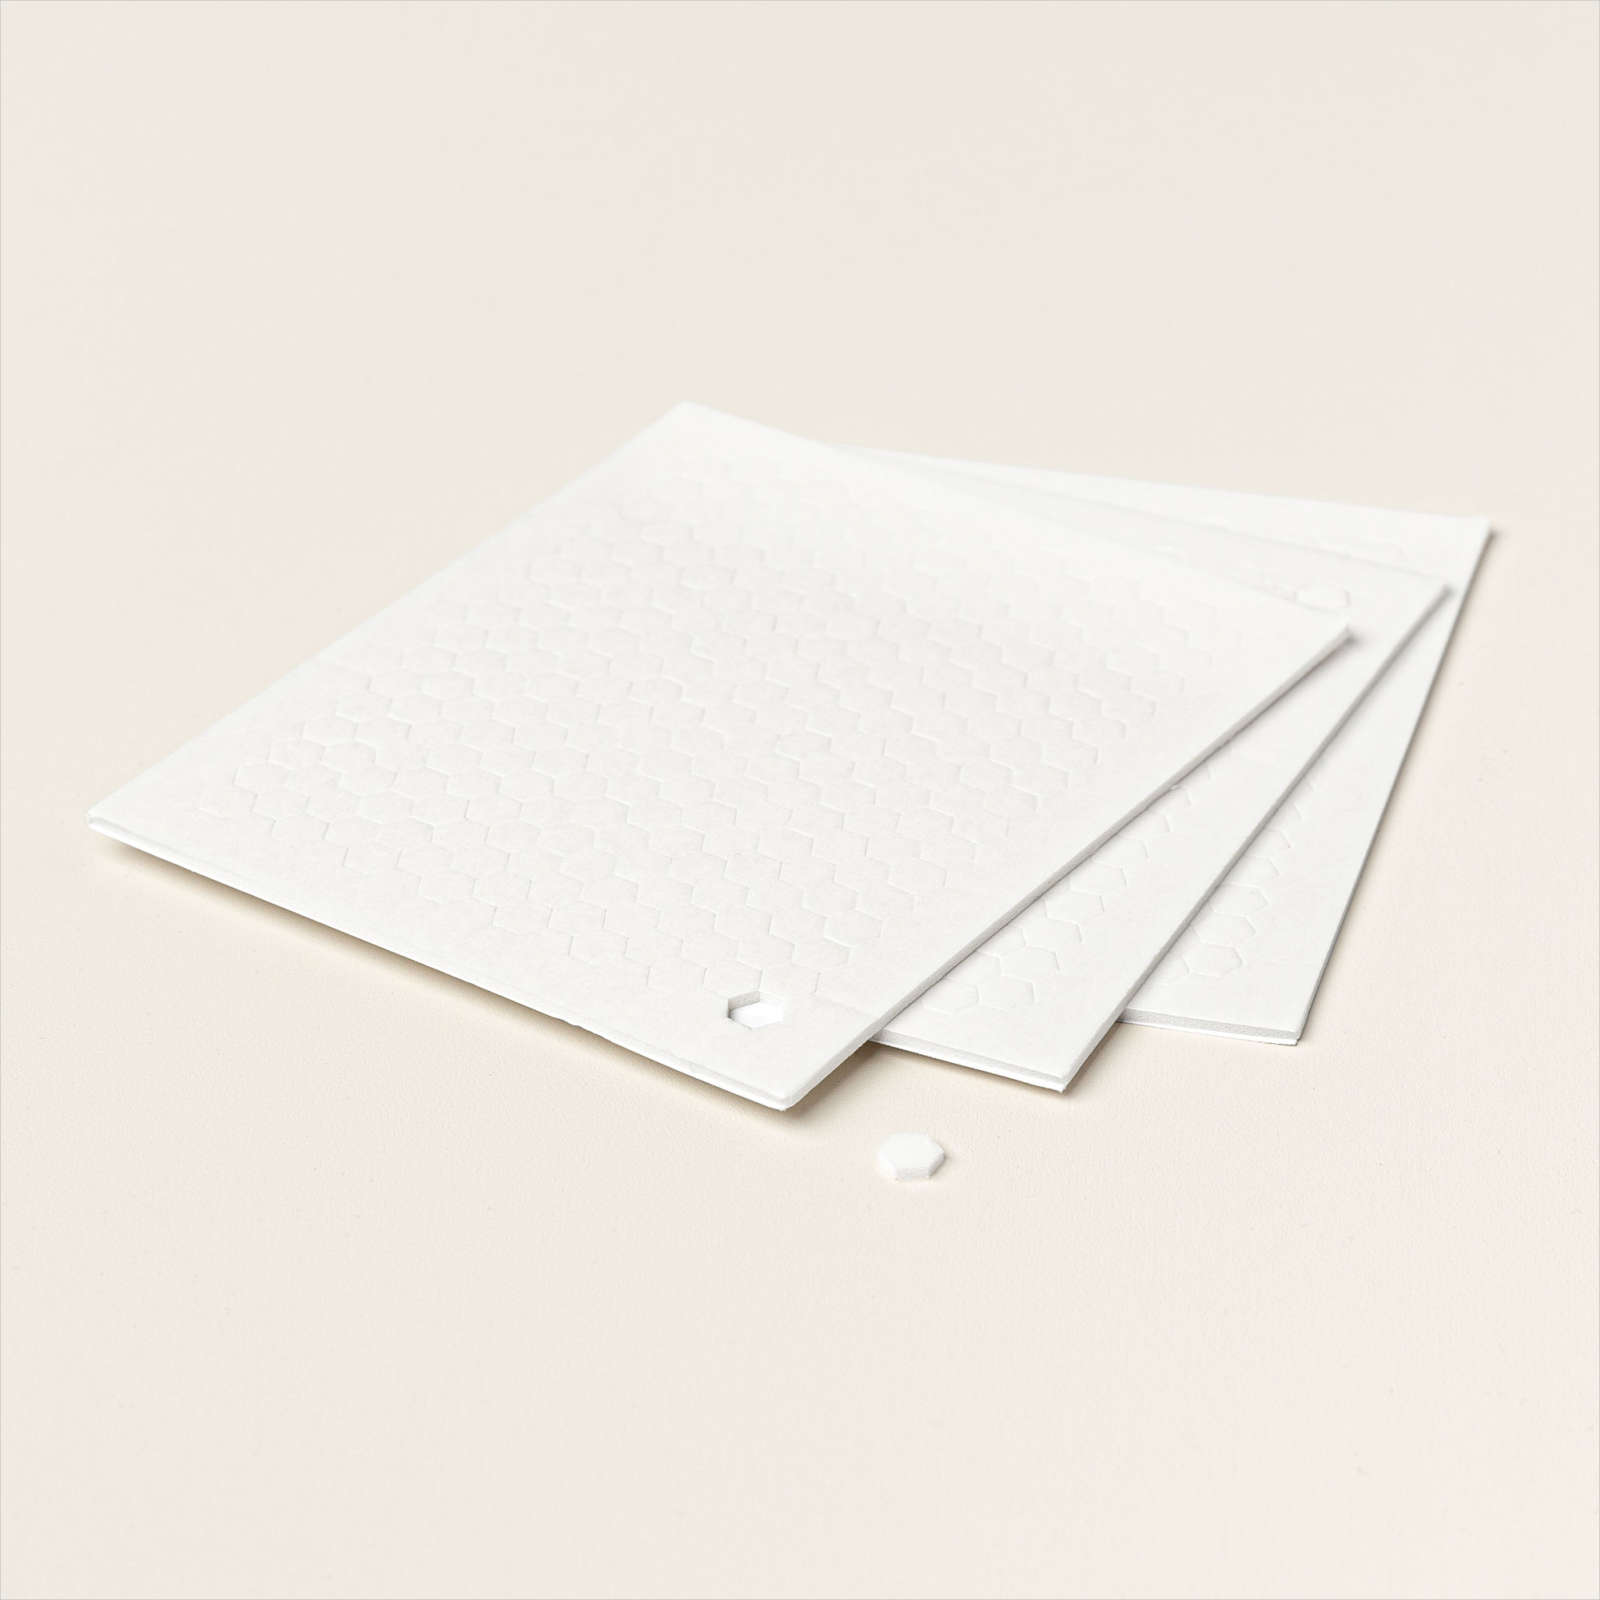
I attached the balloon string to the back of the greeting panel before attaching the greeting to the card front. I attached the balloon over the end of the balloon string using dimensionals and added the bow using Multipurpose glue.
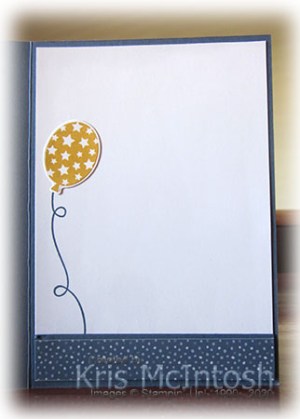
To decorate the inside of the card, I stamped the balloon string from the So Much Happy stamp set onto the left hand side of Whisper White card using Misty Moonlight ink. I attached a narrow strip of Misty Moonlight behind a strip of the Flowers For Every Season Designer Series Paper and attached it to the bottom of the stamped card. I stamped the starry balloon image from the So Much Happy stamp set onto Whisper White card using Bumblebee ink and cut it out using the co-ordinating Happy Die.
Such a cute card, don’t you think?
Bye for now,
Kris
Product Used:


Golden Birthday

Today’s card uses the Forever Gold Specialty Designer Series Paper. I am loving all the beautiful embellishments this paper contains. I embossed Misty Moonlight card using the Subtle 3D Embossing Folder which I attached to scored and folded Thick Whisper White card. I attached one of the die cut pieces from the Forever Gold Specialty Designer Series Paper.

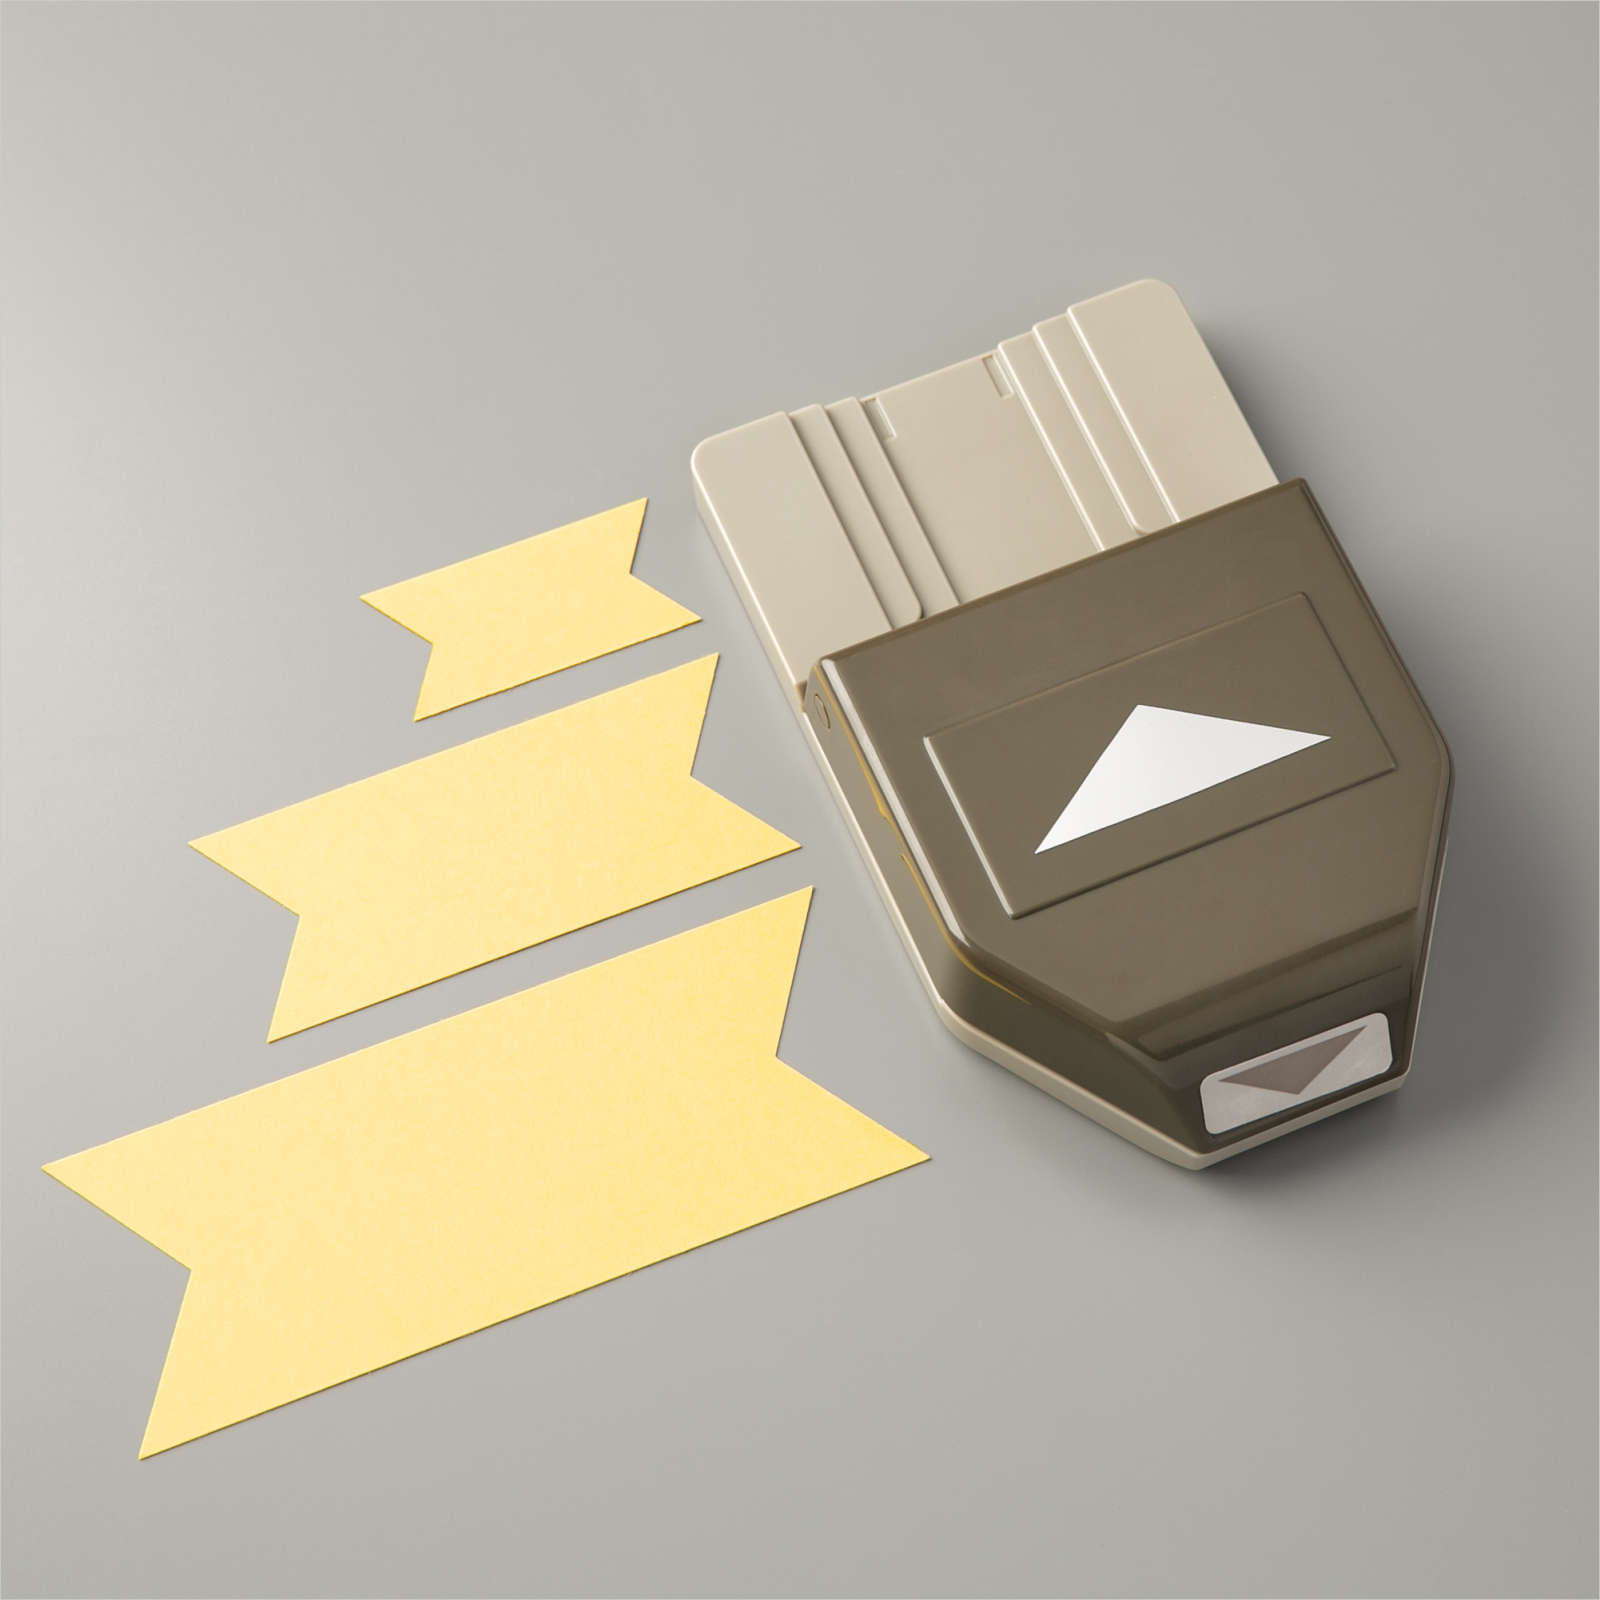
I stamped happy birthday from the Itty Bitty Birthday stamp set onto a narrow strip of Whisper White card using Misty Moonlight ink and punched the ends using the Lovely Labels Pick A Punch.

I attached the greeting to the centre of the die cut. To decorate the inside of the card, I stamped another greeting from the Itty Bitty Birthday stamp set using Misty Moonlight ink. I also attached a die cut leaf from the Forever Gold Specialty Designer Series Paper.
This is such a simple card but ever so pretty. I hope the friend I sent it to likes it too.
Bye for now,
Kris
Product Used:


Backyard Fun

Today’s page shows off some photos taken during a recent short stay by my two youngest granddaughters. I used the same layout as the pages I shared recently which you can see here. This time I attached a piece of In Good Taste Designer Series Paper to each of the Whisper White 12″ x 12″ pages. I embossed Balmy Blue card using the Subtle 3D Embossing Folder and attached the embossed card over the Designer Series Paper. I attached an additional piece of the In Good Taste Designer Series Paper to the left hand side of the first page.
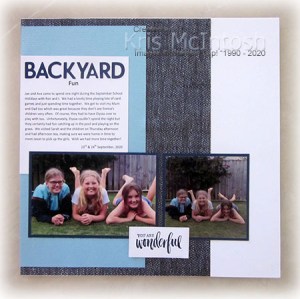
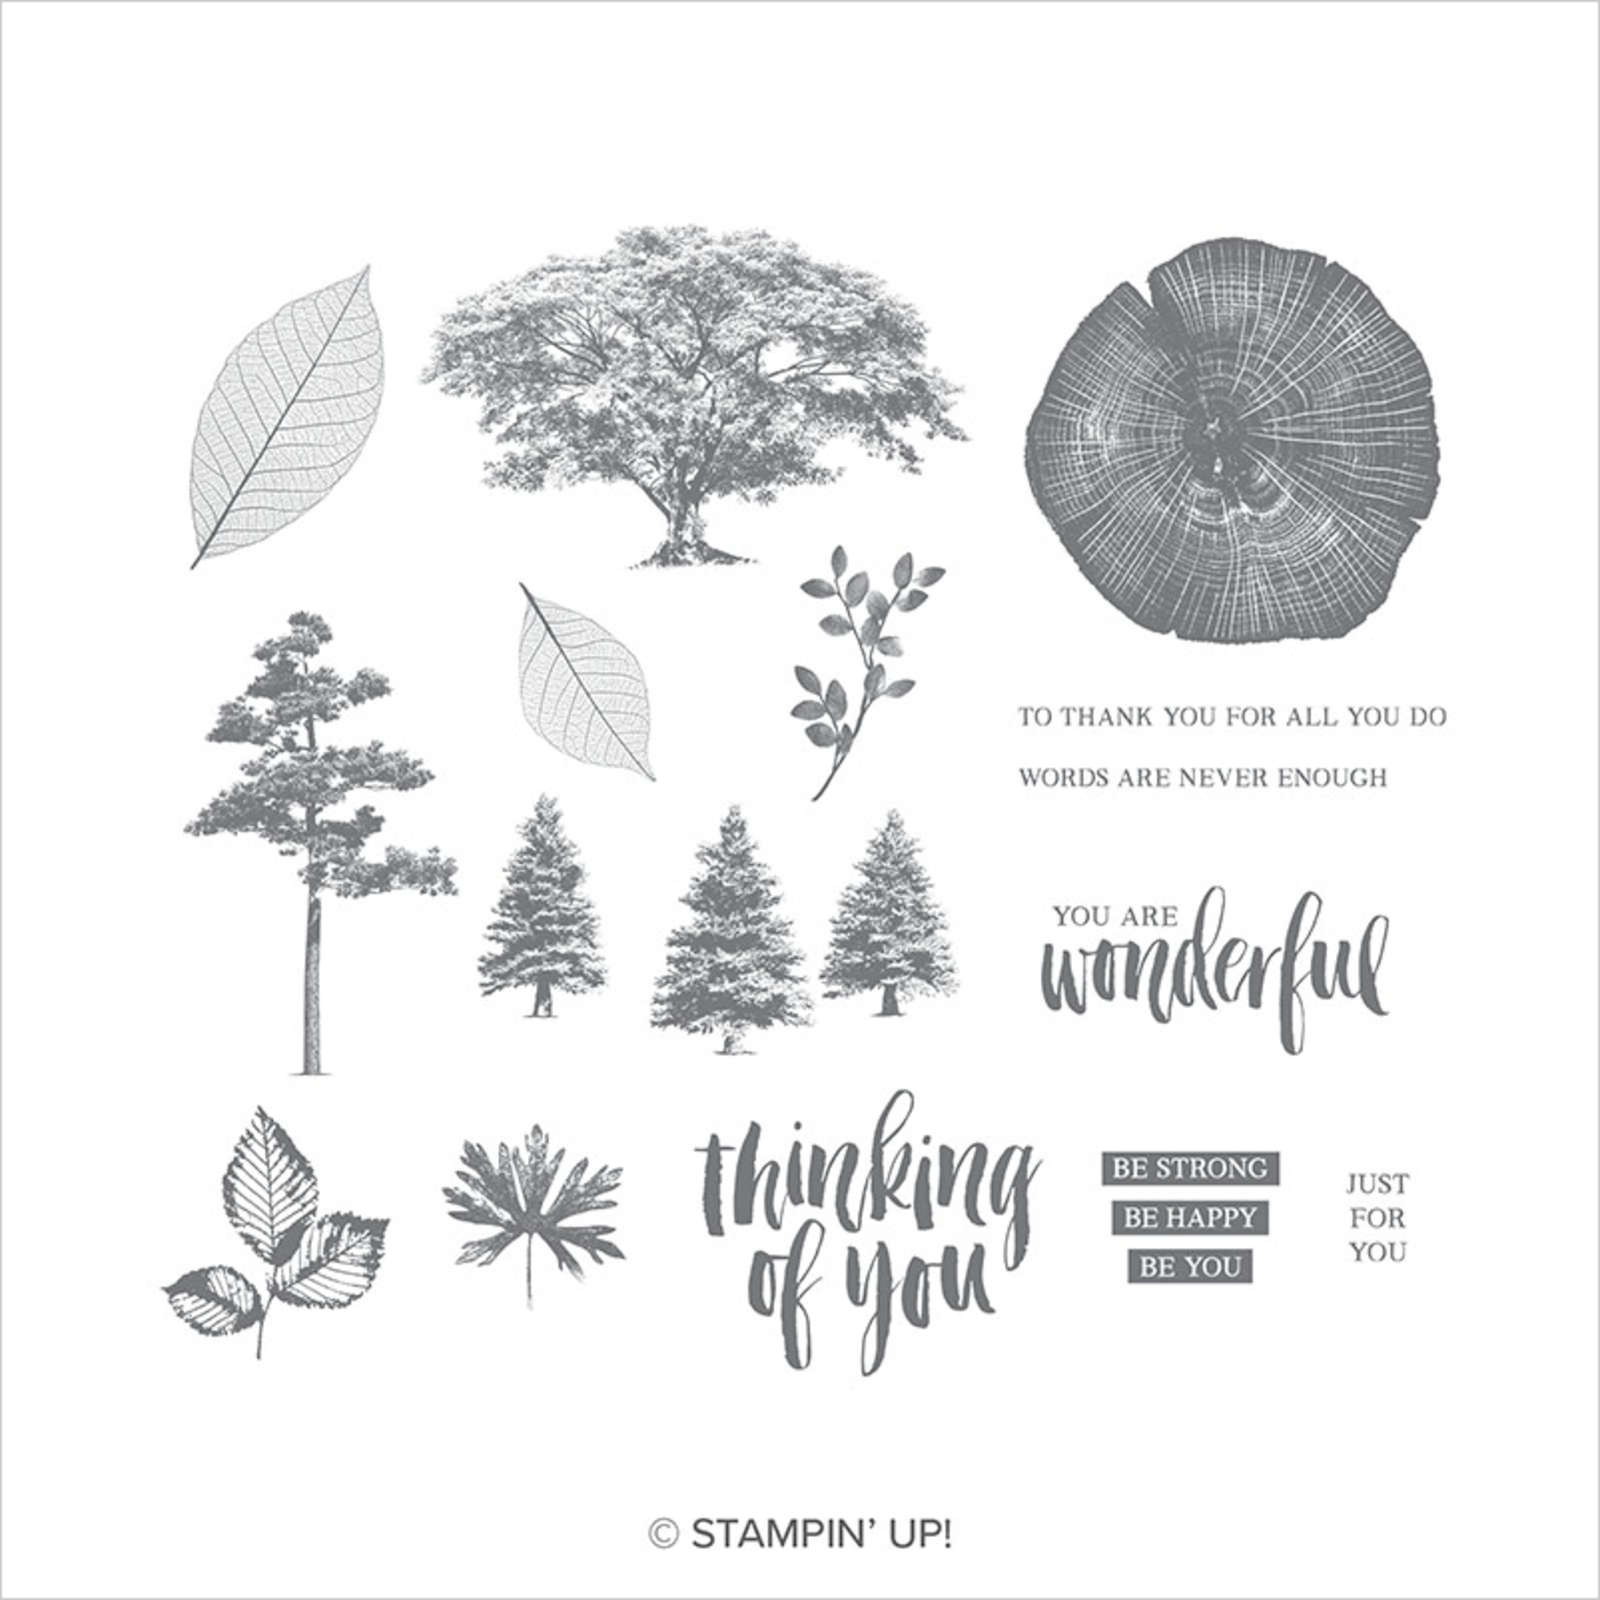
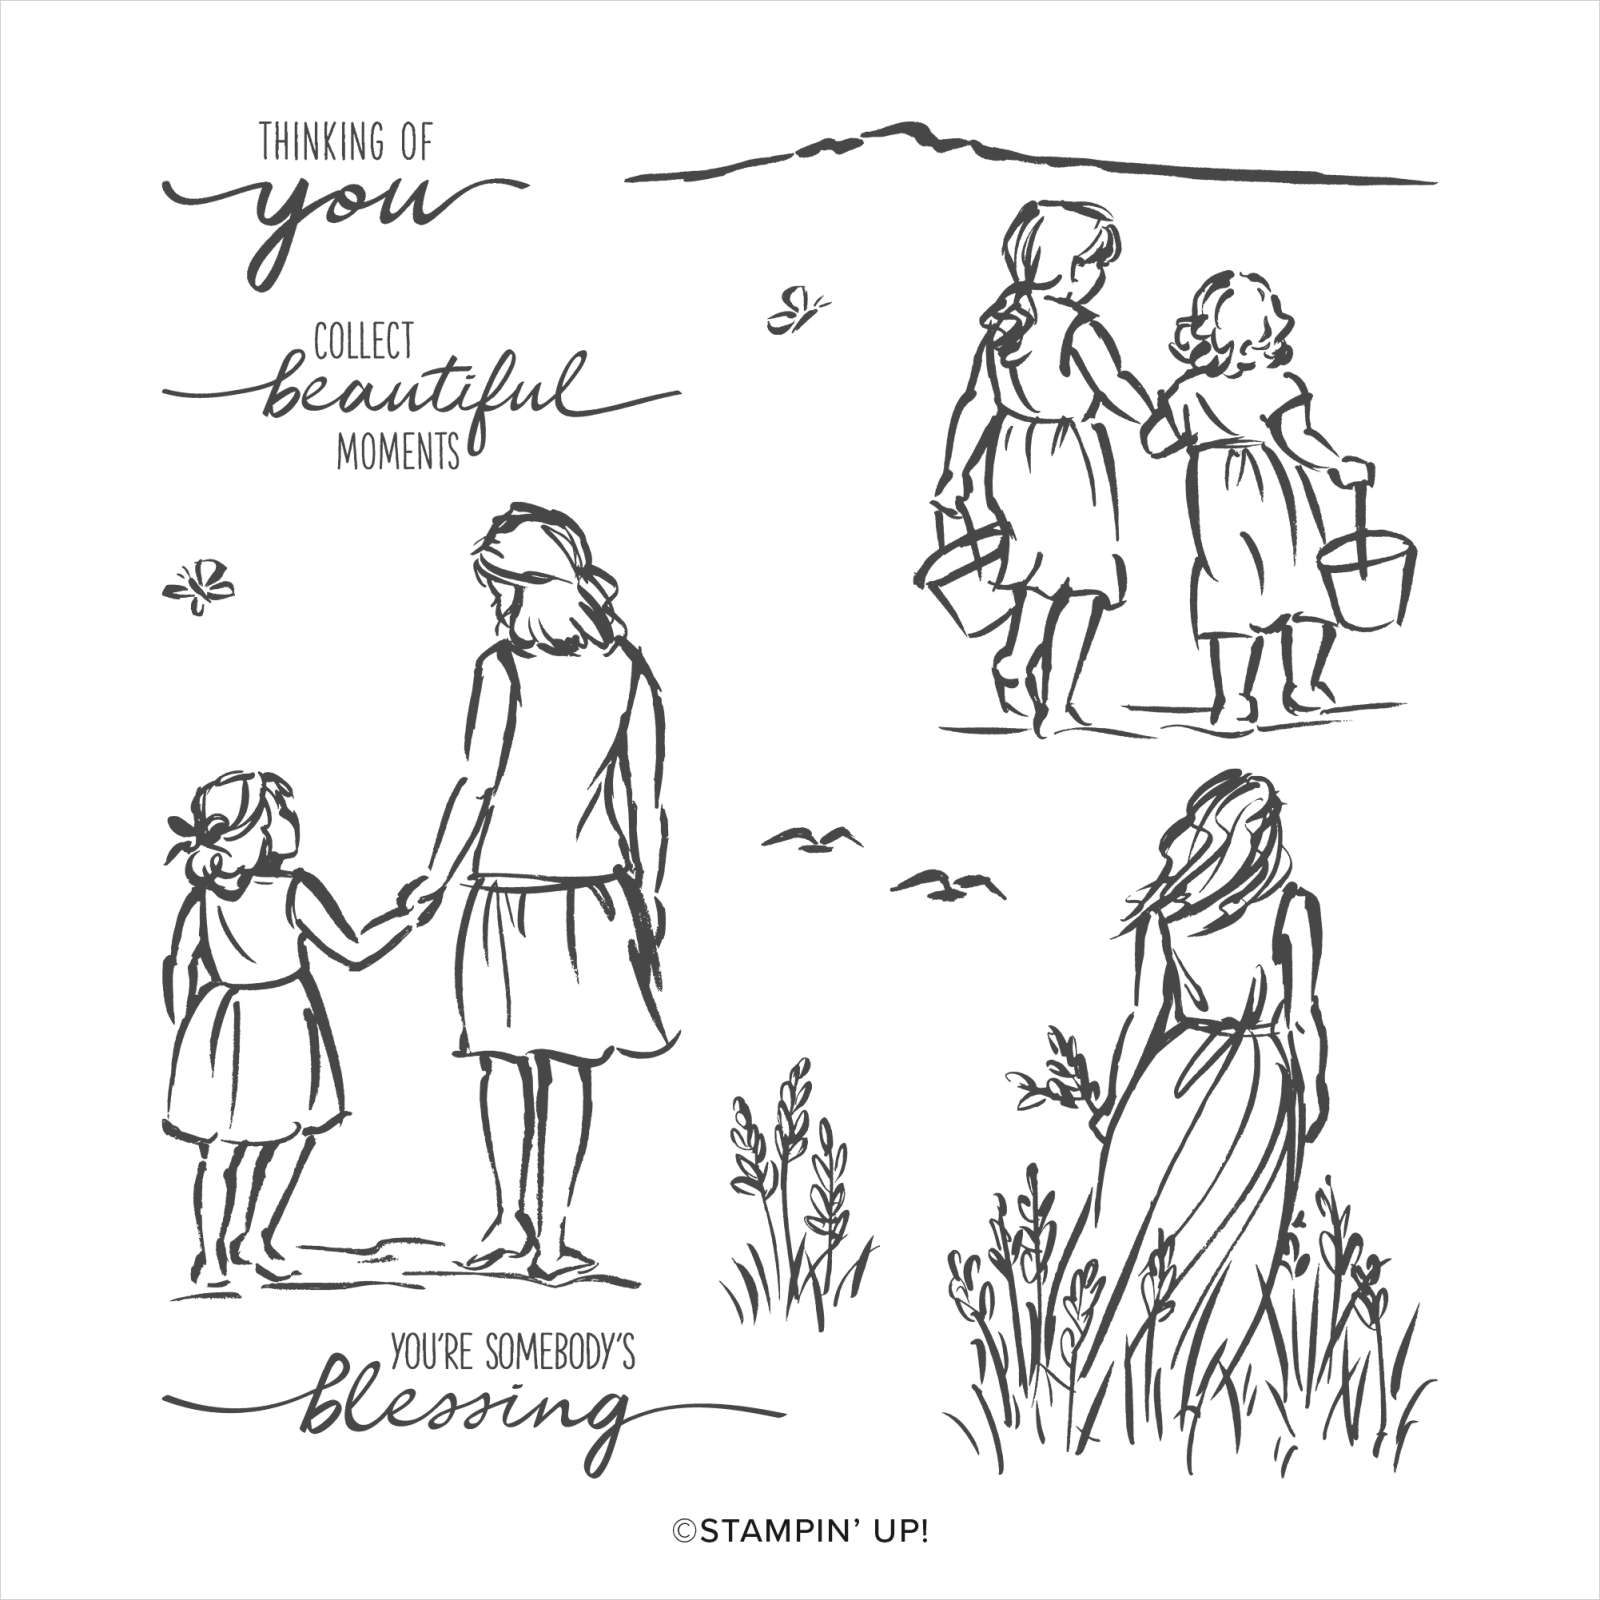
I created the journaling on my computer and printed onto Whisper White card and attached it to the right hand page. I cut the letters for the title from Night of Navy card using the Playful Alphabet Dies. All of the photos are attached to Night of Navy card. I stamped “You are wonderful” from the Rooted in Nature stamp set onto Whisper White card using Night of Navy ink. The greeting is cut out using one of the Stitched Rectangle Dies and attached to the right hand page using dimensionals. I stamped “collect beautiful moments” from the Beautiful Moments stamp set onto Whisper White card using Night of Navy ink. The greeting is cut out using another of the Stitched Rectangle Dies and attached to the left hand page. I stamped “You make the world a better place” from the Beautiful World stamp set onto Whisper White card using Night of Navy ink. I used the Stitched Rectangle Dies to cut out the greeting, although I did have to put the greeting back into the die to get the smaller shape that I wanted. This greeting is attached to the top left hand corner of the first page.
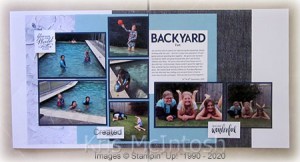
I love the way these pages look and they are completely different to the ones I created previously using the same layout.
Bye for now,
Kris
Product Used:


Fernery Birthday
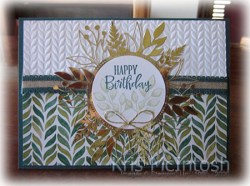
Today’s card features some of the gorgeous Forever Gold Specialty Designer Series Paper. This is such a gorgeous pack of golden die cuts and card fronts. I began by embossing a piece of Whisper White card with one of the Greenery Embossing Folders. I attached a piece of Forever Greenery Designer Series Paper across the bottom of the embossed Whisper White card.

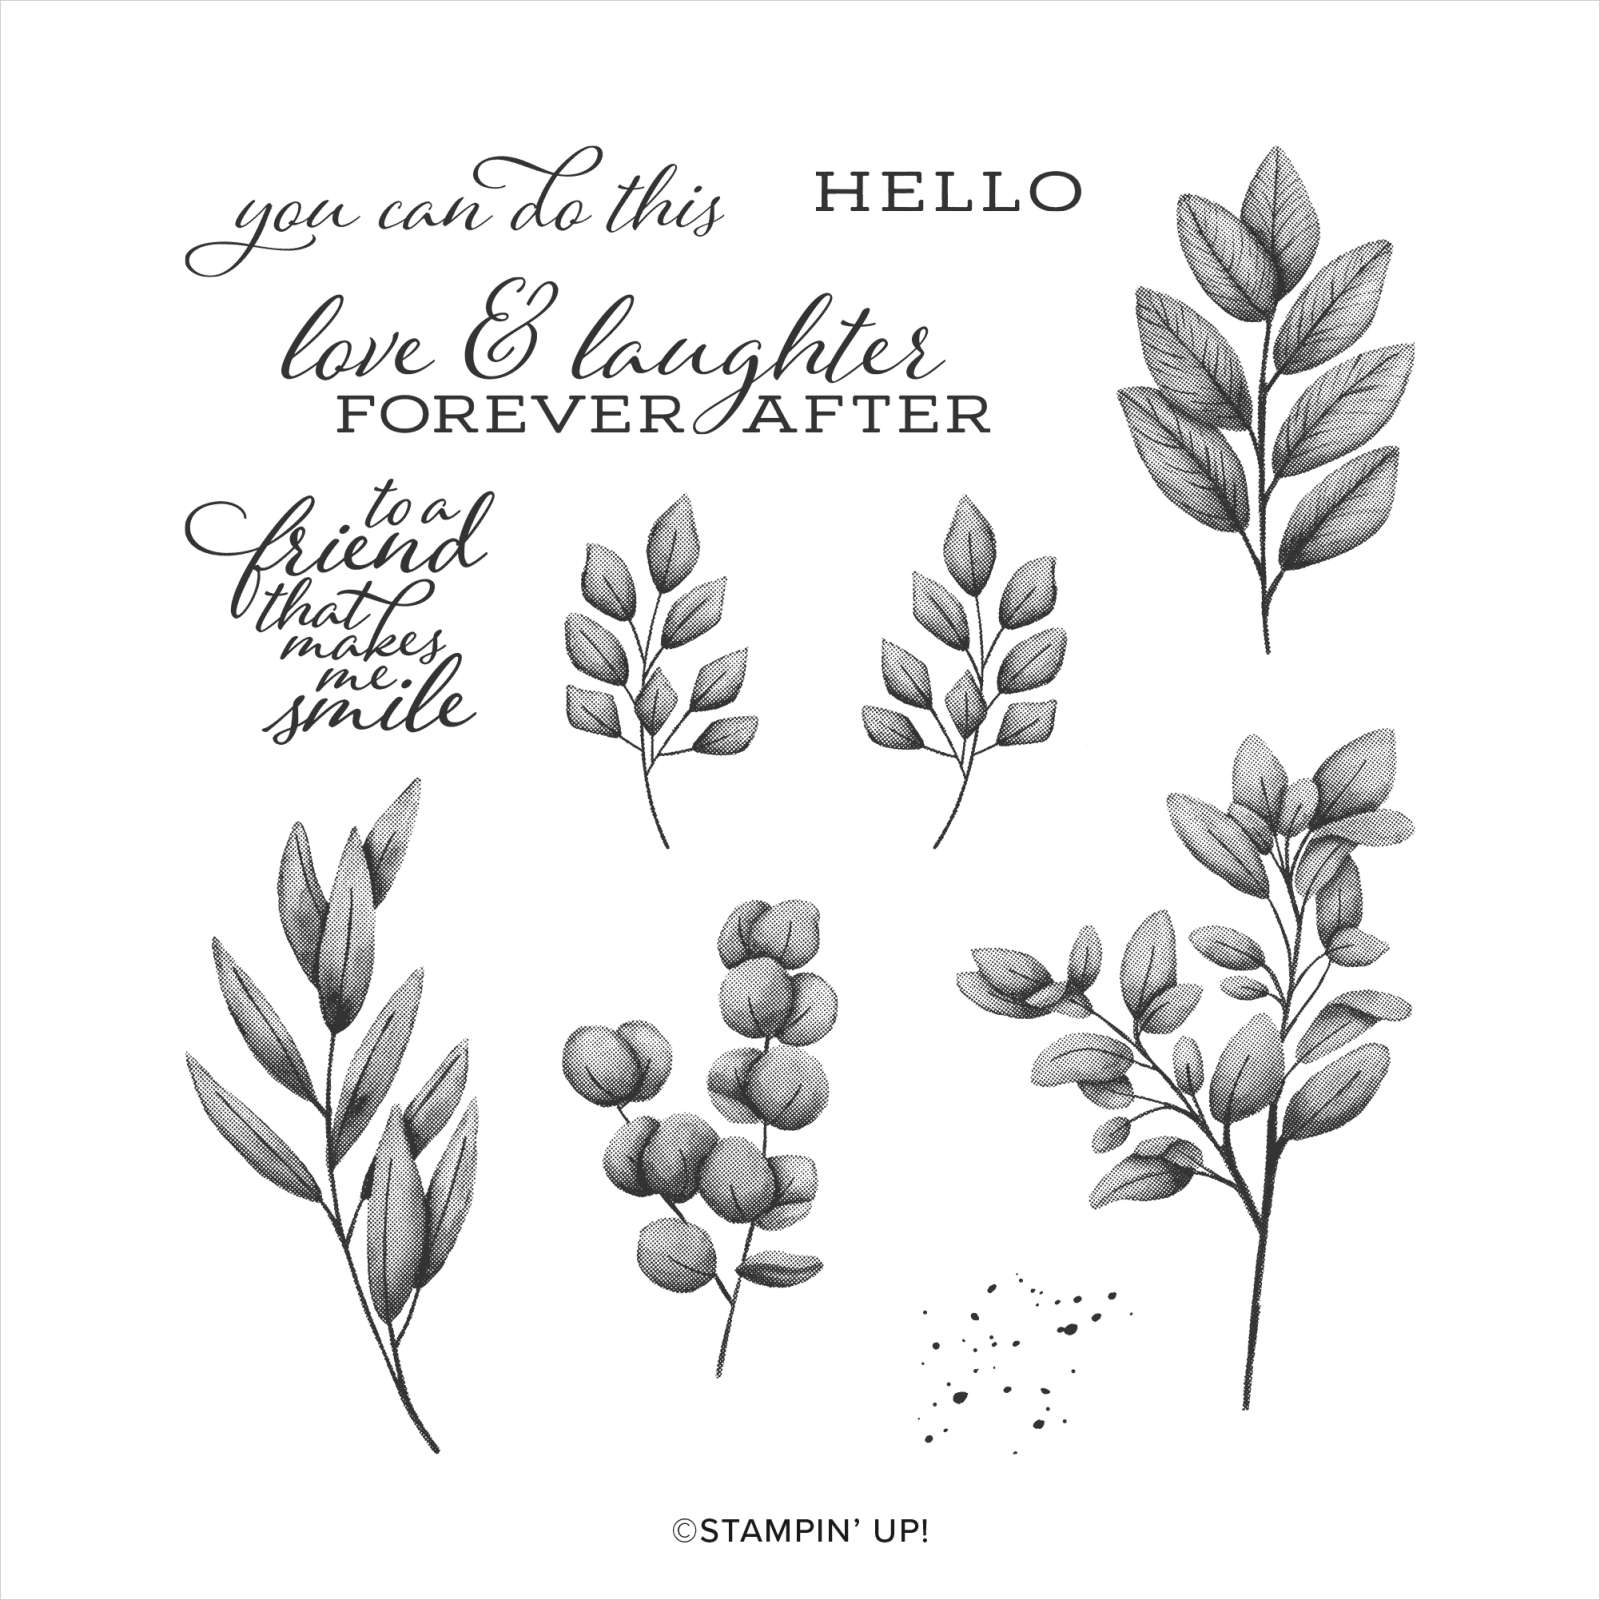
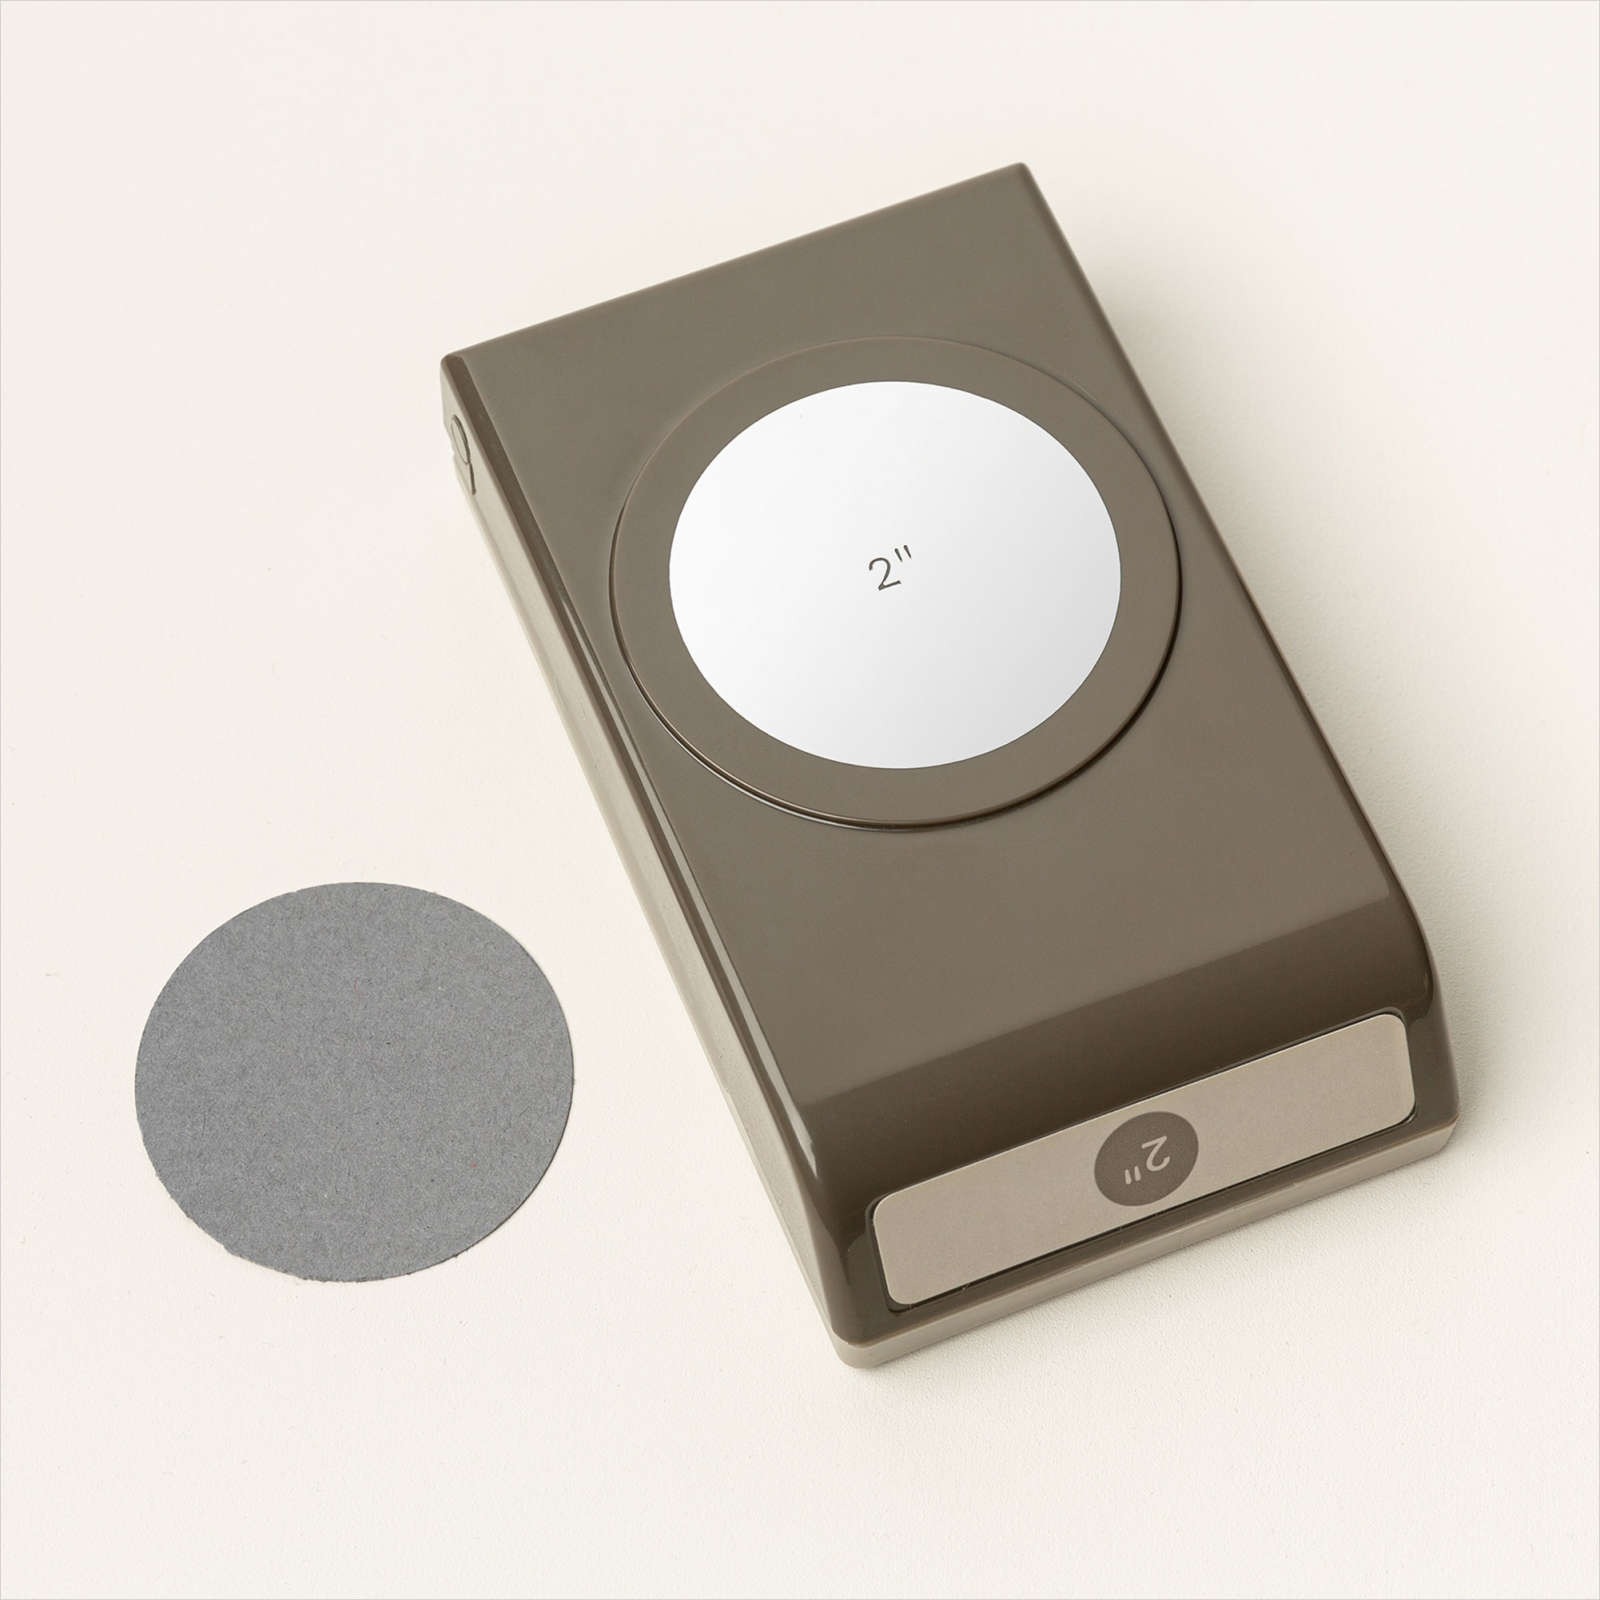
I wrapped the top of the Designer Series Paper with a length of Pretty Peacock Scalloped Linen Ribbon before attaching the whole panel to scored and folded Pretty Peacock card. I attached the die cut from the Forever Gold Specialty Designer Series Paper to the centre of the card front. I stamped “happy birthday” from the Peaceful Moments stamp set onto Whisper White card. I punched out the greeting using the 2″ Circle Punch and stamped two of the images from the Forever Fern stamp set using Soft Sea Foam ink.
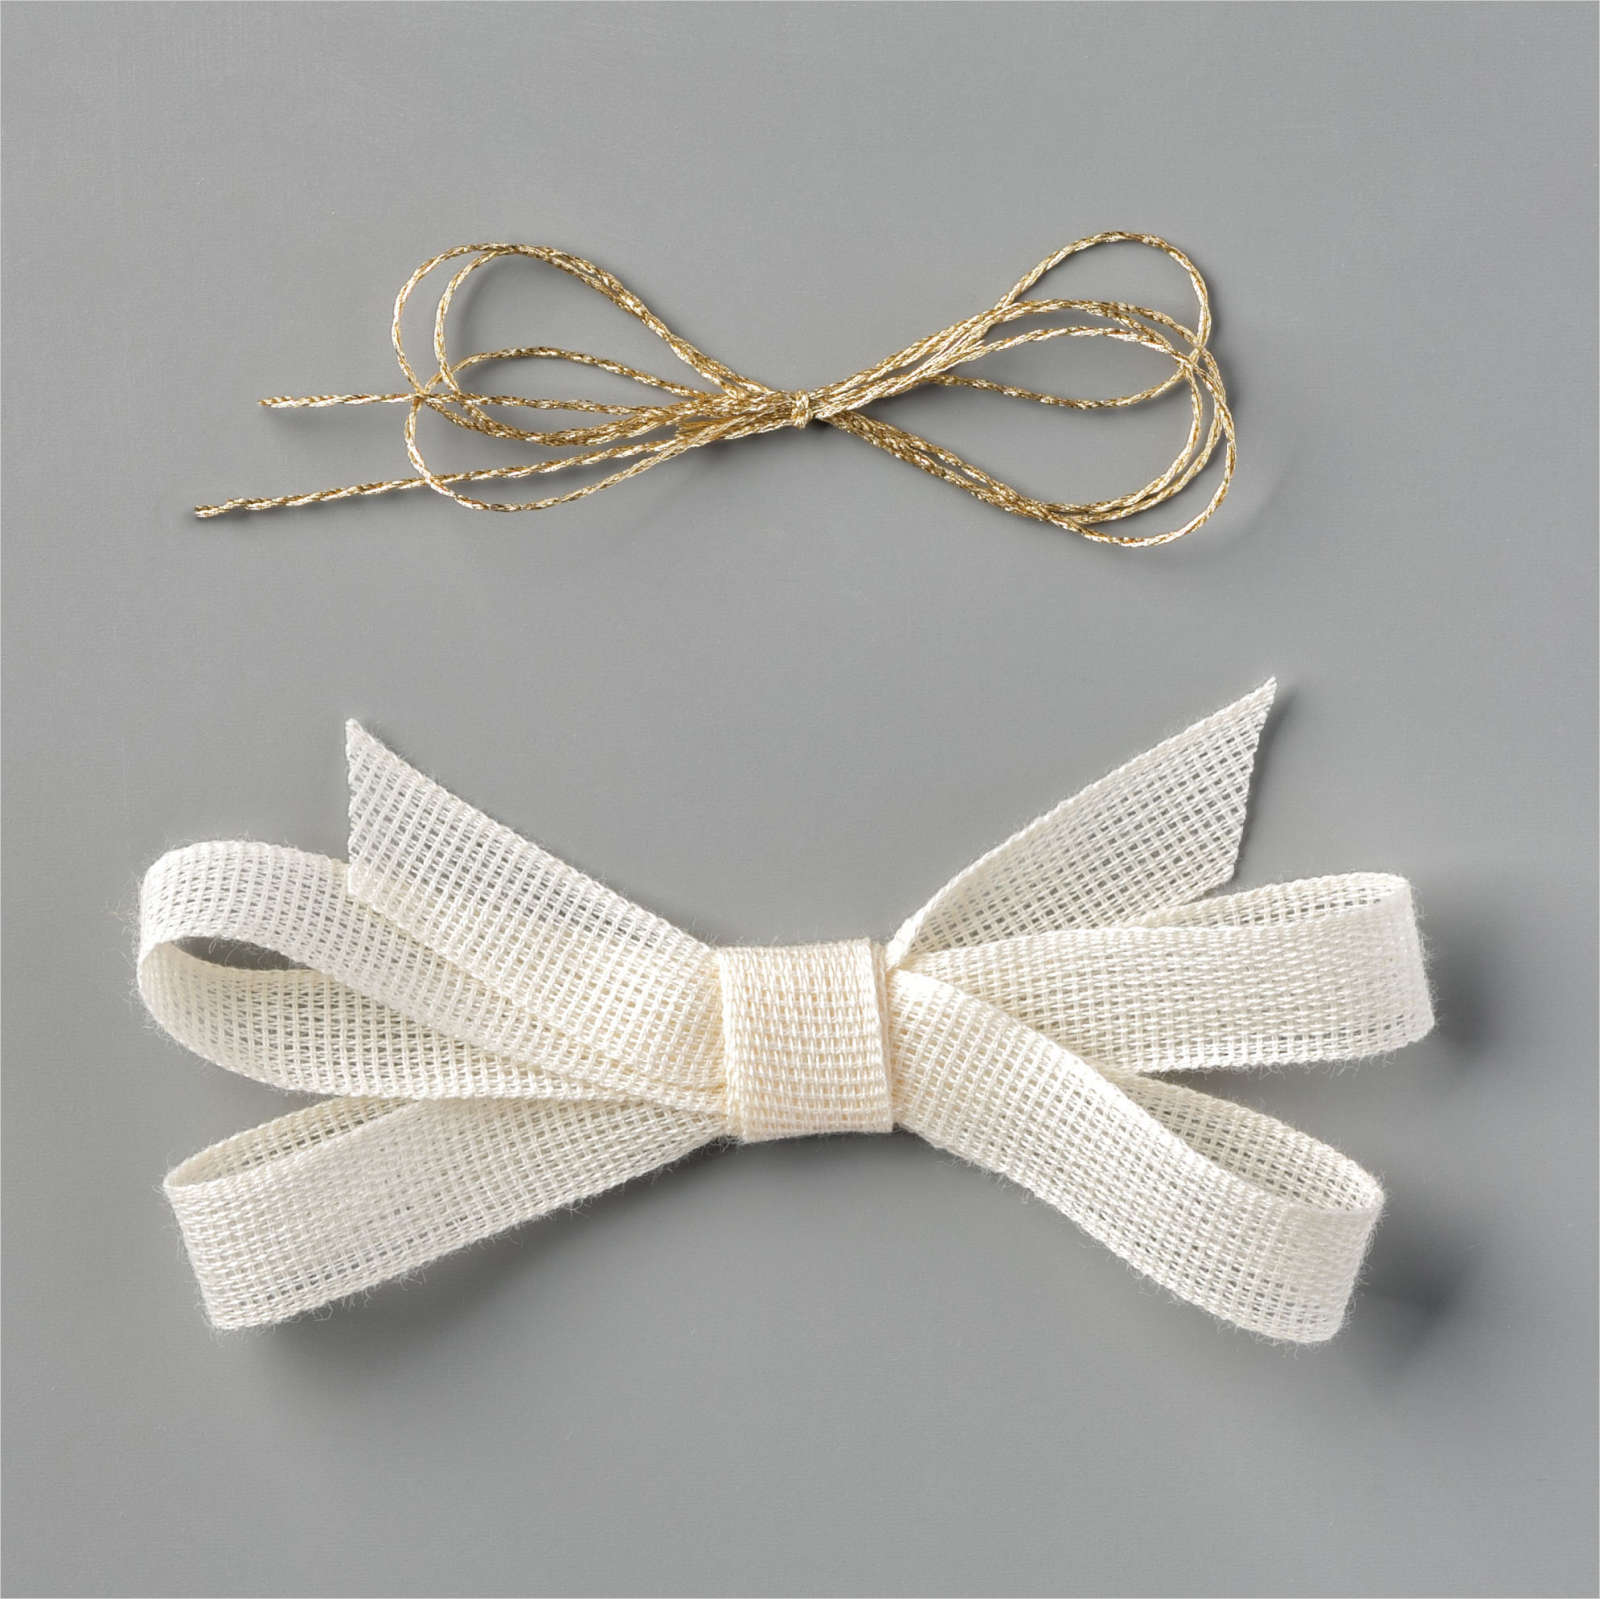
I attached the greeting to the centre of the die cut image. I tied a bow in a length of gold cord from the Forever Greenery Trim Combo Pack and attached it to the ends of the stamped leaves.
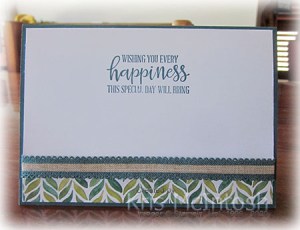
To decorate the inside of the card, I stamped another of the greetings from the Peaceful Moments stamp set using Shaded Spruce ink. I attached a narrow strip of the same Forever Greenery Designer Series Paper across the bottom of the stamped card. I wrapped the top of the Designer Series Paper with the Pretty Peacock Scalloped Linen Ribbon.
This is a little busier than my usual style but I love how pretty this card is.
Bye for now,
Kris
Product Used:


Kris
Product Used:
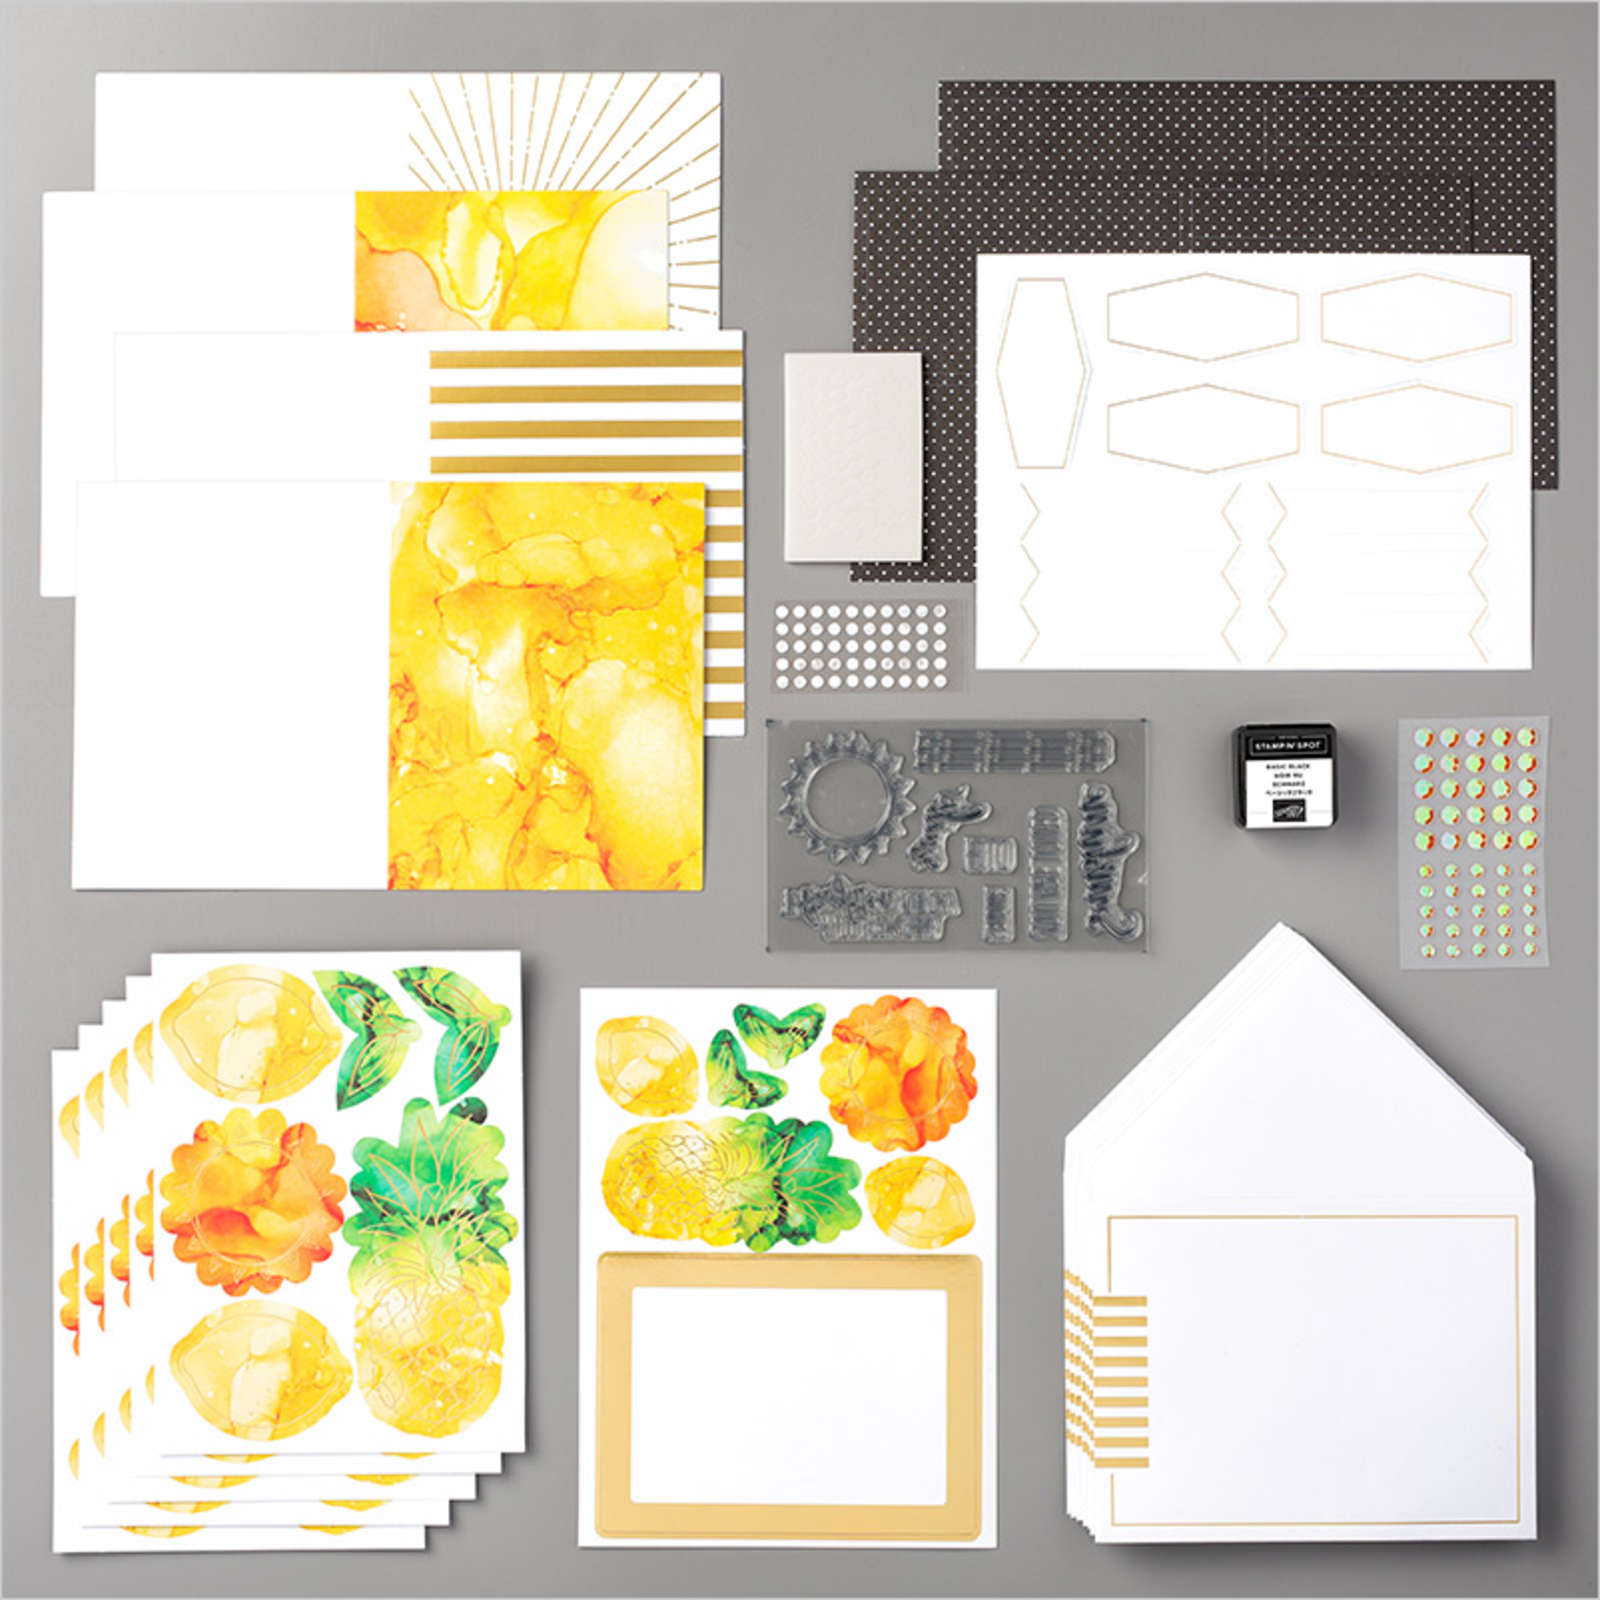
Box of Sunshine
Yesterday in my Facebook Live, I shared the gorgeous Paper Pumpkin Kit which we are currently able to purchase – The Box of Sunshine. You get enough supplies in the Kit to create two cards each of four designs, a stamp set, Mini Black ink, sequins, glue dots & dimensionals. You also get enough die cut supplies to decorate the front of the box so that it can be gifted to someone special. After all that you still have lots of die cuts left over to get creative with. So today I am sharing two cards I made using up some of the left-over bits and pieces.
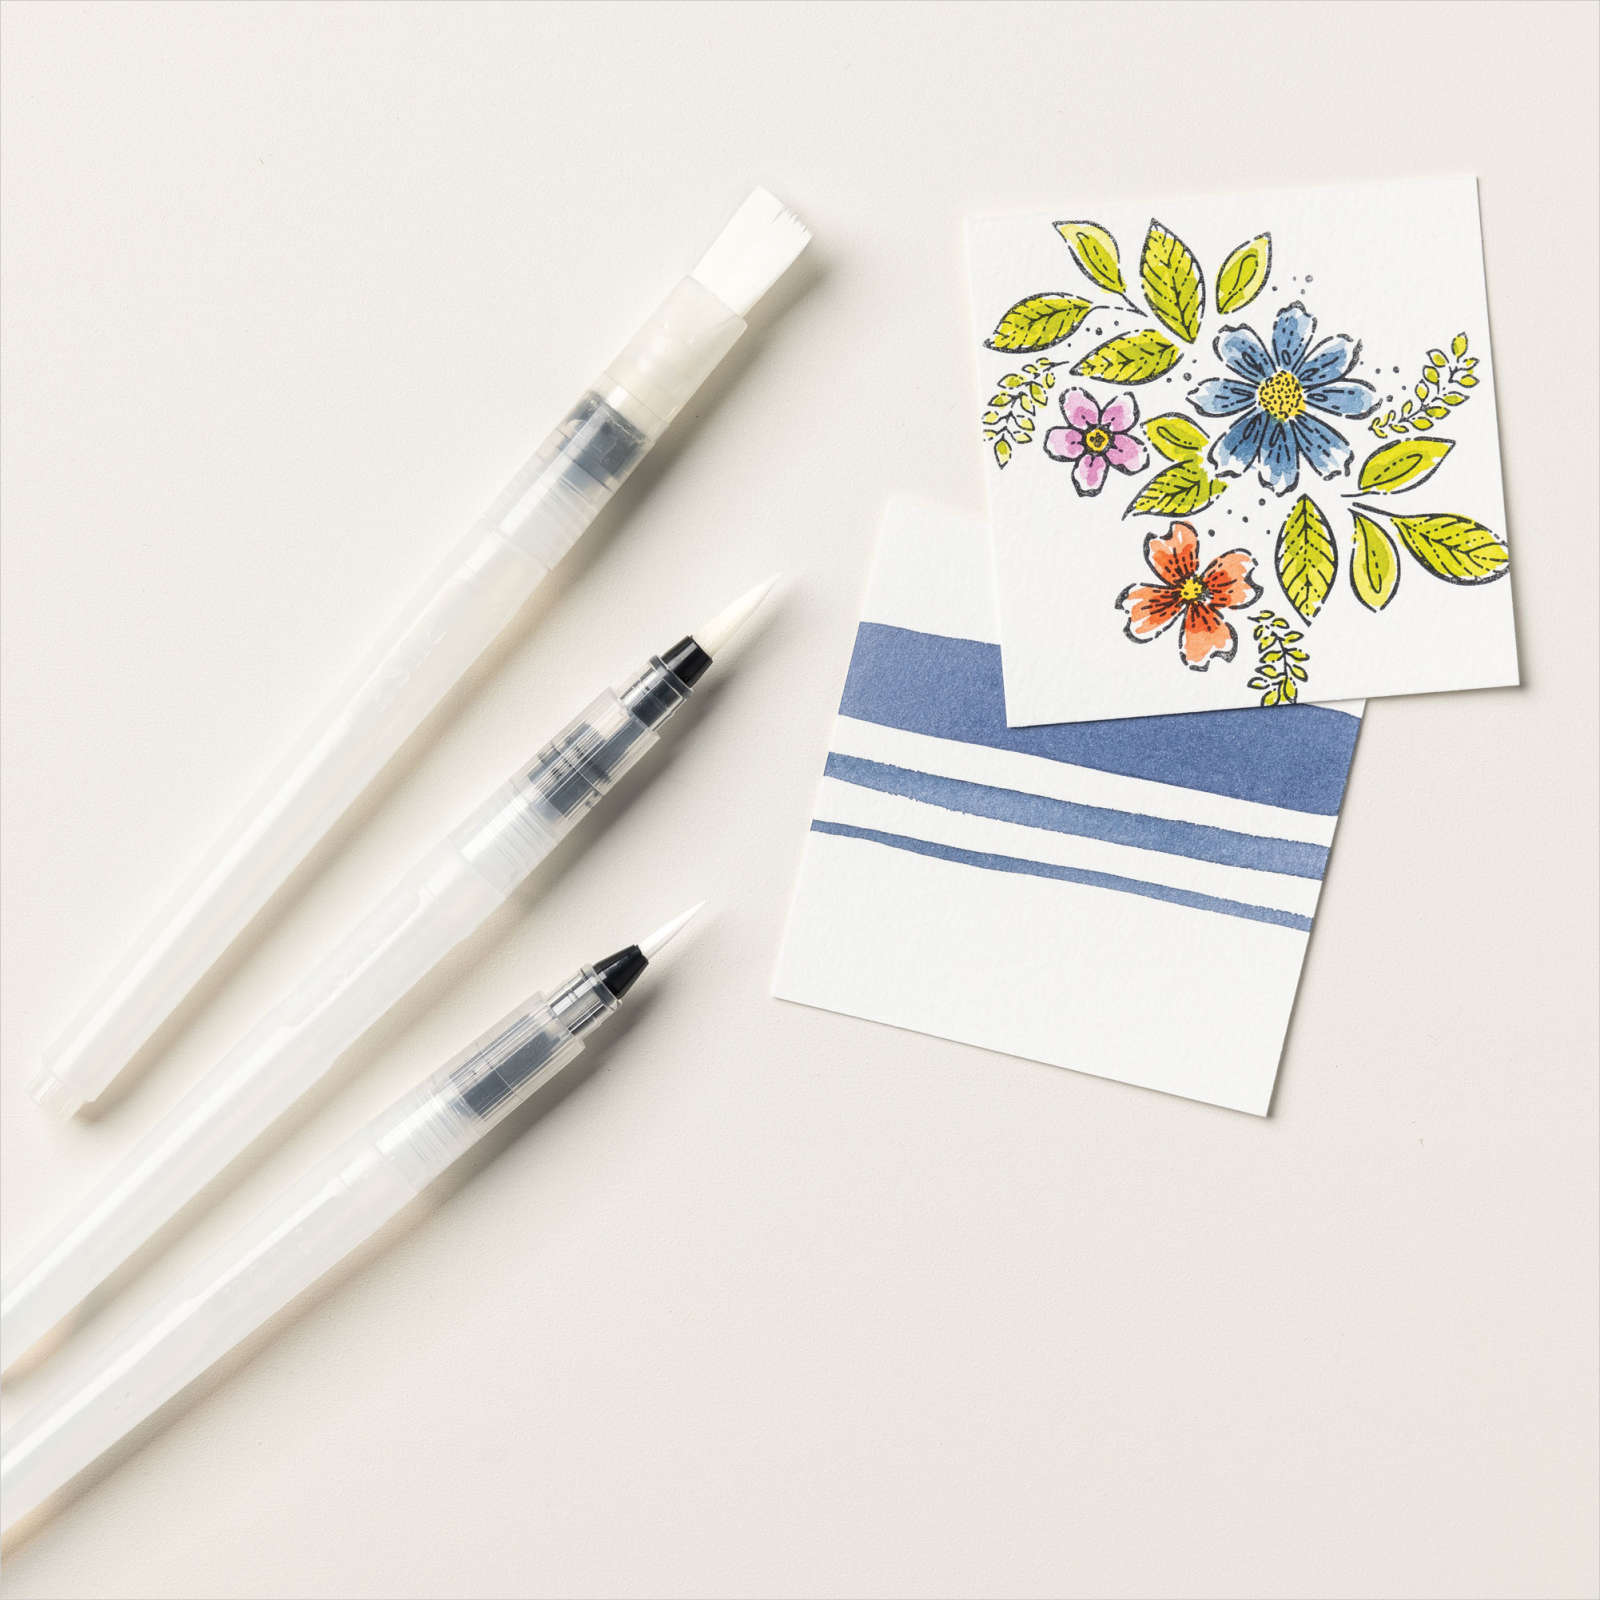
To create the backgrounds for today’s card, I used Fluid 100 Watercolour paper. I sprayed the watercolour paper with water and used the largest Water Painter to add Crushed Curry and Poppy Parade ink to one piece and Crushed Curry and Shaded Spruce to the other.
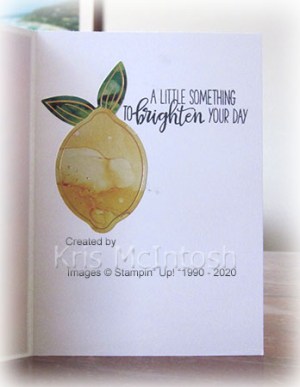
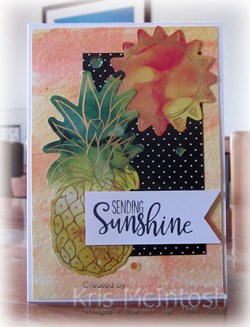
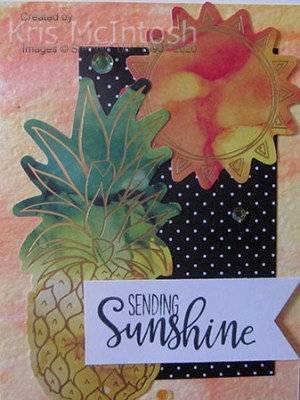
I let my paper dry over night and then trimmed each piece to fit on scored and folded Thick Whisper White card. For the Crushed Curry/Poppy Parade background, I added a large die cut piece of Black and White card. I also attached one sun die cut and one pineapple die cut to the card front.
I stamped “Sunshine” and “sending” from the supplied stamp set onto Whisper White card using Basic Black ink. I trimmed down the Whisper White card and punched one end using the Triple Banner Punch. The greeting is attached to the card front using dimensionals. To decorate the inside of this card, I attached one set of die cut leaves and one lemon die cut.
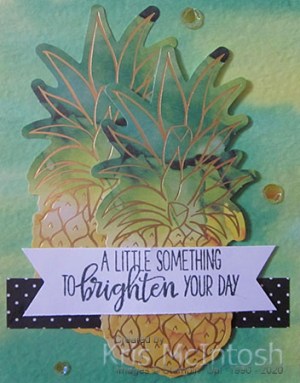
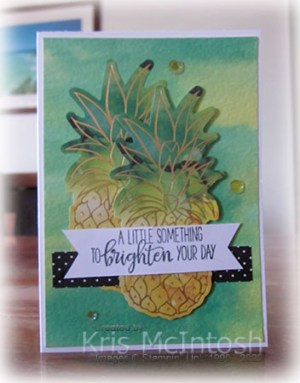
I also stamped another greeting from the supplied stamp set using Basic Black ink. For the Crushed Curry/Spruce card, I attached one pineapple die cut with a strip of the black and white card over the top.

I attached a second pineapple using dimensionals. I stamped the greeting from the supplied stamp set onto Whisper White using Basic Black ink. I trimmed down the card and punched both ends using the Triple Banner Punch before attaching the greeting to the card front using dimensionals. To decorate the inside of the card, I attached a sun die cut and stamped another greeting from the supplied stamp set using Basic Black ink. I love the backgrounds on these cards, such a fun technique to play with and one I should use more often. I still have a few die cuts left from this kit so will share more cards soon.

Just so you can compare, here they are together. Pretty aren’t they?
Bye for now,
Kris
Product Used:


Banded Birthday
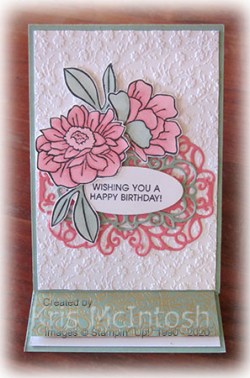
Today’s card is kind of CASED from a tutorial that I bought from Connie & Mary. I decided to change it up a little and create an easel card. I embossed Whisper White card using the Ornate Floral 3D Embossing Folder. The embossed card is attached to Mint Macaron card and then the Mint Macaron card base. I cut the large die from the Detailed Bands Dies from Flirty Flamingo card and attached it to the embossed Whisper White card. I cut the smaller die from the Detailed Bands Dies from Mint Macaron card and attached it to the Flirty Flamingo Die cut. I stamped the greeting from the Band Together stamp set onto Whisper White card using Memento Tuxedo Black ink and cut it out using the oval die from the Detailed Bands Dies. I attached the greeting to the centre of the die cuts using dimensionals.

I stamped the flowers and two sets of leaves from the Band Together stamp set onto Whisper White card using Memento Tuxedo Black ink. I coloured the images using Flirty Flamingo and Mint Macaron Stampin’ Blends and cut them out. The flowers and leaves are attached to the card front using Mini Dimensionals.
To create the piece that holds the easel in place, I attached a strip of Ornate Garden Specialty Designer Series Paper across the bottom of Whisper White card using dimensionals.
Such a pretty card, thanks so much Connie and Mary for the inspiration.
Bye for now,
Kris
Product Used:


Gorgeous Birthday Wishes
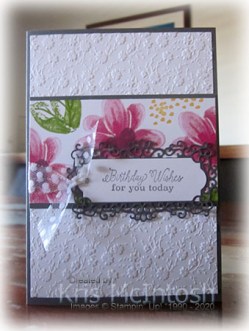
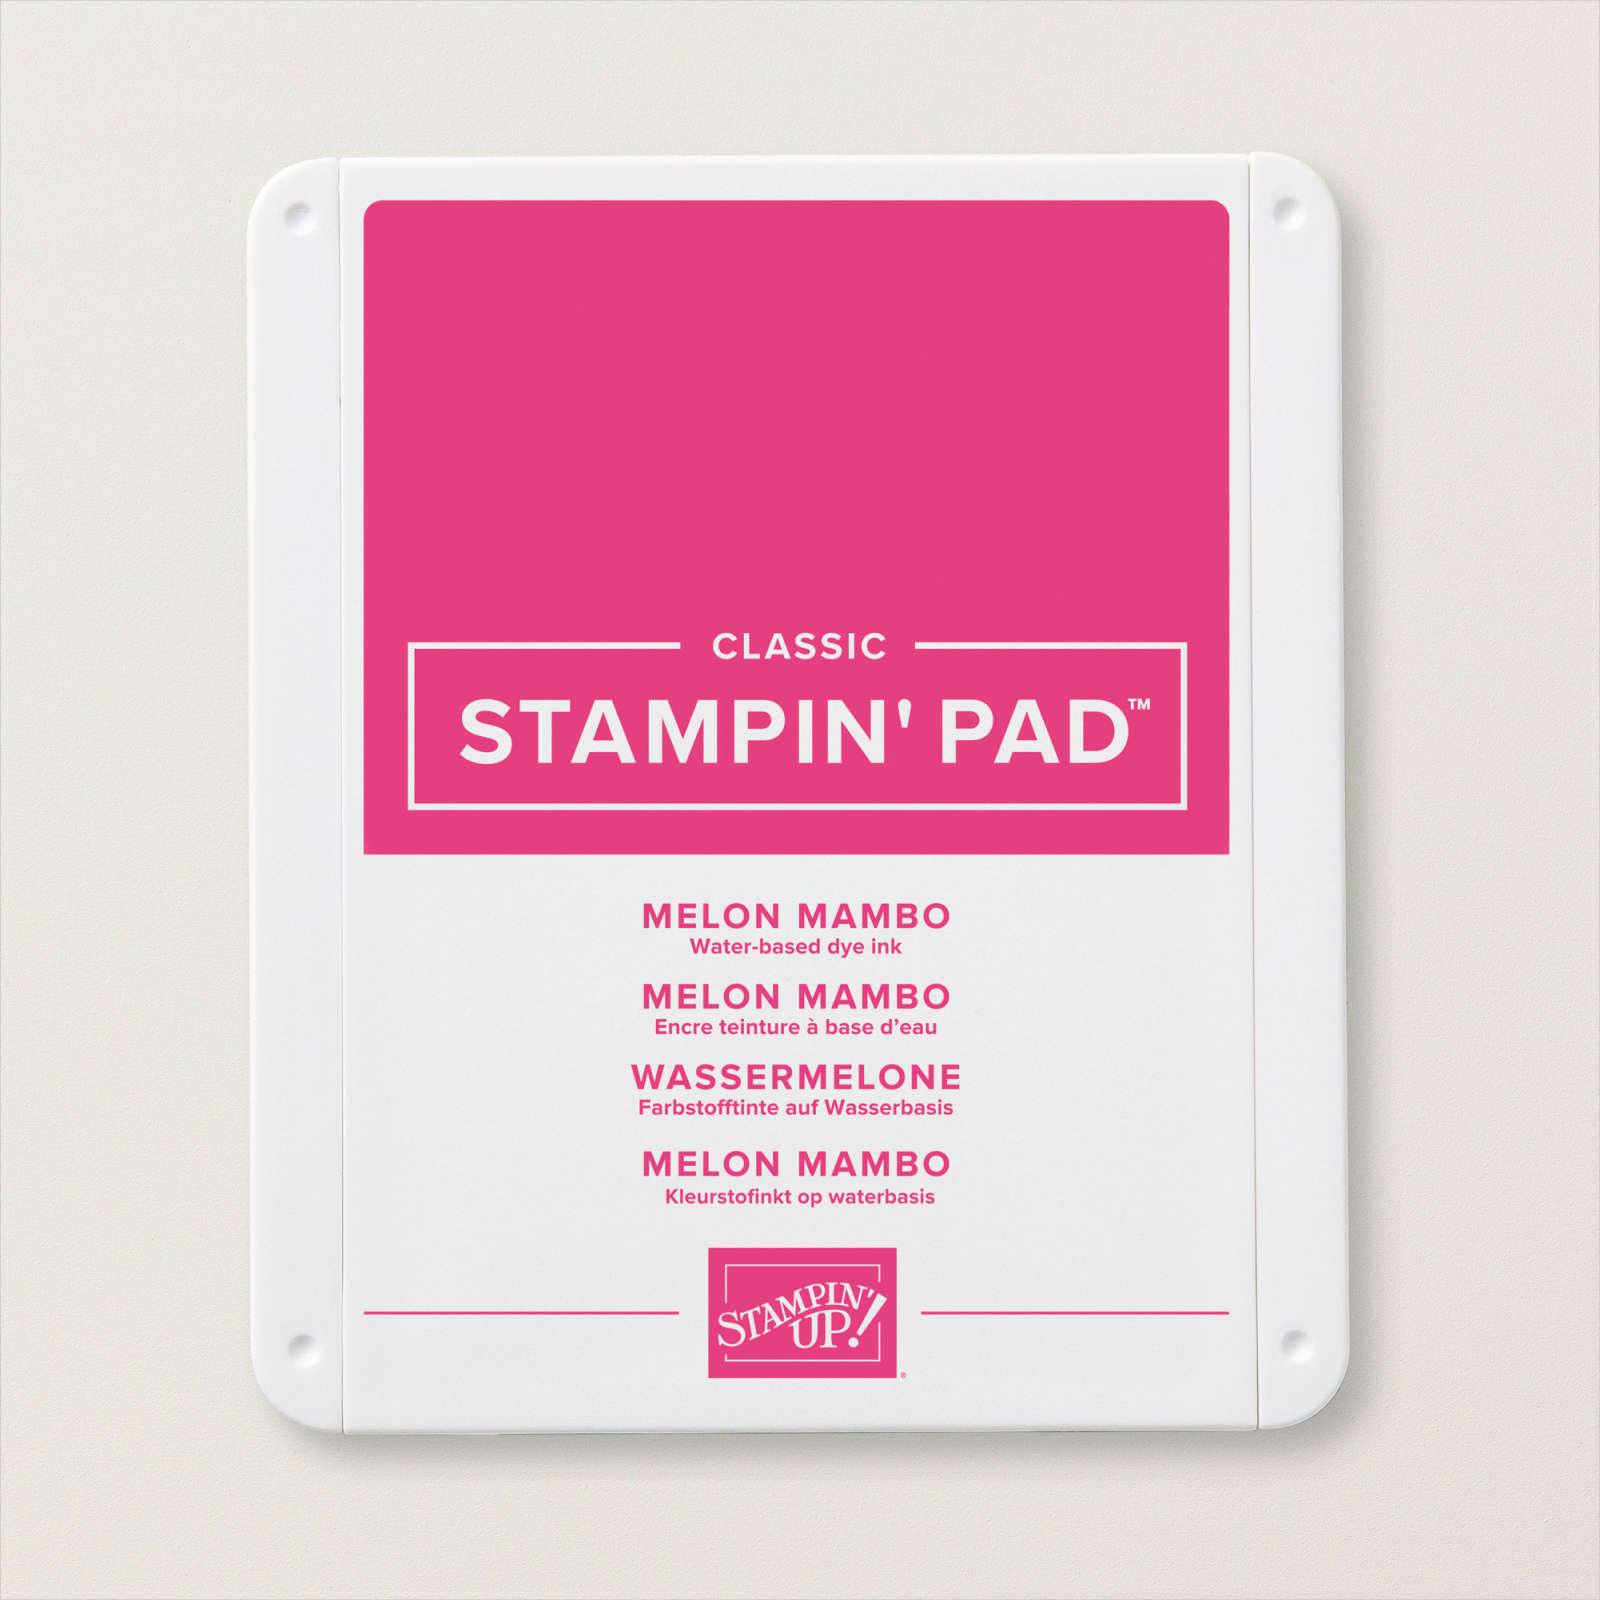
Today’s card, once more, uses the really beautiful Gorgeous Posies stamp set. I can’t believe I waited so long to get this stamp set! I used a sketch challenge at Case This Sketch to create my card, although I did miss the challenge deadline. I stamped the flower from the Gorgeous Posies stamp set onto Whisper White card using Melon Mambo ink. I stamped the flower centre using Basic Gray ink. I stamped the leaf image around the flowers using Granny Apple Green ink. I also stamped the “dotted” image around the flowers and leaves using Daffodil Delight ink. I attached the panel to Basic Gray card and then Whisper White card which I had embossed using the Ornate Floral 3D Embossing Folder.

I stamped the greeting from the Little Treats stamp set onto Whisper White card using Basic Gray ink and cut it out using one of the Ornate Frames Dies. I also cut the co-ordinating layer from Basic Gray card using the Ornate Frames Dies and attached the greeting.
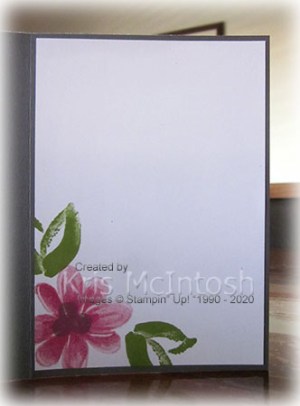
I punched a hole in one end of the greeting panel using my Crop-A-Dile. I threaded Whisper White Polka Dot Tulle Ribbon through the hole. I attached the greeting to the stamped panel and attached the ends of the Ribbon to the back of the embossed card. I used another piece of the Whisper White Polka Dot Tulle Ribbon to tie a knot around the previously attached ribbon. The whole panel is attached to scored and folded Basic Gray card. To decorate the inside of the card, I stamped the flower from the Gorgeous Posies stamp set onto the lower left hand corner of Whisper White card. I stamped the flower centre using Basic Gray ink and a couple of leaves using Granny Apple Green ink. This is such a pretty card, don’t you think?
Bye for now,
Kris
Product Used:


Then & Now

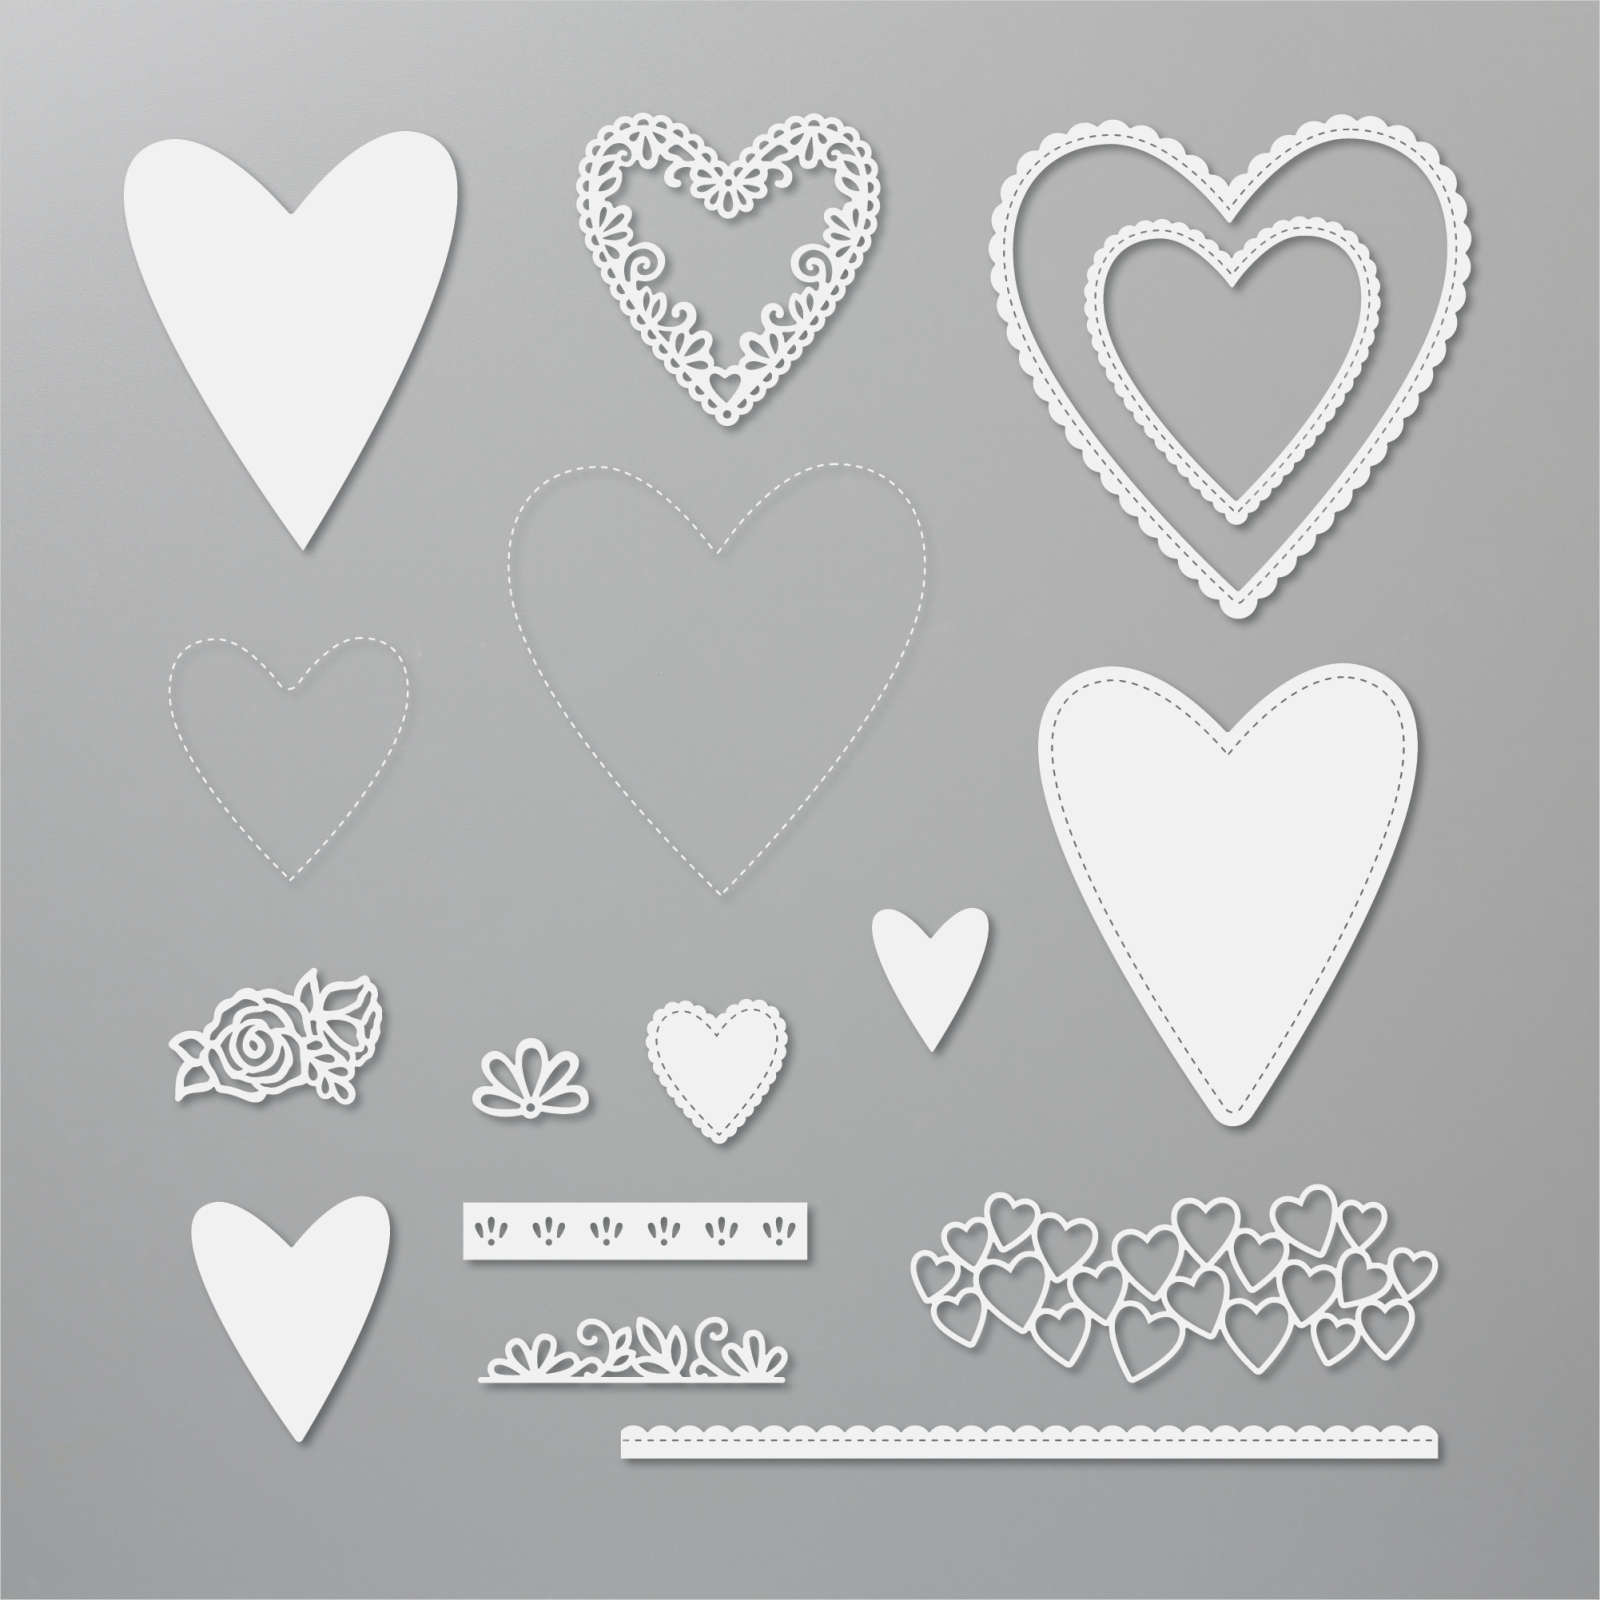
My Mum and Dad celebrated their 66th Wedding Anniversary this year and I wanted to show them as they were on their Wedding Day and now after 66 years. I think they still look pretty good! I attached my photos to Basic Black card and attached them to a Whisper White 12″ x 12″ page. I cut two pieces of Whisper White card 3″ x 4″ and attached them to Basic Black card.

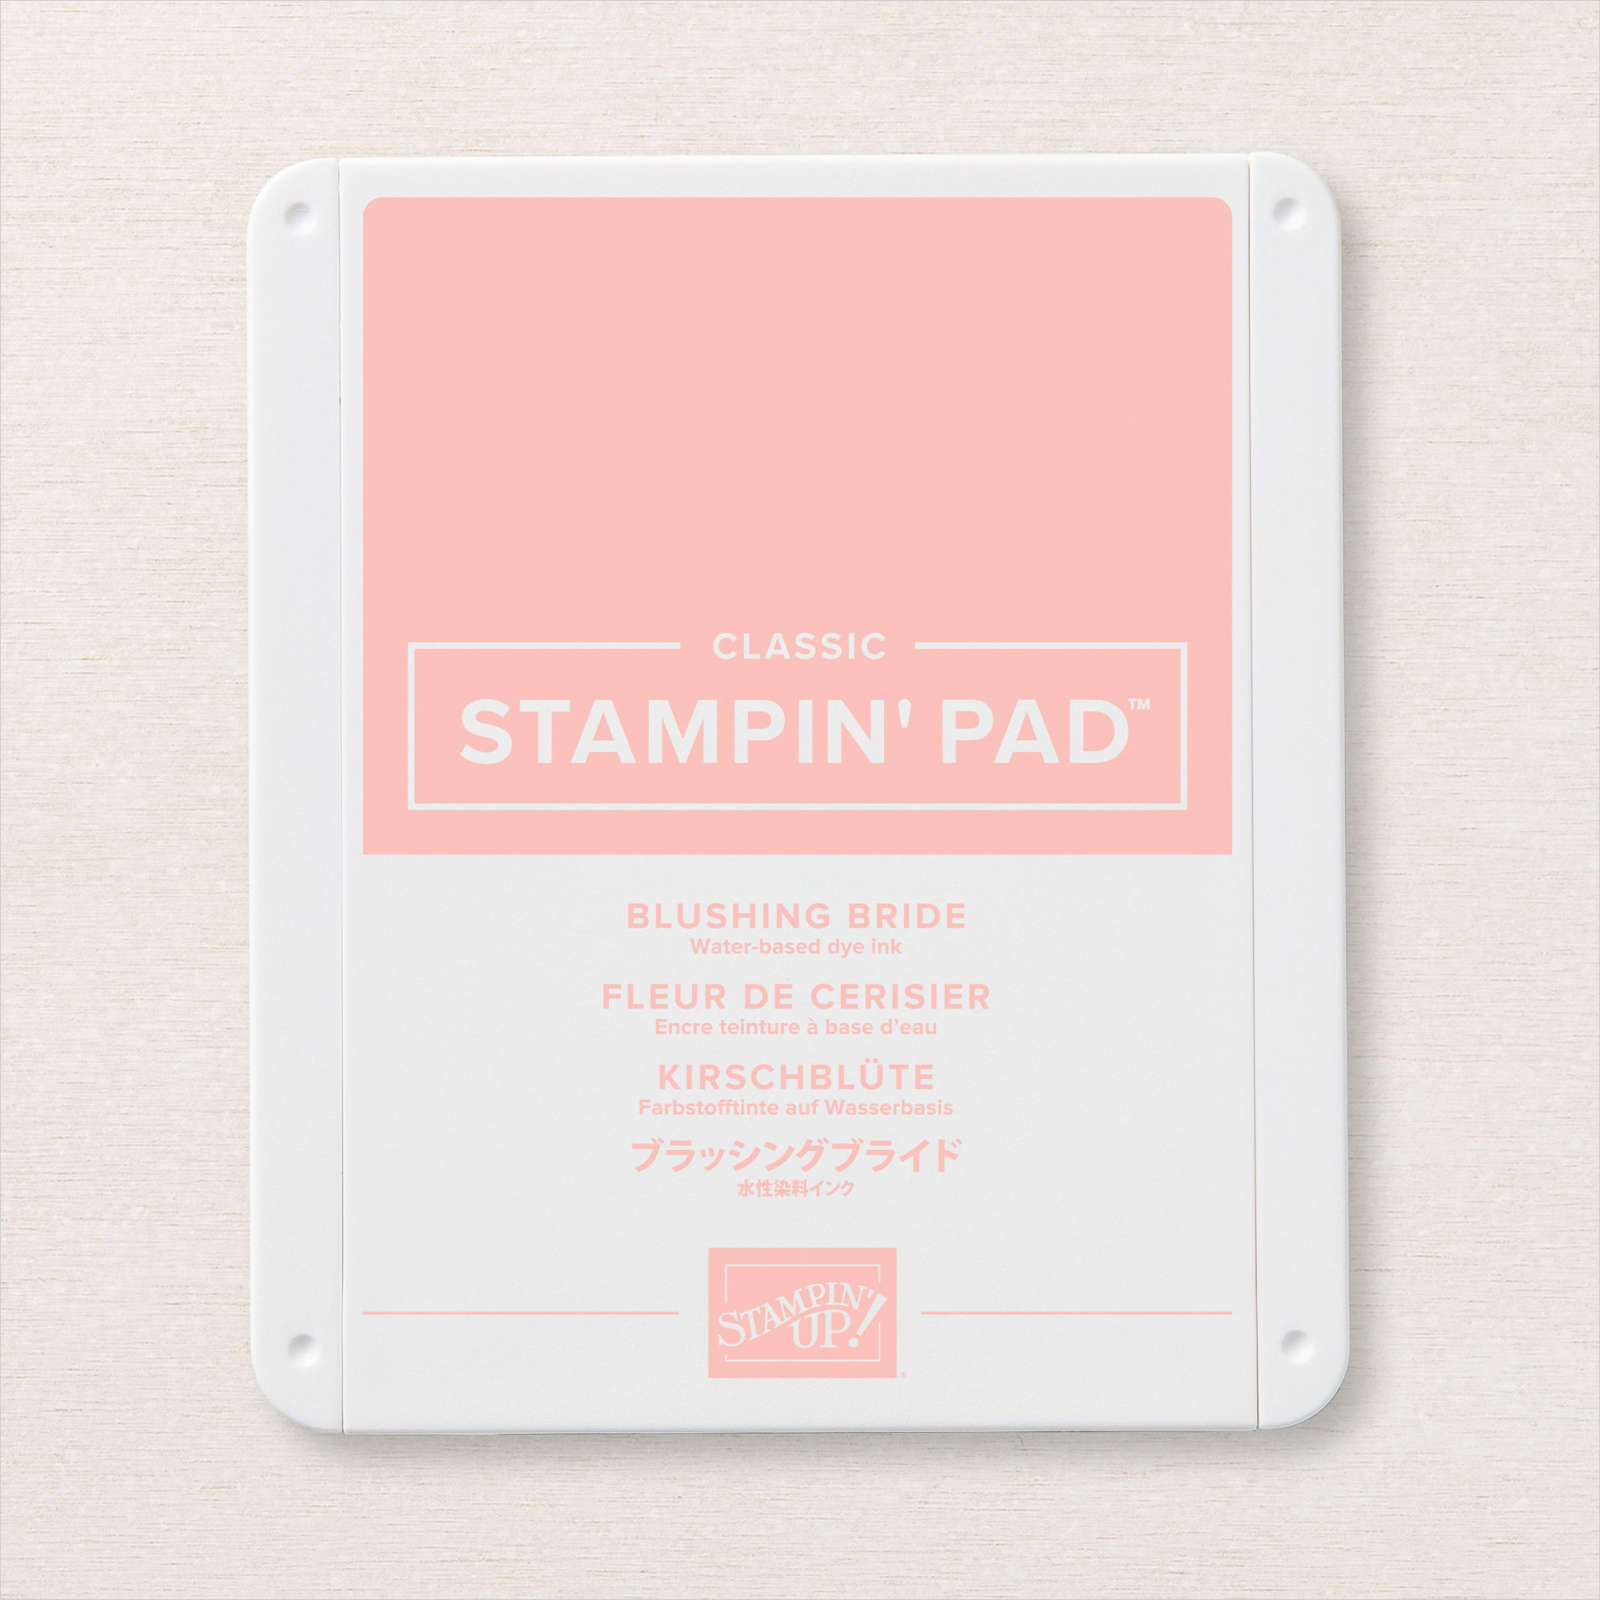
I stamped the greeting from the Beautiful World stamp set onto one panel using Memento Tuxedo Black ink before attaching the panels to the page. I cut all the letters for the titles from Basic Black card using the Playful Alphabet Dies. The two hearts were cut from Blushing Bride card using the Be Mine Stitched Dies. I sponged around the edges of the largest heart using Blushing Bride ink before attaching it to the page. I attached all the titles and then hand wrote the dates using the now retired Journaling Pen. Very simple page (just my style) but I love how it turned out. It makes me feel really good when I document photos like these because I know my Grandchildren love looking at them.
Bye for now,
Kris
Product Used: