Awesome
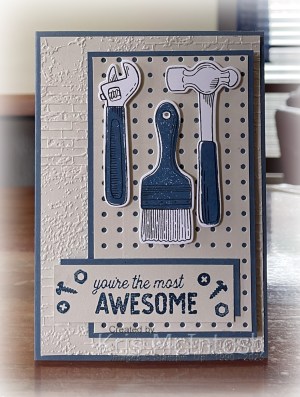
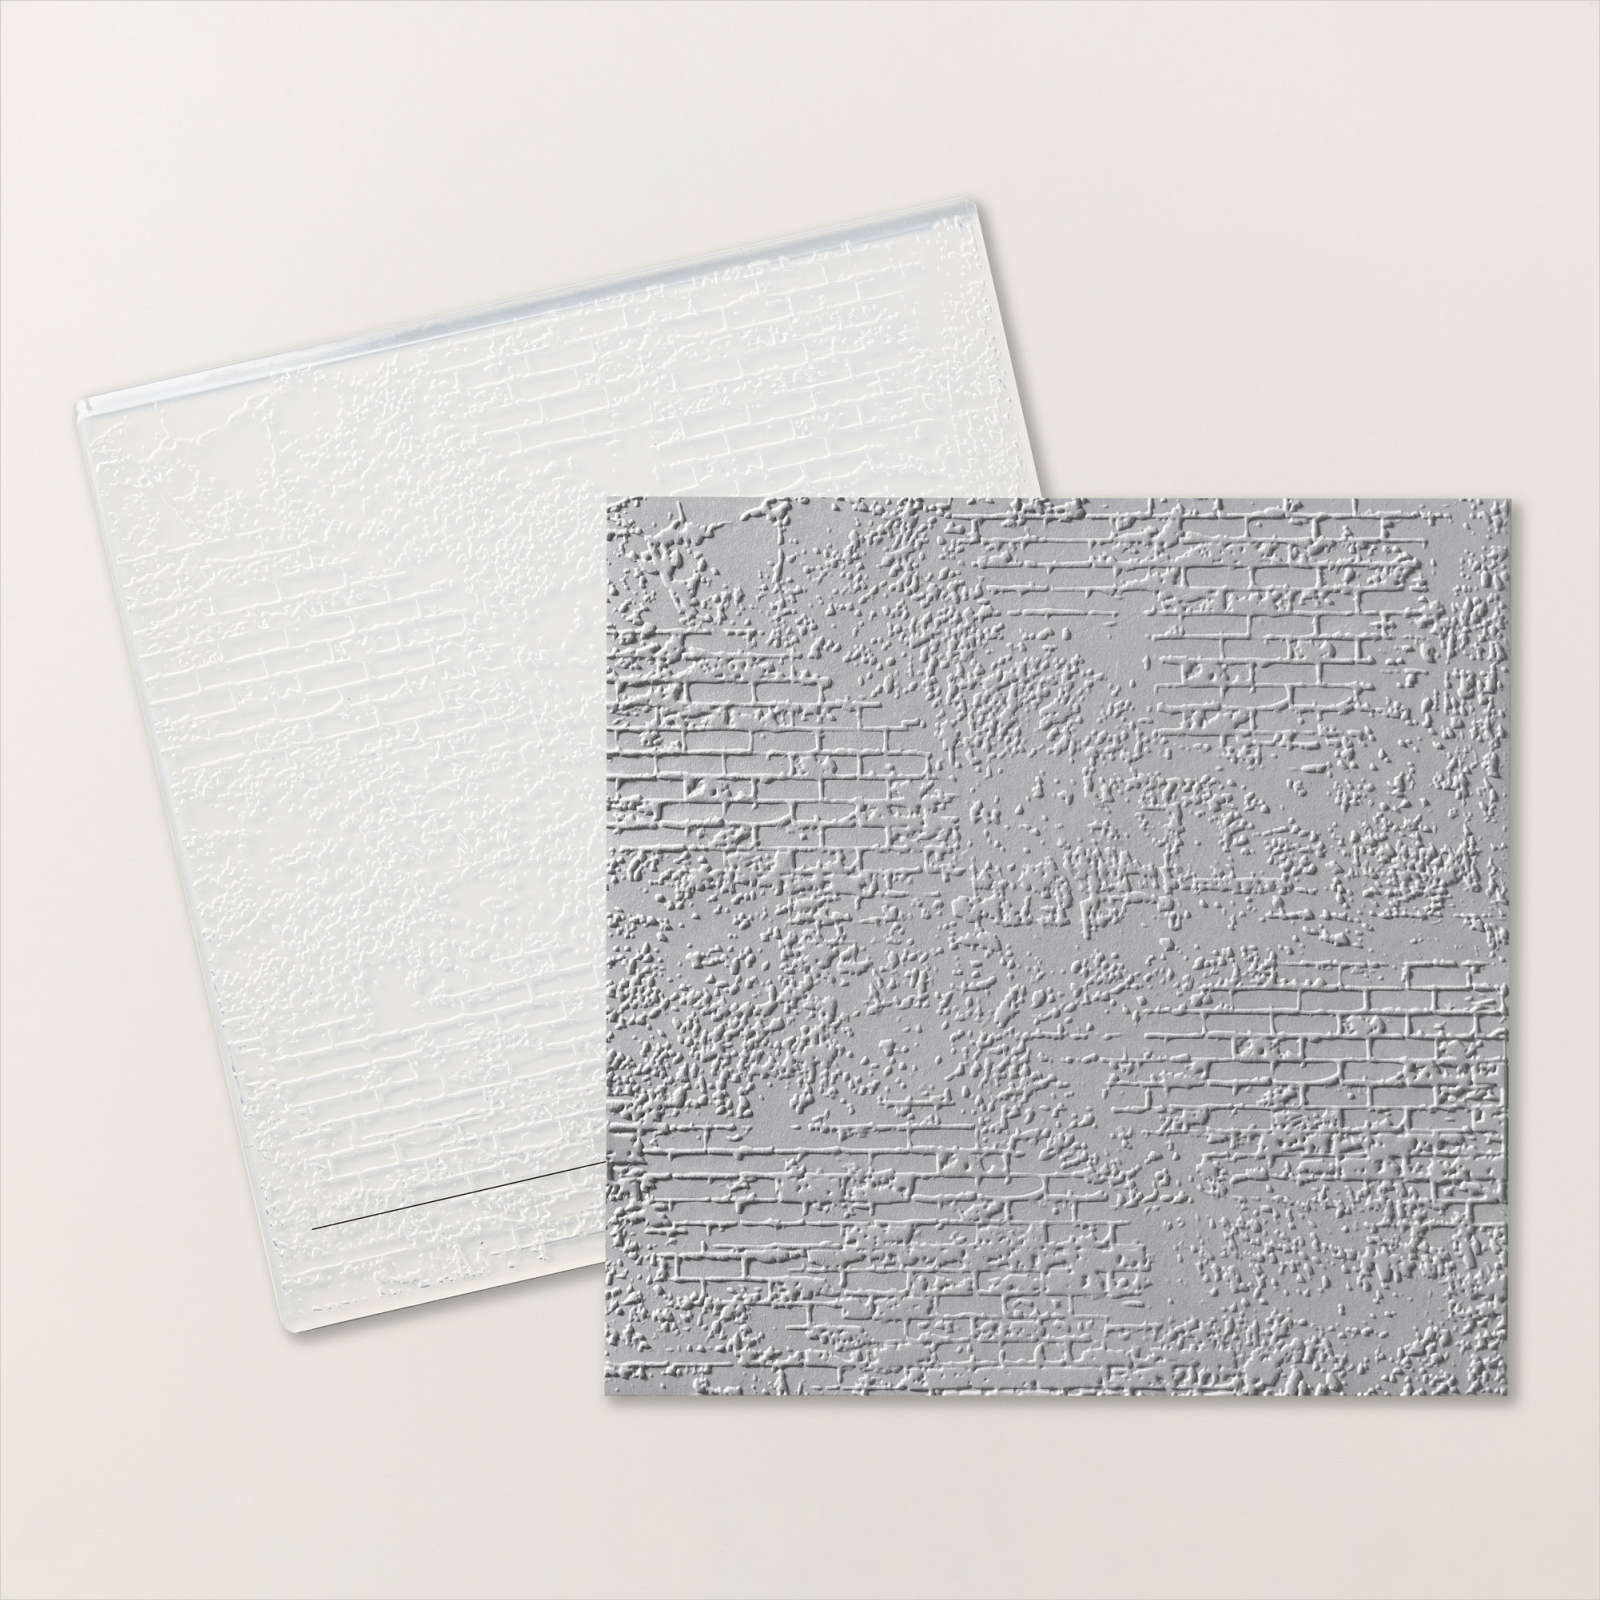
For my card today I embossed a piece of Basic Beige card using the Exposed Brick 3D Embossing Folder. The embossed panel is attached to scored and folded Misty Moonlight card. I cut a piece of Basic Beige card using the pegboard die from the Trusty Tools Dies. I attached the die cut panel to Misty Moonlight card and then the right hand side of the card front. I stamped three images from the Trusty Tools stamp set onto Basic White card using Misty Moonlight ink.
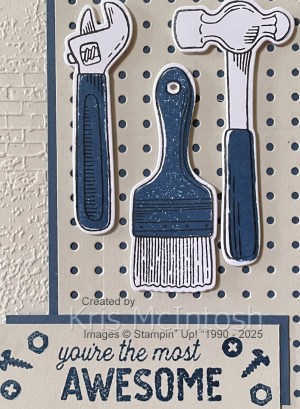
I stamped the handle for each image using Misty Moonlight ink. The images are cut out using the co-ordinating die from the Trusty Tools Dies. I attached the tool images to the top of the die cut panel. I stamped “you’re the most awesome” from the Trusty Tools stamp set onto Basic Beige card using Misty Moonlight ink.
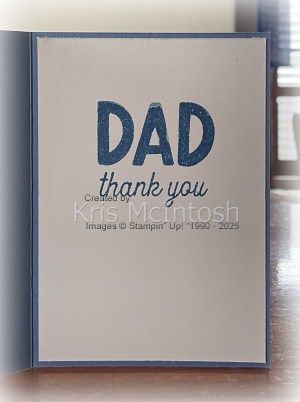
I stamped the fastener image from the Trusty Tools stamp set on either side of the greeting using Misty Moonlight ink. The greeting is attached to Misty Moonlight card and then the card front using dimensionals where necessary. To decorate the inside of the card I stamped “dad” and “thank you” from the Trusty Tools stamp set onto Basic Beige card using Misty Moonlight ink. Fun card, don’t you think. This is just the right kind of card for someone like my Dad who always jumped in to build or fix something for me.
Bye for now,
Kris
Product Used:


Bokeh Birthday
For todays card i attached a piece of Beautiful Bokeh 6″ x 6″ Designer Series Paper to scored and folded Basic Black card. I attached a piece of Calypso Coral card to Basic Black card and attached it across the lower part of the Designer Series Paper.

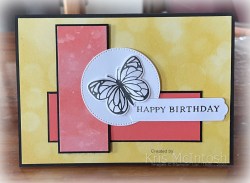
I attached a piece of Beautiful Bokeh Designer Series Paper to Basic Black card and attached it to the left hand side of the card front. I cut Basic White card using one of the circles from the Stylish Shapes Dies and attached it to the card front. I stamped “happy birthday” from the Beautiful Butterflies stamp set onto Basic White card using Memento Tuxedo Black ink.
I cut out the greeting using one of the banners from the Beautiful Butterflies Dies. I stamped the butterfly from the Beautiful Butterflies stamp set onto Basic White card using Memento Tuxedo Black ink. I cut out the butterfly using the co-ordinating Beautiful Butterflies Die. I used my bone folder to slightly curl the butterfly wings and attached it to the card front using dimensionals underneath the wings and Multipurpose glue under the body. To decorate the inside of the card I stamped the greeting from the Beautiful Butterflies stamp set onto Basic White card using Memento Tuxedo Black ink. I also attached a narrow strip of Beautiful Bokeh Designer Series Paper across the bottom of the stamped Basic White card. So bright & happy, don’t you think?
Bye for now,
Kris
Product Used:


Marengo
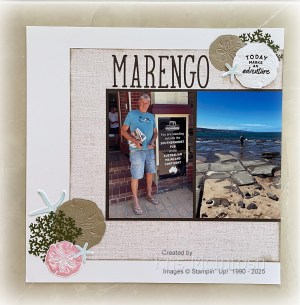
Today’s page shows off some photos from Marengo on our trip along the Great Ocean Road last year. I used a 1, 2, 3 Layout to create the page using one piece of Woven Textures 12″ x 12″ Designer Series Paper. I sponged the edges of the Designer Series Paper pieces with Early Espresso ink before attaching them to White Willow 12″ x 12″ pages. I attached the photos on the right page directly to the White Willow card but I added an Early Espresso card mat for the photos on the left page. I cut the title from Early Espresso card using the Alphabet A La Mode dies. I did have Adhesive Sheet on the back of the card so that it was easier to attach them to my left hand page.
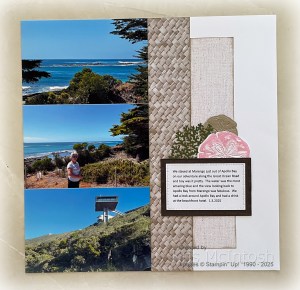
I printed my journaling onto Basic White card and cut it out using one of the Textured Notes Dies. I layered the journaling onto Early Espresso card cut using a slightly larger Textured Notes Die. I die cut Mossy Meadow card three times using the seaweed die from the retired Beauty of the Deep Dies. I die cut some of the sand dollars from the Crumb Cake card using the retired Seaside Wishes Hybrid Embossing Folder. I stamped a couple of sand dollars using the images from the retired Seaside Wishes stamp set onto Basic White card using Pretty in Pink ink, cutting them out using the Seaside Wishes Hybrid Embossing Folder.
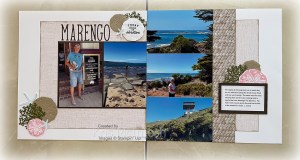
I stamped the greeting from the Tags to Go stamp set onto Basic White card using Early Espresso ink. I cut out the greeting using the Seaside Wishes Hybrid Embossing Folder. I also stamped one large and two small starfish images onto Basic White card using Balmy Blue ink. The starfish were cut out using the co-ordinating Seaside Wishes Dies. I layered the die cut images into clusters to add to my pages. I love how this turned out, showing off the beautiful views perfectly. You can find Noreen Smith’s 1, 2, 3 Layouts here on You Tube.
Bye for now,
Kris
Product Used:


Sweet Baby

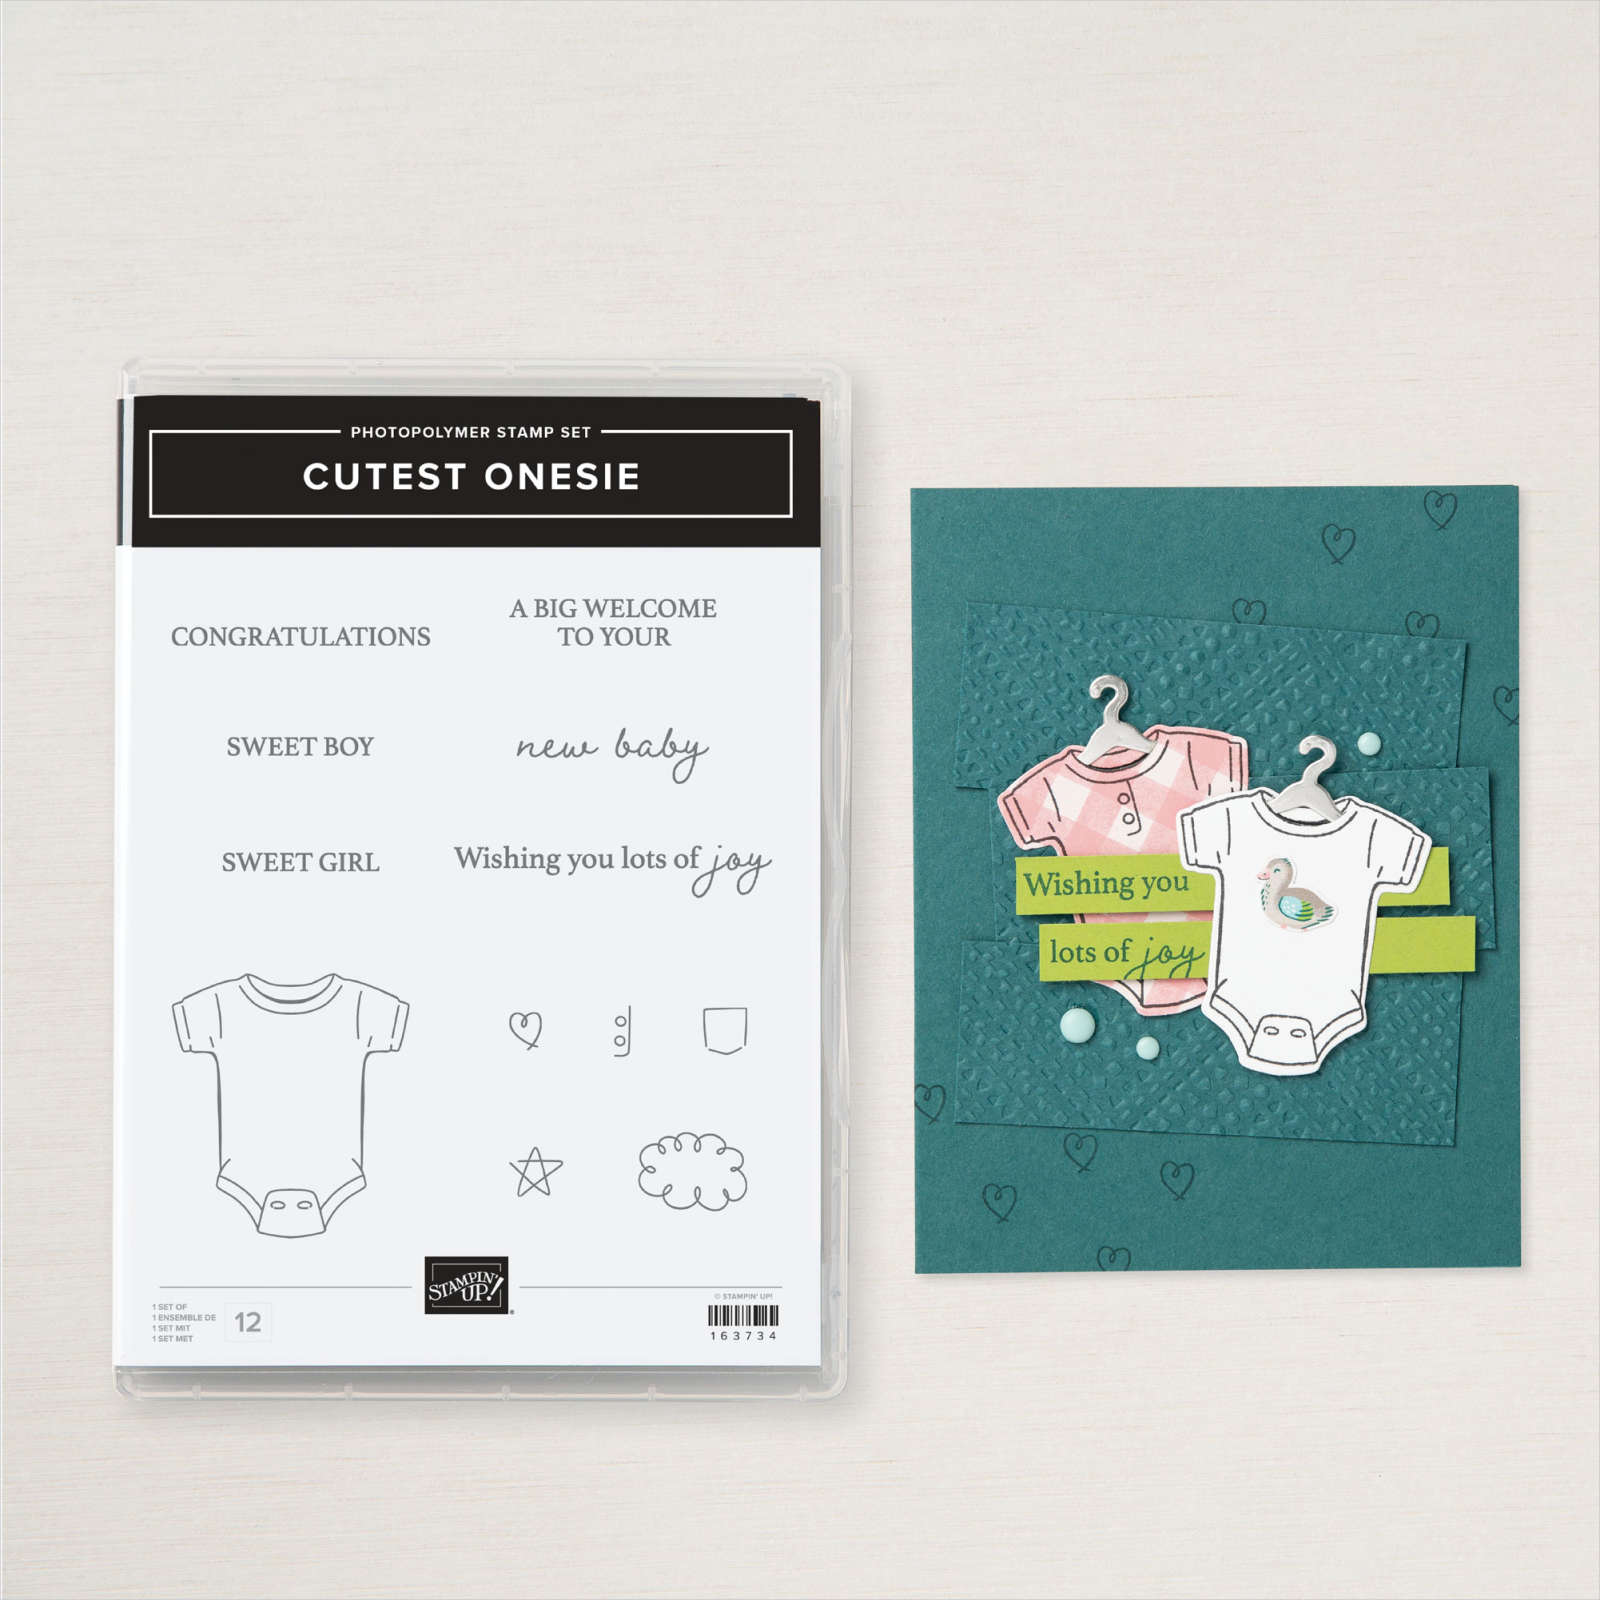
Today I have a couple of cards to share with you I created using the Curtest Onsie stamp set. I attached a piece of Petal Pink card to Basic White card before embossing the panel using the Mini Corrugated 3D Embossing Folder. The embossed panel is attached to scored and folded Petal Pink card. I stamped the onsie image from the Cutest Onsie stamp set onto Basic White card using Memento Tuxedo Black ink. I coloured the image using Petal Pink Stampin’ Blends before cutting it out using one of the circles from the Stylish Shapes Dies.

I stamped the heart image from the Cutest Onsie stamp set onto the onsie image using Memento Tuxedo Black ink. The image panel is attached to the card front using dimensionals. I stamped the greeting from the Cutest Onsie stamp set onto Basic White card using Memento Tuxedo Black ink.
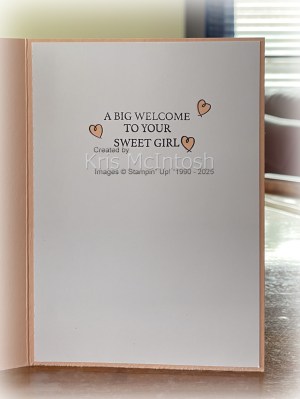
I cut out the greeting using one of the banner dies from the Stylish Shapes Dies. The greeting is attached over the bottom of the image panel using dimensionals where necessary. To decorate the insie of the card I stamped “a big welcome” and “sweet girl” from the Cutest Onsie stamp set onto Basic White card using Memento Tuxedo Black ink. I stamped the heart image from the Cutest Onsie stamp set three times around the greeting using Memento Tuxedo Black ink. I coloured the hearts using the Dark Petal Pink Stampin’ Blend before attaching the panel inside the card base. I loved this card and decided to create one using Balmy Blue card and Stampin’ Blends.
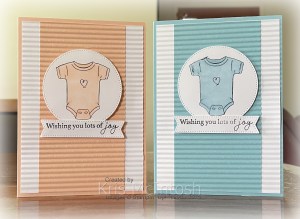
Don’t they look cute and so simple to create.
Bye for now,
Kris
Product Used:


Blooming Thinking of You

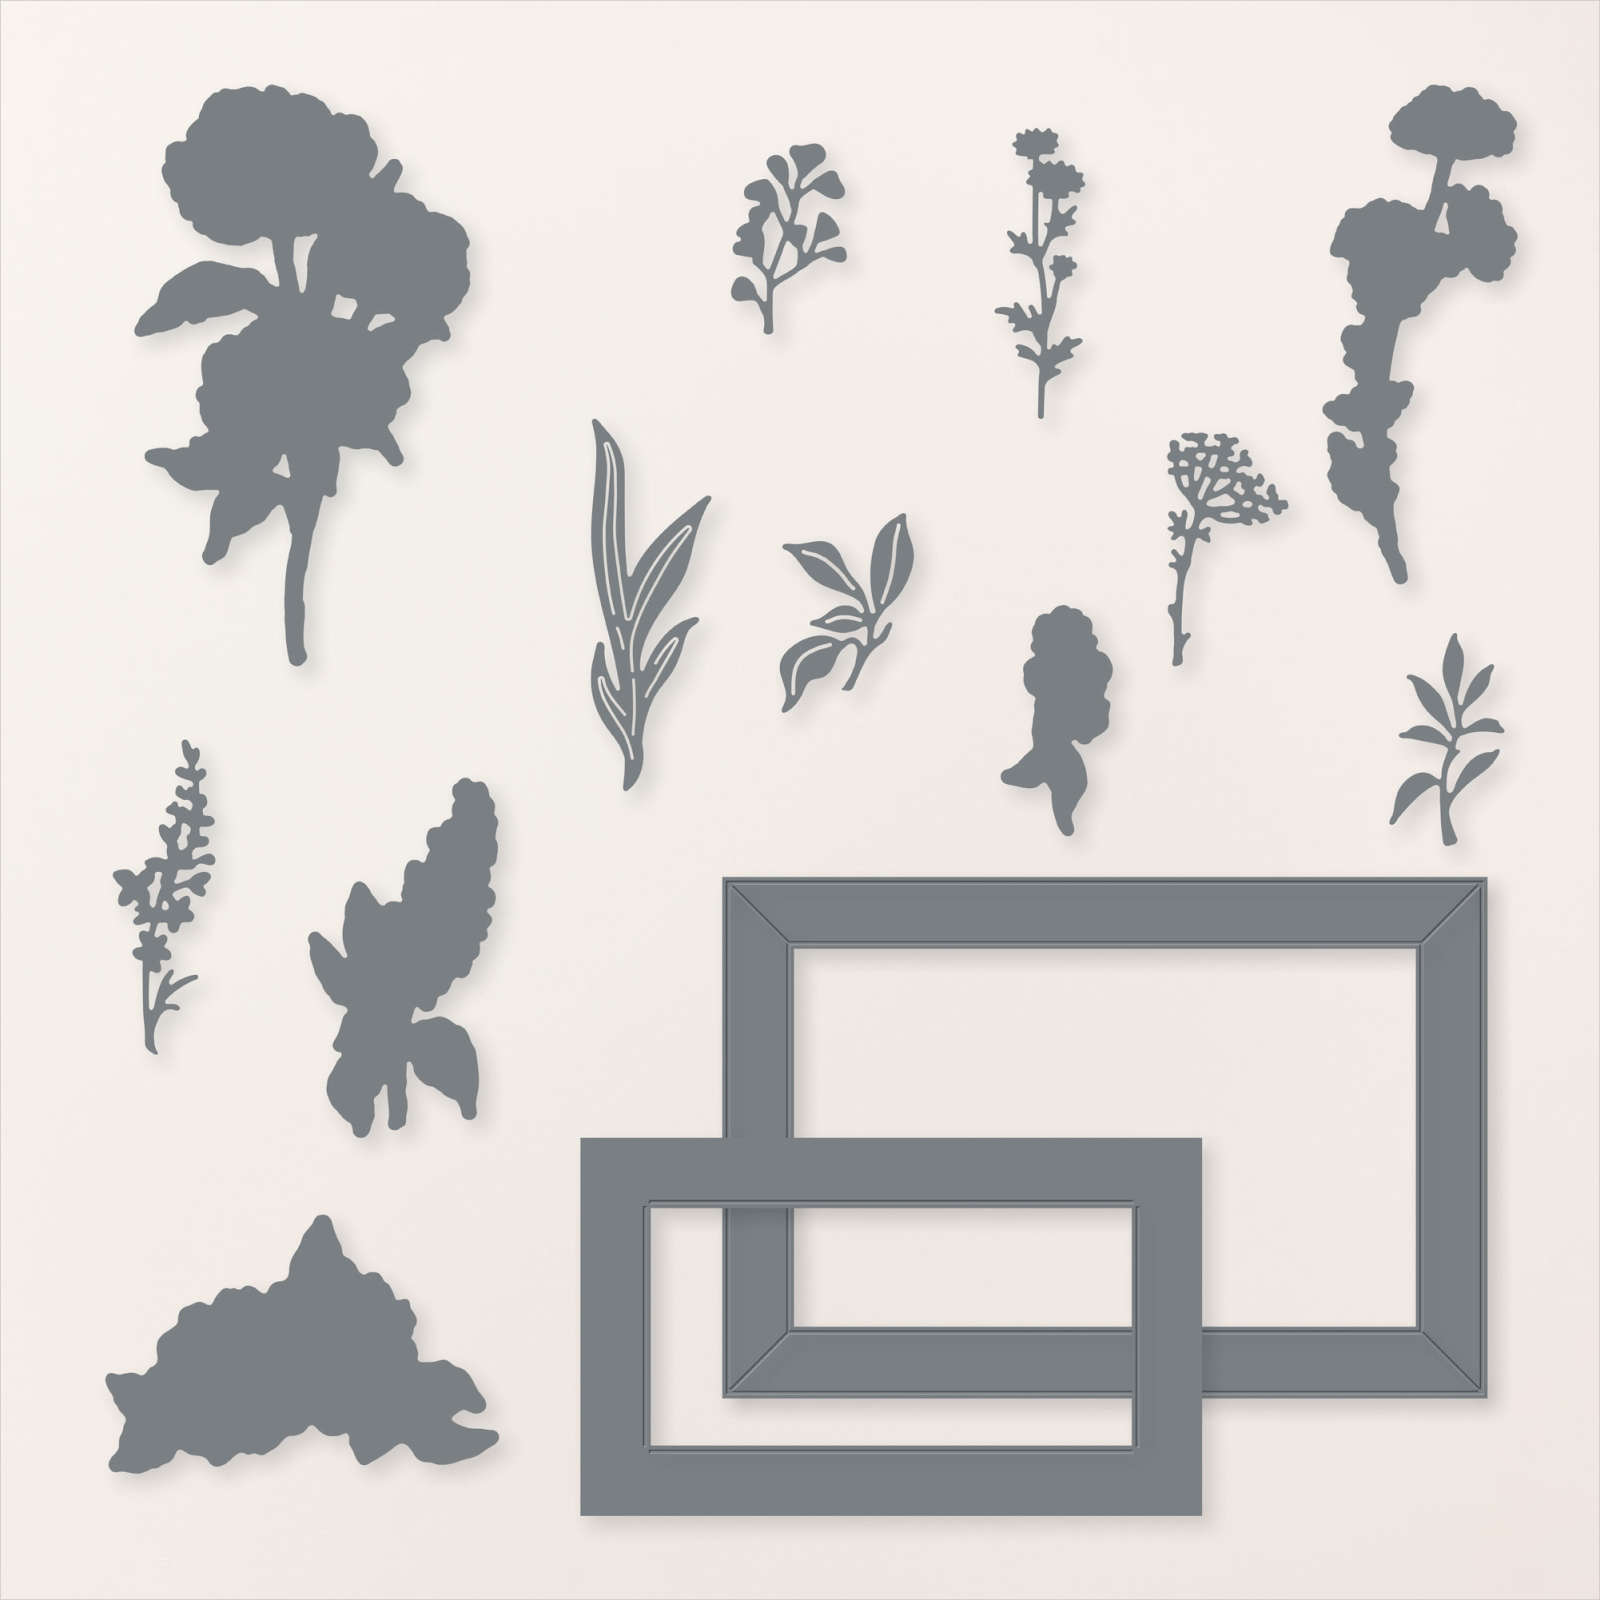
Today’s card shows off my take on one of the samples in the current Annual Catalogue. I wanted to use products from the Beautiful Gallery Product Suite and this design gave me an opportunity to use quite a lot. I attached a piece of the Beautiful Gallery 6″ x 6″ Designer Series Paper to scored and folded Petunia Pop card. I cut Petunia Pop using the frame die from the Gallery Blooms Dies.

I stamped the large floral image from the Gallery Blooms stamp set onto Basic White card using Gorgeous Grape ink and attached it behind the smaller frame. I attached a piece of Gorgeous Grape card behind the right hand edge of the stamped panel before attaching the whole piece to the card front using dimensionals. I stamped the smaller floral image from the Gallery Blooms stamp set onto Basic White card using Petunia Pop ink and cut it out using the co-ordinating Gallery Blooms Die. I attached this flower to the lower right hand corner of the larger image panel.
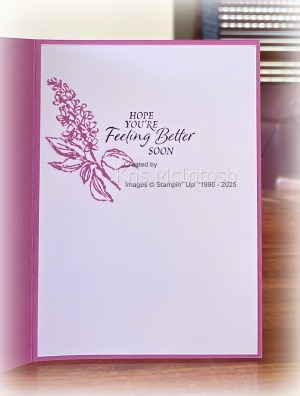
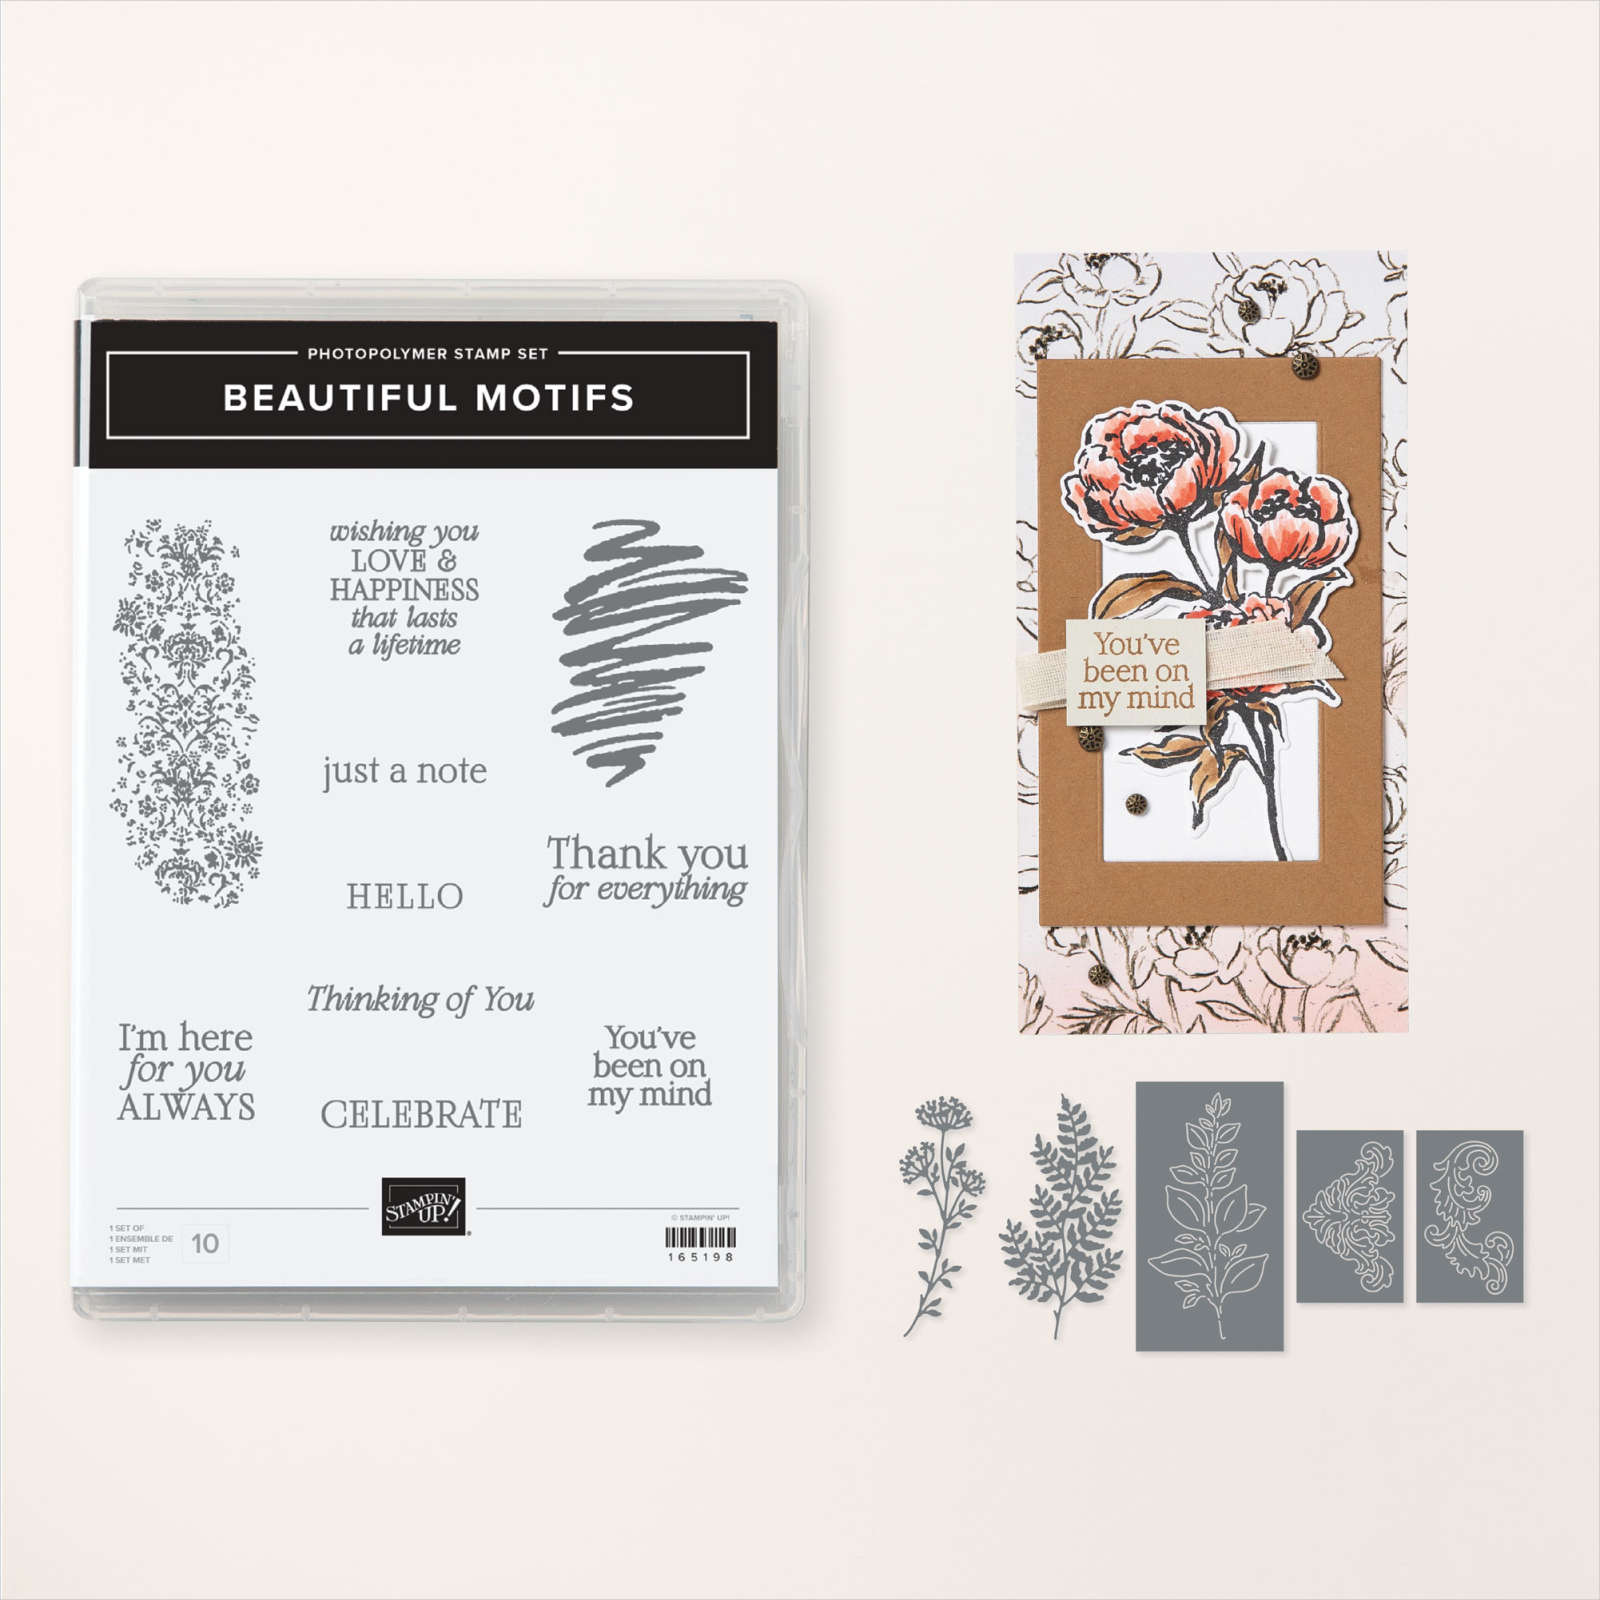
I stamped “thinking of you” from the Beautiful Motifs stamp set onto a narrow strip Basic White card using Gorgeous Grape ink. I attached the greeting across the lower part of the image panel. I coloured three Antique Pearls using the Dark Petunia Pop Stampin’ Blend and added them to the card front. To decorate the inside of the card, I stamped the greeting from the retired So Sincere stamp set using Gorgeous Grape ink. I stamped the small floral image used on the card front beside the greeting using Petunia Pop ink. I am very happy with my version of the sample in the Annual Catalogue. I find that the catalogues are a great starting point for creating with new product.
Bye for now,
Kris
Product Used:


Time to Celebrate
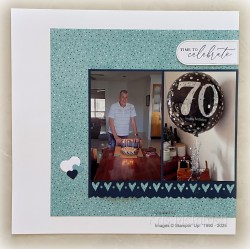
Today I am sharing some photos from my husband’s 70th birthday celebration. He is not one to want a big fuss so we just celebrated with our girls and their families. I cut two pieces of paper from the Soda Pop Paper & Stickers Pack using my June 1, 2,3 Layout Class. This is long retired but I love the papers. The layout is created by Noreen Smith and you can find her 1, 2, 3 layouts here on You Tube. My pages are Willow White 12″ x 12″ card and the photos on the right hand page are attached directly to the page.
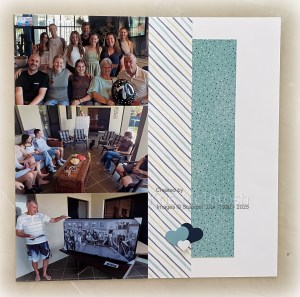
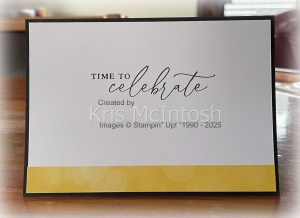
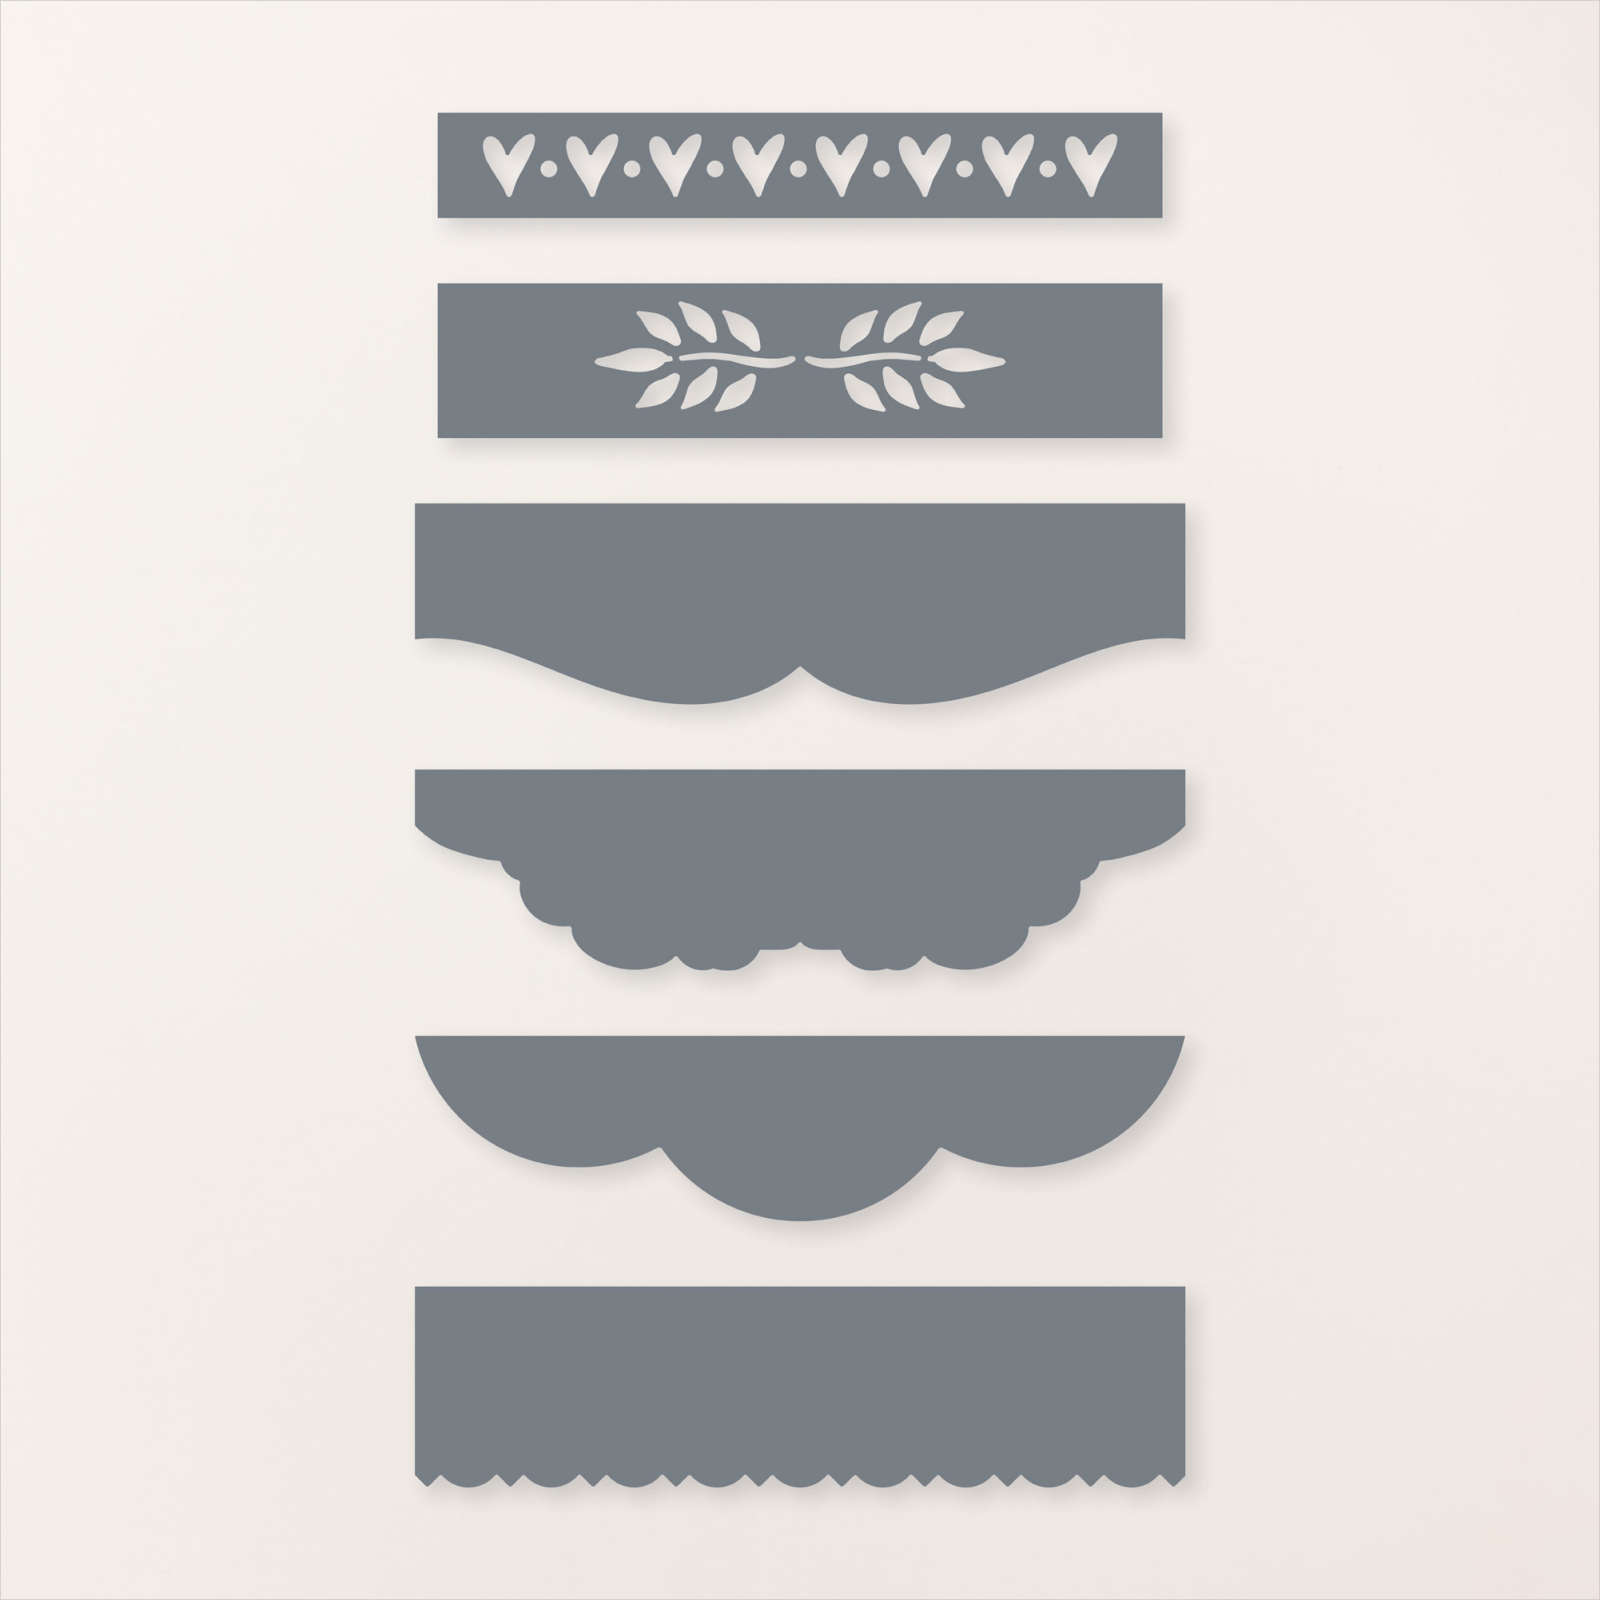
On the left hand page I cut the bottom of Night of Navy card using two of the Fancy Border Dies before attaching the photos. The whole panel is attached to the right hand side of the first page. I stamped the greeting from the Beautiful Butterflies stamp set onto Basic White card using Night of Navy ink.

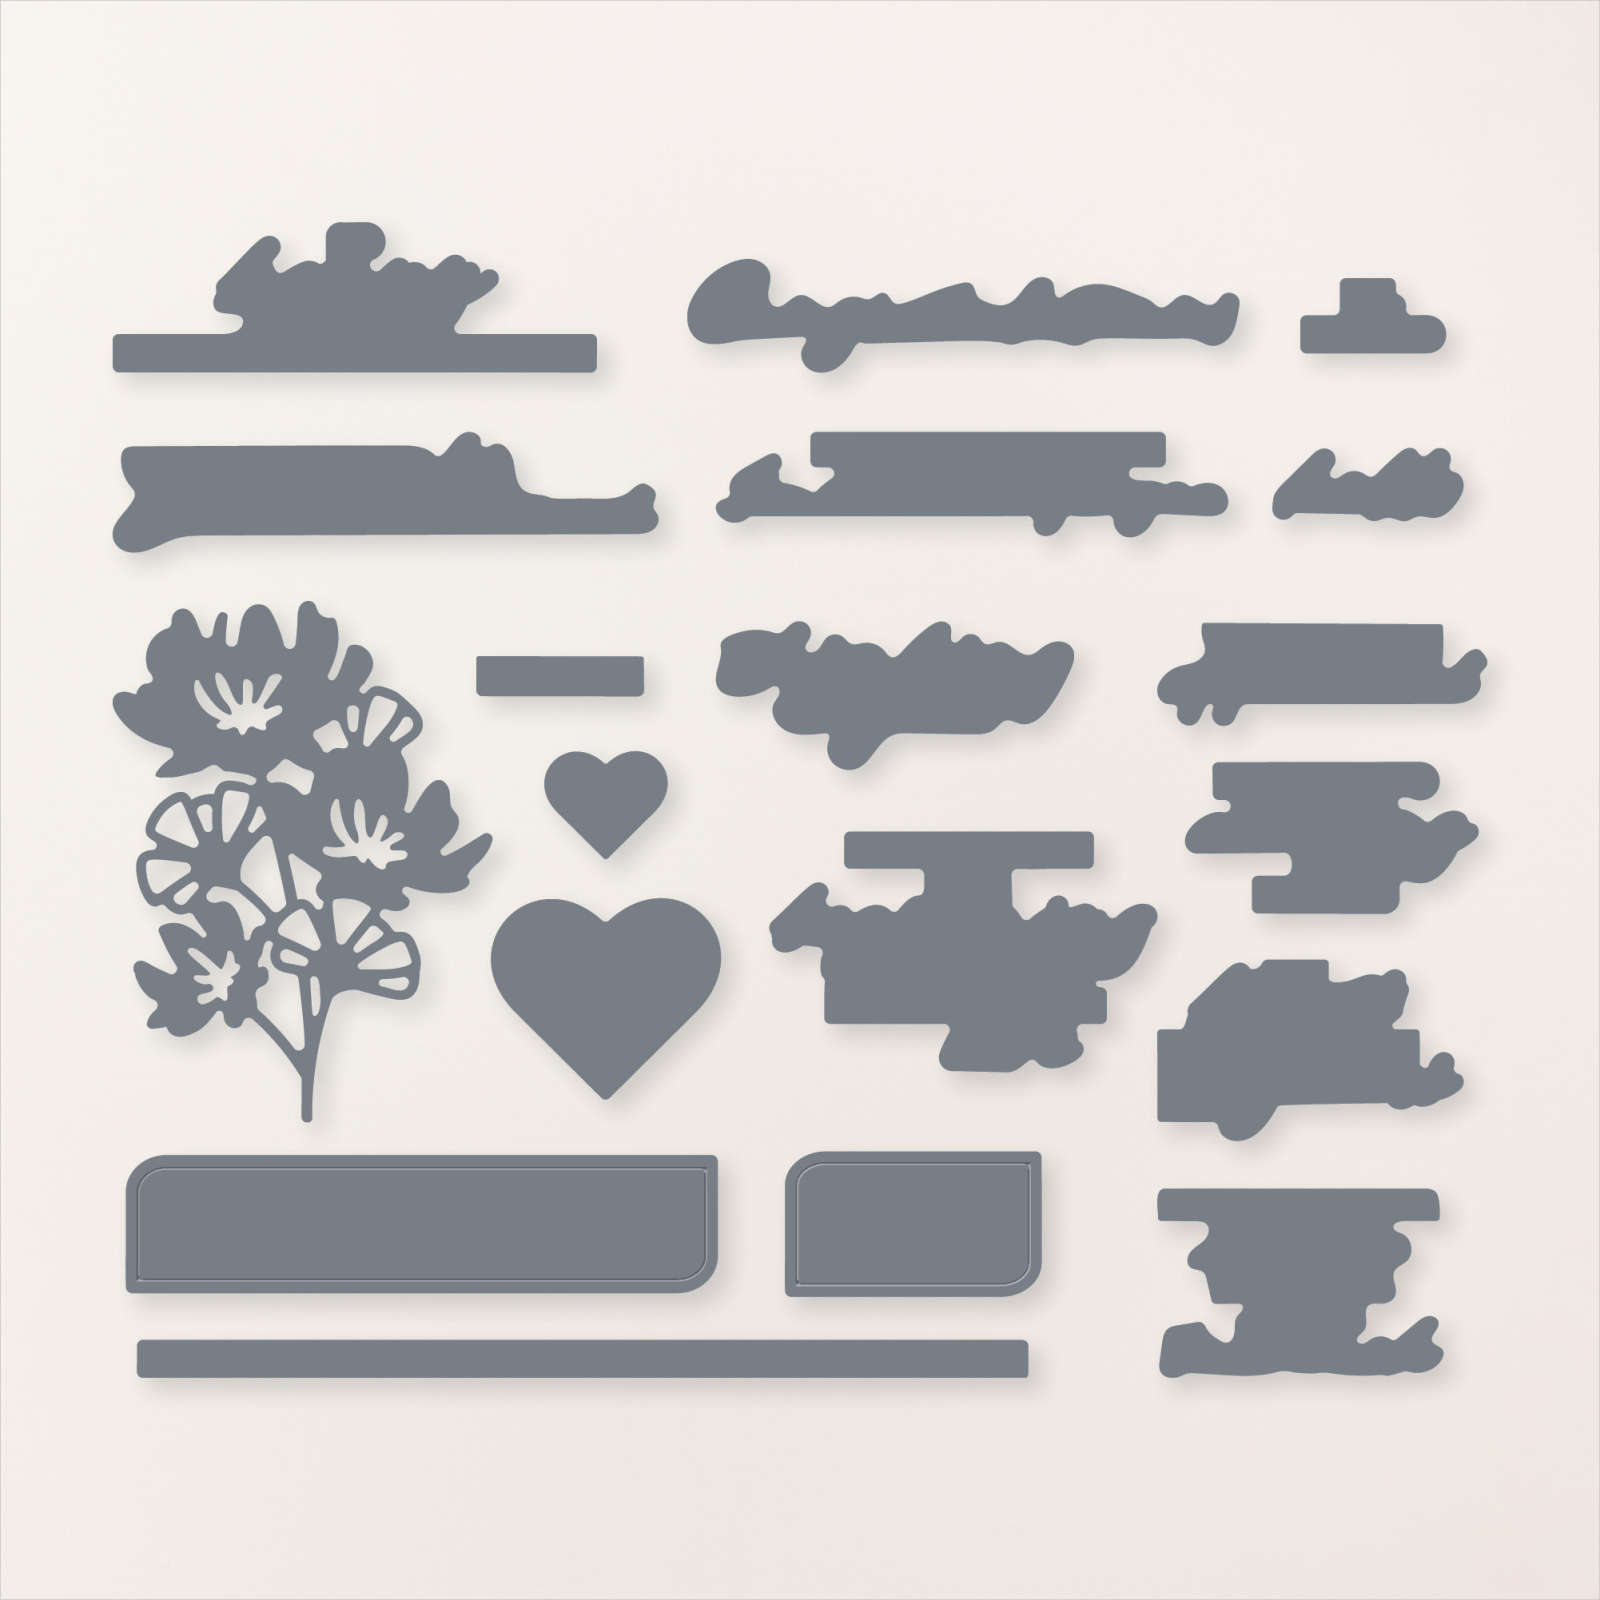
I used one of the Everyday Arches Dies to cut out the greeting before attaching it above the photos on the left hand page. I die cut Basic White, Night of Navy & Balmy Blue card using the heart dies from the Wonderful Thoughts Dies. I attached three dies together before attaching one cluster to the left hand page and one to the right hand page. I decided not to add any journaling as the photos tell the story.
Bye for now,
Kris
Product Used:


Gallery Congratulations

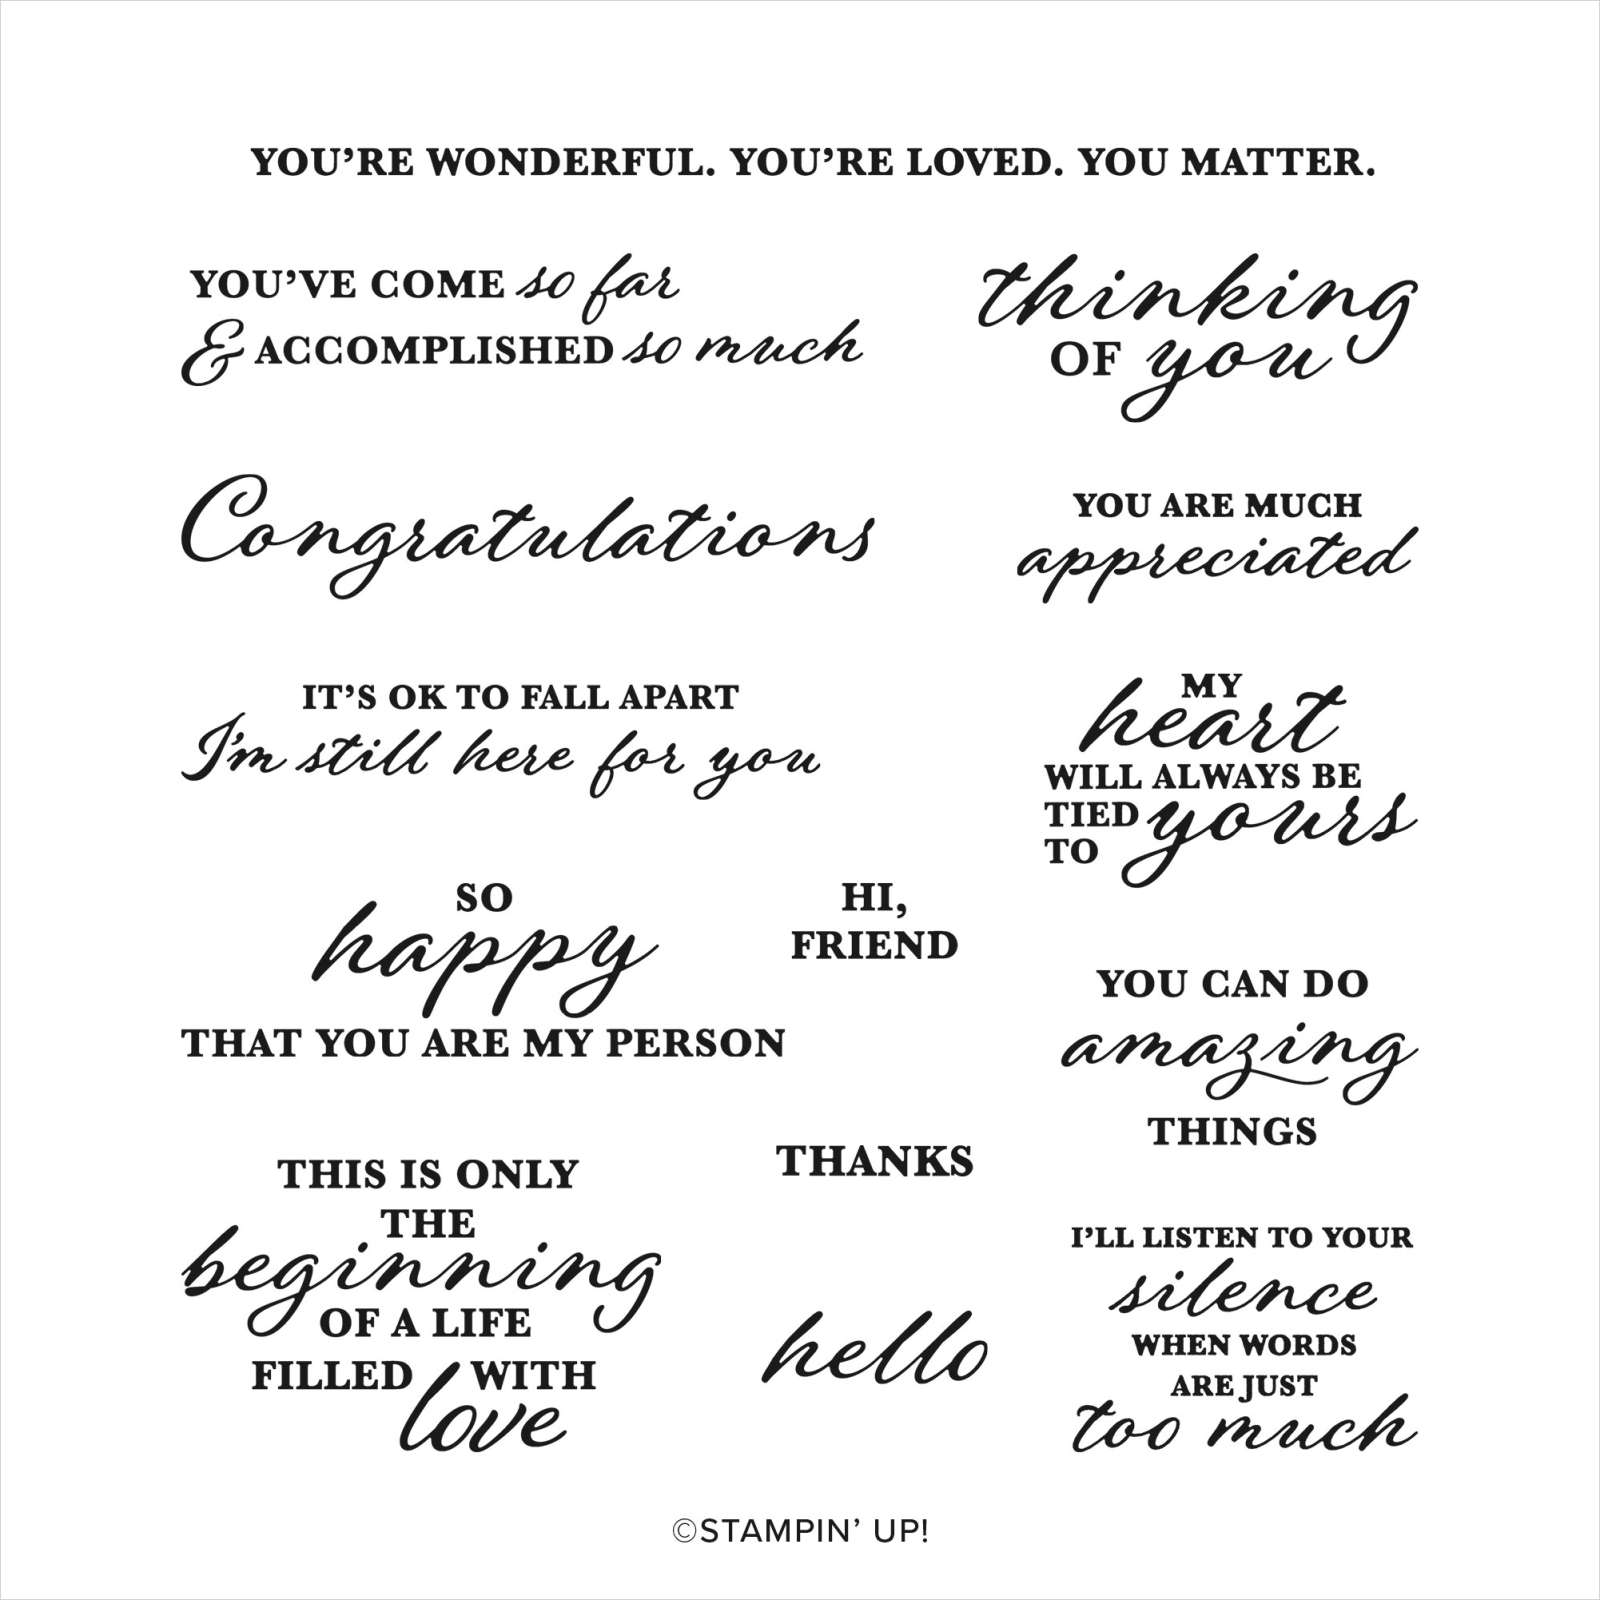
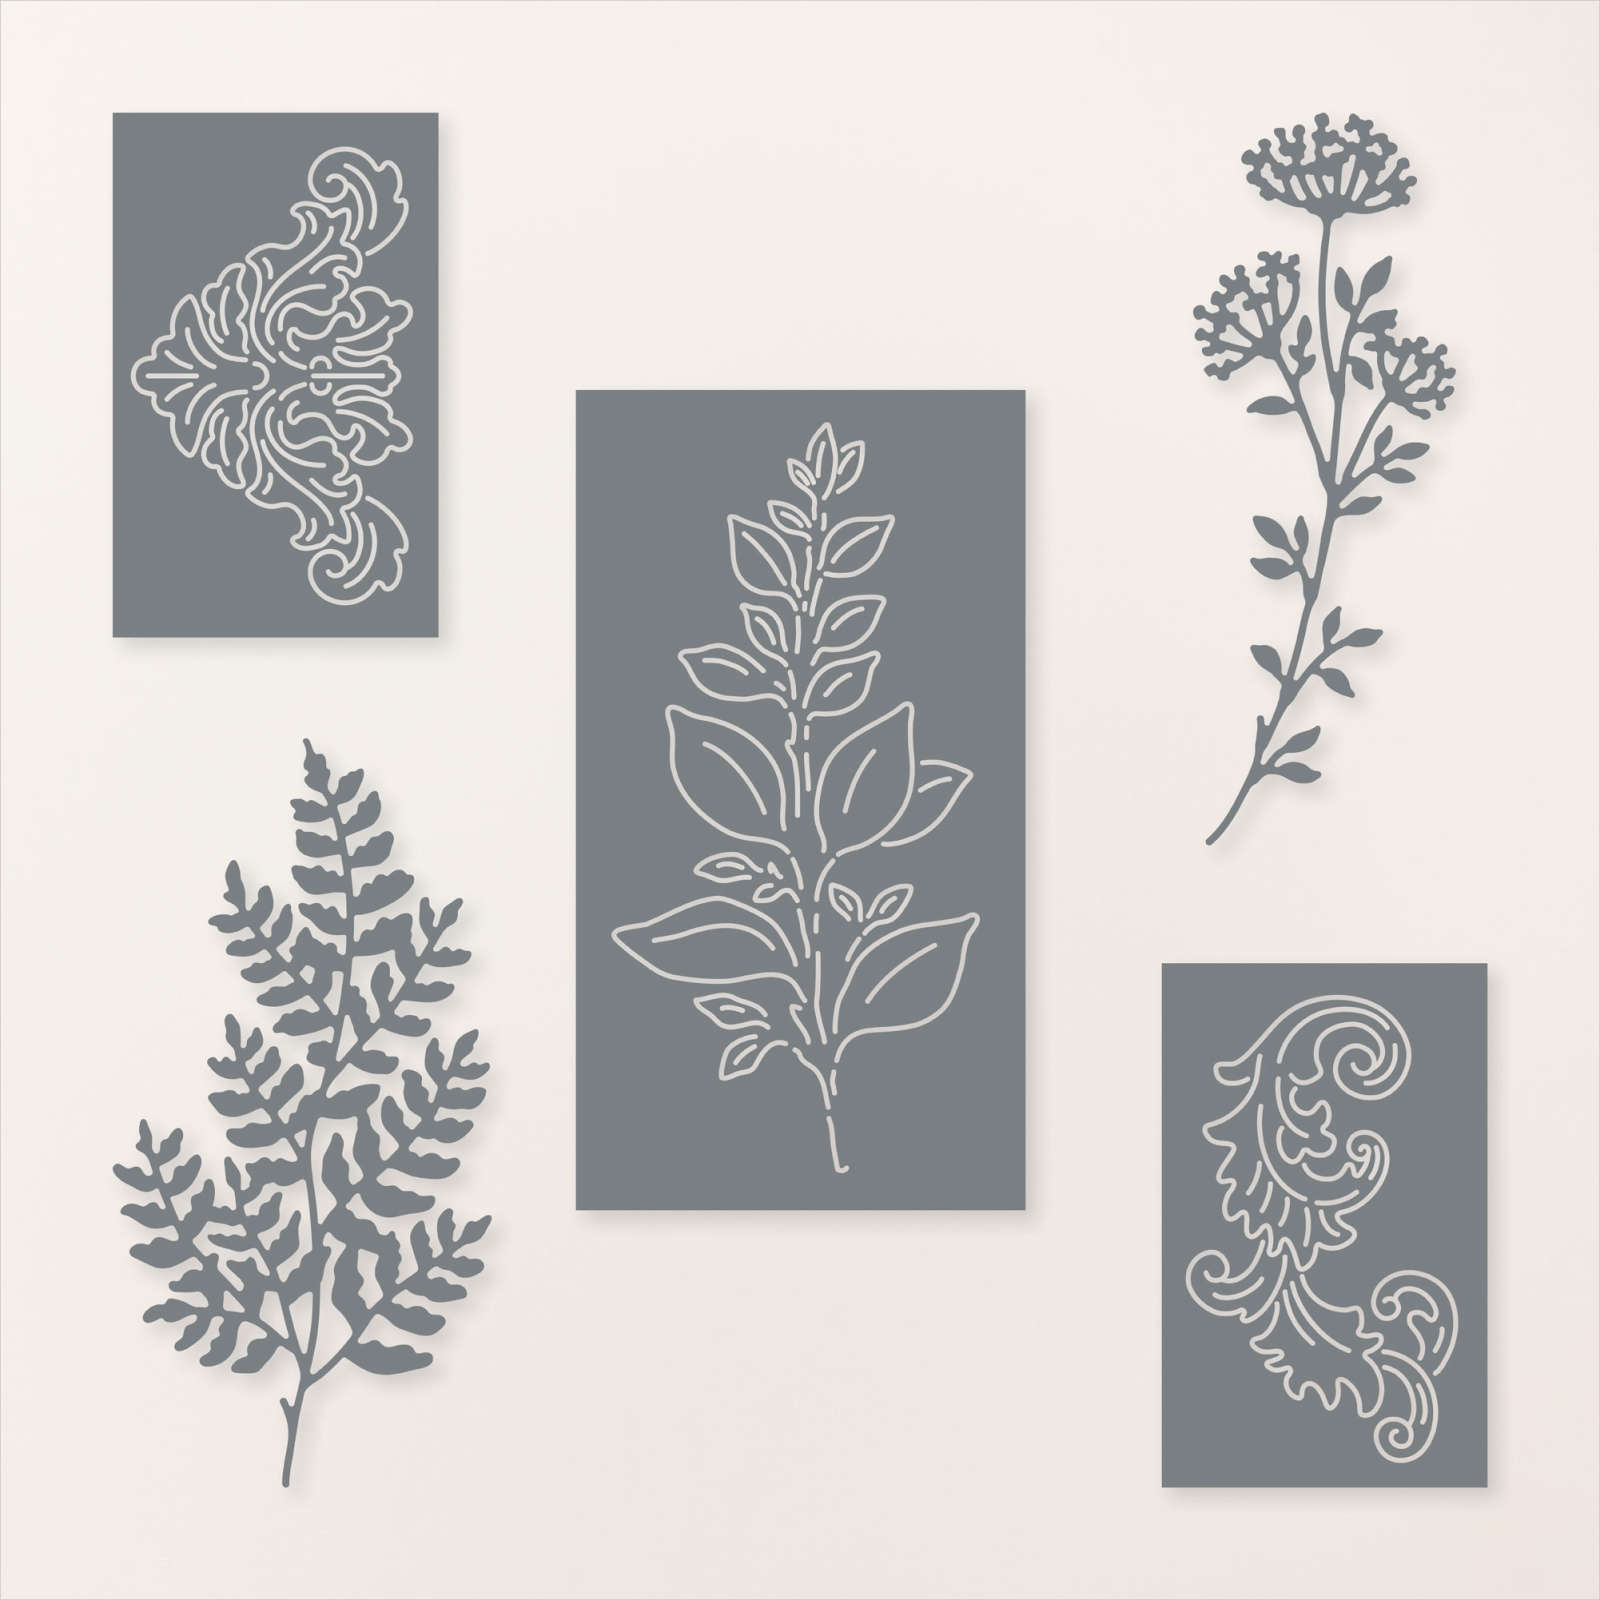
For today’s card, I attached a piece of Beautiful Gallery 6″ x 6″ Designer Series Paper to Basic White card. The panel is attached to scored and folded Lost Lagoon card. I cut Basic White card using the leaf die from the Beautiful Motifs Dies and attached it to the card front. I stamped “congratulations” from the Wonderful Thoughts stamp set onto Basic White card using Lost Lagoon ink.

I attached the greeting to the card front over the end of the leaf image using dimensionals. To decorate the inside of the card, I cut Lost Lagoon card using the same Beautiful Motifs Die and attached it to the lower left hand corner of Basic White card.

The panel is attached inside the Lost Lagoon card base. The Designer Series Paper I used for this card was left over from some previous cards I created using this beautiful Designer SEries Paper. Such a simple card but oh so pretty, don’t you think?
Bye for now,
Kris
Product Used:

Let The Journey Begin
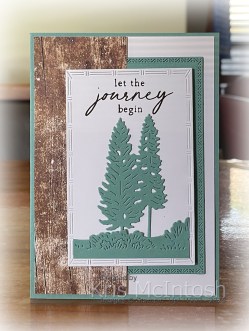
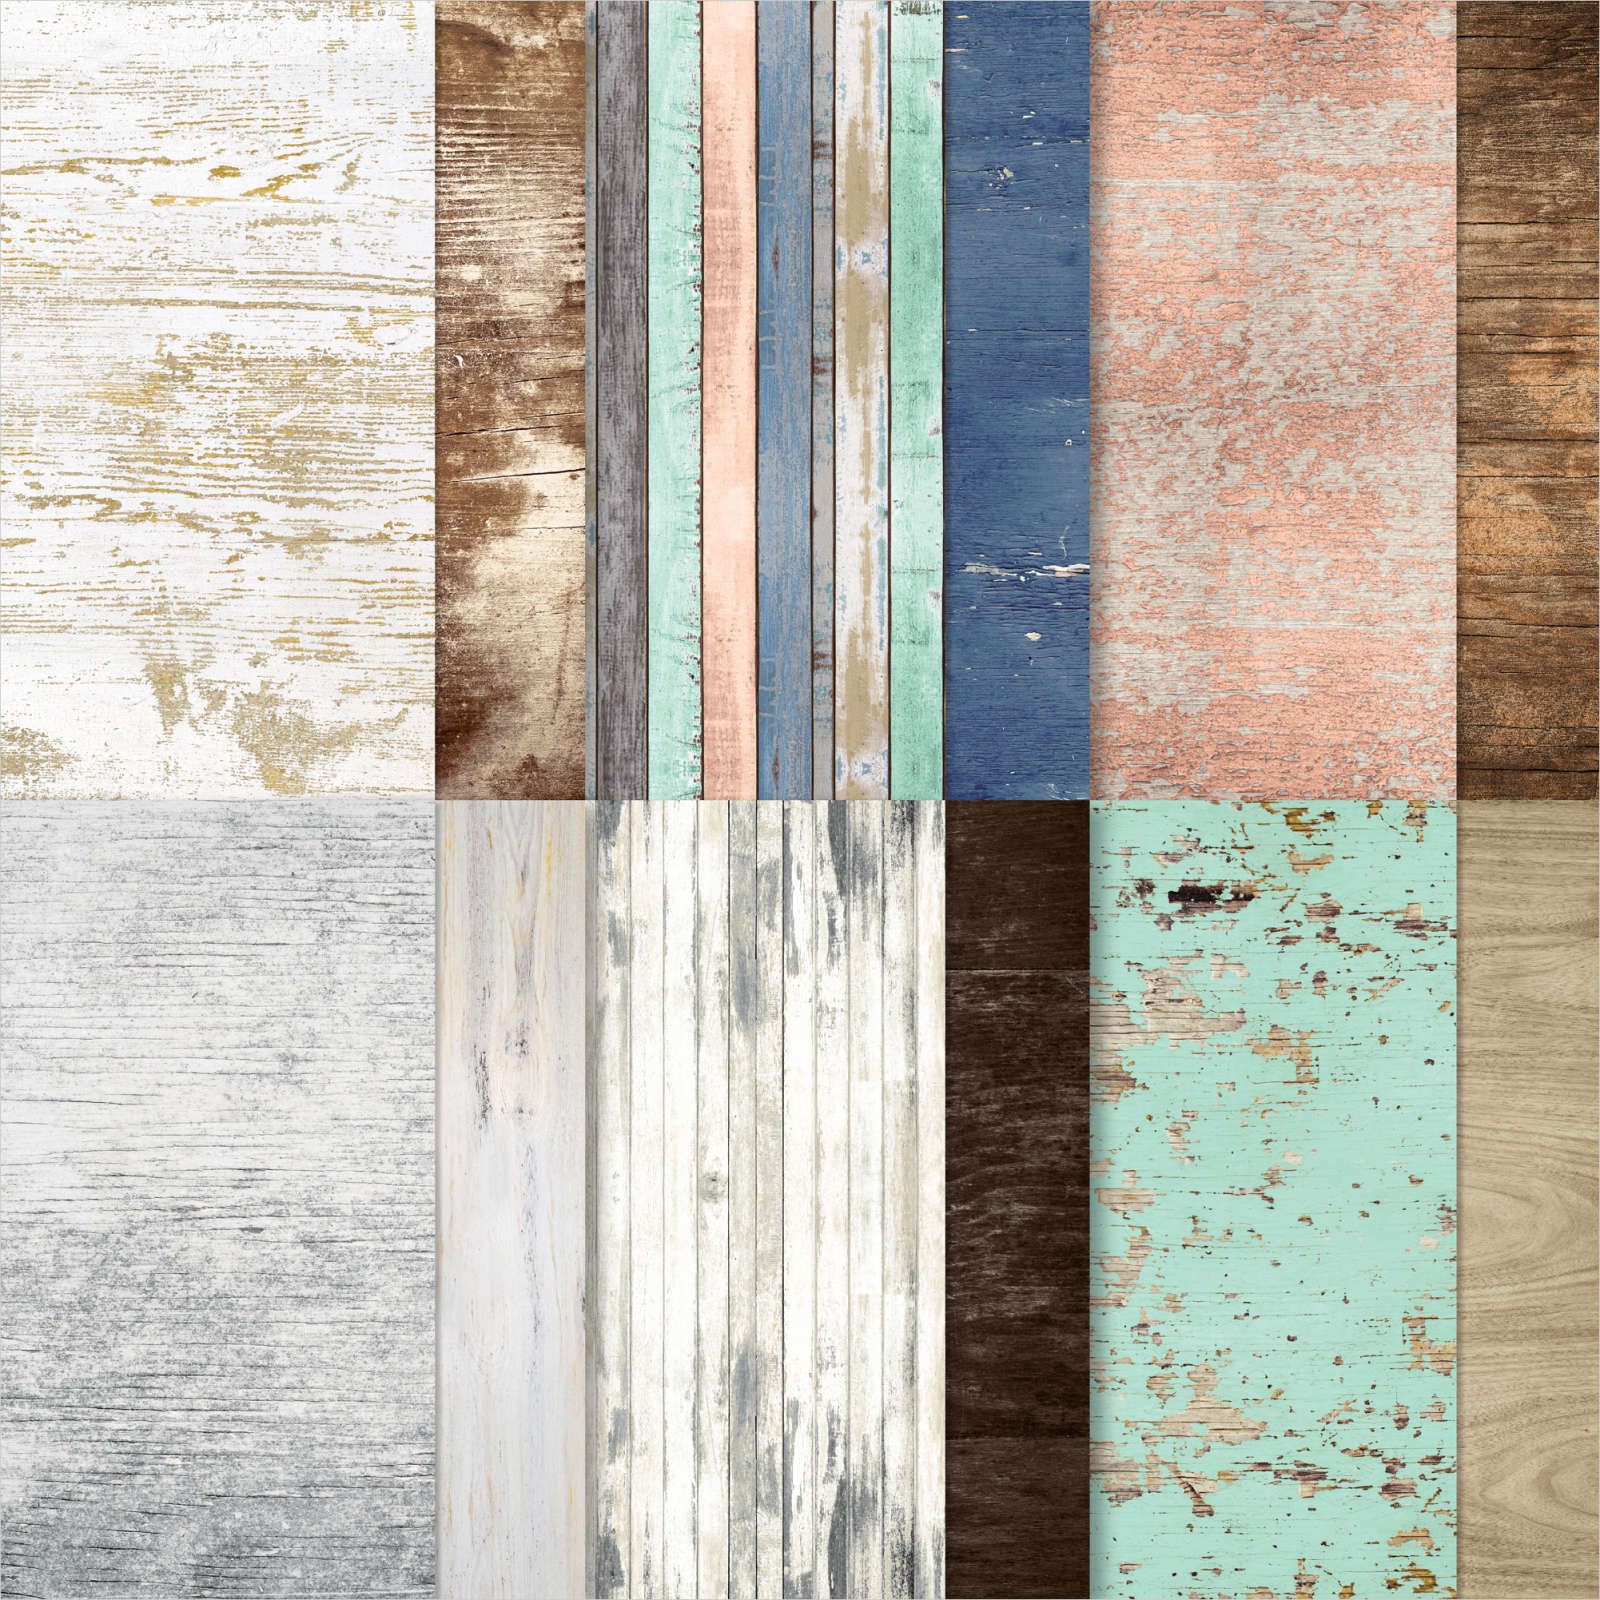
To I have another card to share with you using the Scenic Adventure Bundle. For this card I began by cutting Lost Lagoon card using one of the Textured Notes Dies and attached it to Basic White card. I attached a piece of Country Woods 12″ x 12″ Designer Series Paper down the left hand side of the Basic White card before attaching the whole panel to scored and folded Lost Lagoon card.

I cut Basic White card using a slightly smaller die from the Textured Notes Dies. I die cut Lost Lagoon card using the grass die and also the double tree using the Scenic Adventure Dies. I trimmed the grass to fit on the Basic White die cut and attached the grass and the trees. I stamped the “let the begin” greeting from the Scenic Adventure stamp set onto the top of the Basic White die cut using Early Espresso ink.
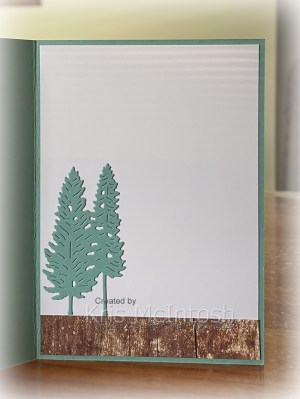
I stamped “journey” between the stamped greeting using Early Espresso ink. I love how Stampin’ Up! created these two dies to work together. I attached the Basic White panel to the card front using dimensionals. To decorate the inside of the card, I attached a narrow strip of the same pattern Country Woods Designer Series Paper across the bottom of Basic White card. I cut Lost Lagoon card using the double tree die from the Scenic Adventure Dies and attached them to the left hand side of Basic White card with the tree trunks touching the top of the Designer Series Paper. I have had a lot of fun with this bundle and I am sure I will find lots of ways to use it in the future.
Bye for now,
Kris
Product Used:


Kuranda

I recently shared some pages I created using Soda Pop Paper Packet & Stickers to showcase my husband’s birthday. When I created those pages, I actually cut two pieces of the paper to create the 1, 2, 3 Layout. So I had the remaining pieces to create the layout for todays pages. I attached the Soda Pop Designer Series Paper to White Willow 12″ x 12″ pages. I Basic White card using one of the Nested Essential Dies to create the banner for the title.
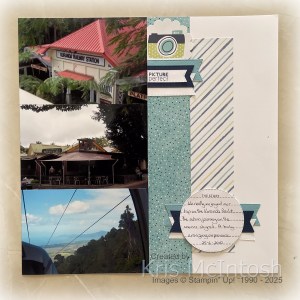
I did have to extend the die so that I could fit all the letters. I also cut Night of Navy card and Balmy Blue card using the same die to create two more banners. I layered the banners together before attaching the title which is cut from Night of Navy card using the Alphabet A La Mode Dies. I did attach Adhesive Sheet to the back of the card before die cutting to make it easier to attach the letters. I used a banner die from the Stylish Shapes Dies to cut Basic White, Night of Navy and Balmy Blue card. I layered the banners together before attaching them behind the bottom of the photo on the left hand page. On the right hand page, I attached the camera sticker from the Soda Pop Sitckers before attaching the photos so that the sticker sits slightly under the photo.

I stamped “picture perfect” from the retired Remember This stamp set onto Basic White card using Night of Navy ink. I cut the greeting using one of the banner dies from the Stylish Shapes Dies. I attached the greeting to a slightly larger banner cut from Night of Navy card using the Stylish Shapes Dies. I also cut another Balmy Blue and Basic White banner using the same die. The banners are layered together, trimmed on the left hand edge and attached below the camera image. I stamped Basic White card using the line image from the retired Wildflower Celebrations stamp set using Smoky Slate ink. I cut out the lines using the largest circle from the Stylish Shapes Dies. I stamped “the story” from the retired Love This Moment stamp set using Night of Navy ink. I wrote my journaling on the to Basic White circle before attaching it to the page using dimensionals. I die cut Basic White, Night of Navy and Balmy Blue using the banner die from the Stylish Shapes Dies. I layered the banners together before cutting them in half and attaching one half to behind each side of the journaling panel. Another page I am so happy with. These photos go back to 2010 so its really lovely to finally see them showcased.
Bye for now,
Kris
Product Used:
You can view the adhesive sheets here in my online store.

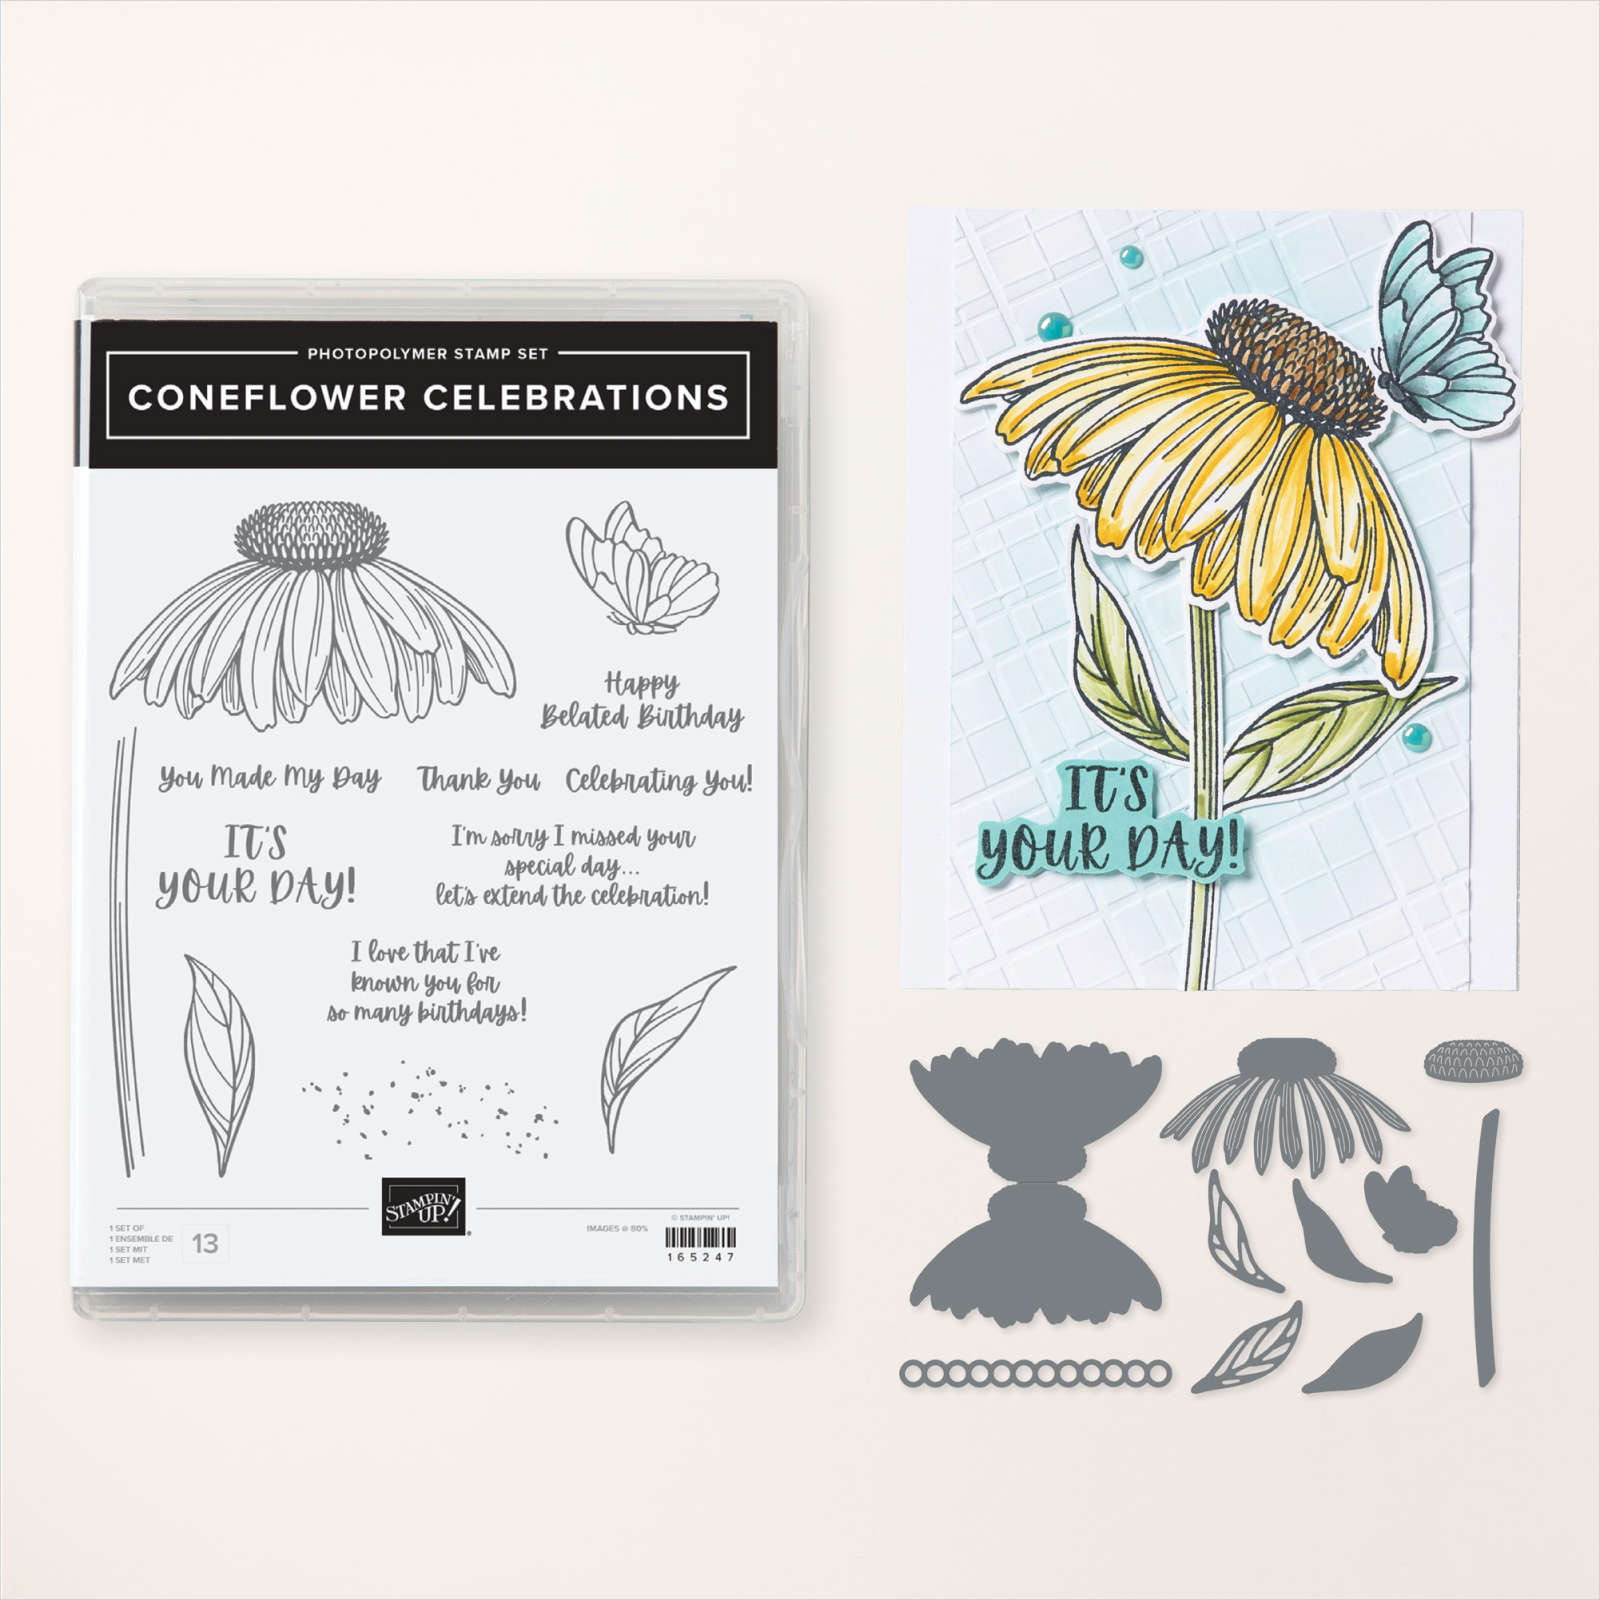
Coneflower Birthday
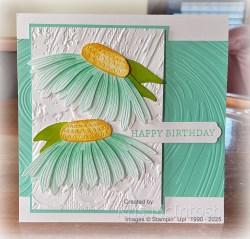
Today’s card was created using the Coneflower Celebrations Bundle. I made the card base 6″ x 6″ using White Willow 12″ x 12″ card. I attached a piece of Coastal Cabana card to the left hand side of the card front. I embossed a piece of Coastal Cabana card using the So Swirly Embossing Folder before attaching it across the card front. I embossed a piece of Basic White card using the Plaster Painting 3D Embossing Folder which I attached to the card front using dimensionals. I die cut Basic White card four times using the flower die from the Coneflower Celebration Dies.

I also cut four leaves, two of each die in the Coneflower Celebration Dies and also two flower centres all from Basic White. I used a Blending Brush to add Coastal Cabana ink to the flowers, Granny Apple Green to the leaves and Daffodil Delight to the flower centres. I attached two flowers together overlapping the petals to create two flowers. I attached the flower head and trimmed away the underneath flowers where necessary. I attached the leaves to the back of the flowers before attaching them to the card front. The lower flower is attached using dimensionals.

I stamped “happy birthday” from the Simply Said stamp set onto Basic White card using Coastal Cabana ink. I cut out the greeting using the larger banner from the Beautiful Butterflies Dies. The greeting is attached to the card front using dimensionals where necessary. To decorate the inside of the card, I stamped the greeting from the Unbounded Love stamp set onto Basic White card using Coastal Cabana ink. I attached the stamped panel to Coastal Cabana card and then to the inside of the card base. This card is along way out of my comfort zone and I am still not completely happy with the way it looks but it was a learning curve and gave me an excuse to play with this lovely bundle from the Annual Catalogue. I’d love to hear what you think.
Bye for now,
Kris
Product Used: