Stripes & Lines Birthday

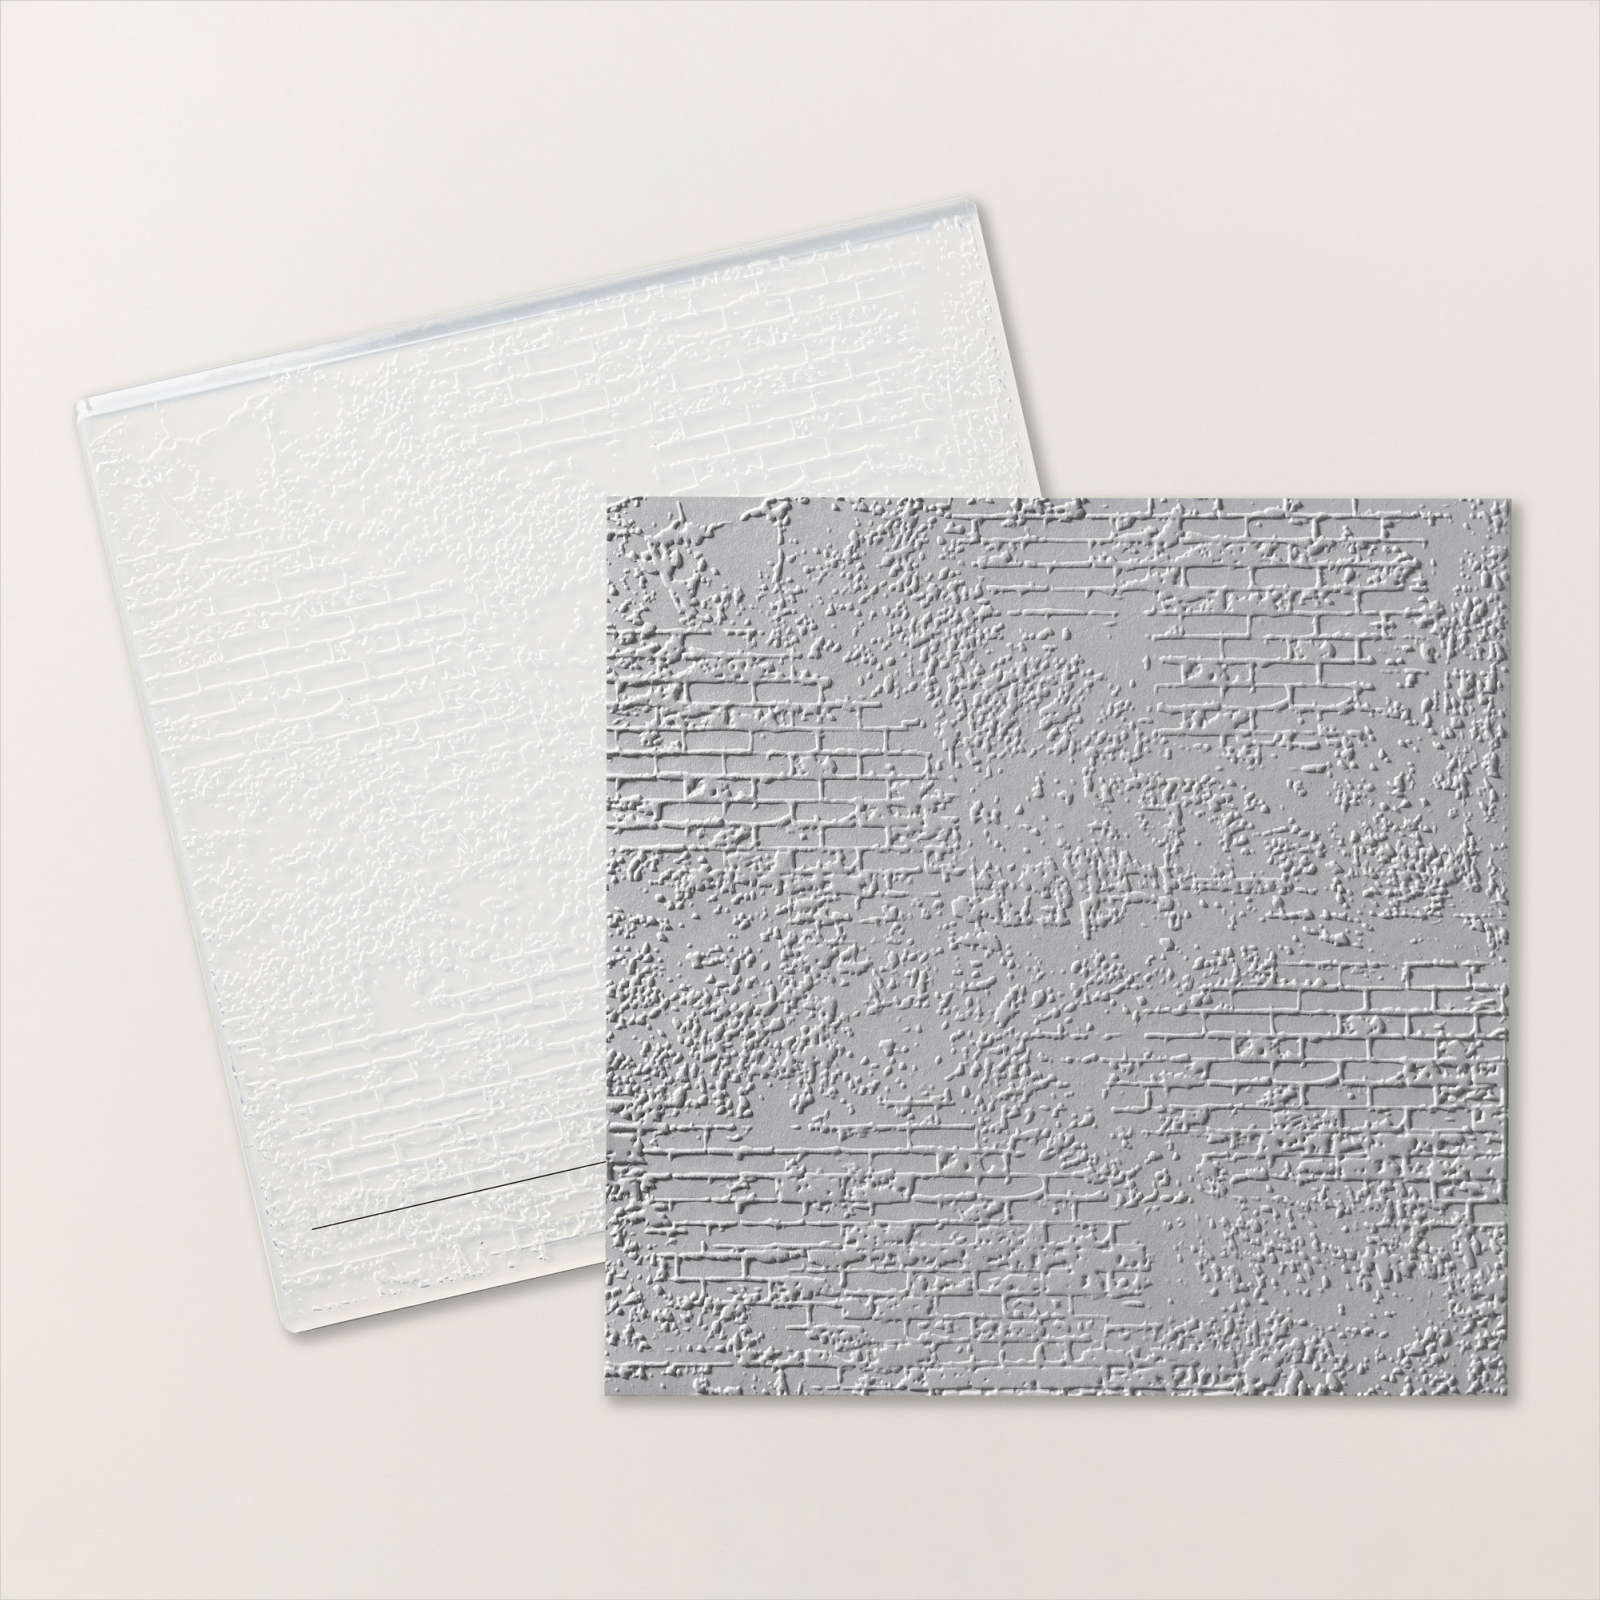
Today I am sharing a card I created using the Stripes & Dots stamp set as well as the Along the Lines stamp set. I began by stamping “happy birthday” from the Cake Celebration stamp set onto the lower right hand corner of a piece of Basic White card using Balmy Blue ink. I embossed the stamped panel using the Exposed Brick 3D Embossing Folder.

I stamped a piece of Balmy Blue card with the dotted image from the Stripes & Dots stamp set using Balmy Blue ink. I also sponged Balmy Blue ink around the edge of the stamped panel before attaching it to the left hand side of the embossed Basic White card. The whole embossed panel is attached to scored and folded Balmy Blue card. I stamped the cake image from the Along These Lines stamp set onto Basic White card using Balmy Blue ink.
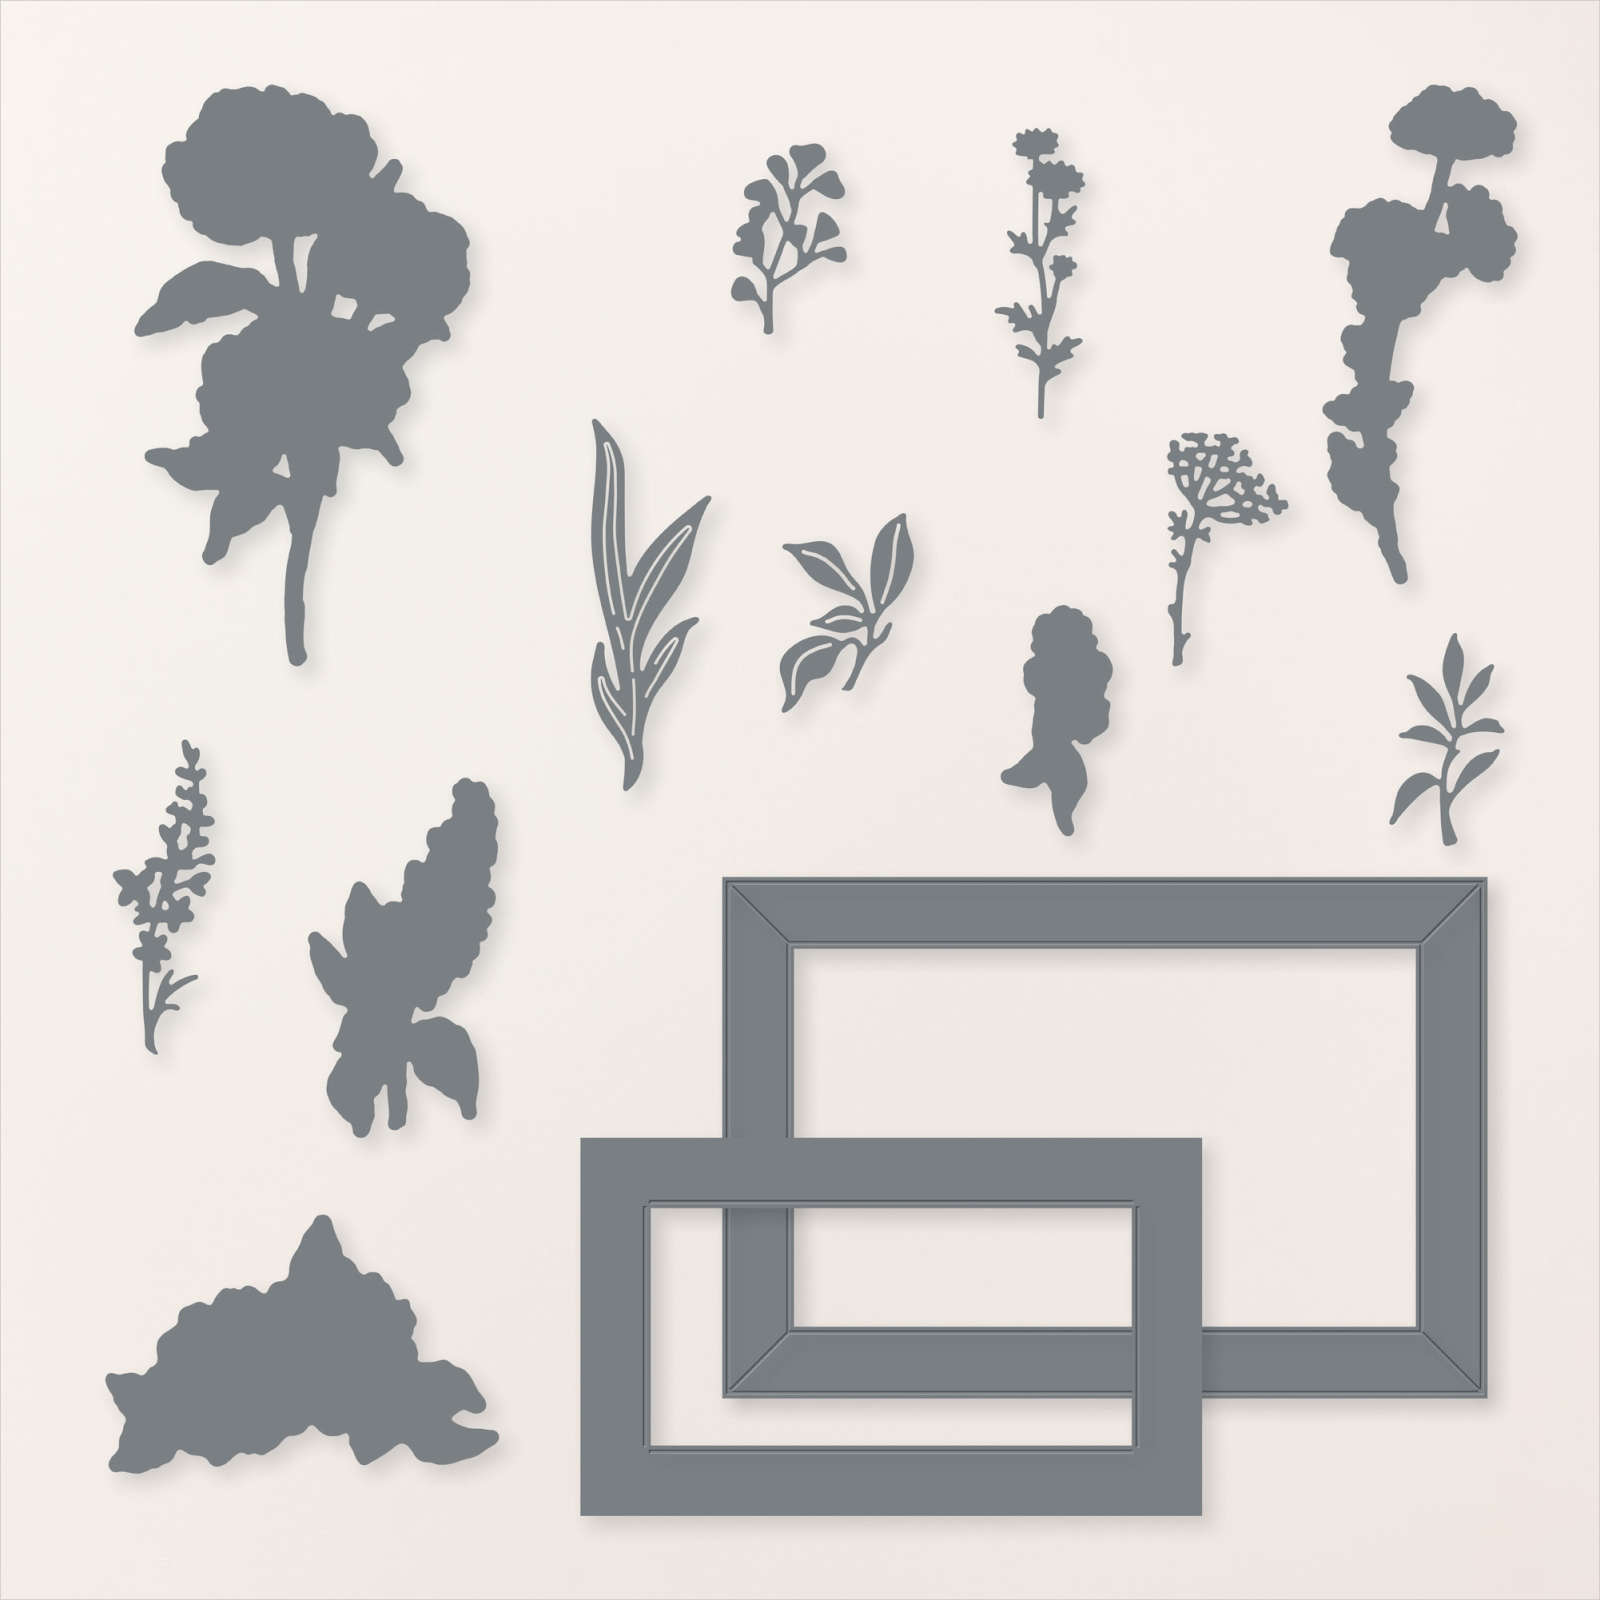
I cut out the image using one of the Spotlight on Nature Dies. I cut Balmy Blue card with another of the Spotlight on Nature Dies and attached them together. I attached the image panel to the card front using dimensionals. To decorate the inside of the card I stamped a narrow strip of Balmy Blue card using the dotted image from the Stripes & Dots stamp set and Balmy Blue ink. I sponged the edges of the stamped panel using Balmy Blue ink before attaching the panel to the bottom of Basic White card. I love how pretty this card looks, don’t you?
Bye for now,
Kris
Product Used:


Love This

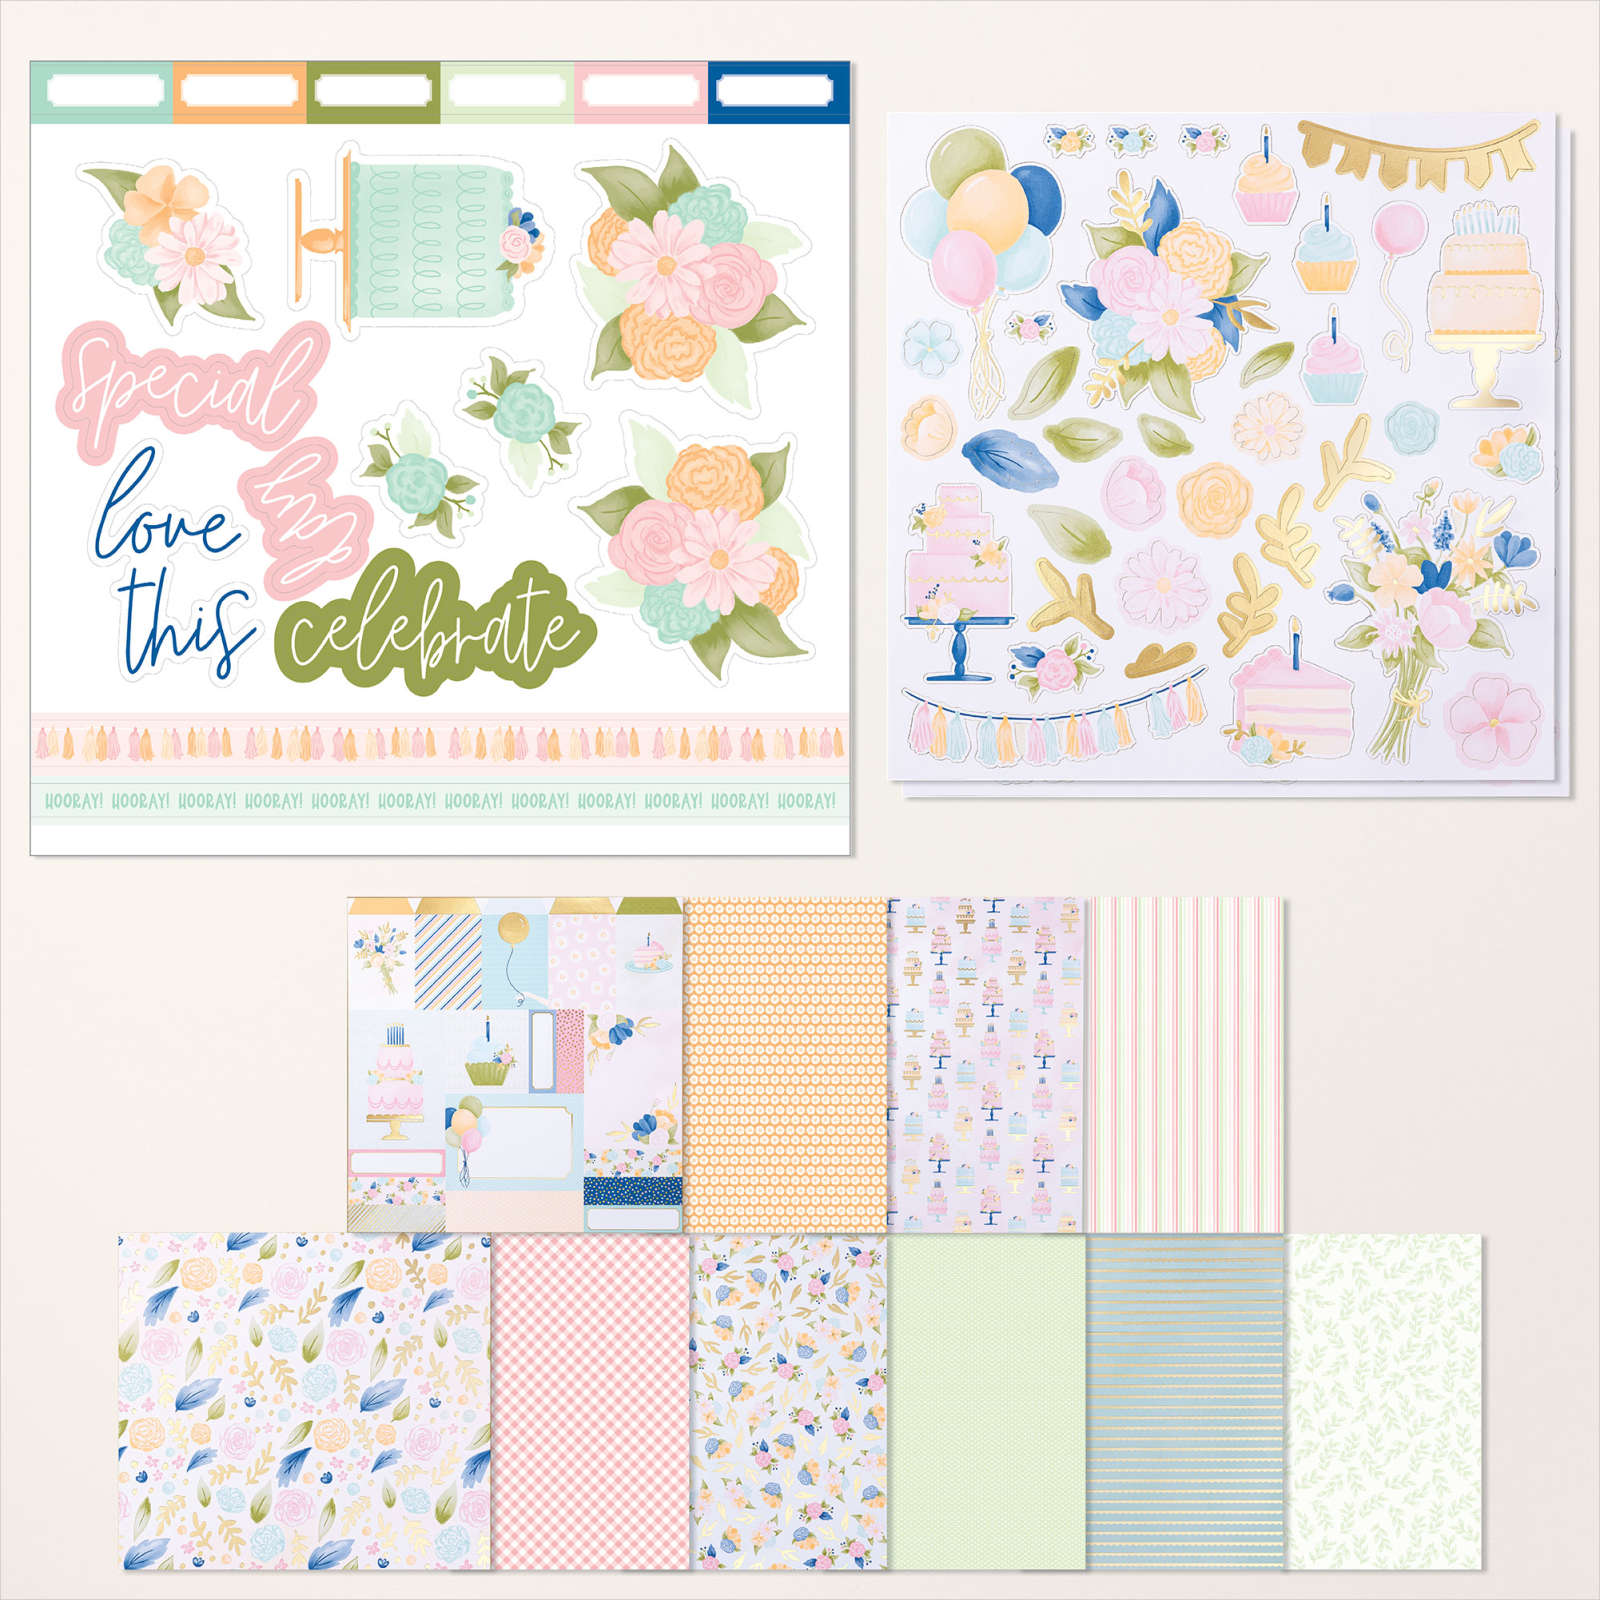
Today I have the third layout from the Wildflower Birthday Scrapbooking Workshop Kit. I added some photos taken at my daughters birthday back in 2019. I completed the left hand page layout according to the guide. However, I did change up the right hand page slightly.
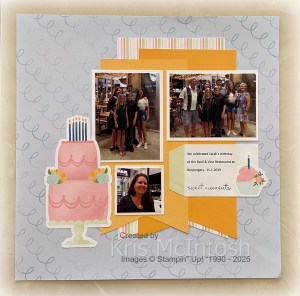
The layout shows two portrait 3″ x 4″ photos but I wanted to use one 3″ x 4″ and one 4″ x 3″ photo so I changed around the placement of the photos and embellishments.

I also printed my journaling onto the tag and stamped a sentiment from the retired Remember This stamp set before attaching it to the page. I love how this turned out and loved playing with the stickers and die cuts to make the layout my own.
Bye for now,
Kris
Produce Used:
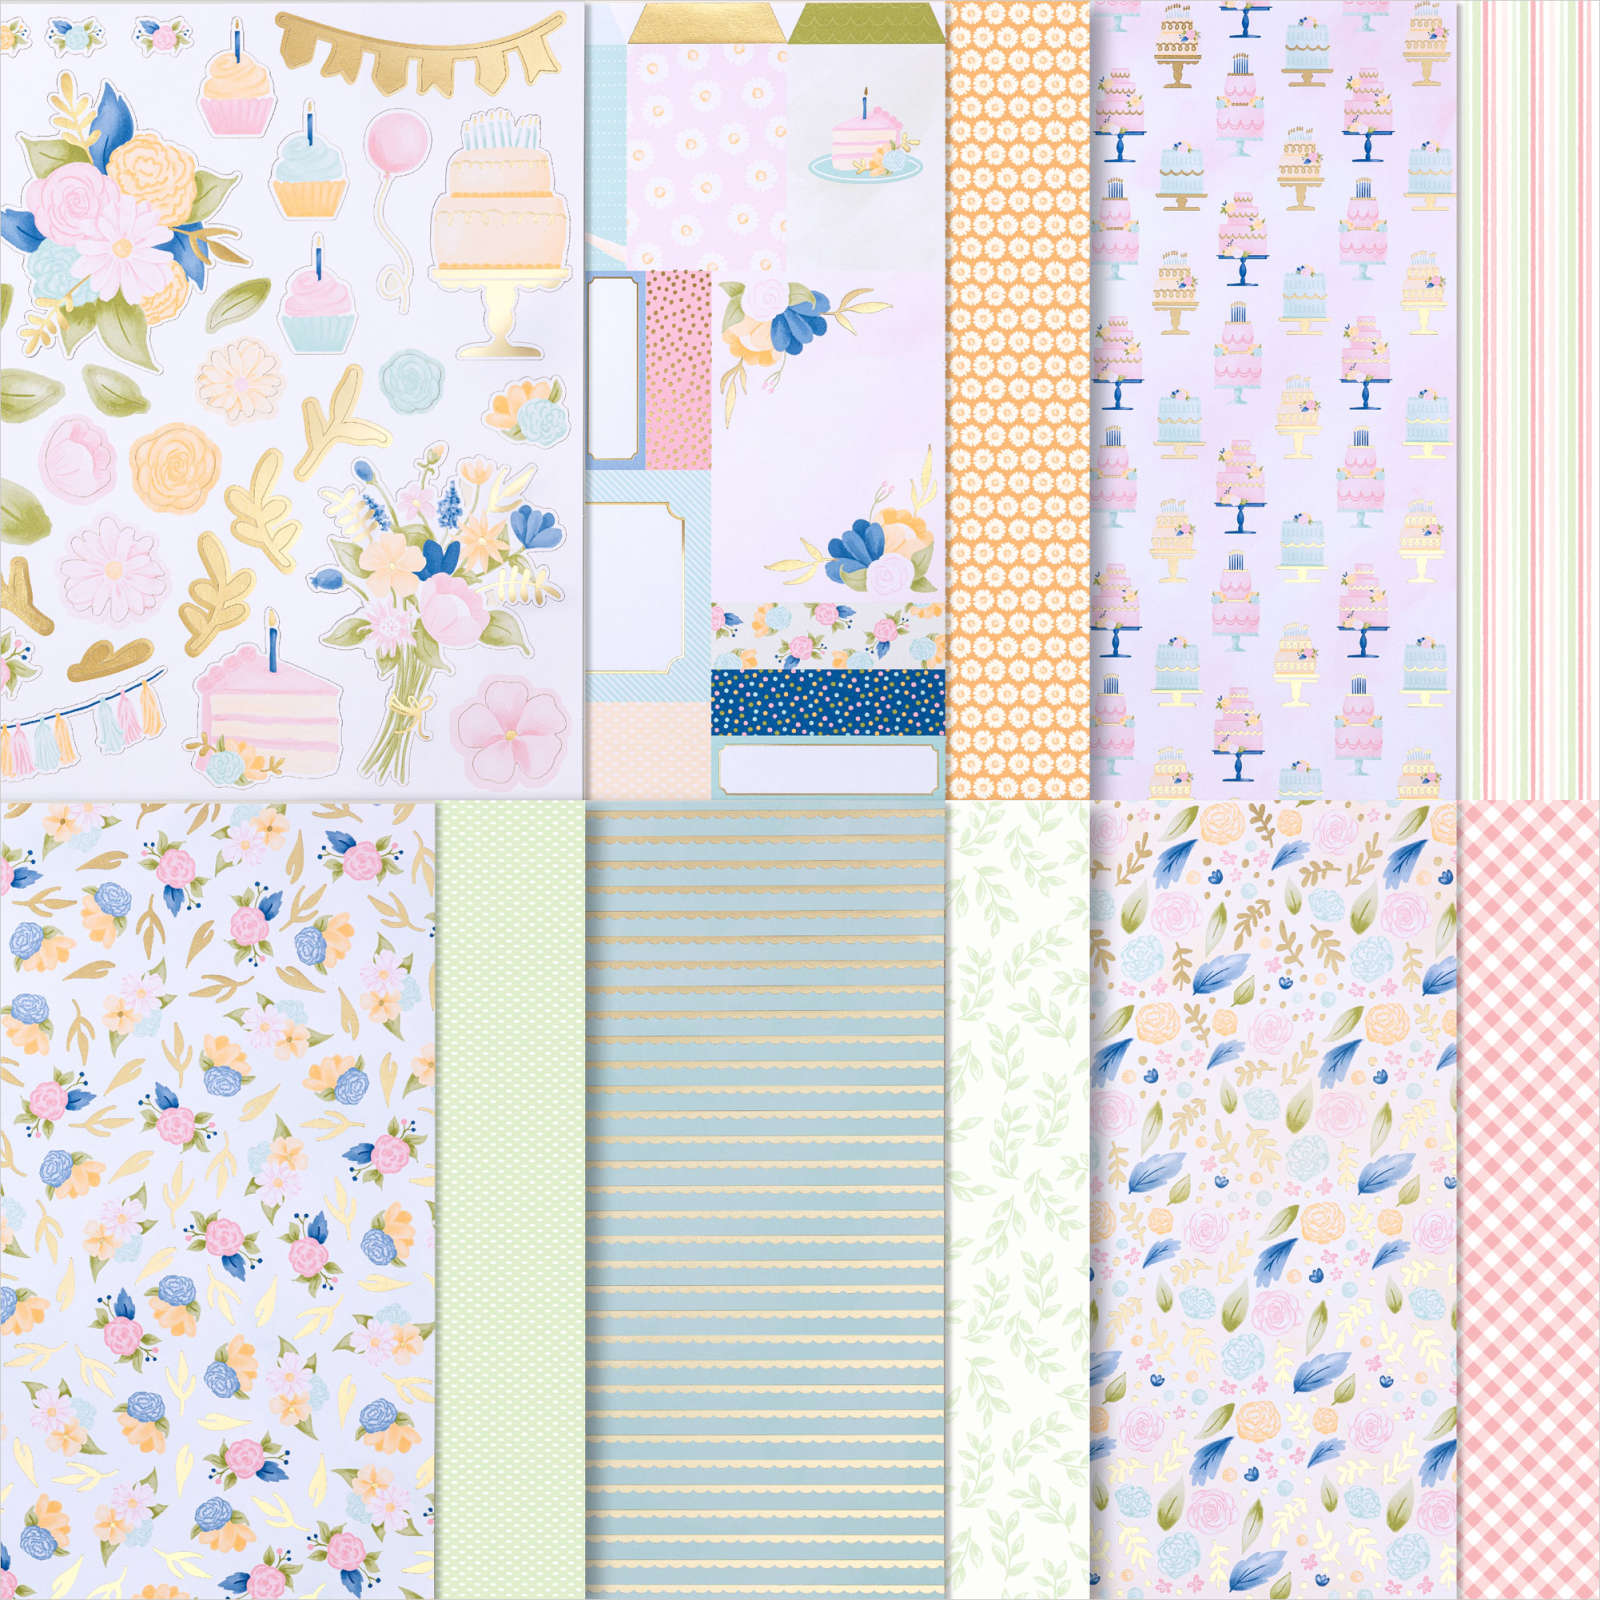
Wildflower Celebration

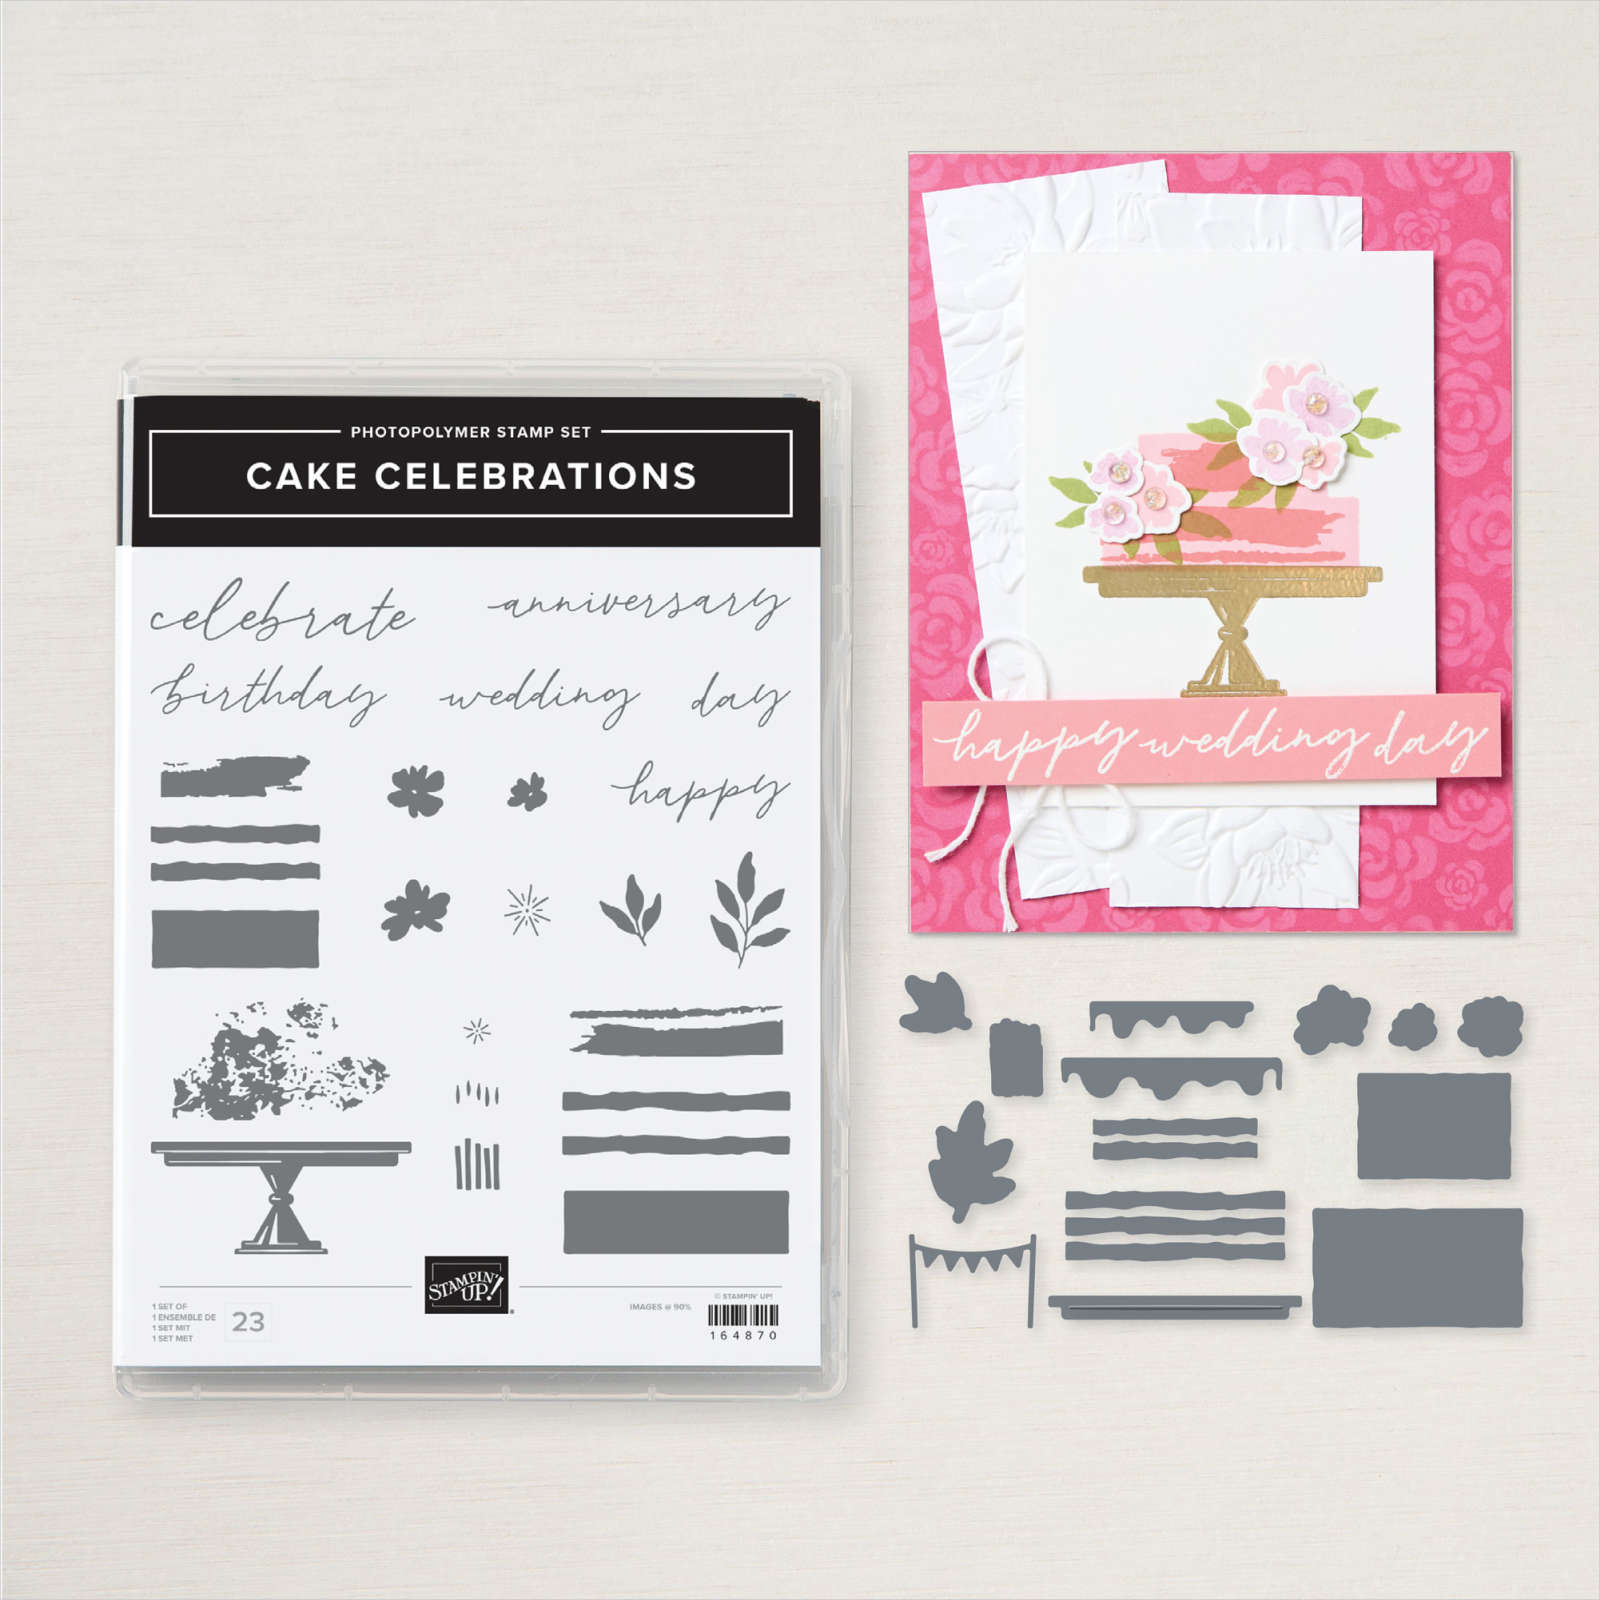
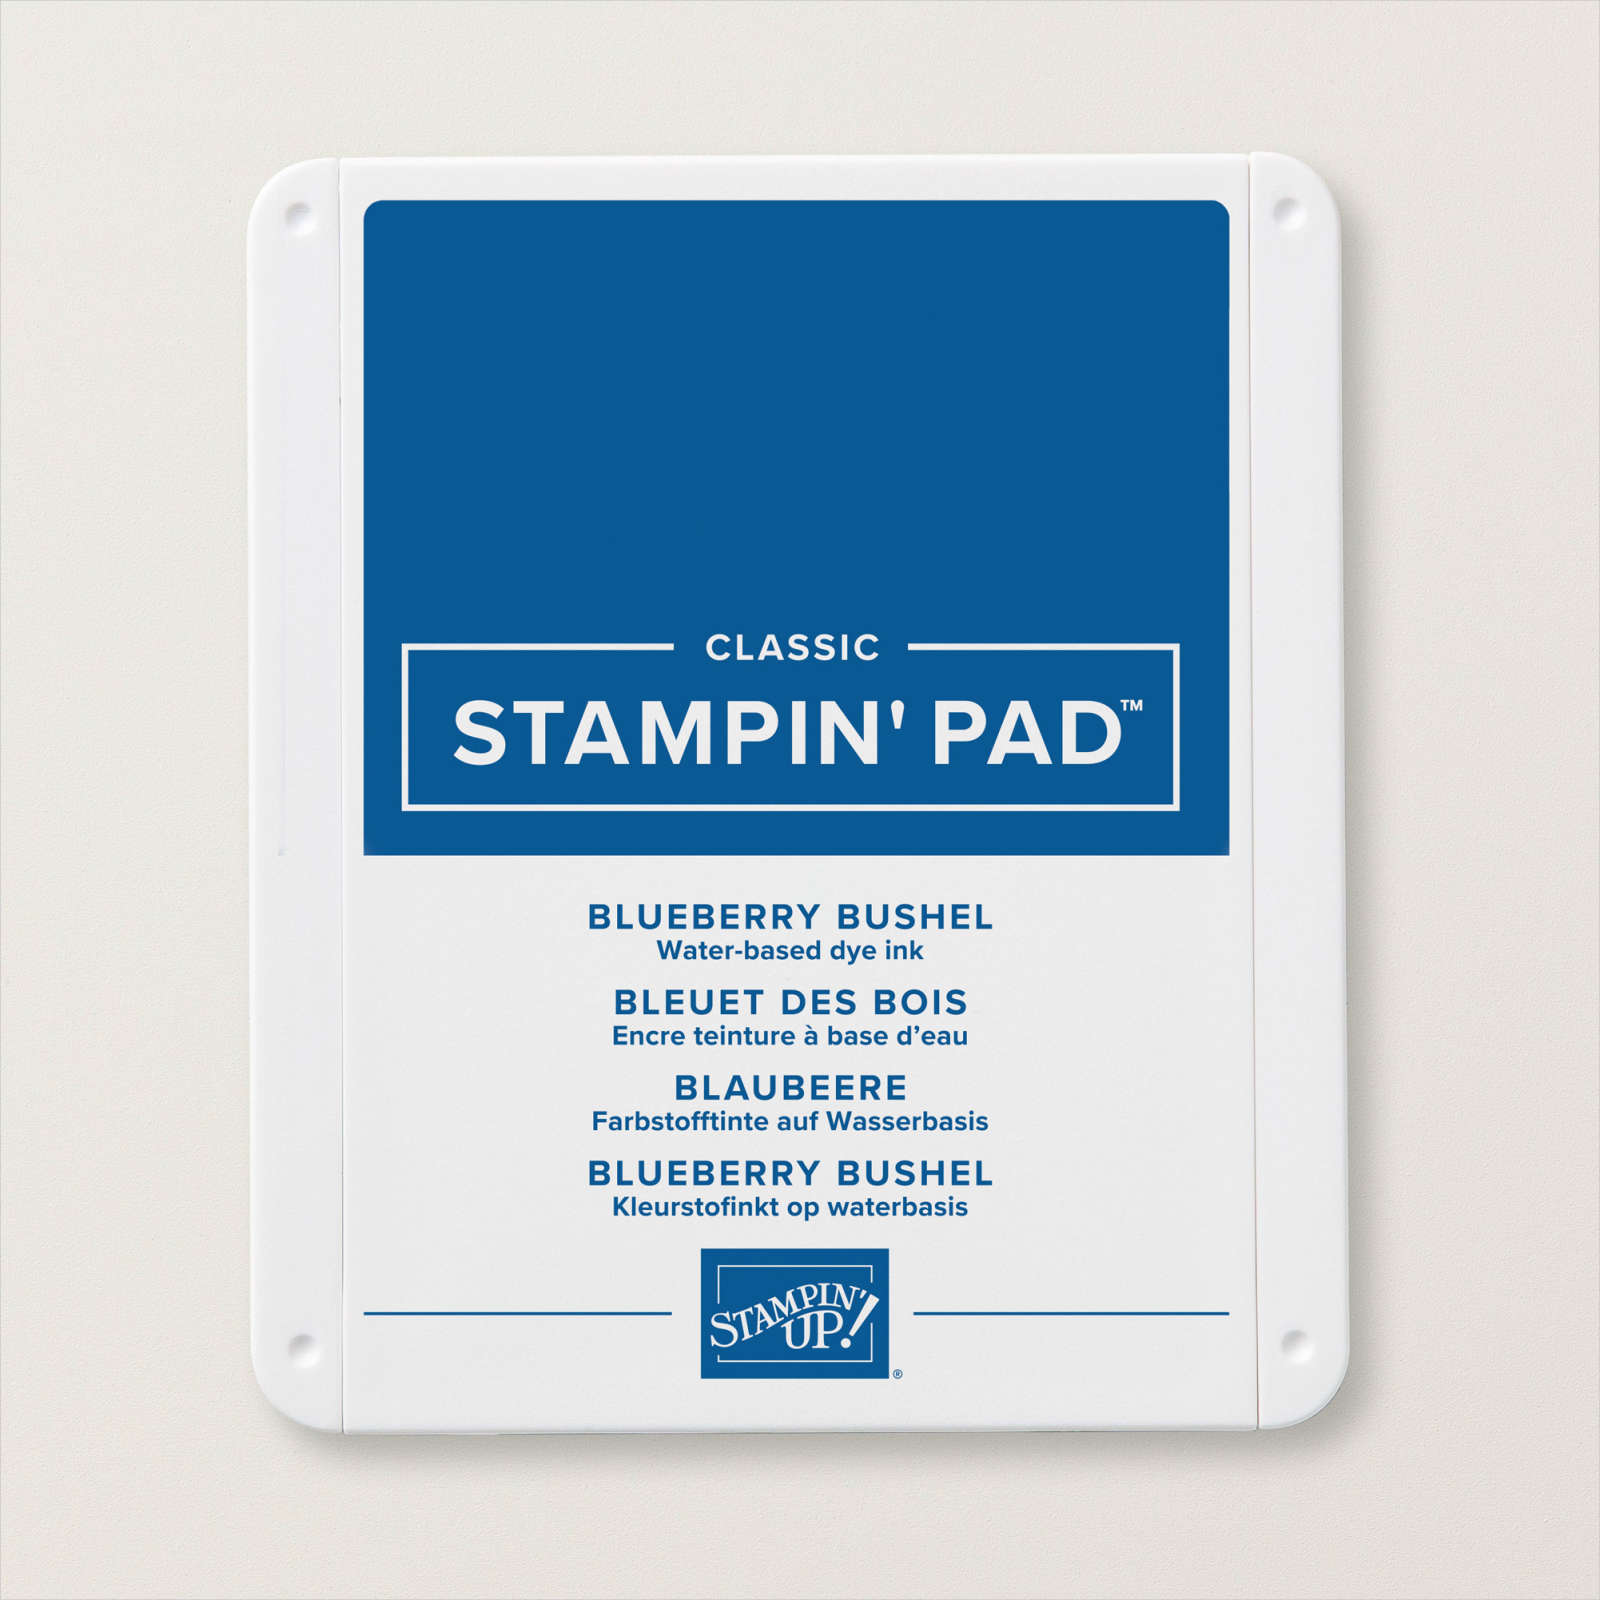
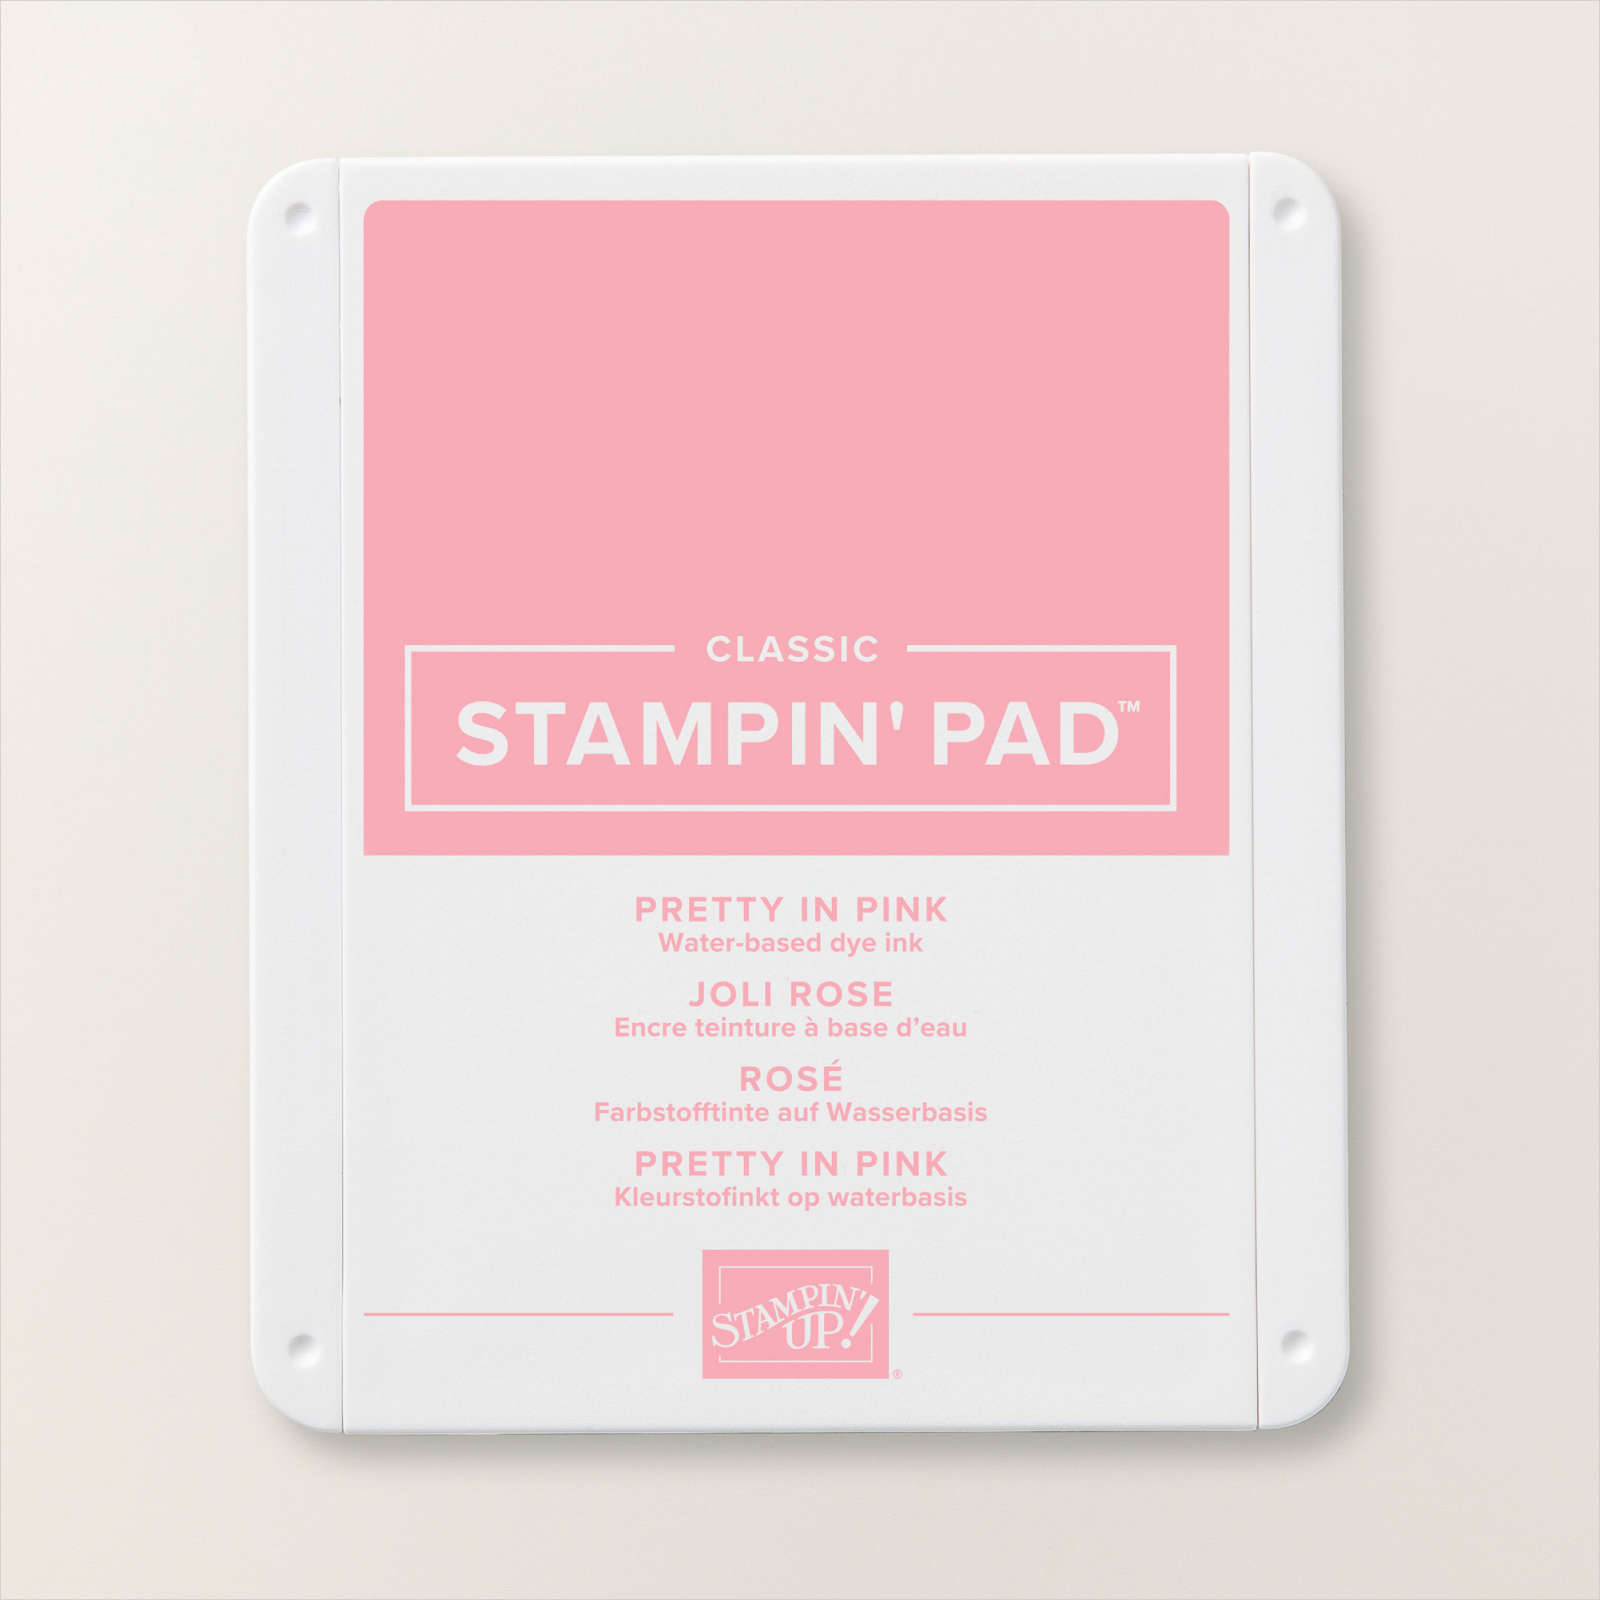
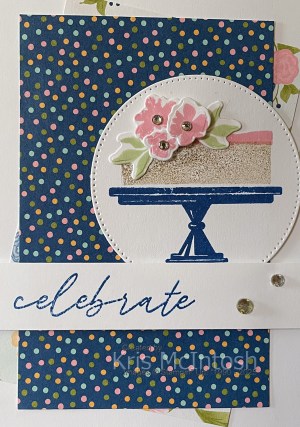
Today’s card is once again using up scraps of Designer Series Paper. This paper is left over from the Wildflower Birthday Scrapbooking Workshop Kit. I cut three pieces of the Designer Series Paper and attached them to the bottom of Basic White card. I attached a strip of Pretty in Pink card across the top of the Designer Series Paper before attaching the panel to scored and folded Pretty in Pink card. I stamped the cake stand image from the Cake Celebrations stamp set onto Basic White card using Blueberry Bushell ink.
I stamped the cake image on top of the cake stand using Crumb Cake ink which I stamped onto scrap paper first. I used the icing image to add to the top of the cake using Pretty in Pink ink. I cut out the image panel using one of the Stylish Shapes Dies. I stamped the three small flowers from the Cake Celebrations stamp set onto Basic White card using Pretty in Pink ink.
I cut out the images using the co-ordinating Cake Celebrations Dies. I stamped the large leaf image from the Cake Celebrations stamp set twice onto scrap Basic White card using Soft Sea Foam ink. I cut out the leaves using the co-ordinating Cake Celebrations Die. I cut Pretty in Pink using a slightly larger circle from the Stylish Shapes Dies and attached the image panel to the top. I attached the leaves and flowers to the top of the cake, using dimensionals under the flowers. The image panel is attached to the card front using dimensionals. I added a small Basic Rhinestone to the centre of each of the flowers. To decorate the inside of the card I attached a strip of the Designer Series paper to the left hand side of Basic White card. I also stamped “celebrate” from the Cake Celebrations stamp set using Blueberry Bushel ink. The Cake Celebrations stamp set and dies are now on the Last Chance list. This kind of makes me a bit sad, I will miss this bundle.
Bye for now,
Kris
Product Used:


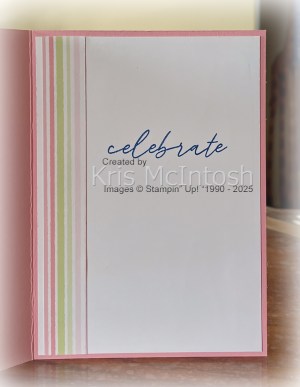
Wildflower Celebrate
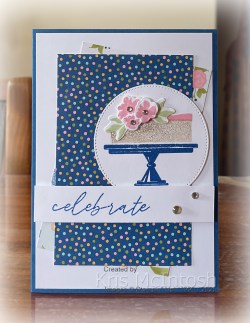
Today’s card uses up a few scraps from my Wildflower Birthday Scrapbooking Workshop Kit. Although this Kit is retired, you can still purchase the Wildflower Birthday Designer Series Paper. I attached two pieces of Designer Series Paper the same size to Basic White card. The whole panel is attached to scored and folded Blueberry Bushel card. I stamped the cake stand image from the Cake Celebrations stamp set onto Basic White card using Blueberry Bushel ink. I stamped the cake image on top of the cake stand using Crumb Cake ink which I stamped onto scrap paper first.
I stamped the icing on top using Pretty in Pink ink. I cut out the image using one of the Stylish Shapes Dies. I stamped the three small flowers from the Cake Celebrations stamp set onto Basic White card using Pretty in Pink ink. I cut out the flowers using the co-ordinating Cake Celebrations Dies.

I stamped the small leaf image from the Cake Celebrations stamp set twice onto Basic White card using Soft Sea Foam ink. I cut out the leaves using the co-ordinating Cake Celebrations Die. I attached the flowers onto the top of the cake image using dimensionals and tucked the leaves underneath the flowers. I attached the image panel to the right hand side of the card front. I stamped “celebrate” from the Cake Celebrations stamp set onto Basic White card using Blueberry Bushel ink. The greeting is attached across the card front using dimensionals. I added small Basic Rhinestones to the centre of each flower and added two more beside the greeting. To decorate the inside of the card, I attached a narrow strip of Designer Series Paper down the left hand side of Basic White card. I stamped “happy” and “birthday” from the Cake Celebrations stamp set onto the centre of the Basic White card using Blueberry Bushel ink. Such a pretty card and so happy to use up some of my Designer Series Paper scraps.
Bye for now,
Kris
Product Used:
You can view the Cake Celebrations bundle here in my online store.

Cape Tribulation

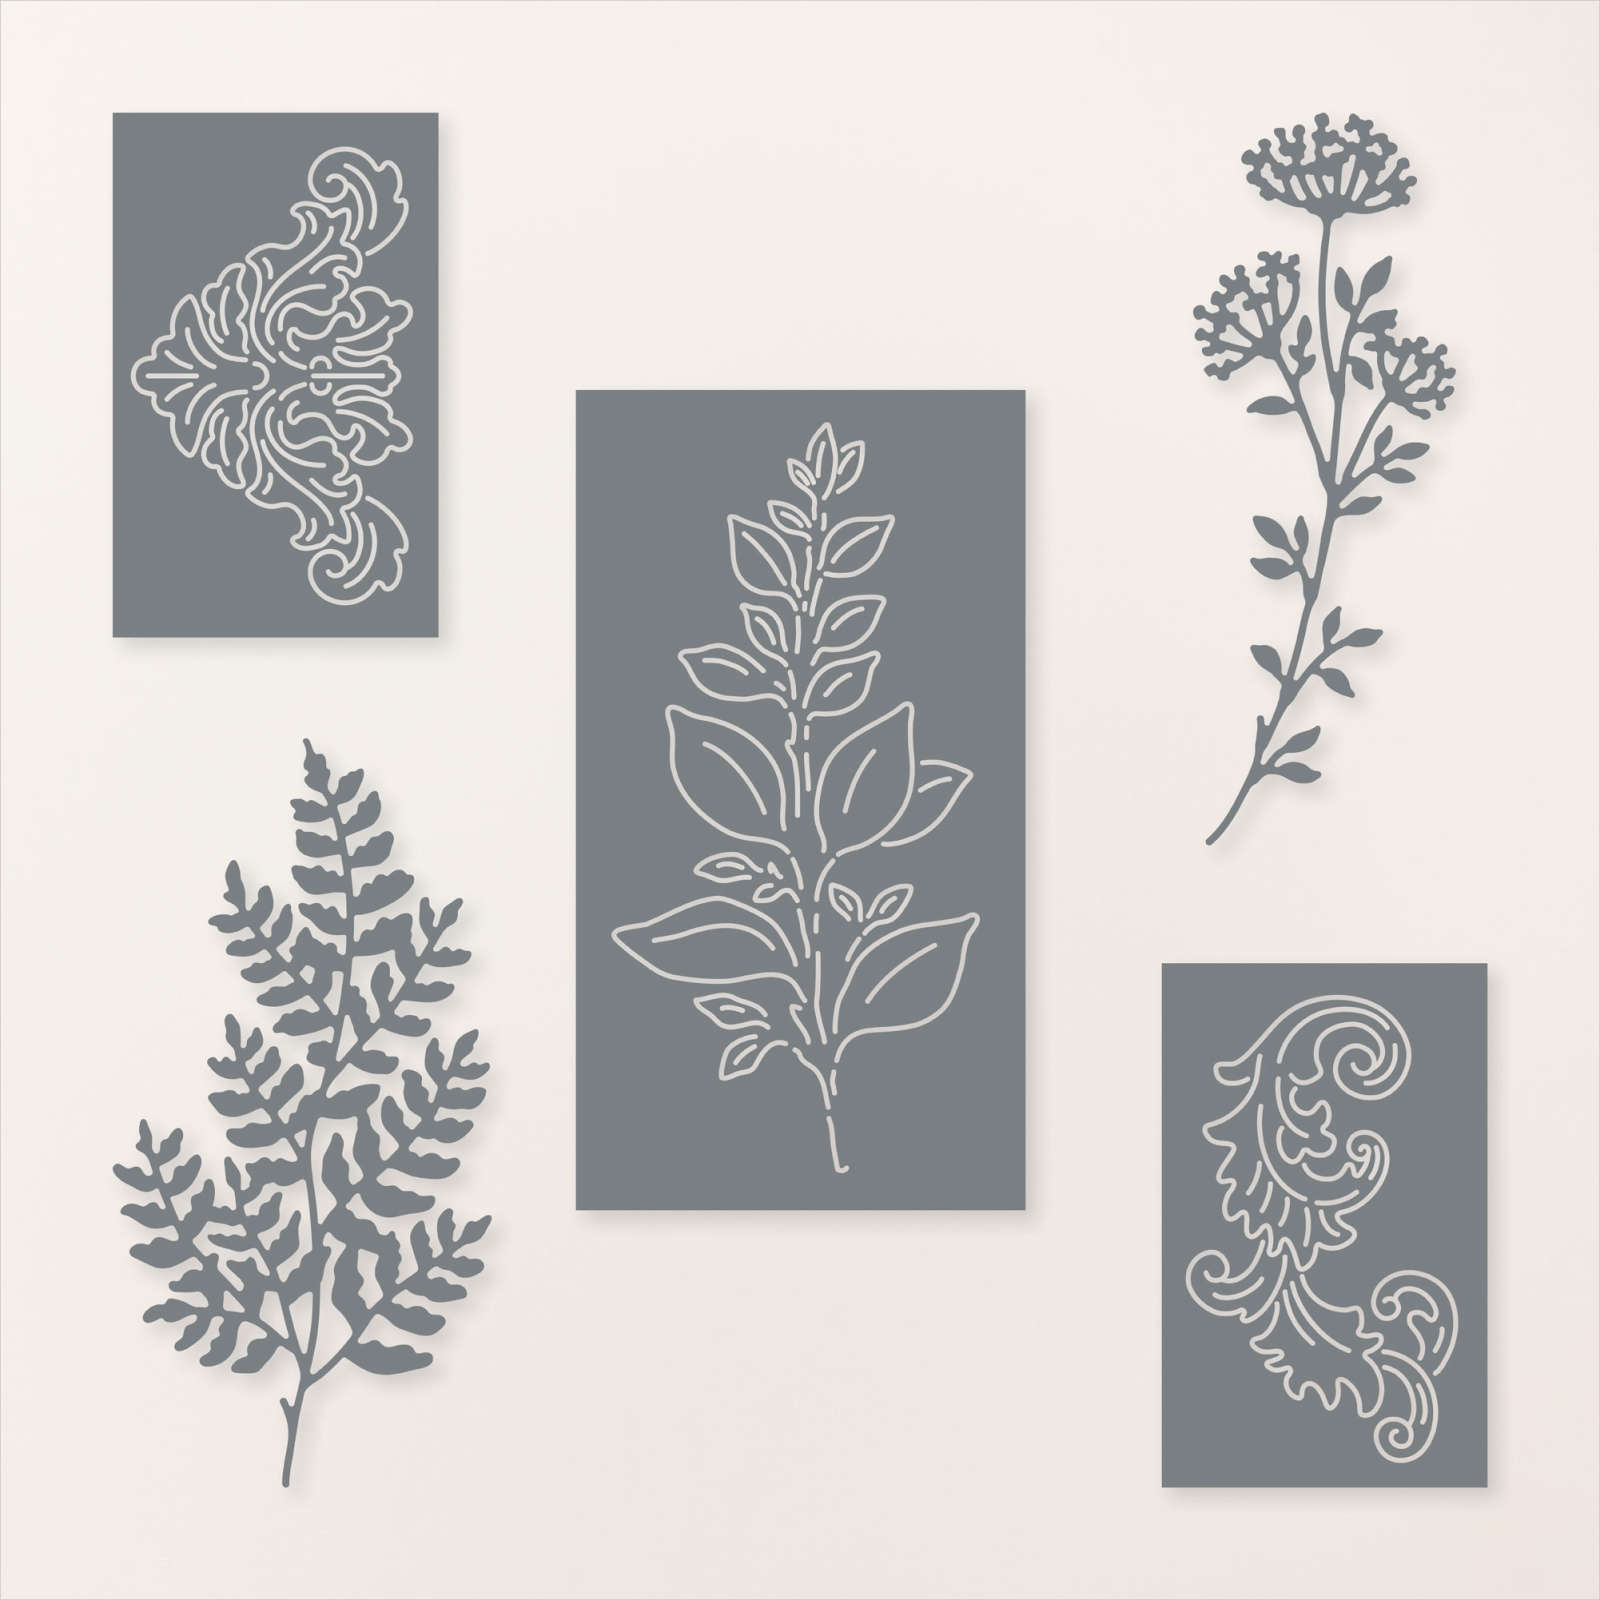
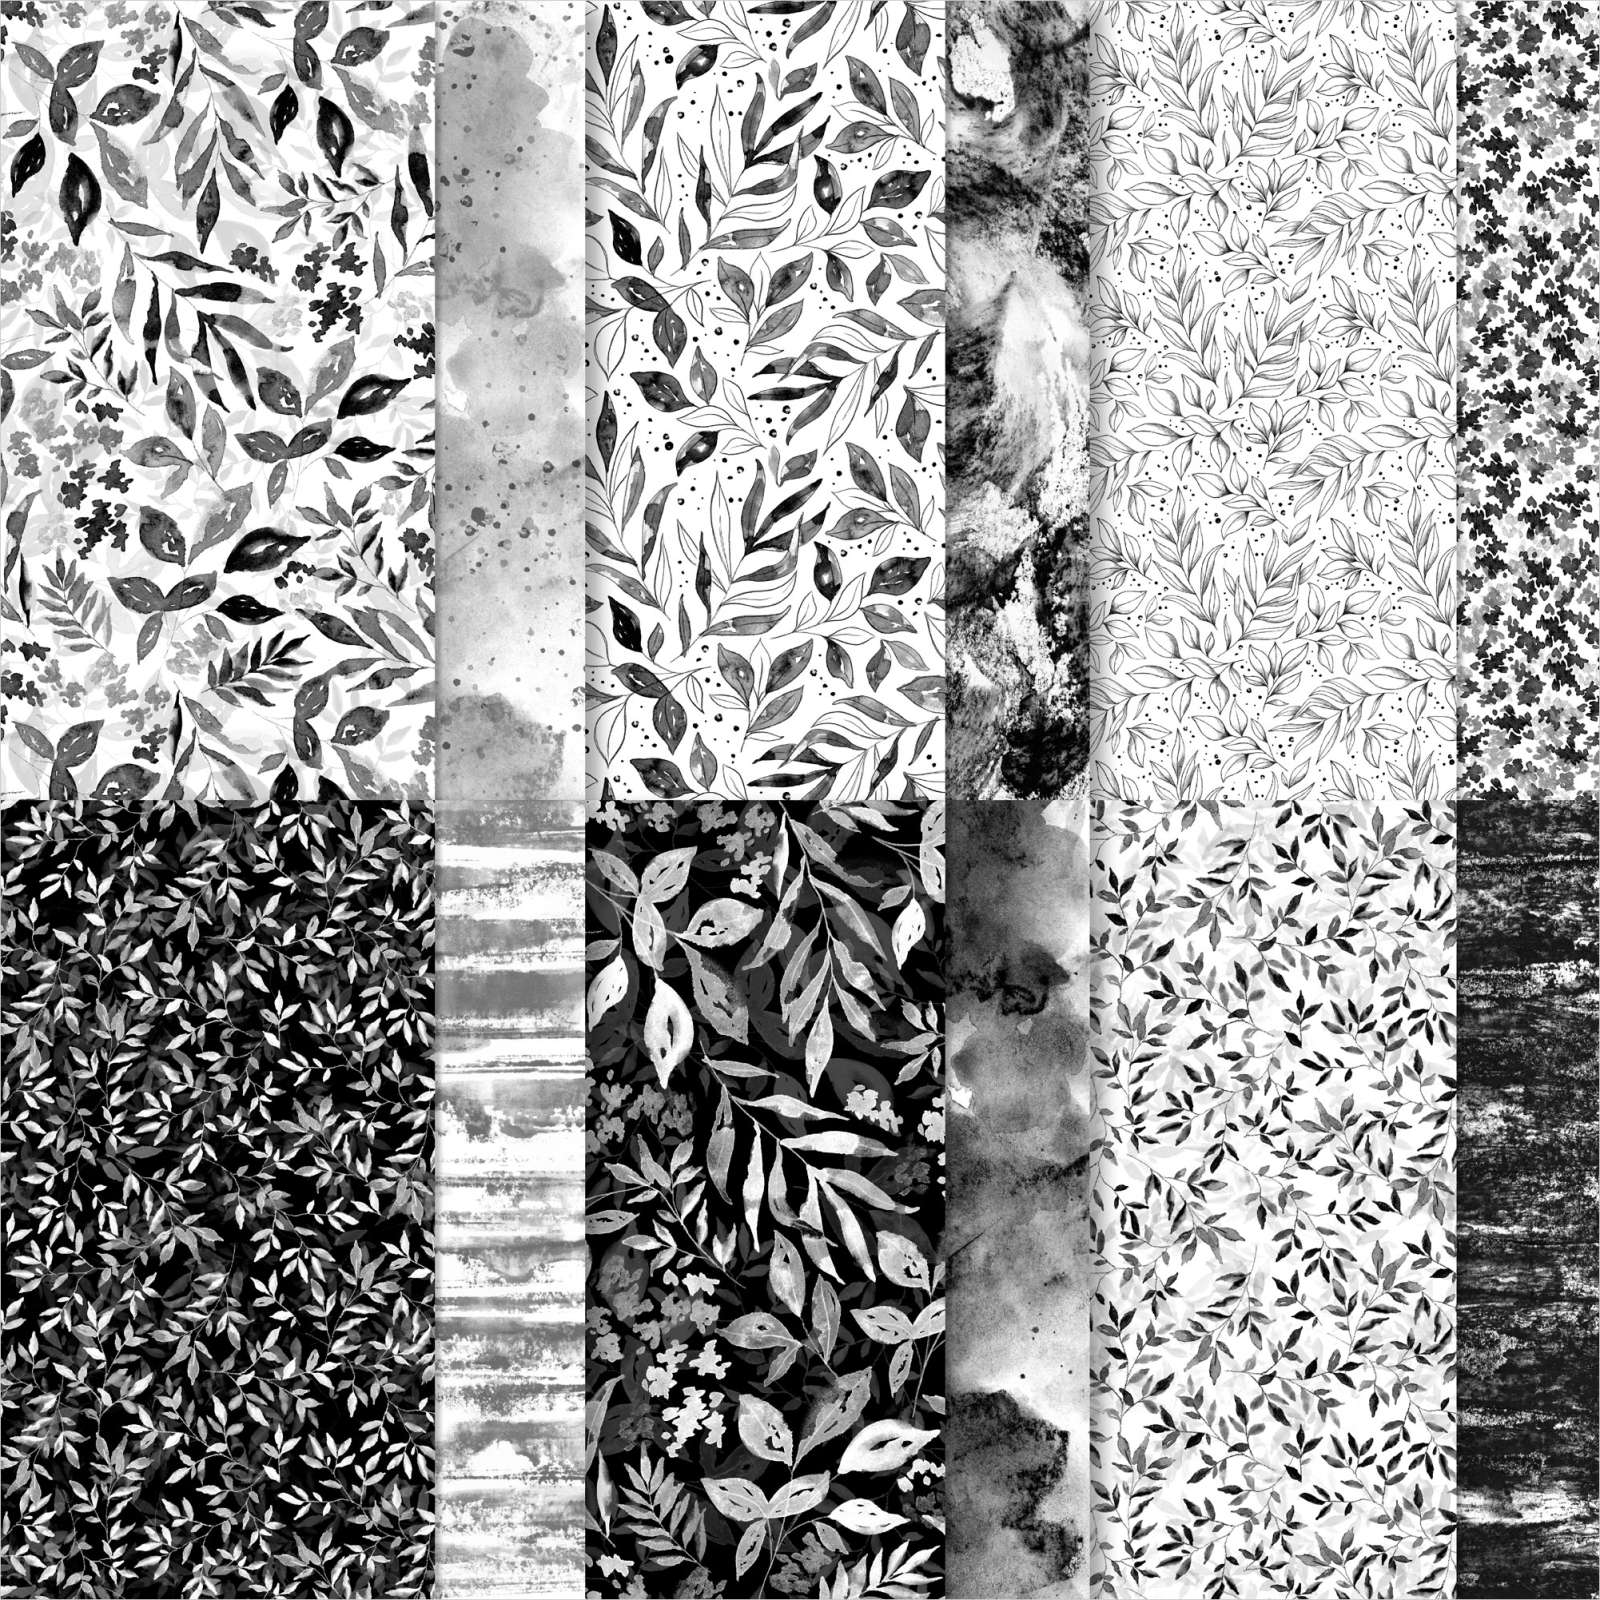
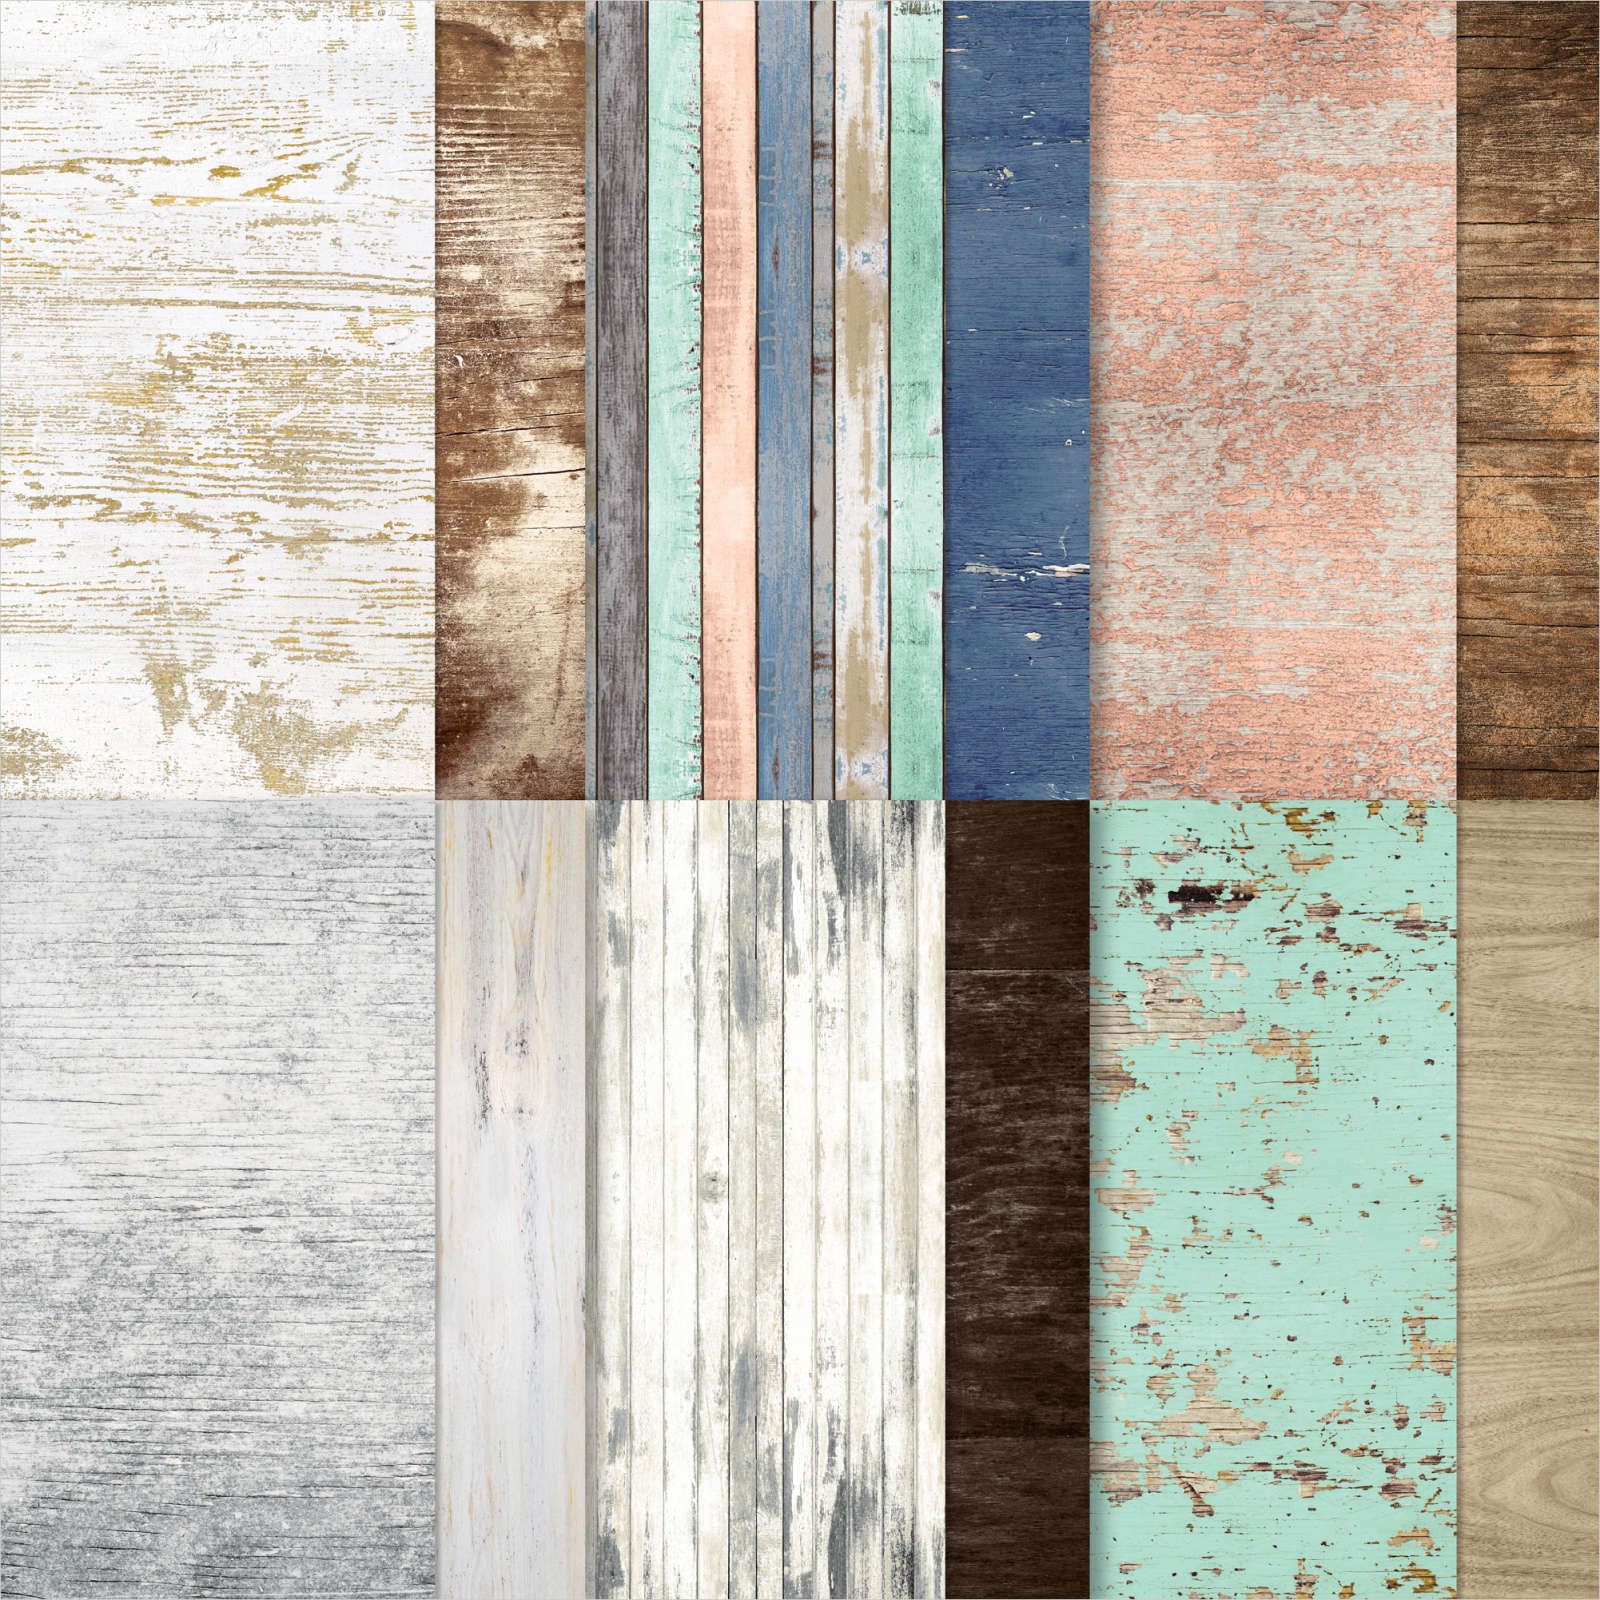
Today’s page came together much better than I thought it would. I used a piece of Botanical Textures 12″ x 12″ Designer Series Paper and cut it using the 1, 2, 3 Layout from May’s Memory Keeping class. I attached the pieces to White Willow 12″ x 12″ Card. The leafy pattern on the outside edges of the page and the reverse pattern strips against the inner edges of the Designer Series Paper. The photos are attached to the pages without adding any mats. I stamped “magical moments” from the retired Snow Day stamp set onto Basic White card using Memento Tuxedo Black ink. I cut out the greeting using one of the Nested Essential Dies.
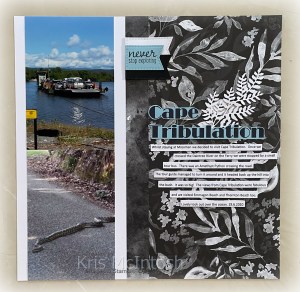
I die cut Basic White and Basic Black card using one of the Beautiful Motifs Dies. I attached the leaves to the left hand page before attaching the greeting over the ends of the leaves. I stamped “never stop exploring” from the retired Let’s Get Away stamp set onto Balmy Blue card using Memento Tuxedo Black ink. I cut out the greeting using one of the banner dies from the Nested Essential Dies. I also cut Basic Black and Basic White card using the same die, although I did extend them slightly. I attached the three banners together before attaching them to the right hand page. I printed the title onto Balmy Blue card and cut it out. I die cut the same leaf from the Beautiful Motifs Dies from Basic White card. I attached “Cape” and then the leaf beside it with the “tribulation” over the ends of the leaf. I printed the journaling onto Basic White card and cut it into strips which I attached below the title.

I was little apprehensive that the black designer series paper would be too much but I am so happy with the result. I hope you like it too.
Bye for now,
Kris
Product Used:


Fancy Thinking of You

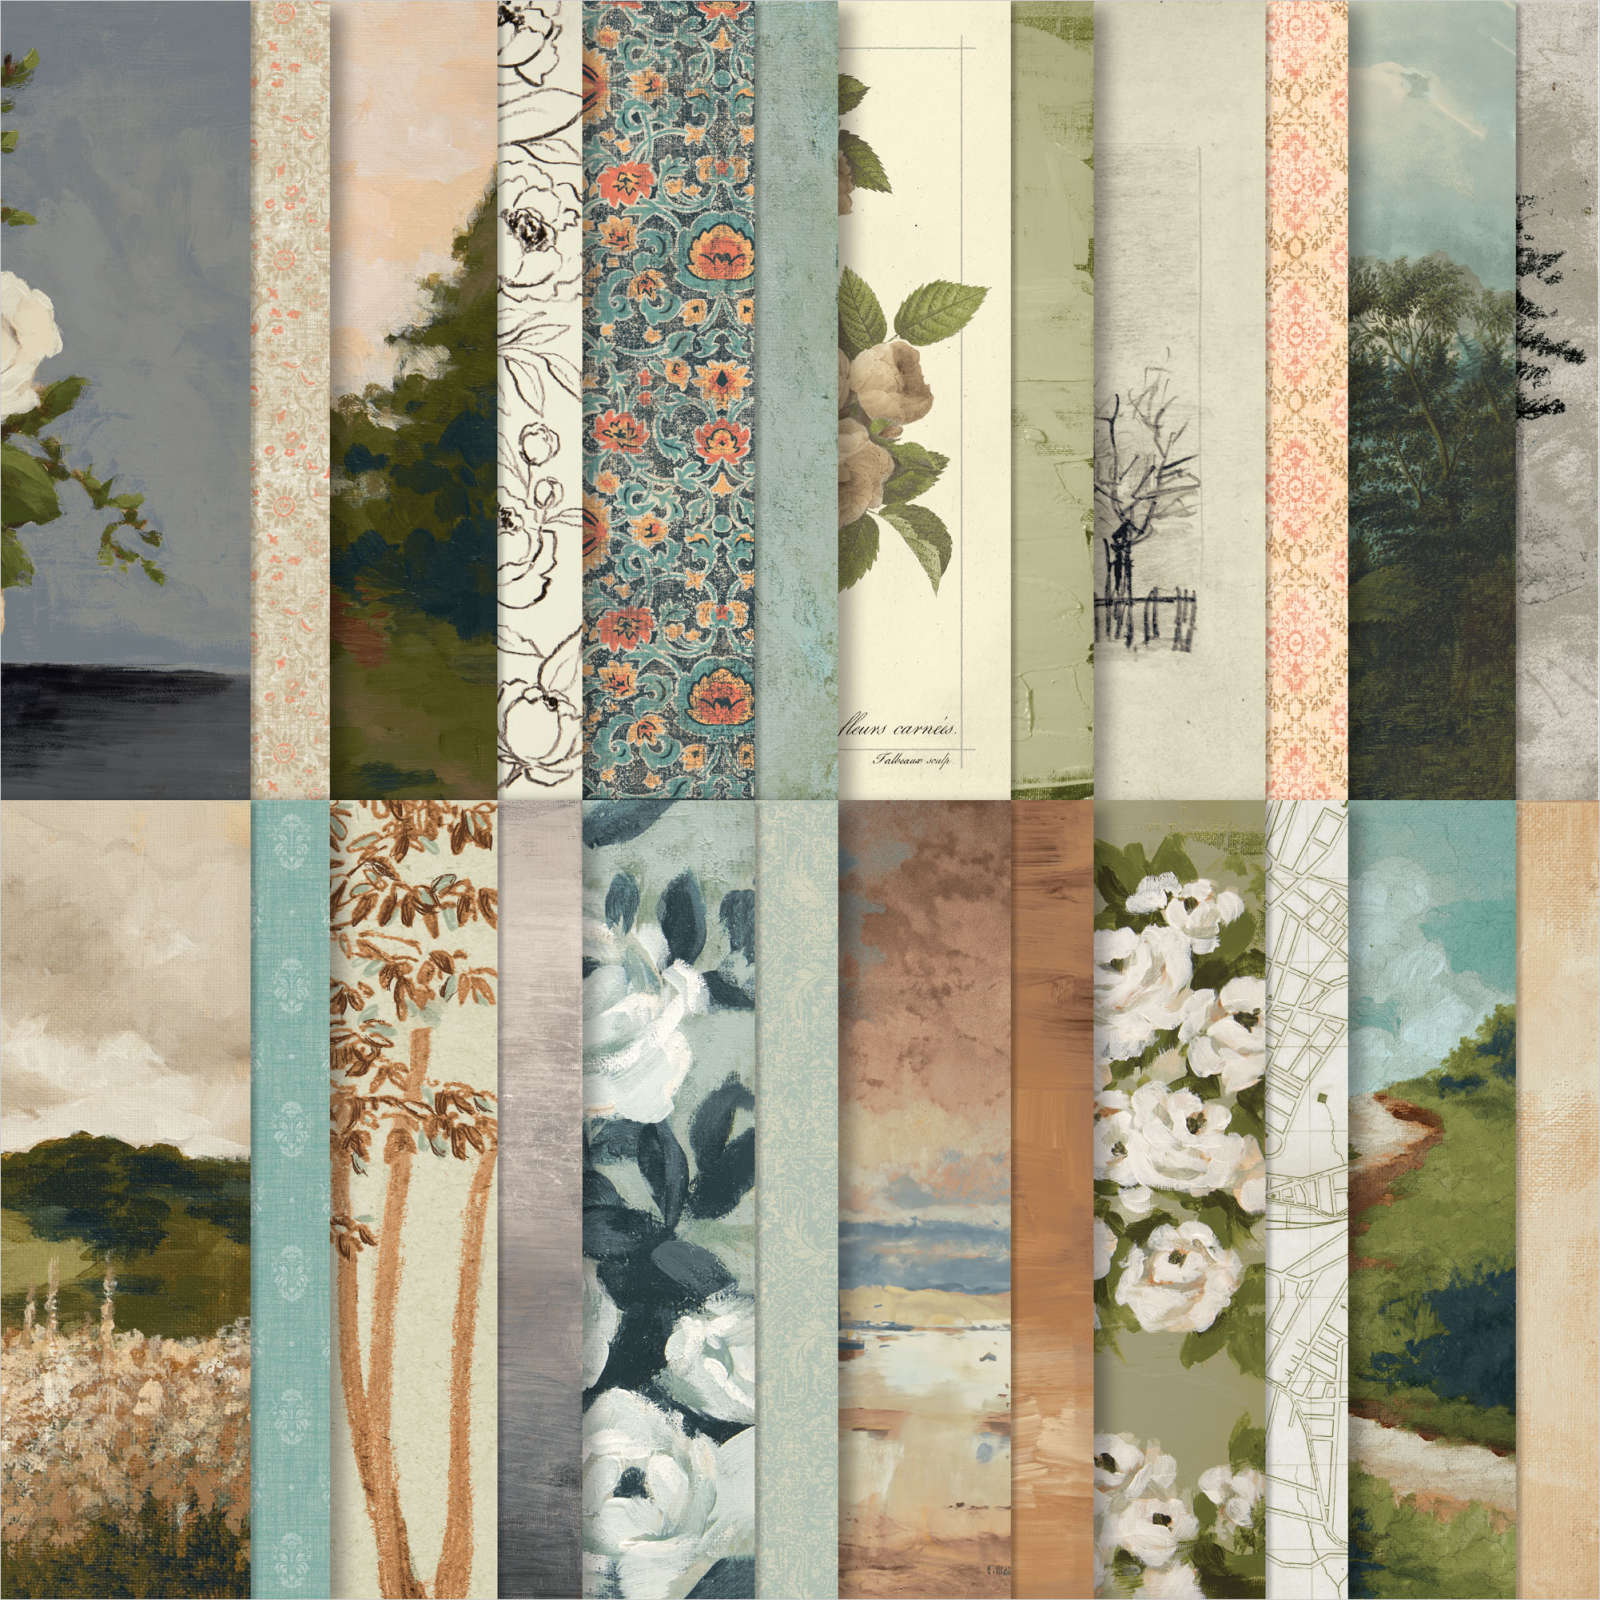
This week in my Facebook Live I shared some cards I created using the Beautiful Gallery 6″ x 6″ Designer Series Paper and today I have another one to share. I followed the basic instructions that Patty Bennett shared on her blog to create my card, however, I did change the dimensions to fit our A4 card. I used Mossy Meadow card for the card base. I attached a piece of the Beautiful Gallery Designer Series Paper to Basic Beige card which I attached to the front flap.
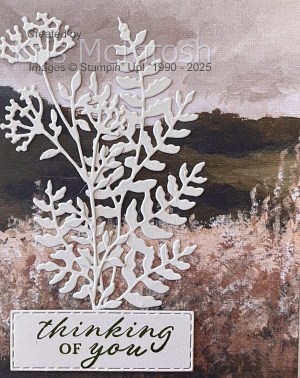
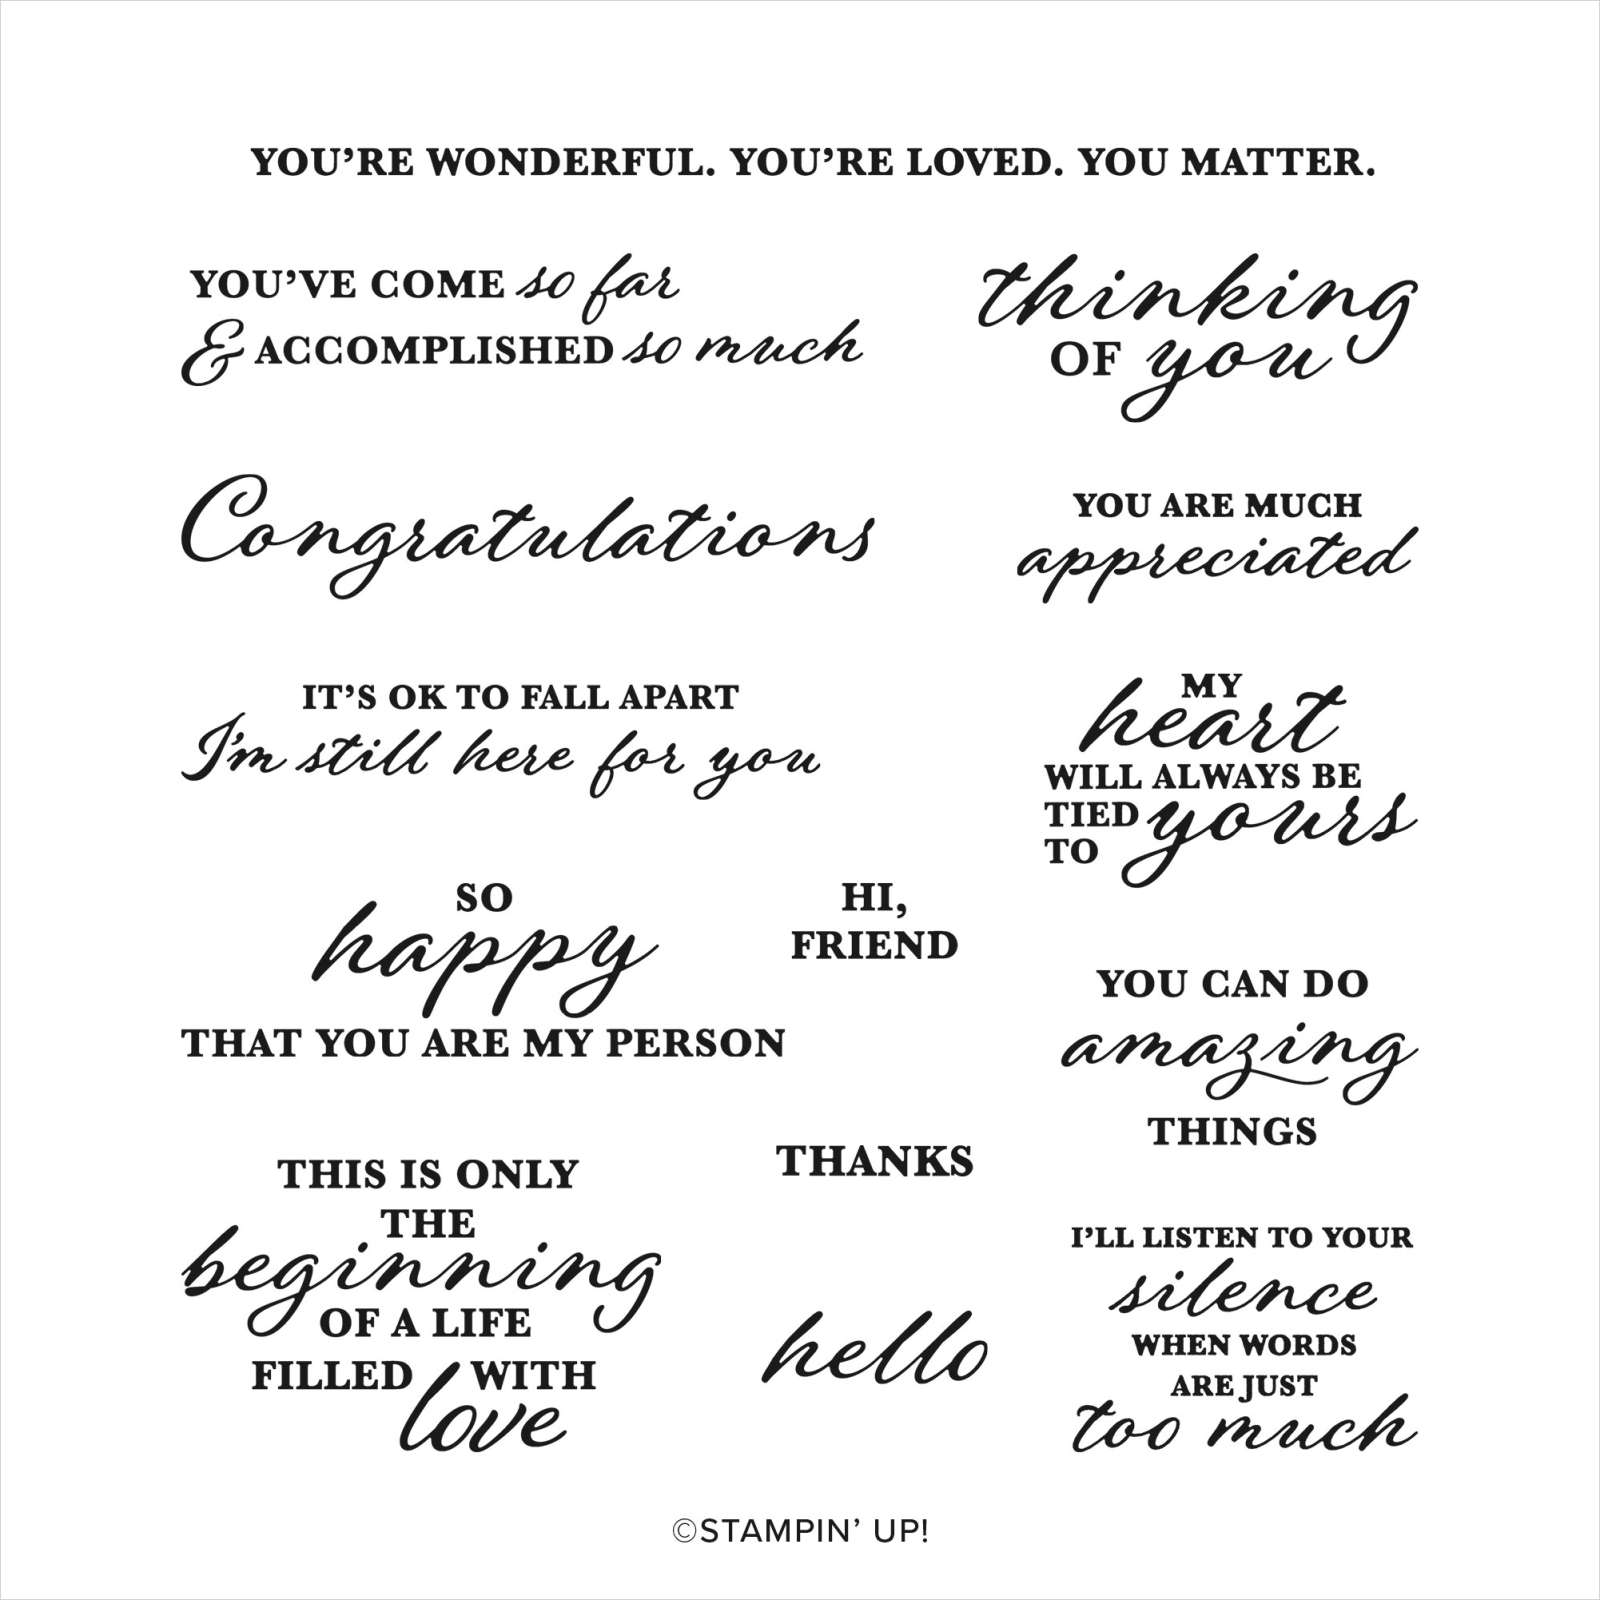
I stamped “thinking of you” from the Wonderful Thoughts stamp set onto Basic Gray card using Mossy Meadow in. I cut out the greeting using one of the Textured Notes dies. I also cut Basic Beige card using two of the Beautiful Motifs Dies.
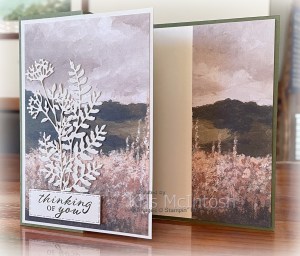
I attached the die cuts to the Designer Series Paper card front. I attached the greeting over the ends of the same cuts using dimensionals. I attached a piece of the same pattern Designer Series Paper to the right hand side of Basic White card. The Basic White panel is attached to the inside of the card base. I made sure that when I cut the patterned paper that the two pieces continued the pattern. Such a fun card to create and pretty easy really. You can see what Patty created here on her blog.
Bye for now,
Kris
Product Used:


Trucking Birthday
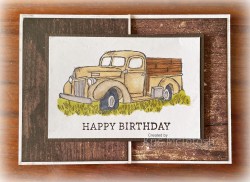
Today I am sharing the card I made for my eldest grandson’s recent birthday. I cut my card base from Thick Basic White A4 card and trimmed down the front. I sponged the edges of pieces of Country Woods 12″ x 12″ Designer Series Paper using Early Espresso ink before attaching them to the inside of the card base and the front flap.

I used the piece I cut from the card base to stamp the truck image from the long retired Country Livin’ stamp set using Memento Tuxedo Black ink. I used Old Olive, Crumb Cake, Pecan Pie, Light Basic Black, Light Smoky Slate, Gray Granite Stampin’ Blends to colour the image. I stamped “happy birthday” from the Simply Said stamp set below the image using Early Espresso ink.
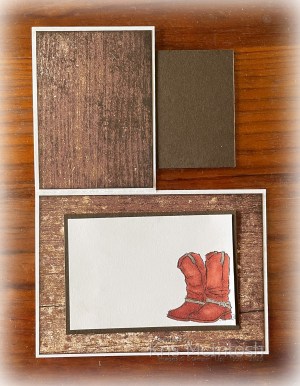
I attached the stamped panel to Early Espresso card and then the card front. I stamped the boot image from the Country Livin’ stamp set onto the lower right hand corner of a piece of Basic White card using Memento Tuxedo Black ink. I coloured the image using Dark Gray Granite and Pecan Pie Stampin’ Blends. The Basic White card is cut to the same size as the front panel. I attached the Basic White card to Early Espresso card and attached it inside the card base so that it is hidden by the stamped panel on the card front. I know that I have used a retired stamp set but I just love how this turned out and it perfectly suits my Grandson.
Bye for now,
Kris
Product Used;


‘P’ Plater

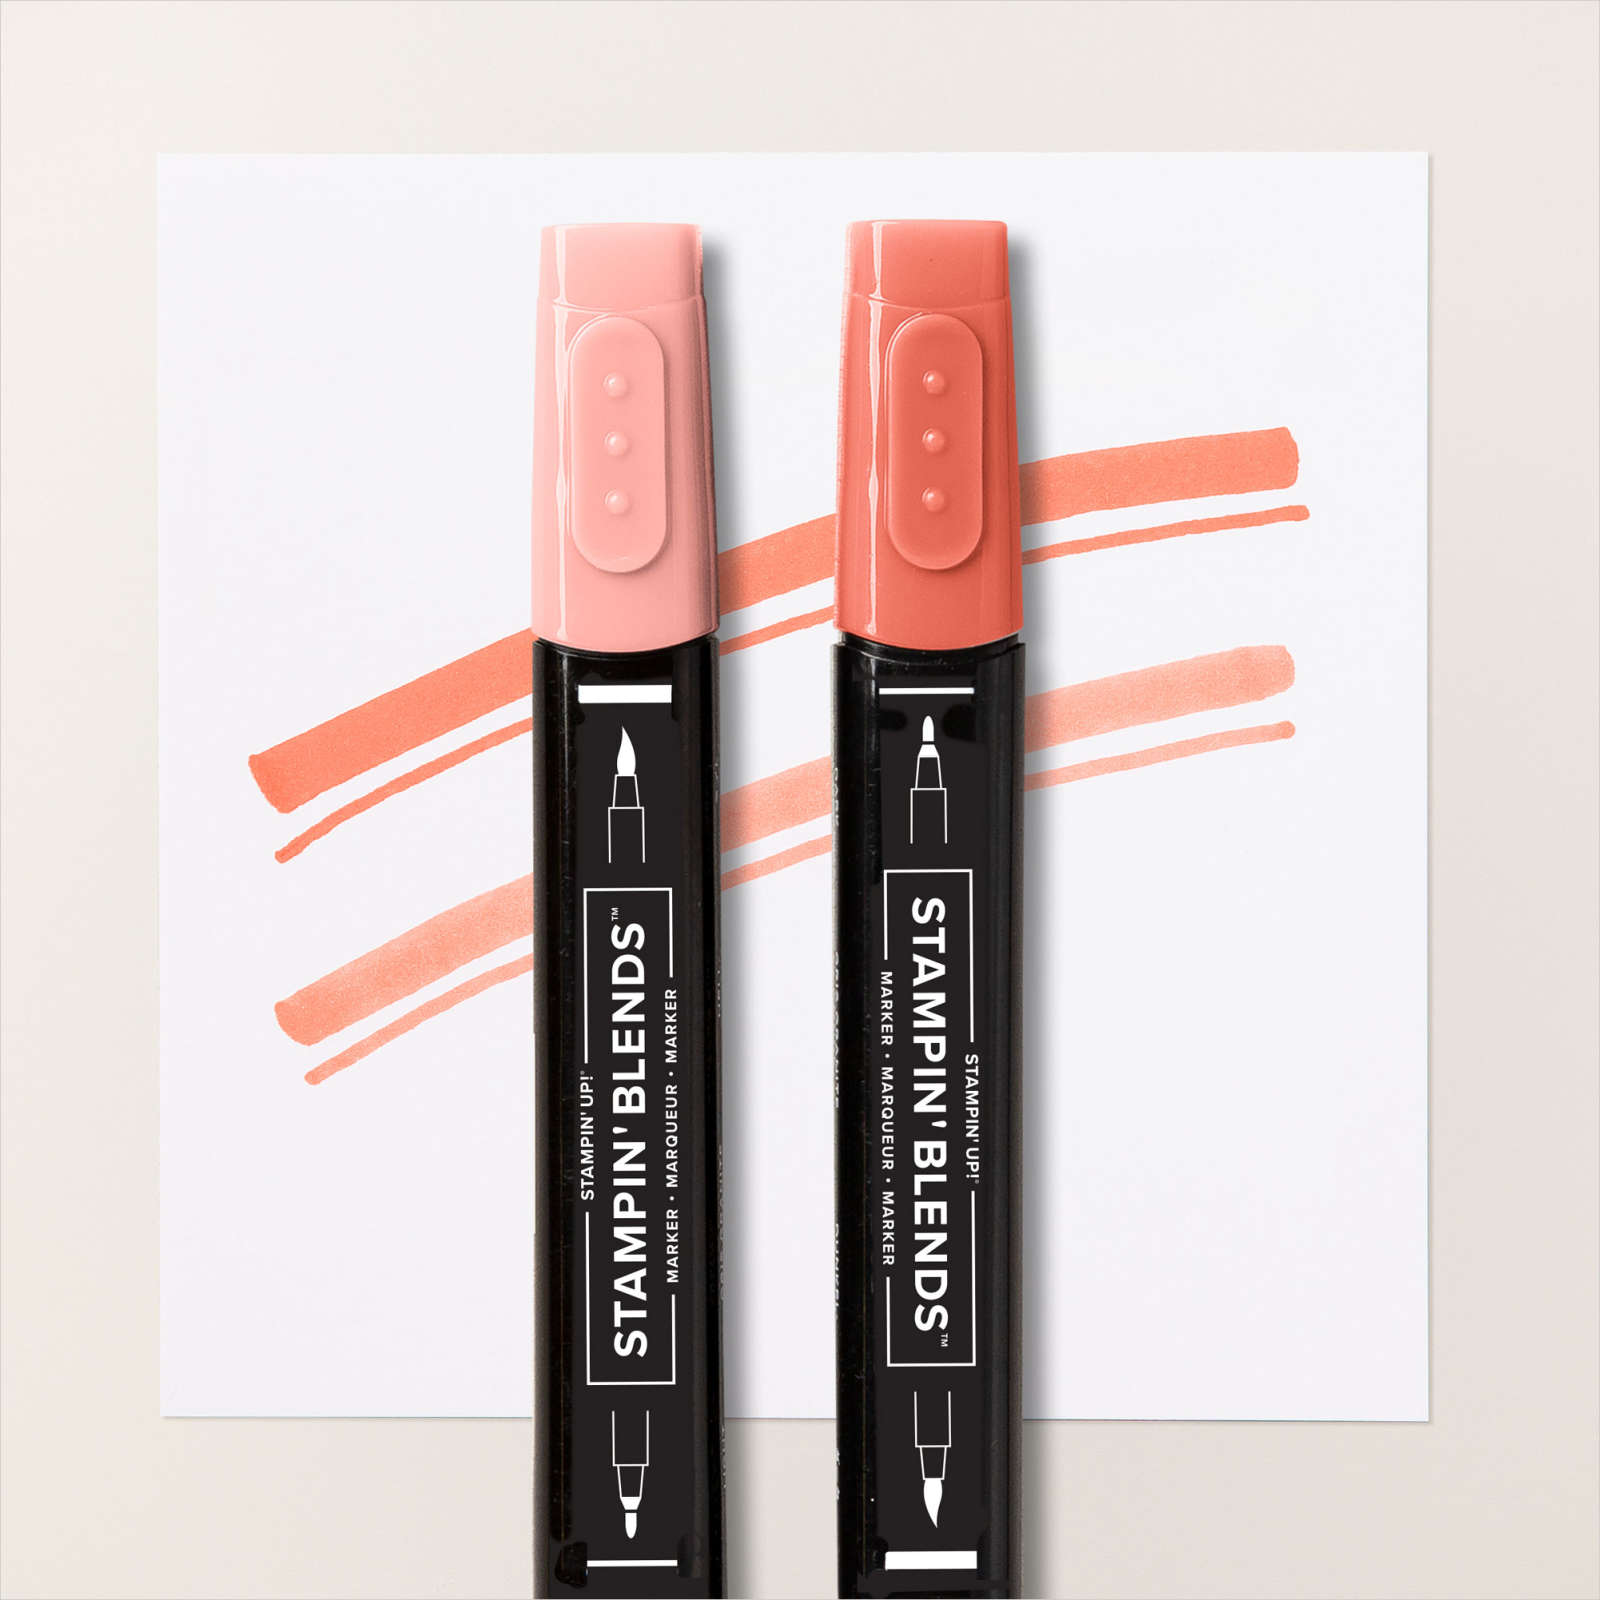
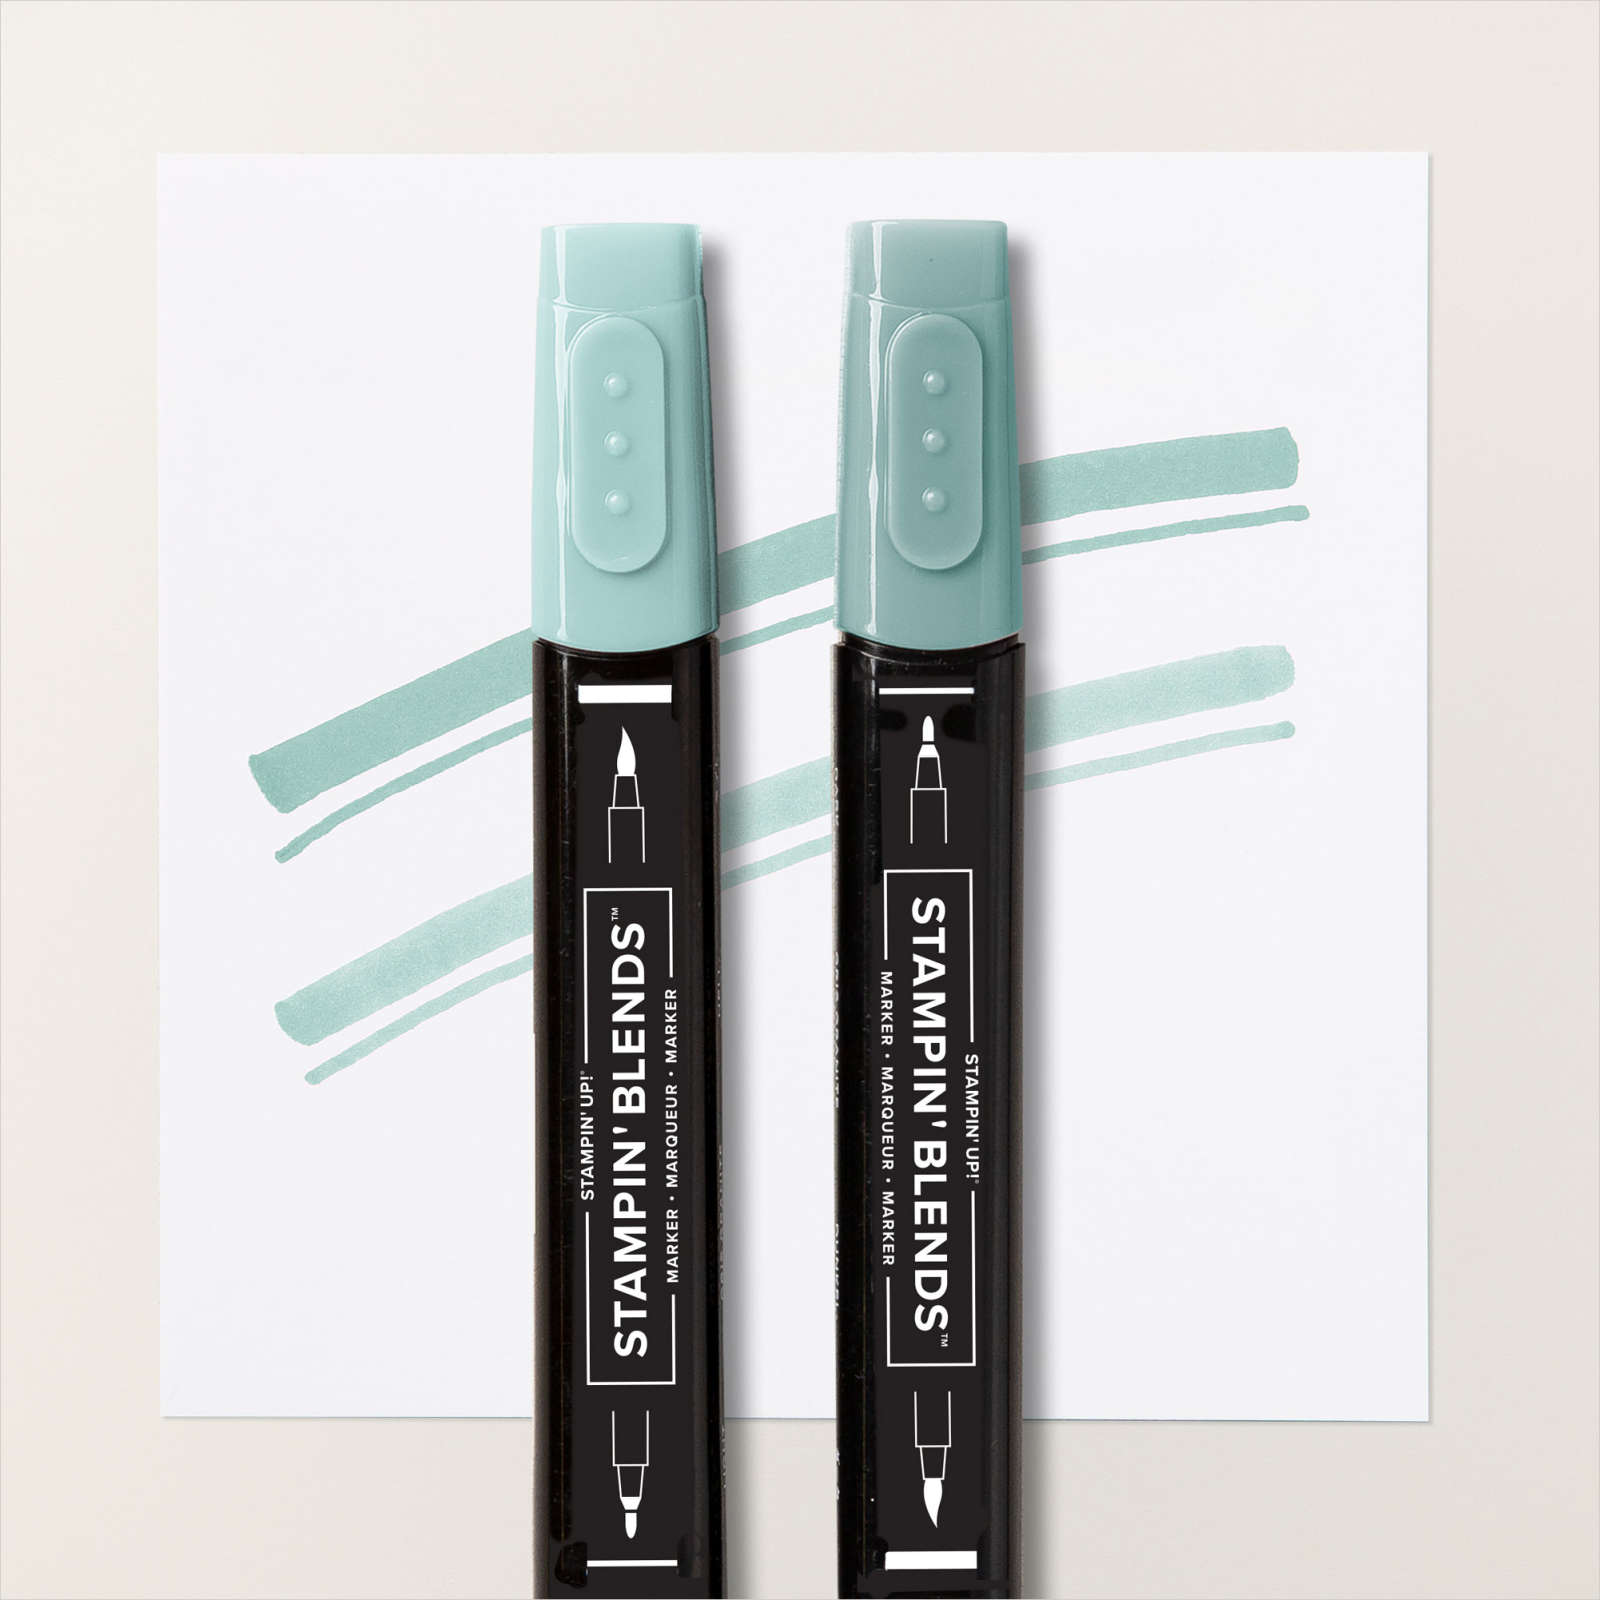
This page is ready for me to add a photo of my granddaughter on the day she gained her ‘p’ plates. I attached four different patterns from the retired Take to the Sky 12″ x 12″ Designer Series Paper to a White Willow 12″ x 12″ page. I tore the top edge of the lower three pieces of Designer Series Paper before attaching them to give a little more dimension. I layered a piece of Basic White card onto Night of Navy card before attaching it to the left hand side of the page. This is where my photo will go. I stamped the image from the Gallery Blooms stamp set twice onto Basic White card using Memento Tuxedo Black ink. I coloured the image using Calypso Coral and Lost Lagoon Stampin’ Blends. The images are cut out using the co-ordinating Gallery Blooms Die. I attached the flower images to the top left and bottom right of the photo mat using dimensionals so I can slide my photo underneath. I used the Party Alphabet Dies to cut out the letter “P” and the asterisks to go either side from Calypso Coral card. I cut “plater” from Basic White card using the Mini Alphabet Die. The letters are attached to the right hand side of the page. I used a Black Stampin’ Journaling Pen to write the date on Basic White card. I punched out the date using the Modern Oval Punch and tucked it under the top of the photo mats.
Bye for now,
Kris
Product Used:
You can view the Party Alphabet Dies here in my online store.


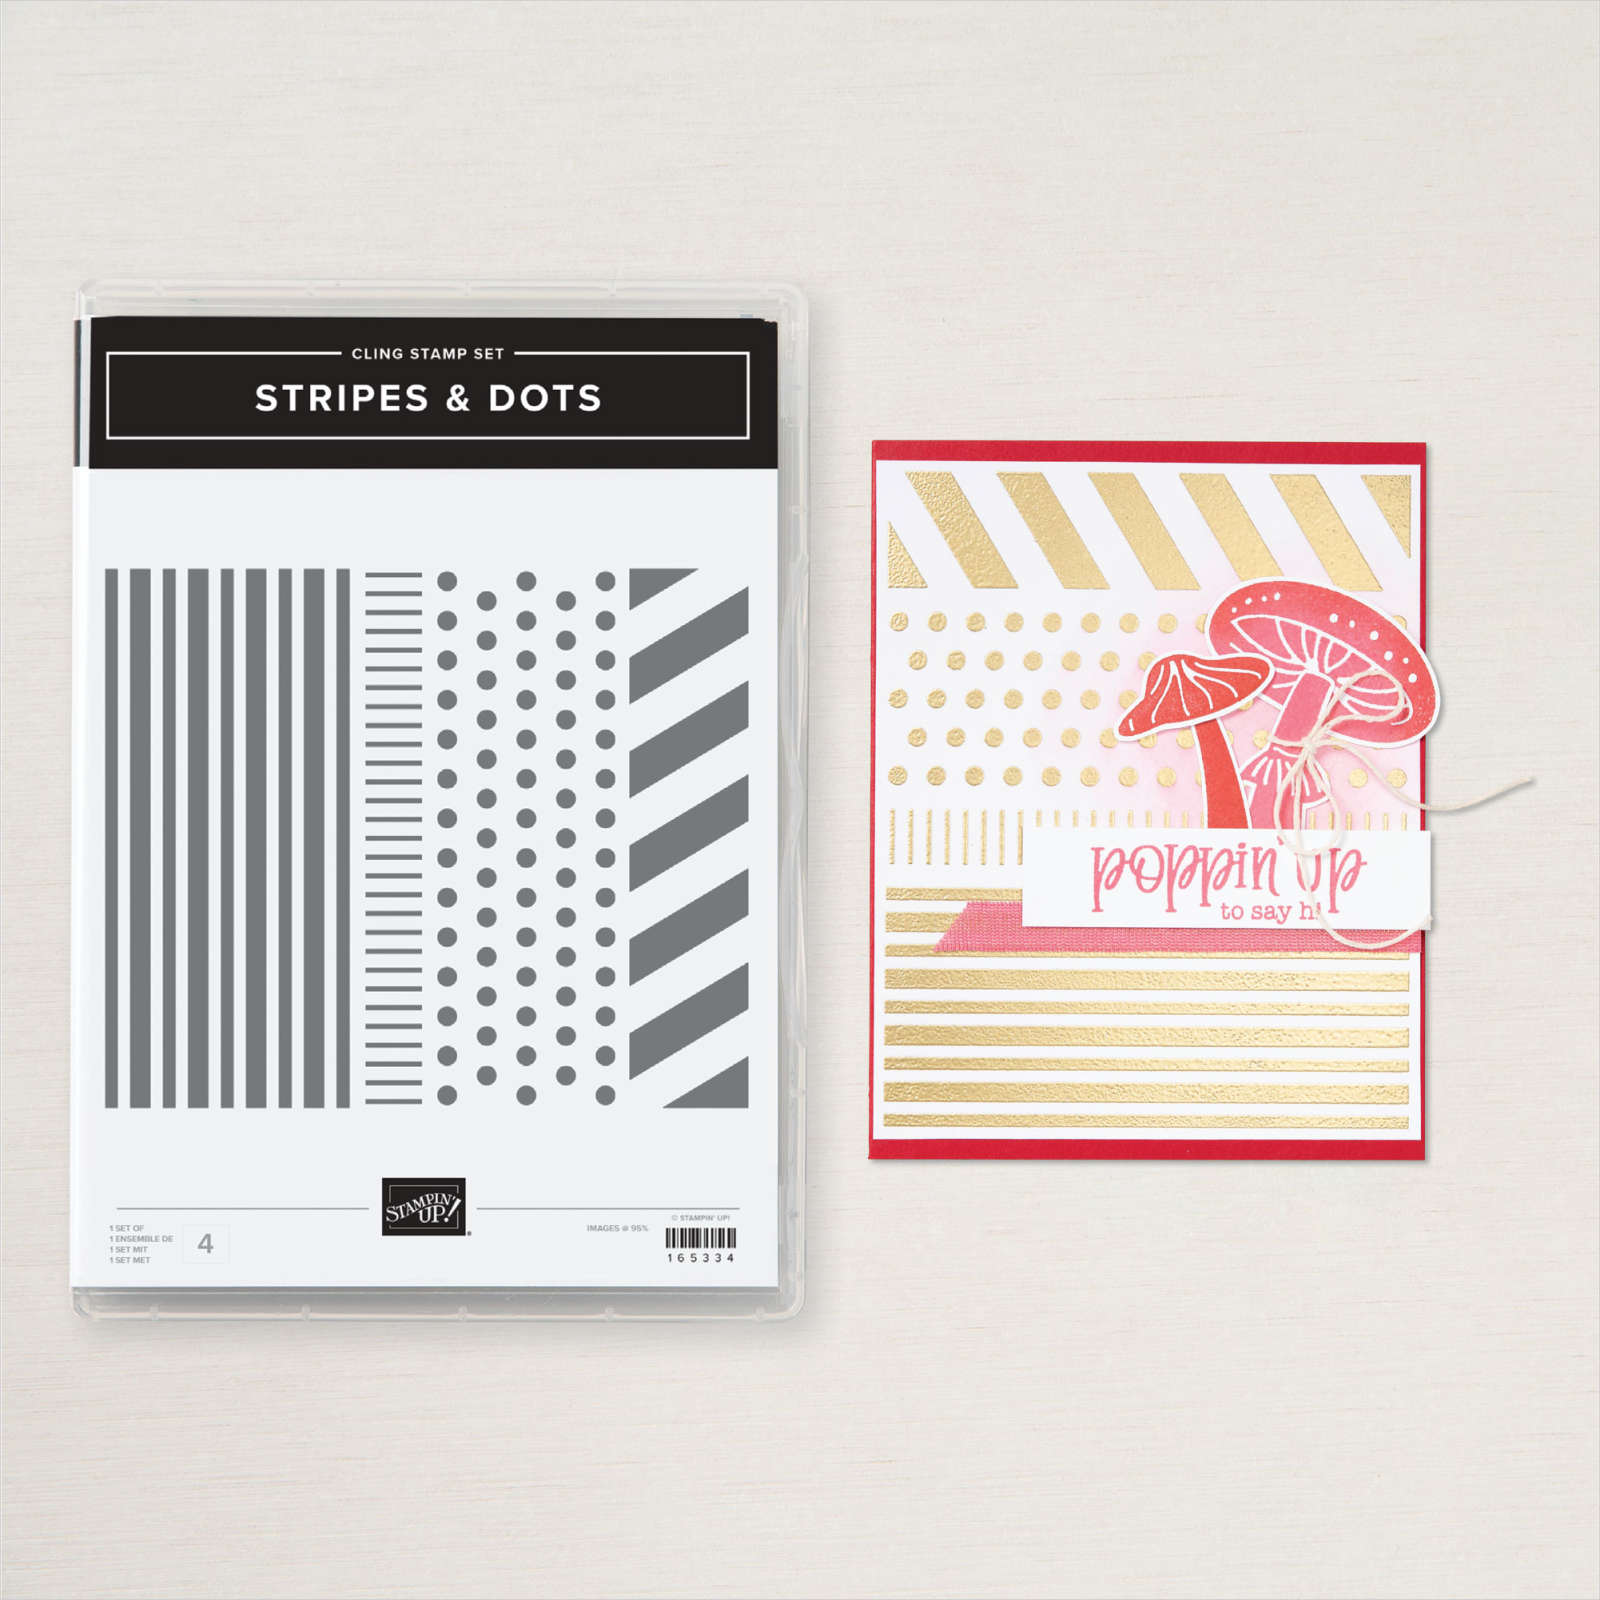
Stripey Birthday
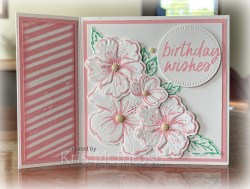
This week in my Facebook Live, I shared some ideas using the Stripes & Dots stamp set. Today I have another card to share with you. For this card I cut my card base and glued the small left hand section together. I stamped a piece of Basic White card using the striped stamp from the Stripes & Dots which I stamped diagonally across the card using Pretty in Pink ink. I sponged the edges of the stamped panel using Pretty in Pink ink before attaching it to Pretty in Pink card. This panel decorates the small section on the left hand side of the card front. I stamped the flowers from the Happy Hibiscus stamp set onto Basic White card using Pretty in Pink ink.

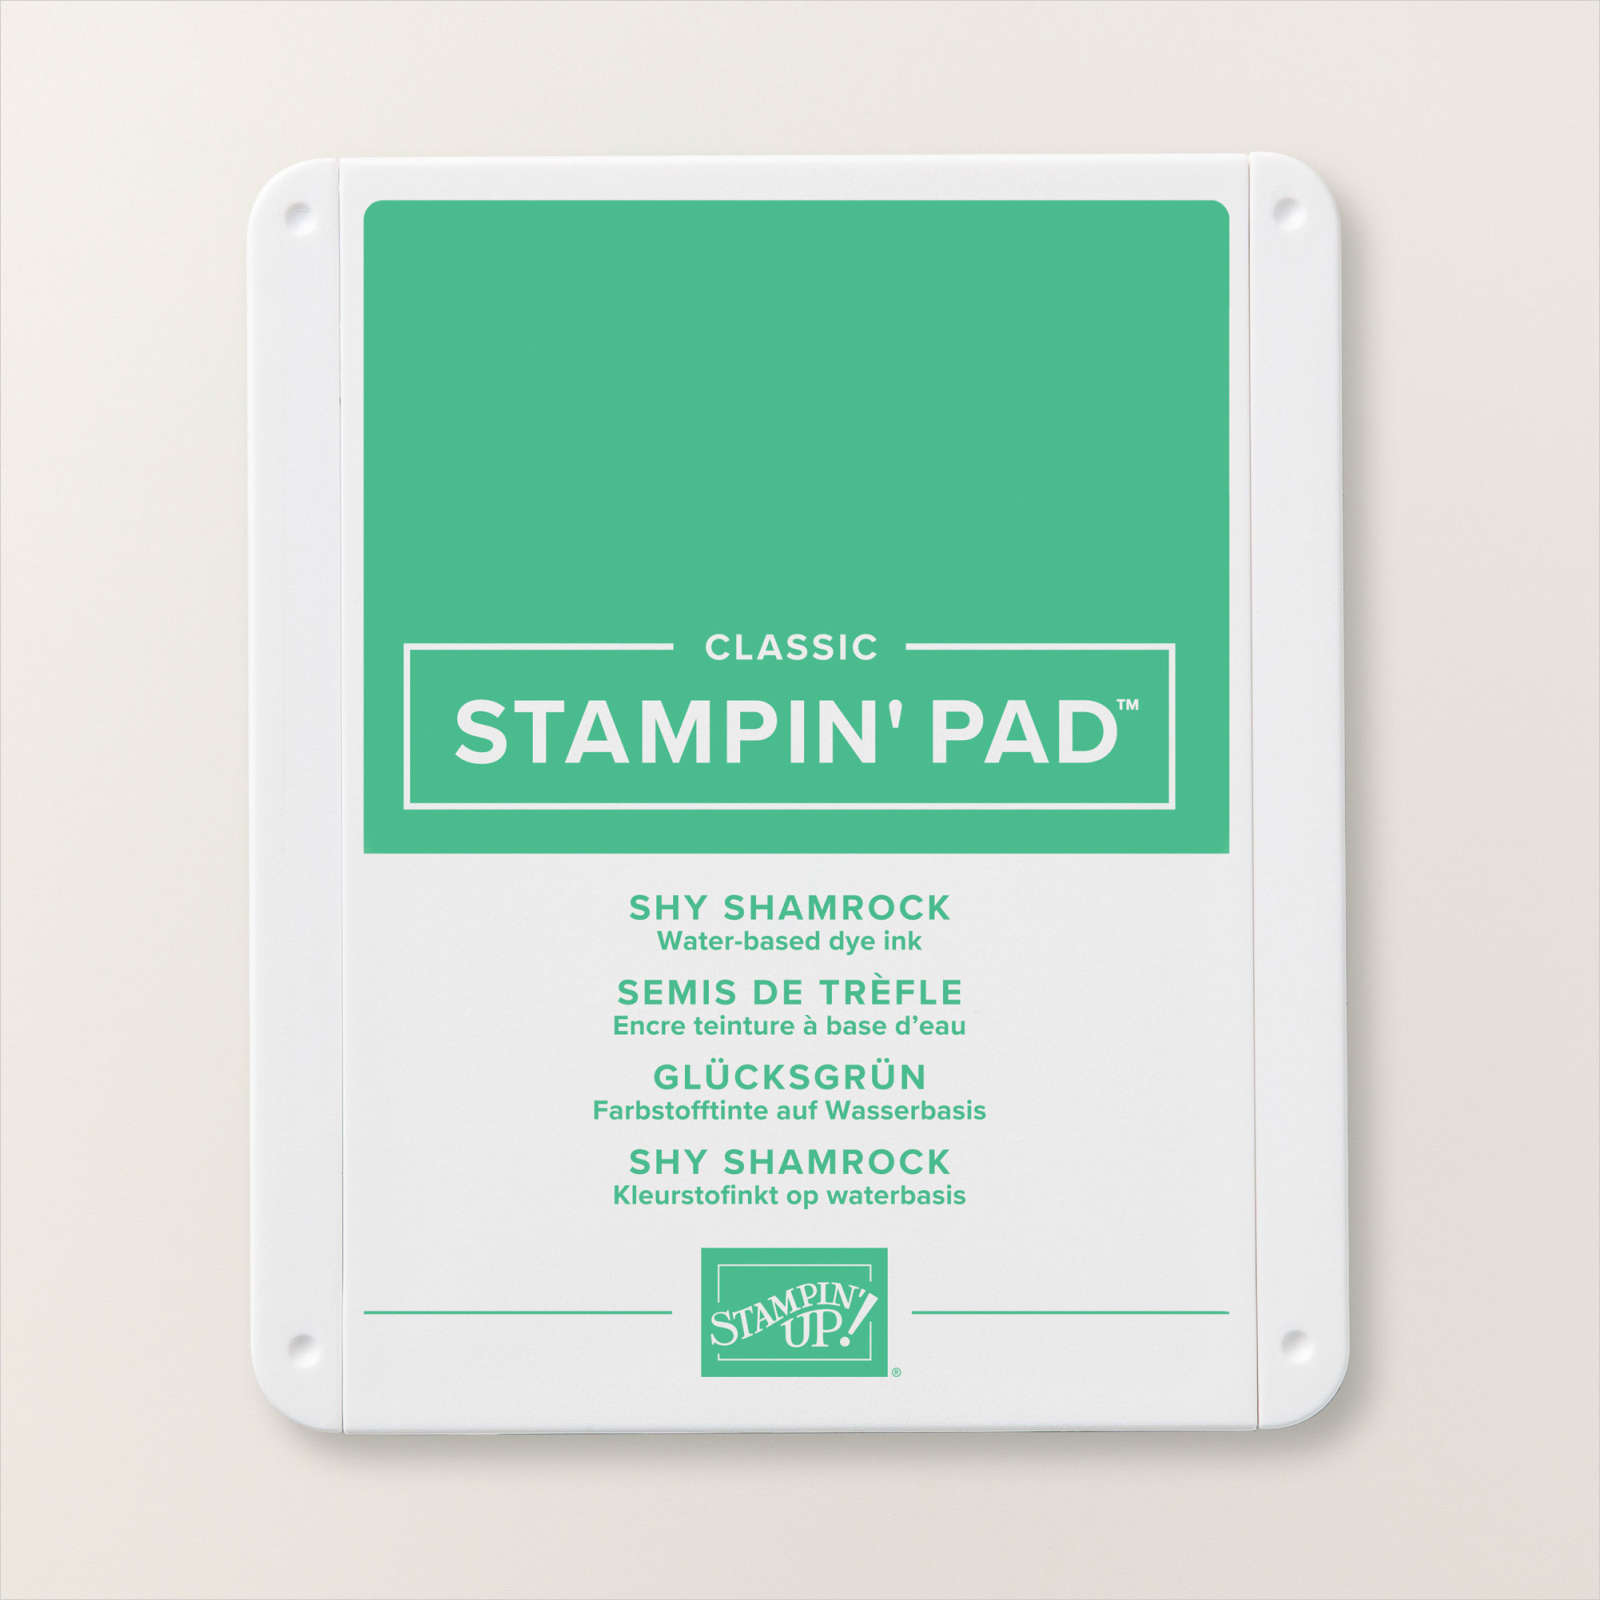
I ran the stamped flowers through the Cut n’ Emboss maching using the Happy Hibiscus Hybrid Embossing Folder, cutting out the flowers at the same time. I stamped the large and small leaf from the Happy Hibiscus stamp set onto Basic White card using Shy Shamrock ink and cut them out using the co-ordinating Happy Hibiscus Die. I attached the flowers to the card front using dimensionals and tucked the leaves underneath the flowers. I stamped “birthday wishes” from the Simply Said stamp set onto Basic White card using Pretty in Pink ink. I cut out the greeting using the circle die from the Happy Hibiscus Dies. I attached the greeting to the card front using dimensionals.

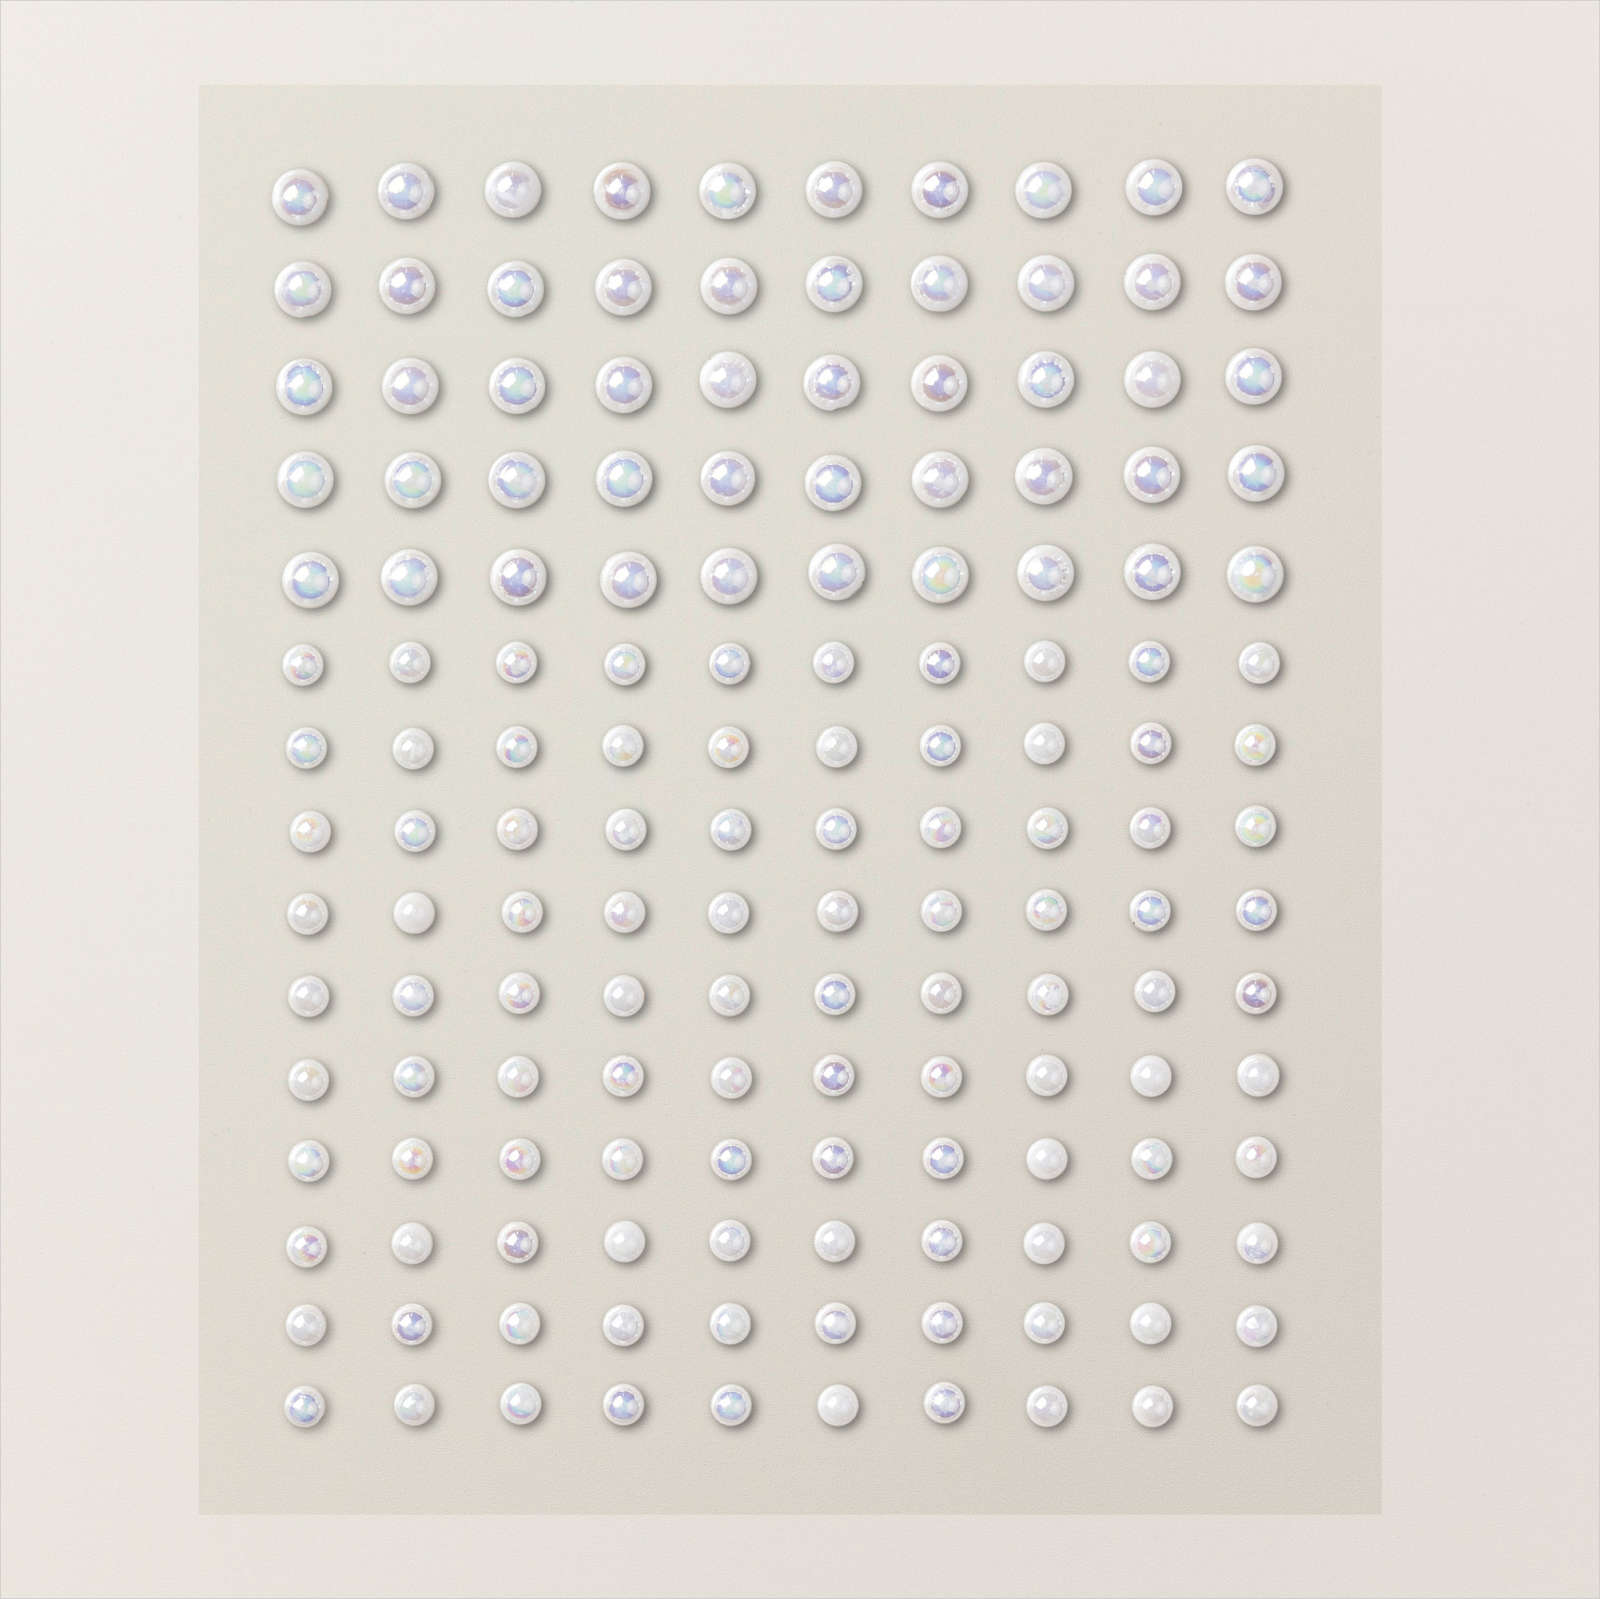
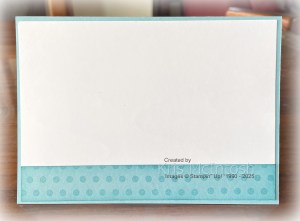
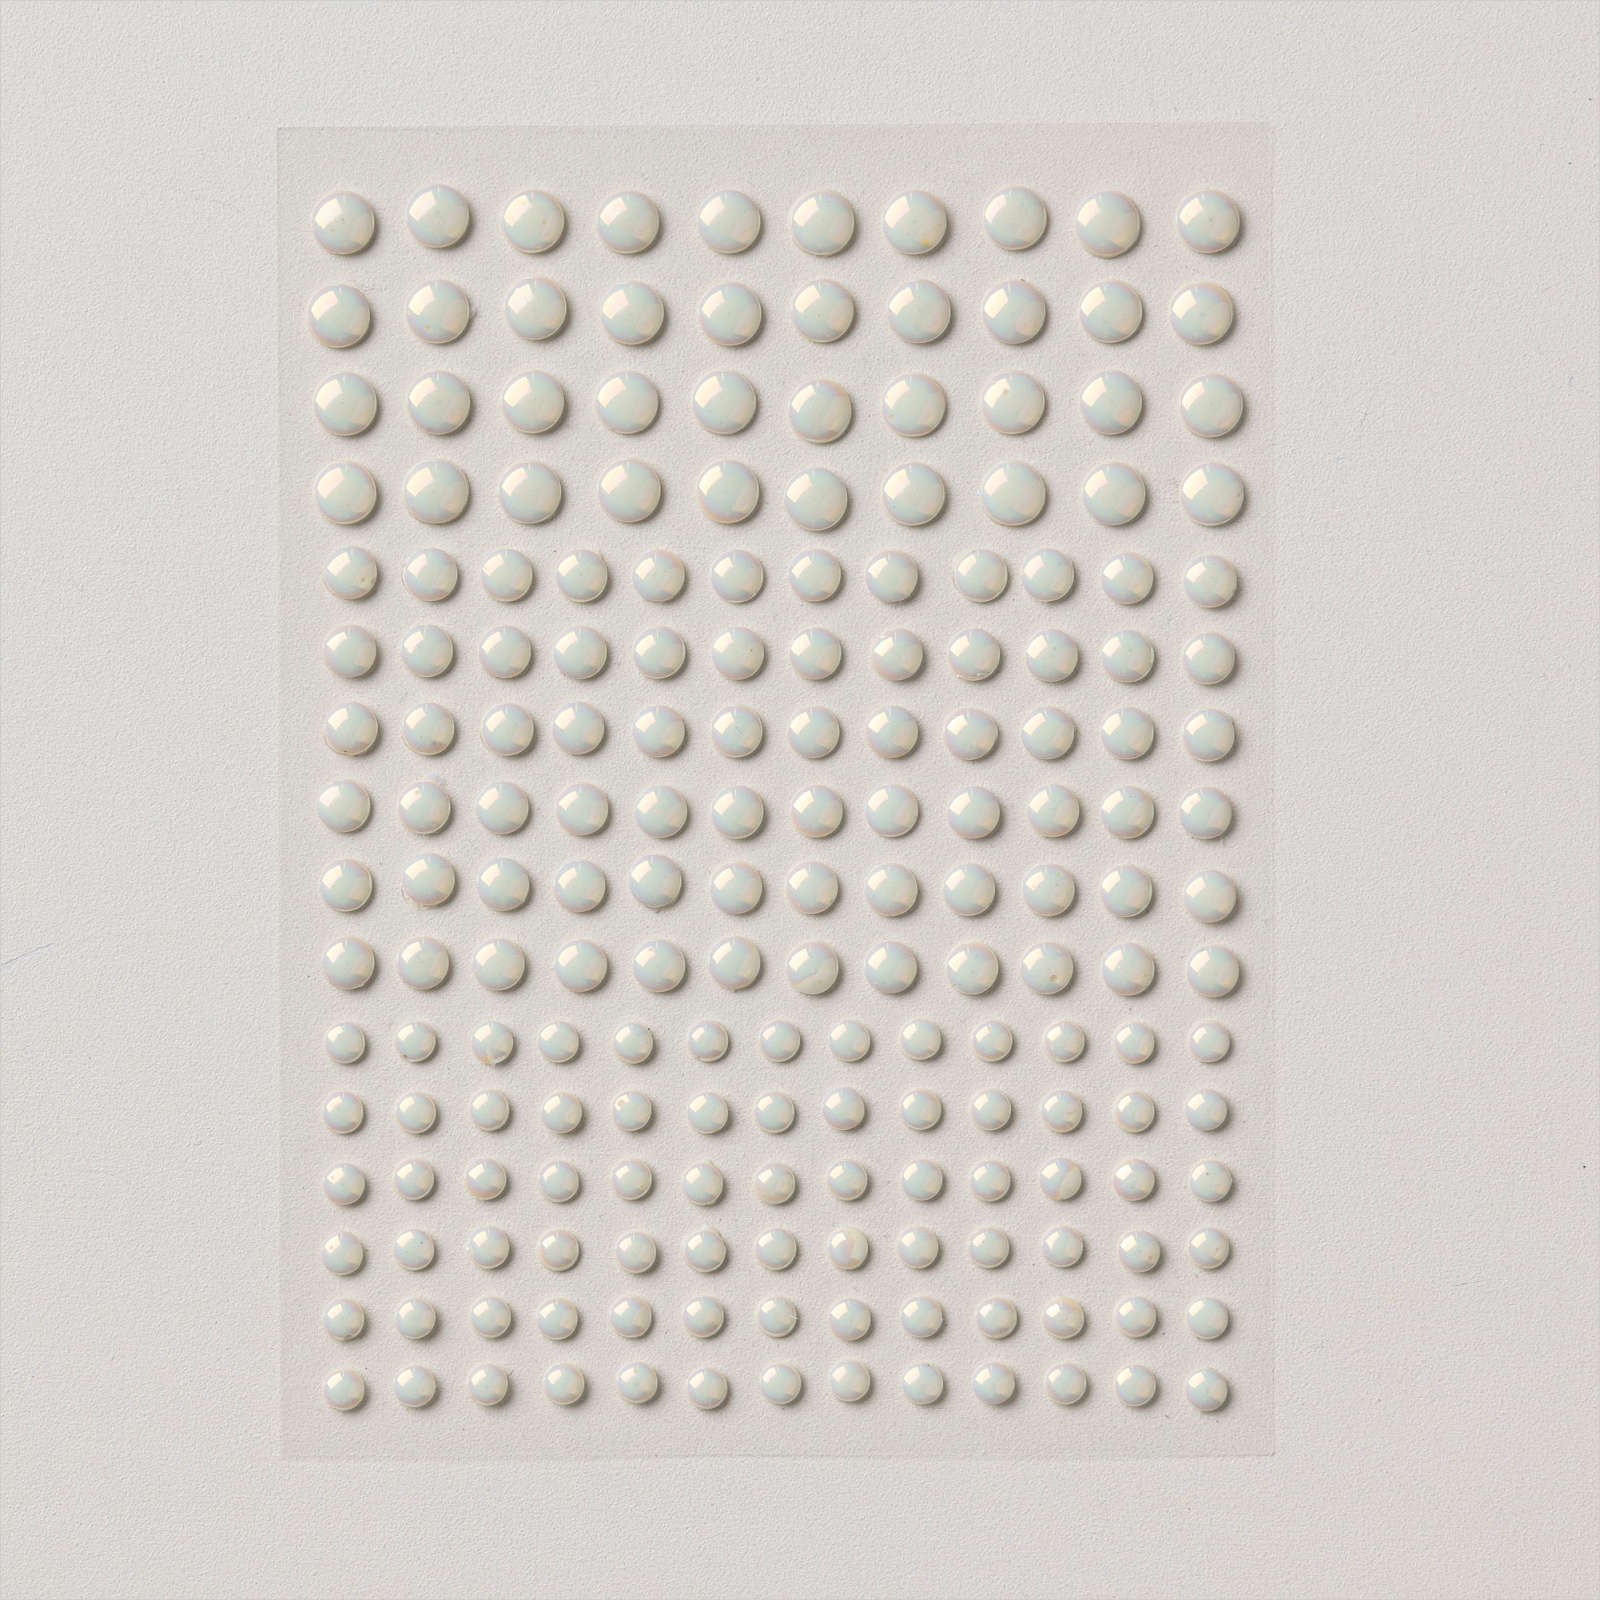
Lastly I added some Antique Pearls to the card front. To decorate the inside of the card, I stamped the largest flower from the Happy Hibiscus stamp set onto the lower left hand corner of Basic White card. I masked the flower and stamped a large leave on either side using Shy Shamrock ink. Such a fun card style to create and I love how using the Stripes & Dots stamp set I can create my own “Designer Series Paper” to complement my card design. I would love to hear what you think.
Bye for now,
Kris
Product Used:


Love & Happiness

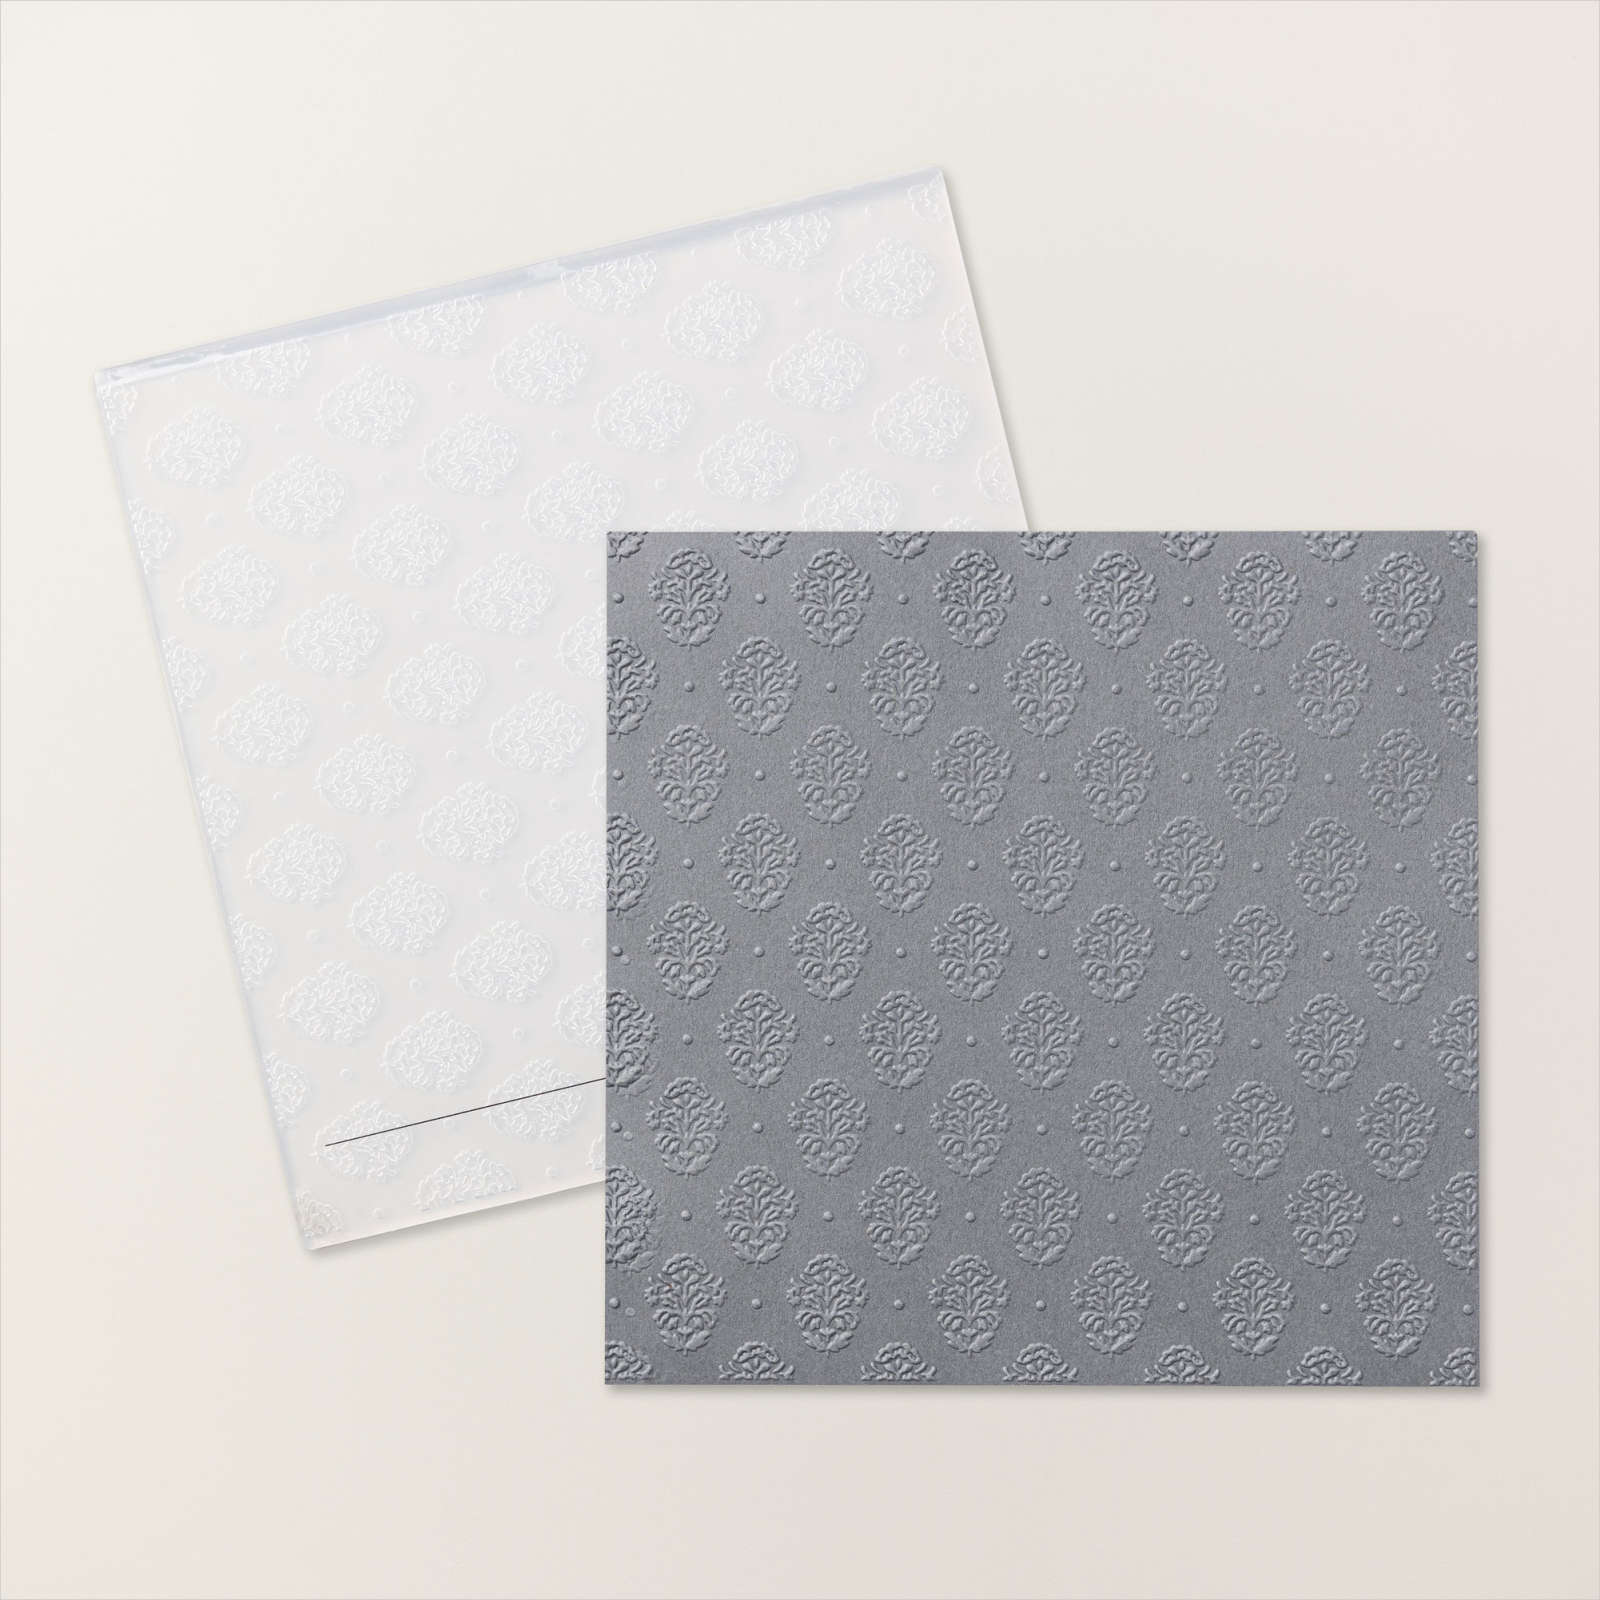
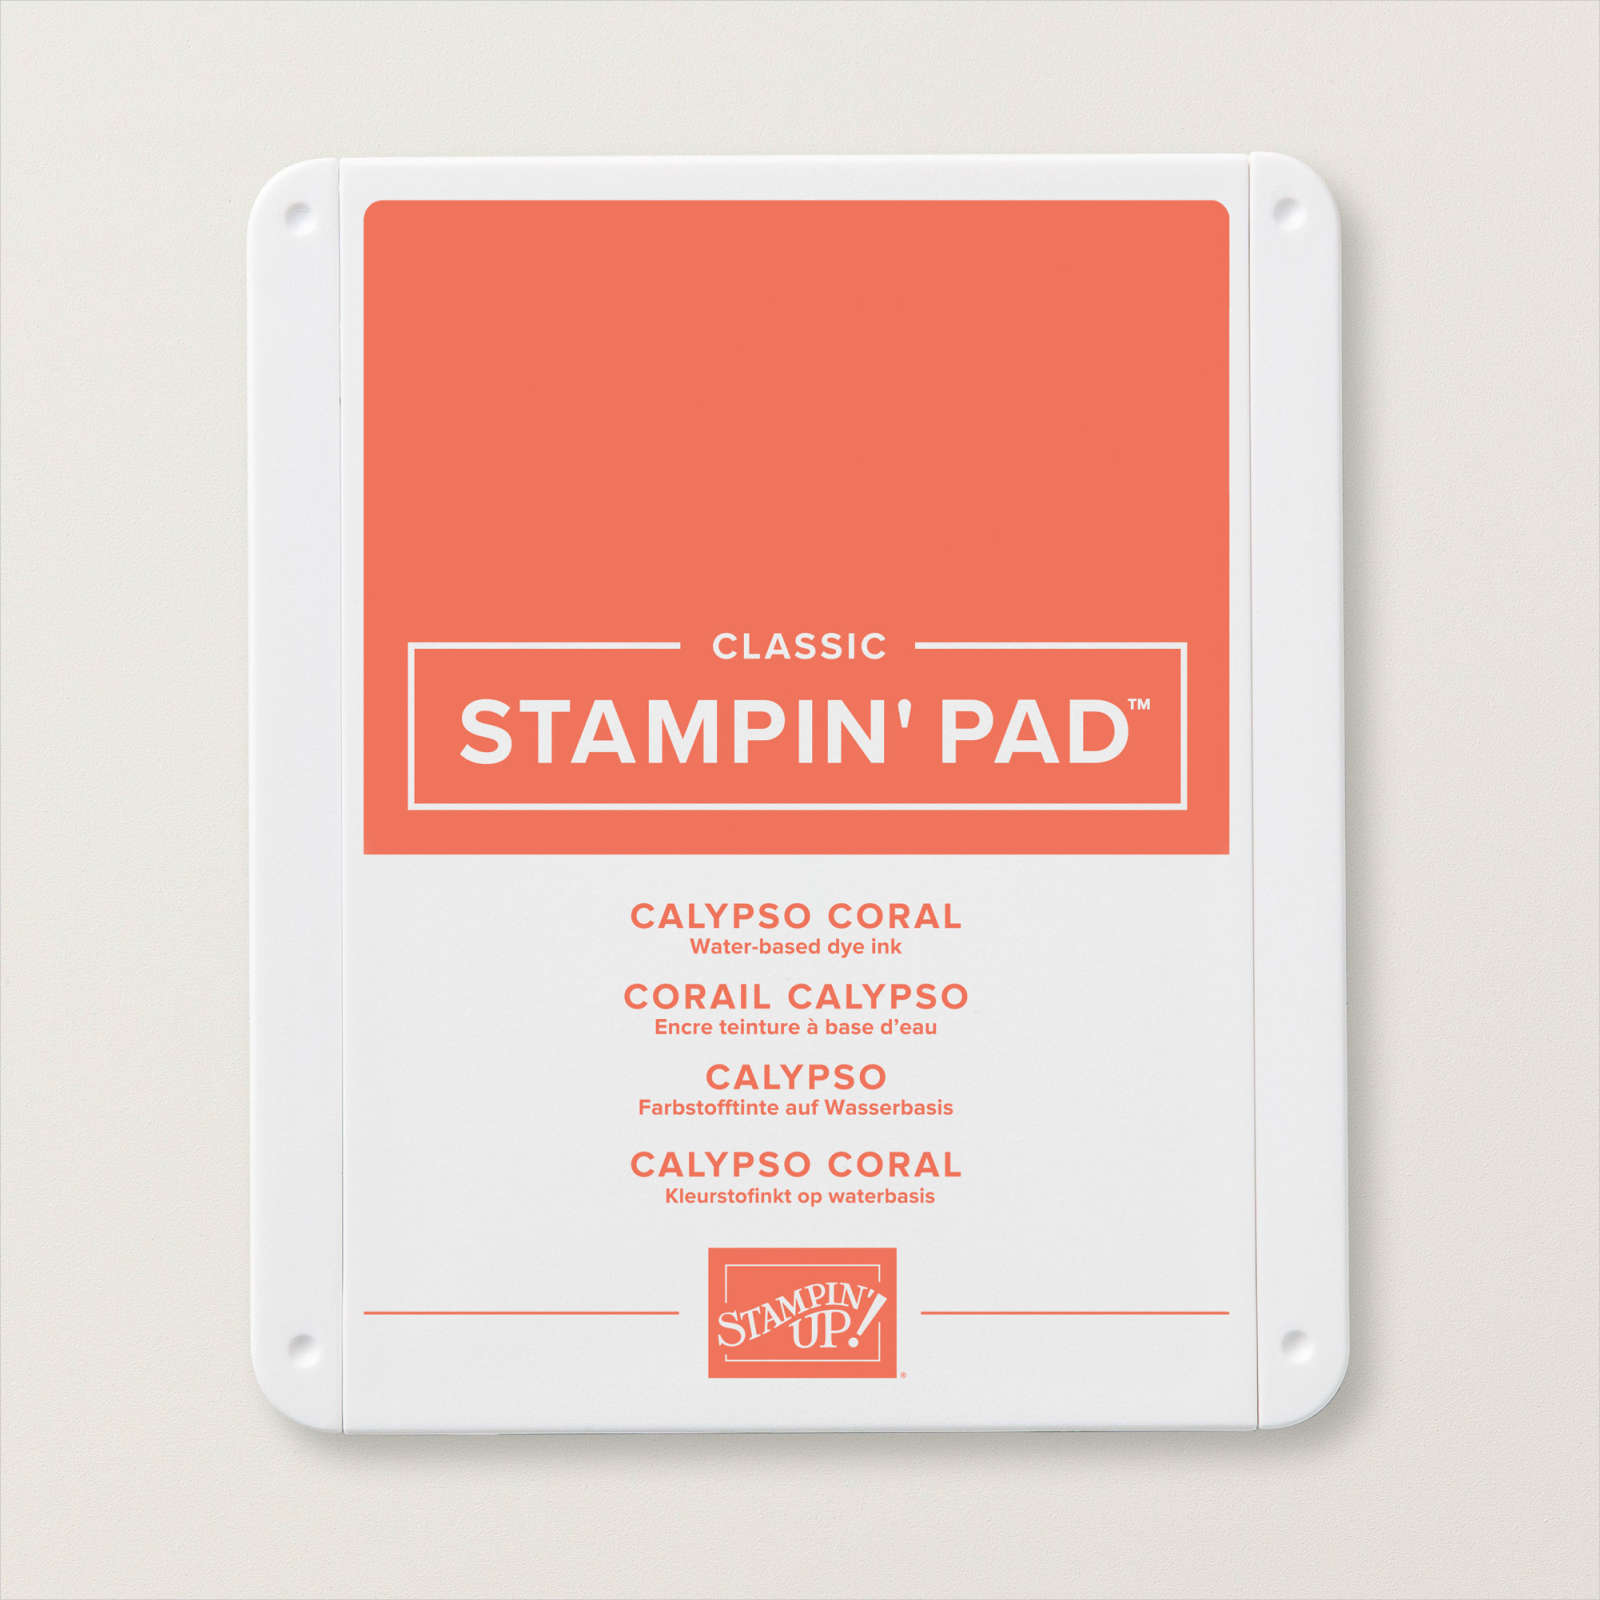
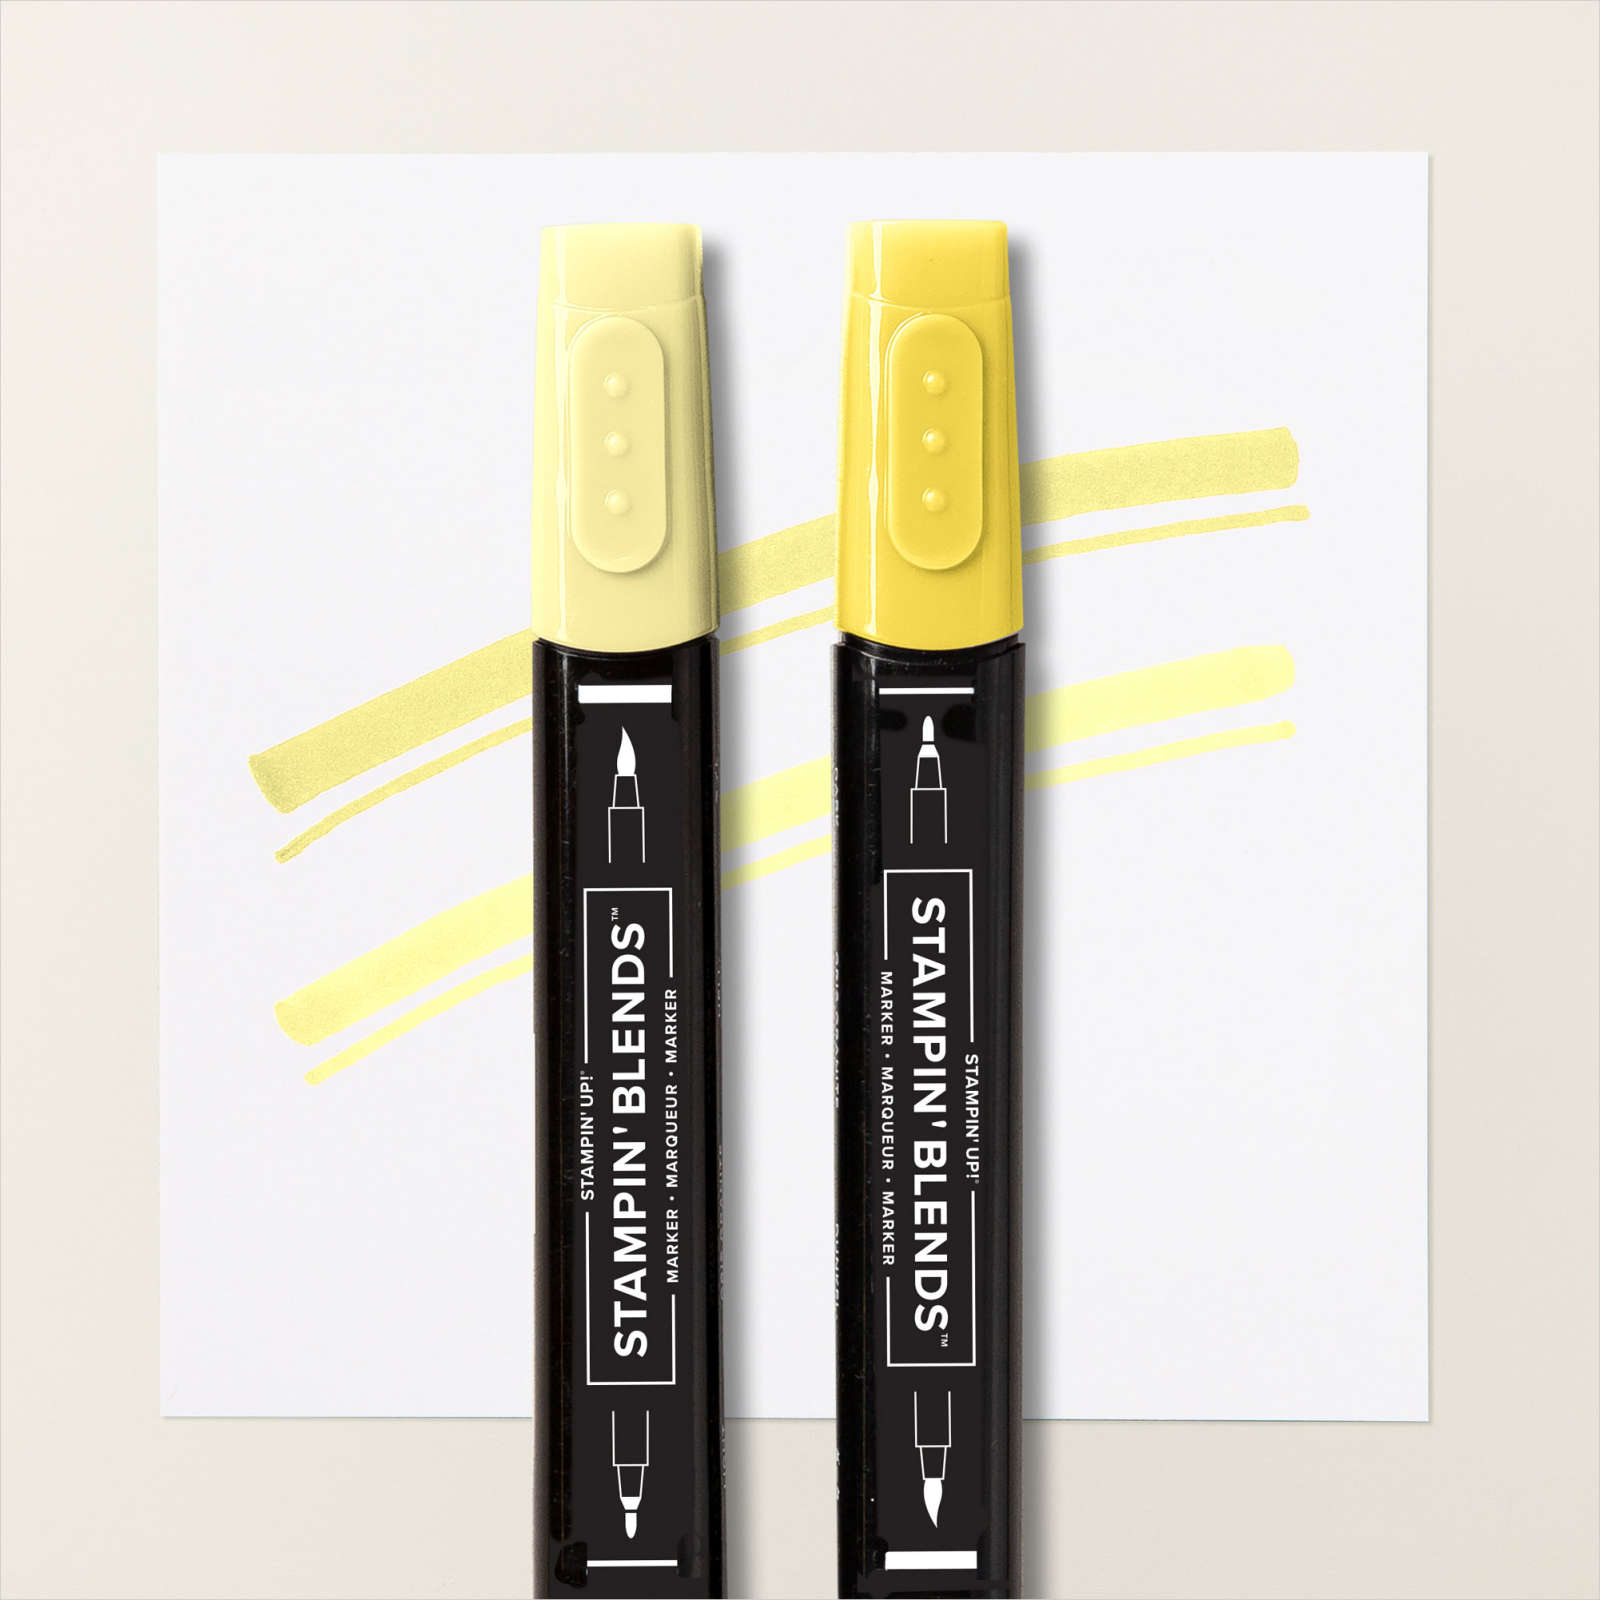
Today’s card again features the Beautiful Gallery Suite Collection. I began by cutting Crumb Cake card using the frame die from the Gallery Blooms Dies. I attached the largest frame to Basic White card and embossed the panel using the Damask Designs Embossing Folder. I attached the embossed panel to scored and folded Crumb Cake card. I stamped the floral image from the Gallery Blooms stamp set onto Basic White card twice using Memento Tuxedo Black ink. I coloured the images using Calypso Coral, Dark Lemon Lolly and Lost Lagoon Stampin’ Blends.

The images are cut out using the co-ordinating Gallery Blooms Die. I attached one floral image to the upper left hand corner and one to the lower right hand corner of the frame on the card front using dimensionals. I stamped the greeting from the Beautiful Motifs stamp set onto Basic White card using Calypso Coral ink. The greeting is punched out using the 1-3/4″ Circle Punch.

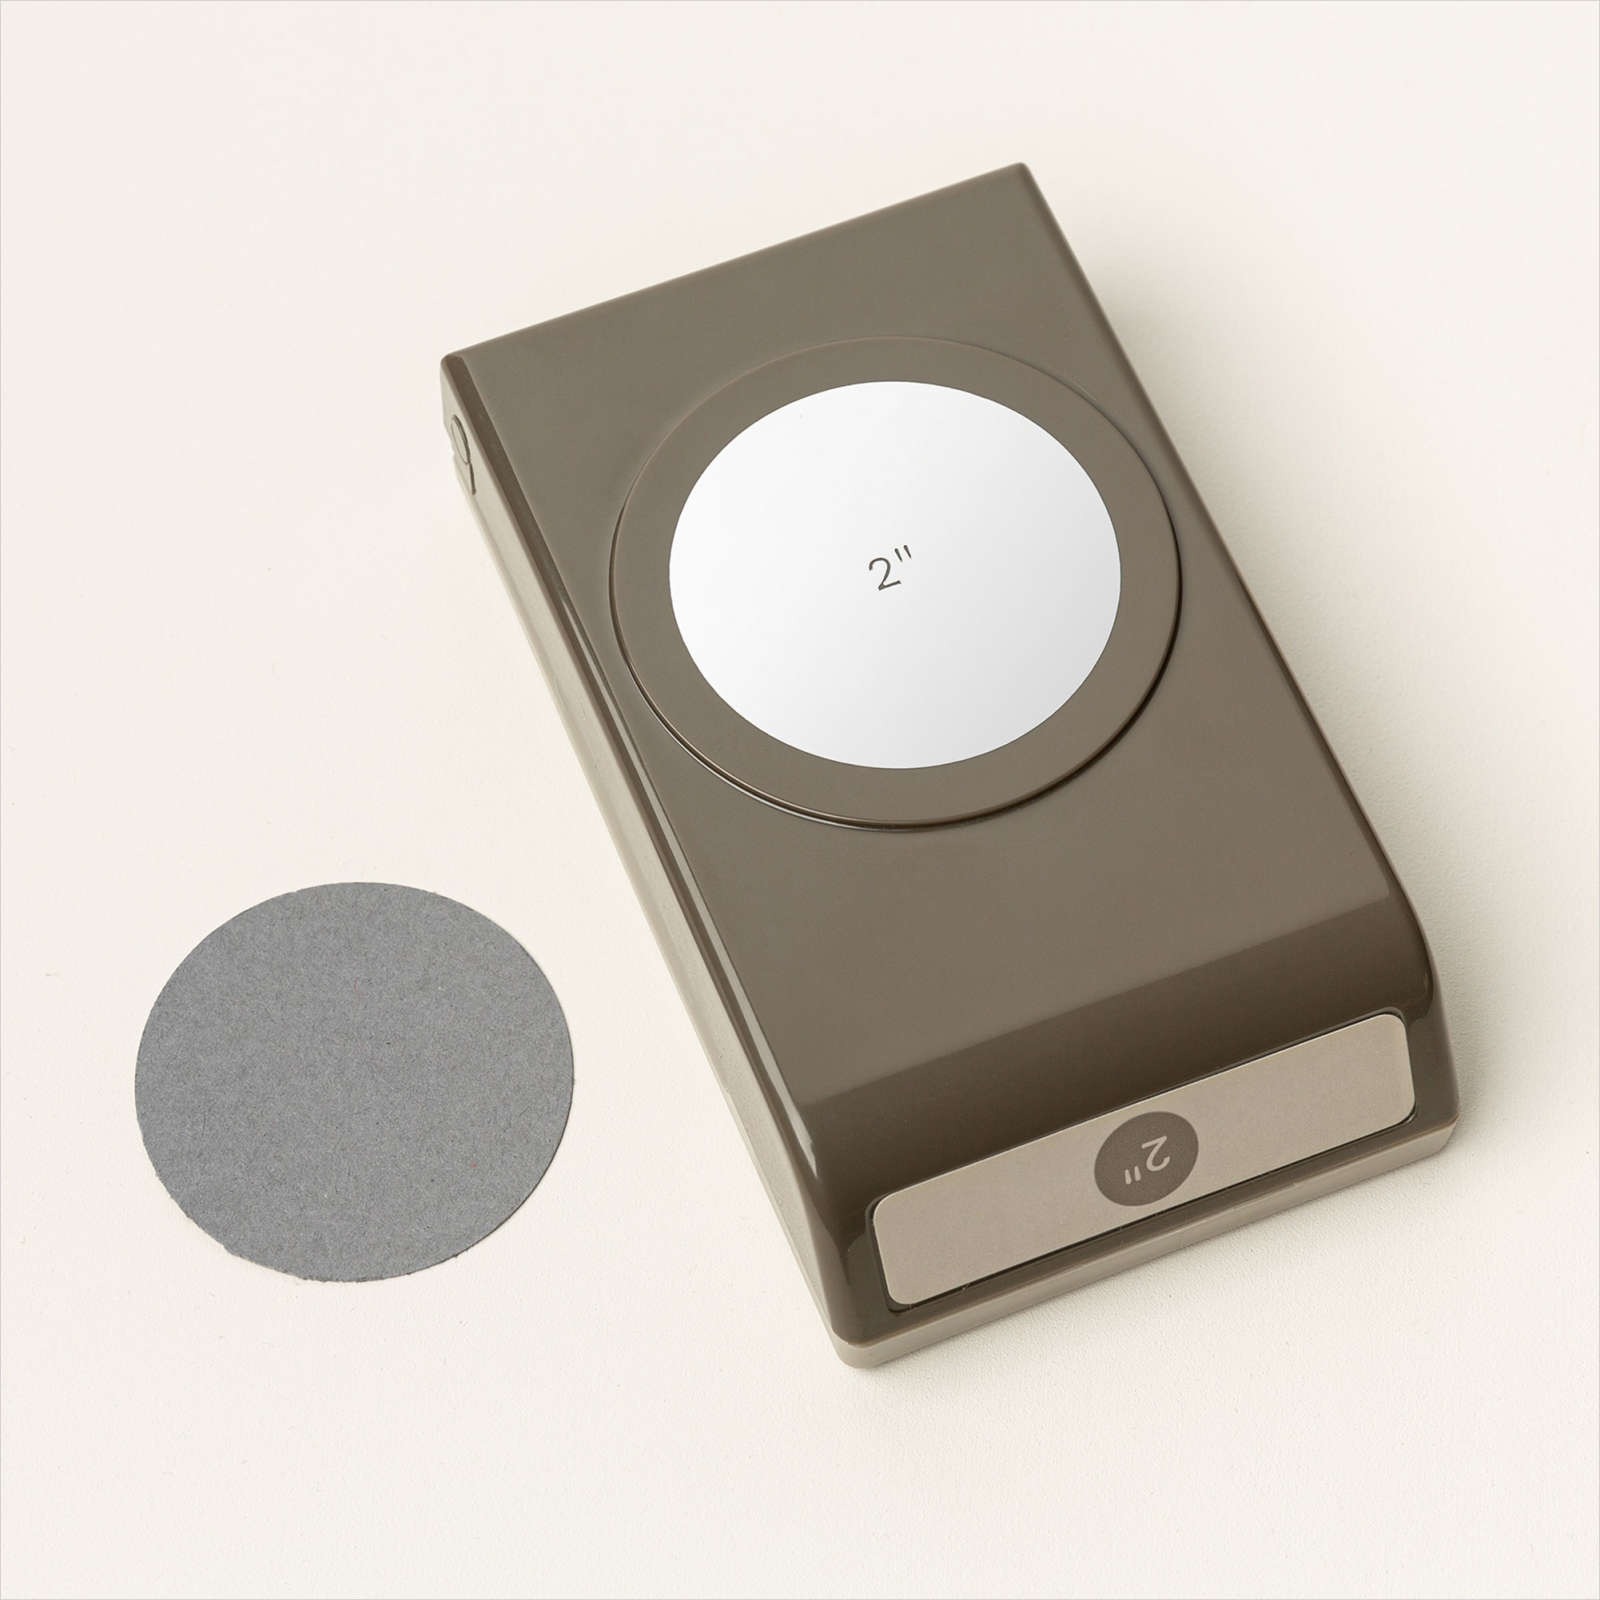
I attached the greeting to a Crumb Cake 2″ circle before attaching the panel to the card front using dimensionals. I used the Dark Calypso Coral Stampin’ Blend to colour Iridescent Pearls before attaching them to the card front. To decorate the inside of the card, I stamped the same floral image onto the top left hand corner of Basic White card using Memento Tuxedo Black ink. I coloured the image using Calypso Coral, Dark Lemon Lolly and Lost Lagoon Stampin’ Blends. I stamped the greeting from the Beautiful Motifs stamp set beside the floral image using Calypso Coral ink. Another card, I truly love using this gorgeous product suite.
Bye for now,
Kris
Product Used: