Happy Retirement
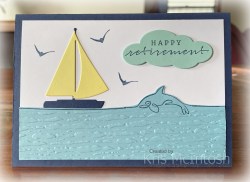
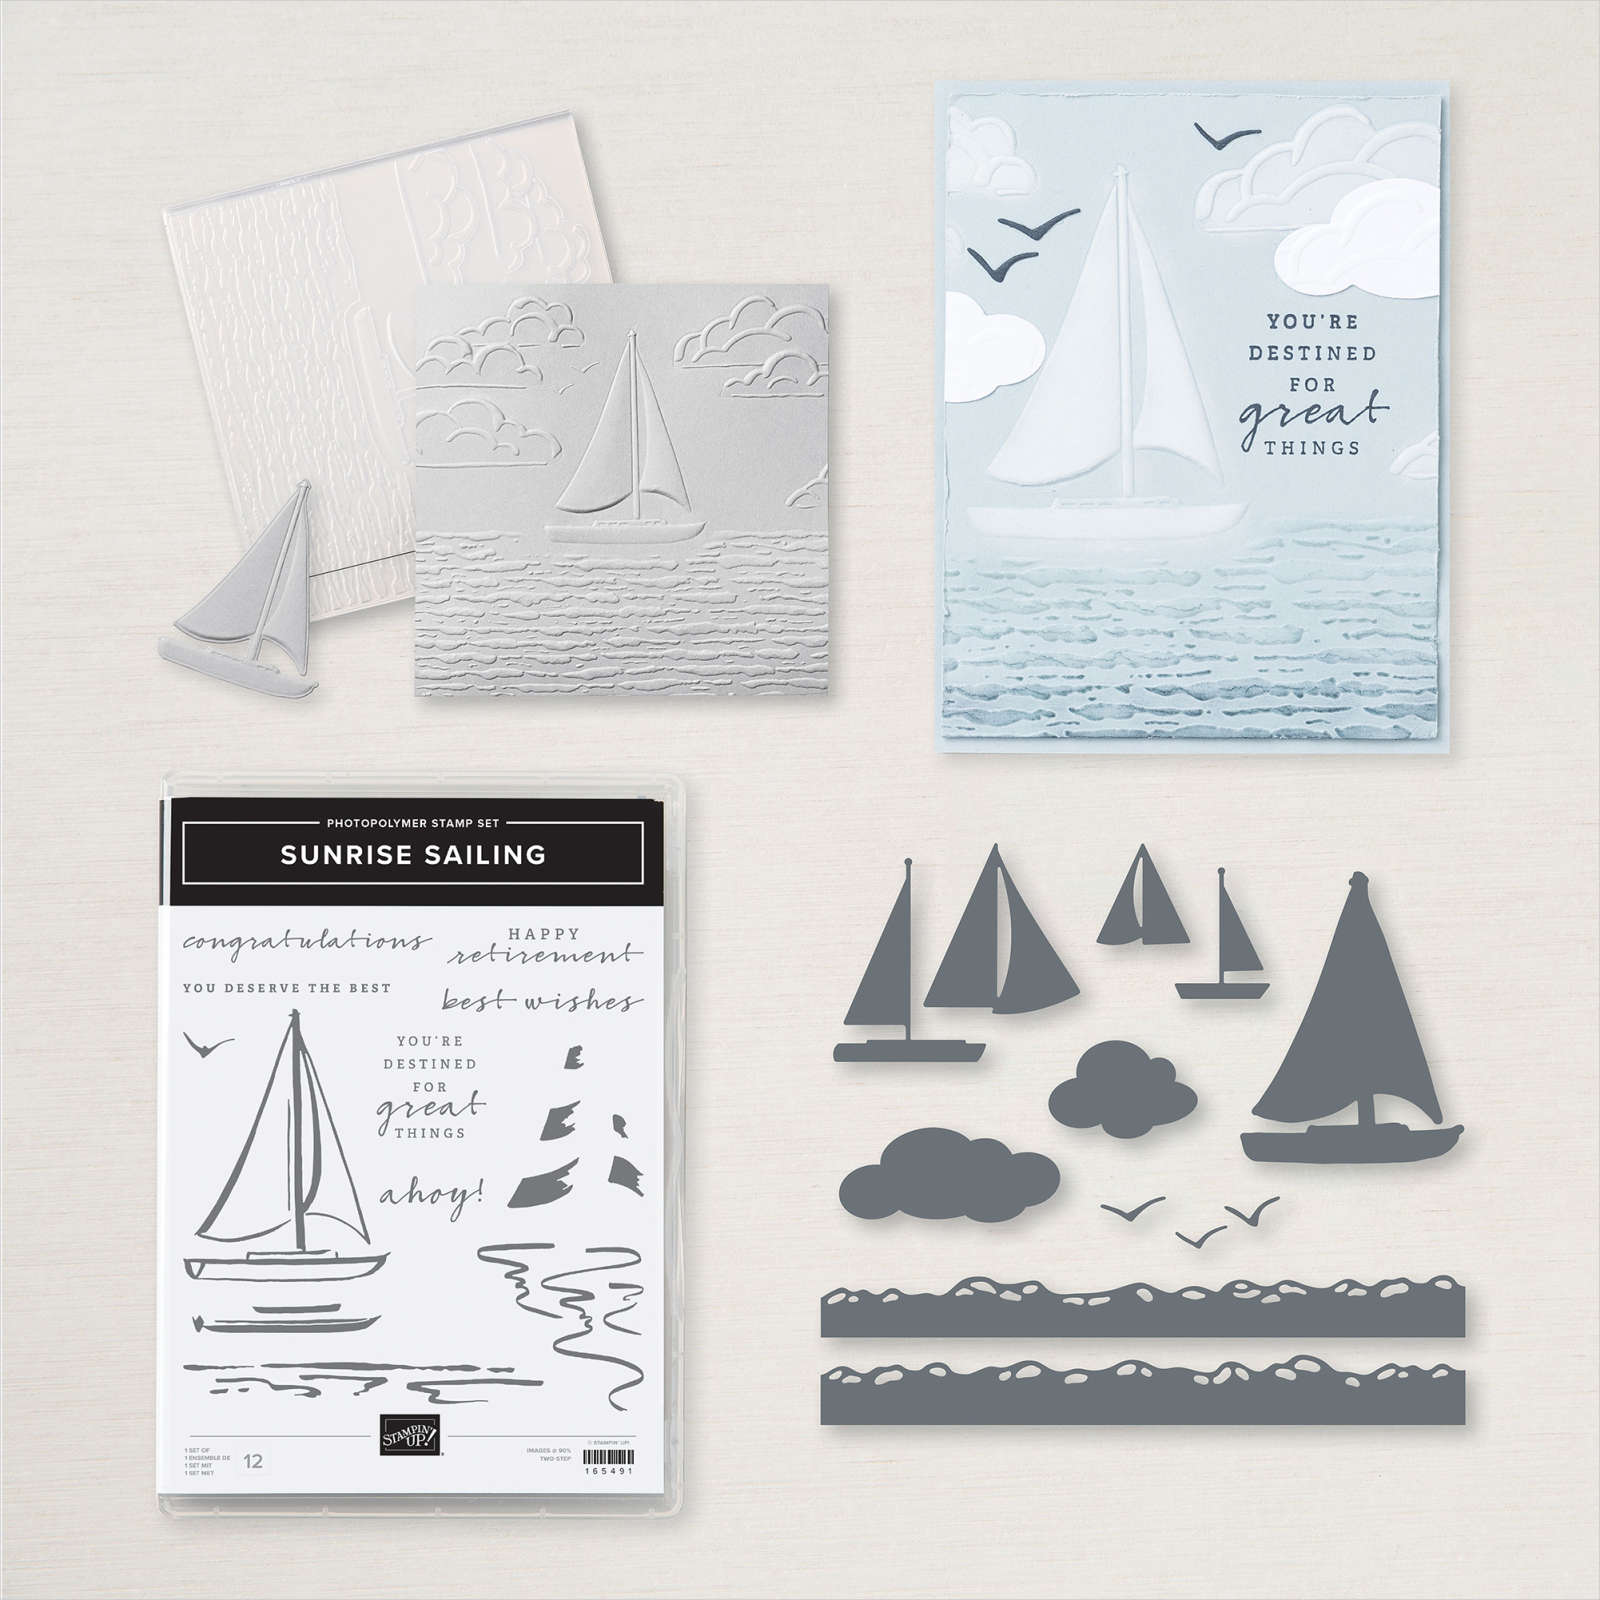
This week in my Facebook Live I shared some cards created using the Along These Lines stamp set. I was inspired to create this card using the same stamp set, although I did match it with the Sunrise Sailing Bundle. I stamped the dolphin image from the Along These Lines stamp set onto Balmy Blue card using Night of Navy ink. I embossed the panel using the Sunrise Sailing Hybrid Embossing Folder, making sure that I only embossed below the stamped dolphin. I trimmed across the panel following the lines before attaching the panel across the bottom of Basic White card. The whole piece is attached to scored and folded Night of Navy card. I cut the medium sailing ship from Night of Navy card using the Sunrise Sailing Dies.

I also cut the medium sails from Lemon Lolly card using the same dies. I attached the sails to the boat before attaching the sailing ship to the card front. I cut Pool Party using the largest cloud die from the Sunrise Sailing Dies. I stamped “happy retirement” from the Sunrise Sailing stamp set onto the cloud image using Night of Navy ink. The cloud is attached to the card front using dimensionals. I stamped the bird image from the Sunrise Sailing stamp set three times onto the card front using Night of Navy ink.

To decorate the inside of the card I stamped “best wishes” from the Sunrise Sailing stamp set onto Basic White card using Night of Navy ink. I die cut the smallest sailing ship from Night of Navy card using the Sunrise Sailing Die. I cut the sails from Lemon Lolly card using the same dies. I attached the sails to the sailing ship before attaching it beside the greeting. I love how this card turned. It’s fun when you have an idea that turns out exactly as you planned! What about you? What do you think? Does it work?
Bye for now,
Kris
Product Used:


Make a Wish

Today I have a card to share created using the Arched Wishes stamp set which is an Online Only product. This stamp set will co-ordinate with the products in the Everyday Arches Bundle, especially the Everyday Arches Dies. For this card, I embossed Basic White card using the Plaster Painting 3D Embossing Folder which I attached to scored and folded Misty Moonlight card. I cut Misty Moonlight using one of the dies from the Everyday Arches Dies and attached it to the card front. I cut Basic White card using a slightly smaller die from the Everyday Arches Dies.

I stamped “make a wish” from the Arched Wishes stamp set onto the Basic White die using Misty Moonlight ink. I stamped the balloon image from the Arched Wishes stamp set onto the Basic White panel three times using Misty Moonlight ink. I also stamped the balloon image from the Arched Wishes stamp set three times onto “blue” scrap pieces of Bright & Beautiful 6″ x 6″ Designer Series Paper (last chance).

I cut out the balloons and attached them over the stamped balloons on the Basic White die cut. I attached the image panel to the card front using dimensionals. To decorate the inside of the card I stamped “happy birthday” from the Arched Wishes stamp set onto Basic White card using Misty Moonlight ink. I stamped the balloon image from beside the greeting using Misty Moonlight ink. I also stamped the balloon image onto another scrap of the Bright & Beautiful Designer Series Paper. I cut out the balloon and attached it over the stamped balloon image. I just love how this card turned out. It would be pretty perfect for just about anybody but mostly for males, don’t you think?
Bye for now,
Kris
Product Used:
You can view the Arched Wishes stamp set here in my online store.


Sacred Heart Cathedral

One of the most beautiful buildings in Bendigo is this gorgoeus Cathedral. Ron & I decided to take a closer look and were lucky enough to hear the organ playing. It was just amazing. A truly gorgeous building. I used the 1, 2, 3 Layout that we used in the May Scrapbooking Class. These 1, 2, 3 Layouts are by Noreen Smith (the Organized and Creative Mom) and can be found here on You Tube. I used a piece of Sweet Days of Autumn 12″ x 12″ Designer Series Paper.
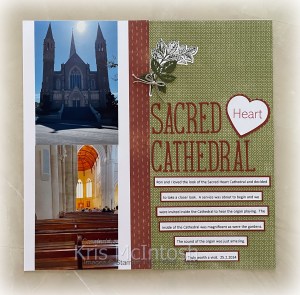
I cut the paper according to Noreen’s instructions and attached them to Basic White pages. I attached my photos directly to the pages and didn’t add any cardstock mats. I printed “heart” onto Basic White card on my computer and used the retired Heart Punch Pack to cut it out. The Basic White heart is attached to a Cajun Craze heart punched using the same Heart Punch Pack. I cut the title from Cajun Craze card using the Alphabet A La Mode Dies. I did add Adhesive Sheet to the back of the Cajun Craze card before cutting out the letters to make it easier to attach them. The title and the heart are attached to the right hand page. I printed the journaling onto Basic White card and cut it into strips before attaching it to Cajun Craze card and then the right hand page.

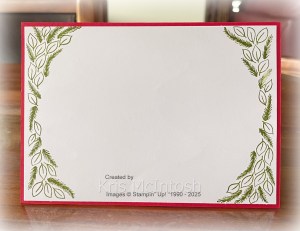
I stamped the leaf image from the retired Stippled Roses stamp set onto Basic White card using Mossy Meadow ink. The leaves are cut out using the co-ordinating Stippled Roses Dies before cutting the leaf into two pieces. I die cut Mossy Meadow card twice using one of the other leaf dies in the Stippled Roses Dies. I layered the stamped image and the die cut image together and attached one cluster to the right hand page and one to the left hand page. I tied a bow in a double length of Linen Thread and attached one to each leaf cluster. A pretty simple page but it reminds me of this gorgeous Cathedral and our sneak peak inside.
Bye for now,
Kris
Product Used:


Most Wonderful

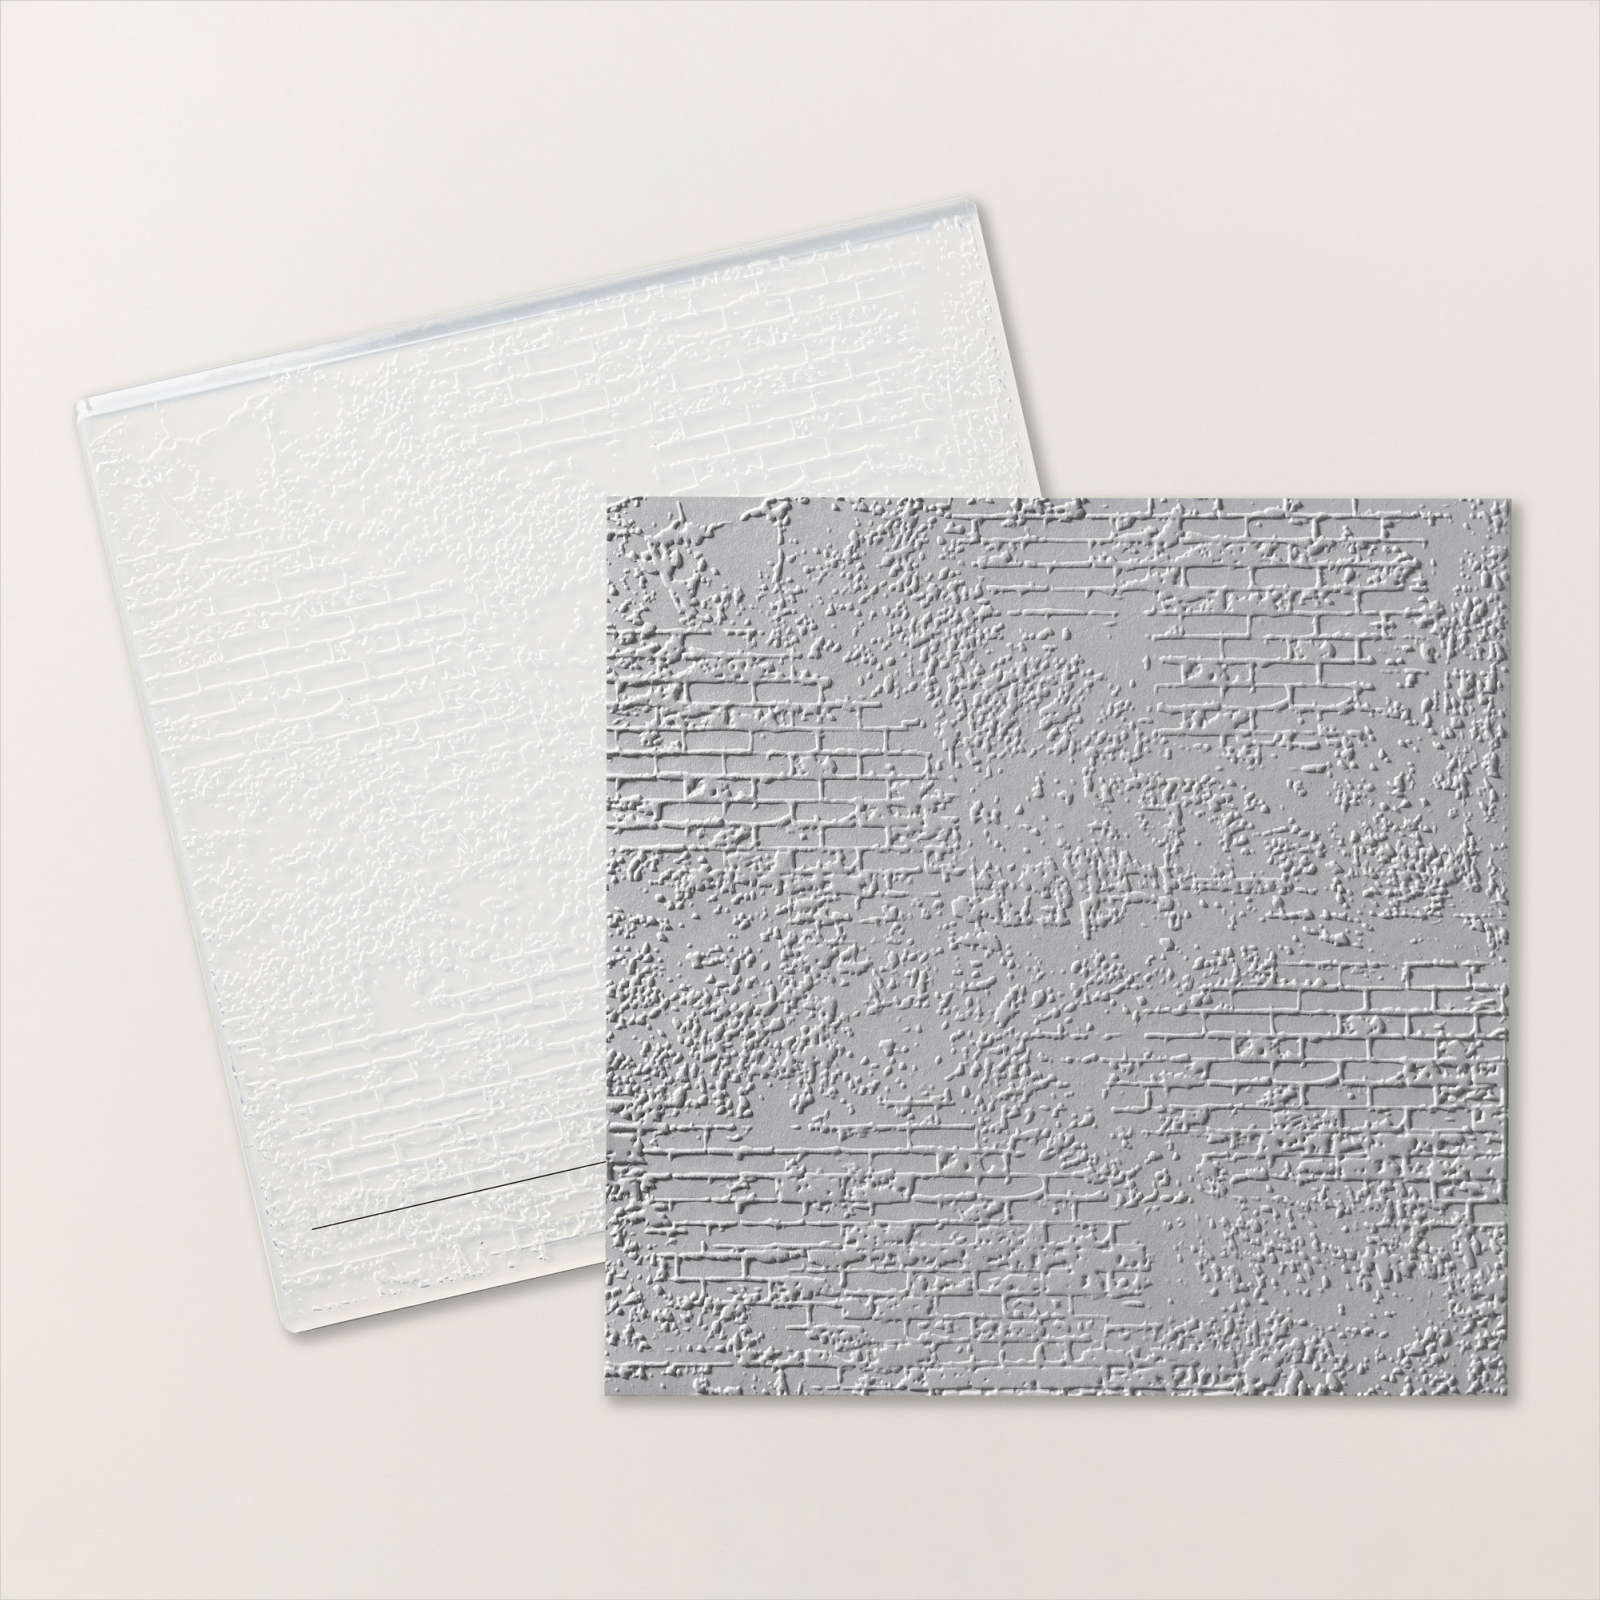
This week in my Facebook Live I shared some cards I created using the Most Wonderful stamp set. Today I have a couple more to share with you. For the first card, I attached a piece of Real Red card to Basic White card before embossing the panel using the Exposed Brick 3D Embossing Folder. The embossed panel is attached to scored and folded Real Red card.

I cut Basic White card using one of the Textured Notes Dies. I stamped the leaf border image from the Most Wonderful stamp set onto the die cut making sure that I stamped close to one short edge. I rotated the die and stamped the image again using Old Olive ink so that the edges matched on the die.
I then ran the die through my Cut n’ Emboss machine to trim down the size to match the edges of the stamping. I stamped the greeting from the Most Wonderful stamp set onto the die cut using Real Red ink. The image panel is attached to the card front using dimensionals. Lastly I added three Basic Rhinestones around the greeting. To decorate the inside of the card, I stamped the leaf border image across each of the short ends of Basic White card using Old Olive ink.

I decided to do a portrait version of this card following the same steps as the first card. I did however use Garden Green ink on this version to stamp the leaf border. This is the only Christmas type stamp included in this year’s Annual Catalogue, so I am sure that I will find lots of ways to use this lovely stamp.
Bye for now,
Kris
Product Used:


Peach Pie Birthday
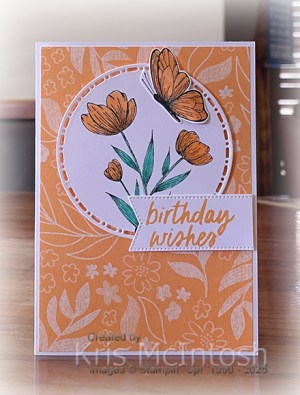
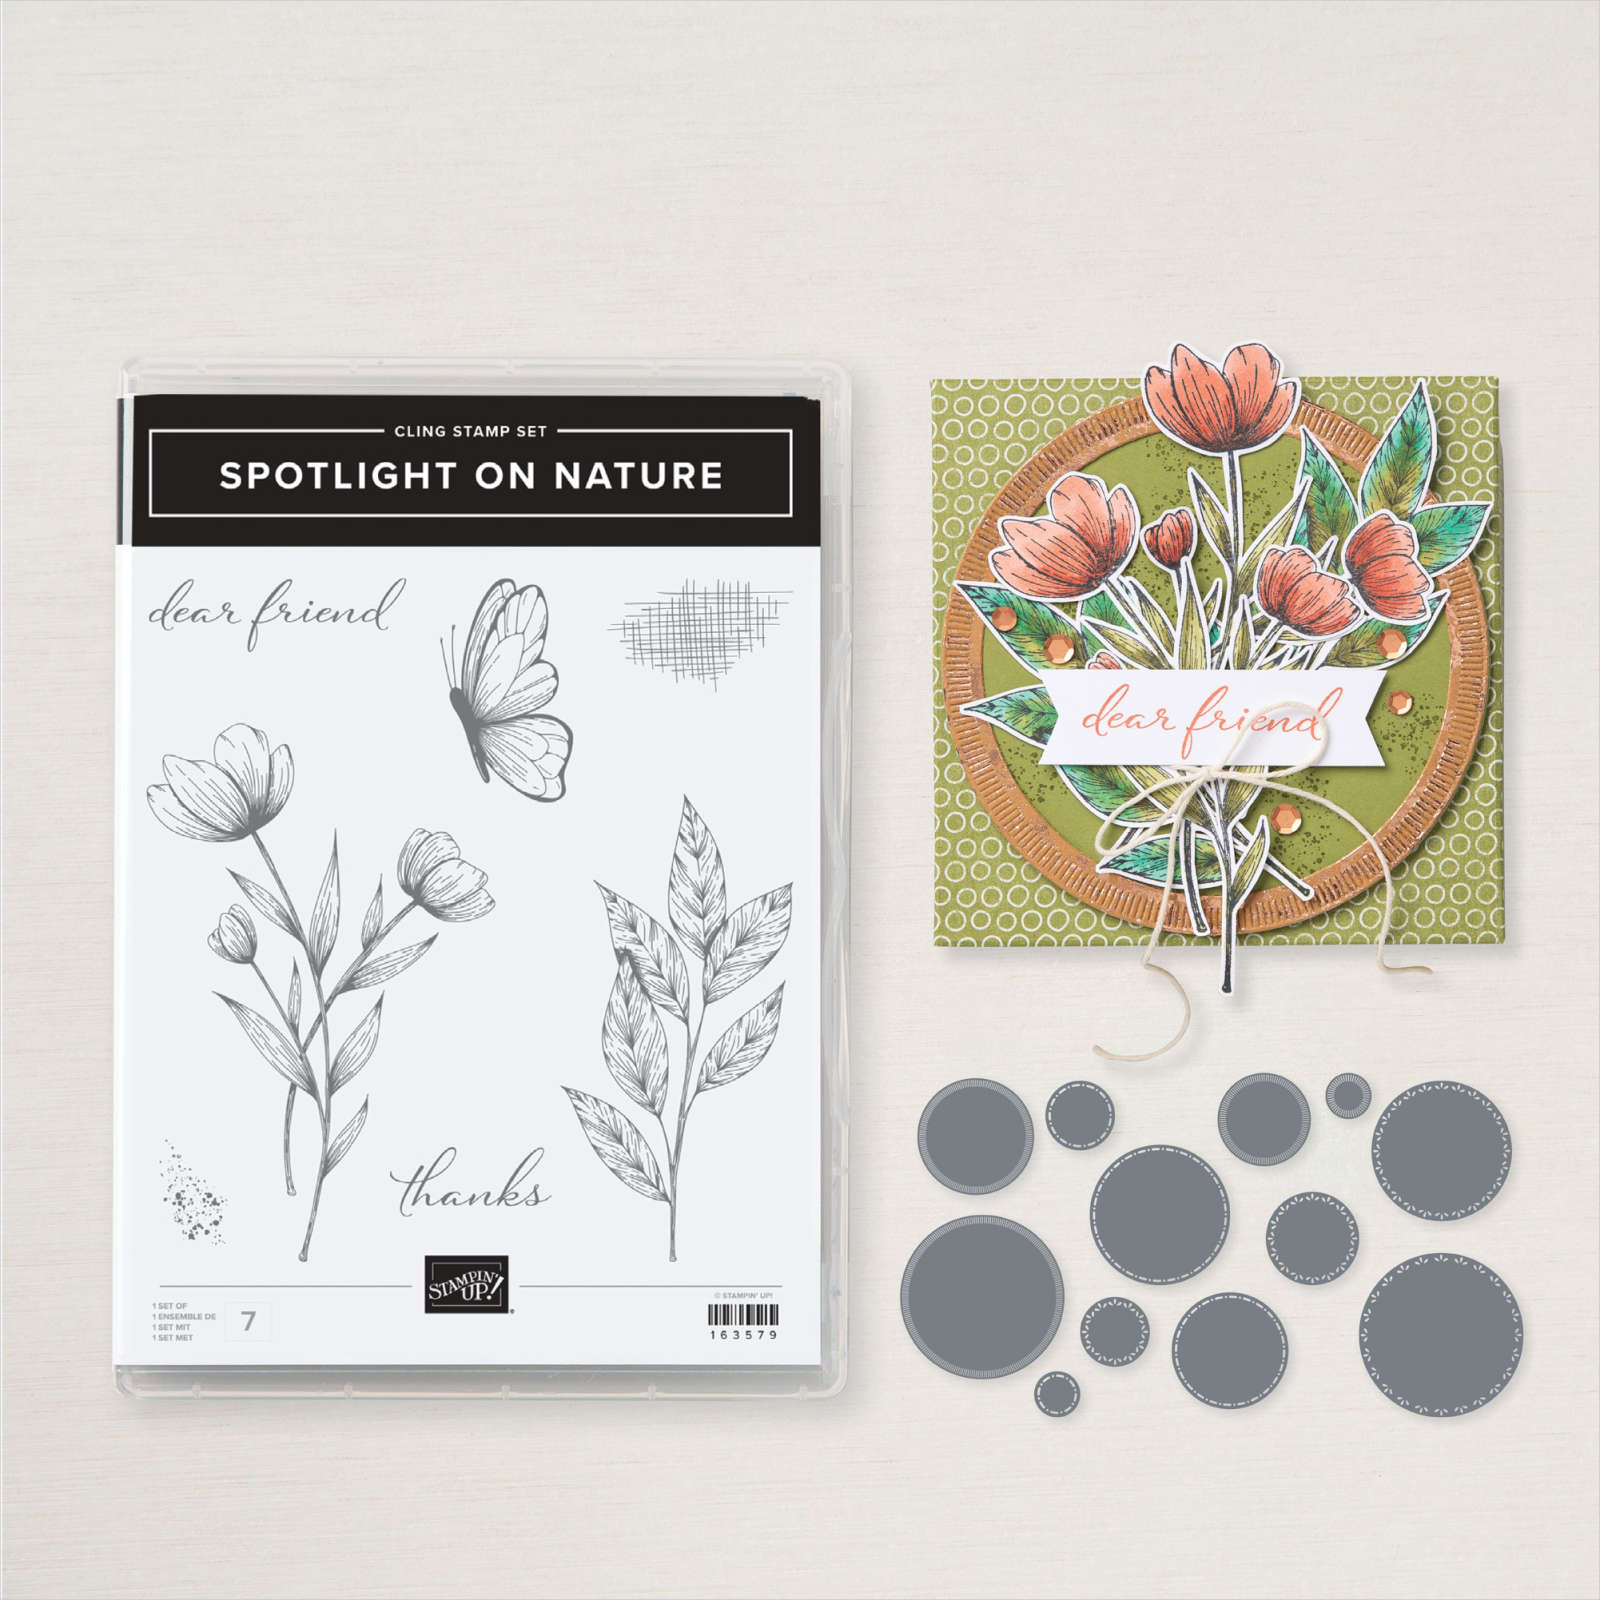
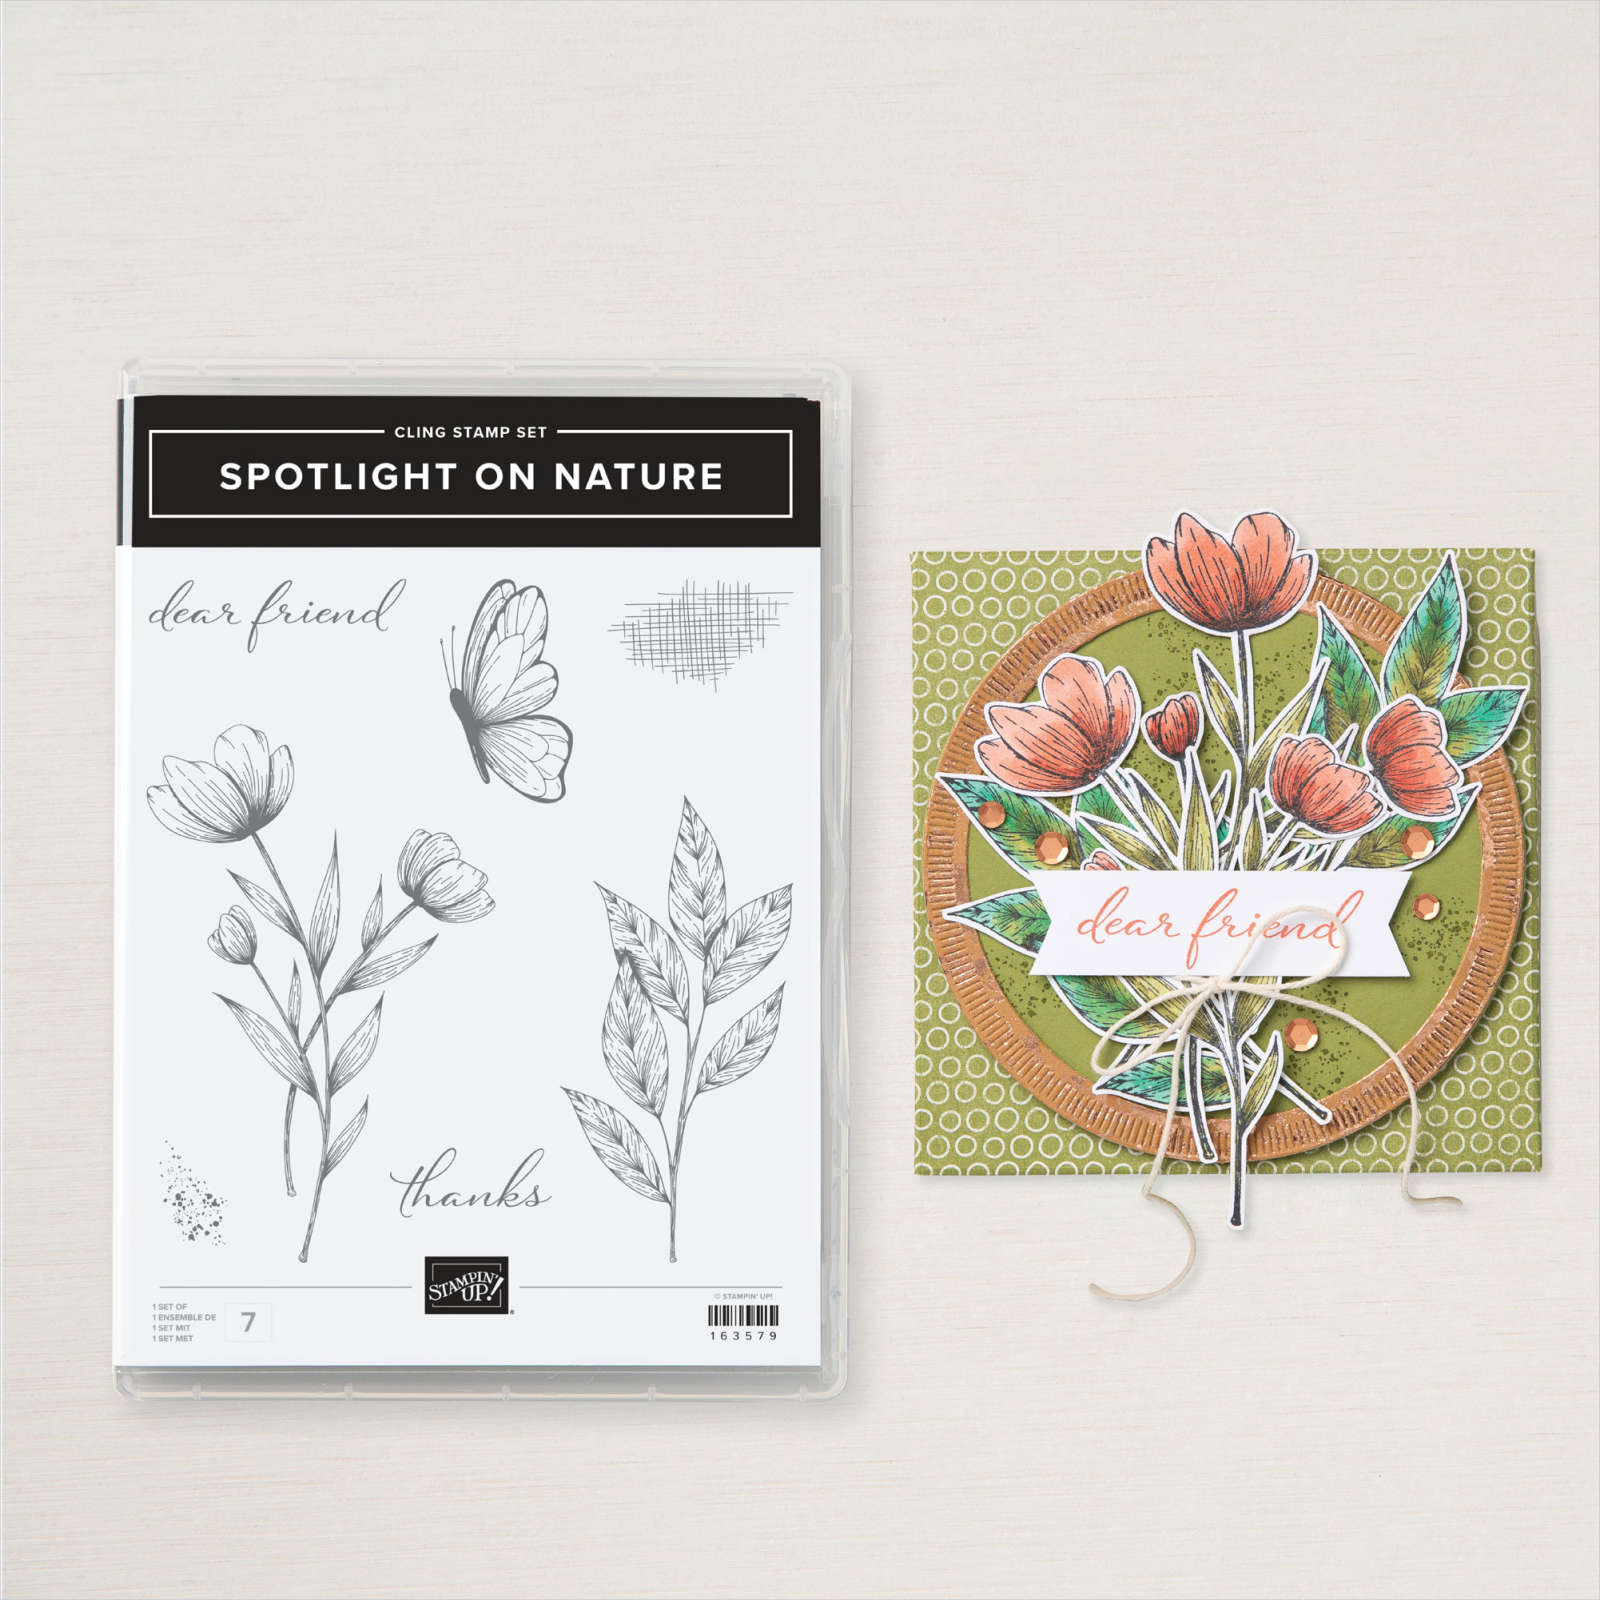
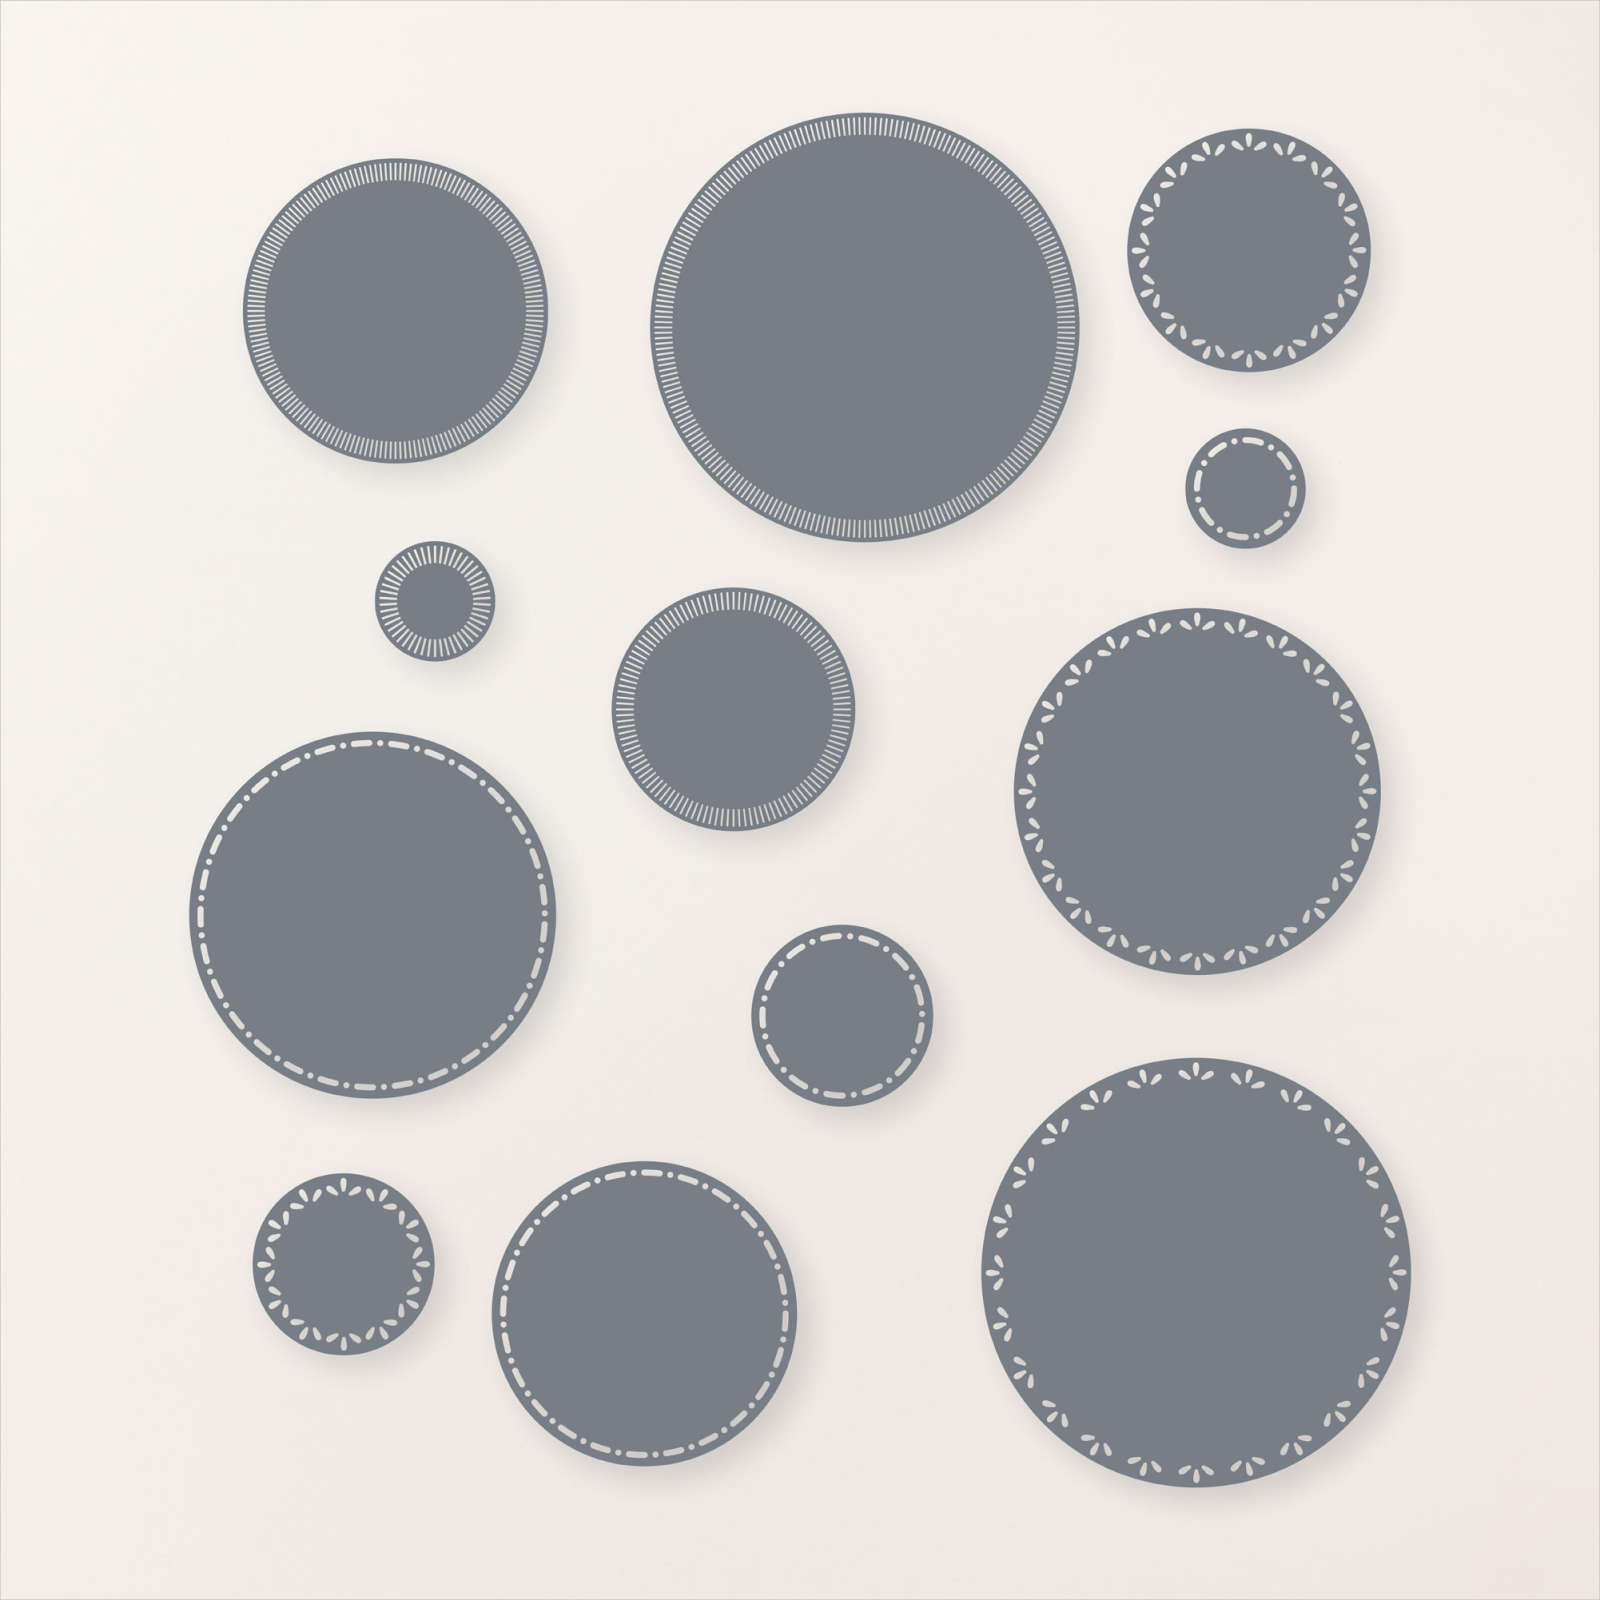
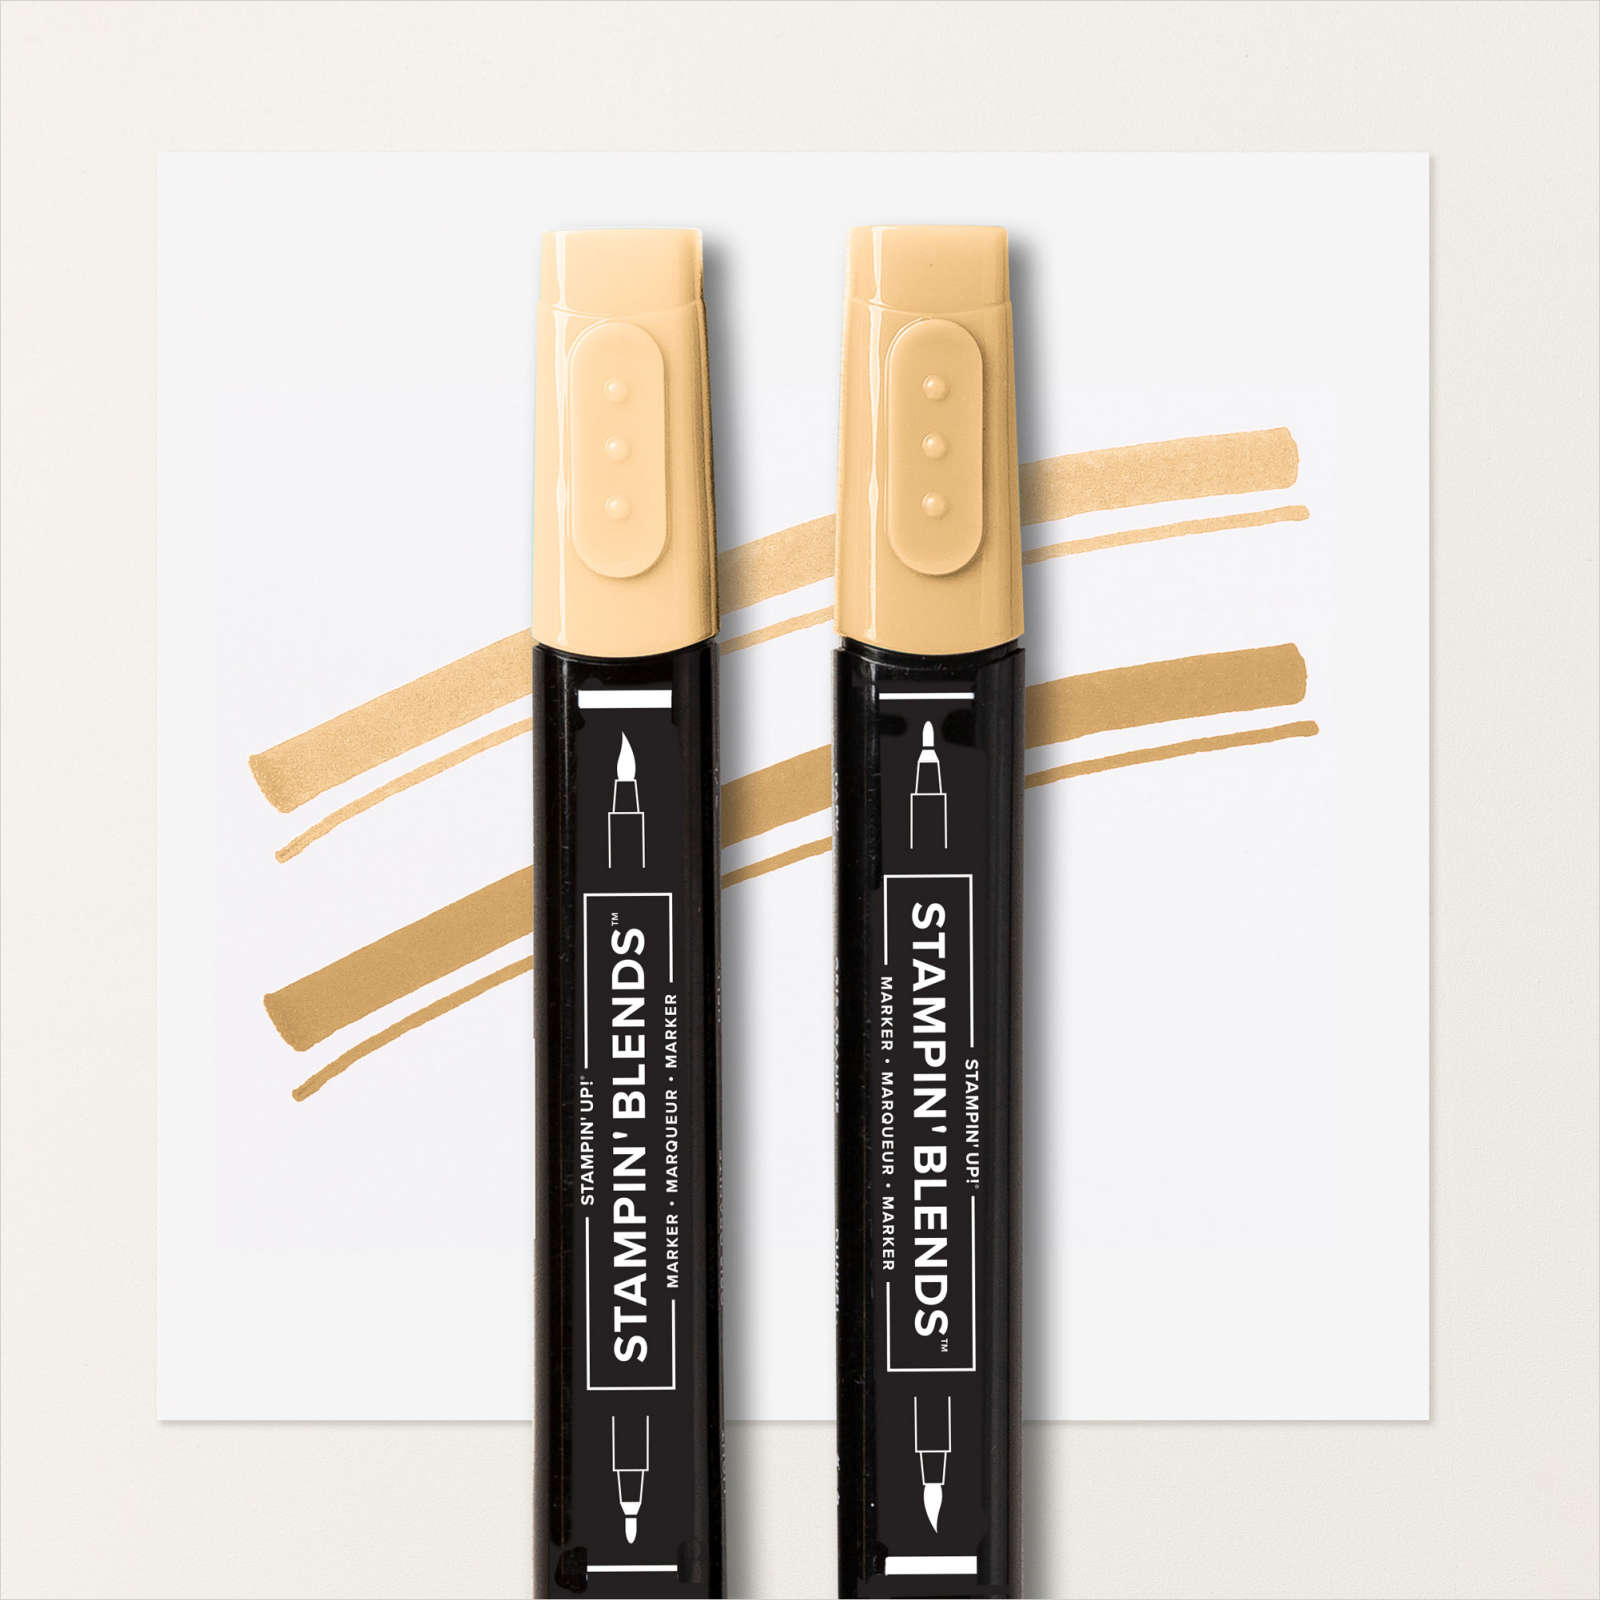
Today’s card is all about the colour. I attached a piece of Peach Pie 2024 In Color 6″ x 6″ Designer Series Paper (now on the last chance list) which I attached to Thick Basic White card. I stamped the large floral image from the Spotlight on Nature onto Basic White card using Memento Tuxedo Black ink. I coloured the image using Peach Pie and Shy Shamrock Stampin’ Blends. The image is cut out using one of the Spotlight on Nature Dies and attached to the card front using dimensionals.
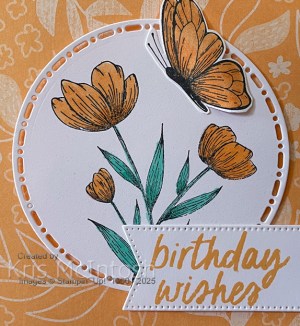
I stamped “birthday wishes” from the Simply Said stamp set onto Basic White card using Peach Pie ink. I cut out the greeting using one of the banners from the Stylish Shapes Dies. The greeting is attached to the card front using dimensionals and I trimmed the right hand side with the edge of the Designer Series Paper.
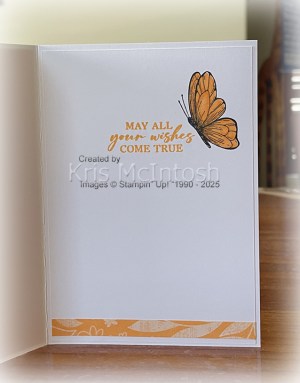
I stamped the butterfly from the Spotlight on Nature stamp set onto Basic White card using Memento Tuxedo Black ink. I coloured the image using the Peach Pie Stampin’ Blends and cut it out. I curled the wings slightly and attached the butterfly to the card front using dimensionals under the wings and Multipurpose glue under the butterfly body. To decorate the inside of the card, I stamped the greeting from the Unbounded Love stamp set onto Basic White card using Peach Pie ink. I attached a narrow strip of the the same In Color Designer Series Paper across the bottom of the stamped card. I also stamped the butterfly from the Spotlight on Nature next to the greeting using Memento Tuxedo Black ink. I coloured the image using Peach Pie Stampin’ Blends before attaching the panel into the inside of the card base.
Bye for now,
Kris
Product Used:


Torquay
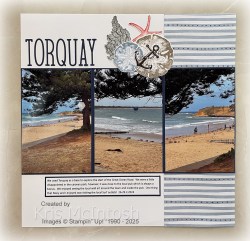
Today I used the 1, 2, 3 Layout from our April Memory Keeping Class to show off some photos from our stay at Torquay in February last year. I cut two pieces of Countryside Inn 12″ x 12″ Designer Series Paper (last chance) and attached the pieces to two Whisper White 12″ x 12″ card bases. Whisper White 12″ x 12″ card is now retired but you can use Willow White 12″ x 12″ card instead.
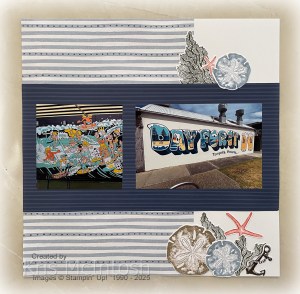
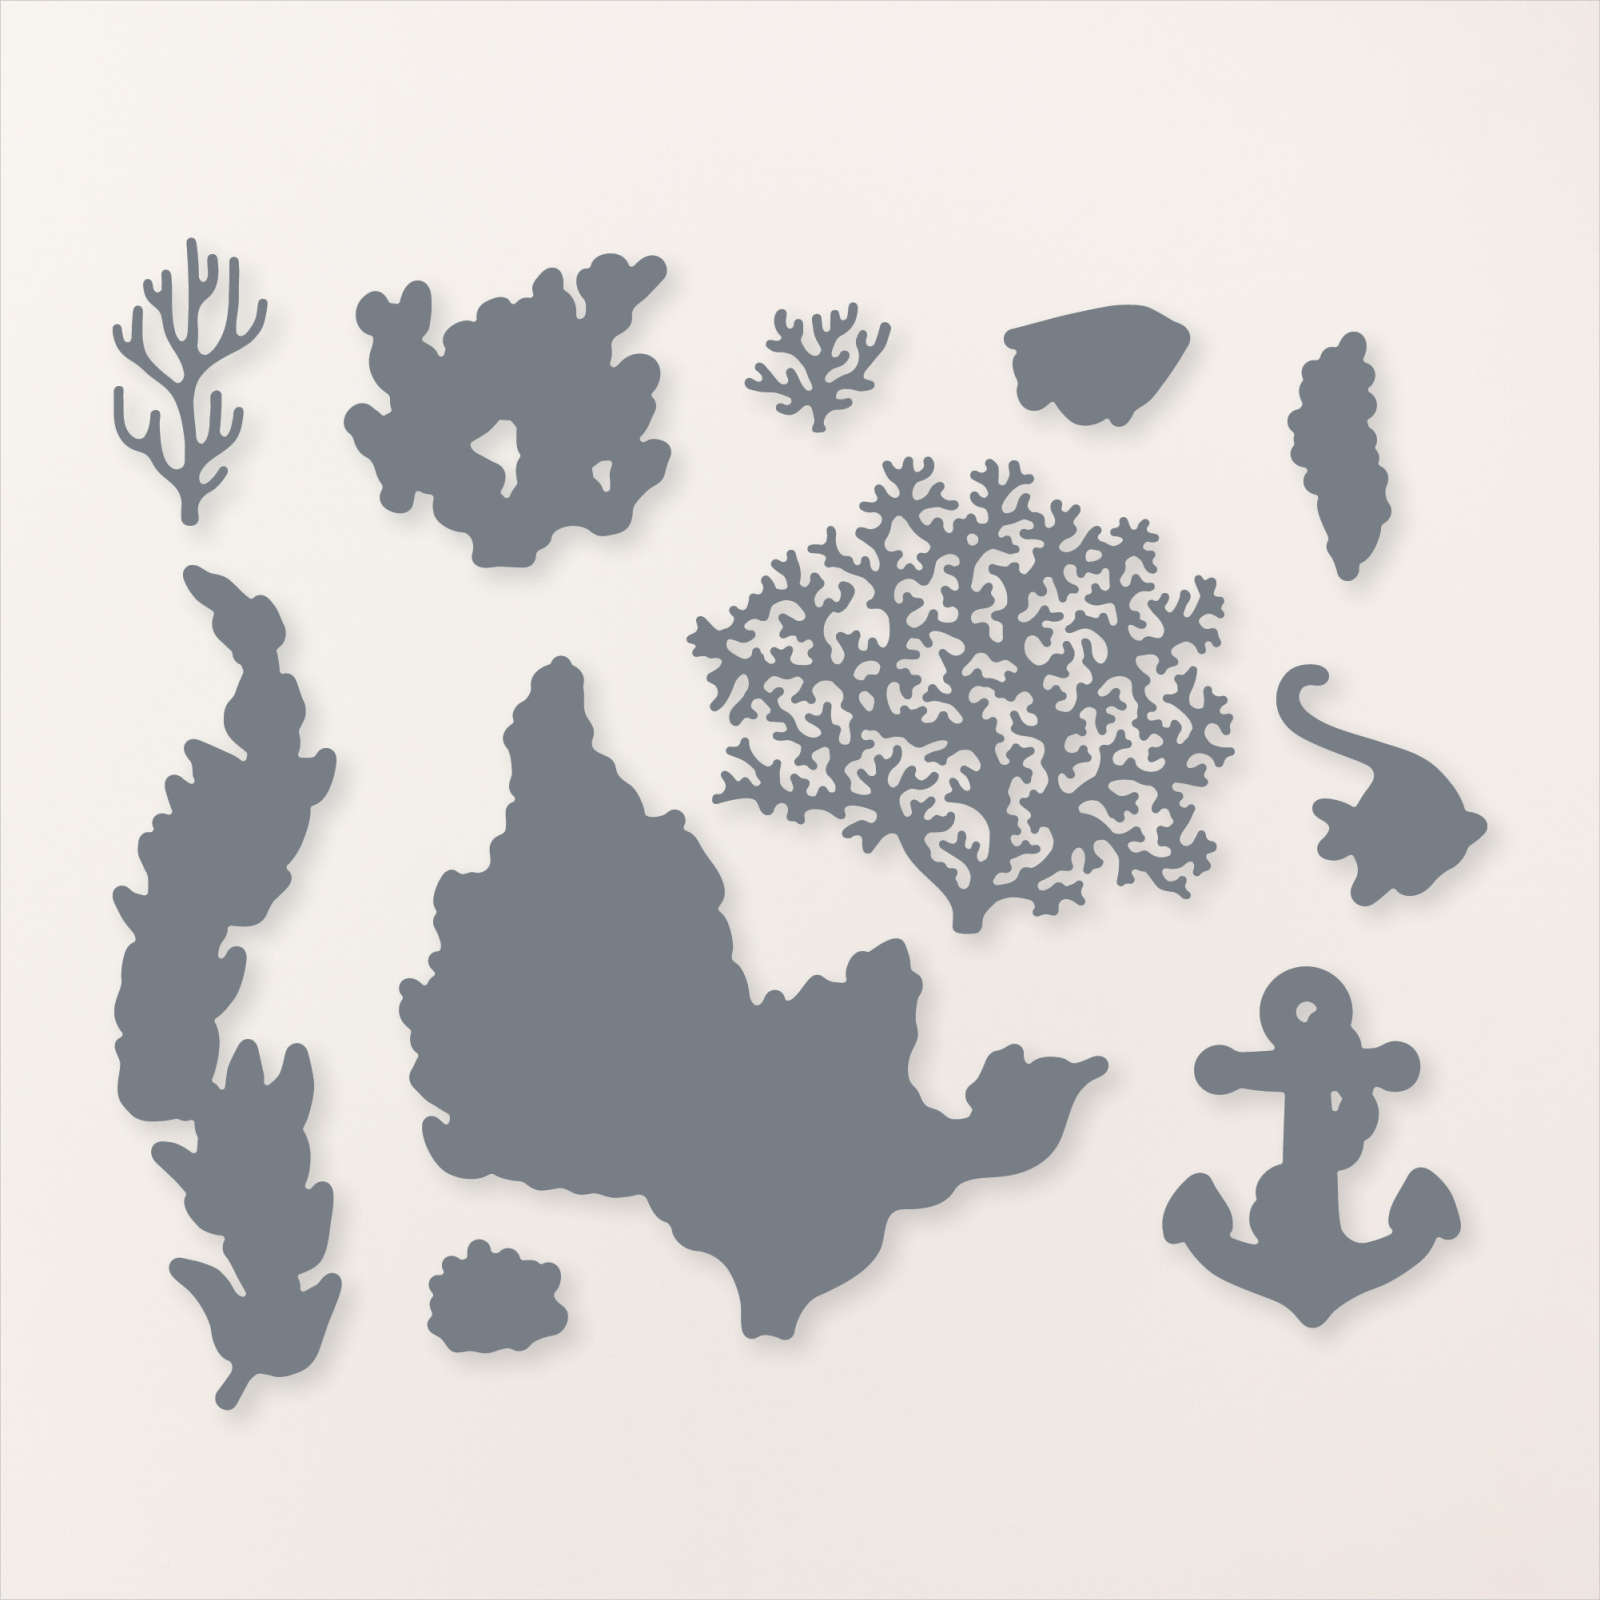
I attached the photos on the left page to Night of Navy card before attaching them to the page but I didn’t add mats to the photos on the right hand page. I cut my title from Night of Navy card using the Alphabet A La Mode Dies. I did attached Adhesive Sheet to the back of the card before cutting the letters which makes it so much easier to attach them to the page. I used two last chance bundles – Beauty of the Deep and Seaside Wishes to create the embellishments for my pages. (I am not sure that these bundles will be leaving my stash!)

I used Crumb Cake, Night of Navy (which I stamped onto scrap paper first) Early Espresso, Calypso Coral & Mossy Meadow ink to stamp the images before cutting them out using the co-ordinating dies. I printed my journaling onto Basic White card and attached it to Night of Navy card. The journaling panel is tucked beneath the photos on the left hand page. I love how this turned out and I am so glad that I have two more pages ready to go using the remaining pieces of Designer Series Paper.
Bye for now,
Kris
Product Used:


Let the Adventure Begin

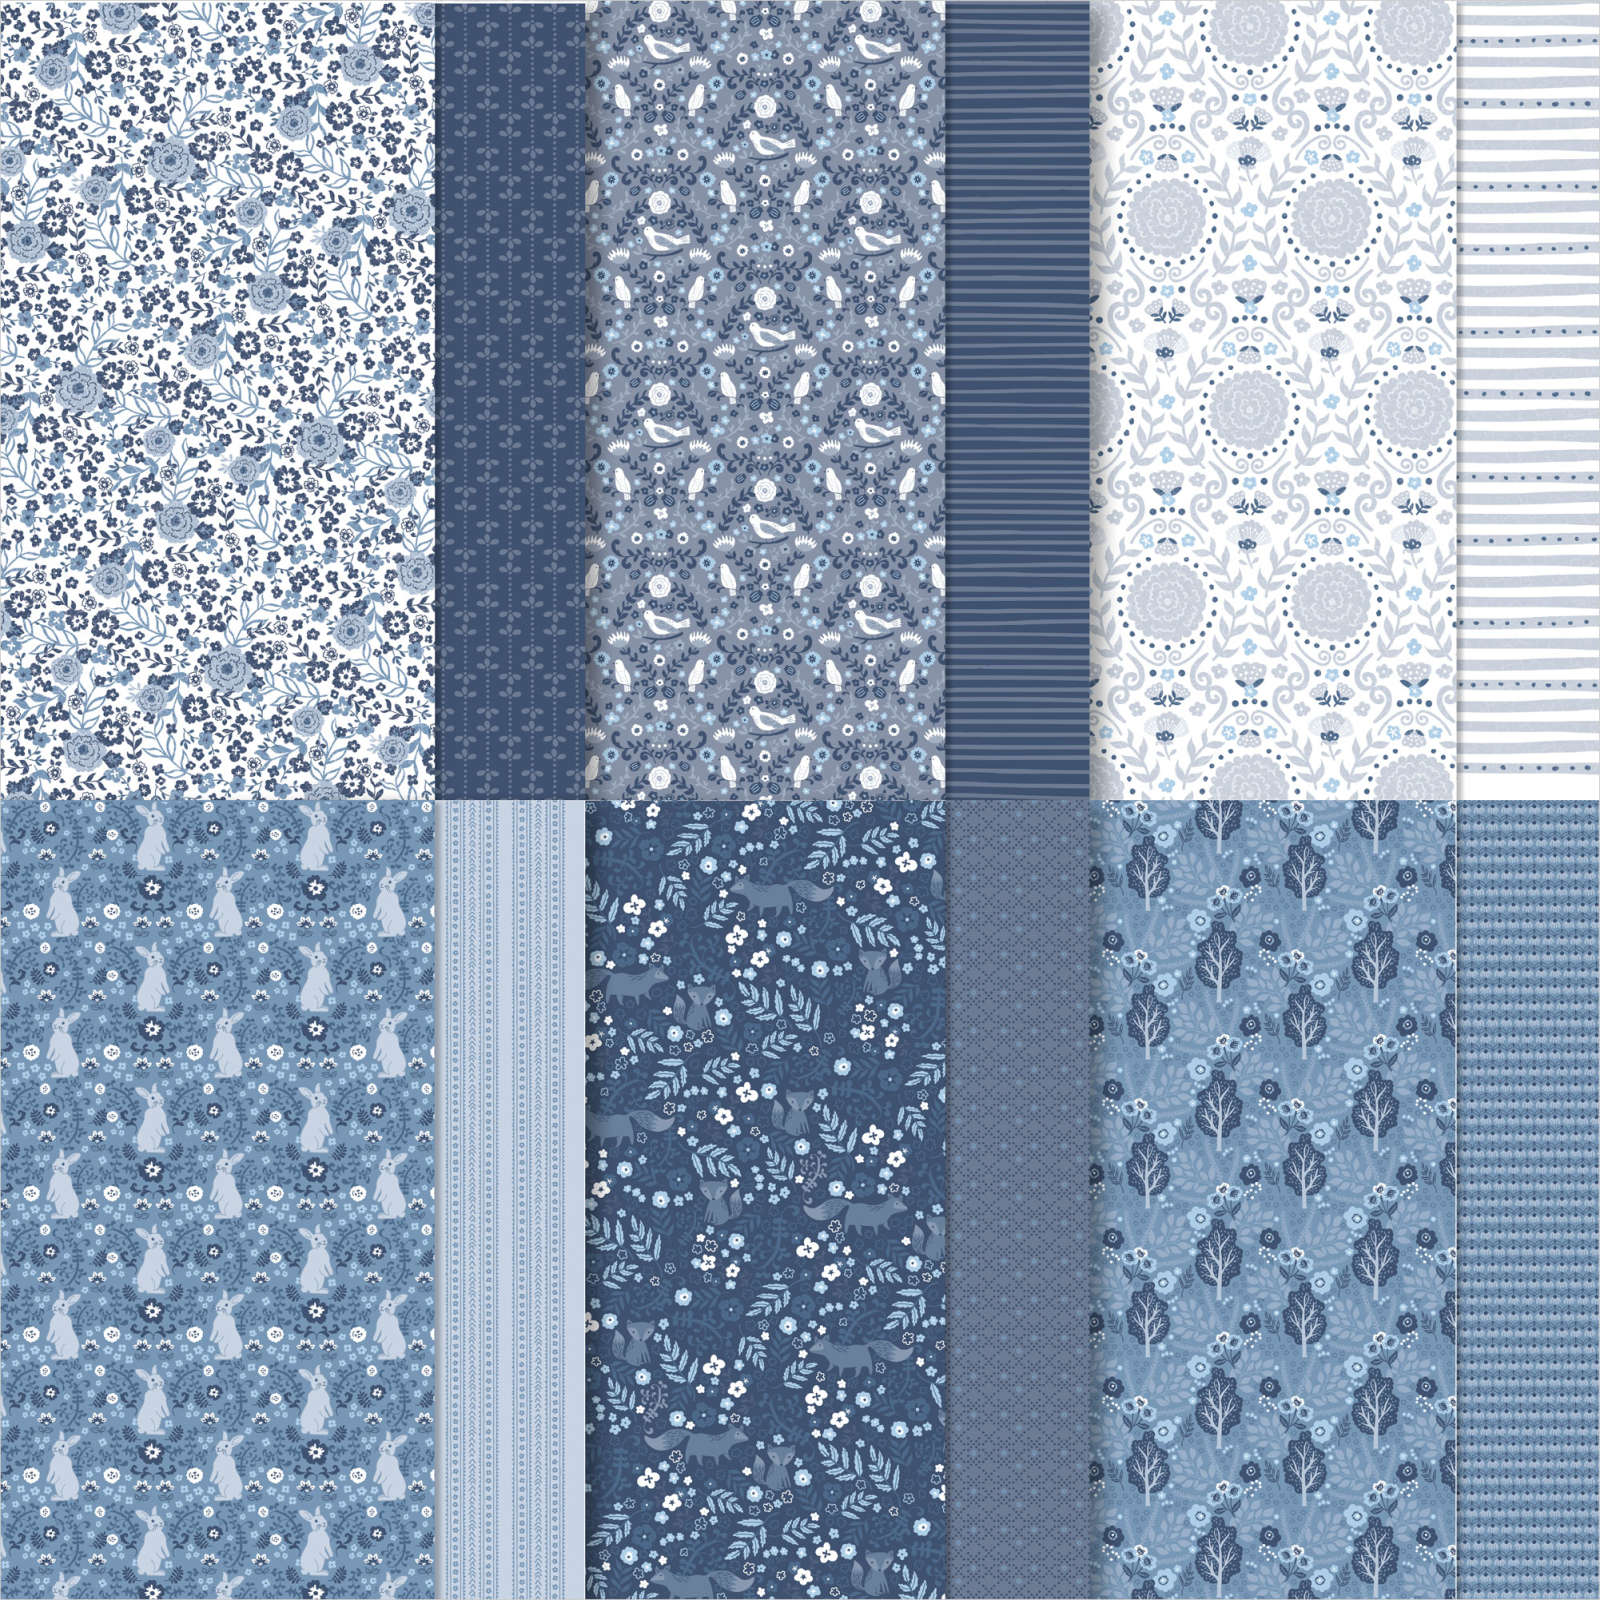
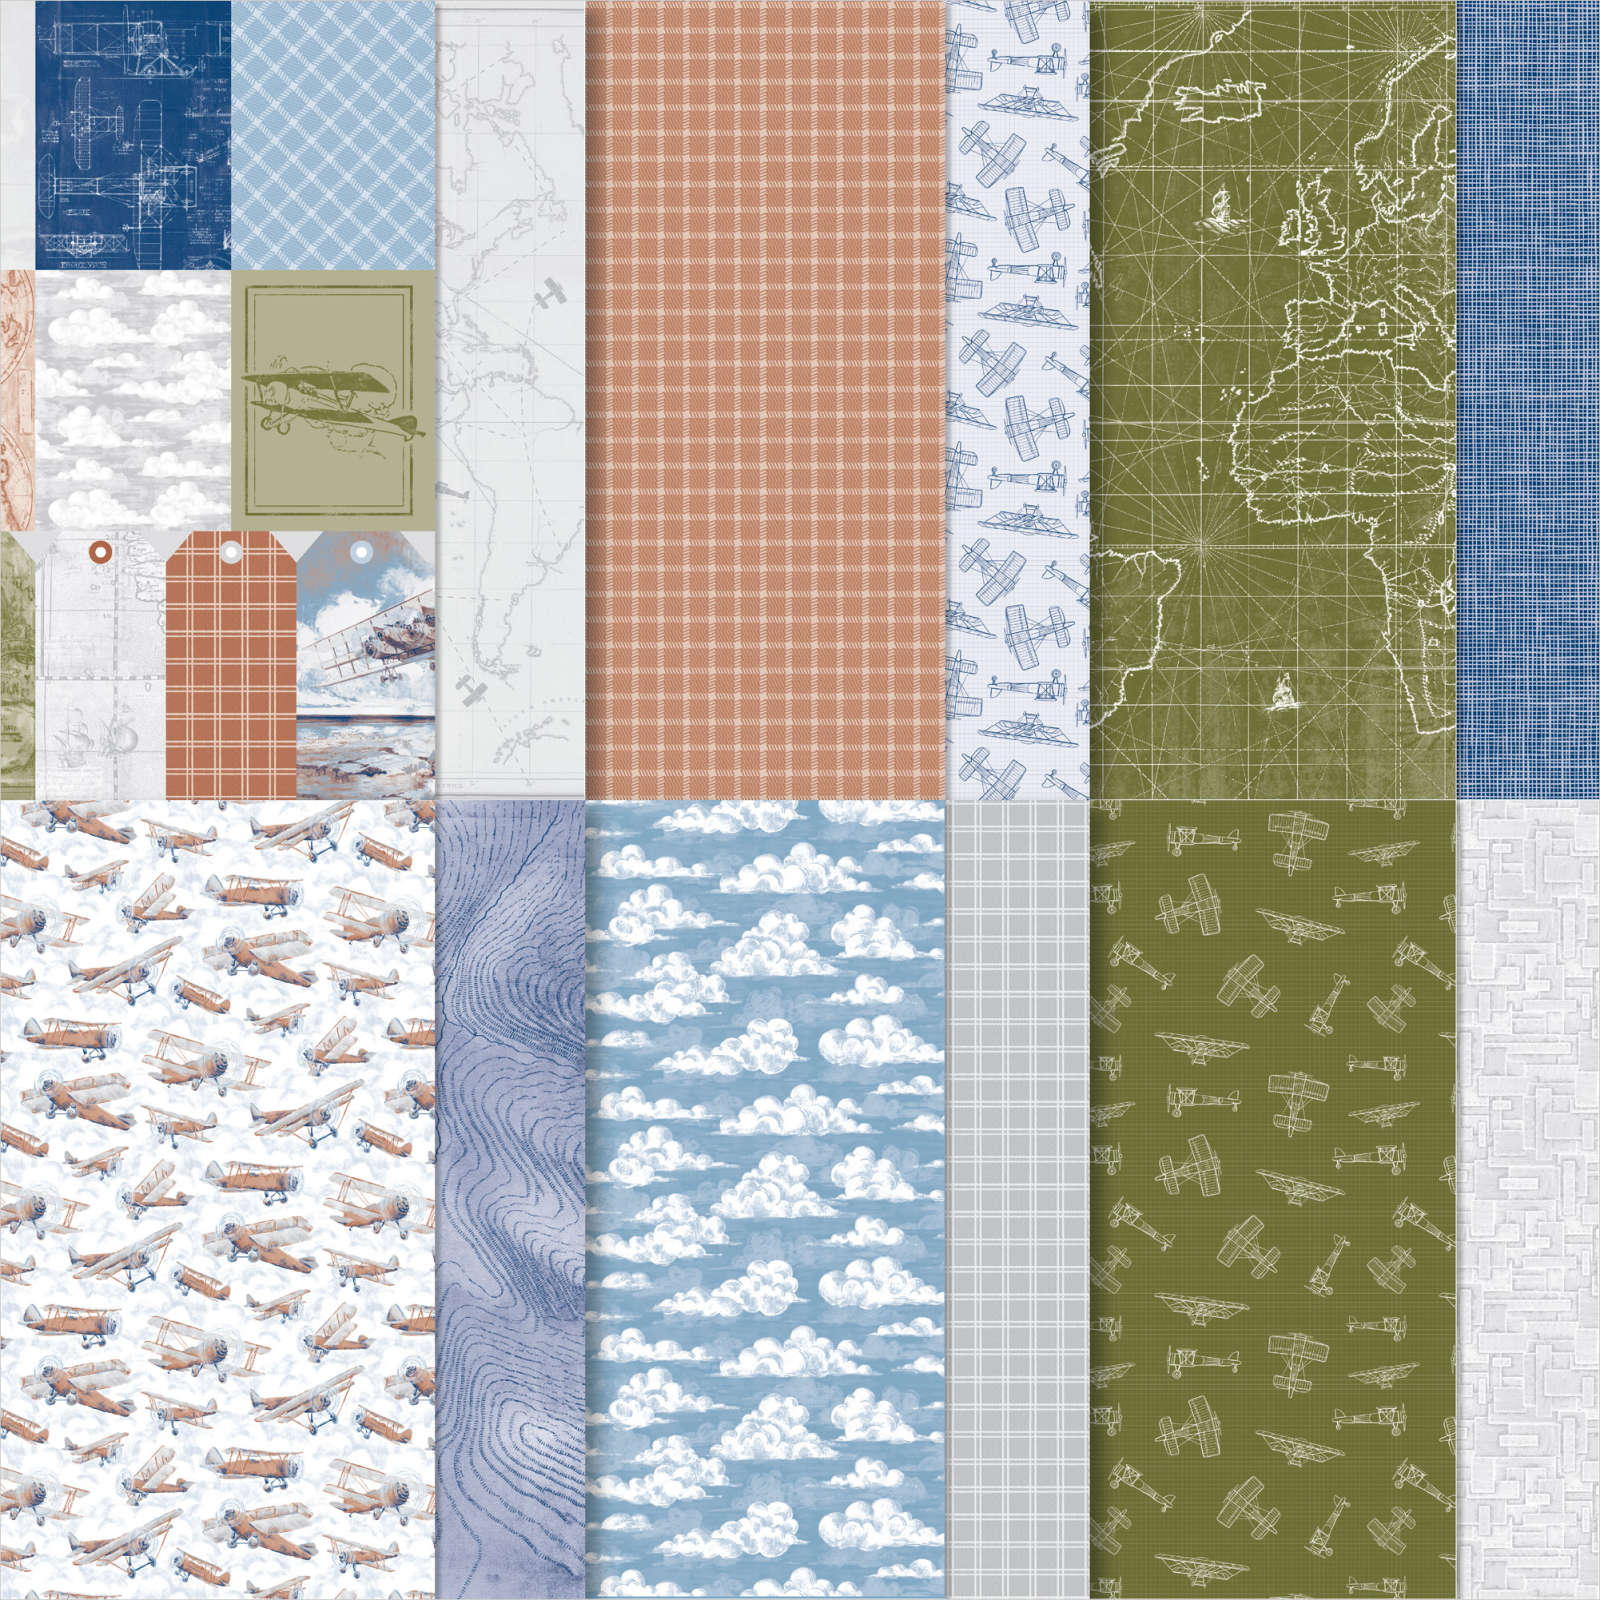
This week in my Facebook Live I shared some cards I created using the Adventure Together stamp set. Today I have another card to share. For this card I attached a piece of Take to the Sky 12″ x 12″ Designer Series Paper to the left hand side of Basic White card. I attached a different pattern paper from the same Designer Series Paper Pack, partially covering the first piece of Designer Series Paper. The whole panel is attached to scored and folded Boho Blue card (now retired).

I stamped the smaller tree from the Adventure Together stamp set onto Basic White card three times using Mossy Meadow ink. I did however, use the second generation for two of the images. I stamped the moon & stars image from the Adventure Together stamp set onto the Basic White card using Night of Navy ink.
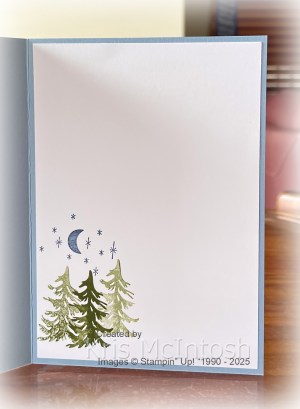
I stamped the greeting from the Adventure Together stamp set using Smoky Slate ink. I attached the stamped panel to Boho Blue card using dimensional. To decorate the inside of the card, I stamped the smallest tree image from the Adventure Together stamp set three times onto the lower left hand corner of Basic White card. Again two of the images were second generation. I also stamped the moon & star image using Night of Navy ink. This is a fun stamp set and I haven’t even got started on the dies!
Bye for now,
Kris
Product Used:
You can view the Adventure Together stamp set here in my online store.
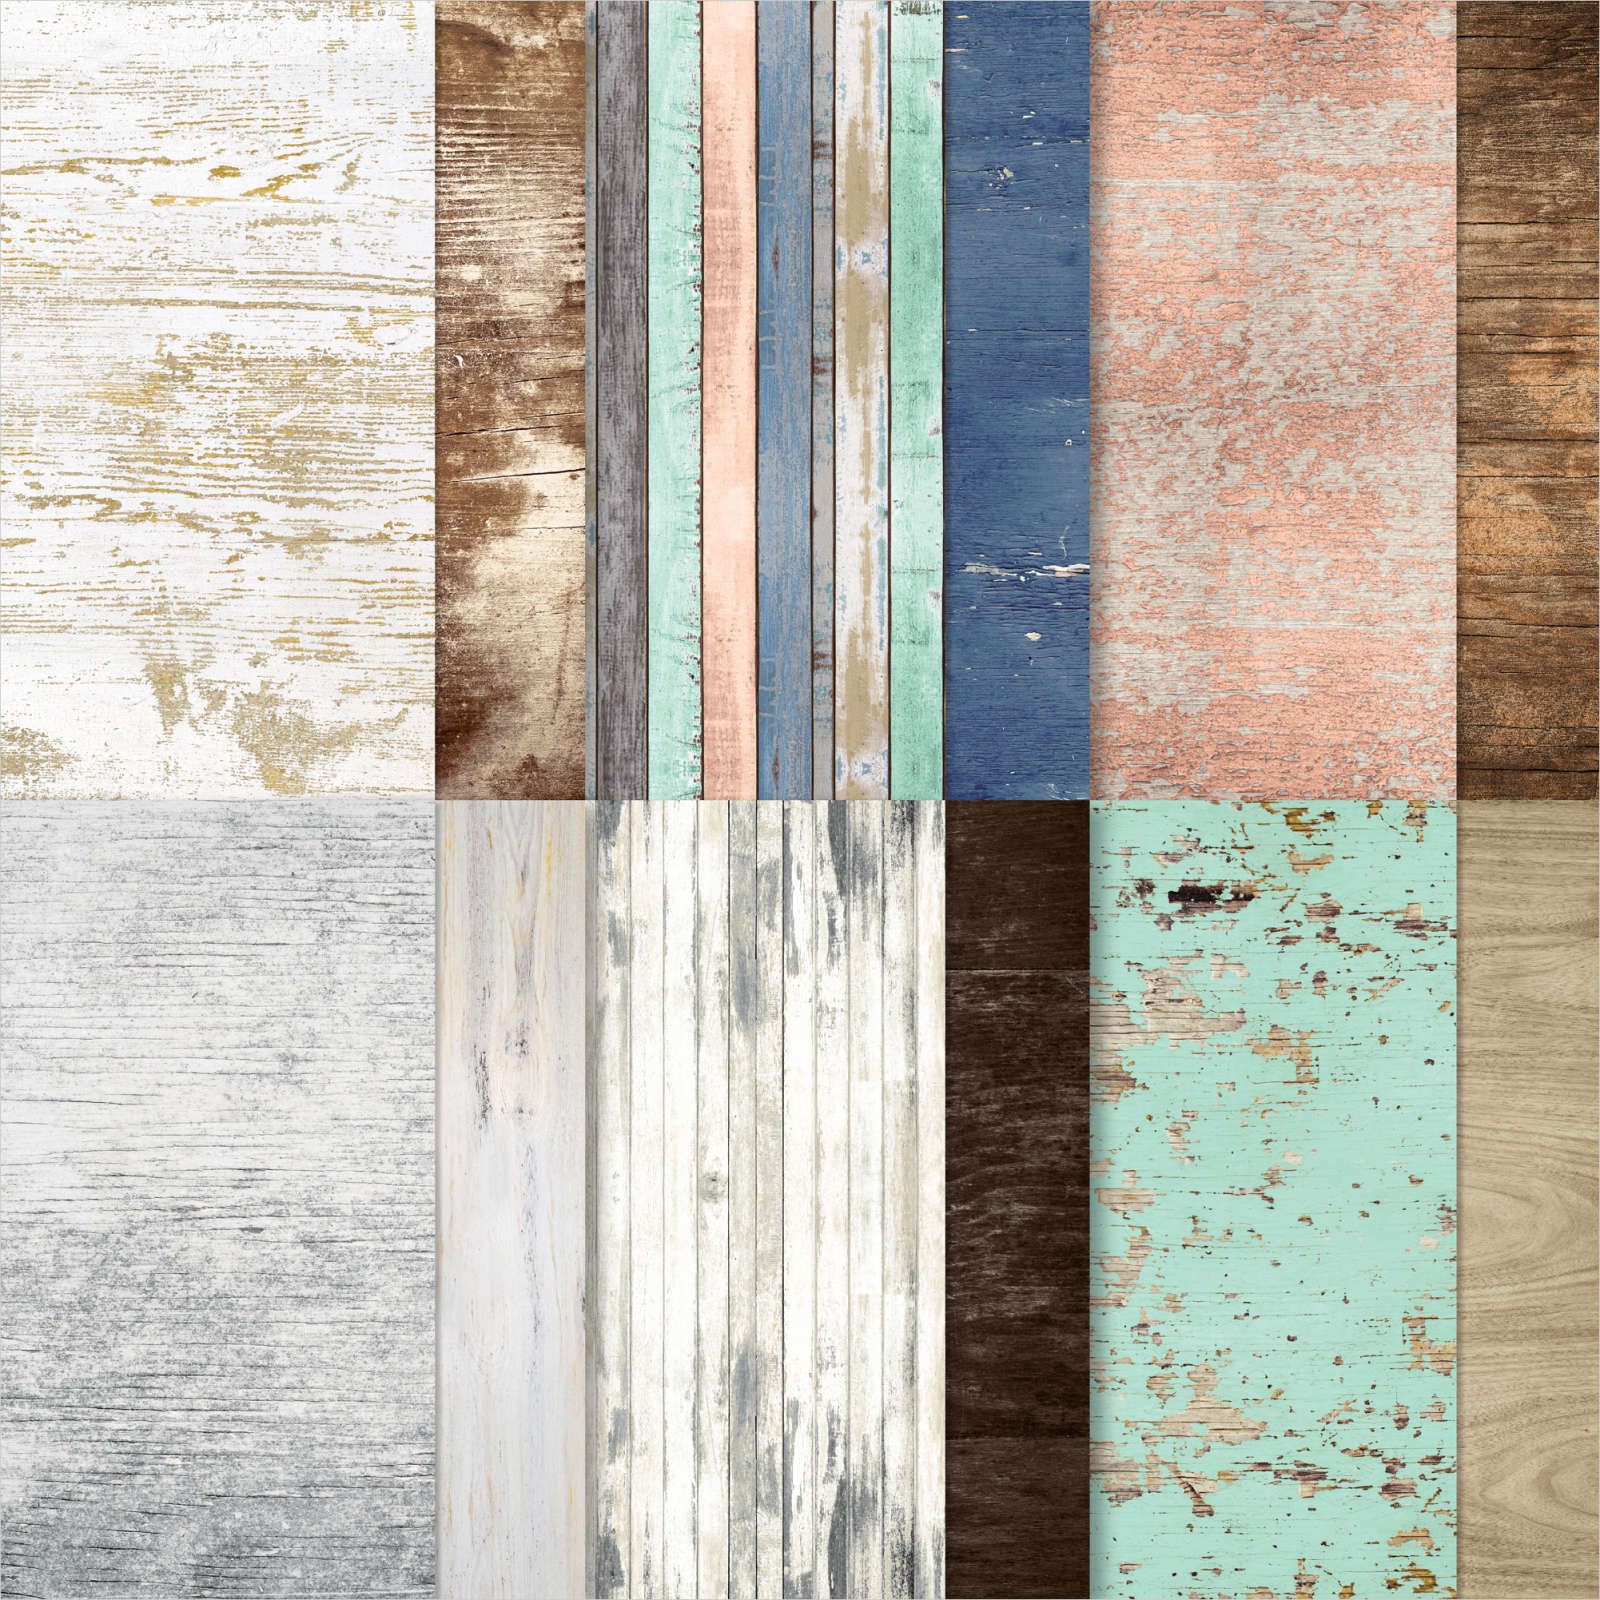
Awesome Grandson

My youngest grandson celebrated his 18th birthday recently and today I am sharing the card I made for him. I attached a piece of Country Woods 12″ x 12″ Designer Series Paper to scored and folded Misty Moonlight card. I die cut a piece of Basic White card using the “peg board” die from the Trusty Tools Dies and attached it to Misty Moonlight card. The panel is attached to the card front using dimensionals. I stamped the hammer image from the Trusty Tools stamp set onto Basic White card using Basic Gray ink. I stamped the handle fill image using the same ink which I stamped onto scrap paper first.
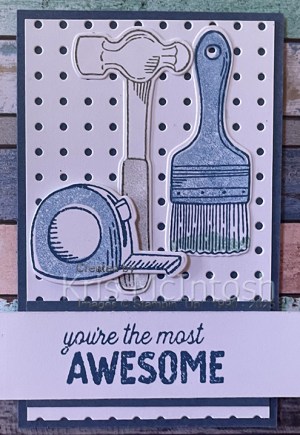
I stamped the paintbrush image from the Trusty Tools stamp set onto Basic White card using Misty Moonlight ink. I stamped the paintbrush fill image using the same ink which I stamped onto scrap paper first. I stamped the paint image from the Trusty Tools stamp set onto the paintbrush using Pool Party ink. I stamped the tape measure image from the Trusty Tools stamp set onto Basic White card using Misty Moonlight ink. I stamped the fill image using the same ink which I stamped onto scrap paper first. I die cut each of the tools with the co-ordinating Trusty Tools Dies and attached them across the top of the “peg board”.
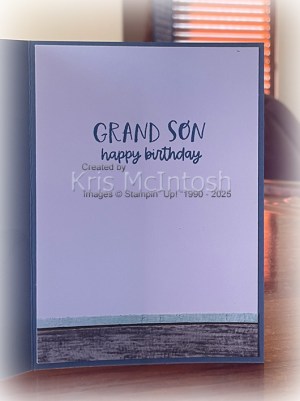
I stamped “your the most awesome” greeting from the Trusty Tools stamp set onto a strip of Basic White card using Misty Moonlight ink. I attached a piece of Misty Moonlight card behind the greeting and attached it to card front using dimensionals where necessary. To decorate the inside of the card, I stamped “grandson” from the Best Family Ever Stamp Set onto Basic White card using Misty Moonlight ink. I also stamped “happy birthday” from the same stamp set below the first greeting using the same ink. I attached a narrow strip of Country Woods Designer Series Paper across the bottom of the stamped panel before attaching it inside the card base. I love this card and it is really appropriate because my grandson just started his apprenticeship to become a builder.
Bye for now,
Kris
Product Used:


Anzac Day
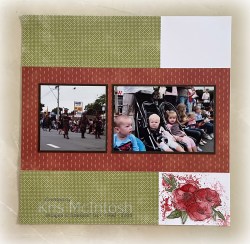
Todays pages are created using the 1,2,3 Layout from my April Classes. These layouts are created by Noreen Smith a Creative Memories consultant and you can find video instructions for these layouts on You Tube. I cut one sheet of Sweet Days of Autumn 12″ x 12″ Designer Series Paper to create my layout. I added my photos to Early Espresso card before attaching them to the pages.
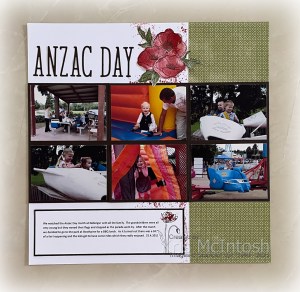
I did however add two 4″ x 3″ photos to each of the 4″ x 6″ spots on the layout. That way I could get more photos on my layout without having to add extra flaps. I used the retired Painted Poppies stamp set to create the flowers and leaves for the embellishments on my pages. Instead of colouring the flowers I used the fill image for the largest flower to add Real Red ink to the flowers and Old Olive ink to the leaves.
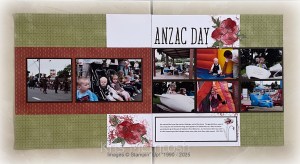
I also added some of the splotchy image from the stamp set as a background for my flowers. I stamped onto scrap paper first to give a lighter look to the background. The title is cut from Early Espresso card using the Alphabet A La Mode Dies. I am loving how much Memory Keeping I am getting done using the new products from Stampin’ Up!. I hope I am inspiring you to get your photos onto pages to share with your family and friends.
Bye for now,
Kris
Product Used:


So Very Kind

Today’s card uses the Paper Tags Bundle one of the new Bundle from this year’s Annual Catalogue. I began by embossing a piece of Basic White card using the Soft Waves 3D Embossing Folder. I attached a piece of Beautiful Bokeh 6″ x 6″ Designer Series Paper across the bottom of the embossed panel before attaching the whole piece to Night of Navy card. I attached a narrow strip of Night of Navy card across the top of the Designer Series Paper before attaching the whole panel to scored and folded Thick Basic White card.

I stamped the greeting from the Paper Tags stamp set onto Basic White card using Night of Navy ink. I cut out the greeting using one of the Paper Tags Dies. I cut Balmy Blue card using another die from the Paper Tags Dies.

I attached the greeting to the Balmy Blue die before attaching the whole panel to the card front using dimensionals. To decorate the inside of the card, I stamped a greeting from The Right Words stamp set onto Basic White card using Night of Navy ink. I attached a narrow strip of Beautiful Bokeh Designer Series Paper across the bottom of the stamped panel. I attached a narrow strip of Night of Navy to the top of the Designer Series Paper before attaching the Basic White panel to the inside of the card base. I love how this card turned out, simple but elegant, don’t you think?
Bye for now,
Kris
Product Used:
You can view the Paper Tags Bundle here in my online store.
You can view The Right Words stamp set here in my online store.


