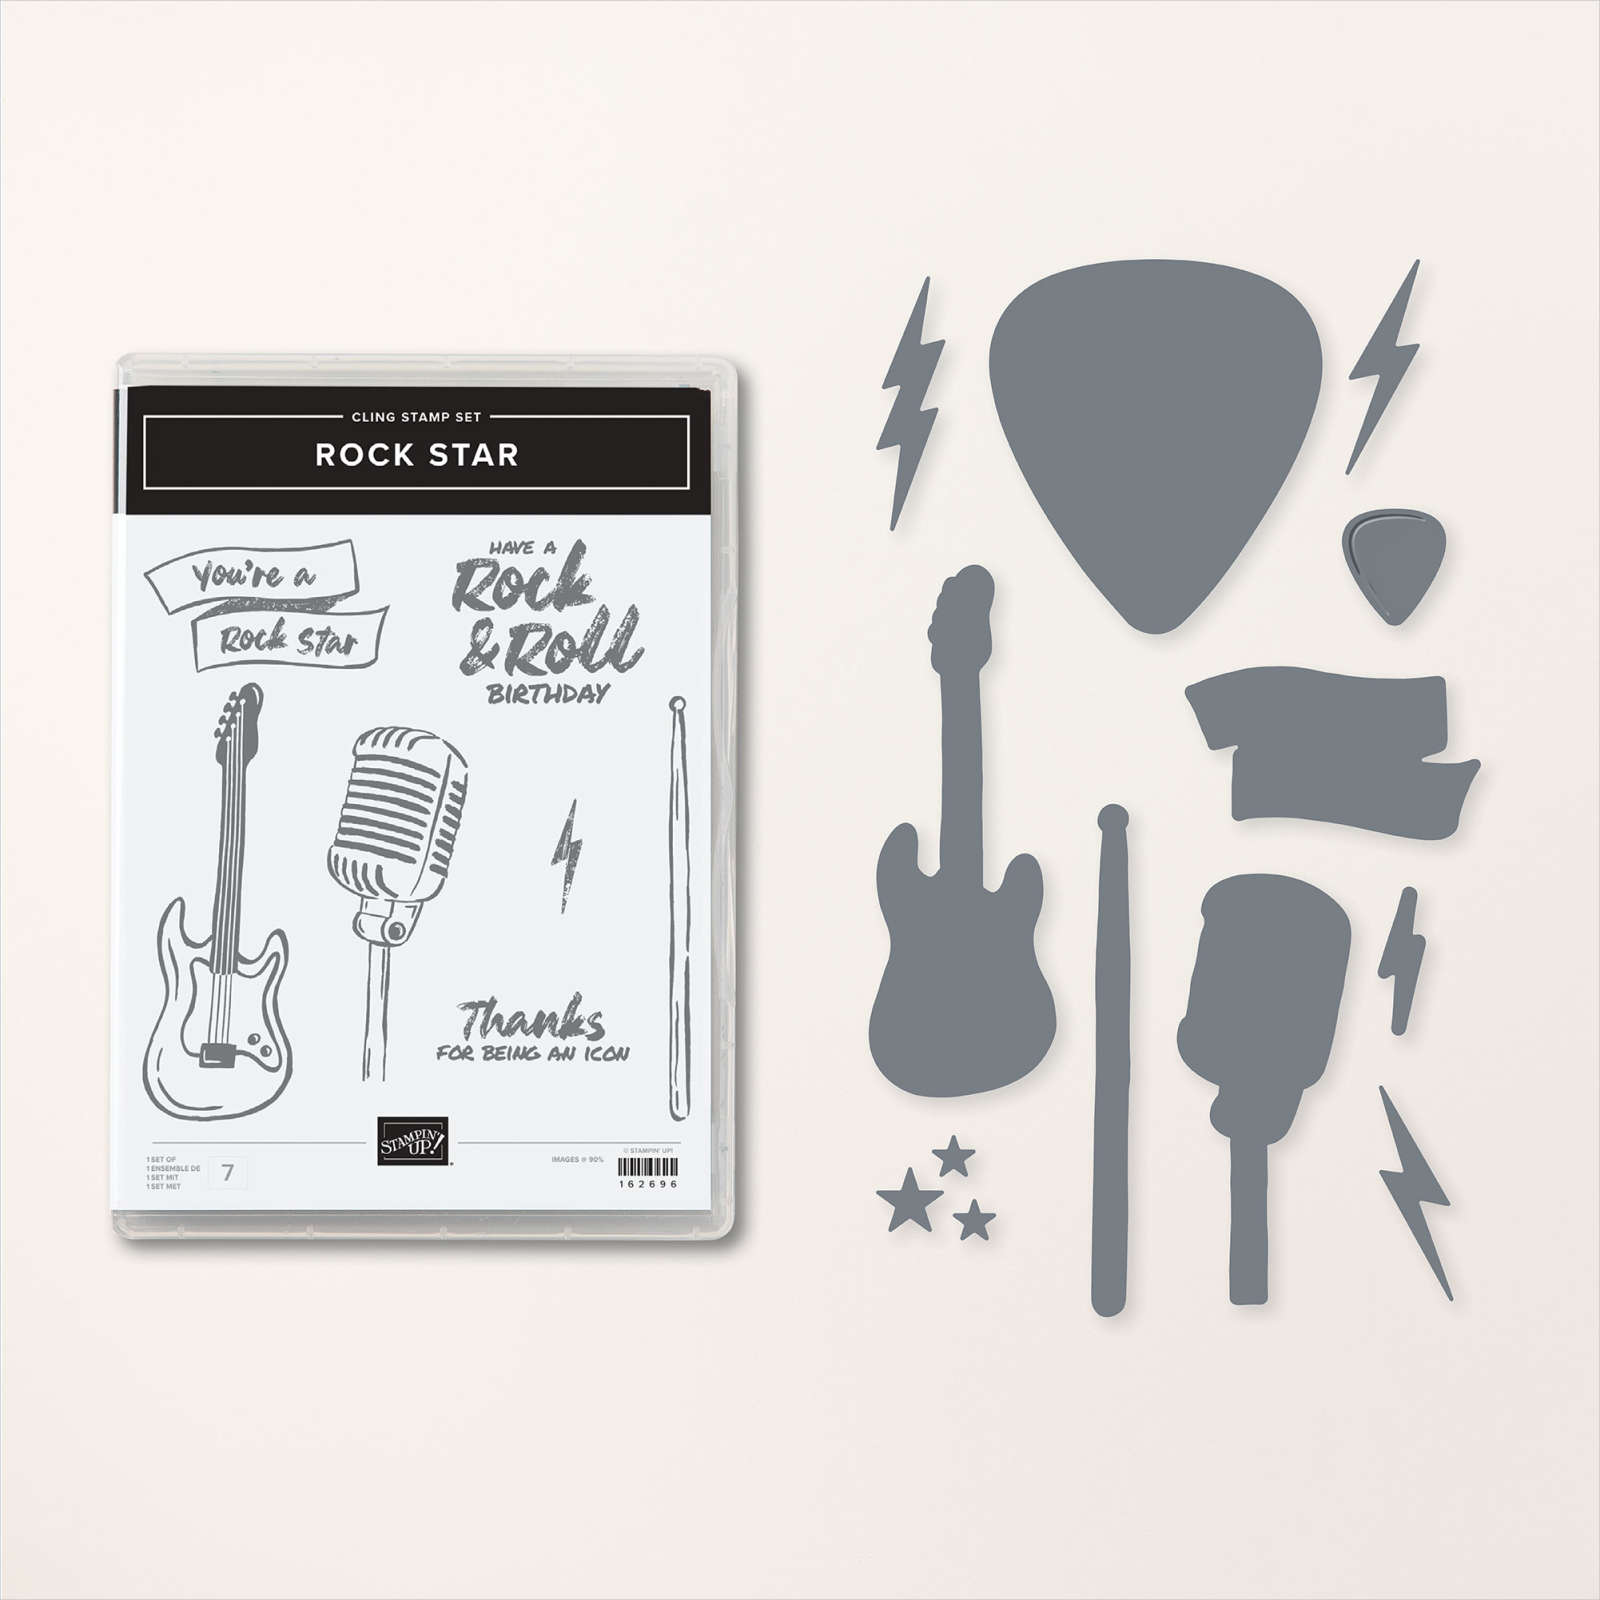
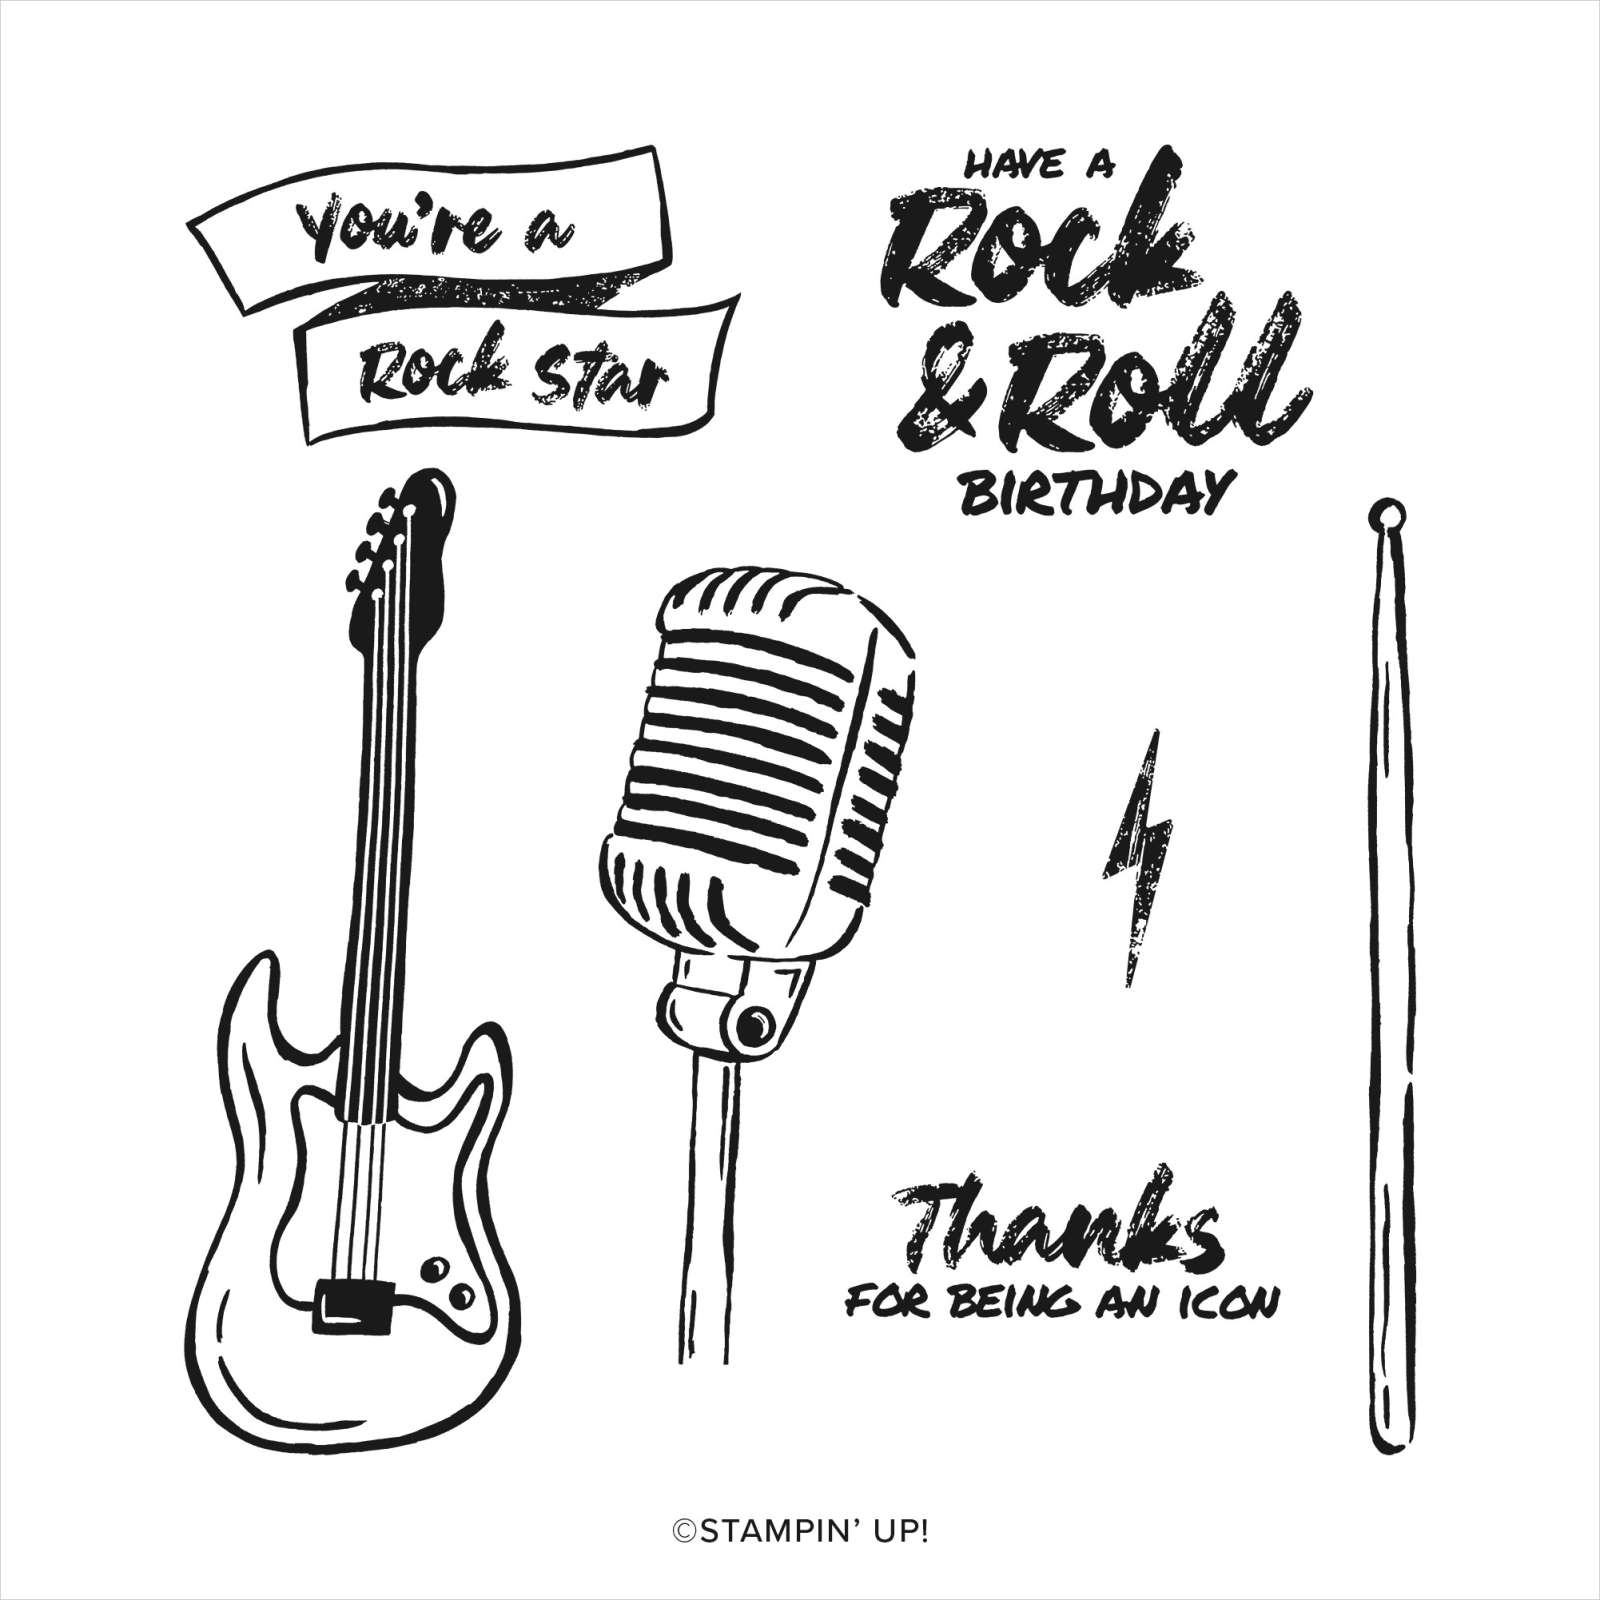
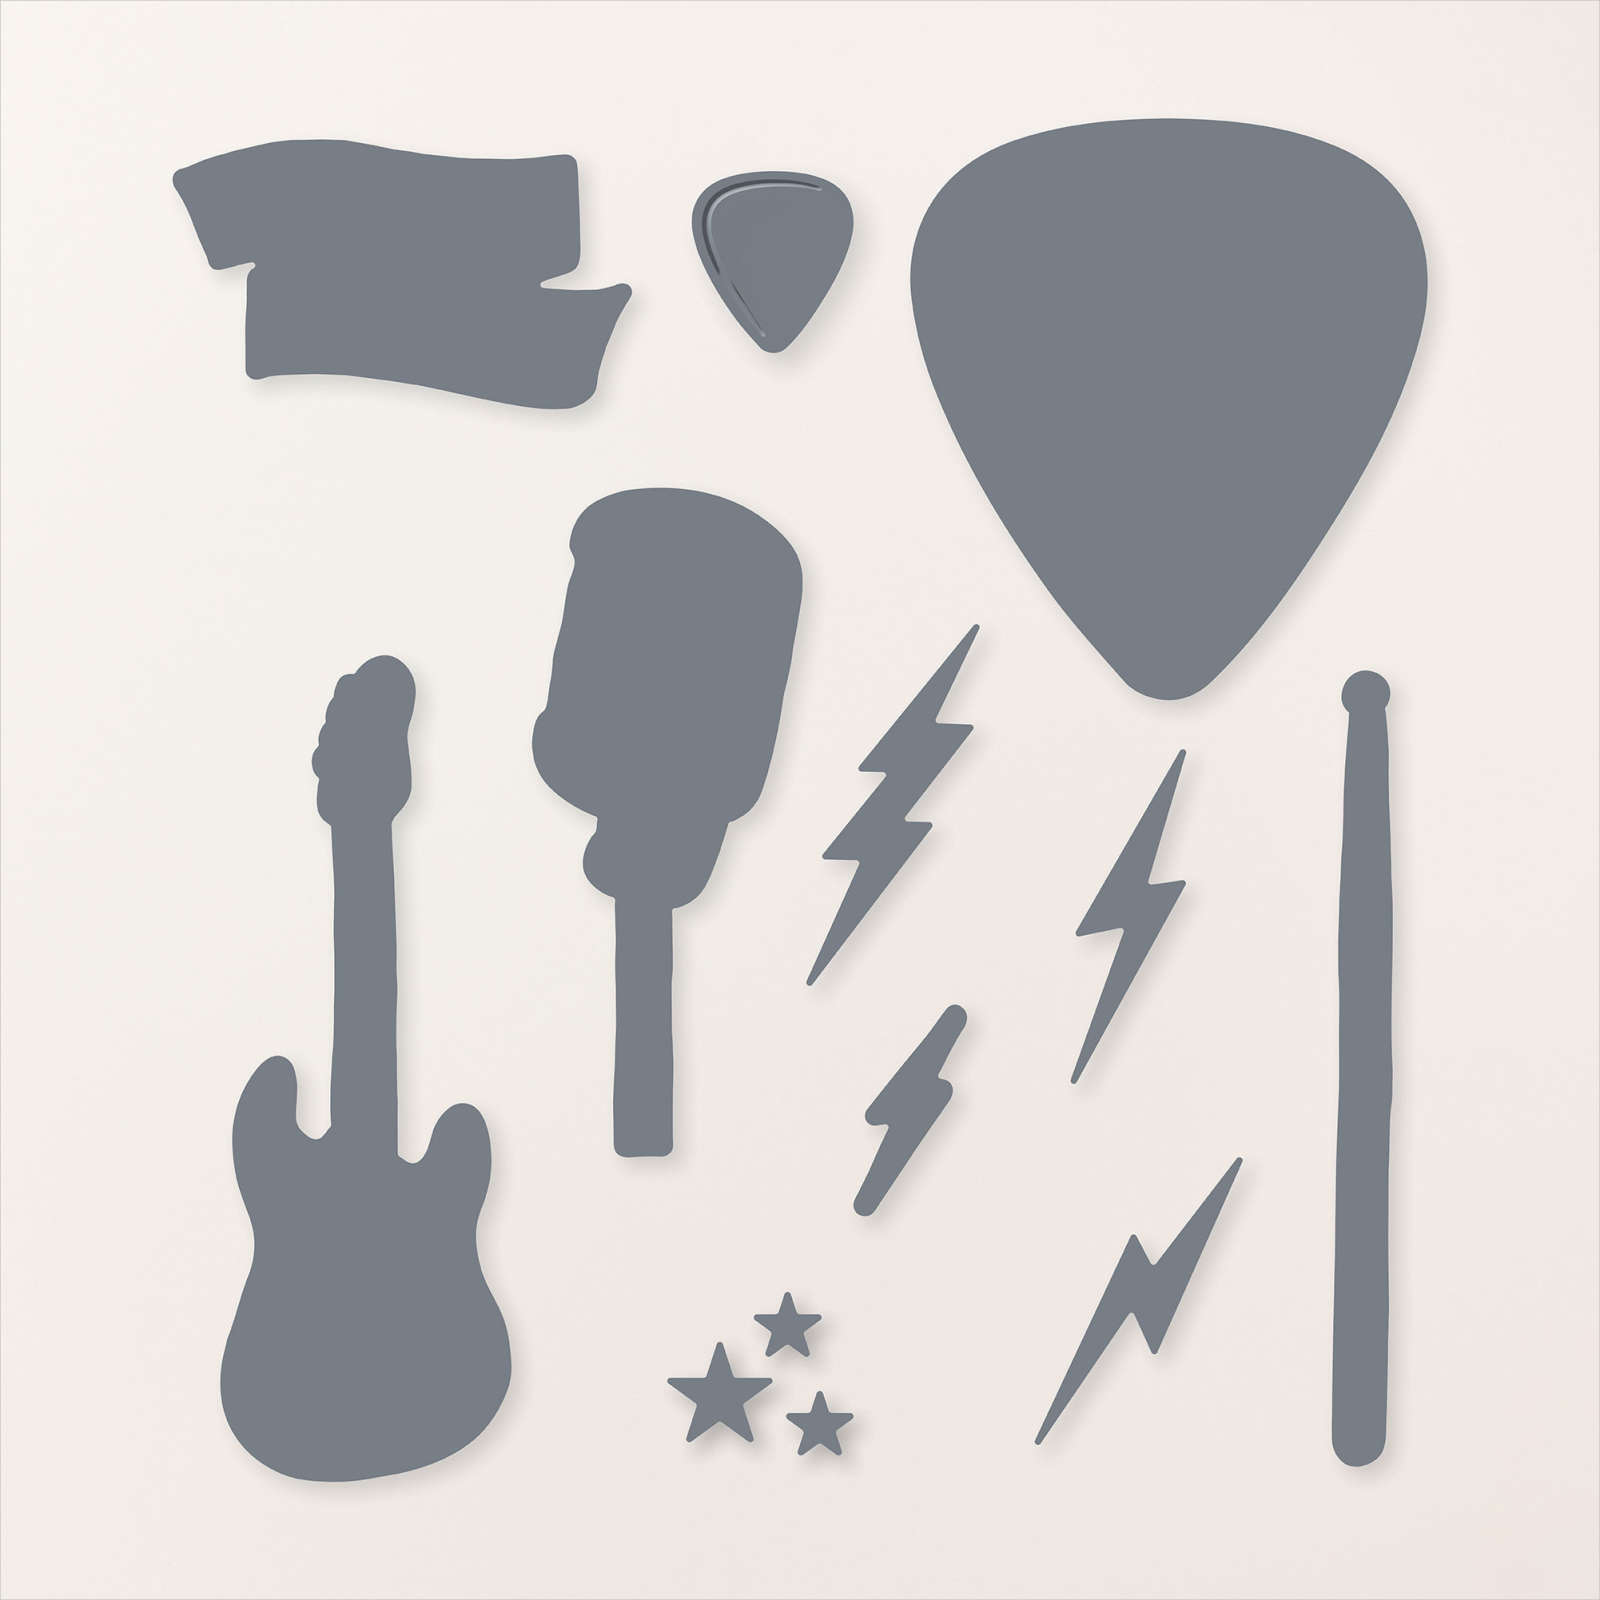
Rock Star
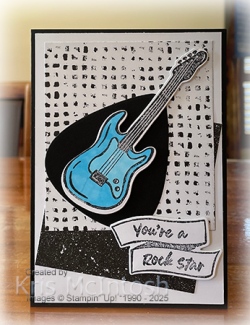
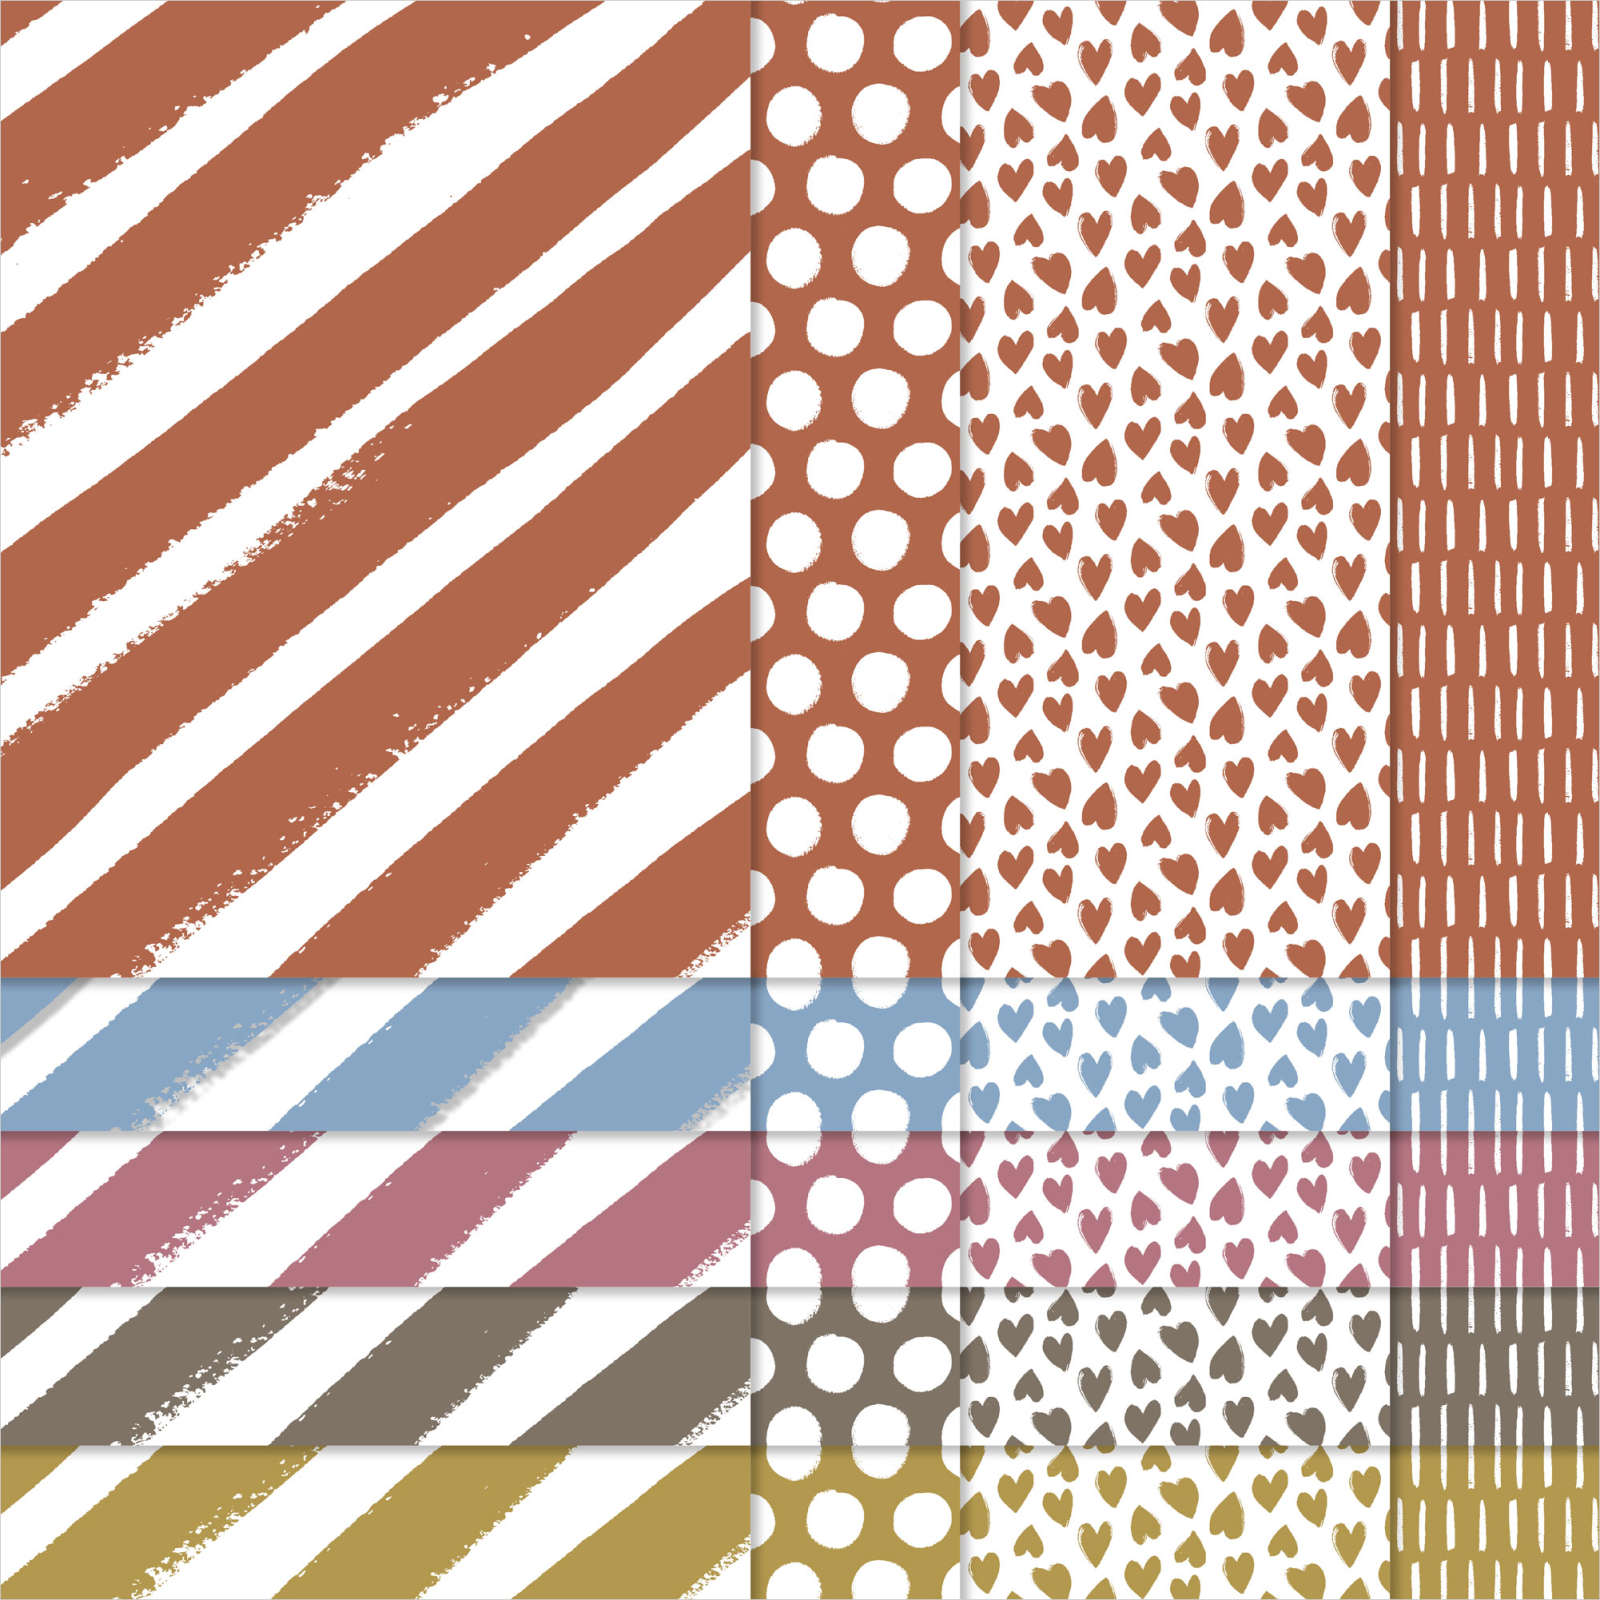
Today’s card features a product suite that will be retiring at the end of the month. It also features one of the card sketches which Stampin’ Up! has kindly shared on page 22 of the 2024-2025 Annual Catalogue. I shared some cards made using this card sketch in my Facebook Live this week also. I cut two pieces of the Rock & Roll 12″ x 12″ Designer Series Paper and attached them to Basic White card. The panel is attached to scored and folded Basic Black card. I die cut Basic Black card using the large pick die from the Rock Star Dies and attached it to the card front.
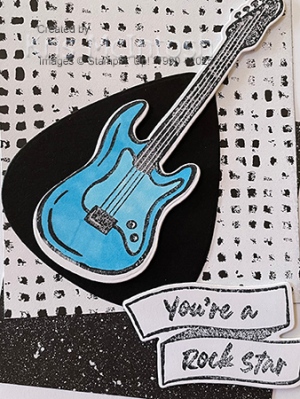
I stamped the guitar image from the Rock Star stamp set onto Basic White card using Memento Tuxedo Black ink. I cut out the image using the co-ordinating Rock Star Die before colouring it using Tahitian Tide and Light Smoky Slate Stampin’ Blends. I attached the image to the card front using dimensionals. I stamped the greeting from the Rock Star stamp set onto Basic White card using Memento Tuxedo Black ink and cut it out using the co-ordinating Rock Star Die.
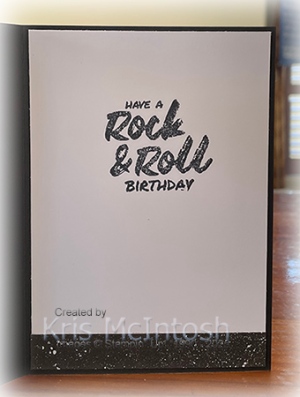
The greeting is attached to the card front using dimensionals. To decorate the inside of the card, I stamped another greeting from the Rock Star stamp set onto Basic White card using Memento Tuxedo Black ink. I attached a piece of Rock & Roll Designer Series Paper across the bottom of the stamped Basic White card. The whole panel is attached inside the Basic Black card base. I love this card and I did design it with my husband in mind. He recently celebrated his birthday and loved the card when I gave it to him. I am sad to see this set go but know that I will fall in love with something new from the fabulous new Annual Catalogue.
Bye for now,
Kris
Product Used:


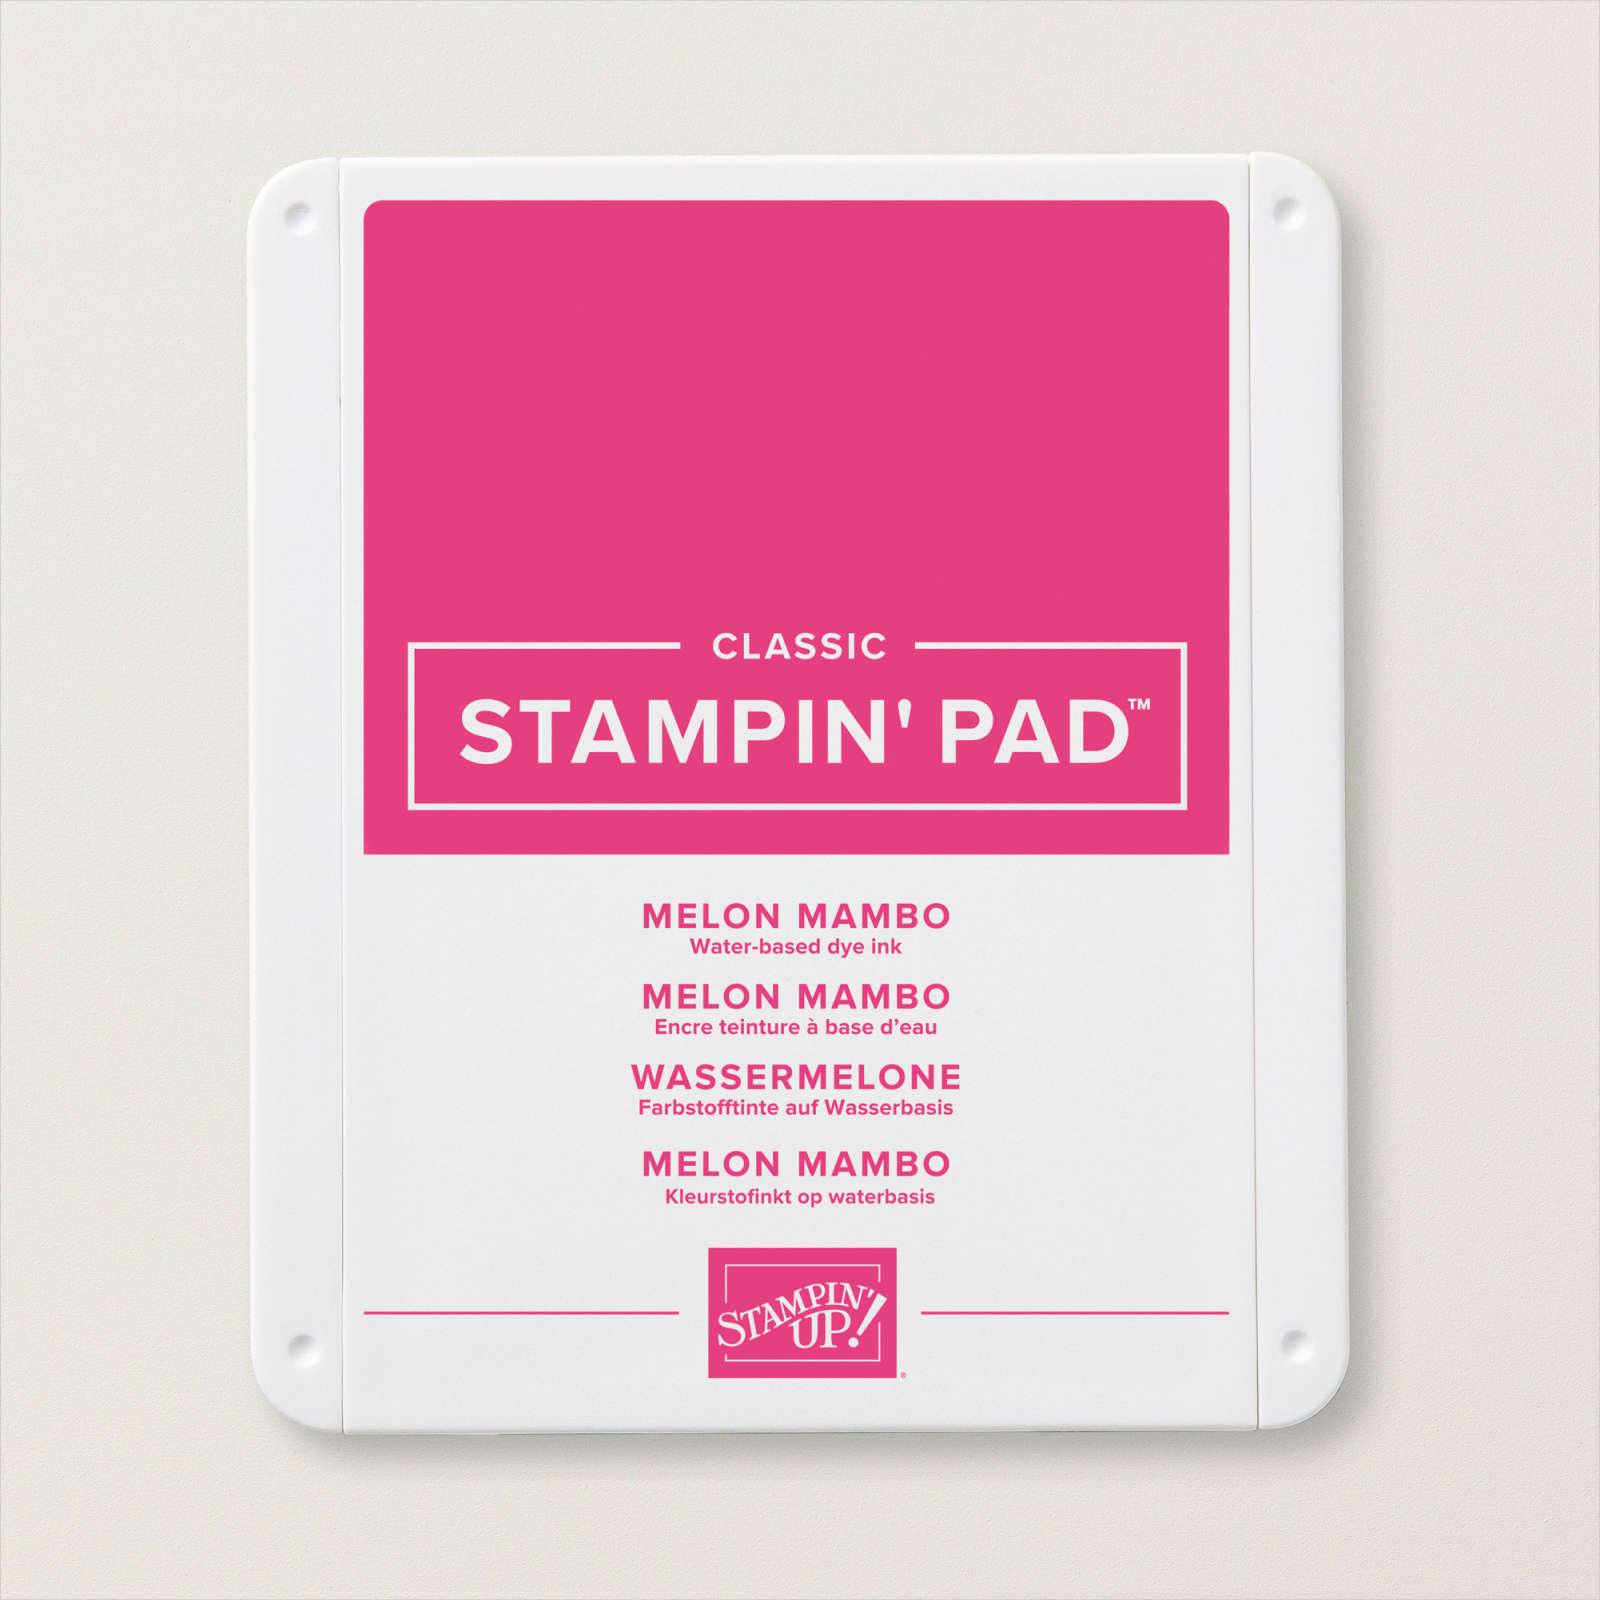
More Rock & Roll Birthdays
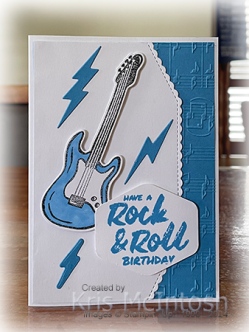
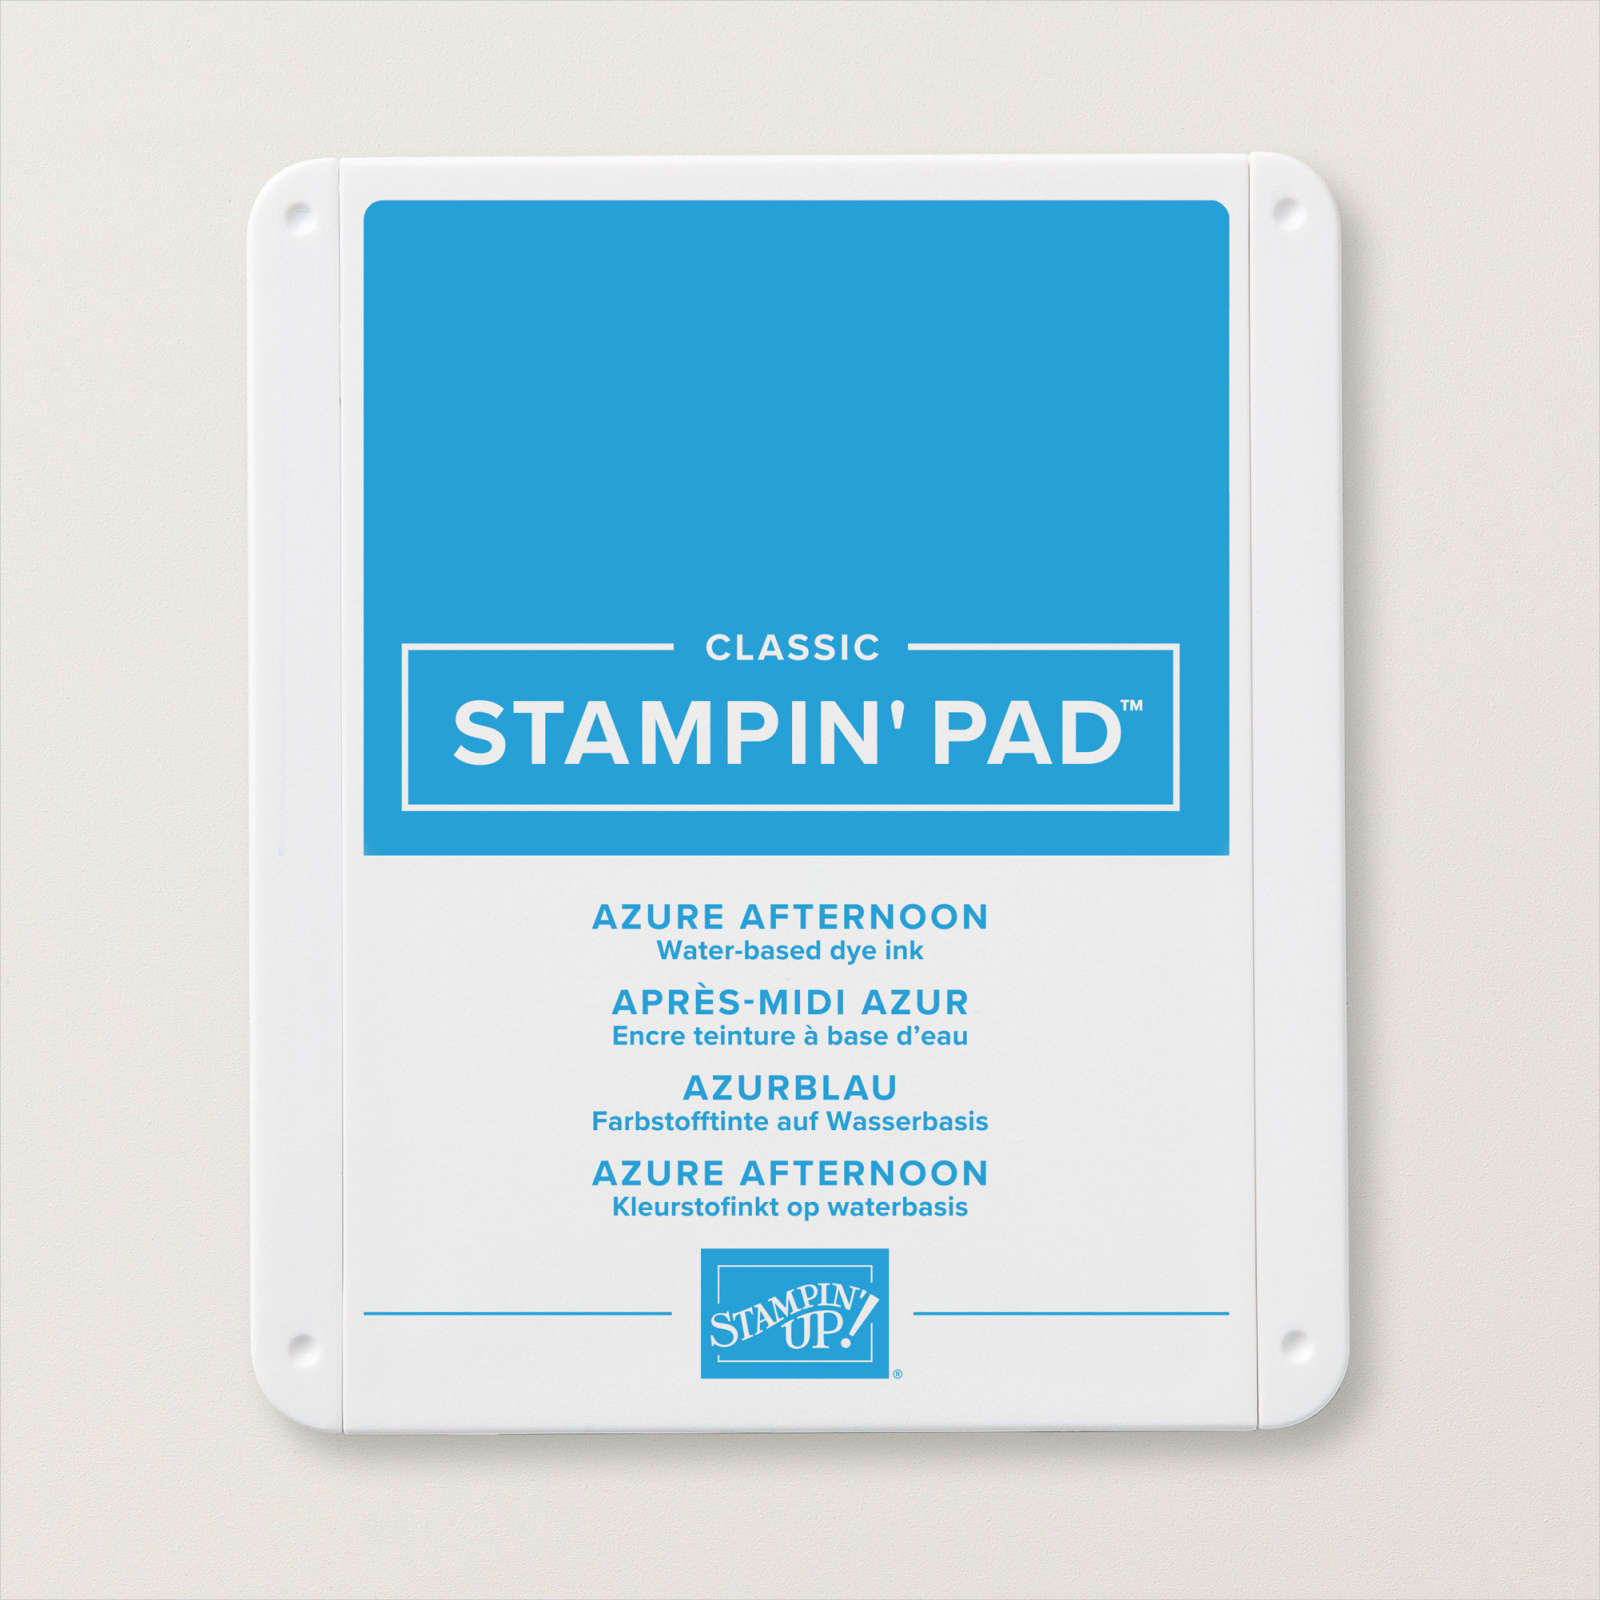
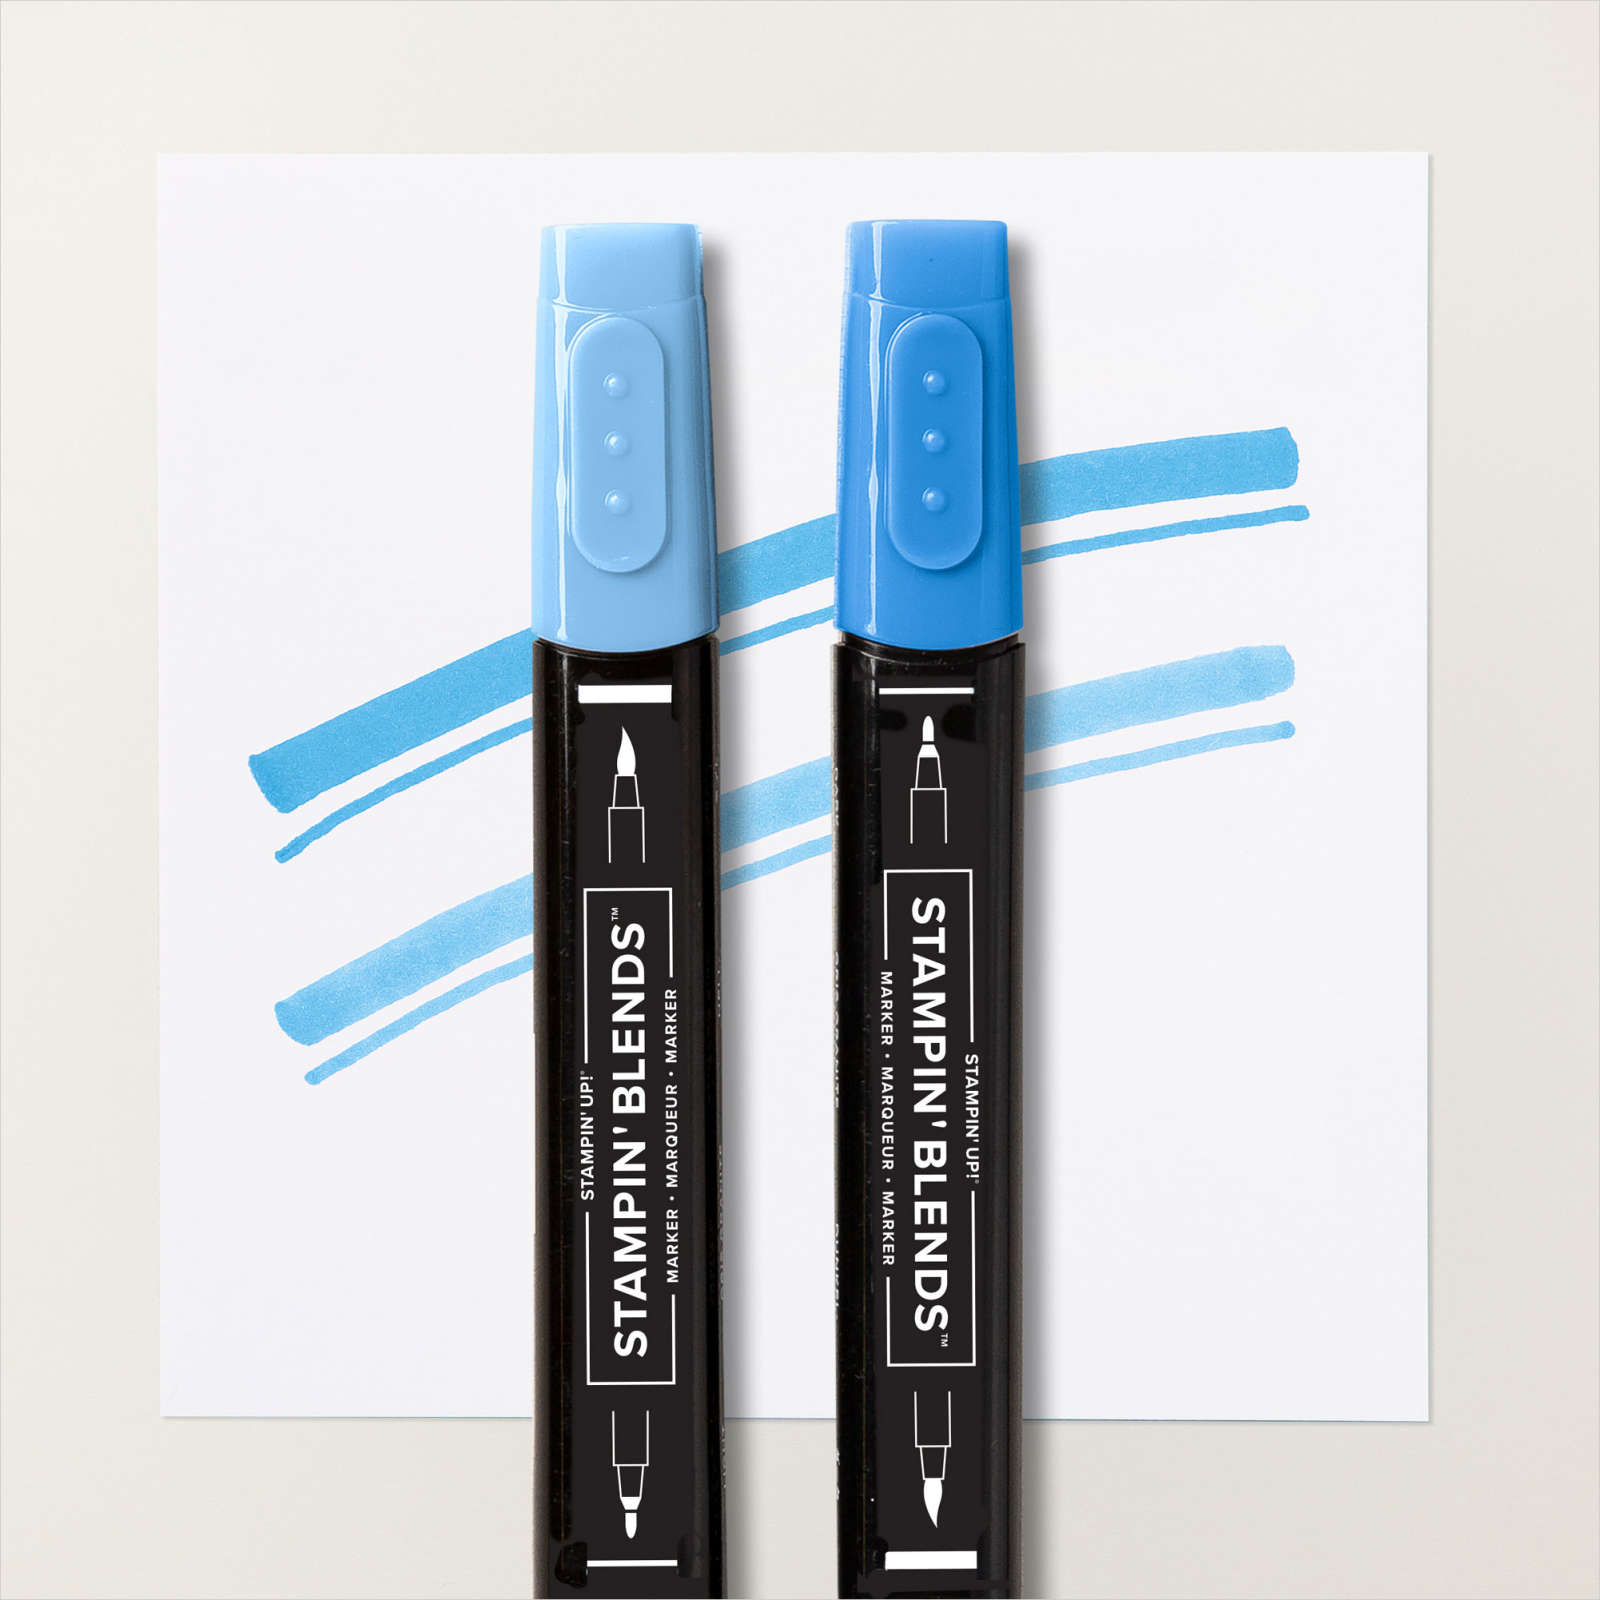
Today I have two cards to share with you both exactly the same, except one is blue and one is pink. I embossed Azure Afternoon card using the Merry Melody 3D Embossing Folder. I cut one long edge of a Basic White Panel using the Basic Border Dies and attached it to the embossed card. The whole panel is attached to scored and folded Thick Basic White card. I stamped the guitar image from the Rock Star stamp set onto Basic White card using Memento Tuxedo Black ink. I coloured the image using the Light Azure Afternoon Stampin’ Blend. I cut out the image using the co-ordinating Rock Star Die and attached it to the card front using dimensionals.

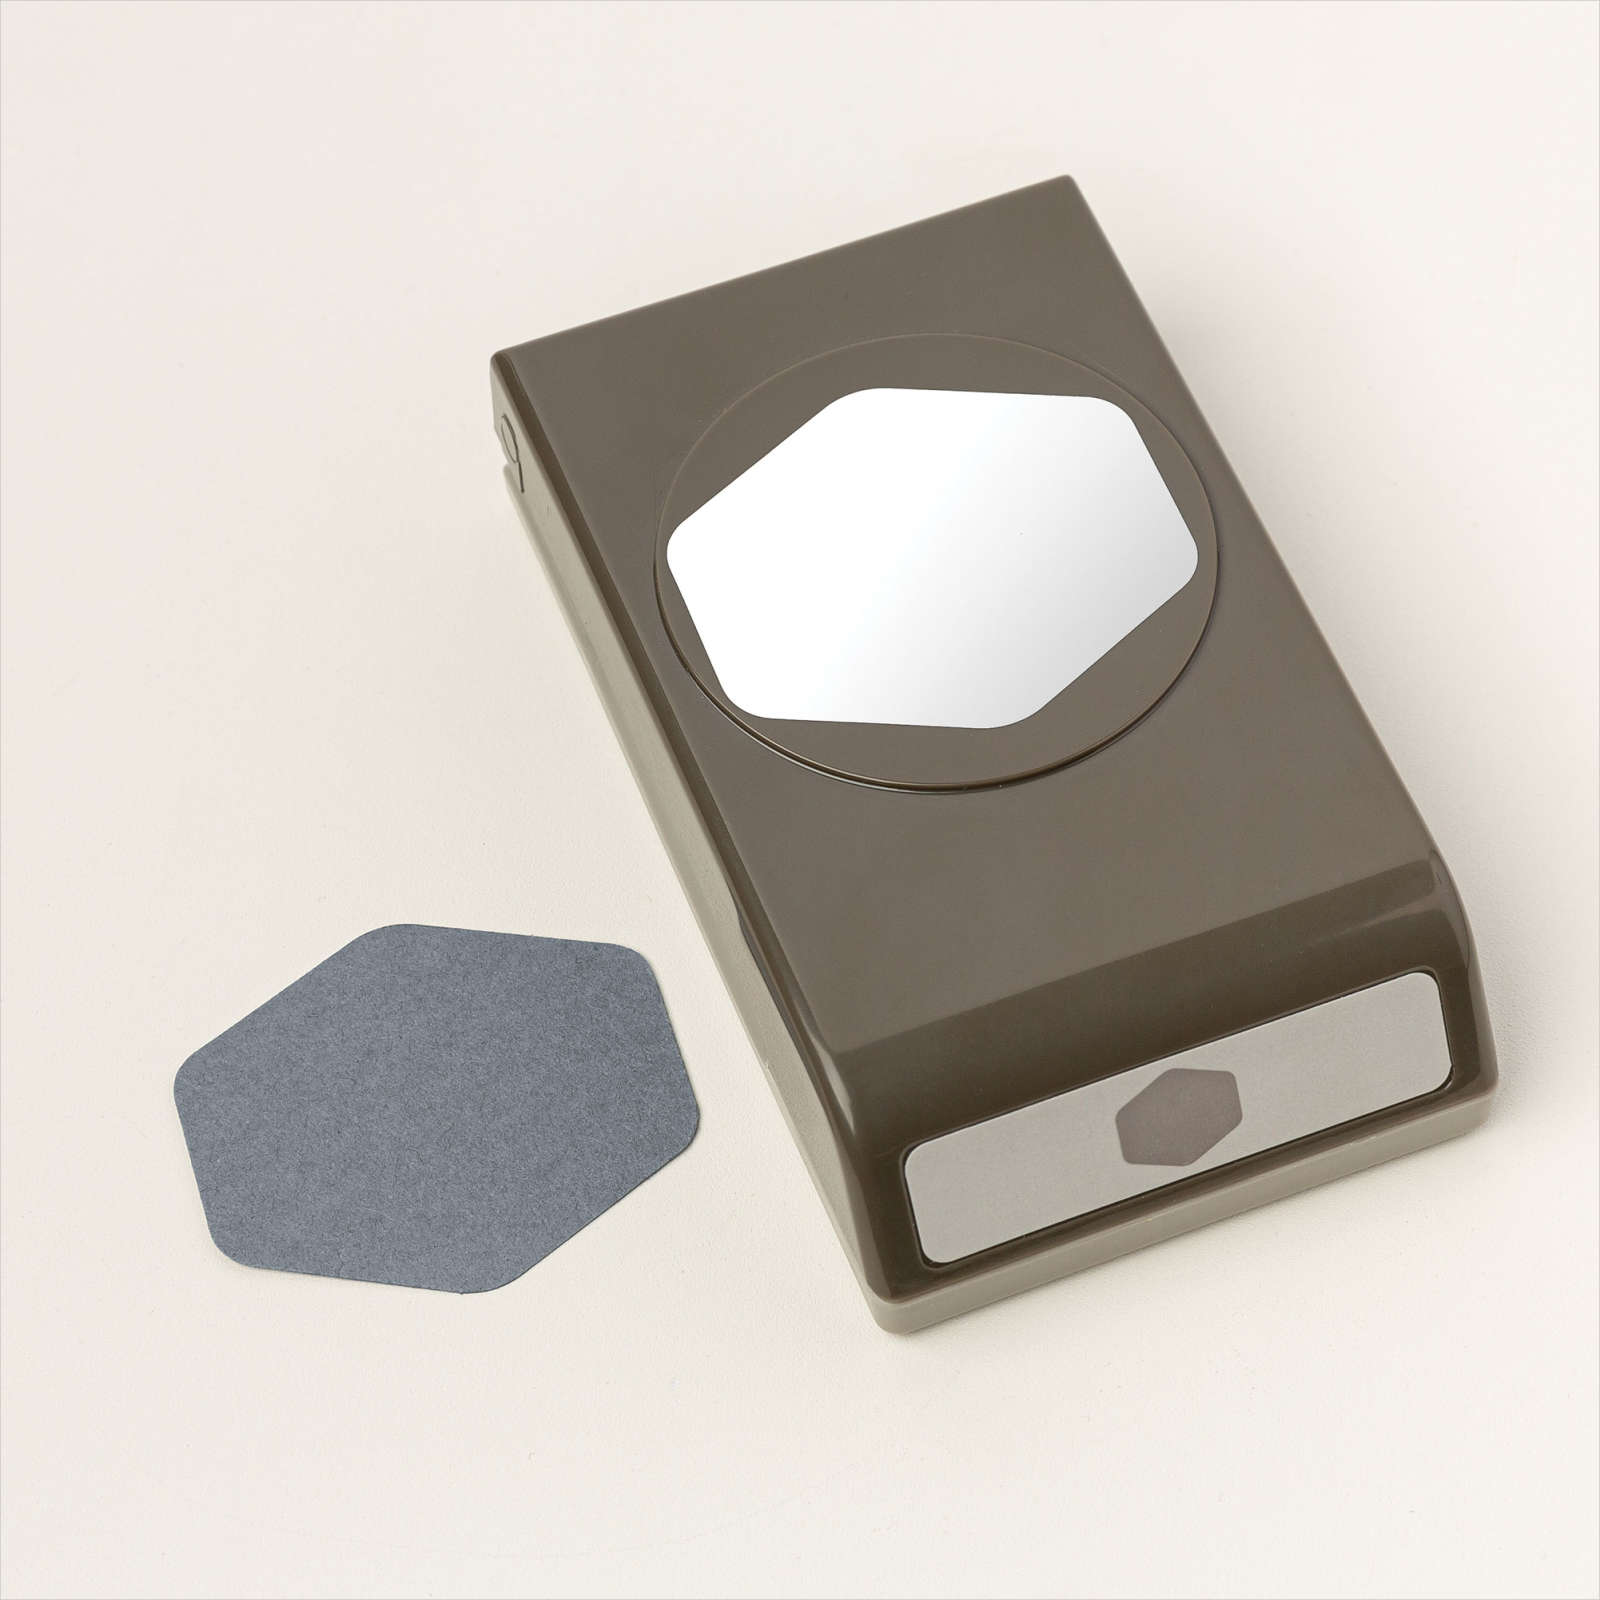
I stamped the greeting from the Rock Star stamp set onto Basic White card using Azure Afternoon ink and punched it out using the Heartfelt Hexagon Punch. The greeting is attached to the card front using dimensionals so that it sits slightly over the guitar image.

I die cut Azure Afternoon card using the three different lightning dies from the Rock Star Dies. The lightening is attached to the card front around the guitar and greeting. To decorate the inside of the card I stamped the greeting from the Charming Sentiments stamp set onto Basic White card using Azure Afternoon ink. I die cut Azure Afternoon card using the largest lightning die from the Rock Star Dies and attached it next to the greeting. The pink version is created in exactly the same way but this time using Melon Mambo card, ink and Stampin’ Blends.
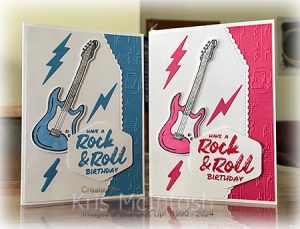
I love how they both turned out, don’t you?
Bye for now,
Kris
Product Used:


Mother and Son
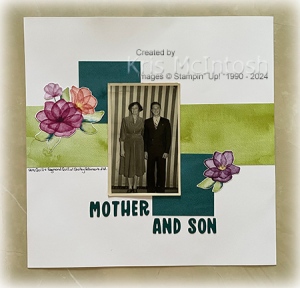
My page today shows off a photo of my Dad with his Mum taken at his cousin’s 21st birthday. I am not sure how old my Dad is but I am thinking late teens. I cut pieces of the Delightful Floral 12″ x 12″ Designer Series Paper and attached them to a Basic White 12″ x 12″ page. I attached my photo to the page, this is the original photo as I couldn’t get a clear picture when I scanned and edited it. I cut flowers from the Delightful Floral Designer Series Paper and attached them to page on each side of the photo. I cut Shaded Spruce card using the Mini Alphabet Die to create the title which I attached below the photo. I used the retired Journaling pen to add some information to the left hand side of the page. I love this simple page, don’t you? I especially love that this paper is still available as an Online Exclusive.
Bye for now,
Kris
Product Used:


Magnolia Mood
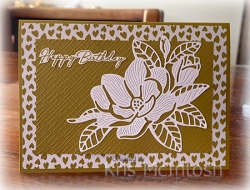
This week on my Facebook Live I shared some cards I made using the Magnolia Mood Bundle and other products which are new to the Online Exclusives. Today I have another card to share with you. I attached a piece of 2023-2025 In-colour Designer Series Paper to scored and folded Wild Wheat card.
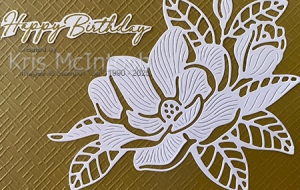
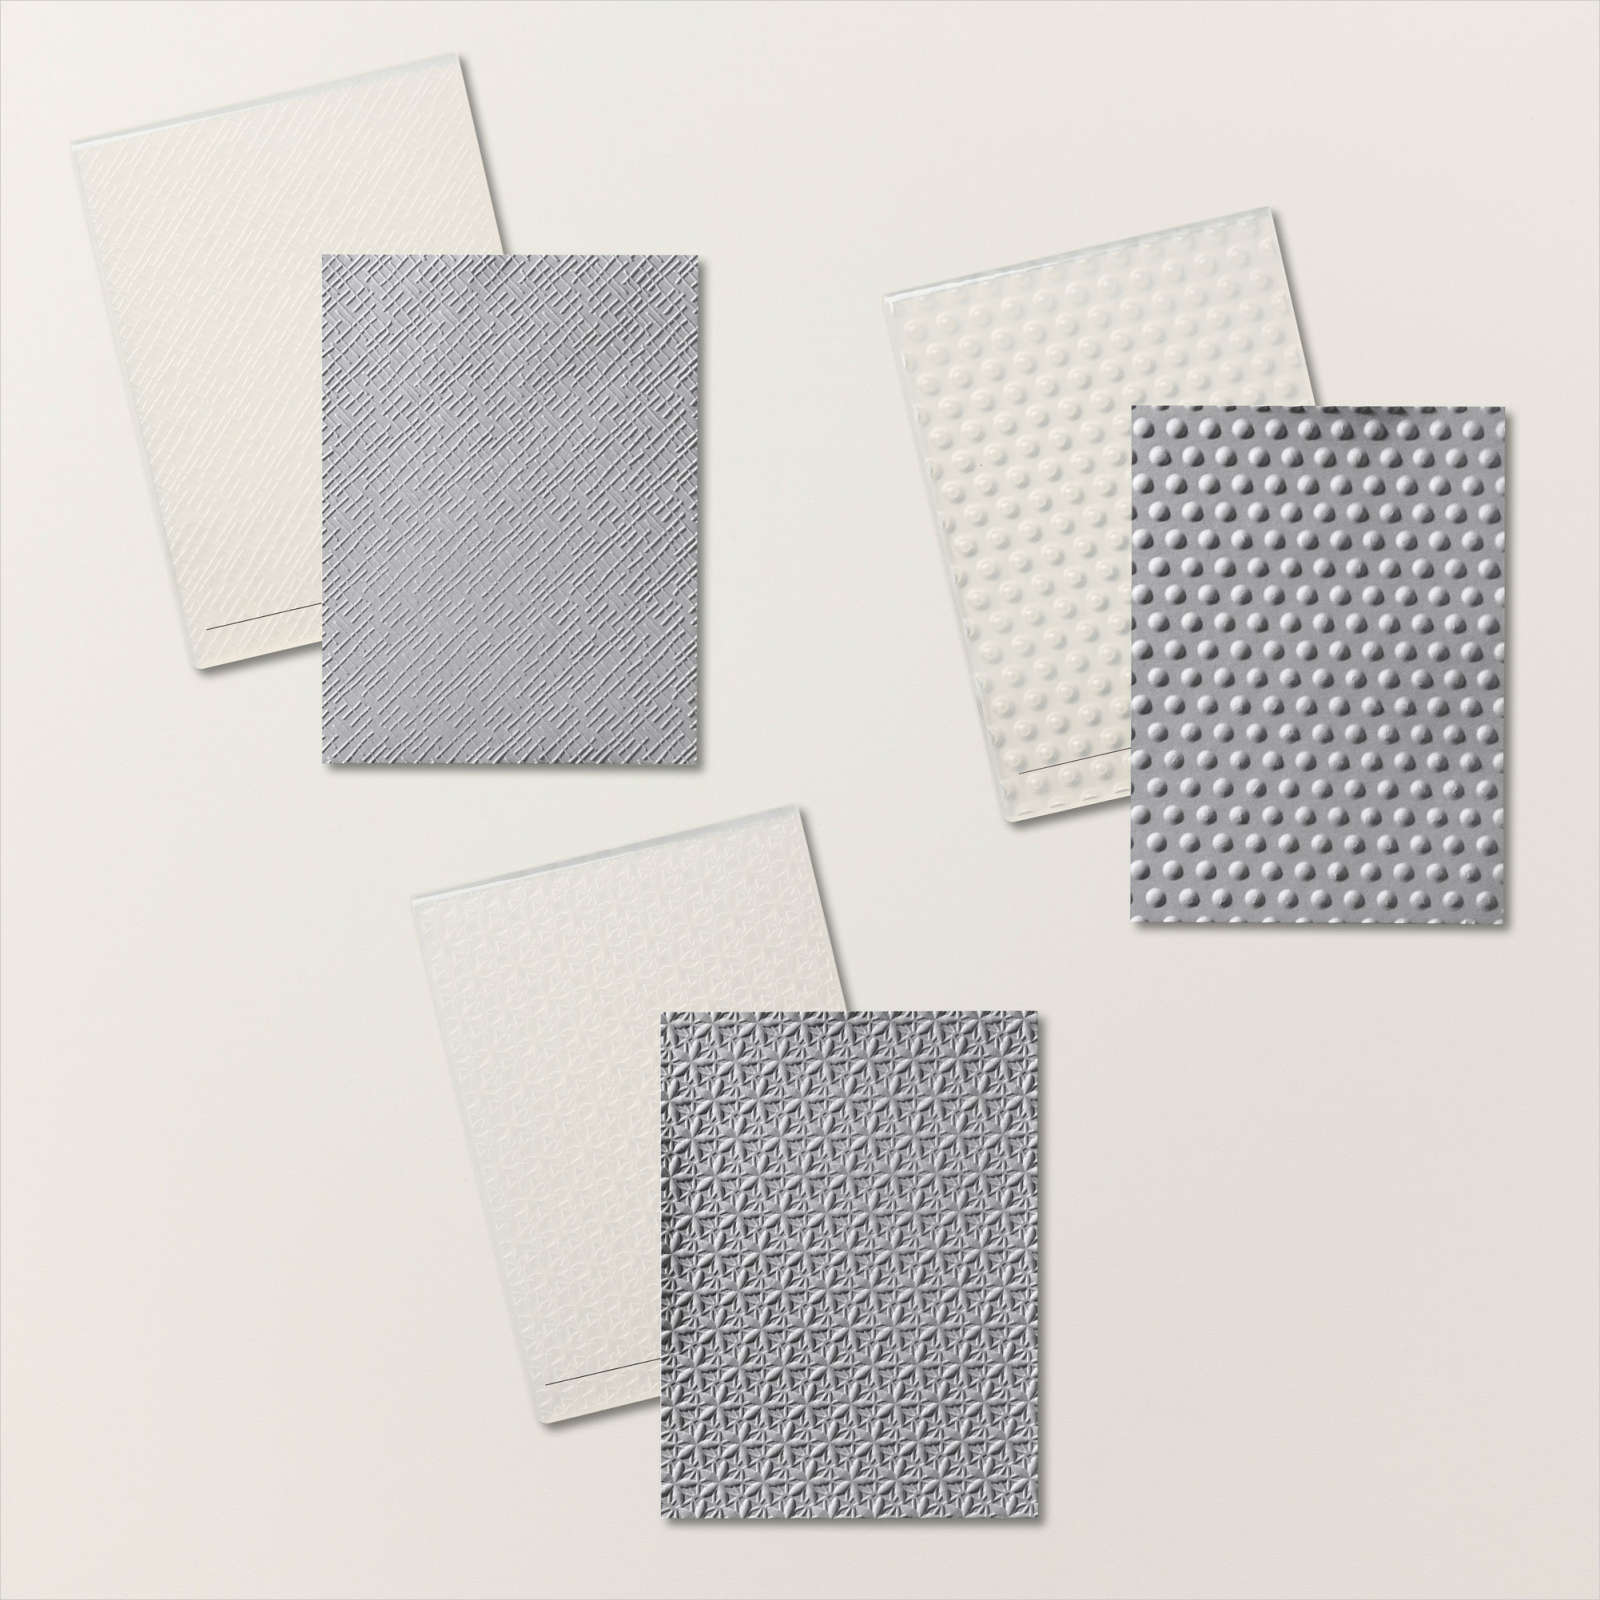
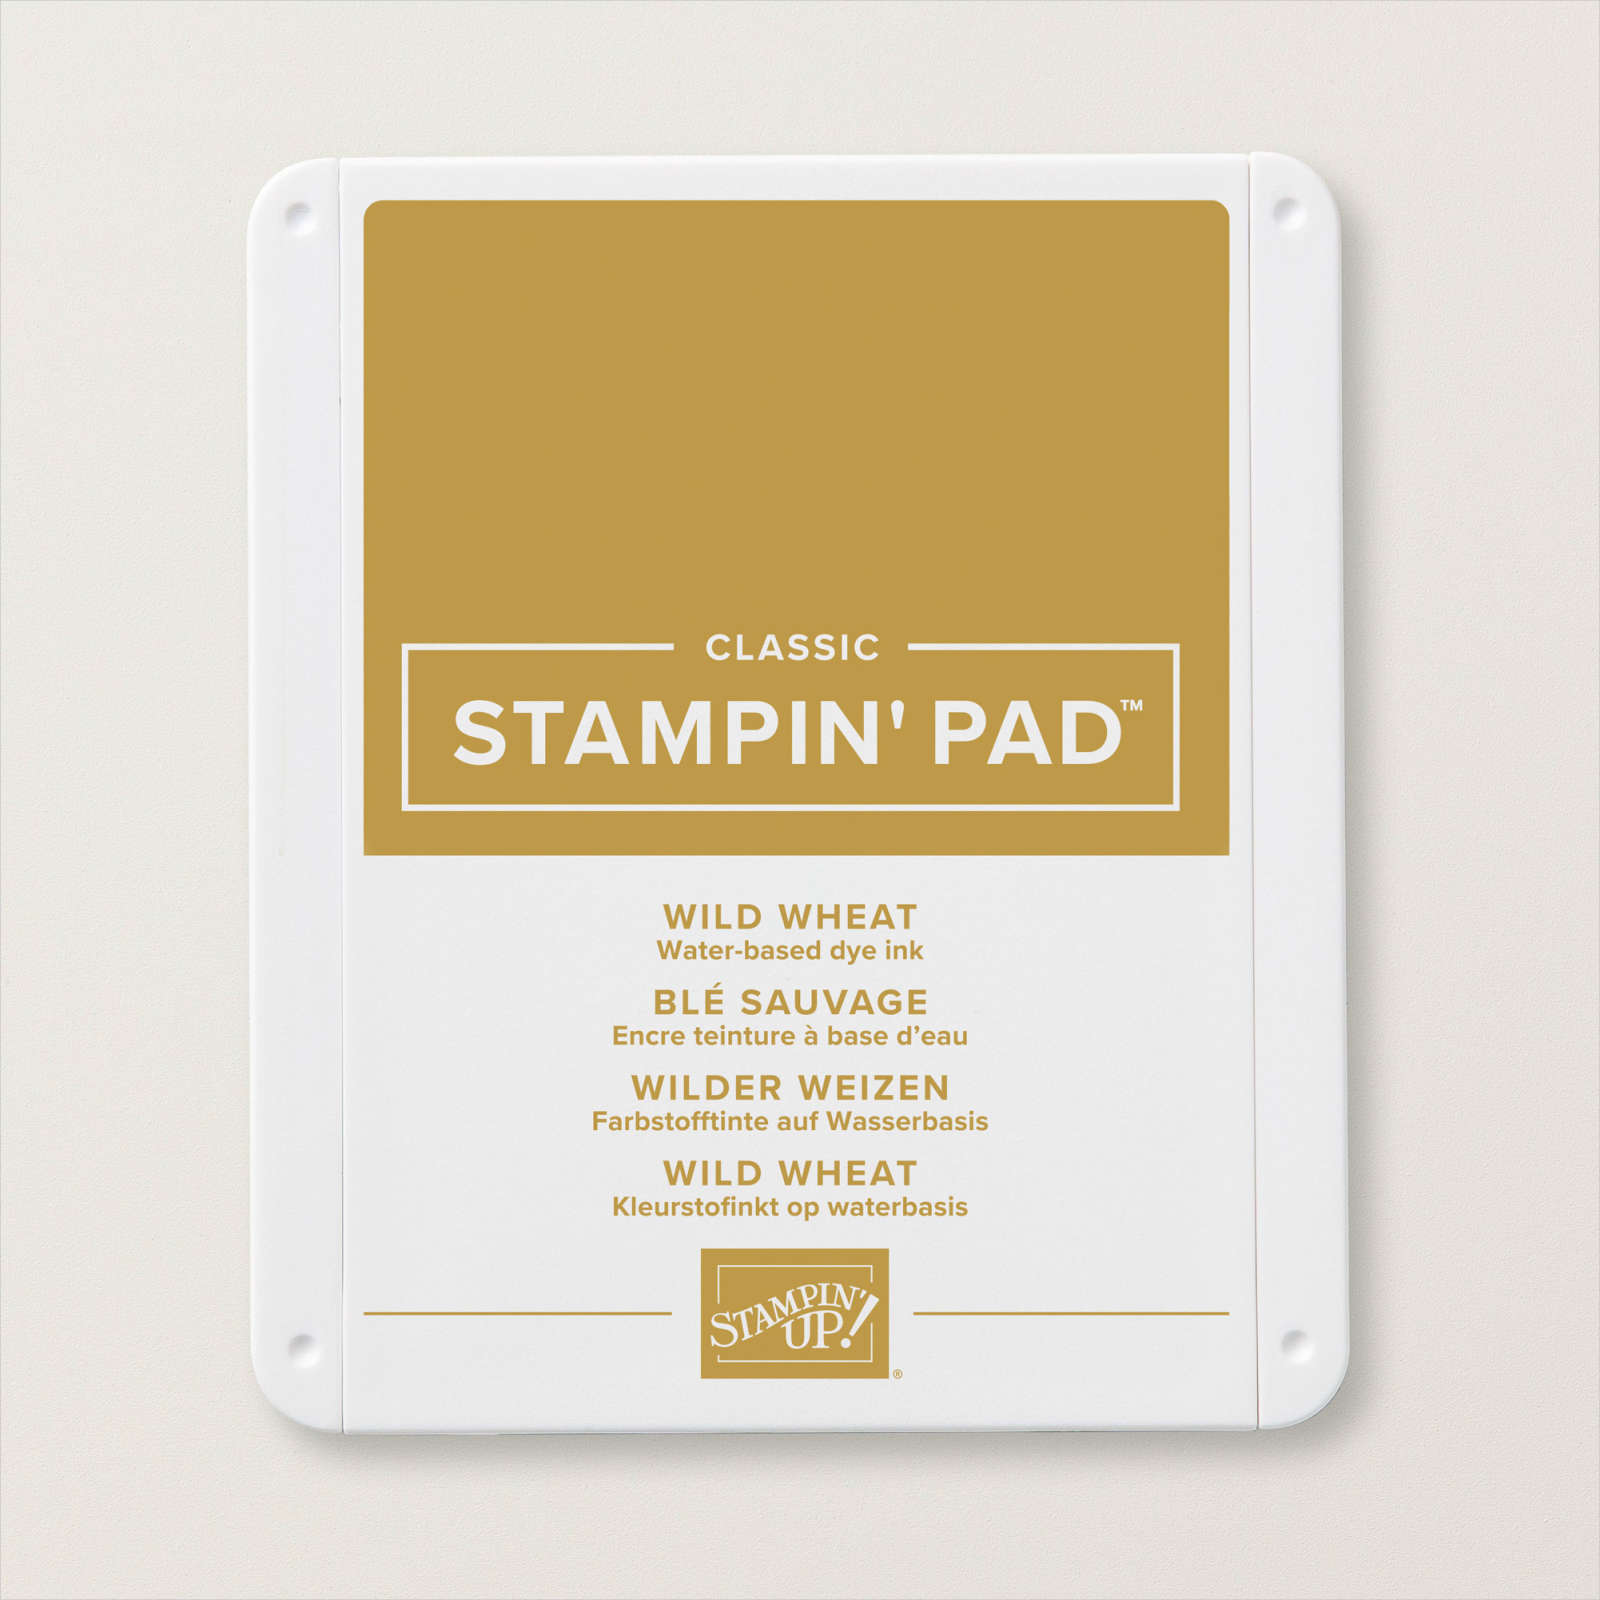
I embossed a piece of Wild Wheat card using one of the Basics 3D Embossing Folders (also available in the Online Exclusives) which I attached to the centre of the Designer Series Paper. Unfortunately Wild Wheat is one of the in-colours that will be retiring at the end of this month. I attached Adhesive Sheet to the back of a piece of Basic White card and cut out the large floral die from the Magnolia Mood Dies.
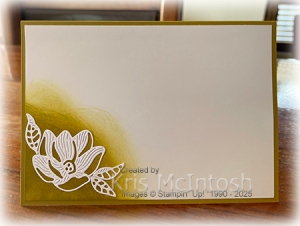
I attached the die cut to the right hand side of the embossed Wild Wheat card. I stamped the greeting from the Magnolia Mood stamp set onto Basic White card using Wild Wheat ink and fussy cut it. I attached the greeting to the top left hand corner of the embossed Wild Wheat card. To decorate the inside of the card I used a Blending Brush to add Wild Wheat ink to the lower left hand corner of Basic White card. I cut Basic White to which I had attached Adhesive Sheet using the single flower die and one of the three leaf die from the Magnolia Mood Dies. I attached the flower over the sponged ink and cut the leaves individually and attached them around the flower. I am loving playing with this gorgeous Magnolia Mood Bundle and I love that is an Online Exclusive. I would love to know what you think.
Bye for now,
Kris
Product Used:


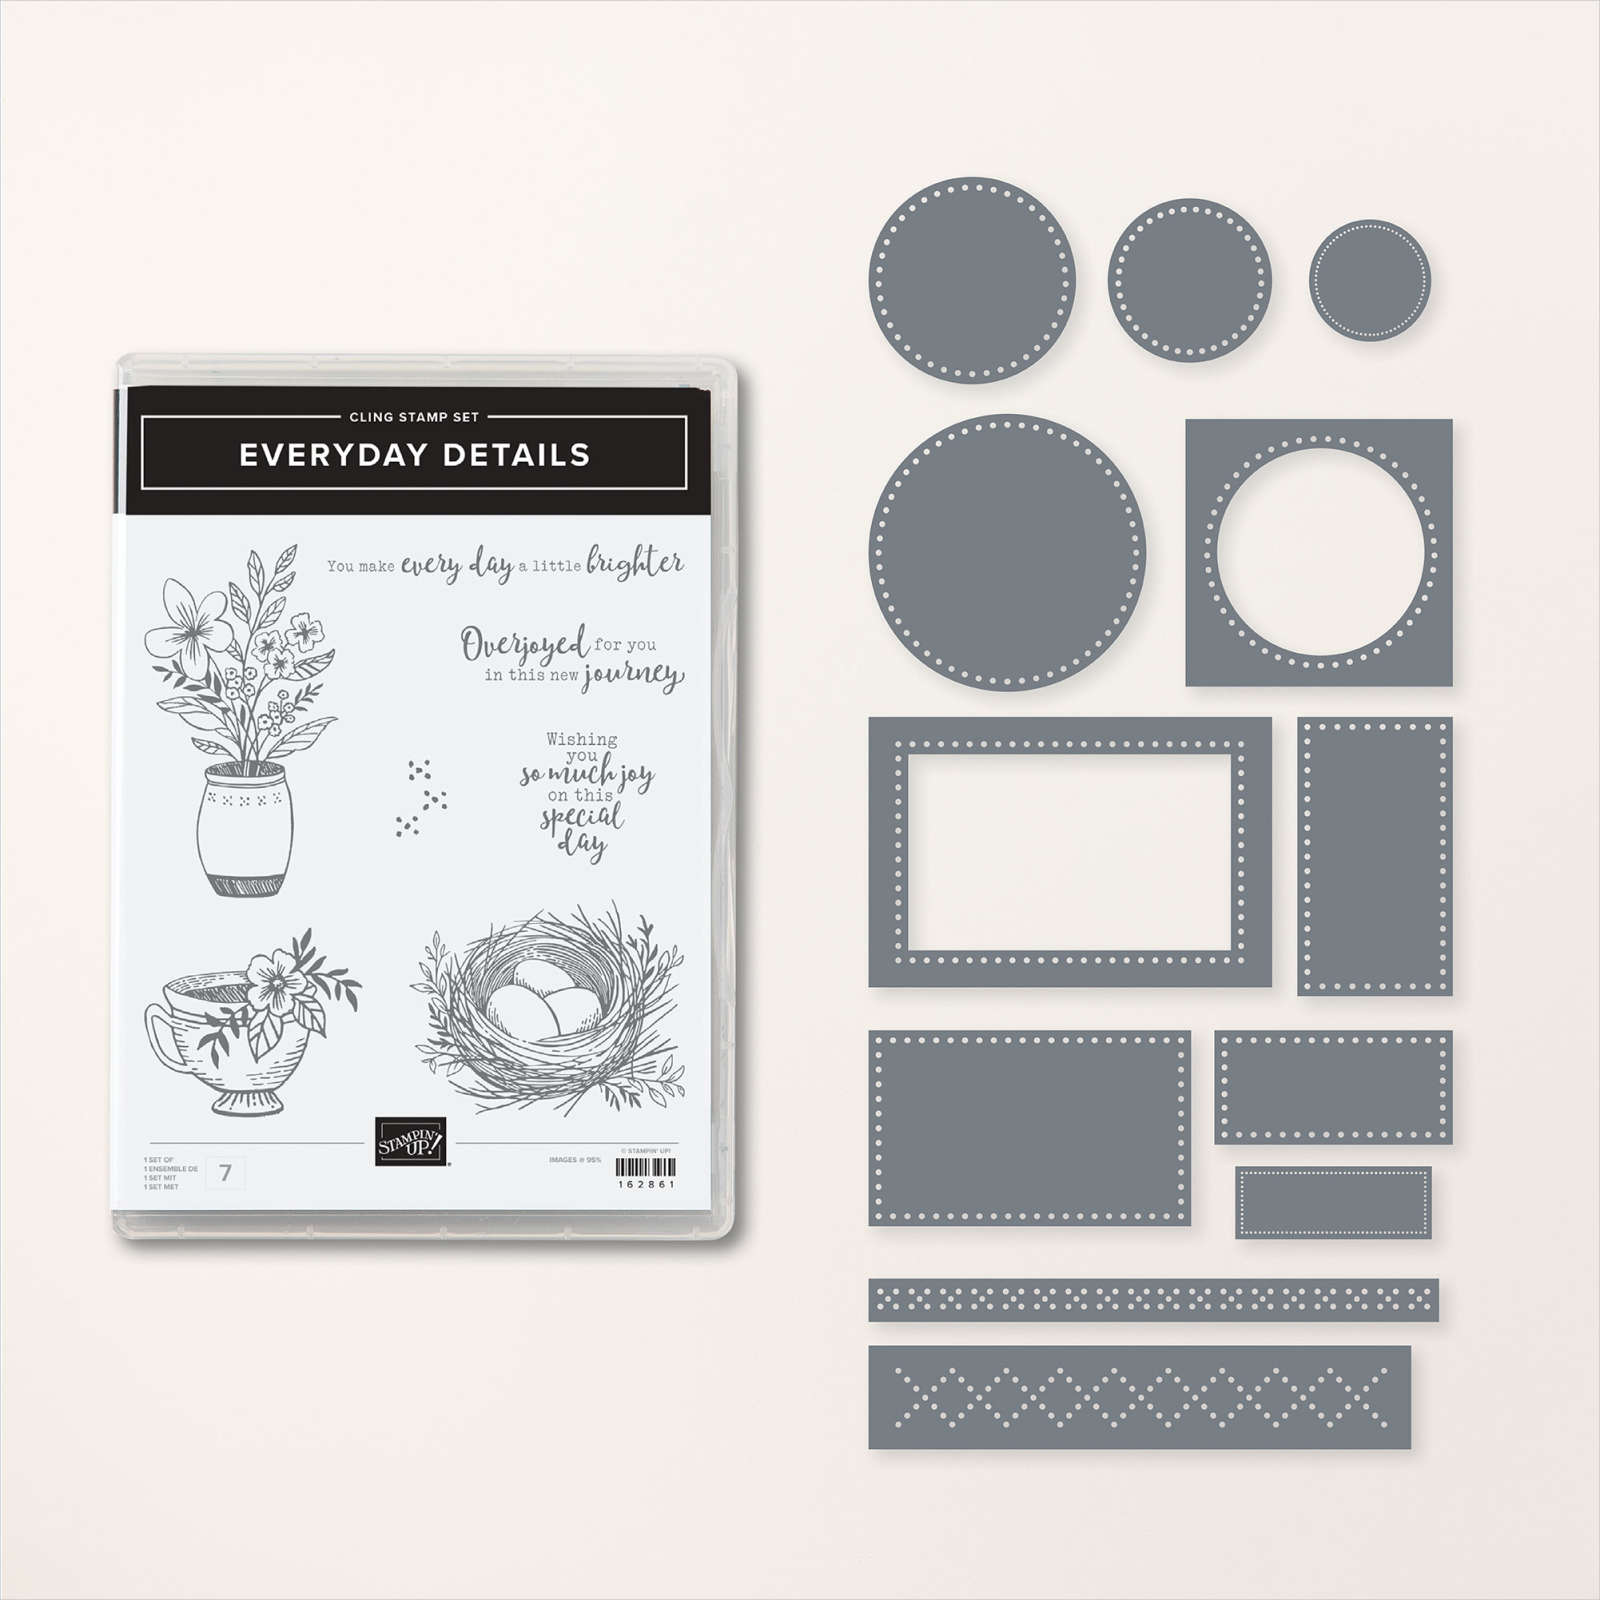
Everyday Thank You
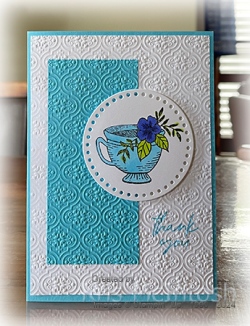
I am once more using the Everyday Details Bundle, which I must admit, I am loving. I attached a piece of Tahitian Tide card to Basic White card and stamped the greeting from the Something Fancy stamp set onto the lower right hand corner using Tahitian Tide ink. I embossed the panel using the Quatrefoil Tile Embossing Folder and attached it to scored and folded Tahitian Tide card. I stamped the image from the Everyday Details stamp set onto Basic White card using Memento Tuxedo Black ink.
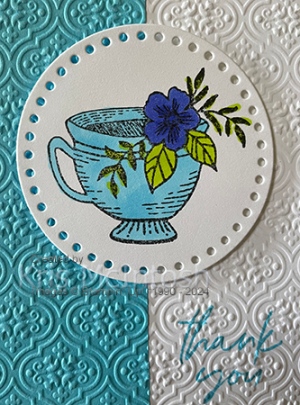
I cut out the image using one of the circle dies from the Everyday Details Dies. I coloured the image using Orchid Oasis, Light Tahitian Tide and Light Parakeet Party Stampin’ Blends. The image panel is attached to the card front using dimensionals.

To decorate the inside of the card, I stamped another greeting from the Something Fancy stamp set onto Basic White card using Tahitian Tide ink. For the second card, I decided not to stamp the greeting before embossing the Tahitian Tide/Basic White panel.
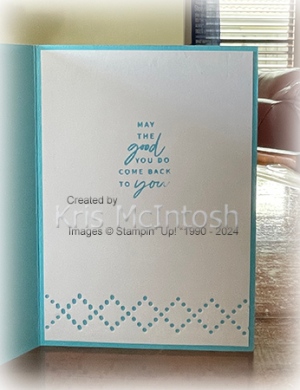
After colouring the image and attaching it to the card front, I stamped “thank you” from the Something Fancy stamp set onto Basic White card using Tahitian Tide ink. I cut out the greeting using the smallest circle from the Everyday Details Dies and attached it to the card front using dimensionals where necessary, so that it slightly overlaps the image panel. To decorate the inside of this card, I stamped the same greeting as before onto Basic White card using Tahitian Tide ink. I cut across the bottom of the stamped Basic White card using the border die from the Everyday Details Dies.

Just steps up the card a little and changes the feel, don’t you think?
Bye for now,
Kris
Product Used:


Chicago

I was very lucky to receive a ticket to go to see Chicago at QPAC from my lovely family. My daughters and granddaughters attended the show with me and it was amazing. I cut my photos down to 3″ x 3″ and attached them to the Basic White 12″ x 12″ page along with some 3″ squares of Delightfully Floral 12″ x 12″ Designer Series Paper. I printed the title onto Basic White card which I embossed using the Painted Texture 3D Embossing Folder before attaching it to a 3″ square of Basic Black card. I cut some of the flowers from the Delightful Floral Designer Series Paper and attached them to some of the Designer Series Paper squares. I printed my journaling onto Basic White card and attached it to Basic Black card. The journaling panel is attached to the lower right hand piece of Designer Series Paper. Simple enough page but brings a happy smile to my face.
Bye for now,
Kris
Product Used:
Rock Star Fancy Fold

This week in my Facebook Live I shared some cards I created using Mary McCabe’s instructions for a Flip Top Fun Fold card. I did alter the instructions to fit our A4 card. I cut the card base from Basic Black card and if you visit my Facebook Page you will find my template for cutting A4 card. I cut a piece of Rock & Roll 12″ x 12″ Designer Series Paper and coloured the guitars using the Dark Real Red Stampin’ Blends before attaching it to the card base. For the front fold on the card, I embossed Basic White card using the Painted Texture 3D Embossing Folder.

I cut Basic Black card using the large guitar pick die from the Rock Star Dies and attached it to the bottom of the embossed card. I stamped the guitar image from the Rock Star stamp set onto Basic White card using Memento Tuxedo Black ink. I coloured the image using the Dark Real Red Stampin’ Blend before cutting it out using the co-ordinating Rock Star Die. I attached the guitar to the card front using dimensionals. I stamped the greeting from the Rock Star stamp set onto Basic White card using Memento Tuxedo Black ink.

I cut out the image using the co-ordinating Rock Star Die and attached it to the card front. To decorate the inside of the card I stamped the greeting from the Rock Star stamp set onto Basic White card using Memento Tuxedo Black ink. I stamped a drum stick image next of the greeting using Memento Tuxedo Black ink. I masked the stamped image and stamped another drums stick over the first image. I removed the mask and coloured the drum sticks using a Light Gray Granite Stampin’ Blend. This is such a fun card to create and a great way to use up some of your Designer Series Paper. So thank you Mary for the inspiration to create.
Bye for now,
Kris
Product Used:


Wish Big

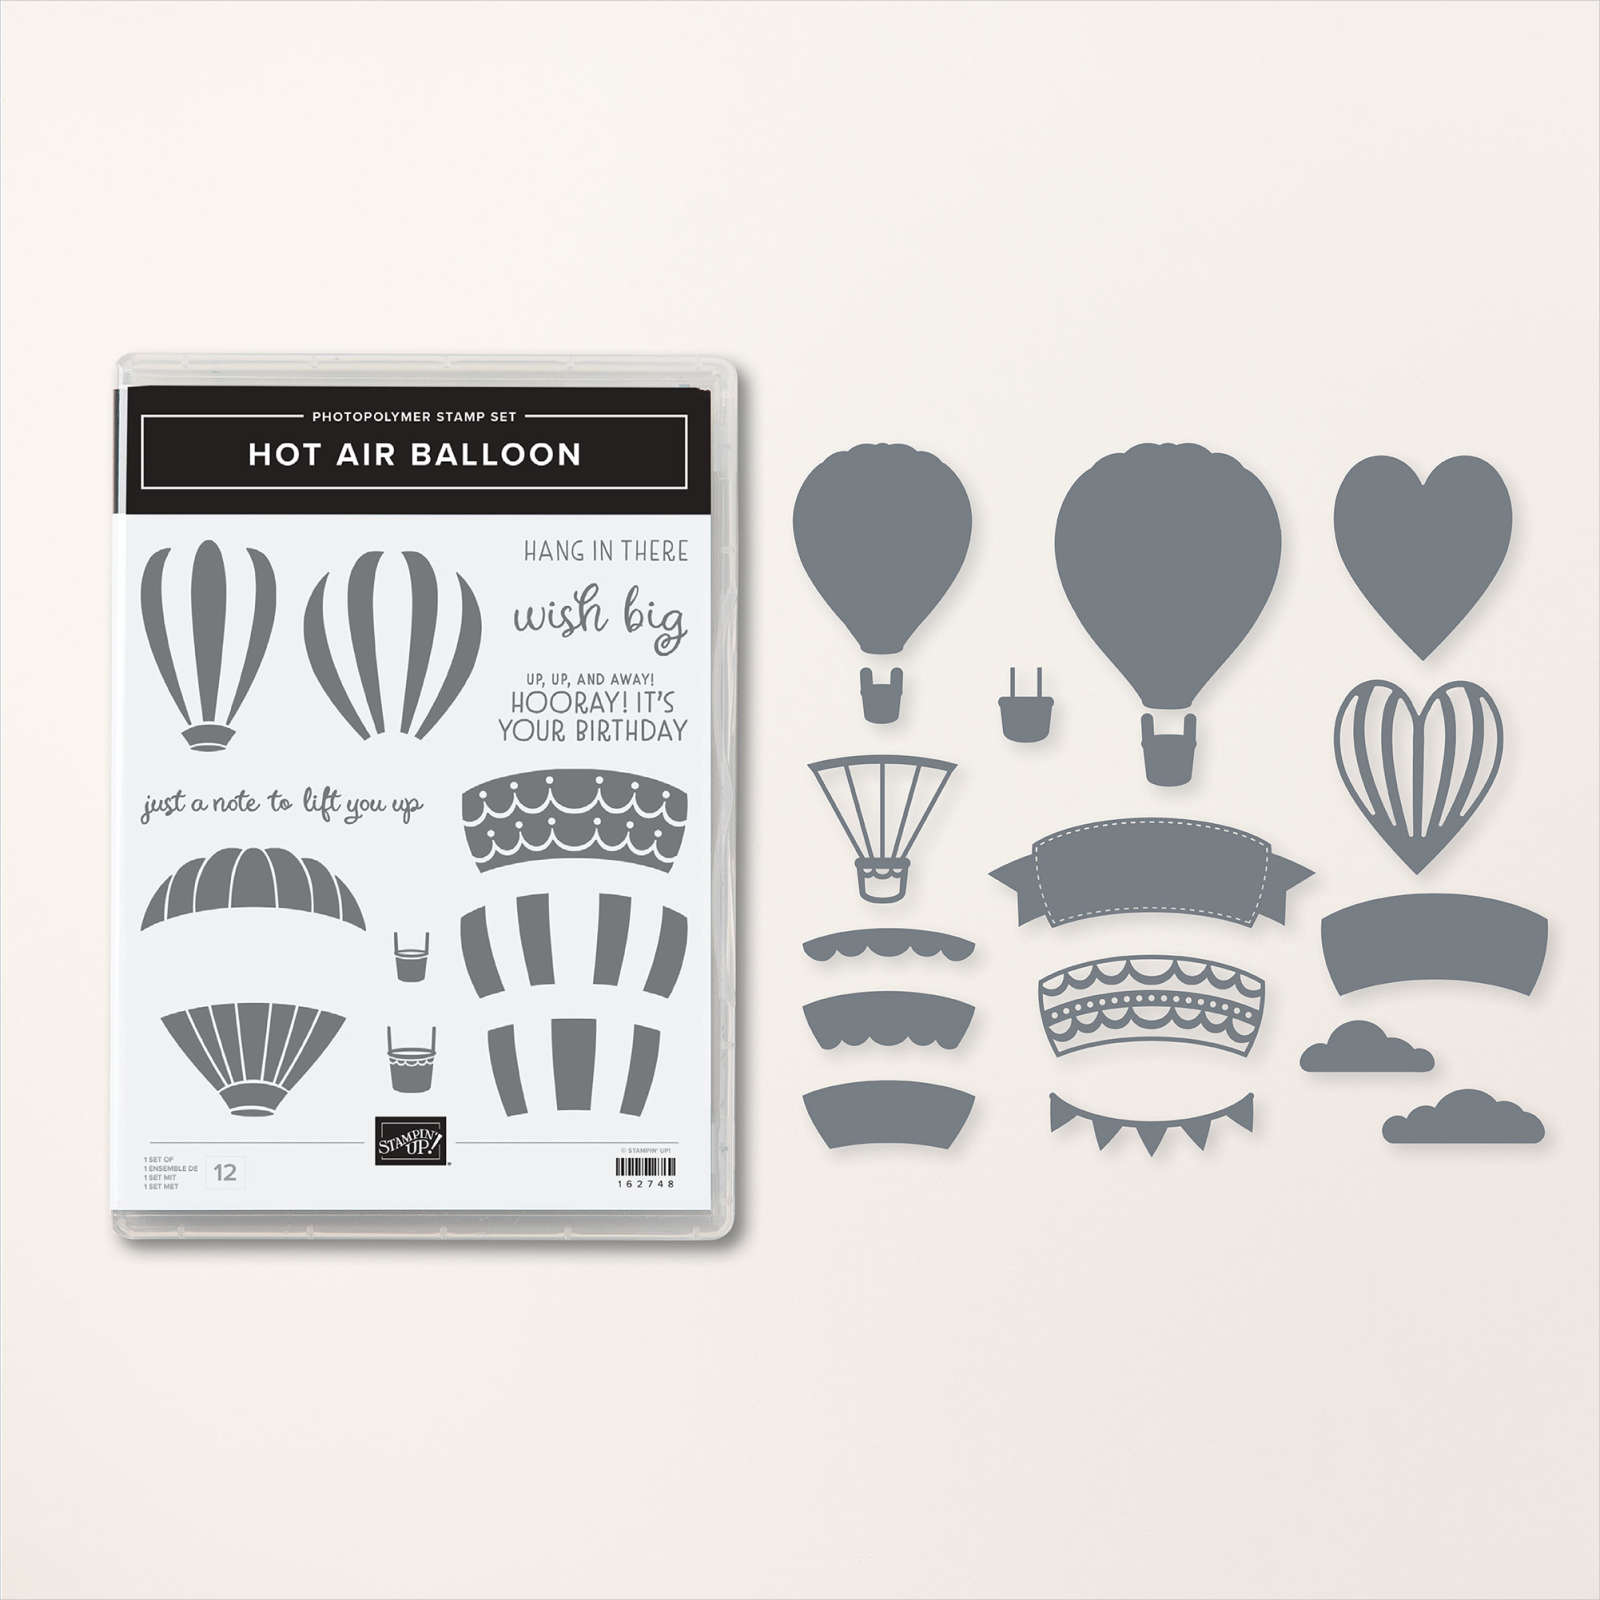
Today I am sharing the birthday card I recently made for one of my granddaughters. I attached a piece of Lighter Than Air 6″ x 6″ Designer Series Paper to the centre of Basic White card. I attached a strip of Bubble Bath card across the centre of the panel before attaching to scored and folded Bubble Bath card.
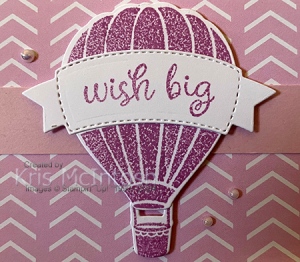
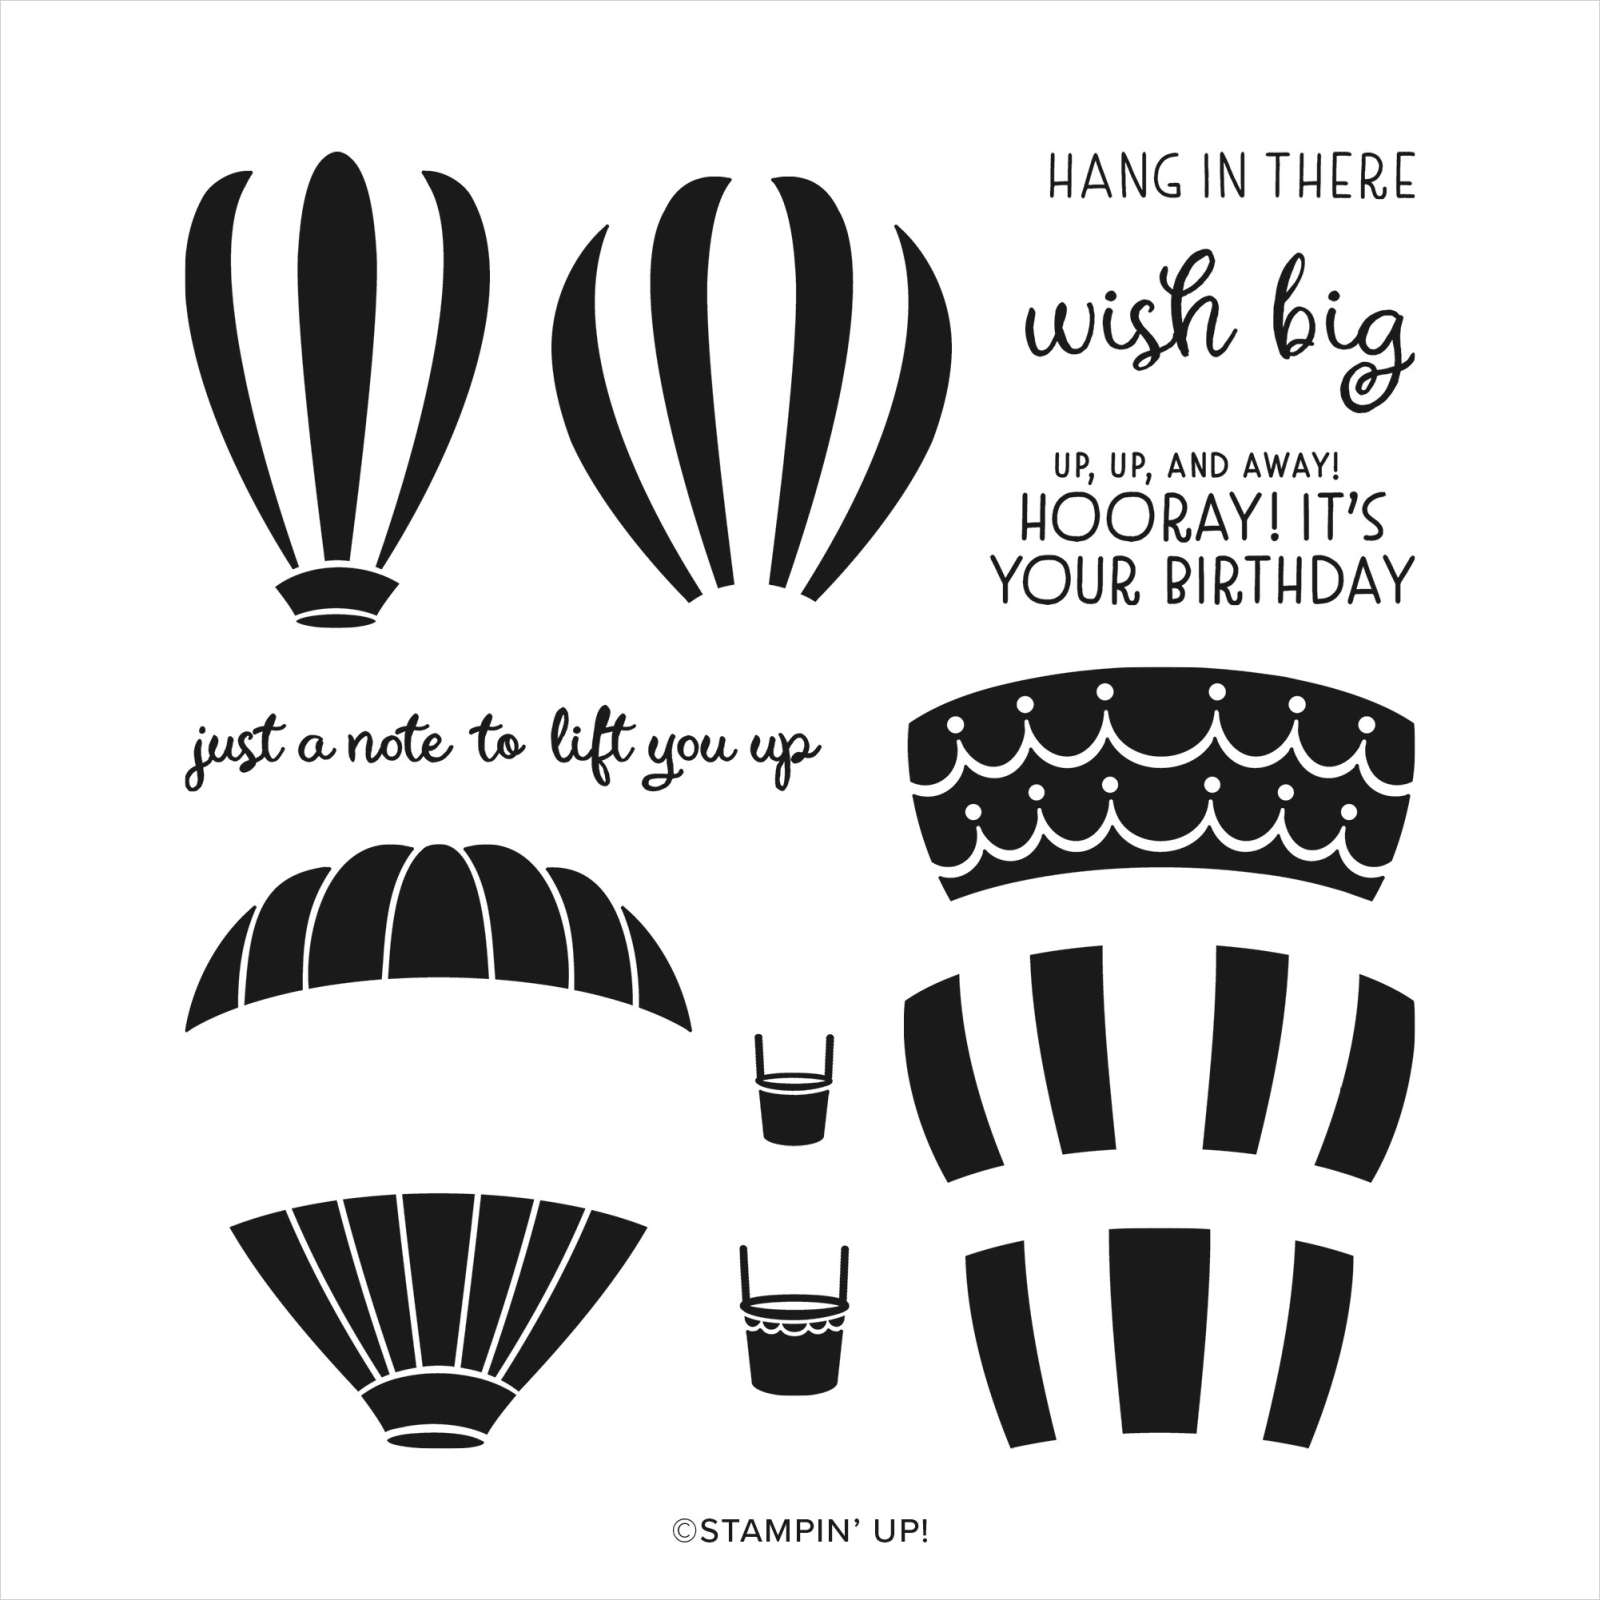
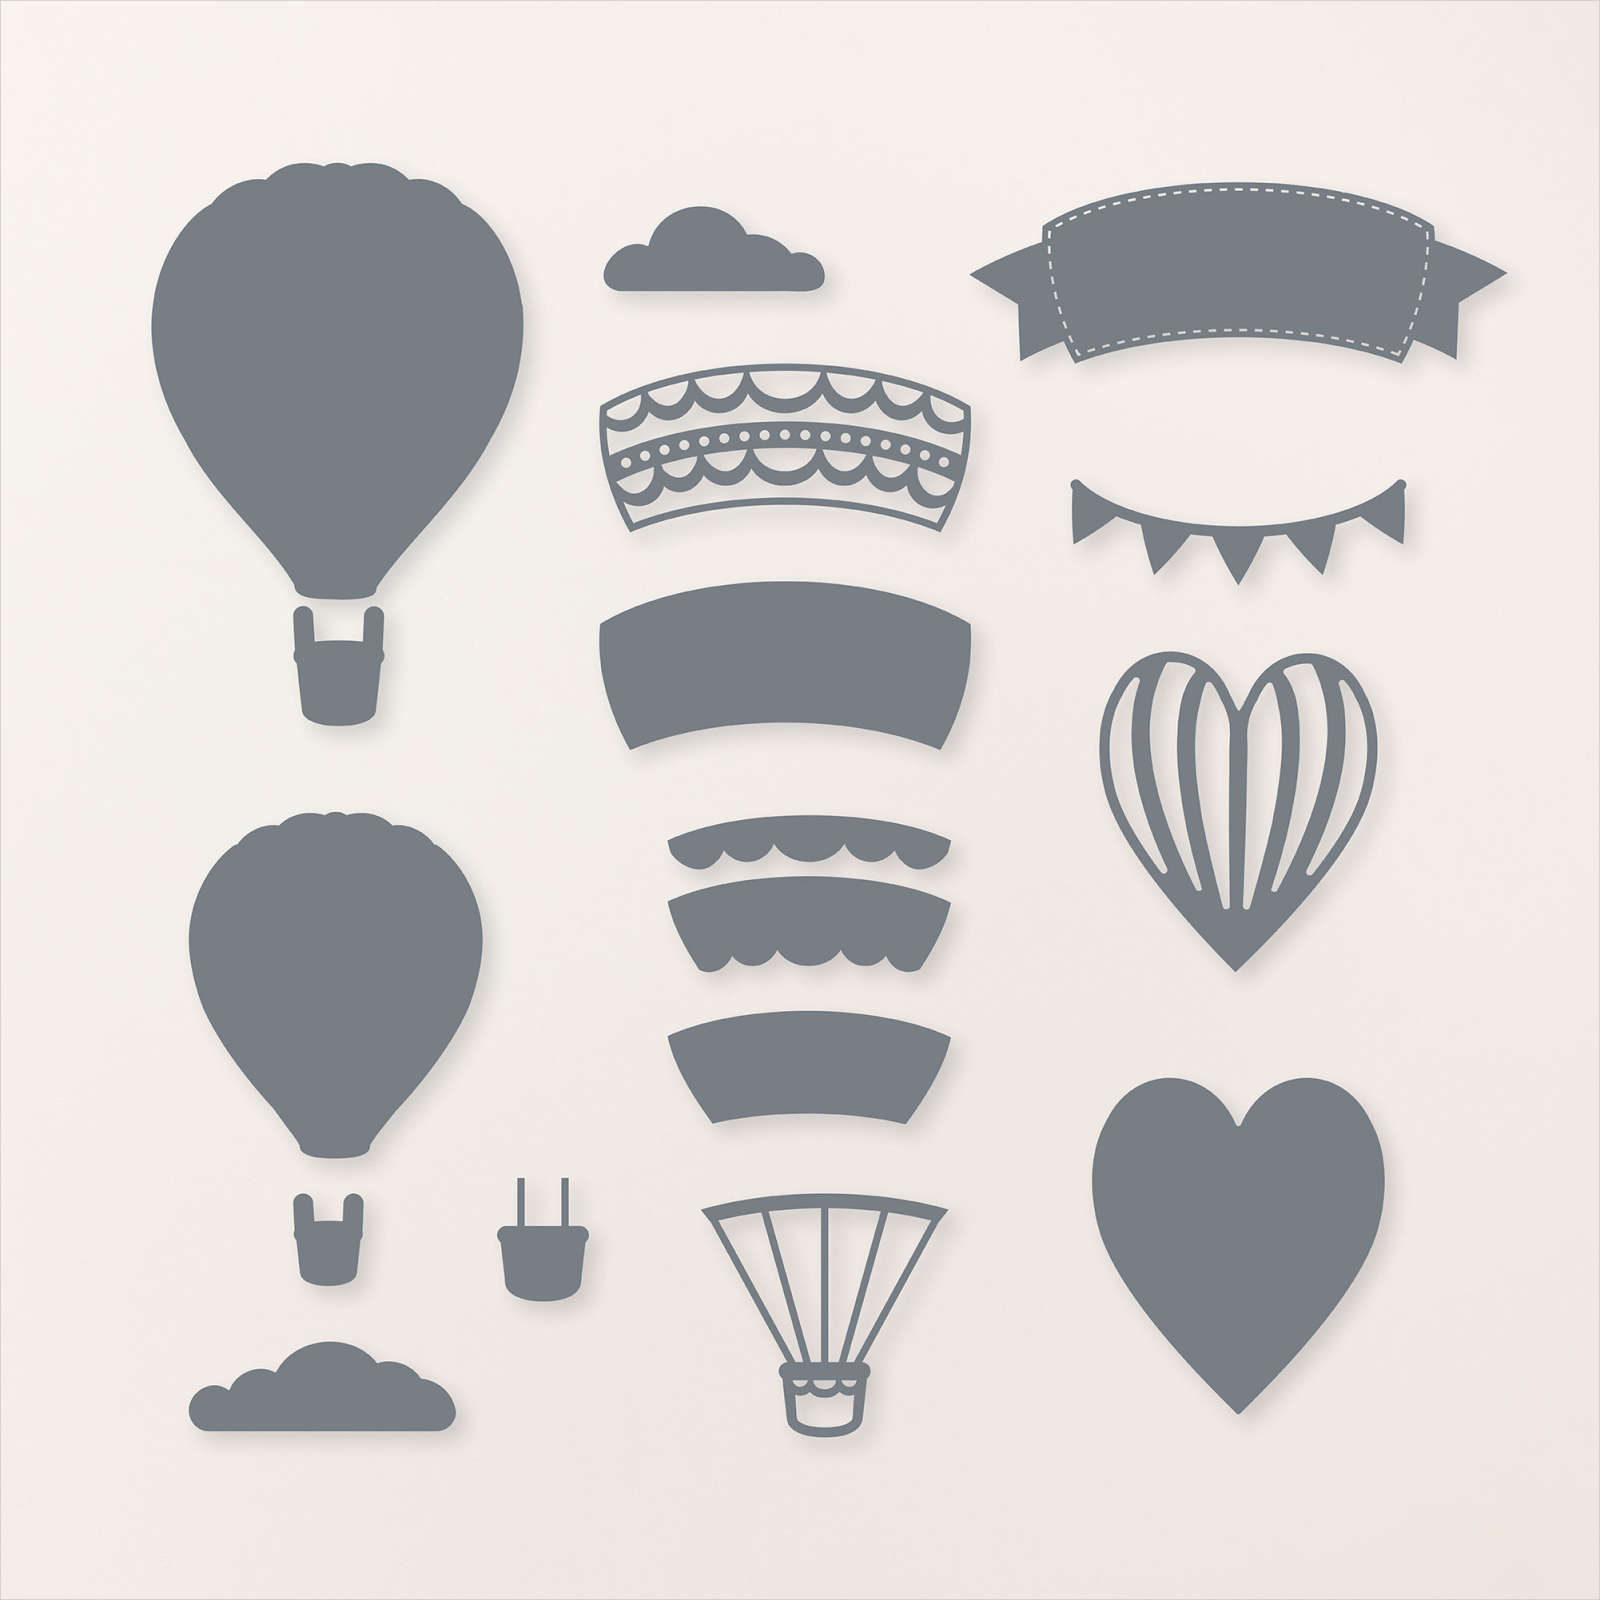
I stamped the balloon images from the Hot Air Balloon stamp set onto Basic White card using Fresh Freesia ink and cut them out using the co-ordinating Hot Air Balloon Dies. I stamped the greeting from the Hot Air Balloon stamp set onto Basic White card using Fresh Freesia ink. I cut out the greeting using the banner die from the Hot Air Balloon Dies.
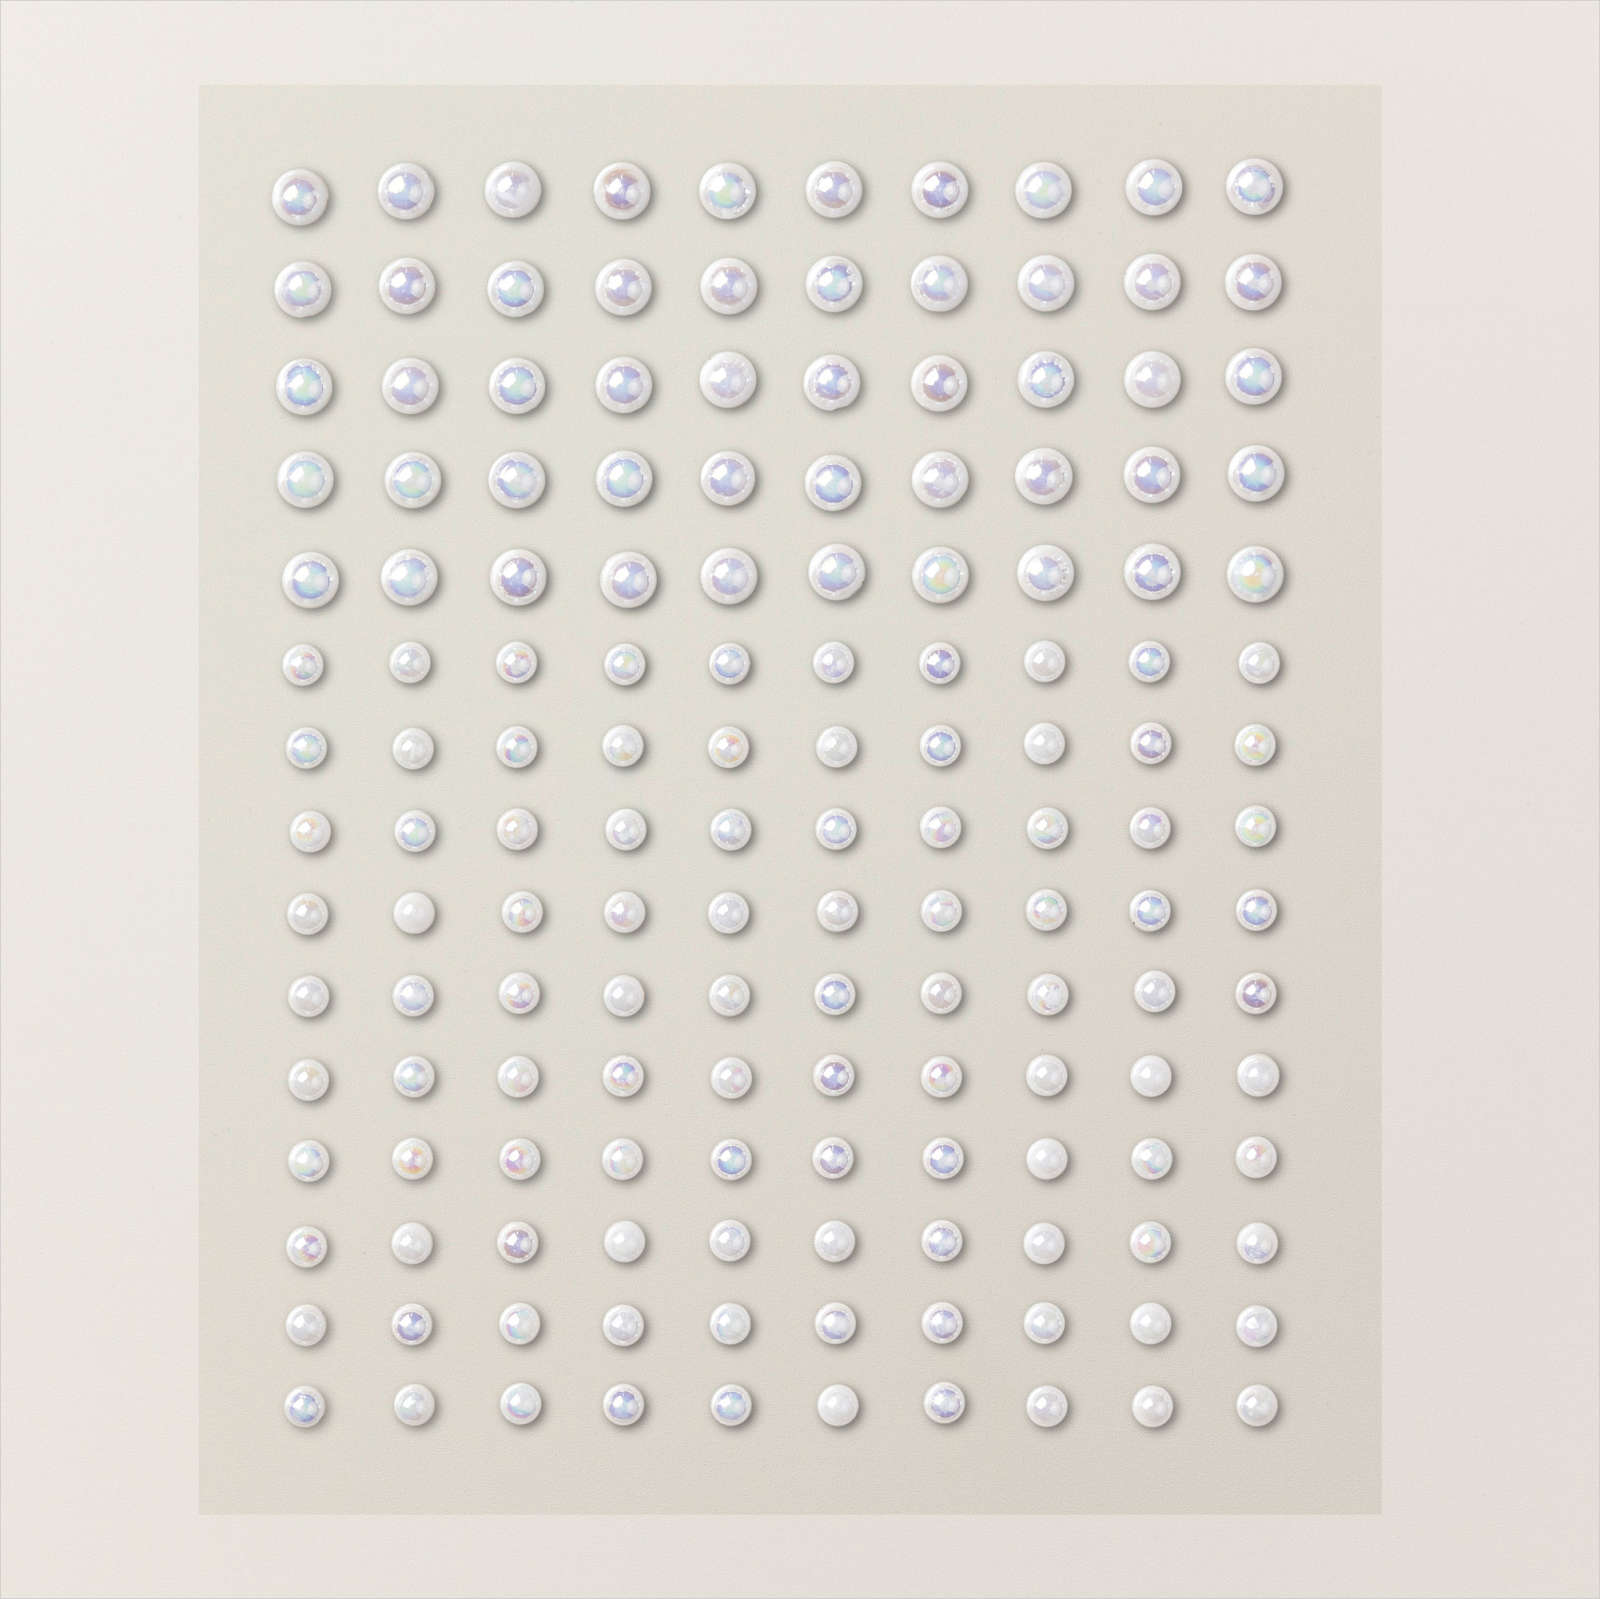
I attached the greeting to the balloon image before attaching all the pieces to the card front using mini dimensionals. Lastly I added three Iridescent Pearls to the card front, because sometimes you just need some bling! To decorate the inside of the card, I attached a piece of the same pattern Lighter Than Air Designer Series Paper down the left hand side of Basic White card. I stamped another greeting from the Hot Air Balloon stamp set onto the Basic White card using Fresh Freesia ink before attaching the panel to the inside of the scored and folded Bubble Bath card base. Stampin’ Up! makes it easy to create gorgeous cards when they co-ordinate everything so beautifully. I’d love to know what you think.
Bye for now
Kris
Product Used:


4 Generations

My sister and her husband were able to visit Mum and Dad recently with their son and four of his children. We had a sausage sizzle at the club house in Mum and Dad’s village. It is right next to the pool so the children were able to have a swim. I attached a piece of Basic Black card to a Basic White 12″ x 12″ page before attaching a piece of Zoo Crew 12″ x 12″ Designer Series Paper down the left hand side. I embossed a panel of Basic Black card using one of the Basics 3D Embossing Folders and attached it down the left hand edge of the page. All of the photos are attached to the centre of the page. I cut the title from Basic Black card using the Alphabet A La Mode Dies and attached it across the top of the page on the right hand side.

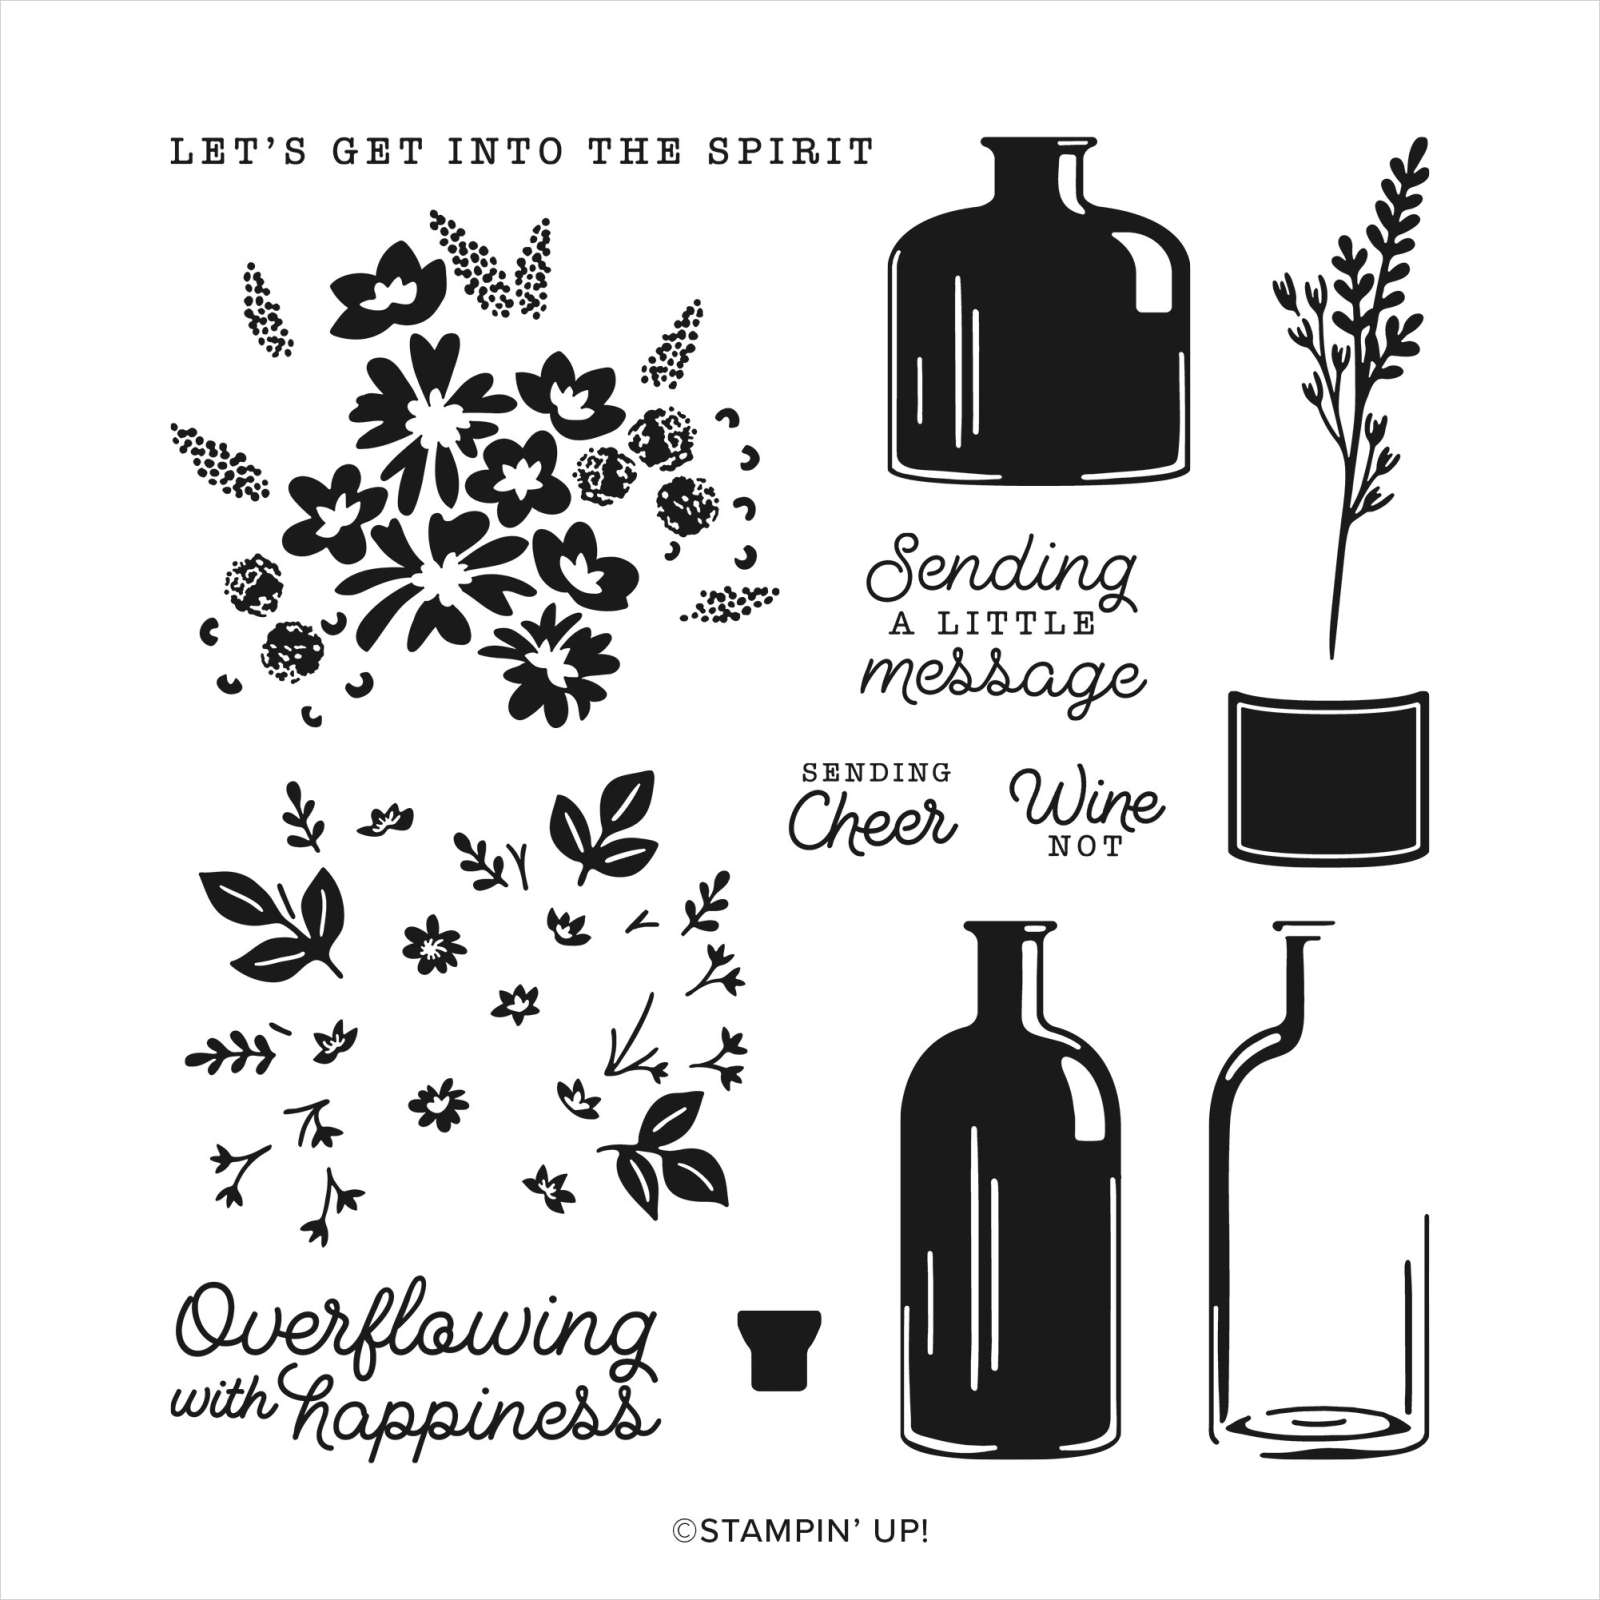
I printed my journaling onto Basic White card which I cut into a narrow strip and attached to Basic Black card. The journaling is attached across the bottom of the page. Because I had to cut my Basic Black embossed panel in half I created a banner to cover it. I stamped the greeting from the Bottled Happiness stamp set onto Basic White card using Memento Tuxedo Black ink. I cut out the greeting using one of the banners from the Stylish Shapes Dies. I cut Fresh Freesia card using the heart from the Radiating Stitches Dies and attached it between the top two photos. I also cut Fresh Freesia card using the heart die from the Cracker & Treat Box Dies. The small hearts are attached above the greeting banner. I love that this page celebrates a happy day for my Mum and Dad.
Bye for now,
Kris
Product Used:


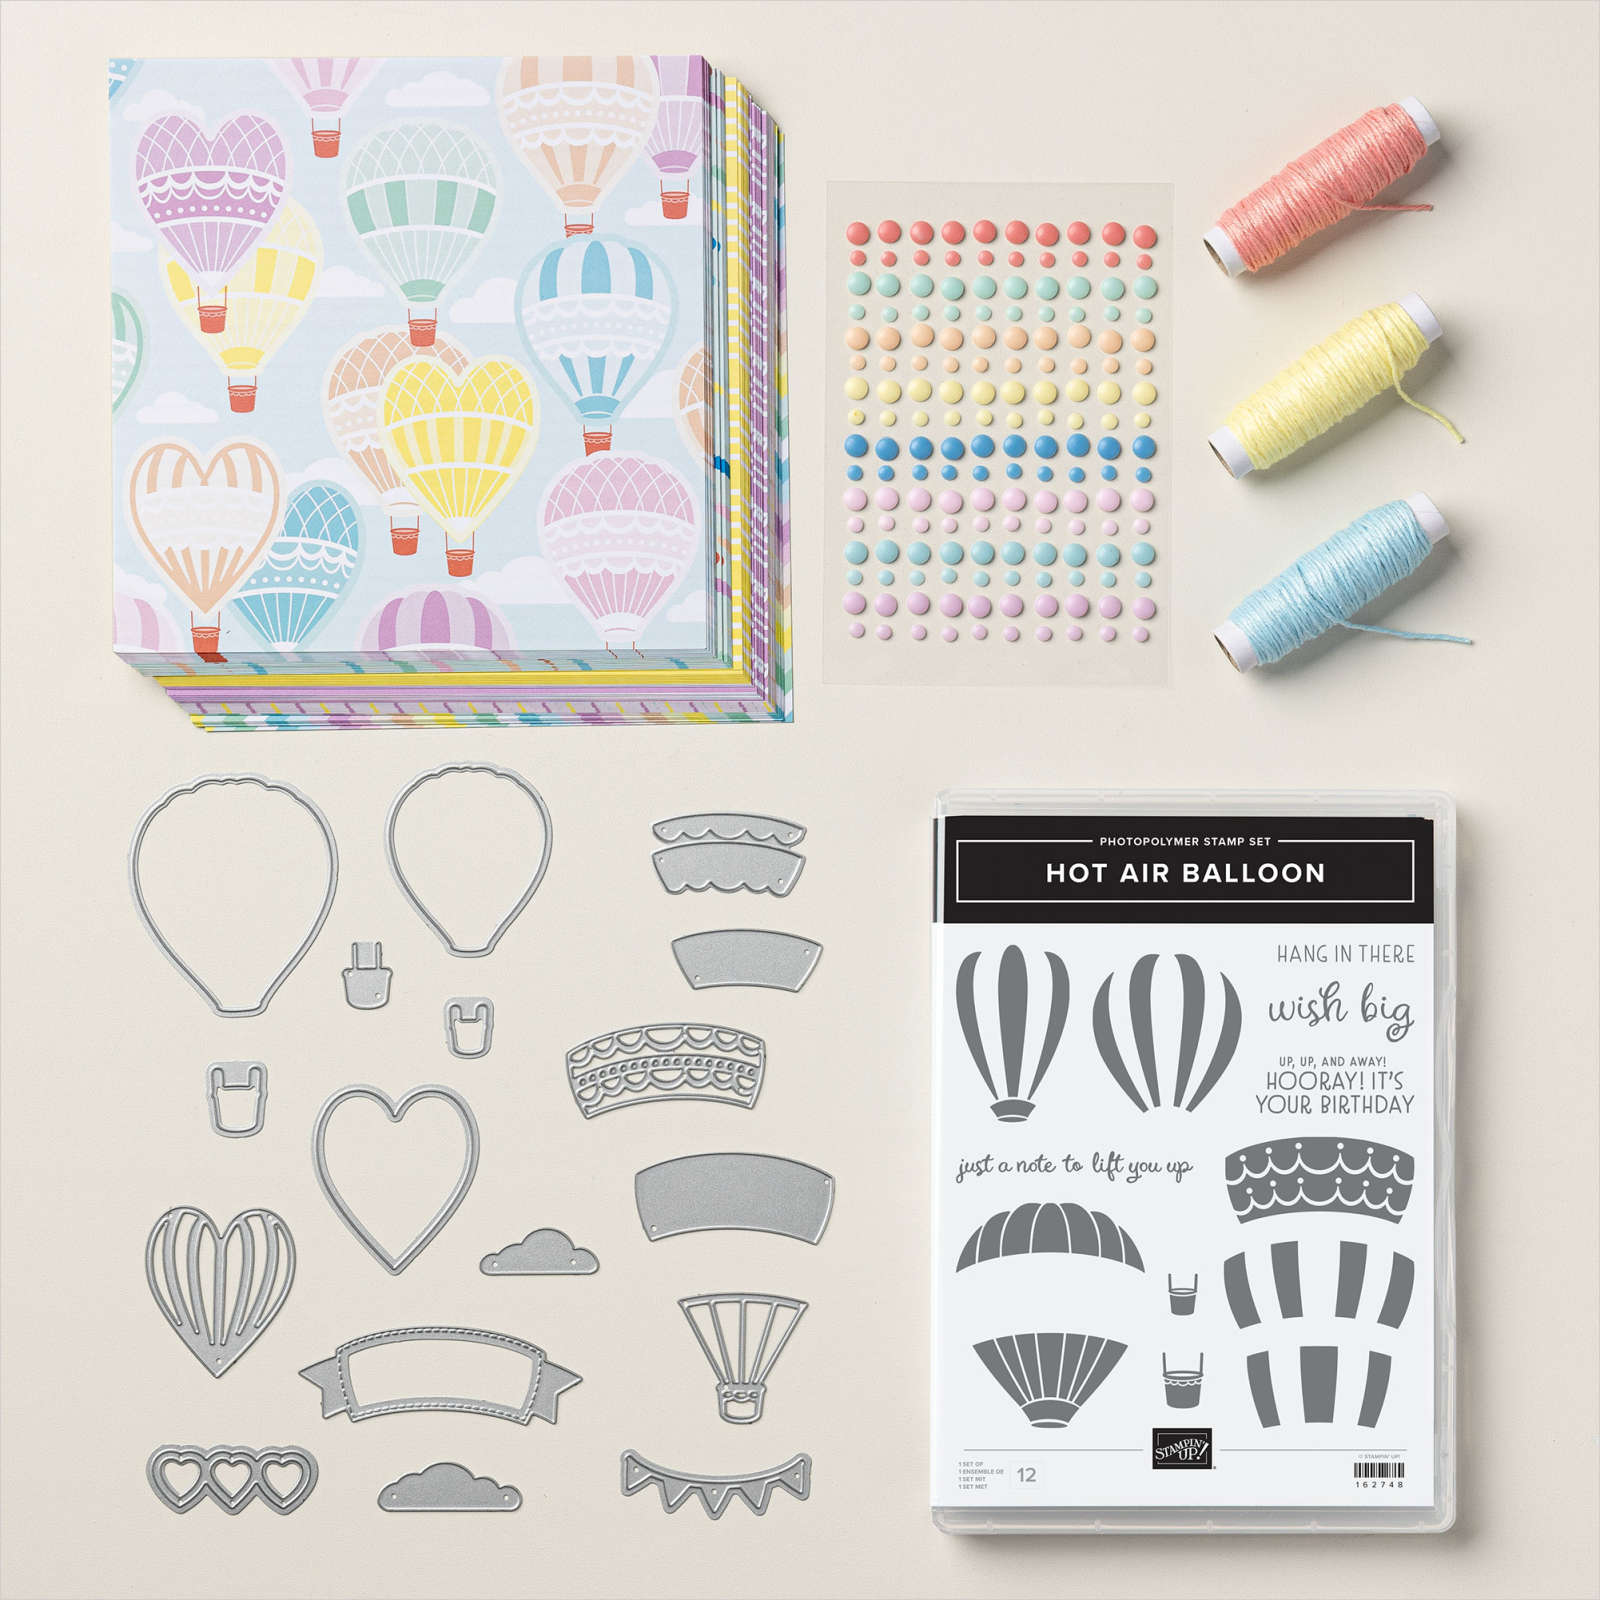
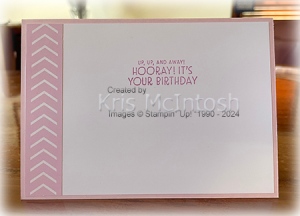
Hooray It’s Your Birthday

This week in my Facebook Live, I shared some cards I made using the Hot Air Balloon Product Suite. The suite includes the Hot Air Balloon Bundle, Lighter than Air 6″ x 6″ Designer Series Paper, Baker’s Twine 3 colour pack & Rainbow Adhesive Backed Dots. I must admit it has taken me a while to play with these products, but I am glad that I have. I cut two pieces of paper from the Lighter than Air Designer Series Paper and attached them to Balmy Blue card and then scored and folded Thick Basic White card. I cut Basic White card using one of the Basic Border Dies and used it as a mask to add Balmy Blue card to a piece of Basic White card.
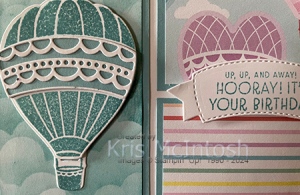
I attached the sponged card to Balmy Blue card and then the card front. I stamped the balloon image from the Hot Air Balloon stamp set onto Basic White card using Balmy Blue ink and cut it out using the co-ordinating Hot Air Balloon Die. I cut Balmy Blue card using another of the Hot Air Balloon Dies and attached the Basic White panel cut using another die. This panel is attached across the centre of the stamped balloon. I stamped the basket image onto Basic White card using Balmy Blue ink and cut it out using the co-ordinating Hot Air Balloon Die.
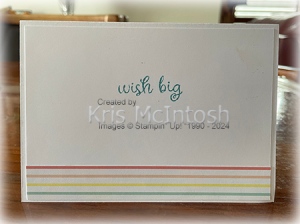
I attached the basked to the sponged panel before attaching the balloon over the top using dimensionals. I stamped he greeting from the Hot Air Balloon stamp set onto Basic White card using Balmy Blue ink and cut it out using the banner die from the Hot Air Balloon Dies. The greeting is attached across the designer series paper panels using dimensionals. To decorate the inside of the card, I stamped the greeting from the Hot Air Balloon stamp set onto Basic White card using Balmy Blue ink. I attached a piece of the Lighter Than Air Designer Series Paper across the bottom of the stamped Basic White card before attaching the whole panel to the inside of the Thick Basic White card base. I love how this turned out, don’t you?
Bye for now,
Kris
Product Used: