Merry Christmas

to you and your family. Life has been a little hectic for my husband and I as we prepared to move Dad into the same care facility as my Mum. However it was lovely to see them chatting to each other when he moved in yesterday. I am sure that this is the best present one could ever wish for. My best wishes for a happy Christmas for you and your family filled with lots of love and happy memories.
Enjoy your day
Kris
Iconic Trees
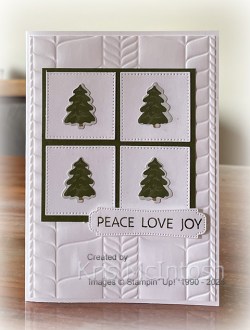
Today I have a card to share with you that I created using sketch number ten from the September to December Mini Catalogue. I embossed a piece of Basic White card using the Modern Herringbone 3d Embossing Folder (a newly released online exclusive) and attached it to scored and folded Thick Basic White card. I attached piece of Mossy Meadow card to the embossed panel. I cut four squares from Basic White card using one of the Stylish Shapes Dies and attached them to the Mossy Meadow card.

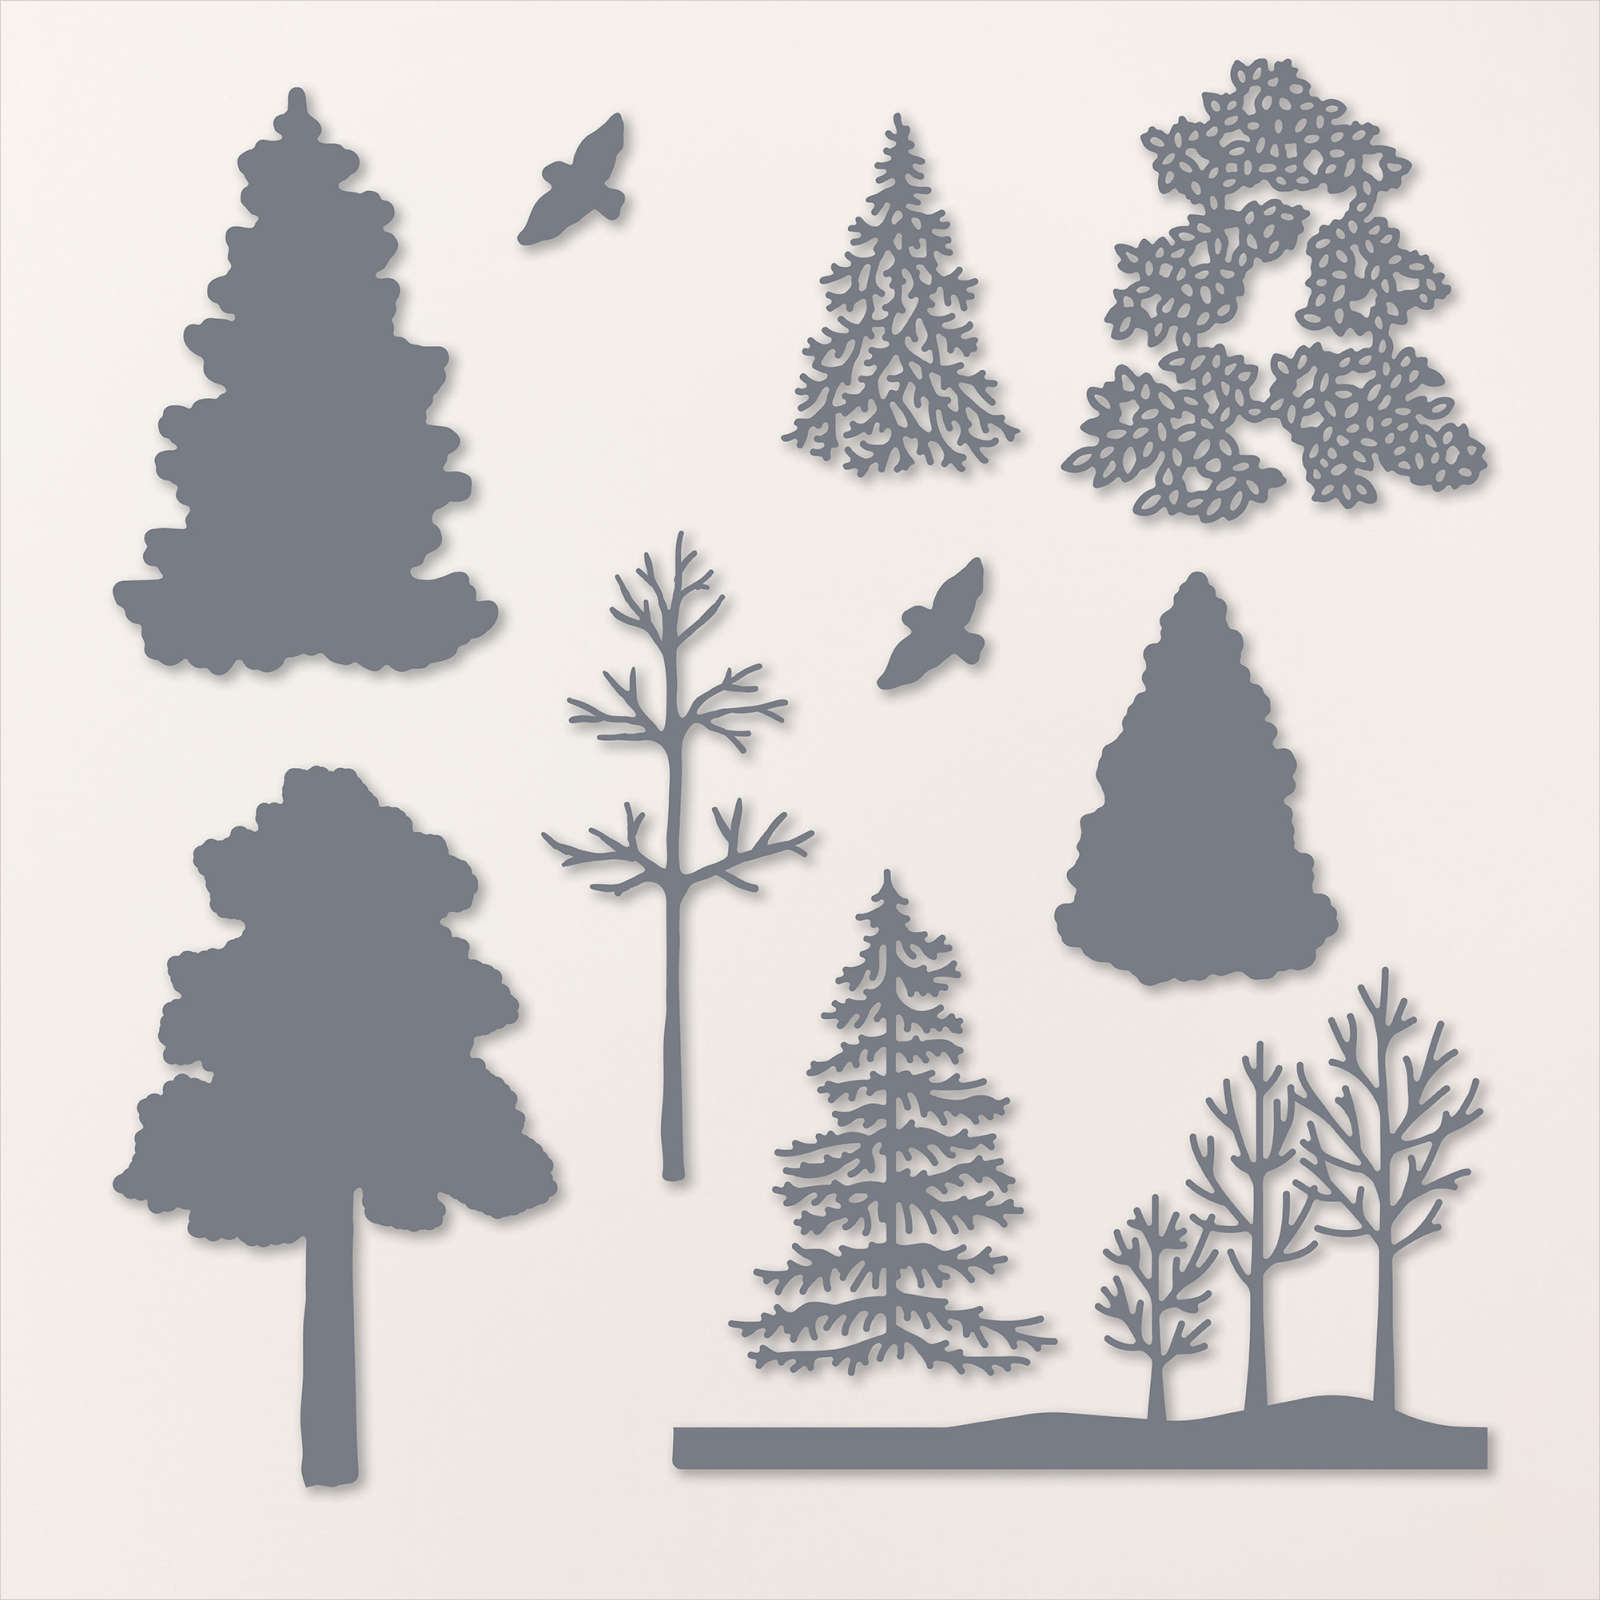
I die cut the trees from the Iconic Celebrations 6″ x 6″ Designer Series Paper using the Iconic Imagery Dies and attached one to each square. I stamped “Peace”, “Love” and “Joy” from the Iconic Imagery stamp set onto Basic White card using Mossy Meadow ink.

I cut out the greeting using one of the banners from the Iconic Imagery Dies. The greeting is attached to the card front using dimensionals. To decorate the inside of the card, I stamped the greeting from the Greetings of the Season stamp set onto Basic White card using Mossy Meadow ink. I attached the stamped panel to Mossy Meadow card before attaching it inside the Thick Basic White card base. I just love how the green pops on all of the white background, don’t you.
Bye for now,
Kris
Product Used:
You can view the Modern Herringbone 3D Embossing Folder here in my online store.


Celebrate

I am slowly working through my digital photos to get them all scrapped before I loose any more to digital failure! Today’s page shows off one of my Granddaughters celebrating her second birthday. I attached a piece of Unbounded Beauty 12″ x 12″ Designer Series Paper down the left hand side of a Basic White 12″ x 12″ page. I mounted my photos onto Basic Black card before attaching them to the page aligning a couple of narrow strips down the edges of the Designer Series Paper and slightly over a couple of the photos. One strip is Petuna Pop and the other is Basic White. I stamped the striped candle image from the Iconic Imagery stamp set twice onto Basic White card using Petunia Pop ink and cut them out using the co-ordinating Iconic Imagery Die.

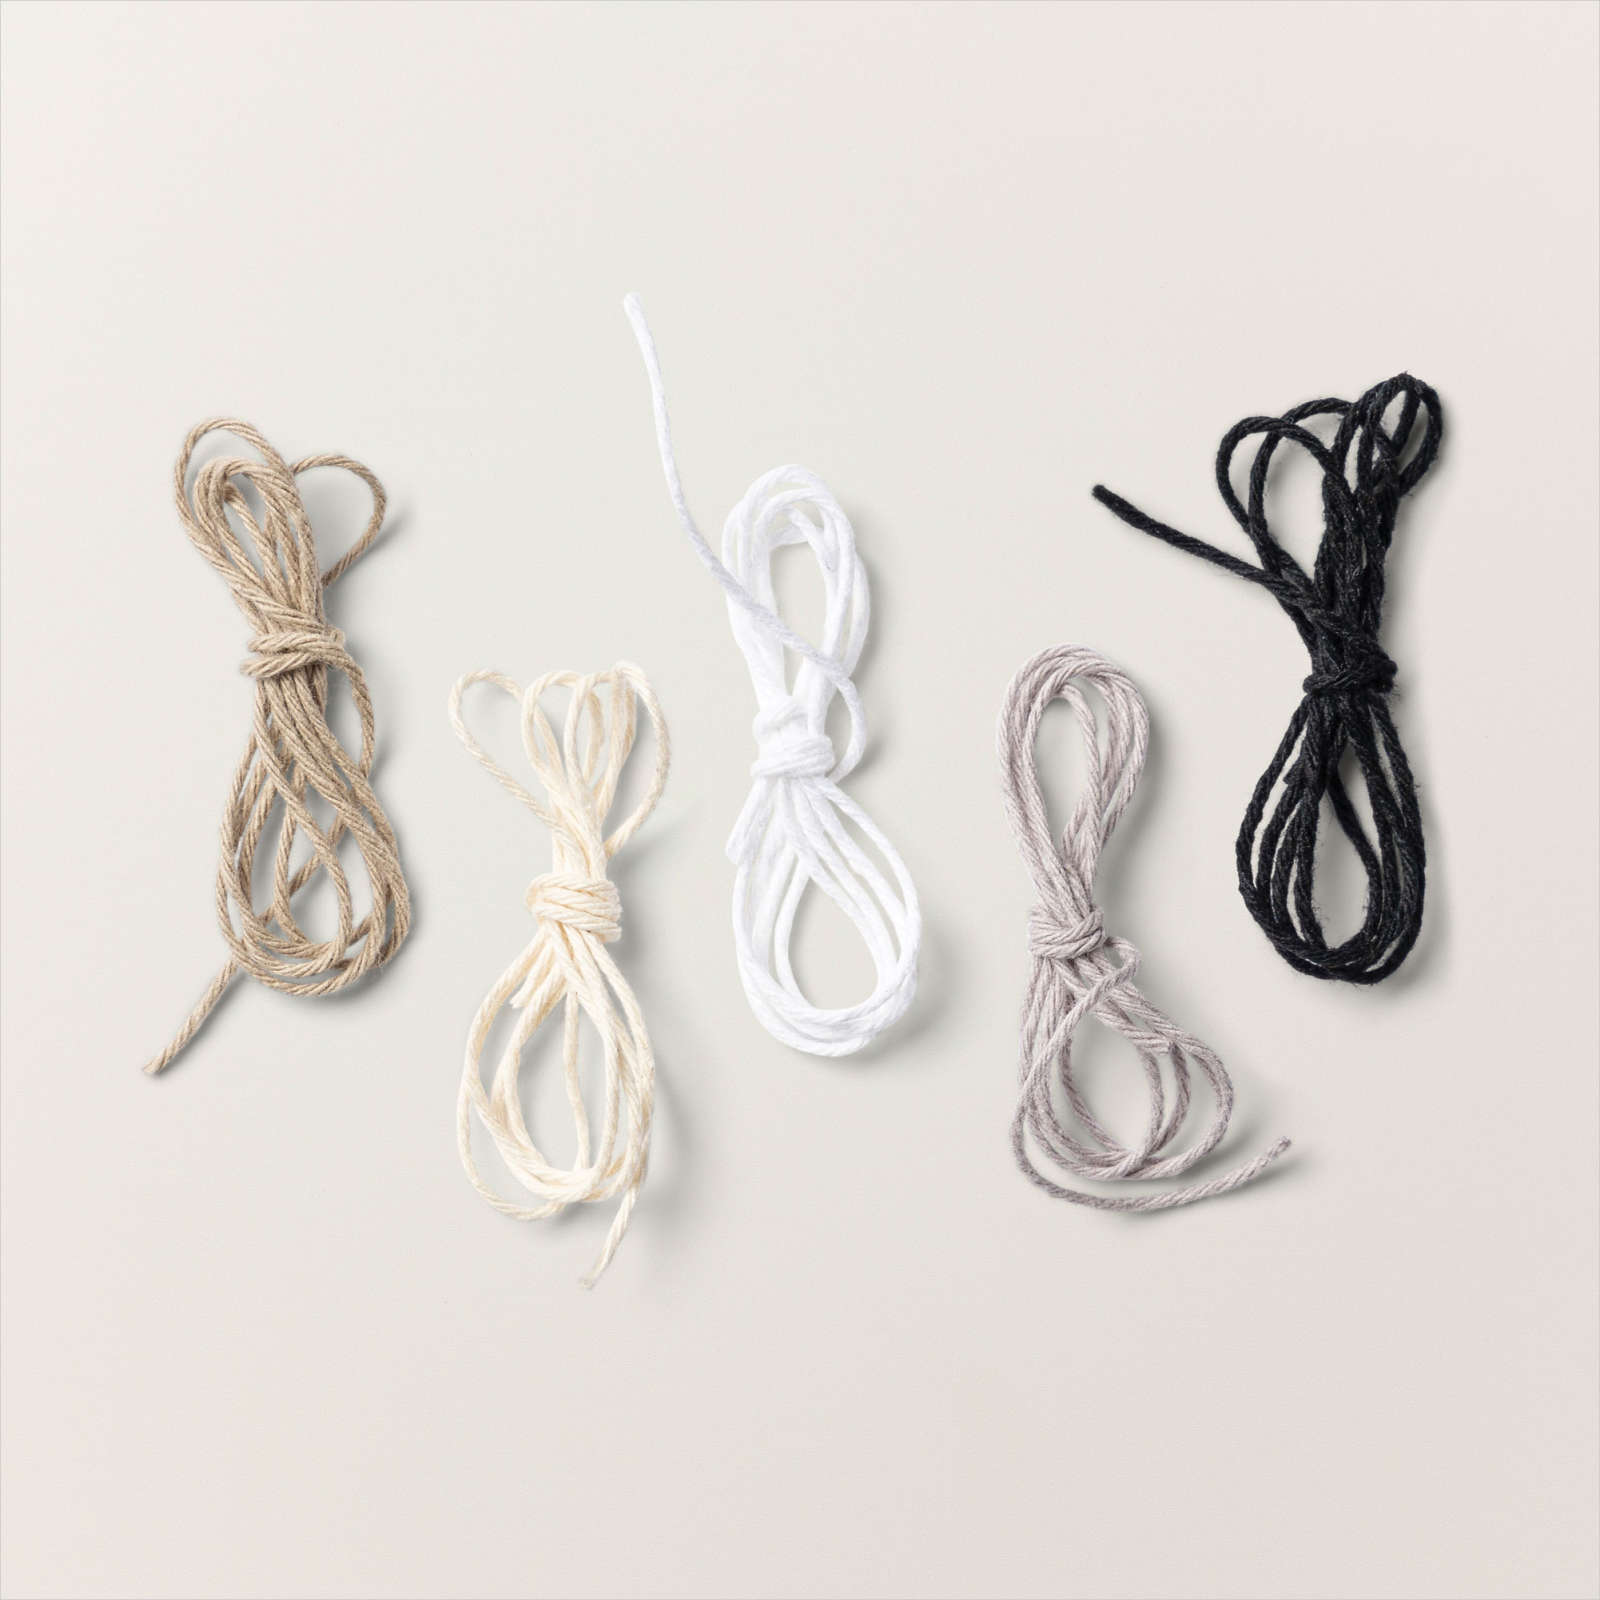
The images are attached to a Basic White circle cut using the Stylish Shapes Dies. I cut the candle flames from Daffodil Delight card using the Iconic Imagery Dies and attached them to the top of the candles. The circle is attached to a Petunic Pop circle punched using the 1-3/4″ Circle. I stamped the background image from the Iconic Imagery stamp set onto the upper right hand section of the page multiple times using Petunia Pop ink. I cut the large banner die from Basic White card using the Iconic Imagery Die. I stamped “Celebrate” from the Iconic Imagery stamp set onto the banner using Petunia Pop ink before attaching it to the page over the stamped background. I printed my journaling onto Basic White card and used the narrow banner die from the Greetings of the Season Dies to cut it out. I cut Petunia Pop card using the wider banner die from the Greetings of the Season Dies. I attached the two banners together and threaded a length of Petunia Pop Bordered Ribbon through the holes. I tied a length of White Baker’s Twine from the Baker’s Twine Essentials Pack around the ribbon before attaching the journaling to the lower right hand section of the page. I just love the look on Elyssa’s face when she is getting ready to blow out the candles.
Bye for now,
Kris
Product Used:


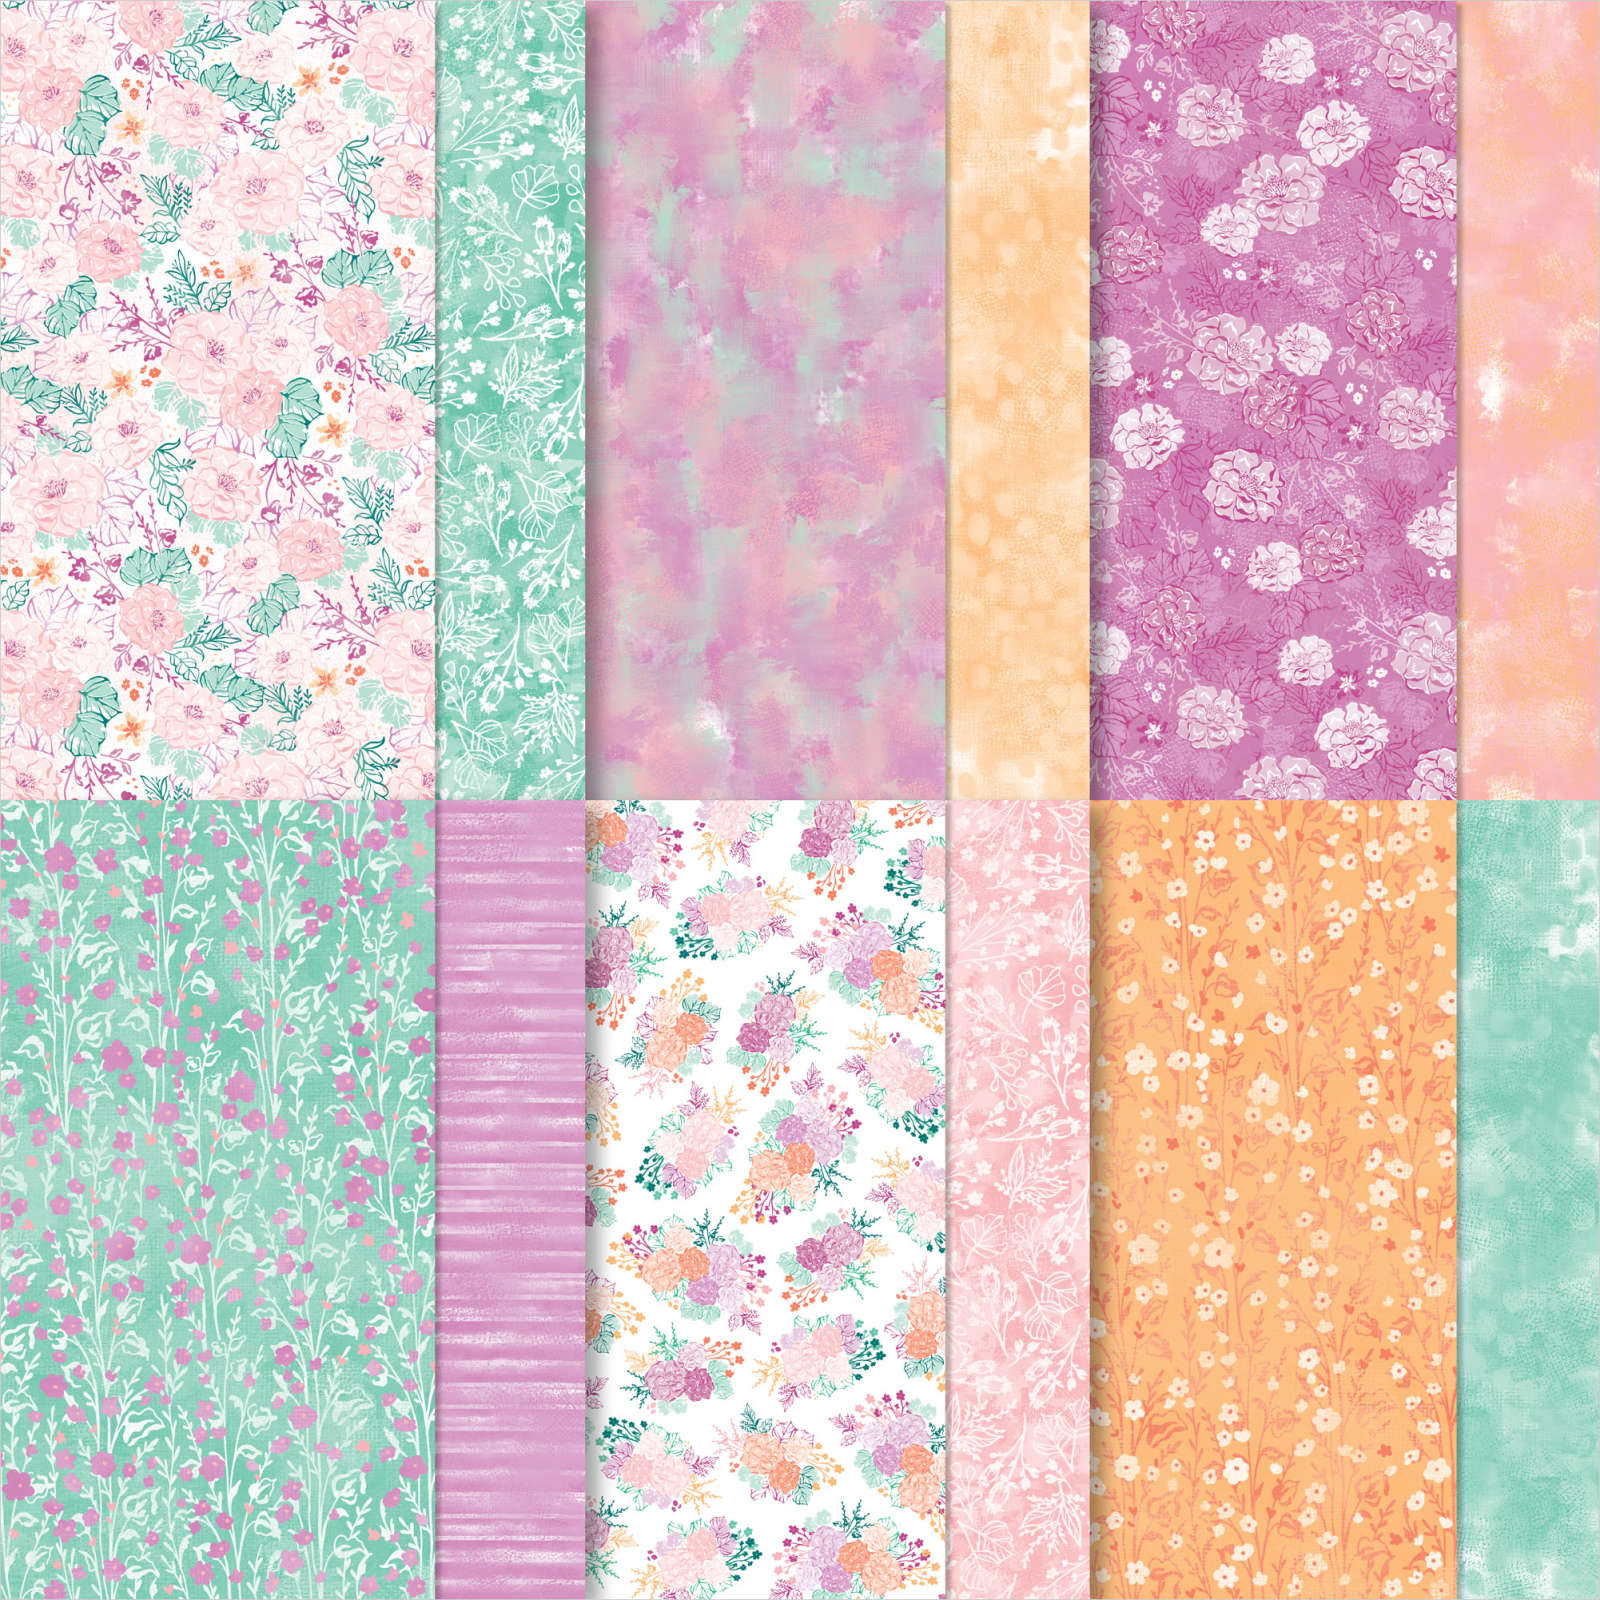


Happy Hibiscus Birthday

My eldest granddaughter recently celebrated her birthday and today I am sharing the card I made for her. I embossed Highland Heather card using the Happy Hibiscus Hybrid Embossing Folder. The embossed panel is attached to scored and folded Gorgeous Grape card. I stamped the three flower outline image from the Happy Hibiscus stamp set onto Basic White card using Gorgeous Grape ink. I stamped the fill images for the three flowers using Highland Heather ink.
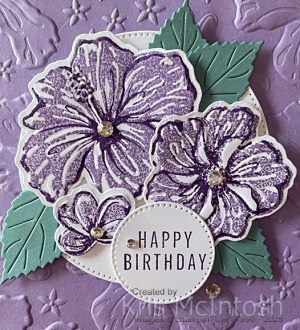
I used the Happy Hibiscus Hybrid Embossing Folder to cut and emboss the flowers. I also die cut four leaves from Lost Lagoon card using the leaf die from the Happy Hibiscus Hybrid Embossing Folder Dies. I cut Basic White card using the largest circle from the Stylish Shapes Dies. I stamped “happy birthday” from the Translucent Florals stamp set onto Basic White card using Gorgeous Grape ink and cut it out using one of the smaller circles from the Stylish Shapes Dies.
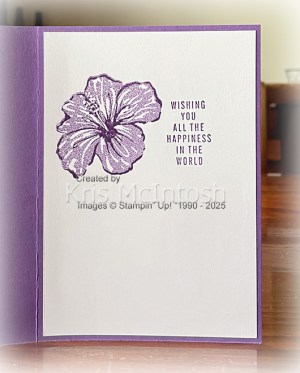
I attached the flowers, leaves and greeting to the large Basic White circle using dimensionals under the flowers, before attaching the whole panel to the card front. Just to give it a little “bling” I added some Basic Rhinestones to the flowers and the card front. To decorate the inside of the card, I stamped another greeting from the Translucent Floral stamp set onto Basic White card using Gorgeous Grape ink. I stamped the outline of the largest flower from the Happy Hibiscus stamp set three flower stamp beside the greeting using Gorgeous Grape ink. I stamped the fill image using Highland Heather ink. I truly love the gorgeous looks you can create using the Happy Hibiscus Bundle, don’t you?
Bye for now,
Kris
Product Used:
You can view the Happy Hibiscus Bundle here in my online store.


Green & Gold Christmas

I was inspired by card template eighteen in the September to December Mini Catalogue for today’s creation. I attached a piece of Season of Green & Gold 12″ x 12″ Specialty Designer Series Paper to scored and folded Garden Green card. I cut Garden Green card with one of the now retired Deckled Circle Dies and attached it to the Designer Series Paper. I cut another circle using the same dies from Very Vanilla card and attached it to the centre of the Garden Green circle. I stamped the solid tree from the Merriest Trees stamp set onto Very Vanilla card using Old Olive ink.

However, I did stamp the image onto scrap paper first. I stamped the greeting from the Merriest Trees stamp set over the top of the tree using Old Olive ink. I used the co-ordinating Merriest Trees Die to cut out the image before attaching it to the Very Vanilla circle. I stamped one of the present images from the Merriest Trees stamp set onto Very Vanilla card using Pecan Pie ink and cut it out using the co-ordinating Merriest Trees Die. I stamped another present image onto Very Vanilla card using Garden green ink and the last one using Old Olive ink. These images were also cut out the using the co-ordinating dies. I also stamped one bow from the Merriest Trees stamp set onto Very Vanilla card using Pecan Pie ink and one using Garden Green ink.

The bows are cut out I cut out using the co-ordinating Merriest Trees Dies. I attached the Garden Green bow to the centre of the Pecan Pie present before attaching it to the card front. I attached the Garden Green present using dimensionals. The last present had the Pecan Pie bow attached before it too is attached to the card front using dimensionals. Lastly I used the die from the Merriest Trees Dies to cut a star from Gold Foil card which is attached to the top of the tree. To decorate the inside of the card, I attached a narrow strip of Season of Green & Gold Designer Series Paper across the bottom of Basic White card. I also stamped one of the greetings from the Merriest Trees stamp set using Garden Green ink. I just love how easy it is to create a card using the templates as a guide. What about you, do you use the templates to help with your creations?
Bye for now,
Kris
Product Used:


Seasons Greetings

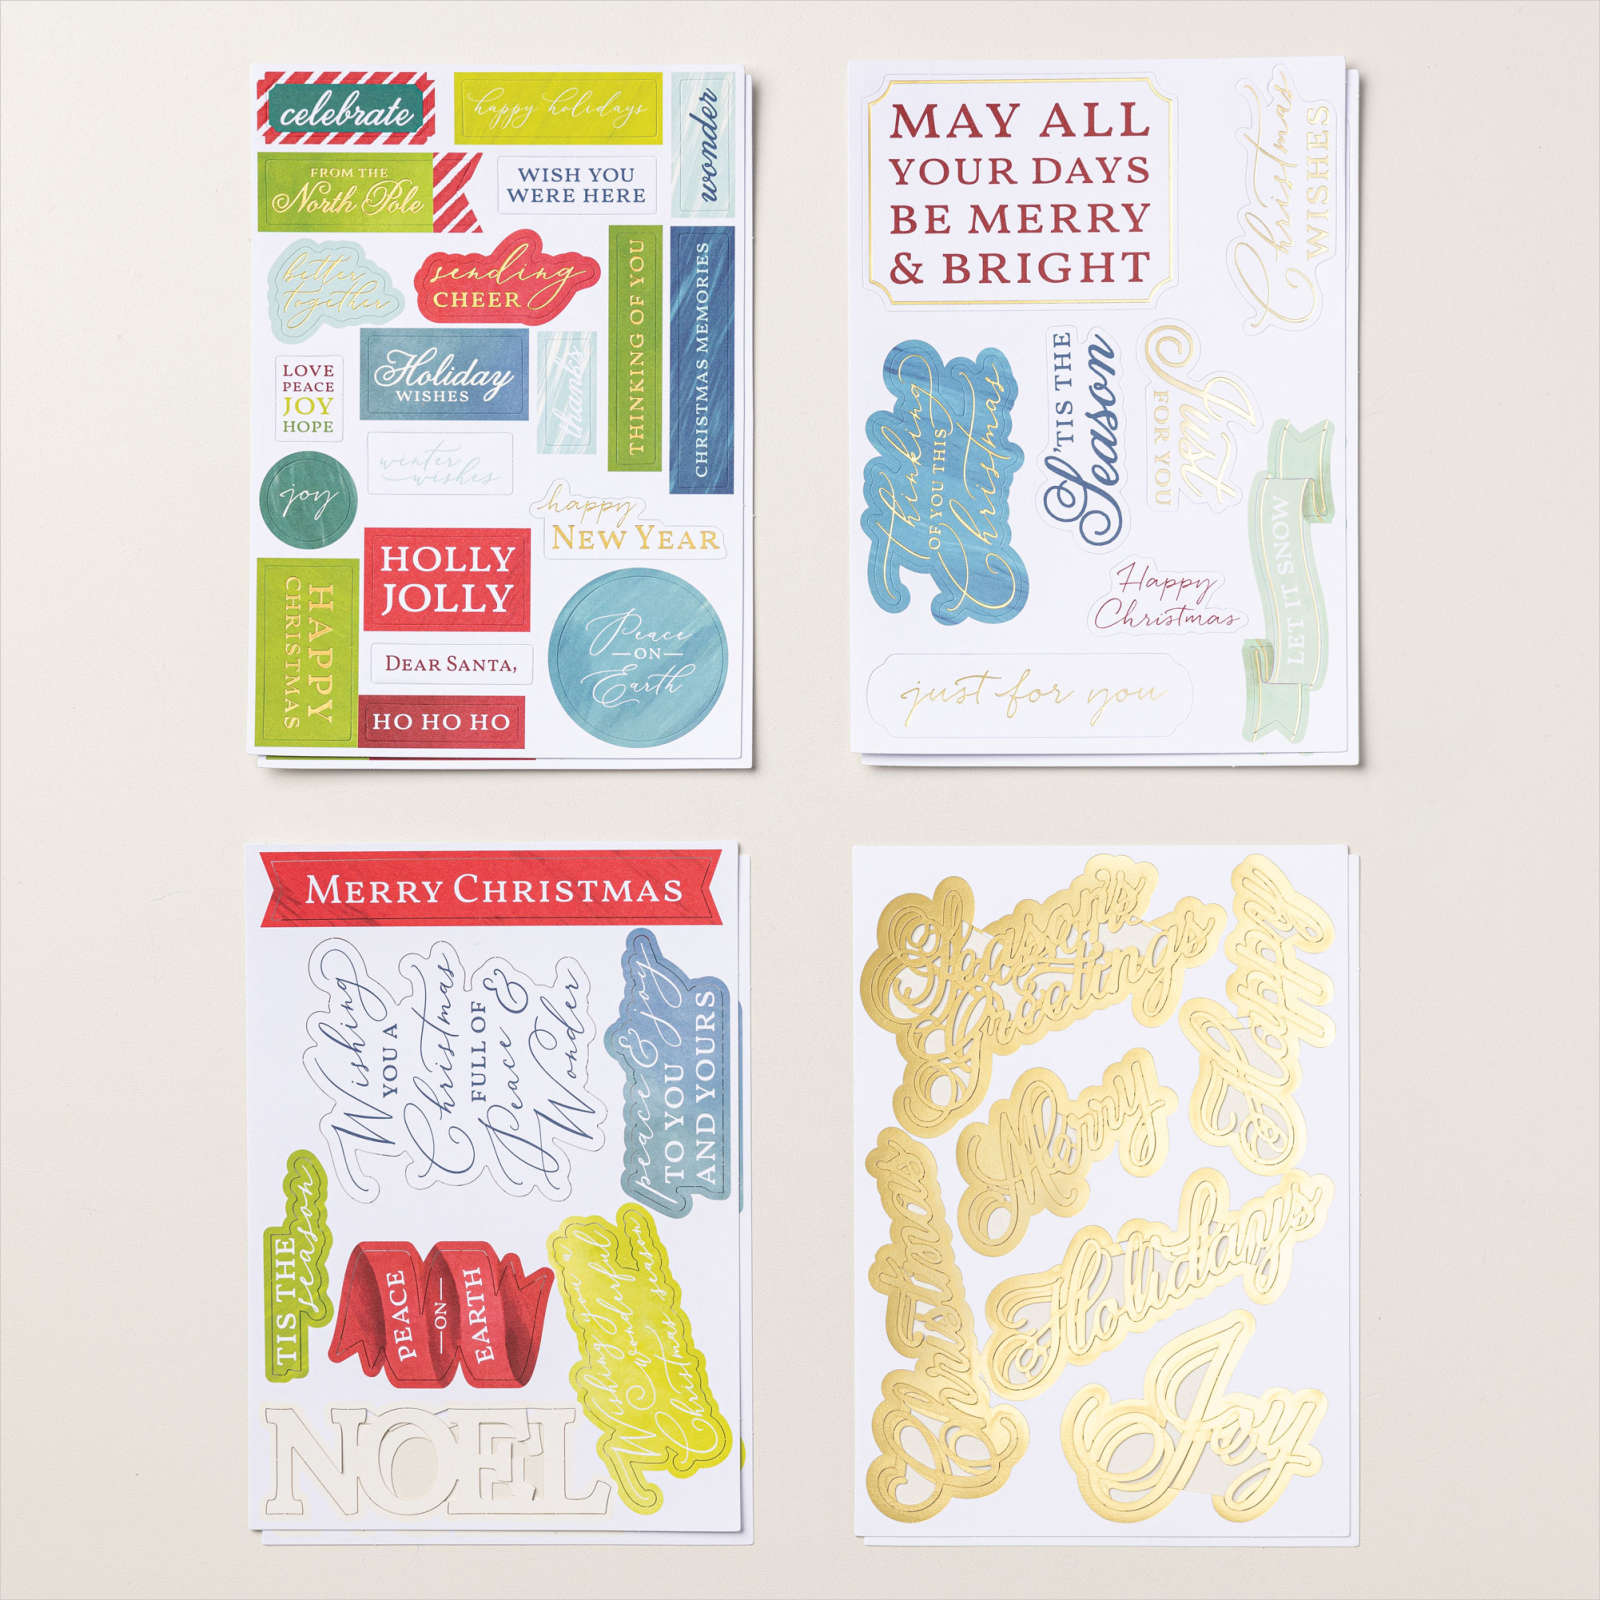
Today’s page is one I created for my Memory Keeping Class which I held last weekend December. For this page I used the A Little Bit Festive Specialty Designer Series Paper. I followed a guide by Noreen Smith a Creative Memories Consultant to cut my Designer Series Paper before attaching the panels to Basic White 12″ x 12″ card. I attached my photos to Early Espresso card before attaching them to the pages. I attached one of the card fronts from the A Little Bit Festive Designer Series Paper to Early Espresso card before attaching it to the left hand page. I added greeting to this panel from the Joyful Sayings Mix & Match Ephemera pack over the tree image to create my title.
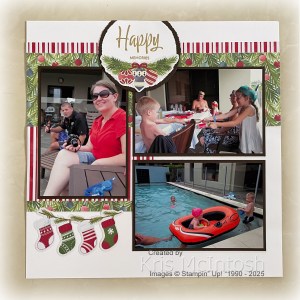
I printed my journaling onto Basic White card which I cut using one of the banners from the Stylish Shapes Dies. I attached the journaling to a banner cut from Early Espresso card also using the Stylish Shapes Dies. The journaling completes the left hand page. I attached the stocking image from the A Little Bit Festive Designer Series Paper across the bottom of the portrait photo on the right hand page. I cut a circle from Basic White card and another one from Early Espresso card using the retired Deckled Circle Dies. I stamped “happy” and “memories” from the Love This Moment stamp set onto the Basic White circle using Versamark ink.

I sprinkled the greeting with Gold Wow Embossing Powder from the Metallics Wow Embossing Powders and heat set it. I attached the bauble image from the A Little Bit Festive Designer Series Paper across the bottom of the Basic White circle before attaching it to the Early Espresso circle. I attached the panel to the top of the right hand page, partially covering the photos and trimmed off the excess at the top of the circle. I love how this page turned out and love the happy memories of Christmas with the grandkids when they were little.
Bye for now,
Kris
Product Used:


Seaside Wishes
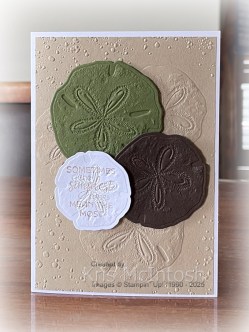
This week in my Facebook Live, I shared some cards I created using the Seaside Wishes Bundle. You can find this Bundle in the current Annual Catalogue. This bundle consists of a stamp set, embossing folder and co-ordinating dies. You can use one of the dies inside the embossing folder to cut and emboss at the same time. Amazing! I embossed Crumb Cake card using the Seaside Wishes Hybrid Embossing Folder. I attached the embossed card to scored and folded Thick Basic White A4 card. I cut Mossy Meadow & Early Espresso card using the Seaside Wishes Hybrid Embossing Folder.
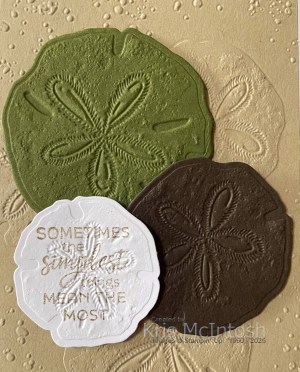
I attached each of the die cuts to the card front using dimensionals. I stamped the greeting from the Seaside Wishes stamp set onto Basic White card using Crumb Cake ink.
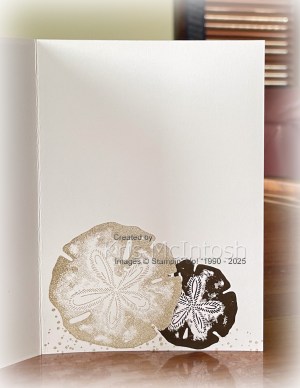
I cut and embossed the greeting using the Seaside Wishes Hybrid Embossing Folder before attaching it to the card front using dimensionals where necessary. To decorate the inside of the card, I stamped the large “sand dollar” image from the Seaside Wishes stamp set using Crumb Cake ink. I masked the stamped image and stamped the smaller “sand dollar” over the right hand edge using Early Espresso ink. I stamped the “dotted” image from the Seaside Wishes stamp set across the bottom of the stamped images using Crumb Cake ink. This is a lovely bundle and when I purchase it I thought it would be a great addition to beach memory keeping pages too.
Bye for now,
Kris
Product Used:


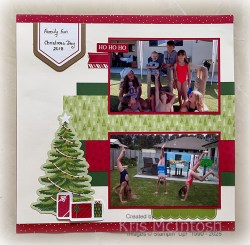
Christmas two ways

The cards I am sharing today were originally created to stamp along with Lauren on the World Cardmaking Group on the first weekend in October to celebrate World Card Making Day. I cut the bottom of the Basic White card using one of the Dies from the Around the Bend Dies and attached it to scored and folded Real Red card.

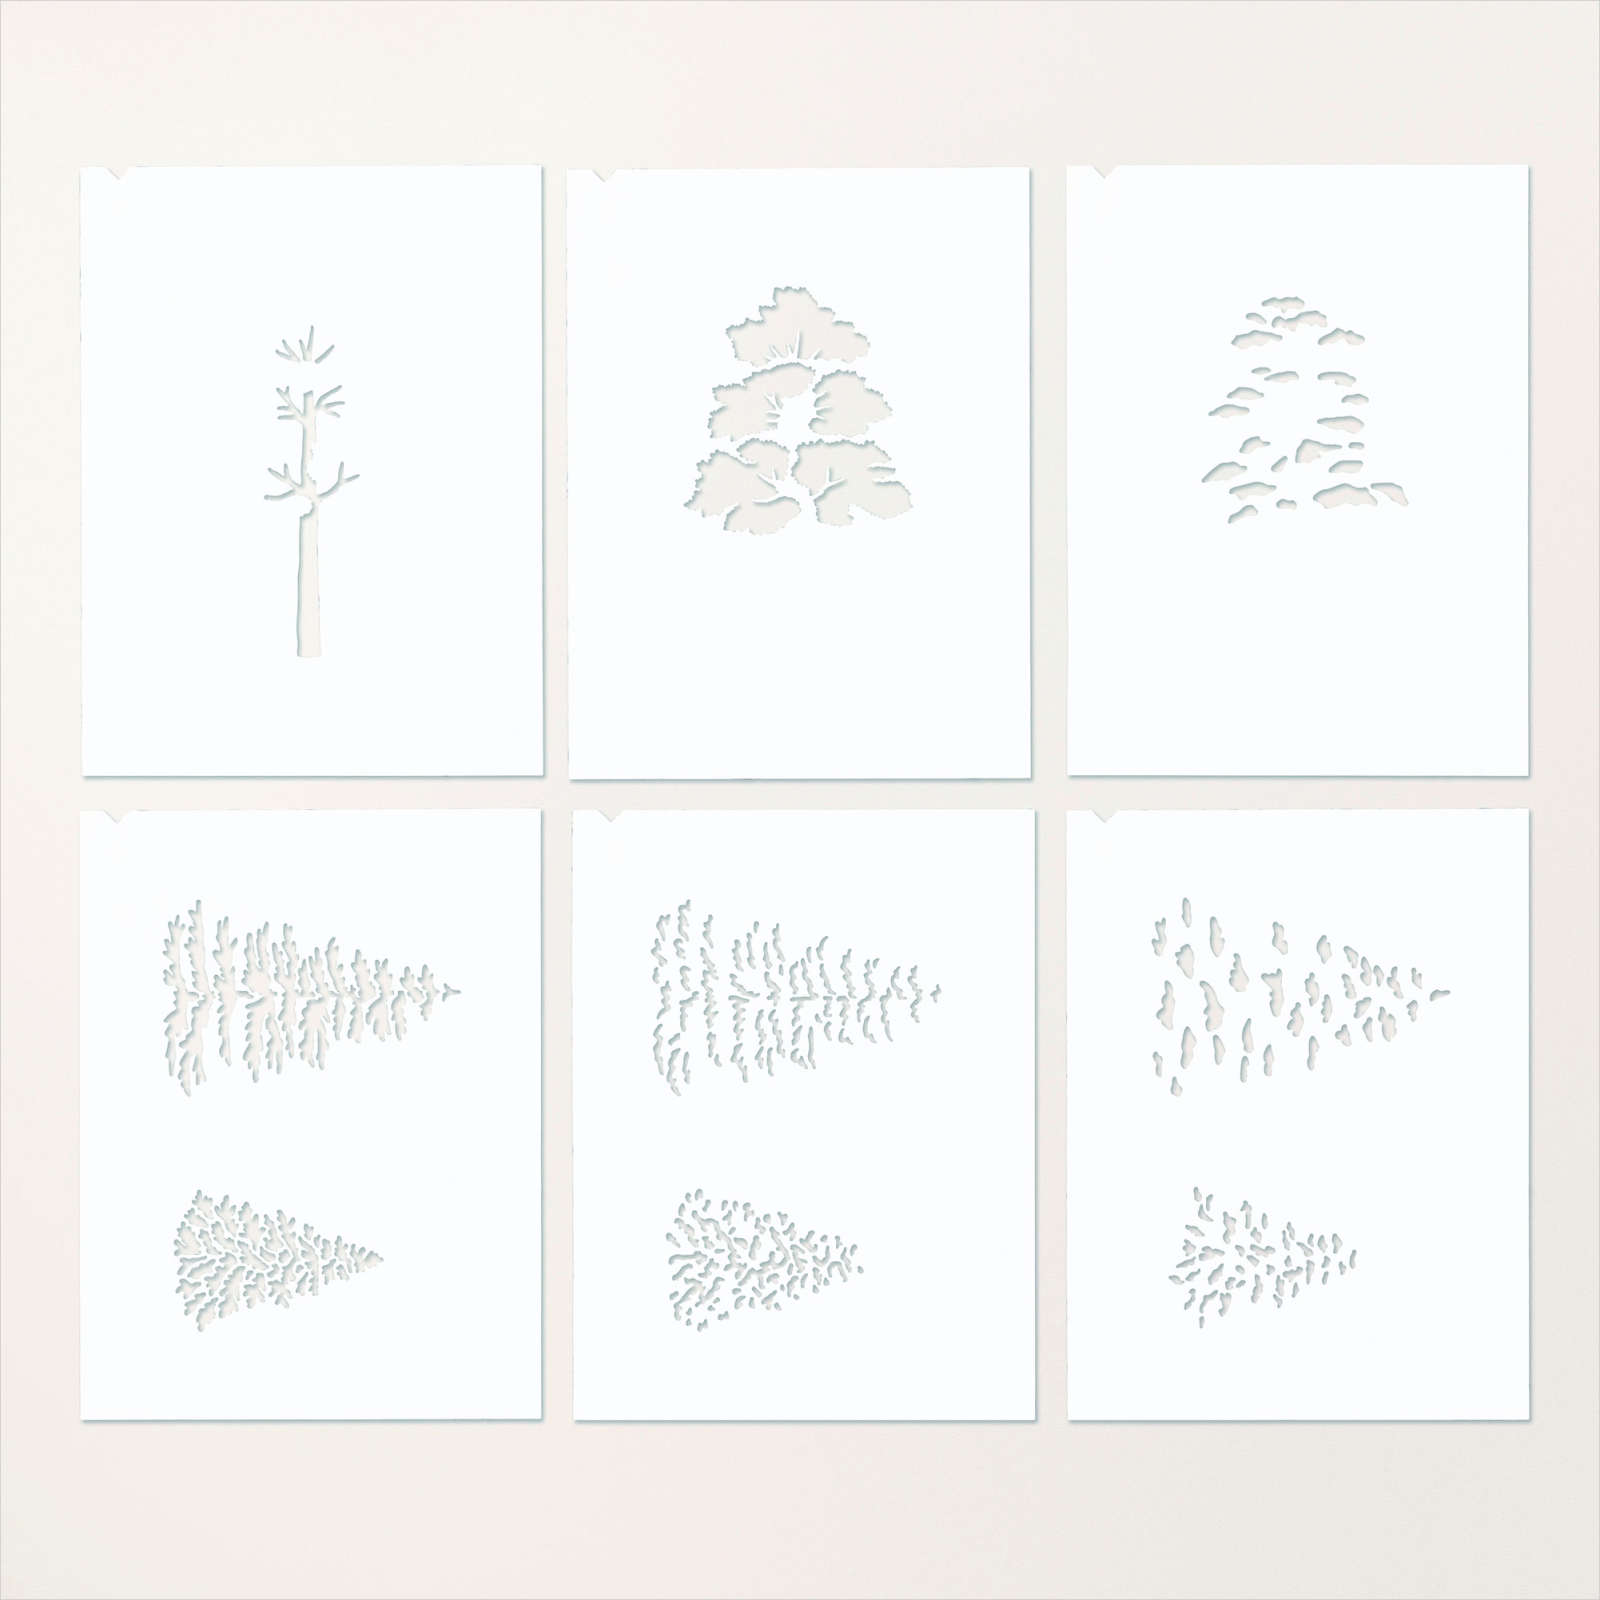
I created the tree using the Frosted Forest Decorative Masks and Garden Green ink. The tree is cut out using the coordinating Frosted Forest Die. I attached the tree to the card front using dimensionals. I stamped “Merry” and “Christmas” from the Greetings of the Season stamp set onto the right hand side of the Basic White card using Real Red ink.

I cut Gold Foil using the star die from the Merriest Trees Dies and attached it to the top of the tree. I used the Dark Red Stampin’ Blend to colour three small Basic Rhinetones and attached them around the greeting. To decorate the inside of the card I used the Frosted Forest Decorative Masks to add a small tree to the lower left hand corned of Basic White card using Garden Green ink. I also stamped the greeting from the Greetings of the Season stamp set beside the tree using Garden Green ink.

I loved this card and wanted to create another one but this time I stepped it up a little and added a layer of Real Red card which I embossed using the Timber 3D Embossing Folder. So thank you Lauren for the inspiration. If you haven’t already joined the World Cardmaking Group on Facebook, you might like to take another look.
Bye for now,
Kris
Product Used:


Free Shipping

From today 9th December to Wednesday 11th December you can get free shipping with any order over $65.00. How amazing is that! This aligns perfectly with the last chance products, some of which have been discounted. So a win/win for you. If your wish list is long then this is the perfect time to stock up on some of your must haves and some of your soon to be gone products and save on the cost of postage. So for 3 days only, you can have free postage on a qualifying order. Happy Shopping.
Bye for now,
Kris
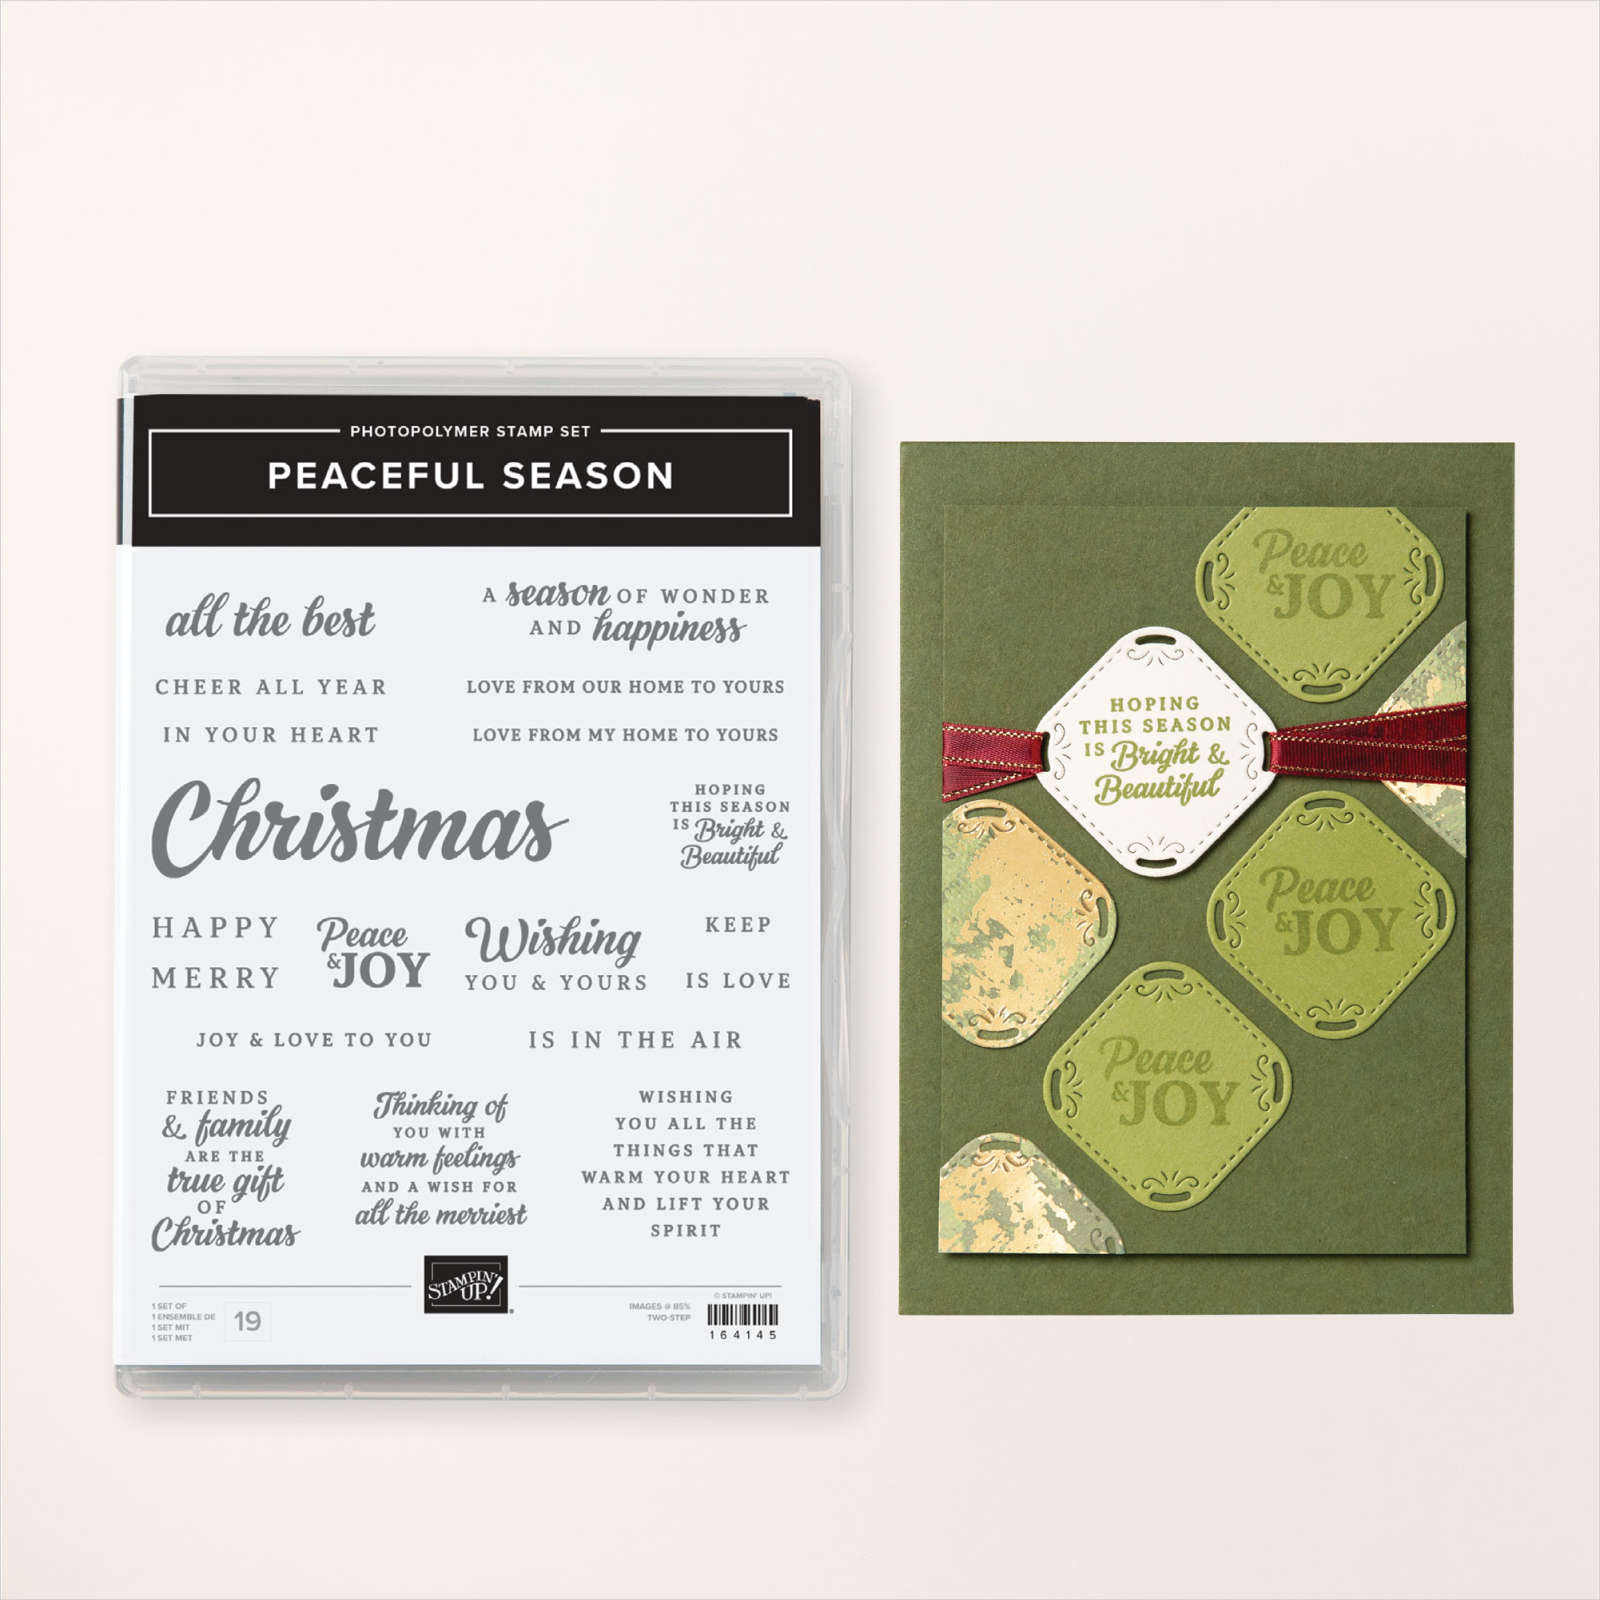
Joy
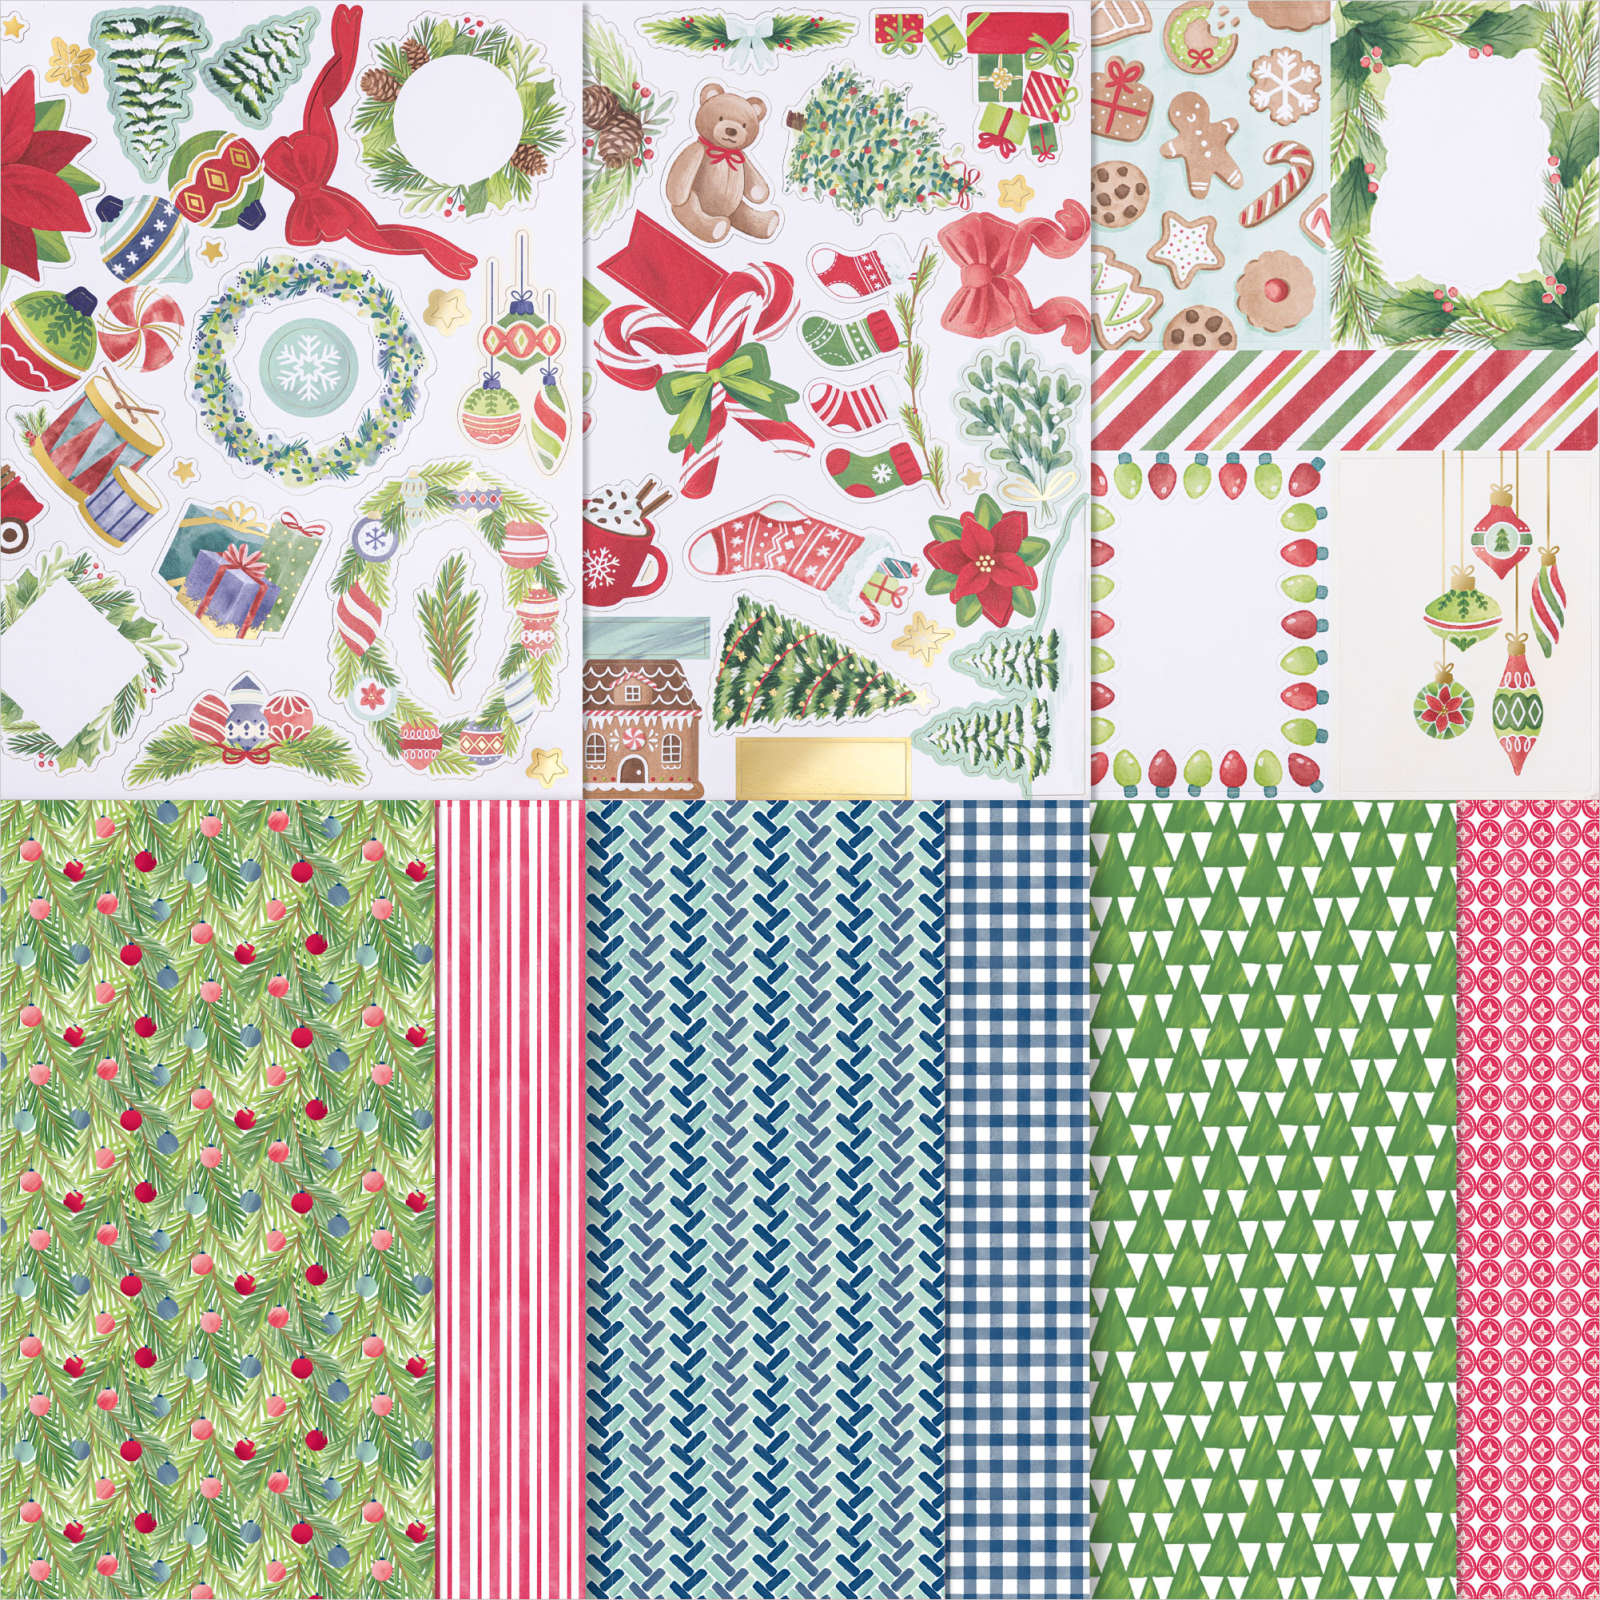
I have previously shared layout one and layout two that I created using the Reindeer Memories Scrapbook Workshop Kit. Today I have the third layout created using the product and instructions from this kit. Again I maybe changed out the stickers for something different but they all come from the kit.

I did add a greeting from the Peaceful Seasons stamp set to the journaling mat using Real Red ink. I love how all of the pages turned out and love that I now have some more photos documented for my family and friends to enjoy. I don’t think I mentioned that although you can buy the Reindeer Memories Scrapbook Workshop Kit you can also purchase the Designer Series Paper and stickers without the instructions if you want to create in your own way using these gorgeous papers.

Stampin’ Up! have also provided a Reindeer Memories 12″ x 12″ Two-Tone Cardstock Pack that you can purchase separately as well. You could tie this Workshop Kit in with the Reindeer Days Memories & More pack and the Reindeer Memories stamp set. There are a lot of options to create and of course you could just use the products to create your Christmas cards for the year. I hope you are inspired to take a look at the amazing co-ordinating products that Stampin’ Up! have provided for our Christmas creations this year.
Bye for more.
Kris
Product Used: