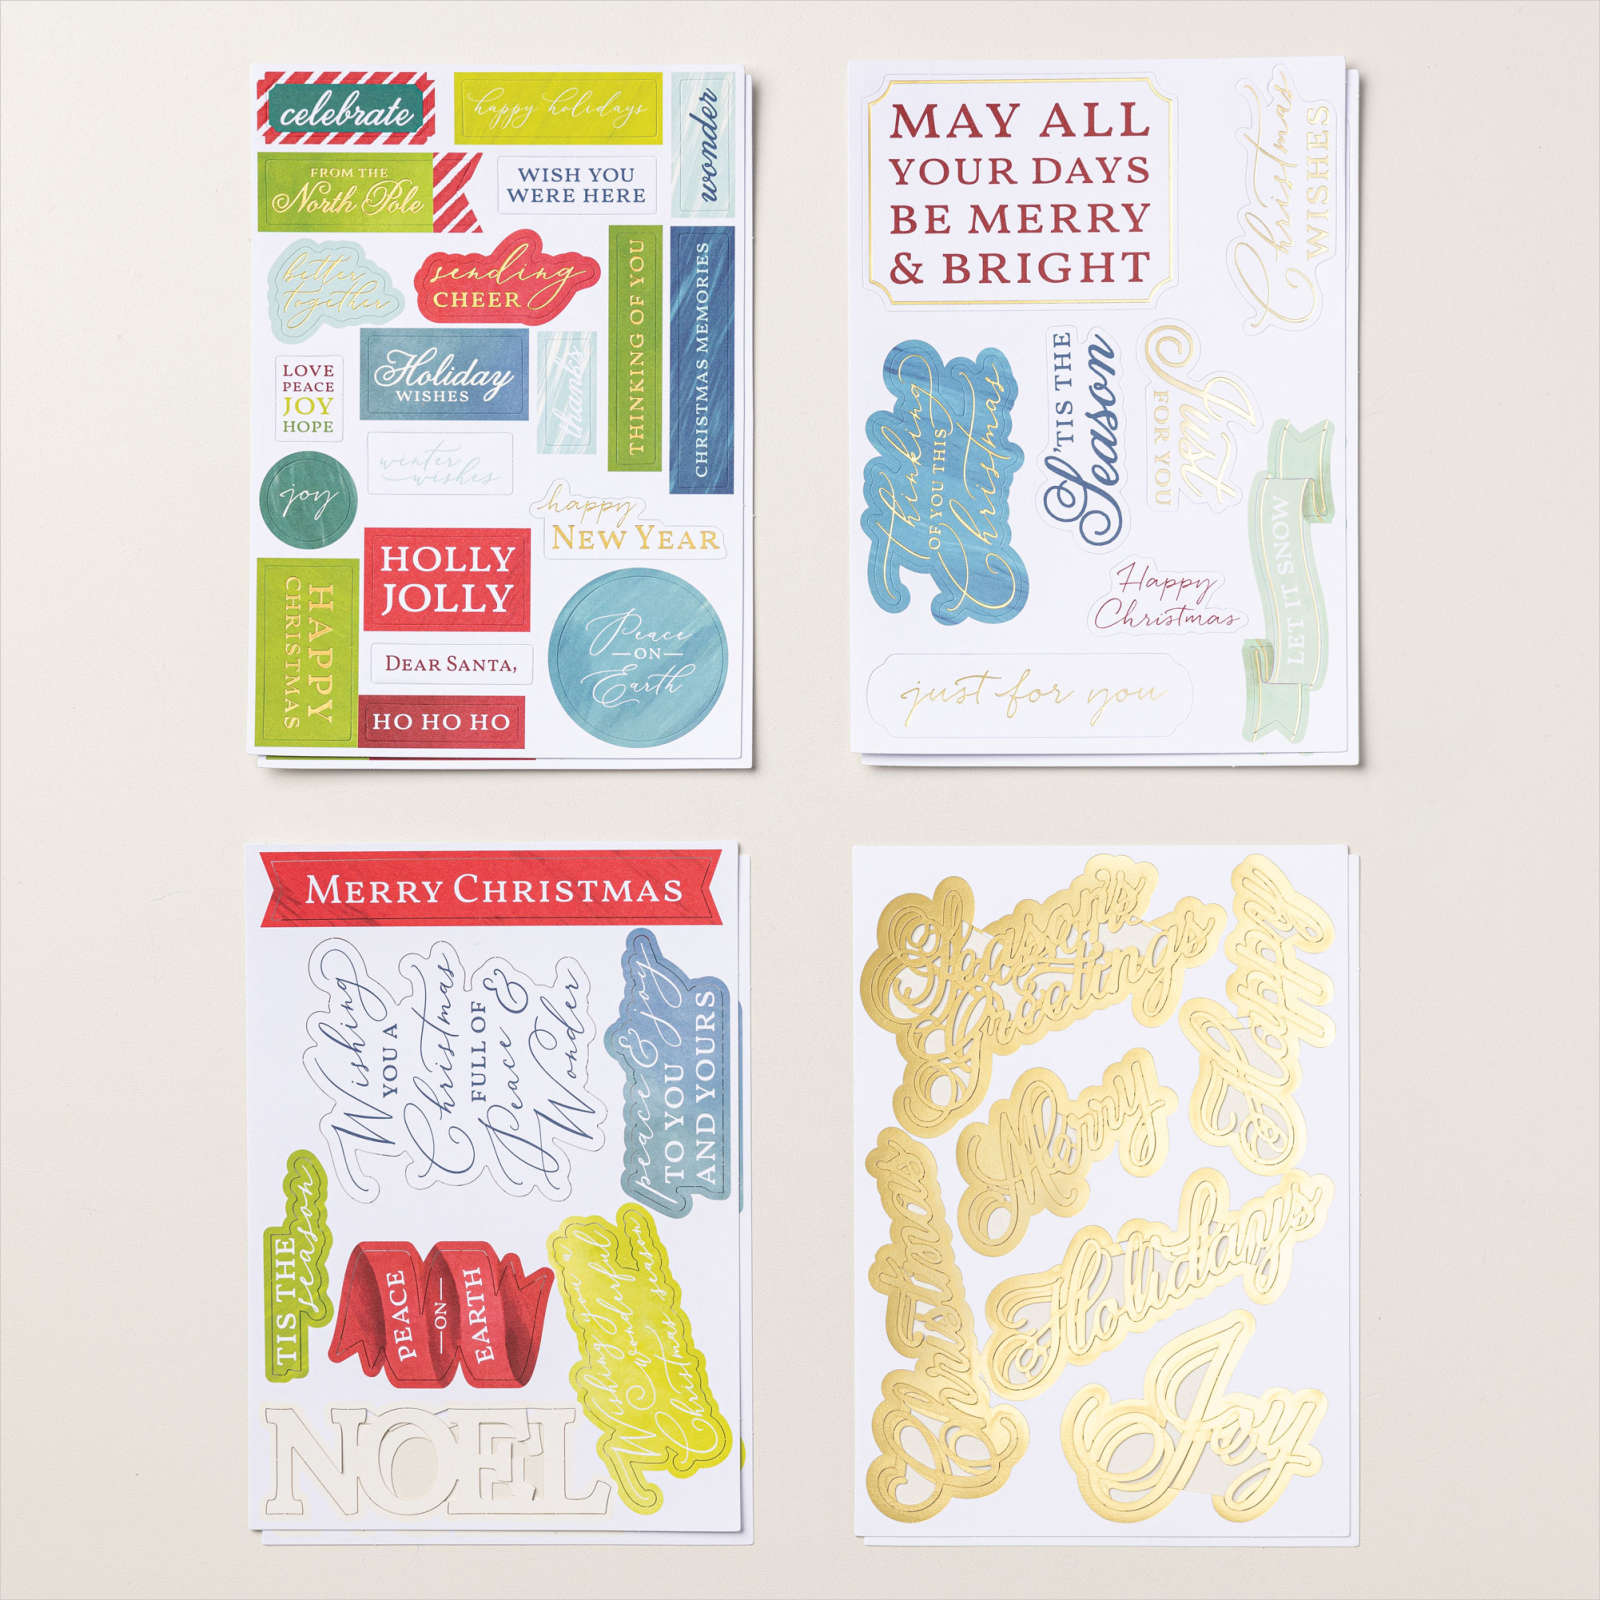
Christmas Ephemera
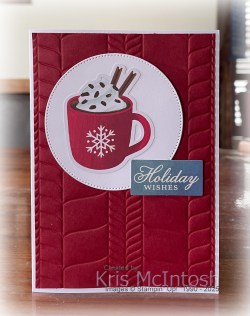
I shared some card using the Ephemera packs in the September to December Mini Catalogue in my Facebook Live this week. Today I have another card to share which uses some elements from these packs. I embossed a piece of Cherry Cobbler card using the Modern Herringbone 3D Embossing Folder and attached it to scored and folded Thick Basic White card. I cut Basic White card using the largest circle from the Stylish Shapes Dies and attached it to the embossed card using dimensionals.

I attached the hot chocolate mug from the Joyful Images Mix & Match Ephemera Pack to the circle. I also attached the greeting from the Joyful Sayings Mix & Match Ephemera Pack to the card front using dimensionals where necessary so that it sits slightly over the circle.

To decorate the inside of the card I attached another greeting from the Joyful Sayings Mix & Match Ephemera Pack to Basic White card. I love how quickly this card came together using these fabulous Ephemera Packs.

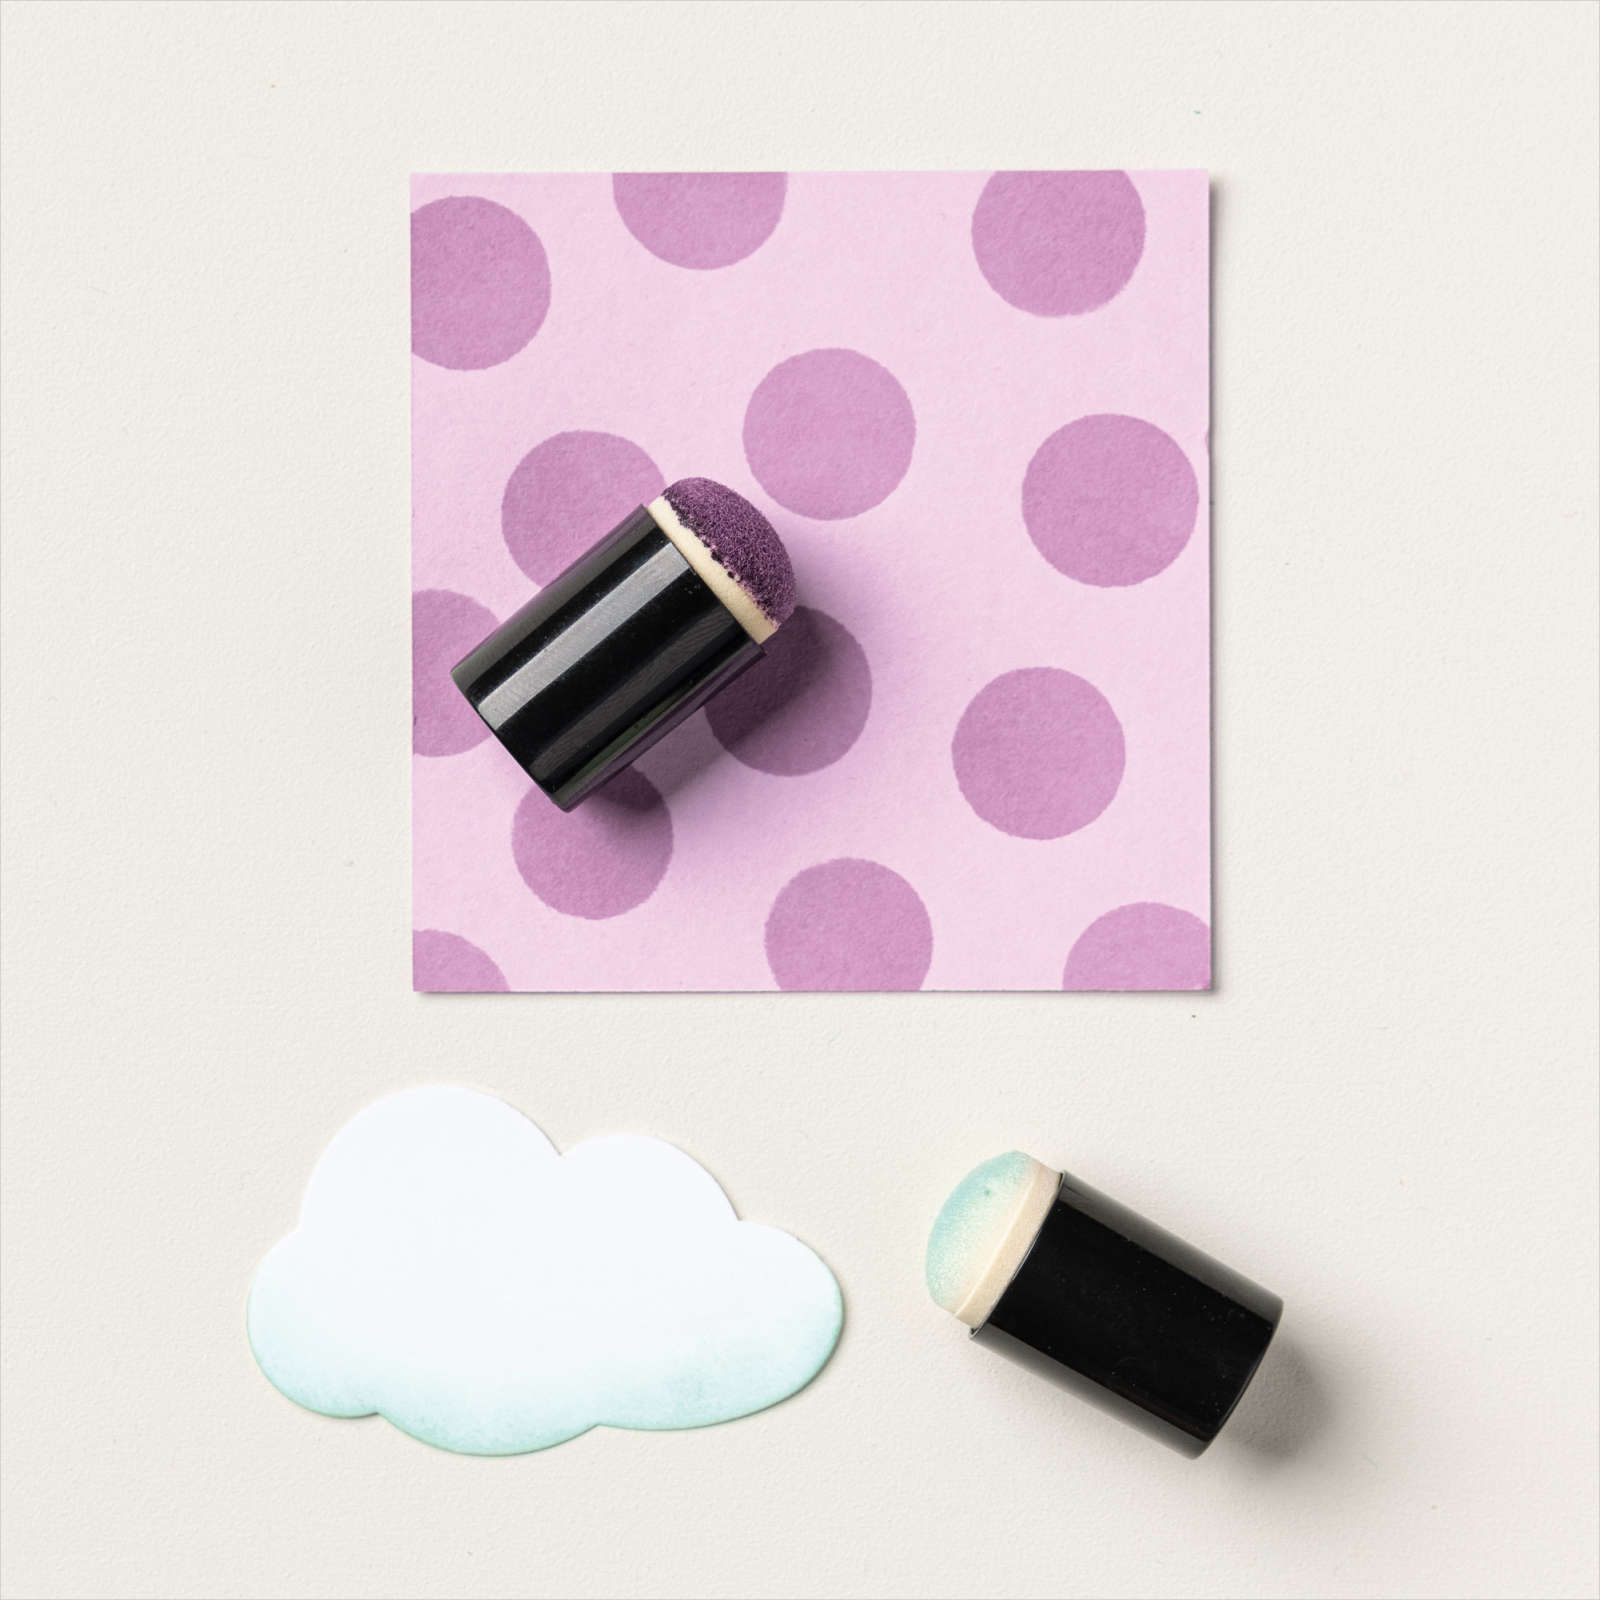
I also want to share a tag I made using one of the tags from the Tags for the Season Mix & Match Ephemera Pack. I attached the present image from the Joyful Images Mix & Match Ephemera Pack to the tag. I also attached the greeting from the Joyful Sayings Mix & Match Ephemera Pack to the tag using dimensionals. I finished the tag by threading some of the green thread from the Natural Tones Linen Thread through the top of the tag.

Again so simple to make but so effective, don’t you think? To make it even easier I used Template 15 from page 22 of the current Annual Catalogue to create the card.
Bye for now,
Kris
Product Used:
You can view the Modern Herringbone 3D Embossing Folder here in my online store.


Happy Anniversary

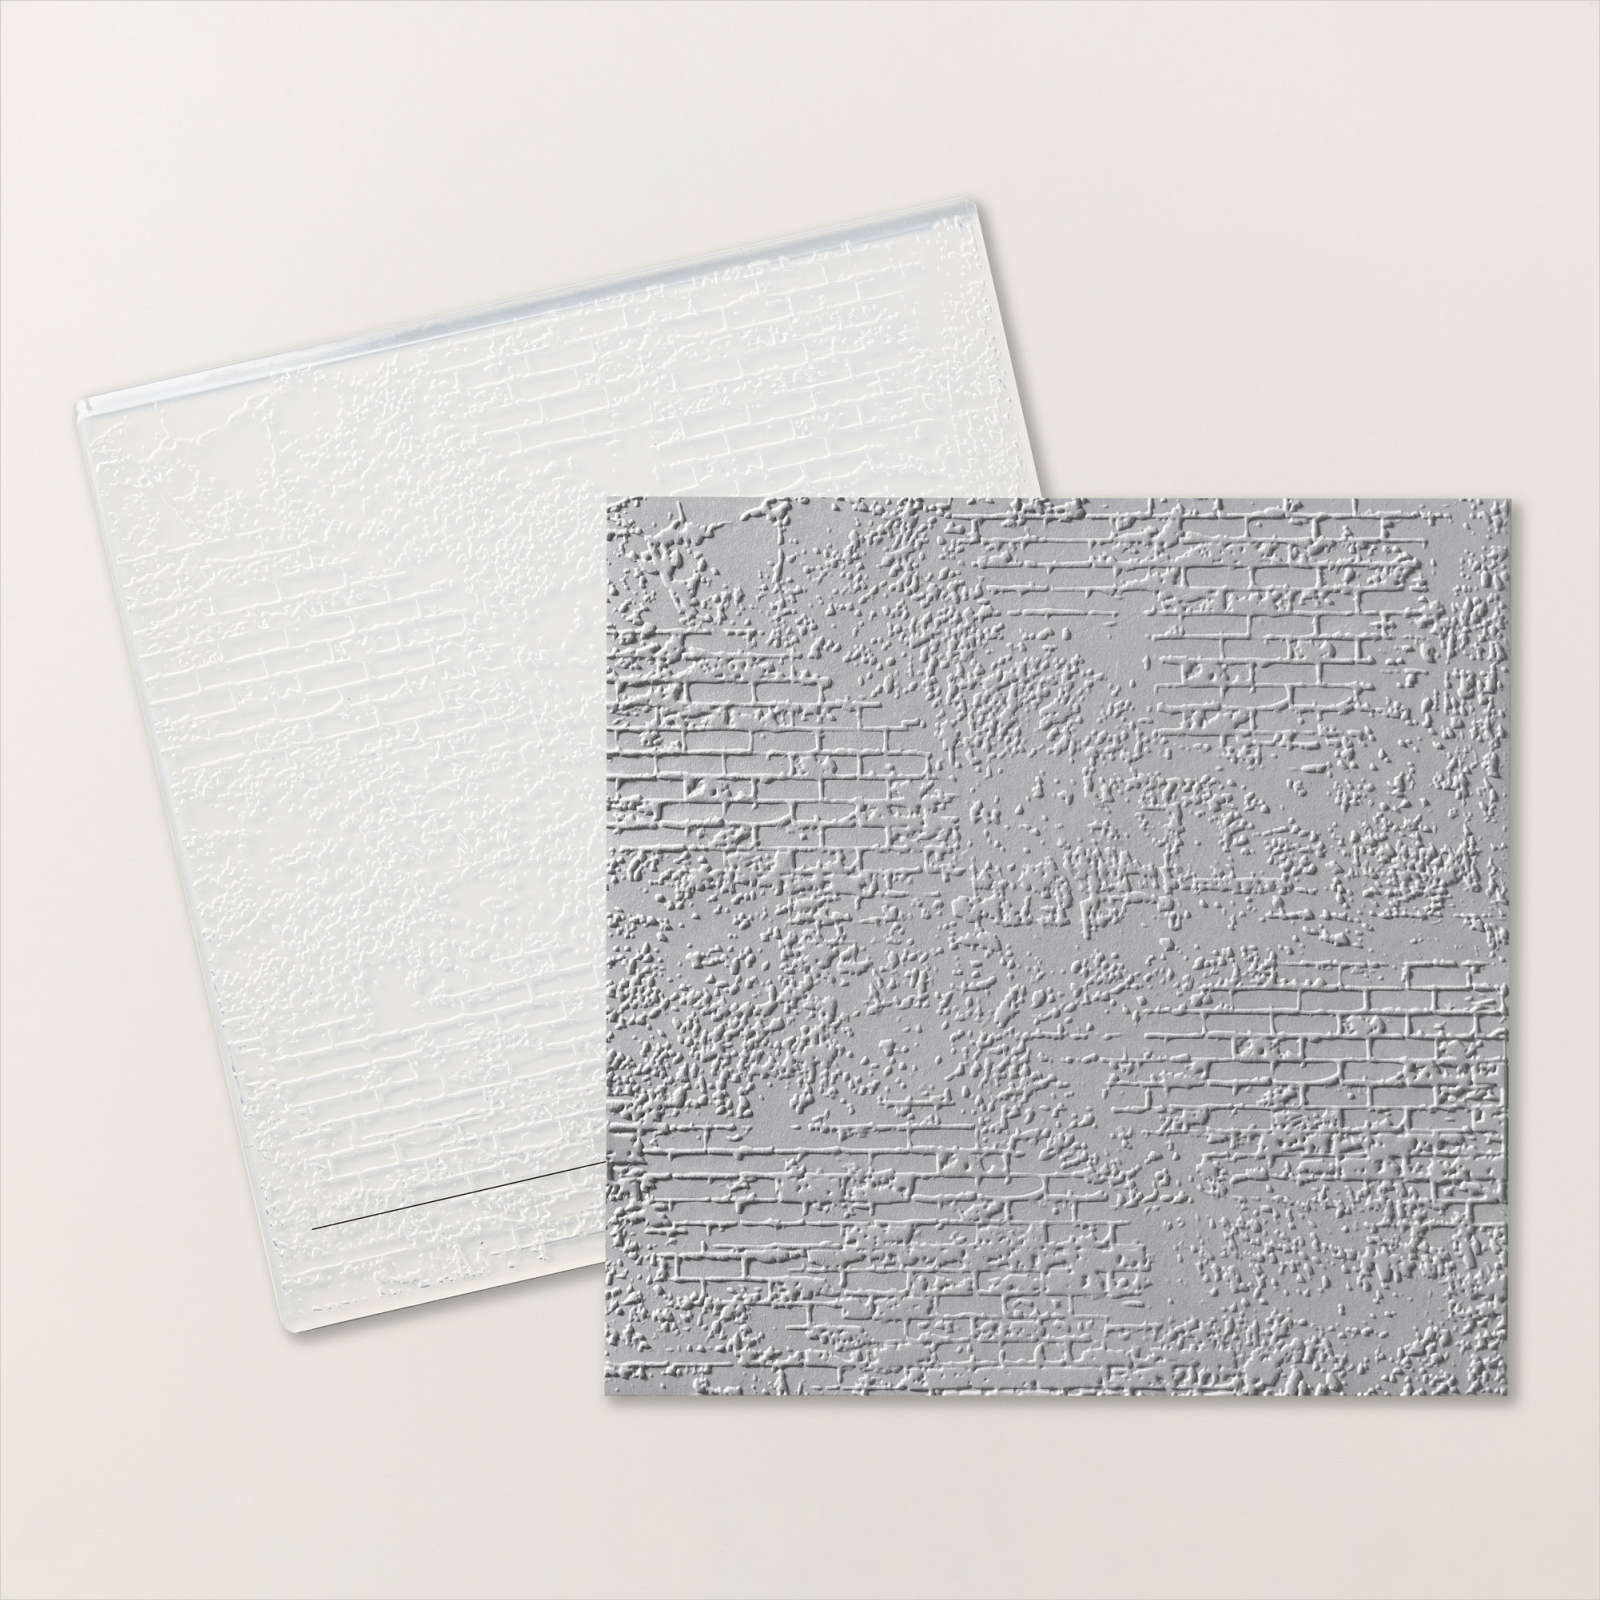
Today I am sharing a card I created for my sister and brother-in-law to celebrate their Wedding Anniversary. I attached a piece of Gorgeous Grape card to the lower half of Basic White card. I stamped “happy” & “anniversary” from the Cake Celebrations stamp set onto the upper right hand side of the Basic White card using Gorgeous Grape ink. I embossed the whole panel using the Exposed Brick 3D Embossing Folder and attached it to scored and folded Highland Heather card. I cut Highland Heather and Basic White card using circles from the Stylish Shapes Dies.

I stamped the cake stand from the Cake Celebrations stamp set onto the Basic White panel using Blackberry Bliss ink. I stamped the solid cake image from the Cake Celebrations stamp set using Highland Heather ink and the decoration image from the same stamp set using Gorgeous Grape ink. I attached the stamped Basic White circle to the High Heather circle and then the card front using dimensionals. I stamped the three small flowers from the Cake Celebration stamp set onto Basic White card using Lemon Lolly ink and cut them out using the co-ordinating Cake Celebrations Dies. I stamped the small leaf twice and the large leaf once onto Basic White card using Lemon Lime Twist ink. The leaves are also cut out using the co-ordinating Cake Celebration Dies.

I attached the two largest flowers and the leaves flat onto the top of the cake image. I attached the smallest flower using a mini dimensional. I also added Irridescent Pearls to the centre of each flower. To decorate the inside of the card I stamped a greeting from the So Sincere stamp set onto Basic White card using Gorgeous Grape ink. I stamped the background image from the Cake Celebrations stamp set over the top of the greeting using Highland Heather ink which I stamped onto scrap paper first. I love how pretty this card is and so did my sister. I’d love to hear what you think.
Bye for now,
Kris
Product Used:
You can see the Happy Celebrations Bundle here in my online store.


1, 2, 3 Layout
Whilst I was cruising on Pinterest I found this amazing layout created using one piece of 12″ x 12″ Designer Series Paper complete with cutting guide shared on the Creative Memories Blog . I decided to use the last full sheet of Frames & Flowers 12″ x 12″ Designer Series Paper that I had to create my page. I did add some strips of Basic Black in place of the Designer Series Paper but I love how easy it was to cut the Designer Series Paper with no waste.

I attached the paper according to the instructions that were shared, however I did add Basic Black card to mat my photos. I added some of the ephemera pieces from the Frames & Flowers Designer Series Paper that I had left to decorate the focal image.

I cut the title from Basic Black card using the Alphabet A La Mode Dies and attached it below the focal photo. I added some Pumpkin Pie ink to the “beautiful” from the Saying Something Ephemera Pack using a Blending Brush before attaching it below the journaling. If you love scrapbooking two page layouts and like to be a little careful with your Designer Series Paper the blog post is certainly worth checking out.
Bye for now,
Kris
Product Used:


My Gift To You

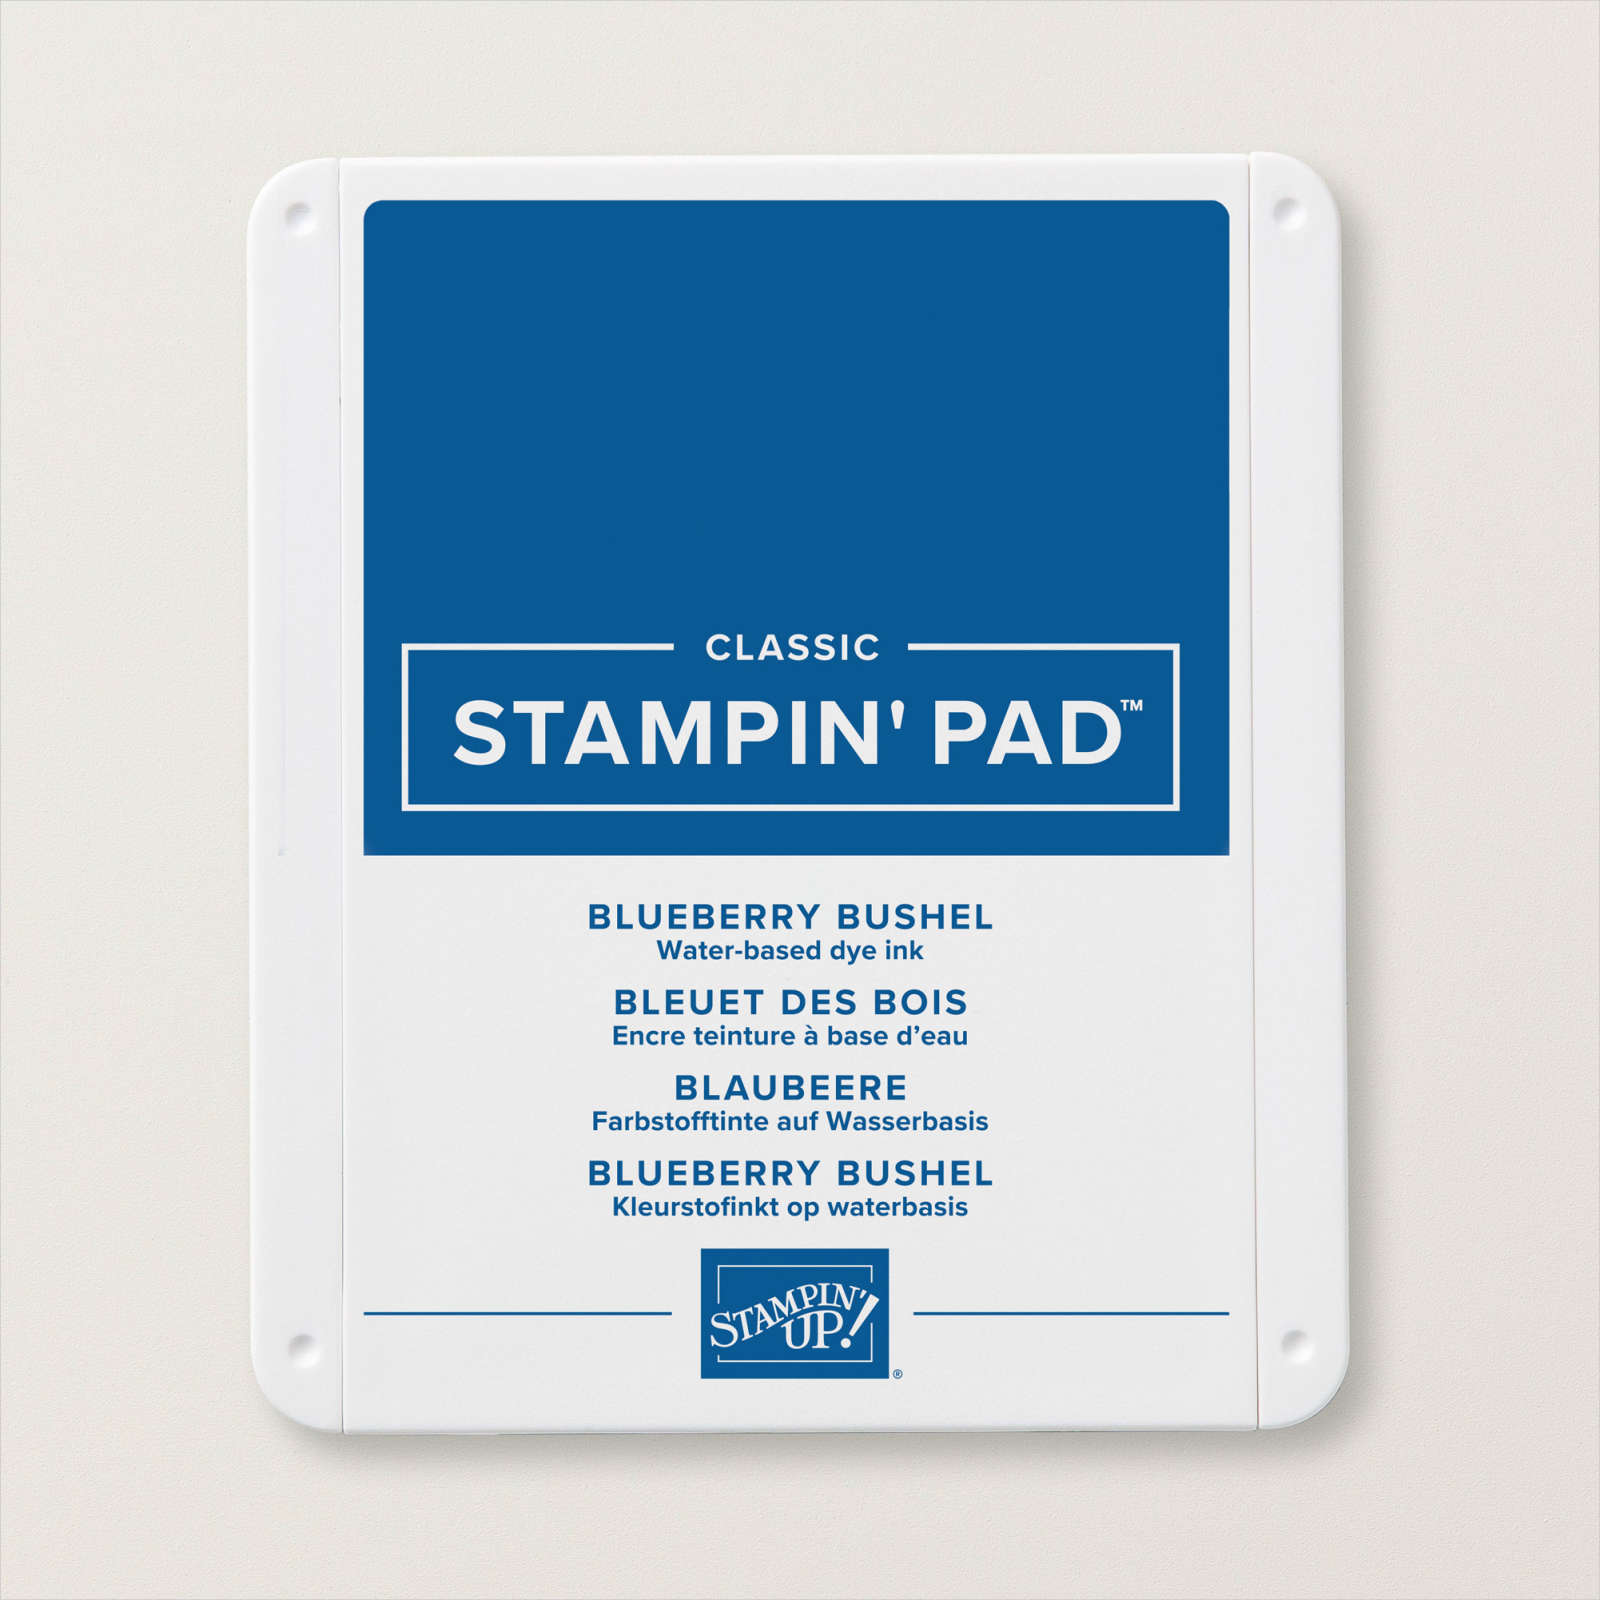
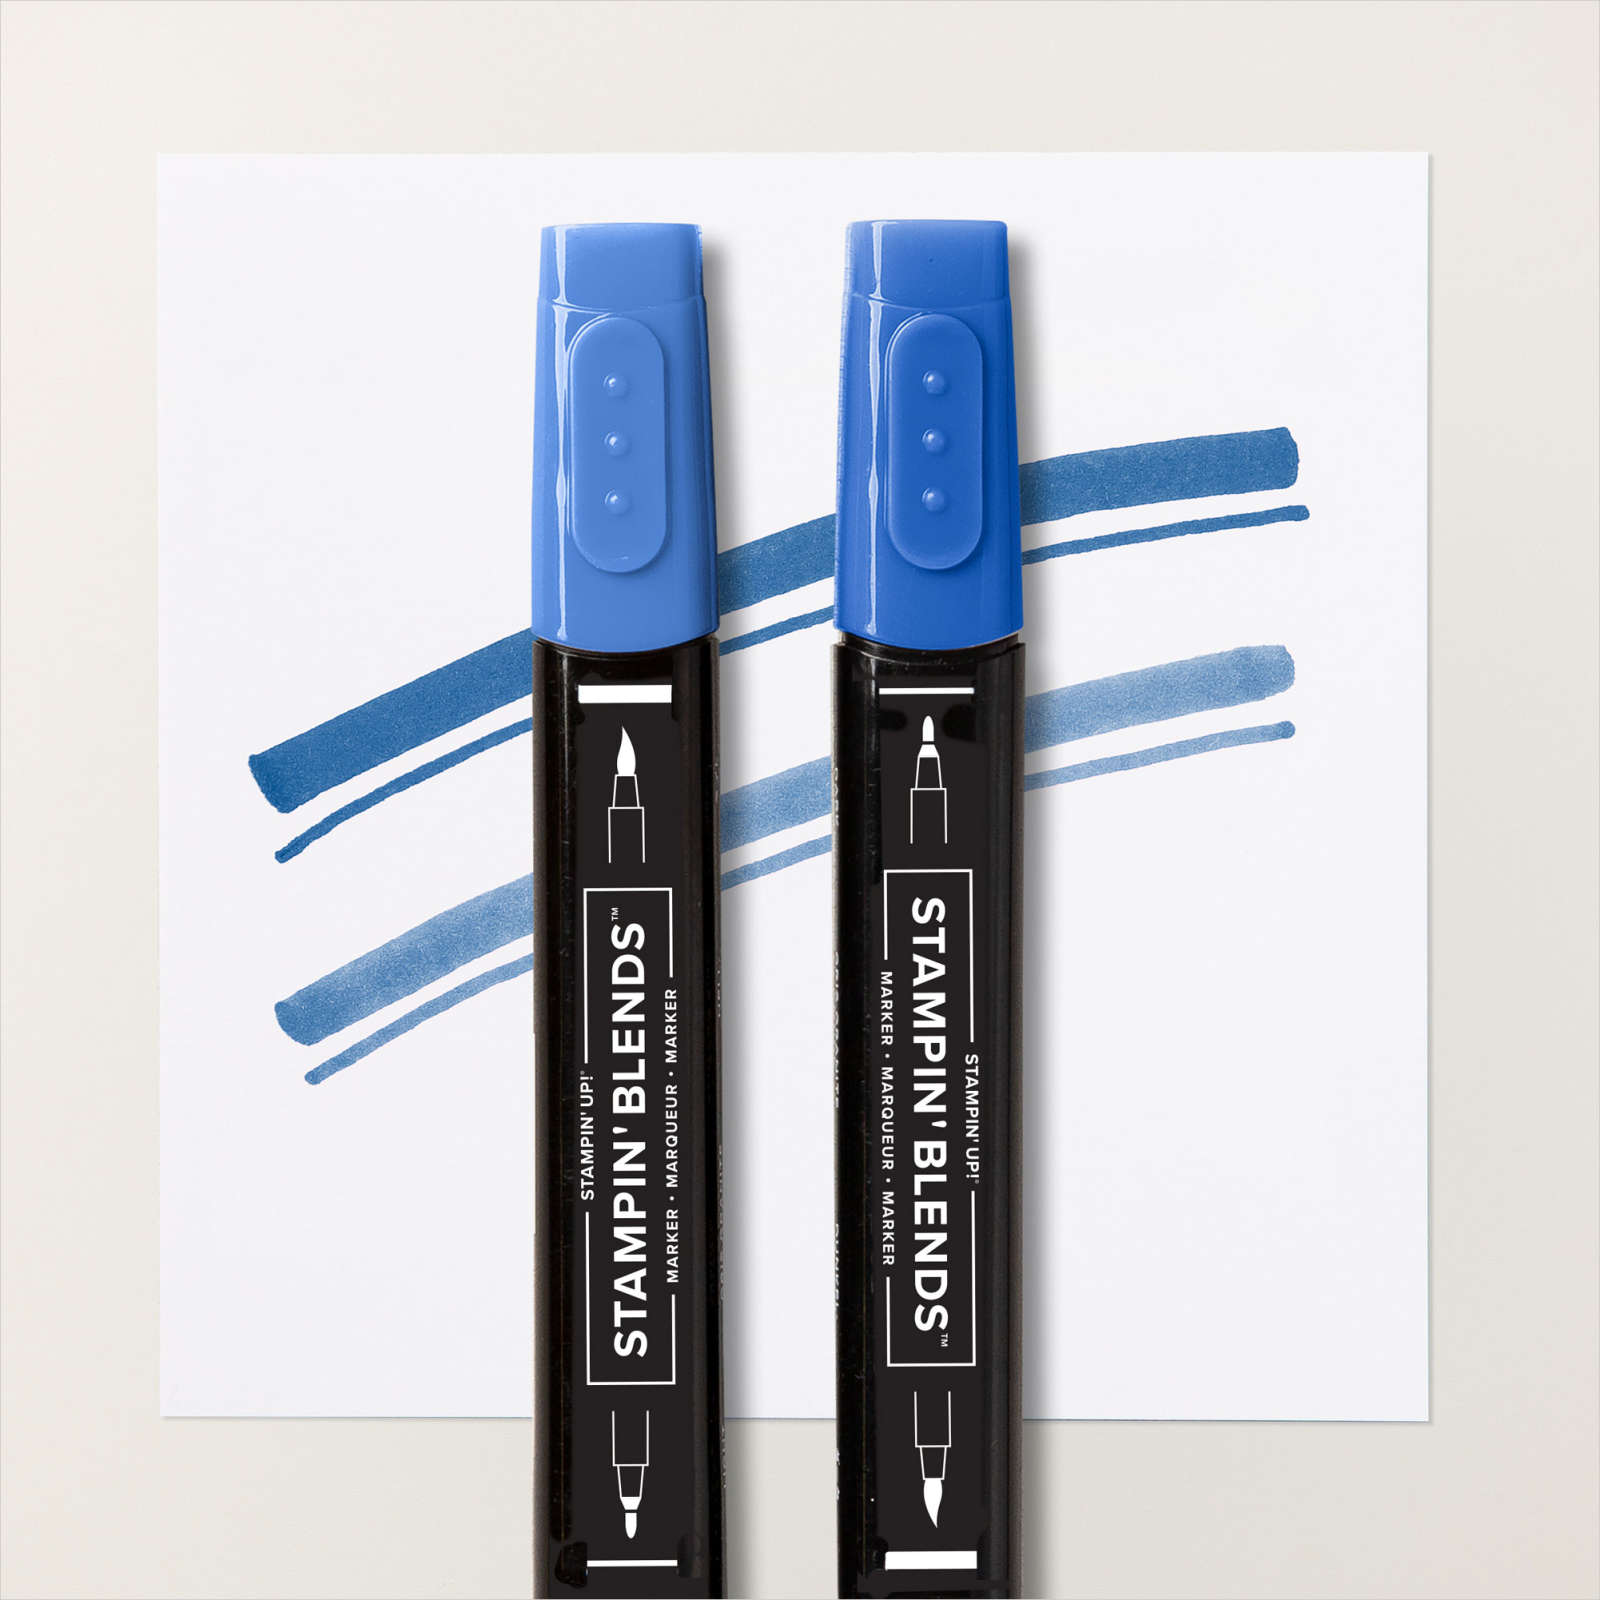
This week in my Facebook Live I shared some cards I created using the Festive Words Stamp Set. Today I have another card to share with you. For this card, I cut two pieces of Iconic Celebrations 6″ x 6″ Designer Series Paper and attached them to Basic White card. I cut a strip of Blueberry Bushel card and attached it across the Designer Series Paper. The whole panel is attached to scored and folded Blueberry Bushel card. I stamped the image from the Festive Words stamp set onto Basic White card using Memento Tuxedo Black ink.

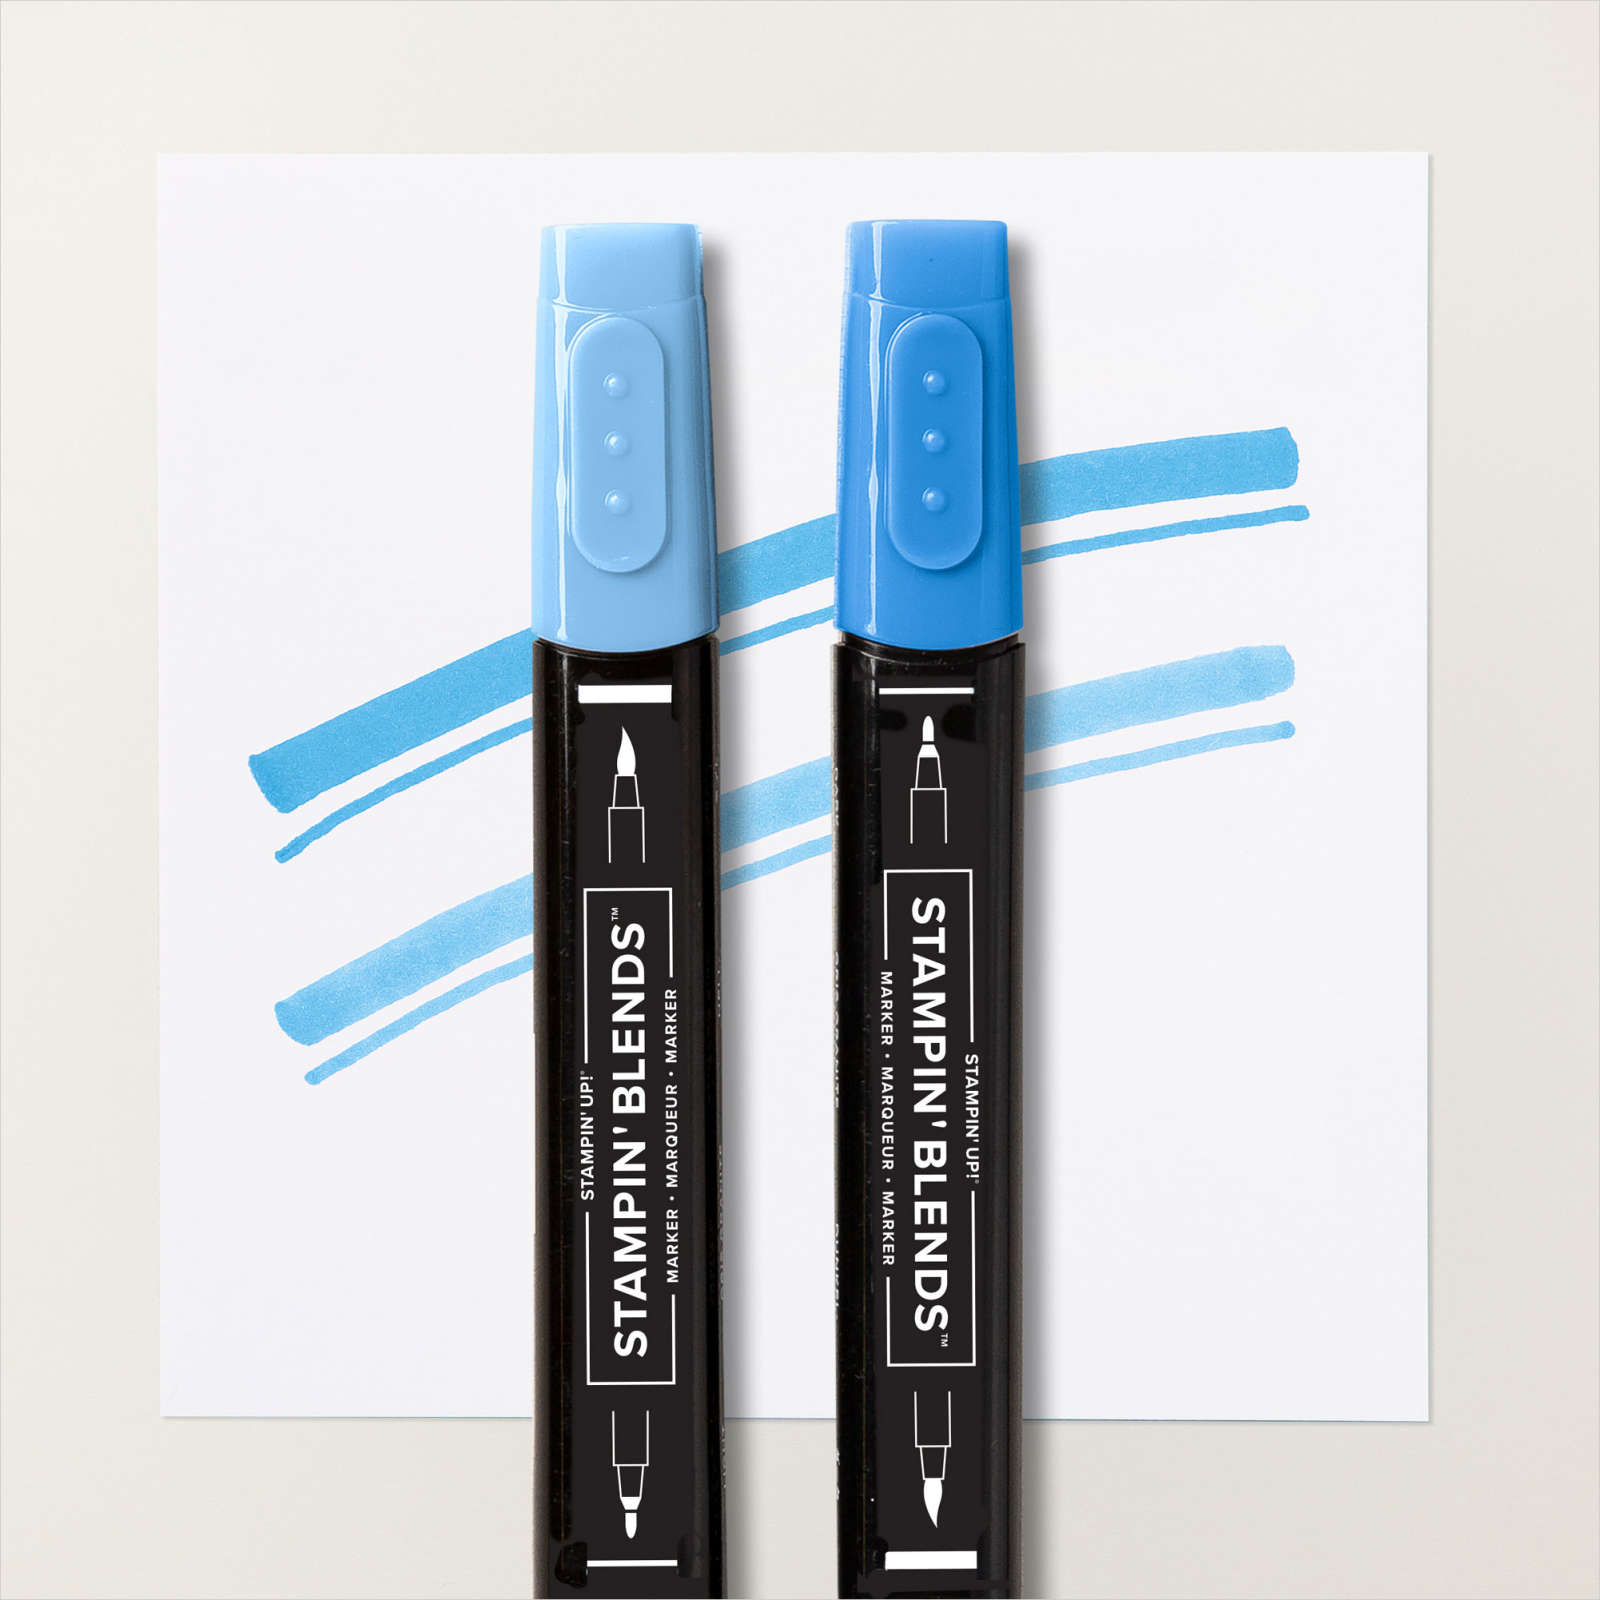
I used the Light Blueberry Bushel Stampin’ Blend to colour the bow before cuting out the image using one of the circles from the Stylish Shapes Dies. I used a sponge dauber to add Blueberry Bushel ink to the outside edges of the circle.
The image panel is attached to the card front using dimensionals. To decorate the inside of the card, I stamped a greeting from the Greetings of the Season stamp set onto Basic White card using Blueberry Bushel ink. I attached a narrow strip of Iconic Celebrations Designer Series Paper across the bottom of the stamped panel before attaching it inside the Blueberry Bushel card base. This is a fun stamp set to play with and I love how I was able to pair it with the Iconic Celebrations Designer Series Paper.
Bye for now,
Kris
Product Used:


Magnolia Anniversary
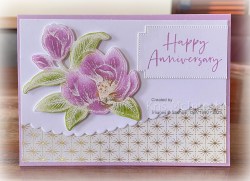
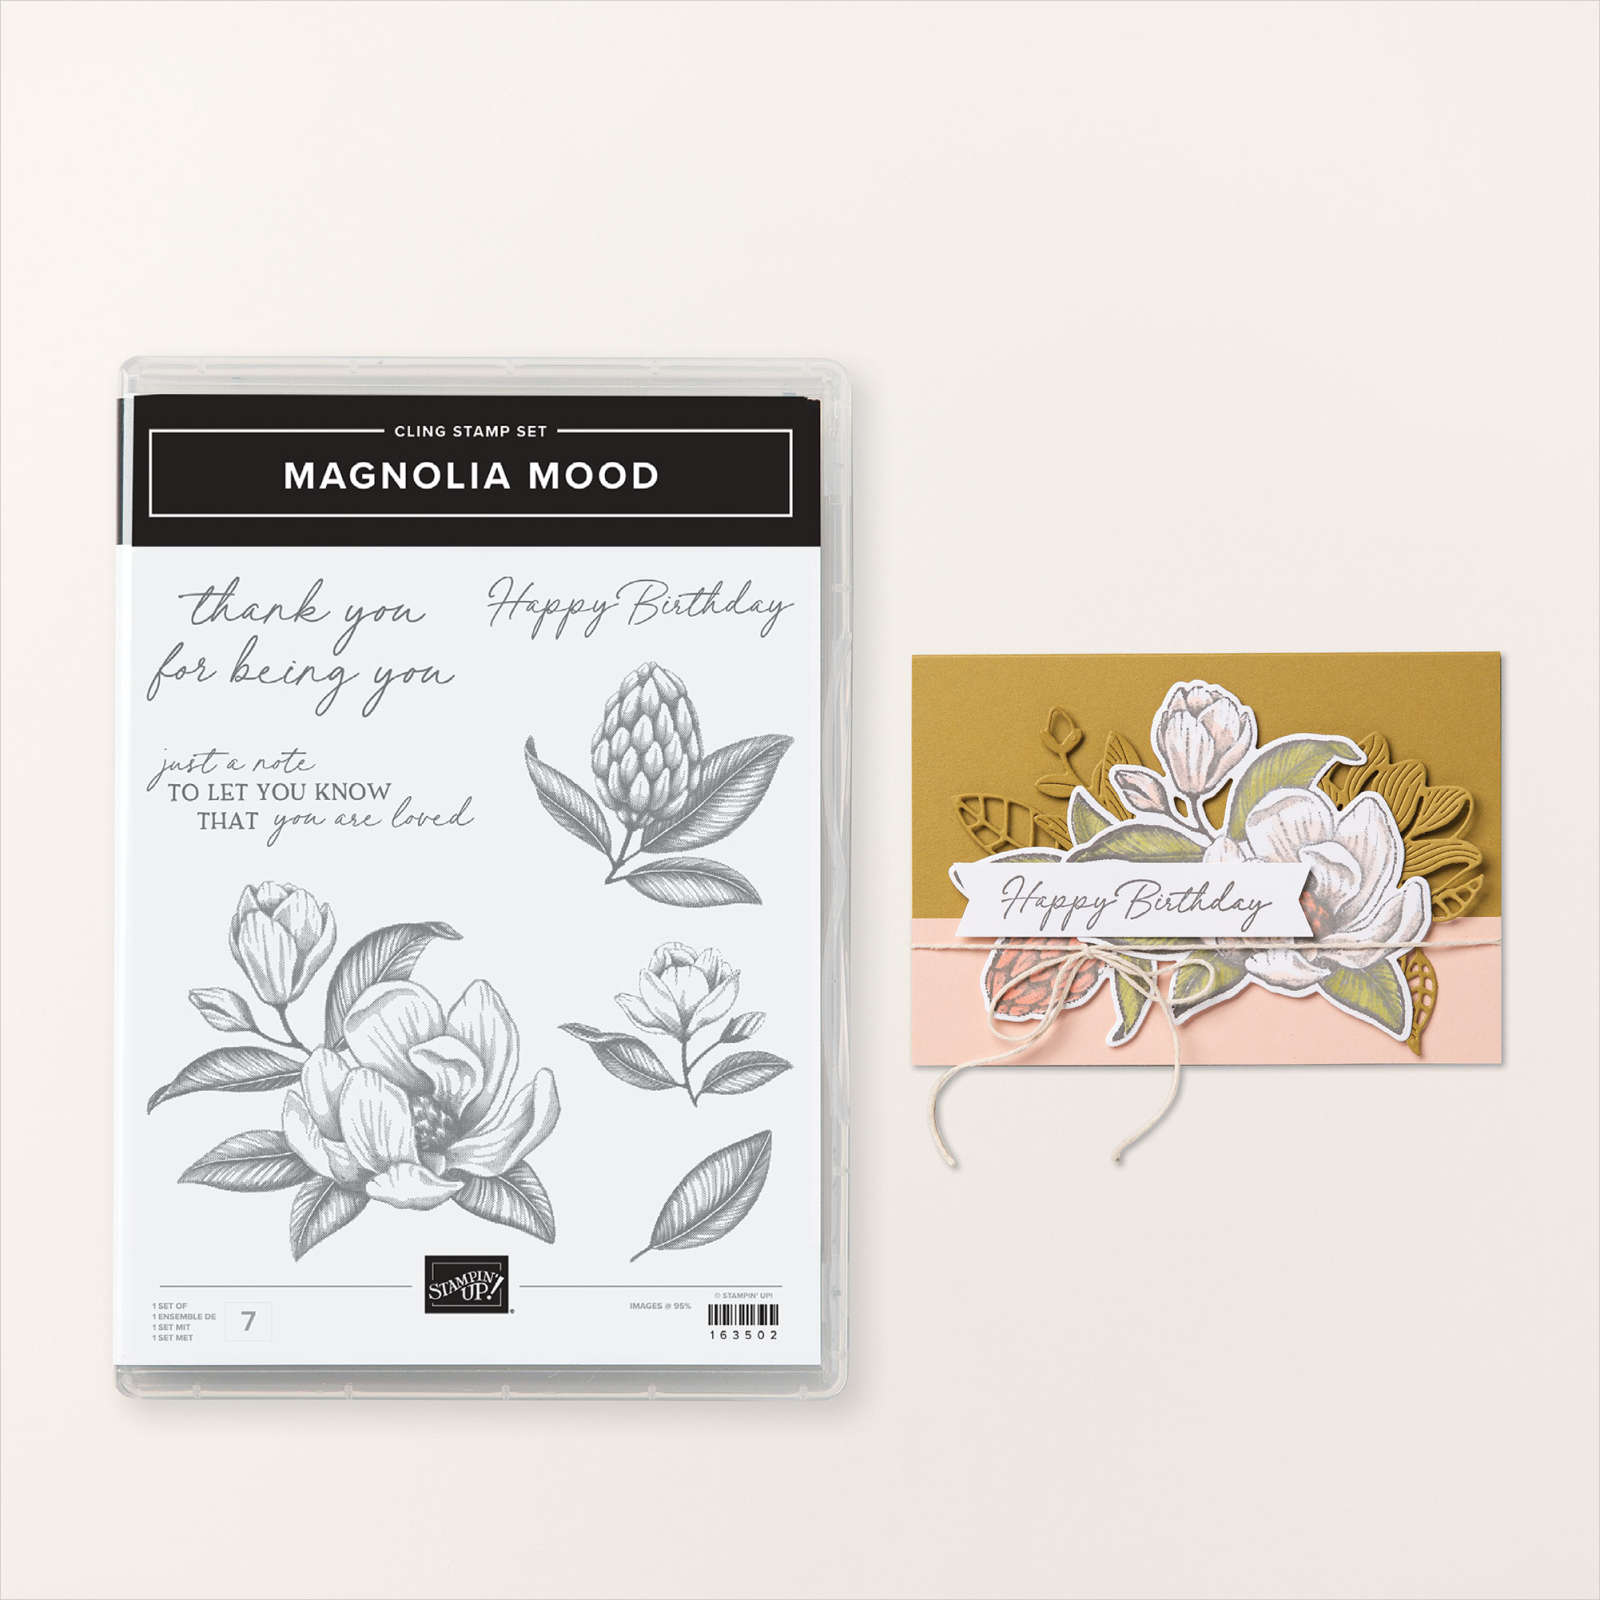
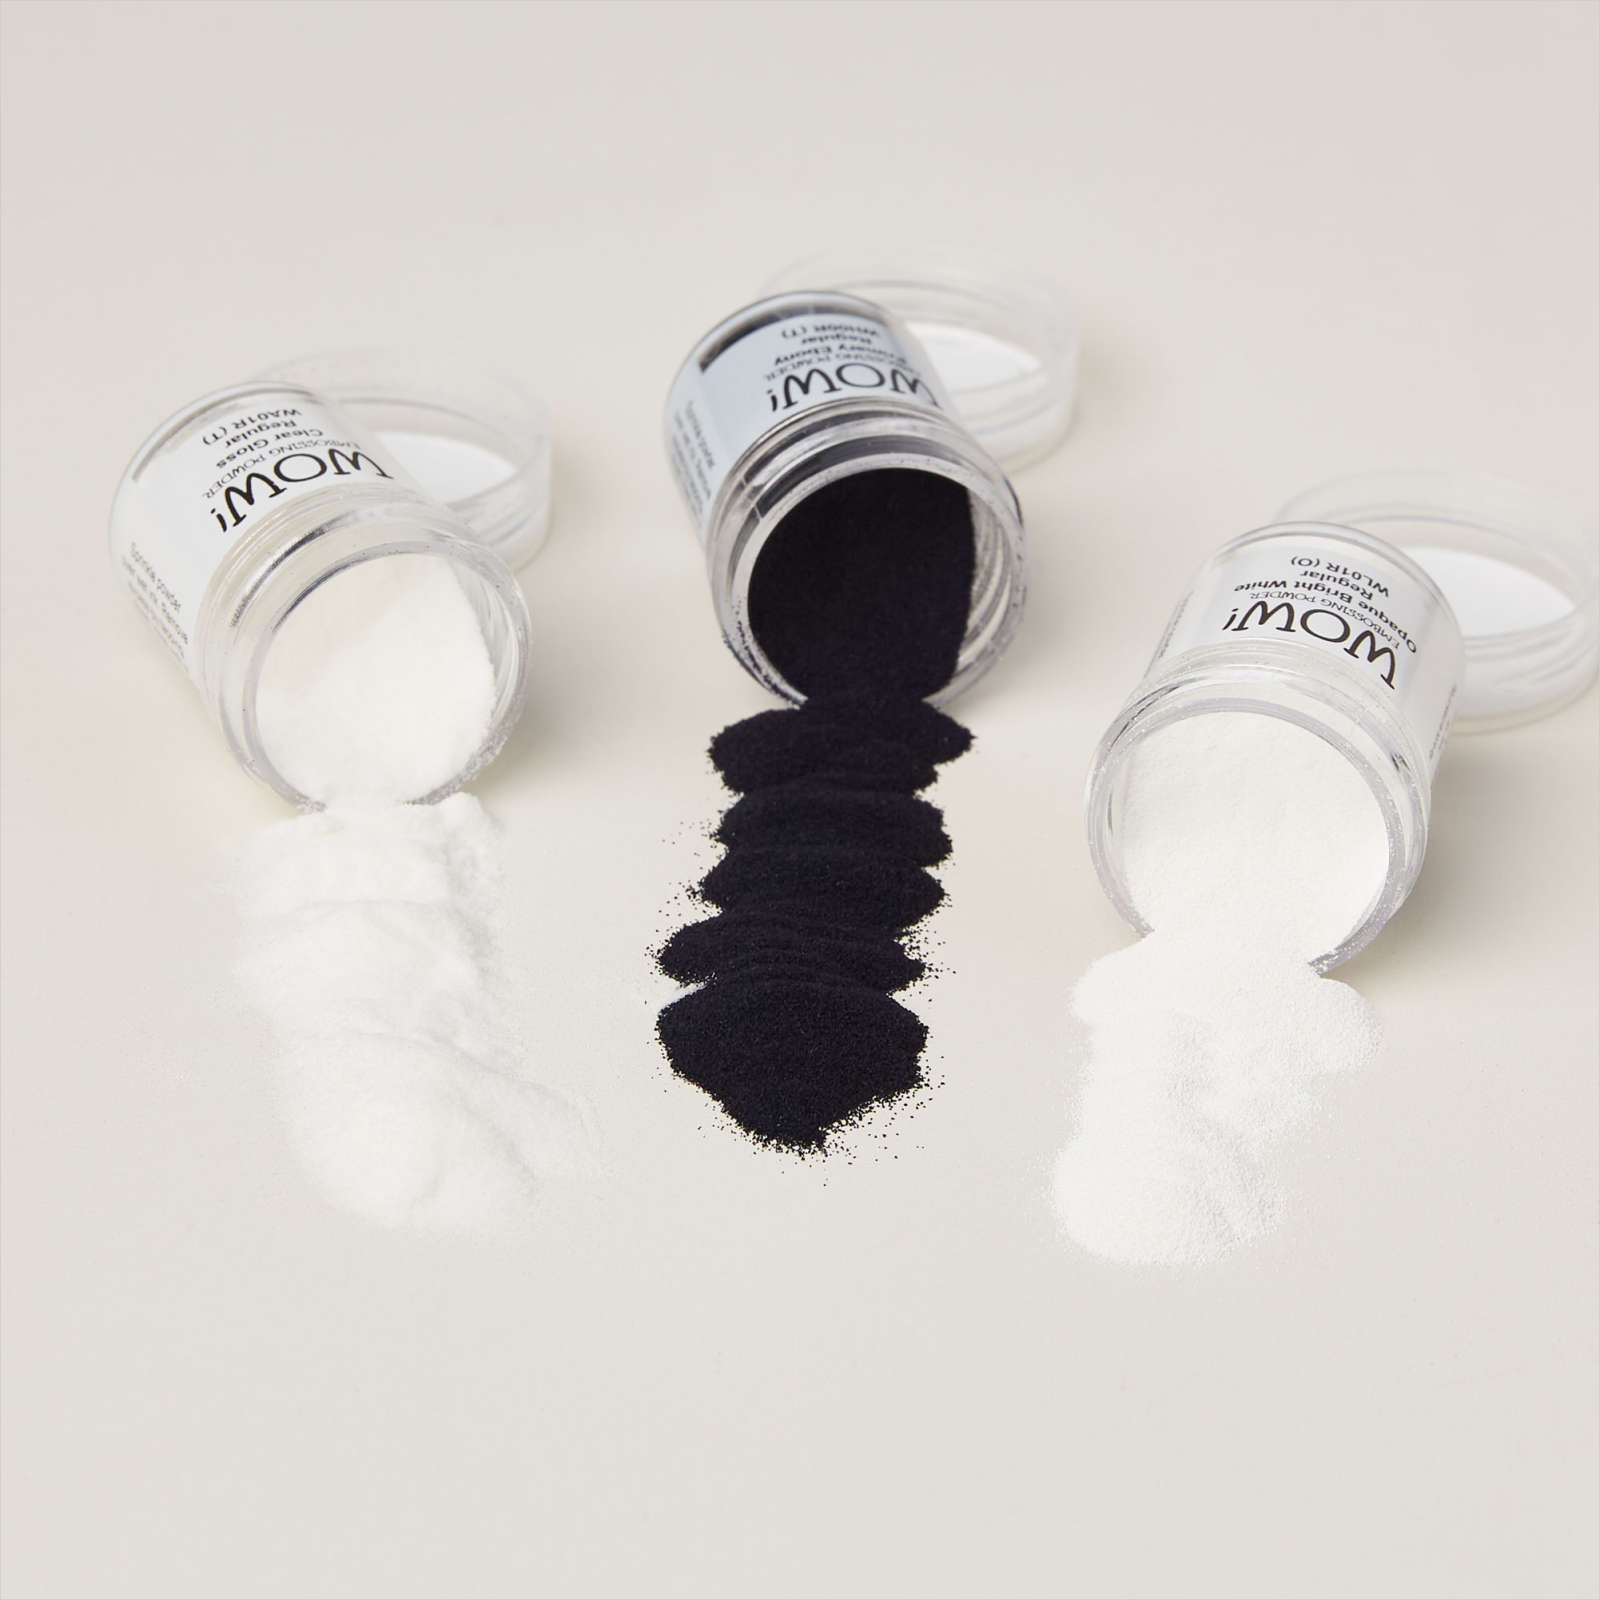
I created today’s card for my daughter and son-in-law who recently celebrated their wedding anniversary. I began by attaching a piece of the Season of Green & Gold 12″ x 12″ Specialty Designer Series Paper to scored and folded Fresh Freesia card. I cut a piece of Basic White card using the scalloped border edge from the Around the Bend Dies and attached it to the card front. I stamped the large magnolia image from the Magnolia Mood stamp set onto Basic White card using Versamark ink. I sprinkled with White Embossing Powder from the Metallics Wow Embossing Powder and used my Heat Tool to set the image. I used sponge daubers to add Fresh Freesia, Granny Apple Green and Daffodil Delight ink to the image.
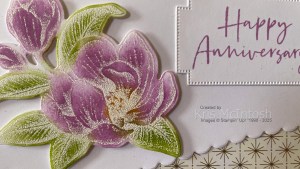
I cut out the image using the co-ordinating Magnolia Mood Die and attached it to the card front using dimensionals. I stamped the greeting from the Layers of Beauty stamp set onto Basic White card using Fresh Freesia ink. I cut out the image using one of the Greetings of the Season Dies and attached it to the card front. I will let you in on a little secret. I stamped the greeting straight onto the card front after I had assembled everything else and smudged the ink. So as we all know there are no mistakes, just an opportunity to add embellishments, so the die cut greeting covers my mistake and I think it works well, don’t you?

To decorate the inside of the card, I stamped the large flower from the Magnolia Mood stamp set onto the lower left hand corner of Basic White card using Versamark ink. I coloured the image using sponge daubers and Fresh Freesia, Granny Apple Green & Daffodil Delight ink. I stamped “congratulations” from the Wonderful Thoughts stamp set using Fresh Freesia ink. Such a pretty card, and such a fun way to colour the image. Do you like this technique? Do you use it?
Bye for now,
Kris
Product Used:


Fresh Air & Sunshine
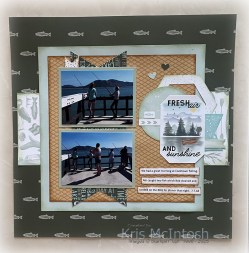
Today I am sharing the first layout from the Lake Life Scrapbooking Workshop Kit. I created the pages using the instructions that come in the kit. I did do some extra sponging but a bit differently to that suggested in the kit.
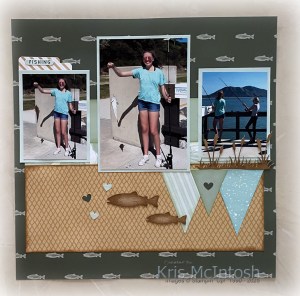
The photos on this page come from a wonderful day we spent in Cooktown with our granddaughters and some great friends back in 2018. I didn’t really change anything in this kit and I love the dimension that you get from the wooden die cut fish. This is a Close to My Heart kit is which is currently discounted and only available while stocks last.

However, check out the kits that Stampin’ Up! has released – Reindeer Memories Scrapbook Workshop Kit, Halloween Memories Scrapbook Workshop Kit, Snow Day Scrapbook Workshop Kit, and Autumn Days to Remember Scrapbook Kit. Each kit comes with all of the product you need to create three double page layouts. They also have the cutting and placement directions to make it easy to have pages ready to add you photos when you need them. Stampin’ Up! will be releasing more product in another brochure to coincide with the release of the next Mini Catalogue in January so keep your eye out.
Bye for now,
Kris
Product Used:
You can find the Lake Life Scrapbook Workshop Kit here if it is still available.
Thanks
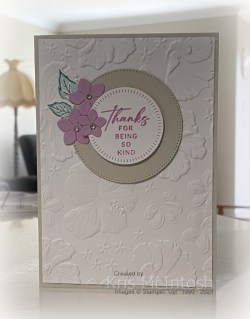
for being so kind. This week in my Facebook Live, I shared some cards I created using the Happy Hibiscus Bundle. This bundle is part of the newly released Online Exclusives. For this card I used the Happy Hibiscus Hybrid Embossing Folder to emboss a piece of Basic White card. I attached the embossed card to scored and folded Basic Beige card. I cut Fresh Freesia card using the flower dies from the Happy Hibiscus Hybrid Embossing Folder – two large flowers and one small flower. I stamped the large leaf outline and the small leaf outline from the Happy Hibiscus stamp set onto Basic White card using Lost Lagoon ink. I stamped the fill images from the Happy Hibiscus stamp set using Lost Lagoon ink which I stamped onto scrap paper first. I used the co-ordinating dies from the Happy Hibiscus Hybrid Embossing Folder to cut out the leaves.
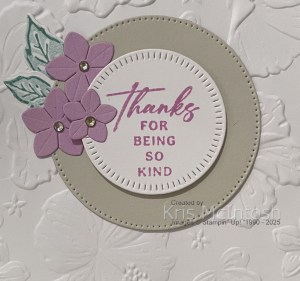
I cut a circle from Basic Beige card using one of the Stylish Shapes Dies. Using the Basic Beige circle as a guide, I attached the two leaves to the left hand side of the card front. I attached the Basic Beige circle to the card front so that it covers the bottom section of each of the leaves. I attached the two large die cut Fresh Freesia flowers onto the edge of the Basic Beige circle. I stamped the greeting from the Happy Hibiscus stamp set onto Basic White card using Fresh Freesia ink and cut it out using the circle die from the Happy Hibiscus Hybrid Embossing Folder. The greeting is attached to the centre of the Basic Beige circle using dimensionals.
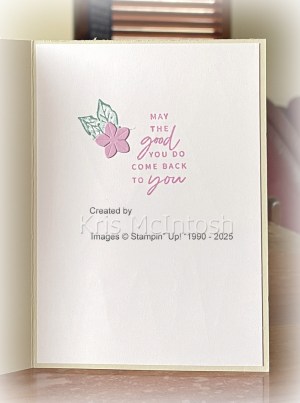
The small flower is attached to the edge of the stamped Basic White circle so that it sits over the large flowers. To decorate the inside of the card, I stamped a greeting from the Something Fancy stamp set onto Basic White card using Fresh Freesia ink. I stamped the large leaf outline from the Happy Hibiscus stamp set beside the greeting using Lost Lagoon ink. I stamped the fill image over the top using the same ink which I stamped onto scrap paper first. I used a mask to cover the leaf before stamping the small leaf outline and fill images using the same ink. I die cut a small flower from Fresh Freesia card using the die from Happy Hibiscus Hybrid Embossing Folder and attached it over the ends of the leaves. I am really loving this stamp set, so many options and the dies and embossing folder add so much to what you can do with the stamp set. This bundle is available now in my online store.
Bye for now,
Kris
Product Used:
You can see the Happy Hibiscus Bundle here in my online store.


Be Merry
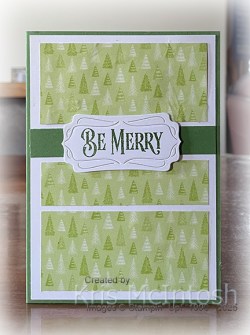
Today I have another card to share which I created using the Christmas Labels Bundle. For this card I followed the layout for template 18 from page 22 of the Annual Catalogue. If you are not using these templates, I recommend that you take another look because they are so inspiring. I cut strips of Designer Series Paper which I had left over from the Reindeer Memories Scrapbook Workshop Kit and attached them to Basic White card. I also cut a strip of Garden Green card which is attached between the first & second Designer Series Paper panels.
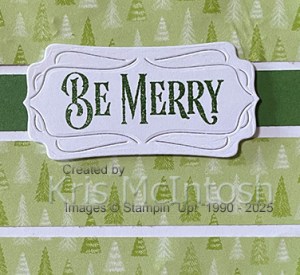
The whole panel is attached to scored and folded Garden Green card. I stamped the greeting from the Christmas Labels stamp set onto Basic White card using Garden Green ink and cut it out using one of the Christmas Labels Dies. The greeting is attached to the card front using dimensionals.
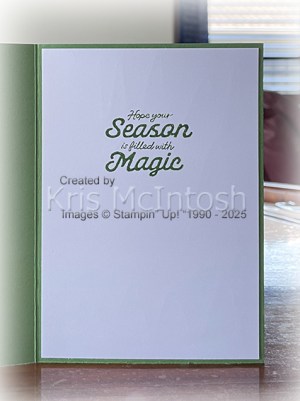
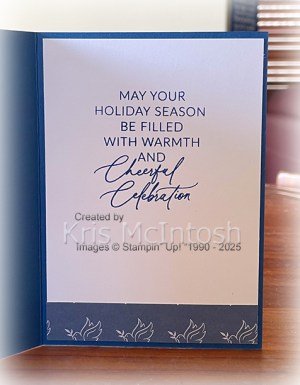
To decorate the inside of the card I stamped another greeting from the Christmas Labels stamp set onto Basic White card using Garden Green ink. This is such a simple card but I think it is very effective because the Designer Series Paper is doing all the hard work. The greeting is just the icing on the cake. Christmas is getting closer and if you have lots of cards to make this could be a great design for creating cards very quickly using all the Designer Series Paper you have in your stash! Happy creating.
Bye for now,
Kris
Product Used:


Any Day
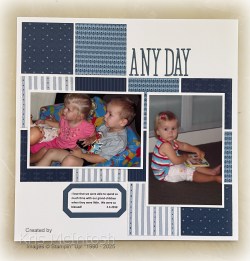
Sometimes when we decide to showcase our photos in our Memory Keeping pages, we need it to be about something important or significant but we should do more Memory Keeping pages which just show off an ordinary day in our lives. That’s what today’s page does for me. The photos are only significant in that they bring to mind lots of happy memories of my grandchildren staying with me before they started school and as they got older after school while their parents were working. So I kept the page simple to let the photos shine. I cut pieces of the Countryside Inn 12″ x 12″ Designer Series Paper using the largest square from the Stylish Shapes Dies. I attached the squares to a Basic White 12″ x 12″ page. The photos are attached to Basic White card before being attached to the page over the Designer Series Paper. I cut the title from Misty Moonlight card using the Alphabet A La Mode Dies and attached it to the top right hand side of the page. I printed my journaling onto Basic White card which I cut using one of the Countryside Corner Dies. I attached the journaling to a piece of Misty Moonlight card which is also cut using one of the Countryside Corner Dies. The journaling is attached to the lower left hand side of the page. I am so happy with this simple page and just adore being reminded of all the happy memories.
Bye for now,
Kris
Product Used:

Cake Celebrations

Today I have two versions of the same card to share with you using the Cake Celebrations Bundle. This is the same bundle I shared in my Facebook Live this week. I stamped “happy” & “birthday” from the Cake Celebrations stamp set onto the lower edge of Basic White card using Berry Burst ink. I embossed the panel using the So Swirly Embossing Folder and attached it to scored and folded Berry Burst Card. I cut a rectangle from Berry Burst card using one of the Deckled Rectangle Dies and attached it to the card front. I die cut Crumb Cake card using the cake stand and the cake stand decoration dies from the Cake Celebration Dies.

I used a sponge dauber to add some Crumb Cake ink to the outside edges of each piece before attaching them together. I cut the large cake and the small cake from Bubble Bath card using the Cake Celebration Dies. I stamped across each of the die cuts using one of the stamps from the Cake Celebrations Dies using Bubble Bath ink and used a sponge dauber to ink to the outside edges. I cut the frosting for each cake from Berry Burst card using the Cake Celebration Dies and sponged the edges using Berry Burst ink before attaching them to each of the Bubble Bath cakes.

I die cut the banner die from Basic White card using the Cake Celebrations Dies. I used the Dark Bubble Bath and Dark Berry Burst Stampin’ Blends to colour the image. I die cut Basic White card using one of the Deckled Rectangle Dies and attached each of the die cuts to the panel. The whole Basic White panel is attached to the card front using dimensionals. To decorate the inside of the card, I stamped “Celebrate” from the Cake Celebrations stamp set onto Basic White card using Berry Burst ink.

I stamped the background image from the same stamp set over the top using Bubble Bath ink. I really had fun creating this card and of course I had to make another one. This time, following on from my Facebook Live Pink and Blue theme, I created one in “blue” colours. I used Misty Moonlight in place of Berry Burst and Azure Afternoon in place of Bubble Bath. The only difference is that I had to stamp off the background image for the inside of the “blue” card. I would love to know what you think of these cards.
Bye for now,
Kris
Product Used:
You can see the Cake Celebrations Bundle here.