Starter Kit Special

Beginning today, the 1st October and ending on the 31st October you have an opportunity to join Stampin’ Up! and get a fantastic deal. If you sign up during this period you can select $286.00 worth of current product from any current catalogue or from the Online Exclusives for a cost of $169.00. Thats over $100 worth of product free. How amazing! So don’t delay just head to my online store and sign up to be part of my team. If you want any further details, do not hesitate to contact me.
Happy Shopping!
Bye for now,
Kris
Celebrate
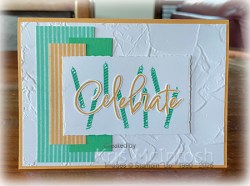
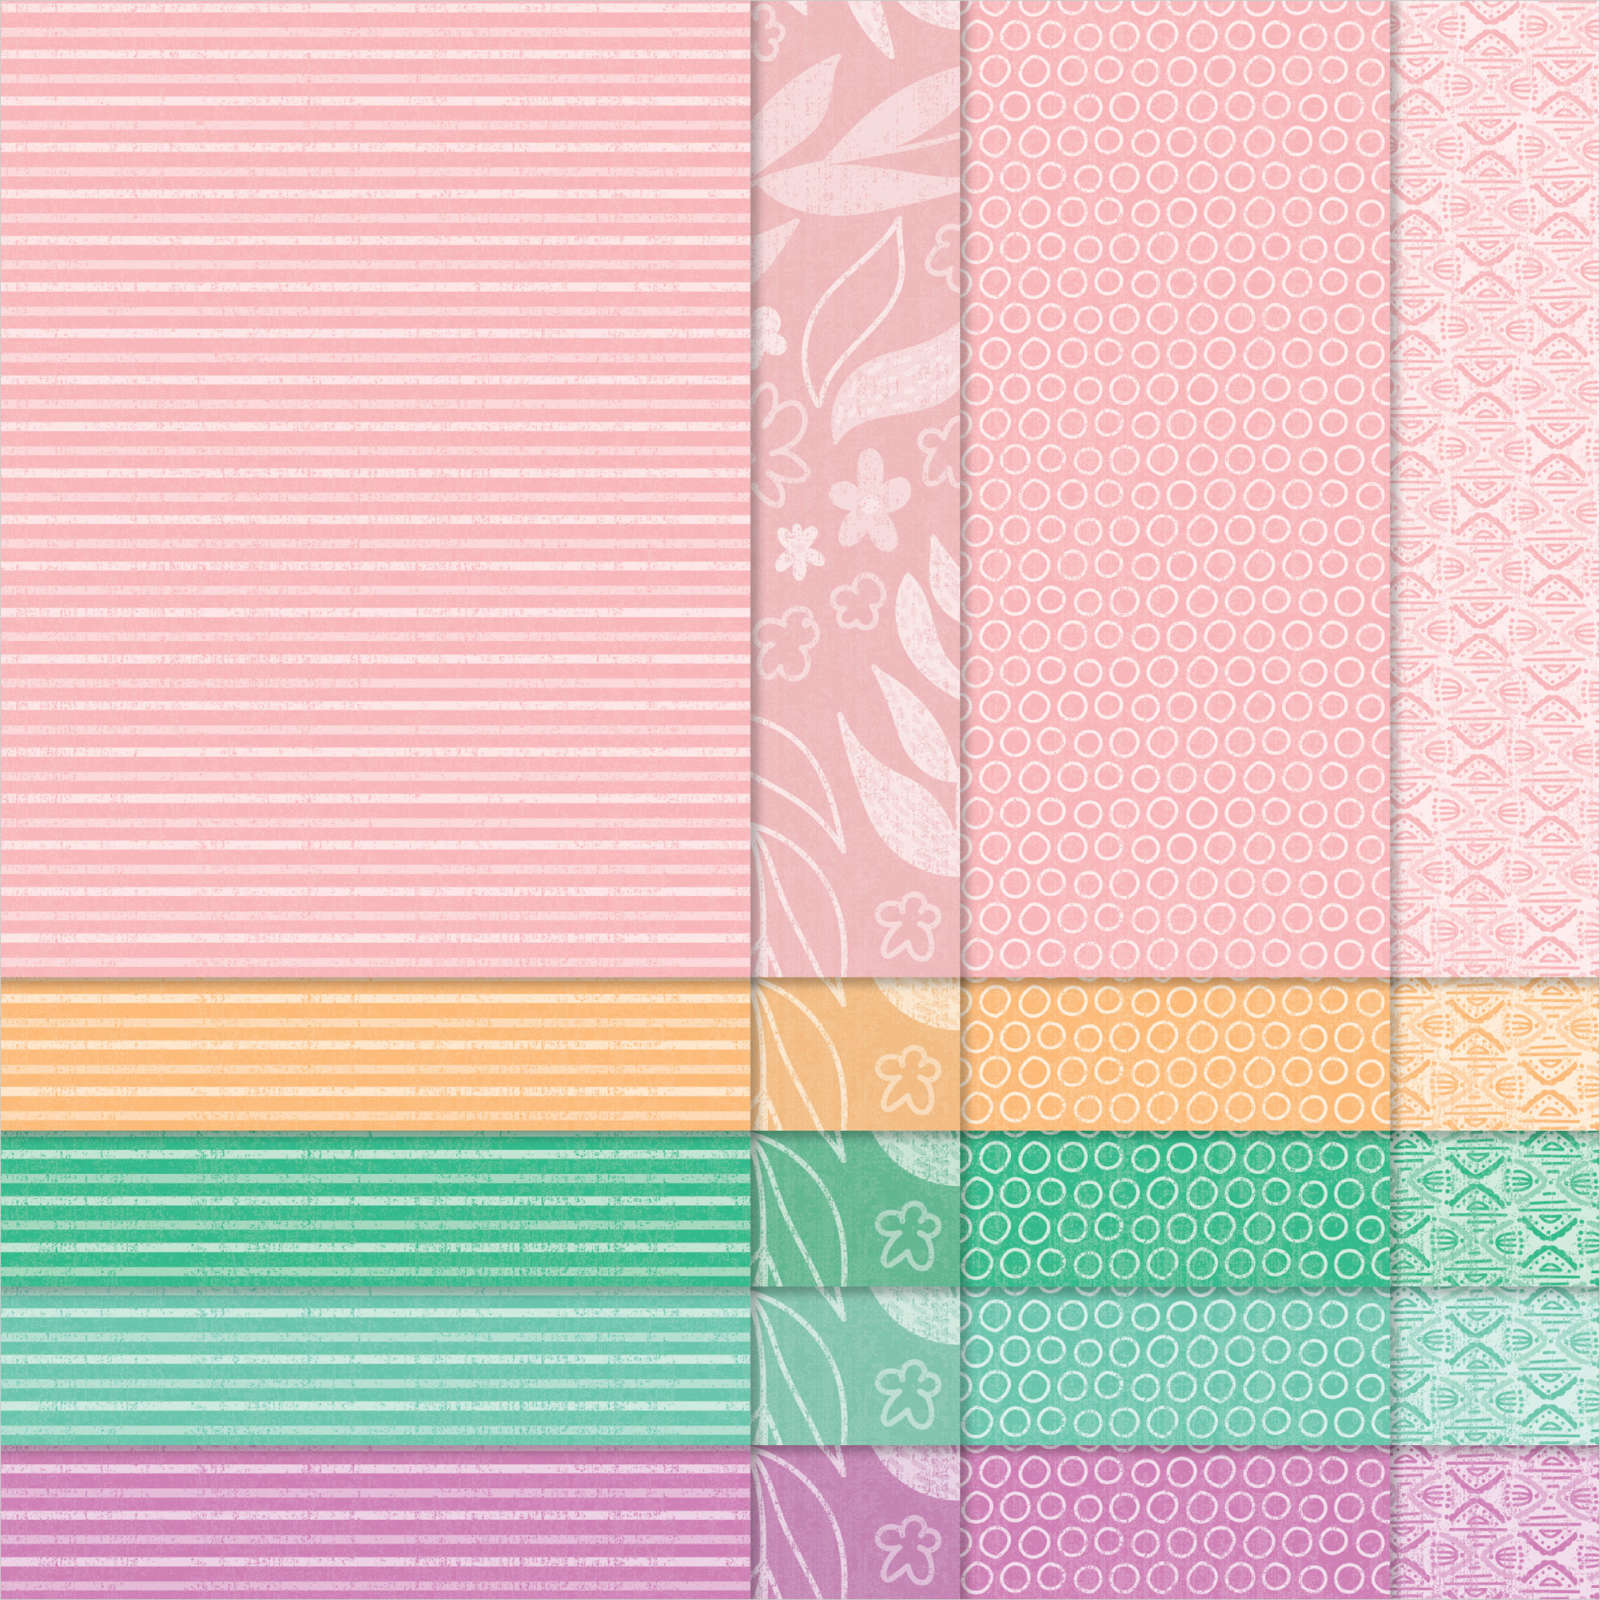
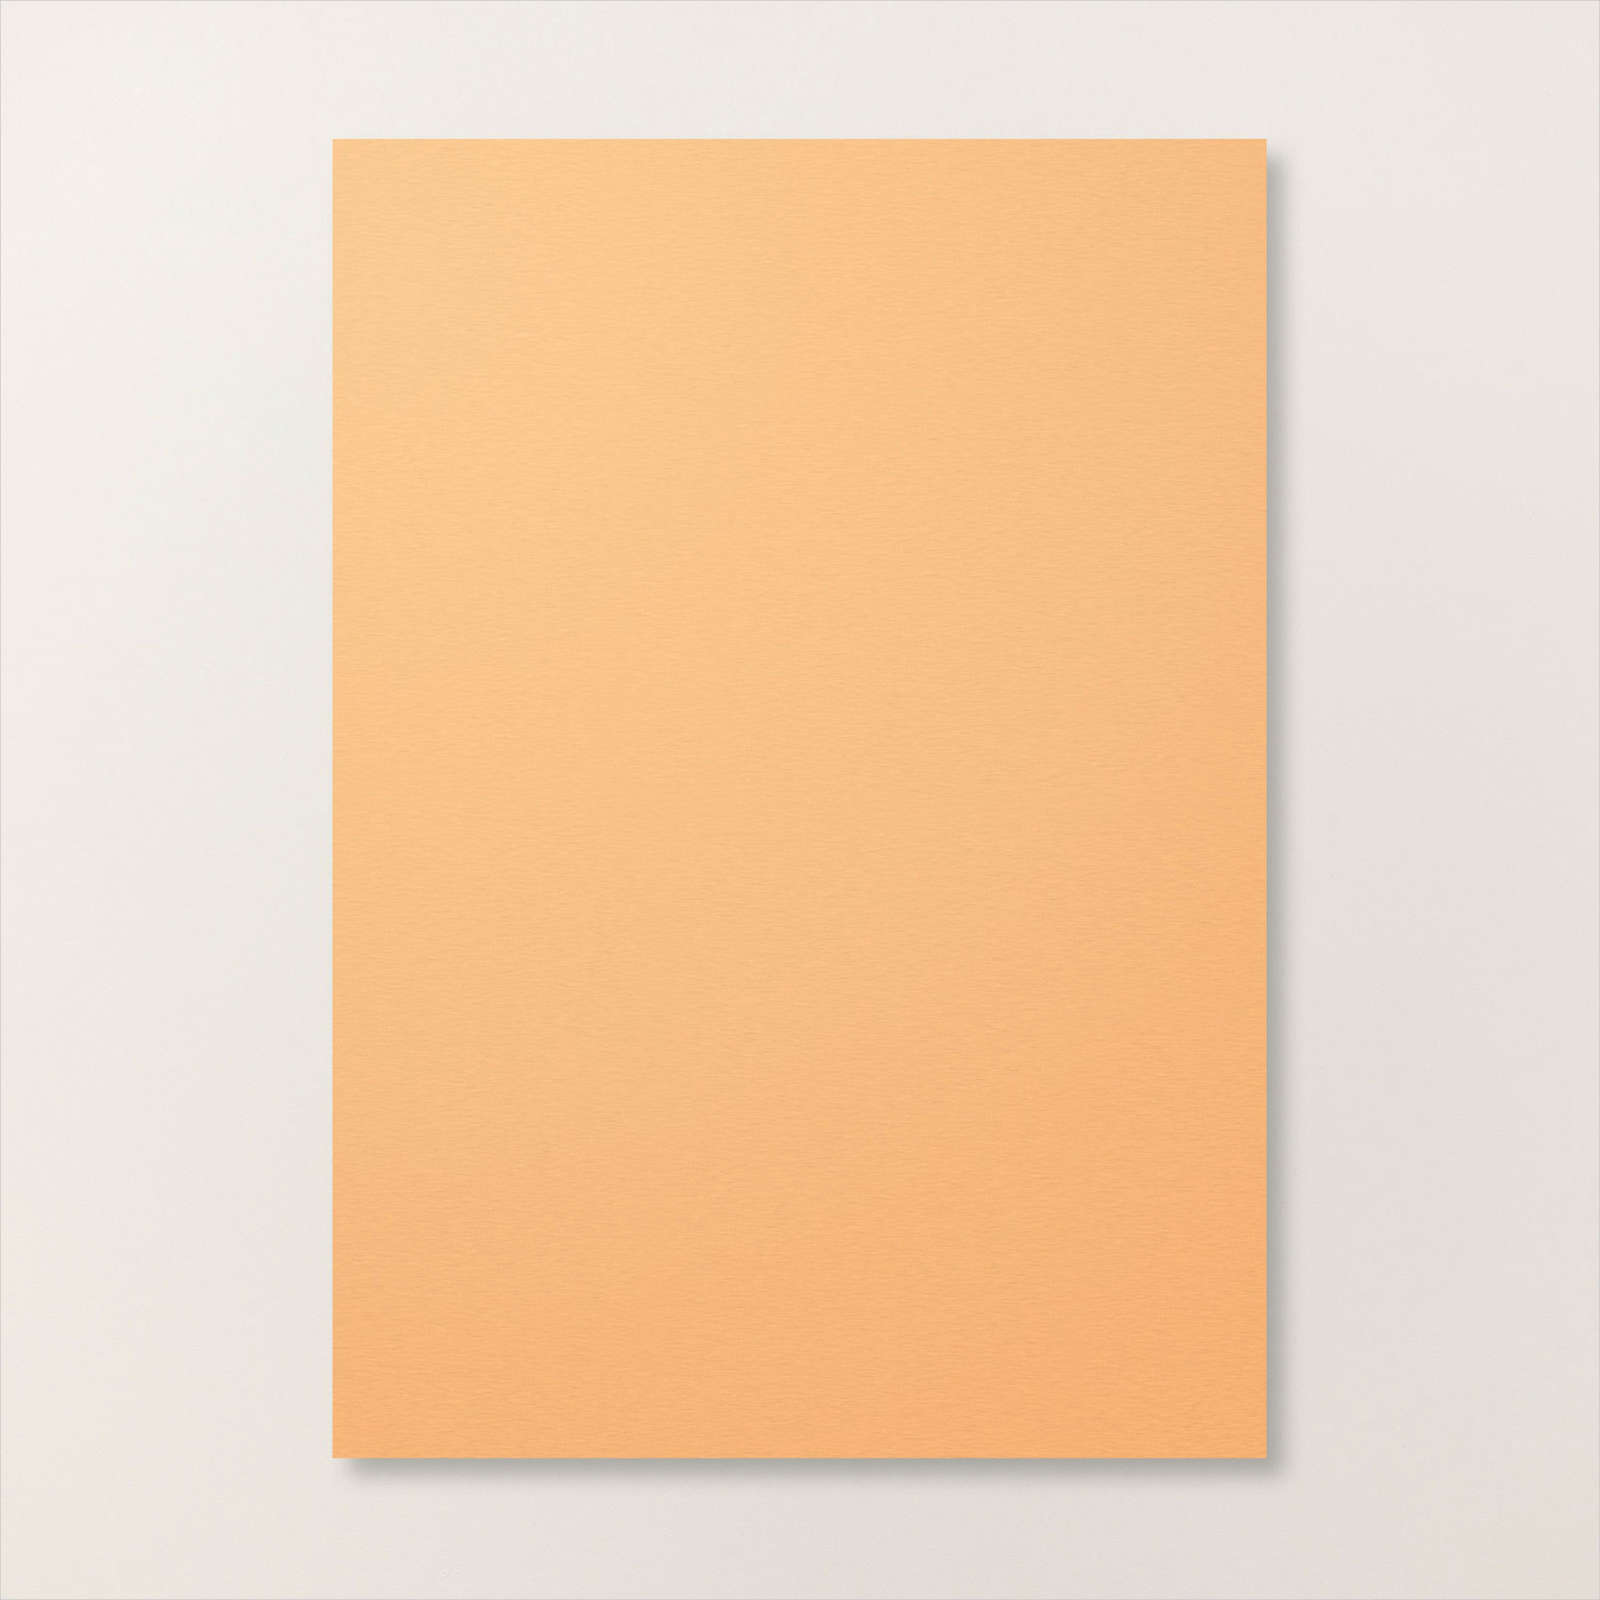
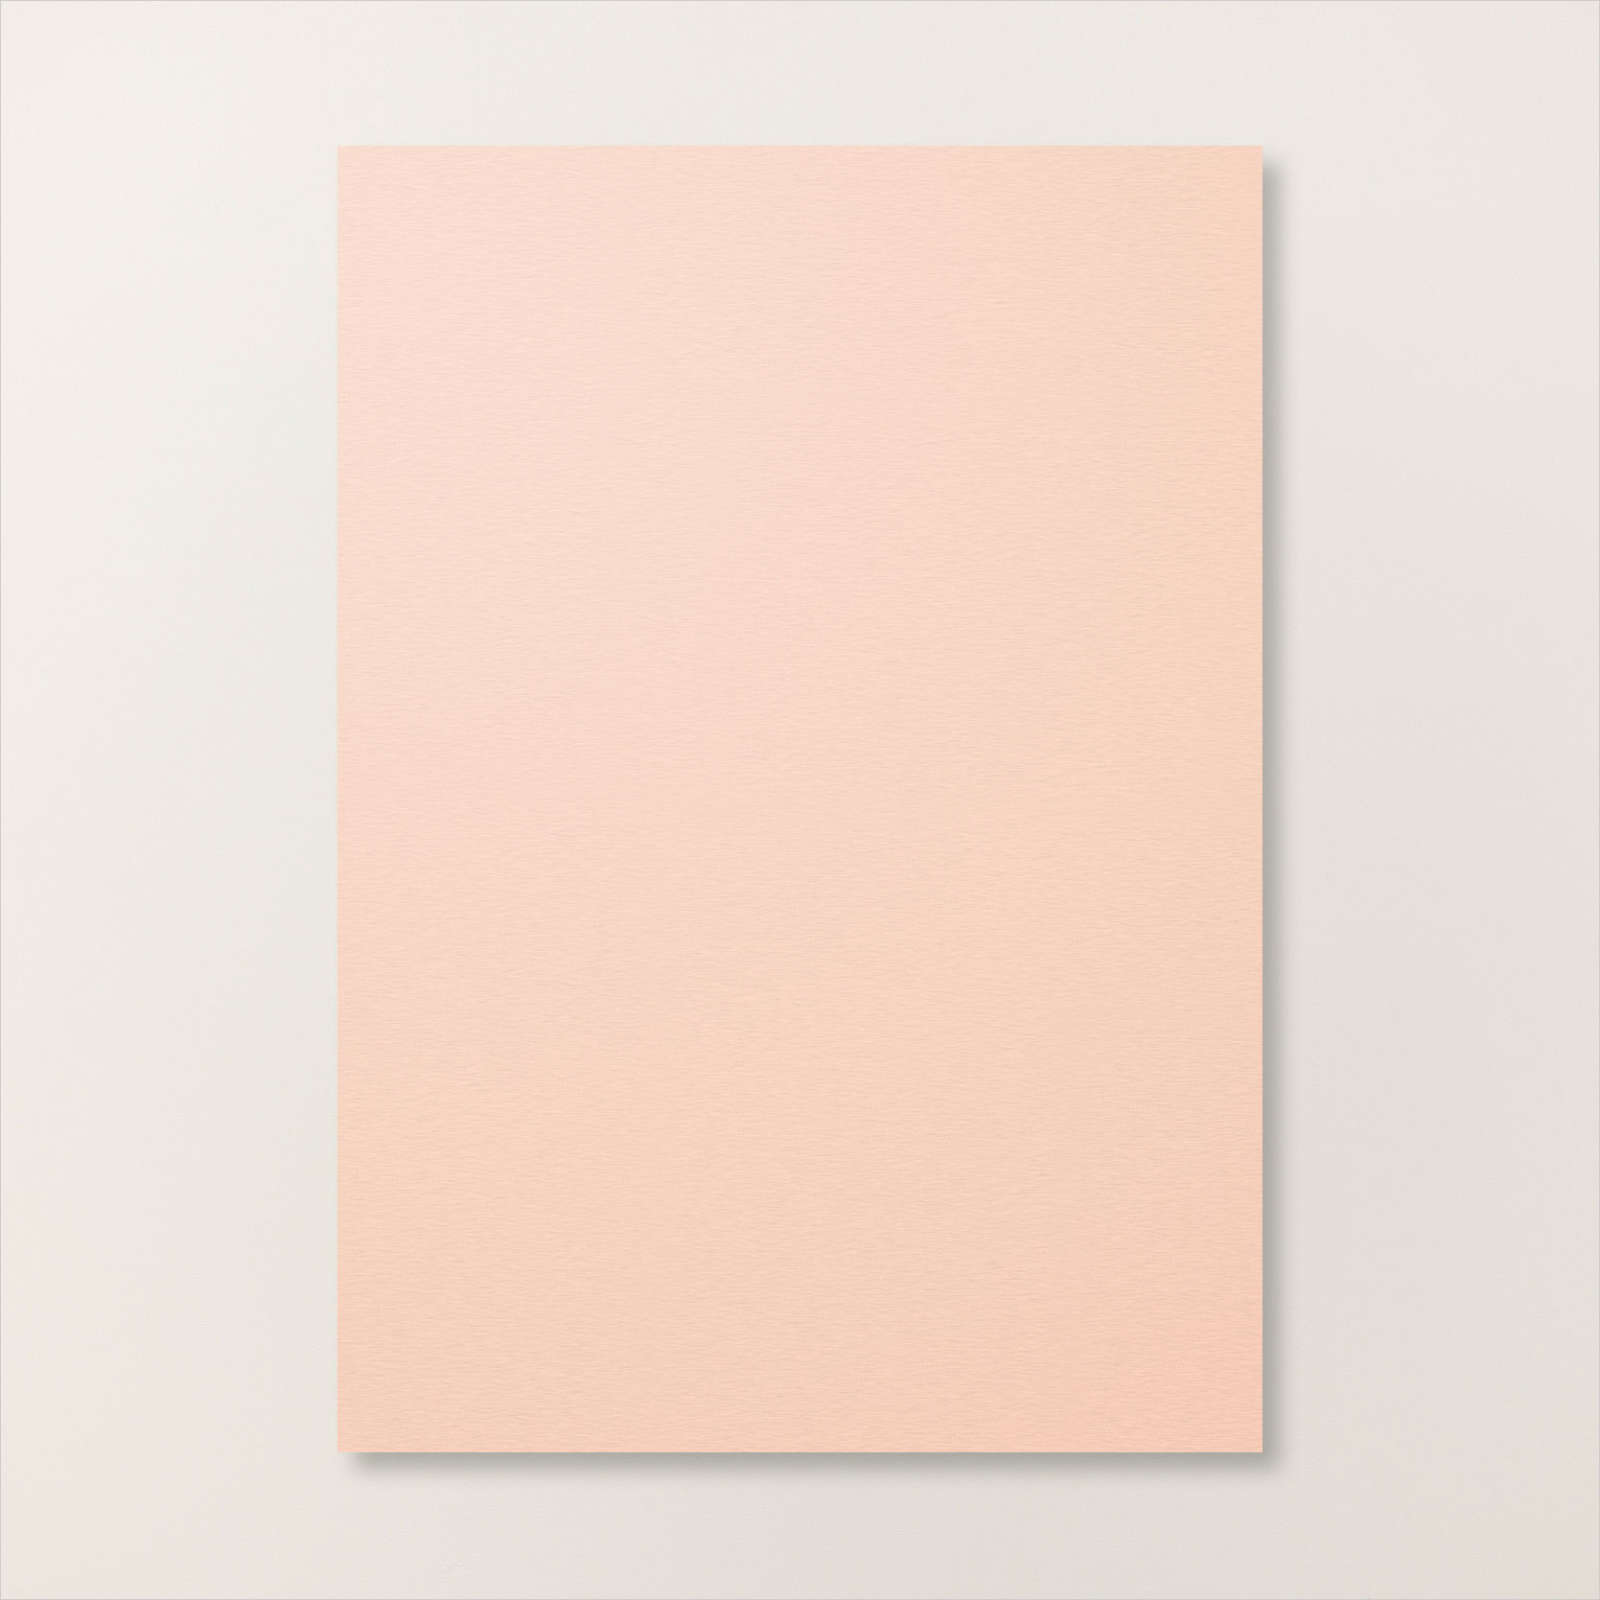
Today I have a card to share using the Iconic Imagery stamp set. I embossed Basic White card using the Painted Texture 3D Embossing Folder and attached it to scored and folded Peach Pie card. I attached a piece of Summer Splash paper from the 2024-2026 In Colour Designer Series Paper to the left hand side of the embossed card.
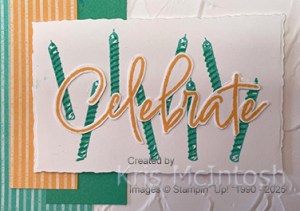
I attached a piece of Shy Shamrock card over the right hand side of the Designer Series Paper. Lastly I attached a piece of Peach Pie In Colour Designer Series Paper over the top of both pieces of paper/card. I cut Basic White card using one of the Deckled Rectangle Dies and stamped the solid candle image from the Iconic Imagery stamp set several times using Summer Splash ink. I stamped the detailed candle image over the top using Shy Shamrock ink.

I stamped “celebrate” from the Iconic Imagery stamp set onto Basic White card using Peach Pie ink and used my paper snips to cut out the greeting. I attached the greeting over the stamped candles. The image panel is attached to the card front using dimensionals. To decorate the inside of the card I attached a piece of Summer Splash Designer Series Paper down the left hand side of Basic White card. I stamped the solid candle image three times using Summer Splash ink and the detailed image over the top using Shy Shamrock ink. I love how bright & happy this card is, don’t you.
Bye for now,
Kris
Product Used:


Love This Day

When I got home from my little break away in August/September I couldn’t wait to try the Enjoy The Ride Workshop Kit which was waiting for me. This is one of the Close To My Heart Workshop Kits which are available for purchase while stocks last. The kit comes with enough product and instructions to create three double page layouts with some left overs. I followed the cutting instructions and put together the three layouts without photos.
The kit comes with photo place holders, so you can mark the spot and come back when you have photos to suit the page. This is the first layout I finished and the second layout in the Enjoy The Ride Workshop Kit. I used some photos of a visit to Noosa North Shore taken quite few years ago, which I think work well with the papers, don’t you.

I didn’t use exactly the same stickers and die cuts on my layout and I did move the banners from the right hand side to the left hand side of the second page. I think it looks nice having the banners meet in the middle. I am so happy with the finished layout and I look forward to sharing the other two layouts with you in the future. If you love scrapbooking and are looking for some inspiration, I can’t recommend these kits highly enough. Please let me know what you think.
Bye for now,
Kris
Product Used:
You can view the Enjoy The Ride Scrapbooking Workshop here in my online store.
Warm Wishes

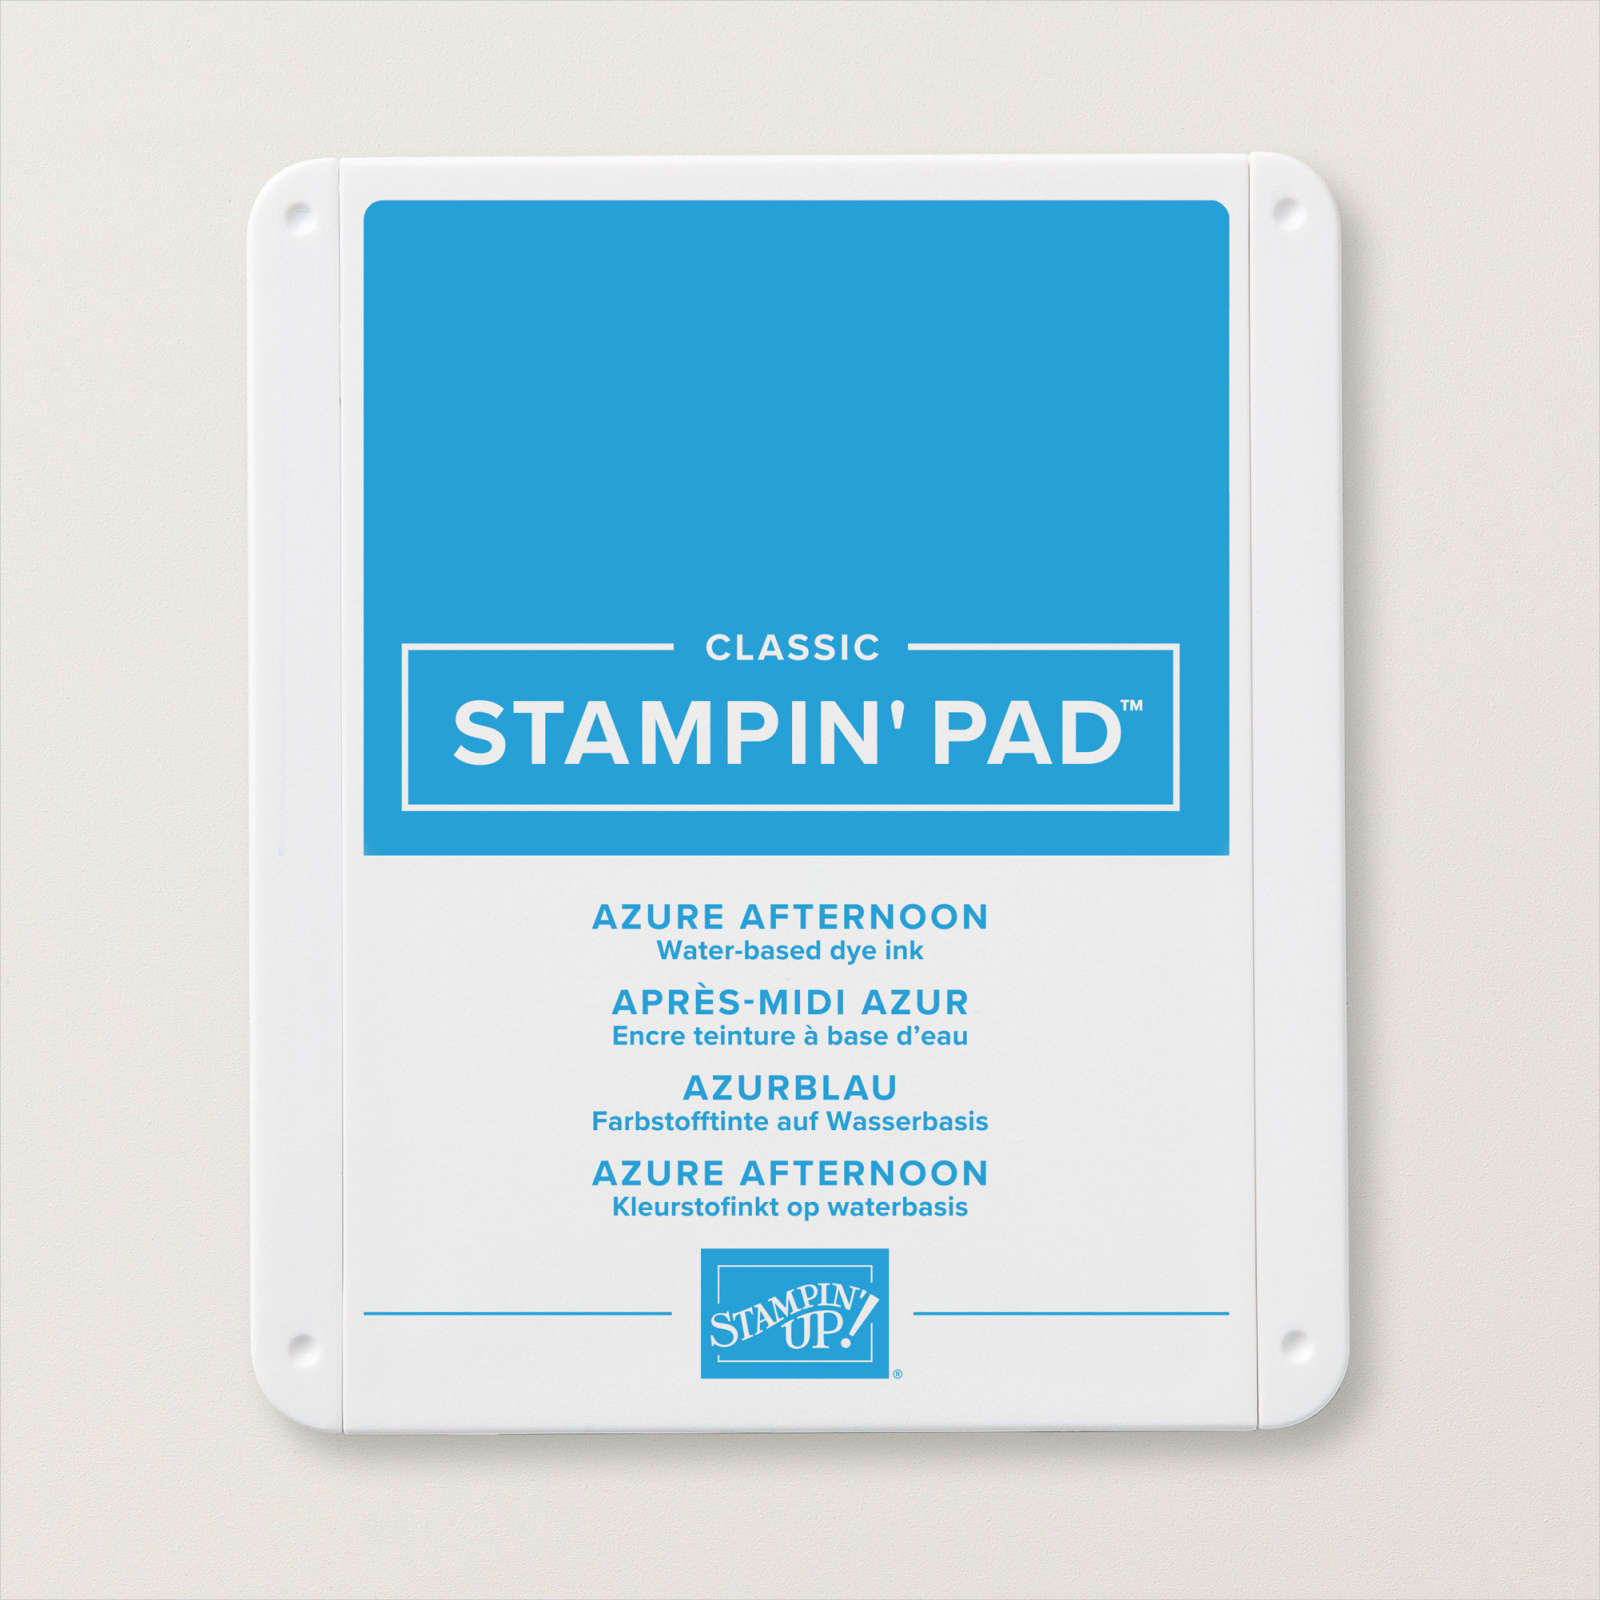
This week in my Facebook Live I shared some cards using the Surfing Santa stamp set from the new September to December Mini Catalogue. For this card I cut a piece of Poppy Parade card with a “v” in one end and attached it to Basic White card. I stamped the greeting from the Surfing Santa stamp set onto the lower right hand corner using Azure Afternoon ink. I embossed the whole panel using the Painted Texture 3D Embossing Folder before attaching it to scored and folded Azure Afternoon card. I cut Basic White card using the largest circle from the Stylish Shapes Dies.
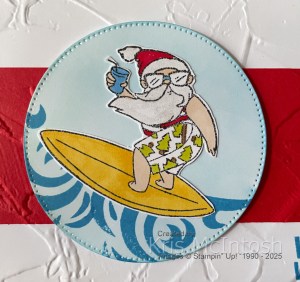
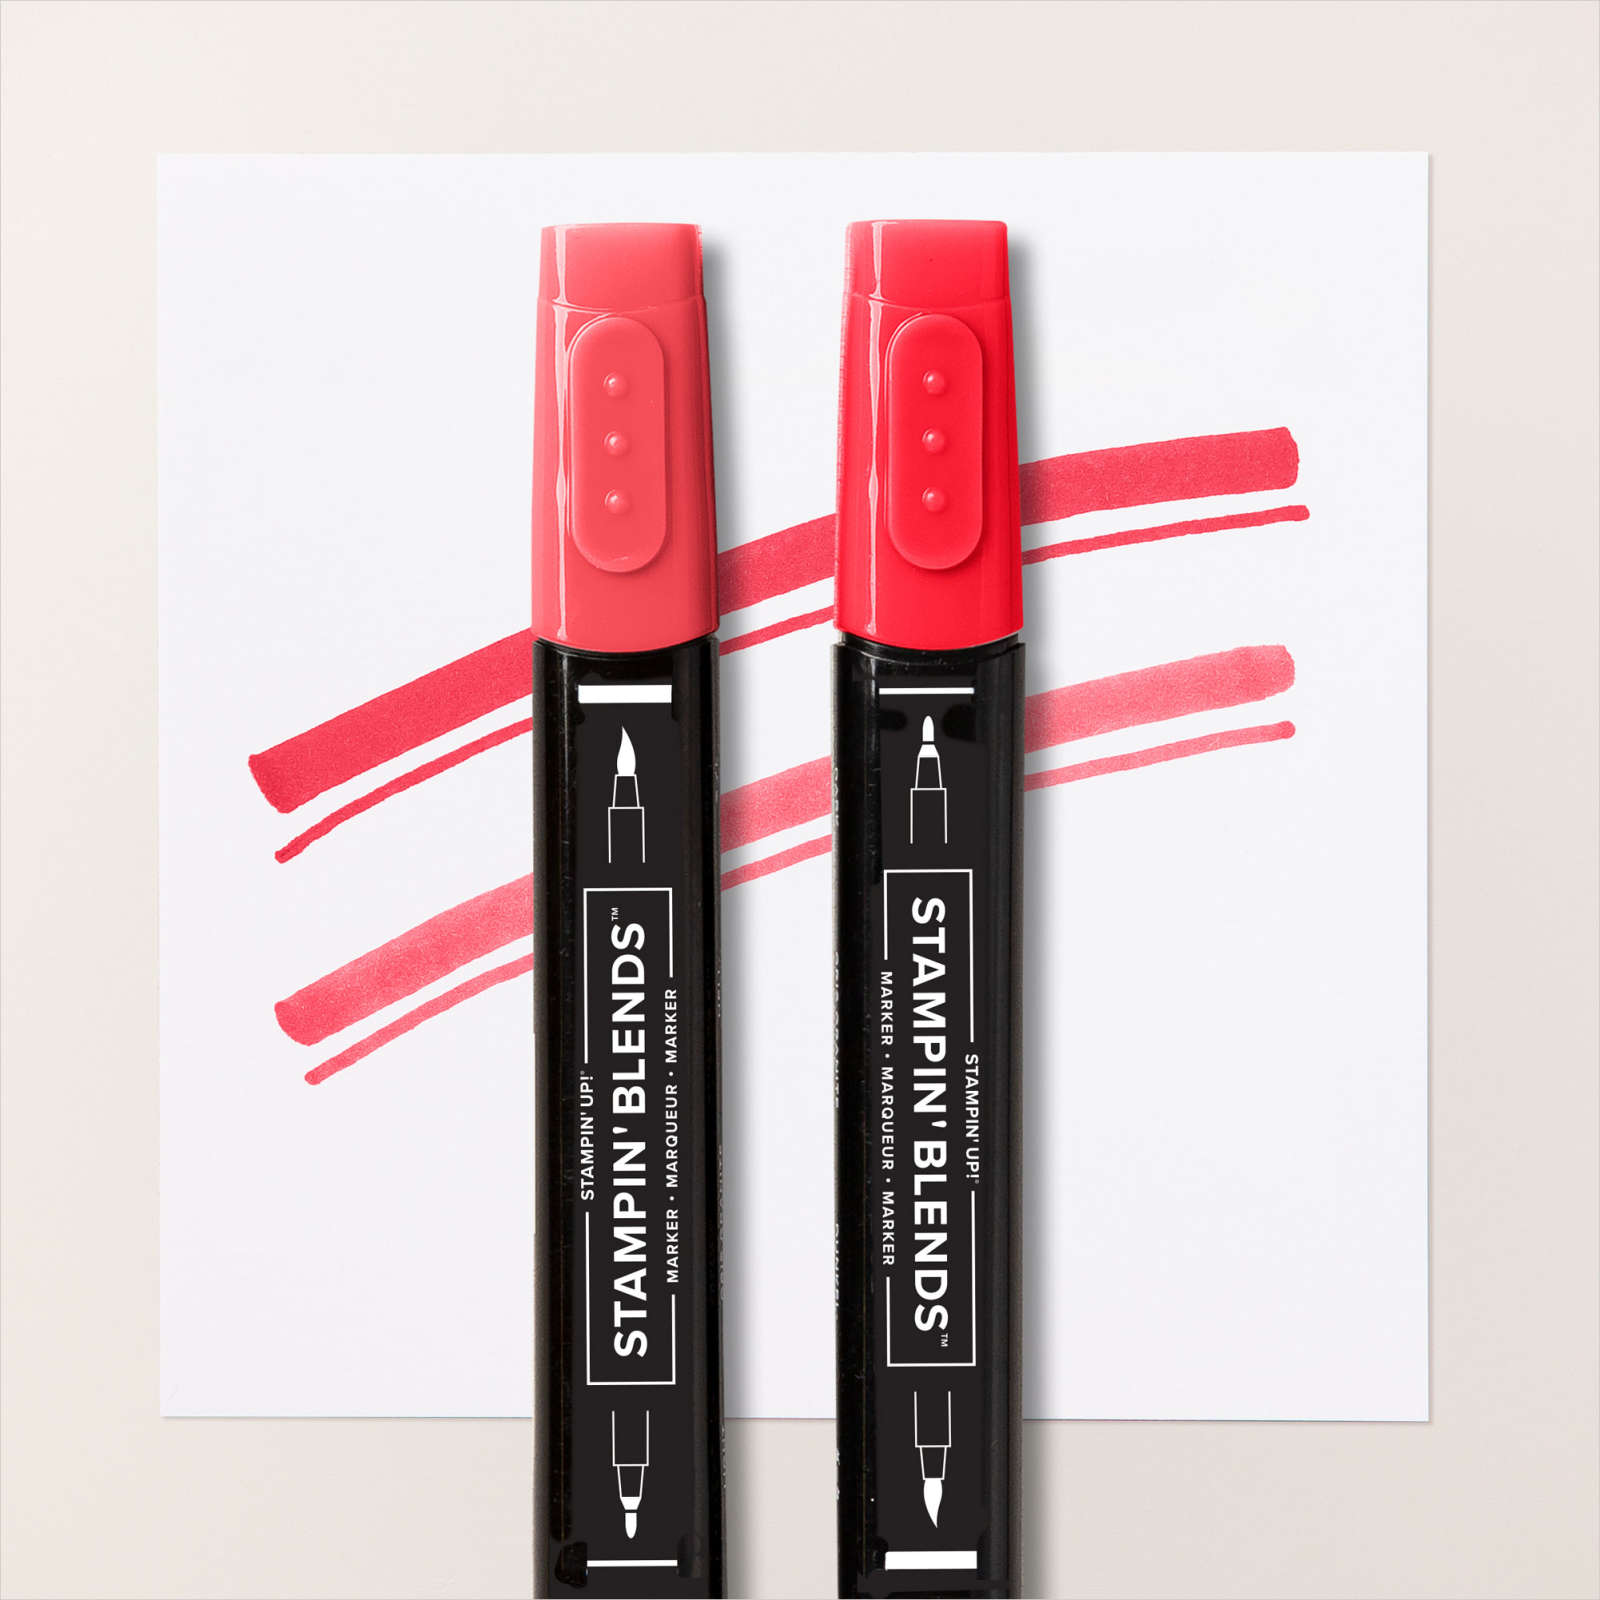
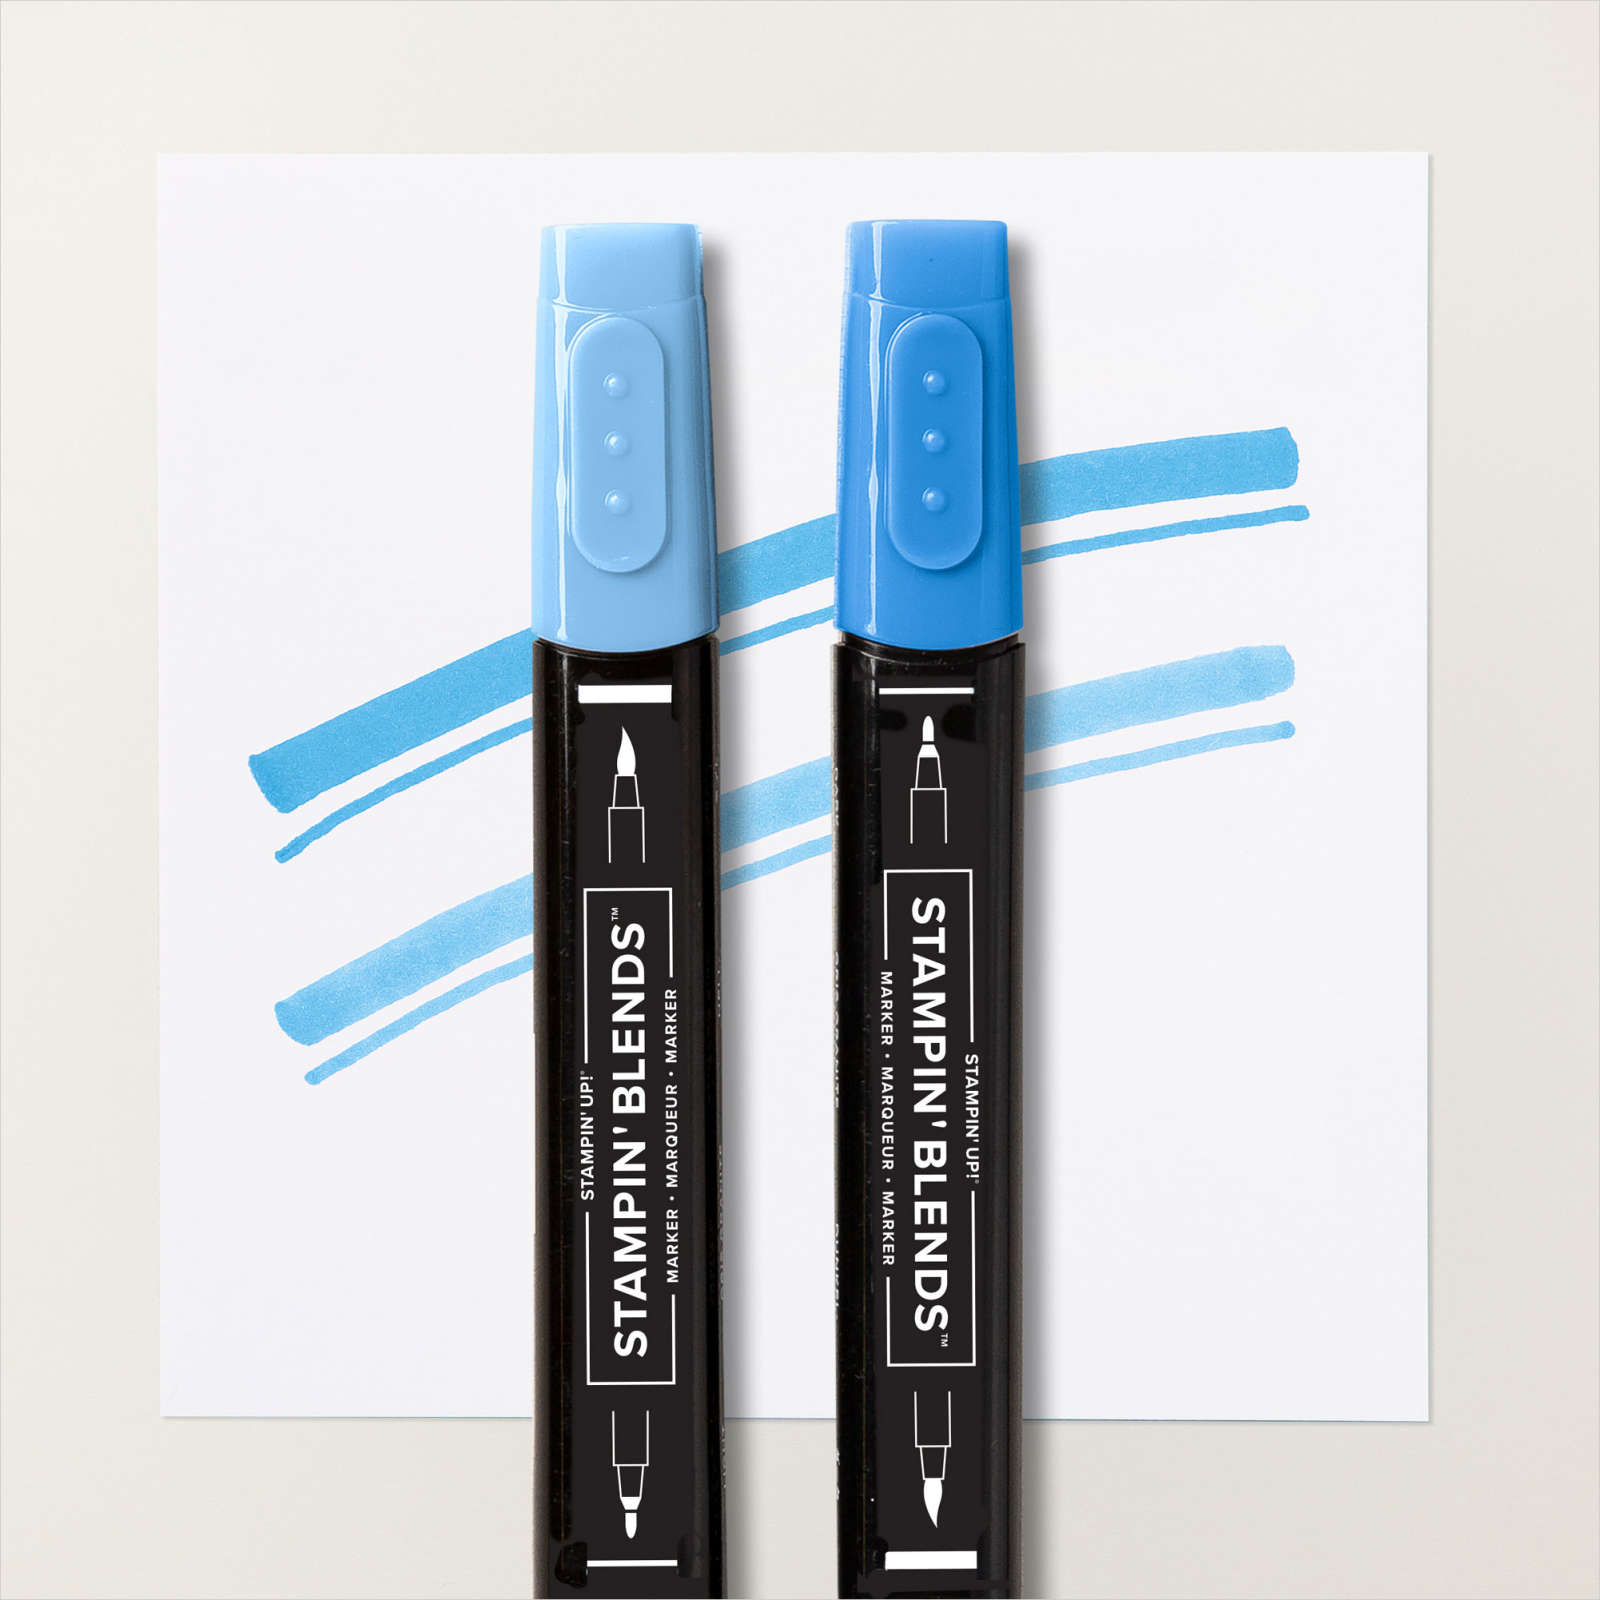
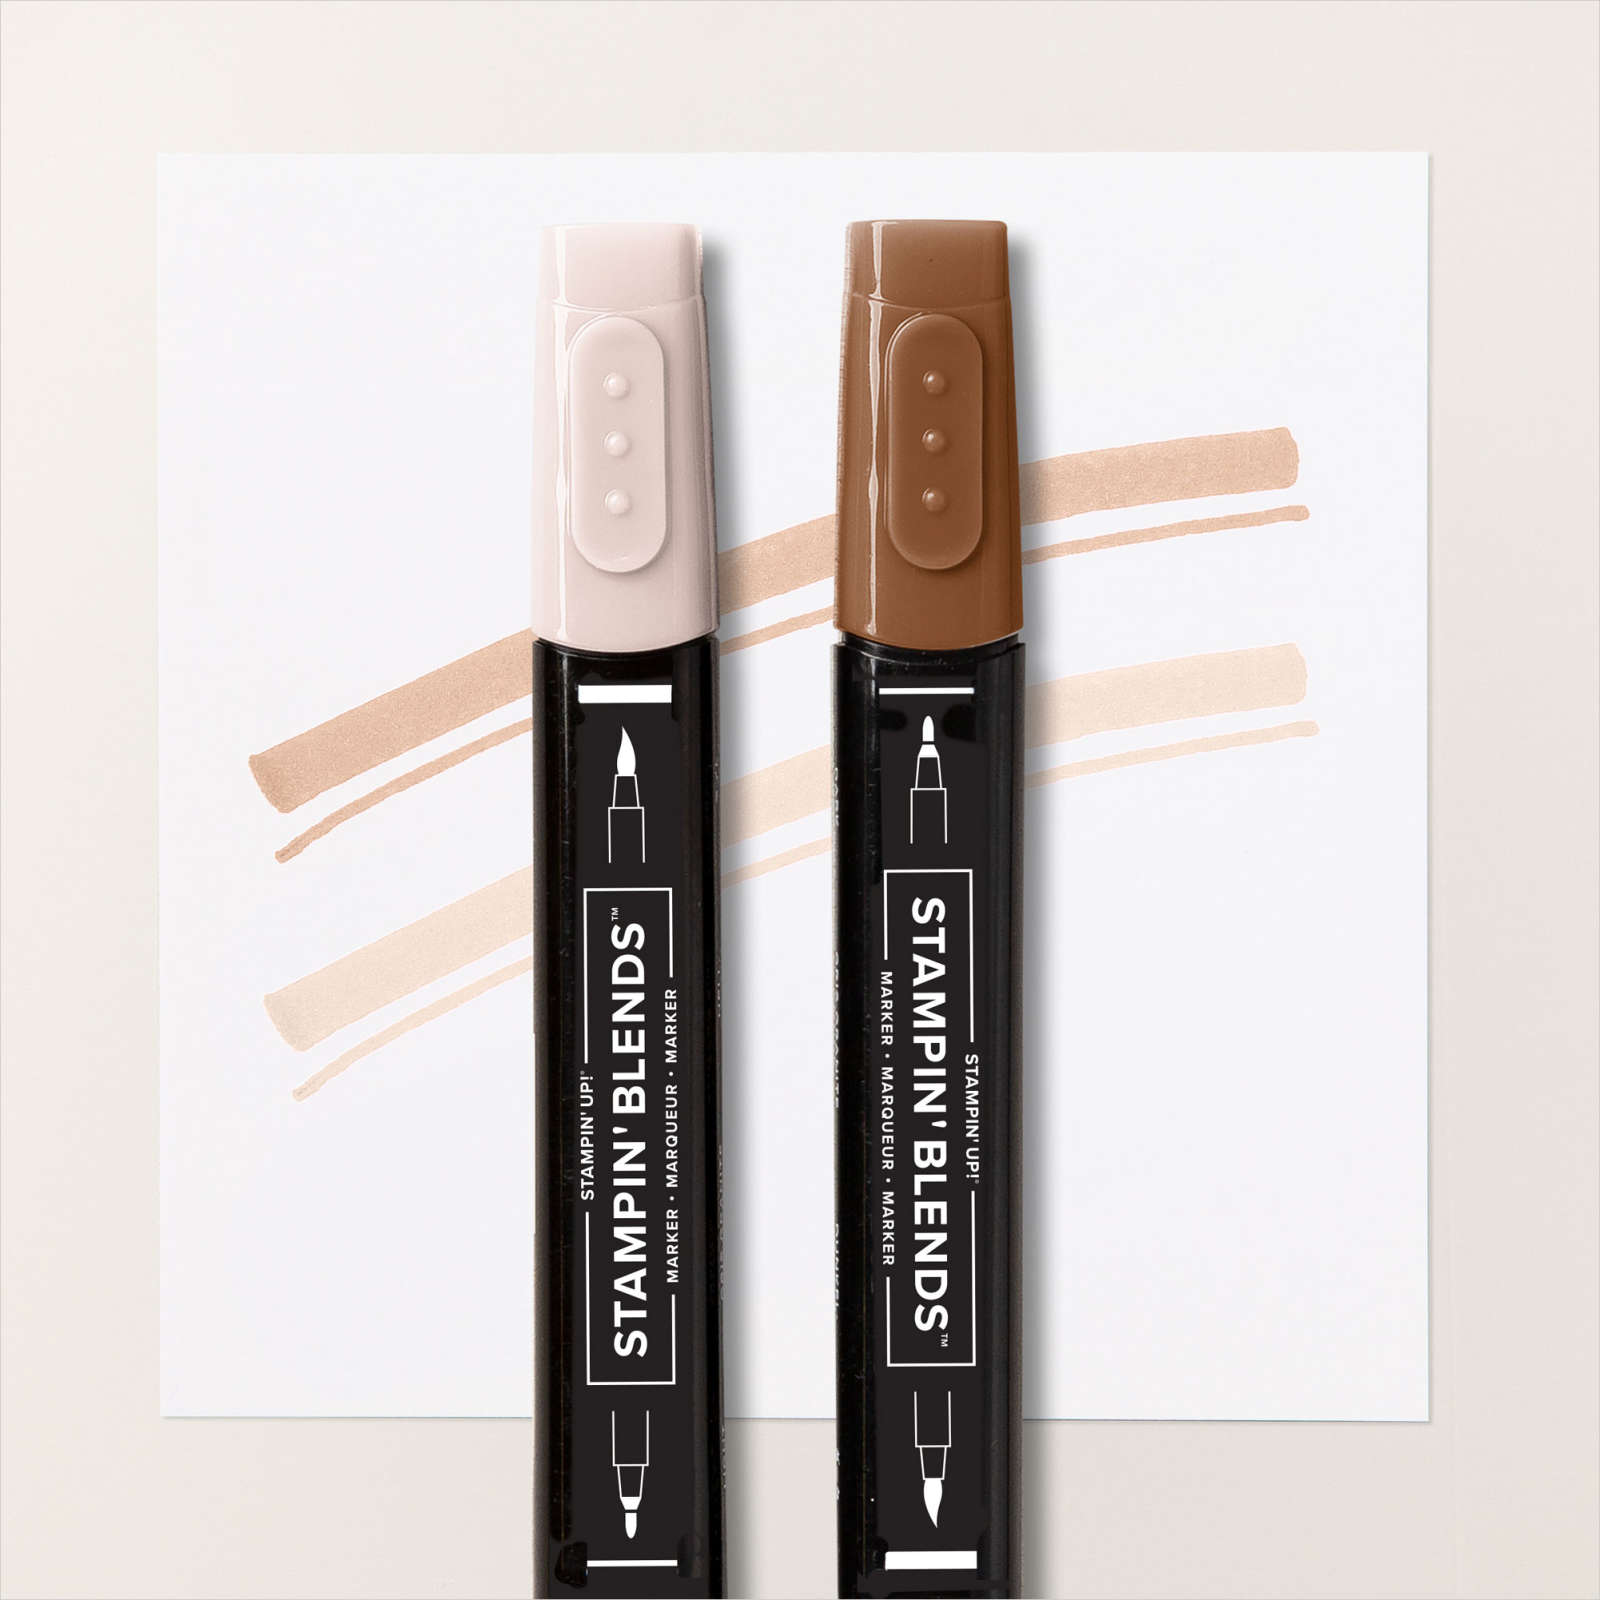
I used a Blending Brush to add Azure Afternoon ink to the circle before stamping the “surf” image from the Surfing Santa stamp set twice onto one half of the circle using the same ink. I stamped the santa image from the Surfing Santa stamp set onto Basic White card using Memento Tuxedo Black ink. I coloured the image using Dark Daffodil Delight, Dark Poppy Parade, Light Azure Afternoon, Ivory, Dark Lemon Lime Twist and Dark Pecan Pie Stampin’ Blends. I cut out the image and attached it onto the coloured circle. The image panel is attached to the card front using dimenaionals To decorate the inside of the card, I stamped another greeting from the Surfing Santa stamp set onto Basic White card using Azure Afternoon ink.

I stamped the “sand” image from the Surfing Santa stamp set three times onto the lower left hand corner of the Basic White card using Crumb Cake ink. I stamped the shell image from the Surfing Santa stamp set three times onto Basic White card using Crumb Cake ink. I coloured the image using the Light Crumb Cake Stampin’ Blend before cutting out the shells. I attached the shells over the stamped “sand”. I love how bright & happy this card is and this Santa certainly fits our hot summer Christmas.
Bye for now,
Kris
Product Used:


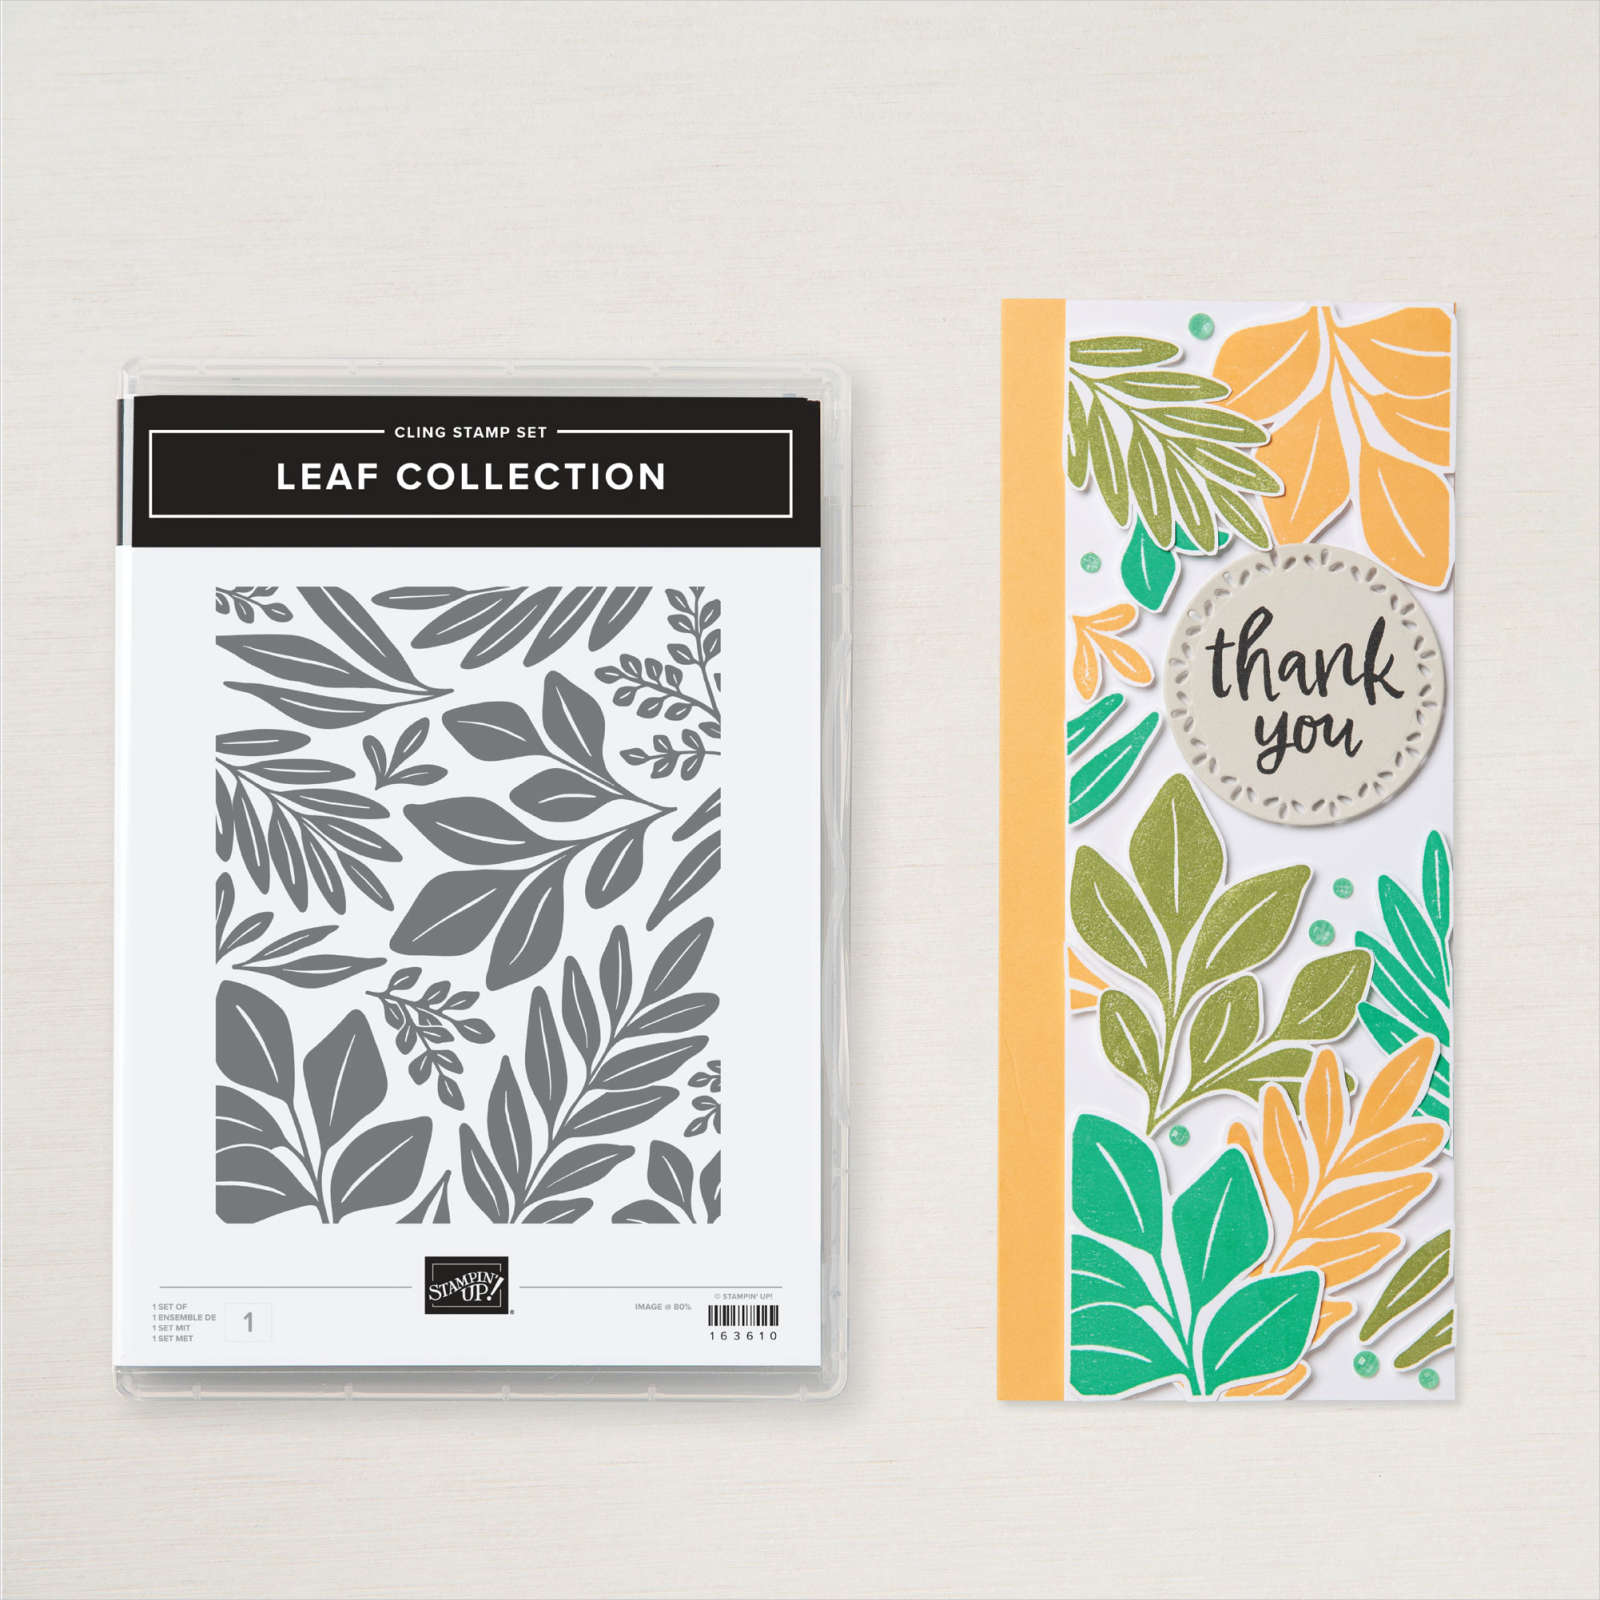
Thinking of You

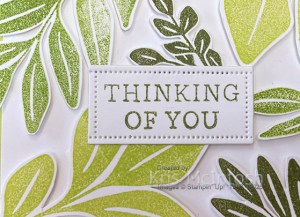
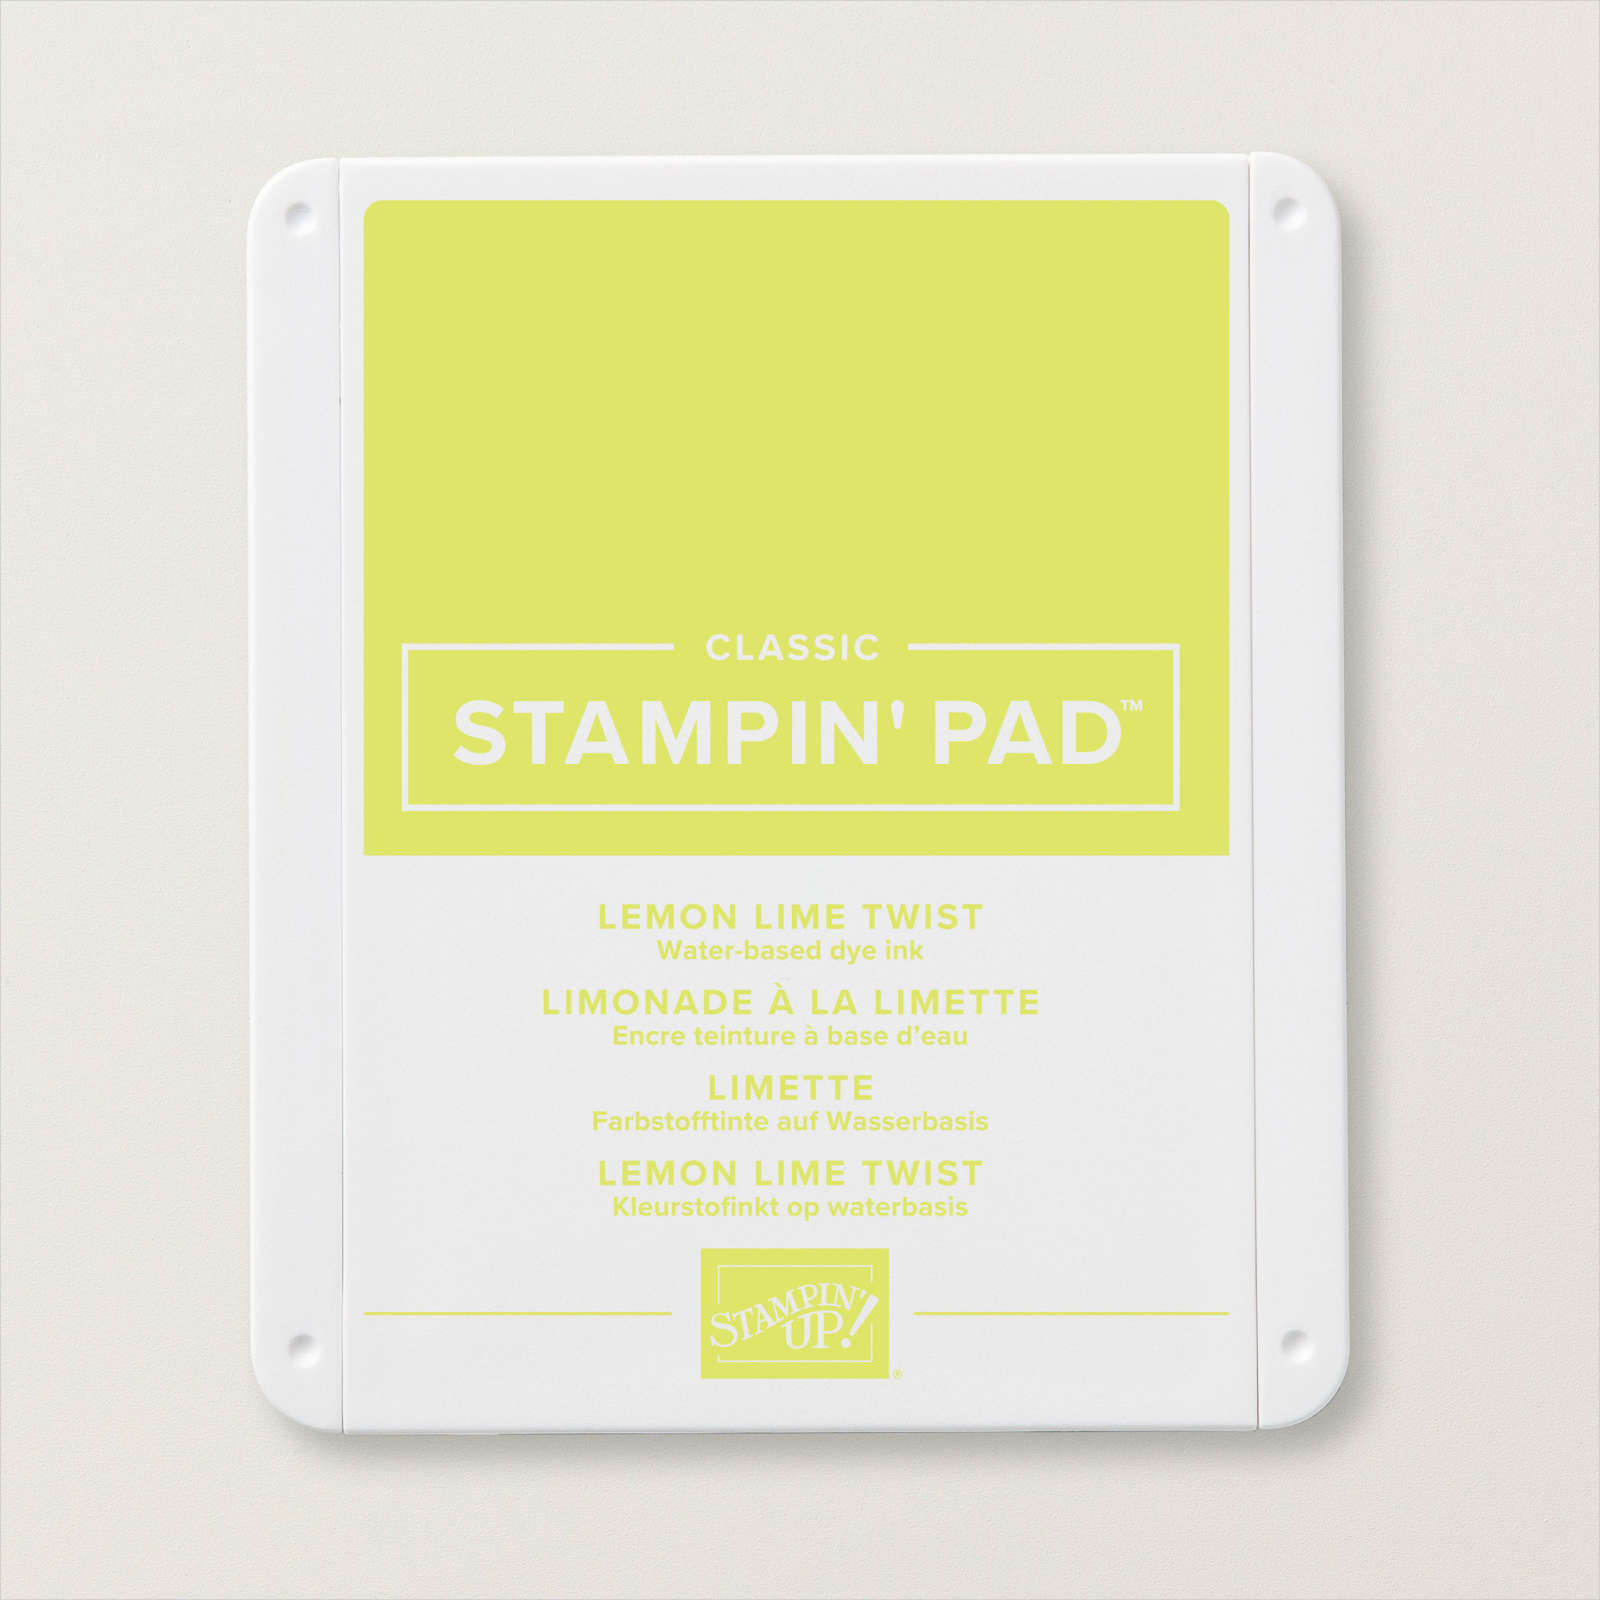
Today I had a play with the Leaf Collection stamp. This is so much fun to play with to create lots of different styles of card. Today I stamped the Leaf Collection image three times onto Basic White card, once using Lemon Lime Twist, once using Granny Apple Green and once using Old Olive ink. I cut all of the leaf images out by hand, not a quick job, but I did watch the telly whilst I was doing it. I used the stamp as a quide to arrange the leaves in each of the colours to create my layout. I used a piece of Press’n’Seal to pick up the leaf images and attached dimensionals to the back of each image.
The leaves were attached to a piece of Basic White card before trimming the edges. I attached the Basic White panel to Lemon Lime Twist card, then Granny Apple Green card and then scored and folded Old Olive card.
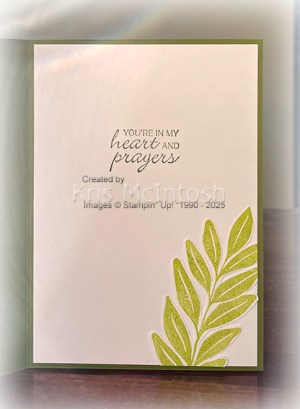
I stamped “thinking of you” from the Simply Said stamp set onto Basic White card using Old Olive ink. I used the smallest rectangle die from the Everyday Details Dies to cut out the greeting before attaching it to the card front (I did cut it twice to make sure that the banner was tight around the greeting). To decorate the inside of the card, I attached one of the leaves to the lower right hand corner of Basic White card, trimming where necessary. I stamped the greeting from the Simply Said stamp set onto the card using Old Olive ink. I love how this card turned out, definitely worth the effort. I’d love to hear what you think.
Bye for now,
Kris
Product Used:


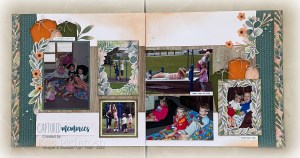
Captured Memories

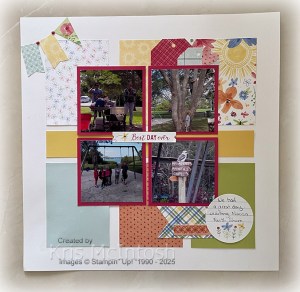
You all know that I am a scrapbooker at heart and love creating pages to showcase photos from significant and not so significant events in my life. Since the previous Close to My Heart Makers have joined Stampin’ Up! I am constantly inspired to create. Today I have a double page layout to share which I created from some instructions I purchased from Julie Carriere on her You Tube channel.
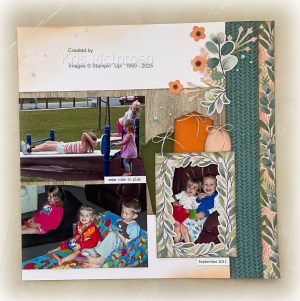
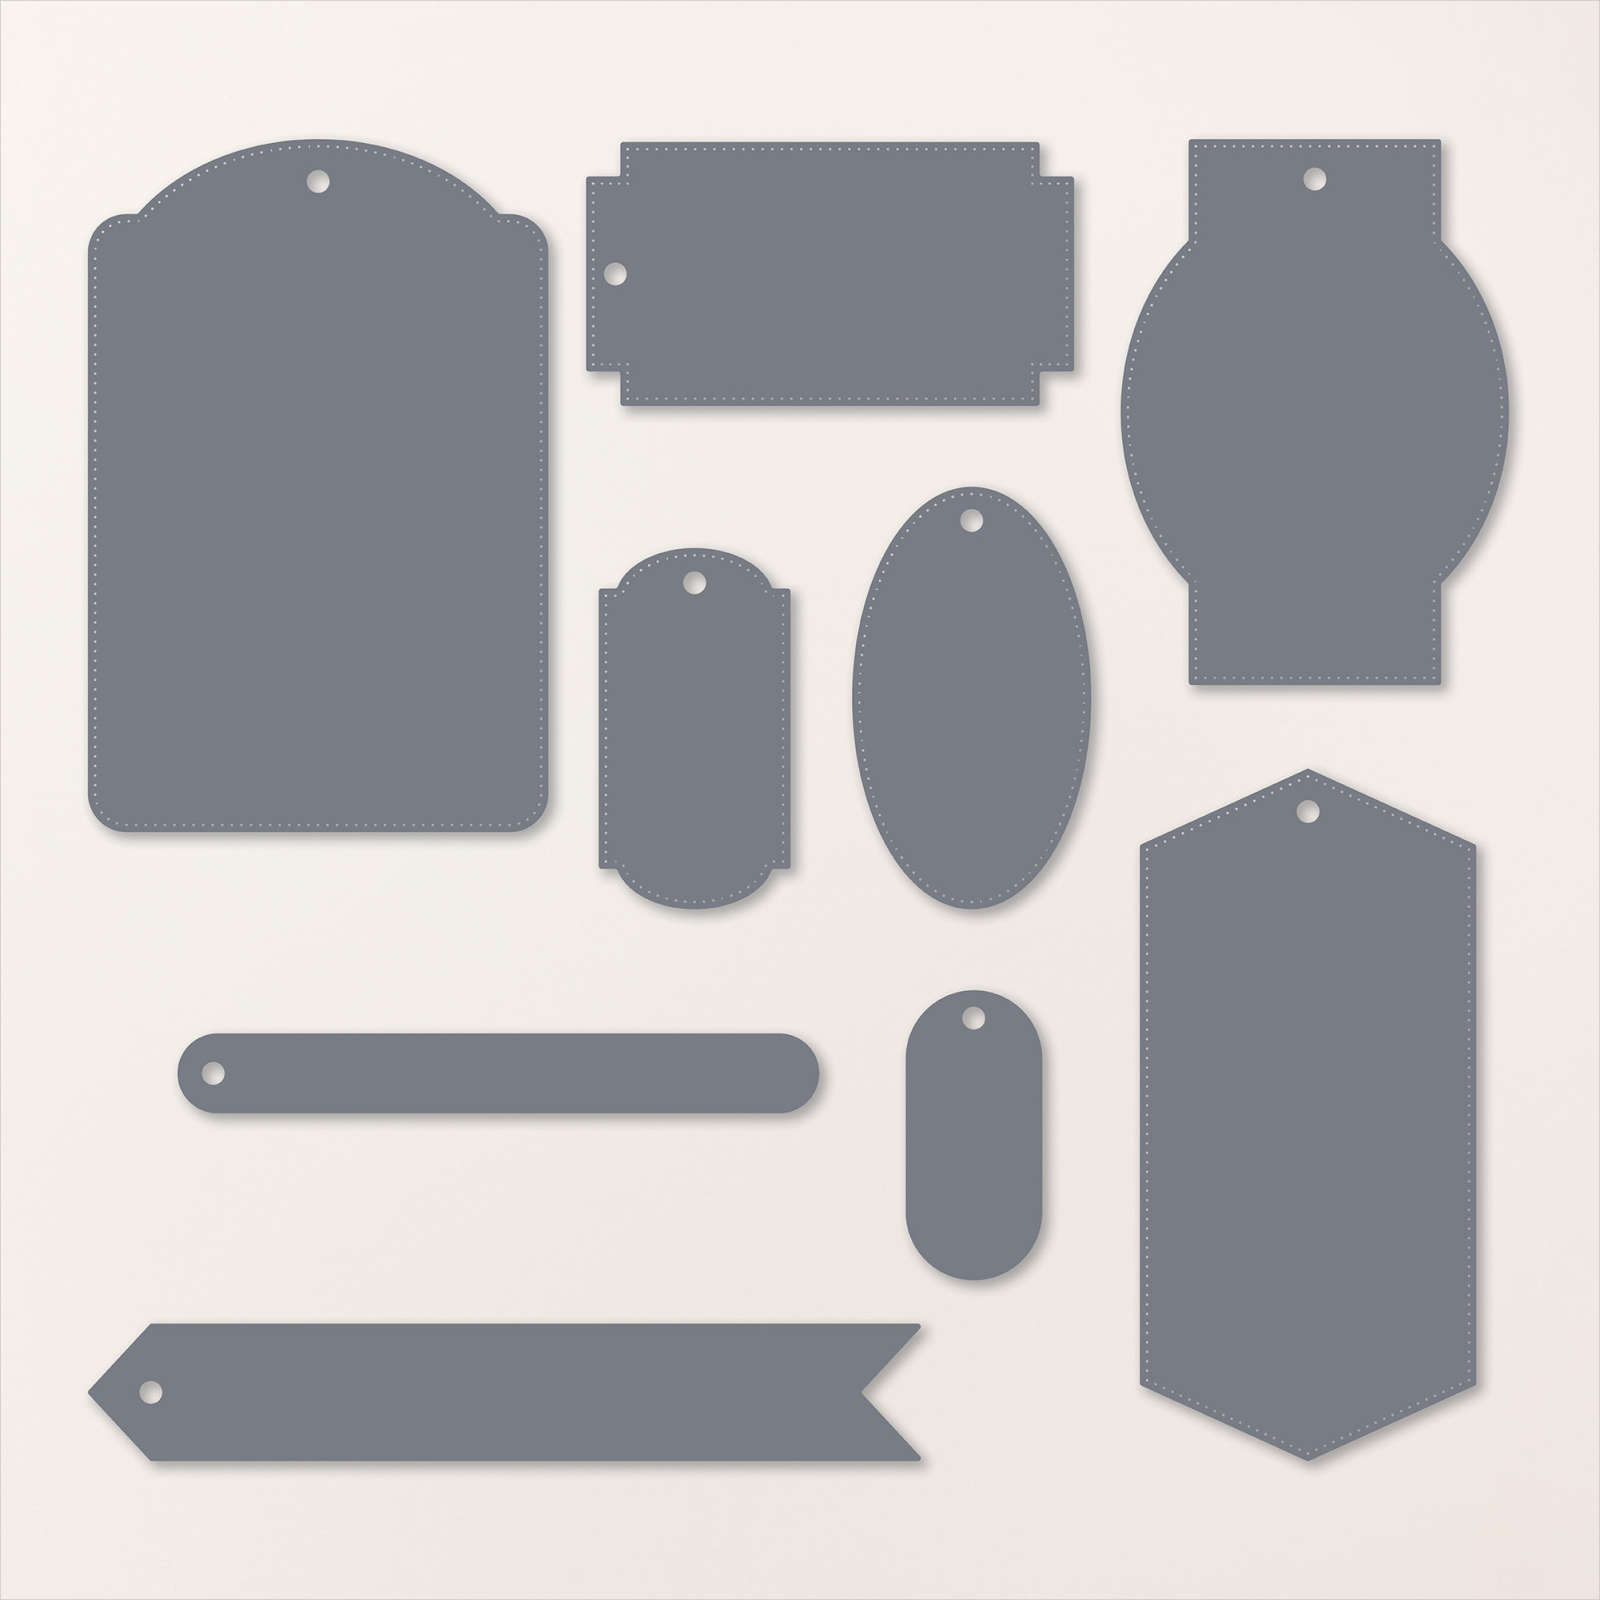
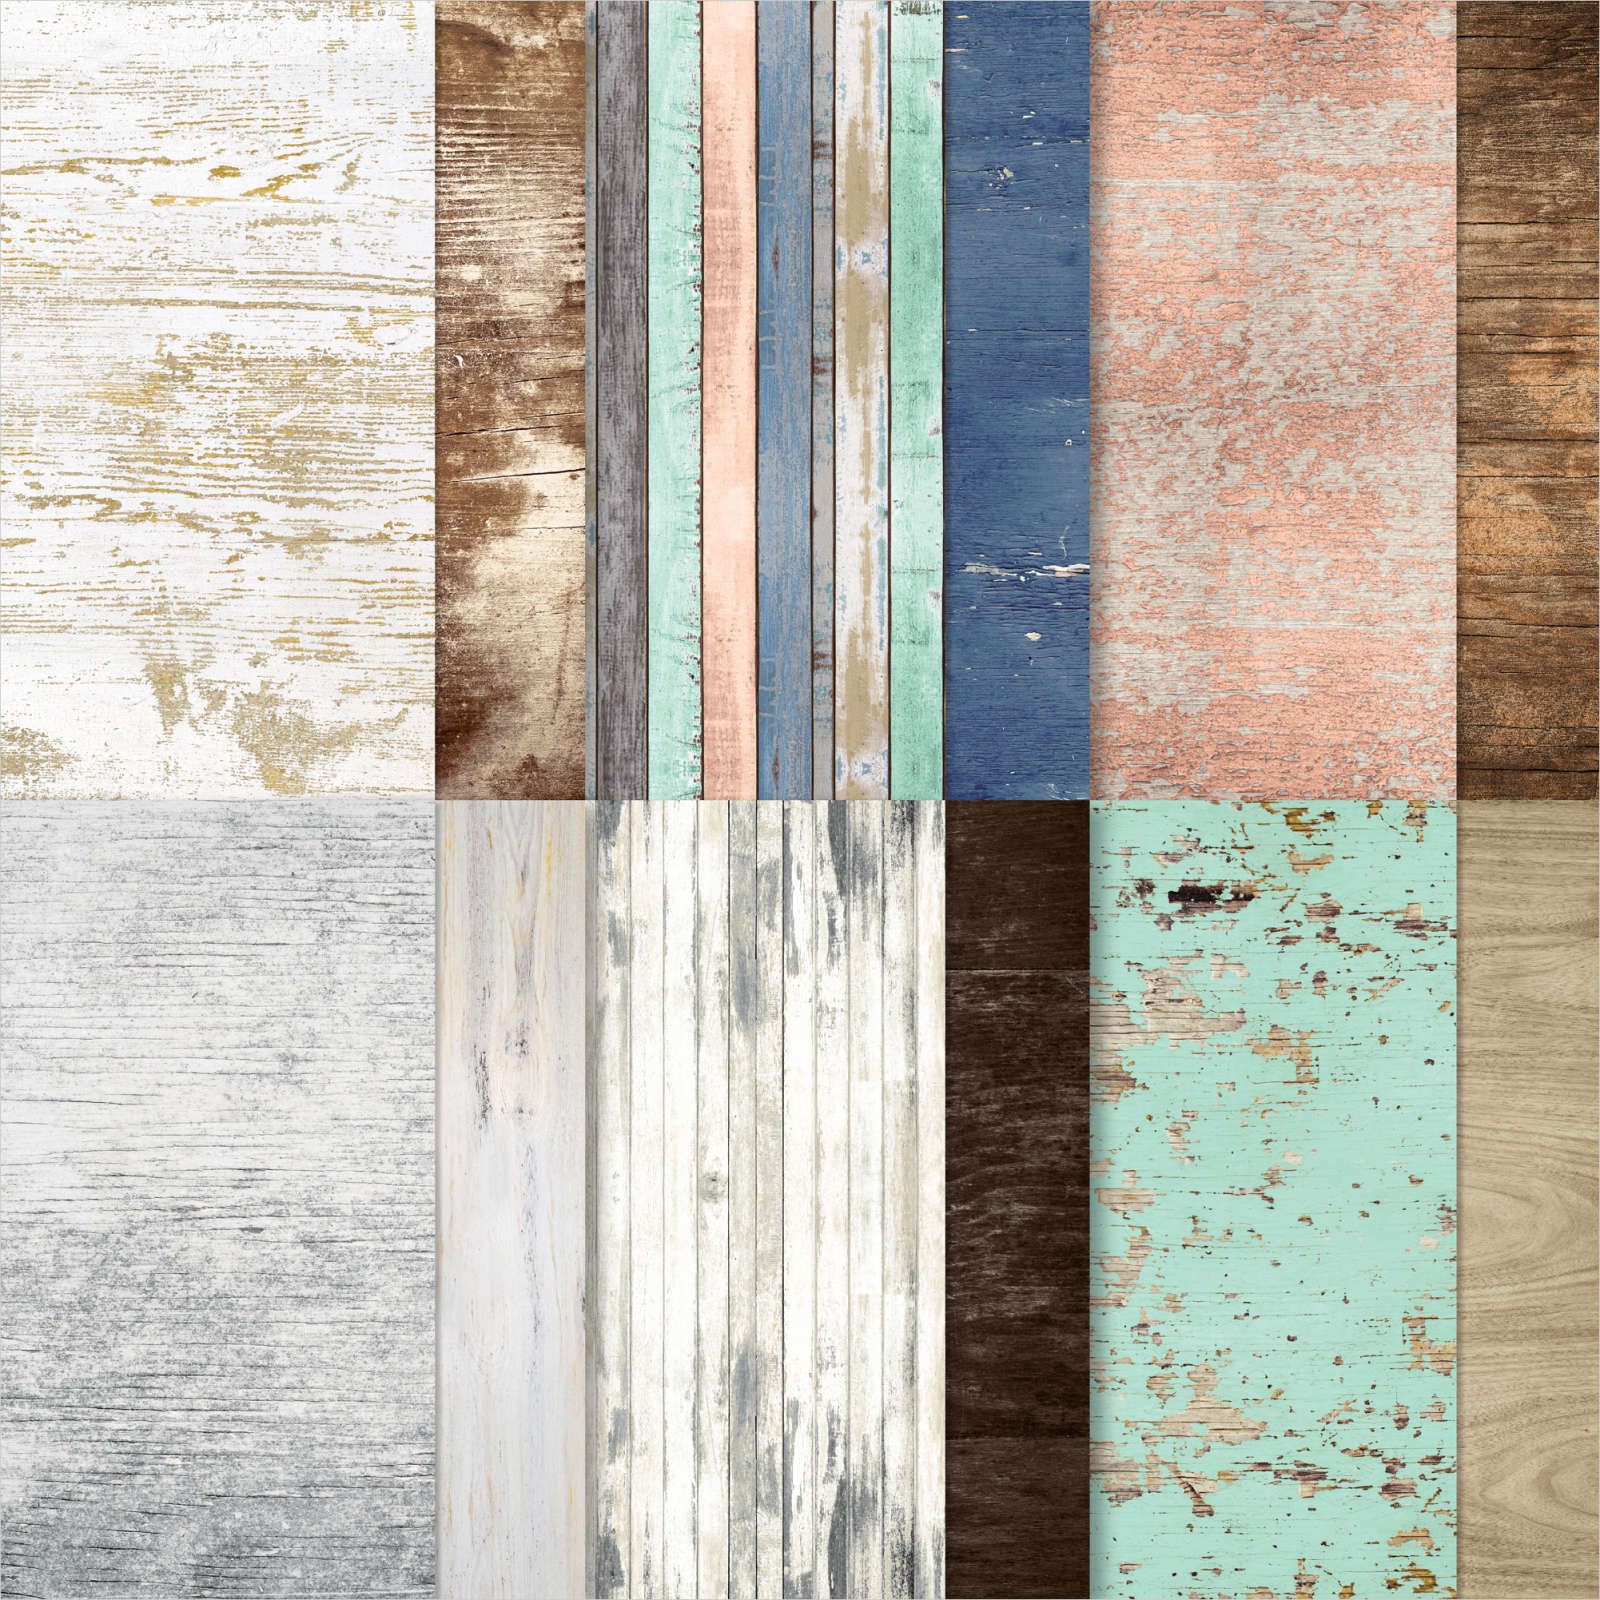
The pages are created using the Frames & Flowers 12″ x 12″ Specialty Designer Series Paper. This paper not only has some 12″ x 12″ papers but lots of ephemera and card fronts that you can use to create cards and in this case Memory Keeping pages. I followed Julie’s instructions to showcase some photos of a day at the park with my grandchildren. In addition to the Frames & Flowers Designer Series Paper. I have used one pattern of paper from the Country Woods 12″ x 12″ Designer Series Paper. The tags were all created using the Greetings of the Season Dies and I have used Linen Thread for the bows. The title and some of the word panels were supplied by Julie in her instructions. I am hoping that I can use the layouts and cutting plans to create pages using different papers in the future.
I am really excited to be able to puchase some of the Close to My Heart paper packs and the new scrapbooking products released by Stampin’ Up!. How about you? Are you a scrapbooker at heart? If you are I bet you are just as excited as I am.
Bye for now,
Kris
Product Used:


It’s Your Birthday

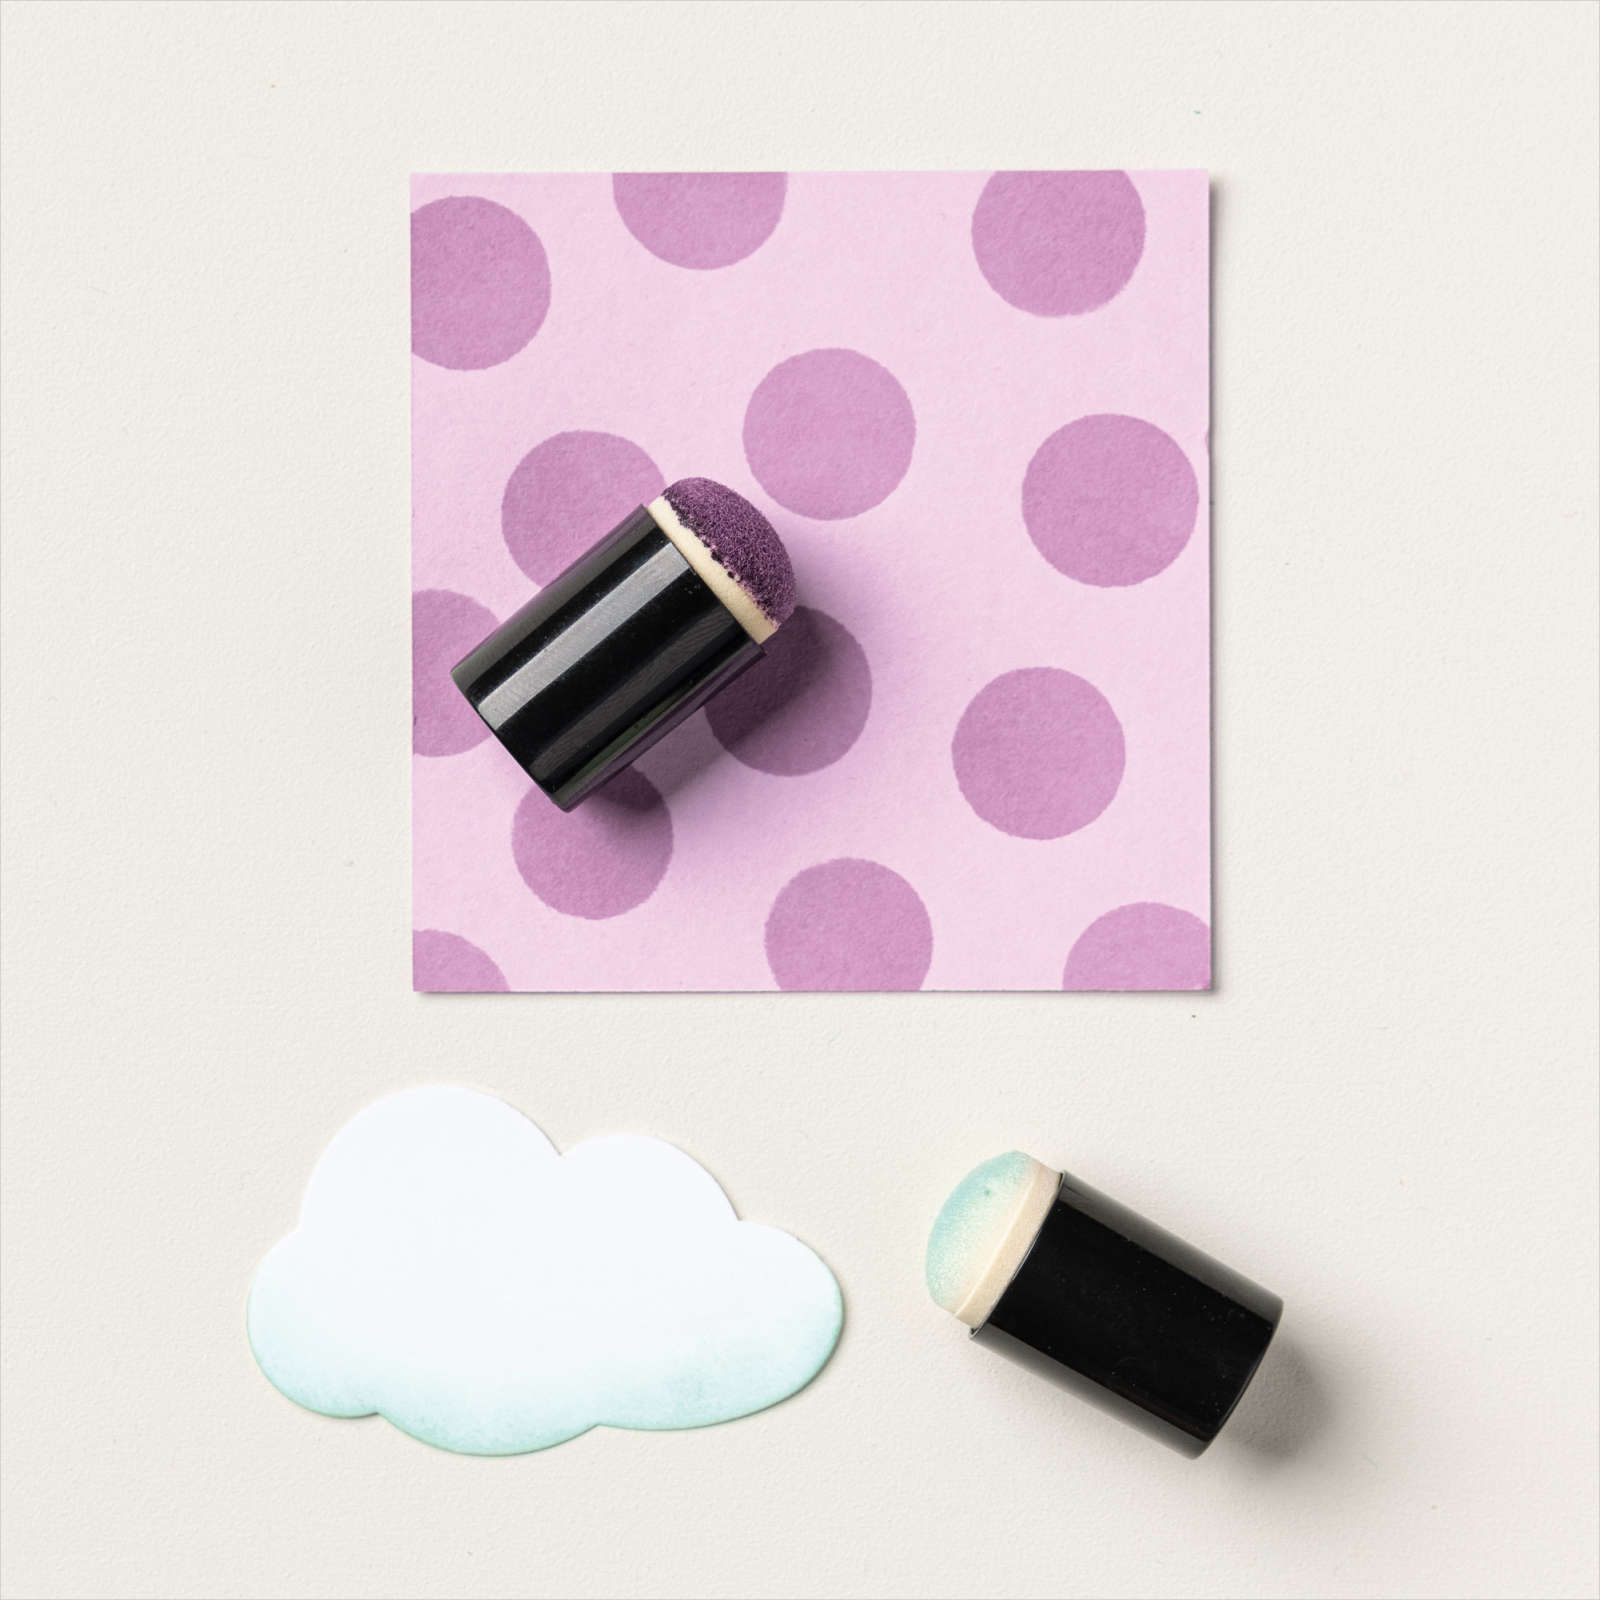
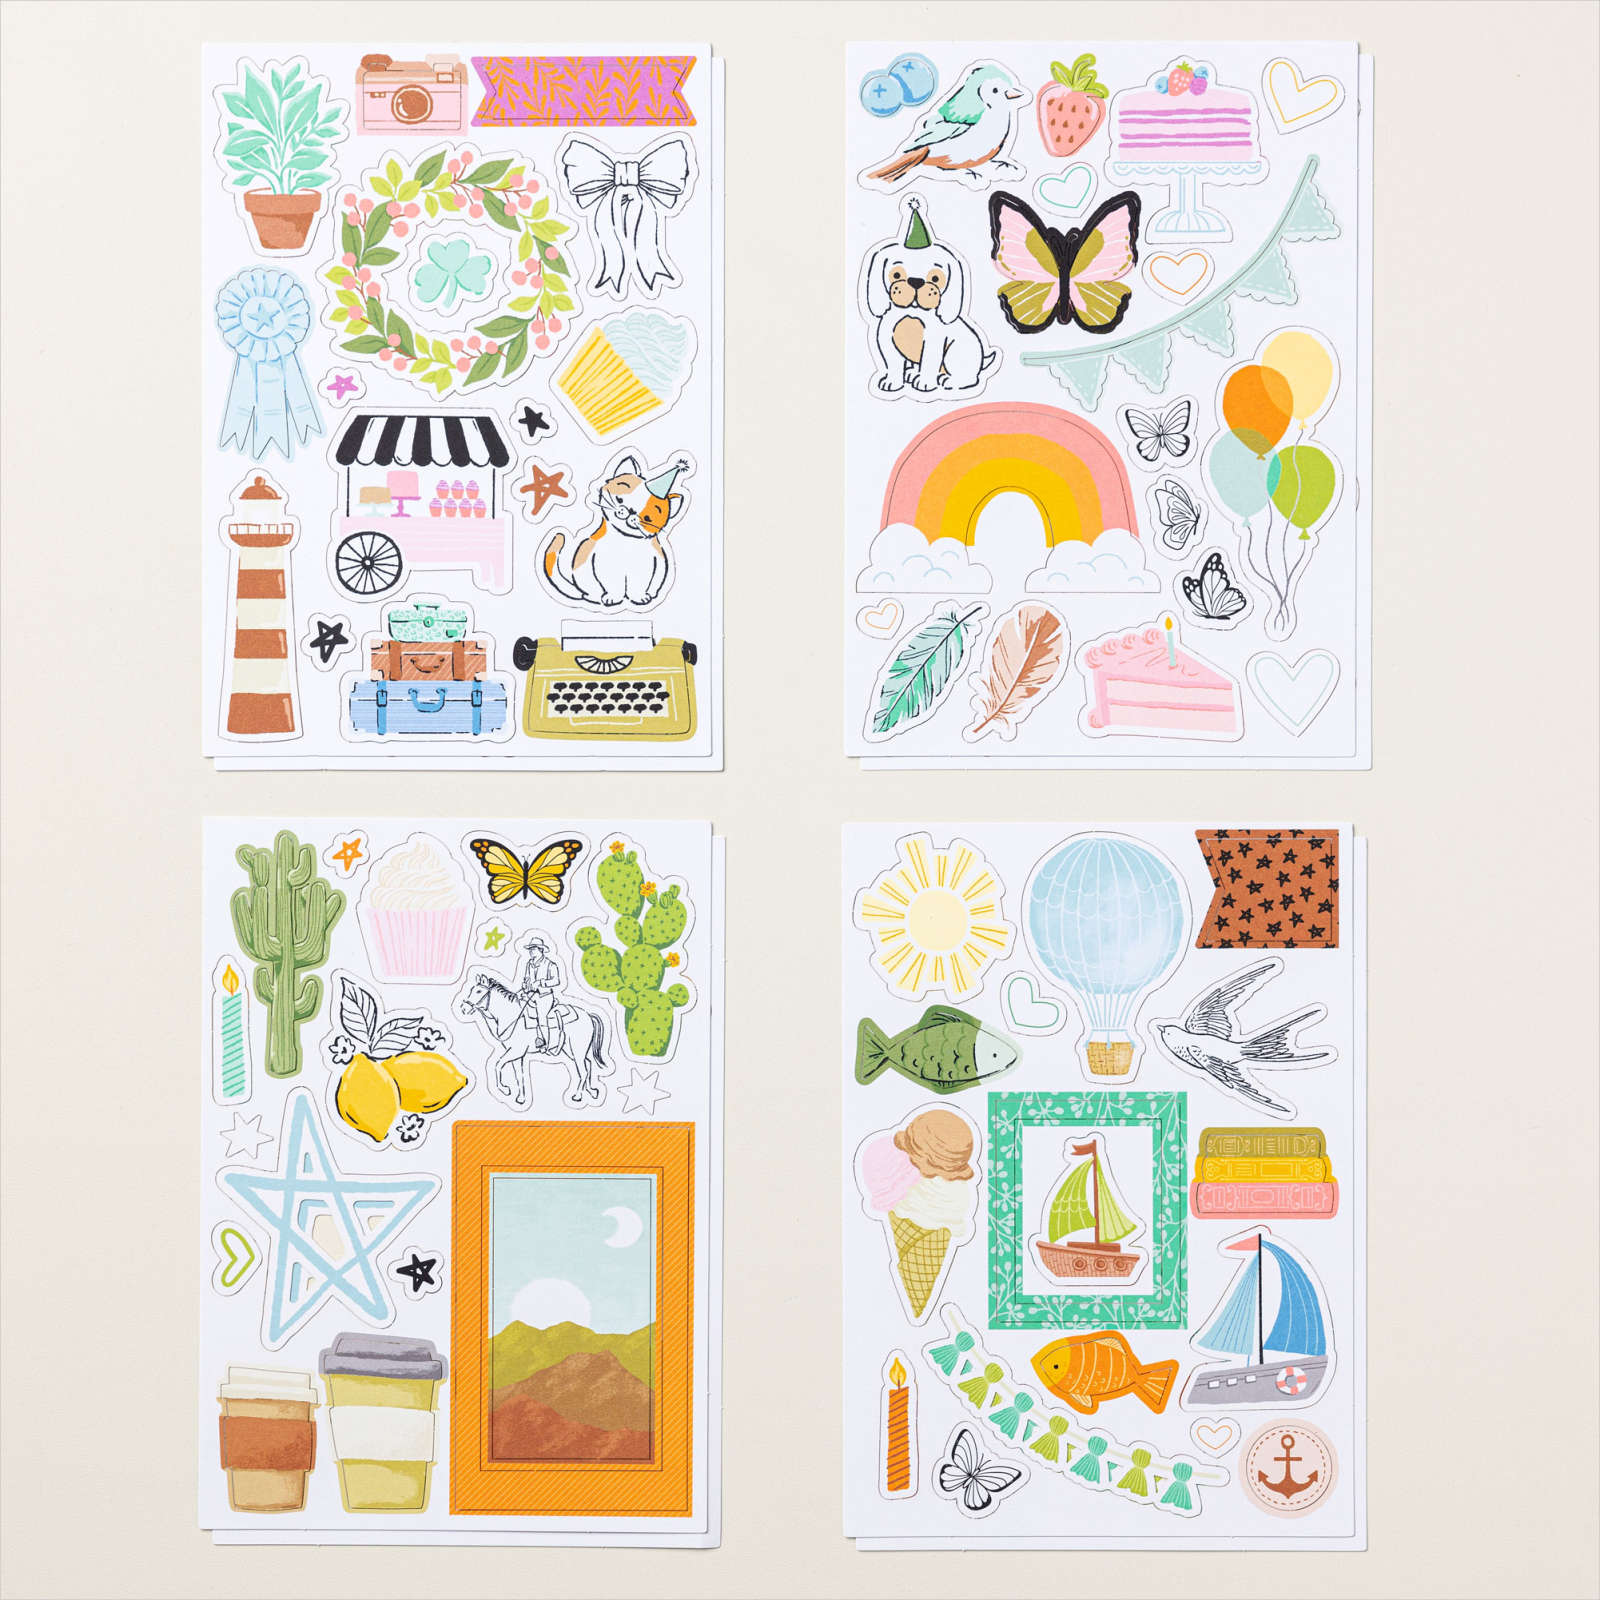
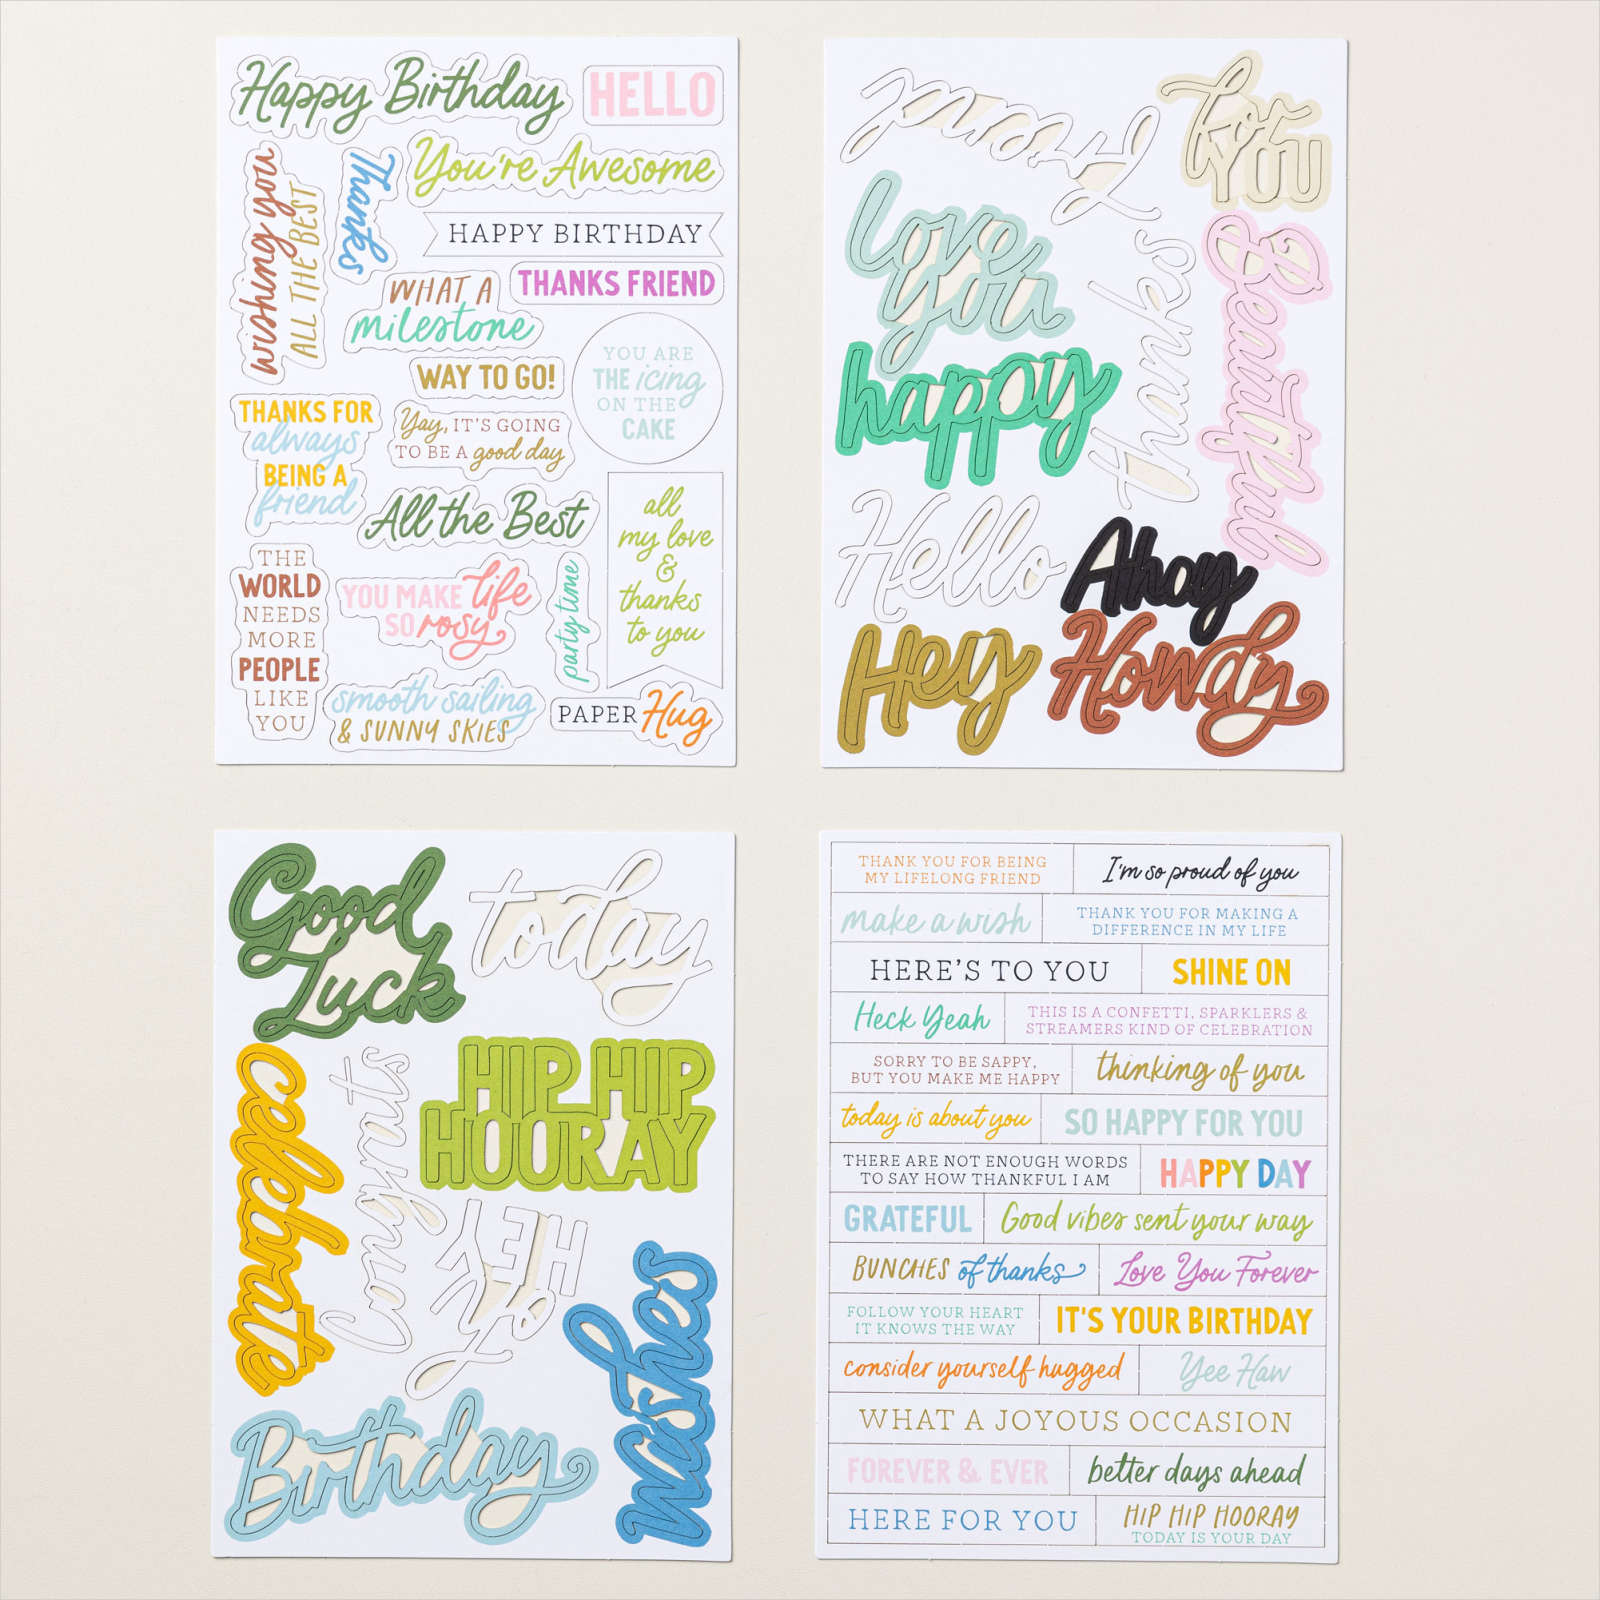
This week in my Facebook Live I shared some cards I created using the Ephemera Packs from the Annual Catalogue. Today I have another card to share with you. For this card, I attached a piece of Crushed Curry card across the bottom of Basic White card and embossed the panel using the Dotted Circle 3D Embossing Folder. I attached the embossed card to scored and folded Thick Basic White card. I attached the balloon image from the Something For Everyone Ephemera Pack to the card front using dimensionals.

I attached the greeting from the Saying Something Ephemera Pack across the balloon strings also using dimensionals. To decorate the inside of the card I attached a cupcake image from the Something For Everyone Ephemeral Pack to Basic White card. I attached the greeting from the Saying Something Ephemera Pack partially covering the cupcake.

I have to admit that it has taken me a while to play with these Ephemera packs and I don’t know why. I had so much fun playing with all the different Ephemera Packs, the Calming Creek Cards & Envelopes as well as the Sunny Springs Cards & Envelopes. If you want to see how I created two cards from one card and co-ordinating envelope take a look at the video on my Facebook page. I hope I have inspired you to have another look at these Ephemera Packs in the Annual Catalogue.
Bye for now,
Kris
Product Used:


More Golden Greenery
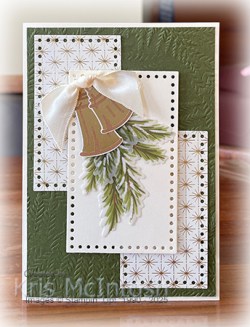
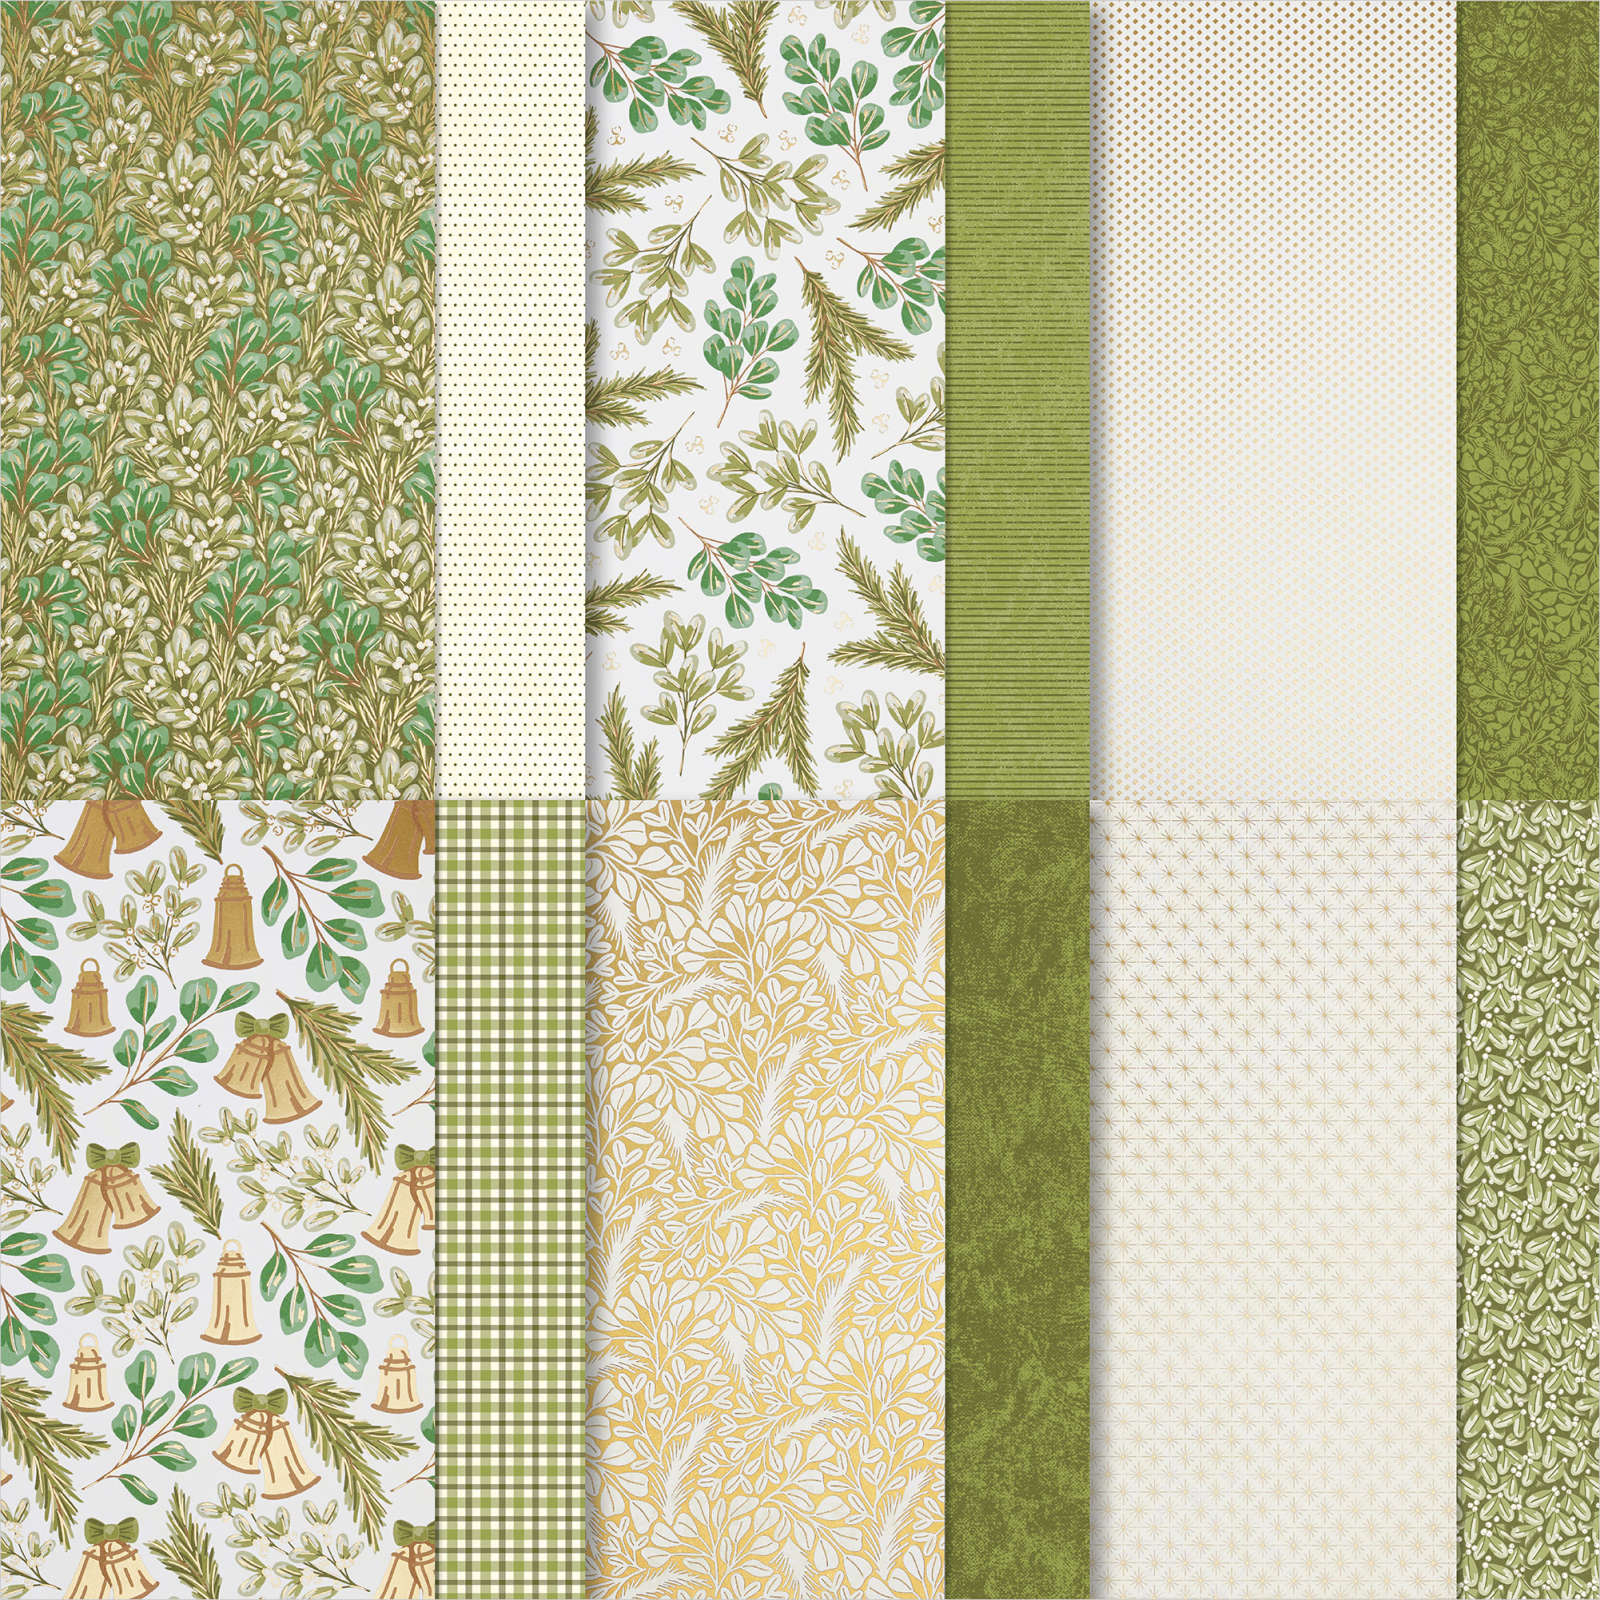
For today’s card, I cut two pieces of Season of Green & Gold 12″ x 12″ Specialty Designer Series Paper using one of the Everyday Details Dies. The Designer Series Paper panels are attached to Mossy Meadow card which I embossed using the Fern 3D Embossing Folder. The whole panel is attached to scored and folded Very Vanilla card. I cut Very Vanilla card using the same Everyday Details Die.

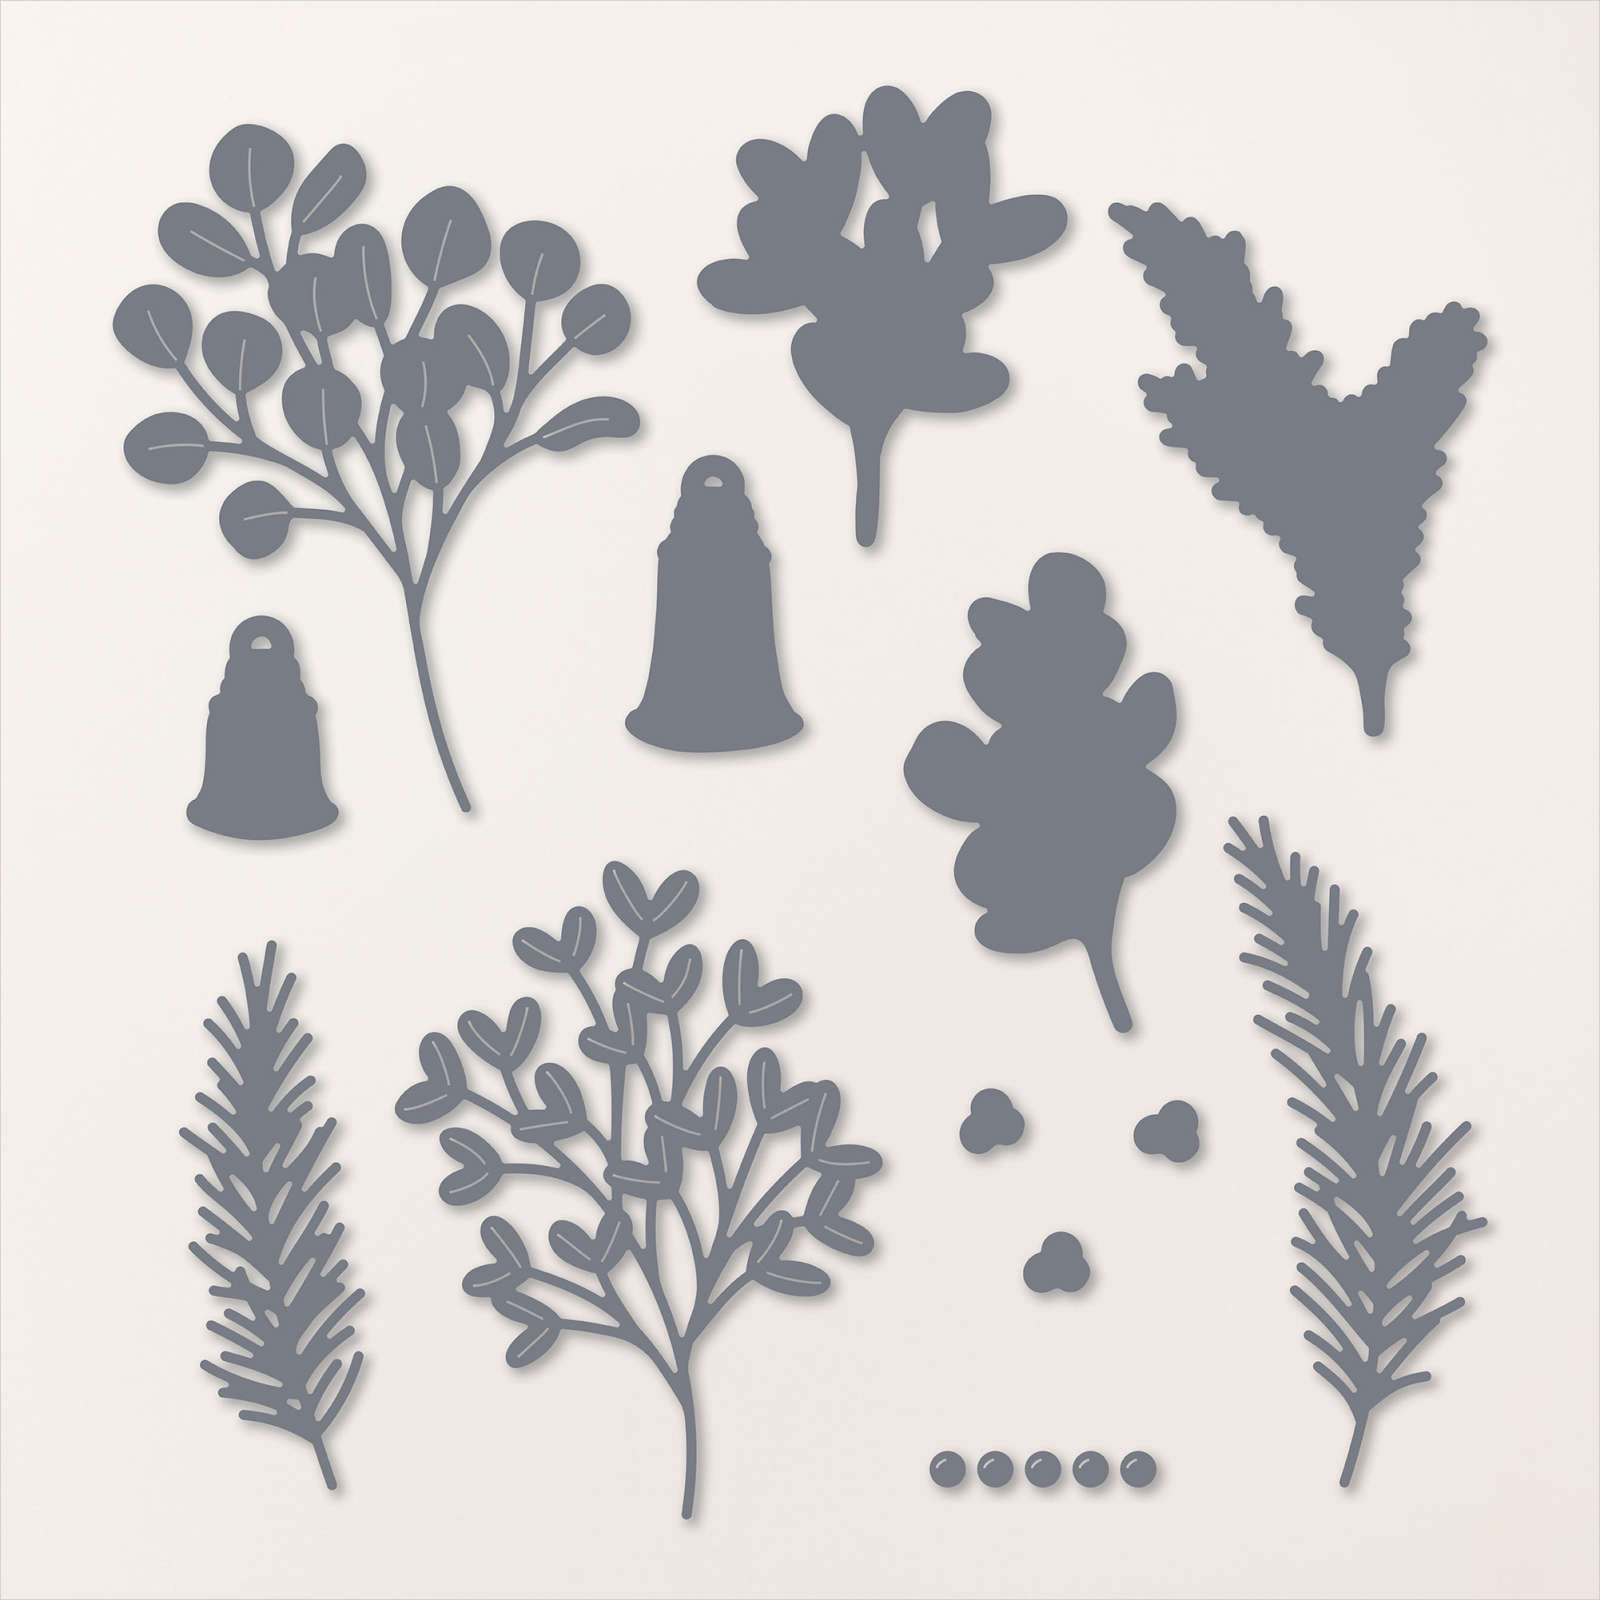
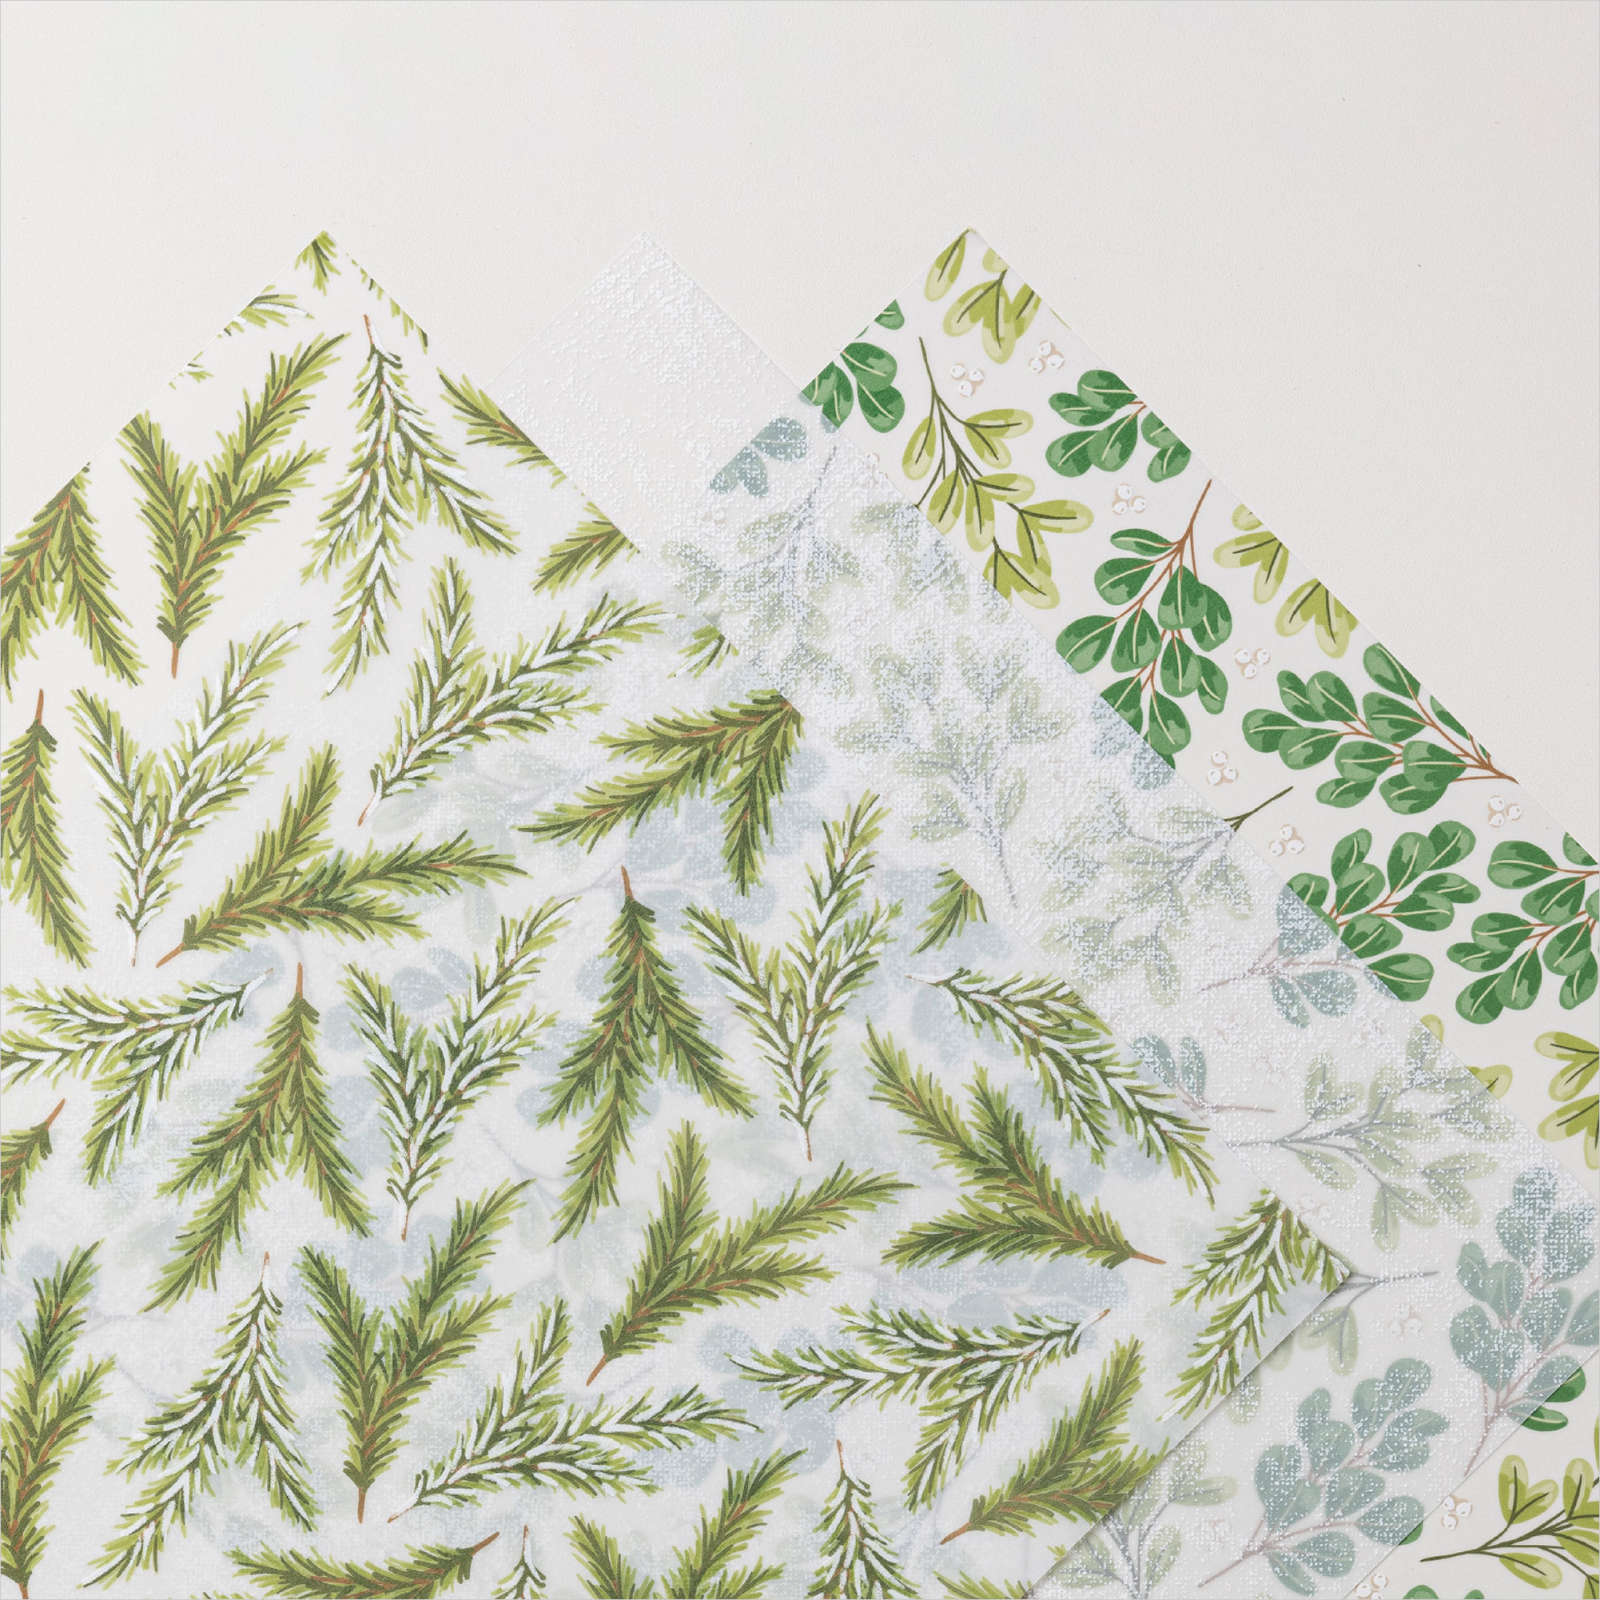
I used the Golden Greenery Dies to cut two fern images from the Graceful Greenery Vellum 12″ x 12″ Specialty Paper and attached them to the Very Vanilla die cut using Mini Glue Dots. I fussy cut the bell images from the Season of Green & Gold 12″ x 12″ Specialty Paper and attached them to the top of the fern die cuts.
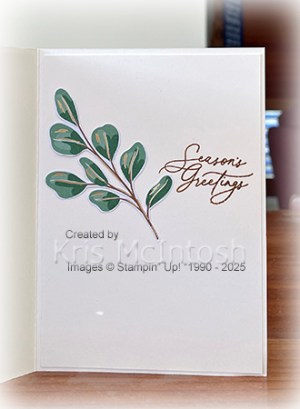
I tied a knot in a length of Very Vanilla 3/4″ Satin Ribbon and attached it to the top of the bells using a Mini Glue Dot. The image panel is attached to the card front using dimensionals. To decorate the inside of the card, I stamped the greeting from the Greetings of the Season stamp set onto Basic White card using Cherry Cobbler ink. I cut the leafy image from the Season of Green & Gold 12″ x 12″ Specialty Paper. The leaf is attached next to the greeting. Another card using this fabulous collection that I truly love.
Bye for now,
Kris
Product Used:


Great Grandparents

Today’s page highlights some photos from a trip Ron & I took from Brisbane to Pottsville and Evans Head with Elyssa way back in 2010. It was lovely to see her spending time with her Great Grandparents. I embossed a panel of Pretty in Pink card using the Dotted Circles 3D Embossing Folder and attached it a panel of Basic Black card which I attached to a Basic White 12″ x 12″ page. I attached the main photo of Elyssa onto Basic Black card before attaching it to the centre of the embossed panel. I attached the remaining four photos to the Basic Black card side of the page. I cut the title from Basic Black card using the Alphabet A La Mode Dies and attached it across the top of the page. I printed my journaling onto Basic White card which I cut into strips. The Basic White strips are attached to Basic Black card and then the lower right hand corner of the page. Simple but effective page, don’t you think?
Bye for now,
Kris
Product Used:


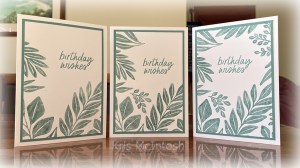
Three Variatons

of stamping the same card using the Leaf Collection stamp. I used a Lost Lagoon Stampin’ Write Marker to colour some of the leaves on the Leaf Collection stamp. I stamped the images onto Basic White card which I trimmed down. Each time I inked the Leaf Collection stamp, I added more leaves.

For the second card I inked completely up the left hand side and for the last card, I inked all around the edges leaving a space in the centre for my stamping. I stamped “happy birthday” from the Simply Said stamp set onto each one using Lost Lagoon ink.
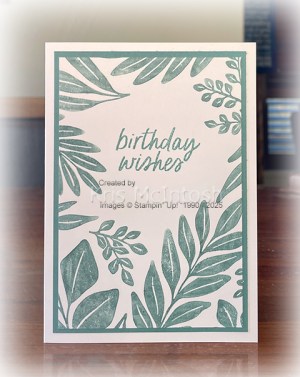
The first one I left a lot of white space at the top, for the second one I tucked the greeting between the leaves and of course for the last one it had to go where there was space.
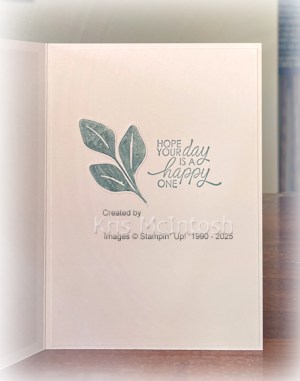
Each of the stamped panels is attached to Lost Lagoon card and then scored and folded Thick Basic White card. To decorate the inside of the card, I stamped the greeting from the So Sincere stamp set onto Basic White card using Lost Lagoon ink. I inked a single leaf from the Leaf Collection using a Lost Lagoon Stampin’ Write Marker and stamped the image three times onto Basic White card. I cut out the leaves and attached one to each of the card inserts before attaching the panel to the inside of the card base.
I had so much fun creating these cards and really love how they turned out. I think it would also look great in multiple colours. What do you think?
Bye for now,
Kris
Product Used: