Goorambat

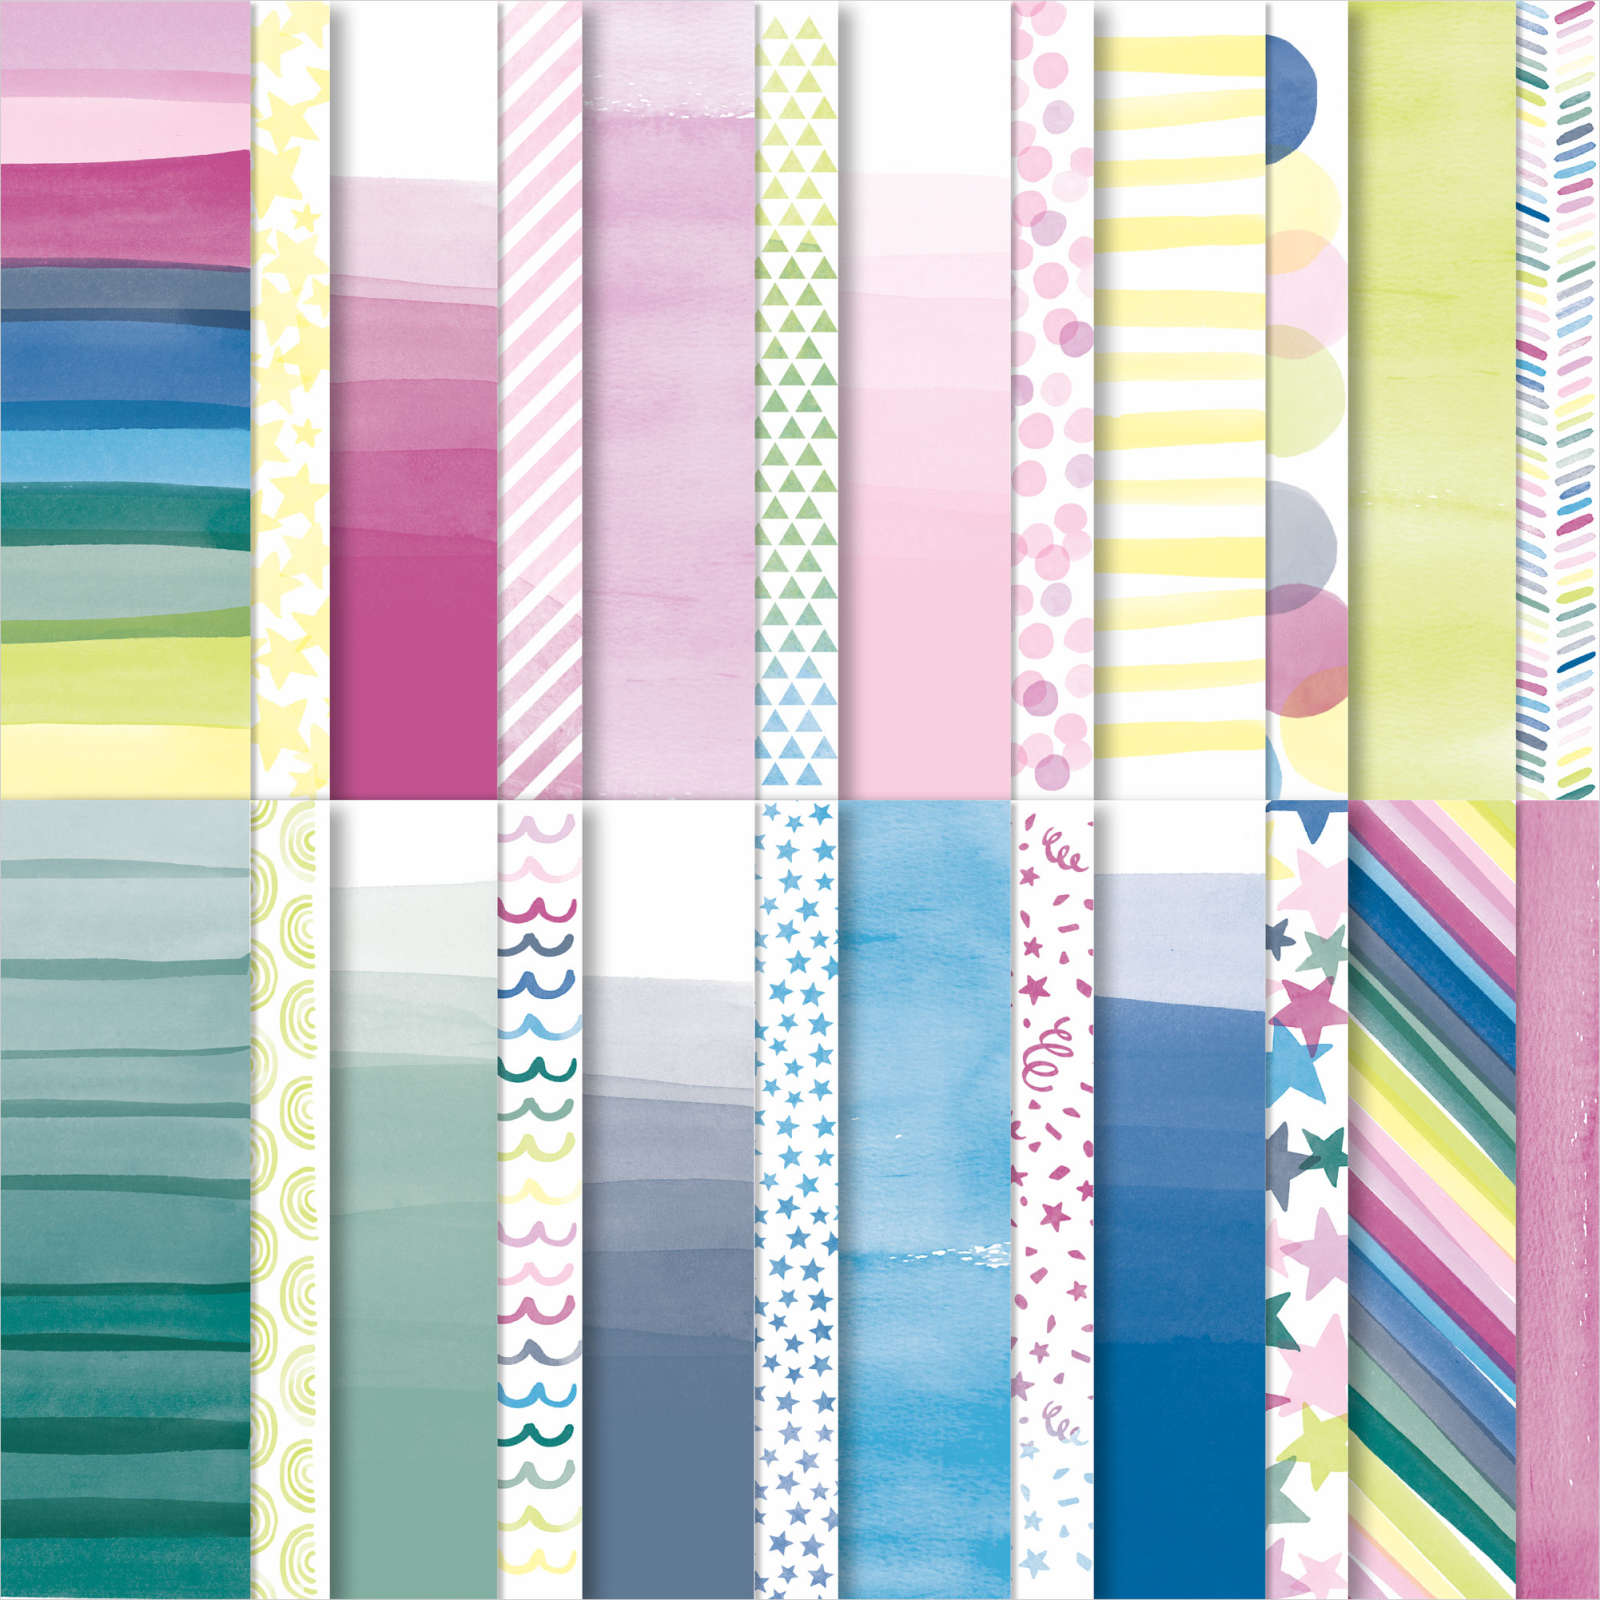
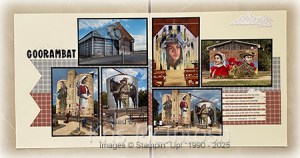
When we were leaving Wangaratta on our Great Ocean Road Road Trip we decided to do part of the Silo Trail from Benalla to Tungamah on our way to Bendigo. Today’s pages show off some photos from our first stop at Goorambat. The silo art work was amazing and so was the Sophia in the Uniting Church. I attached pieces of the Take to the Sky 12″ x 12″ Designer Series Paper across the bottom of two Very Vanilla 12″ x 12″ pages. I did cut a “V” in the edge of the paper on the left hand page. I attached all of my photos to Basic Black card before attaching them to the pages. I didn’t attach the right hand side of the bottom photo on the right hand page. I stamped one large, two medium and three small clouds from the Adventurous Sky stamp set onto Basic White card using Smoky Slate ink.
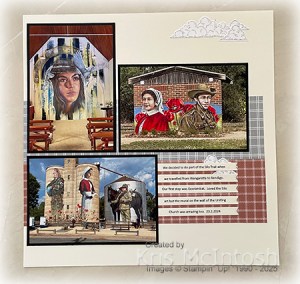
I cut out the clouds using the co-ordinating Adventurous Sky Dies. I attached the large, one medium and one small cloud to the upper right hand corner of the right hand page. I also attached one medium and two small clouds behind where my journalling is attached. I decided to stamp the large cloud directly onto the upper left hand corner of the left hand page using Smoky Slate ink. I masked the image and stamped the small cloud using the same ink. I masked the small cloud as well and stamped the medium cloud. I attached the title which is cut from Basic Black card using the Mini Alphabet Dies over the stamped clouds. I printed my journalling onto Very Vanilla card and cut it out using one of the Happy Little Things Dies. Love that my photos show off the art work so well.
Did you know that Stampin’ Up! invited the previous Makers from Close to My Heart to join Stampin’ Up!? Well they did and because of that we can look forward to seeing more Memory Keeping/Scrapbook supplies in the future. A win for everyone.
Bye for now,
Kris
Product Used:


Happy Anniversary
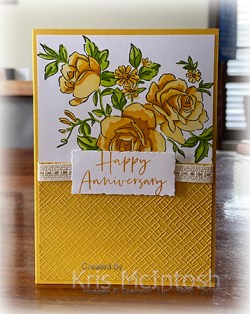
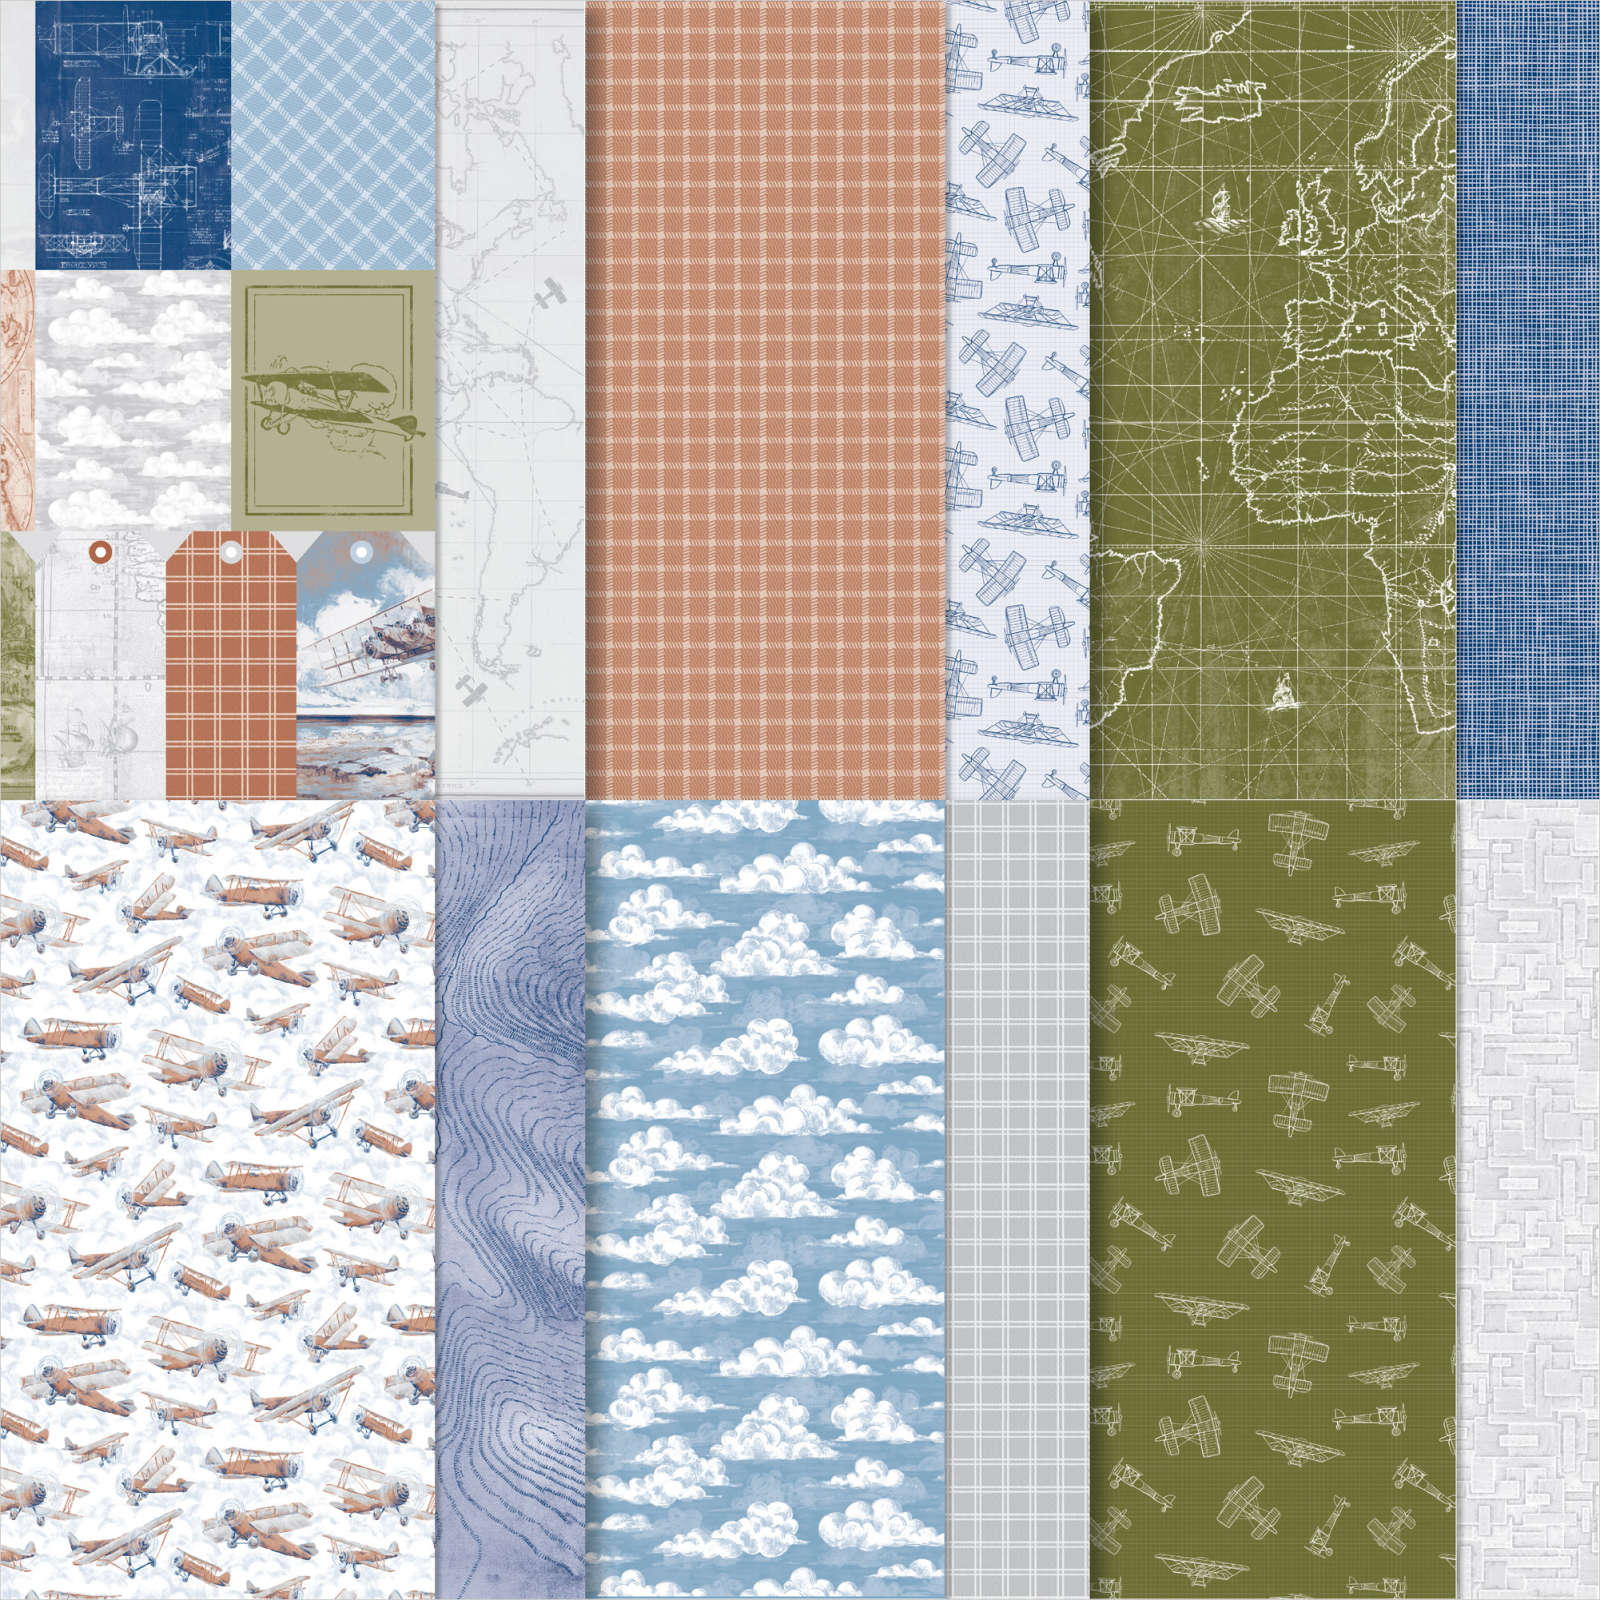
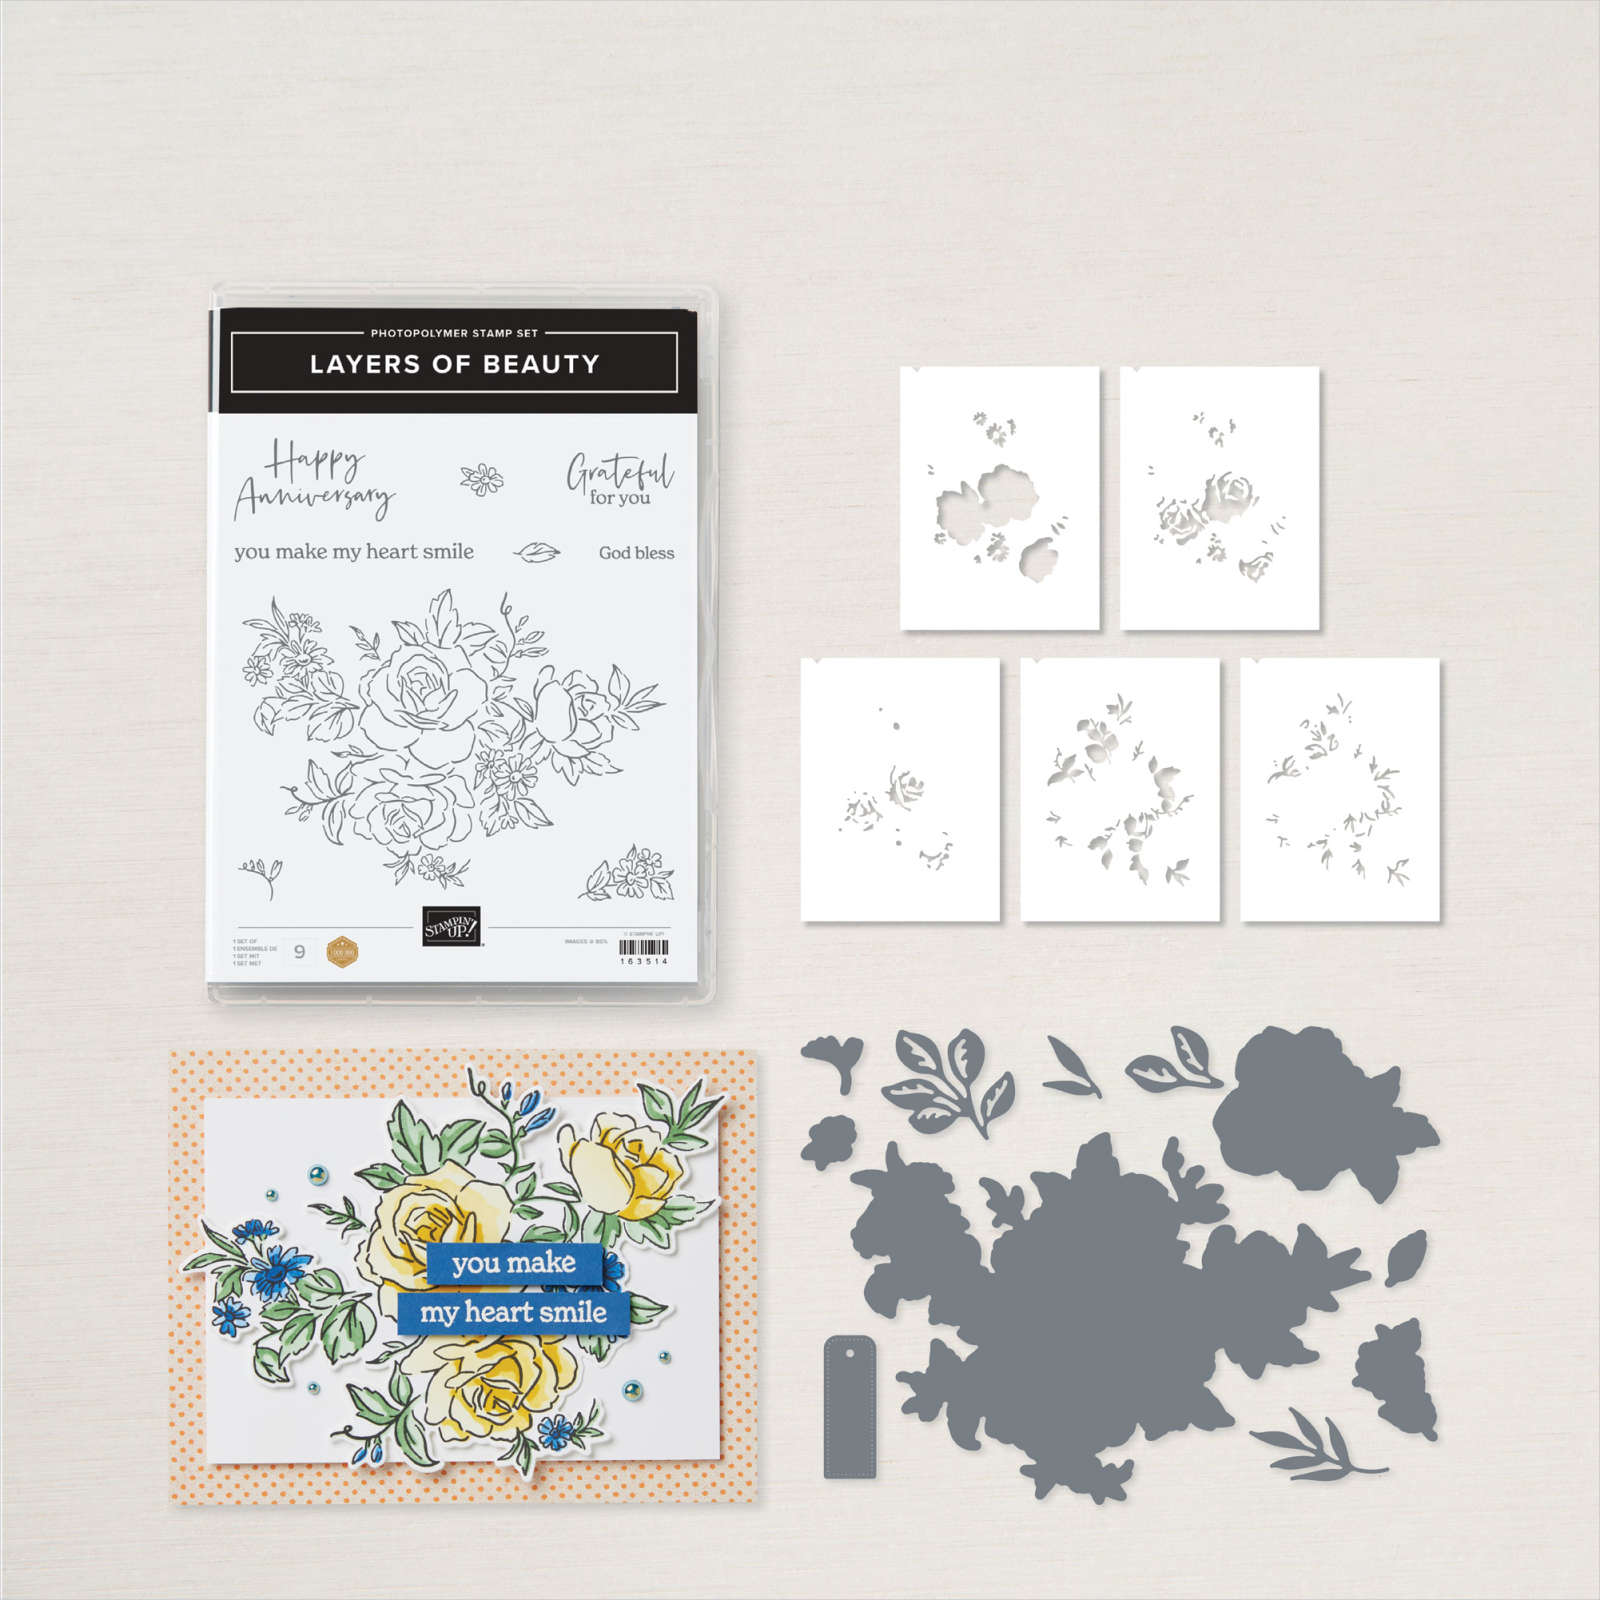
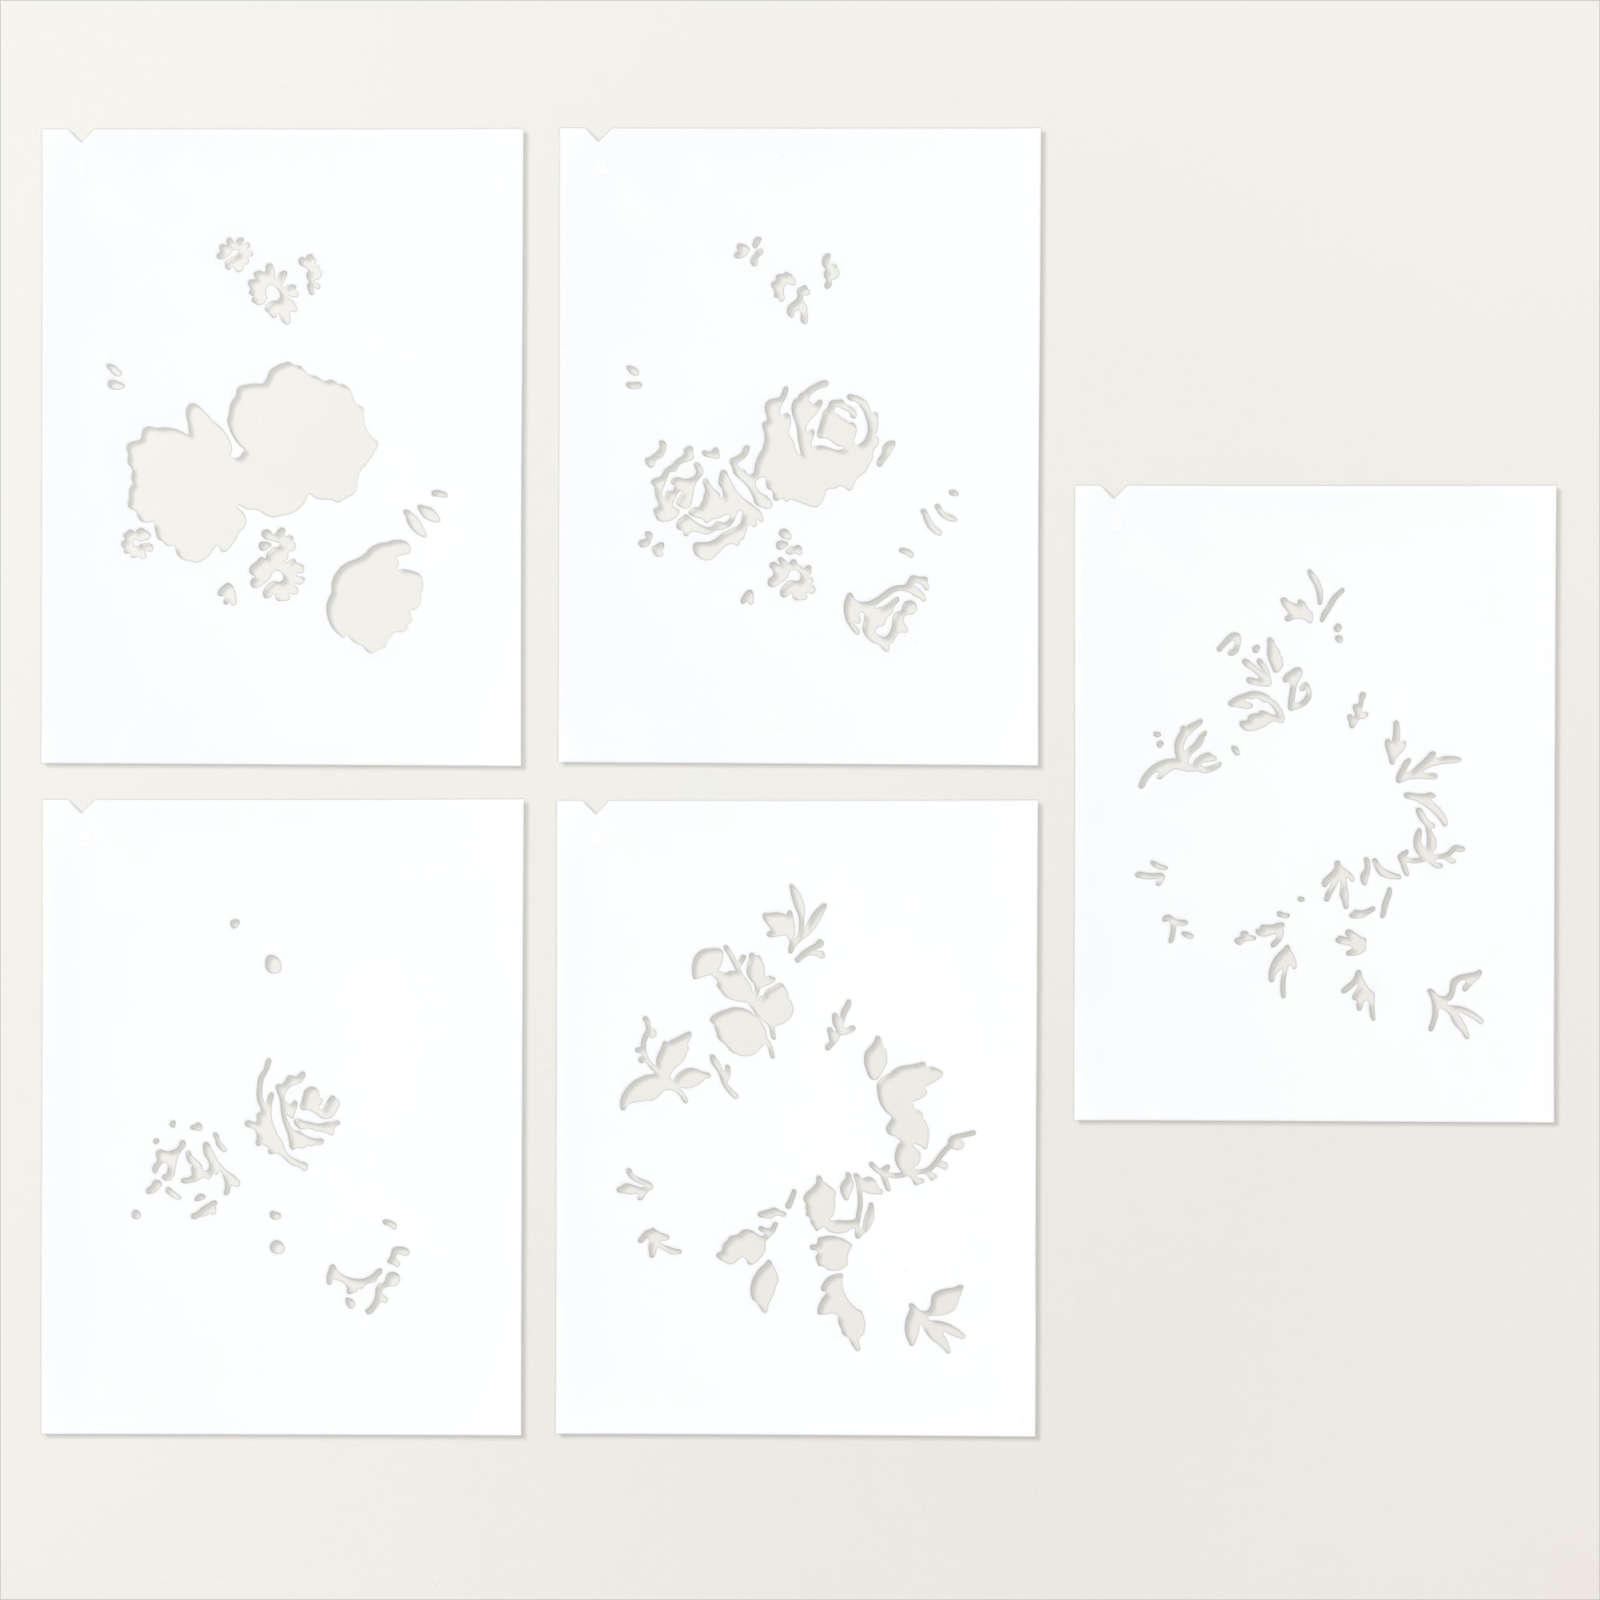
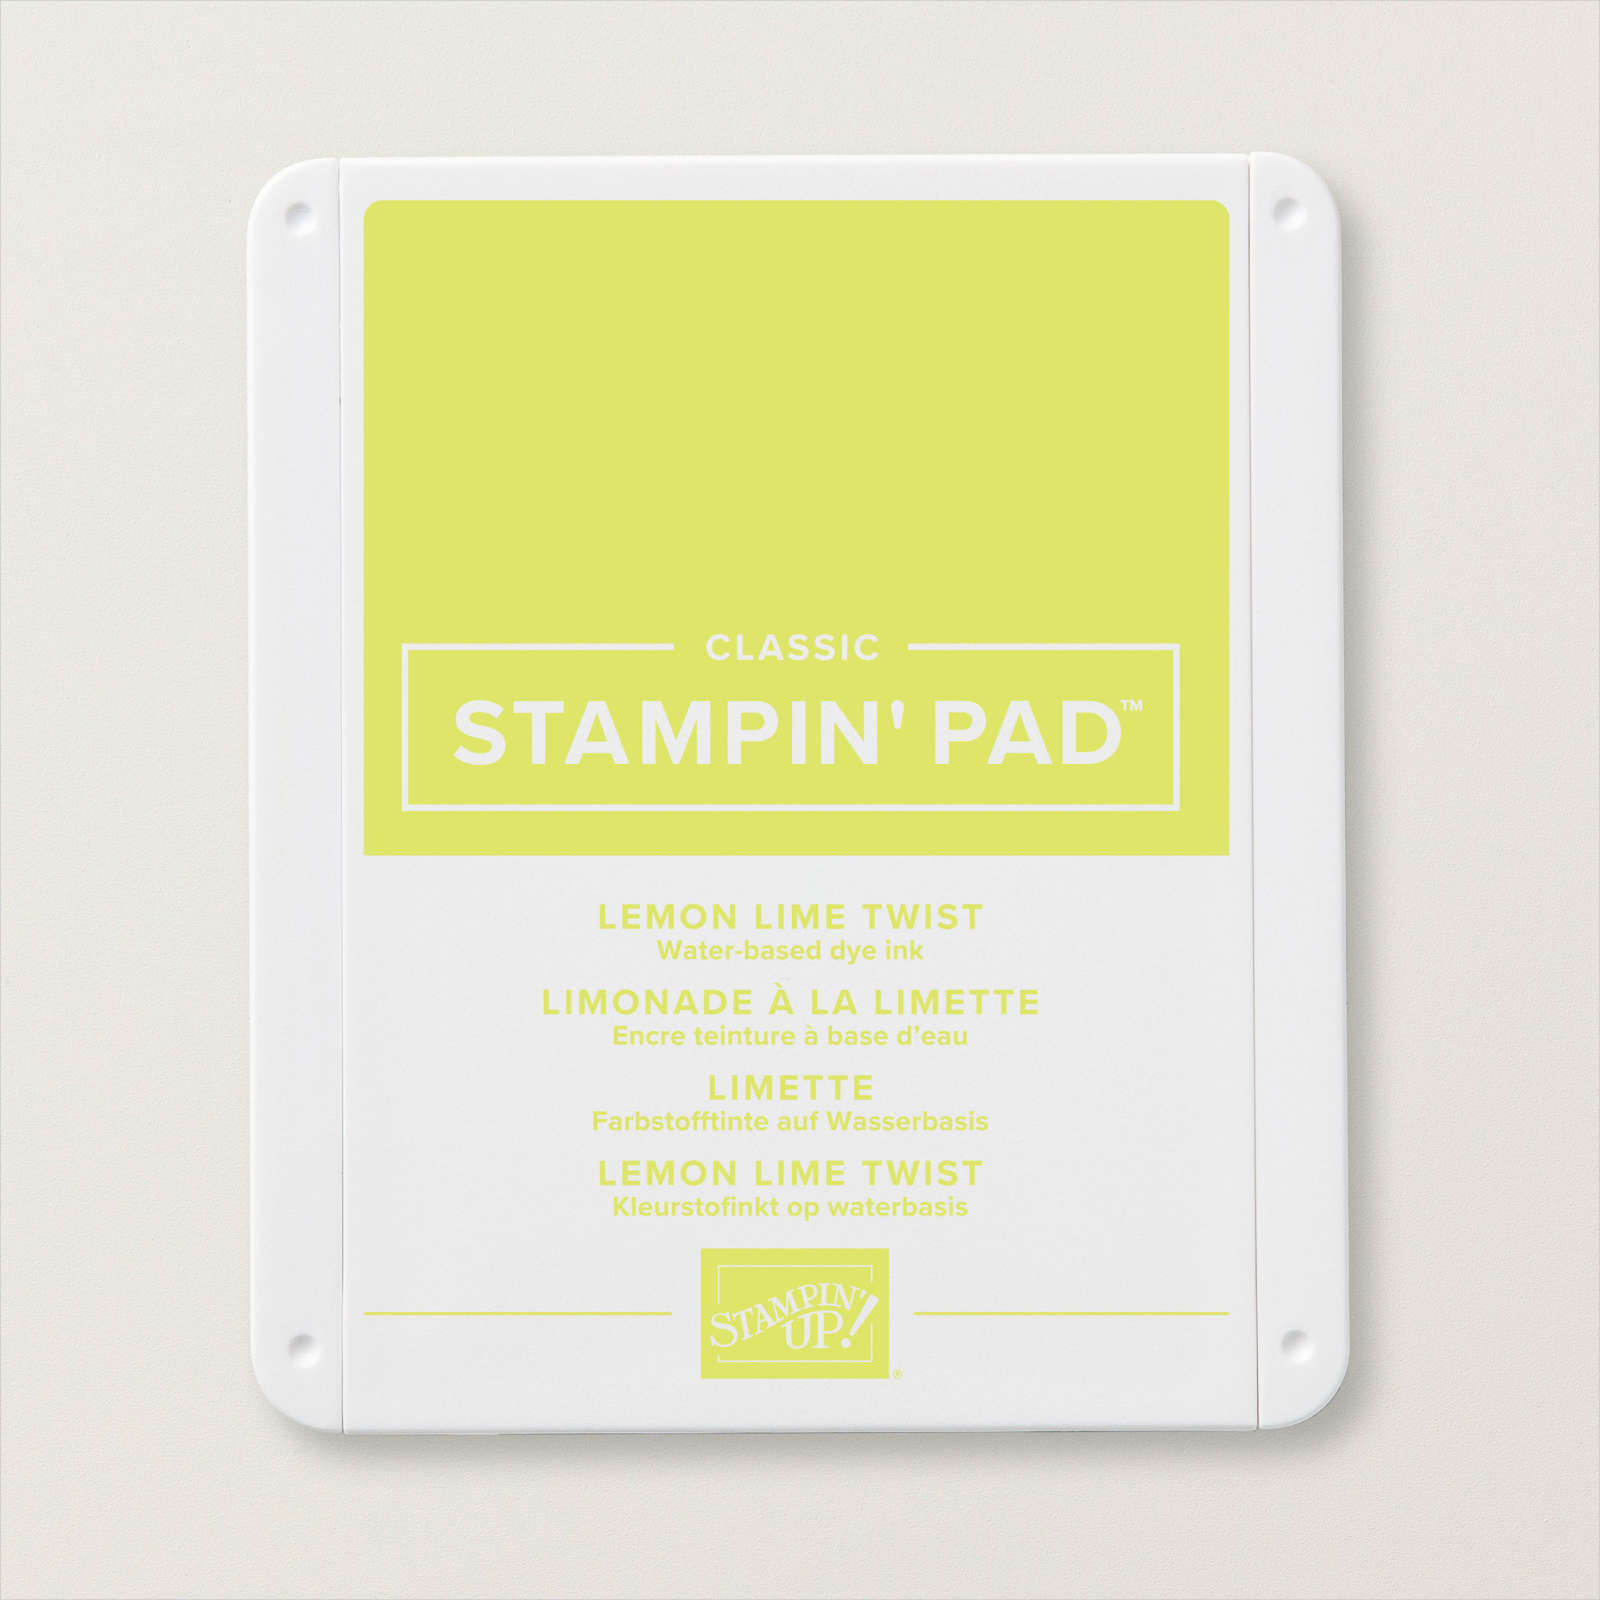
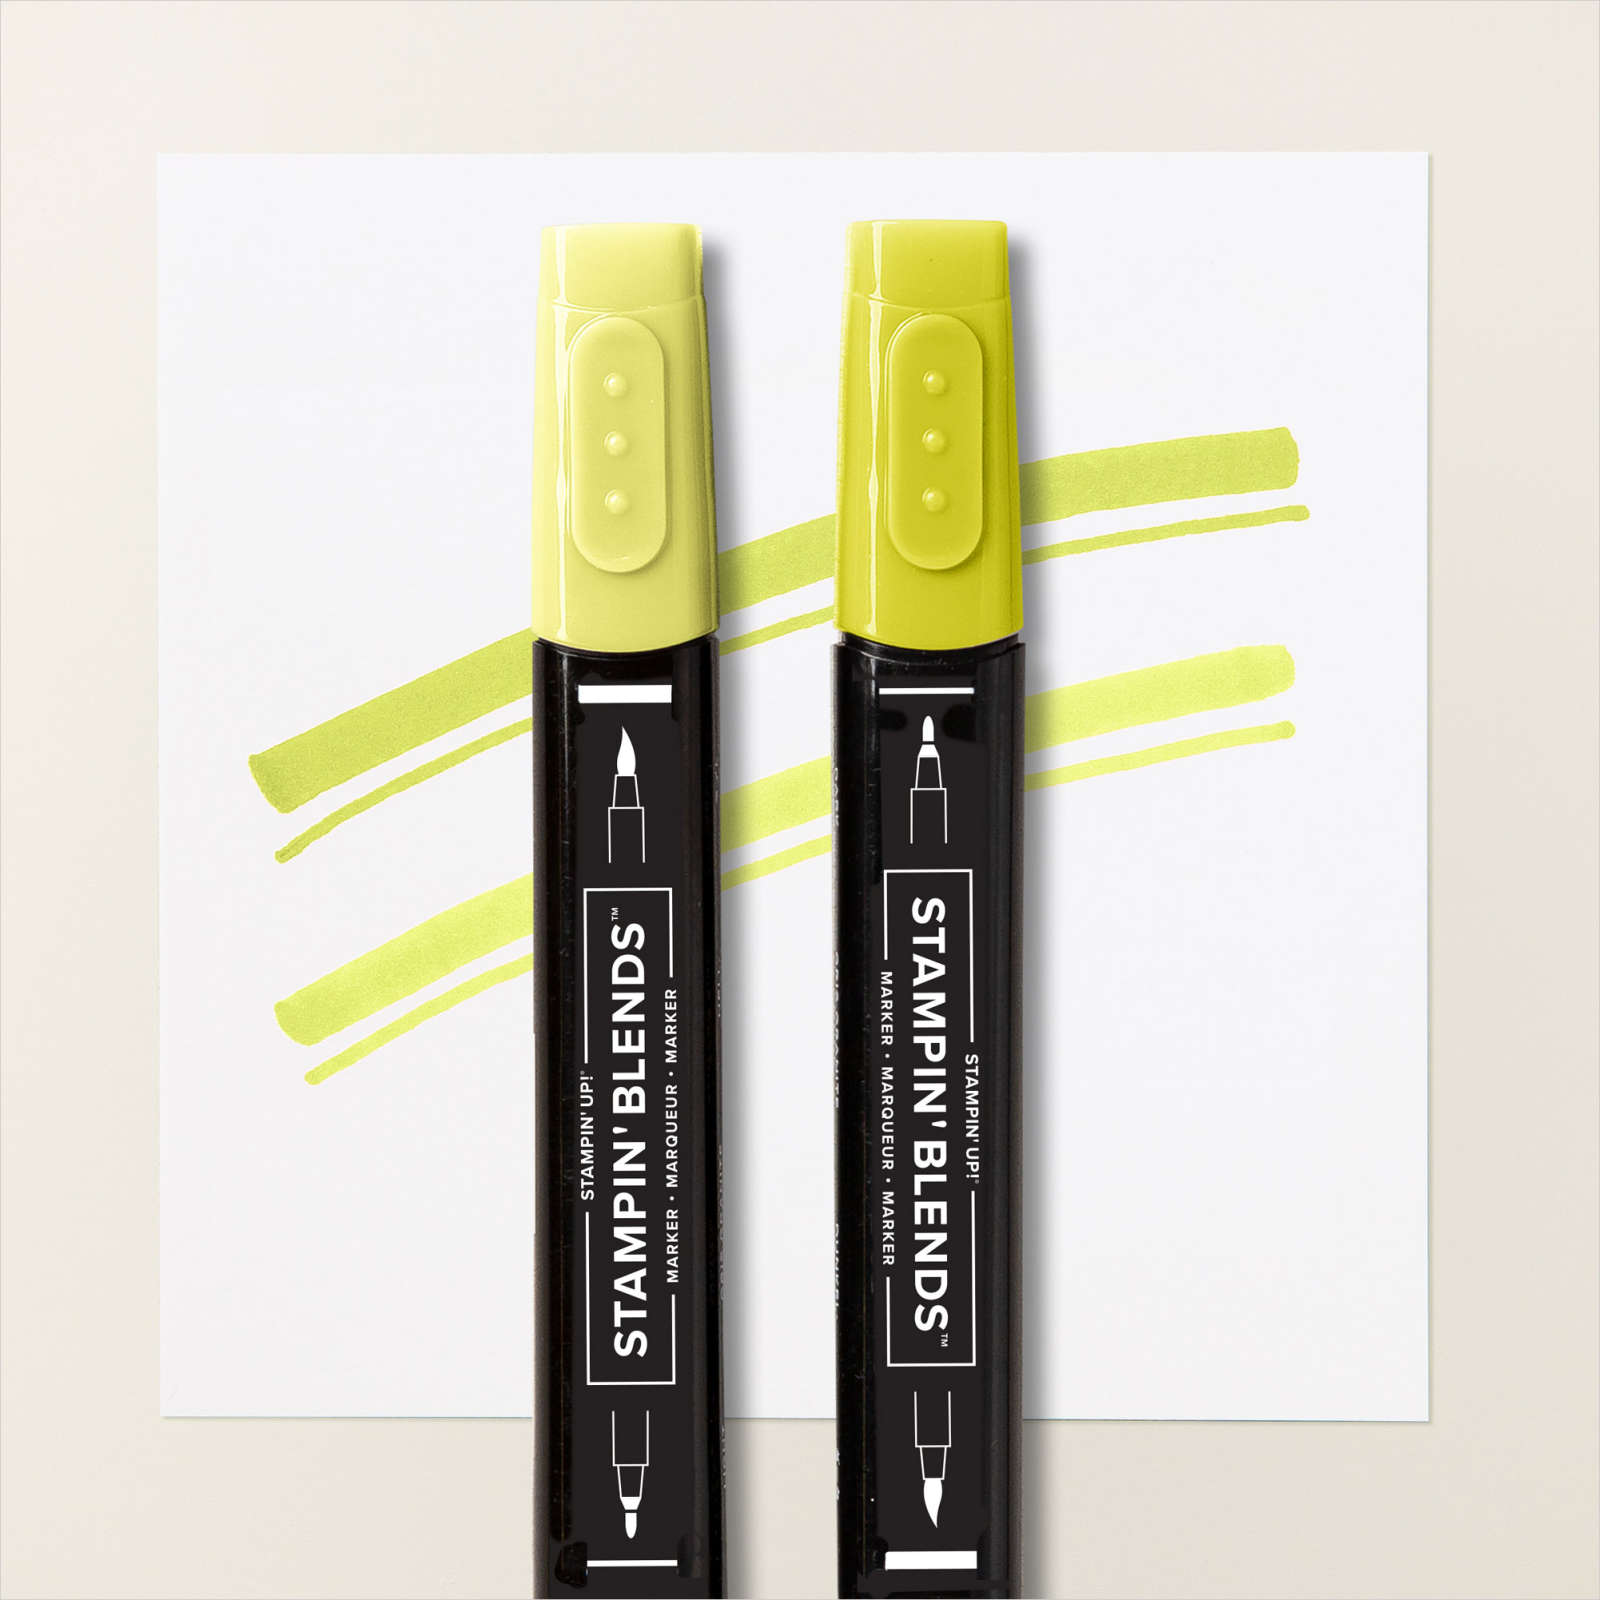
This week in my Facebook Live I shared some cards made using the Layers of Beauty Bundle. I just love these bundles with the co-ordinating Decorative Masks and today I have two more cards to share with you. For the first card, I stamped the large floral image from the Layers of Beauty stamp set onto Basic White card using Memento Tuxedo Black ink. I used the Layers of Beauty Decorative Masks to add Daffodil Delight, Crushed Curry, Lemon Lime Twist and Granny Apple Green to the stamped image. I embossed a piece of Crushed Curry card using one of the Basics 3D embossing folders and attached it across the bottom of the stamped Basic White card.
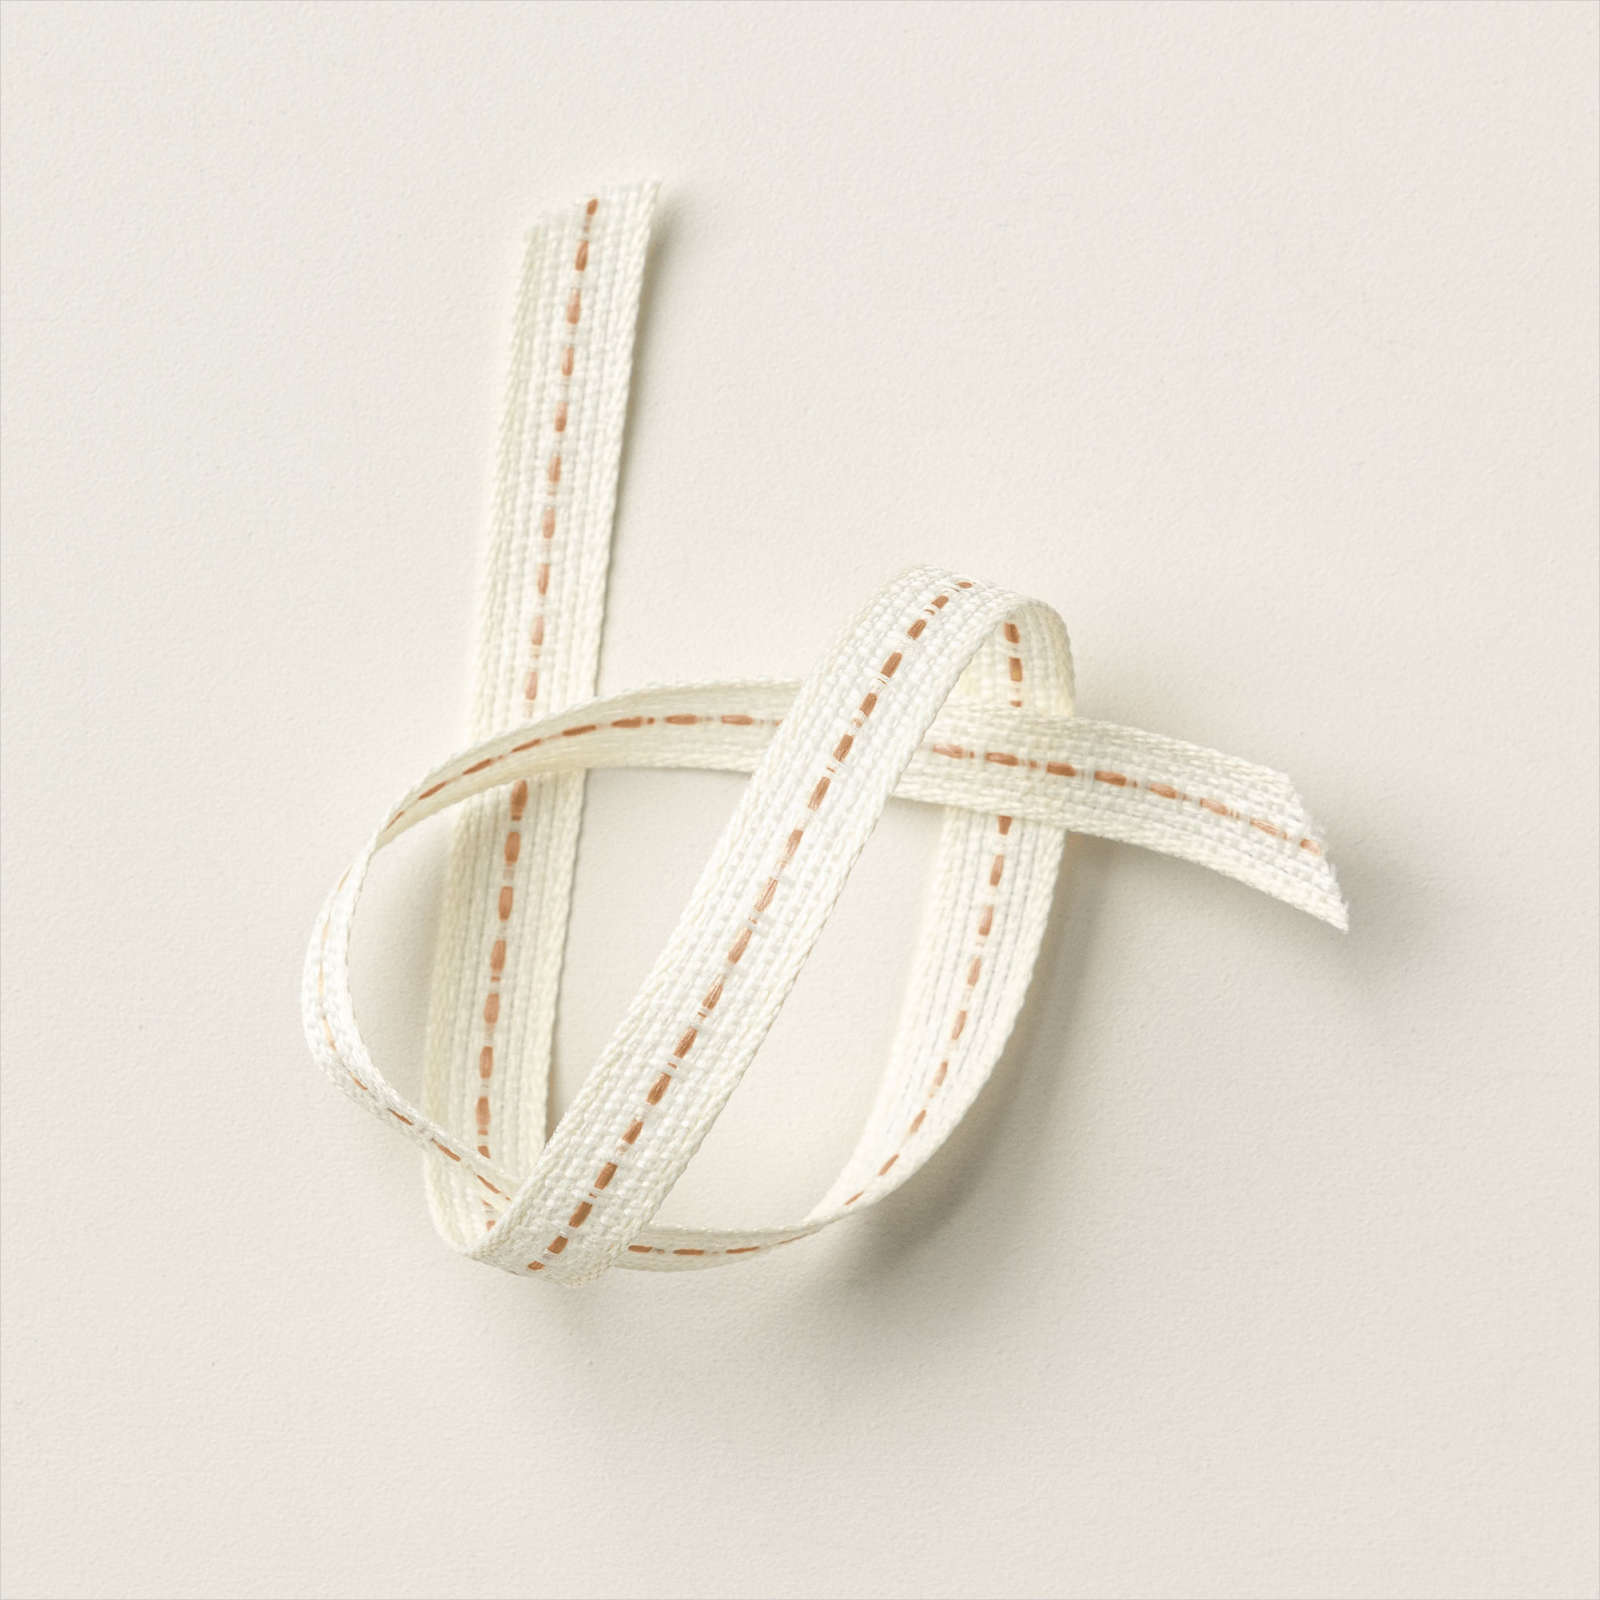
I wrapped the top of the embossed card with Pecan Pie Centre Stripe Ribbon before attaching the panel to scored and folded Crushed Curry card. I stamped the greeting from the Layers of Beauty Stamp Set onto Basic White card using Crushed Curry ink and cut out the greeting using one of the Deckled Rectangle Dies.
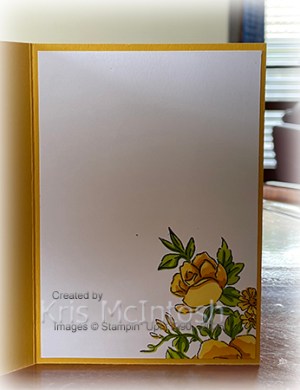
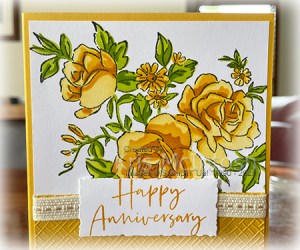
The greeting is attached to the card front using dimensionals. To decorate the inside of the card, I stamped part of the large floral image from the Layers of Beauty stamp set onto the lower right hand corner of Basic White card using Memento Tuxedo Black ink. I used the Layers of Beauty Decorative Masks to add Daffodil Delight, Crushed Curry, Lemon Lime Twist and Granny Apple Green to the image. I love this card so much, I created another one, this time I did not stamp the large floral image, I just used the masks to create the beautiful floral bouquet using the same inks as the first card. I added embossed Lemon Lime Twist card and used Lemon Lime Twist ink to stamp the image. Otherwise everything is created as before. Which one is your favourite?

I am having a hard time choosing, I love the brightness of the Crushed Curry version but I also love the softness of the Lemon Lime Twist version.
Bye for now,
Kris
Product Used:


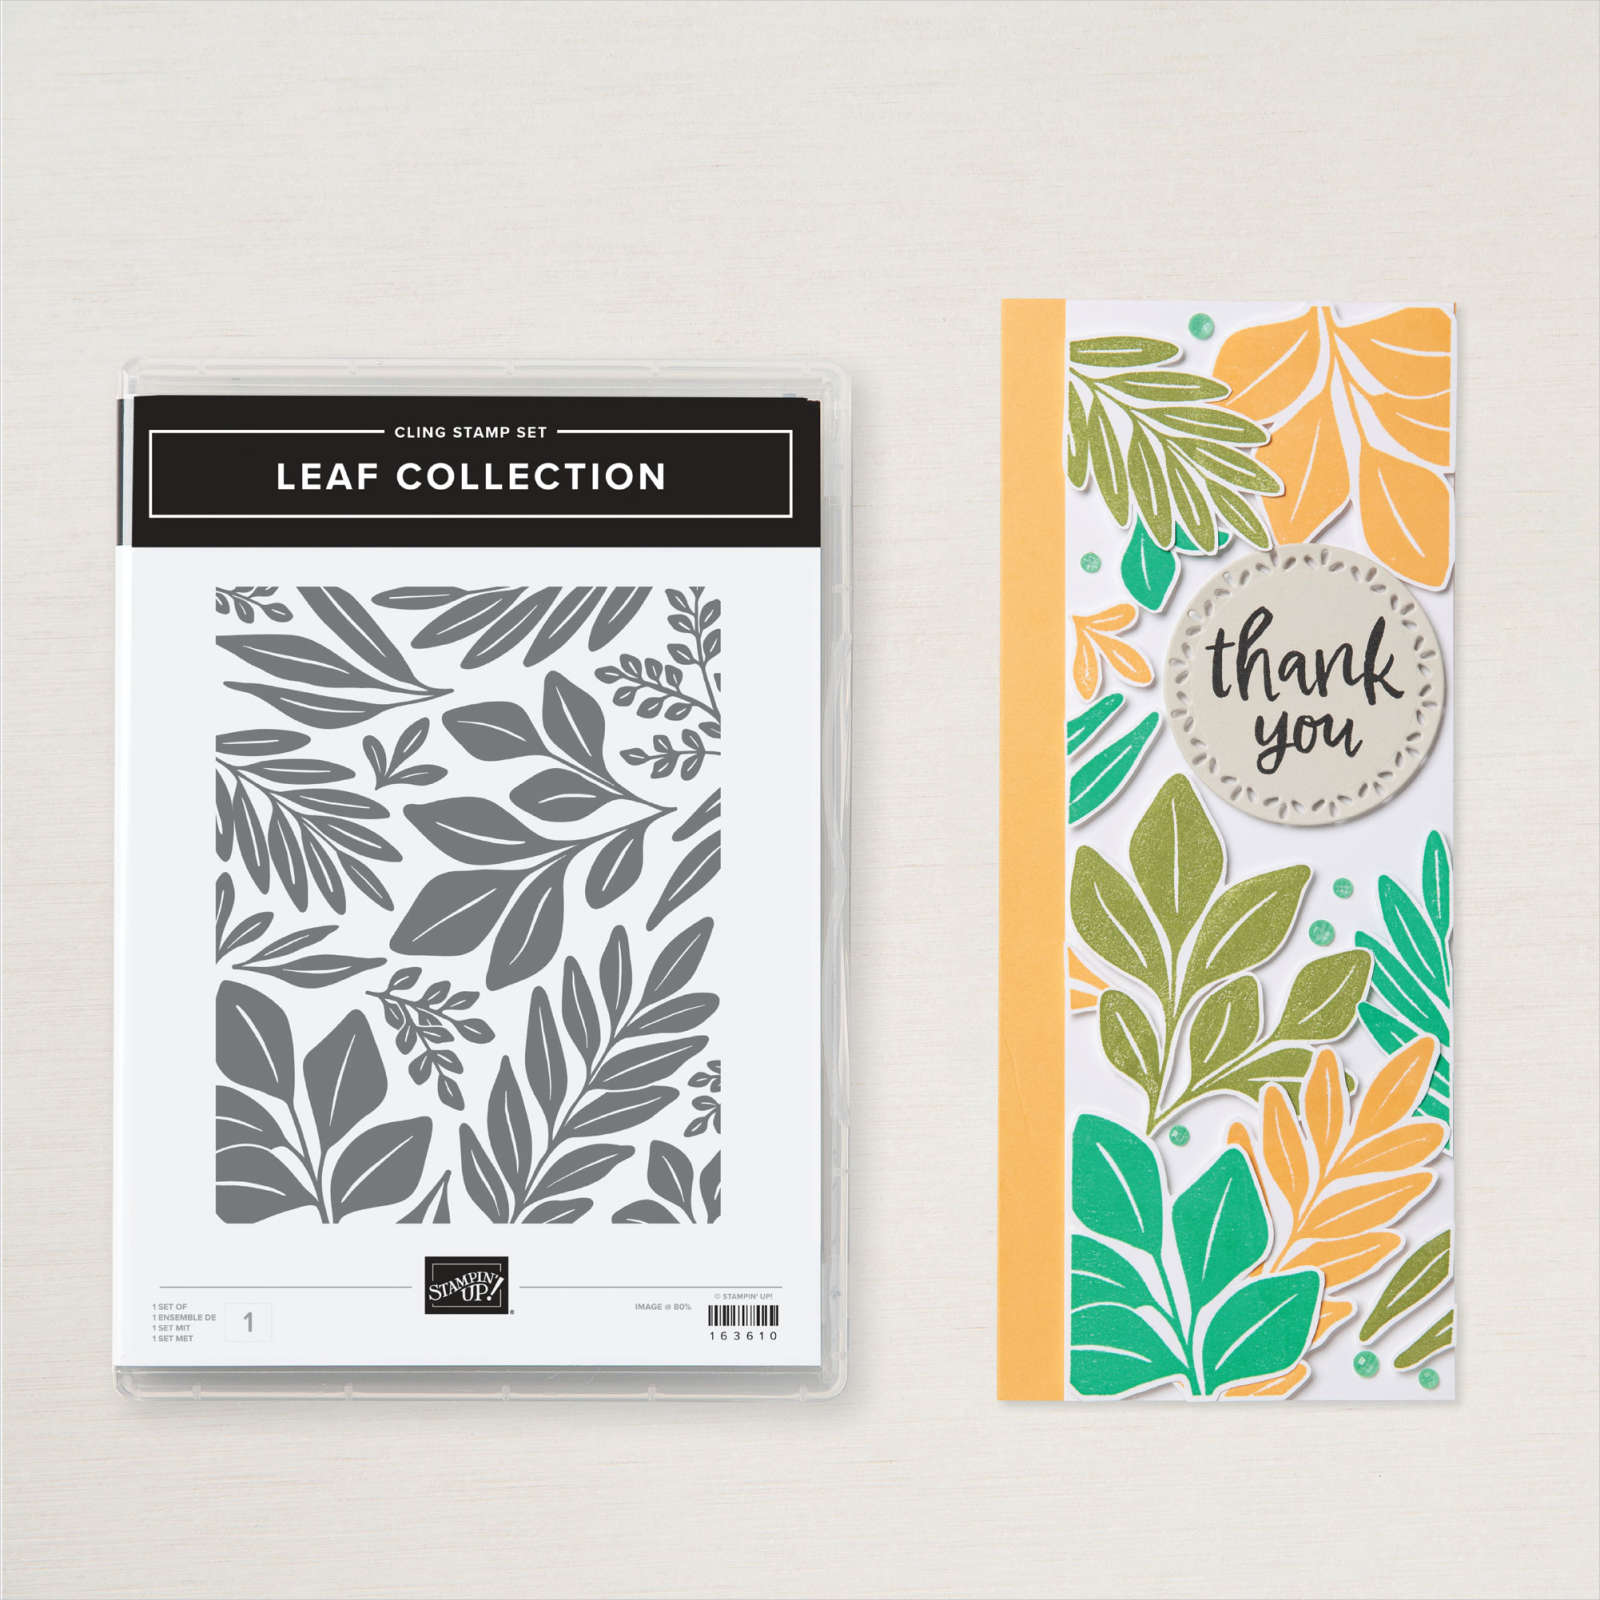
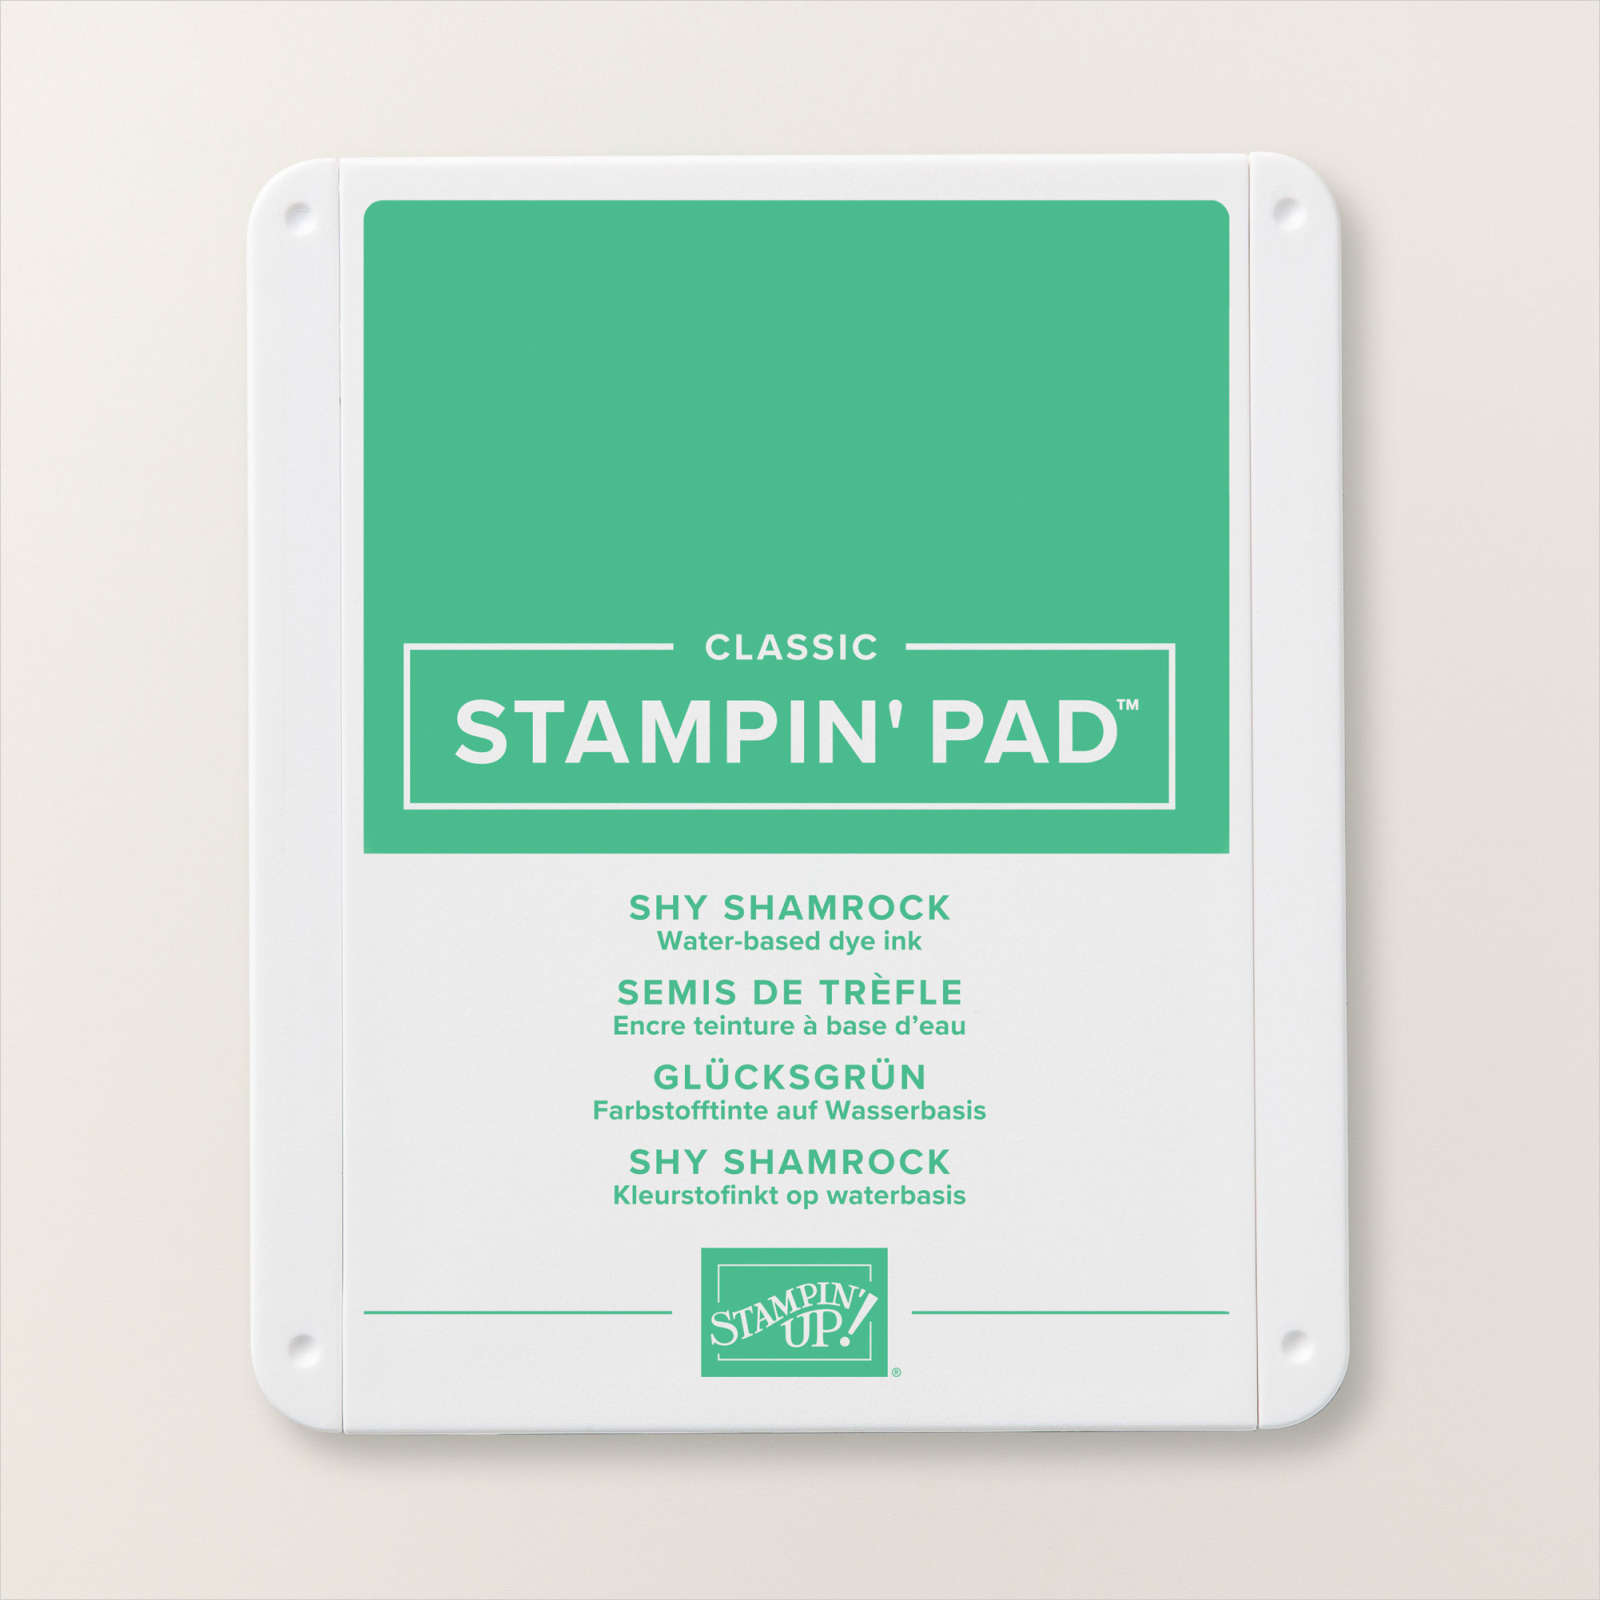
Shy Shamrock
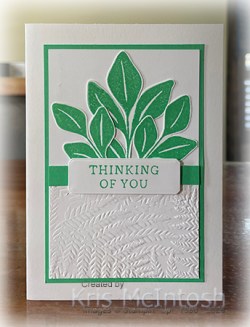
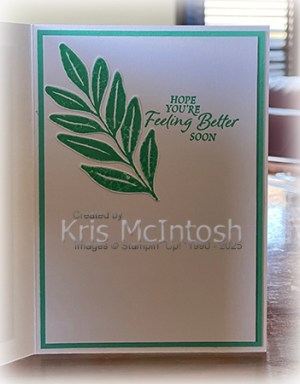
Today I have once again played with the Leaf Collection Background stamp. I embossed a piece of Basic White card using the Fern 3D Embossing Folder and attached it to the bottom of a plain piece of Basic White. I covered the join with a strip of Shy Shamrock card. The whole panel is attached to Shy Shamrock card and then scored and folded Thick Basic White card. I stamped the Leaf Collection stamp twice onto Basic White card using Shy Shamrock ink. I cut out the same leaf image from each stamped panel.
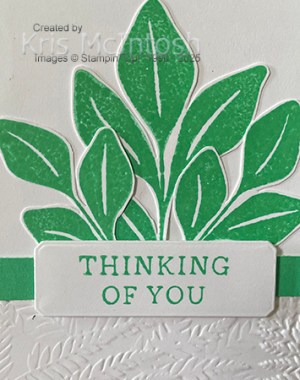
The leaf has two separate sections so I cut them in half. I added one large leaf section and two small leaf sections to the card front just above the embossing. I stamped the greeting from the Simply Said stamp set onto Basic White card using Shy Shamrock ink.
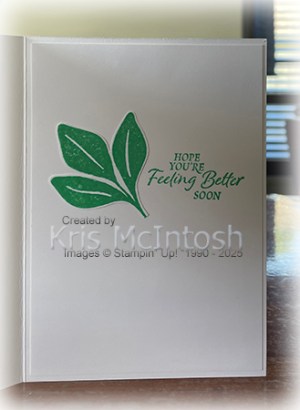
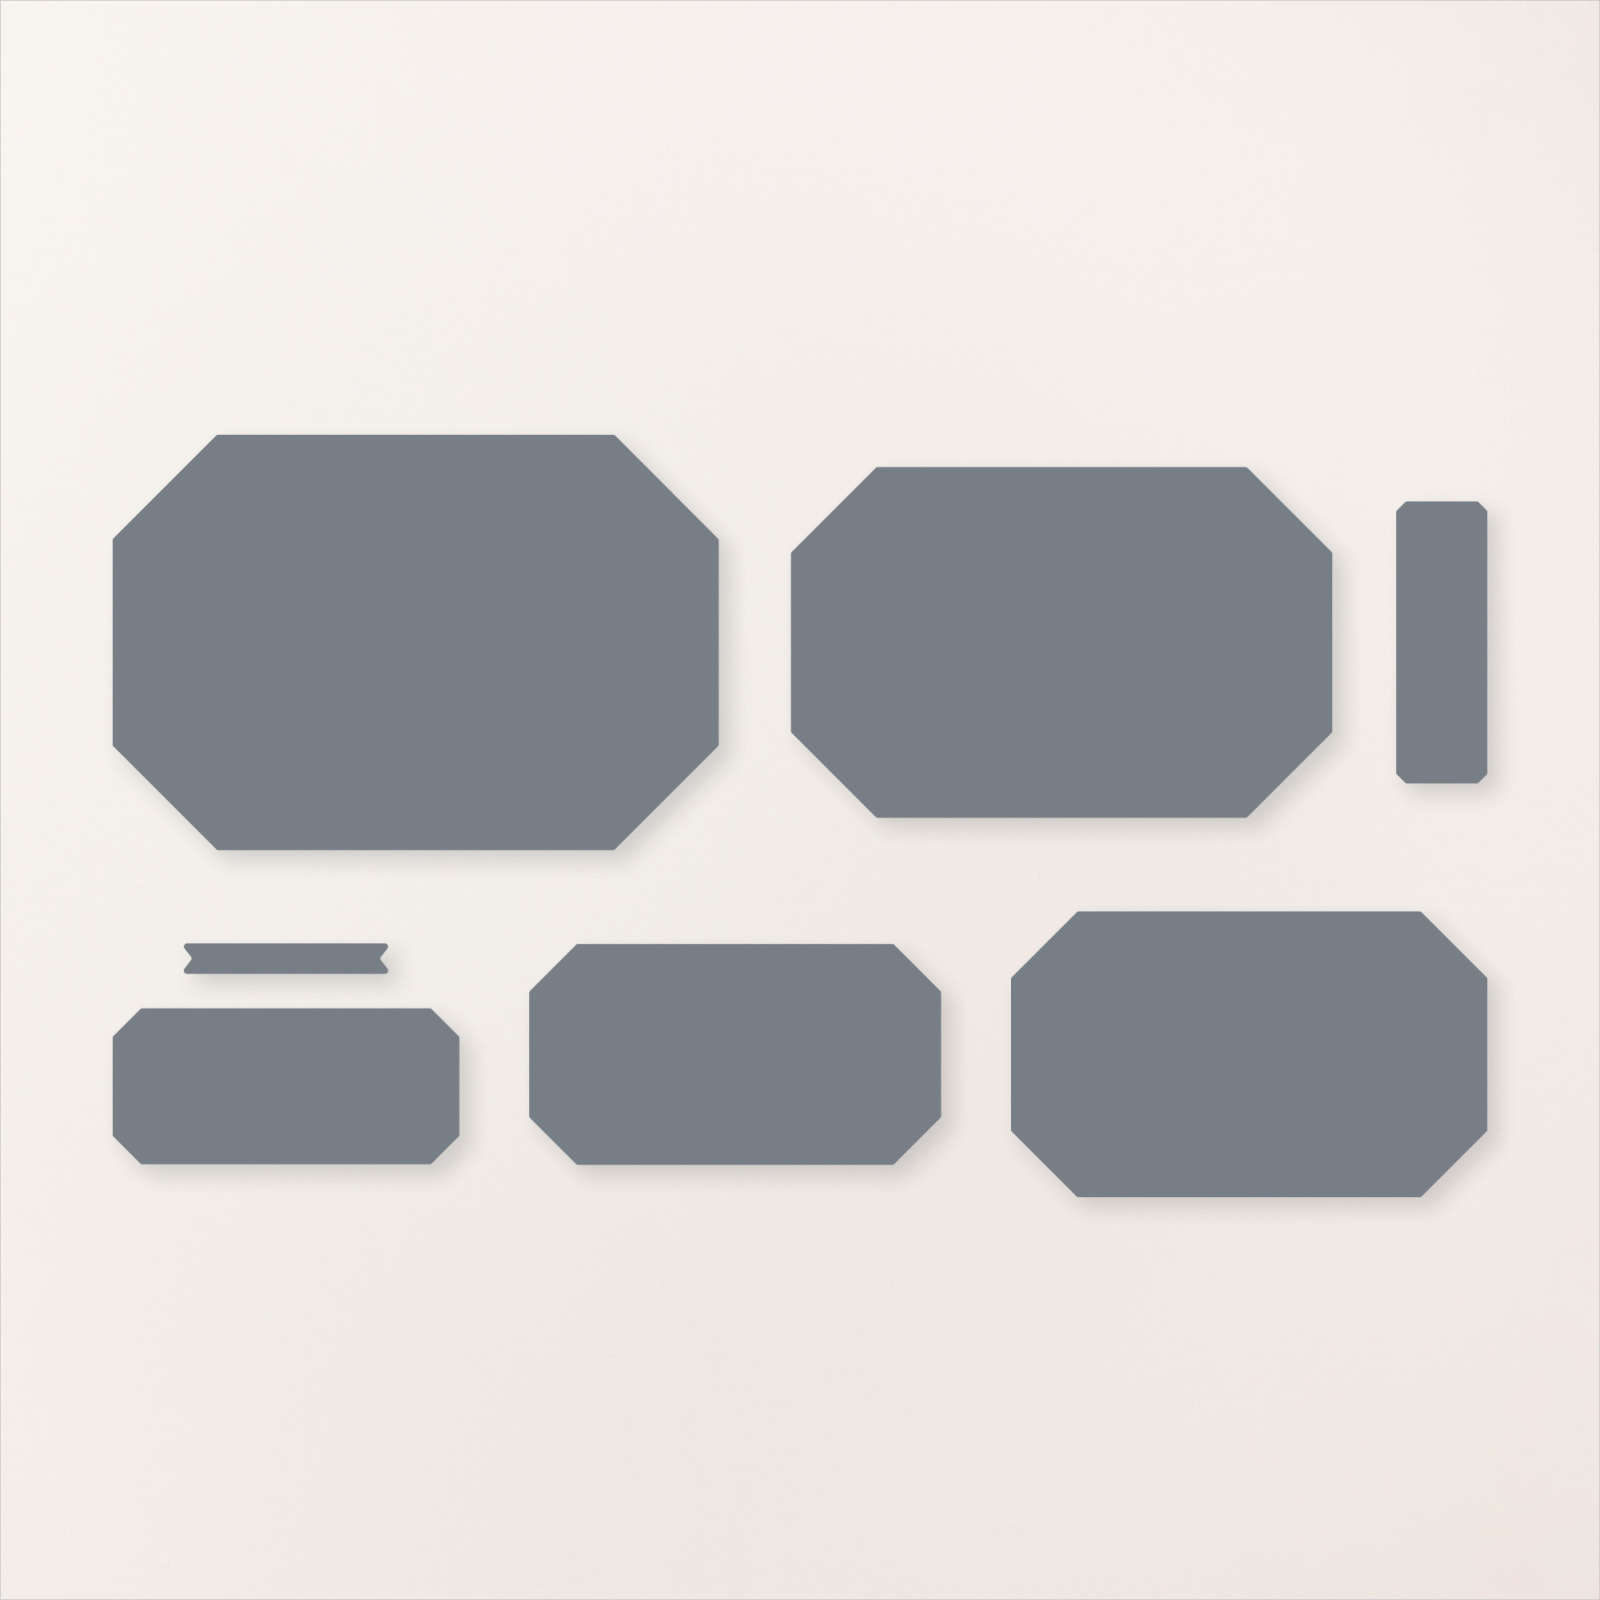
I cut out the greeting using one of the Countryside Corners Dies. The greeting is attached to the card front using dimensionals. To decorate the inside of the card, I stamped a greeting from the So Sincere stamp set onto Basic White card using Shy Shamrock ink. I trimmed one leaf from the remaining large section of leaf and attached is beside the greeting. I am really loving this stamp and just know that I will be using is quite a bit.
Bye for now,
Kris
Product Used:


Free Shipping

If you are like me and still have a wish list a mile long for product you need to have, then this special is for you. For tomorrow only 21st May Stampin’ Up! is having Free Shipping for orders over $65.00. That’s right, no shipping costs. Yay. How good will that be, it means I can buy more product and so can you. So don’t forget this offer is only valid for tomorrow, Tuesday 21st May,
Happy Shopping!
Bye for now,
Kris
Daylesford
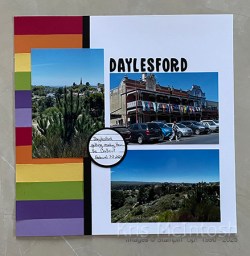
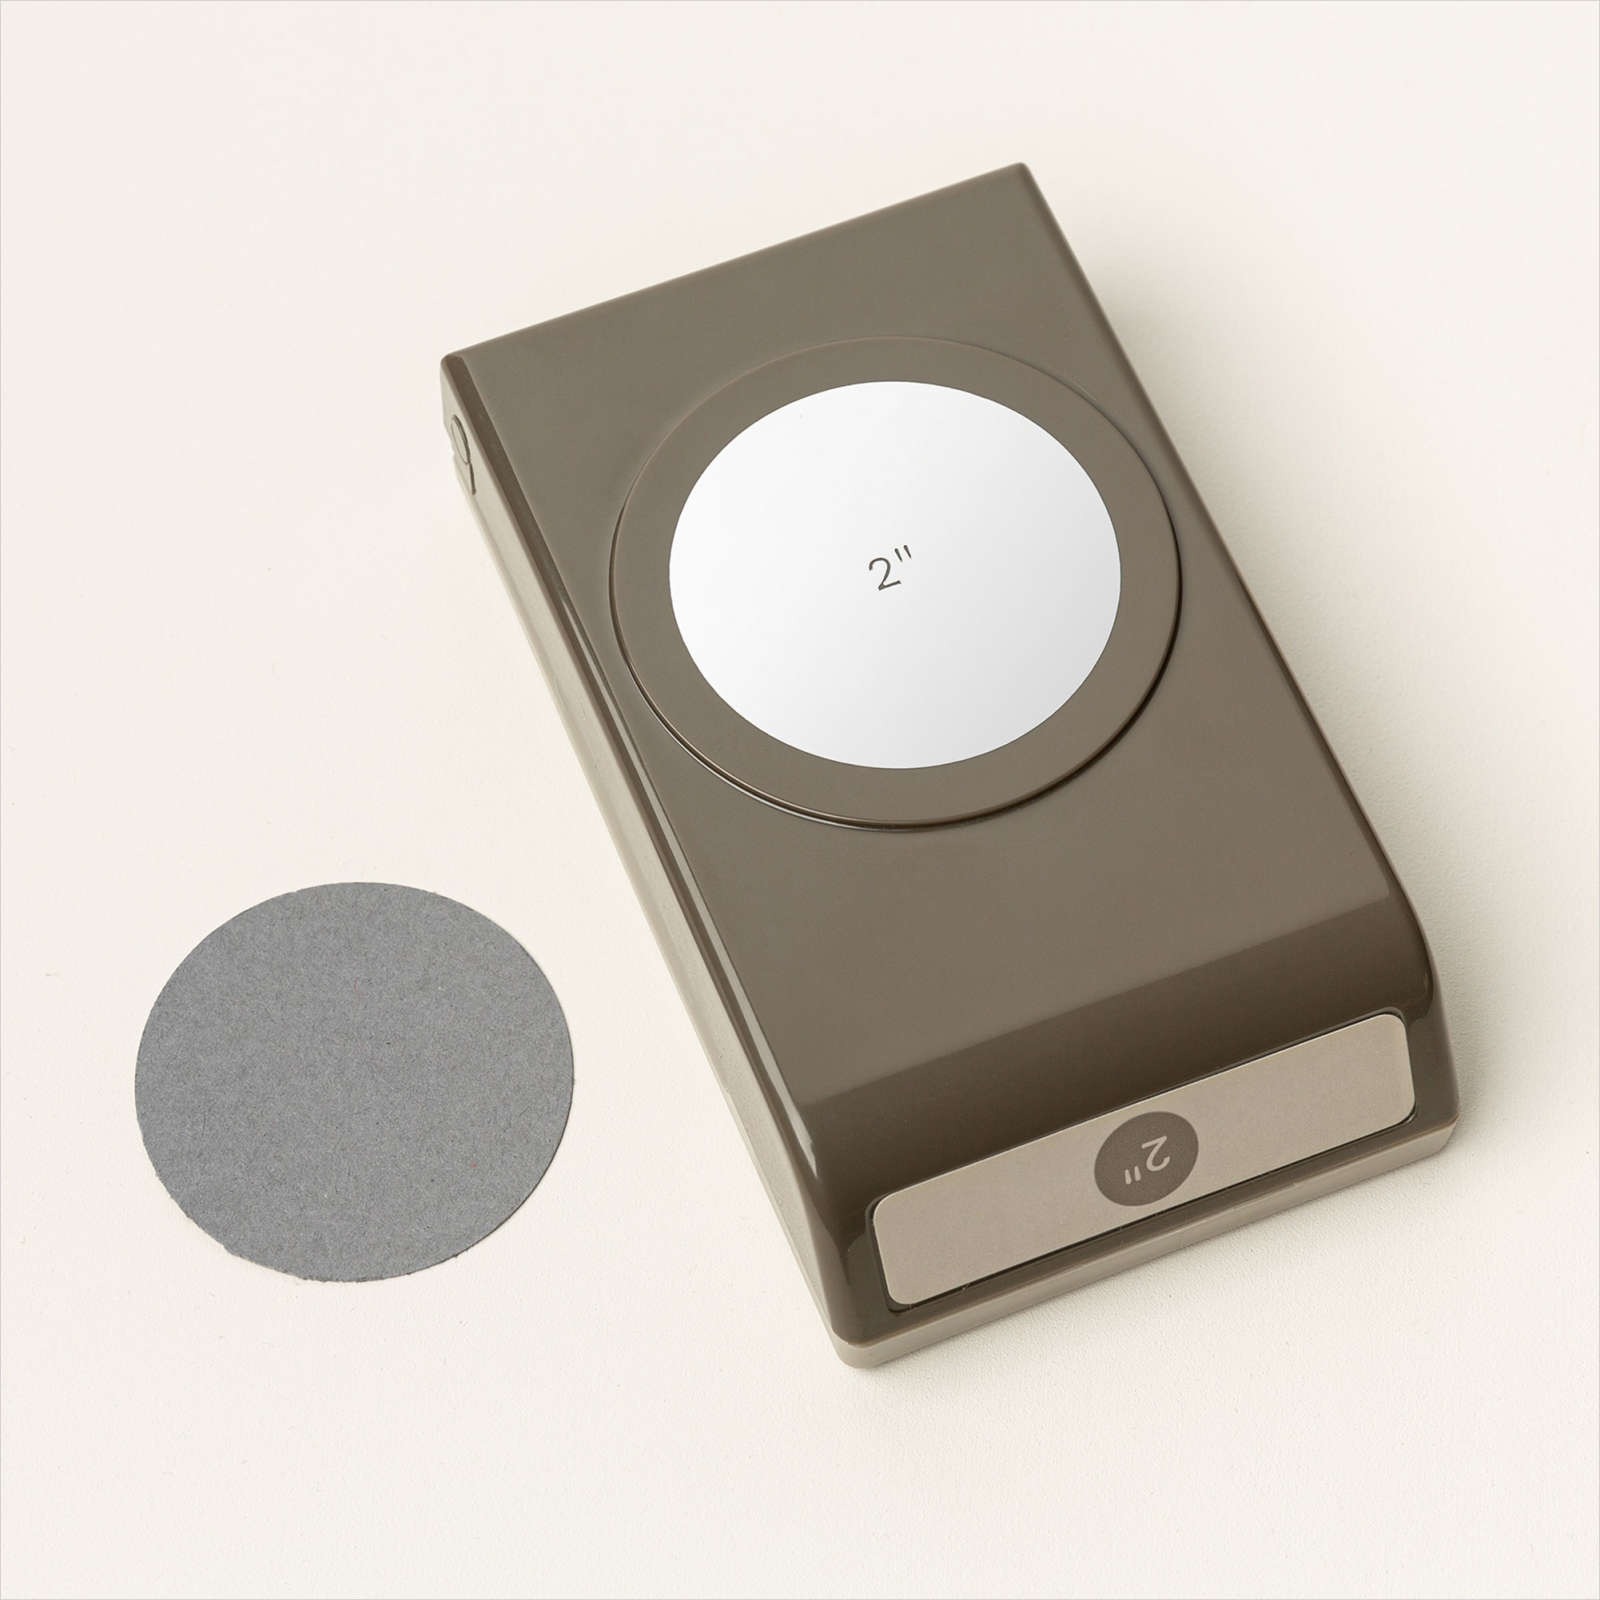
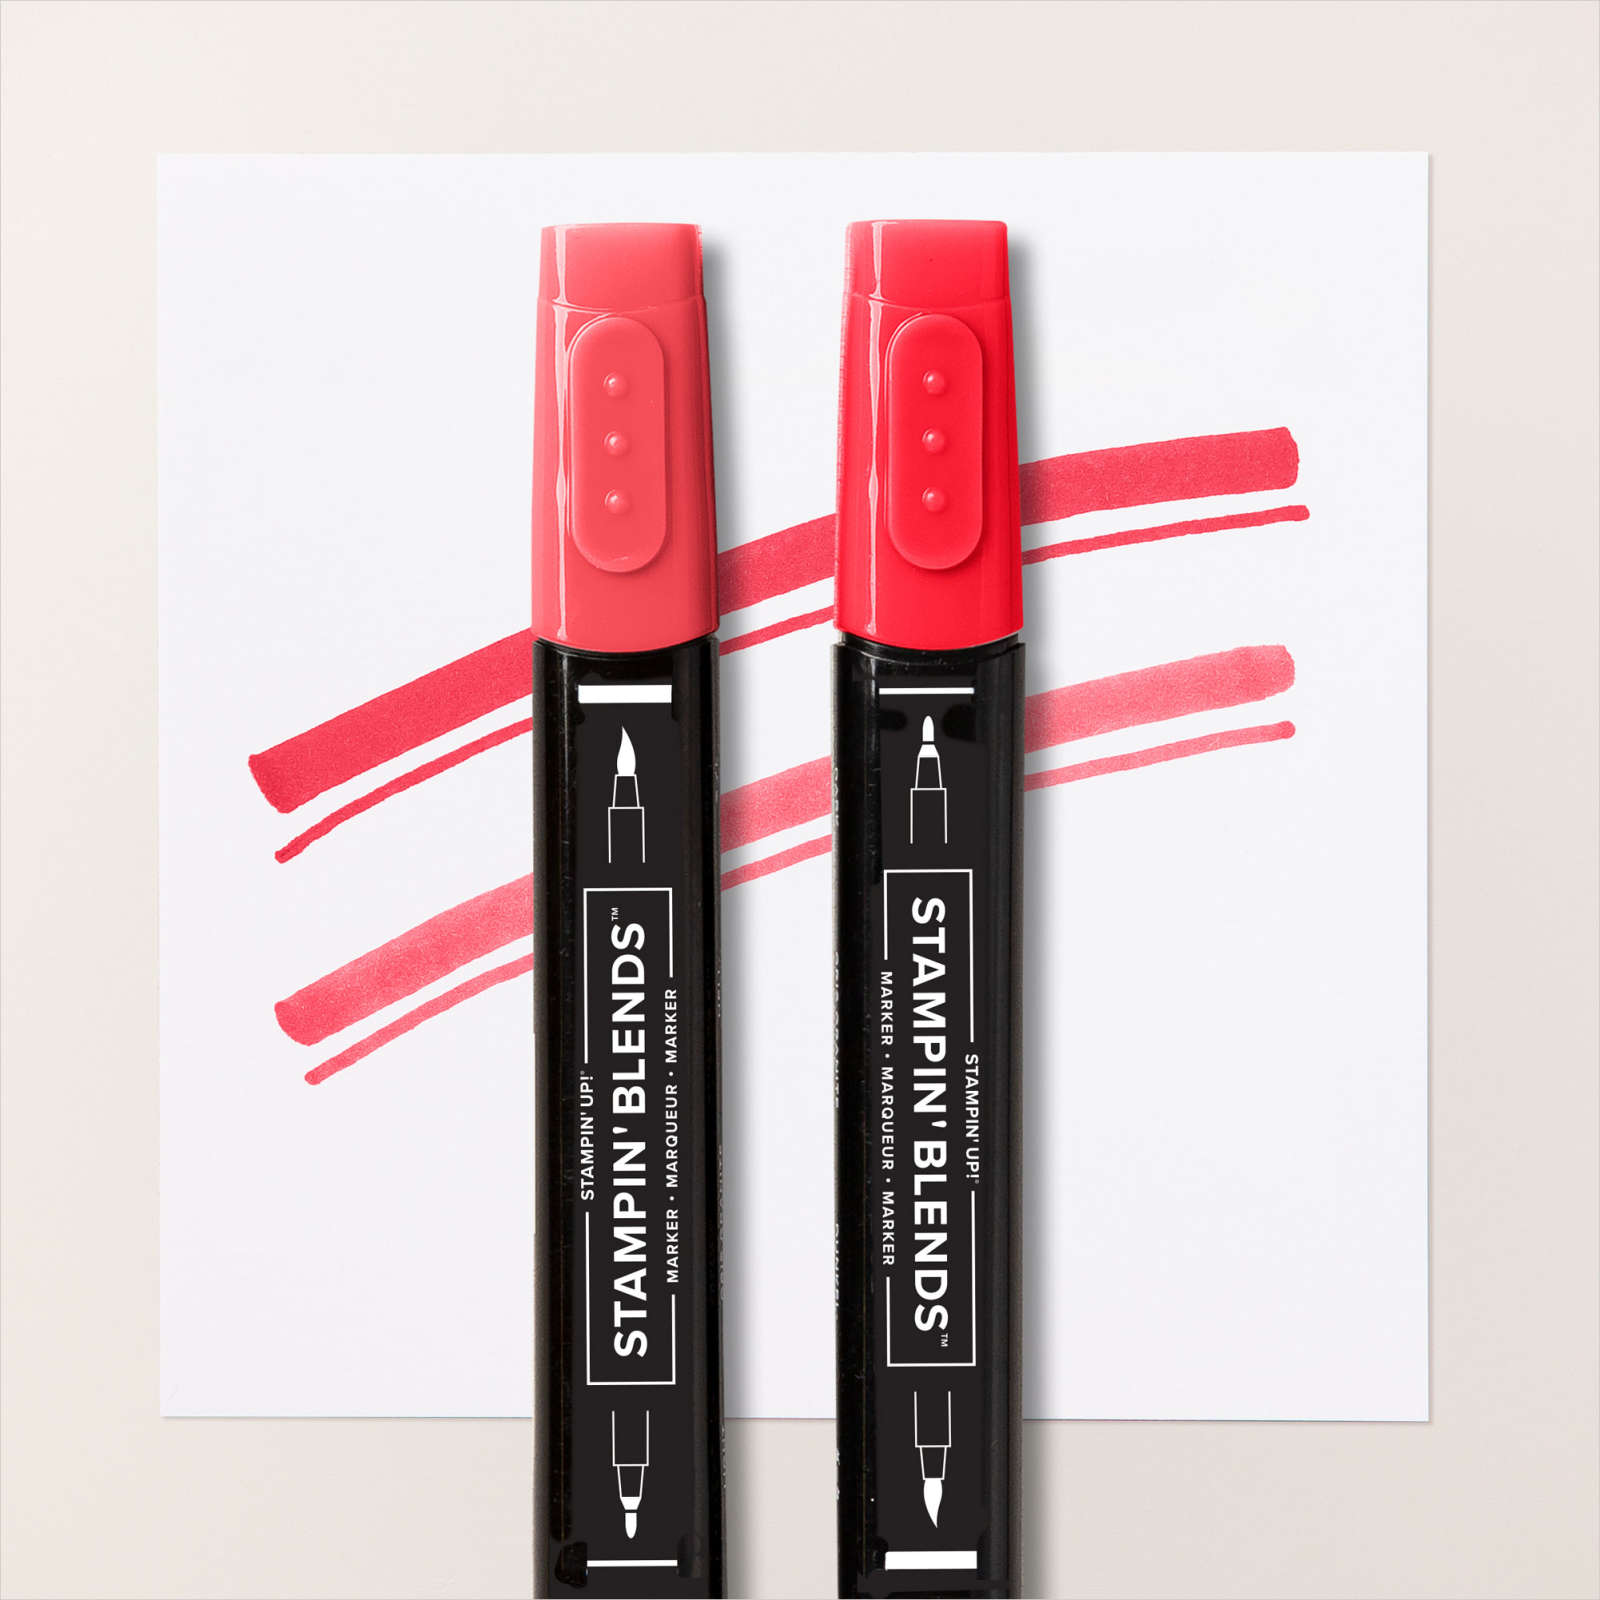
On our recent road trip we stayed at Dalyesford in Victoria. Such a pretty little town which was getting ready for its annual Chillout Festival, so we could only stay one night. For my page I decided to add strips of Real Red, Pumpkin Pie, Daffodil Delight, Granny Apple Green, Gorgeous Grape and Highland Heather down to the left hand side of a Basic White 12″ x 12″ page. I added a strip of Basic Black card down the right hand edge of the strips of card before attaching my photos. I cut the title from Basic Black card using the Mini Alphabet Dies (I bet you didn’t know I love these dies!). For my journaling I stamped a piece of Basic White card using the line stamp from the Love This Moment stamp set and Memento Tuxedo Black ink. I punched out the lines using the 2″ Circle punch and added my journaling. I attached the Basic White circle to a 2-1/4″ Circle (sorry this punch is retired) before attaching to the page. Such a simple page but reminds of our stay in this lovely little town.
Bye for now,
Kris
Product Used:


Adventurous Birthday

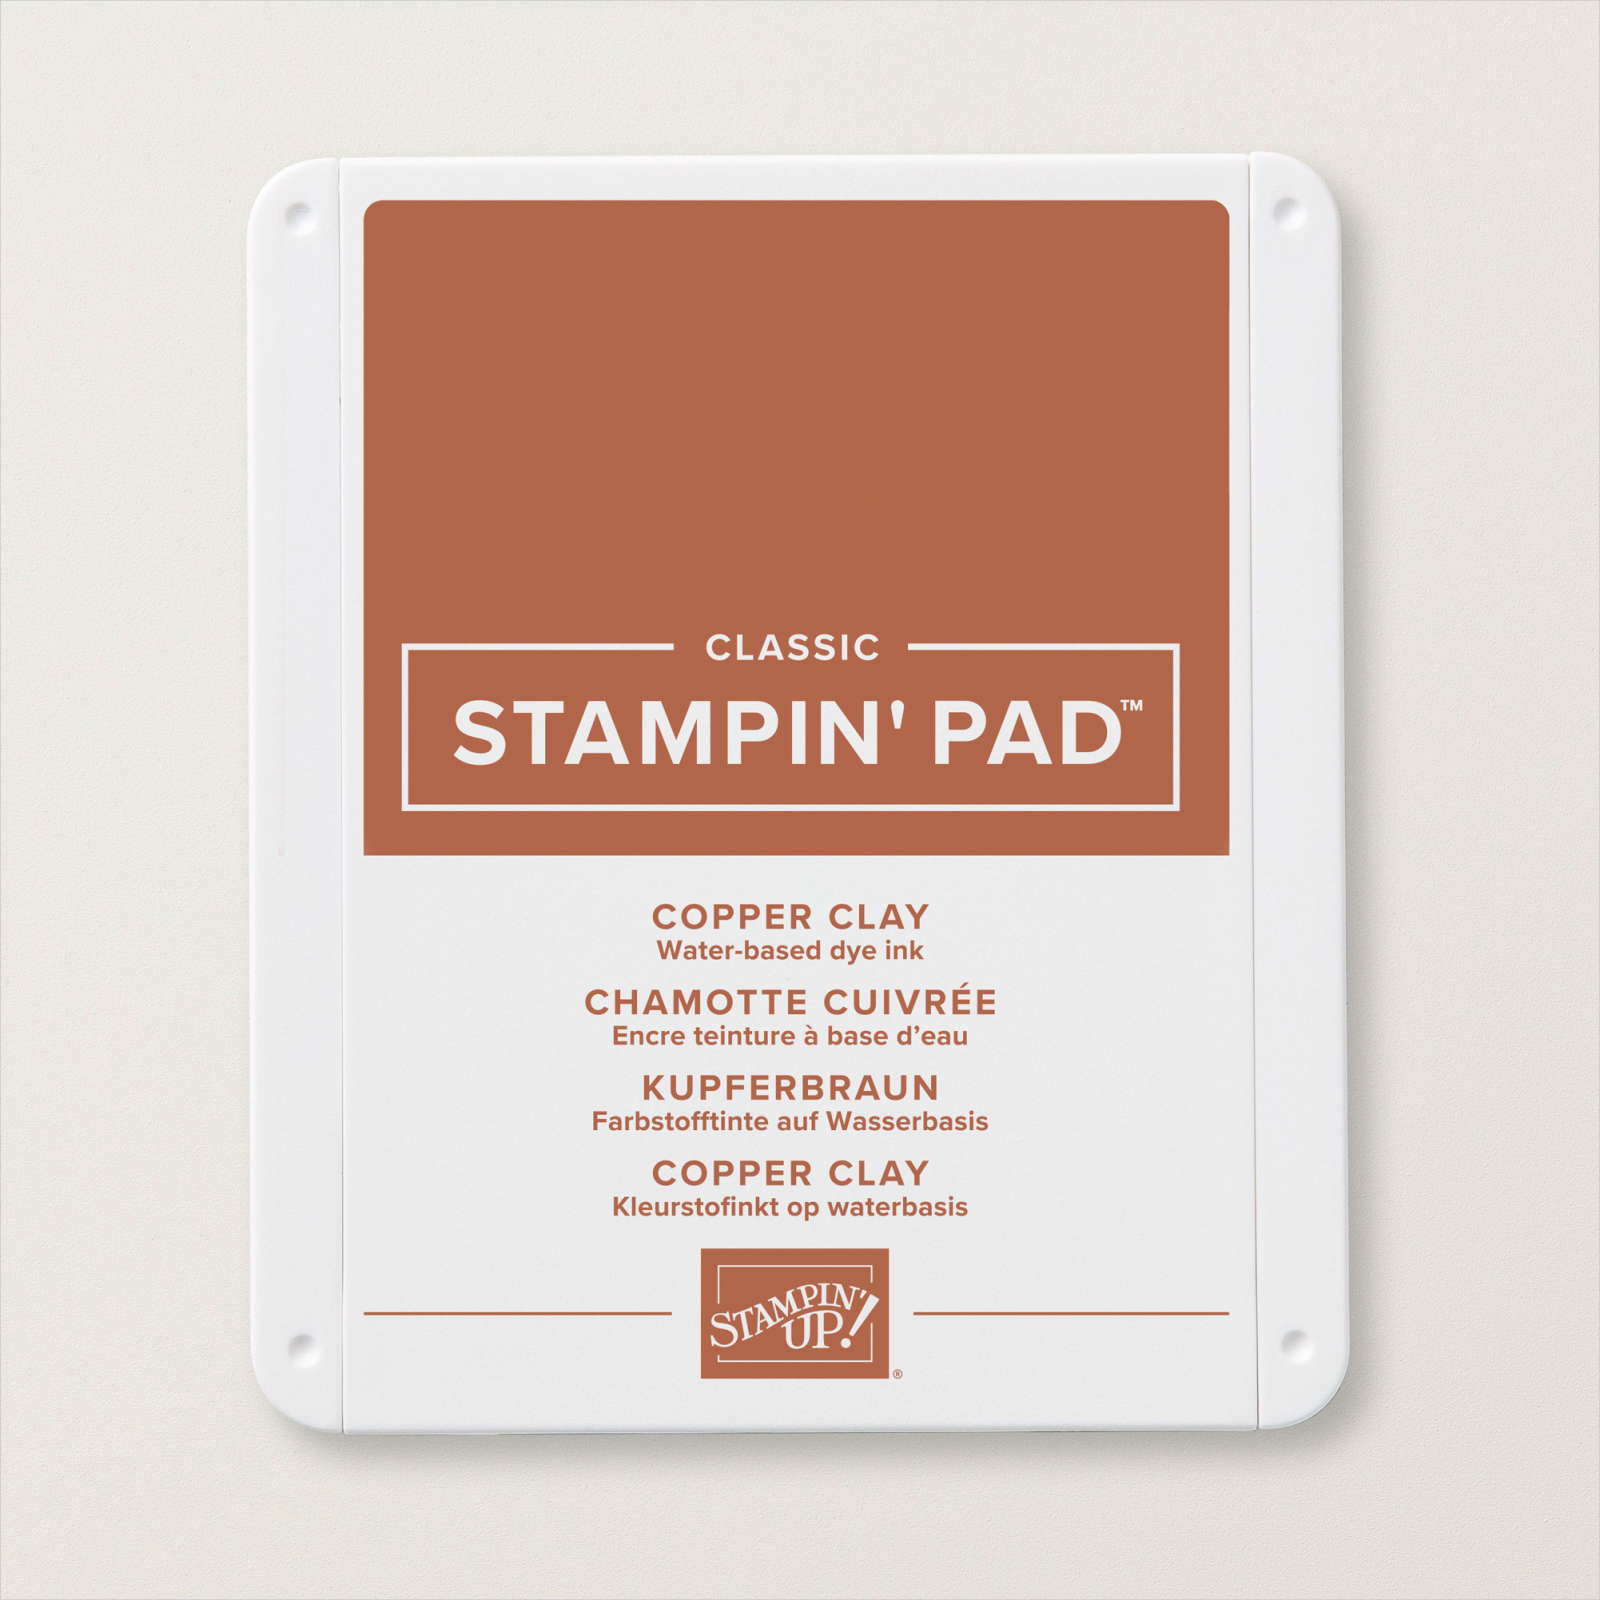
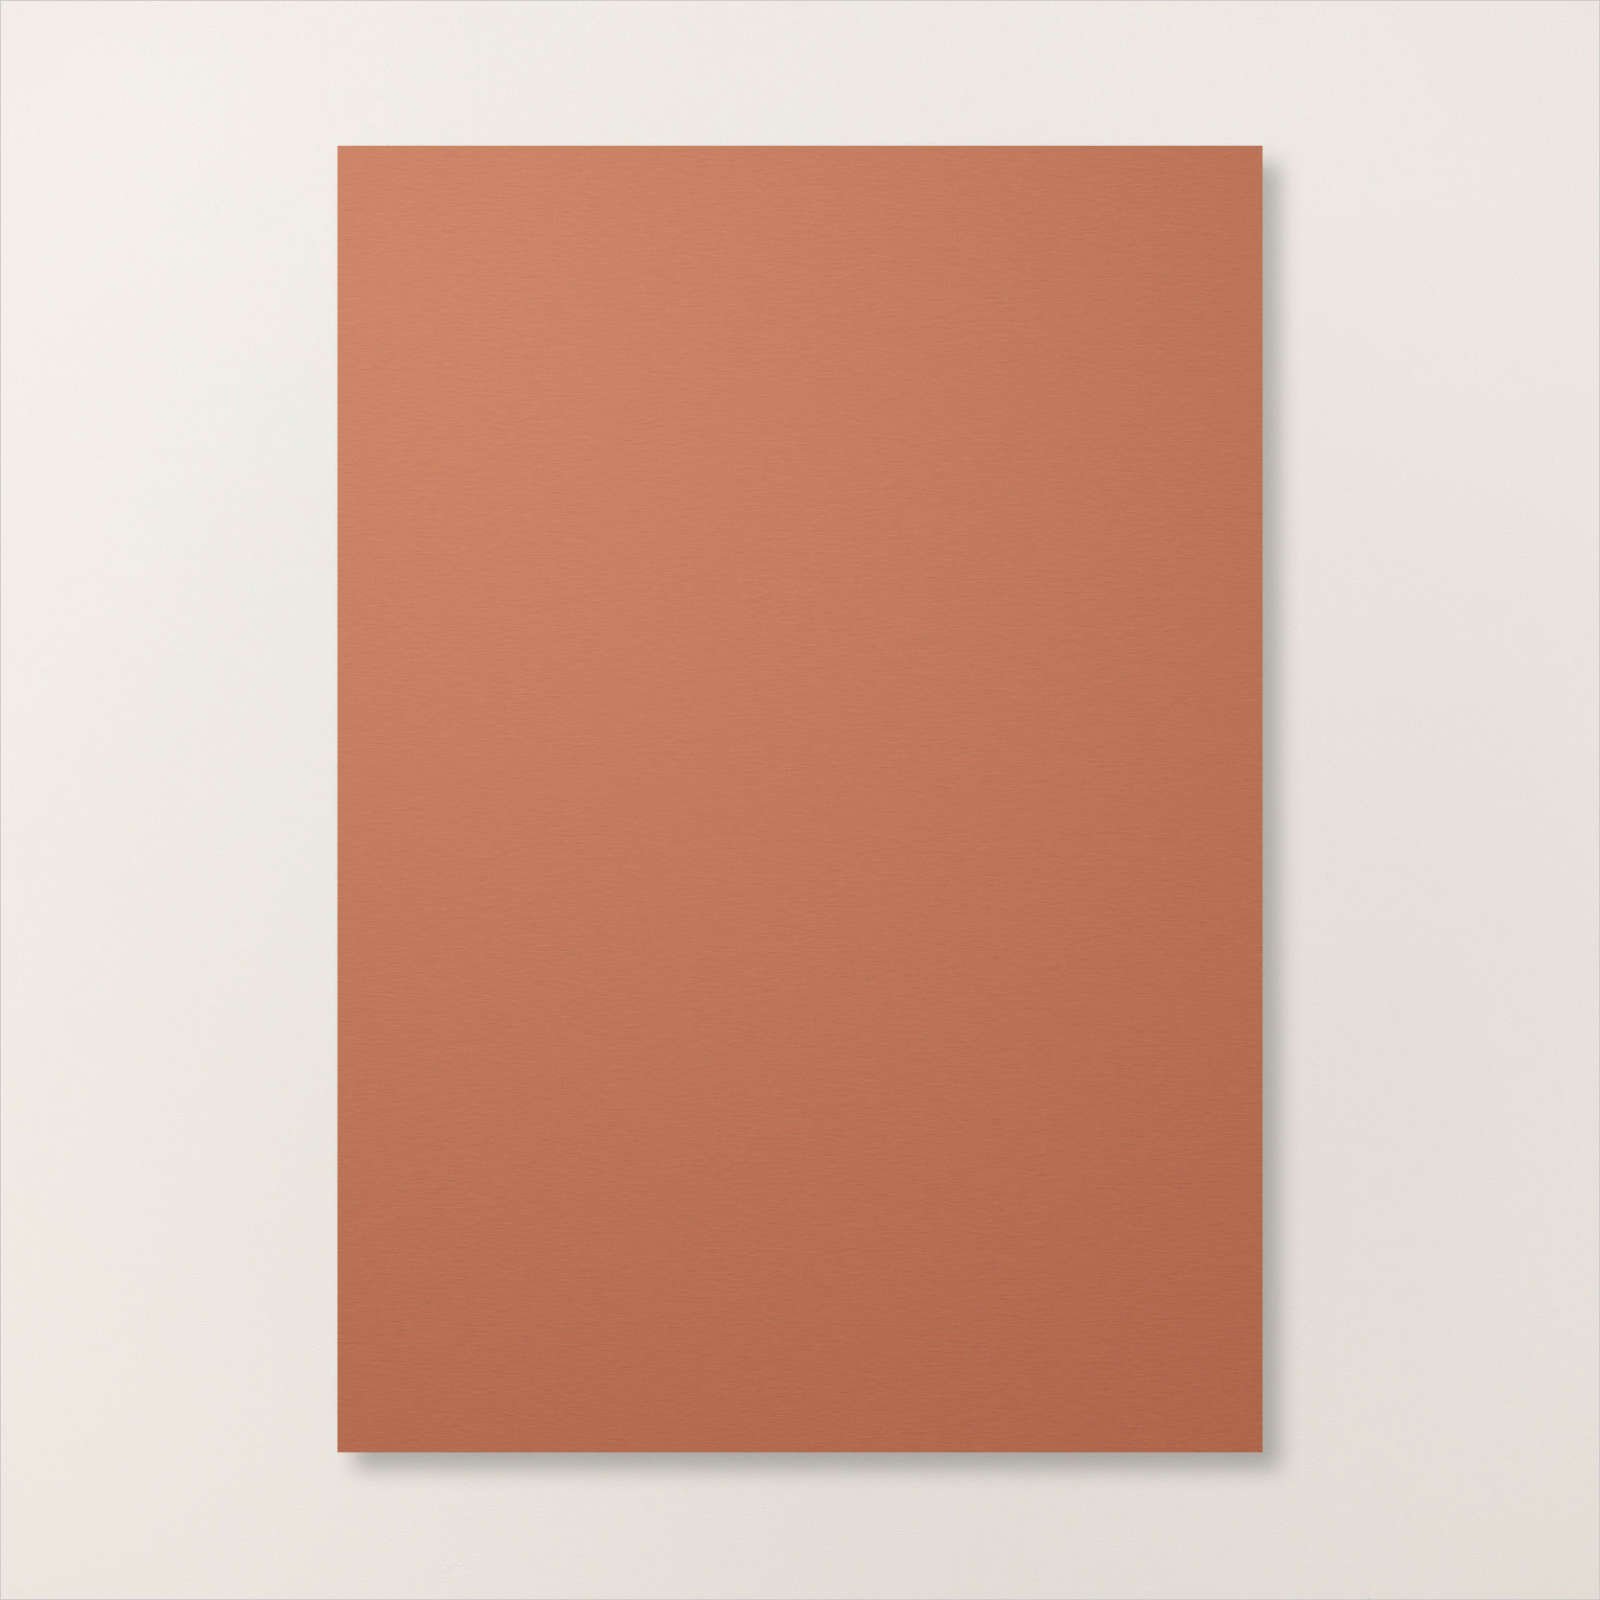
Today’s card uses the Take to the Sky Suite Collection which I also shared on my Facebook Live this week. There is one sheet in the Take to the Sky 12″ x 12″ Designer Series paper in this collection that has various individual panels and tags that you can cut from the paper. I cut the largest section from the paper, trimmed it down and attached it to Copper Clay card. The panel is attached to Basic White card and then scored and folded Copper Clay card. I attached a panel of Copper Clay card across the lower part of the card front. I cut three of the tag images from the paper and layered them together before attaching them to the card front.

I added one of the Industrial Trinkets to the top of the tags. I stamped the small plane from the Adventurous Sky stamp set onto Basic White card using Memento Tuxedo Black ink. I added some colour using the Light Smoky Slate Stampin’ Blend. The image is cut out using the co-ordinating Adventurous Sky Die and added to the card front. I stamped “happy birthday” from the Adventurous Sky stamp set onto Basic White card using Copper Clay ink.

I cut out the greeting using the banner die from the Adventurous Sky Dies. I did cut it twice to get the banner effect on both ends. The banner is attached to the card front using dimensionals. To decorate the inside of the card, I attached a strip of Copper Clay card behind one long edge of a strip of the Designer Series paper panel that I used on the card front. The panel is attached to the left hand side of Basic White card. I also stamped another greeting from the Adventurous Sky stamp set onto the Basic White card using Copper Clay ink. This is just an amazing suite, with beautiful paper, lots of great images and sentiments. I know you will love it.
Bye for now,
Kris
Product Used:
You can see the whole Take to the Sky Collection here and the Industrial Trinkets here in my online store.


Roses Congratulation
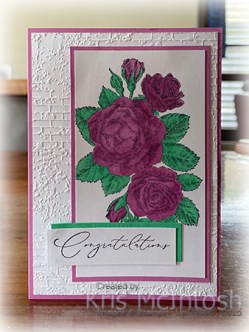
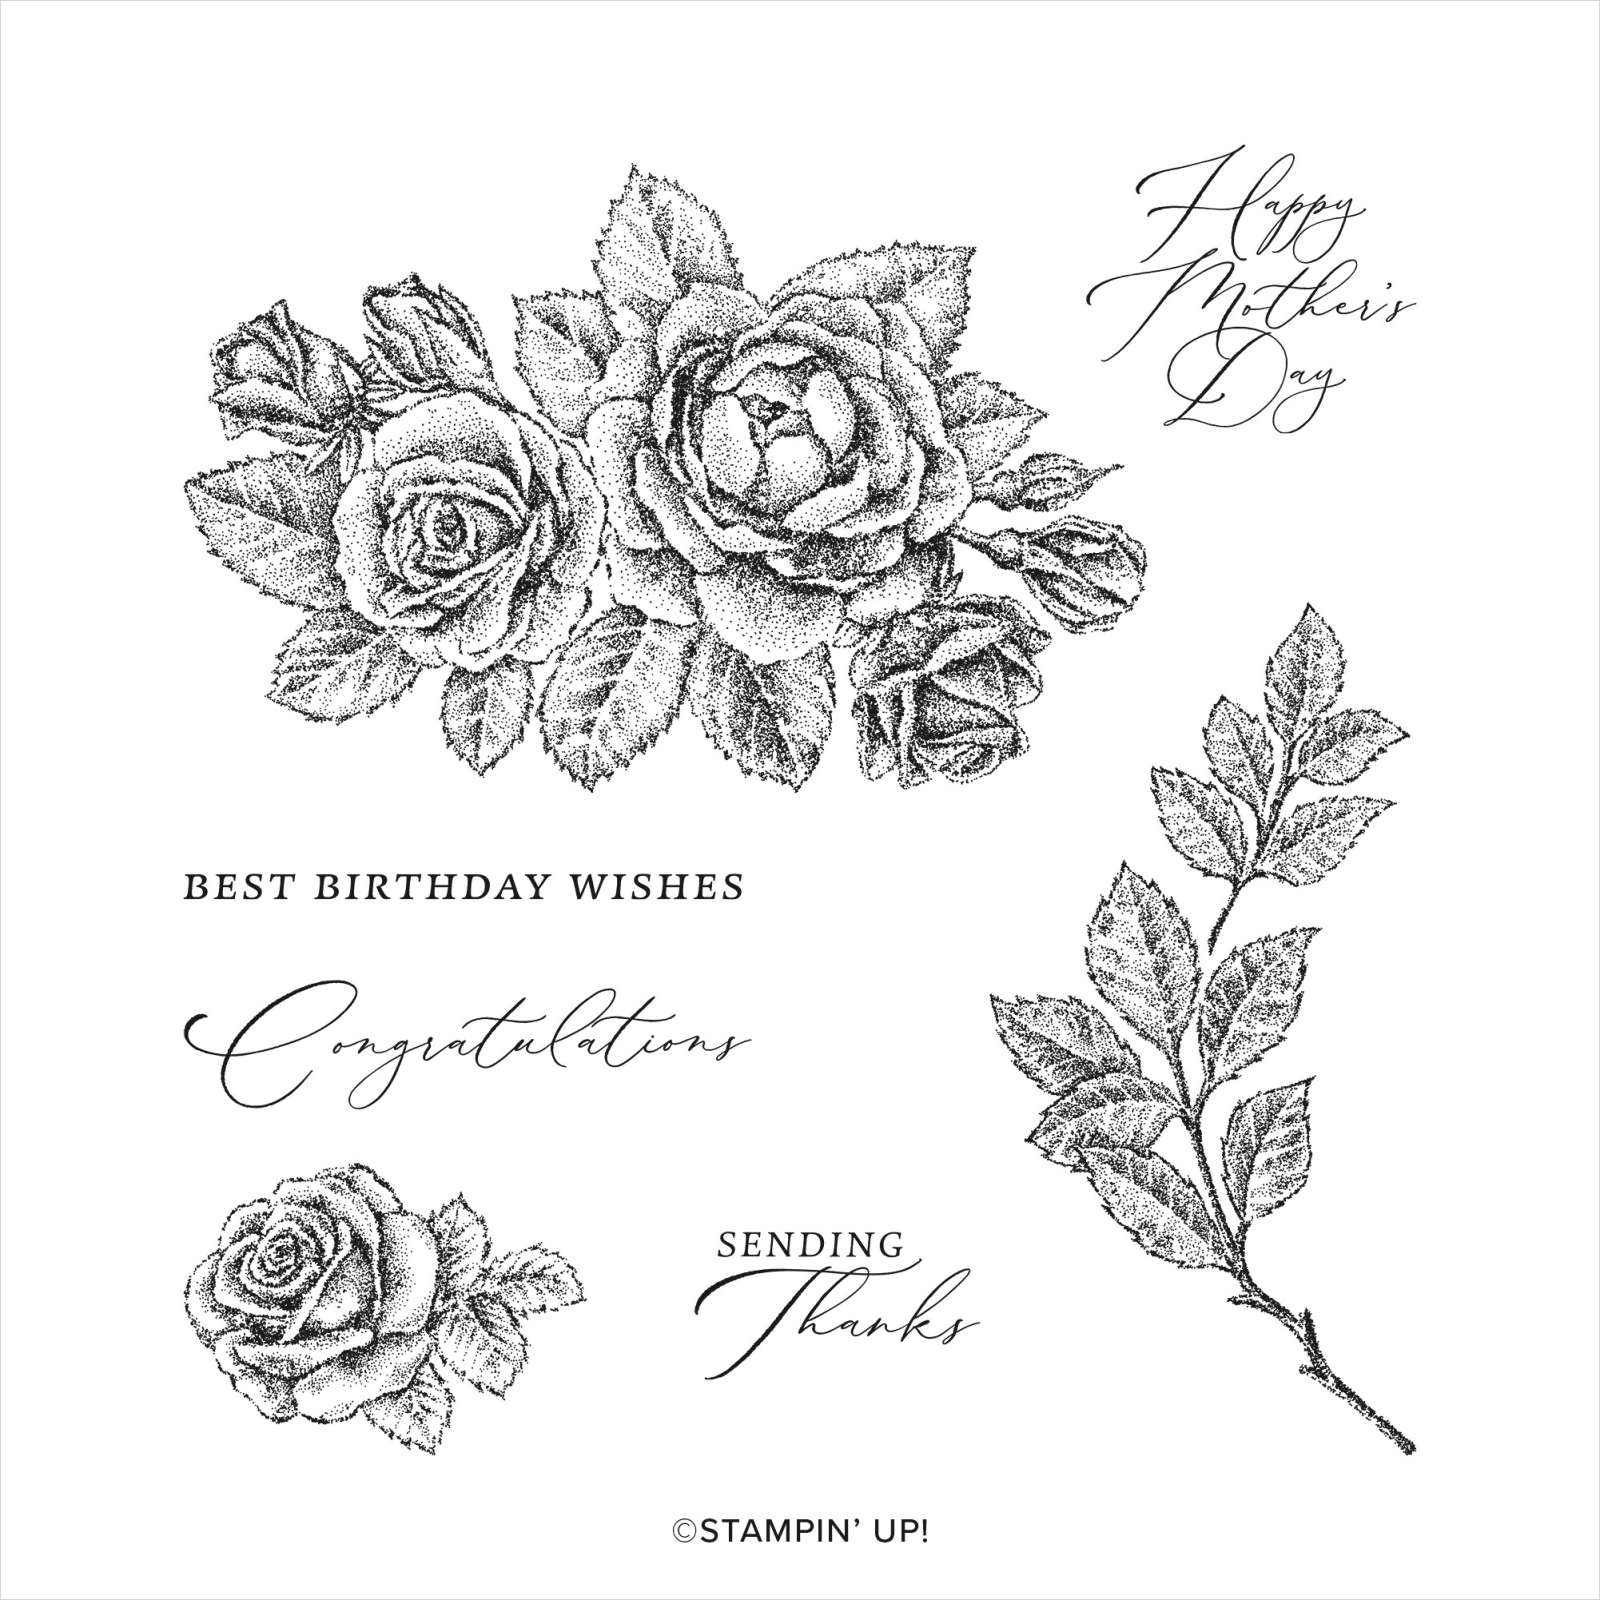
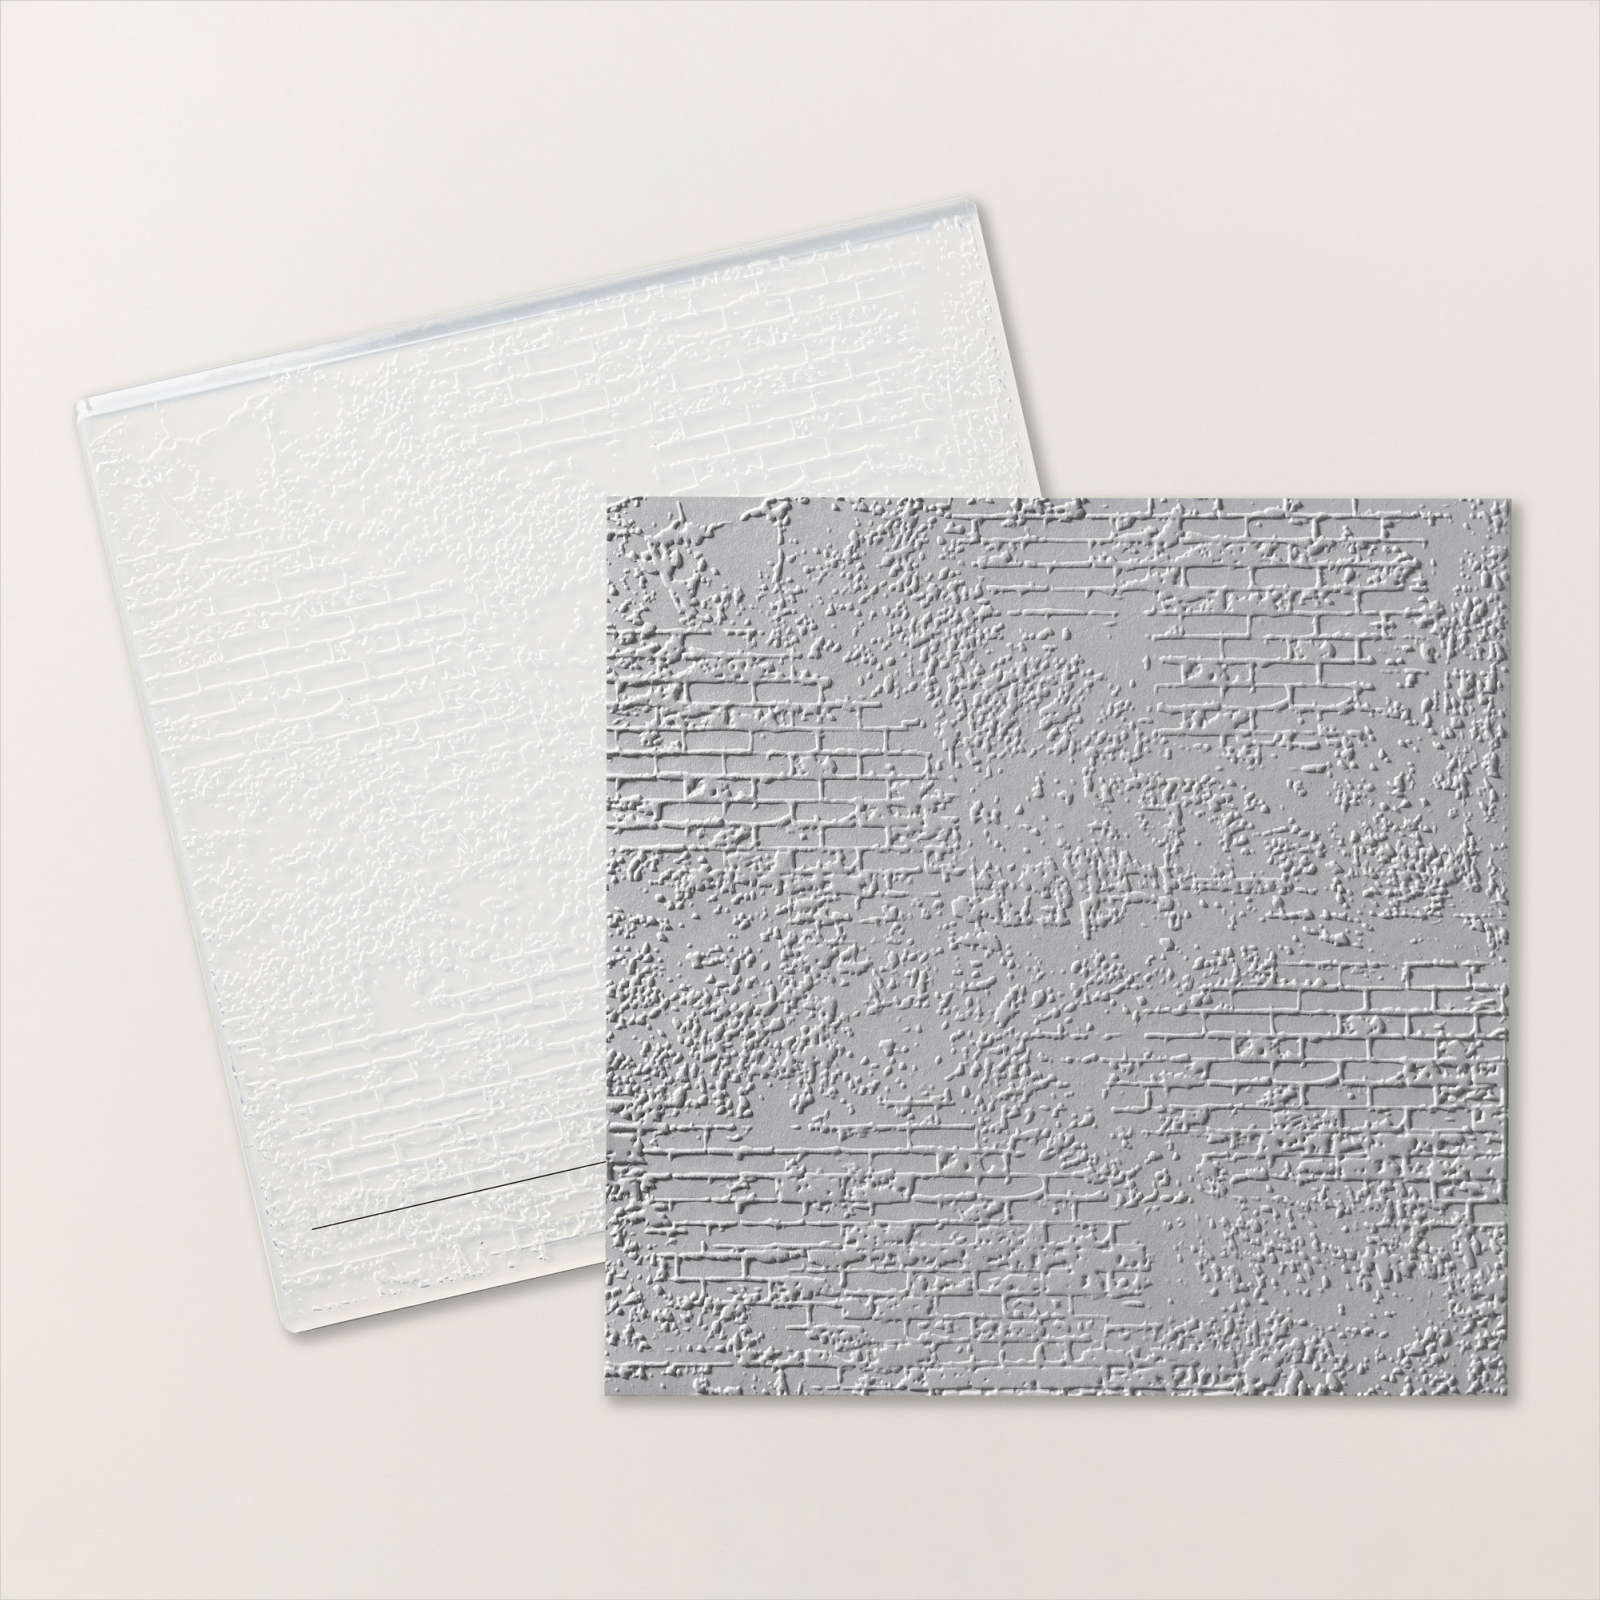
For today’s card I embossed Basic White card using the Exposed Brick 3D Embossing Folder and attached it to scored and folded Petunia Pop card. I stamped the large floral image from the Stippled Roses stamp set onto Basic White card using Memento Tuxedo Black ink. I coloured the image using Petunia Pop and Shy Shamrock Stampin’ Blends.

The image panel is attached to Petunia Pop card and then to the embossed card front. I stamped the greeting from the Stippled Roses stamp set onto Basic White card using Memento Tuxedo Black ink. I attached the greeting to a piece of Shy Shamrock card. The greeting is attached to the card front using dimensionals where necessary.

To decorate the inside of the card, I stamped part of the large floral image from the Stippled Roses stamp set onto the lower left hand corner of Basic White card. Once more I coloured the image using the Petunia Pop and Shy Shamrock Stampin’ Blends. I love this card and I love the new in-colours, what about you. What’s your favourite colour? I don’t think I have a favourite yet!
Bye for now,
Kris
Product Used:
You can view Petunia Pop A4 card here, Shy Shamrock A4 card here and Basic White A4 card here in my online store.


Dubbo

My page today celebrates a visit to Dubbo. Ron and I lived there for nearly five years and both out girls were born there. Ron’s Aunty Norma was a great help to us, babysitting and generally being someone to visit and talk with, so we never miss an opportunity to catch up when were are heading in that direction. To begin my page I used the floral image from the Love This Moment stamp set and Versamark ink to stamp along the top and the bottom of a piece of Crumb Cake 12″ x 12″ card. I trimmed down the panel and attached it to Basic White card. I added a piece of Azure Afternoon card across the page before attaching my photos. I stamped the line image from the Love This Moment stamp set onto Basic White card using Memento Tuxedo Black ink to create somewhere to add my journaling. I also stamped “the story” from the Love This Moment stamp set onto the top of this panel using Memento Tuxedo Black ink.
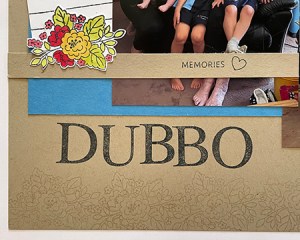
I stamped “memories” and the heart from the Love This Moment stamp set onto a narrow strip of Crumb Cake card before attaching it across the bottom of the main photo. I stamped the floral image onto Basic White card using Memento Tuxedo Black ink and coloured the image using Poppy Parade, Lemon Lime Twist and Dark Daffodil Delight Stampin’ Blends. I fussy cut the floral image and attached it below my journaling. The title is stamped onto the page using letters from the Classic Letters stamp set and Memento Tuxedo Black ink. I watched a video recently where Sara (CEO of Stampin’ Up!) used this stamp set and she gave me the idea of stamping the floral image as a border using Versamark ink. So thank you Sara. This page makes me smile and brings lots of memories to mind. I’d love to know what you think.
Bye for now,
Kris
Product Used:


Leafy Thinking of You

Today I am using the absolutely fabulous Leaf Collection stamp set. This is a large stamp that covers the whole of your card front. It has beautiful leaf images which not only stamp well as one image but you can fussy cut the individual leaves to create your own design. I chose to stamp the full Leaf Collection image onto Basic White card using Summer Splash ink. Isn’t this new in-colour simply gorgeous? I attached the stamped panel to Summer Splash card and then scored and folded Thick Basic White card.
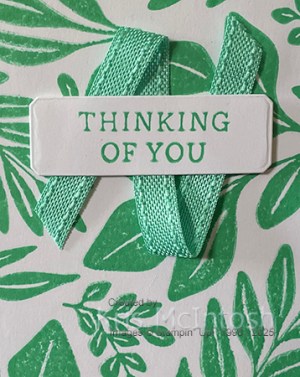
I stamped the greeting from the Simply Said stamp set onto Basic White card using Summer Splash ink. The greeting is cut out using one of the Countryside Corners Dies.I attached a length of Summer Splash 3/8″ (1cm) Bordered Ribbon to the back of the
greeting before attaching it to the card front using dimensionals. To decorate the inside of the card I stamped a greeting from the So Sincere stamp set onto Basic White card using Summer Splash ink. I stamped the Leaf Collection stamp onto scrap Basic White card and cut out one of the leaves which I attached next to the greeting. The stamped panel is attached to Summer Splash card and then the inside of the Thick Basic White card base. I would love to know what you think of this card.
Bye for now,
Kris
Product Used:
You can view the Simply Said stamp set here in my online store.


Celebrate
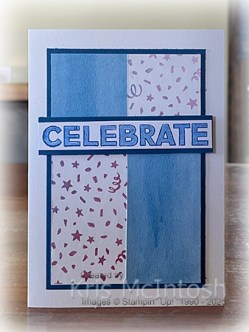
Today’s card uses the Happy Little Things stamp set which is an Online Exclusive product. I cut pieces of Bright & Beautiful Designer Series Paper which I attached to Basic White card. Did you know that the Bright & Beautiful 6″ x 6″ Designer Series Paper has carried over to our new Annual Catalogue – great for people like me who haven’t used as much of their paper as they should! The Designer Series Paper Panel is attached to Blueberry Bushel card and then scored and folded Thick Basic White card.
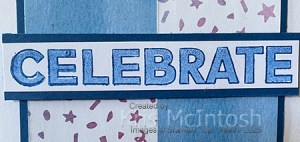
I stamped the outline “celebrate” image from the Happy Little Things stamp set onto Basic White card using Blueberry Bushel ink. I stamped the fill image from the same stampset inside the outline using Blueberry Bushel ink which I stamped onto scrap paper first.

The stamped panel is attached to Blueberry Bushel card and then the card front using dimensionals. To decorate the inside of the card I stamped “you did it” from the Happy Little Things stamp set onto Basic White card using Blueberry Bushel ink. I stamped the star image from the same stamp set three times around the greeting using the same ink. The stamped panel is attached to Blueberry Bushel card before being attaching inside the card base. One thing I need to point out is that I used one of the card sketch layouts on page 22 of the new Annual Catalogue for the design of this card. If you haven’t had a look at this page, check it out. So helpful. Thank you Stampin’ Up!.
Bye for now,
Kris
Product Used: