Happy Anniversary

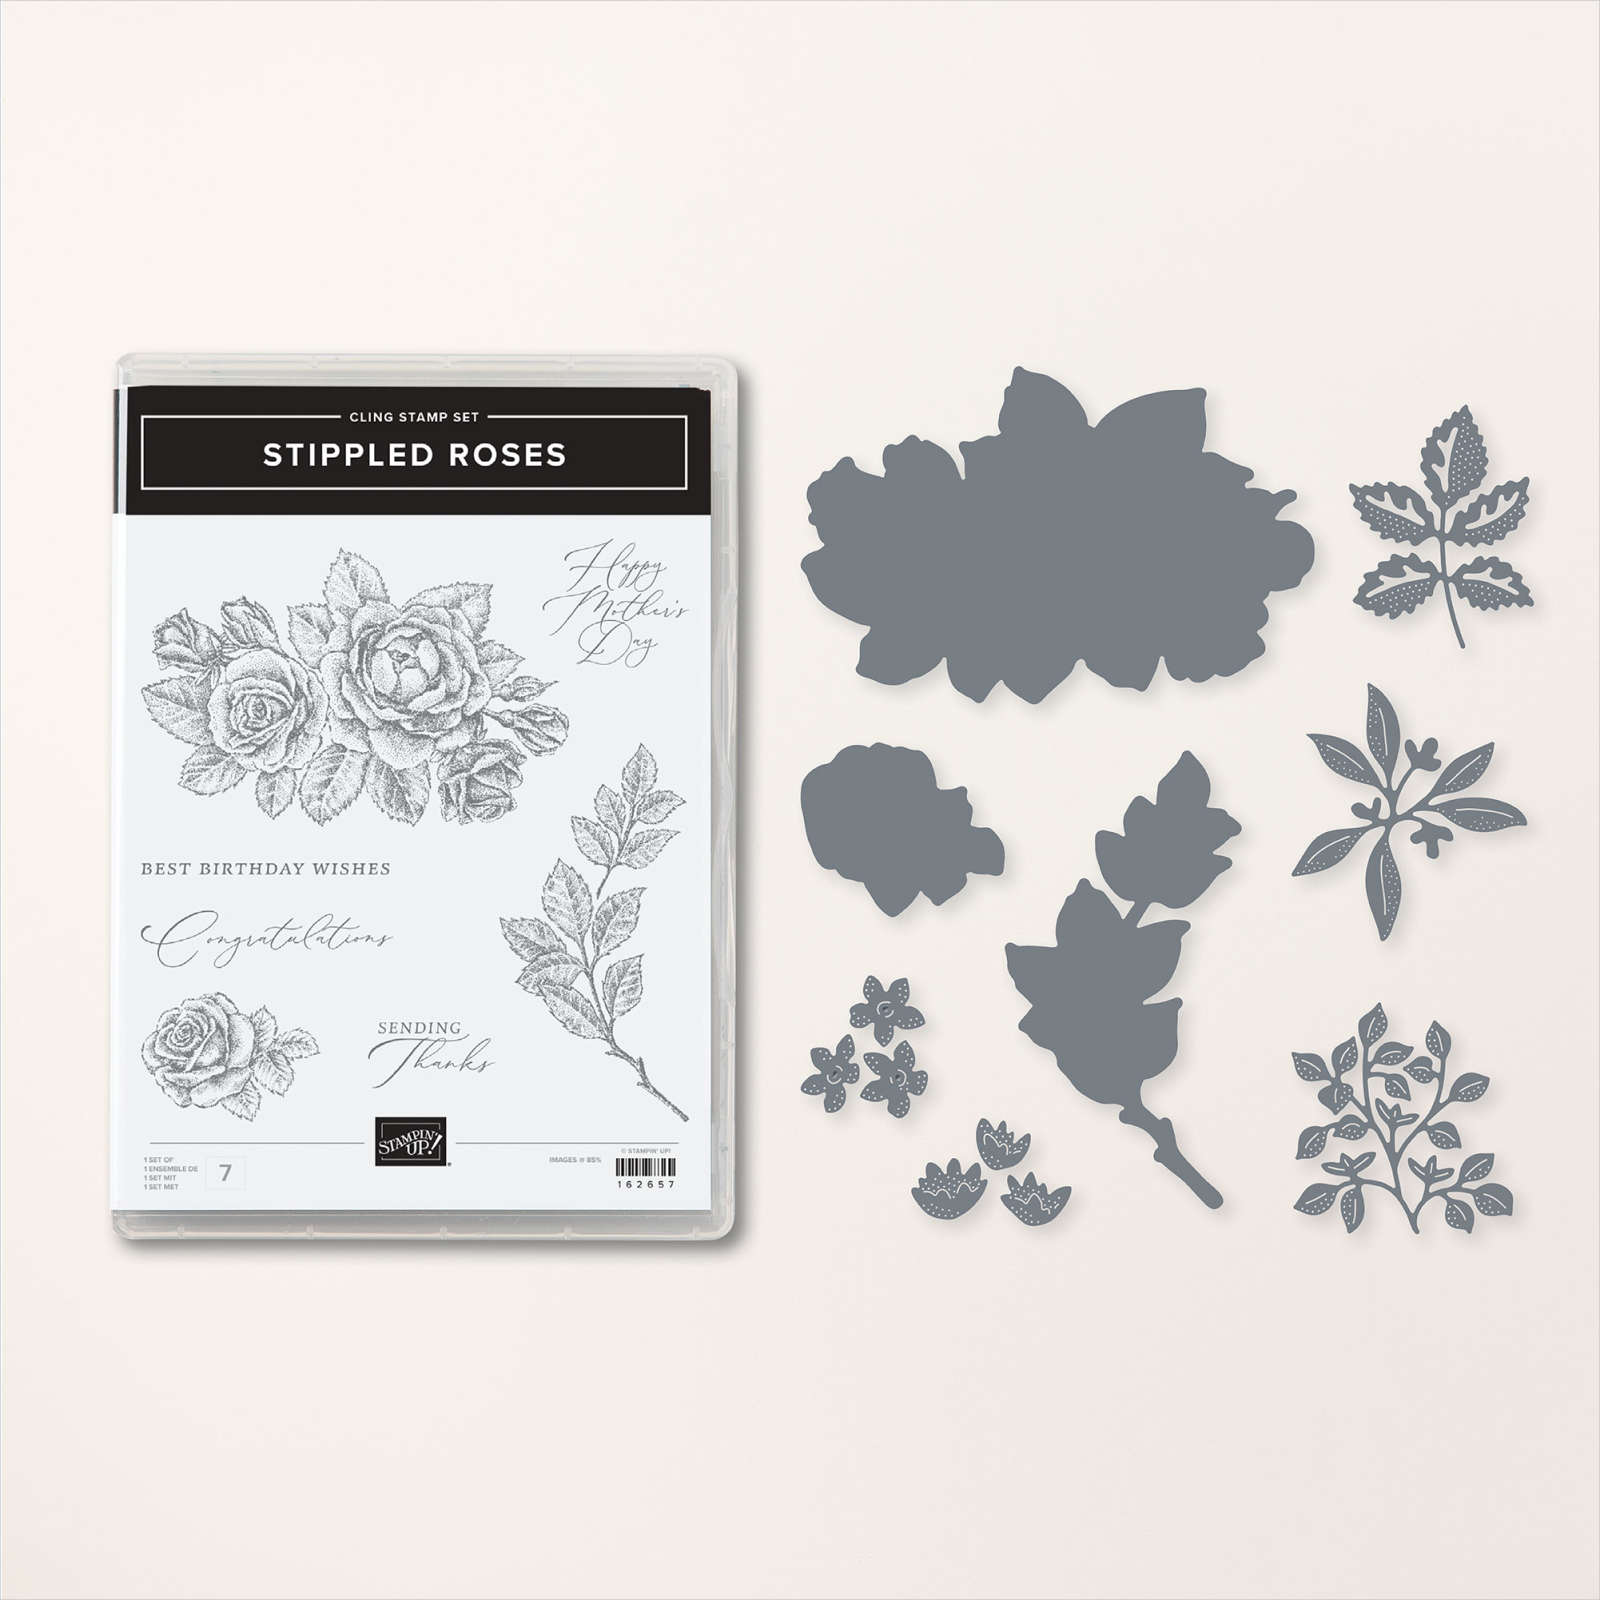
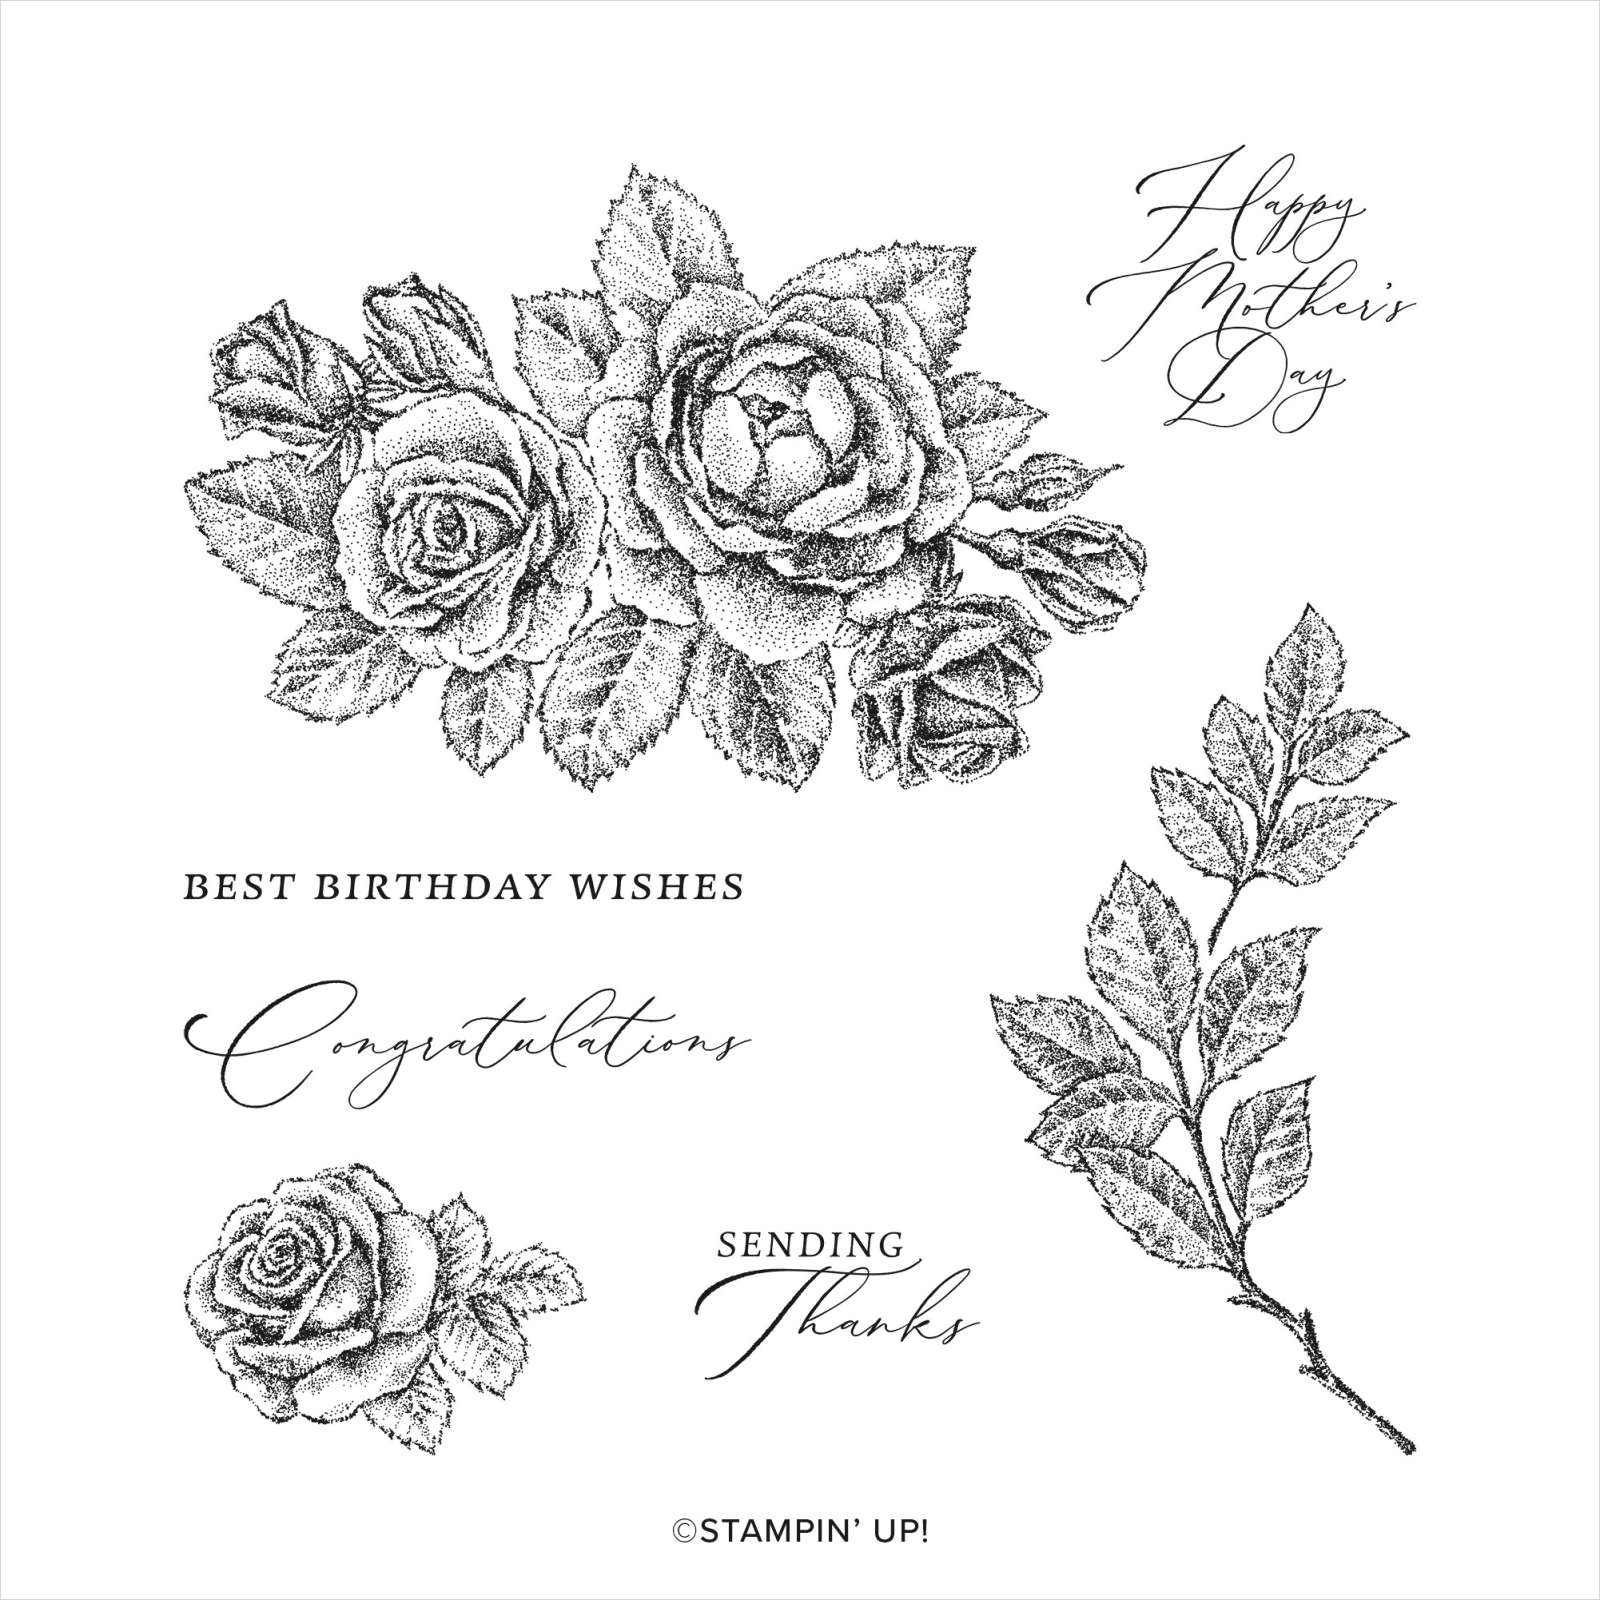
My youngest daughter recently celebrated her Wedding Anniversary and today I thought I would share the card I made for her. I followed the instructions that Annette Sullivan shared to create a Tri-fold card. I cut my card bases from Shaded Spruce card and attached panels of Basic White card which I embossed using the Quatrefoil Tile Embossing Folder. I stamped the small flower from the Stippled Roses stamp set onto the upper left and lower right hand corner of Basic White card using Shaded Spruce ink. I stamped the same flower onto scrap paper using Berry Burst ink and cut out the flowers.
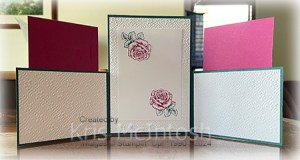
I attached the Berry Burst flowers onto the stamped images before attaching the panel to the inside central section of the card. To decorate the inside right hand panel, I stamped the greeting from the Layering Leaves stamp set onto Basic White card using Shaded Spruce ink. I stamped the small flower twice onto Basic White card, once using Shaded Spruce ink and once using Berry Burst ink.
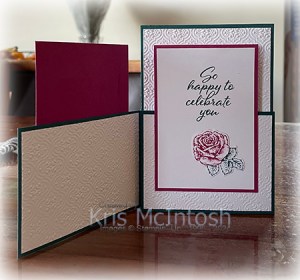
I cut out the images using the co-ordinating Stippled Rose Die. I trimmed the leaves from the Berry Burst image and attached the flower to the Shaded Spruce image. The flower is attached to the lower left hand corner of the stamped Basic White card. I attached the stamped panel to Berry Burst card and then the card base. I attached Basic White card to Berry Burst card which I attached to the card front. I made sure that each of the panels was lined up so that when the card is closed you only see the front panel.
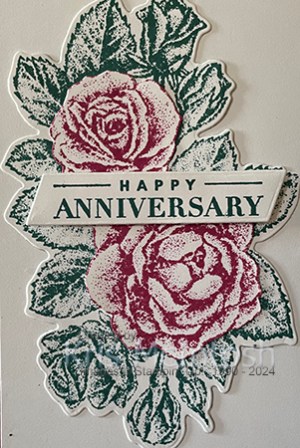
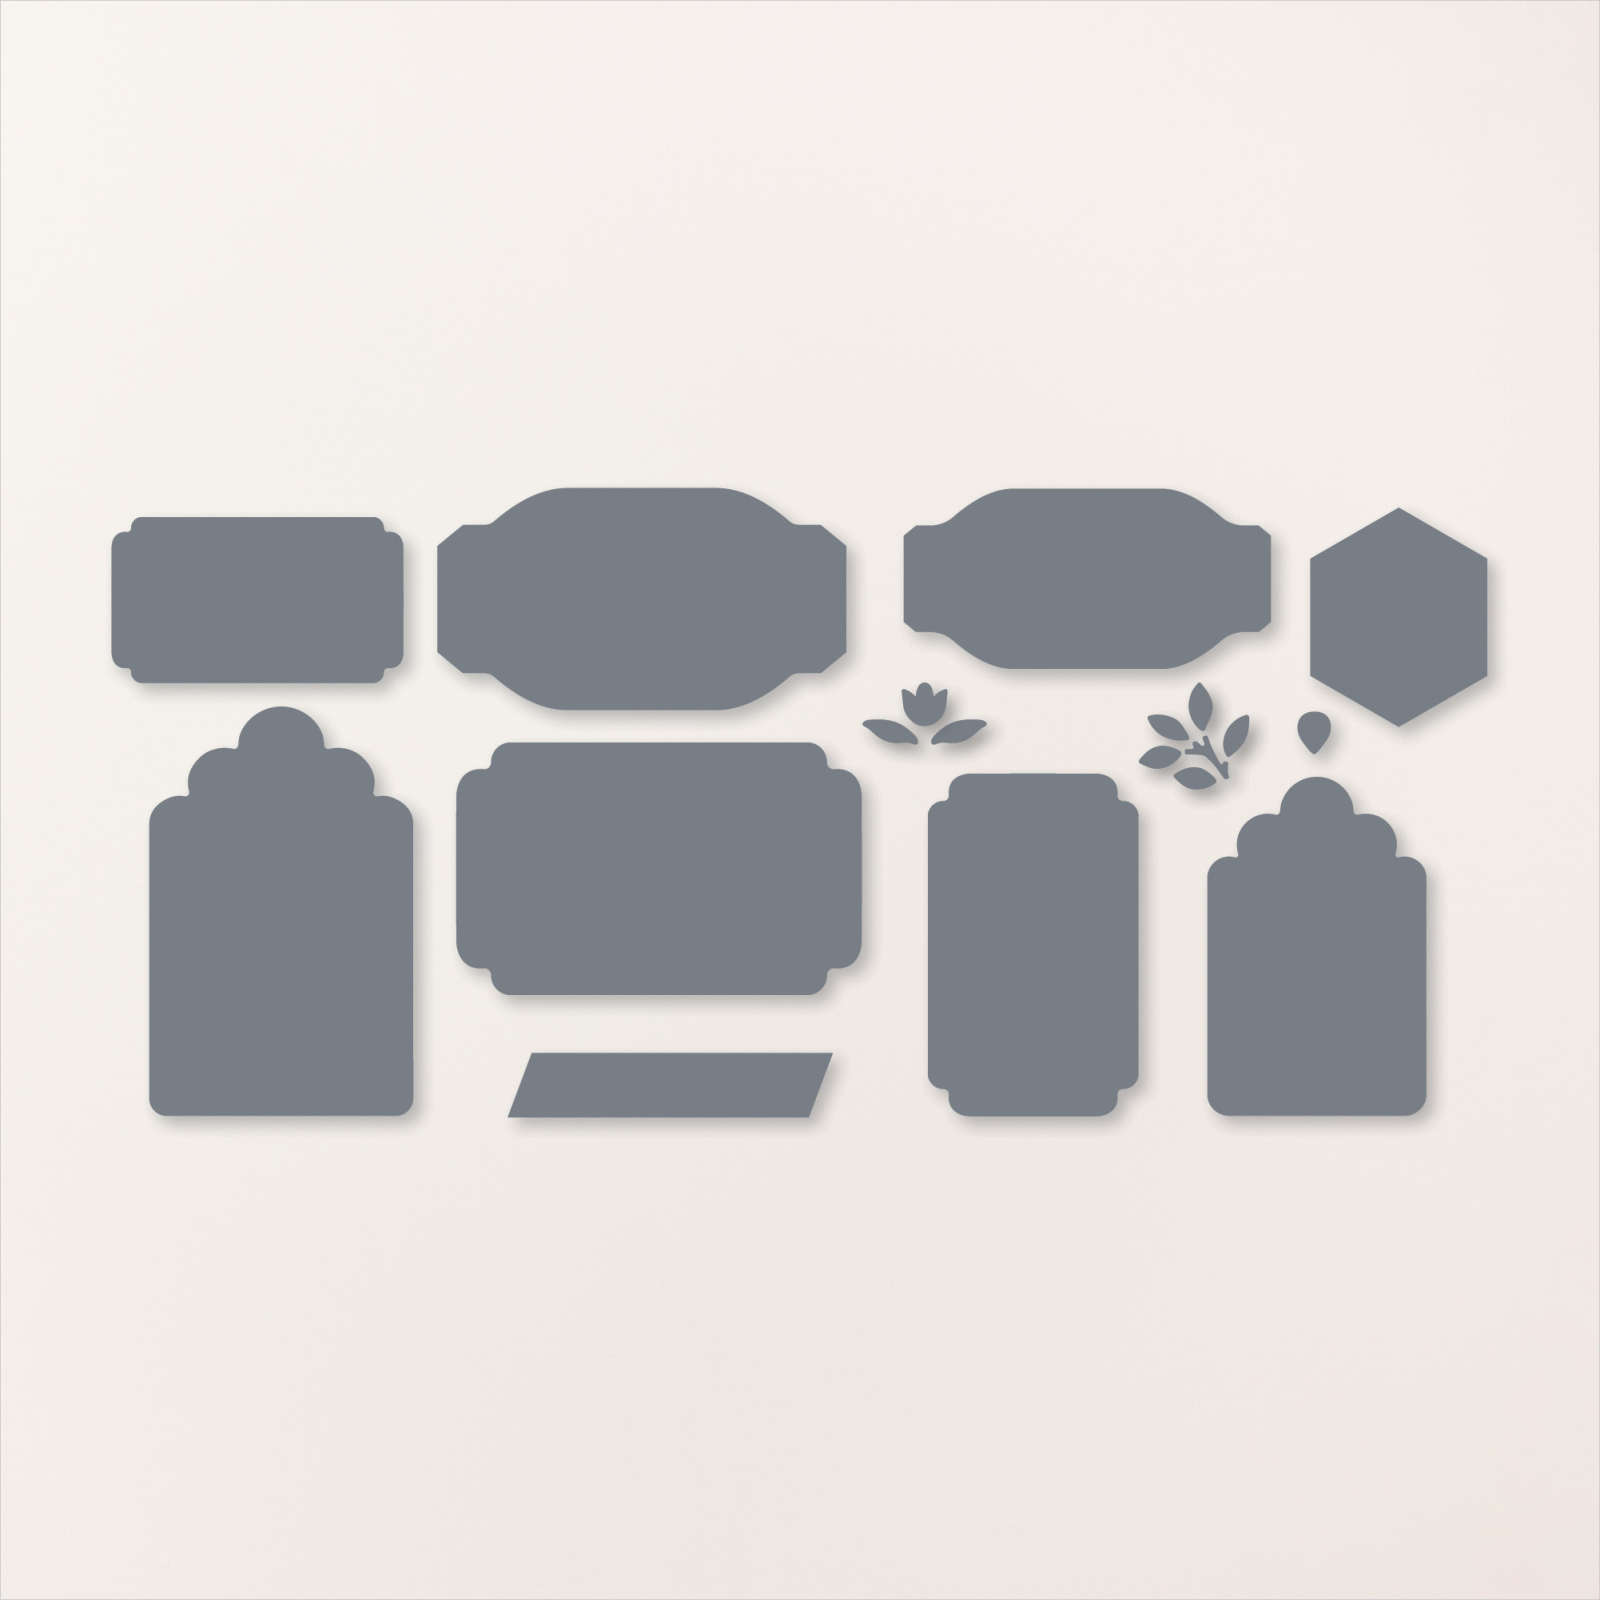
I stamped the large floral image onto Basic White card using Shaded Spruce ink and cut it out using the co-ordinating Stippled Rose Die. I attached the stamped image to the card front. I stamped the same image onto scrap Basic White card using Berry Burst ink and cut out the two large flowers which I attached to the Shaded Spruce image. I stamped the greeting from the retired Celebrating You stamp set onto Basic White card using Shaded Spruce ink. I cut out the greeting using the banner from the Something Fancy Dies and attached it to the card front using dimensionals. I love this card, so thank you Annette for the instructions.
Bye for now,
Kris
Product Used:


Rosey Congratulations

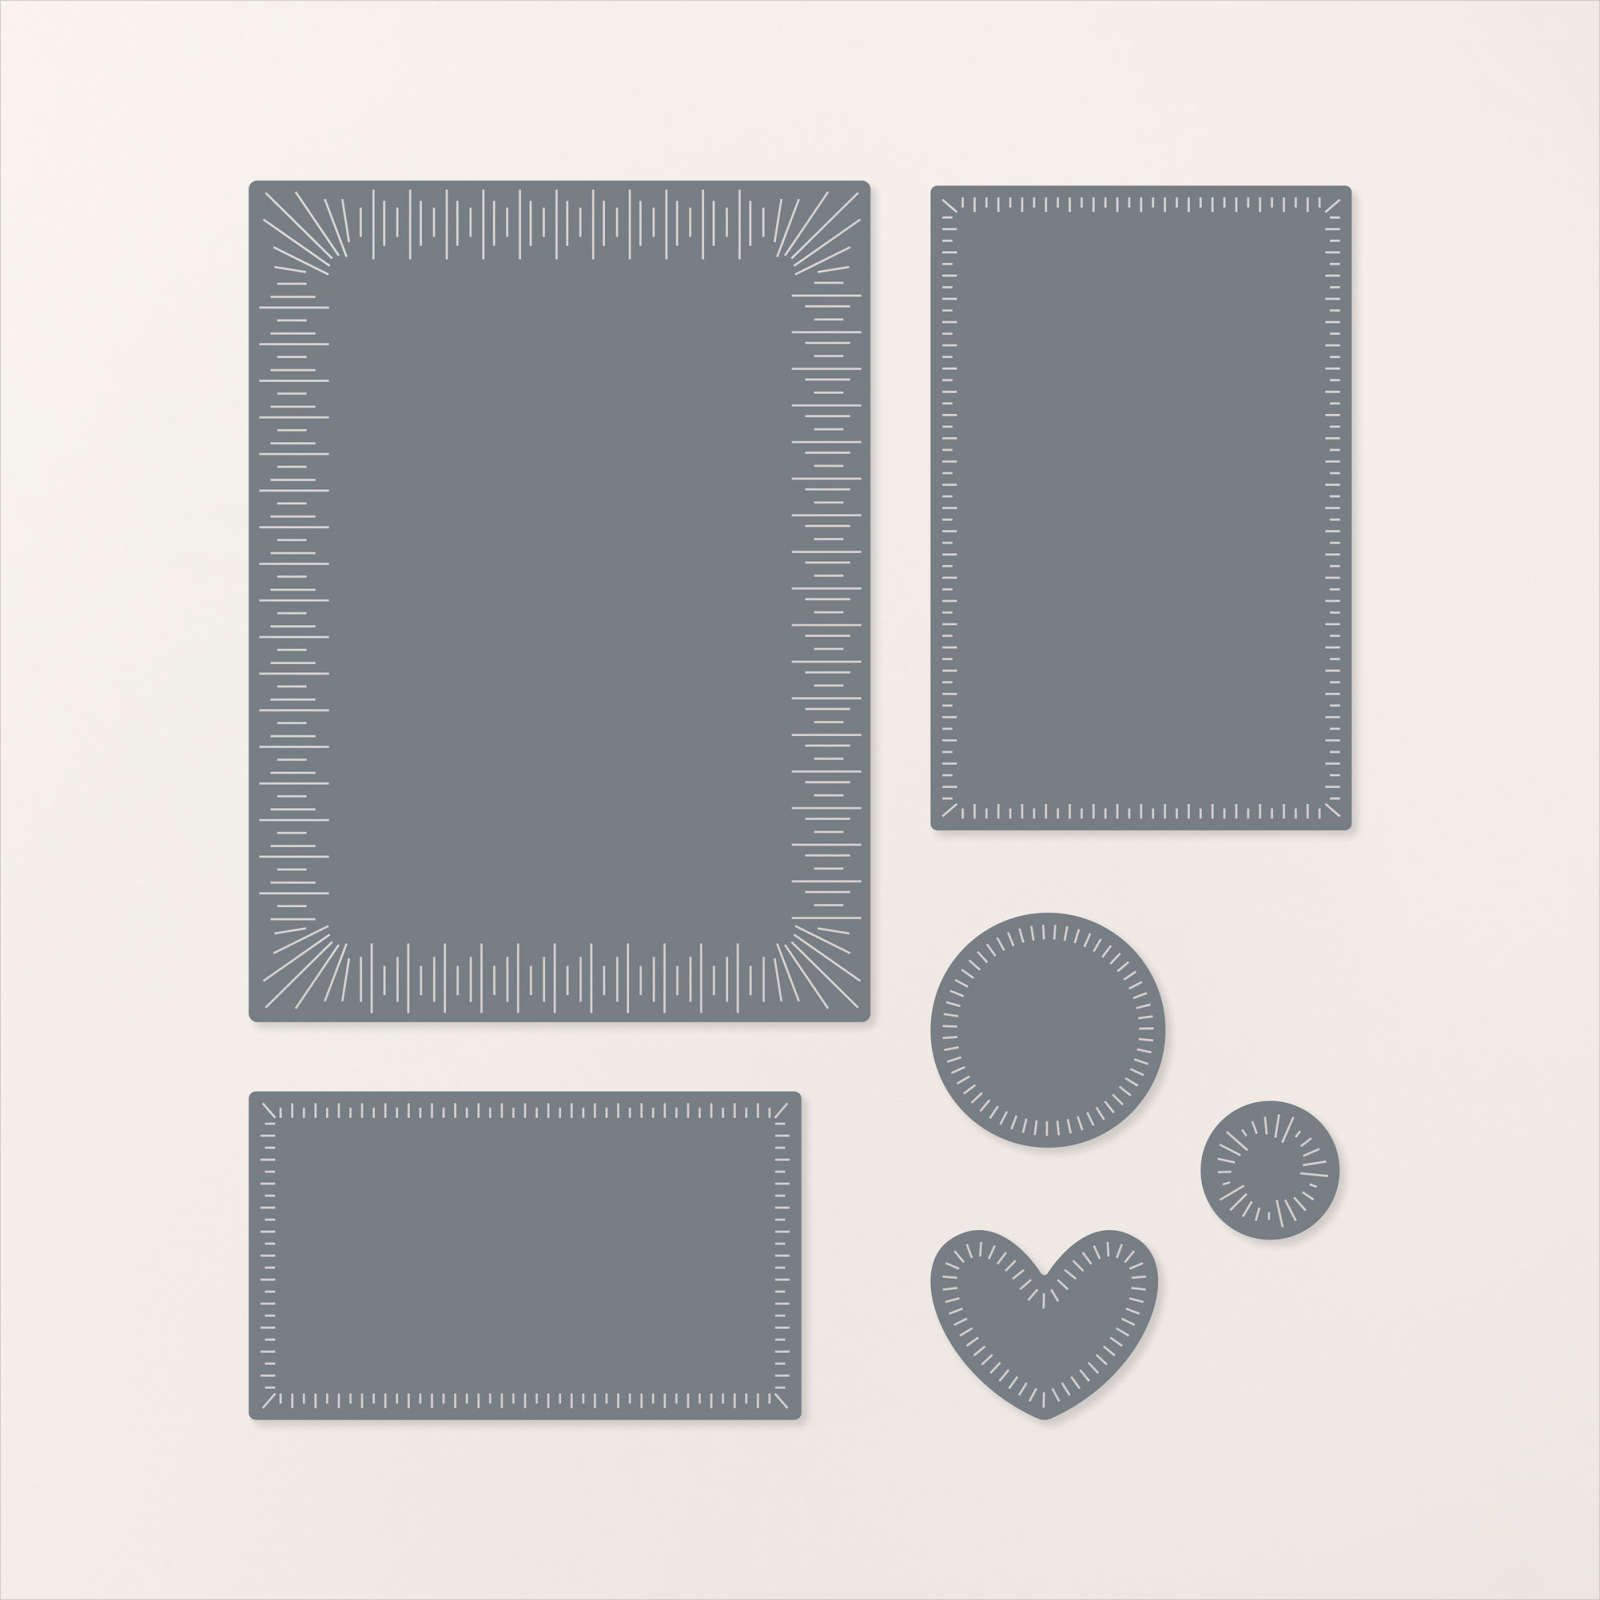
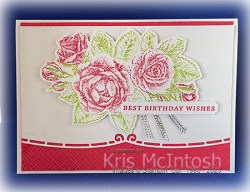
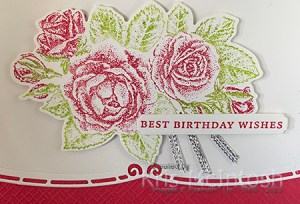
Today I am sharing another card I made using the Stippled Roses Bundle. I cut Basic White card using one of the Radiating Stitches Dies and stamped the greeting from the Stippled Roses stamp set across the bottom using Real Red ink. I attached the stamped panel to an Old Olive panel which I also cut using one of the Radiating Stitches Dies. The whole panel is attached to scored and folded Thick Basic White card. I stamped the large leaf image from the Stippled Roses stamp set onto Basic White card using Old Olive ink
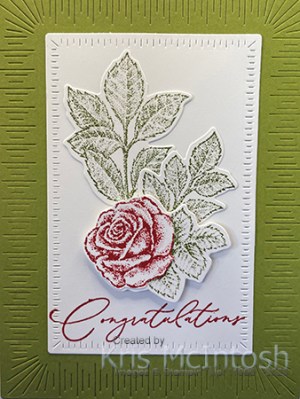
I stamped the small rose onto Basic White card once using Old Olive ink and once using Real Red ink. I cut out the images using the co-ordinating Stippled Roses Dies. I trimmed the leaves from the Real Red floral image and attached the rose onto the Old Olive image
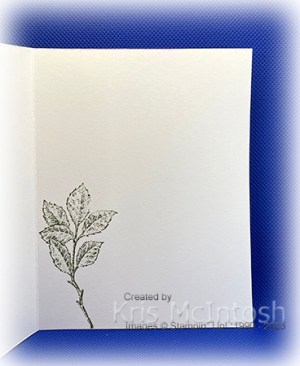
I trimmed the leaf image into two pieces and attached them both to the stamped Basic White panel. I attached the floral image over the top using dimensionals. The whole panel is attached to Thick Basic White card. To decorate the inside of the card, I inked only the bottom section of the leaf image and stamped onto the lower left hand corner.
Another card I love using the amazing Stippled Roses Bundle.
Bye for now,
Kris
Product Used:


Happy Birthday

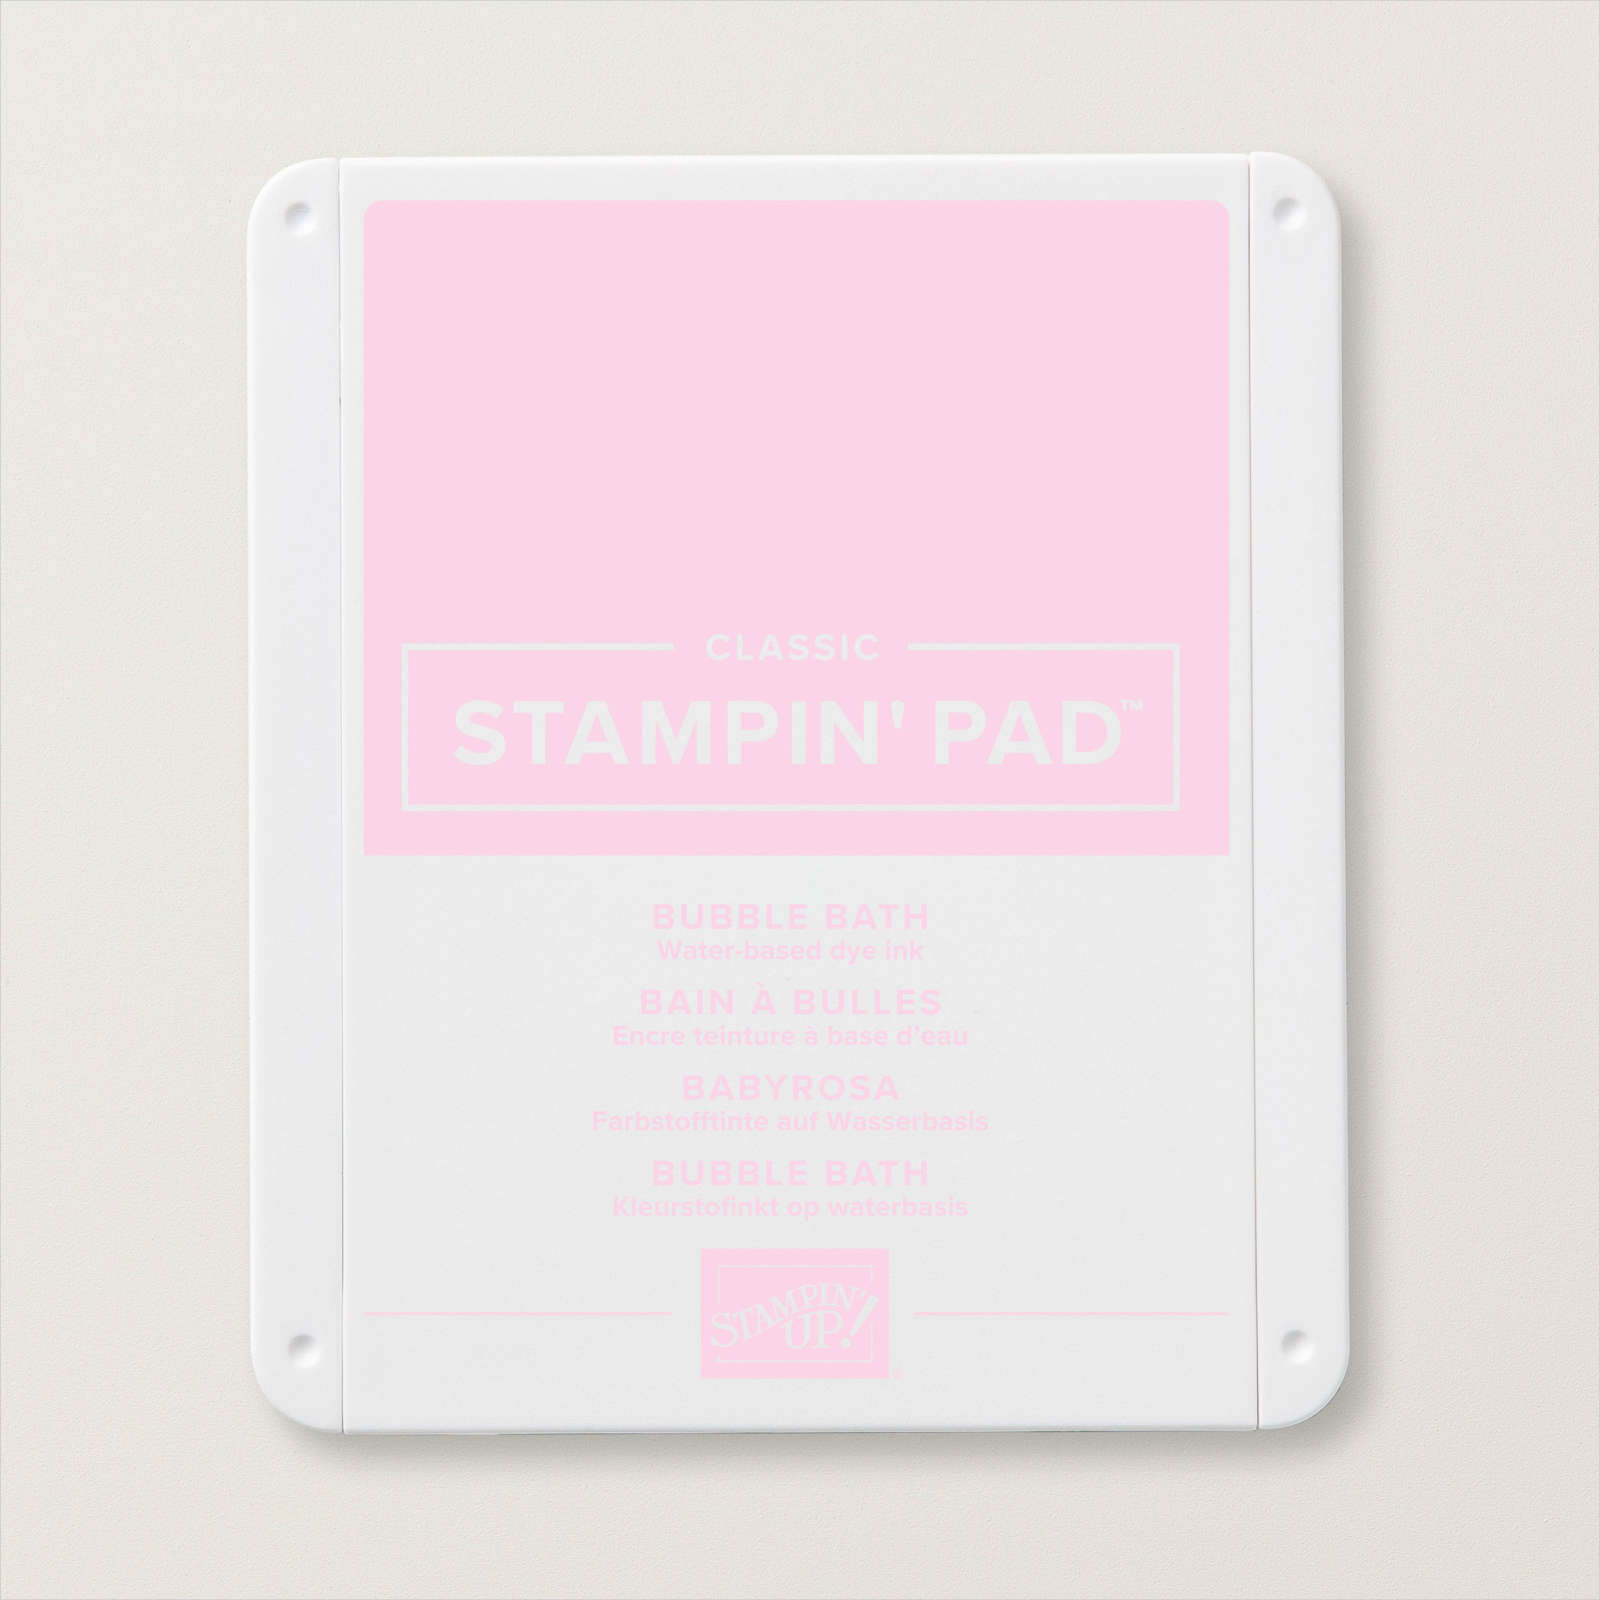
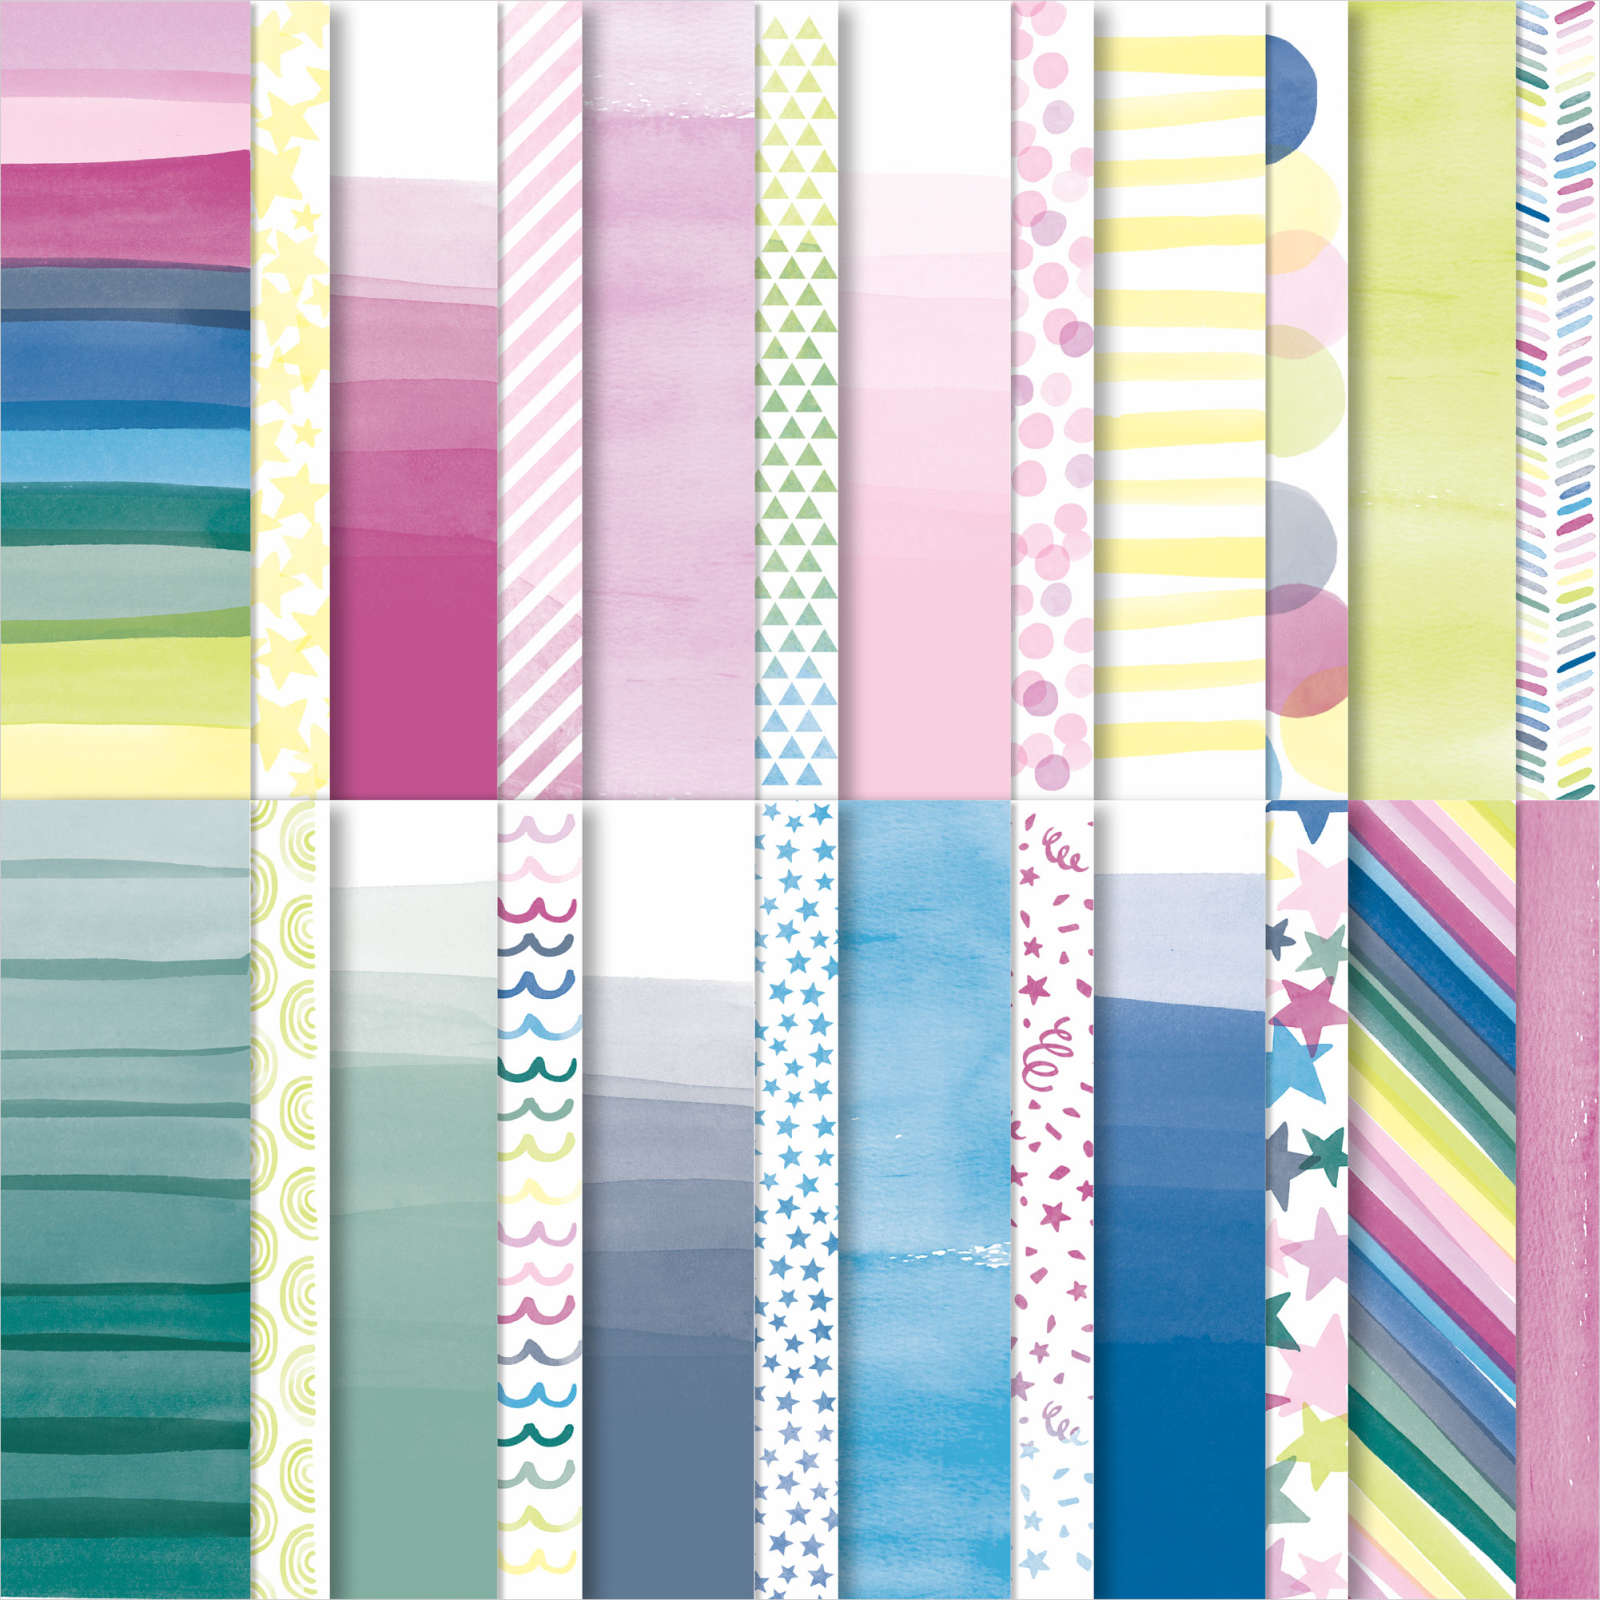
Today’s page shows off a couple of photos from my youngest daughter’s first birthday. I attached pieces of the Bright & Beautiful 6″ x 6″ Designer Series Paper to a Basic White 12″ x 12″ page. I attached my photos to Bubble Bath card and then Early Espresso card before attaching them to the page. I cut the title from Early Espresso card using the Mini Alphabet Dies. The title is attached across the Designer Series Paper on the right hand side of the page.
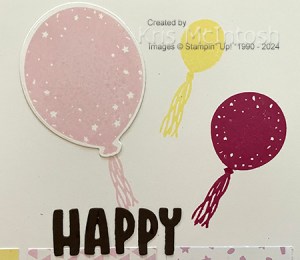
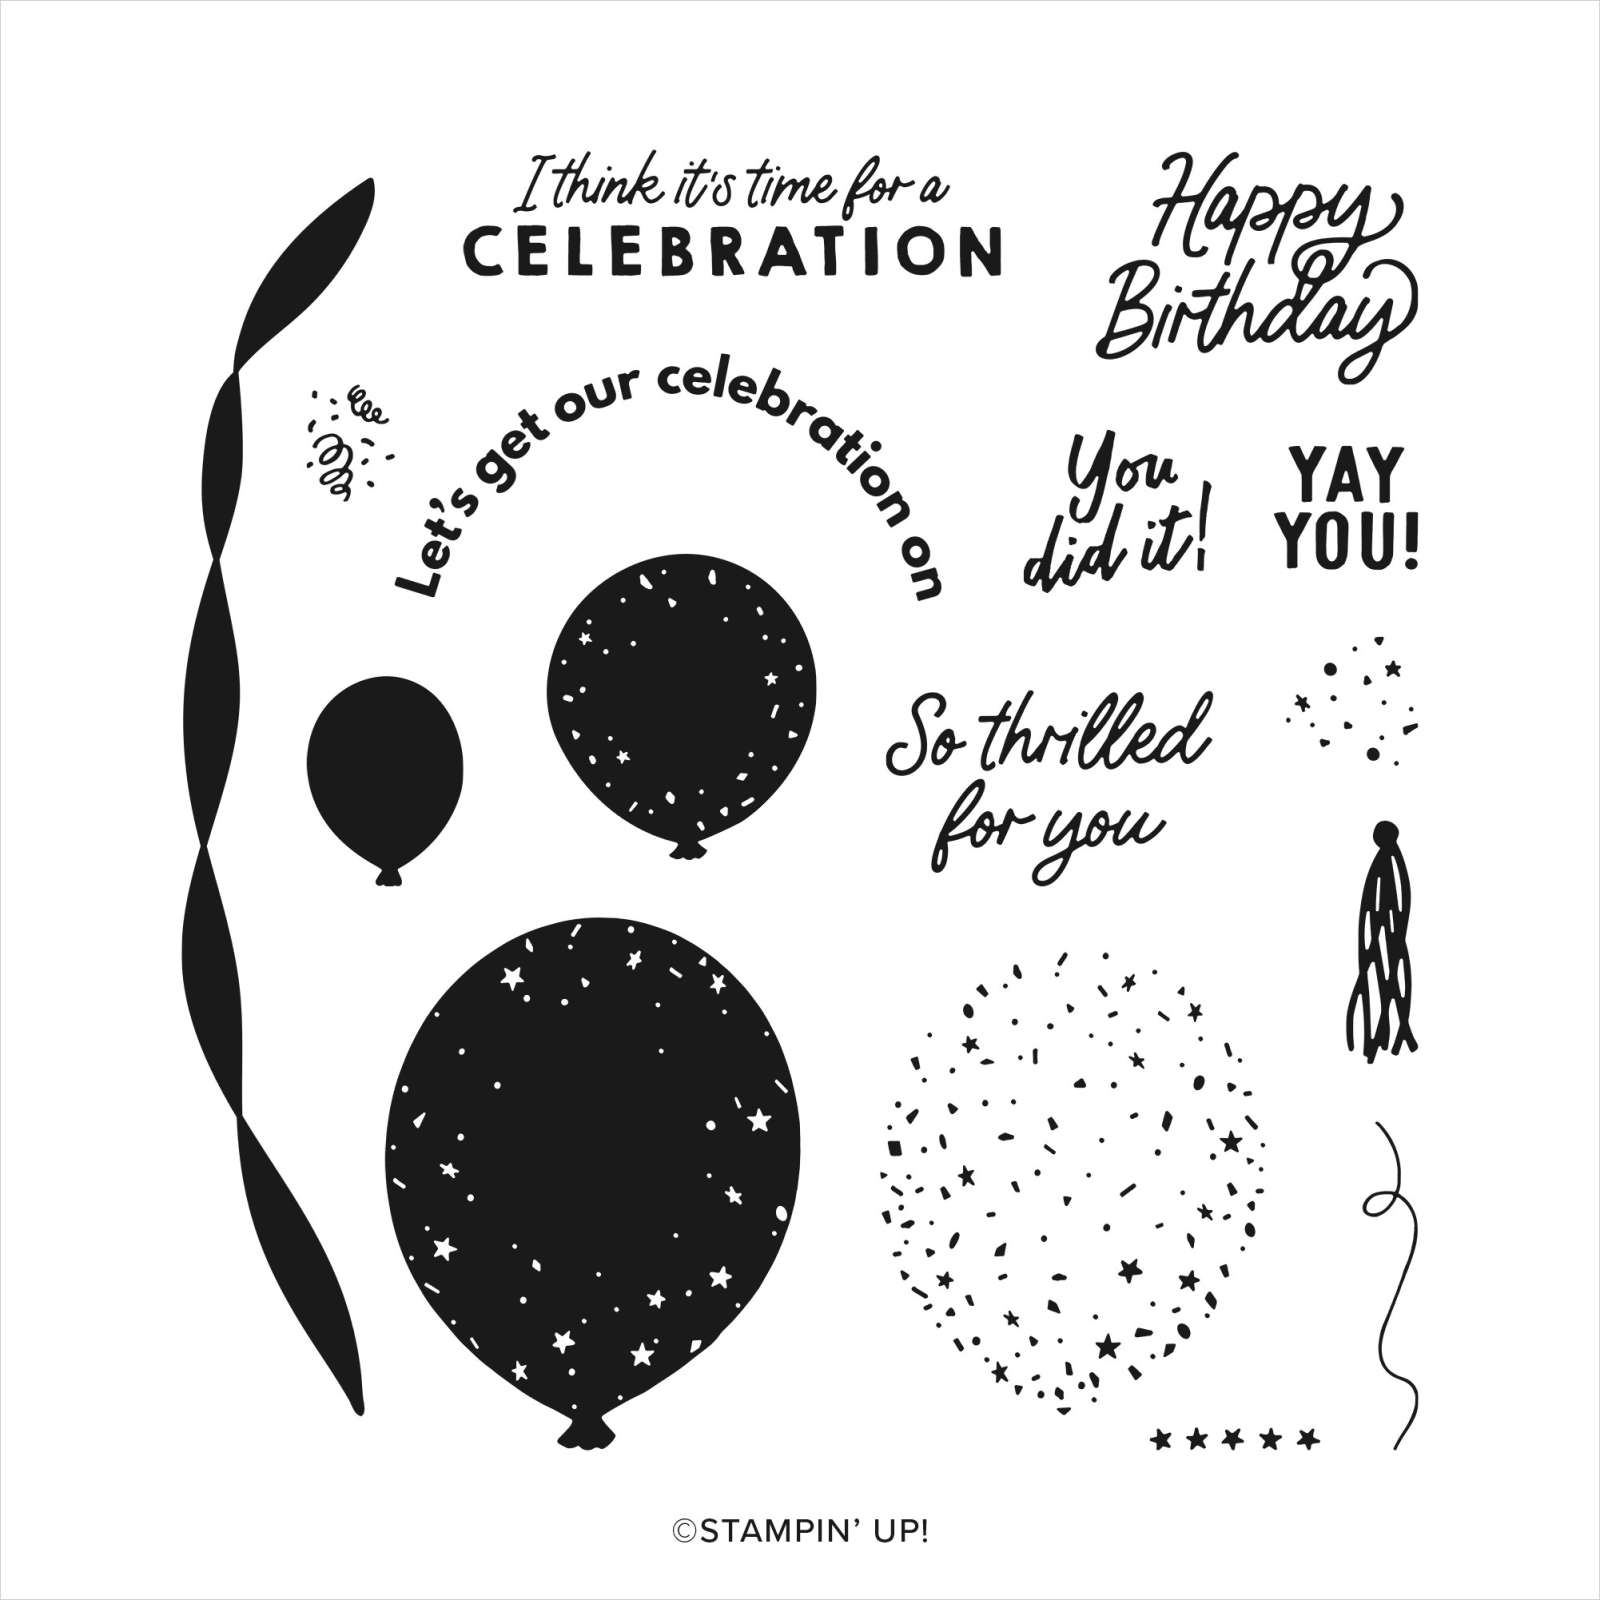
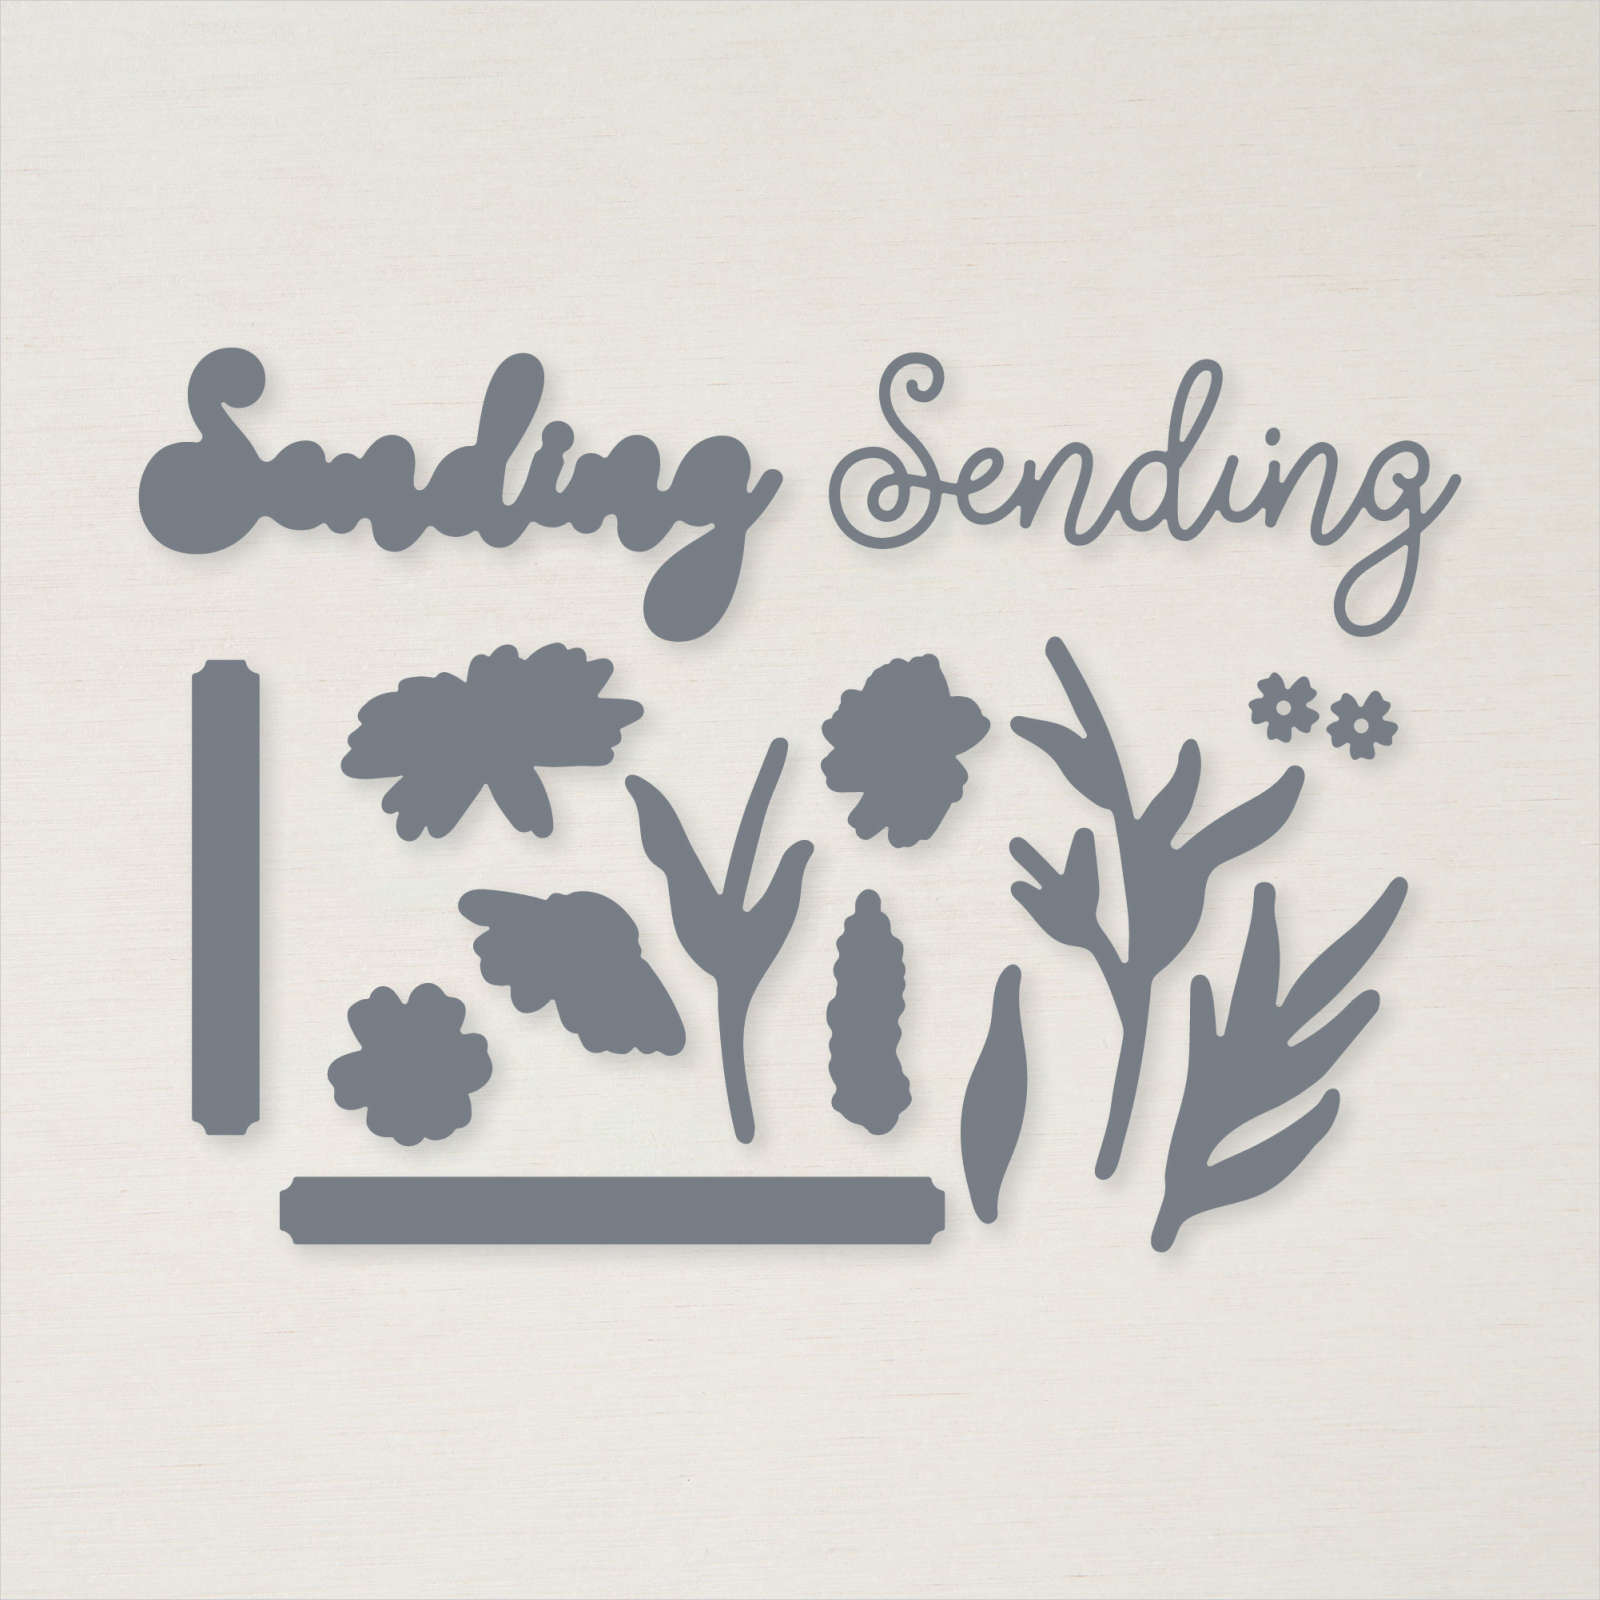
I printed my journaling onto Basic White card and cut it out using one of the banners from the Sending Dies. The journaling is attached to the lower left hand side of the page. I stamped the balloons from the Beautiful Balloons stamp set onto the top right hand corner of the page using Bubble Bath, Lemon Lolly and Berry Burst ink. I also stamped the tail images using the same inks. I smudged another colour onto the Bubble Bath balloon, so I stamped it onto scrap Basic White card and cut it out using the co-ordinating Beautiful Balloons Die and attached it over the stamped image. Since it was the last thing I did to my page, I had to find a way to save it! Love how bright and happy this page is.
Bye for now,
Kris
Product Used:


Celebrate 16

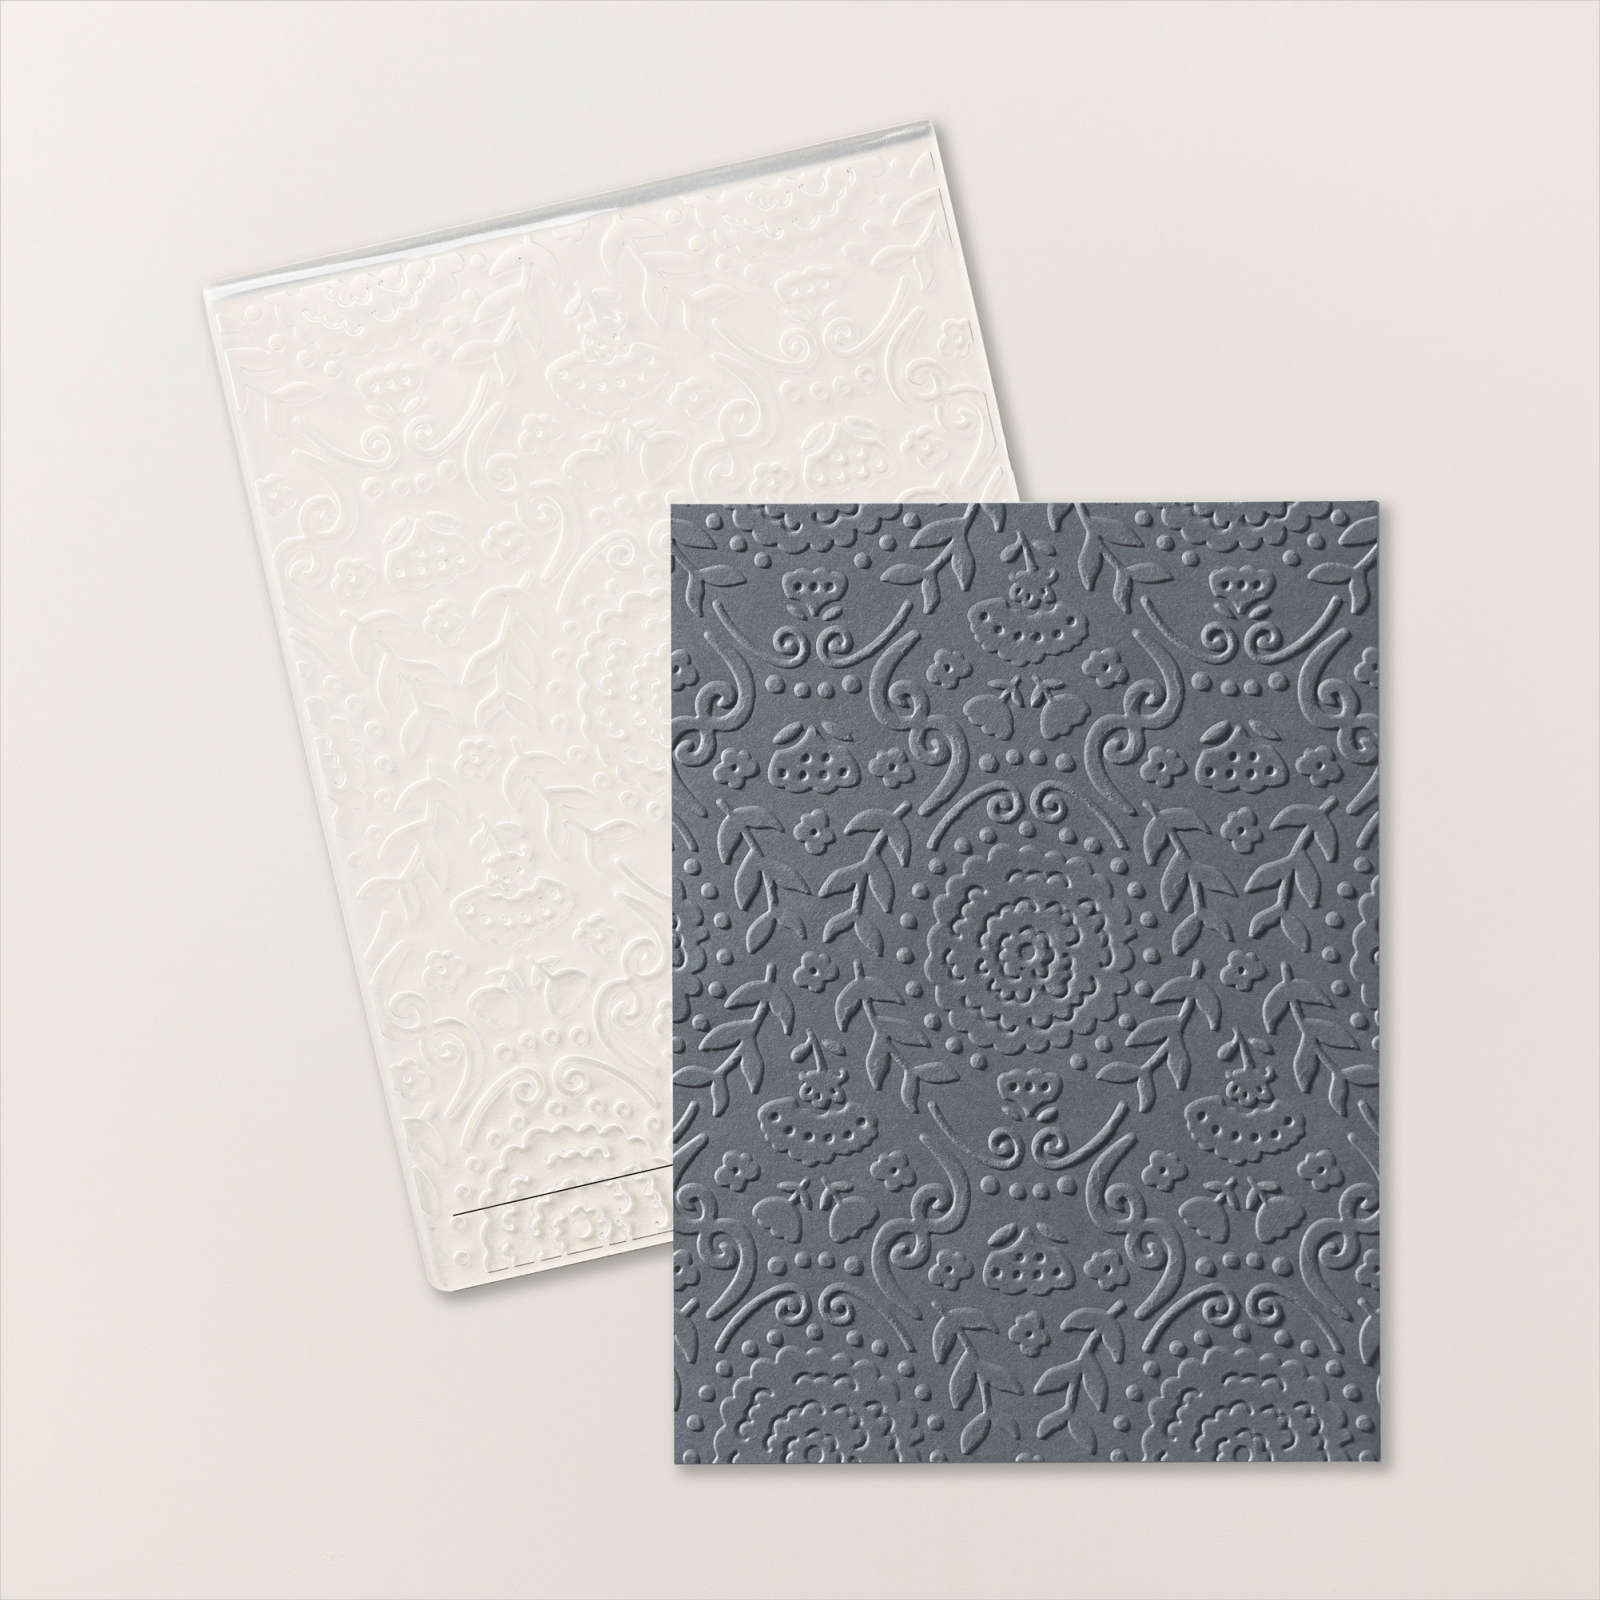
One of my granddaughters celebrated her 16th birthday recently and today I am sharing the card I made for her. I found this card on Pinterest which was my inspiration. I cut Basic White card using one of the Scalloped Contour Dies and attached it to a piece of Sweet Sorbet card. I embossed the whole panel using the Countryside Blossoms Embossing Folder before attaching it to scored and folded Sweet Sorbet card.

I stamped the greeting from the Circle Sayings stamp set onto Basic White card using Sweet Sorbet ink. I punched out the greeting using the retired 2-1/4″ Circle Punch. The greeting is attached to a Sweet Sorbet circle punched using the 2-3/8″ Circle Punch. I cut Starry Sky card using the retired Playful Alphabet Dies to create “16” which I attached inside the stamped greeting. The whole greeting panel is attached to the card front using dimensionals.

To decorate the inside of the card, I cut Crushed Curry card using the “L” from the Alphabet A La Mode Dies and attached it to the lower left hand corner of Basic White card. I stamped the greeting from the He’s All That stamp set onto scrap Basic White card using Starry Sky ink and cut out the car. I attached the image next to the “L”. I stamped the greeting from the Charming Sentiments stamp set beside the car using Sweet Sorbet ink. My granddaughter is so excited to be able to start learning to drive.
Bye for now,
Kris
Product Used:


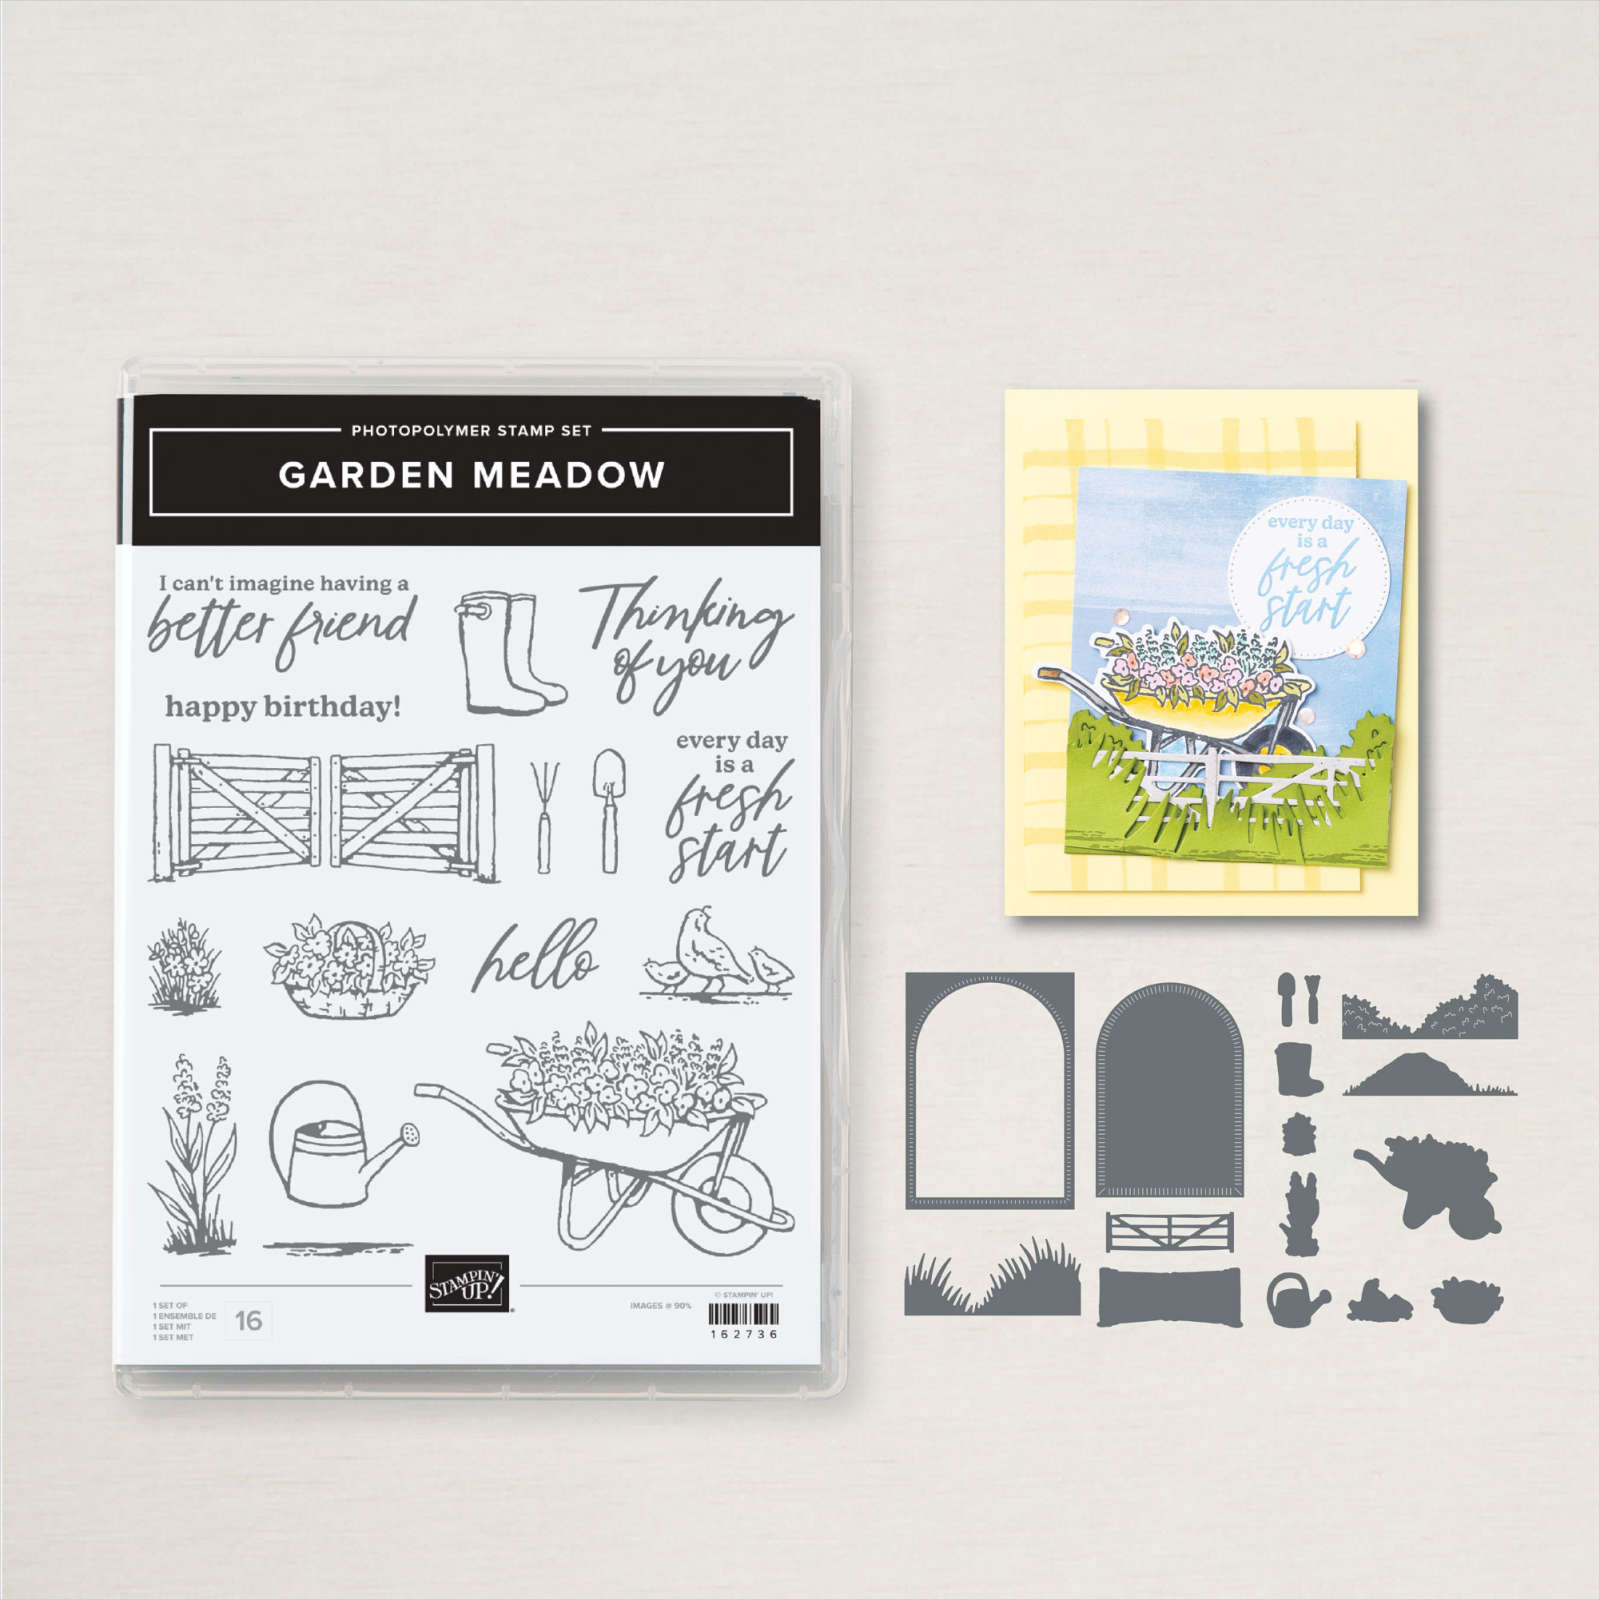
A Fresh Start

Today’s card again uses product from the Meandering Meadows Collection. I stamped the greeting from the Garden Meadow stamp set onto the upper right hand corner of a piece of Basic White card using Gorgeous Grape ink. I attached a piece of Meandering Meadows 6″ x 6″ Designer Series Paper across the bottom of the stamped Basic White card.

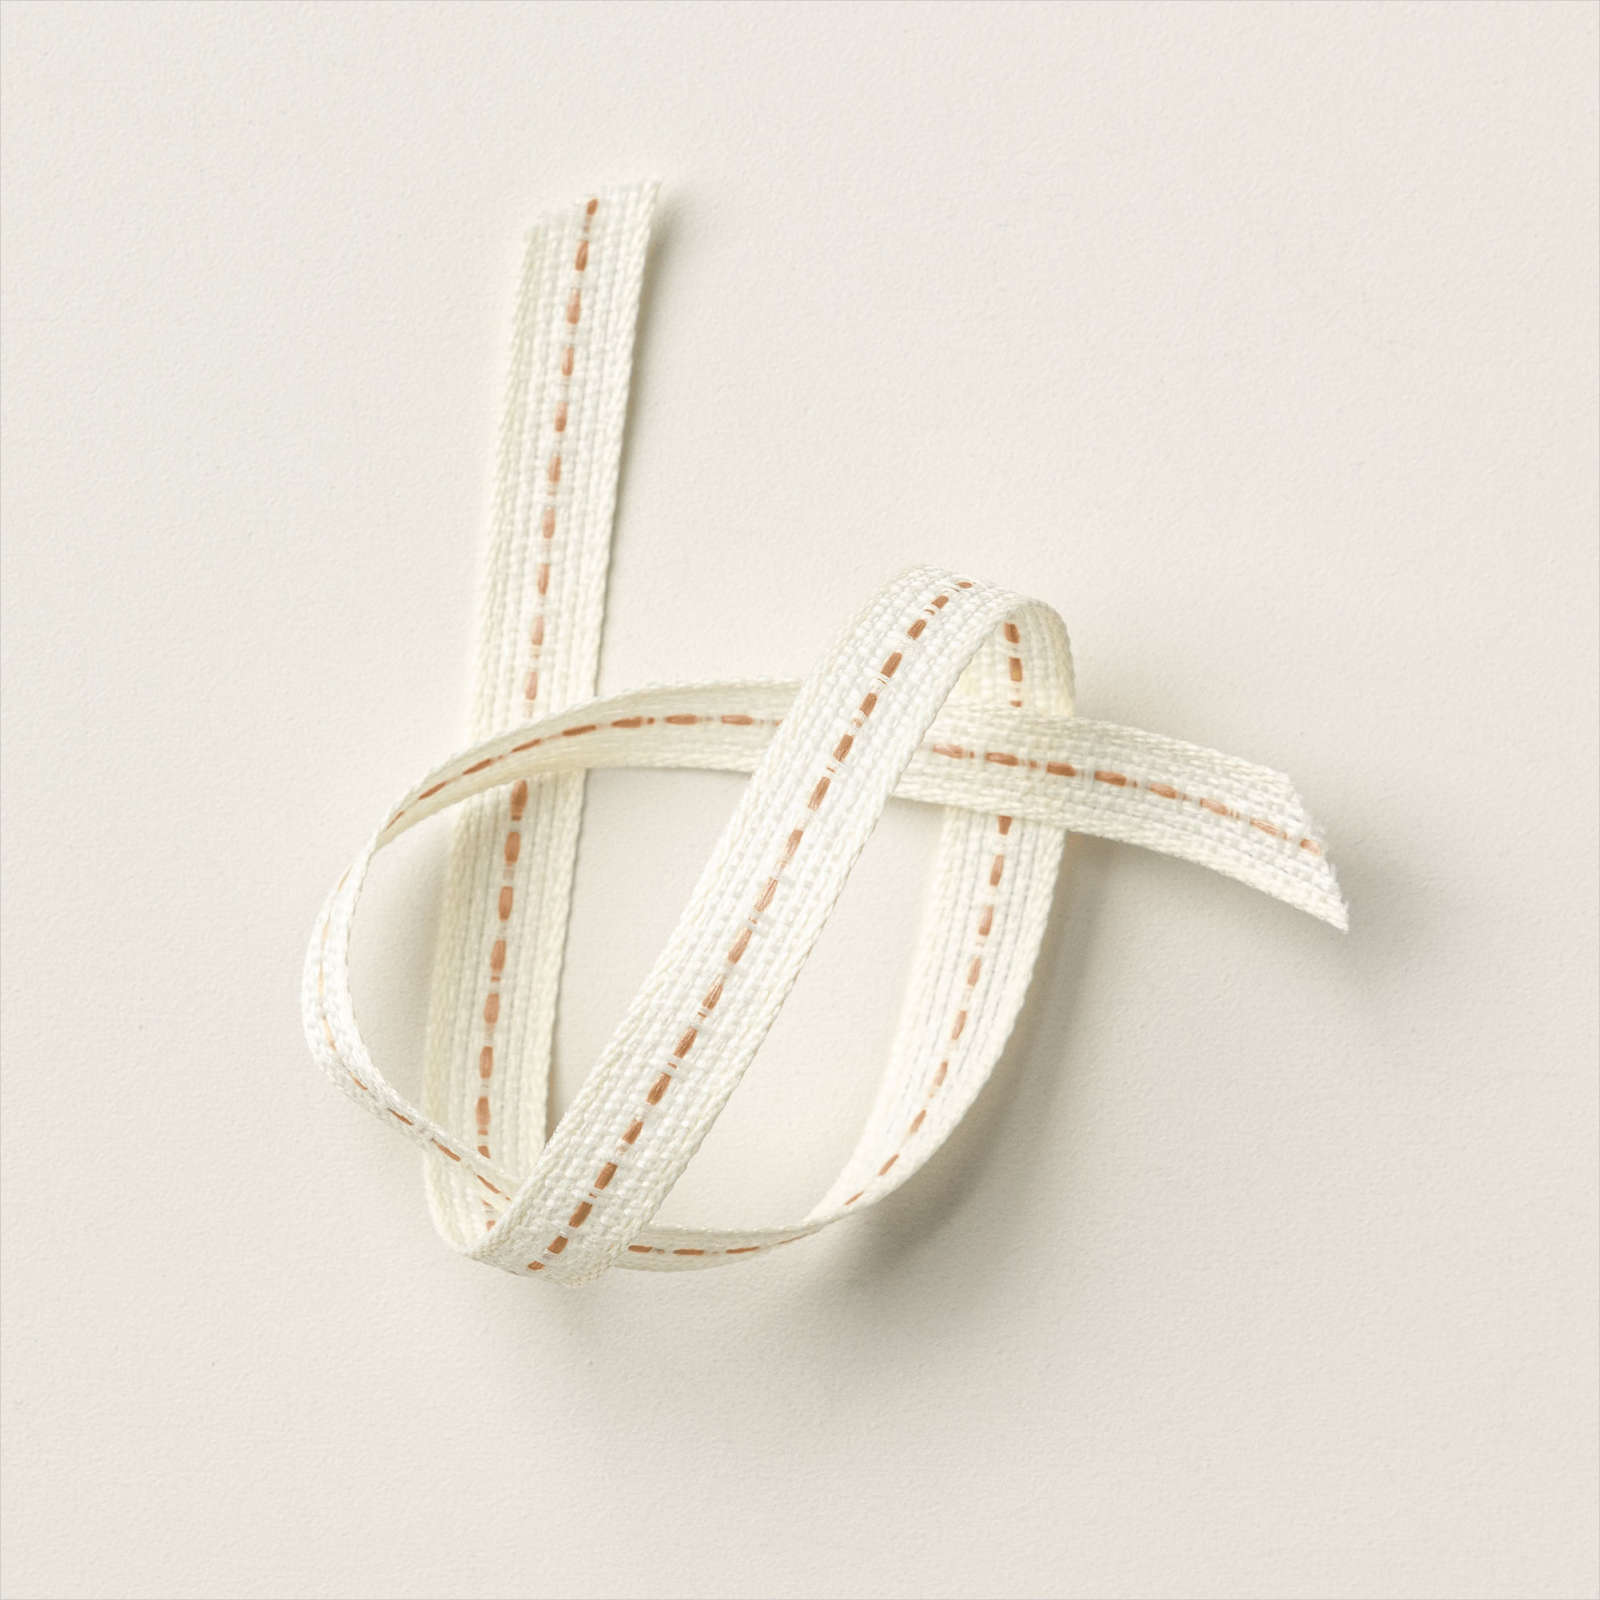
I wrapped the top of the Designer Series Paper using a length of Pecan Pie Centre Striped 3/8″ Ribbon and attached the whole panel to scored and folded Gorgeous Grape card. I stamped the wheelbarrow image from the Garden Meadow stamp set onto Basic White card using Memento Tuxedo Black ink.
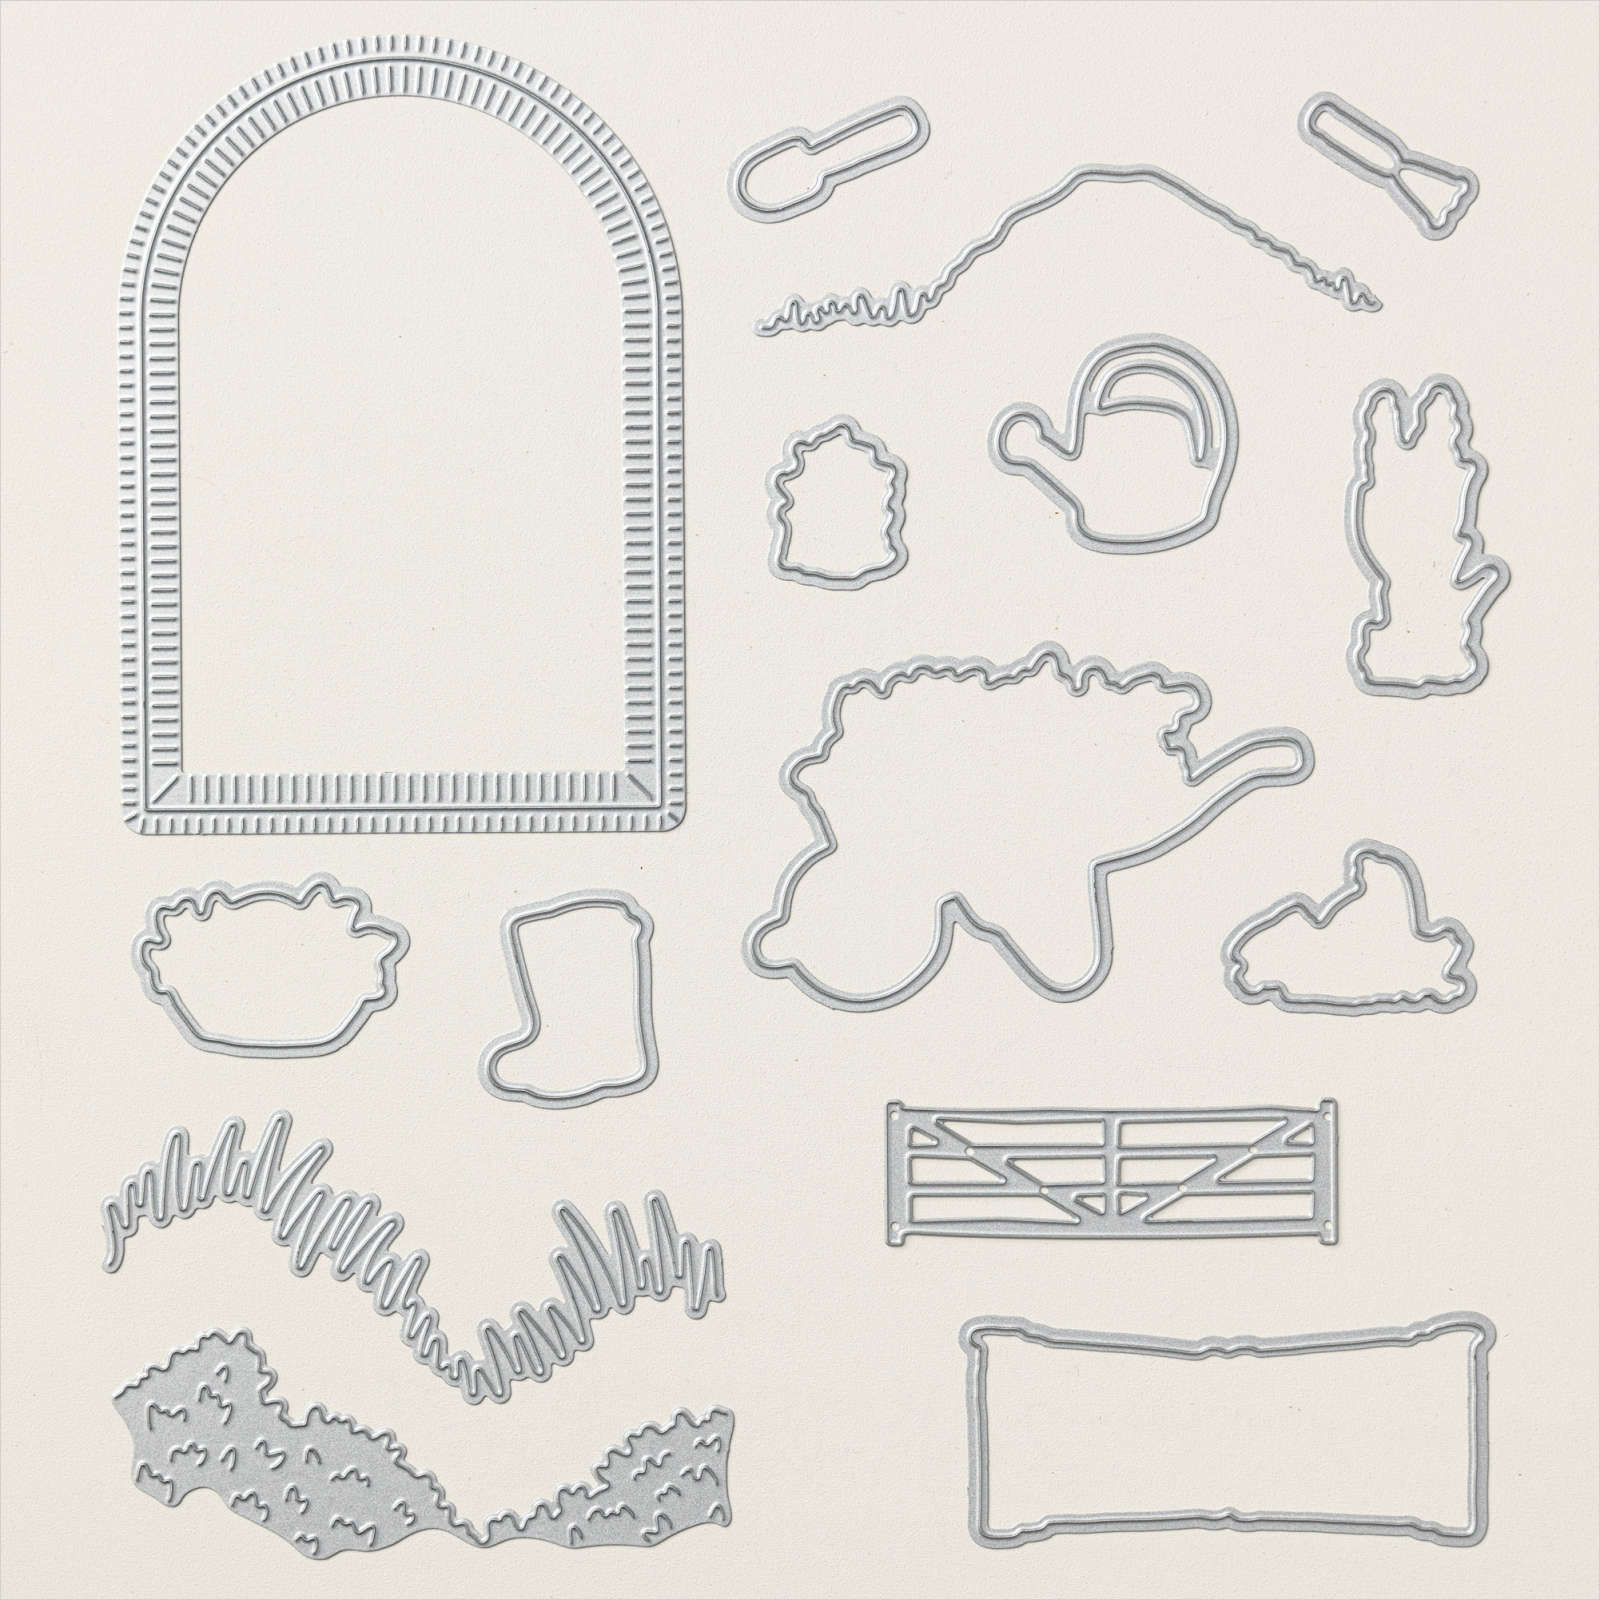
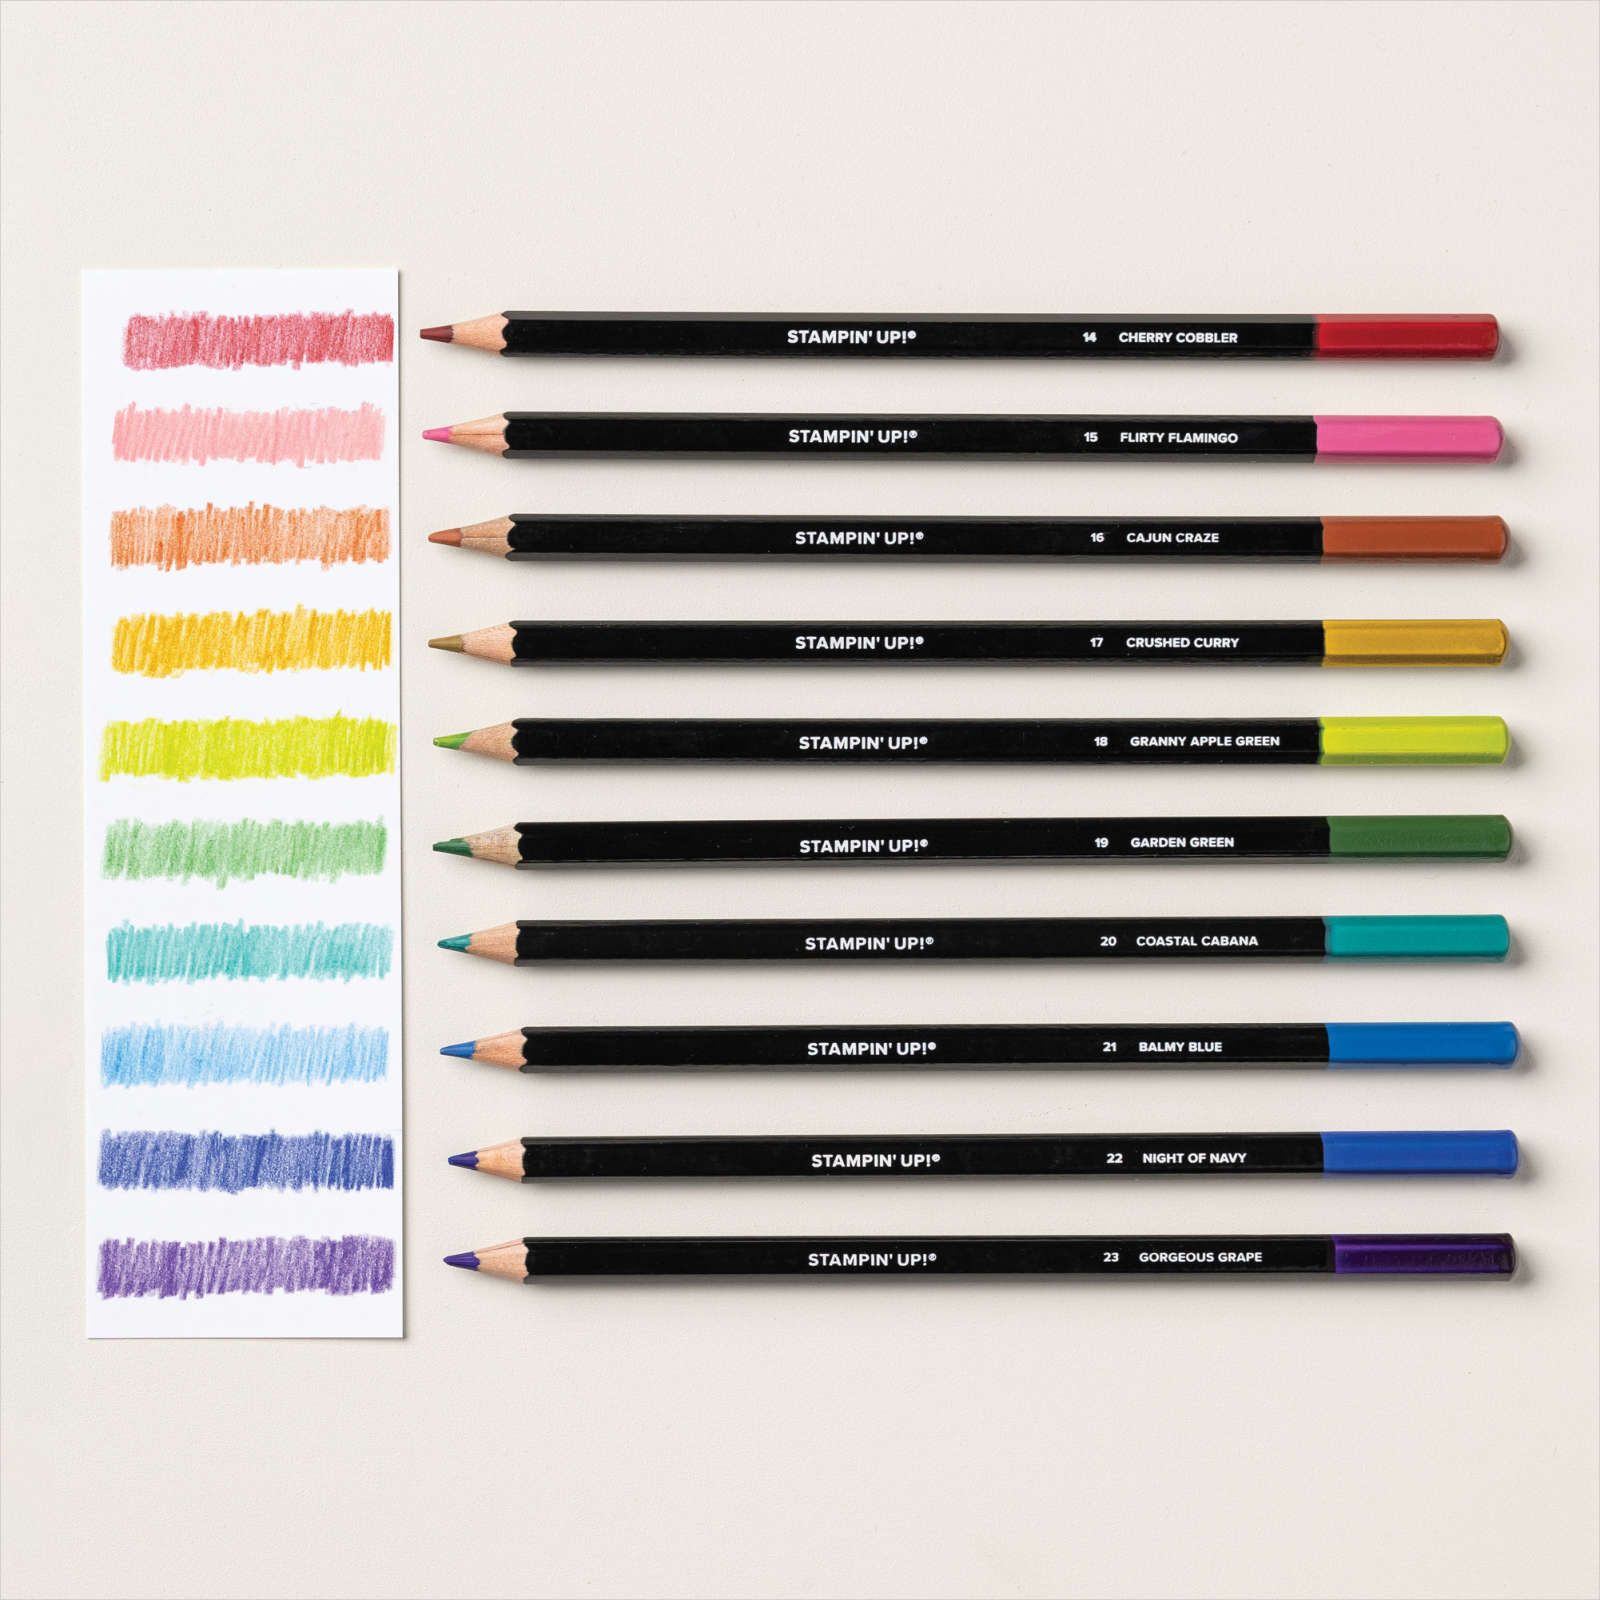
I coloured the image using Granny Apple Green, Basic Black, Basic Gray and Gorgeous Grape Watercolour Pencils. I cut out the image using the co-ordinating Garden Meadow Die. I cut a piece of Basic White card using one of the Scalloped Contour Dies and attached the wheelbarrow image. The whole panel is attached to the card front using dimensionals. To decorate the inside of the card I stamped the basket image from the Garden Meadow stamp set onto the centre of a piece of Basic White card using Memento Tuxedo Black ink. I coloured the image using the same Watercolour Pencils before attaching the whole panel to the inside of the card. I love this card, don’t you?
Bye for now,
Kris
Product Used:


Birthday Celebrations

Today’s page shows off a photo from lunch with Mum and Dad when they celebrated their birthdays recently. I cut pieces of Bright & Beautiful 6″ x 6″ Designer Series Paper and attached the photo to Blueberry Bushel card. I layered the Designer Series Paper and the photo onto a Basic White 12″ x 12″ page. I cut the solid birthday die from Blueberry Bushel card and the detailed birthday die from Basic White card using the Wanted to Say Dies.

I attached the greetings together before attaching them to the page. I cut Blueberry Bushel & Berry Burst card using the balloon and tail die from the Beautiful Balloons Dies. I attached the tails to the balloons before attaching them to the page. I cut the numbers from Basic White card using the retired Playful Alphabet Dies. I attached Dad’s age to the Blueberry Bushell balloon and Mum’s age to the Berry Burst Balloon. I cut Night of Navy, Blueberry Bushel and Berry Burst card using the small star from the Beautiful Balloon Dies and attached them around the balloons. I wrote the date onto the page using a retired Journaling Pen.
Another simple page, but it sure brings a smile to my face.
Bye for now,
Kris
Product Used:


Enduring Birthday

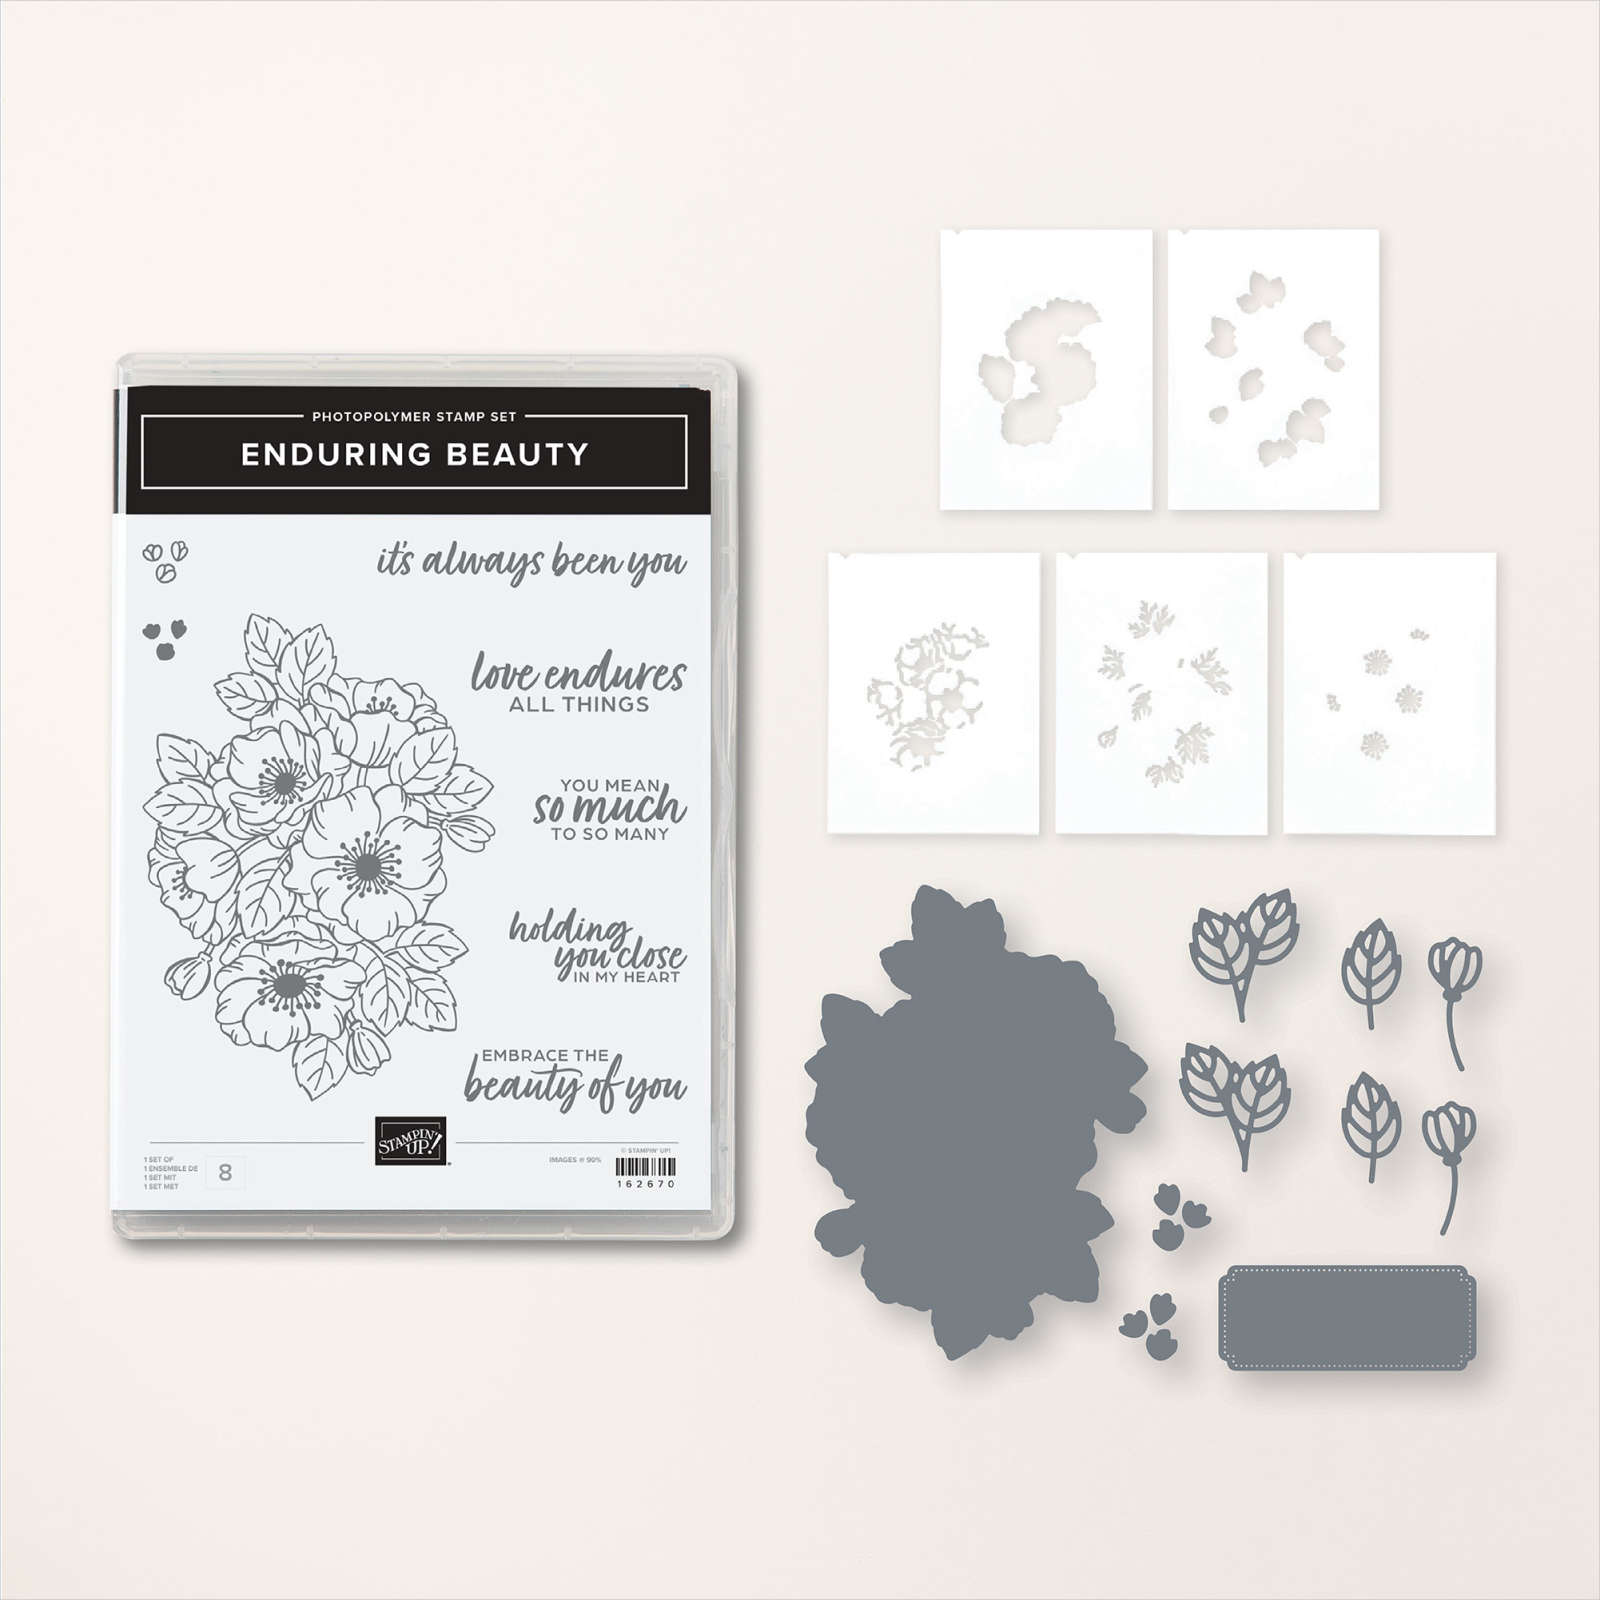
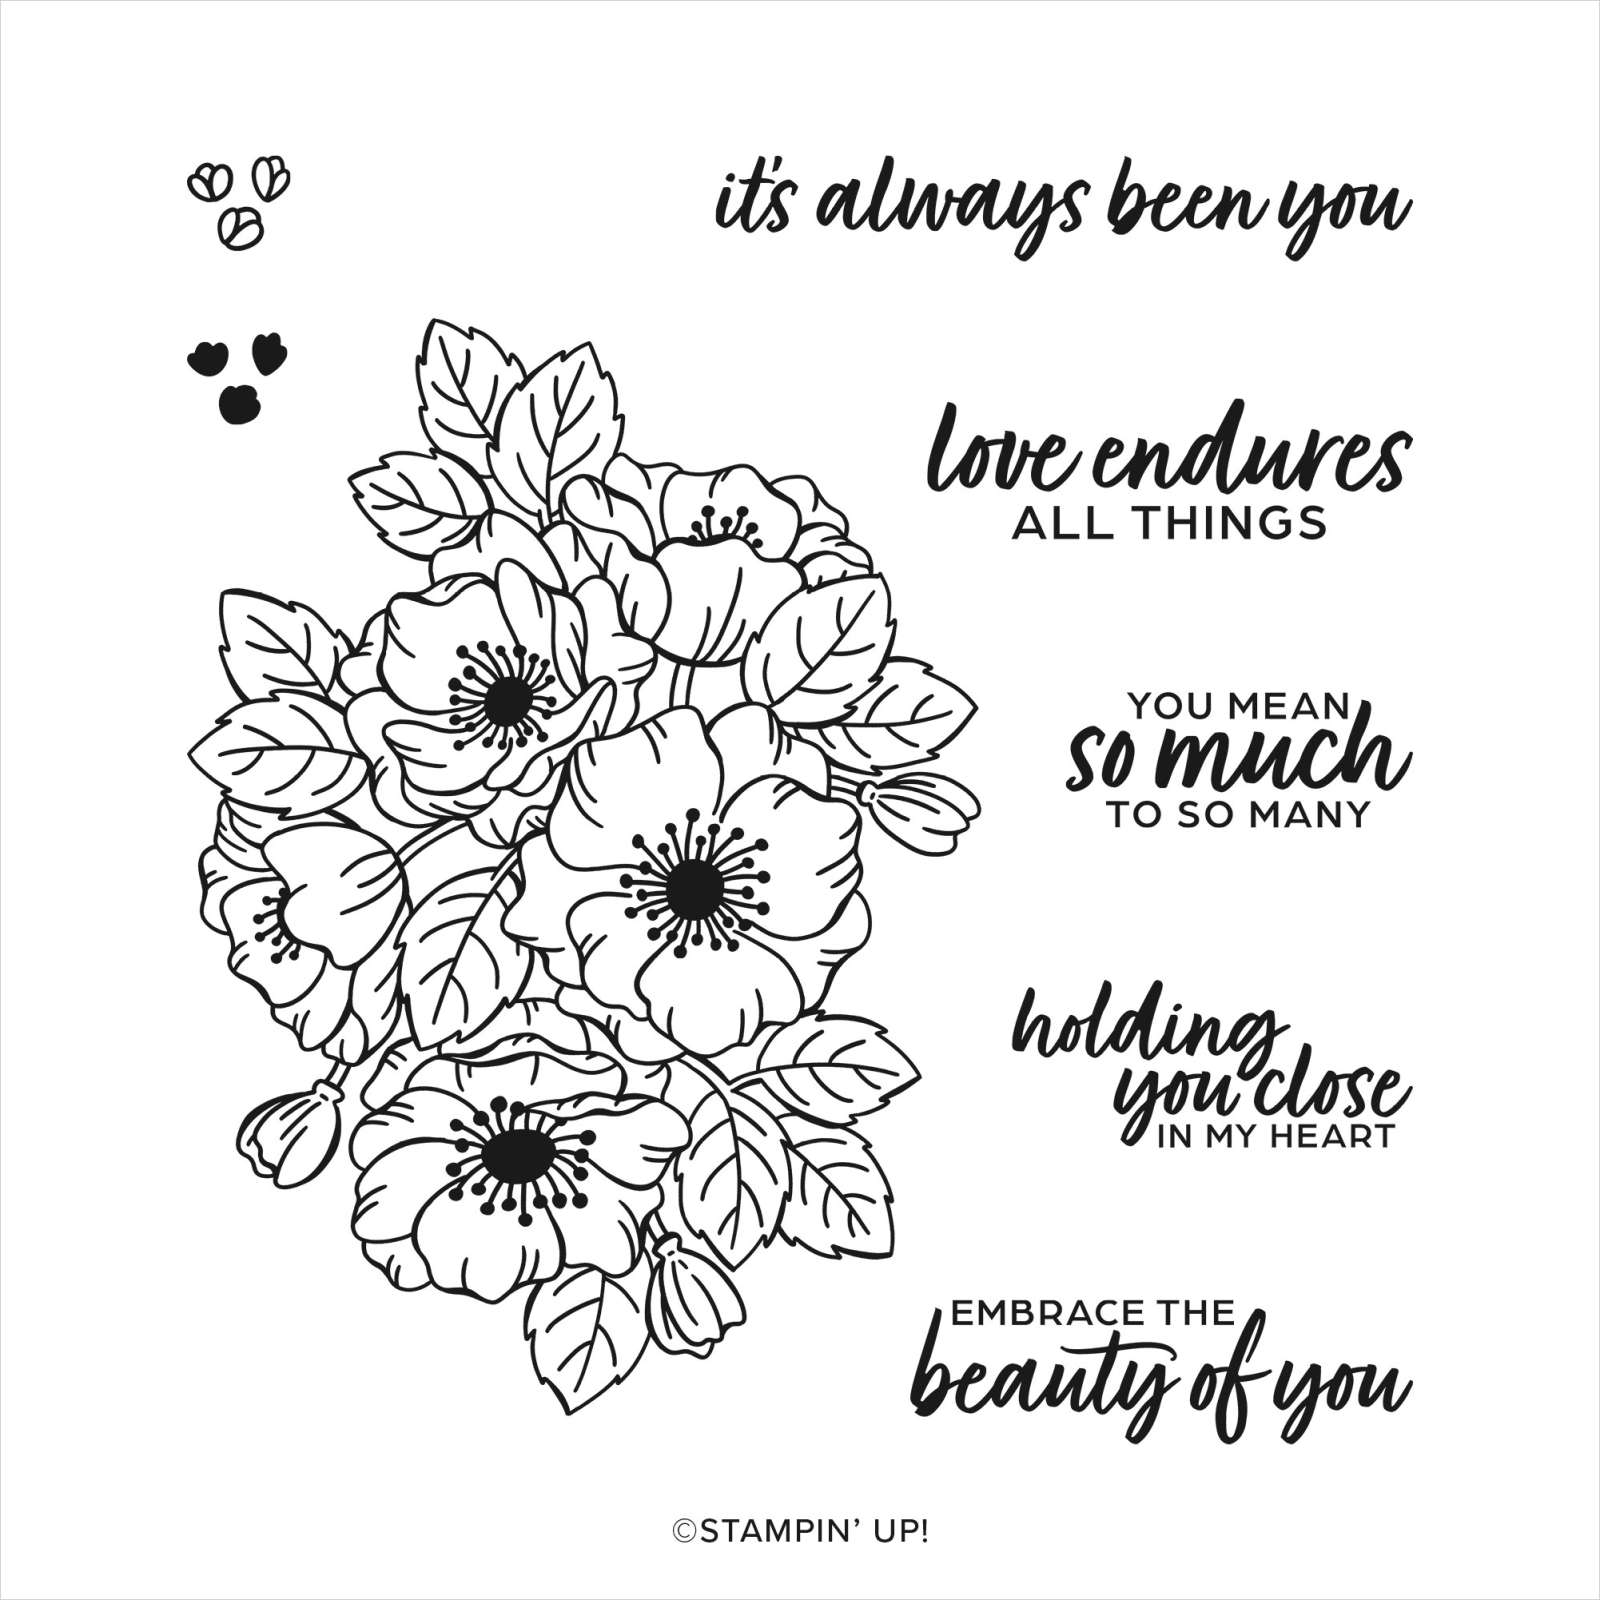
Today’s card uses the large floral image from the Enduring Beauty Bundle. I stamped a greeting from the Charming Sentiments stamp set onto the lower right hand corner of Basic White card using Blackberry Bliss ink. The stamped panel is attached to scored and folded Blackberry Bliss card.
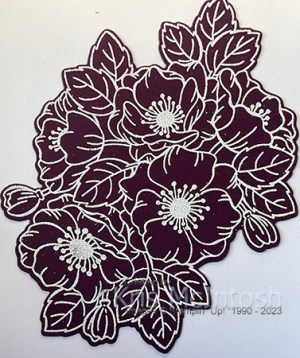
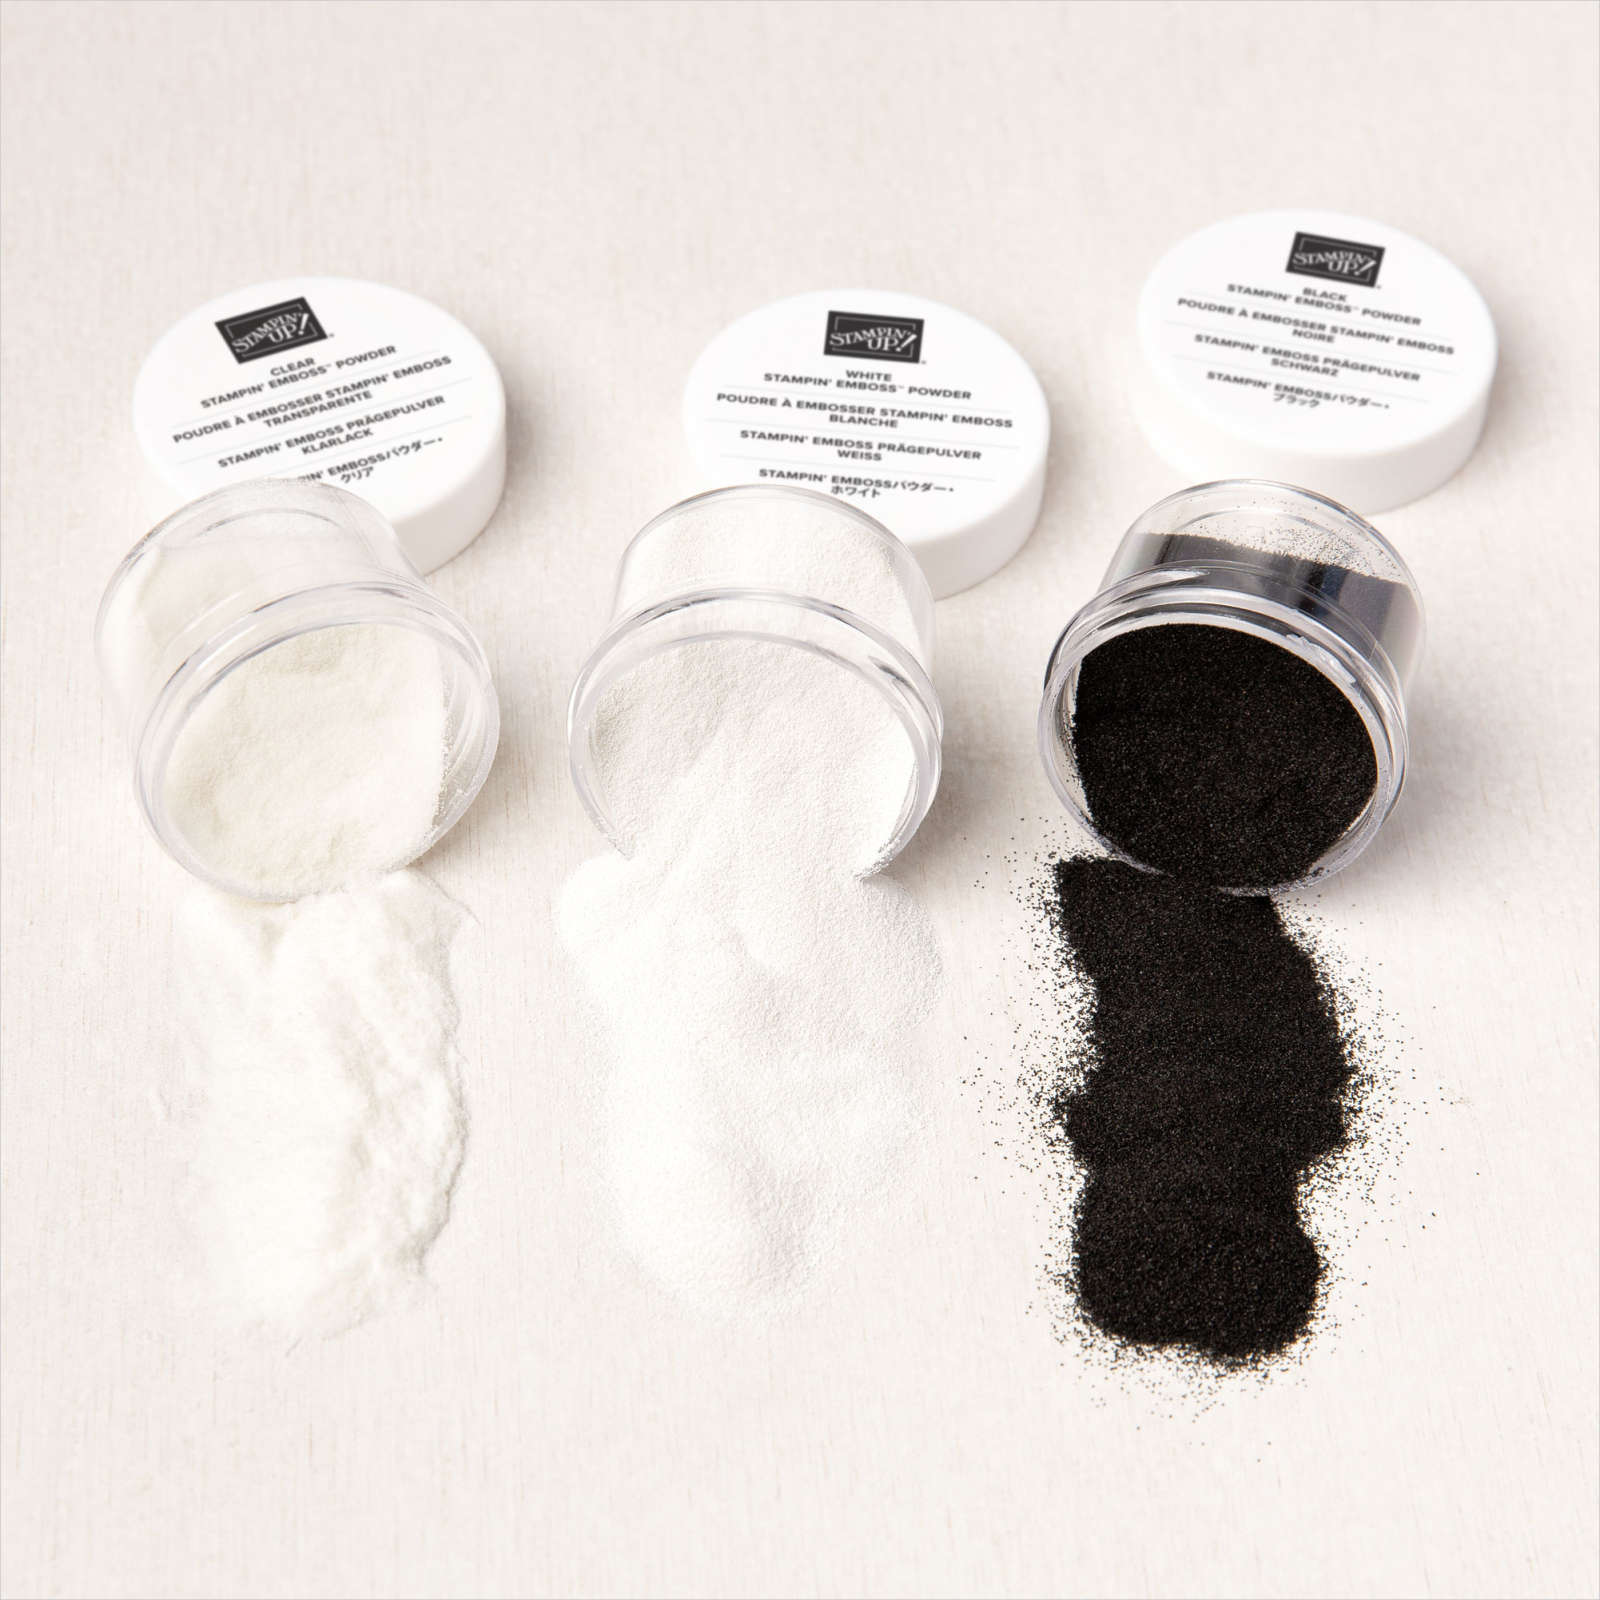
I stamped the large floral image from the Enduring Beauty stamp set onto Blackberry Bliss card using Versamark ink and sprinkled it with White Embossing Powder. I heat set the image before cutting it out using the co-ordinating Enduring Beauty Die and attaching it to the card front.
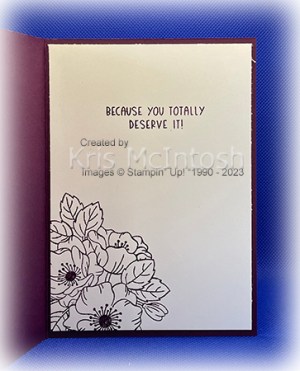
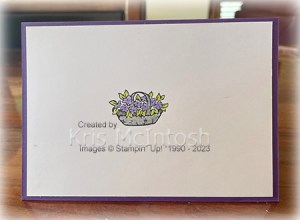
To decorate the inside of the card, I stamped another greeting from the Charming Sentiments stamp set onto Basic White card using Blackberry Bliss ink. I also stamped part of the large floral image from the Enduring Beauty stamp set onto the lower left hand corner using Blackberry Bliss ink. A simple card but I just adore this image, don’t you?
Bye for now,
Kris
Product Used:


Happy Birthday Mum
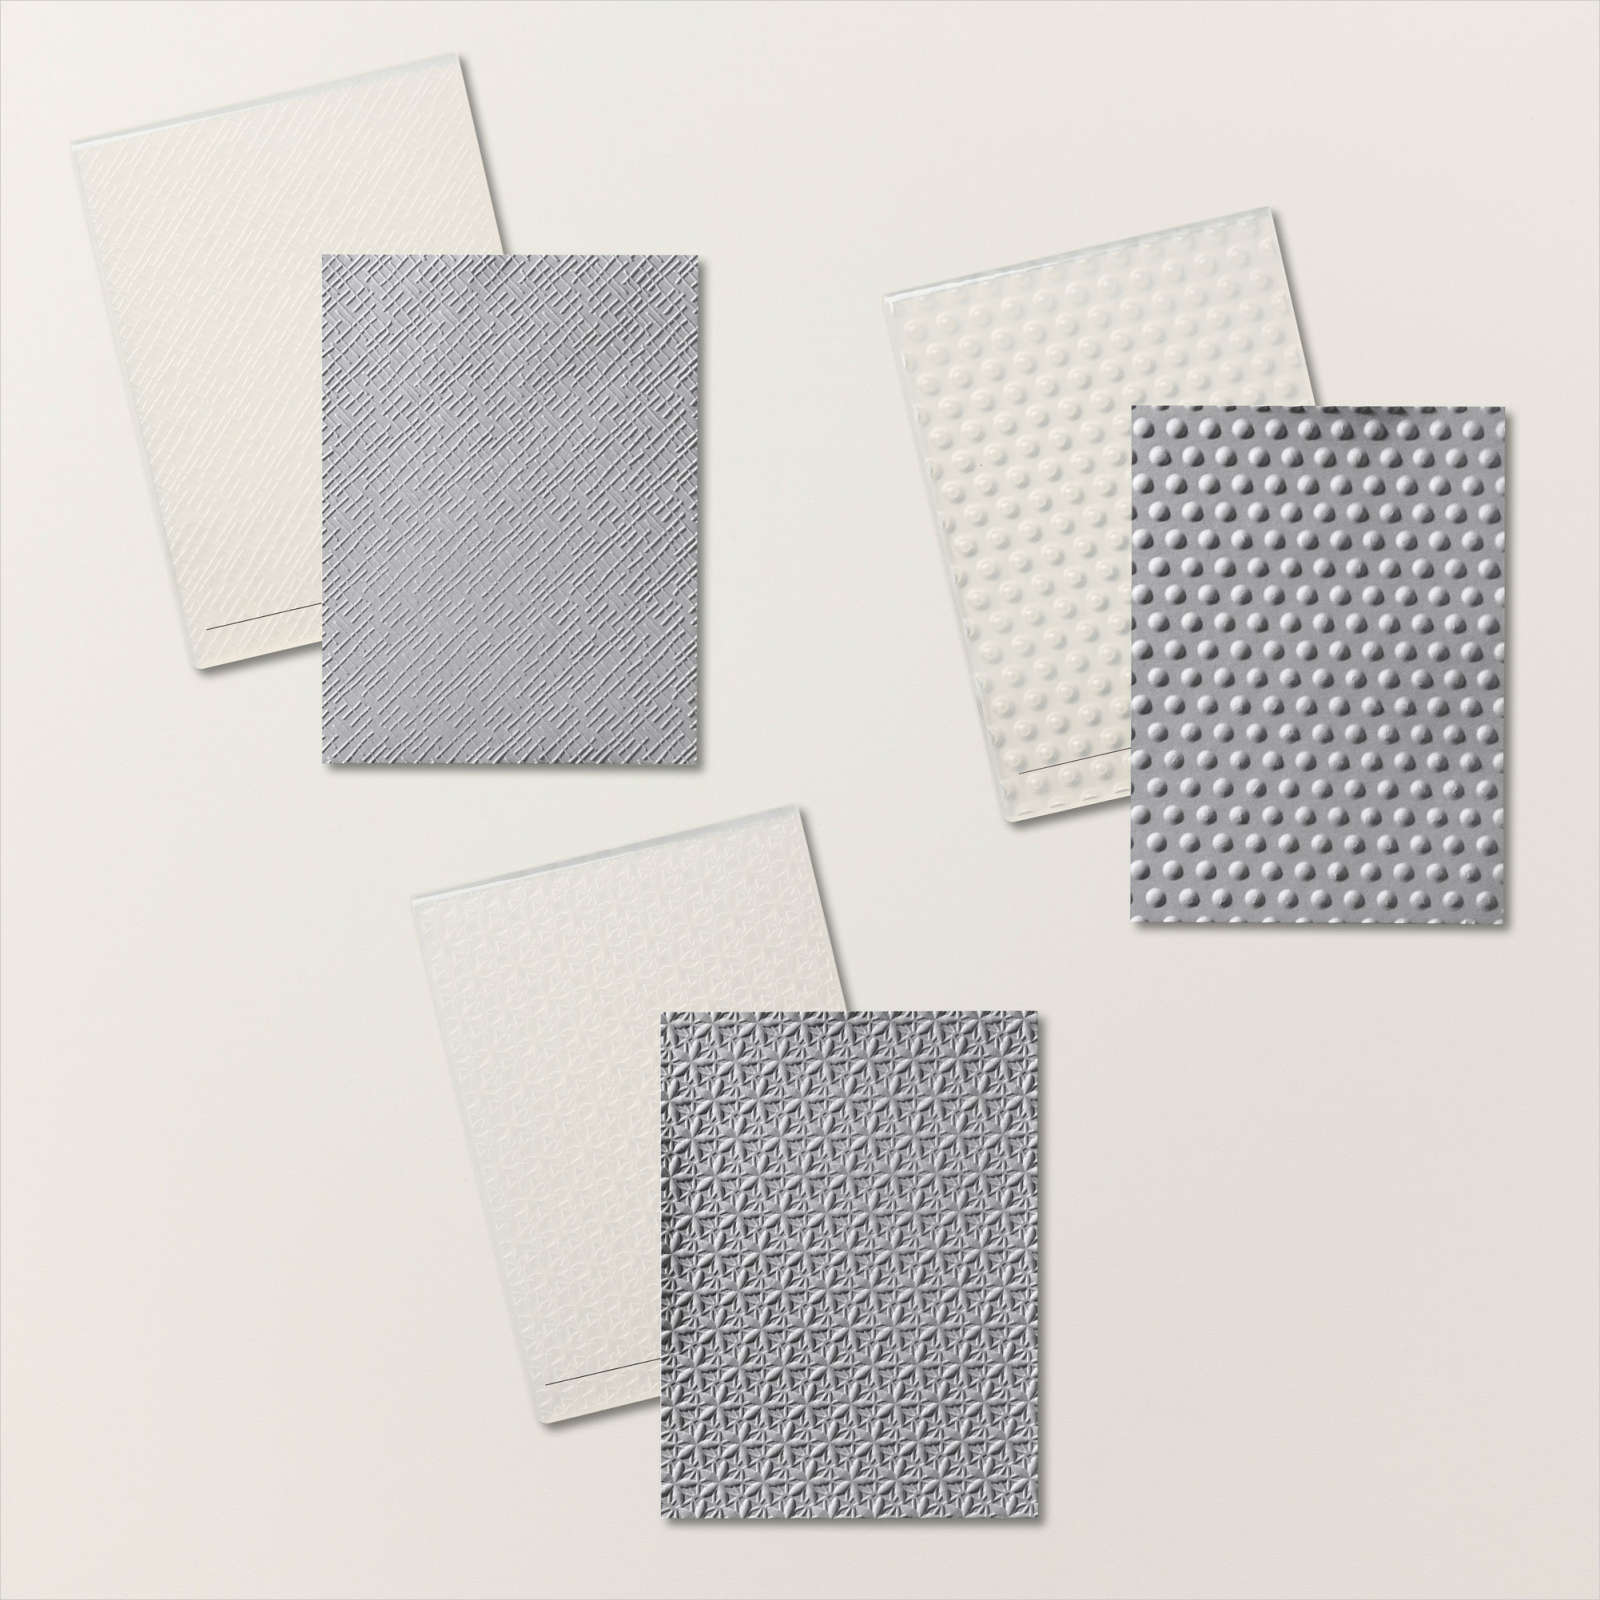
My Mum recently celebrated her 86th Birthday and I forgot to share the card I made for her with you. I embossed Sweet Sorbet card using one of the folders from the Basics 3D Embossing Folders and attached it to scored and folded Thick Basic White card. I die cut the bottom of a piece of Basic White card using one of the Elegant Border Dies and attached this panel to the embossed card.
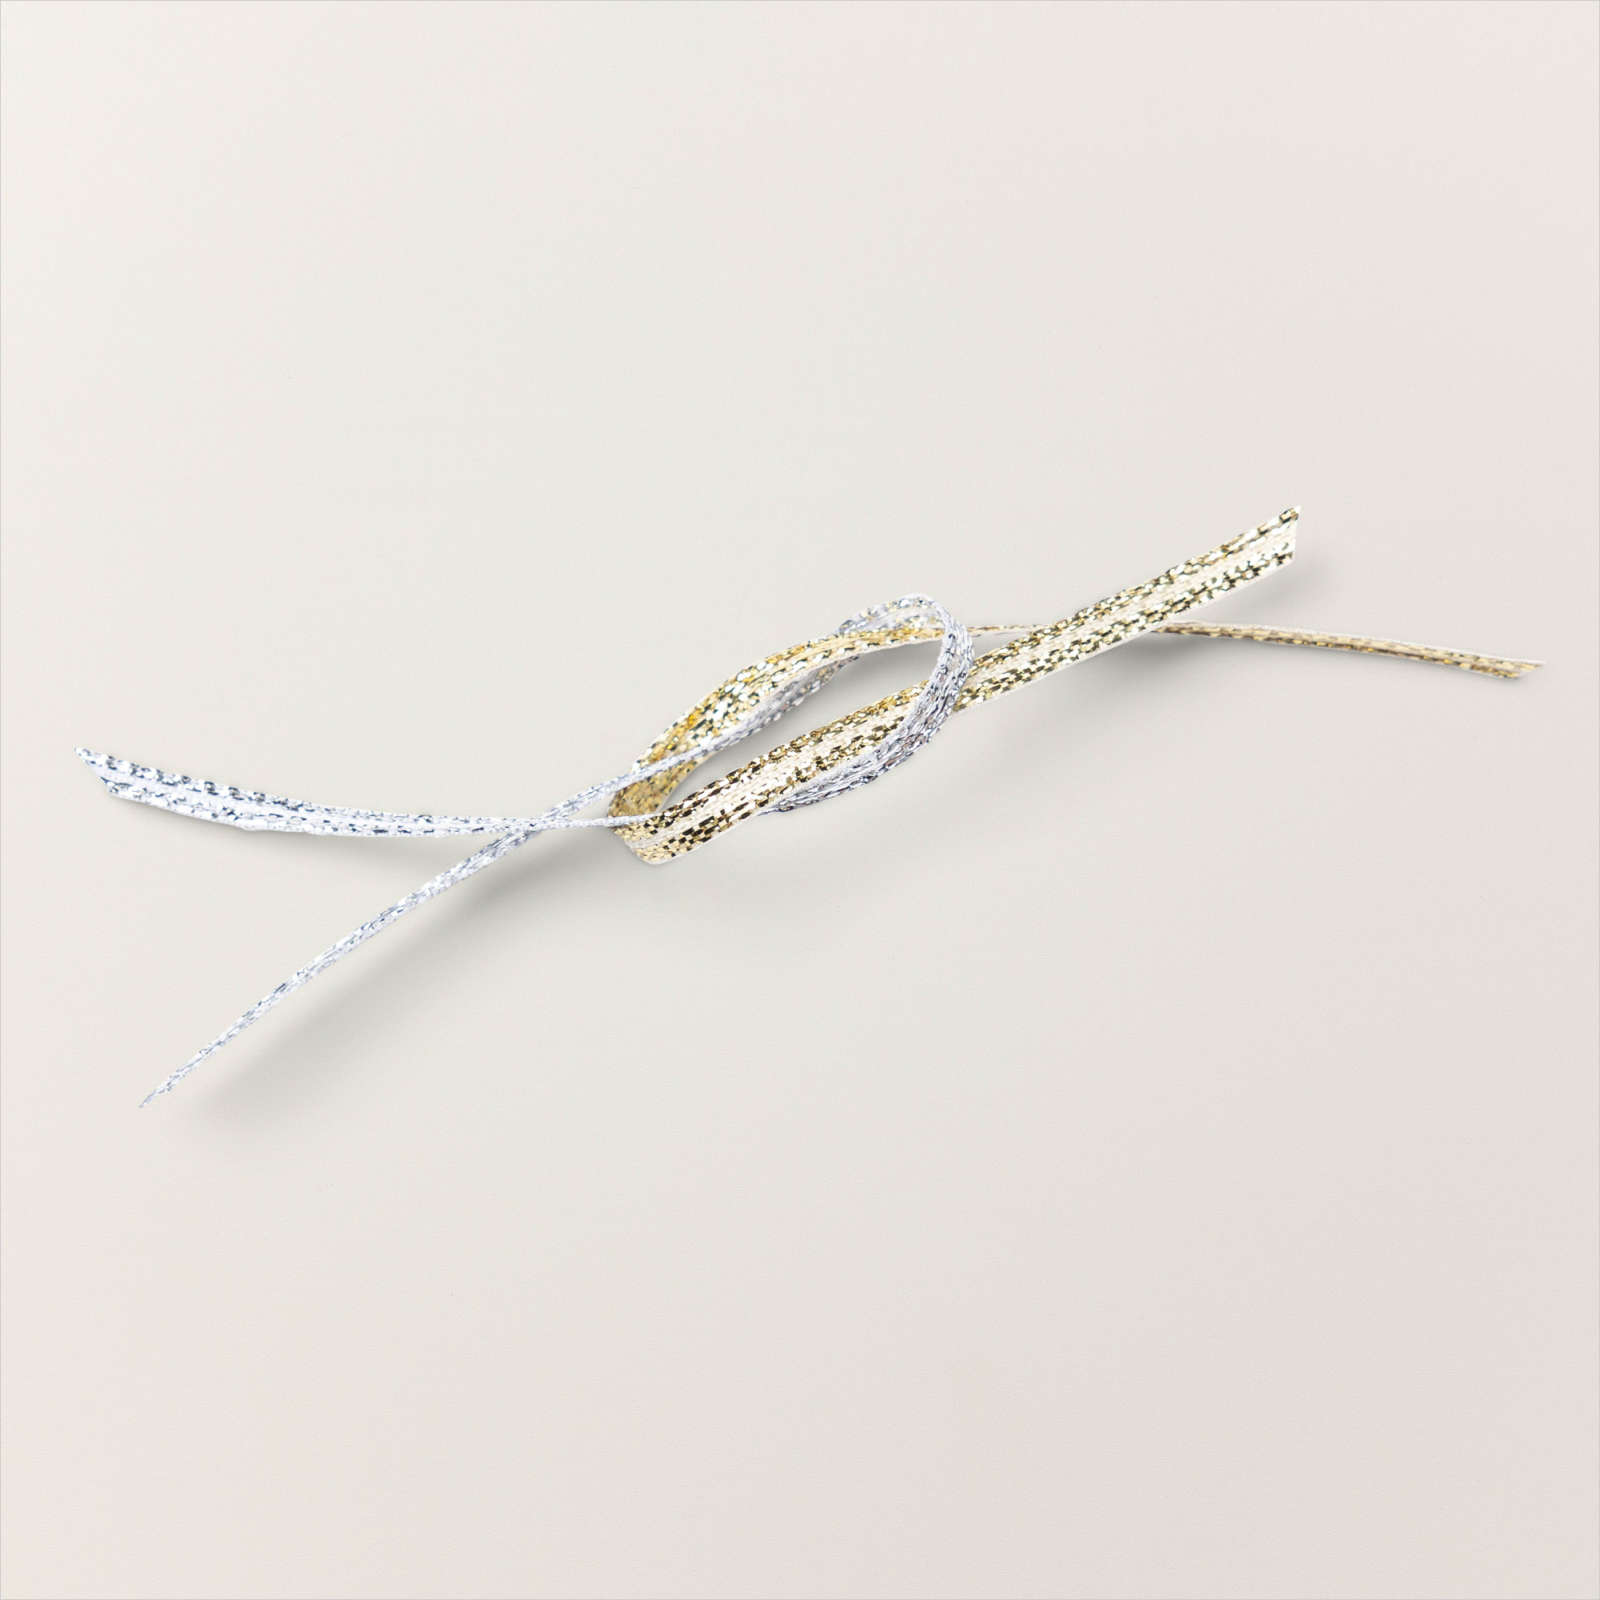
I inked the large floral image from the Stippled Roses stamp set using the Sweet Sorbet and Parakeet Party Stampin’ Write Blends. I cut out the image using the co-ordinating Stippled Roses Die. I attached pieces of Silver ribbon from the Gold & Silver 1/8″ Trim Combo Pack to the back of the die cut before attaching it to the card front using dimensionals.

I stamped the greeting from the Stippled Roses stamp set onto Basic White card using Sweet Sorbet ink and cut it out using one of the banners from the Sending Dies. I attached the greeting to the card front using dimensionals where necessary. To decorate the inside of the card, I stamped a greeting from the Very Best Occasions stamp set onto Basic White card using Sweet Sorbet ink. I coloured the small floral image from the Stippled Roses stamp set using the Sweet Sorbet and Parakeet Party Stampin’ Write Blends and stamped it beside the greeting. This is such a lovely stamp set, one that I am sure I will get to use quite a lot.
Bye for now,
Kris
Product Used:
You can find the 2022-2024 In-Colour Stampin’ Write Markers here in my online store.

Playgroup
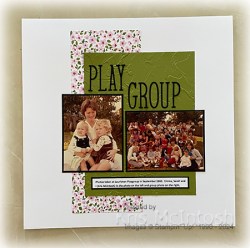
Today’s page shows off some photos from we lived in Kew. I joined the playgroup in Laurieton and made lots of friends. As you can see this was a huge playgroup. I attached a piece of Delightfully Eclectic 12″ x 12″ Designer Series Paper to the left hand side of a Basic White 12″ x 12″ page. I embossed a piece of Old Olive card using the Painted Texture 3D Embossing Folder and attached it so that it partially covers the Designer Series Paper.
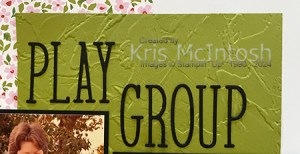
I attached my photos to Basic Black card before attaching them to the page. I cut the title from Basic Black card using the Alphabet A La Mode Dies and attached it across the top of the photos. I printed my jounaling onto Basic White card which I attached to Basic Black card before attaching it to the page below the photos. Another simple page but I love that my family will get to see these photos which have been hiding in a box on my shelf for so long.
Bye for now,
Kris
Product Used:


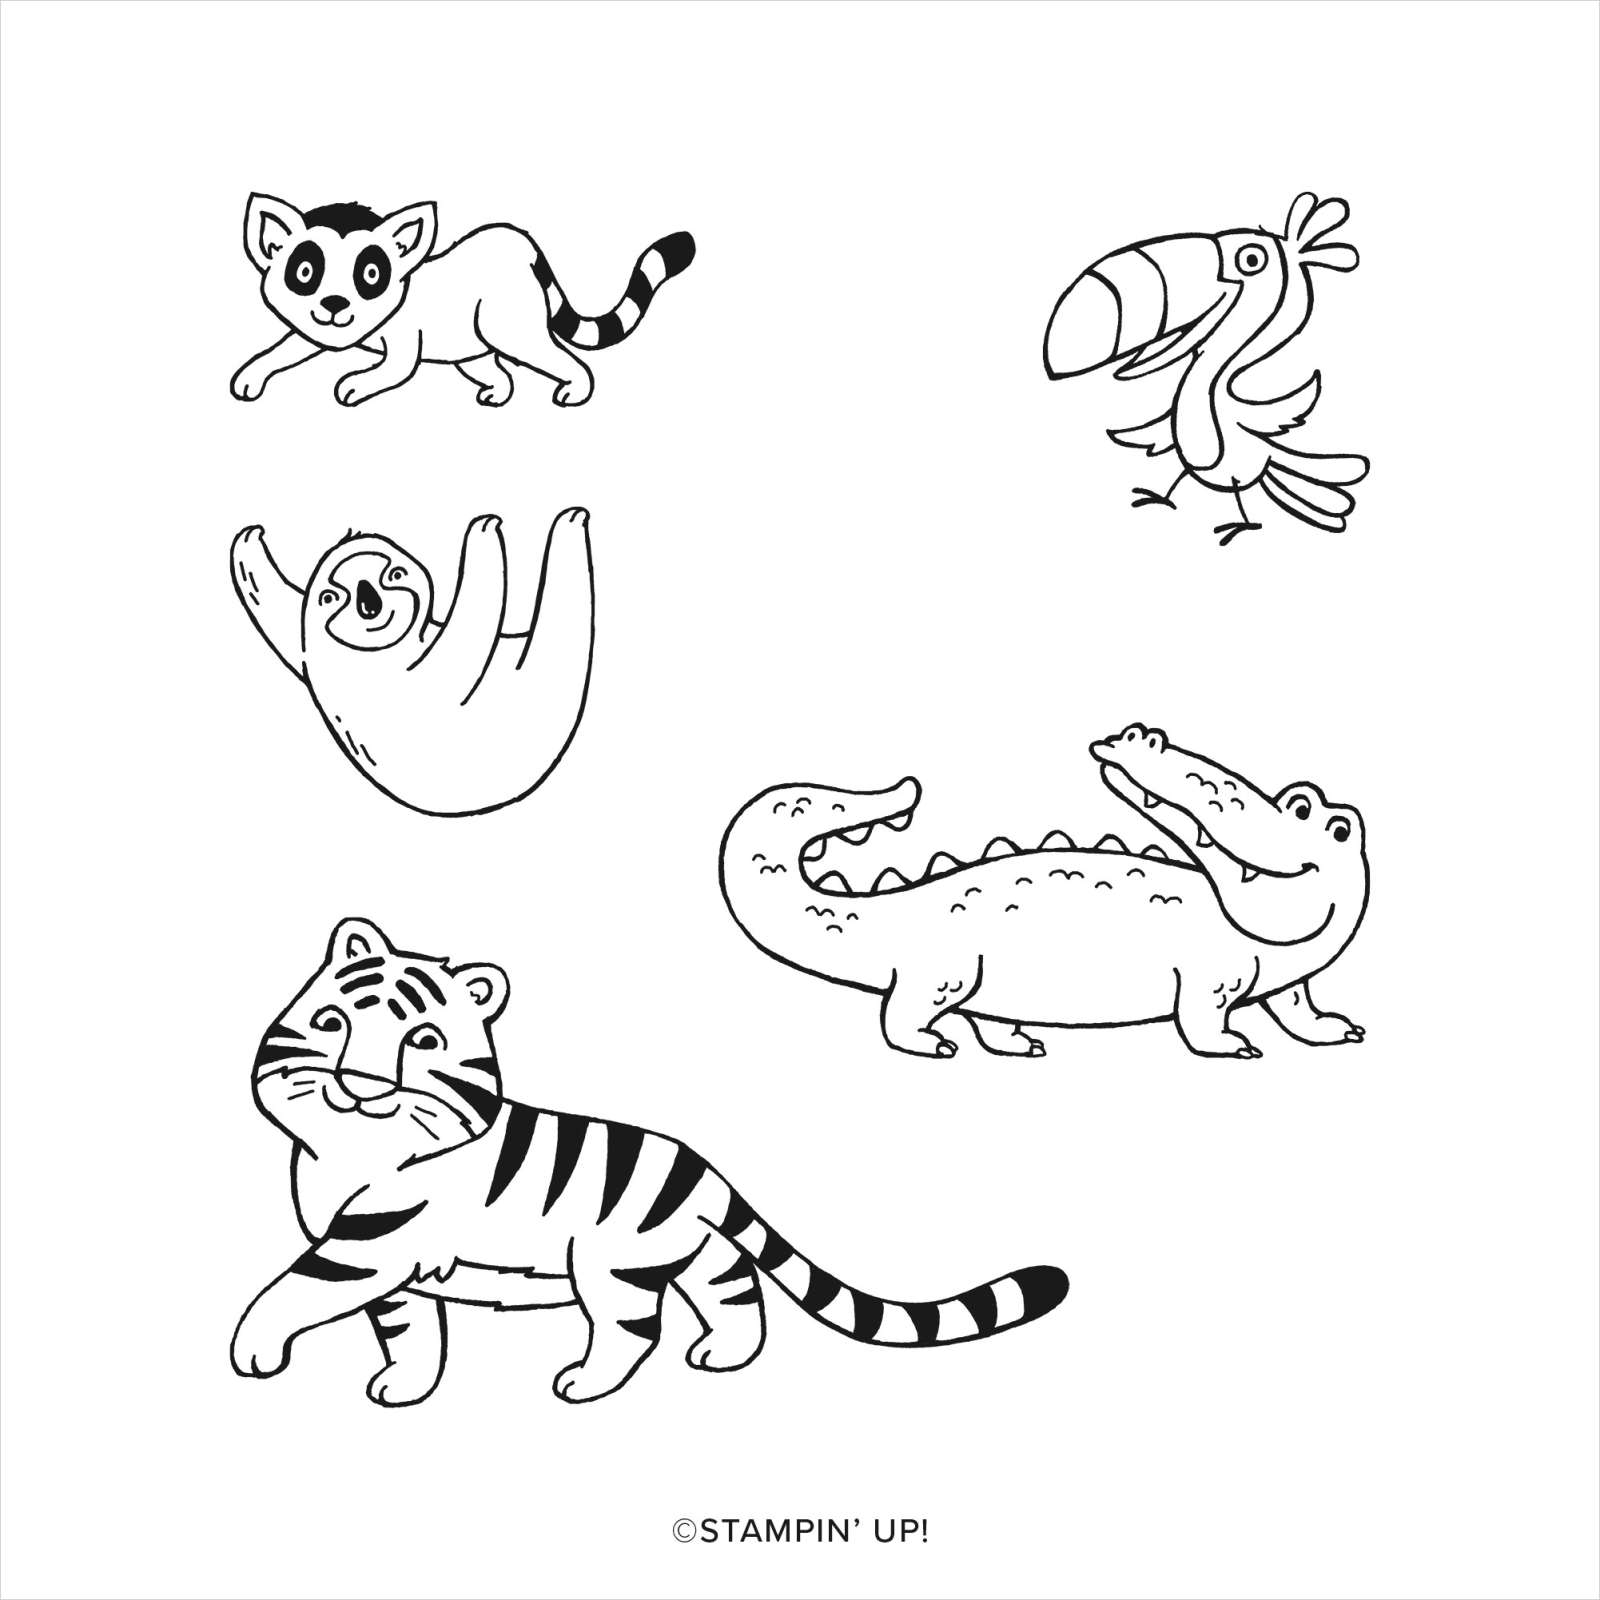
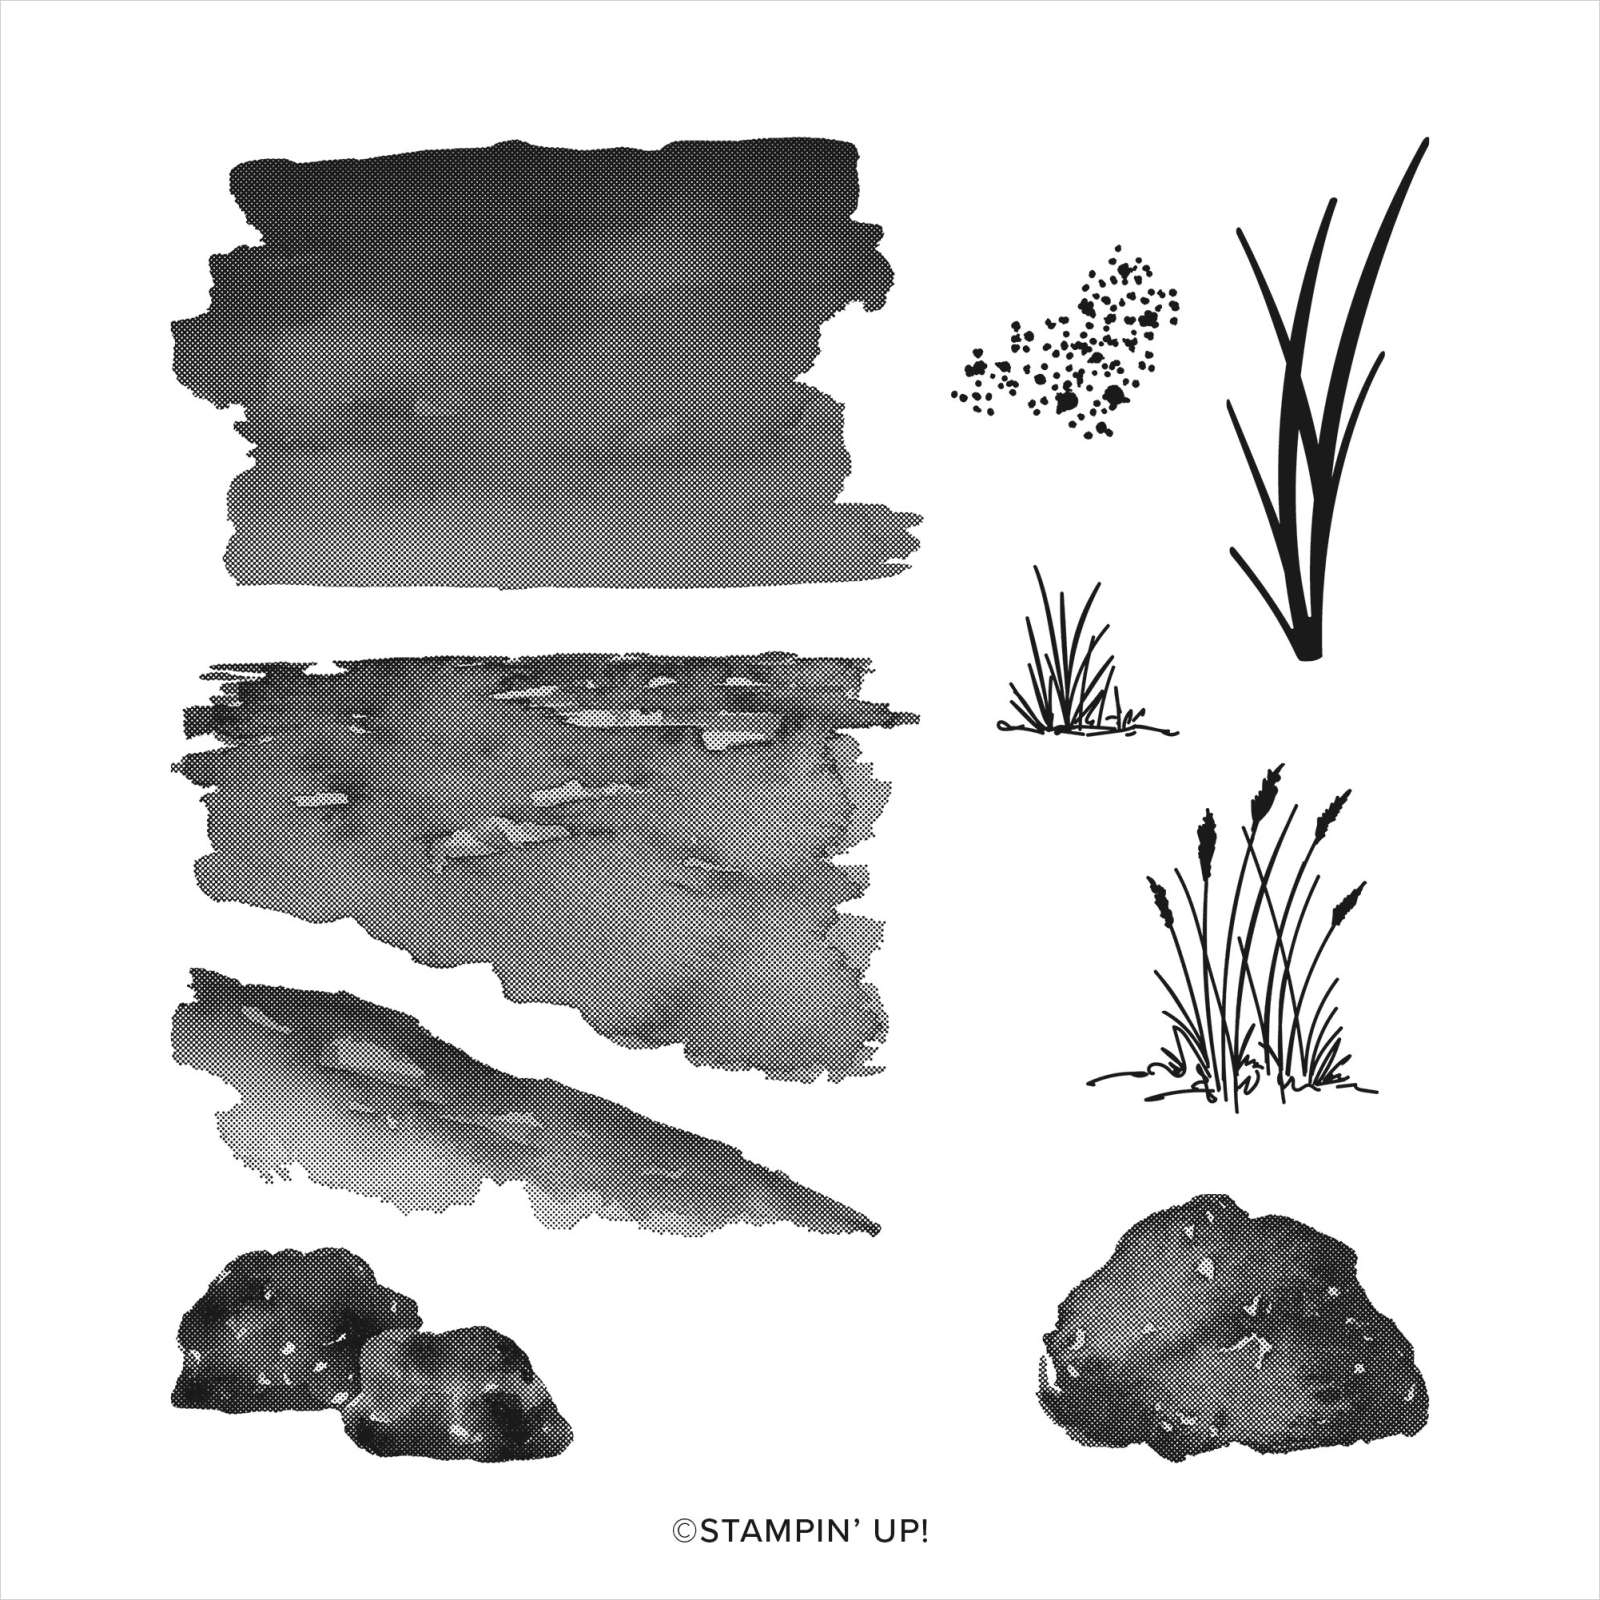
Crocodile Birthday
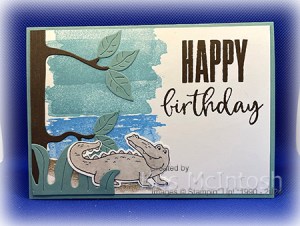
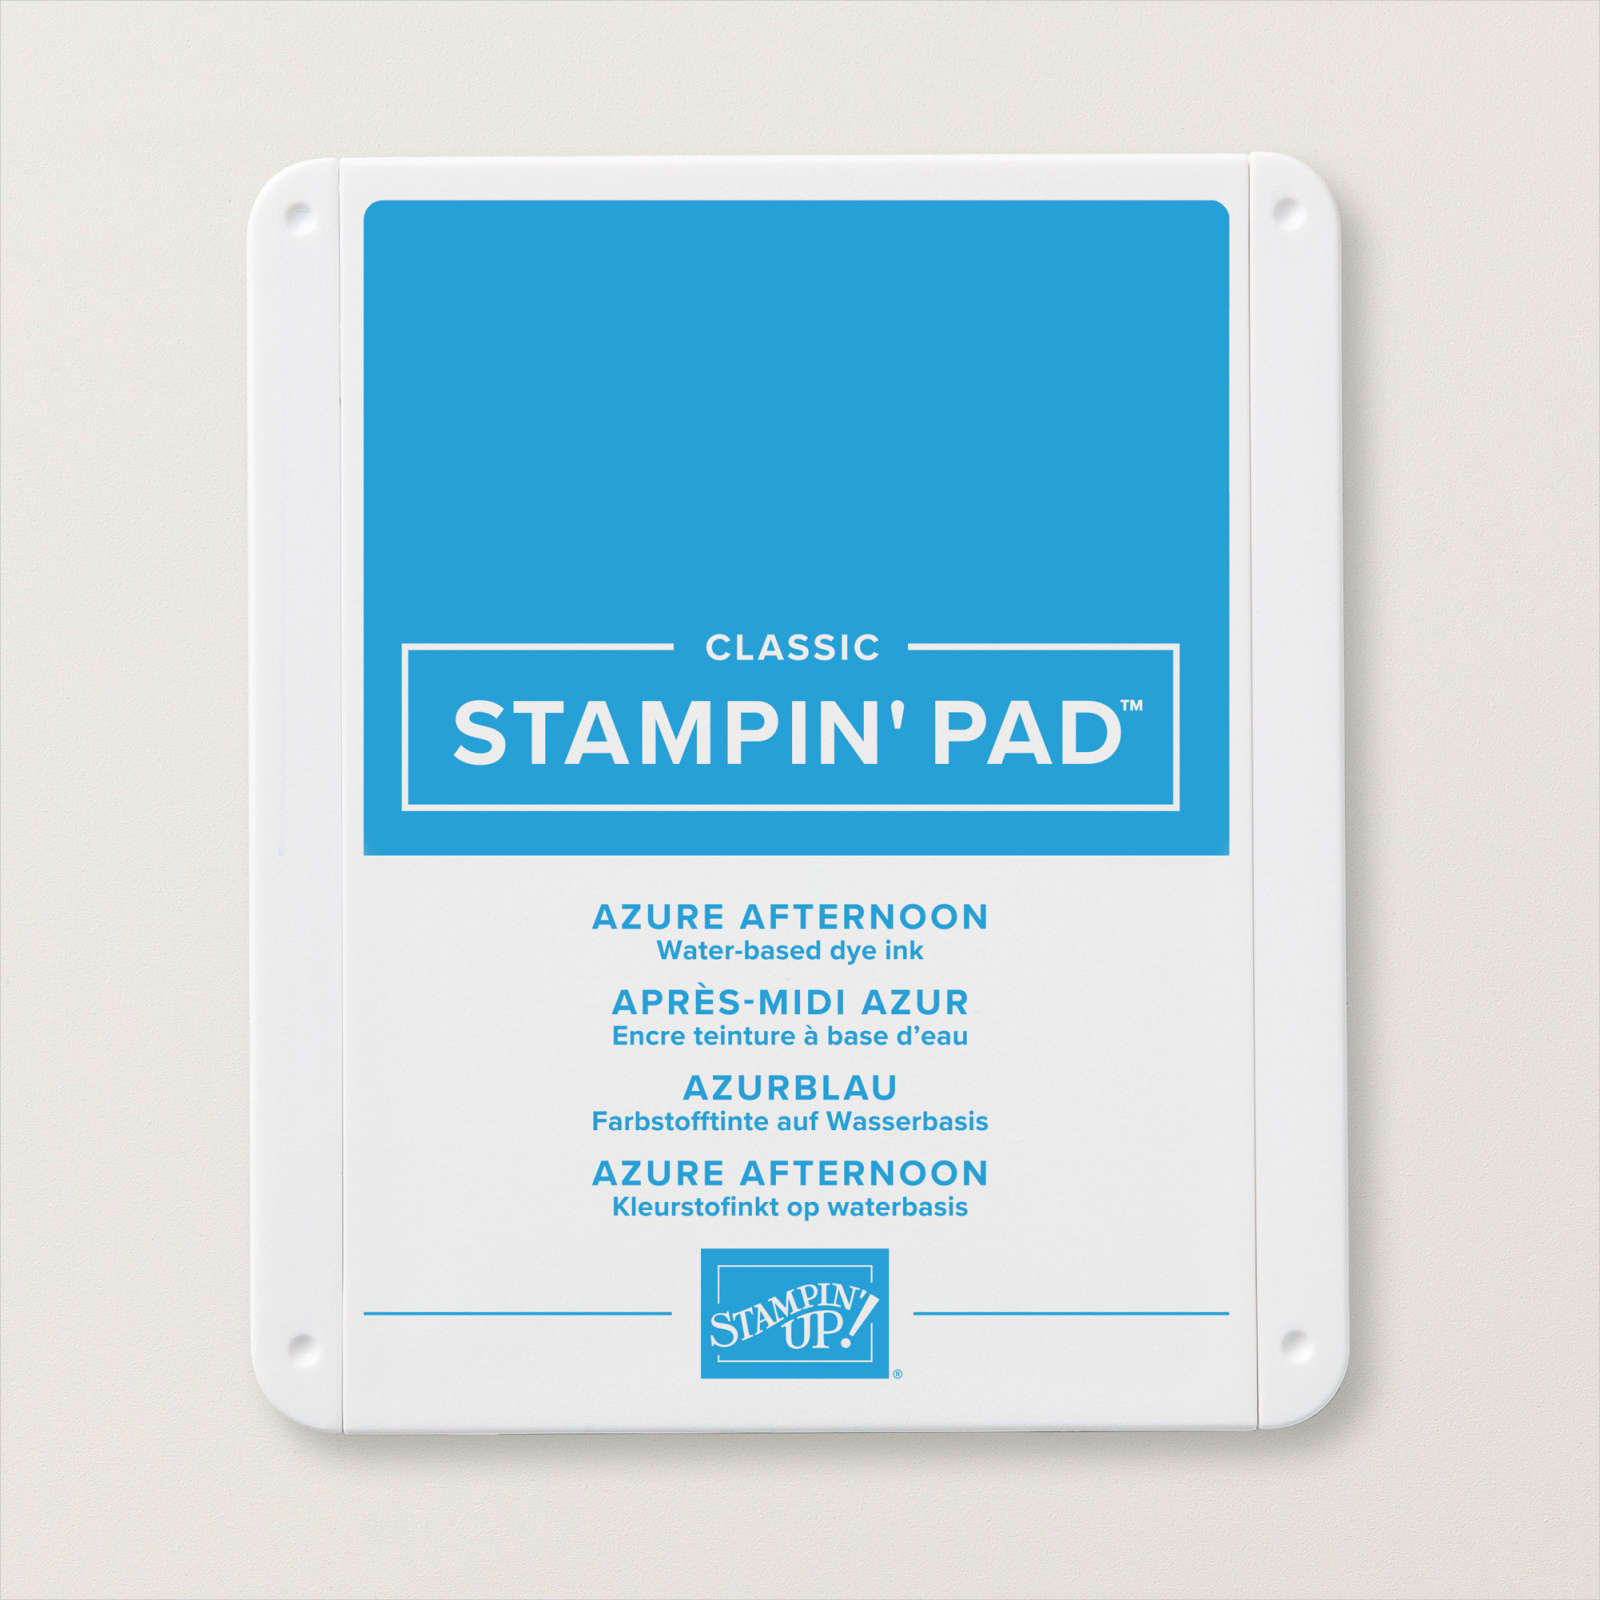
Today’s card is a little different. I wanted to use the crocodile/alligator image from the Jungle Pals stamp set but I wanted to create a seaside look. I stamped the sand image from the Oceanfront stamp set onto the lower left hand corner of Basic White card using Crumb Cake ink. I stamped the sea image from the same stamp set using Azure Afternoon ink.
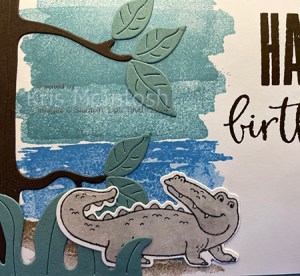
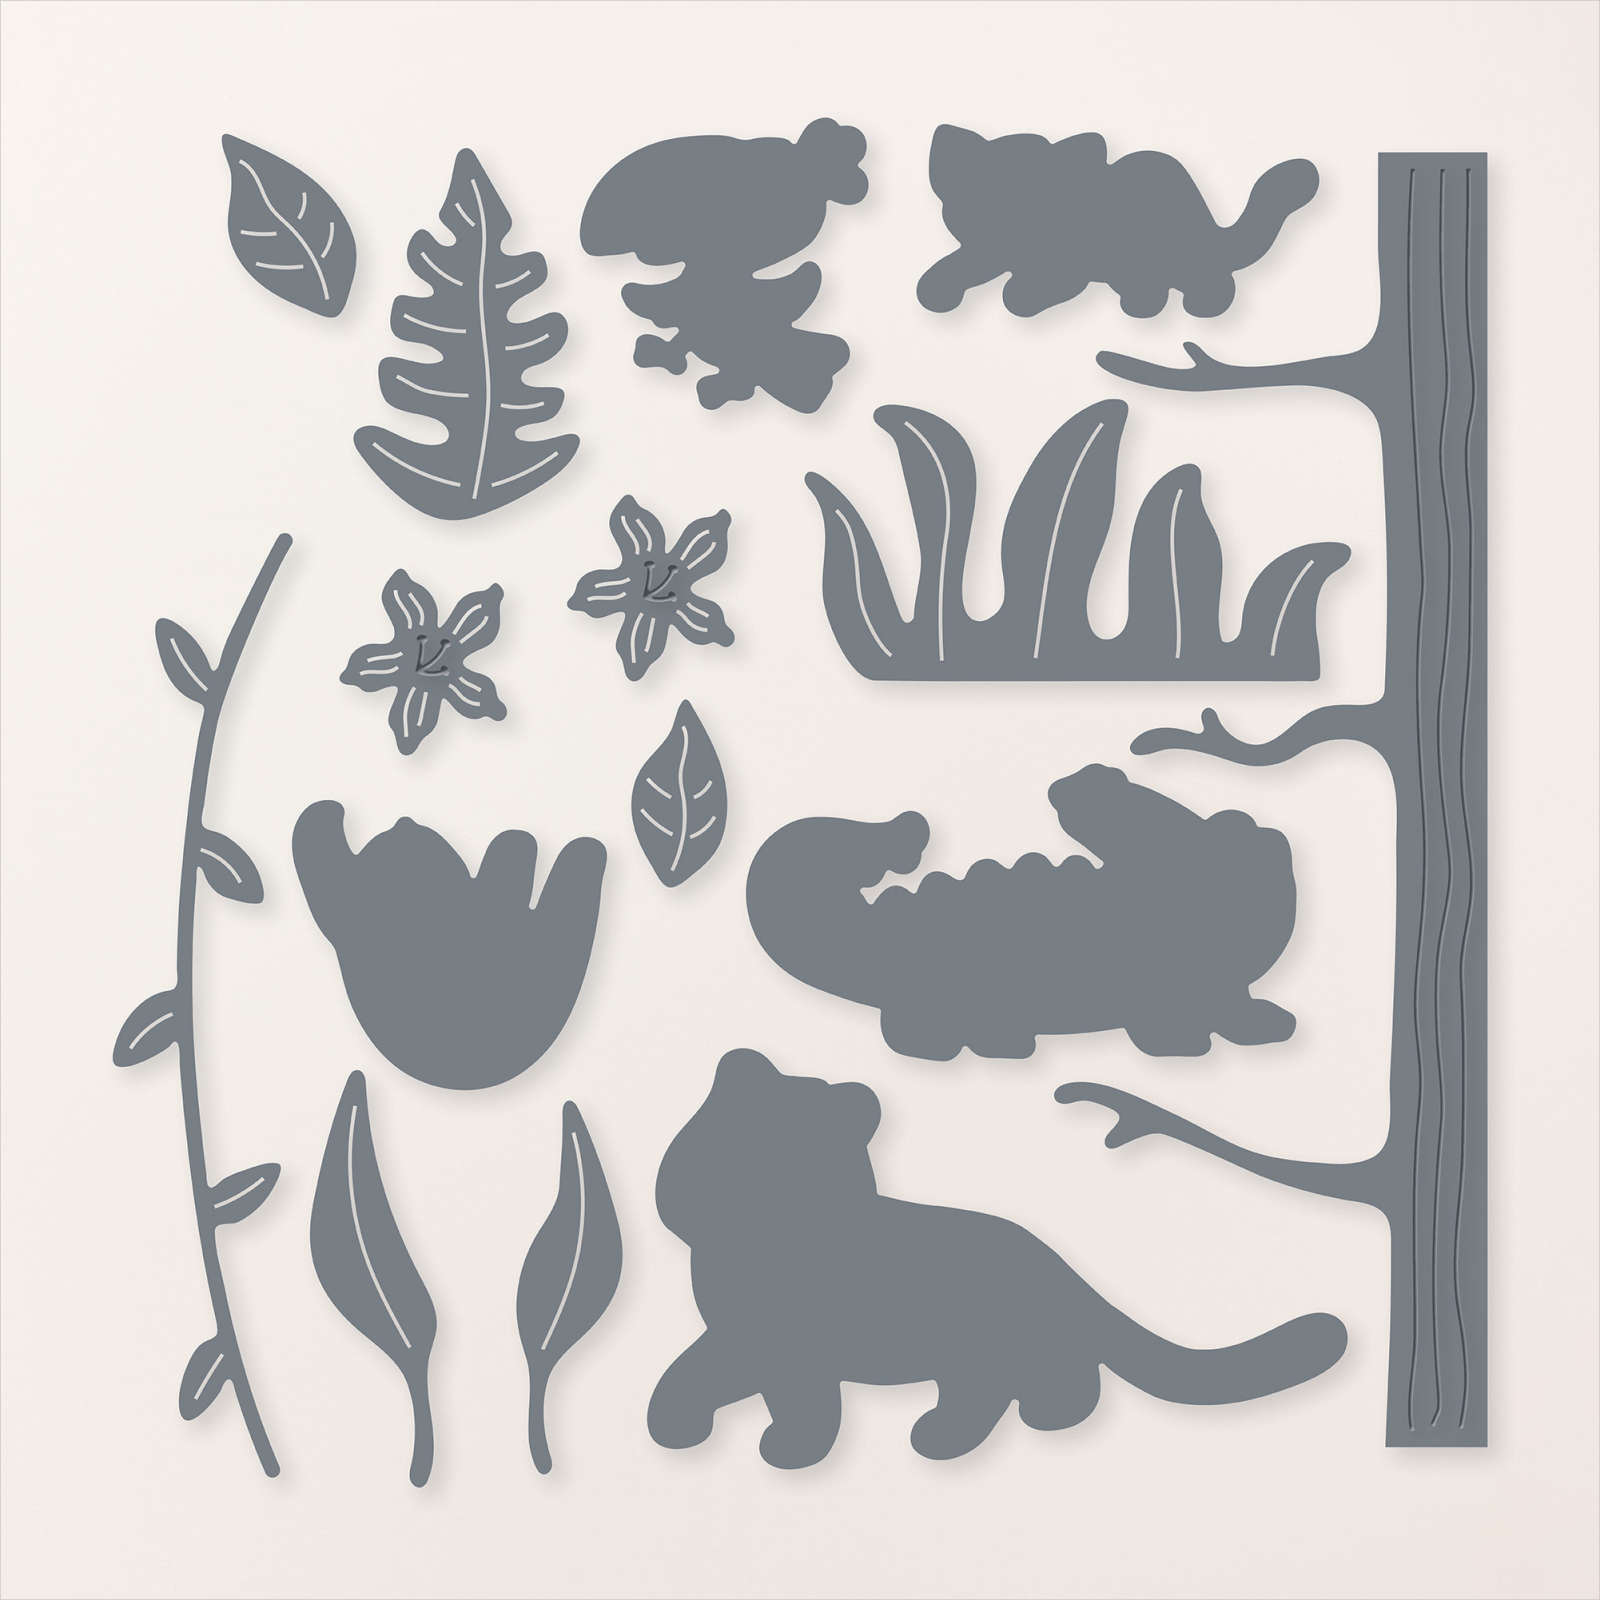
I stamped the sky image using Balmy Blue ink. I die cut Early Espresso card using the tree die from the Jungle Pals Dies and attached it down the left hand side of the stamped card. I die cut the leaves from Lost Lagoon card and attached them to the tree.
I also die cut Lost Lagoon card using the grass die from the Jungle Pals Dies. I stamped the crocodile/alligator image onto Basic White card using Memento Tuxedo Black ink and coloured it using the Gray Granite Stampin’ Blends. I layered the grass and the crocodile images onto the card front. I stamped “happy” and “birthday” from the Biggest Wish stamp set onto the right hand side of the Basic White card using Early Espresso ink. The whole panel is attached to scored and folded Lost Lagoon card. To decorate the inside of the card I stamped one of the greetings from the Very Best Occasions stamp set onto Basic White card using Lost Lagoon ink.
This is such a fun set to create with. I hope you have already placed you order for this as today is the last day it will be available.
Bye for now.
Kris
Product Used: