Wedding

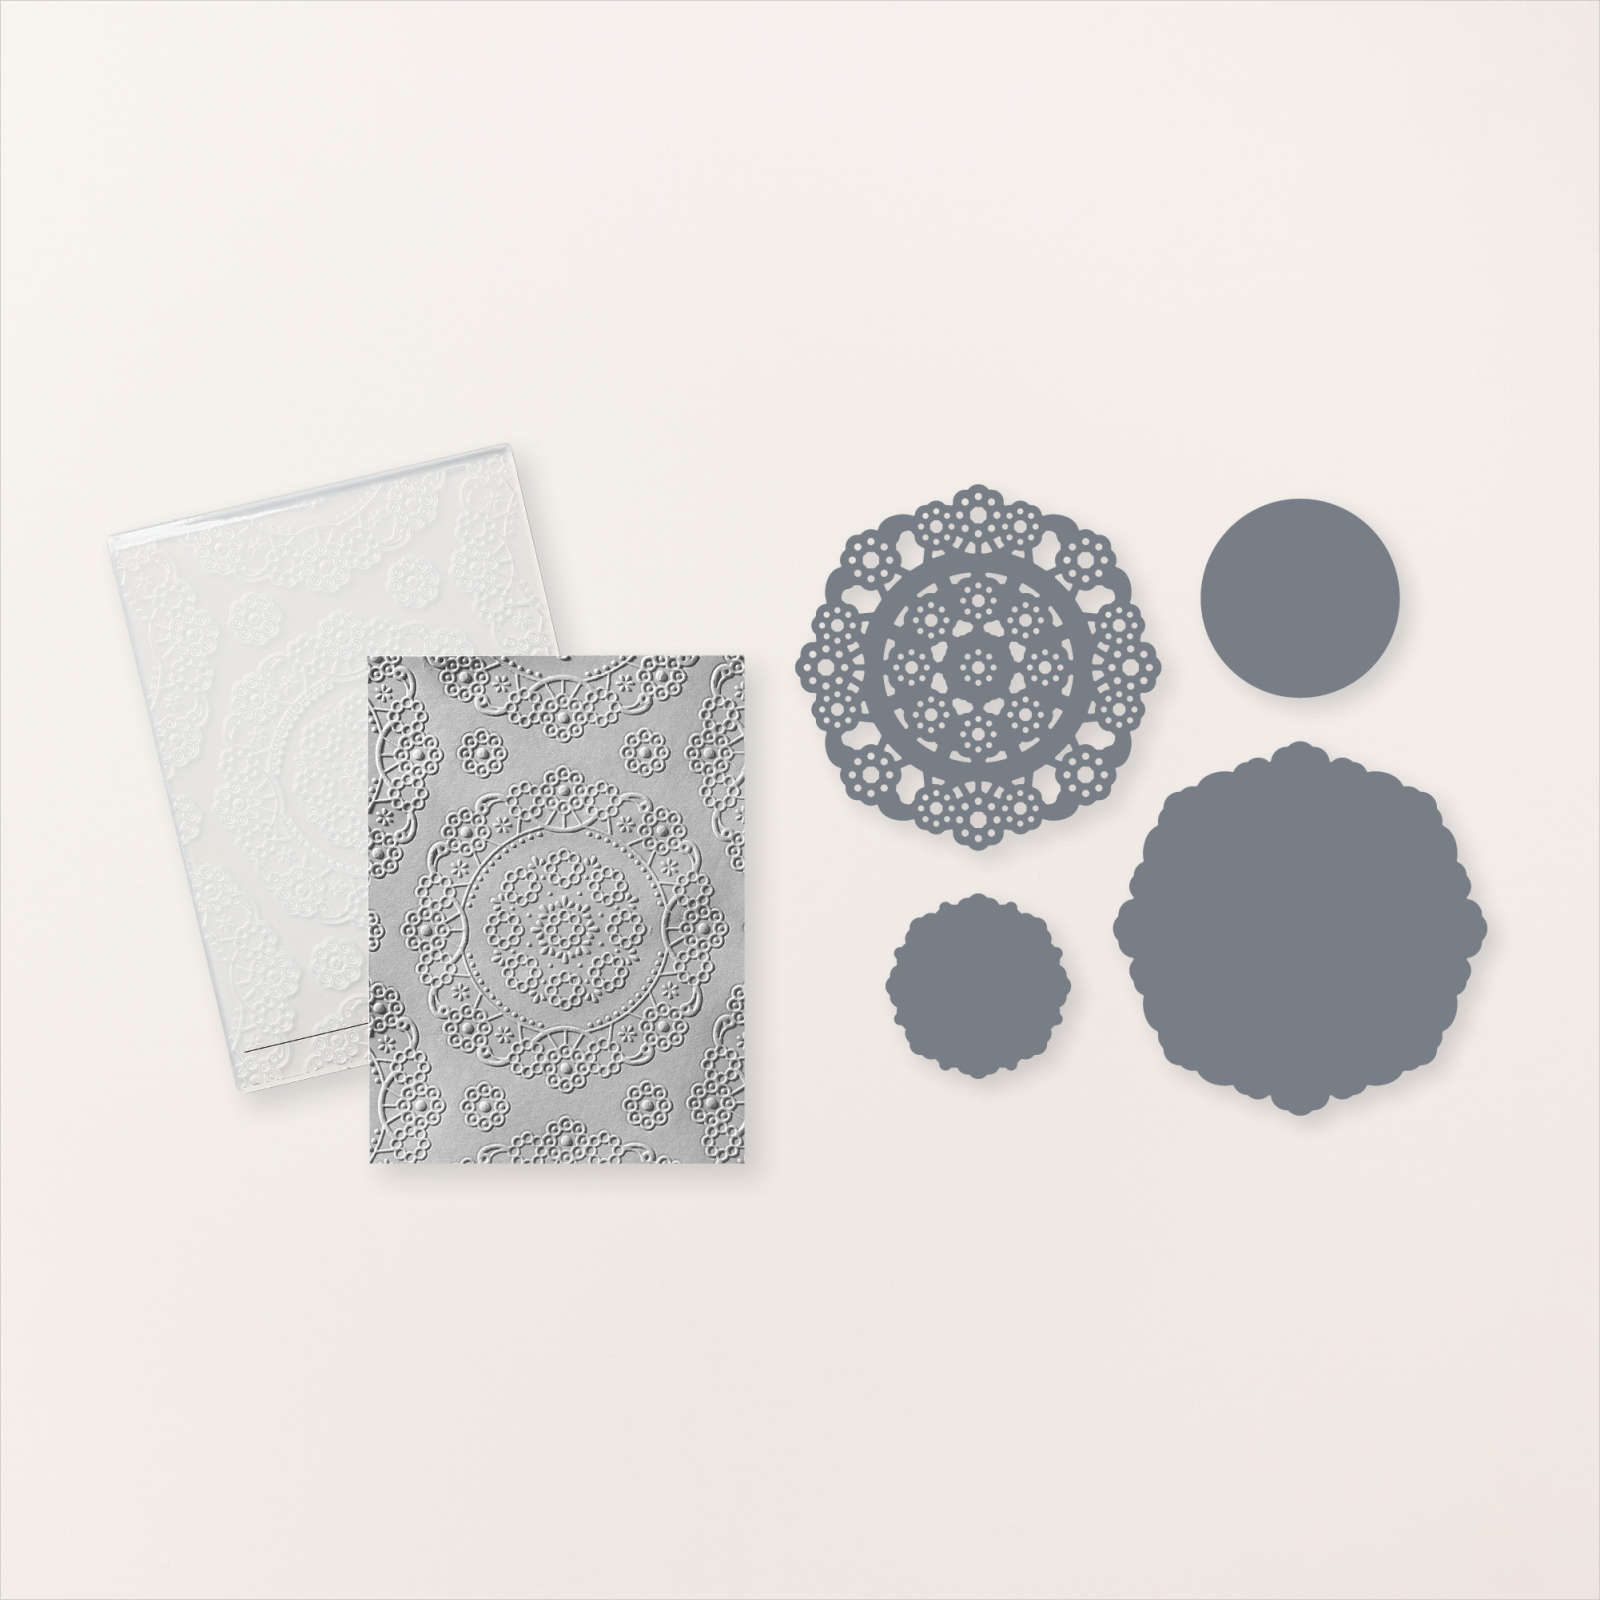
My photo today showcases a photograph taken at my Dad’s cousin’s wedding in around 1972/73. I cut two circles from Pool Party card using the Deckled Circle Dies. The circles are embossed using the Painted Texture 3D Embossing Folder. I attached one circle to a Basic White 12″ x 12″ page. I cut a piece of Zoo Crew 12″ x 12″ Designer Series Paper which I attached across the centre of the page, covering the bottom of the attached circle. I cut Pool Party card using one of the Delightful Doily Dies and attached it to the page.
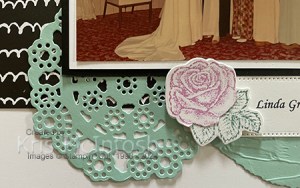
I attached the second embossed circle so that it sits partially over the doily. I printed my title and journaling onto Basic White card and cut them out using one of the banners from the Stylish Shapes Dies. I attached the title to the left hand side of the page and the journaling to the right hand side. I attached the photo to Basic White card, then Basic Black card before attaching it to the page. I stamped the small flower from the Stippled Rose stamp set onto Basic White card twice, once using Lost Lagoon ink and once using Fresh Freesia ink. I used the co-ordinating Stippled Rose Die. I trimmed the leaves from the Fresh Freesia image and attached it to the Lost Lagoon image before attaching it to the page using dimensionals. I am glad that I am starting to scrap more of the photos that my Dad gave me so that I can get his input as to who everyone is.
Bye for now
Kris
Product Used:


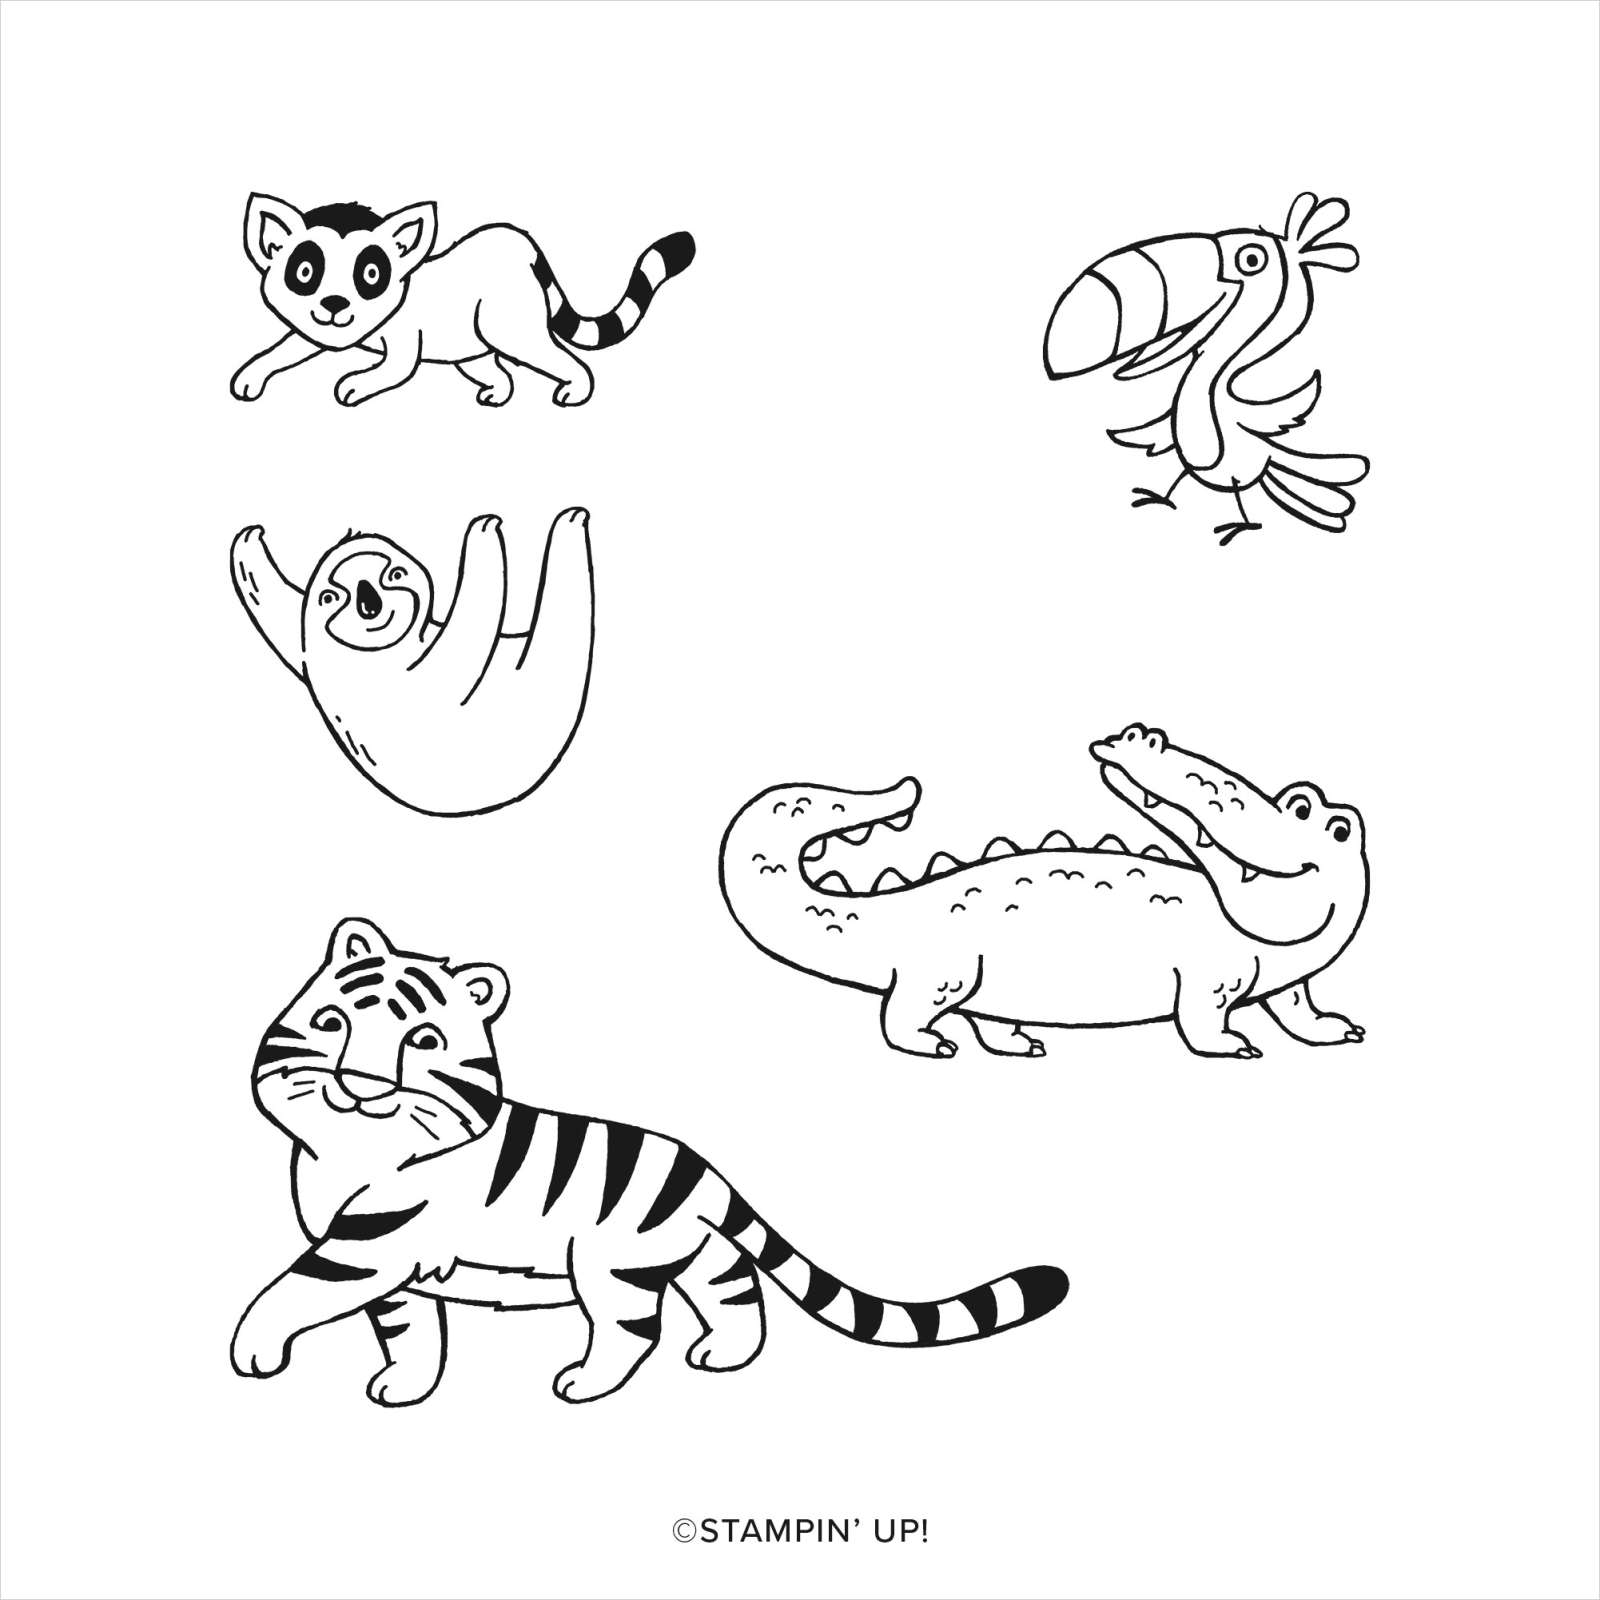
Hello Tiger

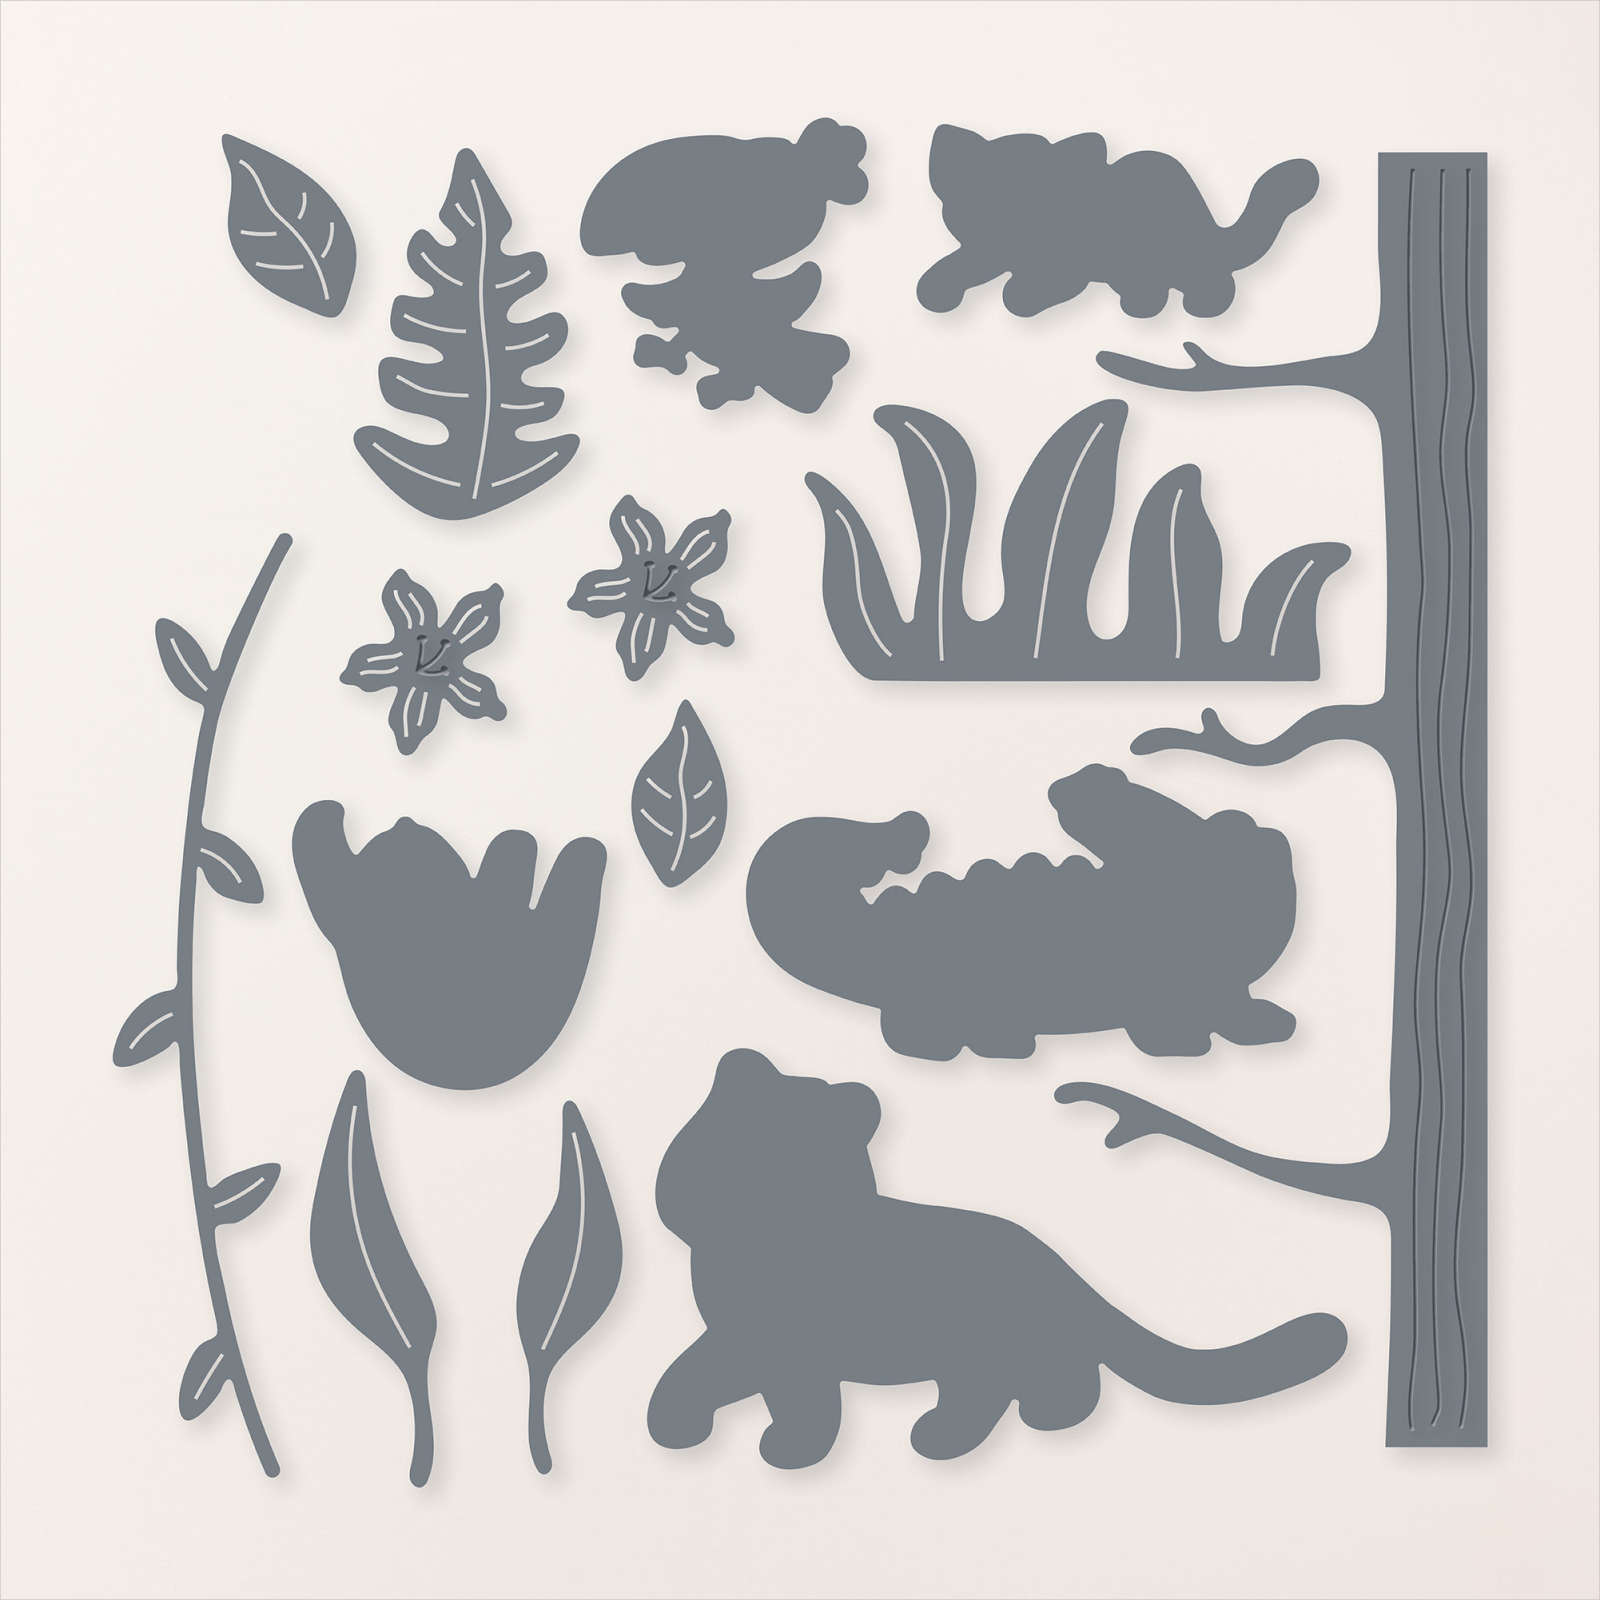
Here is another card I created using the Jungle Pals stamp set and the Jungle Pals Dies. I embossed Soft Sea Foam card using the Fern 3D Embossing Folder and attached it to Early Espresso card. I die cut Garden Green card three times using the large leaf die from the Jungle Pals Dies and attached them to the top right hand corner of the embossed Soft Sea Foam card.
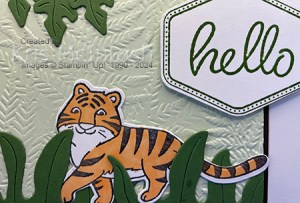
I stamped the tiger image from the Jungle Pals stamp set onto Basic White card using Memento Tuxedo Black ink. I used the Light Pumpkin Pie Stampin’ Blend to colour the image and cut it out using the co-ordinating Jungle Pals Die. I cut Garden Green card twice using the grass image from the Jungle Pals Dies. I layered the grass and the tiger image across the bottom of the embossed Soft Sea Foam card.
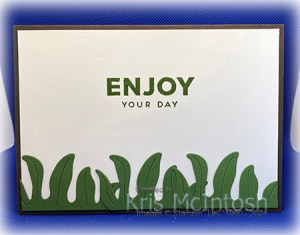
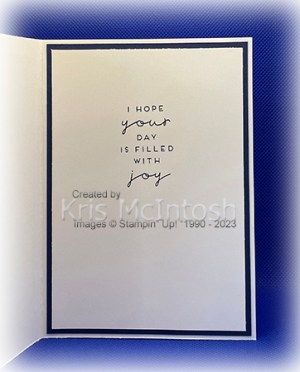
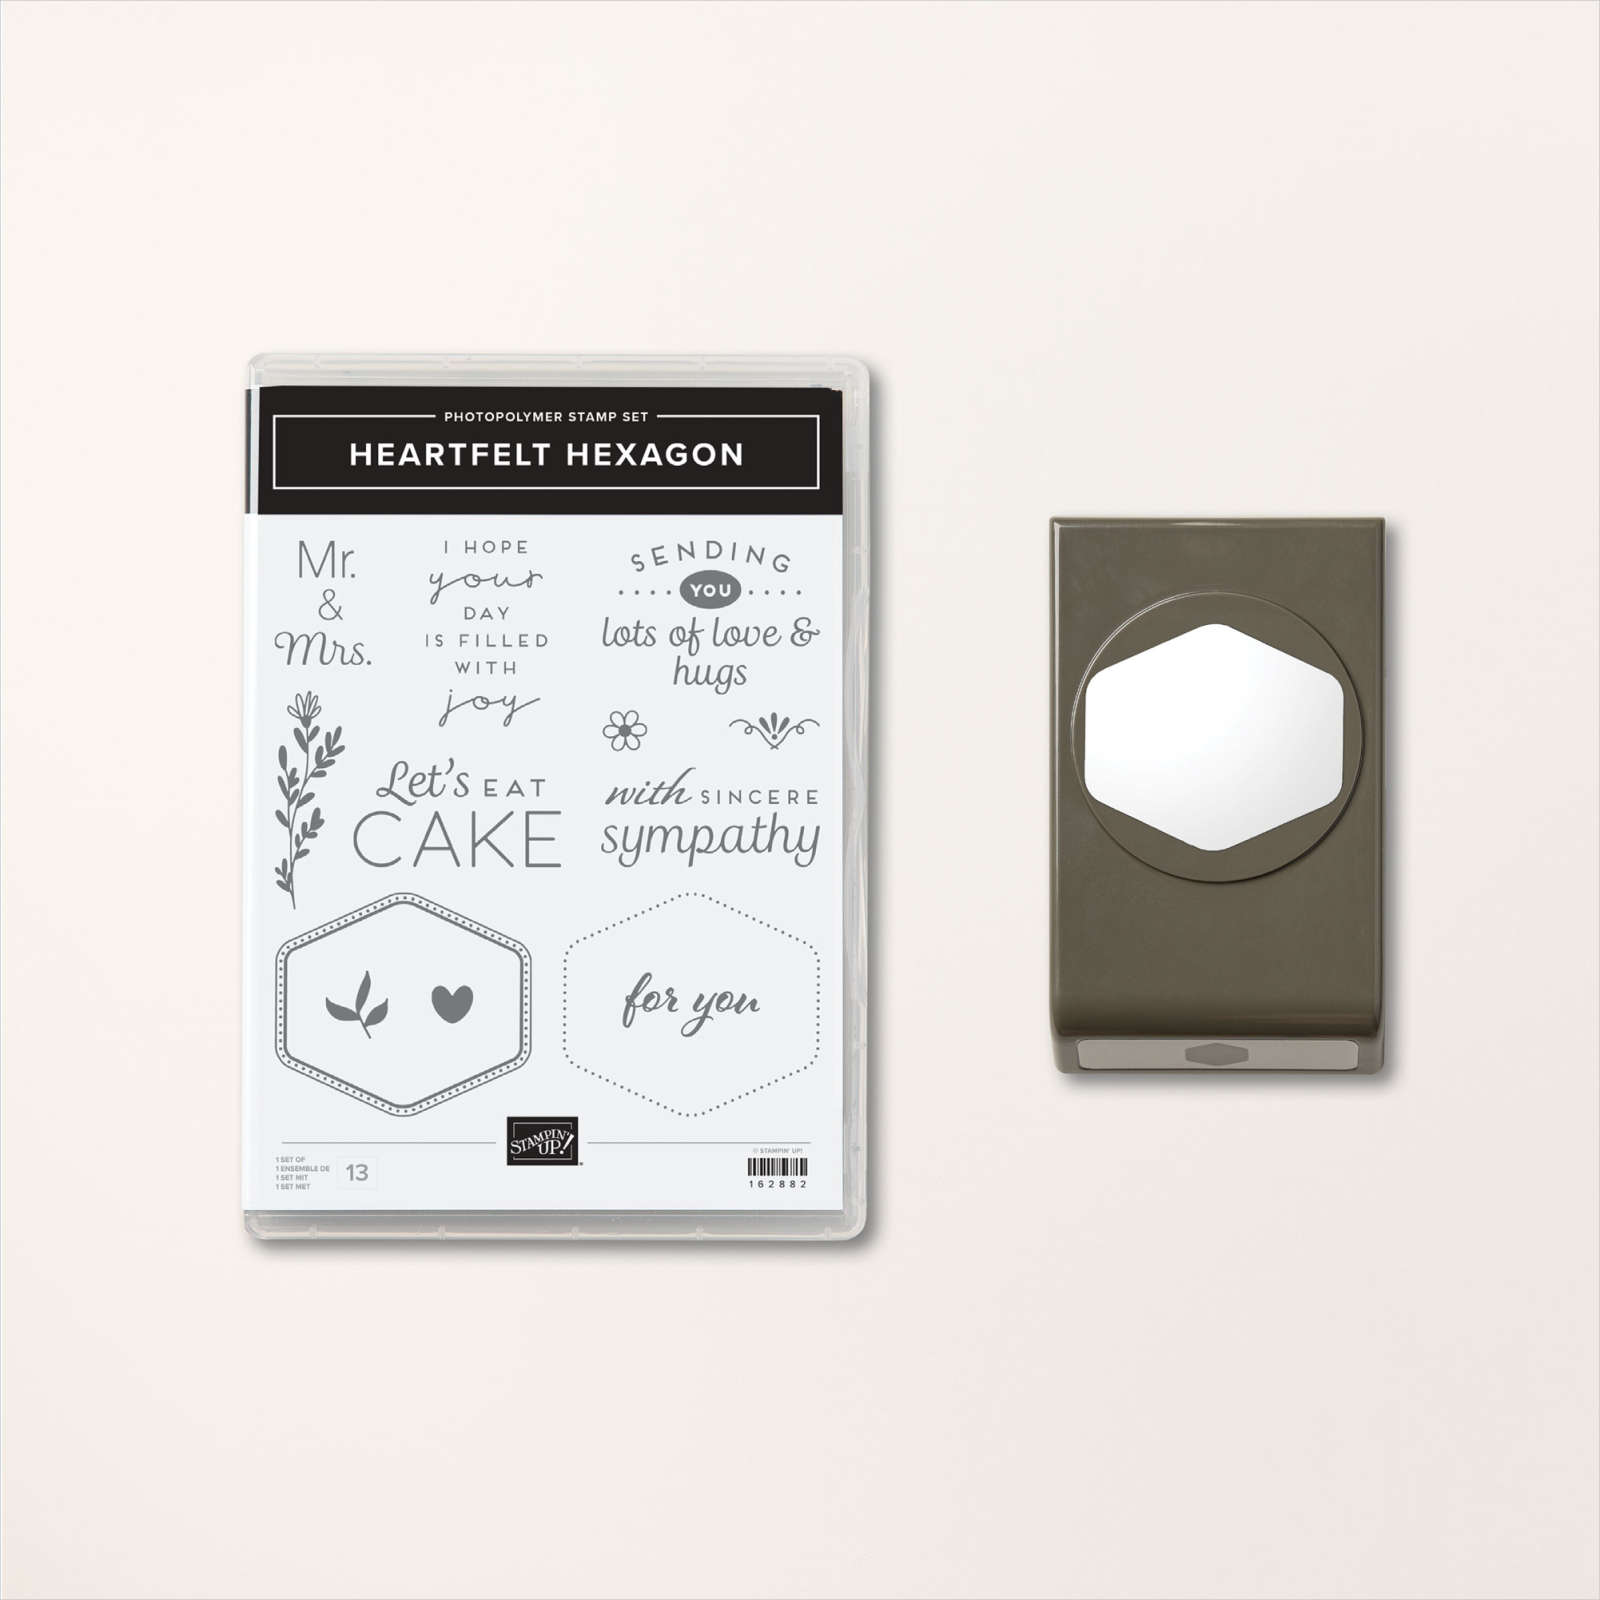
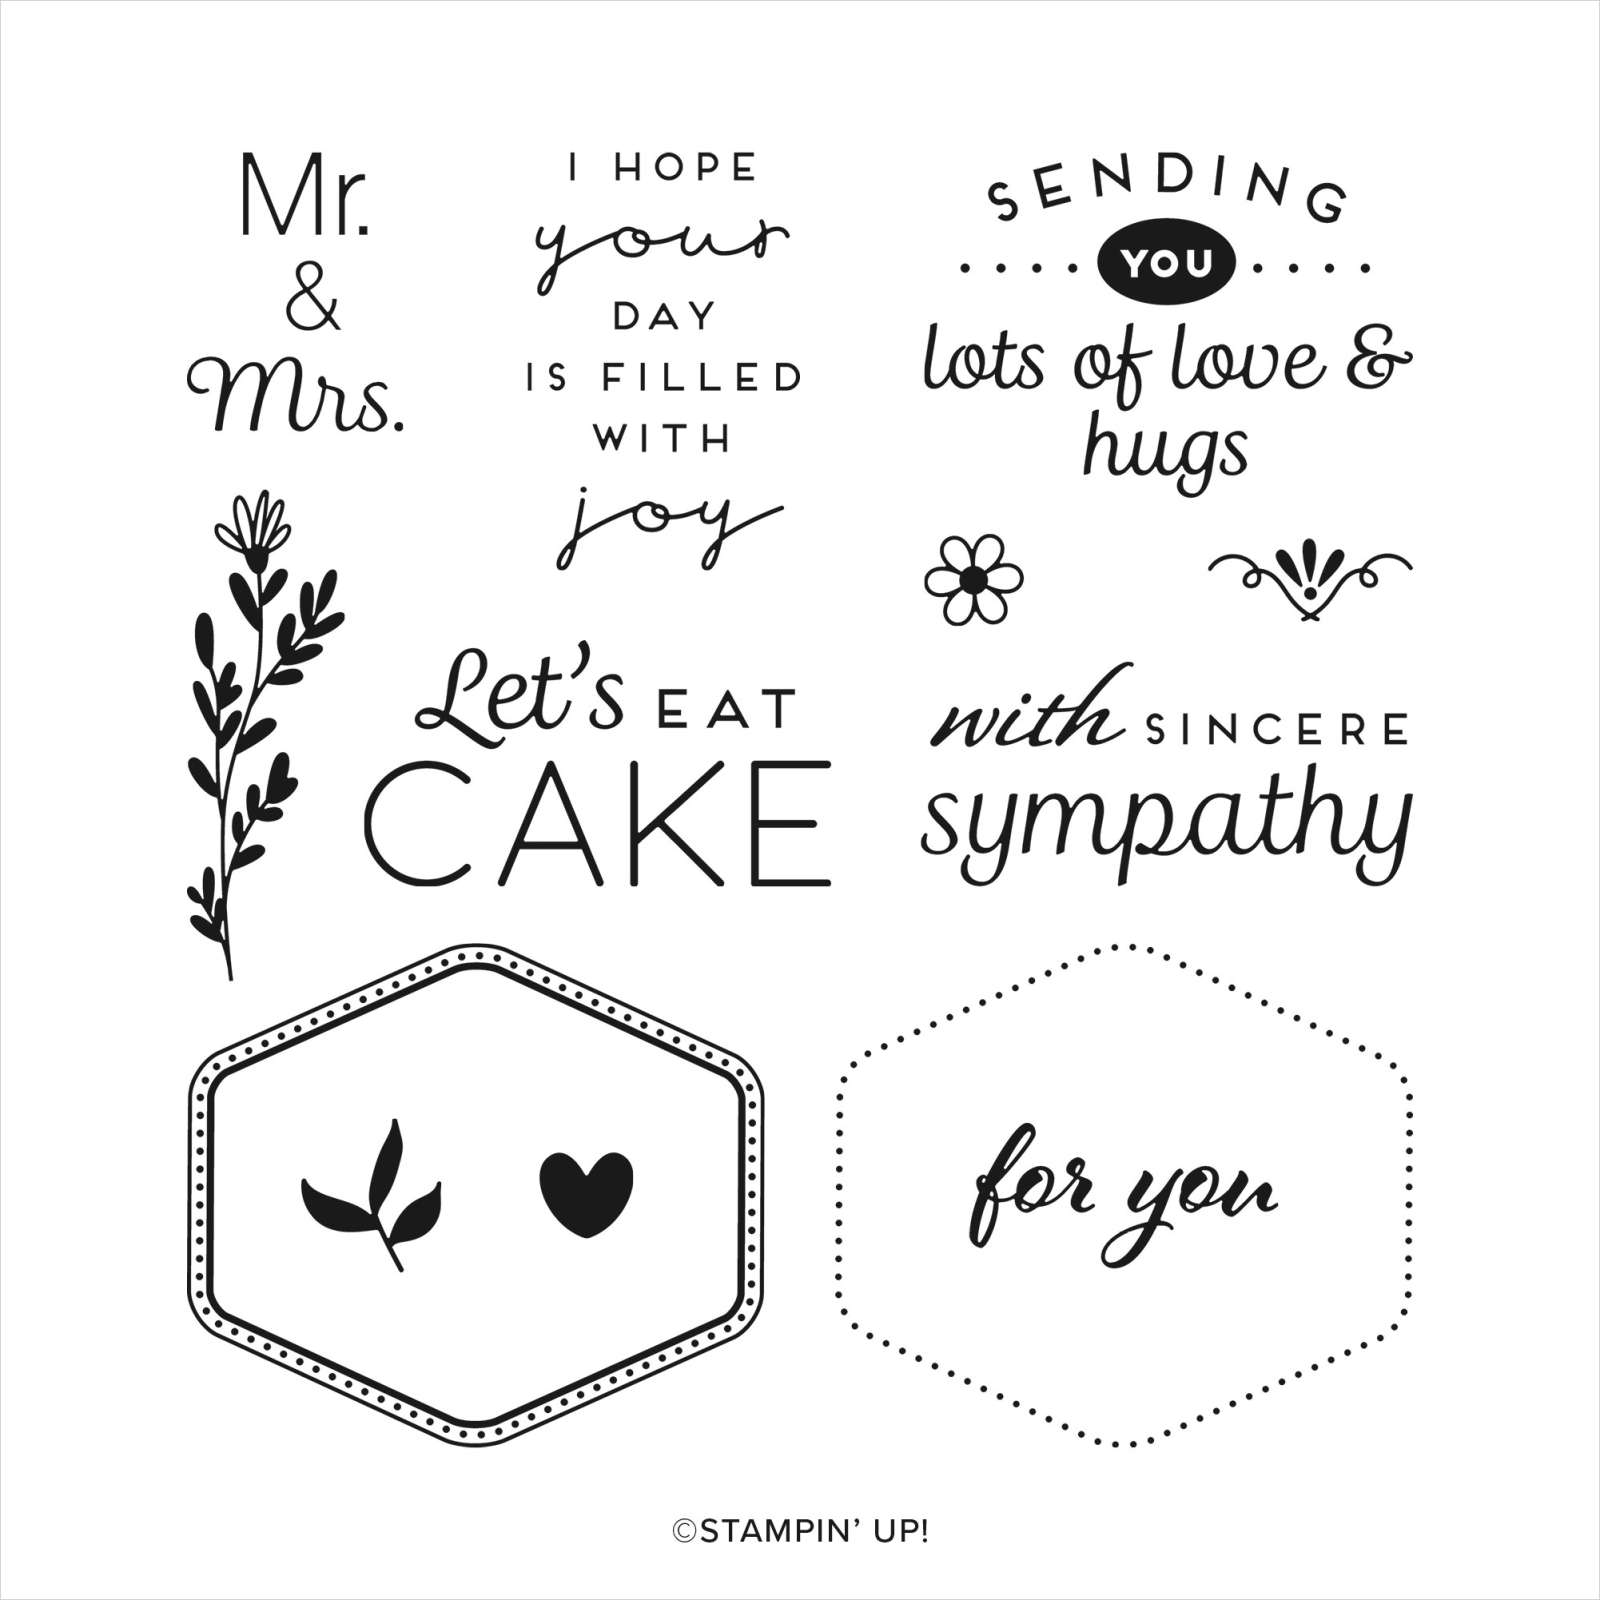
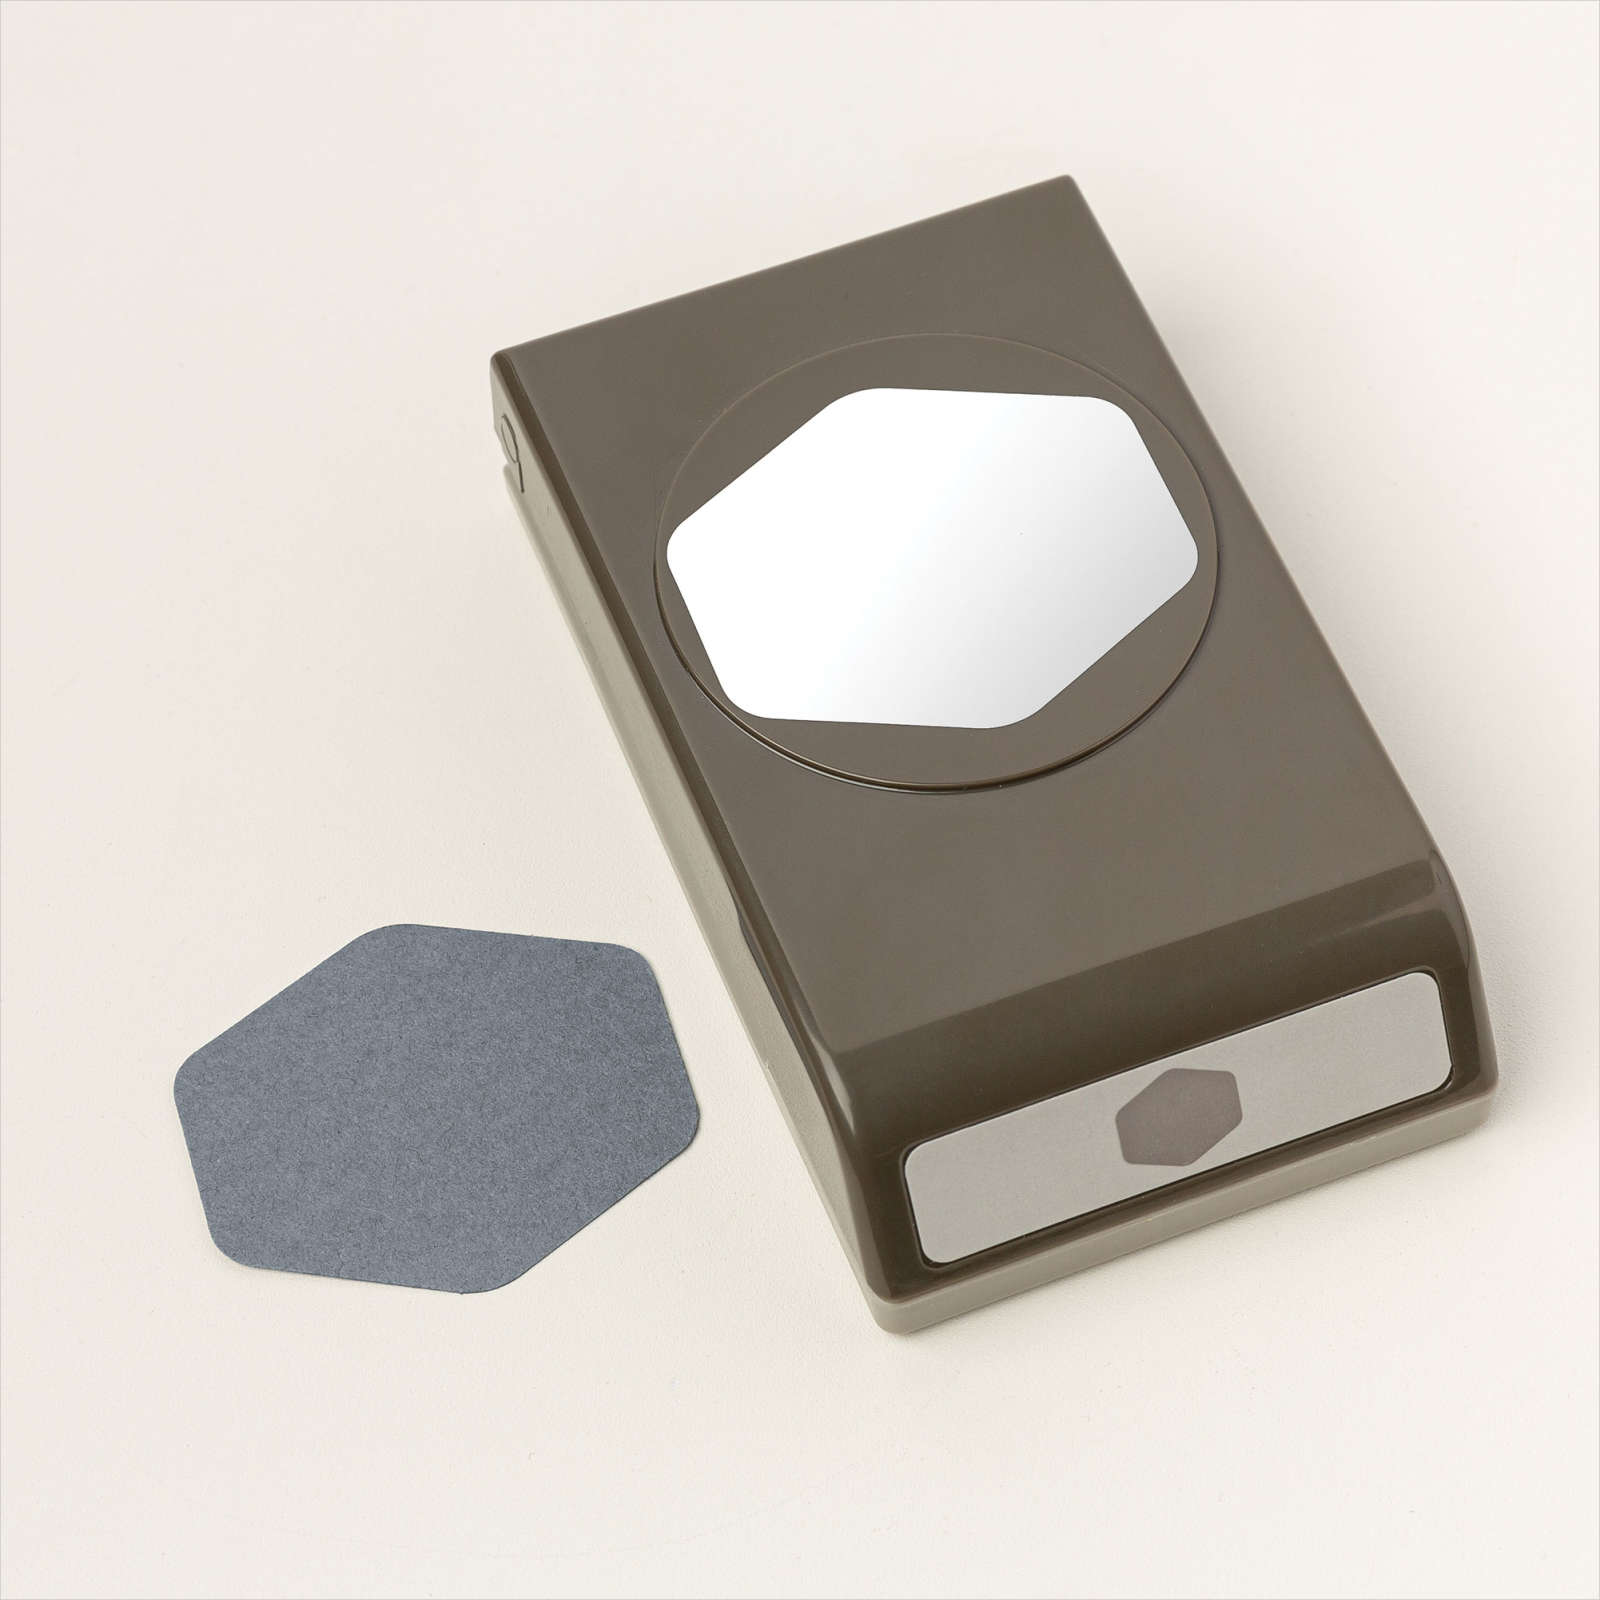
The whole panel is attached to Basic White card and then scored and folded Early Espresso card. I stamped the border image from the Heartfelt Hellos stamp set onto Basic White card using Garden Green ink. I stamped the greeting from the Heartfelt Hellos stamp set inside the border using Garden Green ink. I used the Heartfelt Hexagon Punch to punch out the image before attaching it to the card front using dimensionals. To decorate the inside of the card, I stamped the greeting from the Heartfelt Hellos stamp set onto Basic White card using Garden Green ink. I die cut Garden Green card three times using the grass die from the Jungle Pals Dies and attached them across the bottom of the stamped Basic White card.

I had so much fun creating these cards using these products, I thought you might like to see them all together. I would love to know what you think.
Bye for now,
Kris
Product Used:
Heartfelt Hellos
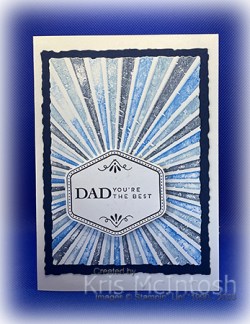
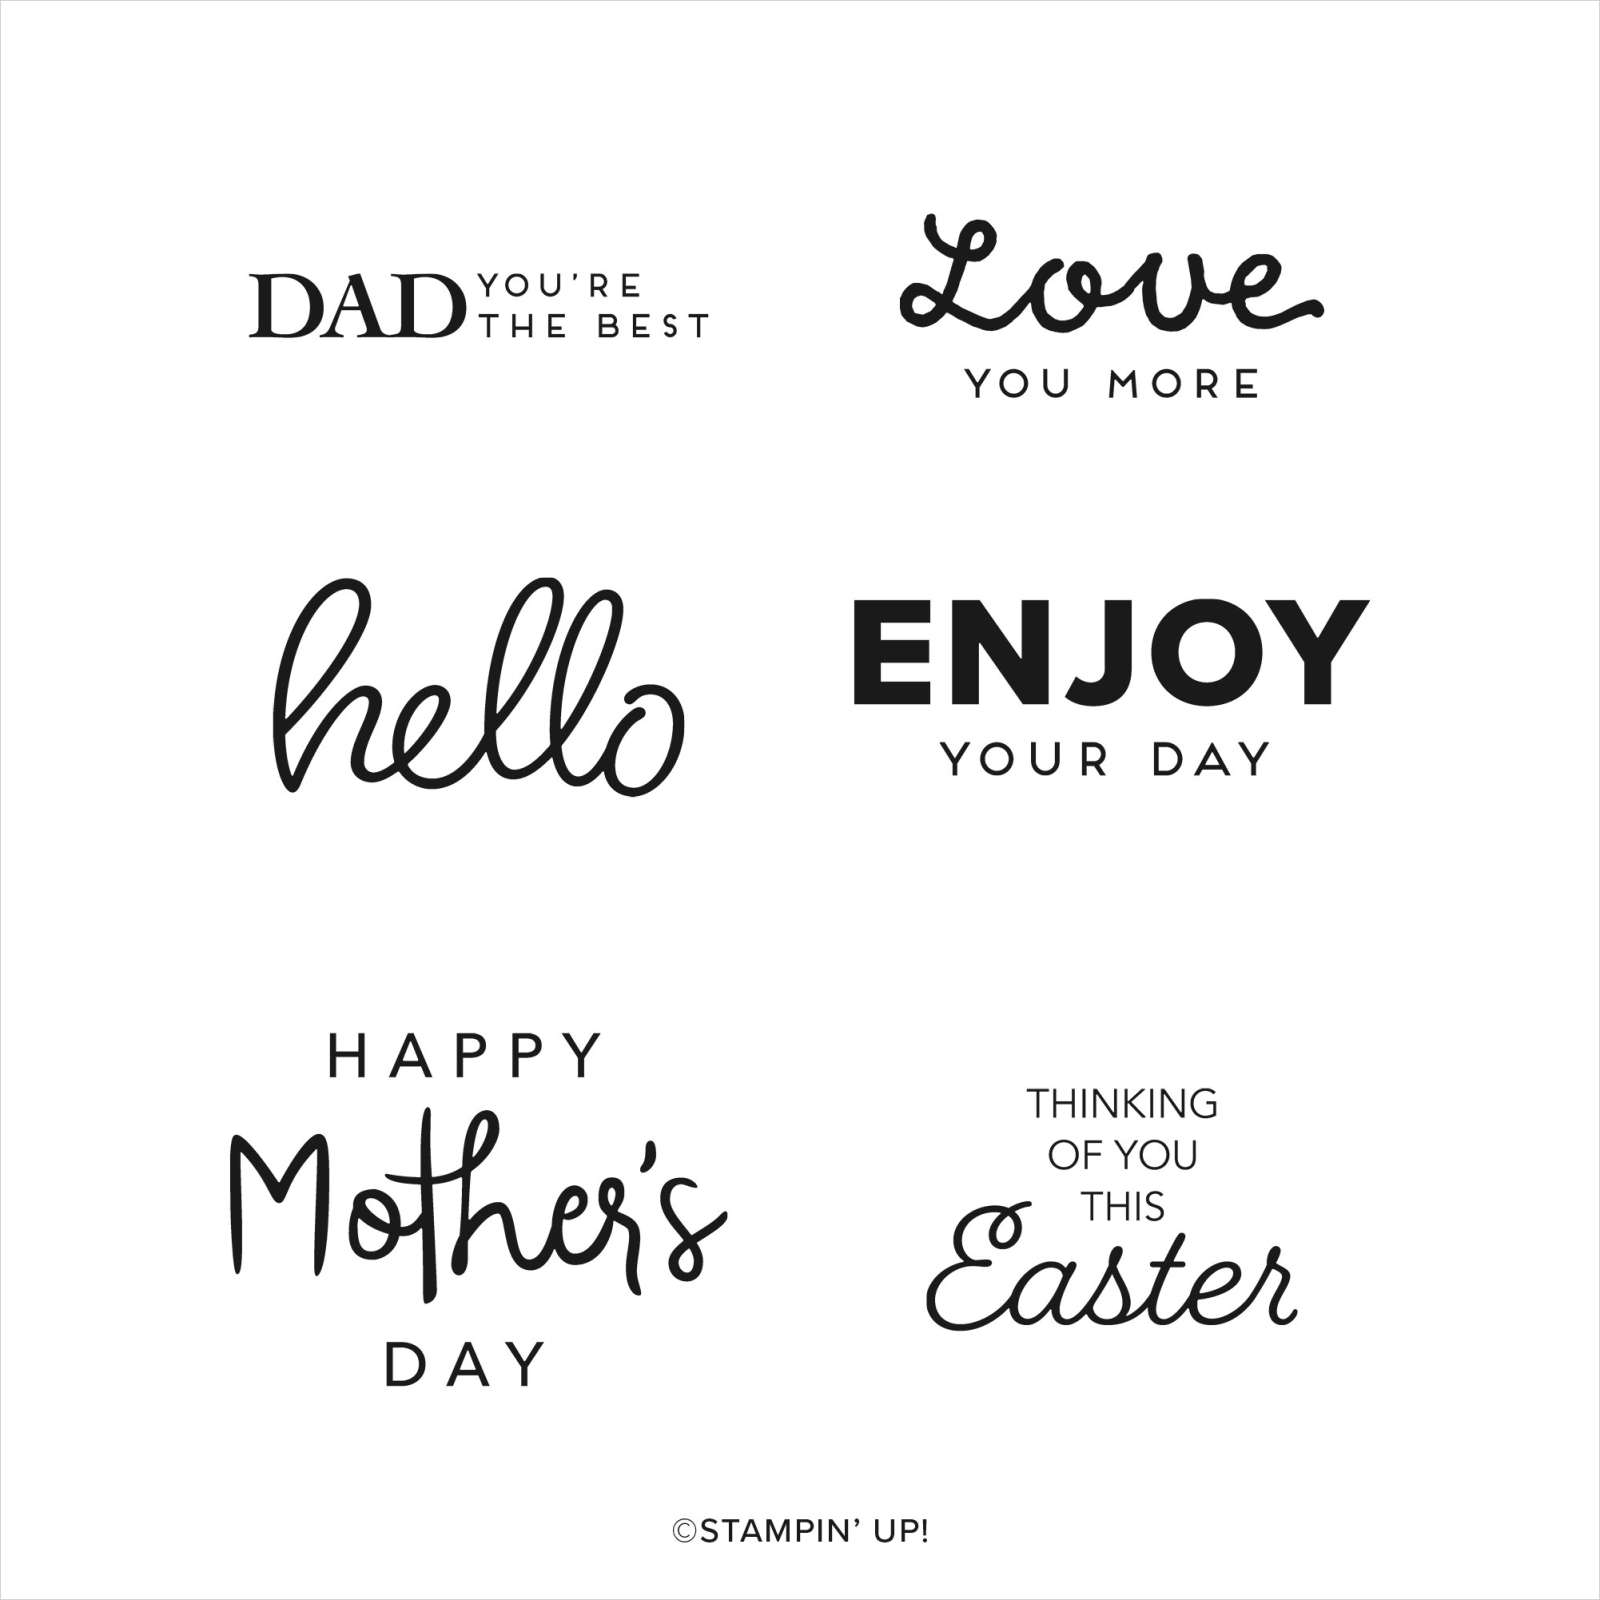
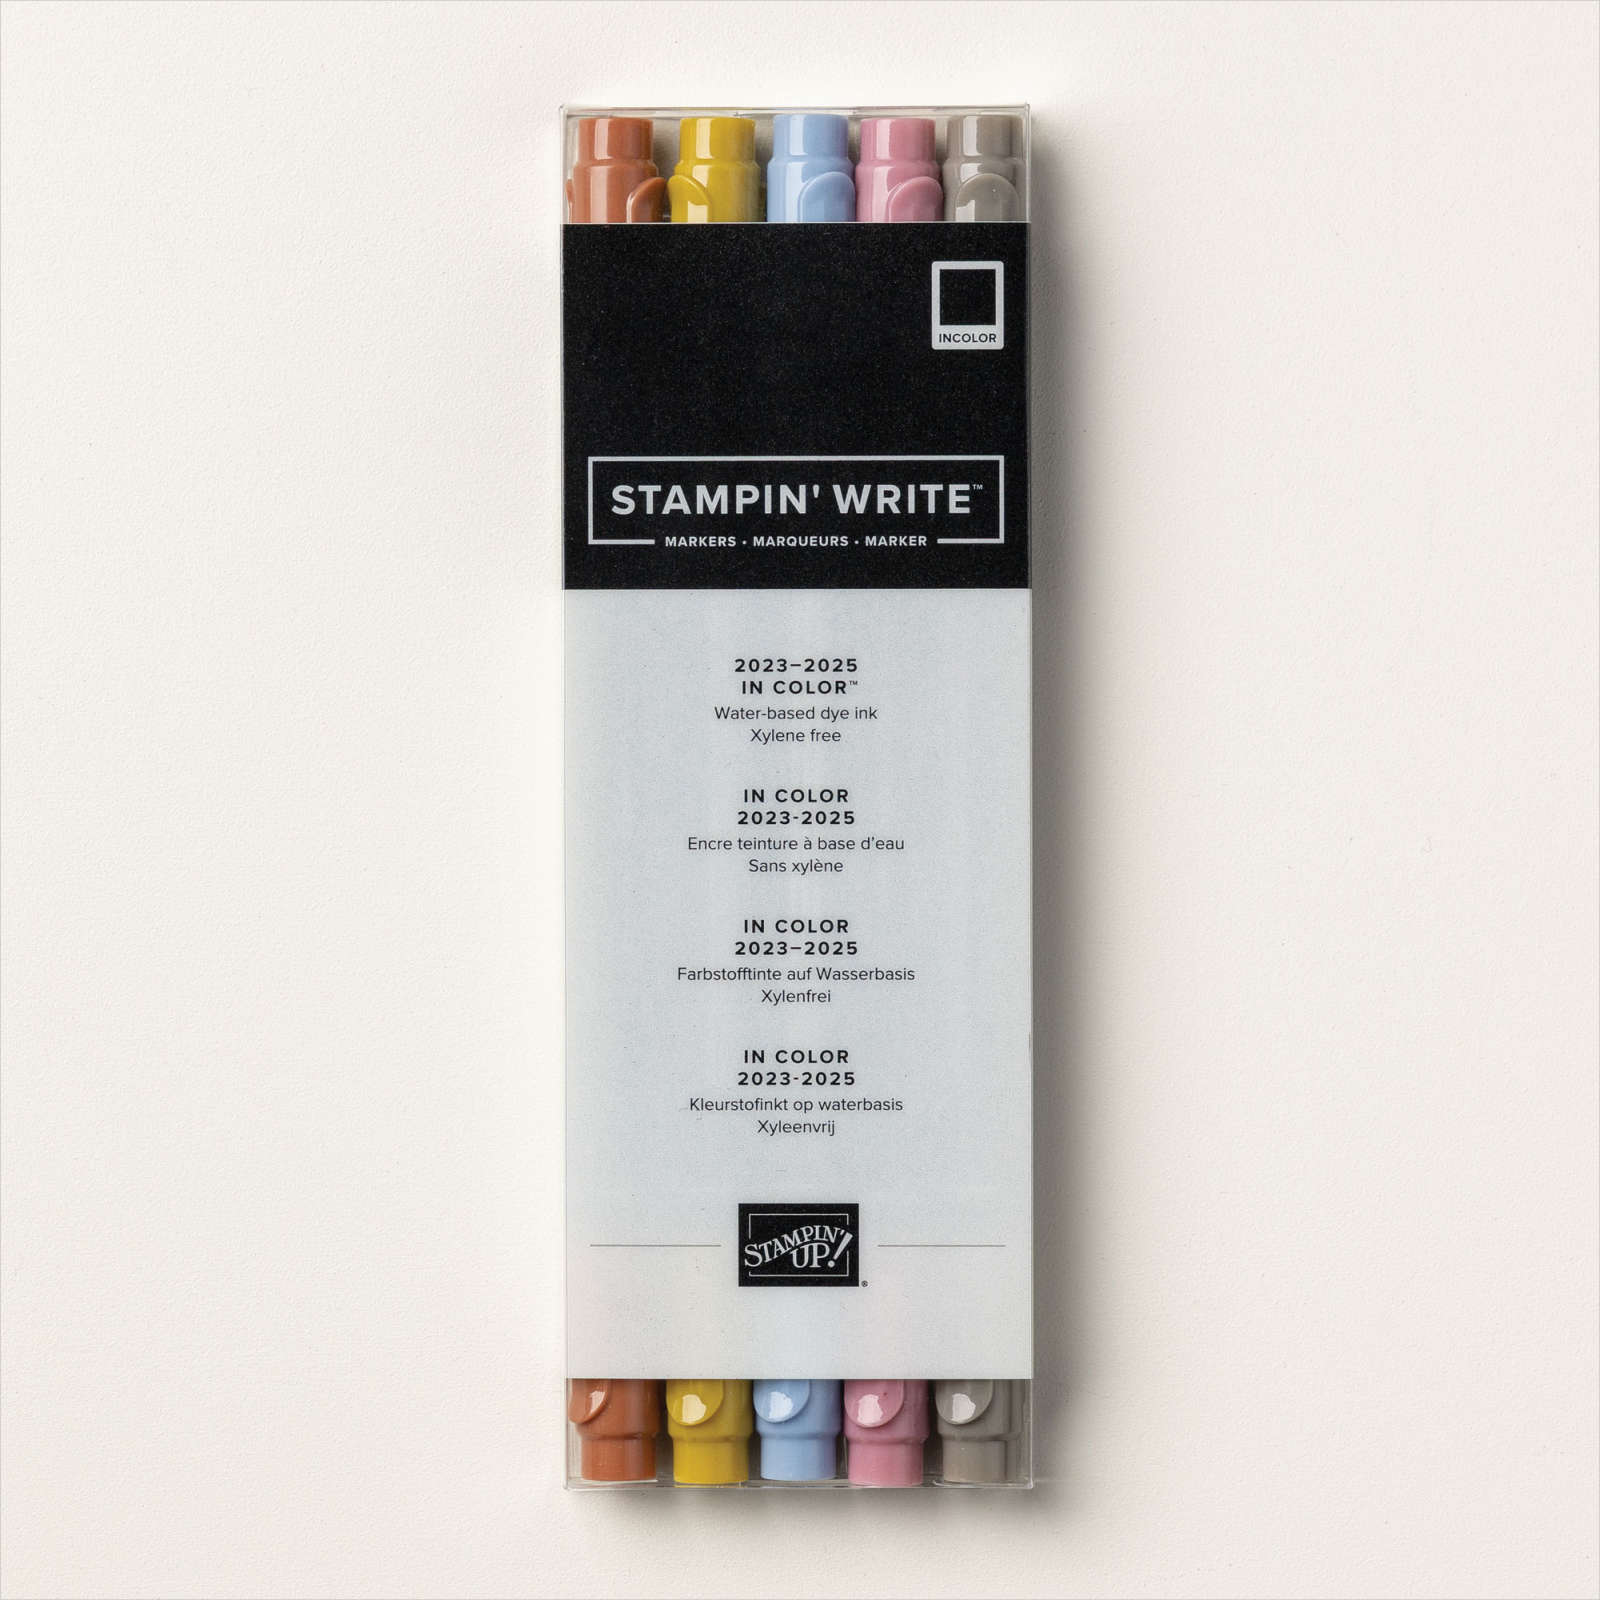
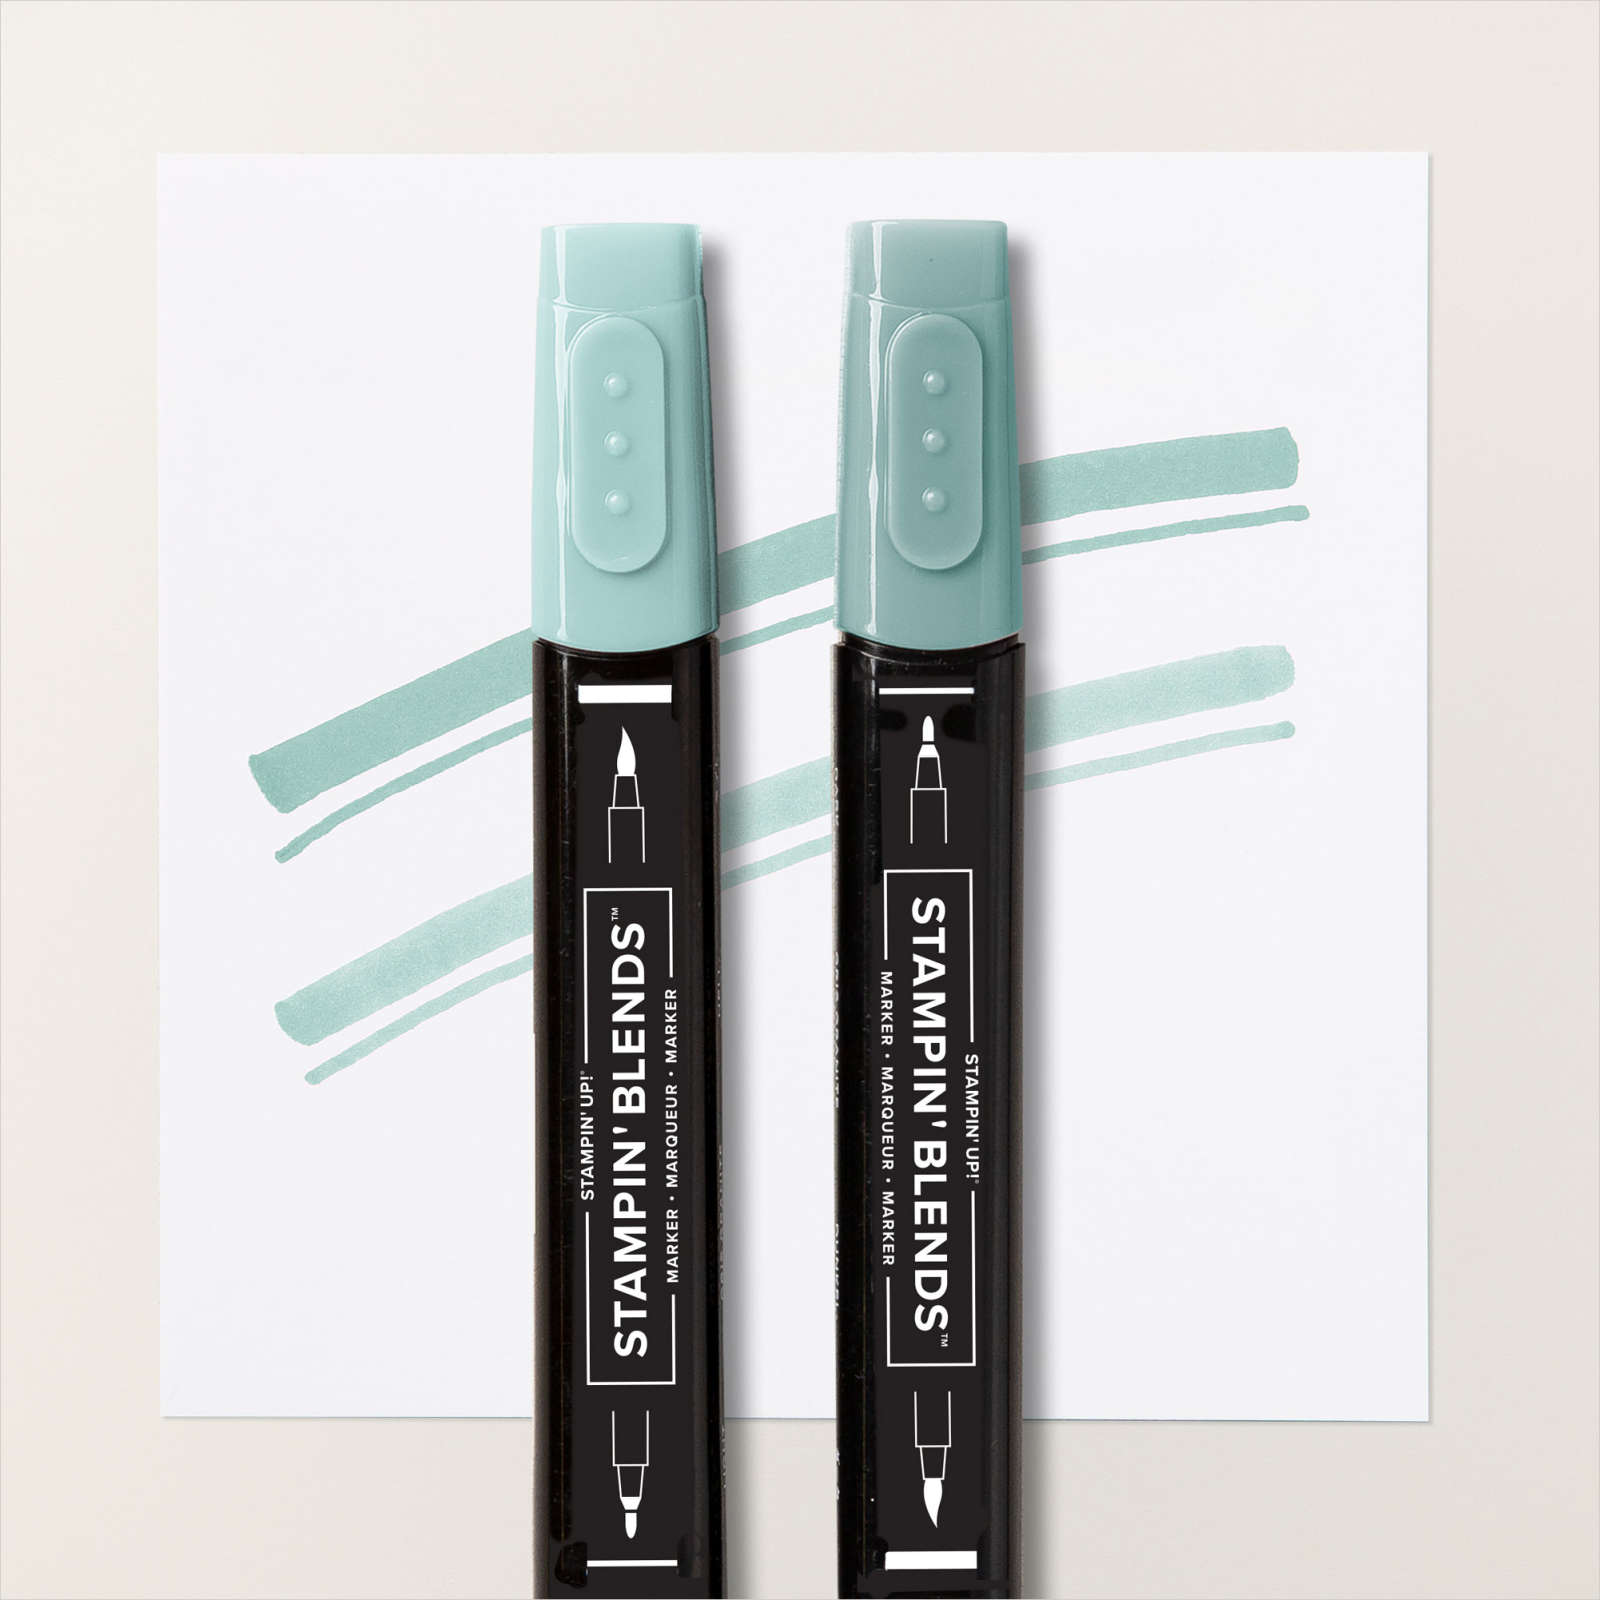
Is one of the stamp sets that you can earn for free during Sale-a-Bration, just place an order for $90.00. The great thing about this stamp set is that it co-ordinates beautifully with the Heartfelt Hexagon Bundle. So for today’s card I used the Rays of Light Background stamp and coloured it using Boho Blue, Misty Moonlight and Azure Blue Stampin’ Write Markers. I stamped the image onto Basic White card and cut it out using one of the Deckled Rectangle Dies.
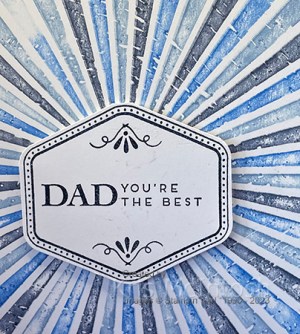
I attached it to a Night of Navy rectangle cut using the same dies and then scored and folded Thick Basic White card. I stamped the border image from the Heartfelt Hexagon stamp set onto Basic White card using Night of Navy ink.
I stamped the greeting from the Heartfelt Hellos stamp set inside the border using Night of Navy ink. I also stamped the filigree image from the Heartfelt Hexagon stamp set before punching out the image using the Heartfelt Hexagon Punch. I attached the greeting to the card front using dimensionals. I stamped another greeting from the Heartfelt Hexagon stamp set onto Basic White card using Night of Navy ink. I attached the stamped panel to Night of Navy card before attaching it inside the card base. I just love how fun this card is and that you can combine these two stamp sets for lots of different styles of card. I think this is going to be very popular with everyone.
Bye for now,
Kris
Product Used:


Kristine
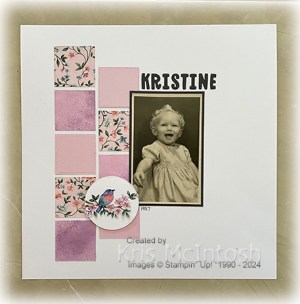
Today’s page shows off a photo of me when I was only one year old. I cut two different patterns from the Flight & Airy 12″ x 12″ Designer Series Paper three times using one of the squares from the Stylish Shapes Dies. I also cut Bubble Bath card three times using the same die. The squares are attached down the left hand side of a Basic White 12″ x 12″ page. I attached the photo to Basic Gray and then to the page, overlapping the squares slightly.
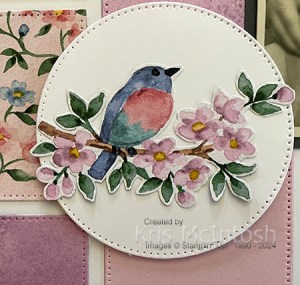
I cut the title from Basic Gray card using the Mini Alphabet Dies and attached it across the top of the photo. I cut a circle from Basic White card using one of the circles from the Stylish Shapes Dies. I cut the floral bird image from the Flight & Airy Designer Series Paper and attached it to the circle. The whole panel is attached to the page using dimensionals. I used a Basic Gray Stampin’ Write Marker to add the date below the photo. Another simple page but one that I am sure my family will love to see.
Bye for now,
Kris
Product Used:

Everyday Birthday
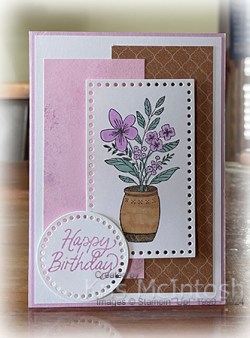
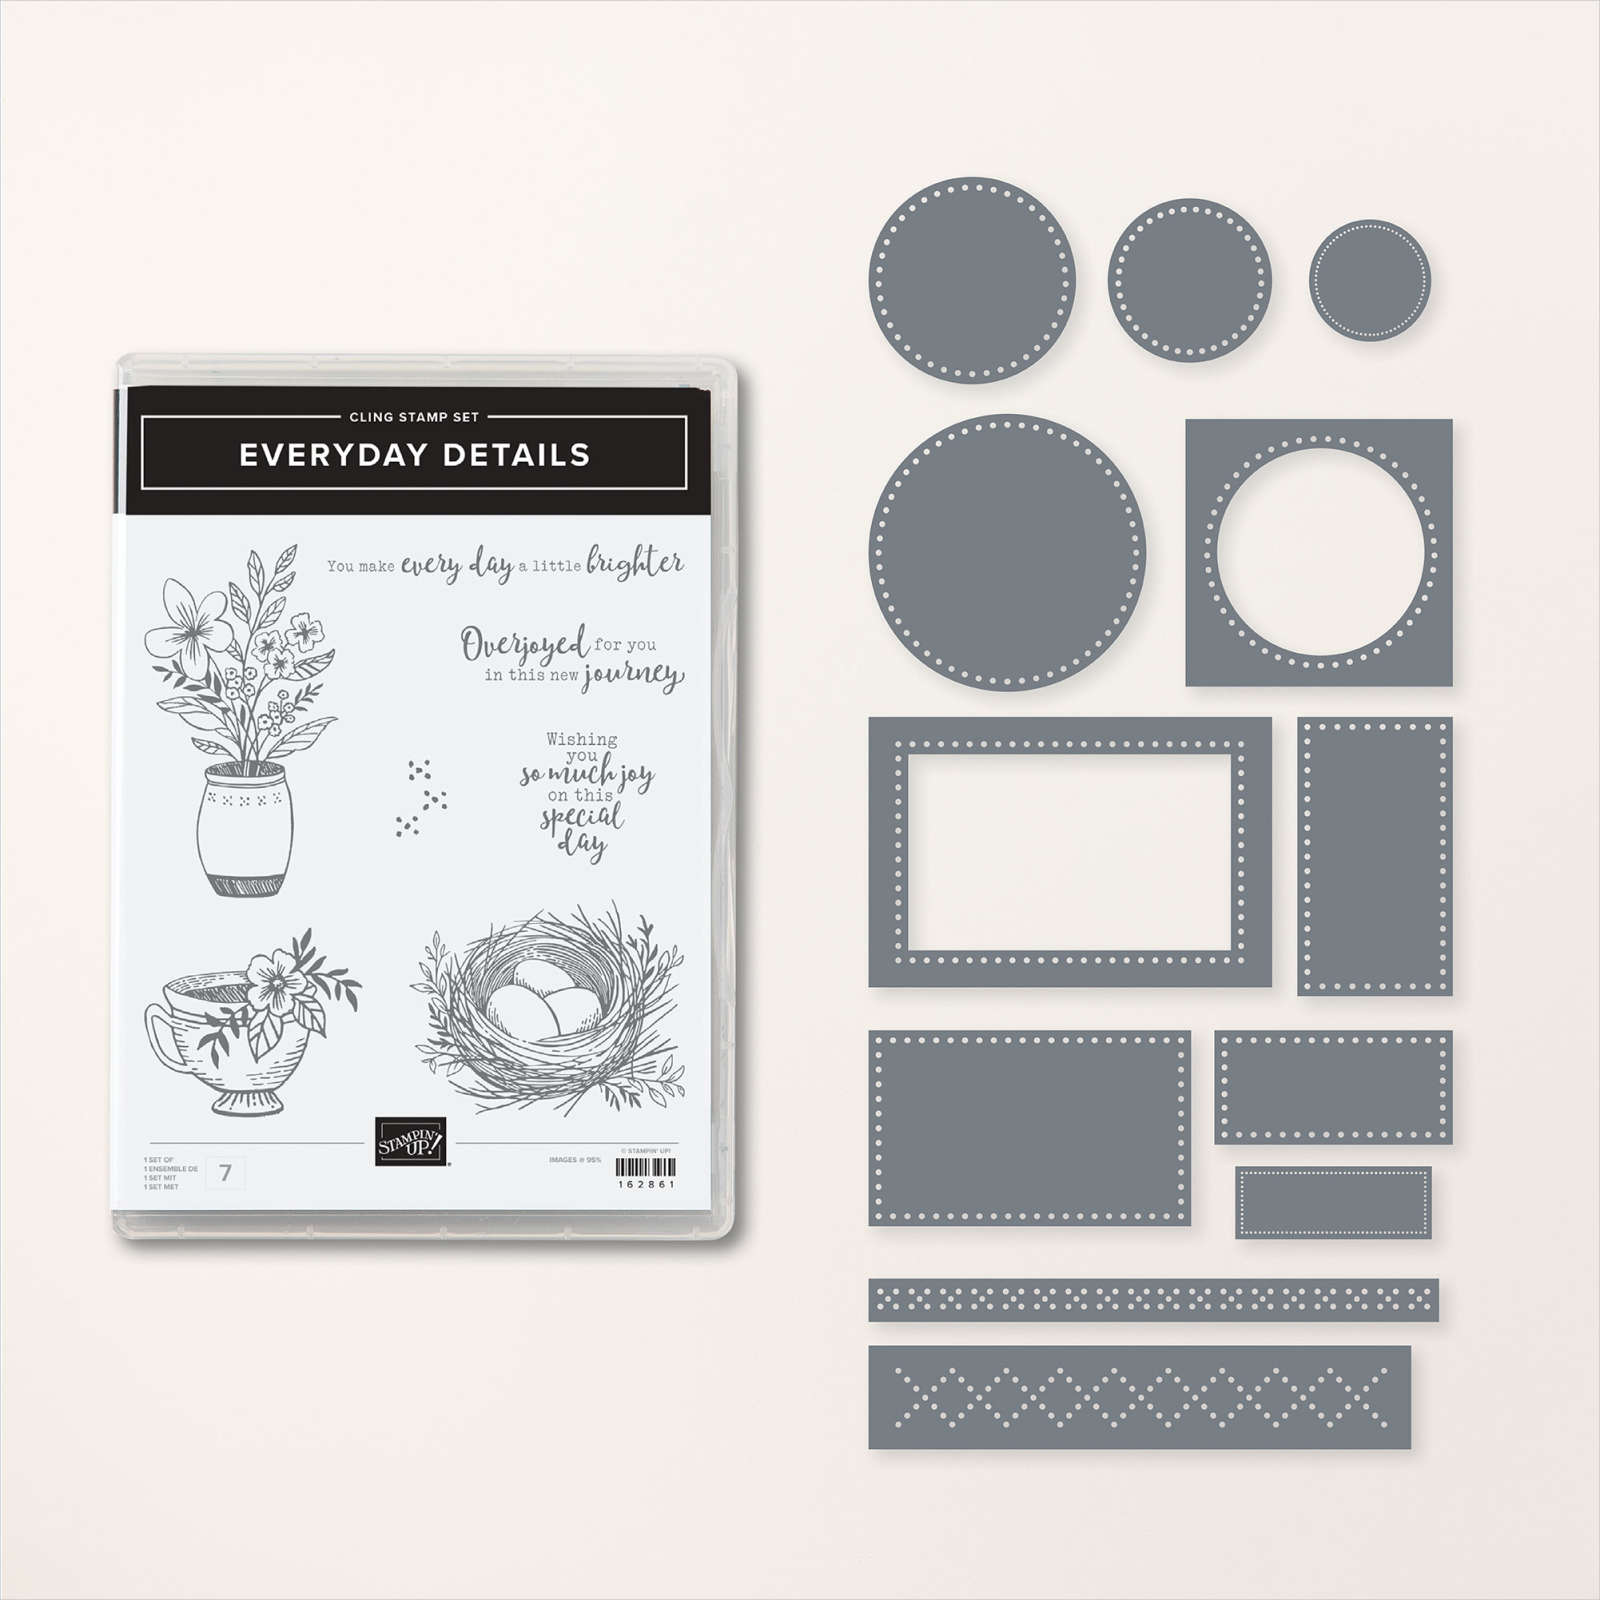
This week in my Facebook Live I shared some cards I made using the Everyday Details Bundle. Today I have another card to share with you. I attached two pieces of the Flight & Airy 12″ x 12″ Designer Series Paper to Basic White card (you can earn this Designer Series Paper for free until the end of February with a $90.00 order). The whole panel is attached to scored and folded Fresh Freesia card. I stamped the image from the Everyday Details stamp set onto Basic White card using Memento Tuxedo Black ink. I cut out the image using one of the rectangle dies from the Everyday Details Dies.

I coloured the image using Fresh Freesia, Light Lost Lagoon and Light Pecan Pie Stampin’ Blends. I attached the image to the card front using dimensionals. I stamped “happy birthday” from the Beautiful Balloons stamp set onto Basic White card using Fresh Freesia ink. I cut out the greeting using one of the circle dies from the Everyday Details Dies. The greeting is attached to the card front using dimensionals where necessary.

To decorate the inside of the card, I stamped the greeting from the Everyday Details stamp set onto Basic White card using Fresh Freesia ink. I stamped part of the floral image from the Everyday Details stamp set onto the lower left hand corner of the Basic White card using Memento Tuxedo Black ink. I coloured the stamped image using the same Stampin’ Blends as I used on the card front. This stamp set has so many possibilities, co-ordinating it with any Designer Series Paper in your stash or with another stamp set. I’d love to know what you think of today’s card.
Bye for now,
Kris
Product Used:


Welcome Little One

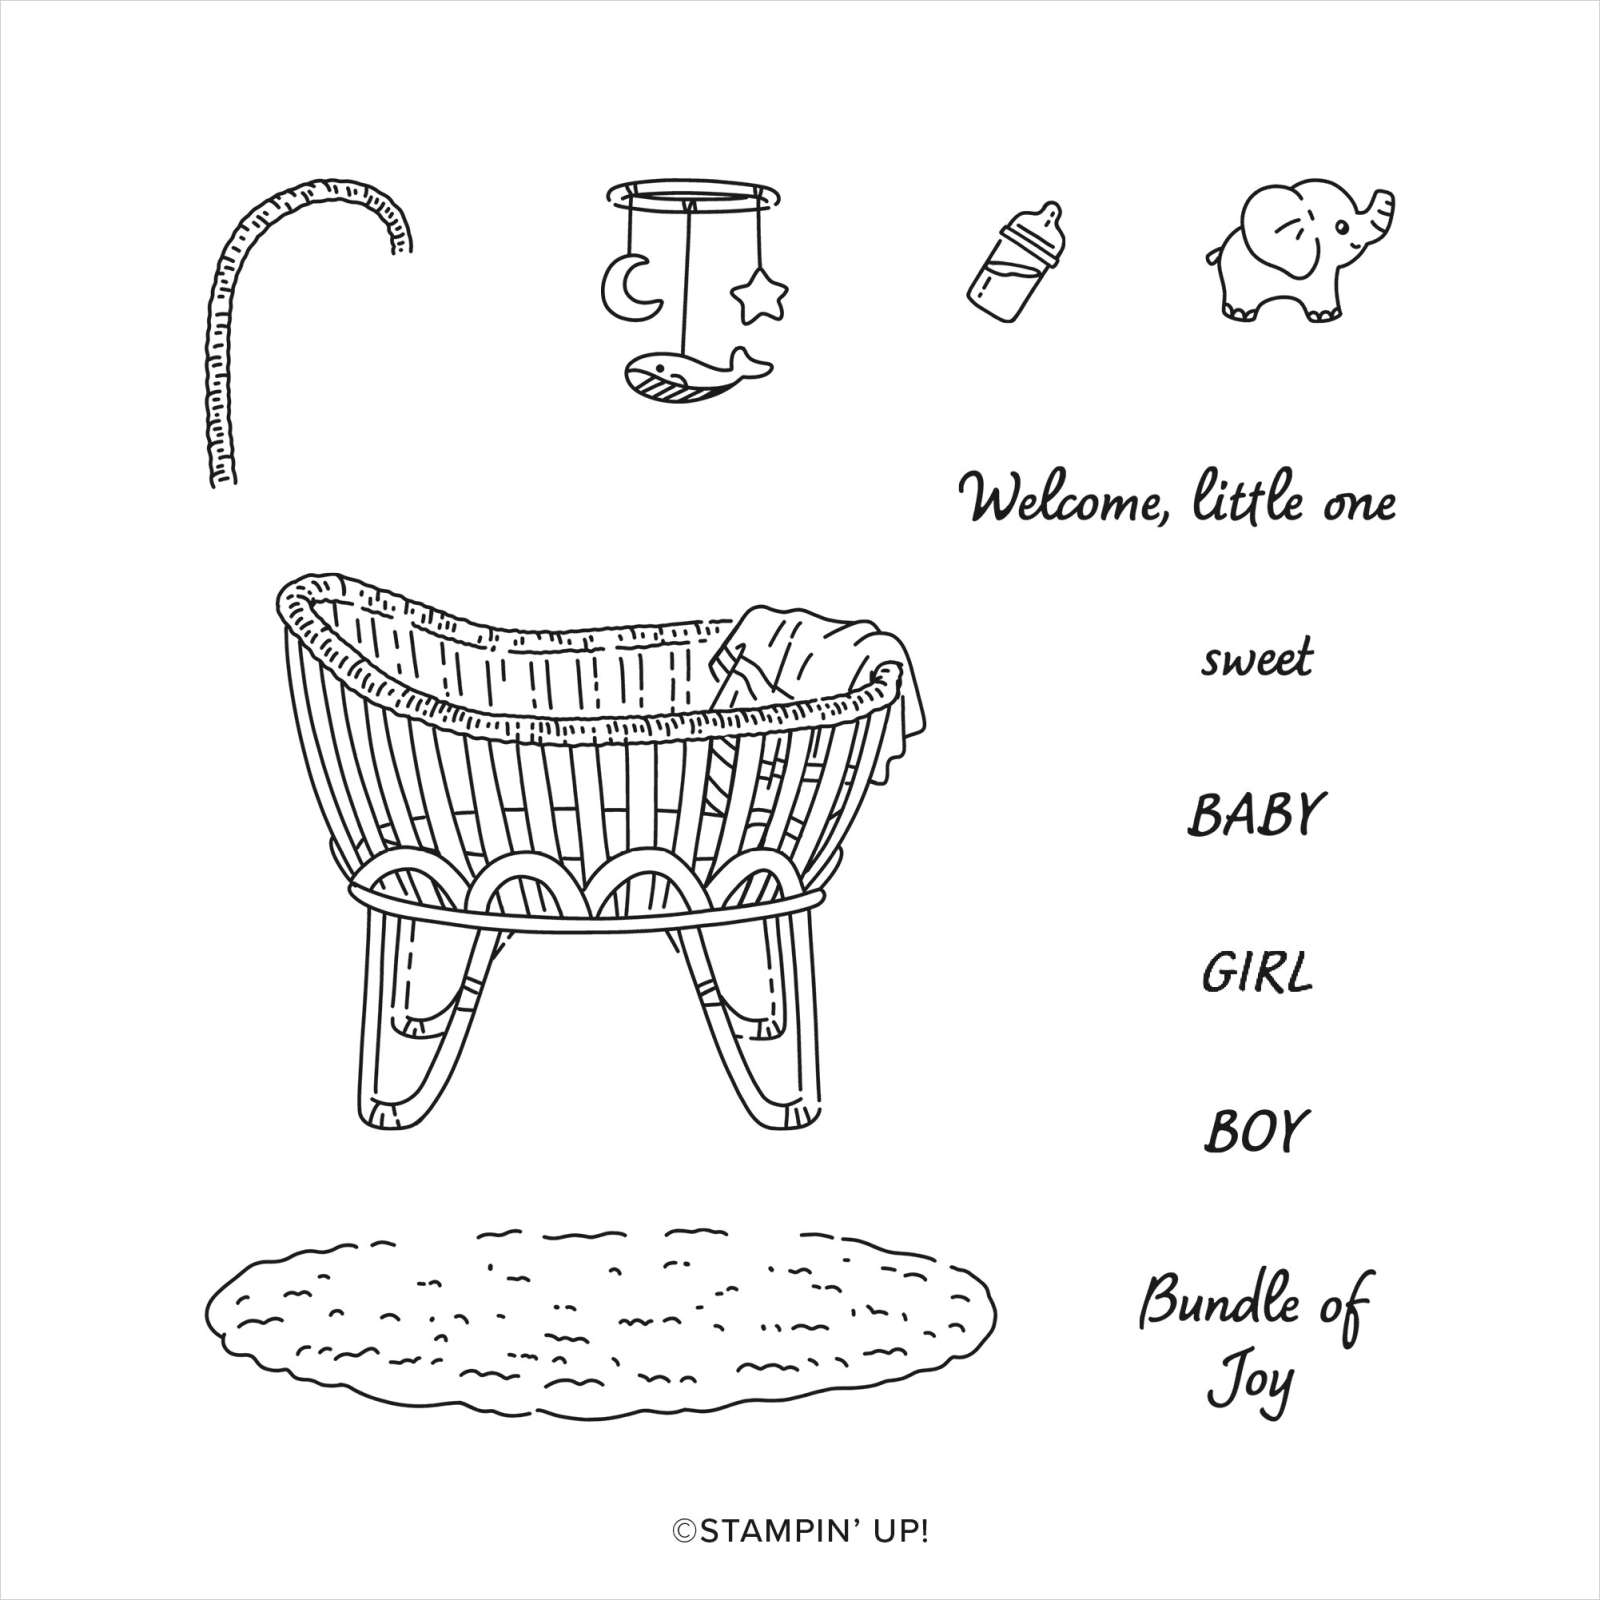
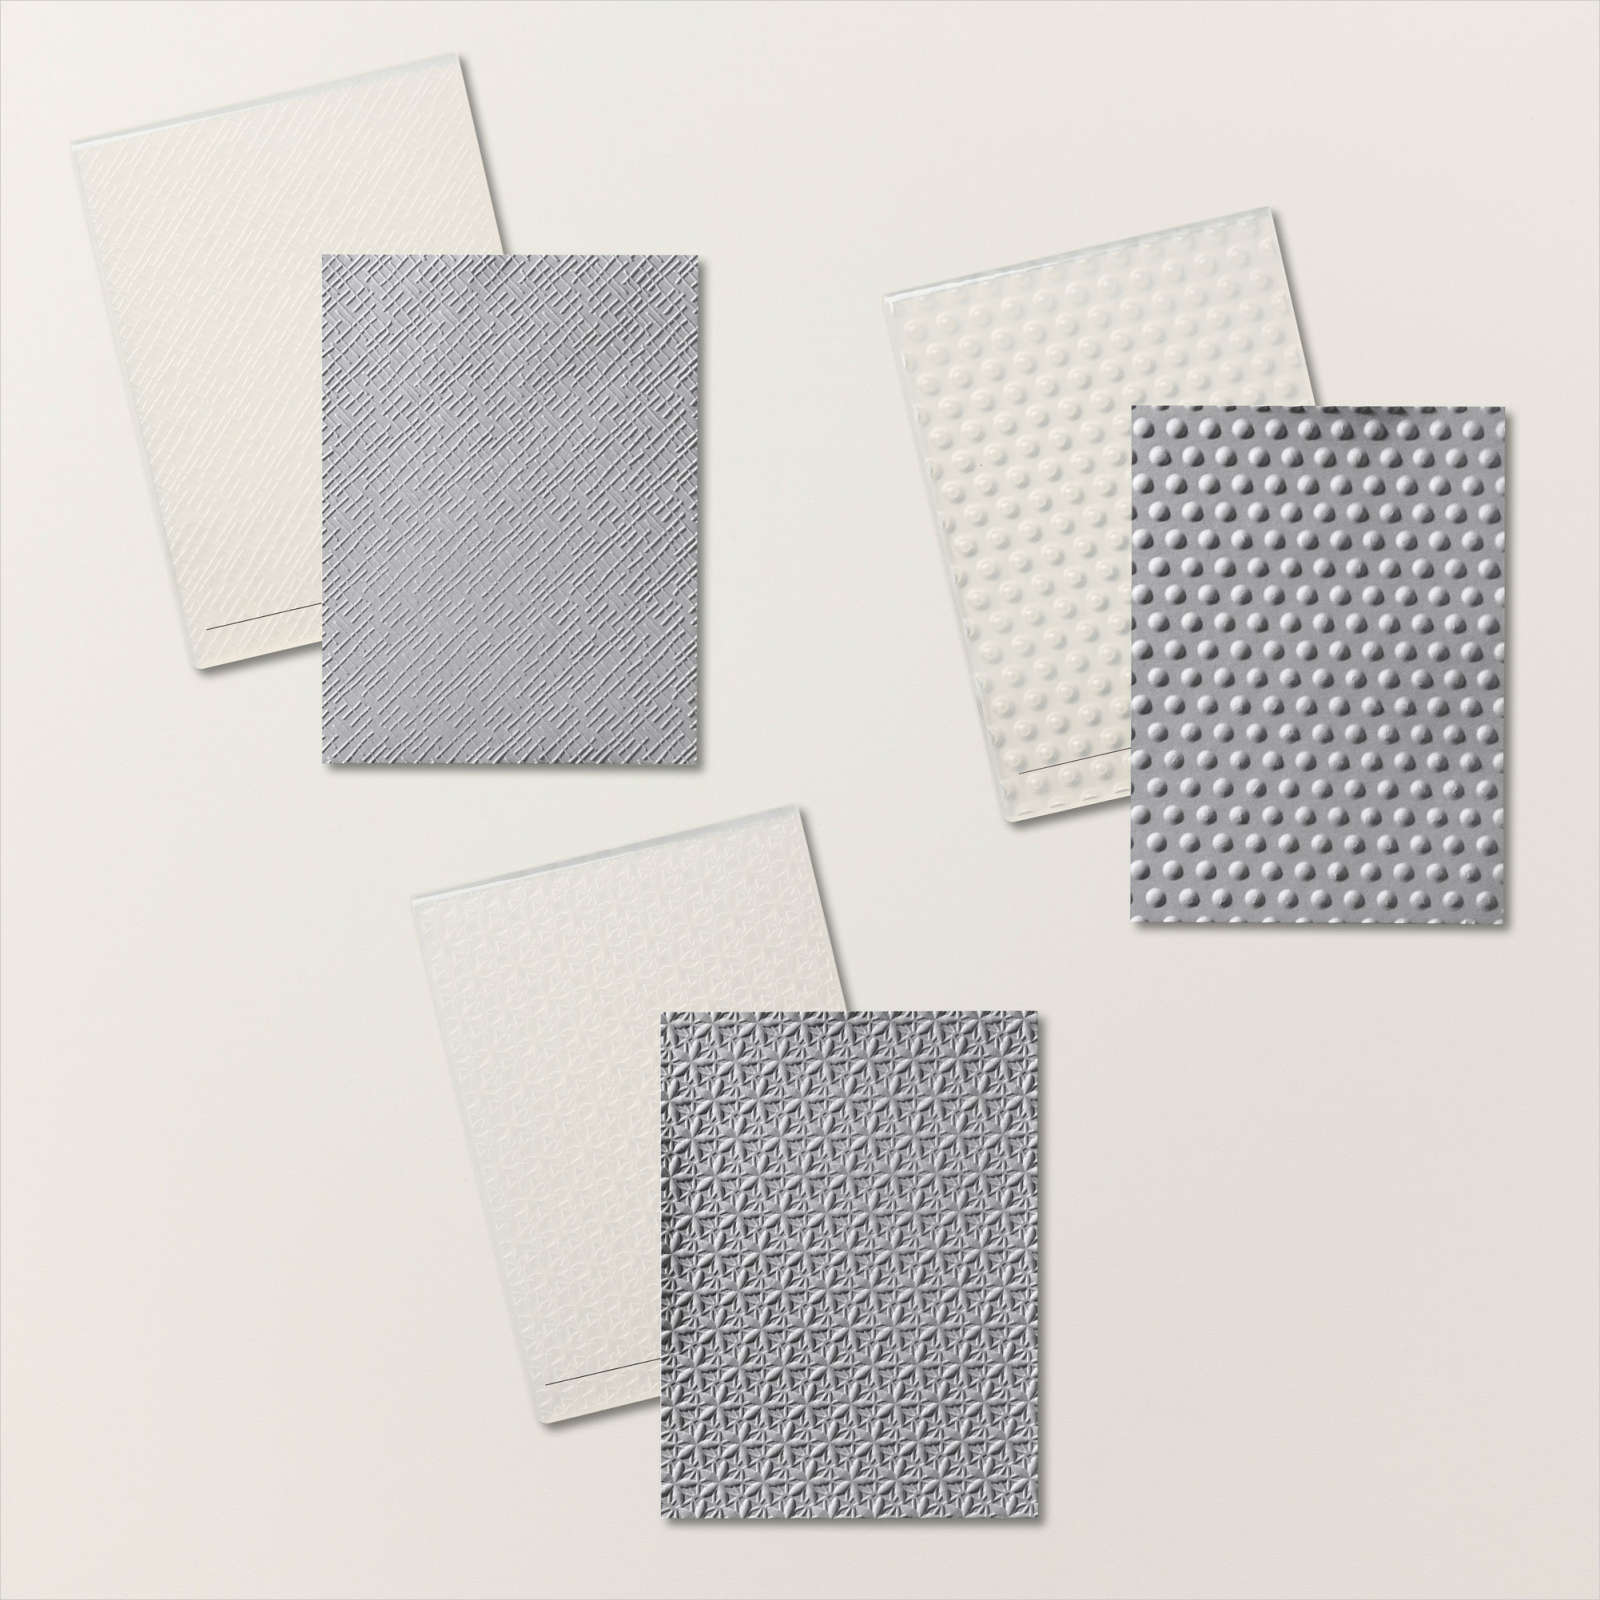
Today I have a boy and a girl version baby cards created using the Cradled in Love stamp set which you can earn for FREE with a $90.00 qualifying order during Sale-A-Bration. To begin I embossed Basic White card using one of the Basics 3D Embossing Folders and attached it to Pool Party card. I stamped the cradle image from the Cradled in Love stamp set onto Basic White card using Memento Tuxedo Black ink. I stamped the mat image and hanger images onto the cradle using Memento Tuxedo Black ink. I coloured the image using Pool Party, Light Crumb Cake & Dark Daffodil Delight Stampin’ Blends.

I attached the stamped panel to Pool Party card and then the card front. I stamped the greeting from the Cradled in Love stamp set onto Basic White card using Pool Party ink. I cut out the greeting using the smaller banner from the Timeless Arrangments Dies. I attached the greeting to a larger banner cut from Pool Party card, also using the Timeless Angements Dies.
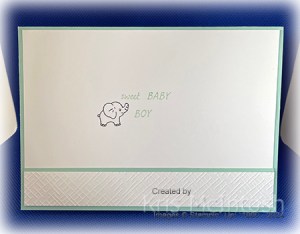
The greeting is attached to the top right hand corner of the card front. To decorate the inside of the card, I stamped “sweet Baby Boy” using the greetings from the Cradled in Love stamp set onto Basic White card using Pool Party ink. I stamped the elephant image from the same stamp set beside the greeting using Memento Tuxedo Black ink. I embossed a narrow strip of Basic White card using the same Basics 3D Embossing Folder as I used for the front of the card. I attached a narrow strip of Pool Party card behind one long edge and attached it across the bottom of the stamped card. The second version of the card uses exactly the same supplies except I used Bubble Bath Stampin’ Blends and Bubble Bath card and ink.

I love how they both turned out, don’t you?
Bye for now,
Kris
Product Used:


Mr & Mrs

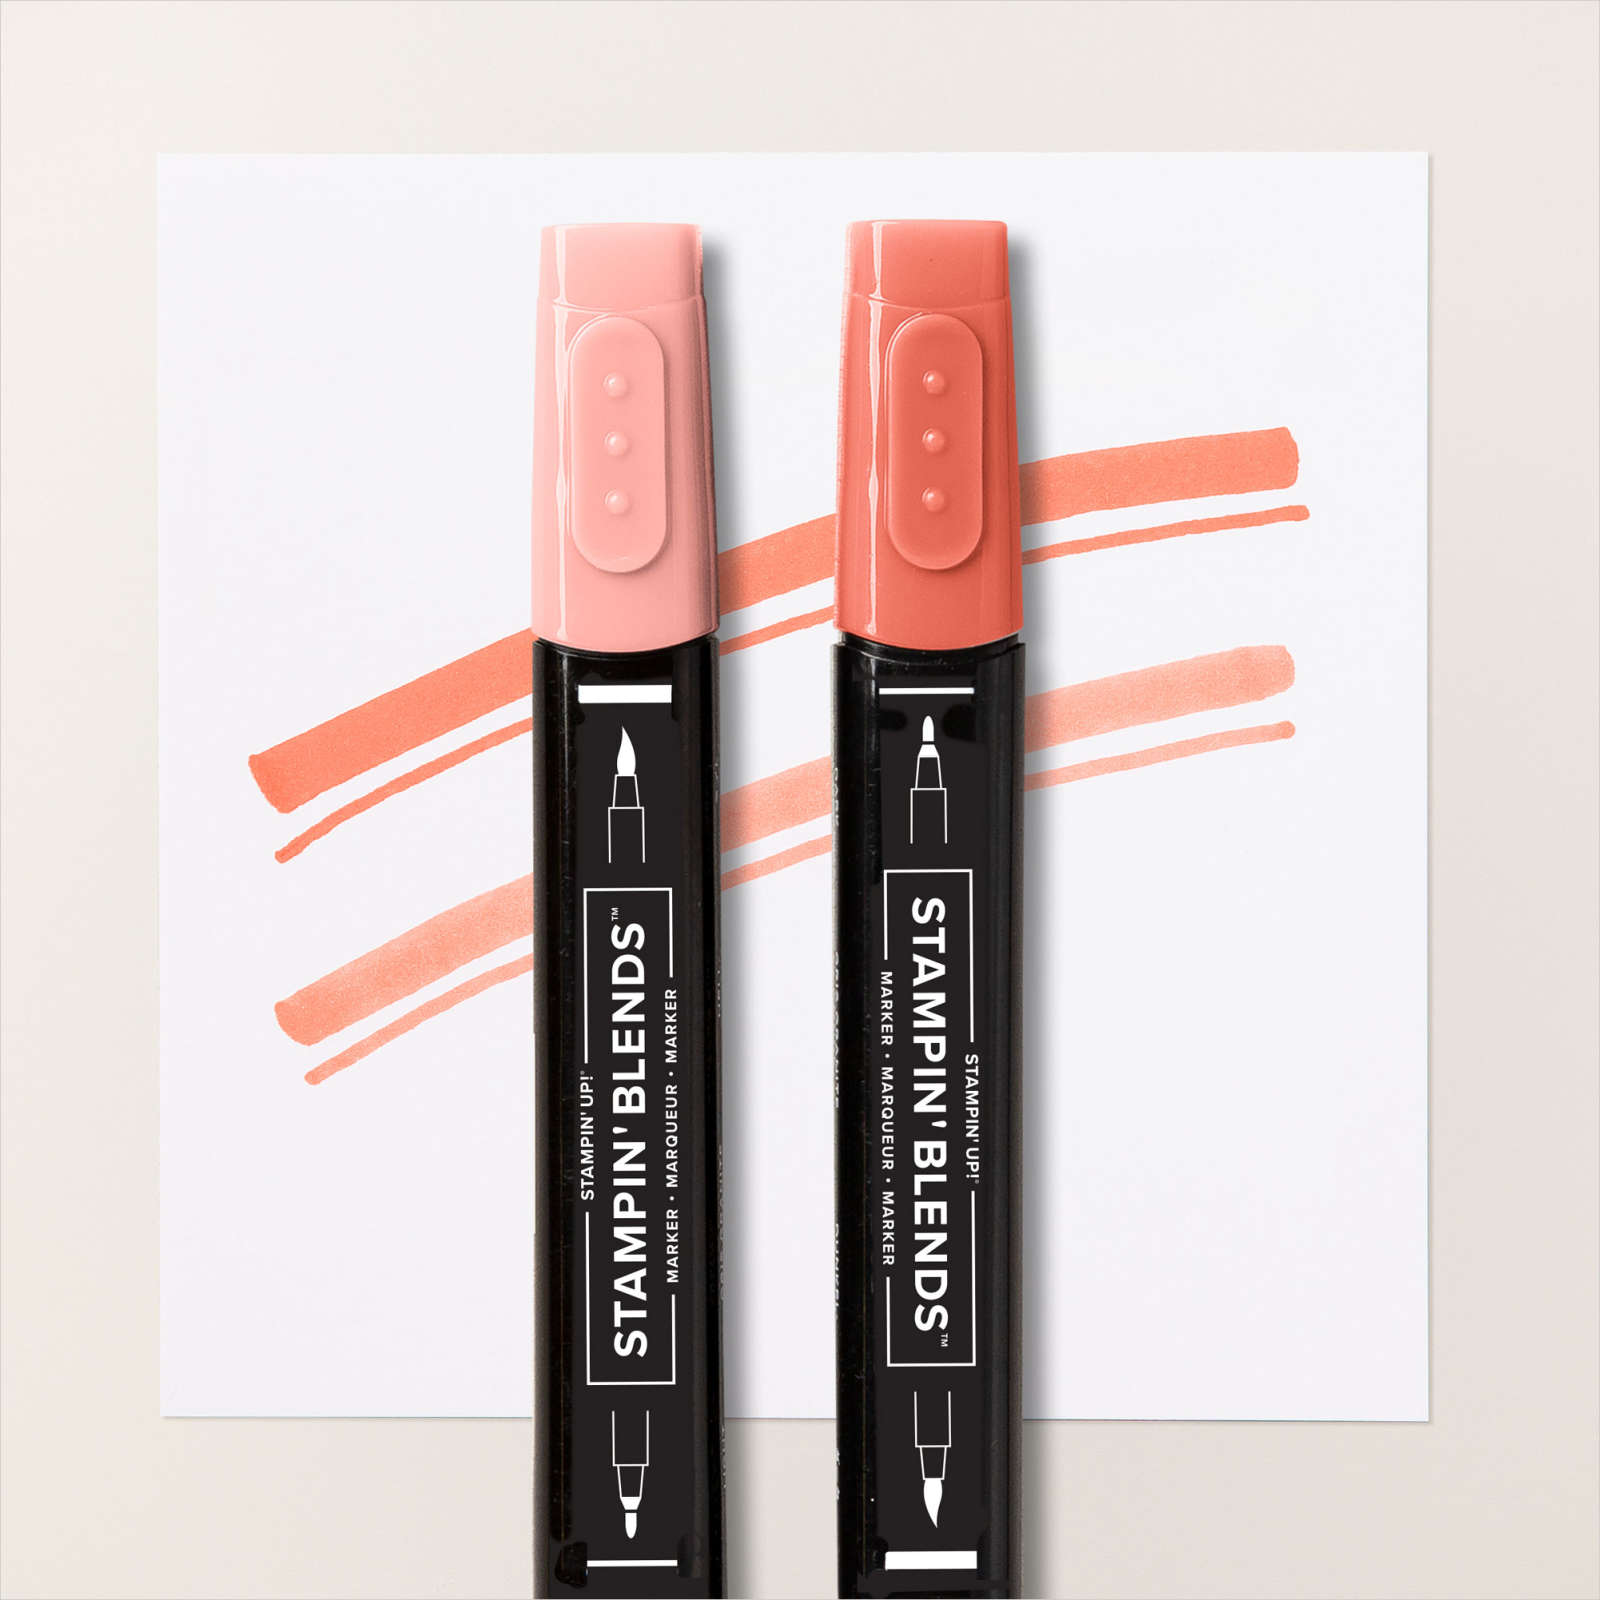
Today my page showcases a photo from my eldest daughter’s wedding. I attached pieces of two different patterns from the Softly Stippled 12″ x 12″ Designer Series Paper and the photo across a Basic White 12″ x 12″ page. I cut the title from Lost Lagoon card using the Mini Alphabet Dies and attached it to the page above the photo. I cut two floral bouquets from one of the patterns in the Softly Stippled Designer Series Paper.

I coloured the flowers using the Light Calypso Coral and Light Lost Lagoon Stampin’ Blends. The flowers are attached to the page across the bottom of the photo. I just love how this turned out, don’t you. And the best thing is the paper is free with a $90.00 order during Sale-a-Bration. But they are only available while stocks last, so don’t delay placing your order.
Bye for now,
Kris
Product Used:


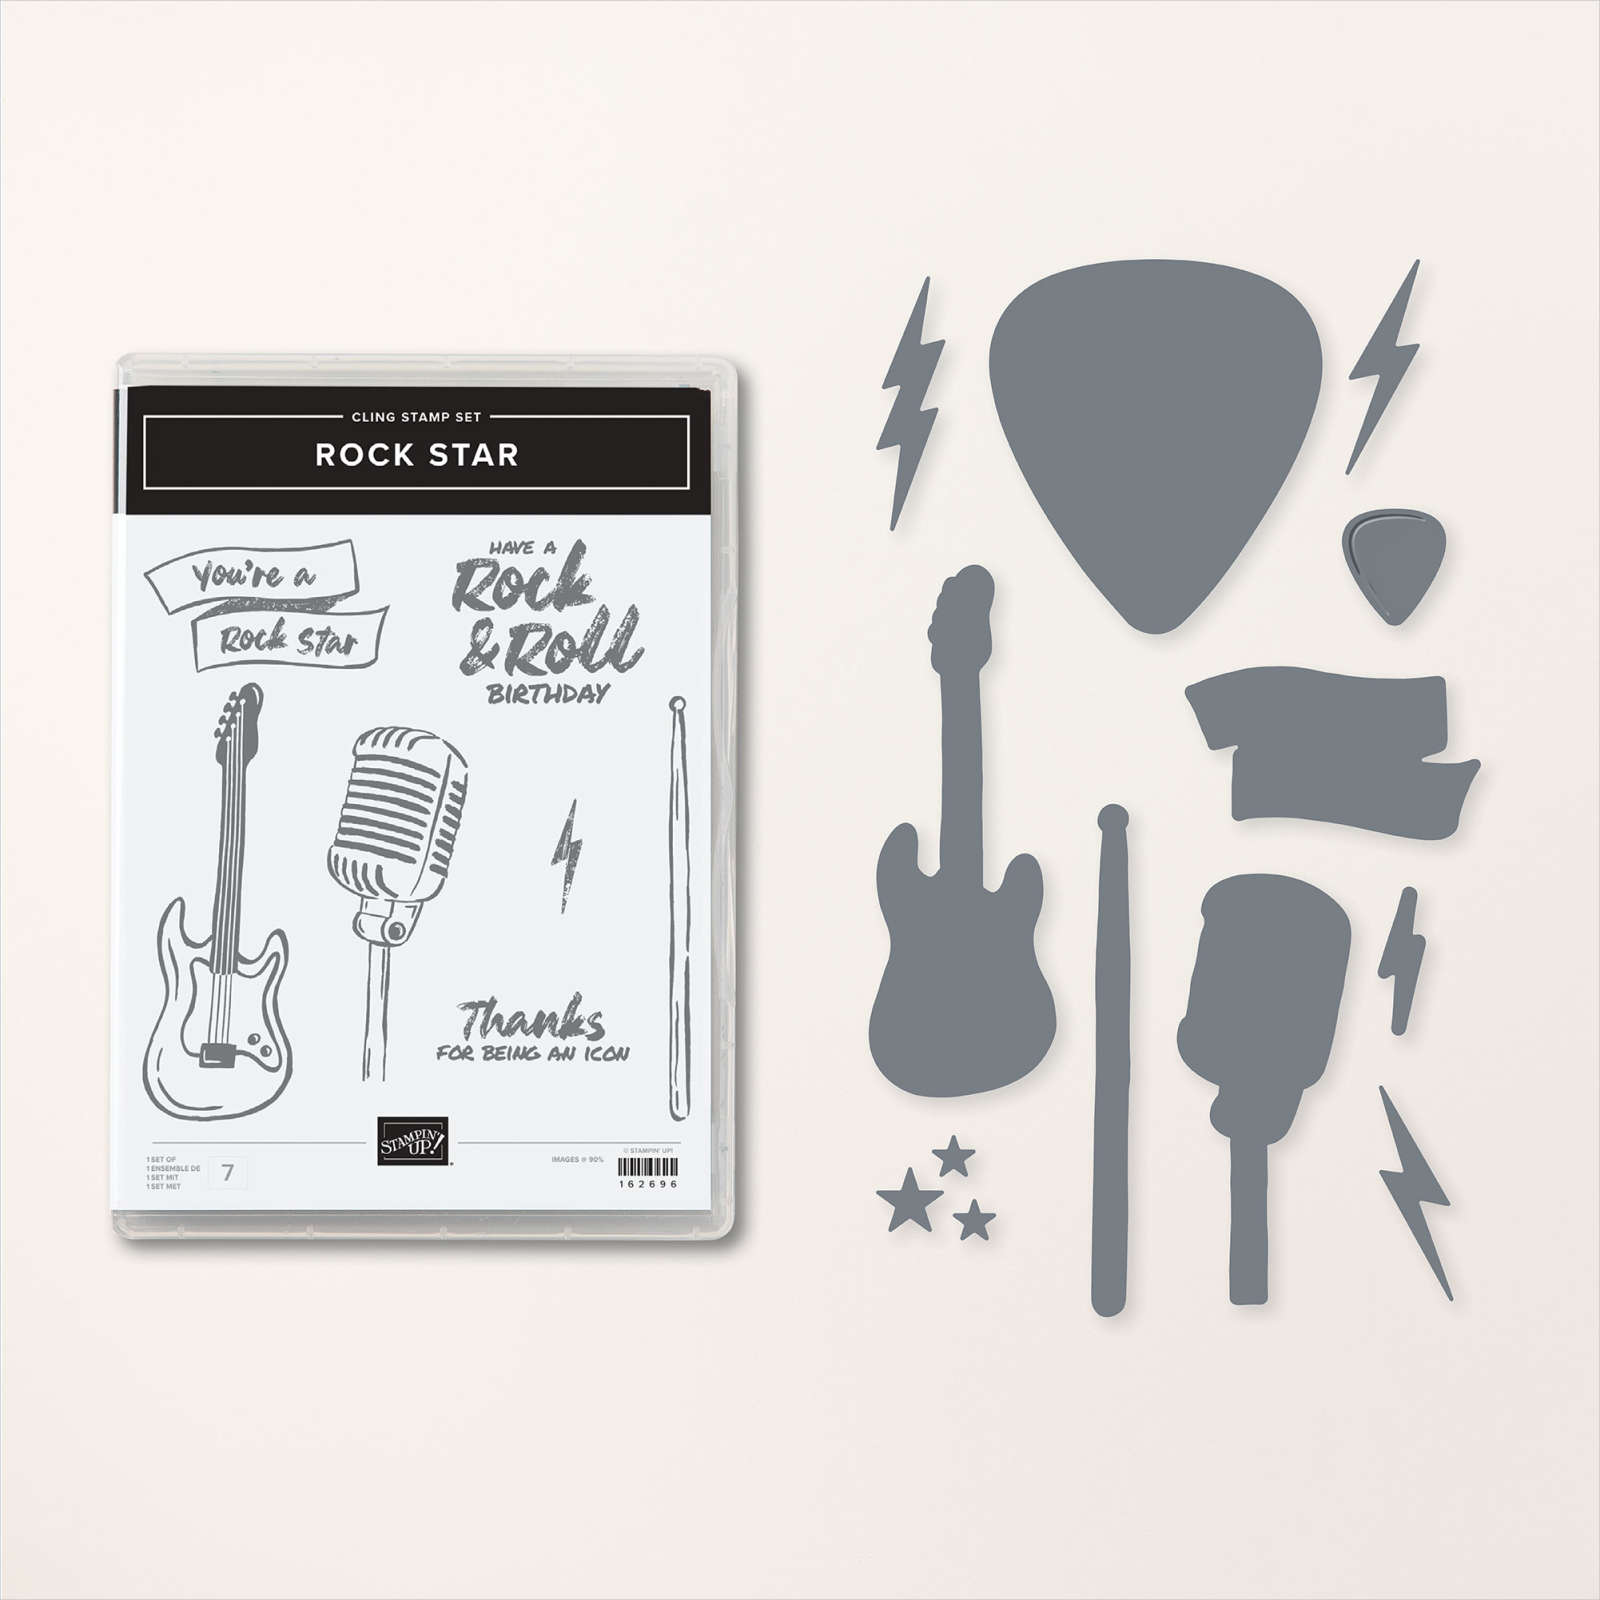
Rock & Roll Birthday

This week in my Facebook Live I shared some cards using the Rock Star Collection. This collection includes the Rock Star Bundle, Rock & Roll 12″ x 12″ Designer Series Paper and Adhesive Backed Lightning & Stars. For today’s card, I attached Crushed Curry card across the bottom of a Basic White panel and added a narrow strip of Gray Granite card across the top. I embossed the whole panel using the Merry Melody 3D Embossing Folder before attaching the panel to scored and folded Gray Granite card. I stamped the microphone image from the Rock Star stamp set onto Basic White card using Memento Tuxedo Black ink.

I coloured the image using the Gray Granite Stampin’ Blends. I cut out the image using the co-ordinating Rock Star Die before attaching it to the card front. I stamped the drum stick image twice onto Basic White card using Memento Tuxedo Black ink. I coloured the images using the Light Gray Granite Stampin’ Blend. I attached one image to the card front. I stamped the greeting from the Rock Star stamp set onto Basic White card using Gray Granite ink and used the Heartfelt Hexagon Punch to cut out the image.

I attached the greeting to the card front and also the second drum stick using dimensionals. Lastly I added three Crushed Curry stars from the Adhesive Backed Lightning & Stars. To decorate the inside of the card, I embossed a narrow strip of Crushed Curry card and attached it across the bottom of a Basic White panel. I added a narrow strip of Gray Granite card across the top. I stamped the greeting from the Charming Sentiments stamp set onto the Basic White panel using Gray Granite ink. However, the image was crooked so I stamped onto scrap Basic White card using Gray Granite ink and punched it out using the Modern Oval Punch. The punched greeting is attached over the crooked stamped greeting. There is always a way to save a small mistake! I am having fun using this stamp set and hope that you are inspired to take another look.
Bye for now,
Kris
Product Used:


Hello Toucan
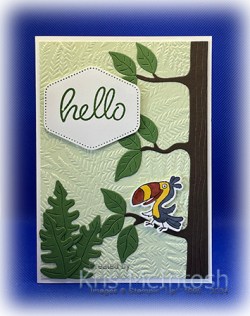
Here is another card I created using the Jungle Pals stamp set and Jungle Pals Dies. I embossed Soft Sea Foam card using the Fern 3D Embossing Folder. I cut Early Espresso card using the tree die from the Jungle Pals Dies and attached it to the right hand side of the embossed card, trimming away some excess card. The panel is attached to scored and folded Thick Basic White card. I used the Jungle Pals Dies to cut the small leaves from Garden Green card and attached them to the tree die. I used the Jungle Pals Dies to cut the large leaves from Garden Green card which I attached to the lower left hand corner of the embossed card.
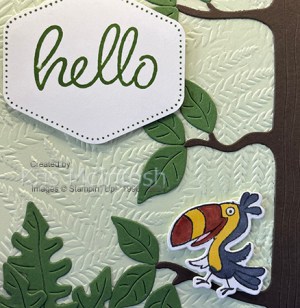
I stamped the toucan image from the Jungle Pals stamp set onto Basic White card using Memento Tuxedo Black ink. I coloured the image using Dark Daffodil Delight, Light Flirty Flamingo, Light Cajun Craze and Light Basic Black Stampin’ Blends. The image is cut out using the co-ordinating Jungle Pals Die and attached to the card front using dimensionals.

I stamped the border image from the Heartfelt Hexagon stamp set onto Basic White card using Garden Green ink. I stamped the greeting from the Heartfelt Hellos stamp set inside the border using the same ink. I punched out the greeting using the Heartfelt Hexagon Punch before attaching it to the card front using dimensionals. To decorate the inside of the card I stamped the toucan image from the Jungle Pals stamp set onto Basic White card using Memento Tuxedo Black ink. I coloured the image using the same Stampin’ Blends as I used for the image on the card front. I stamped the greeting from the Heartfelt Hellos stamp set beside the coloured image using Garden Green ink. Another fun card using some of the stamp sets and dies that you can earn for Free during Sale-a-Bration.
Bye for now,
Kris
Product Used:


Christening

Today I am sharing a page with photos from my Christening way back in 1956. I cut pieces of the Softly Stippled 12″ x 12″ Designer Series Paper and attached them to a Basic White 12″ x 12″ page. The Softly Stippled Designer Series paper is one of the products that you can have for free with a $90.00 order. It co-ordinates with the Stippled Roses Bundle and it’s so pretty! I attached my photos flat onto the page, usually I scan and reprint my photos but I couldn’t get clarity so I have used the originals.
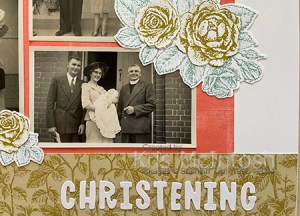
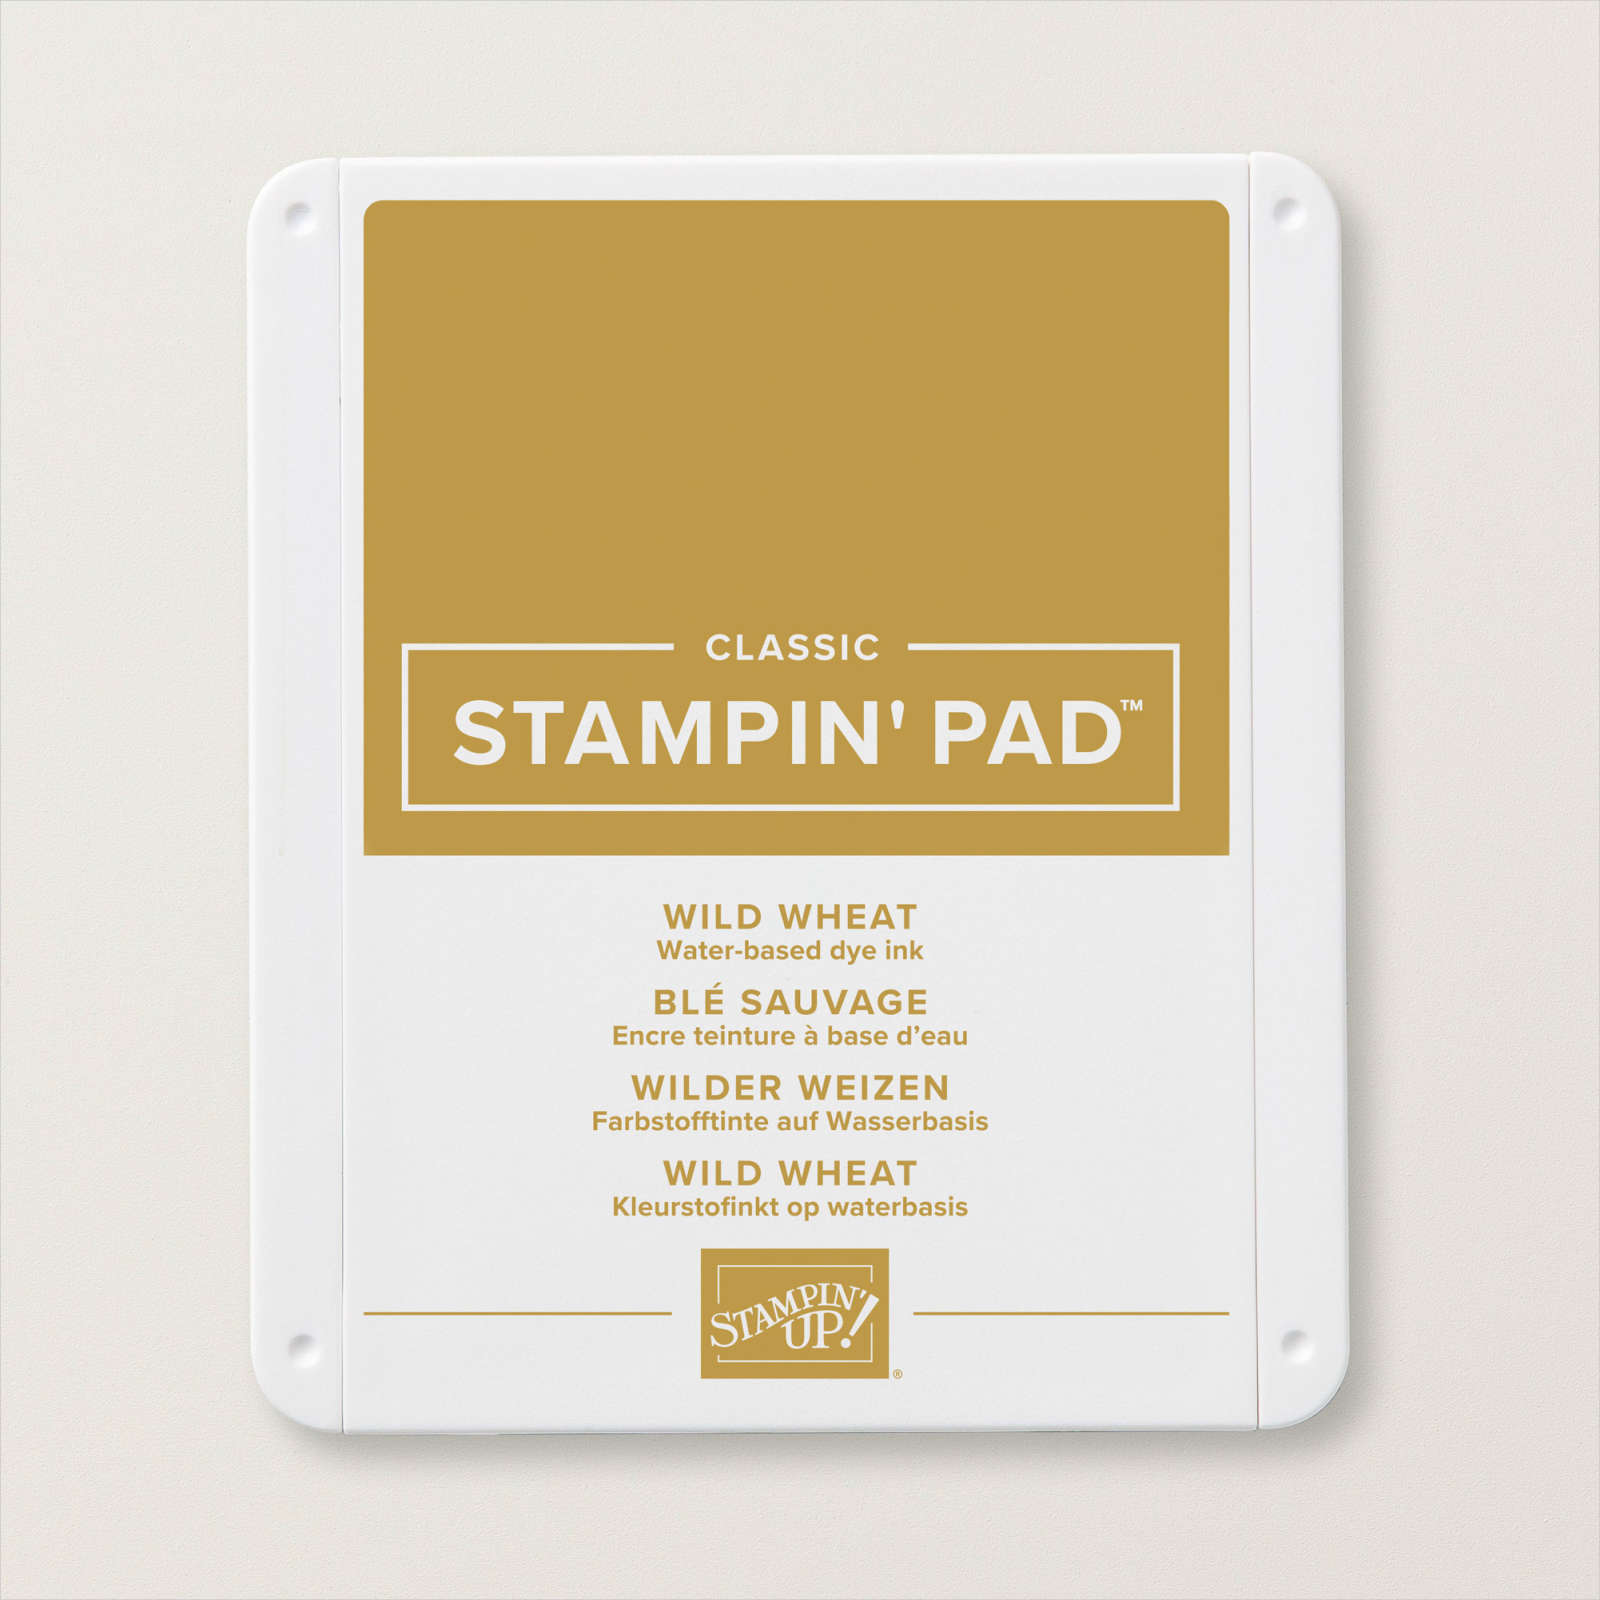
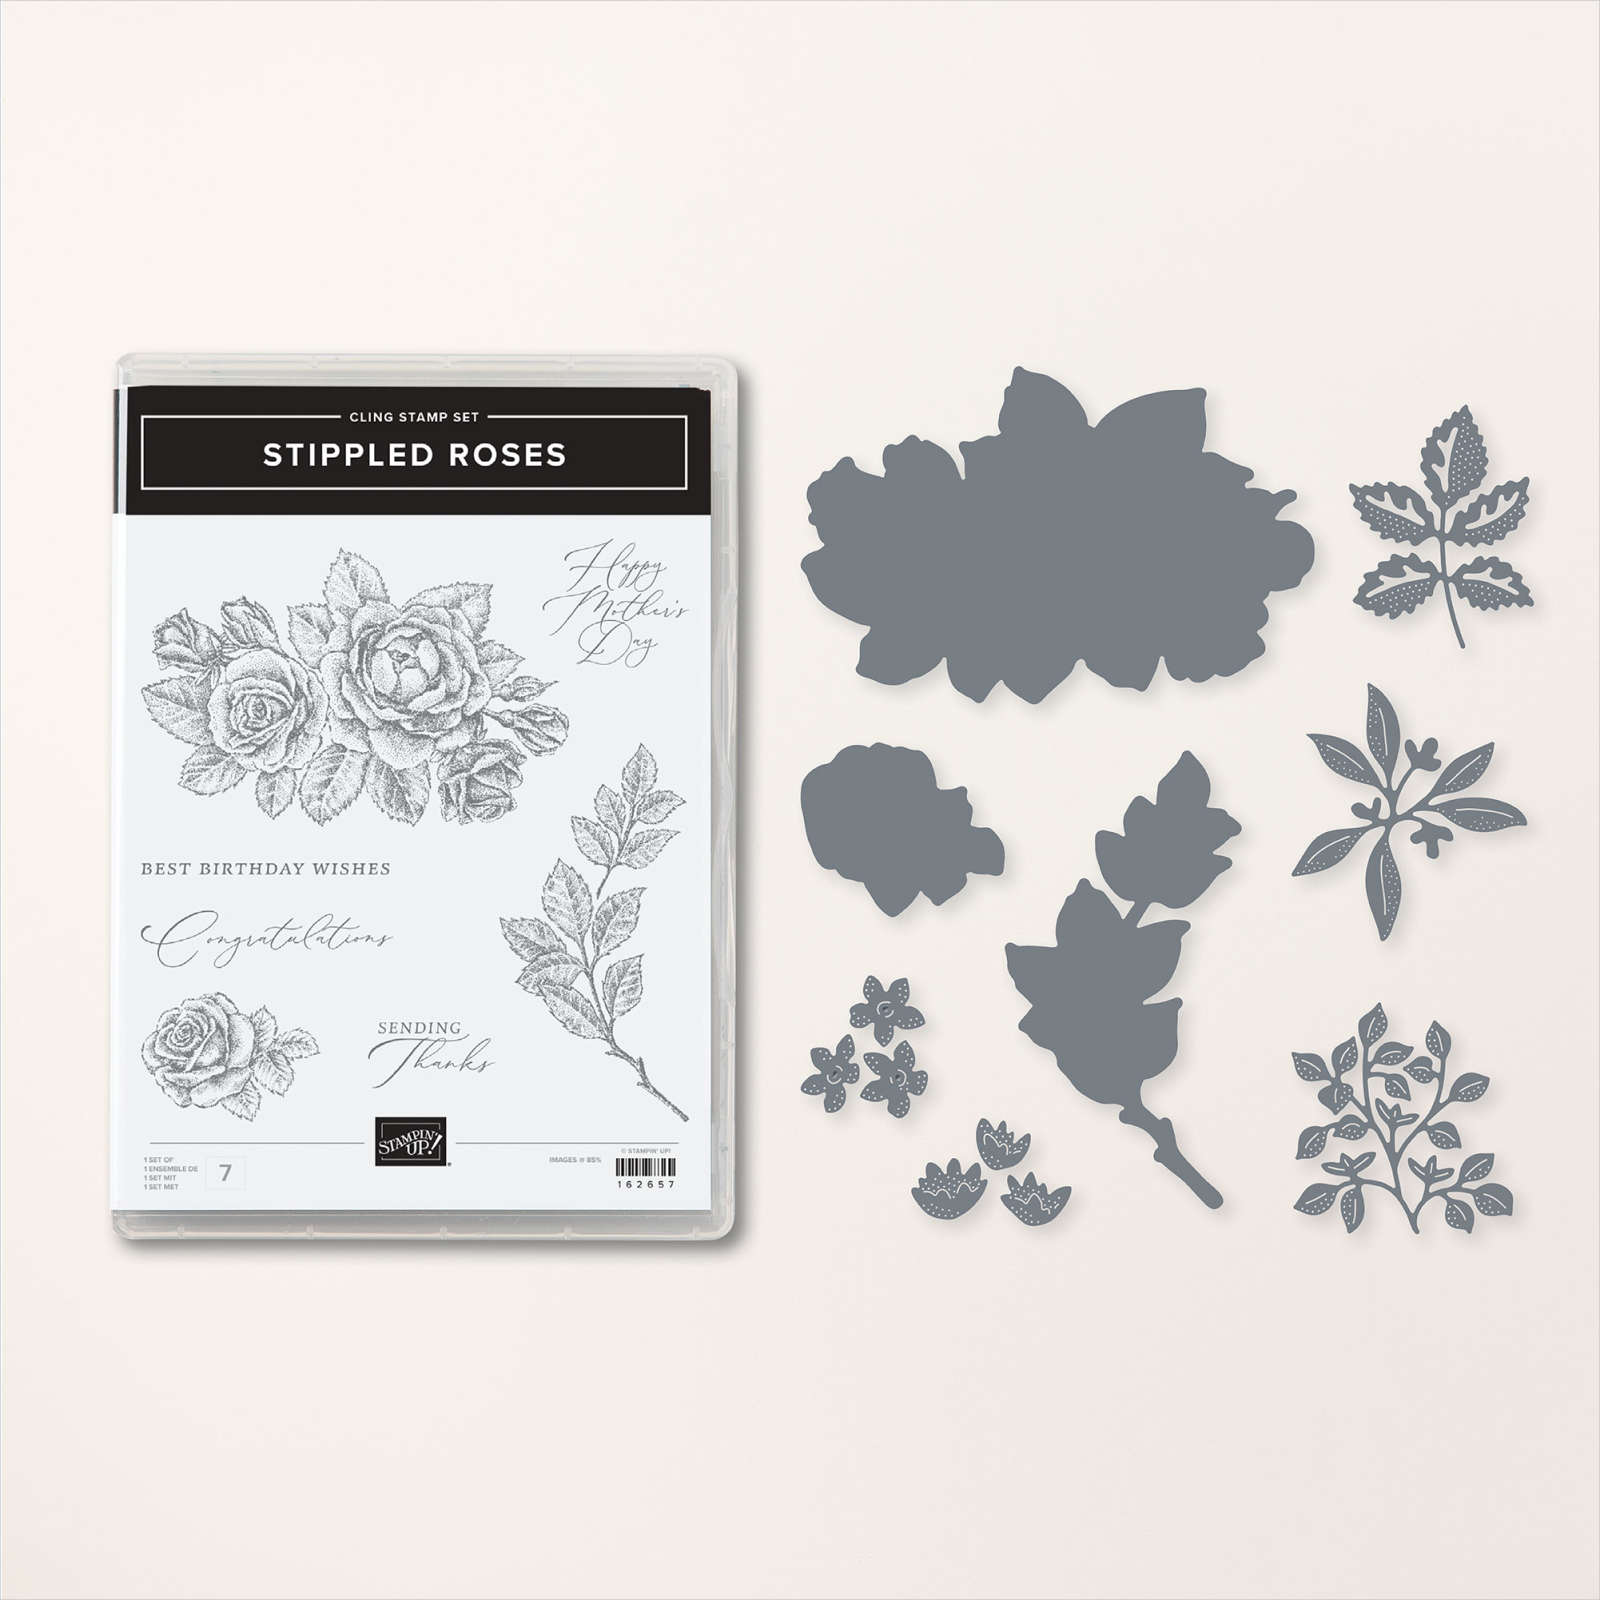
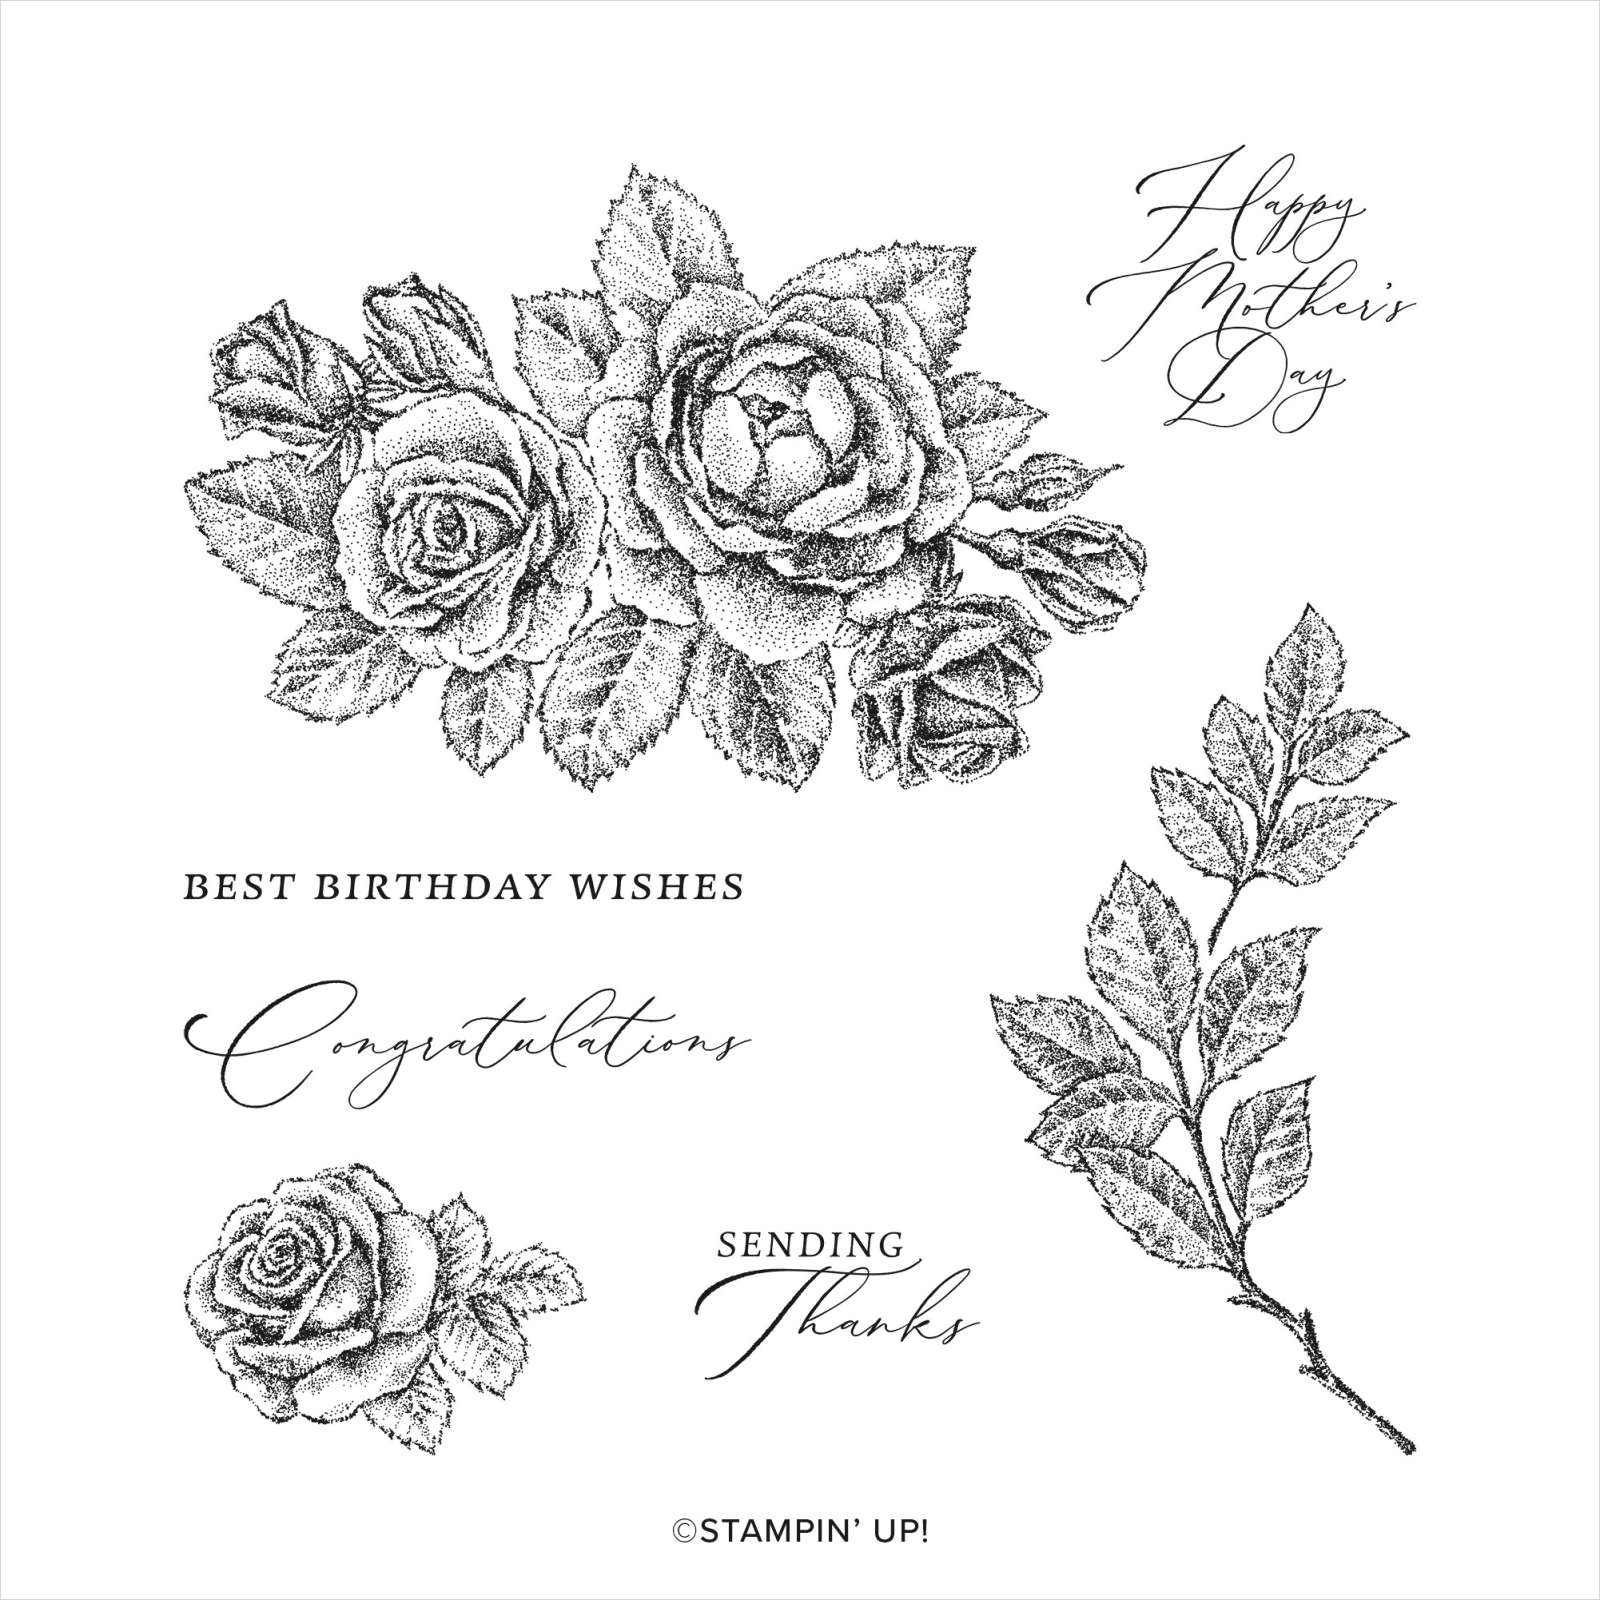
I stamped the large and small flower from the Stippled Roses stamp set onto Basic White card using Lost Lagoon ink. I cut out the images using the co-ordinating Stippled Roses Die. I stamped the same images onto Basic White card using Wild Wheat ink and fussy cut just the flowers. I attached the fussy cut flowers onto the die cut bouquets before attaching them to the page. I printed my journaling onto Basic White card and cut it into a strip which I attached across the bottom of the page. I cut Basic White card using the Mini Alphabet Dies to create the title. So happy with this page. I’d love to hear what you think.
Bye for now,
Kris
Product Used: