Player’s Player

Today’s page showcases a photo of my granddaughter with her Player’s Player award. Her team played in her netball final and were runners up. She was given the award by her team mates. I knew as soon as I started thinking about this page that I wanted to use the Delightful Floral 12″ x 12″ Designer Series Paper which is on Online Exclusive offer at the moment. With this paper you don’t need to add any embellishments everything comes in the paper! I cut the paper into three large strips which I attached to a Basic White 12″ x 12″ page.

I also cut a strip of Basic Black and a strip of Berry Burst A4 card which I attached across the largest strip of Designer Series Paper. I attached the photo to Basic Black card before attaching it to the left hand side of the page over the Designer Series Paper panels. I cut the floral bouquet from the Designer Series Paper and attached it over the lower right hand corner of the photo. I printed the journaling onto Basic White card and cut it into strips before attaching it to the page. I also printed the title onto Basic White card, cut it out with my Paper Snips and attached it to the top Designer Series Paper panel. I love how pretty this page is, so thank you Stampin’ Up! for giving us this gorgeous paper.
Bye for now,
Kris
Product Used:


Note Card Boxes
This week on Facebook Live, I shared some boxes I made which will hold nine Note Cards & Envelopes. I have a lot of these as I usually create a Note Card first when I start to create with a new stamp set. I mainly use Basic White and Very Vanilla Note cards and these do not come with a co-ordinating box. The box is created pizza box style – dimensions 7′ x 10-1/4″. Scored on the 7″ length at 3/4″ and 6-1/4″. Scored on the 10-1/4″ length at 3/4″, 4-3/4″, 5-1/2″ and 9-1/2″. You can watch my video on my Facebook Page if you want to see me create the box and share four different decorations.

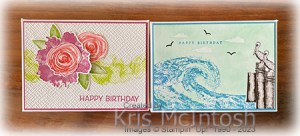
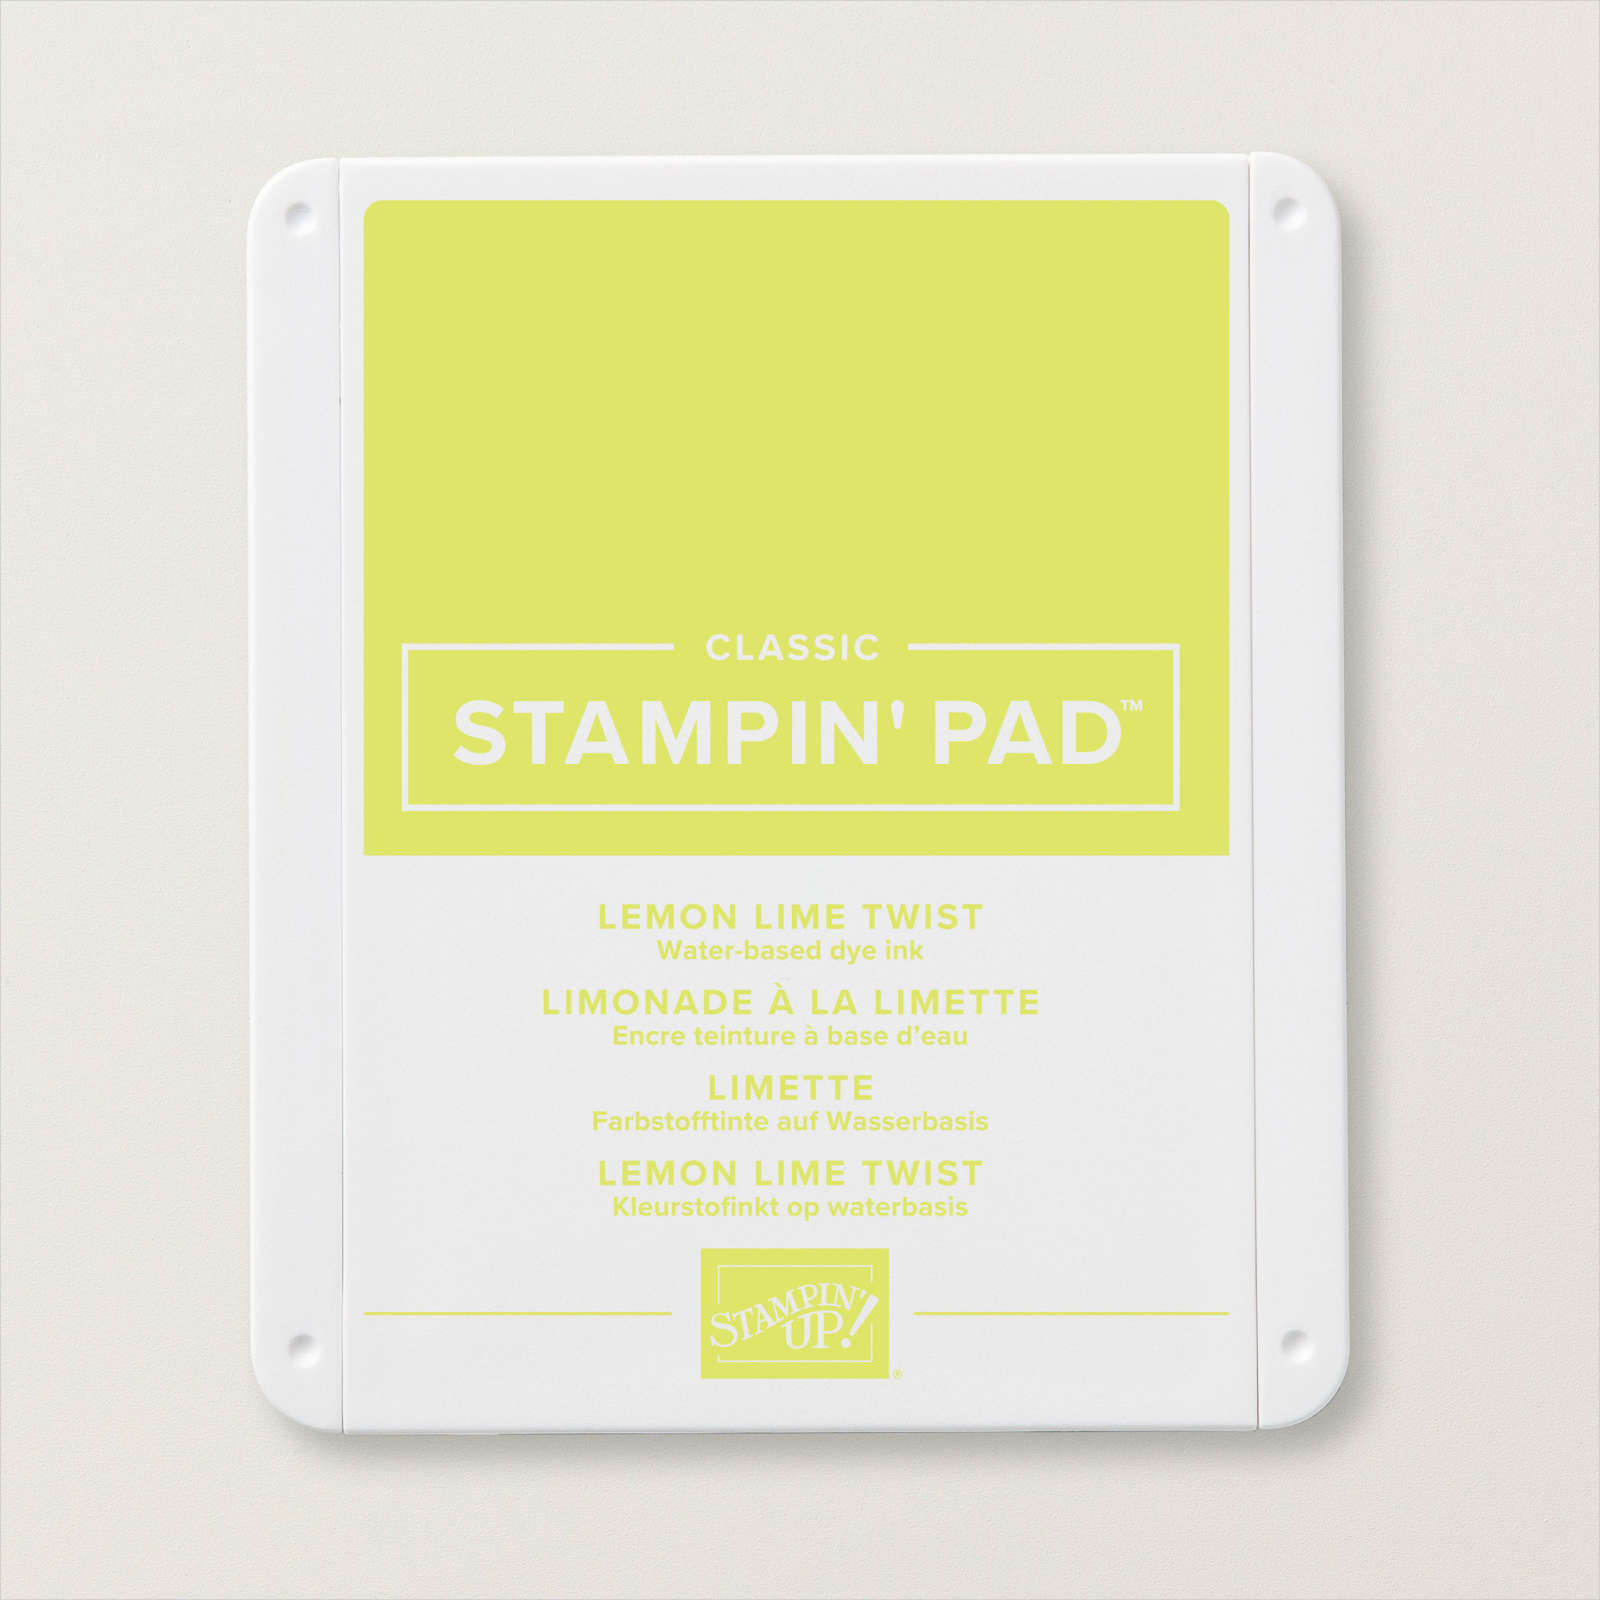
Today I have two more boxes to share with you. For the first one I used the Artistically Inked stamps set which has been neglected of late because of all the new stamps I have been creating with. I stamped the background image from the Artistically Inked stamp set across the centre of Basic White card 5-1/4″ x 3-3/4″ using Lemon Lime Twist ink. I stamped the greeting from the Artistically Inked stamp set onto the lower right hand corner of the Basic White panel using Berry Burst ink.

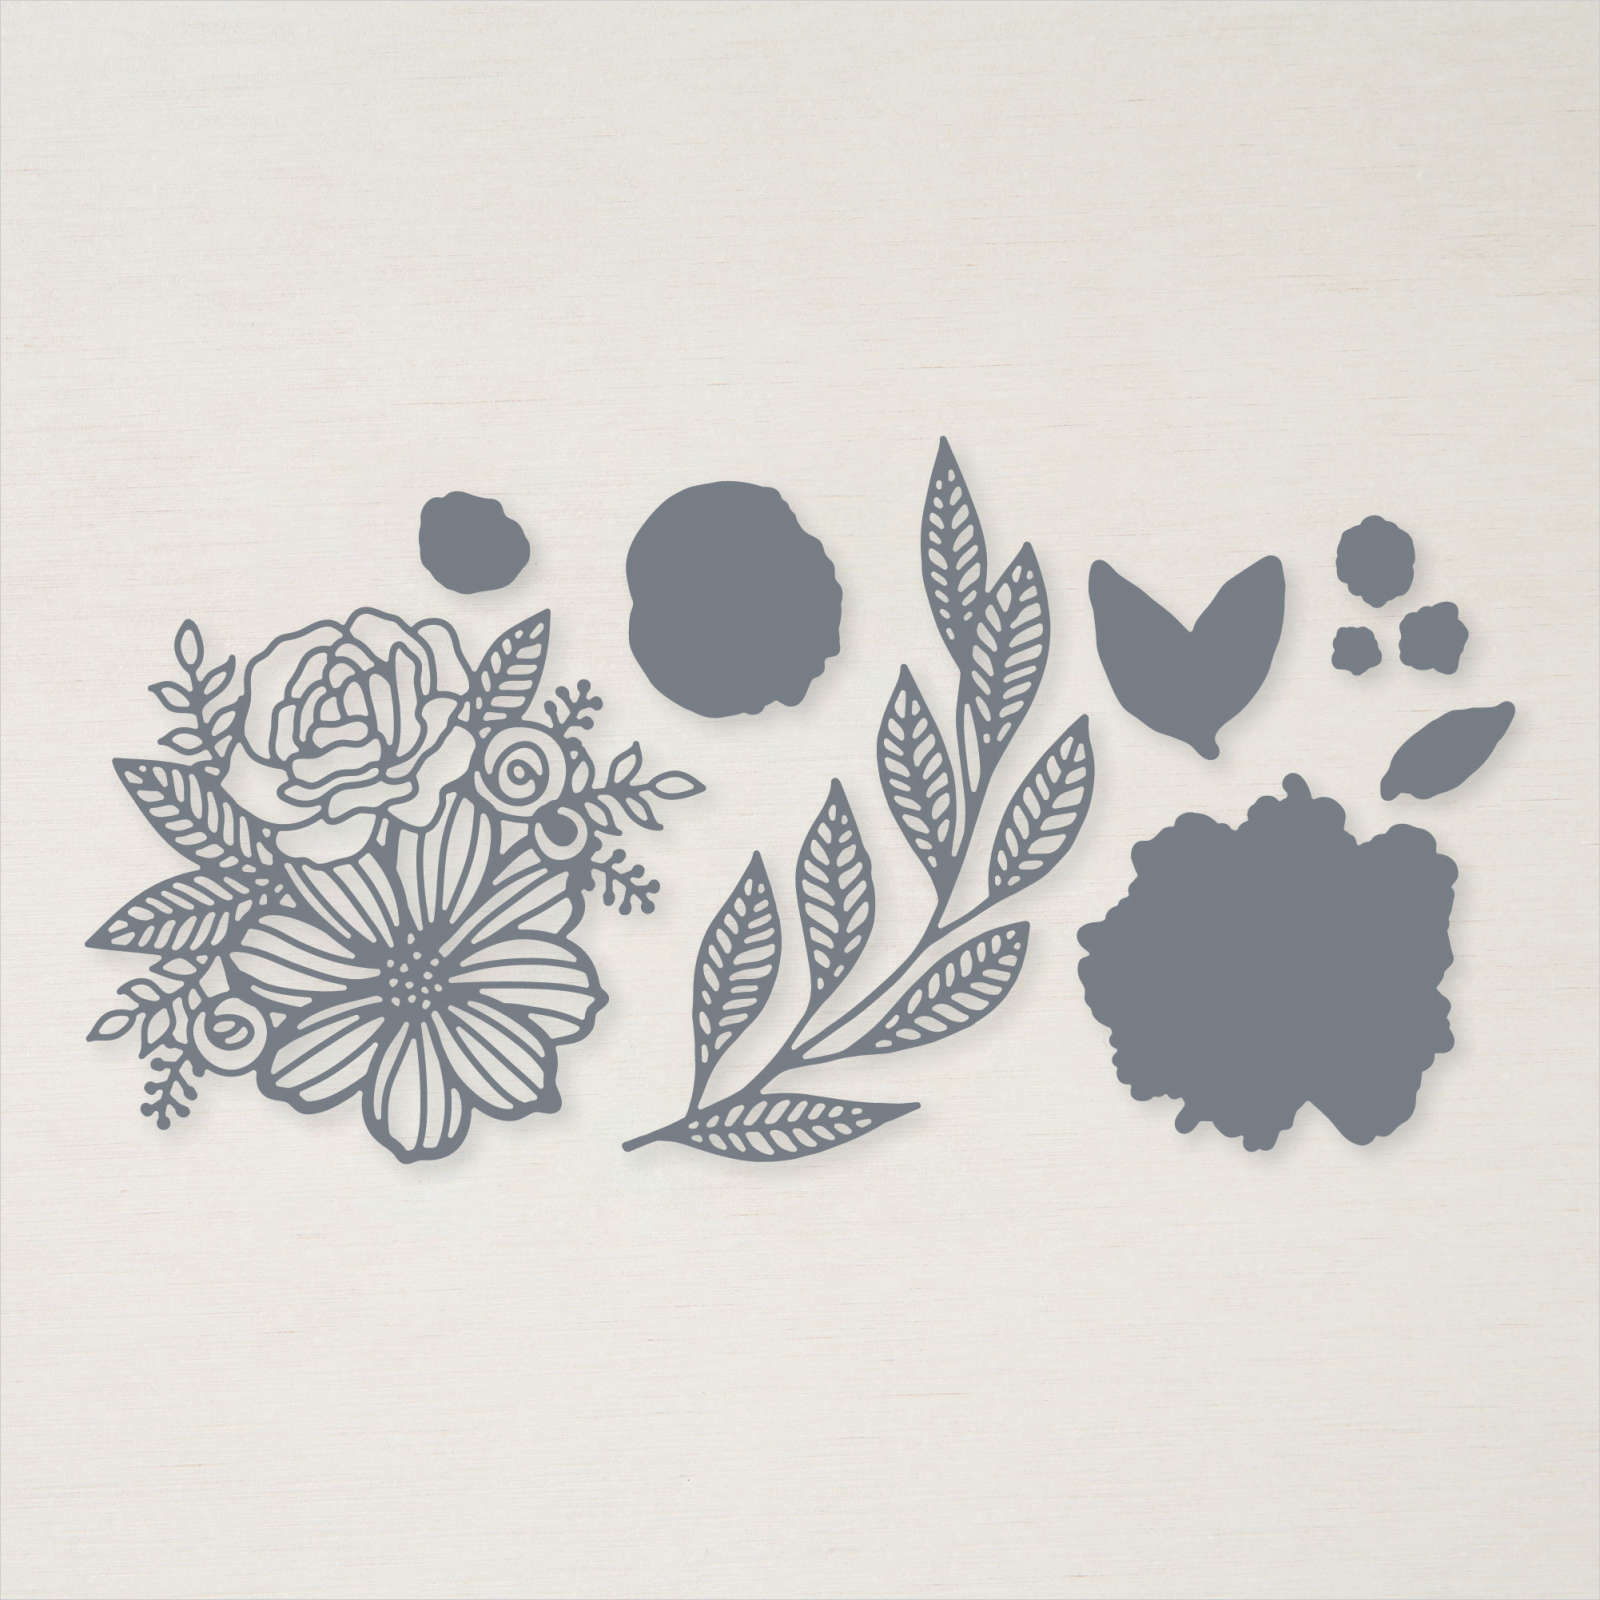
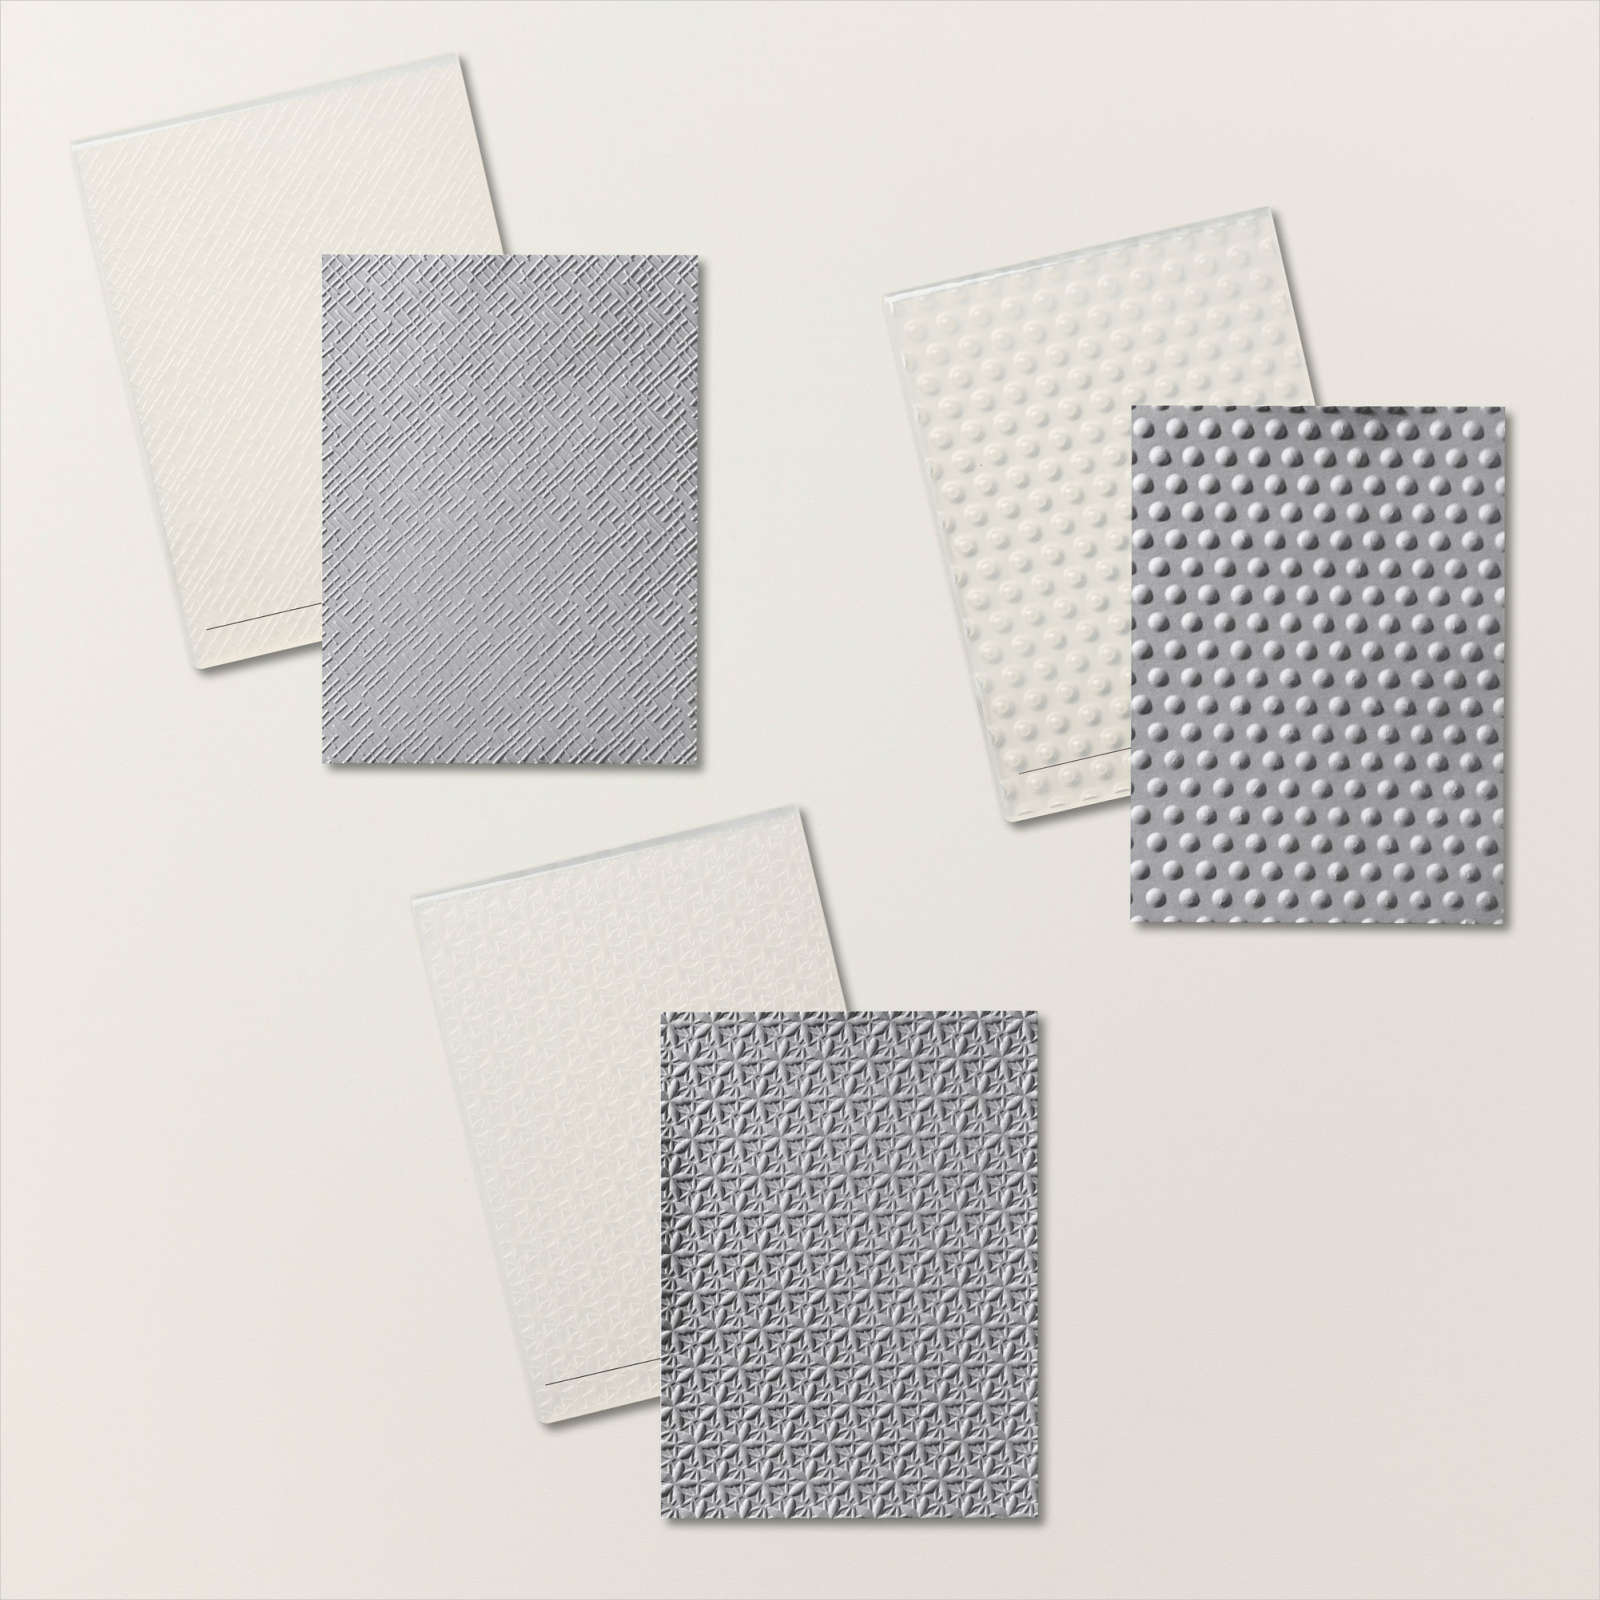
The stamped panel is embossed using one of the folders from the Basics 3D Embossing Folders before being attached to Berry Burst card (5-3/8″ x 3-7/8″) and then the top of the box. I stamped one large flower from the Artistically Inked stamp set onto Basic White card using Berry Burst ink and two smaller flowers using Poppy Parade ink. I also stamped the double leaf image from the Artistically Inked stamp set onto Basic White card using Granny Apple Green ink. I cut out the flowers and leaf using the co-ordinating Artistic Dies. The flowers and leaves are layered together onto the upper left hand corner of the embossed Basic White card.

The second box is decorated using the Waves of Inspiration stamp set. I stamped the pelican image from the Waves of Inspiration stamp set onto the right hand side of the Basic White card using Early Espresso ink and covered it with the mask. I stamped the pelican image again so that it sits slightly over the first image. I masked the second image and stamped the wave from the Waves of Inspiration stamp set across the bottom of the Basic White card using Azure Afternoon ink. I stamped the cloud images from the Whale Watching stamp set twice onto Masking Paper and cut our three images which I attached to the Basic White panel.

I used a Blending Brush to add Coastal Cabana ink over the masked images and the stamped wave. I removed the masks and added a little more Coastal Cabana ink over the clouds. I stamped the greeting from the Waves of Inspiration stamp set using Azure Afternoon ink. I also stamped three of the bird images from the same stamp set using Early Espresso ink. The stamped panel is attached to Azure Afternoon card and then the top of the box.
I didn’t decorate the sides of the boxes but I think they look great and will make great stocking fillers this Christmas.
Bye for now,
Kris
Product Used:


Hooray
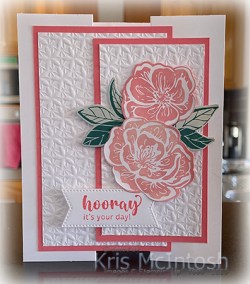
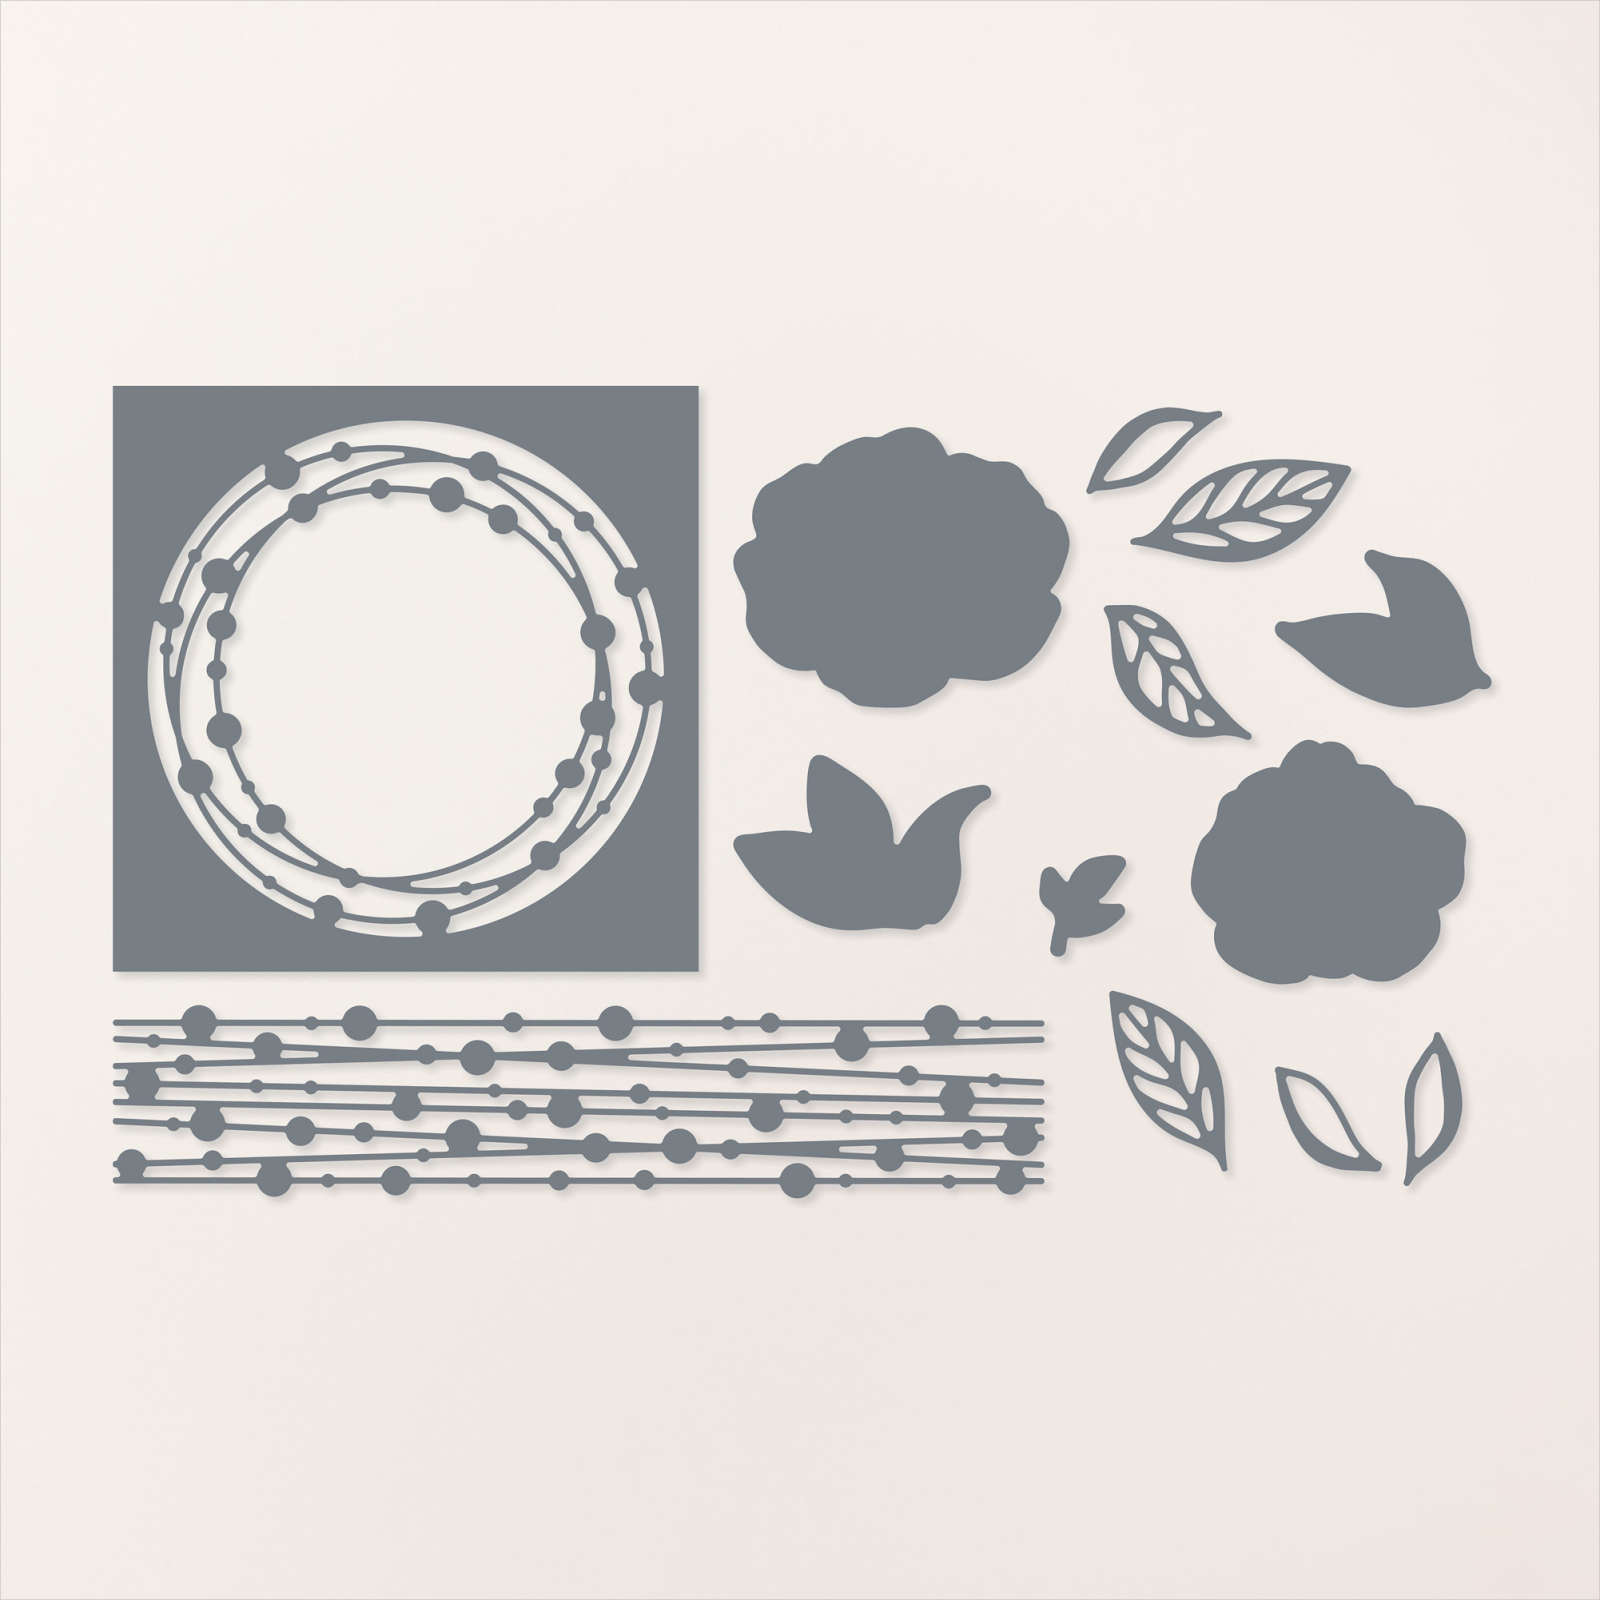
it’s your day! Today I am sharing a card I made for a very dear friend following the instructions by Terri Gaines. Terri very generously shares her dimensions and also has a video to watch how to assemble the card. I cut my card base from Thick Basic White. I attached a piece of Basic White card to Flirty Flamingo card and attached it to the inside panel. I cut a flower from the Hello, Irresistible 6″ x 6″ Designer Series Paper using the co-ordinating Irresistible Blooms Die and attached it to the lower left hand corner.

I stamped the double leaf image from the Irresistible Blooms stamp set onto one of the papers from the Hello, Irresistible Designer Series Paper using Pretty Peacock ink. I attached the leaf so that it sits underneath the flower. I cut two more pieces of Basic White card and embossed them using one of the Basics 3D Embossing Folders. Each embossed panel is attached to Flirty Flamingo card. I attached the largest panel to the left hand side of the card front and the smaller panel to the right hand side, making sure to leave room for the larger panel to slide underneath. I stamped the greeting from the Irresistible Blooms stamp set onto Basic White card using Flirty Flamingo ink.
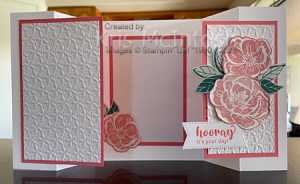
The greeting is cut out using one of the banners from the Stylish Shapes Dies. I attached the greeting to the right hand front panel using dimensionals. I cut one large and one small flower from the Hello, Irresistible Designer Series Paper and attached them to the card front using dimensionals. I only added dimensionals to the centre of the back of the flowers. I stamped one three leaf image and one double leaf image from the Irresistible Blooms stamp set onto one of the papers from the Hello, Irresistible Designer Series Paper using Pretty Peacock ink. I cut out the leaves using the co-ordinating Irresistible Blooms Dies. The leaves are also attached to the card front using dimensionals. This is such a fun card to make, so thank you Terri for your wonderful instructions.
Bye for now,
Kris
Product Used:


Ronald
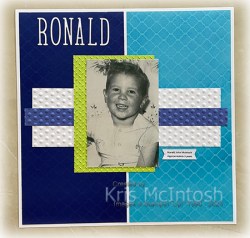
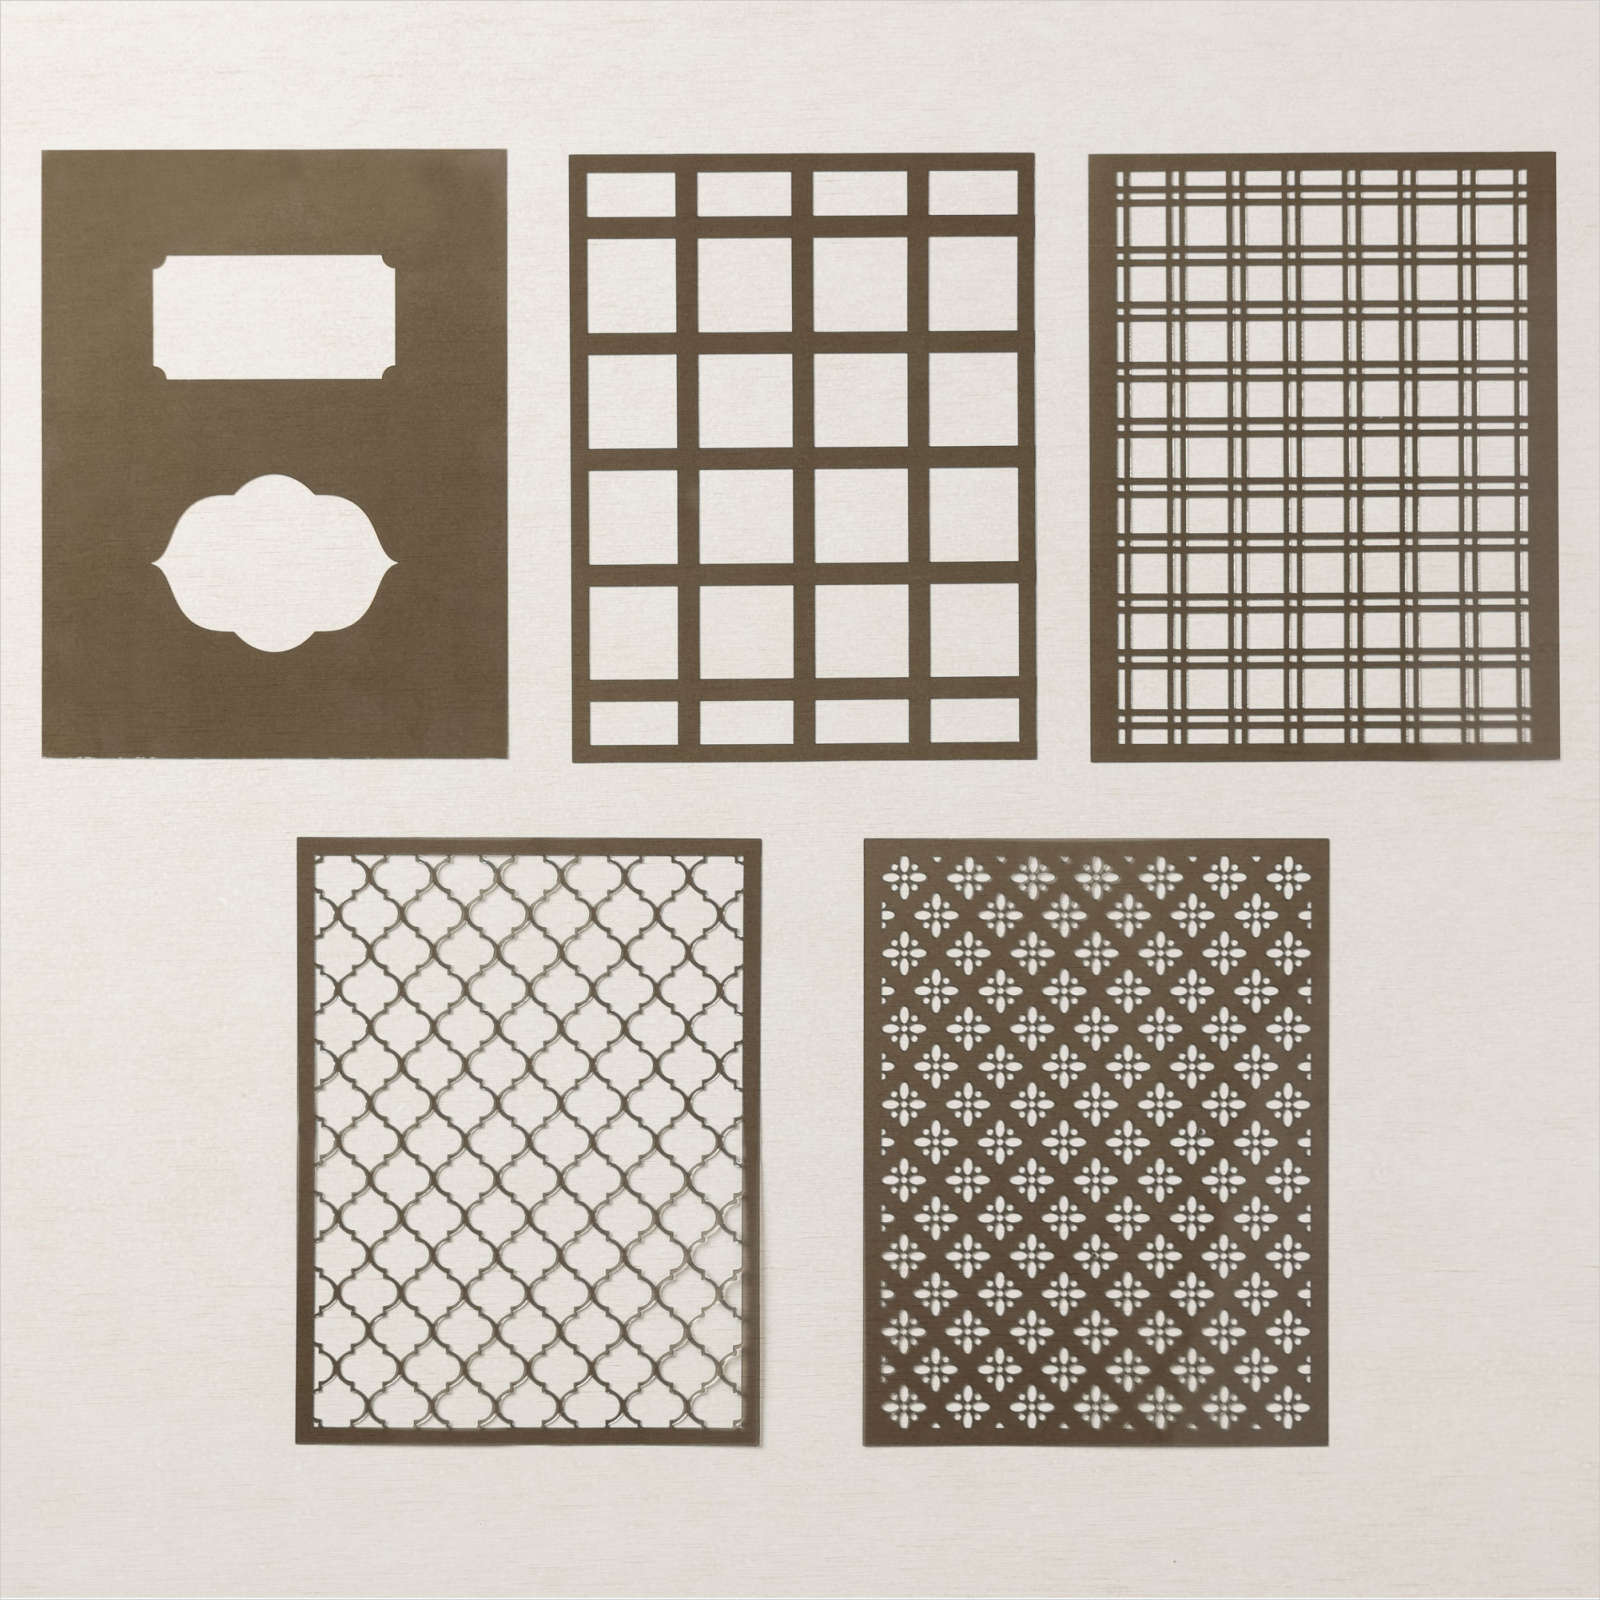
The photo on today’s page has been sitting on my desk for quite a while, waiting for me to be motivated to create a page. I am not sure exactly how old my husband is in this photo but we think approximately 3 years old. I cut a piece of Starry Sky and a piece of Tahitian Tide A4 card and used one of the Artistic Mix Decorative Masks to add Starry Sky and Tahitian Tide ink to the panels.

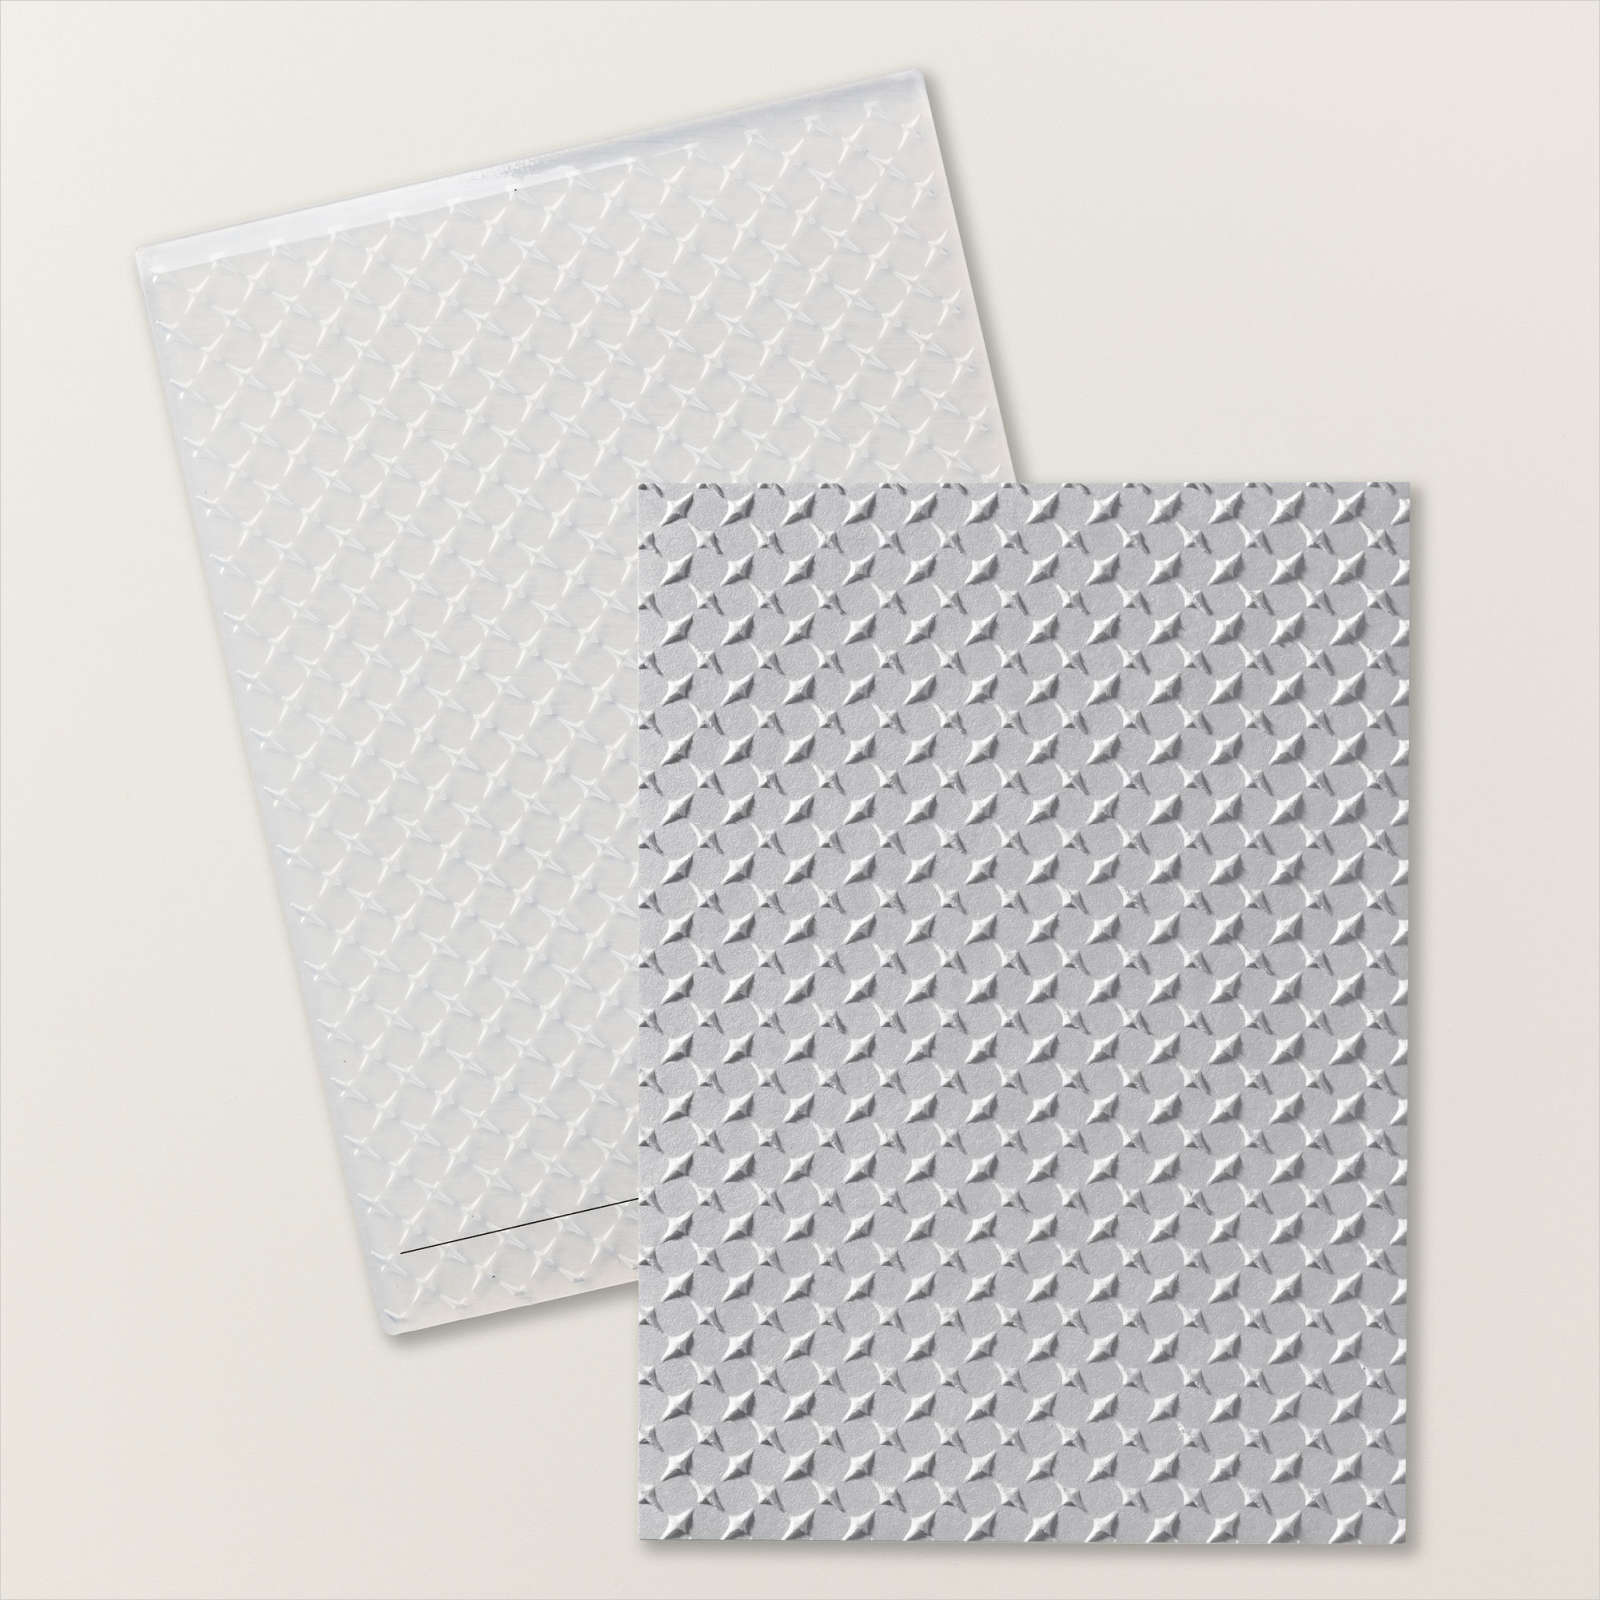
I attached the card panels to a Basic White 12″ x 12″ page. I cut a thin strip of Orchid Oasis card and attached it across a Basic White panel. I embossed this panel using the dot folder from the Basics 3D Embossing Folders. The embossed panel is attached across the centre of the page. I attached my photo to a piece of Parakeet Party card which I embossed using the Metal Plate 3D Embossing Folder. This panel is attached to the centre of the page. I cut the title from Basic White card using the Alphabet A La Mode Dies. I attached a banner to the right hand side of the photo with the approximate age. I love how bright and cheery this page, matches my husband’s cheeky smile.
Bye for now,
Kris
Product Used:


Meadow Garden
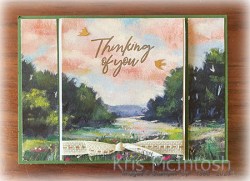
This week in my Facebook Live I shared a new product suite from the Online Exclusive listings. This product suite along with quite a few other products is now available for customers to purchase. I decided to use a fancy fold which Sharon Dalton shared on Facebook World Card Making Group.

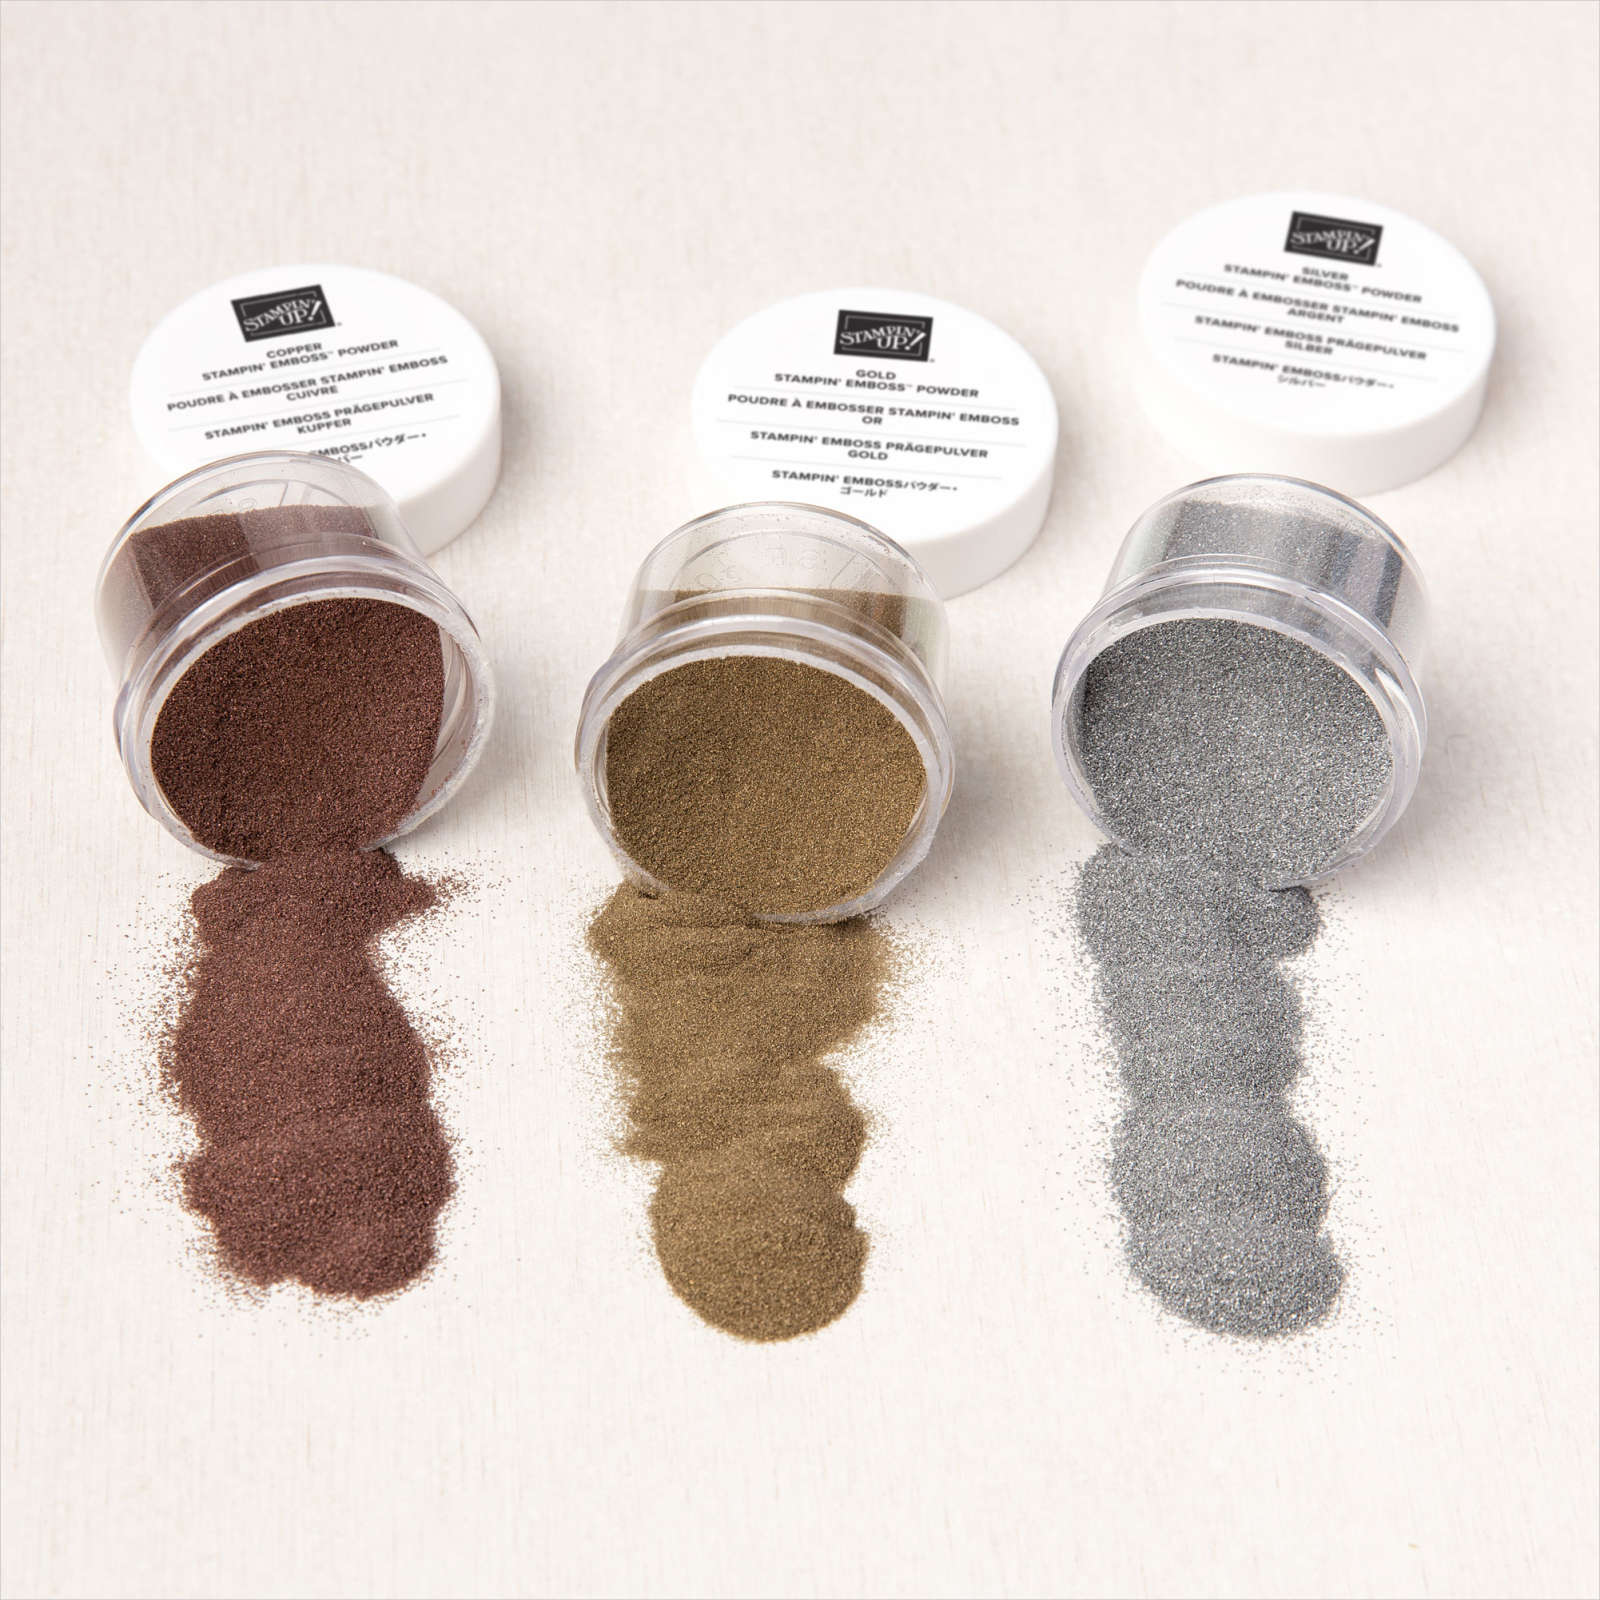
I used Garden Green to create the base for my card and cut a panel of Meandering Meadows 6″ x 6″ Designer Series Paper into three pieces to decorate the card front. I stamped “thinking of you” from the Garden Meadow stamp set onto the piece of Meandering Meadows Designer Series Paper for the centre panel on my card using Versamark ink. I sprinkled the greeting with Gold Embossing Powder and heat set it.

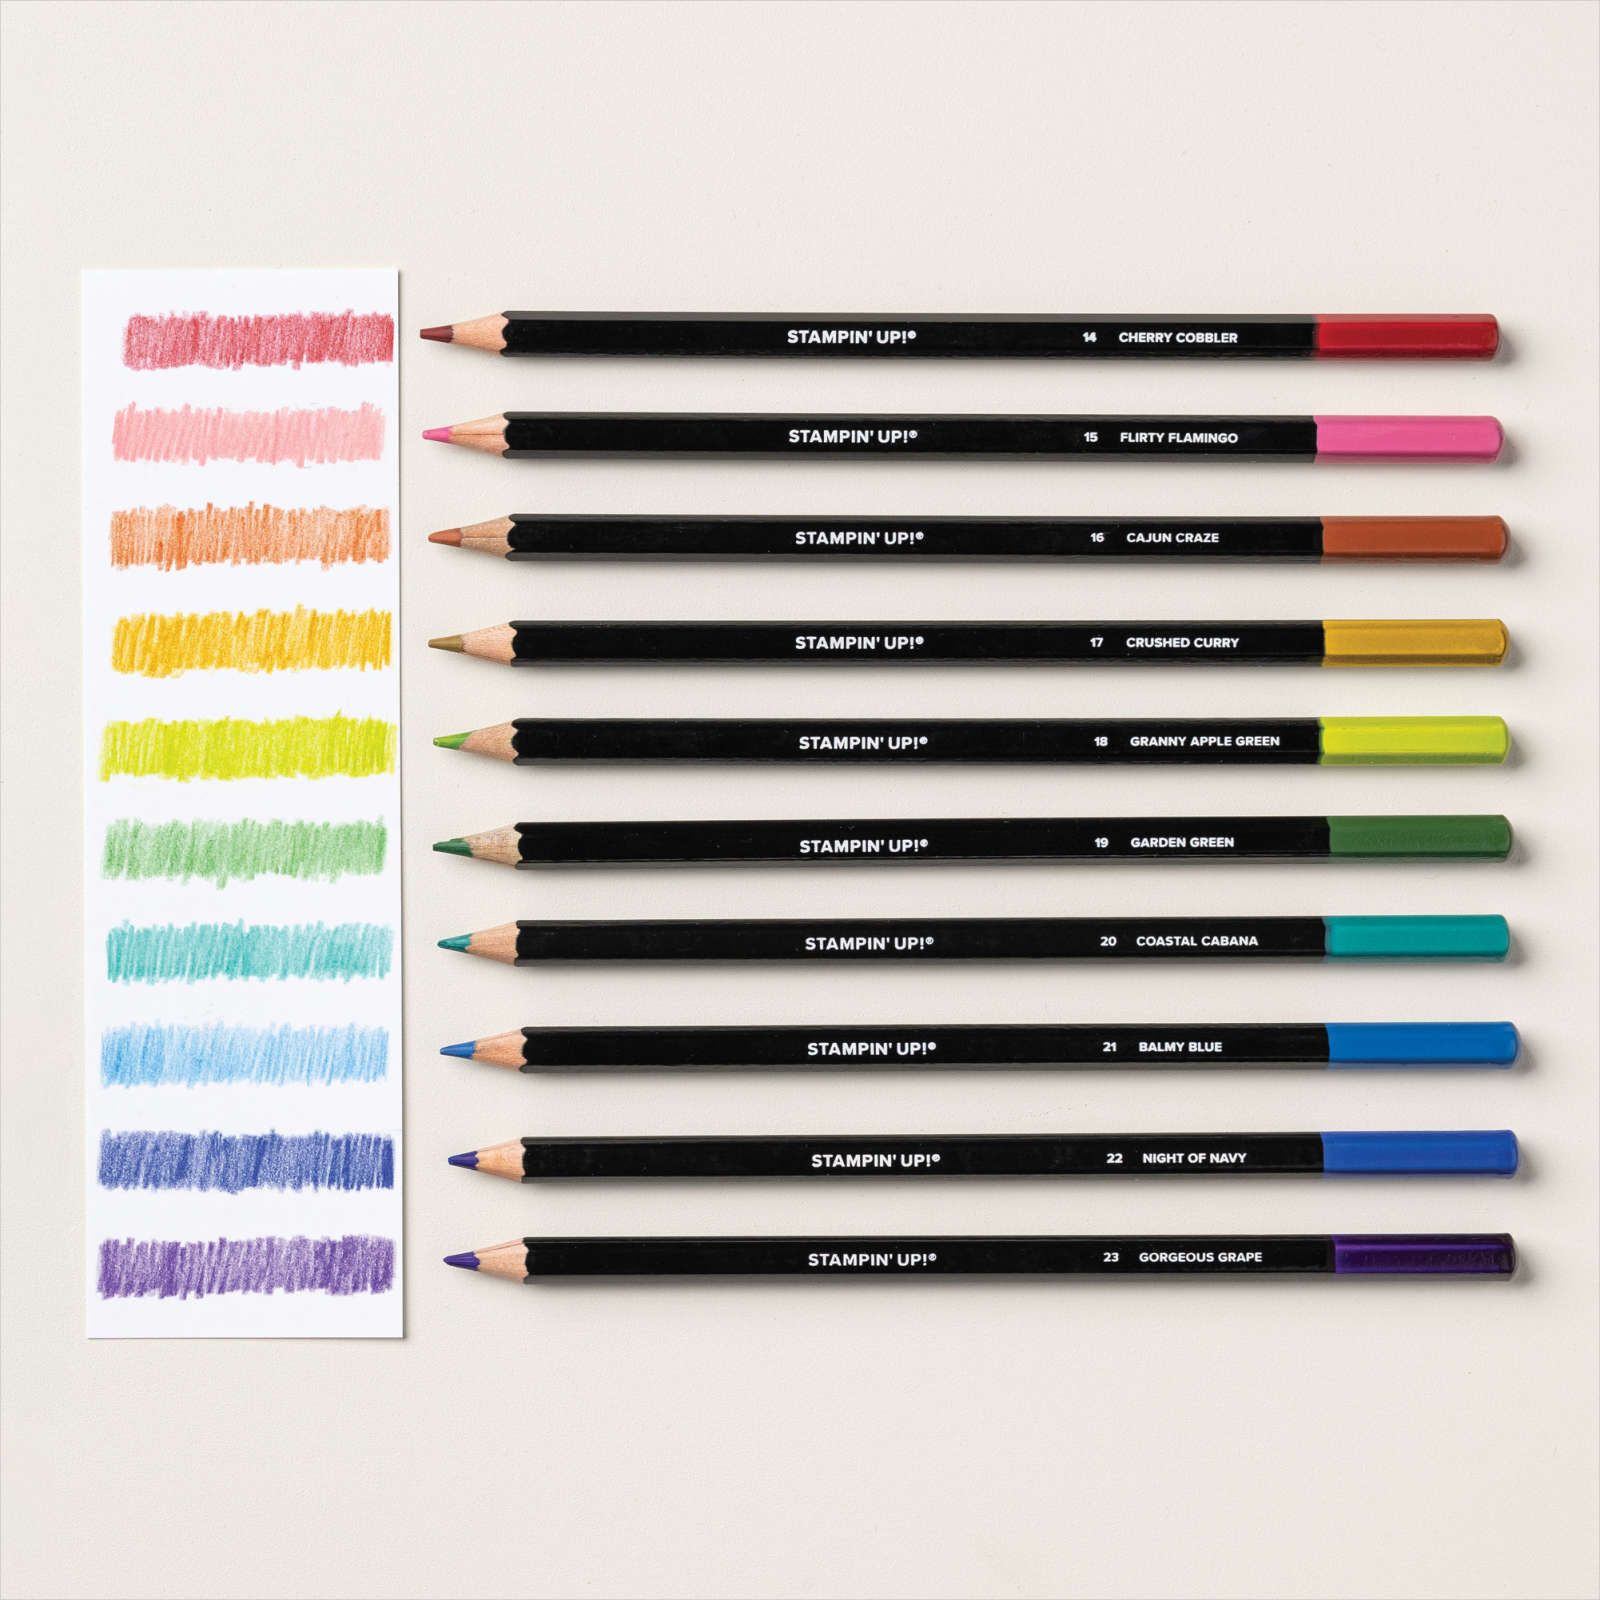
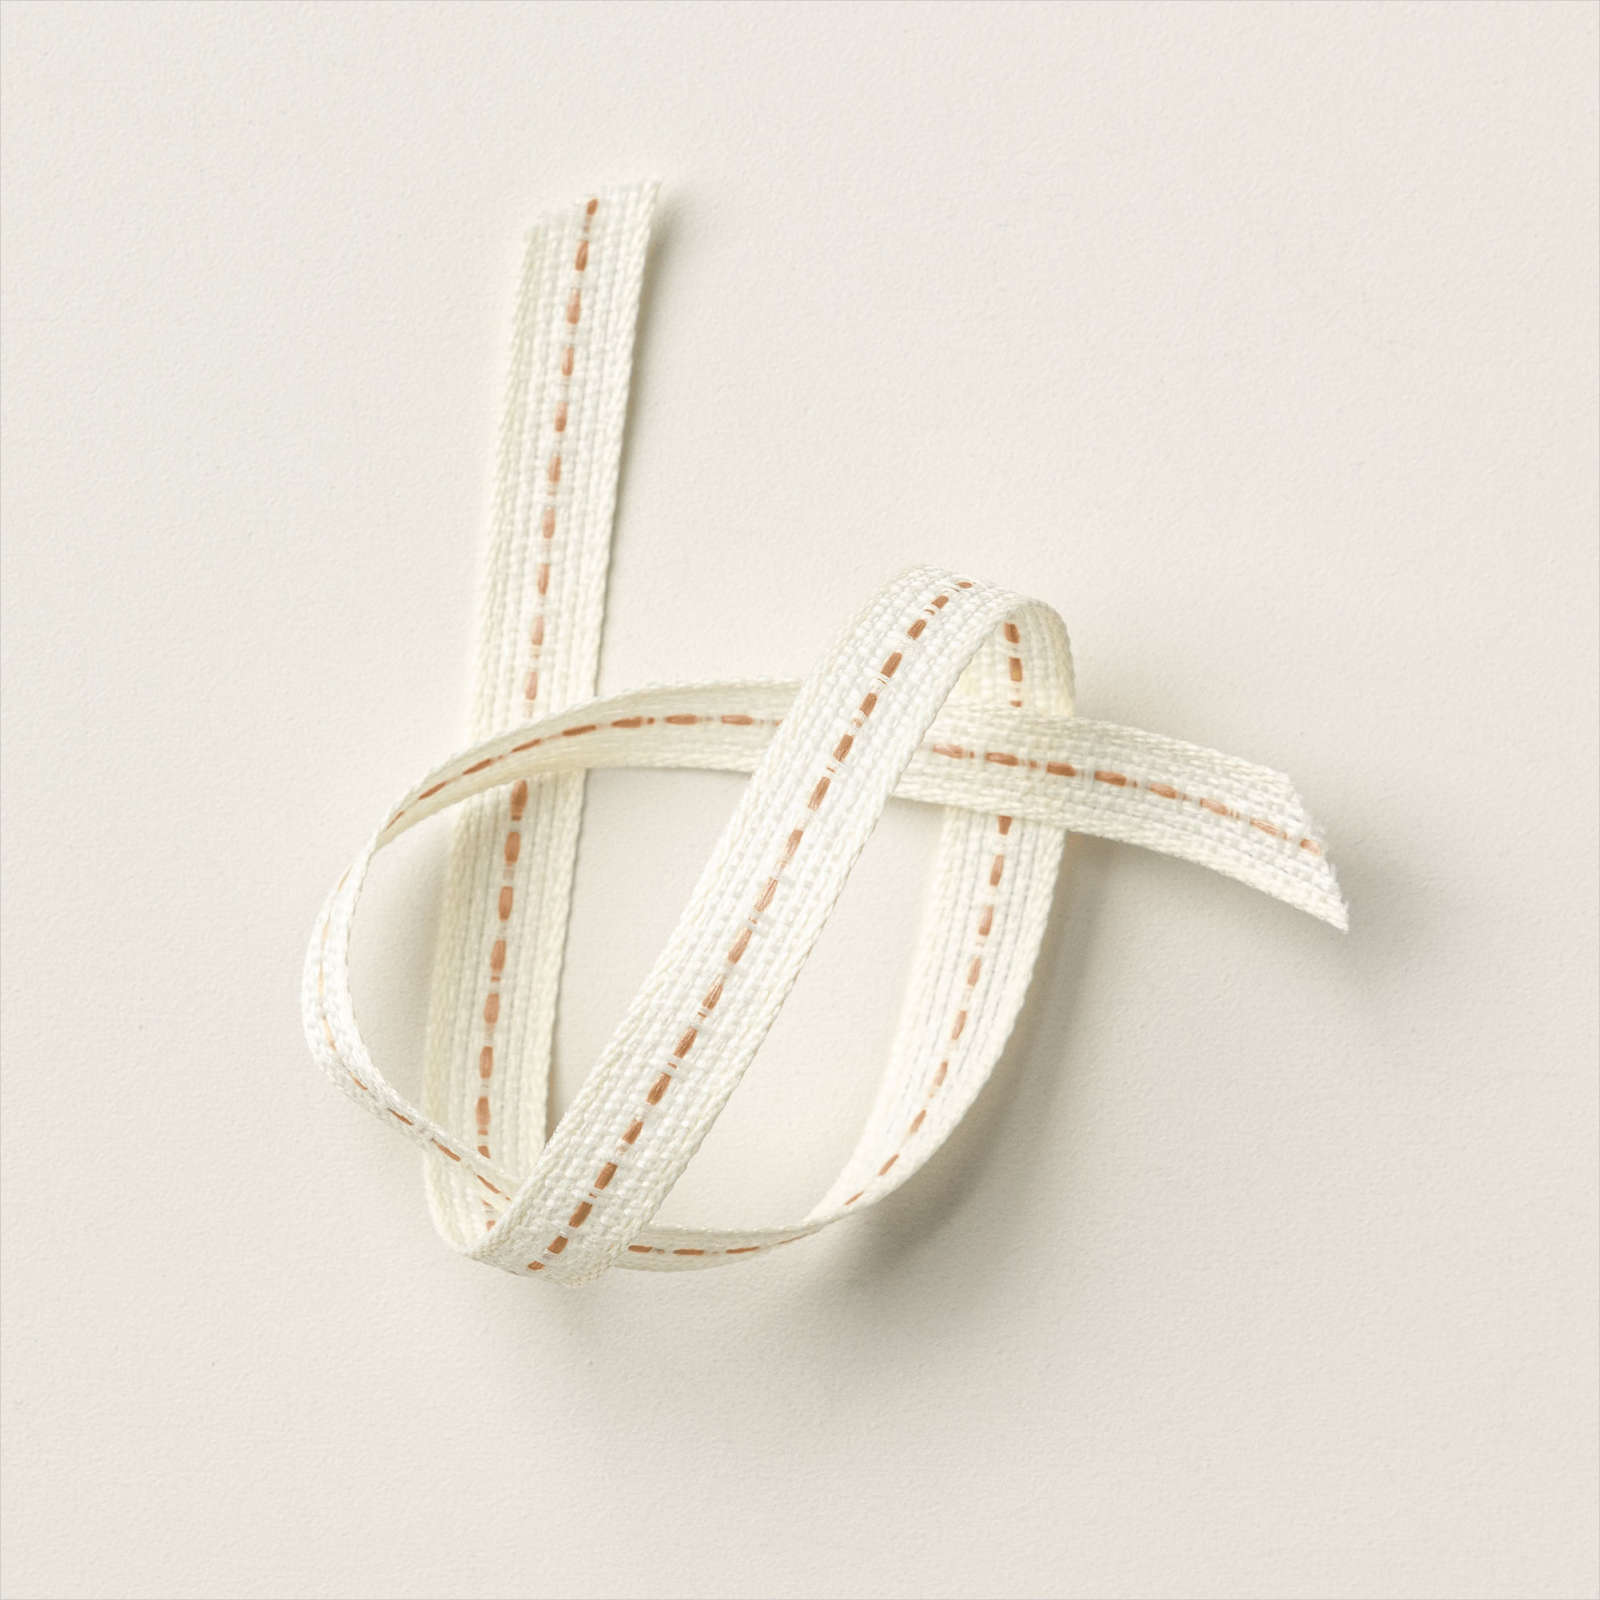
I tied a knot in a length of Pecan Pie Centre Stripe 3/8″ Ribbon and attached it across the bottom of the stamped Designer Series Paper. The panel is attached to scored and folded Basic White card which is attached into the centre of the card base, with the narrow panels on either side. You need to make sure that you cut your Designer Series Paper in sequence so that the pattern is lined up. To decorate the inside of the card, I stamped one of the floral images from the Garden Meadow stamp set using Memento Tuxedo Black ink. I used the Gorgeous Grape and Granny Apple Green pencils from the Watercolor Pencils Assortment 2. After I coloured the image, I used a Blender Pen to move the colour around and completely fill the image. Such a simple card to create but the Meandering Meadows Designer Series Paper takes it to a new level.
I hope I have inspired you to take a look at this gorgeous new collection.
Bye for now,
Kris
Product Used:


More Christmas Classics

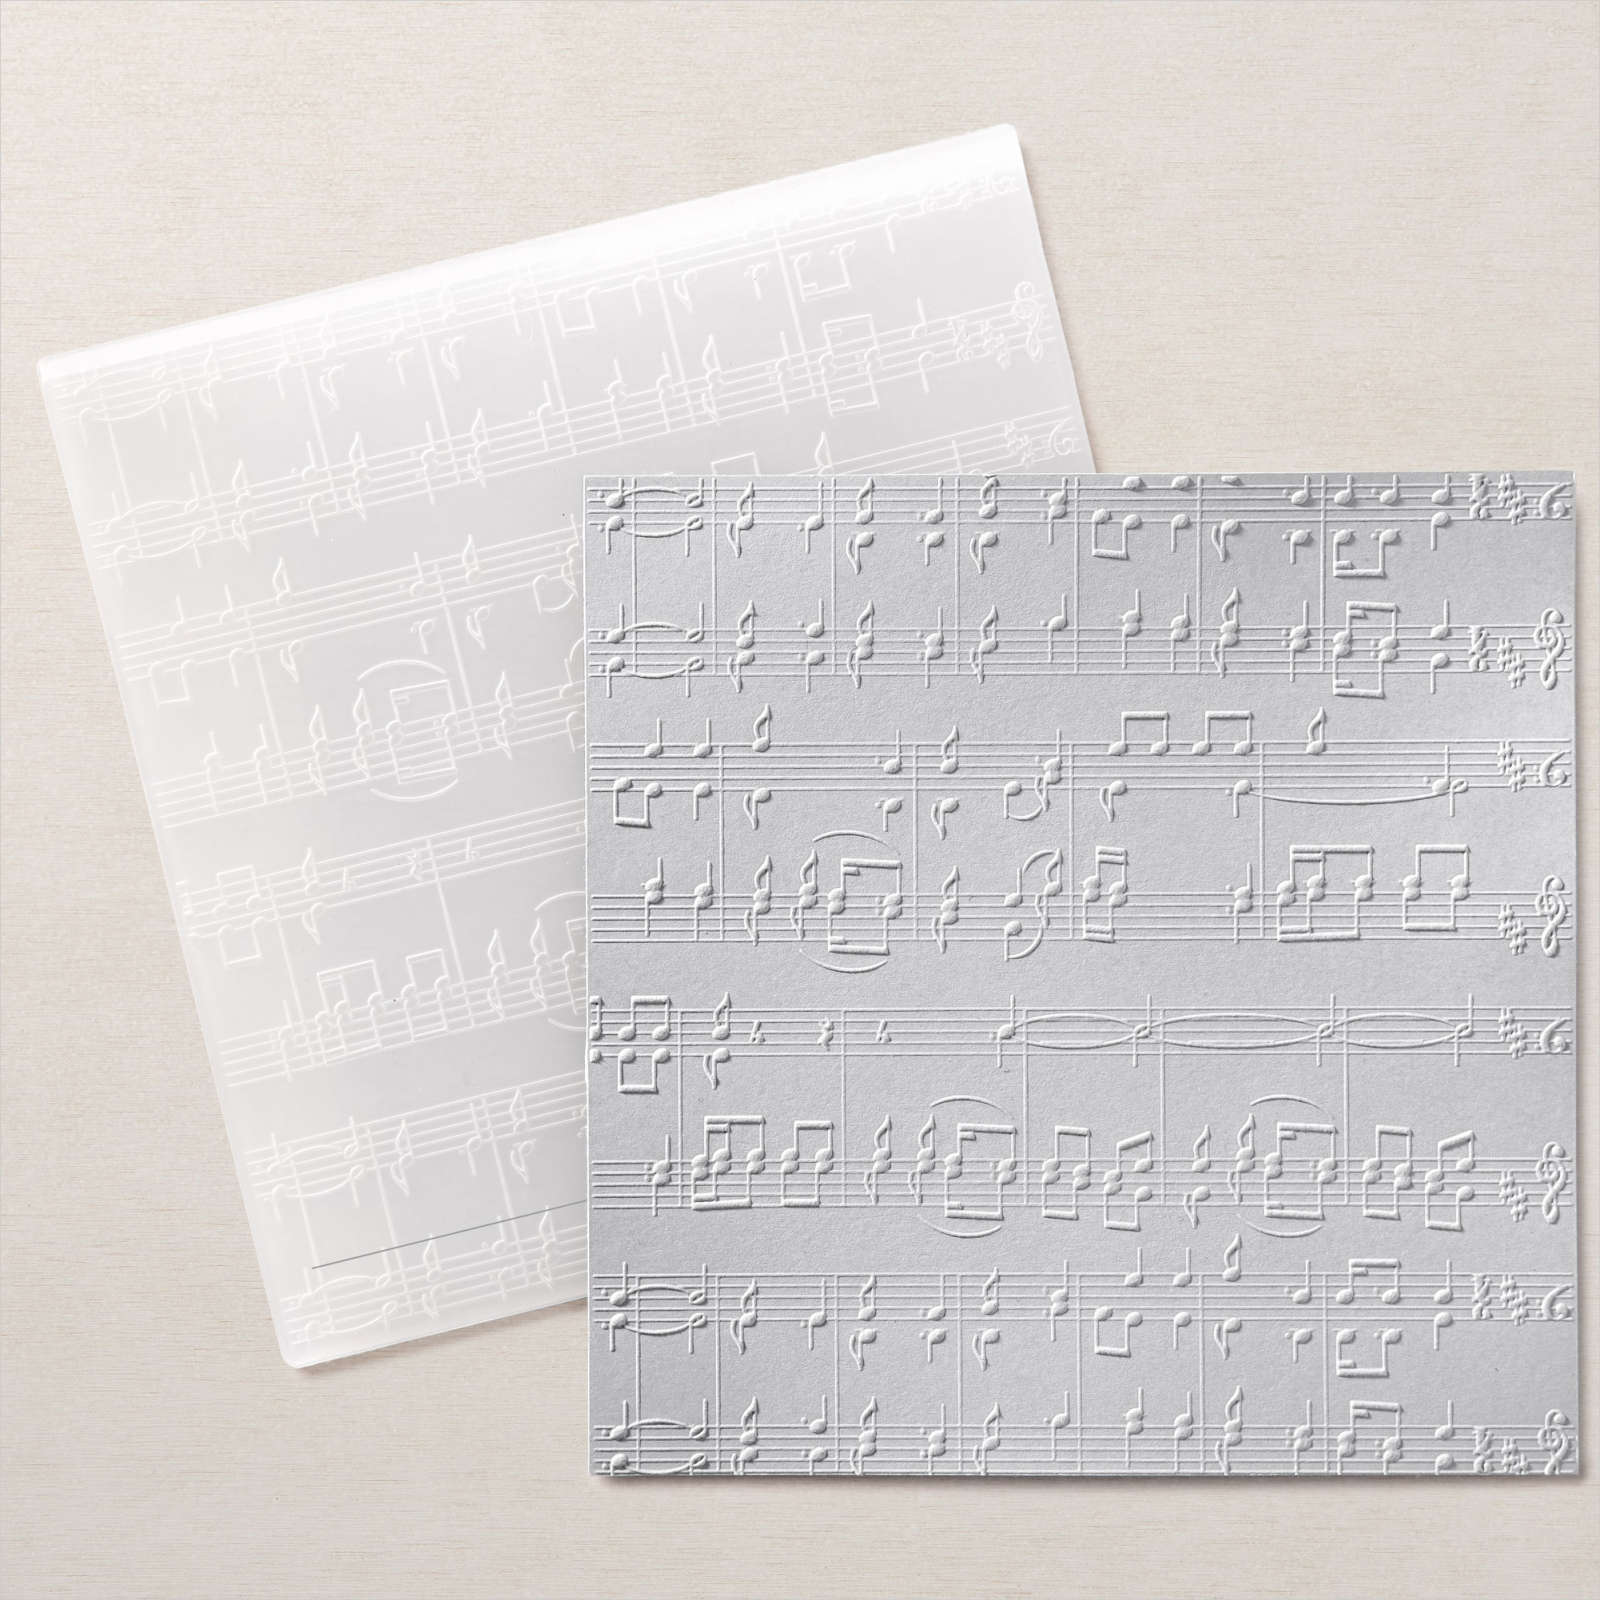
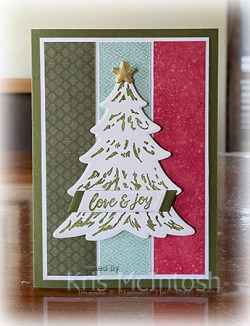
Today’s card is a stepped up version of a card I shared with you recently. This time I embossed Basic White card using the Merry Melody 3D Embossing Folder before attaching it to scored and folded Cherry Cobbler card. I cut Basic White card using the decorative banner die from the Christmas Classics Dies and used Dark Old Olive and Light Cherry Cobbler Stampin’ Blends to colour the image.

I attached the banner to the centre of the embossed Basic White card. I cut Basic White card using the banner die from the Christmas Classics Dies and stamped the greeting from the Christmas Classics stamp set using Cherry Cobbler ink.
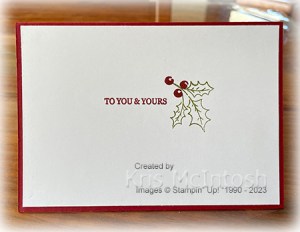
To decorate the inside of the card, I stamped the holly image from the Christmas Classics stamp set onto Basic White card using Old Olive ink. I also stamped another greeting and the berry images from the Christmas Classics stamp set using Cherry Cobbler ink. Once again I decided to re-create this card using Old Olive card and ink instead of Cherry Cobbler.

I must say that I really love the way the coloured die cut really pops on the embossed Basic White card. Such a fun technique to play with.
Bye for now,
Kris
Product Used:


Seasonal Sale & New Online Exclusives

Well November is shaping up to be a busy time at Stampin’ Up!. On the 7th November, Stampin’ Up! released some great new Online Exclusive product. I will be sharing the new Meandering Meadows Suite Collection on Wednesday in my Facebook Live. This suite includes a stamp set, co-ordinating dies, Adhesive Backed Birds & Dragonflies, Ribbon and 6″ x 6″ Designer Series Paper. They have also released several more stamp sets, one with co-ordinating dies. As you know these products never feature in a catalogue and will be restocked from time to time until that is no longer an option when they will retire. To see all the great new products in the Online Exclusive range visit my online store.

The second exciting event is the Seasonal Sale which begins on the 14th November and ends on the 16th November. During this time you will be able to purchase Ribbons & Trims with a 10% discount, inks, including pads, refills, markers, and Blends (not including bundles) at 15% off and papers, including cardstock, specialty paper, and Designer Series Paper at 20% off. Visit my online store to see the full selection of discounted products available. This is a limited time offer. Discounts are automatically applied when sale items are added to any order, including Starter Kits.
So I don’t know about you but this is shaping up to be a month for stocking up one staples and adding to my stamp stash!
Happy Shopping & Bye for now,
Kris
Yeppoon with Mum & Dad
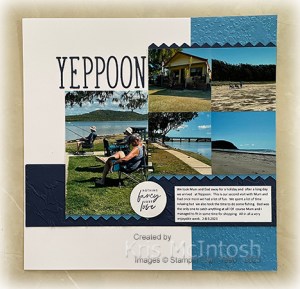
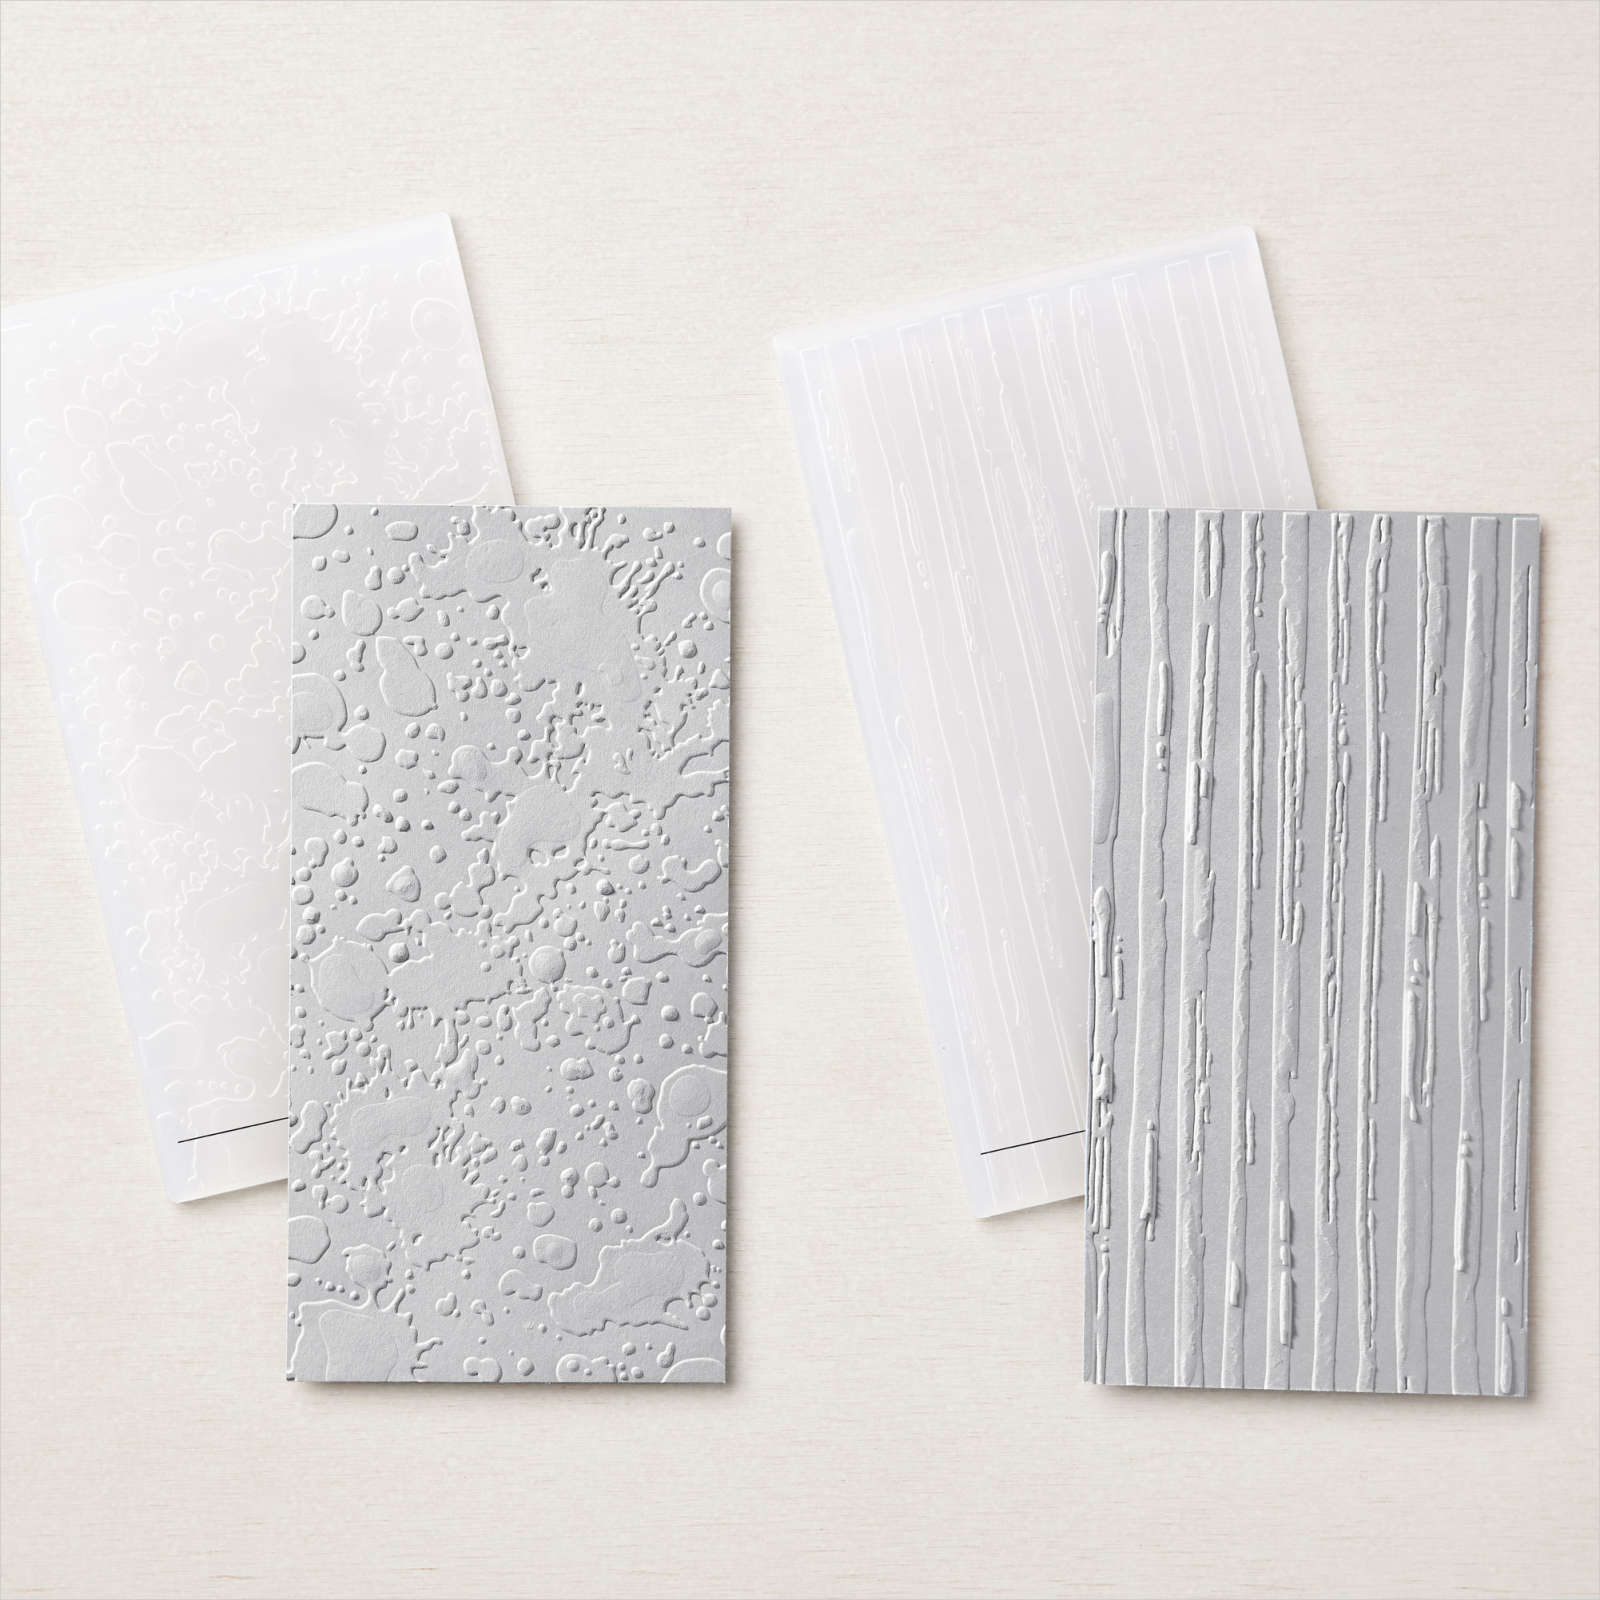
Ron and I took Mum and Dad away for a couple of weeks with our first stop at Yeppoon. It’s a long way to go in one day but since we were staying a week we had plenty of time to relax and enjoy. I embossed Azure Afternoon card using the splatter folder from the Stripes and Splatters 3D Embossing Folders before attaching the card to each page.
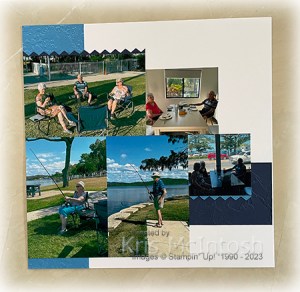
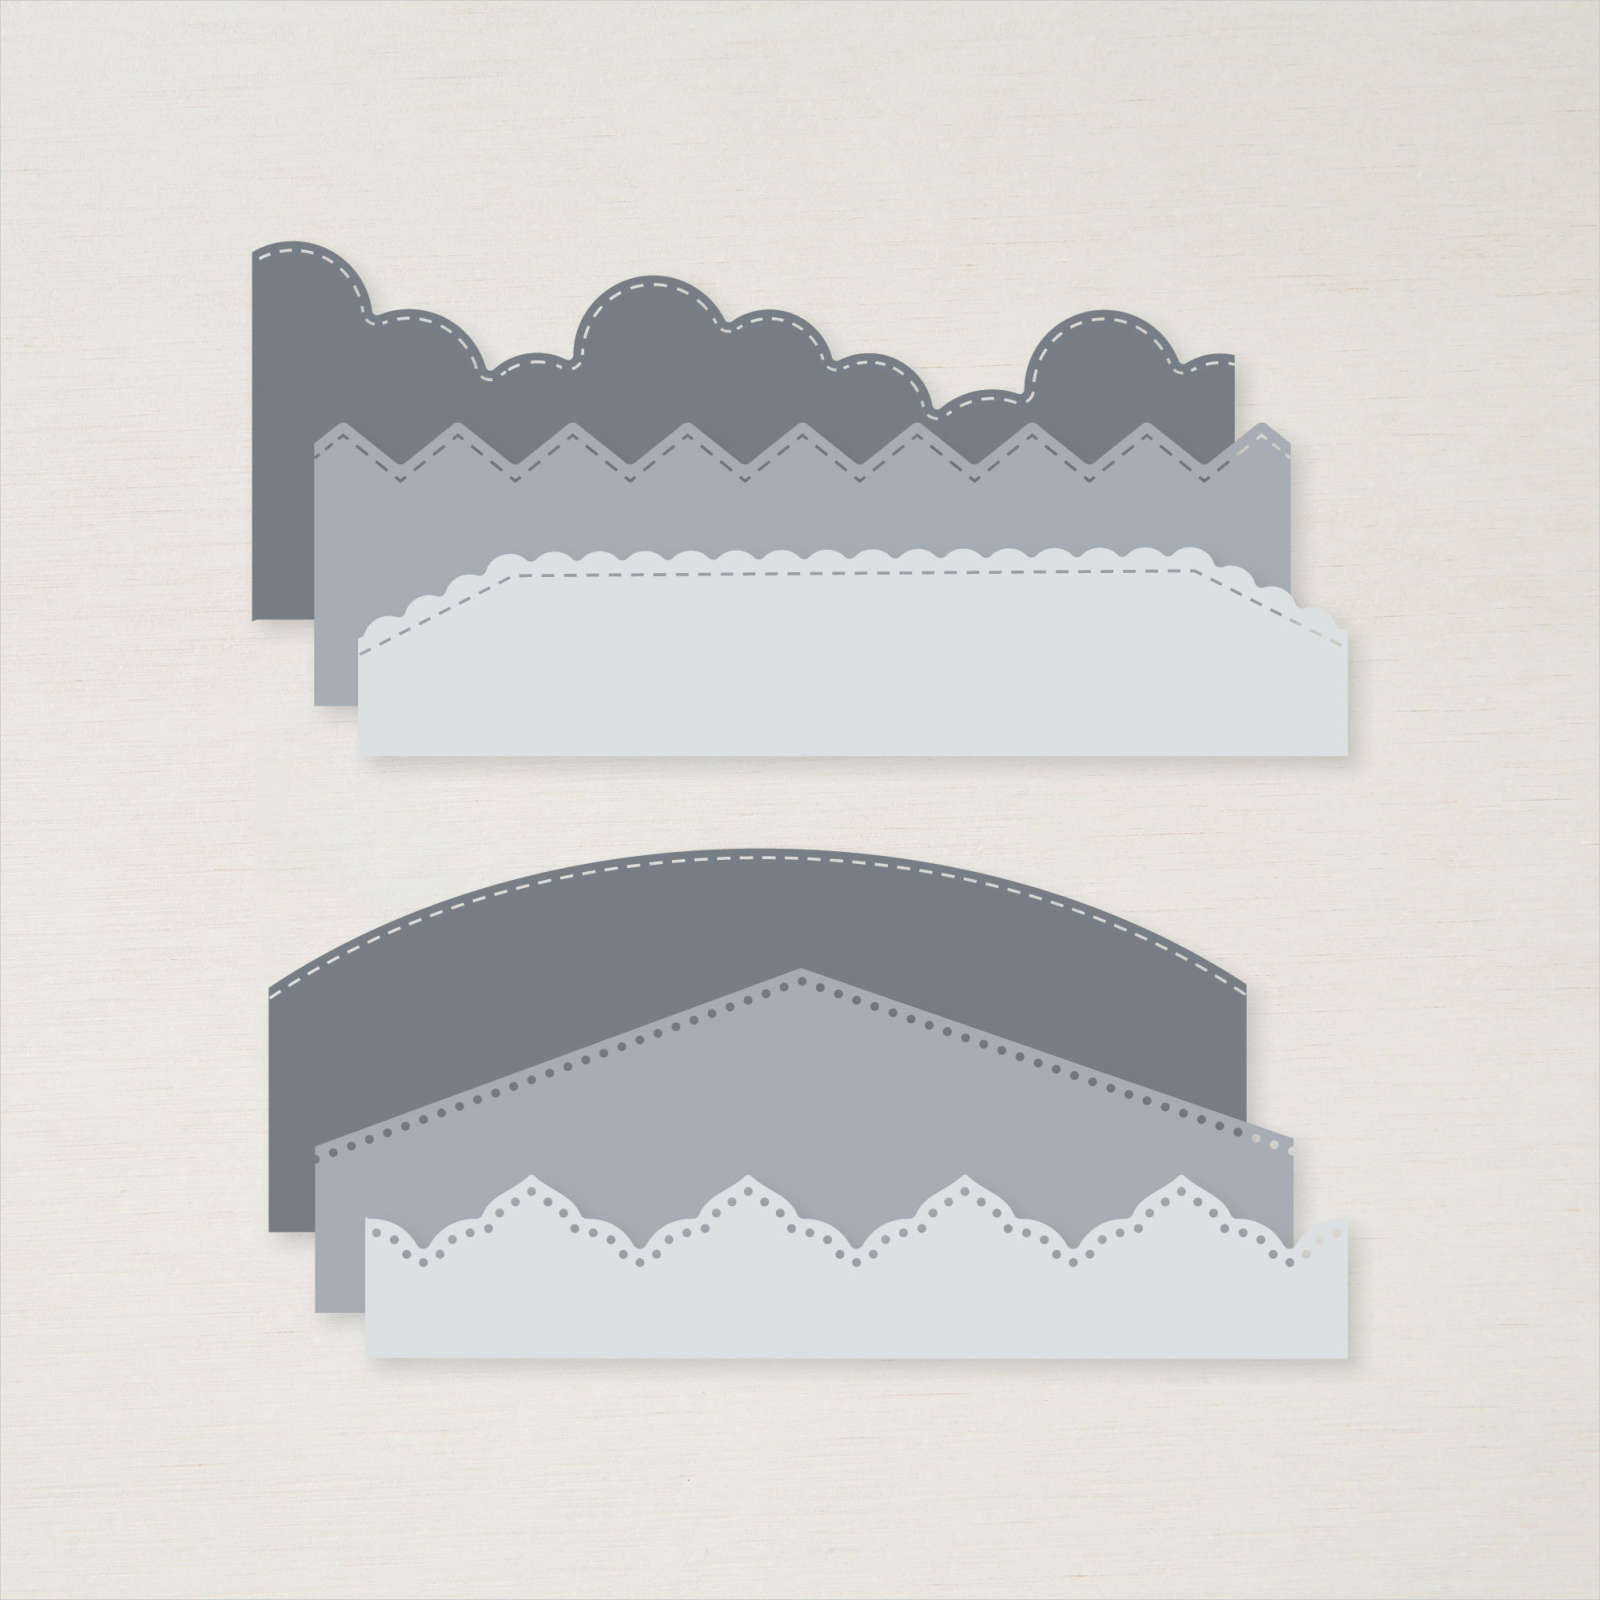
I also embossed Night of Navy card using the Painted Texture 3D Embossing Folder and attached a piece across the lower part of each page. I die cut Night of Navy card and Azure Afternoon card using one of the Basic Border Dies and attached the pieces to the back of several of the photos before attaching them to the pages. I cut the title from Night of Navy card using the Alphabet A La Mode Dies and attached it to the upper left hand corner of the first page. I stamped the greeting from the Something Fancy stamp set onto Basic White card using Night of Navy ink. I punched out the greeting using the 1-3/4″ Circle Punch before attaching it to the left hand page. I printed the journaling onto Basic White card and it is also attached to the left hand page.
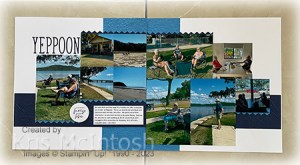
Just a few photos but they bring back lots of memories of our week away. I feel so lucky to be able to spend this time with my parents.
Bye for now,
Kris
Product Used:


Scraps
I shared some bridge cards I created for my November class last week and today I thought I would share how I used up the One Horse Open Sleigh 6″ x 6″ Designer Series Paper I had left over. I trimmed each of the left over strips to fit onto Basic White card which is 9.5cm x 13.8cm. Three pieces of the Designer Series Paper fitted perfectly across the panel. For the first card, I attached the Basic White card to scored and folded Mossy Meadow card. I stamped the detailed tree from the Merriest Trees stamp set onto Basic White card using Mossy Meadow ink and cut it out using the co-ordinating Merriest Trees Die.

I attached the tree to the card front using dimensionals. I cut Gold Foil card using the star from the Merriest Trees Dies and attached it to the top of the tree. I stamped the greeting from the Merriest Trees stamp set onto Basic White card using Mossy Meadow ink and cut it out using one of the Something Fancy Dies. I did cut it twice so that it fitted around the greeting. I attached the greeting to Mossy Meadow card cut using the same die and attached it to the tree. To decorate the inside of the card, I stamped another greeting from the Merriest Trees stamp set onto Basic White card using Mossy Meadow ink.

I also attached the Mossy Meadow Designer Series Paper across the bottom of the stamped panel. I had some more pieces left so this time I attached the Basic White card to scored and folded Real Red card. I stamped the image from the Cheers to the Season stamp set onto Basic White card using Real Red ink and cut it out using one of the Deckled Circle Dies.

The image is attached to the card front using dimensionals. To decorate the inside of the card, I stamped a greeting from the Very Best Occasions stamp set onto Basic White card using Real Red ink. This time I attached the Real Red Designer Series Paper across the bottom of the stamped card.

I had enough pieces of Designer Series Paper to create one more card. This time I attached the Basic White card to scored and folded Pool Party card. I stamped the solid car image from the Trucking Along stamp set onto Basic White card using Pool Party ink. I stamped the outline image of the car over the top using Memento Tuxedo Black ink.

I stamped the tyre fill image from the Trucking Along stamp set using Memento Tuxedo Black ink. I also stamped the present outline image from the same stamp set onto the back of the truck using Memento Tuxedo Black ink. I stamped the present fill image using Real Red ink and the greeting from the Trucking Along stamp set below the car image using Memento Tuxedo Black ink. The image is cut out using one of the Deckled Rectangle Dies and attached to the card front using dimensionals. I stamped the same greeting as before from the Very Best Occasions stamp set onto Basic White card using Pool Party ink and attached the Pool Party Designer Series Paper across the bottom of the card.

I love how you can use the same layout and get such different cards!
Bye for now,
Kris
Product Used:


Let’s Party
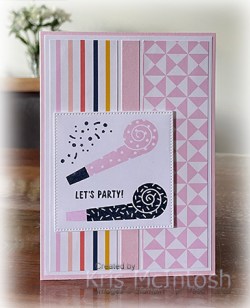
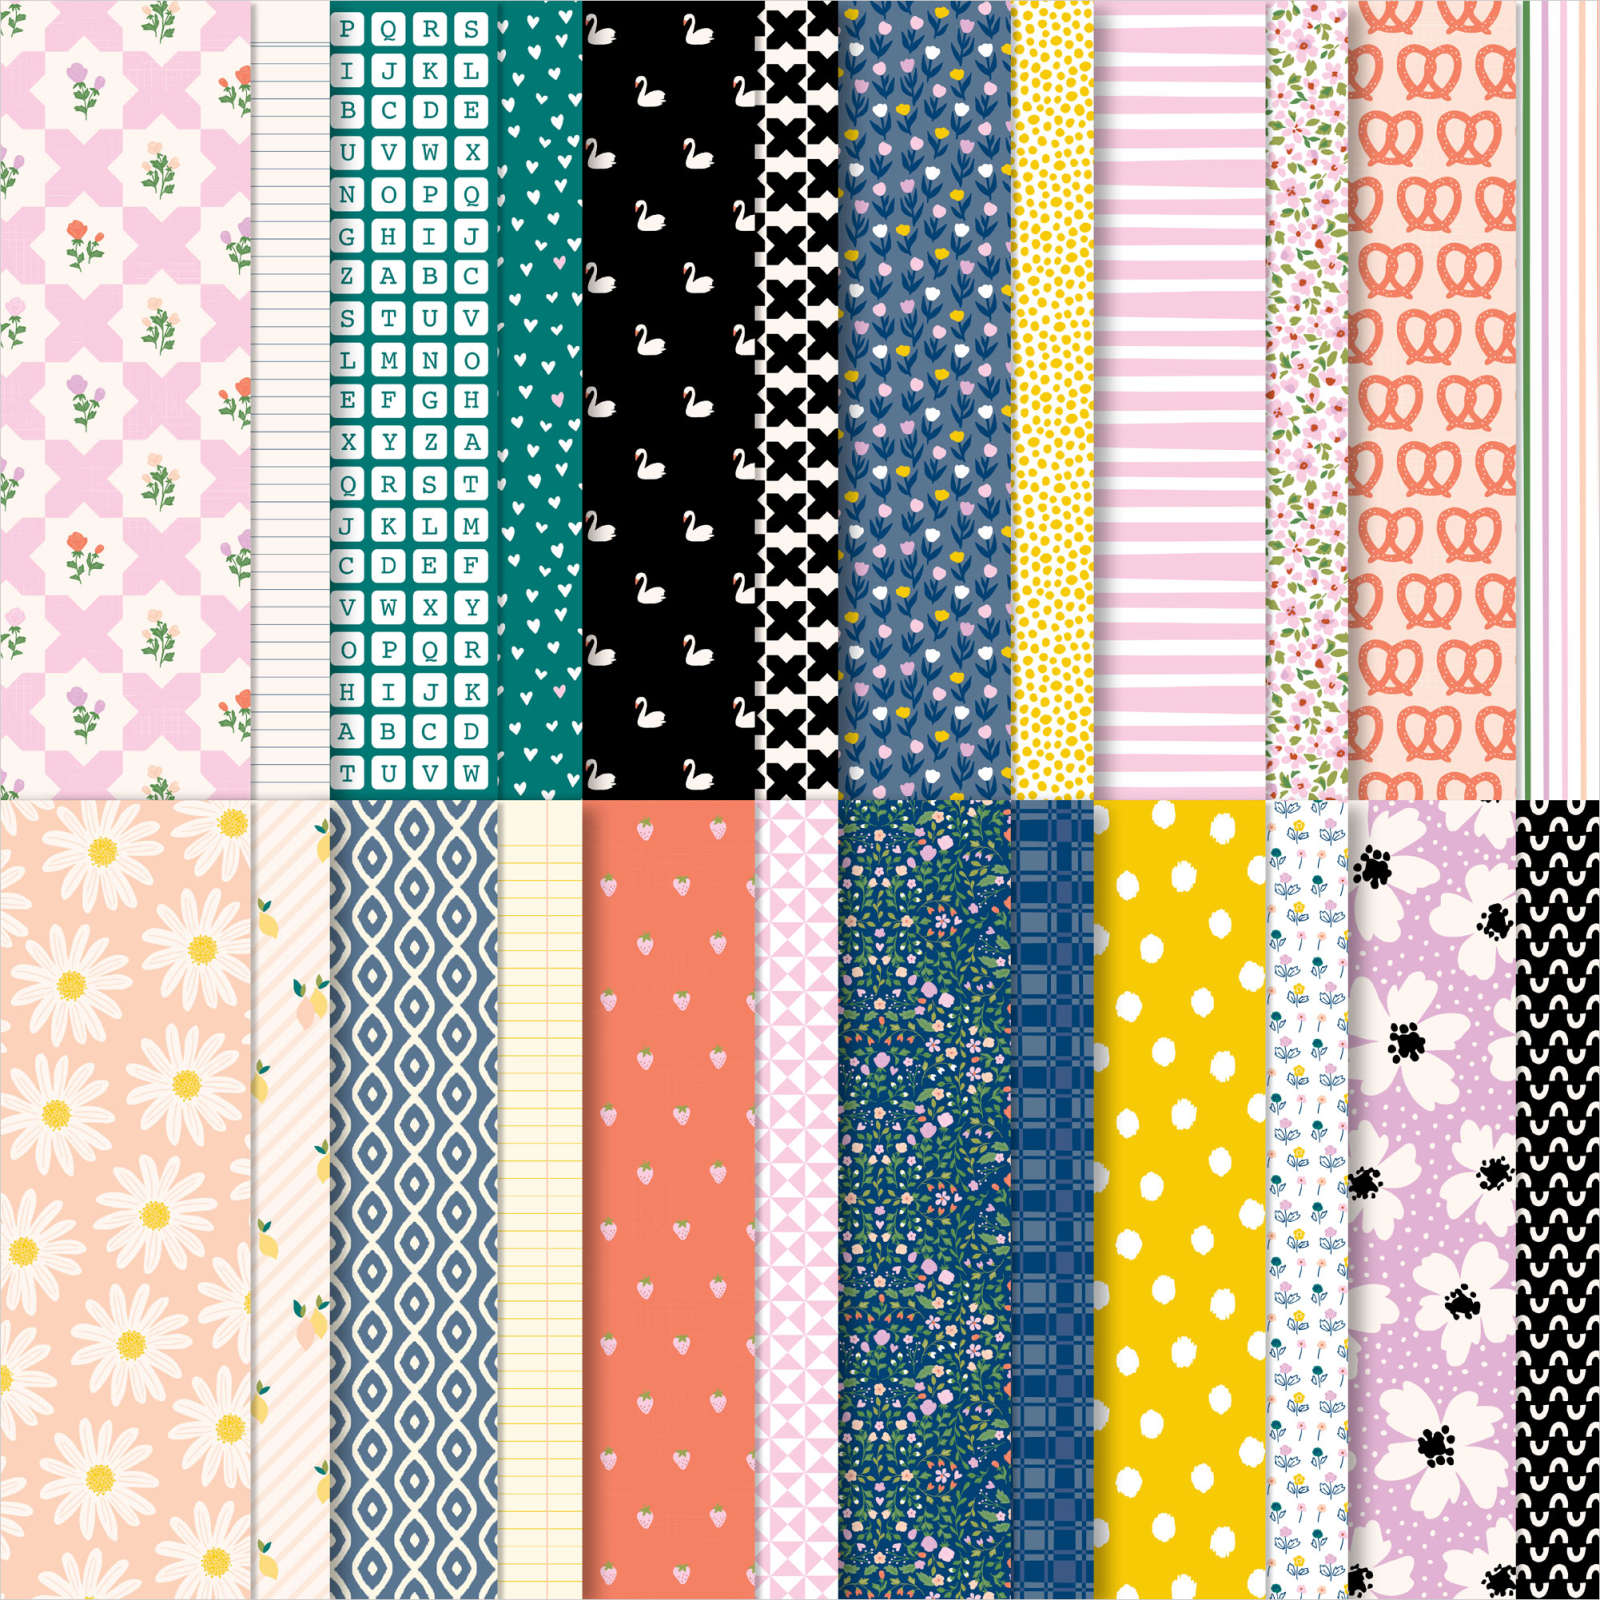
Today’s card features the Year to Celebrate stamp set from the September to December Mini Catalogue. I cut two pieces of Delightfully Eclectic 12″ x 12″ Designer Series Paper and attached them to a piece of Basic White card. I cut a strip of Bubble Bath card and attached it to the Basic White card between the two pieces of Designer Series Paper. The whole panel is attached to scored and folded Bubble Bath card. I cut Basic White card using the largest square from the Stylish Shapes Dies.
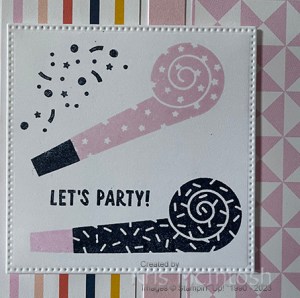
I stamped two of the whistle images from the Year to Celebrate stamp set onto the Basic White square, one using Bubble Bath ink and one using Night of Navy ink. I stamped the end of the whistle onto each one using the opposite coloured ink.

I stamped the confetti image and the greeting from the Year to Celebrate stamp set onto the die cut using Night of Navy ink. The stamped panel is attached to the card front using dimensionals. To decorate the inside of the card I stamped the greeting from the Year to Celebrate stamp set using Night of Navy ink. I stamped the confetti image on either side of the greeting using Bubble Bath ink.
I can see that this stamp set is going to be lots of fun to use for many occasions we need to celebrate.
Bye for now,
Kris
Product Used: