Brothers

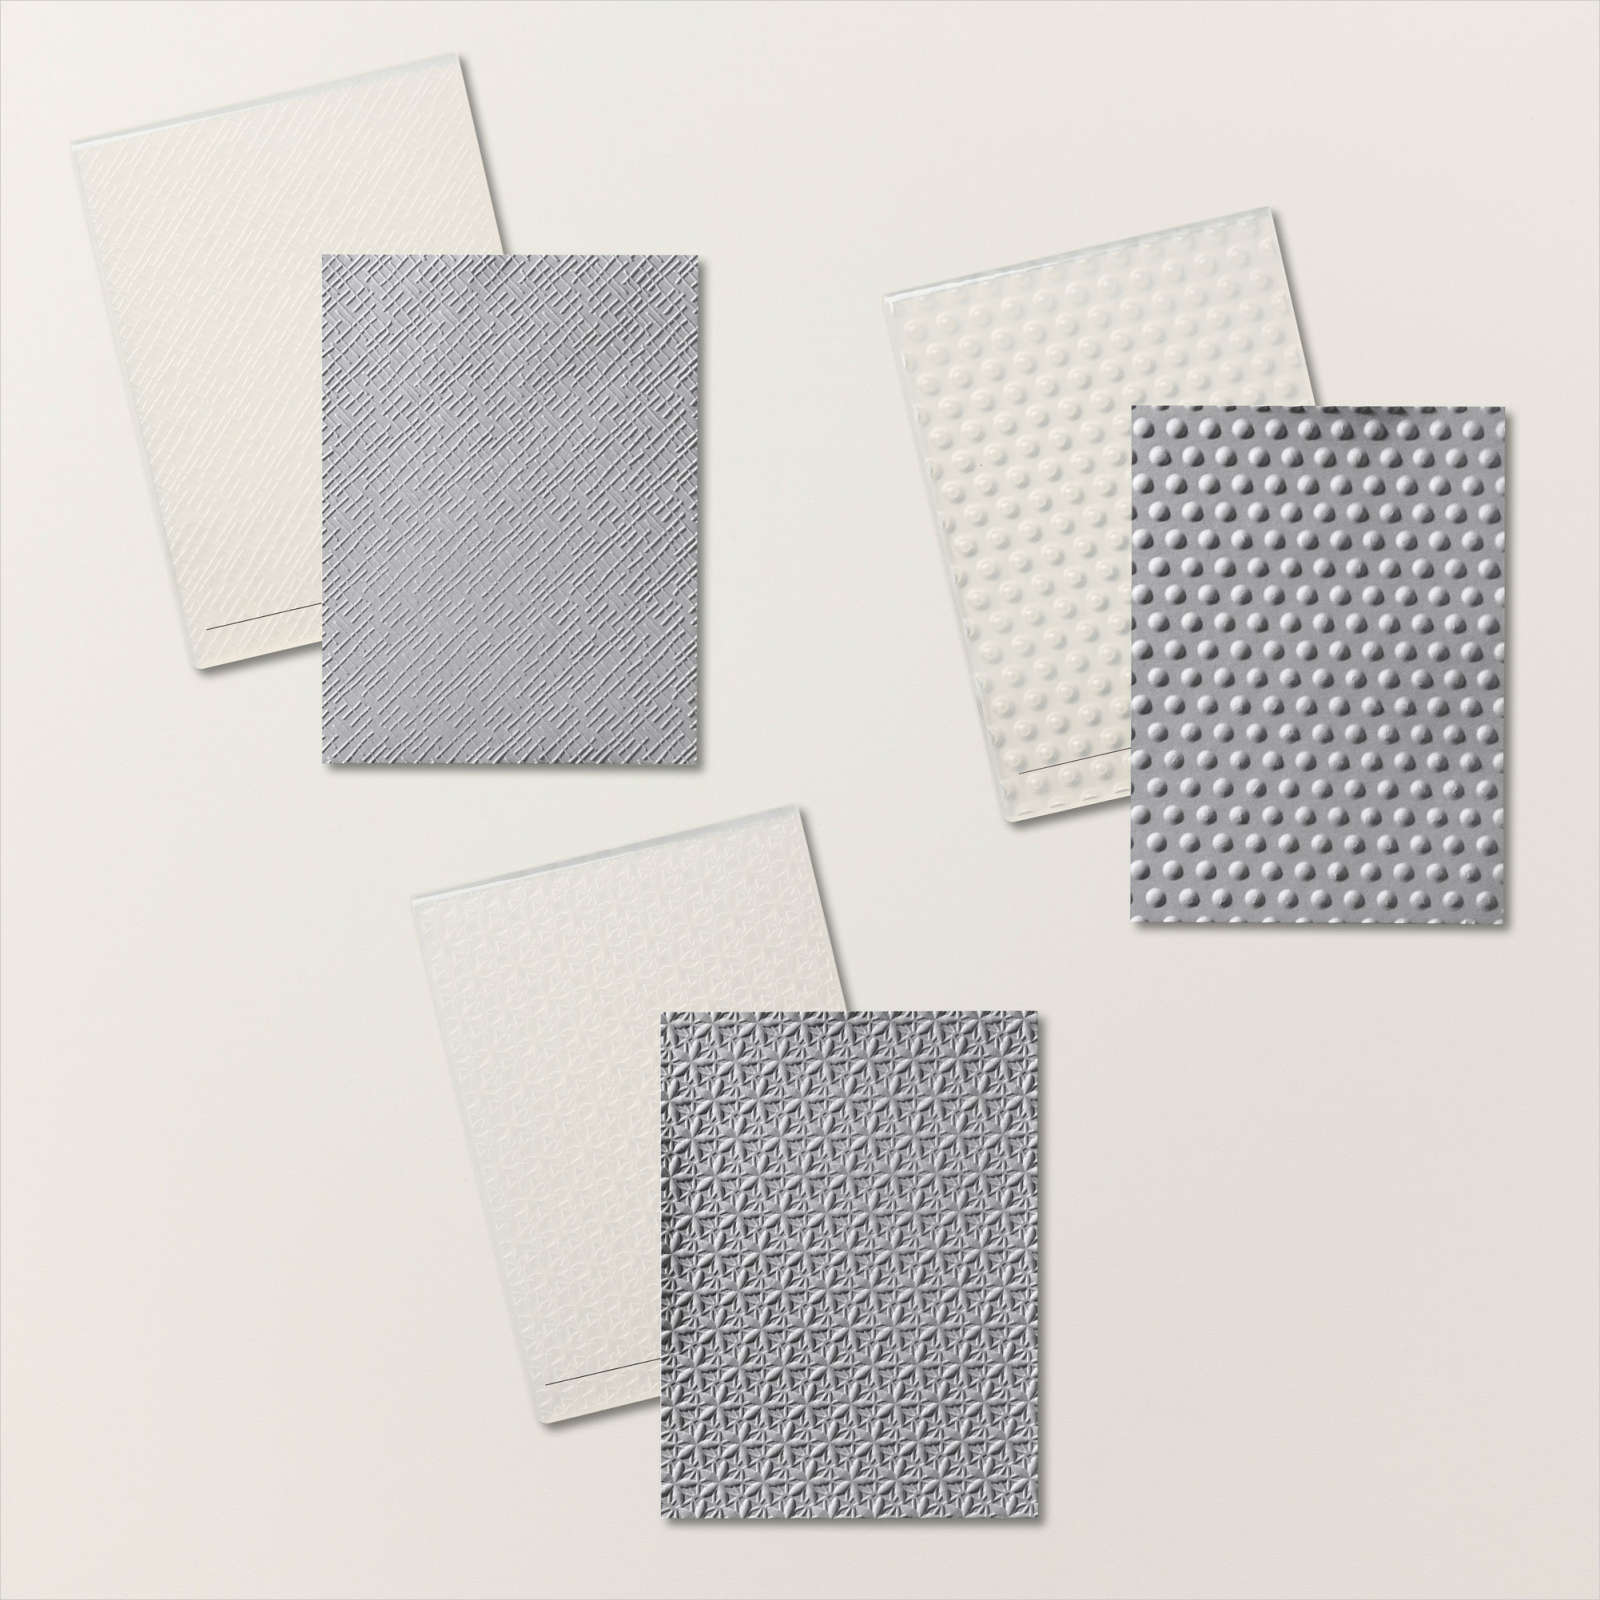
Todays page shares some photos of my Dad and his brother that I found on my box on the shelf. I am slowly making a dent in it but probably not quick enough. I embossed a piece of Pool Party card using one of the folders from the Basics 3D Embossing Folders and attached it to night of Navy card. The embossed panel is attached to the right hand side of a Basic White 12″ x 12″ page. One trick that I have learned is that you don’t need 12″ x 12″ card to add layers to your pages. I simply cut this panel so that the cut sits behind my photo! I didn’t attach mats for my photos just attached them directly to the page. I cut the title from Night of Navy card using the Alphabet A La Mode Dies and attached the letters to the top left hand corner of the page. I printed my journaling onto Basic White card, cut it into strips and attached it below the photos on the right hand side of the page. I love the photo of my Dad and Uncle asleep in their chairs.
Bye for now,
Kris
Product Used:
Bye for now,
Kris
Product Used:


Christmas Bridge card

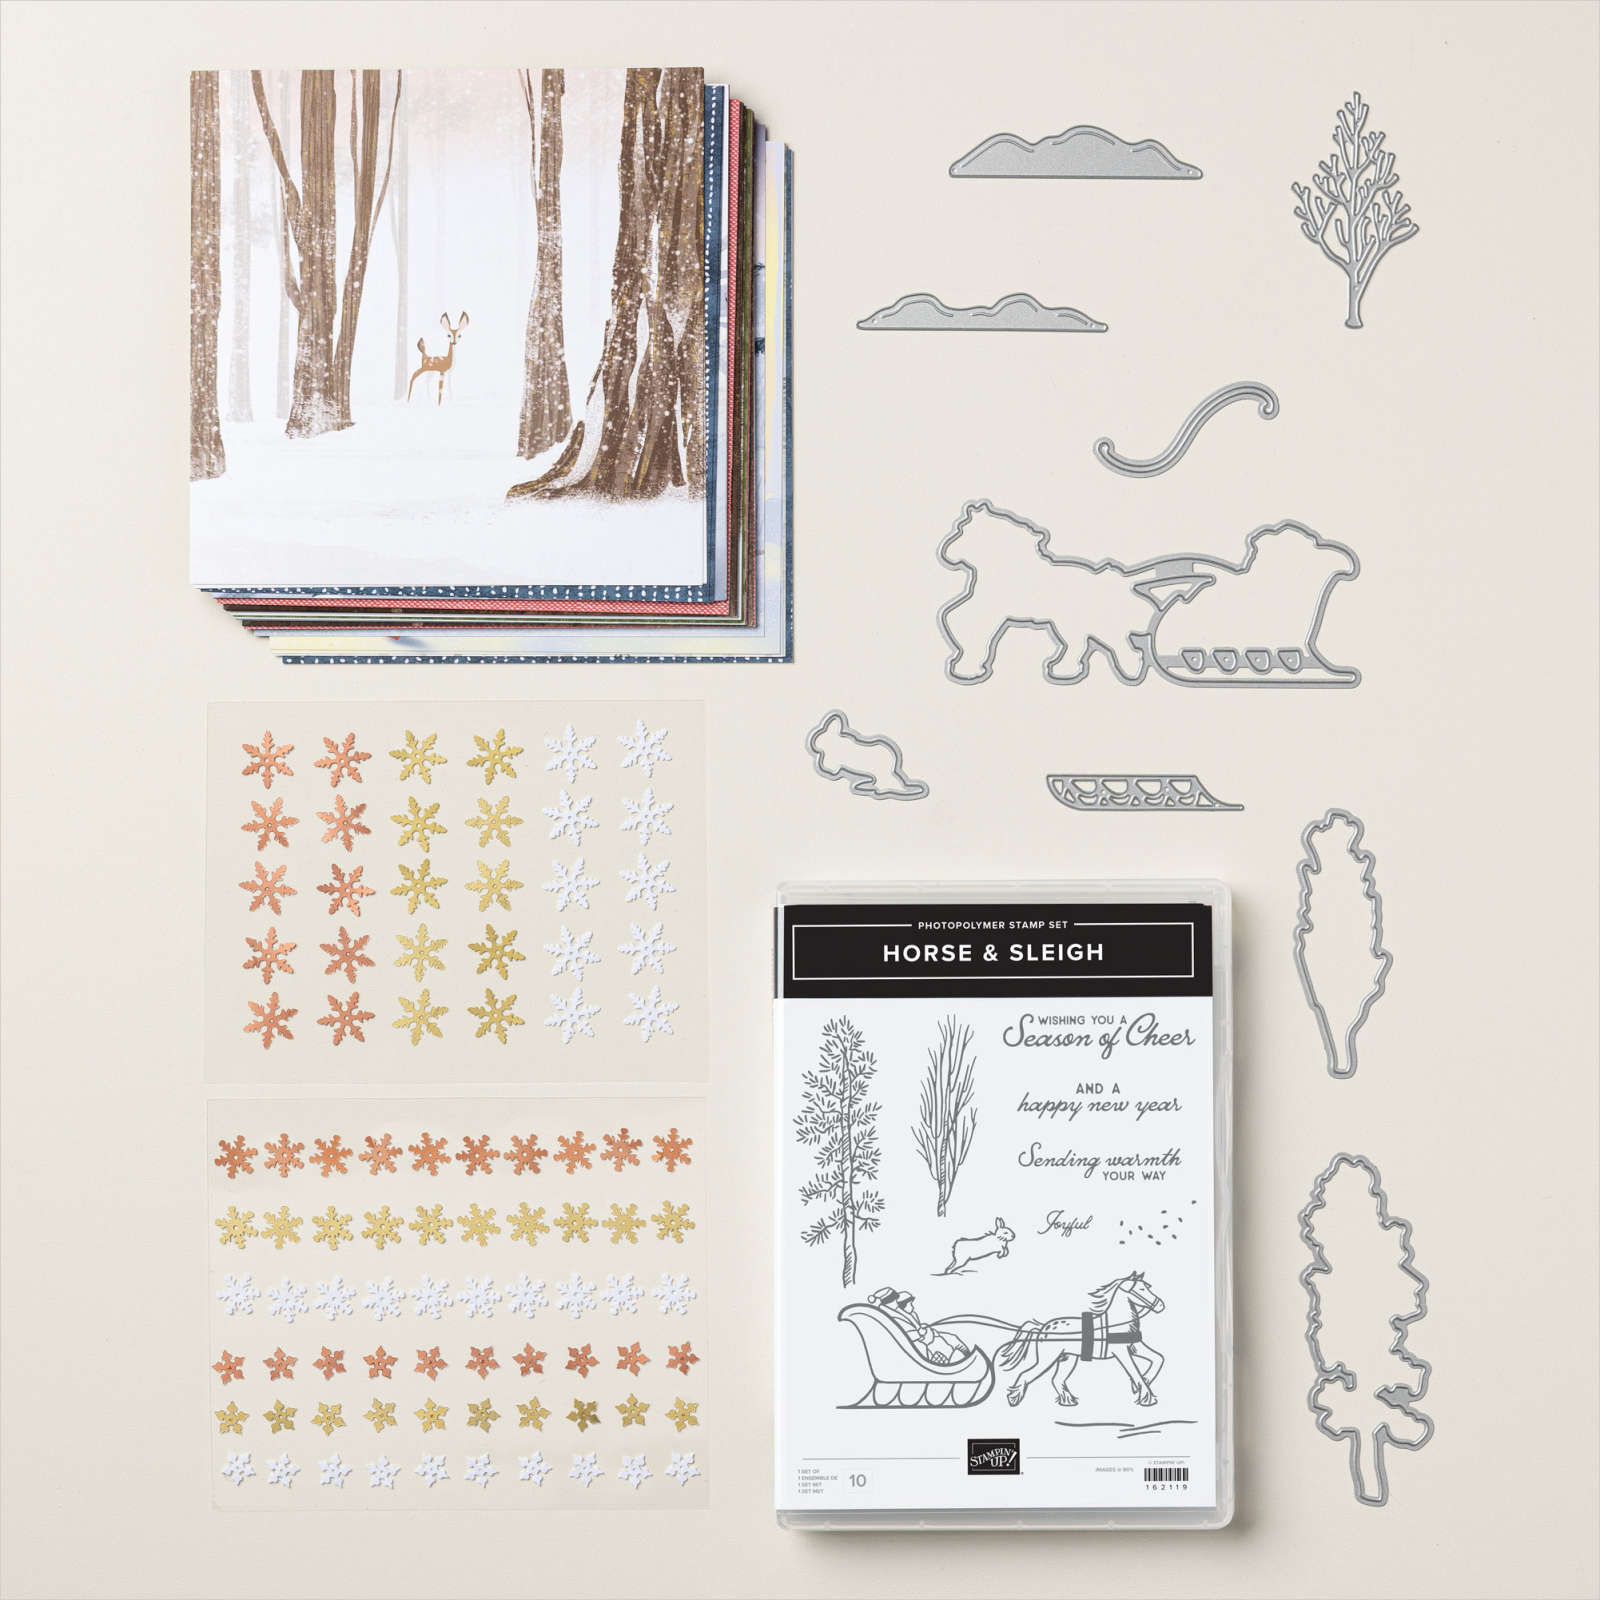
Today I am sharing a card that was part of my September Class. I created a Bridge Card using the Horse & Sleigh collection because I wanted to show my class attendees how to cut the Designer Series Paper to keep the pattern intact. I used Early Espresso for my card base and bridge and attached pieces of the One Horse Open Sleigh 6″ x 6″ Designer Series Paper to the outside panels and centre panel of the card base and across the bridge panel.

I embossed two pieces of Early Espresso card using the Painted Texture 3D Embossing Folder and attached them to the remaining panels on the card base. I stamped the greeting from the Horse & Sleigh stamp set onto Basic White card using Early Espresso ink and cut it out using the largest banner from the Stylish Shapes Dies. I stamped the horse & sleigh image from the Horse & Sleigh stamp set onto Basic White card using Memento Tuxedo Black ink.

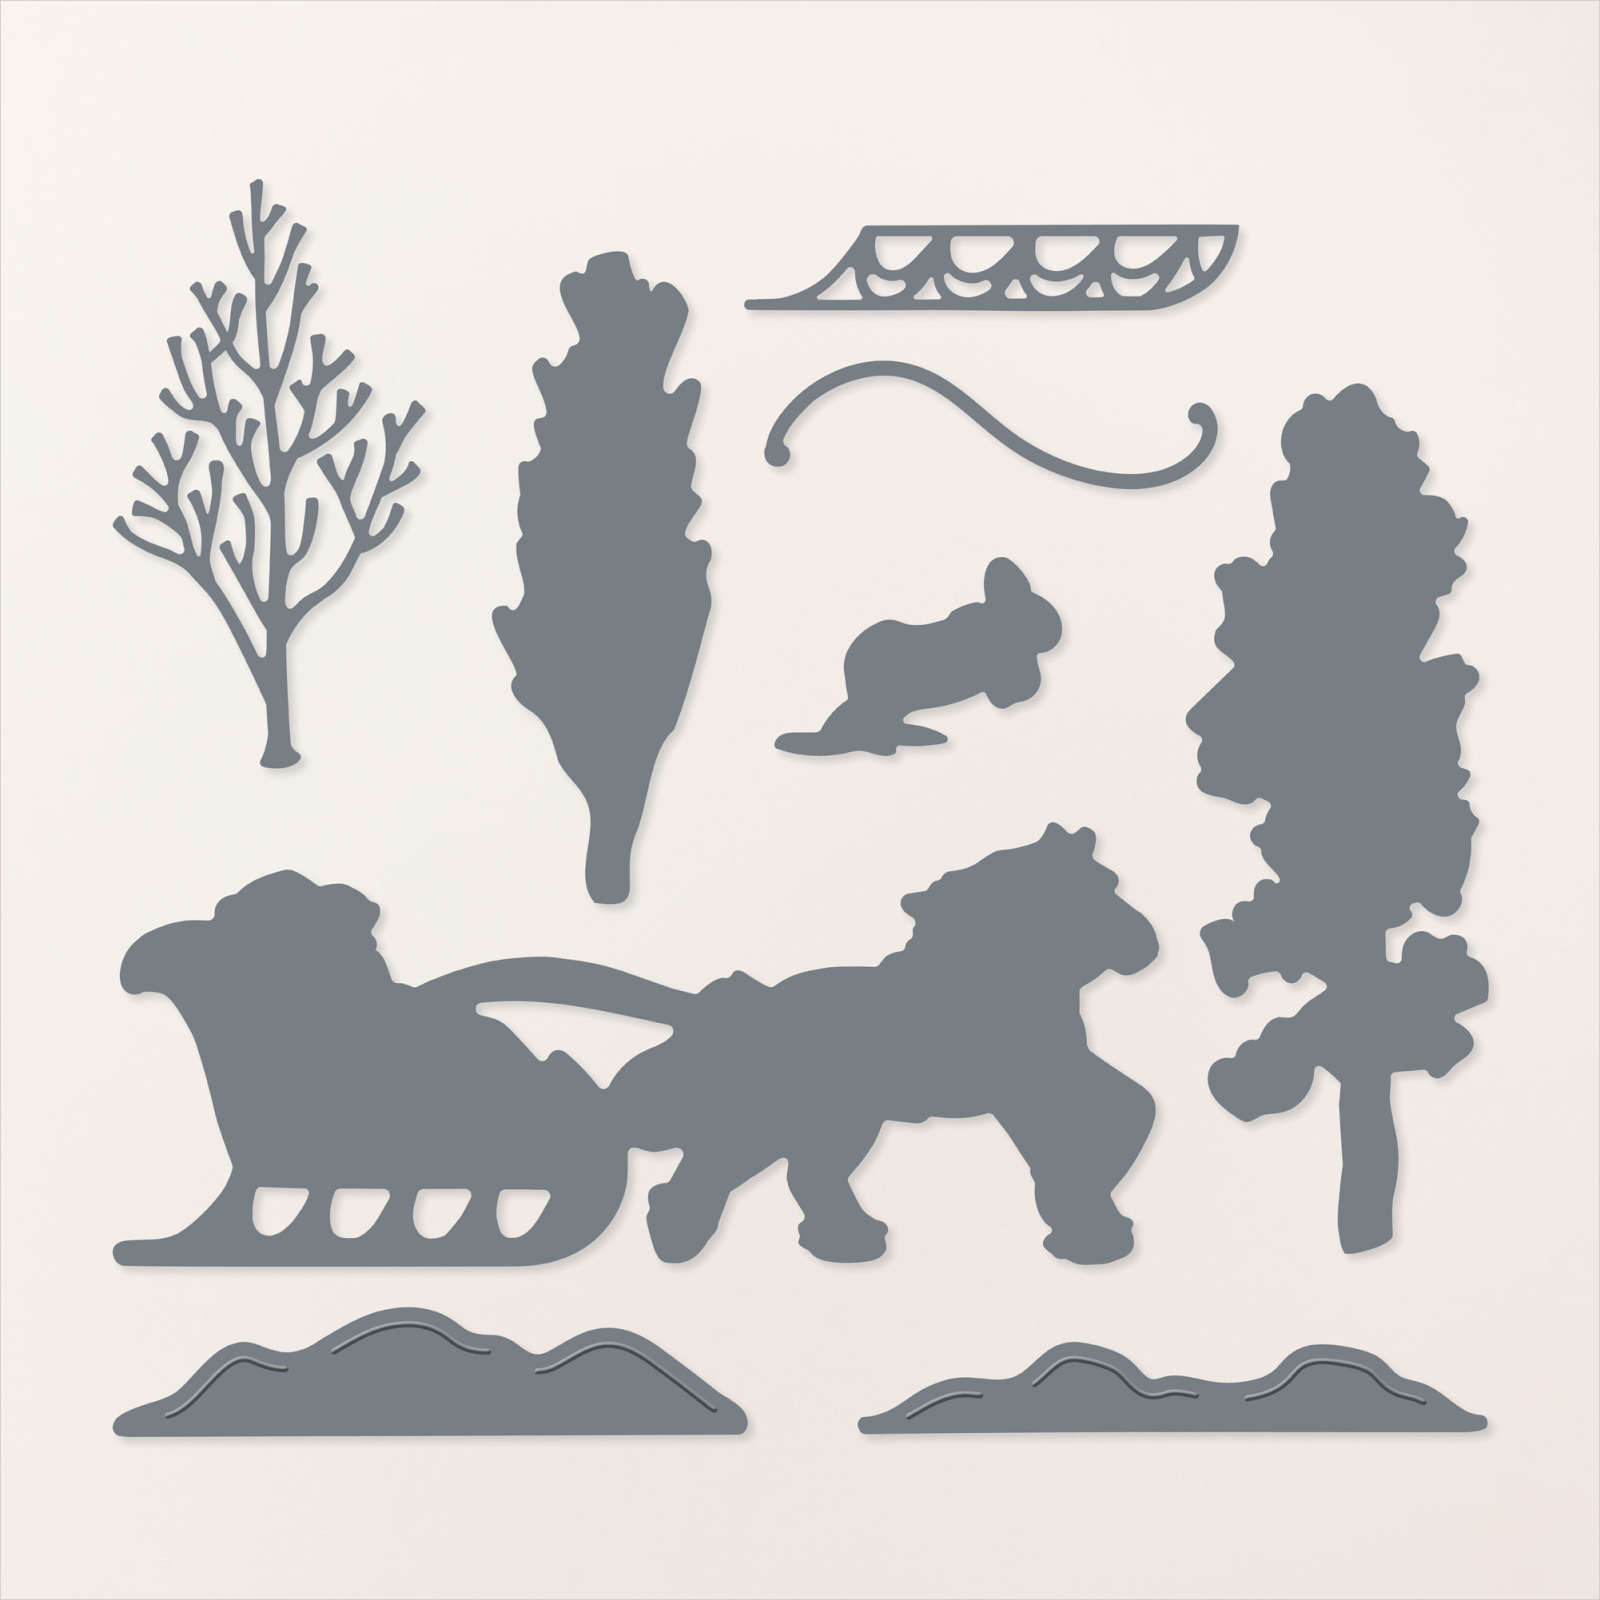
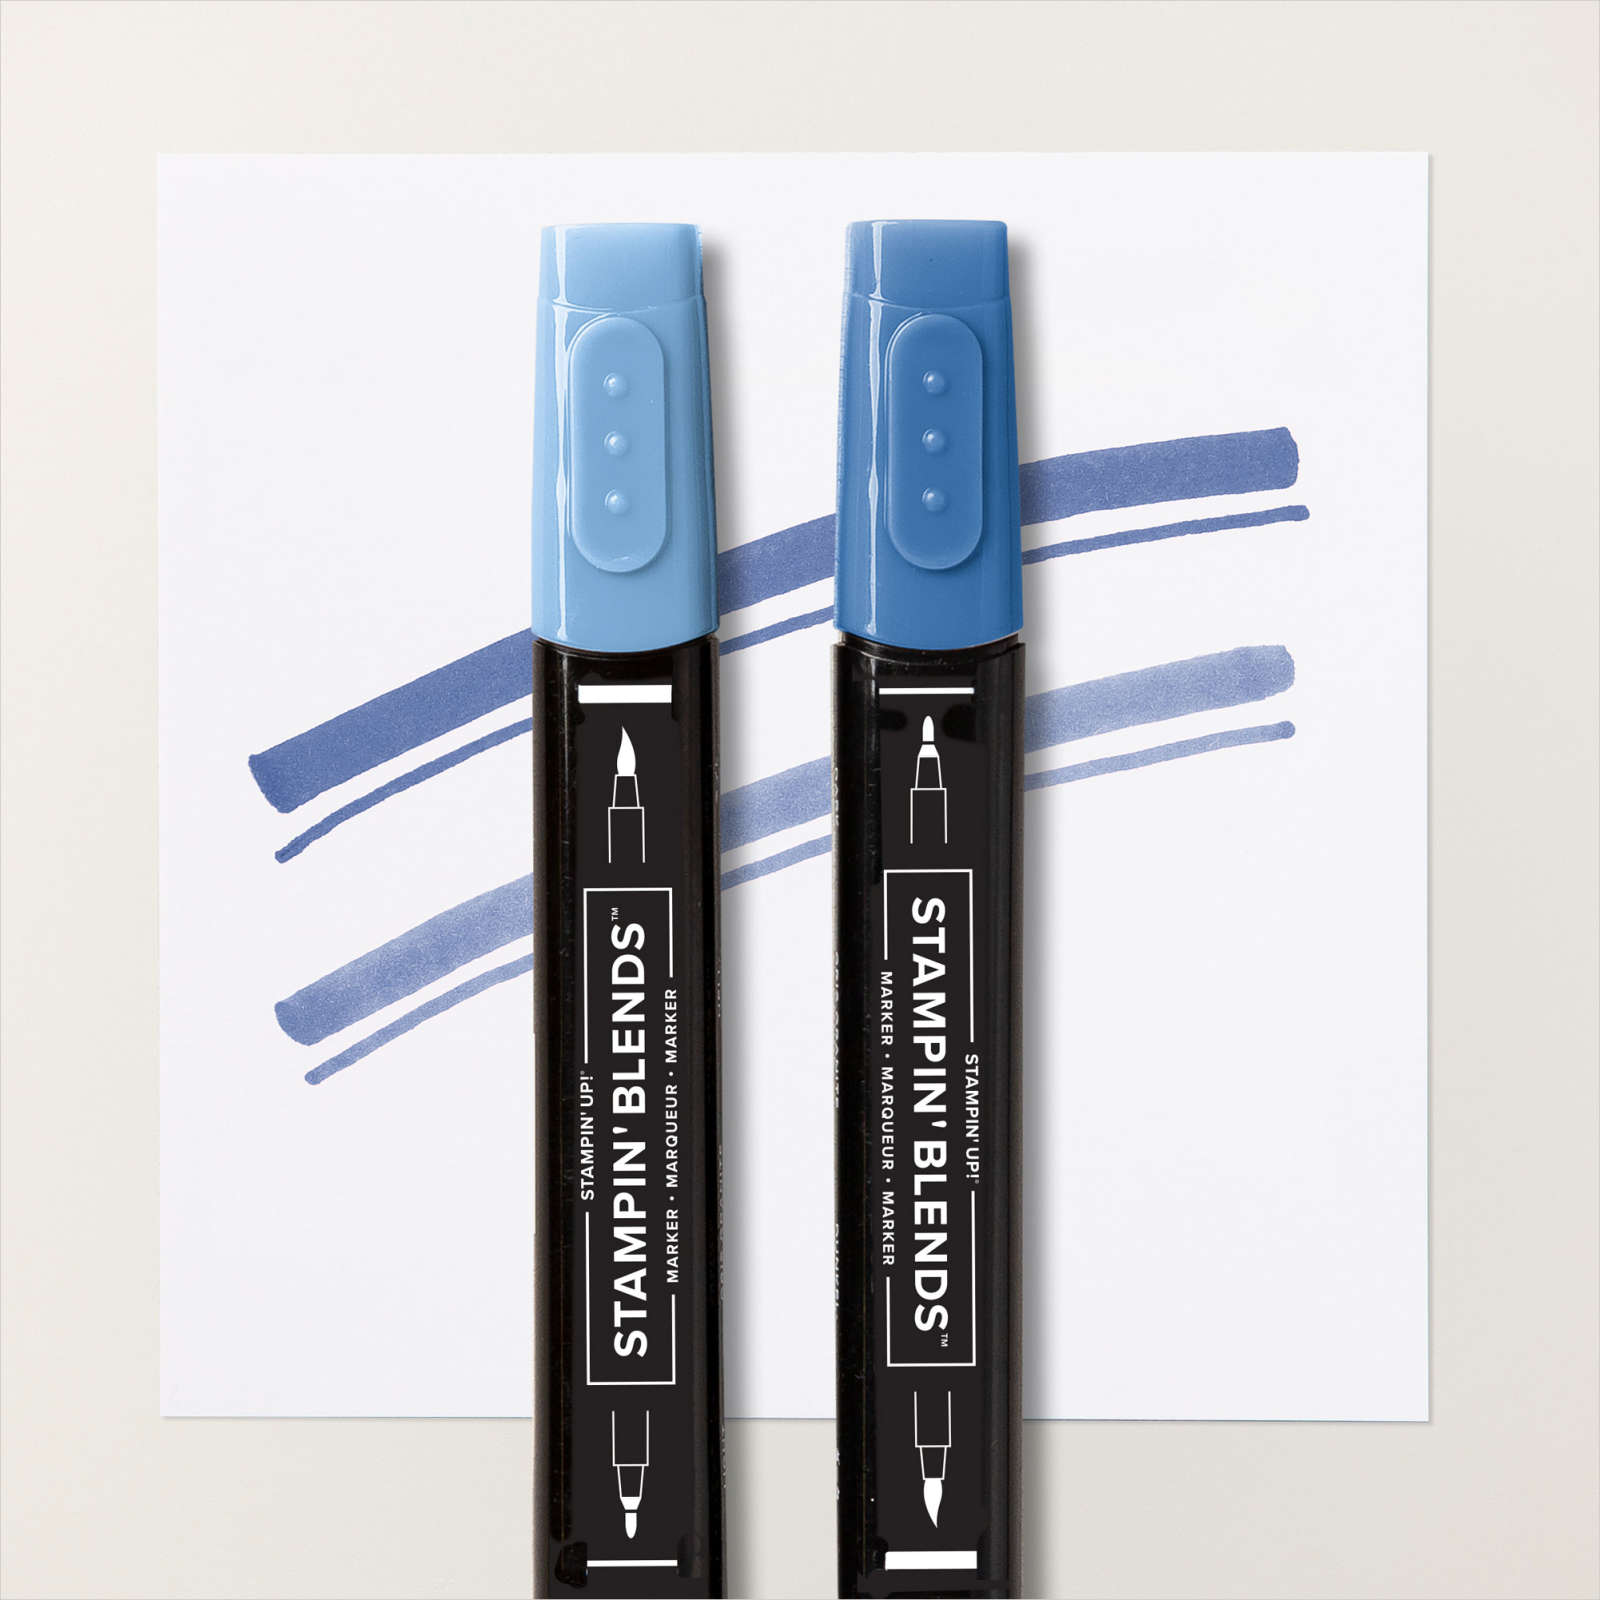
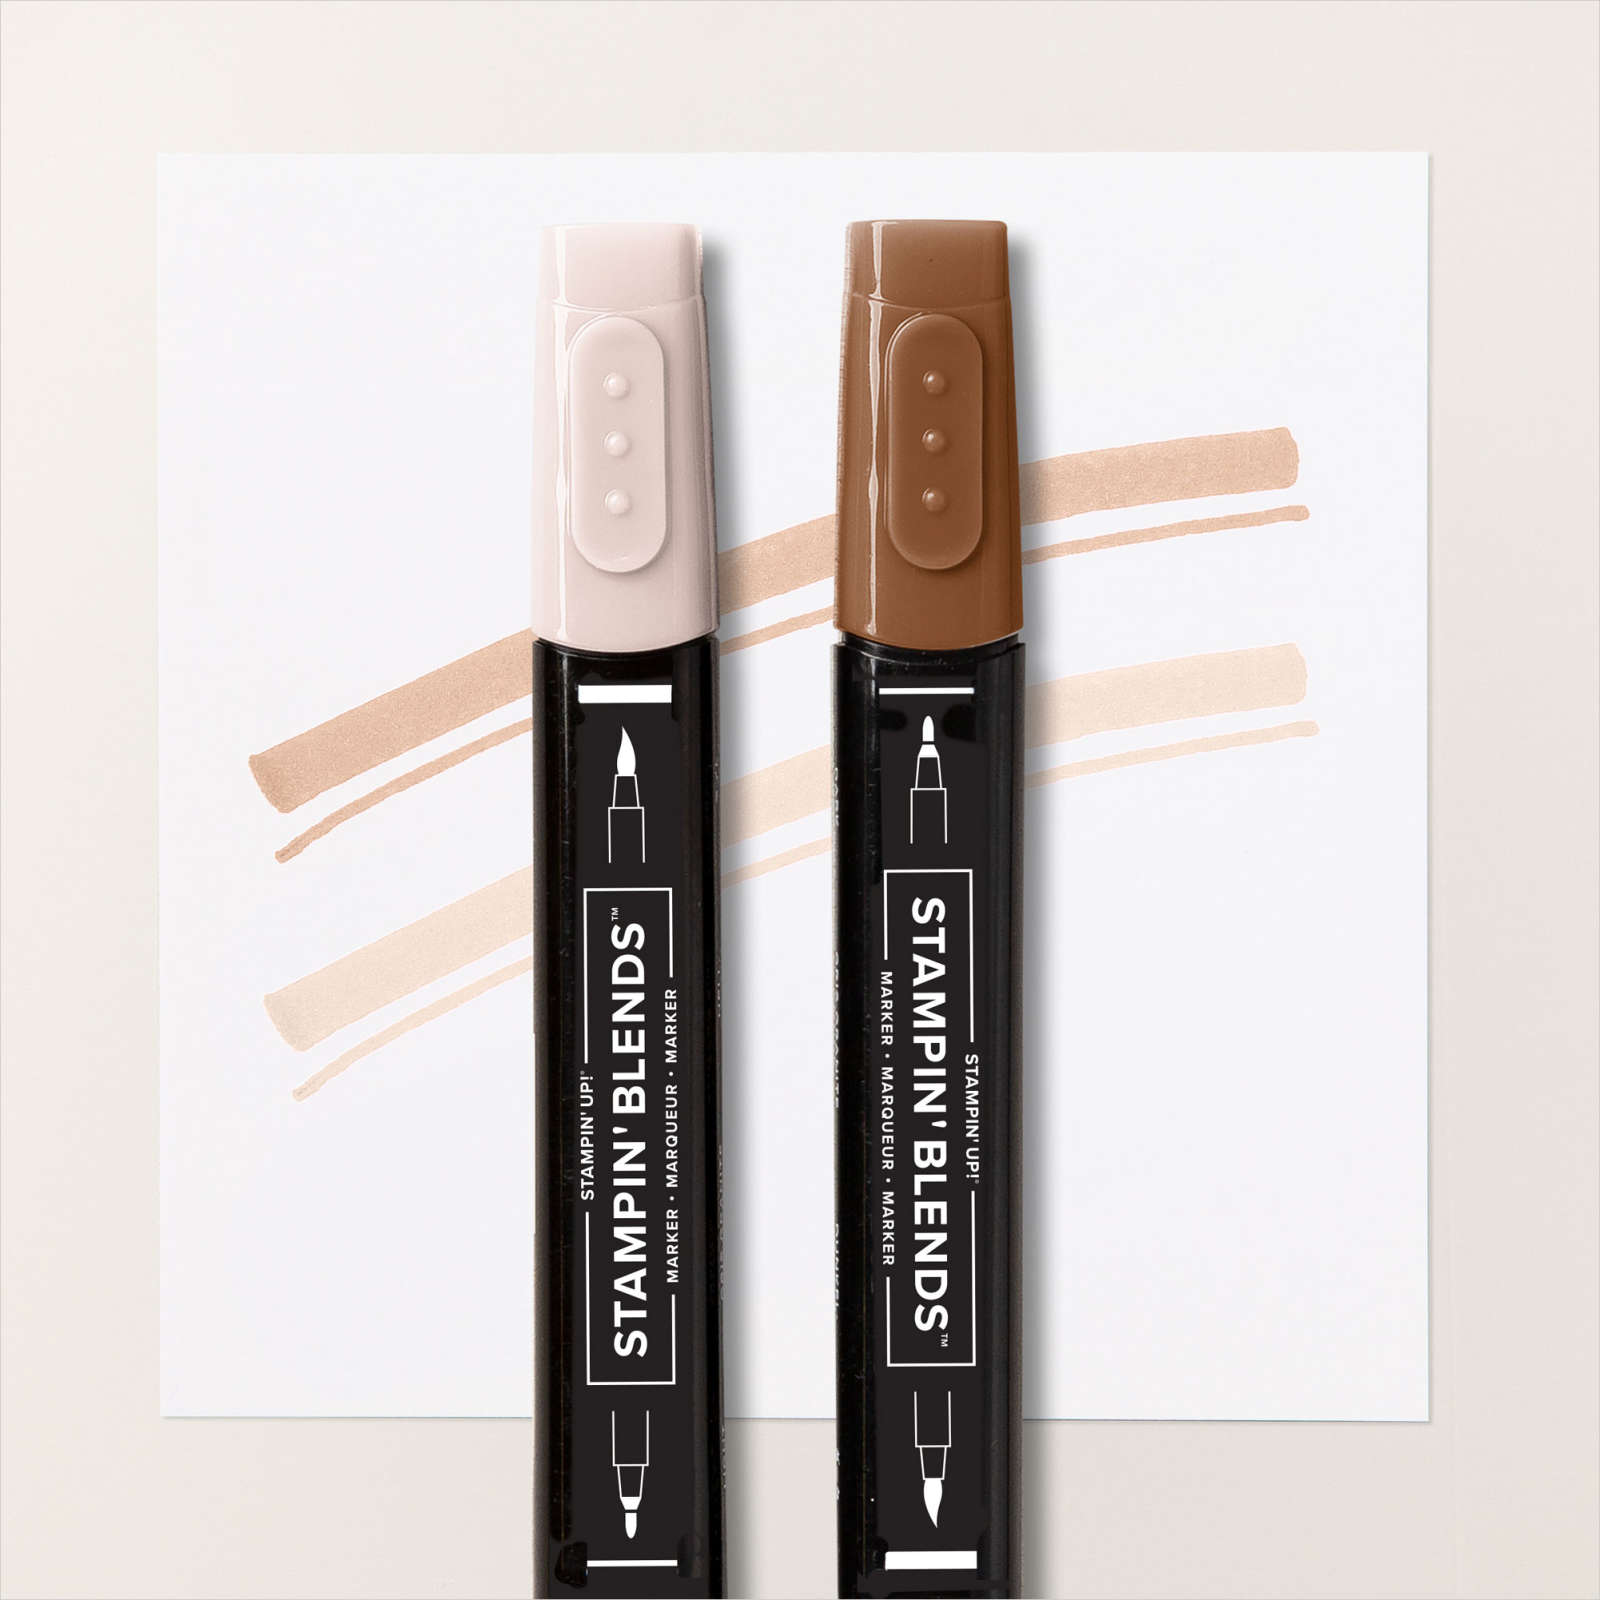
I coloured the image using Night of Navy, Crumb Cake, Light Real Red and Ivory Stampin’ Blends. I cut out the image using the co-ordinating Horse & Sleigh Dies. I also cut real red card to add the decorative piece across the top of the sleigh. I attached the horse & sleigh image across the front of the card using adhesive only where necessary. To decorate the back of the card and create somewhere to write a message, I stamped the tree image from the Horse & Sleigh stamp set onto the lower left hand corner of Basic White card. I wanted to show the ladies at my class how you could use any pattern from this beautiful paper to create this card so I created two more cards using different papers.
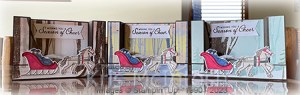
I think they all turned out great, don’t you?
Bye for now,
Kris
Product Used:


Everything Wonderful
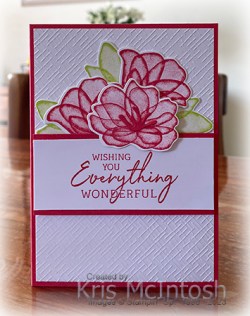
I created this card for my hairdresser who is pursuing a new career in the Queensland Police Force. I will miss her, our chats and her wonderful care of my hair. I embossed Basic White card using one of the Basics 3D Embossing Folders and attached it to scored and folded Sweet Sorbet card. I stamped the greeting from the Charming Sentiments stamp set onto Basic White card using Sweet Sorbet ink. I attached the greeting panel to Sweet Sorbet card and then to the embossed Basic White panel.
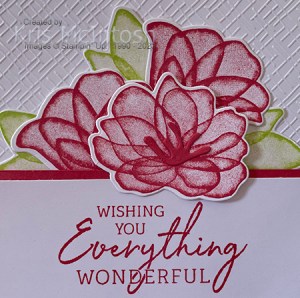
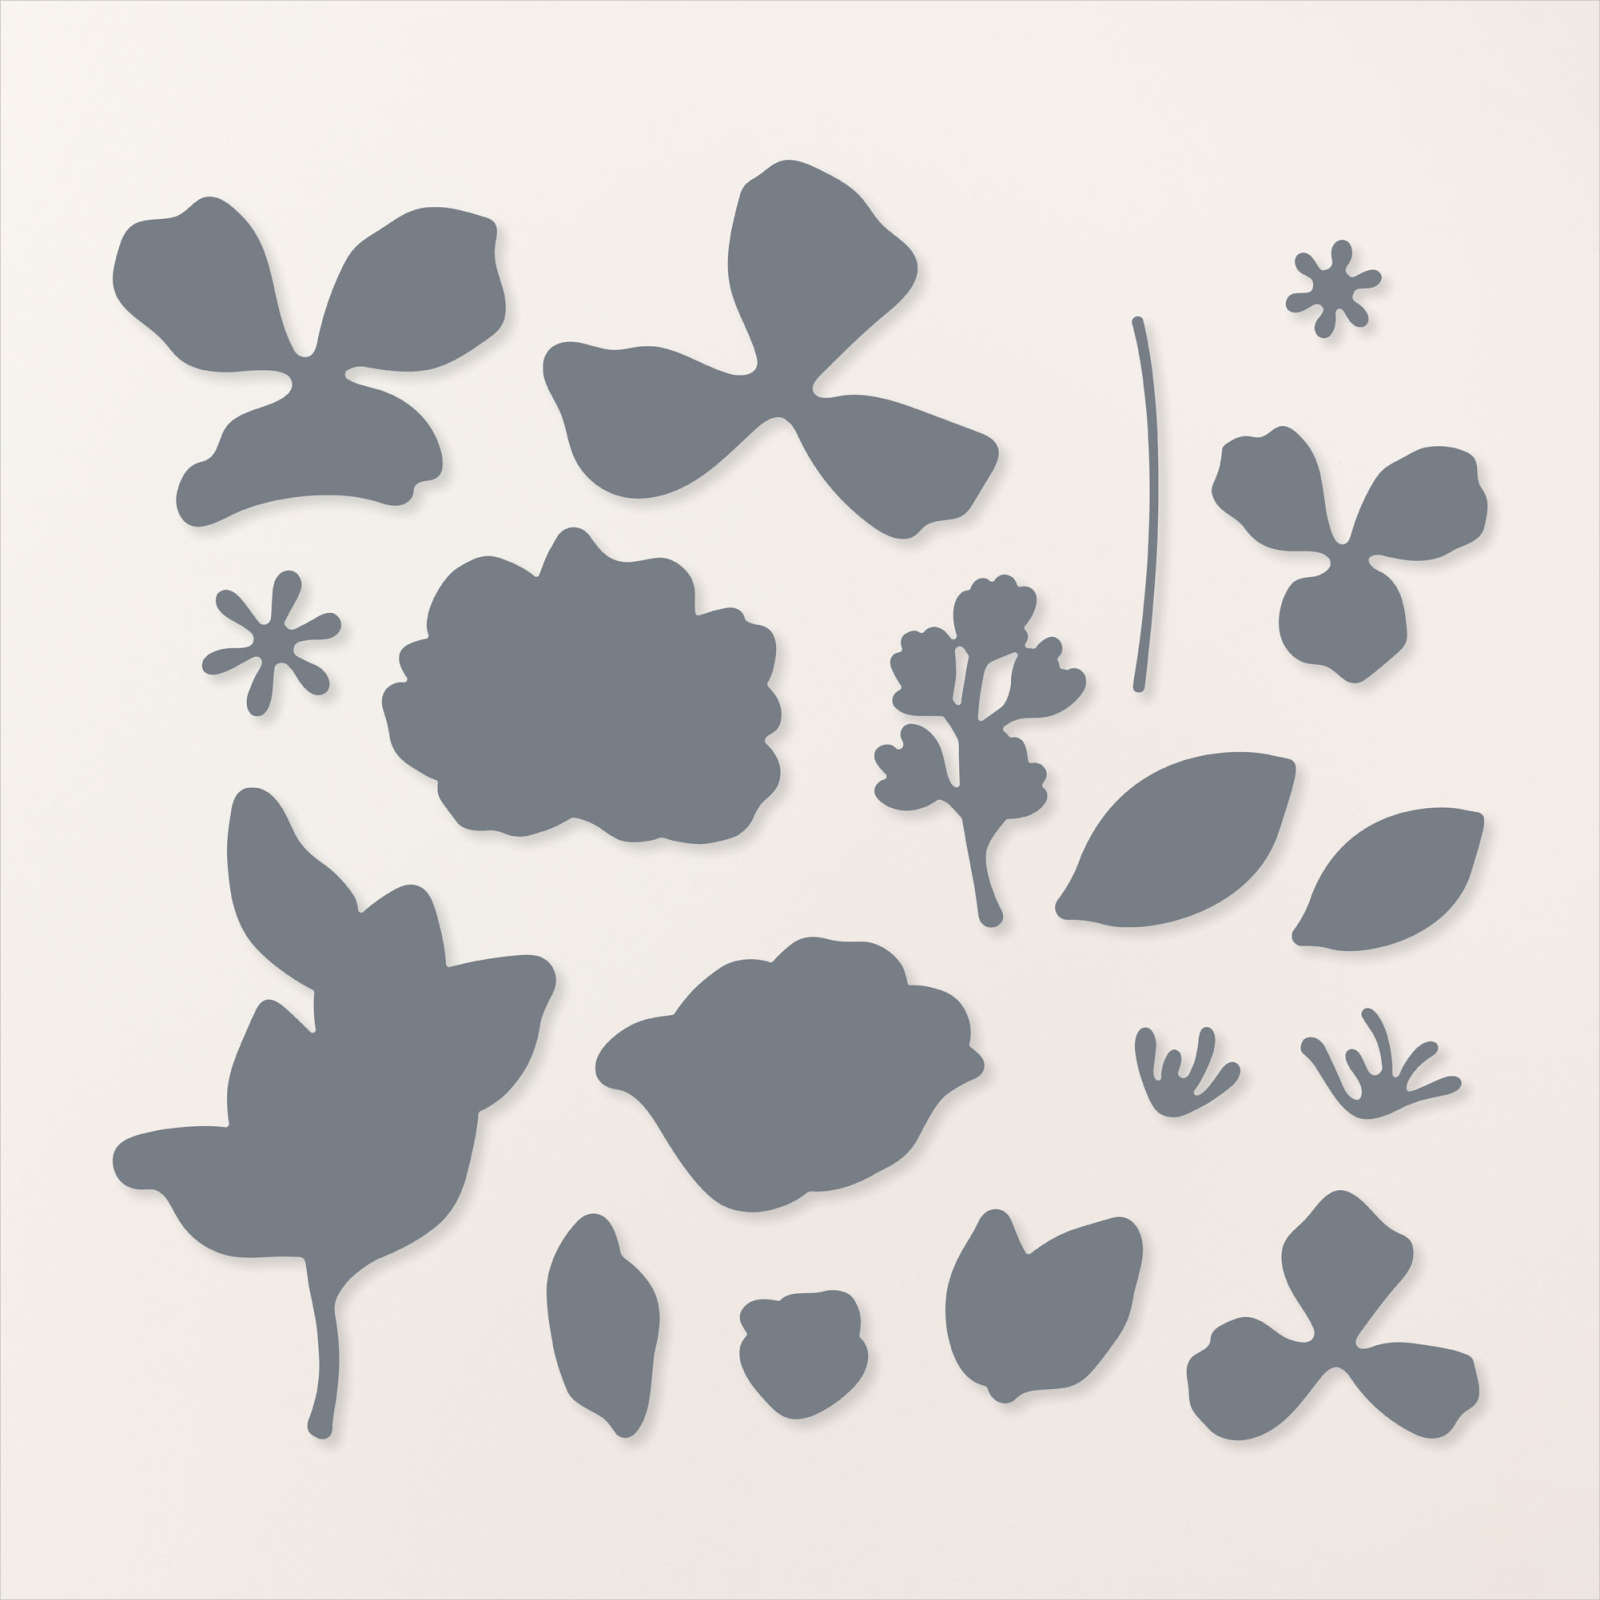
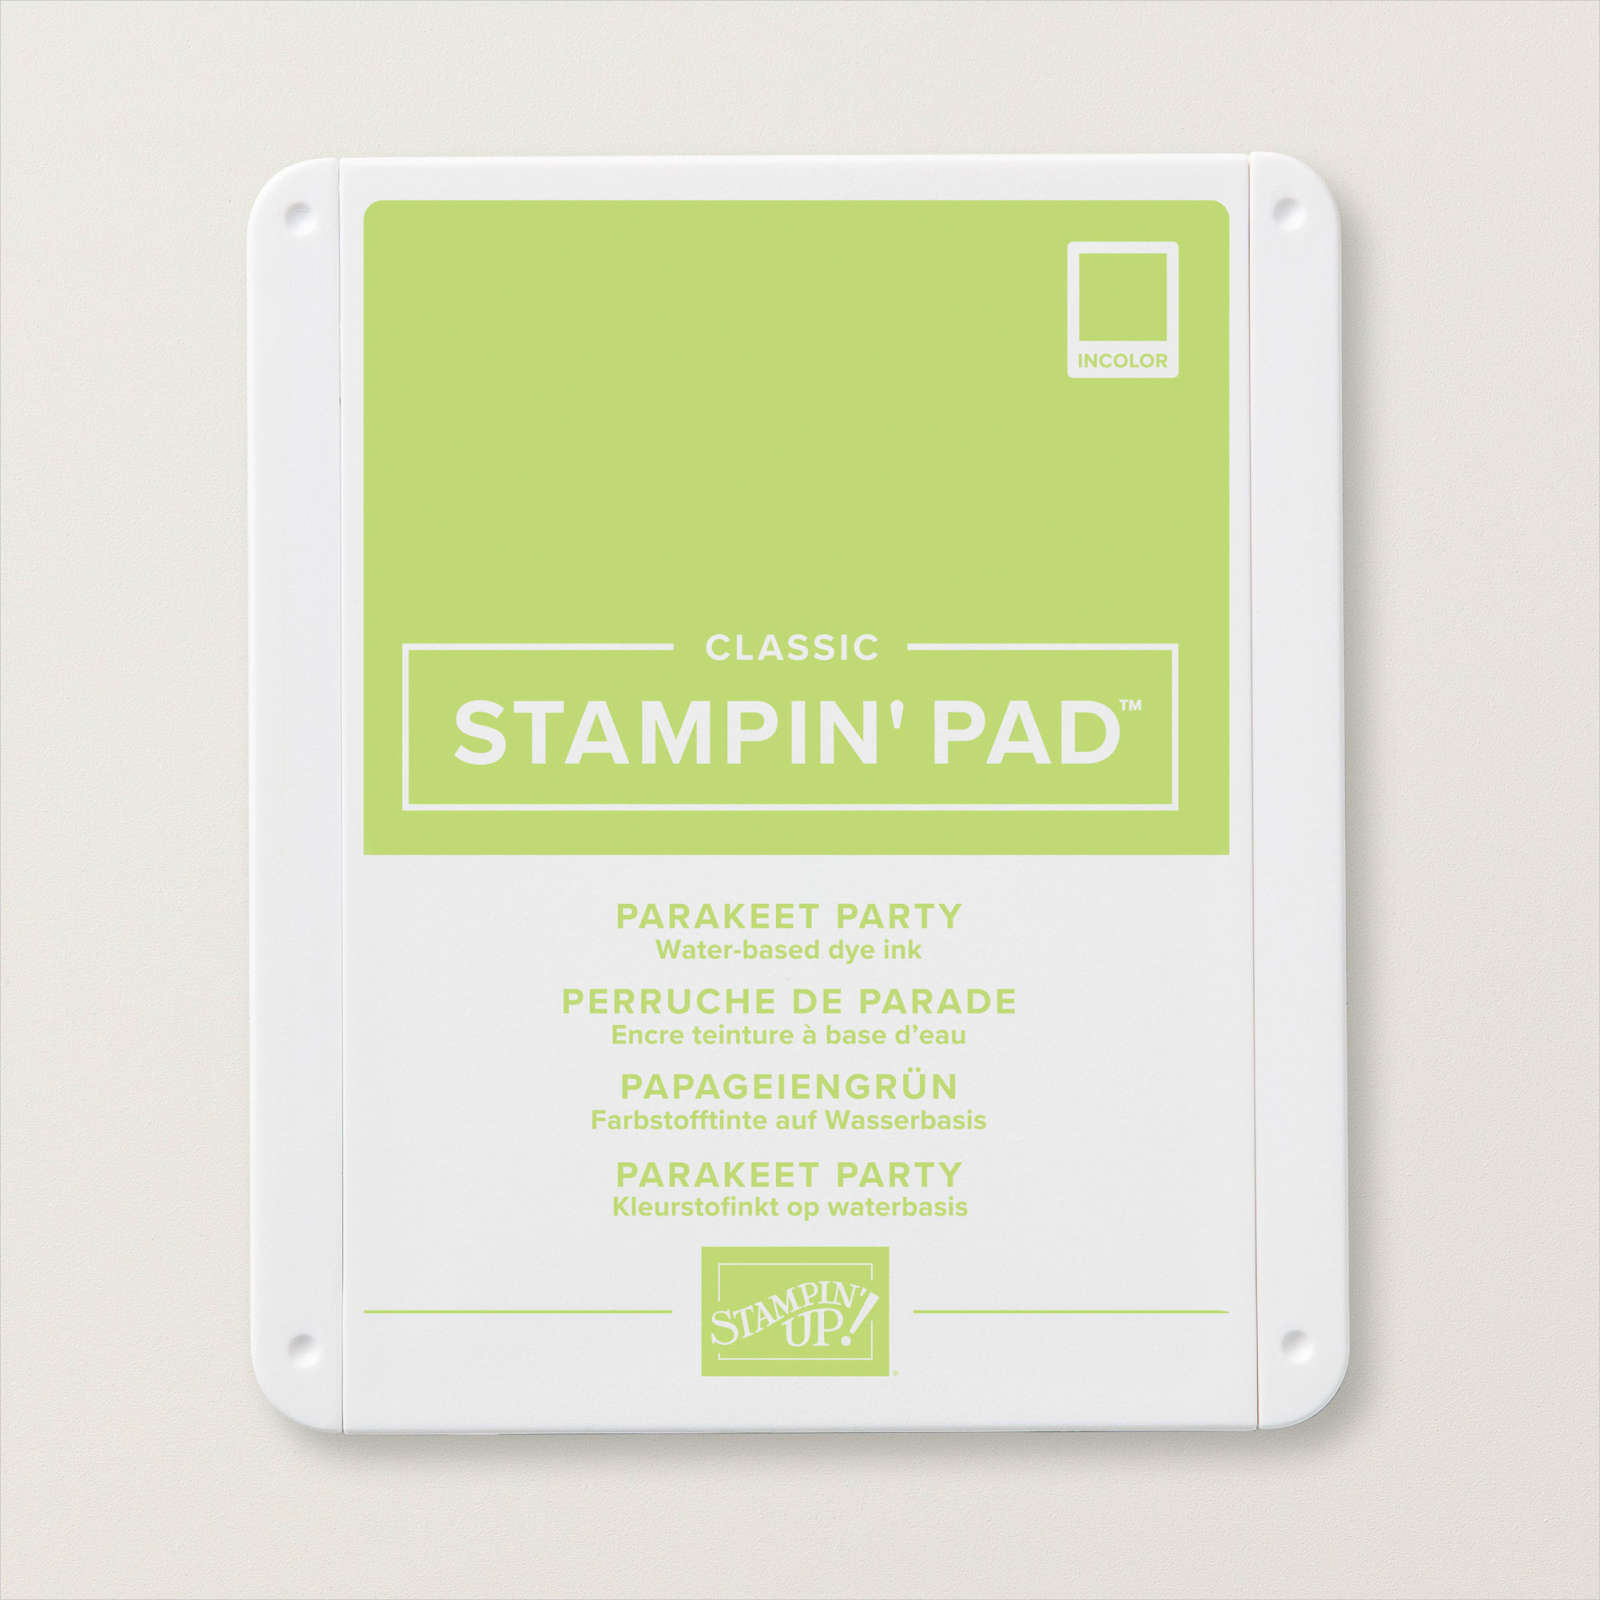
I stamped one large and two smaller flowers from the Translucent Florals stamp set onto Basic White card using Sweet Sorbet ink. I also stamped three double leaf images from the Translucent Florals stamp set onto Basic White card using Parakeet Party ink.

I cut out all of the images using the co-ordinating Translucent Florals Dies. I also cut a flower centre from Sweet Sorbet card. I layered the leaves and flowers above the greeting on the card front using dimensionals underneath the largest flower. The flower centre is also attached to the centre of the largest flower. To decorate the inside of the card, I stamped one smaller flower and two sets of leaves onto Basic White card as before and cut them out using the co-ordinating dies. The flower and leaves are attached to the lower left hand corner of Basic White card before being attached to the inside of the card base. I really love this bundle and I am sure that you will too. If you don’t have a demonstrator already and you live in Australia, please contact me so that I can get the new Mini Catalogue where you will find this bundle.
Bye for now,
Kris
Product Used:


Happy Birthday

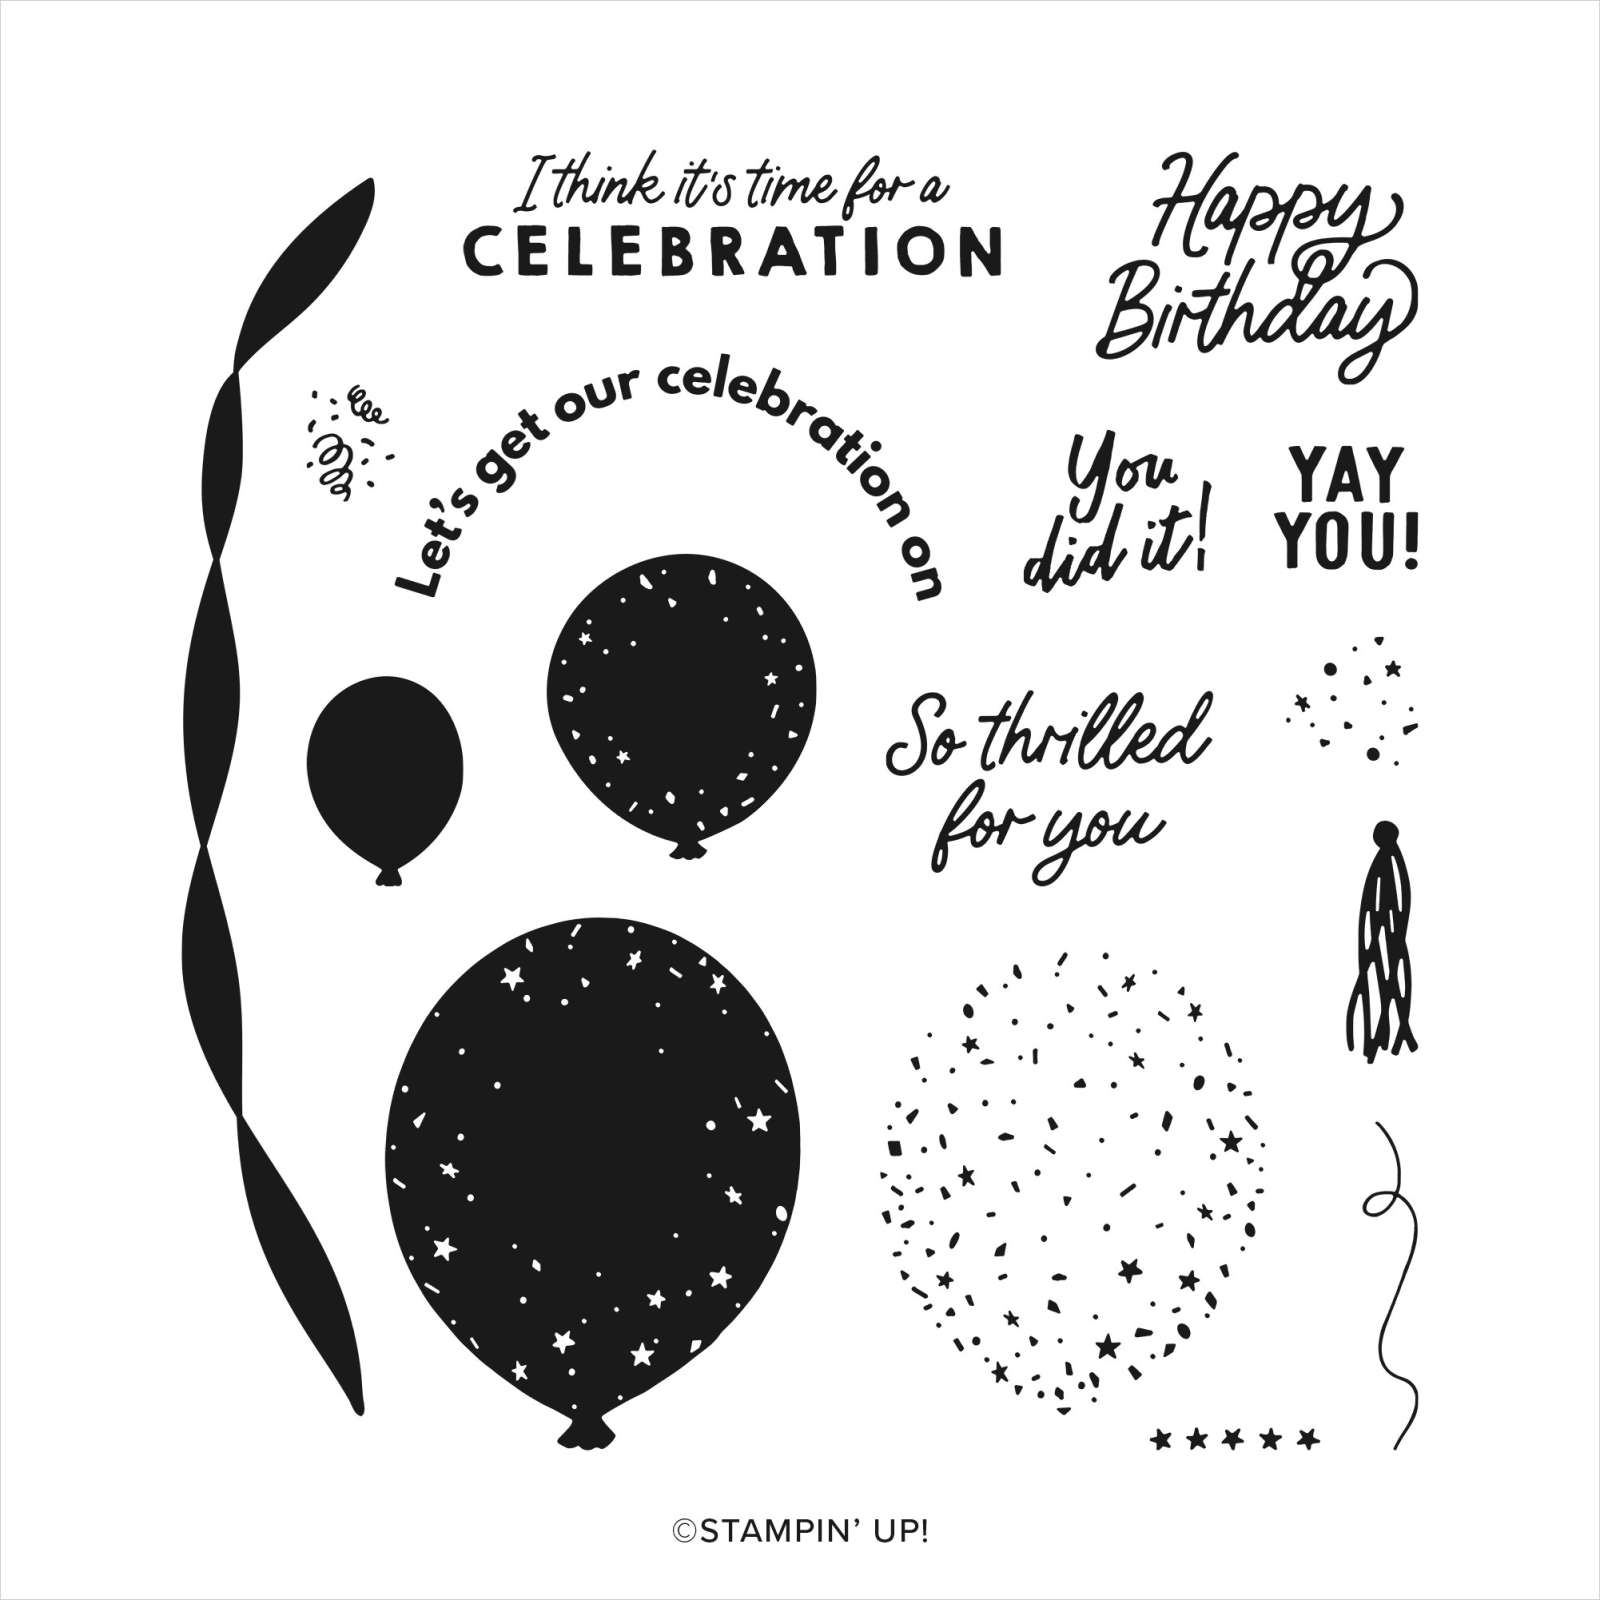
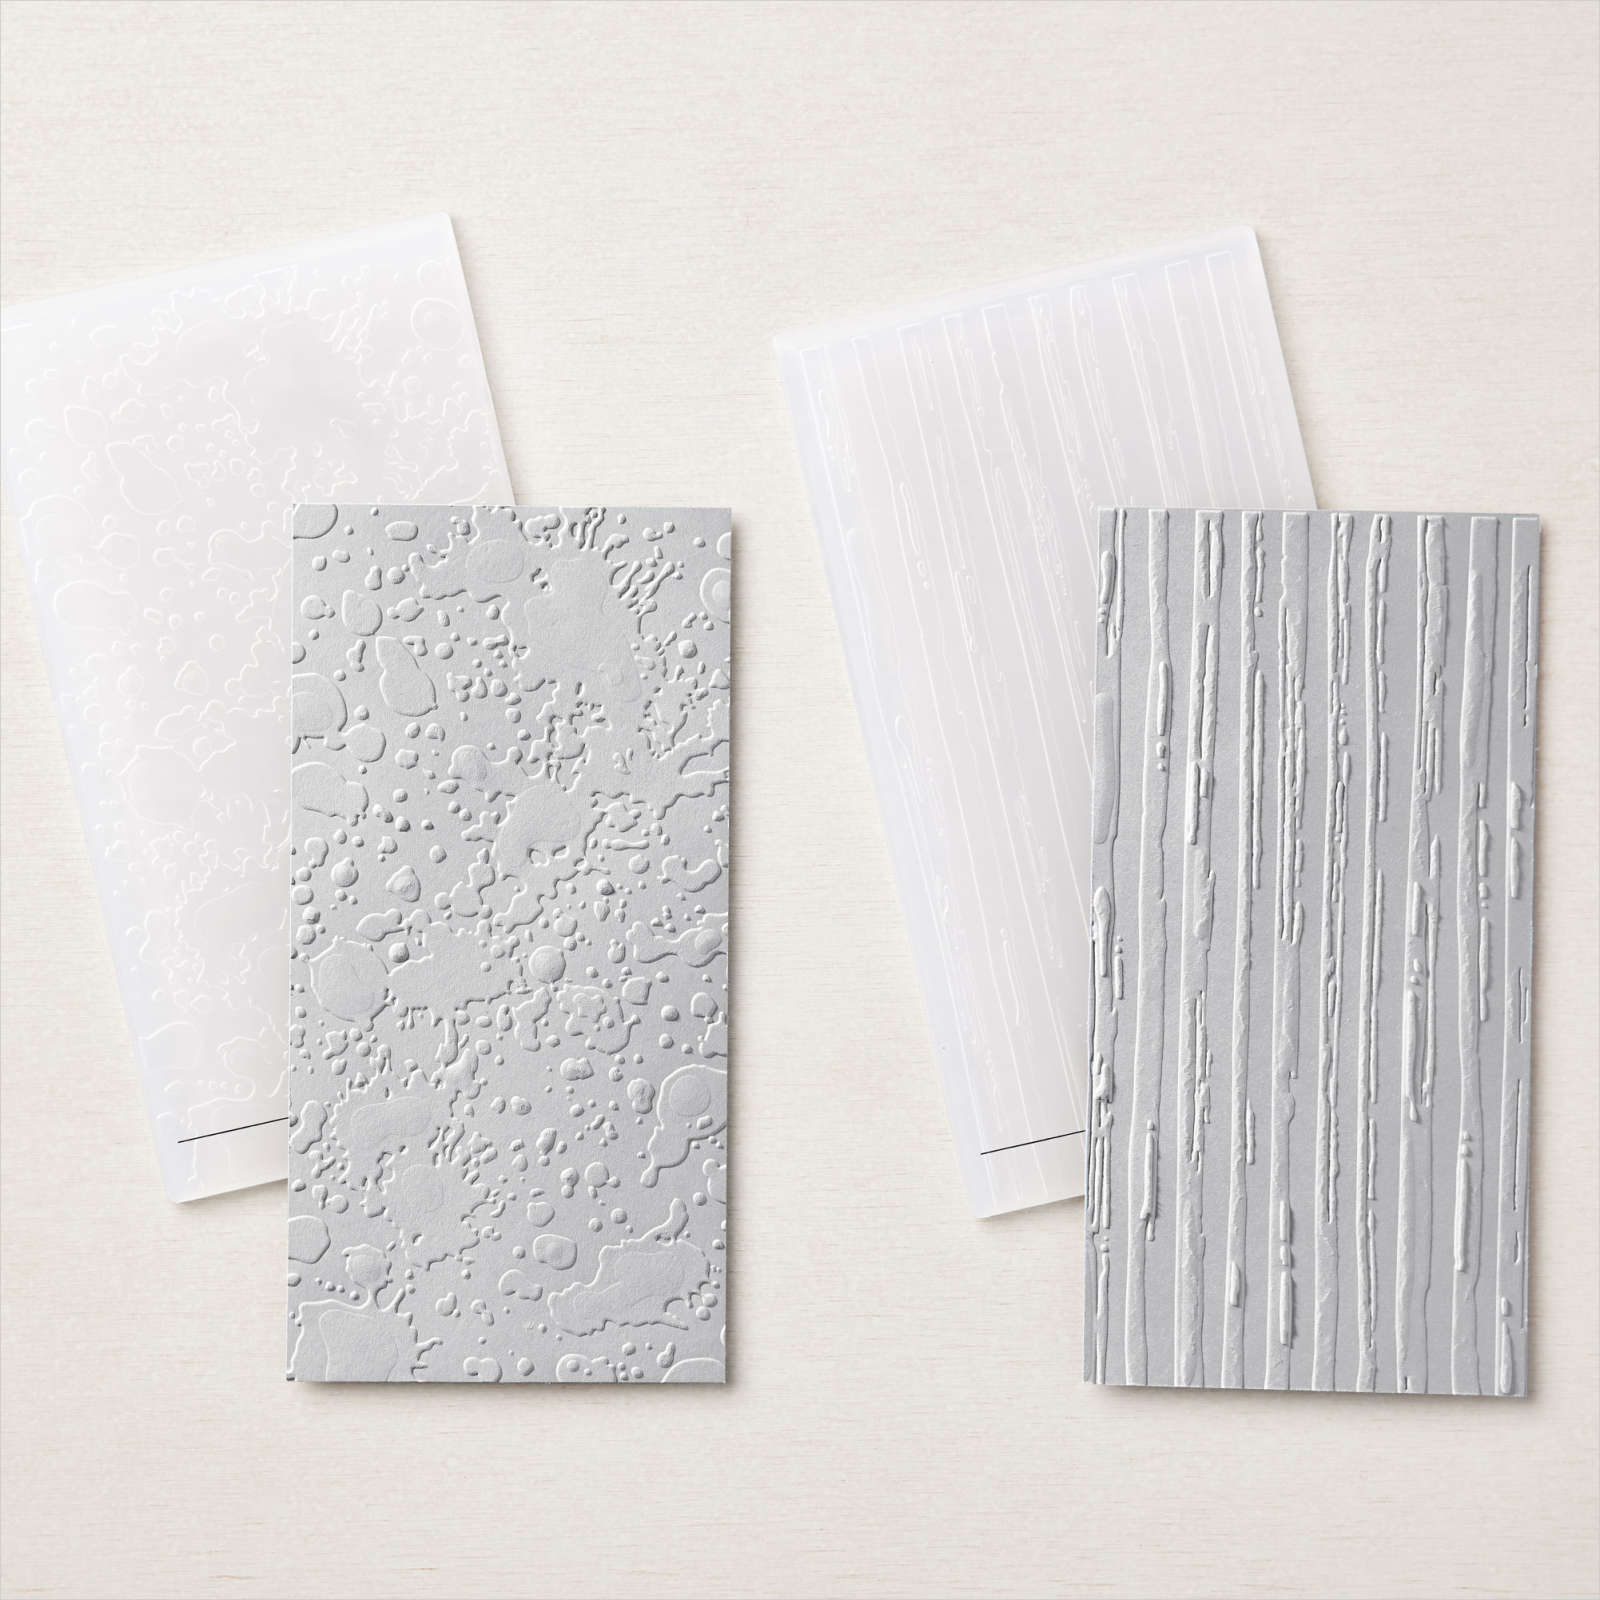
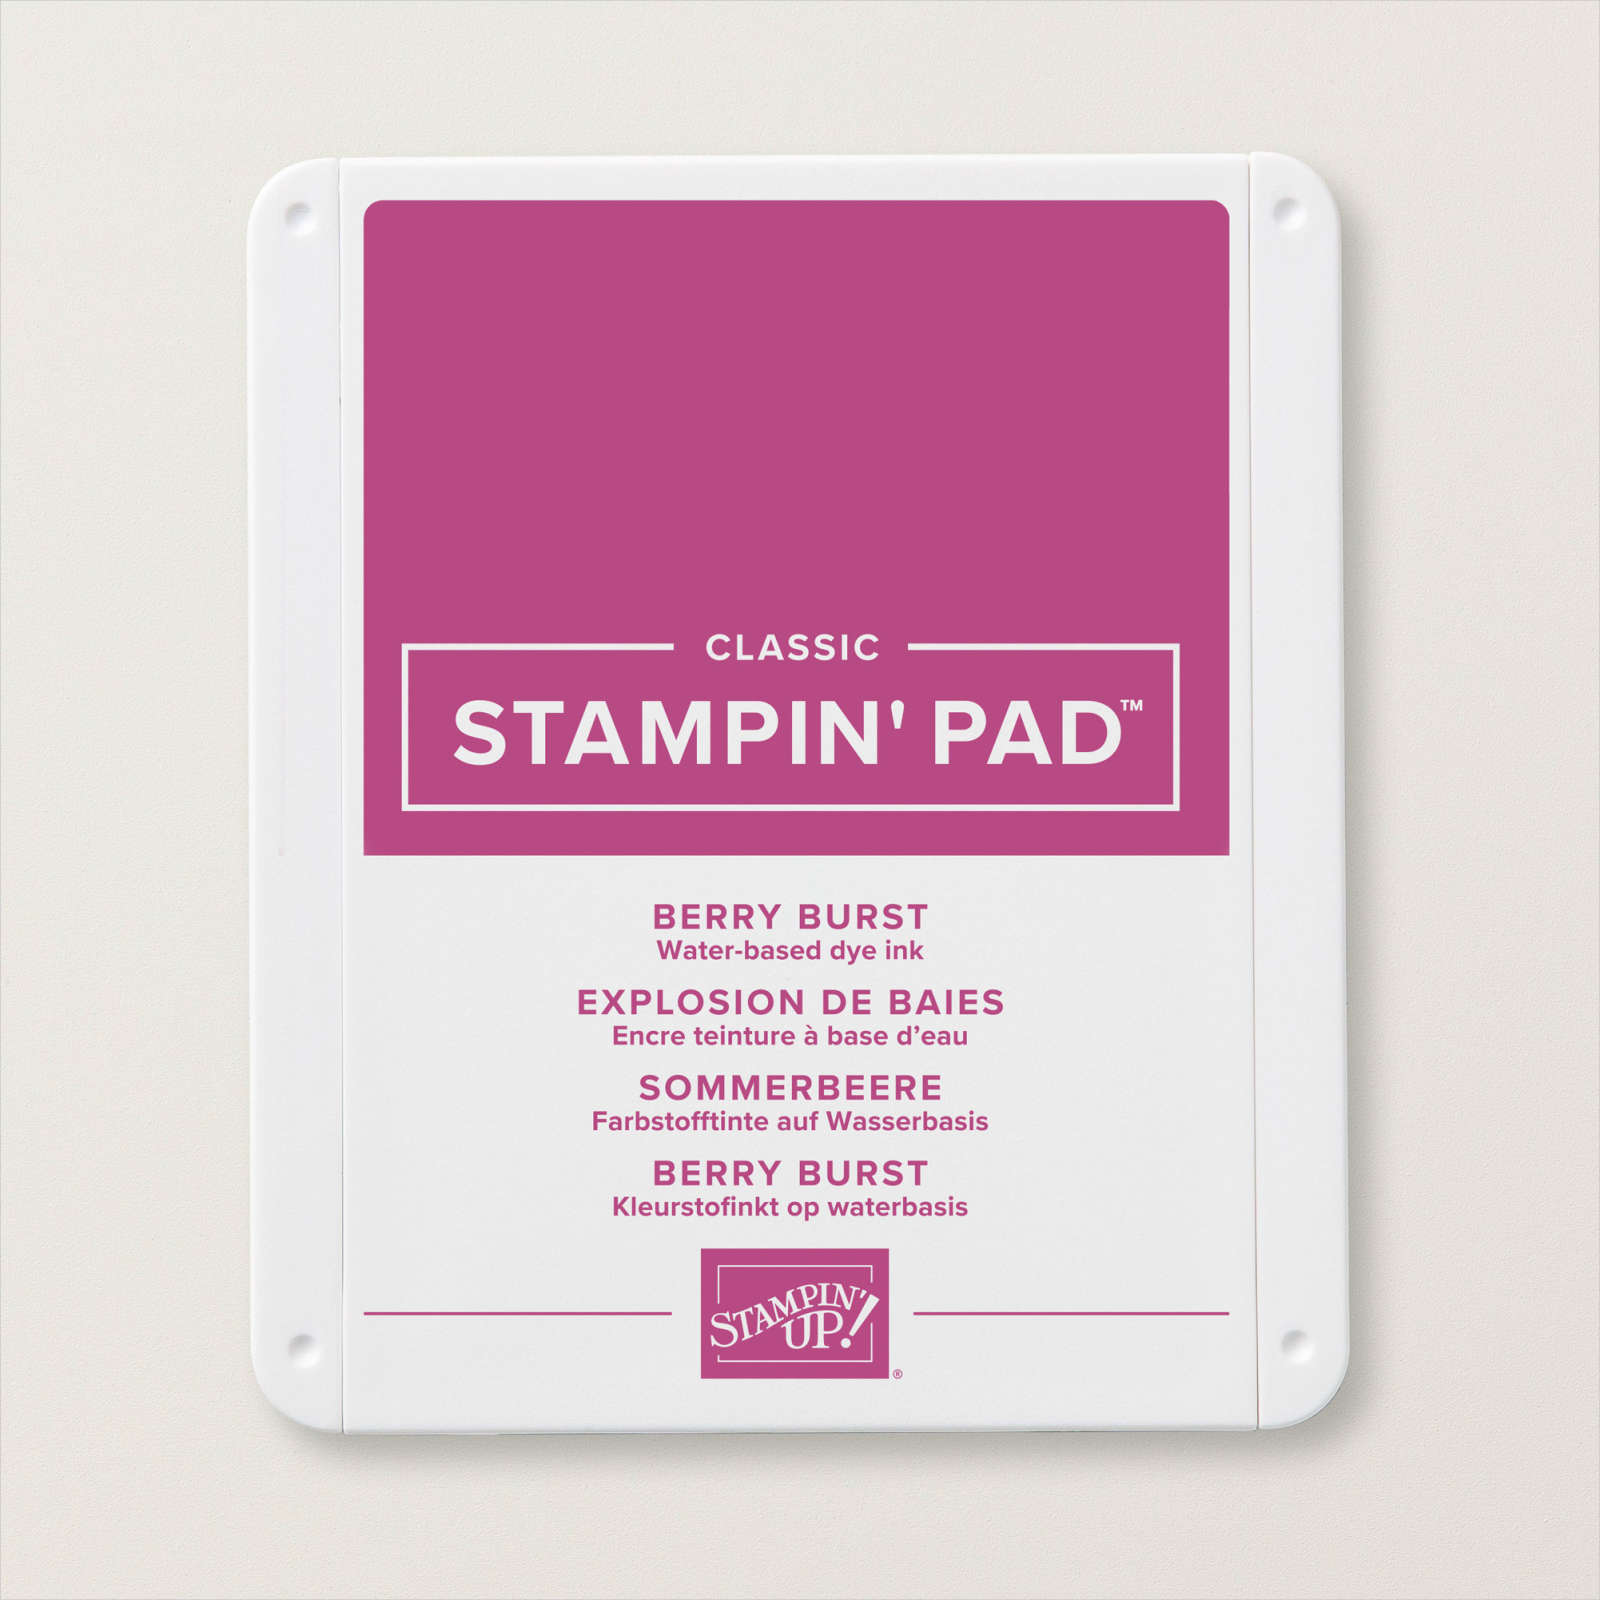
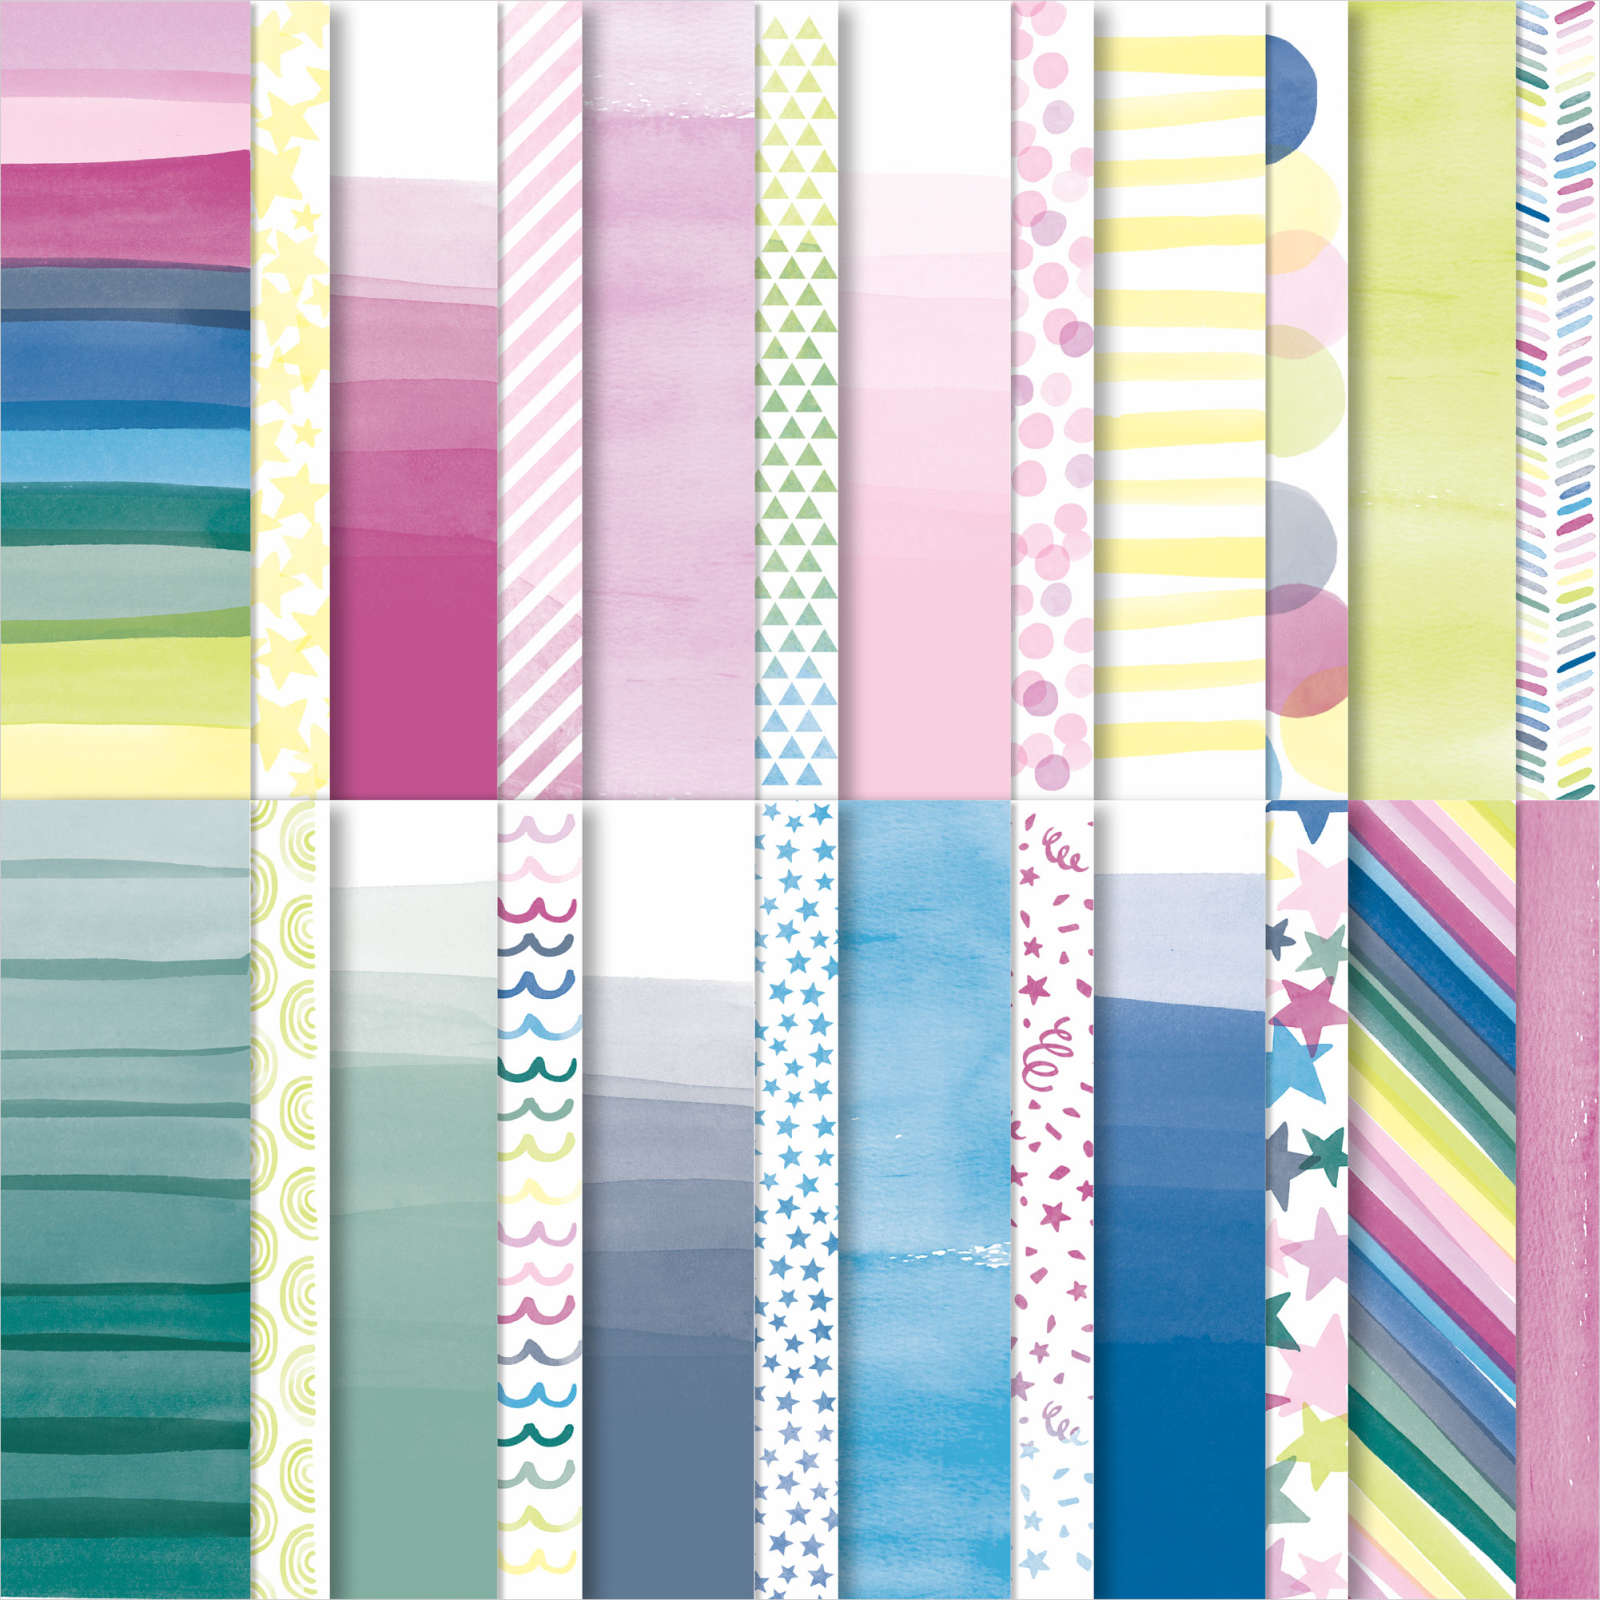
My page today shows off some photos from my youngest daughter’s 11th birthday. Ron’s cousin was staying with us at the time and she made the birthday cake. Seems like a long time ago and at the same just like yesterday! I embossed two pieces of Bubble Bath card using the splatter folder from the Stripes & Splatters folder and added them to Basic White 12″ x 12″ pages along with the photos. I stamped two large balloons and one medium balloon using the images from the Beautiful Balloons stamp set onto Basic White card. One using Misty Moonlight, one using Lemon Lolly and one using Berry Burst. The balloons were cut out using the co-ordinating Beautiful Balloons Dies and attached behind the photo on the right hand page.

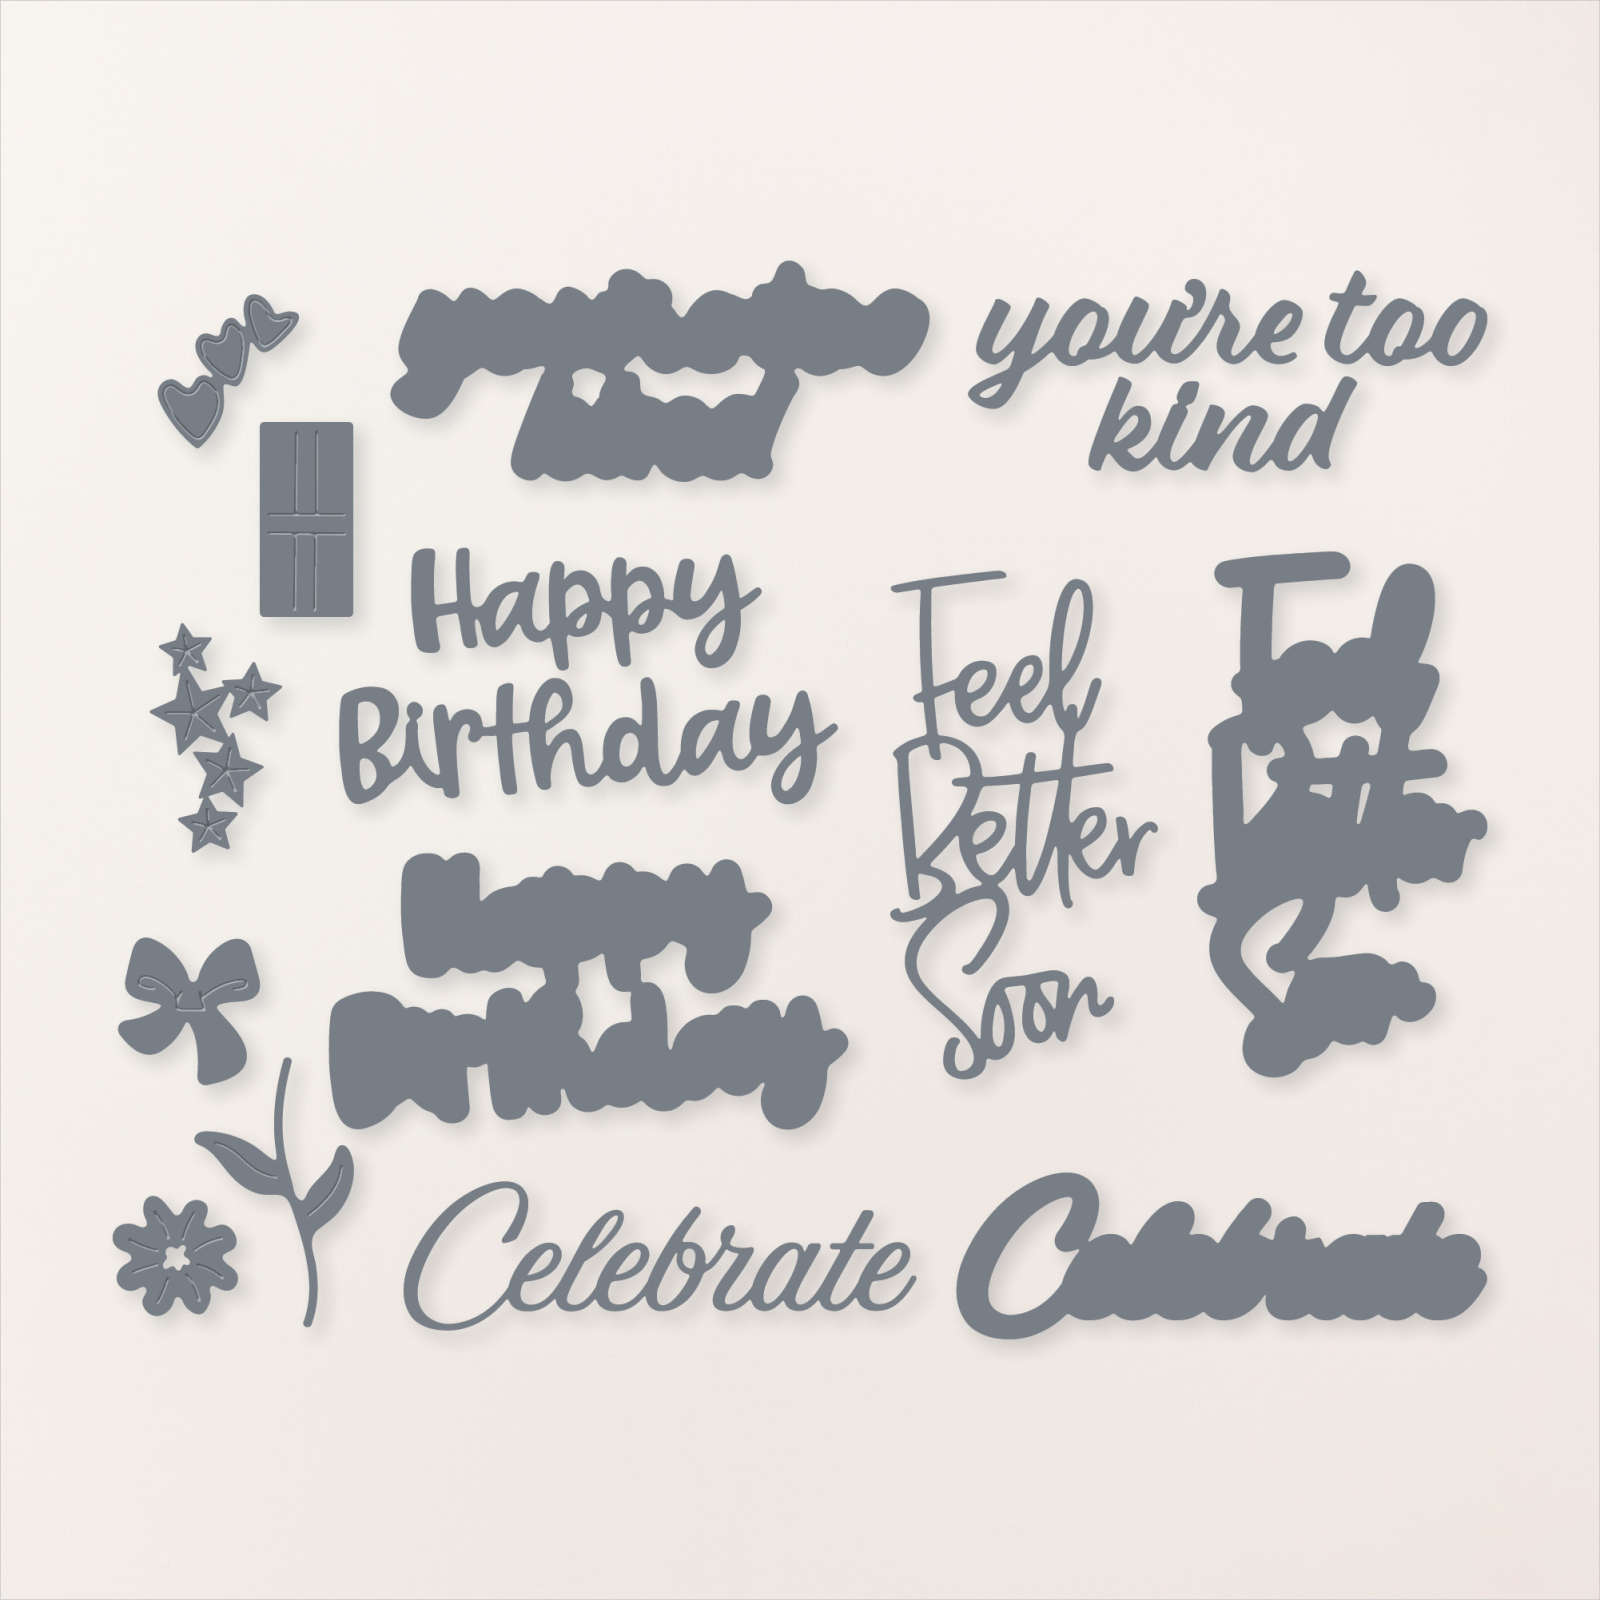
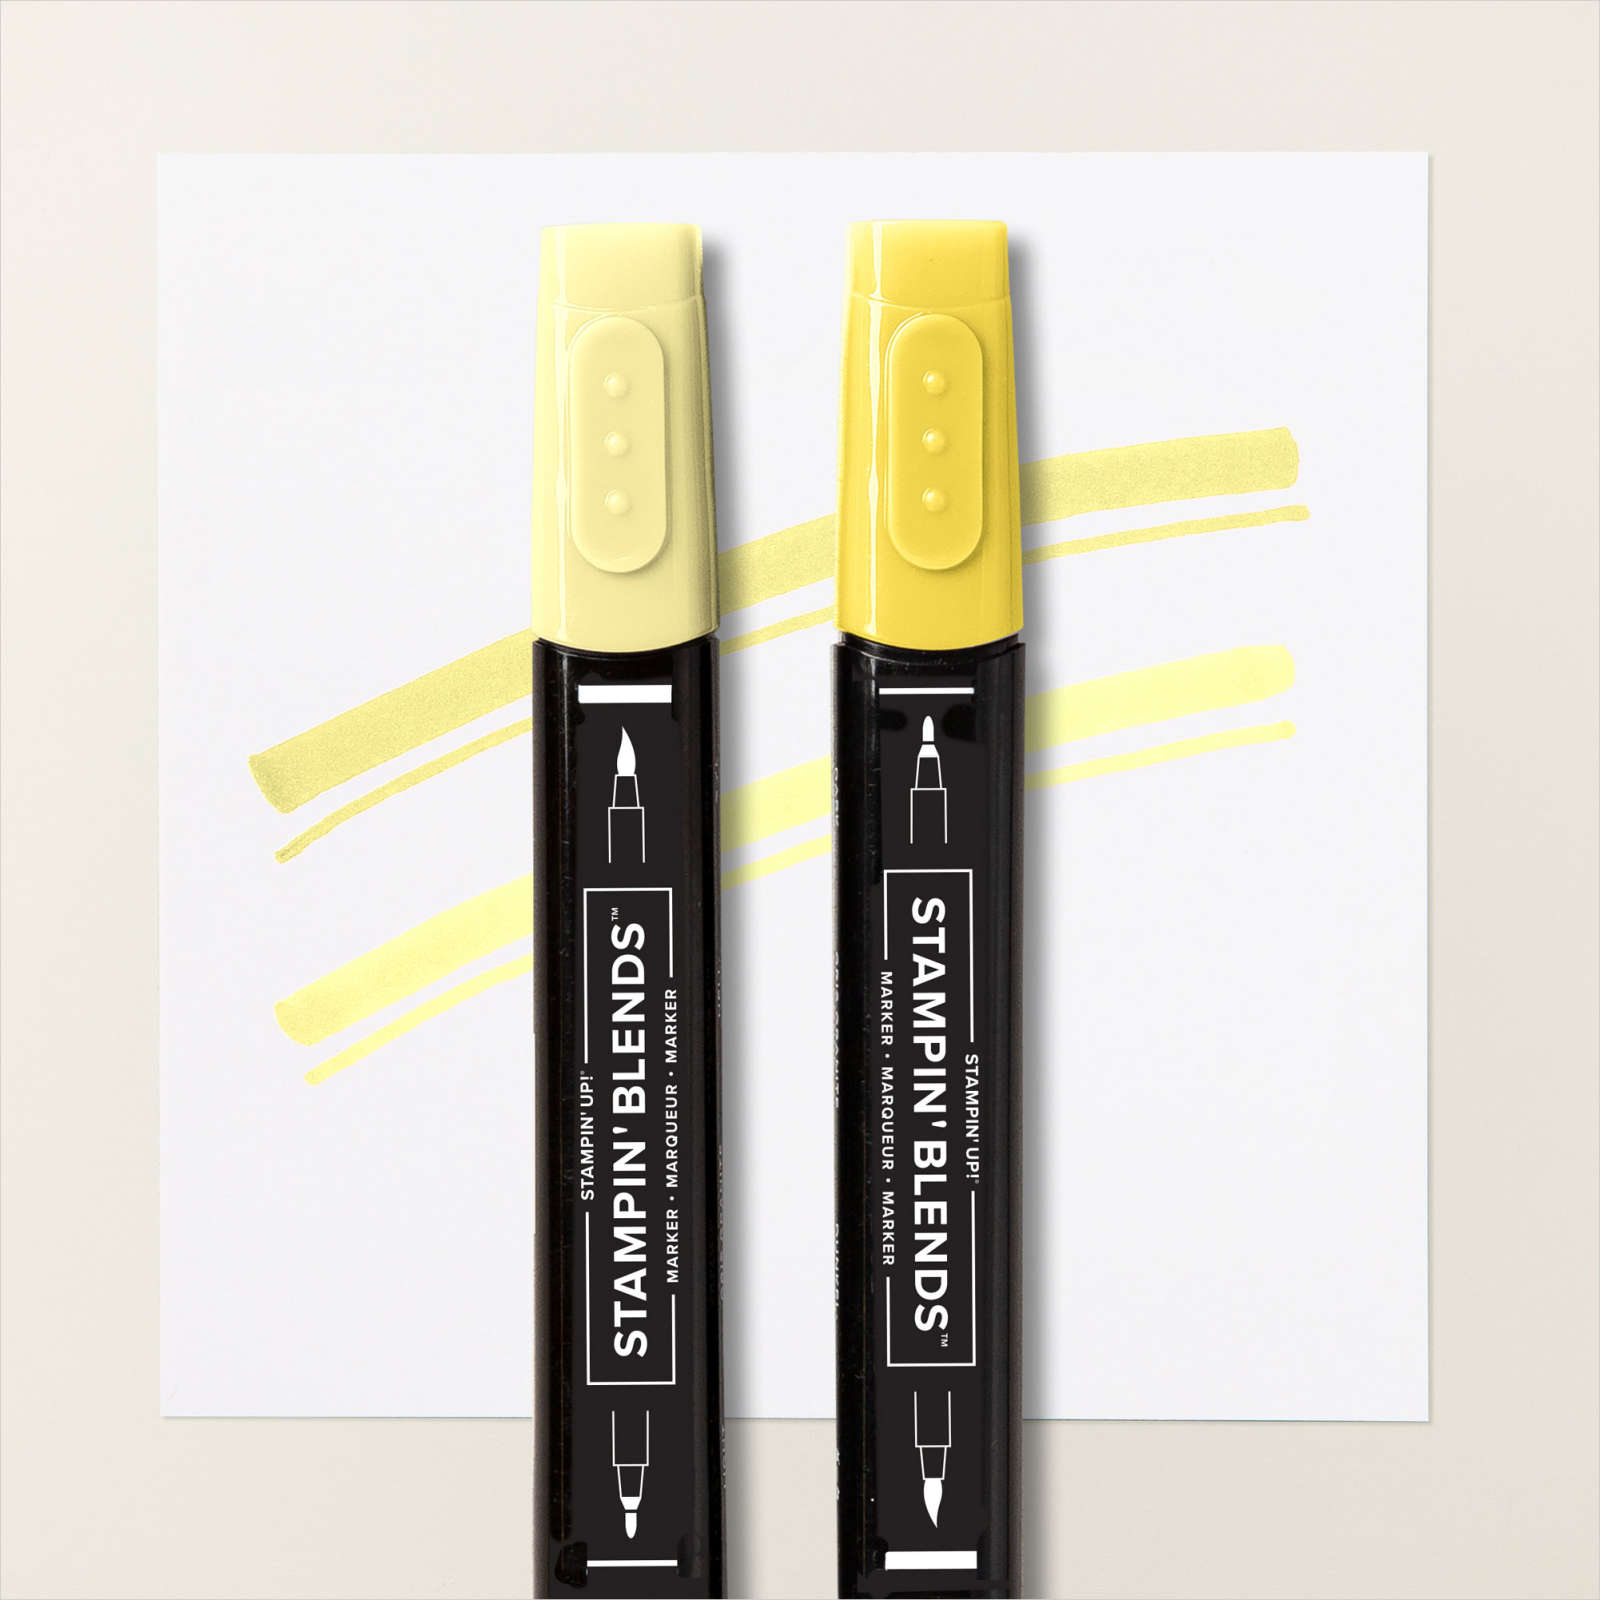
I cut two strips of Misty Moonlight and cut them using the Beautiful Balloons Die before attaching then to strips of Bright & Beautiful 6″ x 6″ Designer Series Paper. I attached one piece to each page. I stamped “celebrate” from the Circle Sayings stamp set onto Basic White card using Misty Moonlight ink. I stamped the cupcake from the same stamp set inside the greeting using Memento Tuxedo Black ink. I coloured the cupcake using Dark Lemon Lollly, Light Crumb Cake and Dark Bubble Bath Stampin’ Blends. I punched out the image using the 2-3/8″ Circle Punch before attaching it to the right hand page. I cut the title using the Wanted to Say Dies, cutting the solid “happy birthday” from Misty Moonlight card and the detailed greeting from Basic White card.

I attached the pieces together and added the title to the top left hand side of the first page. I printed my journalling onto Basic White card
Bye for now,
Kris
Product Used:


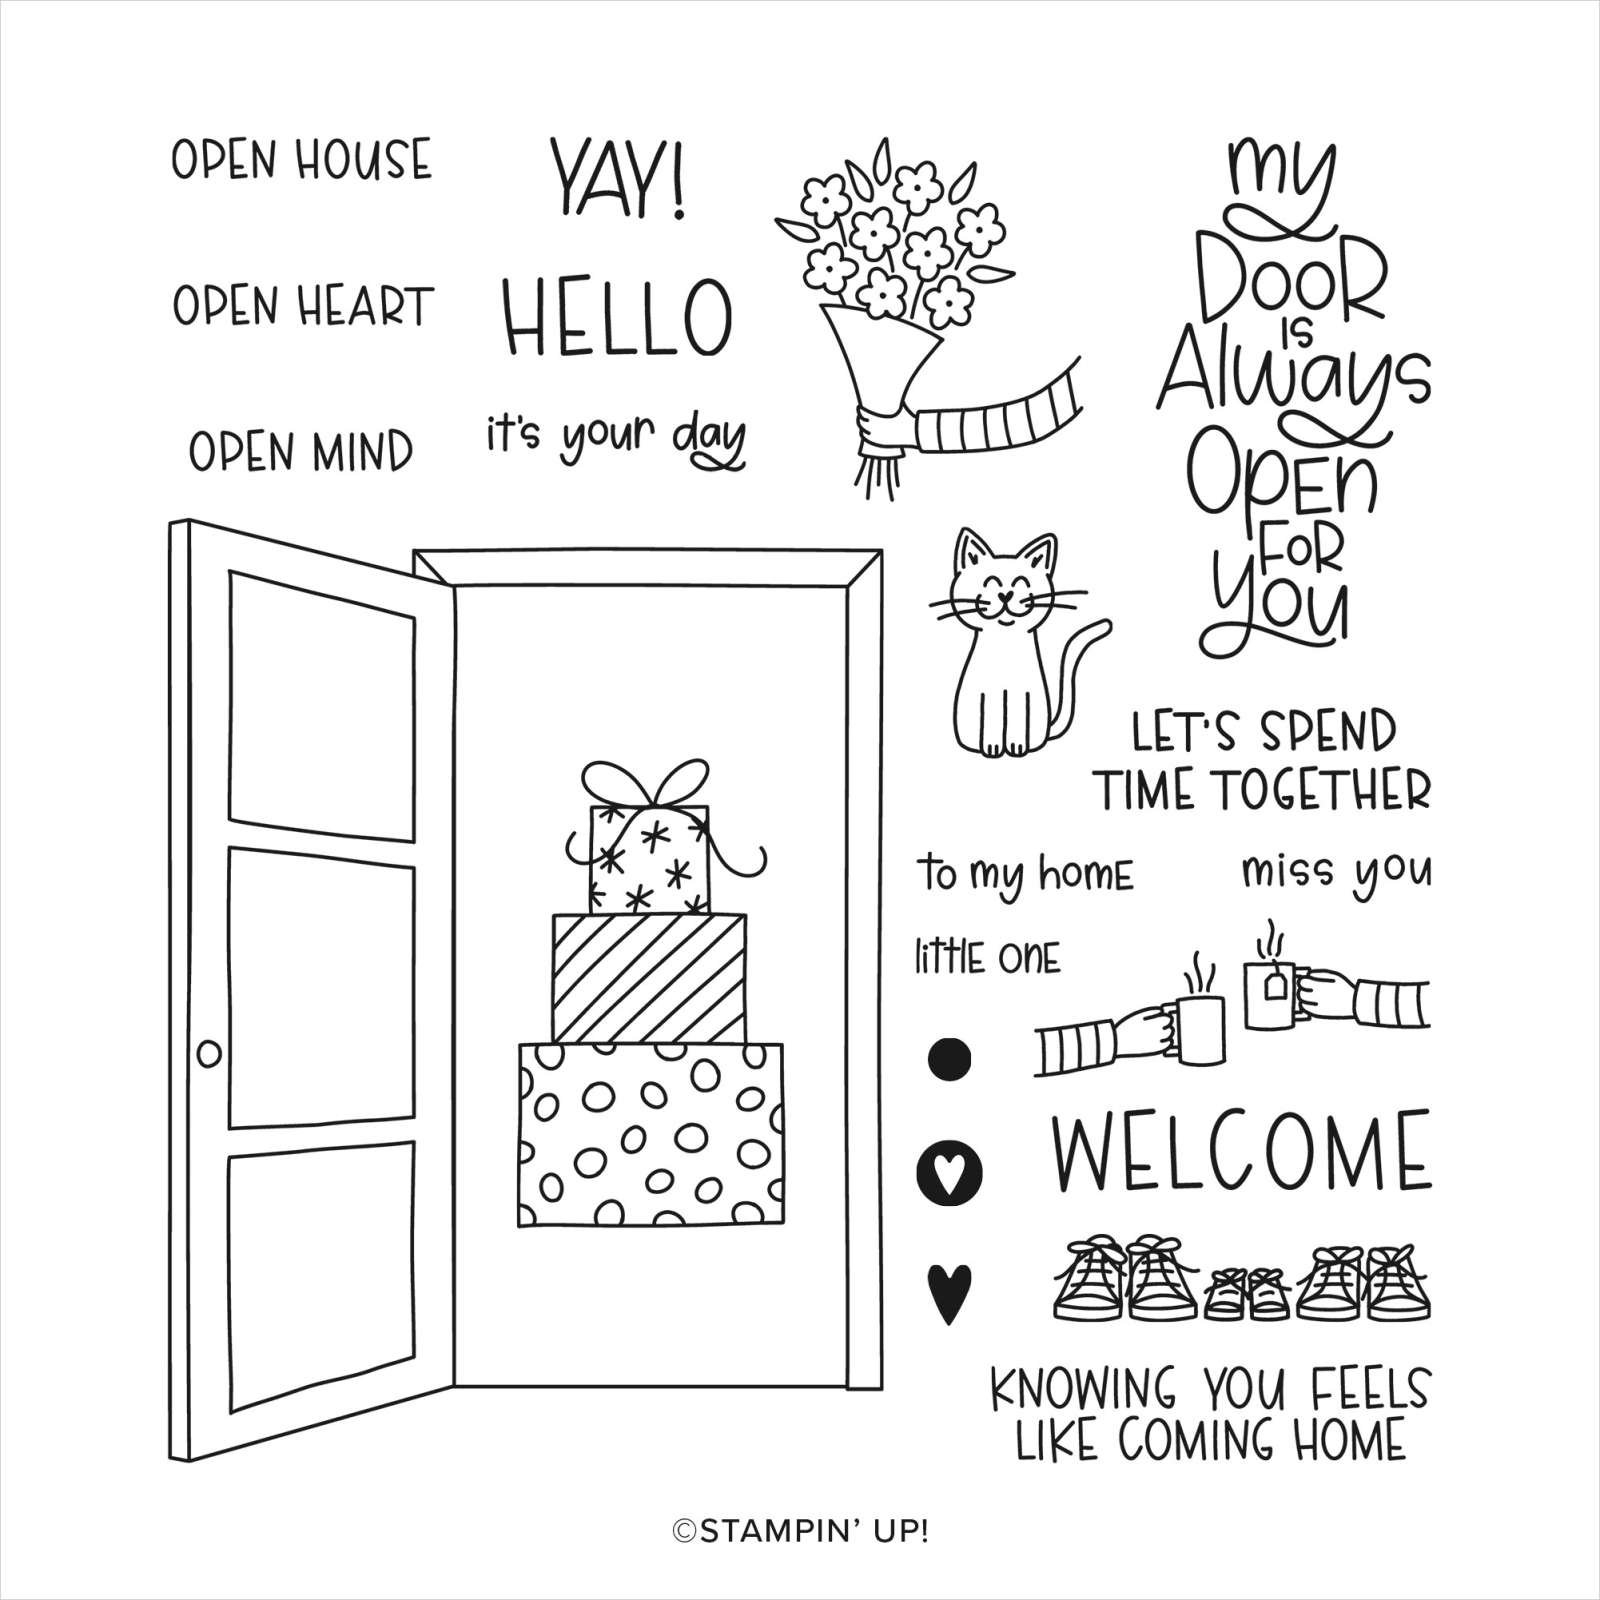
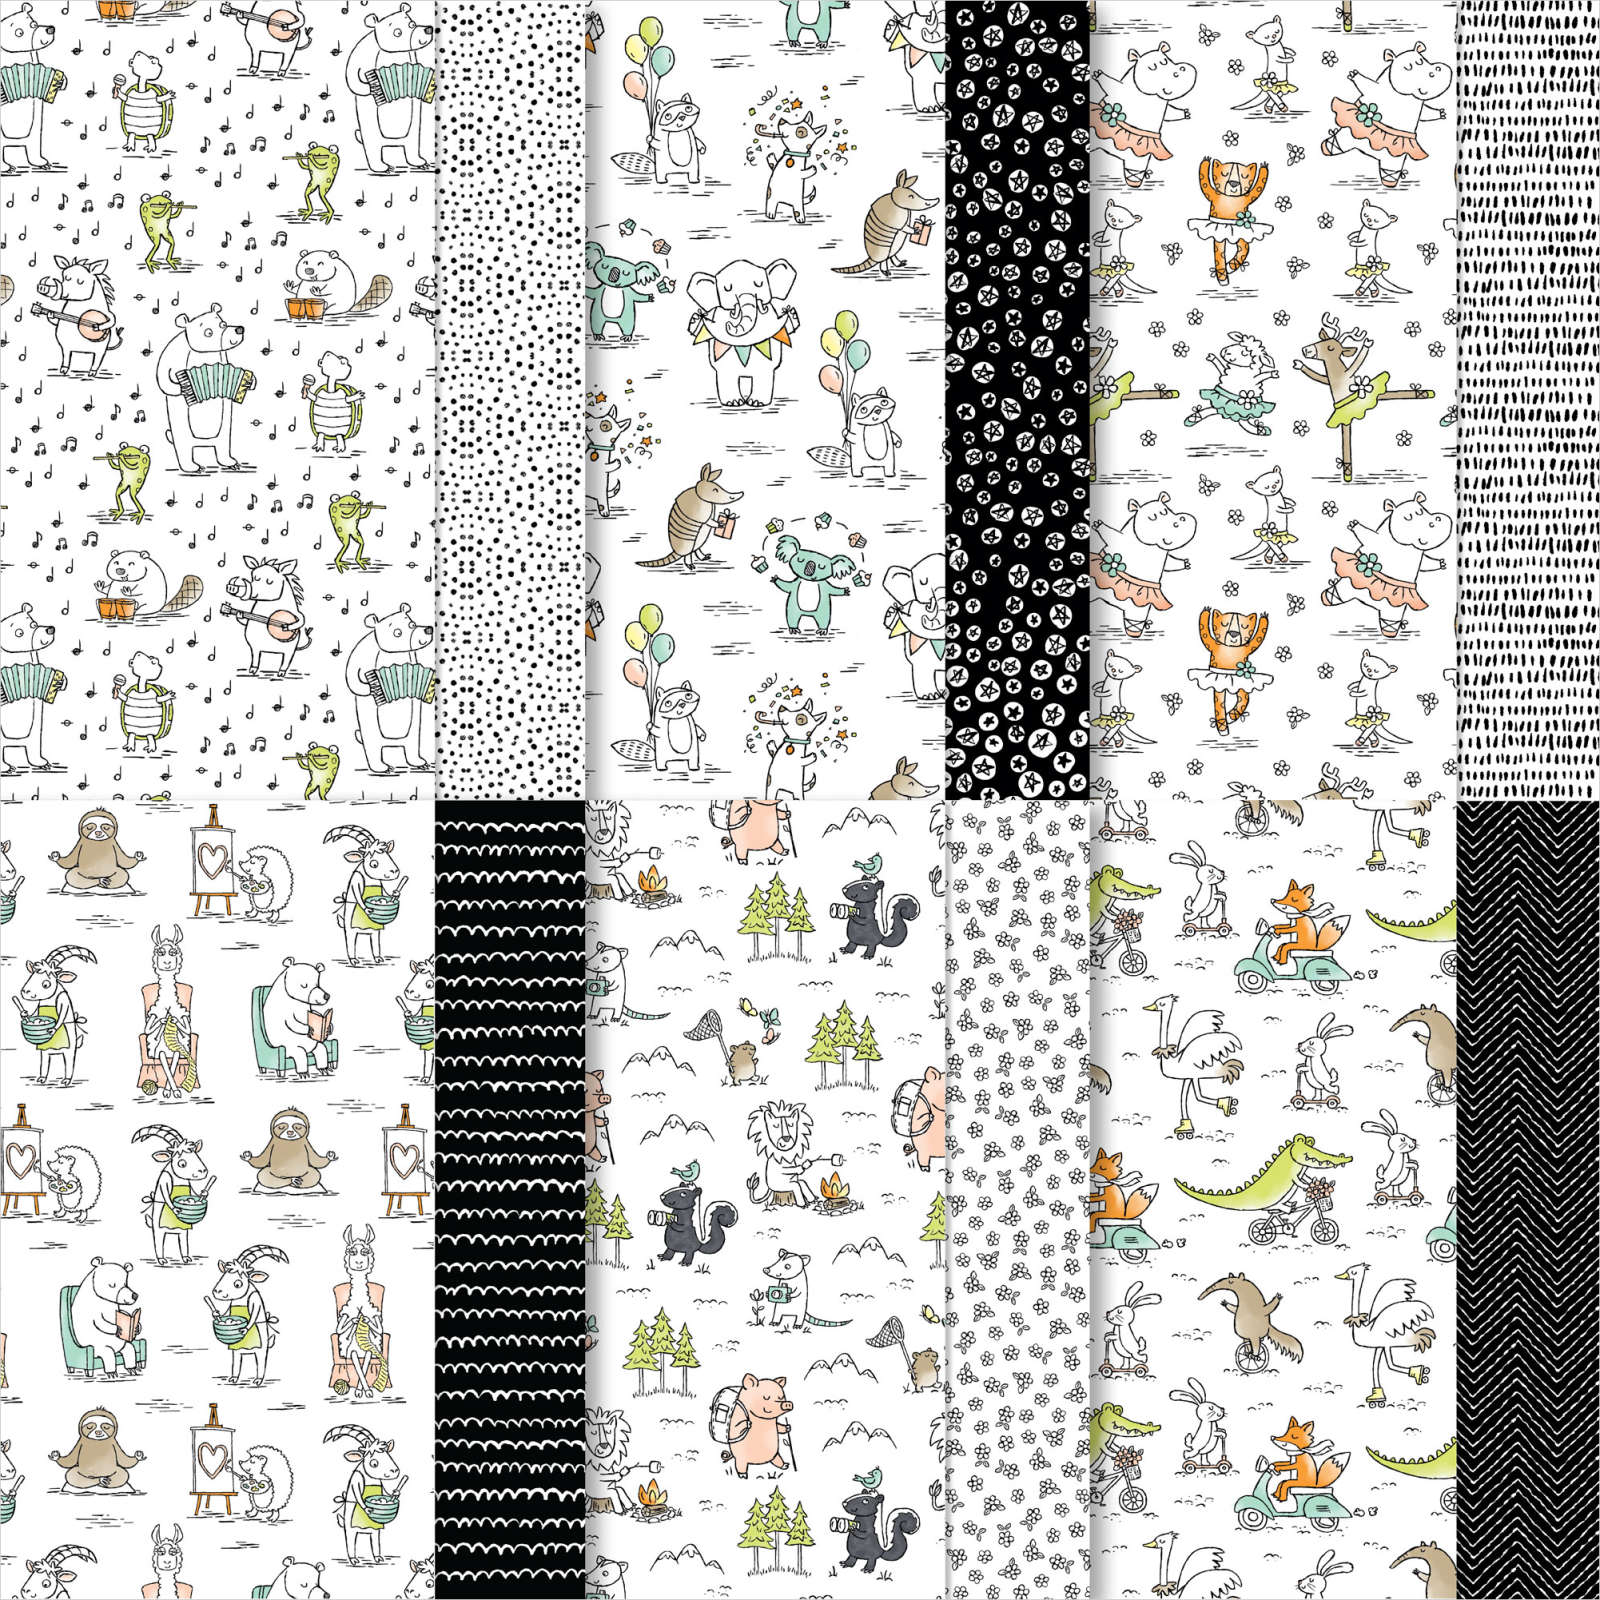
It’s Your Day
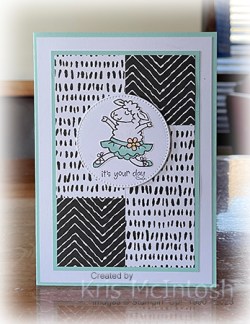
Recently Stampin’ Up! included a card sketch in our weekly email. I loved the sketch and shared some cards in my Facebook Live this week that I created using it. My card today takes a little liberty with the sketch but keeps to the basics to create my card. I cut pieces of the Zoo Crew 12″ x 12″ Designer Series Paper, attached them to Pool Party card, Basic White card and then scored and folded Pool Party card. I cut Basic White card using one of the Stylish Shapes Dies and stamped the greeting from the Warm Welcome stamp set using Memento Tuxedo Black ink.
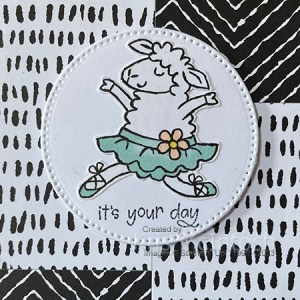
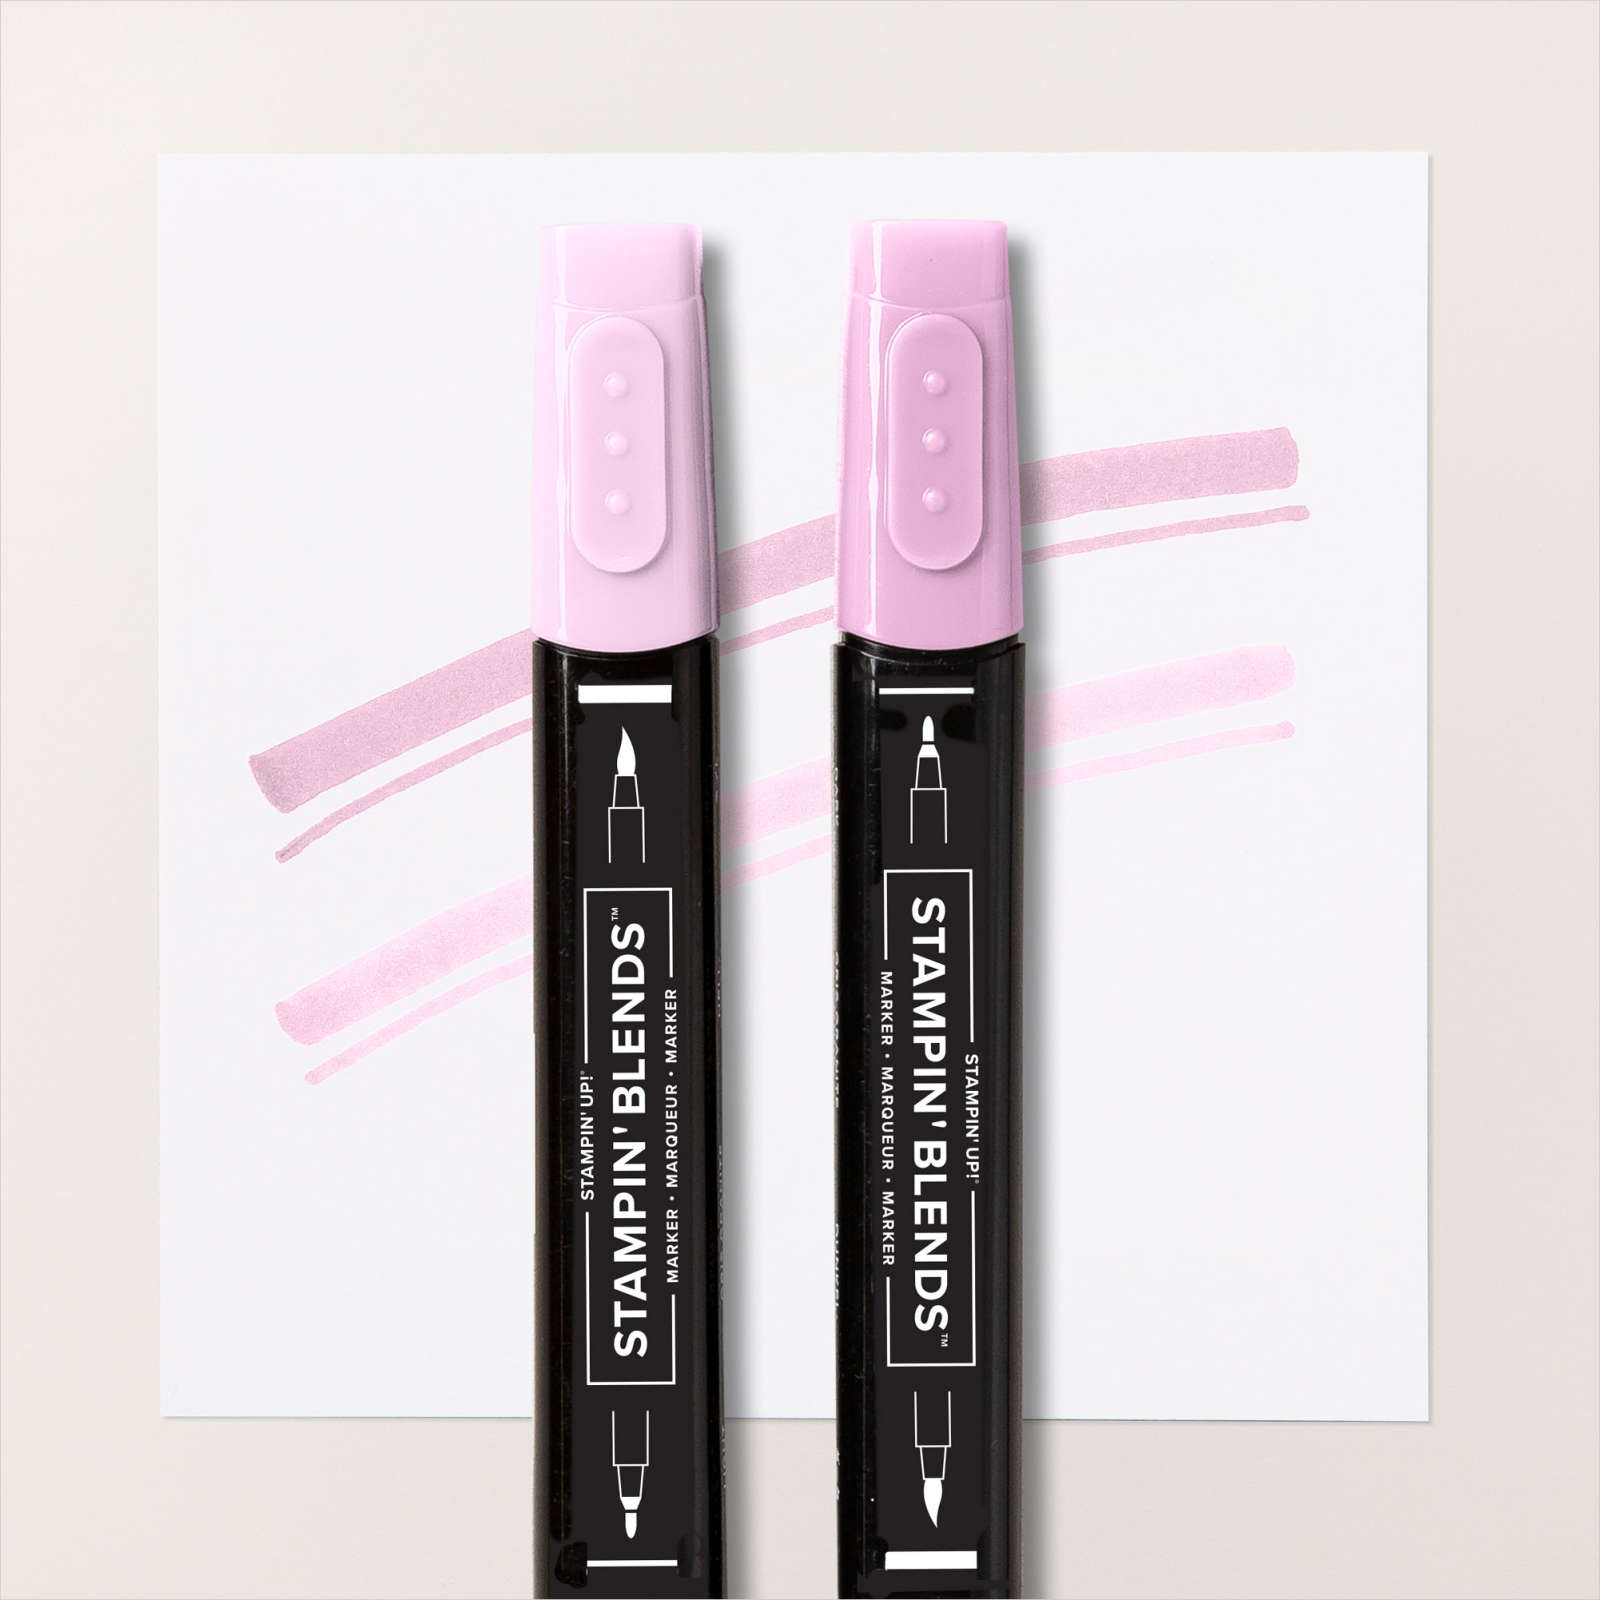
I cut out the image from the Zoo Crew Designer Series Paper and coloured the flower using the Dark Petal Pink and Dark Lemon Lolly Stampin’ Blends. I attached the image to the Basic White circle before attaching the panel to the card front using dimensionals.
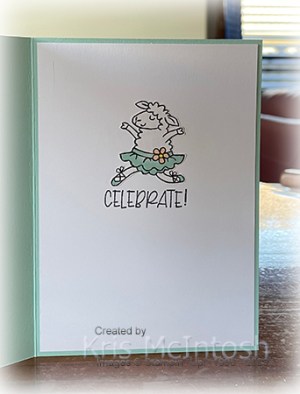
To decorate the inside of the card, I stamped the greeting from the Share A Milkshake stamp set onto Basic White card using Memento Tuxedo Black ink. I cut out and coloured another sheep image and attached it above the greeting. Such a fun card to create, I think I am going to have to use some of the masses of Designer Series Paper I have in my stash to create more cards using this idea. Thank you Stampin’ Up! for the inspiration.
Bye for now,
Kris
Product Used:


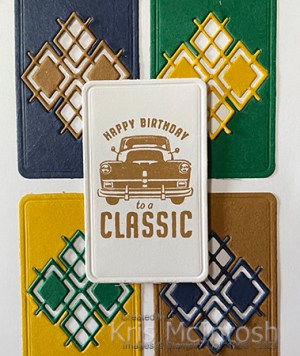
To A Classic
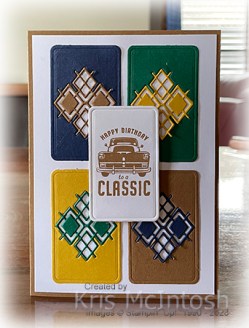
Today I am sharing a card I made with the He’s All That Bundle whichI am glad carried over to this Annual Catalogue. I found this card on Pinterest and decided that I wanted to try this inlaid card. I used different colours but love the finished result. I cut Night of Navy, Shaded Spruce, Crushed Curry and Pecan Pie card using the rectangle die from the All That Dies. I cut the detailed image from each of the rectangles and inlaid them to other colours.
So Night of Navy and Pecan Pie are both Neutral colours so I swapped them over. Shaded Spruce and Crushed Curry are both Regal colours, so I swapped them over. The rectangles are attached to Basic White card and then scored and folded Pecan Pie card.

I stamped the greeting from the He’s All That stamp set onto Basic White card using Pecan Pie ink and attached it to the card front using dimensionals. To decorate the inside of the card, I stamped another of the greetings from the He’s All That stamp set onto Basic White card using Pecan Pie ink. I love how bright but still manly this card is and I love that new colour Pecan Pie. What about you, don’t you think its lovely?
Bye for now,
Kris
Product Used:


Our Girls
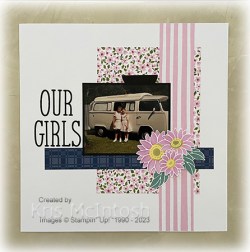
Today’s page displays a photo of my two girls taken at my husbands parent’s home in Moree many years ago. I attached a piece of Delightfully Eclectic 12″ x 12″ Designer Series Paper onto a Basic White 12″ x 12″ page. I attached another piece of Delightfully Eclectic Designer Series Paper down the right hand side of the page and another piece horizontally across the page. I attached my photo to Basic Black card and attached it to the page so that I could slide my journalling behind the photo.

I cut the title from Basic Black card using the Alphabet A La Mode Dies and attached the letters beside the photo. I used the Abundant Beauty Decorative Masks to create the three flowers on Basic White card using Fresh Freesia, Lemon Lolly and Smoky Slate ink and a blending brush. I also the used the Abundant Beauty Decorative Masks to create three leaves using Lost Lagoon ink and a blending brush. I cut out the flowers and leaves and layered them onto the lower right hand corner of the photo. I used the retired Label Me Lovely Punch to attach to my journaling so that it could be pulled from behind the photo. I really love how this turned out, even using slightly busy papers, don’t you.
Bye for now,
Kris
Product Used:


Peace on Earth

This week in my Facebook Live I shared some card ideas using the Abundant Beauty Decorative Masks which are in the current September to December Mini Catalogue. These masks consist of three background masks and four masks which combine to create a beautiful daisy like flower. I decided to create a Christmas Card using the floral masks from this set. I cut a piece of Basic White card using one of the dies from the Around The Bend Dies.

I stamped the greeting from the Christmas Classics stamp set onto the Basic White card using Cherry Cobbler ink. I used the leaf mask from the Abundant Beauty Decorative Masks to add a leaf using Shaded Spruce ink. I masked the leaf and again using the mask added another leaf. I attached a piece of Joy of Christmas 12″ x 12″ Designer Series Paper across the bottom of scored and folded Cherry Cobbler card.

I attached the Basic White stamped panel across the top of the Cherry Cobbler card. I used the floral masks and Cherry Cobbler ink to create the three flowers on Basic White card. I cut out the flowers, layered them together and added them to the card front, partially covering the leaves. To decorate the inside of the card, I stamped a greeting from the Very Best Occasions stamp set onto Basic White card using Cherry Cobbler ink. I attached a piece of the same pattern Joy of Christmas Designer Series Paper across the bottom of the panel. I have been having fun playing with the Abundant Beauty Decorative Masks and hope I have inspired you to take another look at them.
Bye for now,
Kris
Product Used:


Happy Anniversary
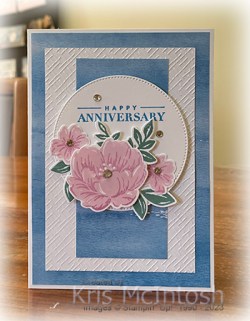
My Mum and Dad recently celebrated their 69th Wedding Anniversary. Such an amazing feat! So I had to create a special card for them and this is what I decided on. I found a card sketch on Pinterest and used it as a guide. I attached a piece of Bright & Beautiful 6″ x 6″ Designer Series Paper to scored and folded Thick Basic White card. I embossed a panel of Basic White using one of the folders from the Basics 3D Embossing Folders and attached it to the centre of the Designer Series Paper. I cut down the remaining piece of Designer Series Paper and attached it to the centre of the embossed card. I cut Basic White card using the largest circle from the Stylish Shapes Dies and stamped the greeting from the retired Celebrating You stamp set using Azure Afternoon ink.
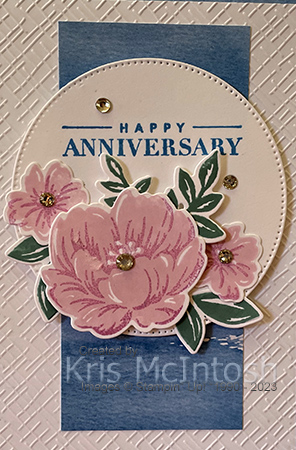
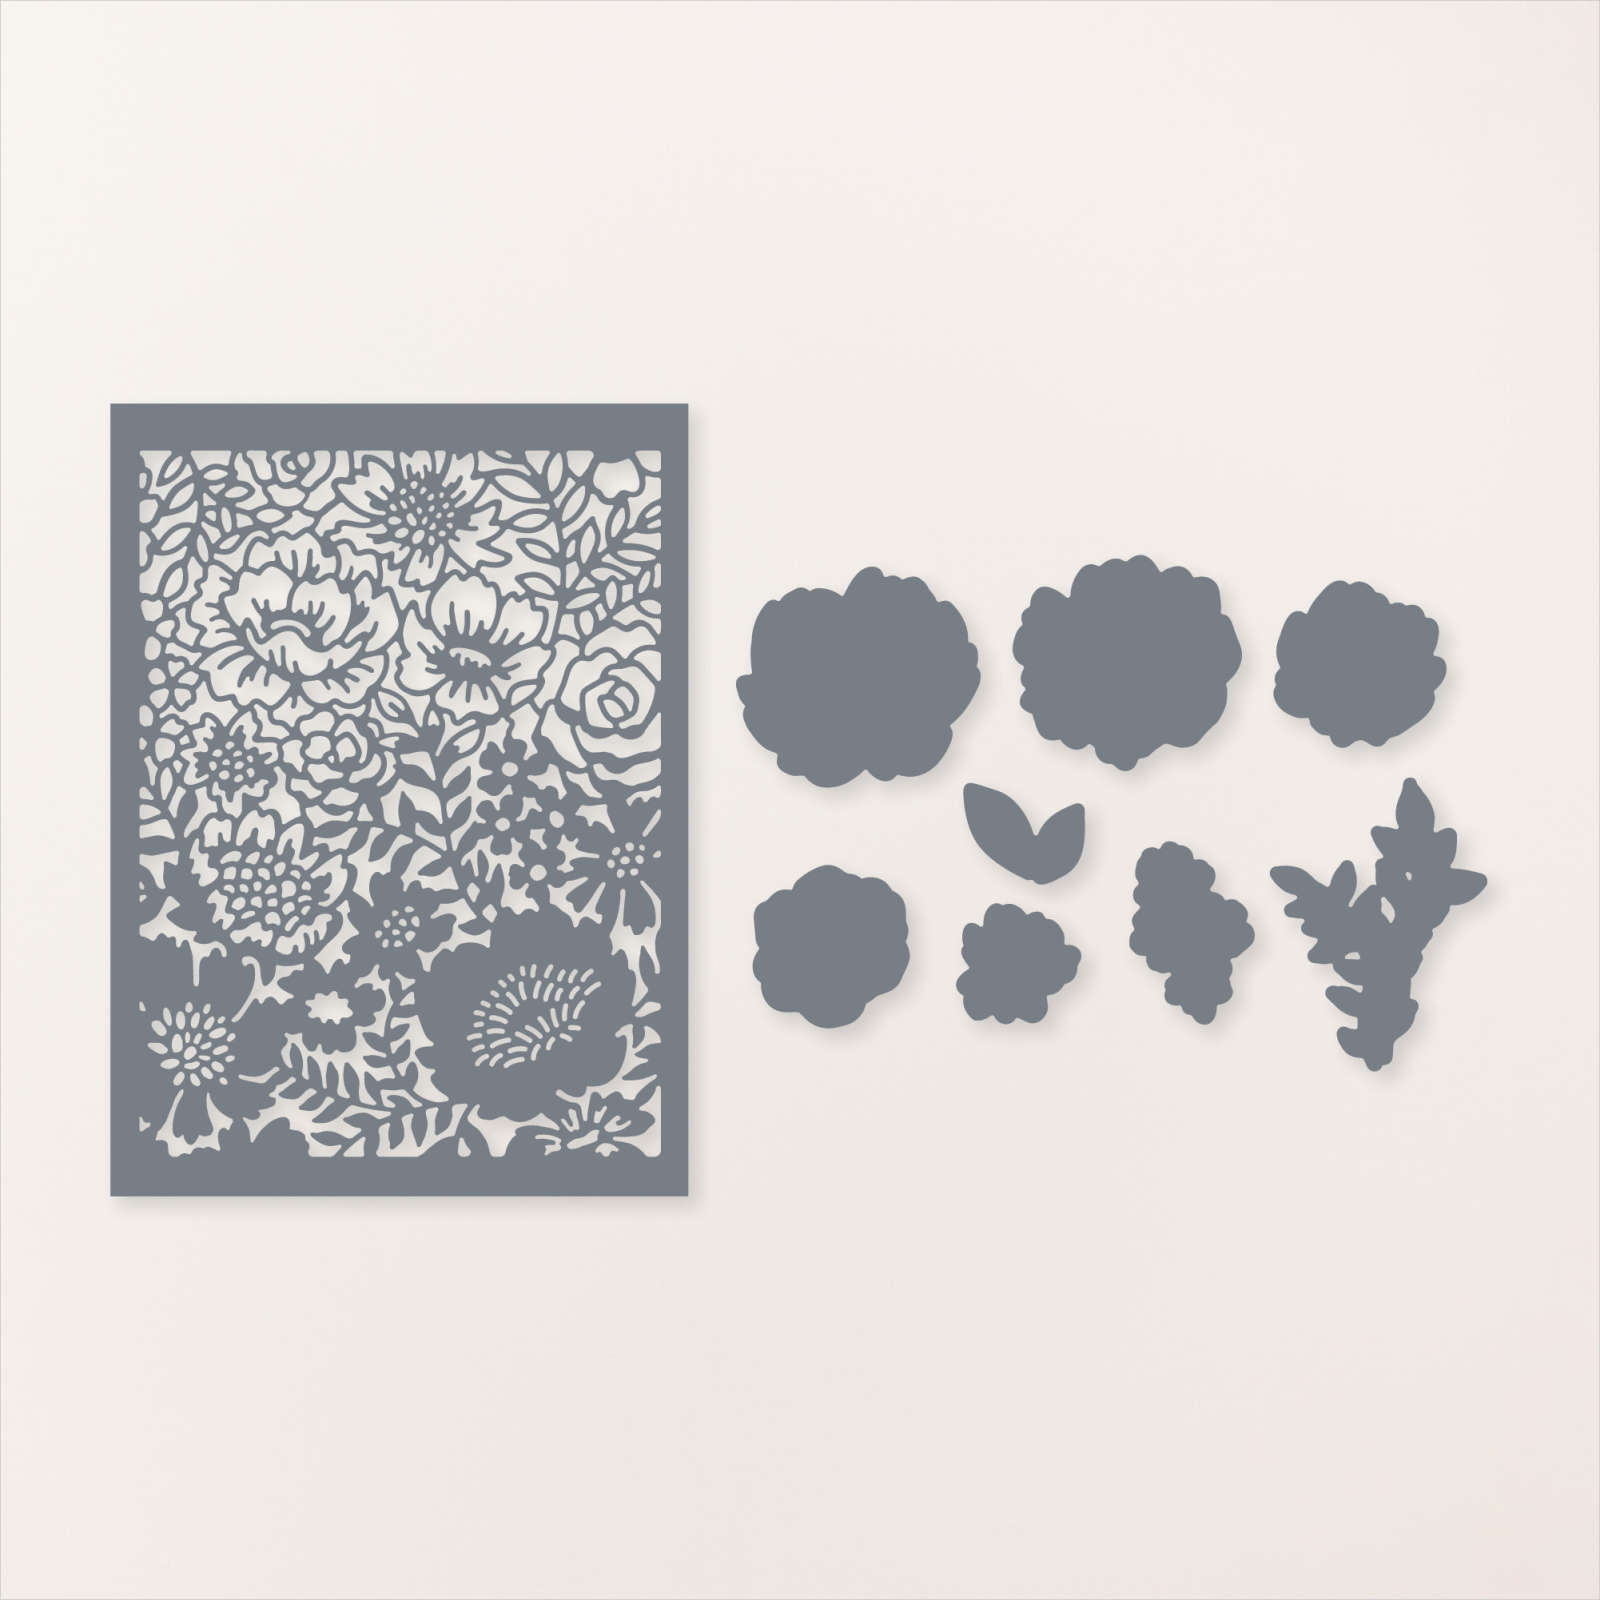
I stamped one large and two small solid flowers from the Two-Tone Flora stamp set onto Basic White card using Bubble Bath ink. I stamped the detailed images over the top using Fresh Freesia ink. I stamped two double leaf and one multi leaf images from the Two-Tone Flora stamp set onto Basic White card using Lost Lagoon ink. I die cut the flowers and leaves using the co-ordinating Two-Tone Flora Dies. I attached the flowers and leaves to the stamped Basic White circle using dimensionals underneath the large flower and multi leaf images. I attached the Basic White circle to the card front using dimensionals.
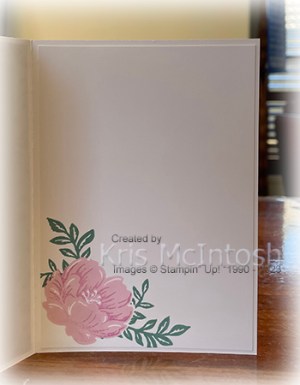
Lastly I added several Basic Rhinestones to the flowers and the stamped circle. To decorate the inside of the card, I stamped the large solid flower from the Two-Tone Flora stamp set onto the lower left hand corner of Basic White card using Bubble Bath ink. I stamped the detailed image over the top using Fresh Freesia ink. I covered the flower with a mask and stamped the multi leaf image from the Two-Tone Flora stamp set twice using Lost Lagoon ink. The stamped panel is attached to the inside of the card.
I just love how soft and pretty this card is but not overly girly with the addition of blue. What do you think? So congratulations to my Mum and Dad for achieving this amazing milestone.
Bye for now,
Kris
Product Used:


Family

Today I am using the Delightful Floral 12″ x 12″ Designer Series Paper which is part of a special release of new Designer Series Paper online exclusive. These papers were released on the 6th September and are only available with stocks last. I attached a piece of Pretty Peacock card across a Basic White 12″ x 12″ page. I cut a piece of the Delightful Floral Designer Series Paper and attached a strip of Blackberry Bliss card which I cut using the edge die from the Scalloped Contour Dies.

The Designer Series Paper panel is attached across the Pretty Peacock card. I cut another piece of the Delightful Floral Designer Series Paper and attached my photos. The photo panel is attached to the centre of the Basic White page. I printed my journaling onto Basic White card and cut it out using one of the Deckled Circle Dies. I attached the journaling panel to the right hand side of the page. I cut the single flower and leaves and the bouquet of flowers from the Delightful Floral Designer Series Paper. I attached the single flower to the top left corner of the photo panel and the bouquet of flowers over the journaling panel. I printed the title onto Basic White card, attached it to Blackberry Bliss card and the right hand side of the page. These papers are truly gorgeous. One side is patterned with the flowers to co-ordinate with the Translucent Floral stamp set and the other side is a single watercoloured style page. If you haven’t seen these papers, check them out on the link below.
Bye for now,
Kris
Product Used: