Starter Kit Special

Buying a starter kit from Stampin’ Up! has always been a great way to stock up on things that you must have while at the same time getting a real bargain. However, to celebrate Stampin’ Up!s 35th Anniversary you can do even better. From the 3rd to the 31st October you have two options to save, get a bargain and become part of the Stampin’ Up! family –
Option 1 -Join Stampin’ Up! and receive $235.00 of current product (that is from any current catalogue or any current product online) and pay only $109.85.
OR
Option 2 – Joint Stampin’ Up! and received $317.25 worth of current product and pay only $169.00
WOW. That’s just amazing, think of all the things on your wish list you can add to your starter kit and pay only a fraction of the price.
BUT
Not only do you have these two options, but whichever option your choose you will automatically be signed up to have access to the virtual OnStage event on 11th November which will save you $123.00 (which is the registration price for existing Stampin’ Up! Demonstrators). This not only gives you access to this event on the day but you will also have access to the content after the date.
If you think this might be something you are interested in and you live in Australia, please do not hesitate to contact me for more information. I know that you will not regret becoming part of this amazing family.
Bye for now,
Kris
Merriest Trees

This week on my Facebook Live, I shared some cards I made using the Merriest Trees Bundle from the September to December Mini Catalogue. For this card, I attached a piece of Cherry Cobbler card to scored and folded Thick Basic White card. I die cut Gold Foil card using one of the Deckled Rectangle Dies and attached it to the centre of the Cherry Cobbler card. I die cut Basic White card using a slightly smaller Deckled Rectangle Die and attached it to the centre of the Gold Foil rectangle.

I stamped the solid tree image from the Merriest Trees stamp set onto Basic White card five times using Old Olive ink. I used the Merriest Trees Dies to cut first one section, then two sections and so on till I cut the full tree. I attached each of the smaller tree sections to the full sized free using dimensionals underneath the wide end and multipurpose glue under the tip of the tree.

I cut Gold Foil card using the star die from the Merriest Trees Dies and attached it to the top of the tree. I cut the tinsel from Gold Foil card using the Merriest Trees Die. I did attached Adhesive Sheet to the back of the Gold Foil card first so that it would make it easier to attach it to the tree. I also cut Cherry Cobbler card using the tree skirt die which I attached to the bottom of the Basic White rectangle. The tree is attached over the top of the skirt onto the Basic White rectangle. To decorate the inside of the card, I stamped two layers of the solid tree onto Basic White card using Old Olive ink and cut it out using the co-ordinating Merriest Trees Dies. The die cut is attached to Basic White card before I stamped the greeting from the Merriest Trees stamp set using Cherry Cobbler ink.
Oh what fun this set is going to be, I am really loving it.
Bye for now,
Kris
Product Used:


Season of Cheer

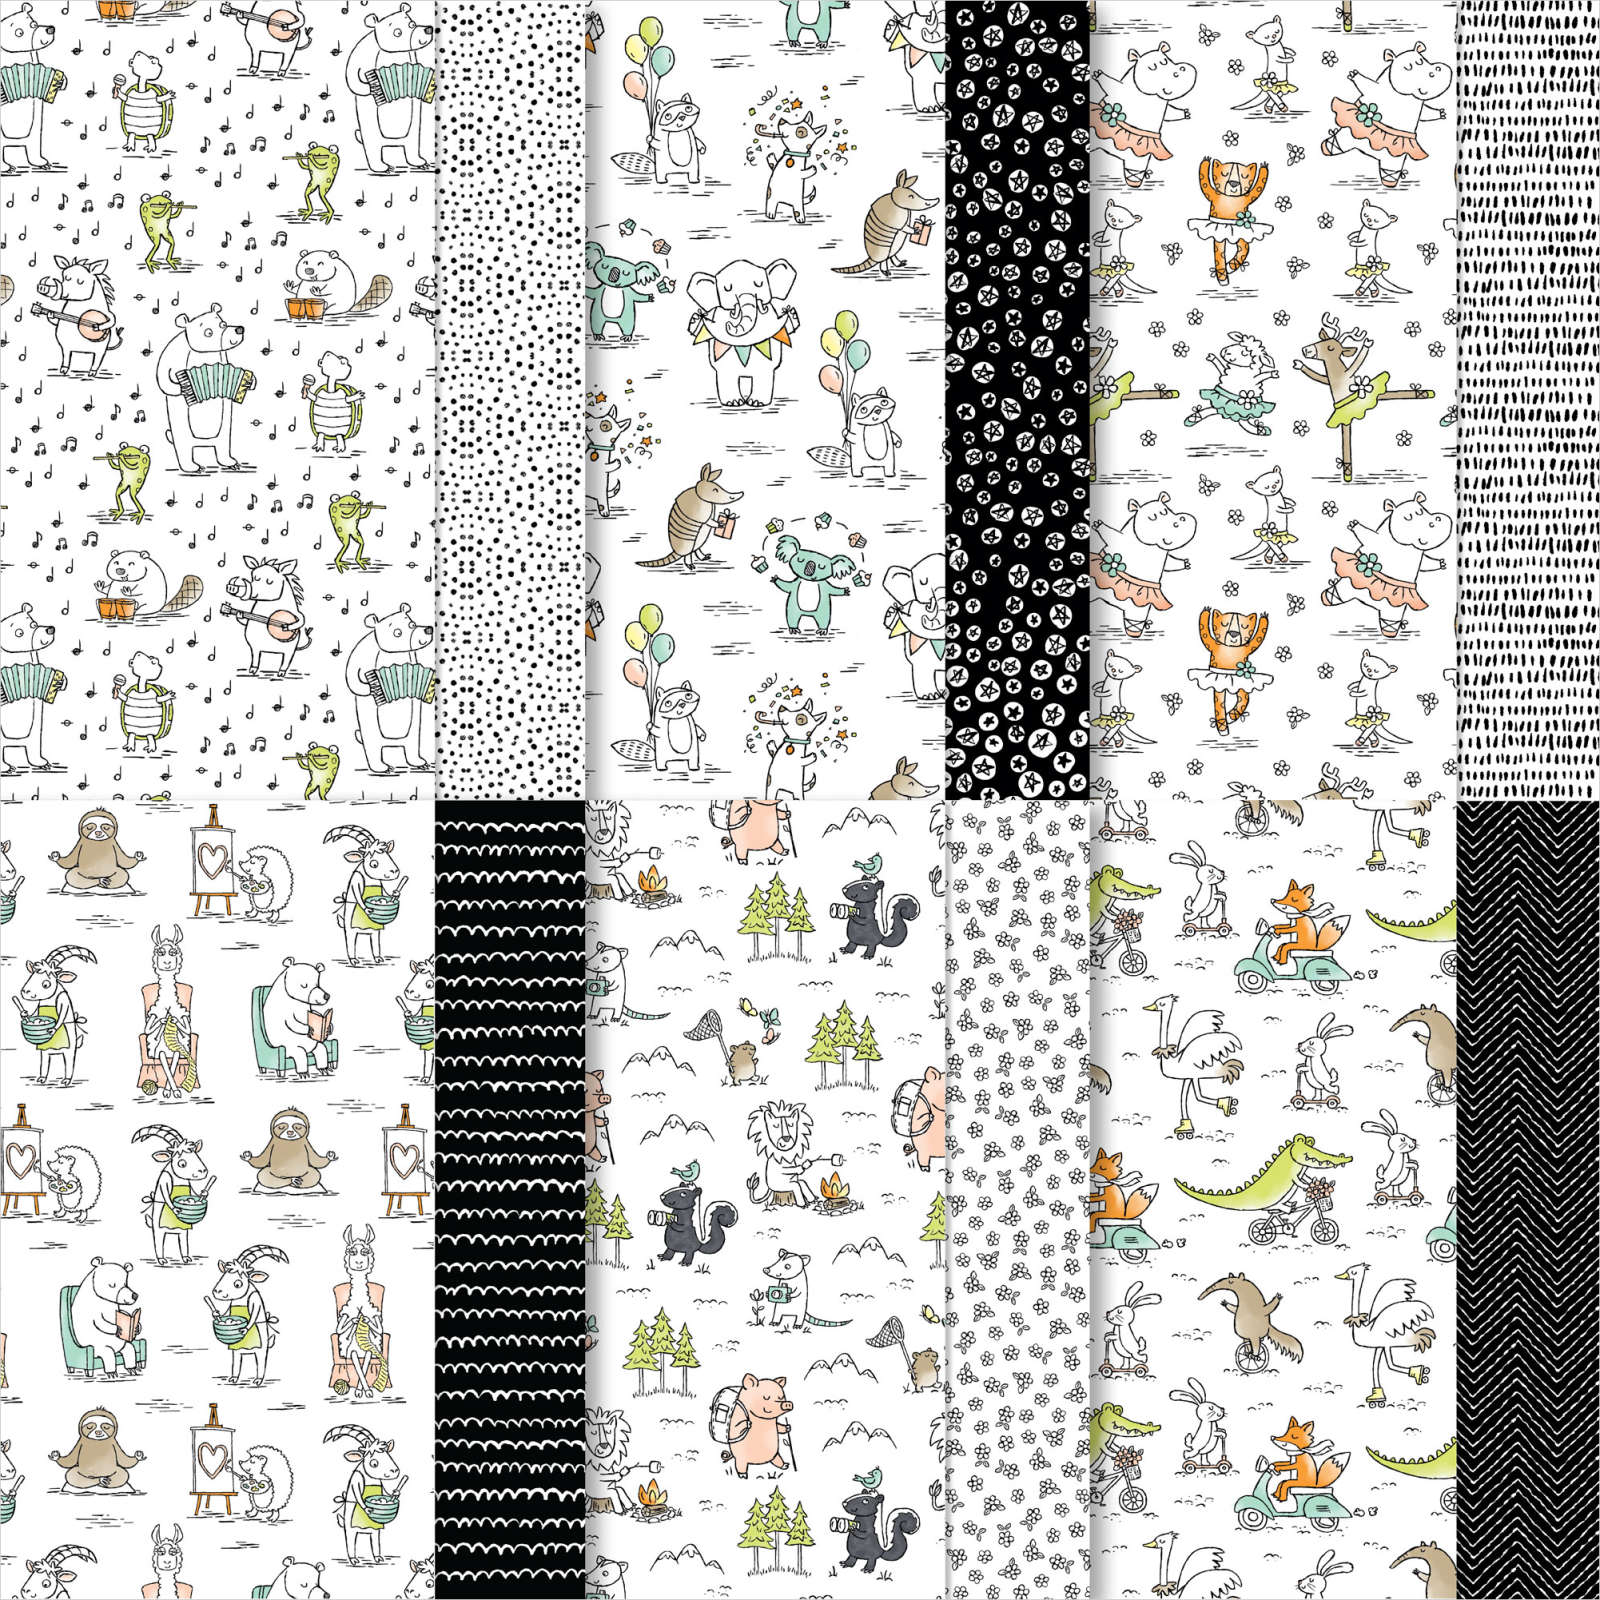
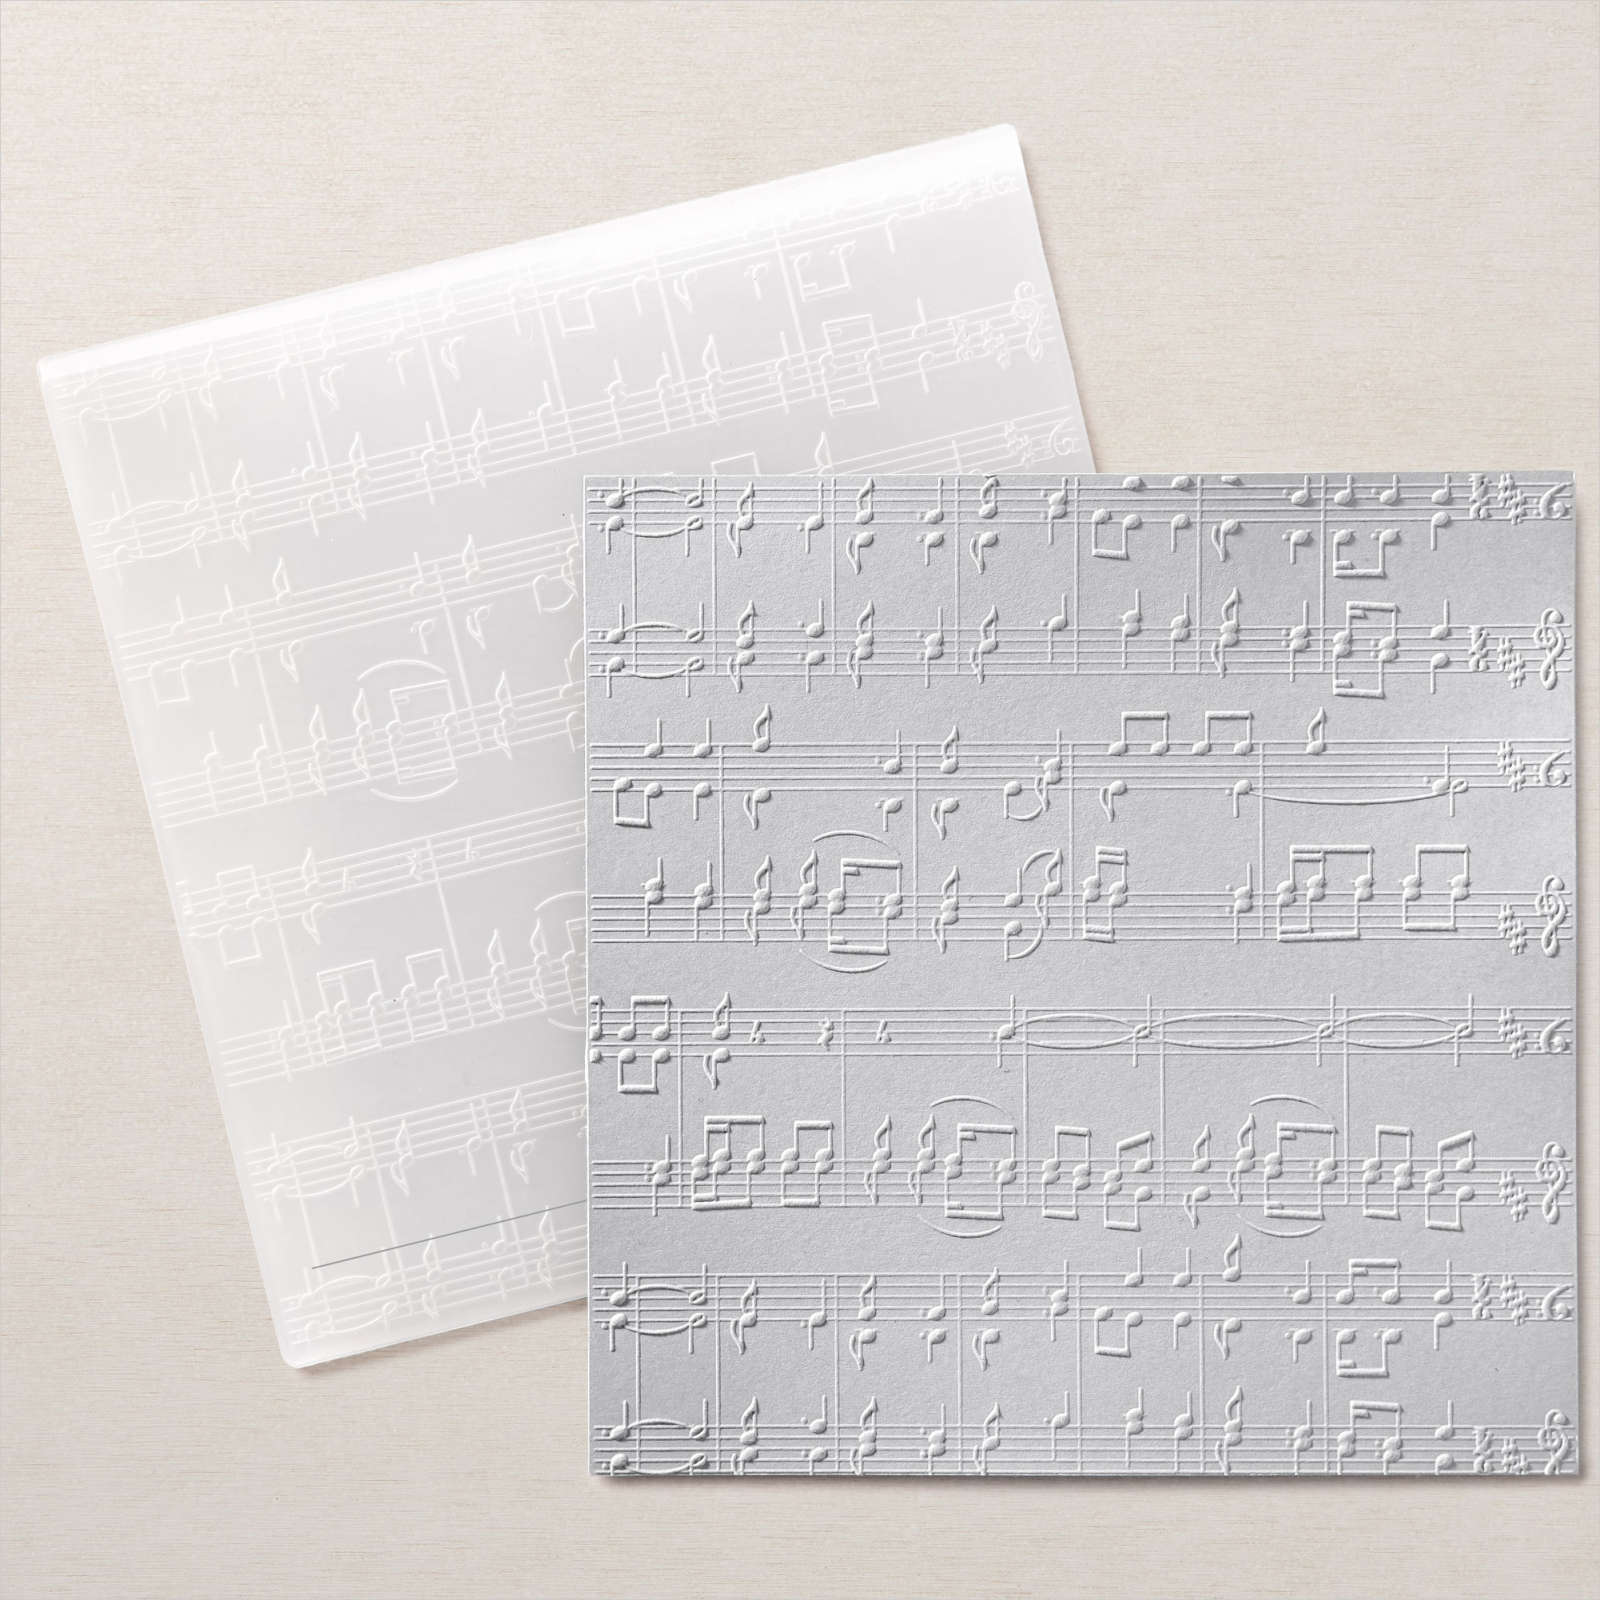
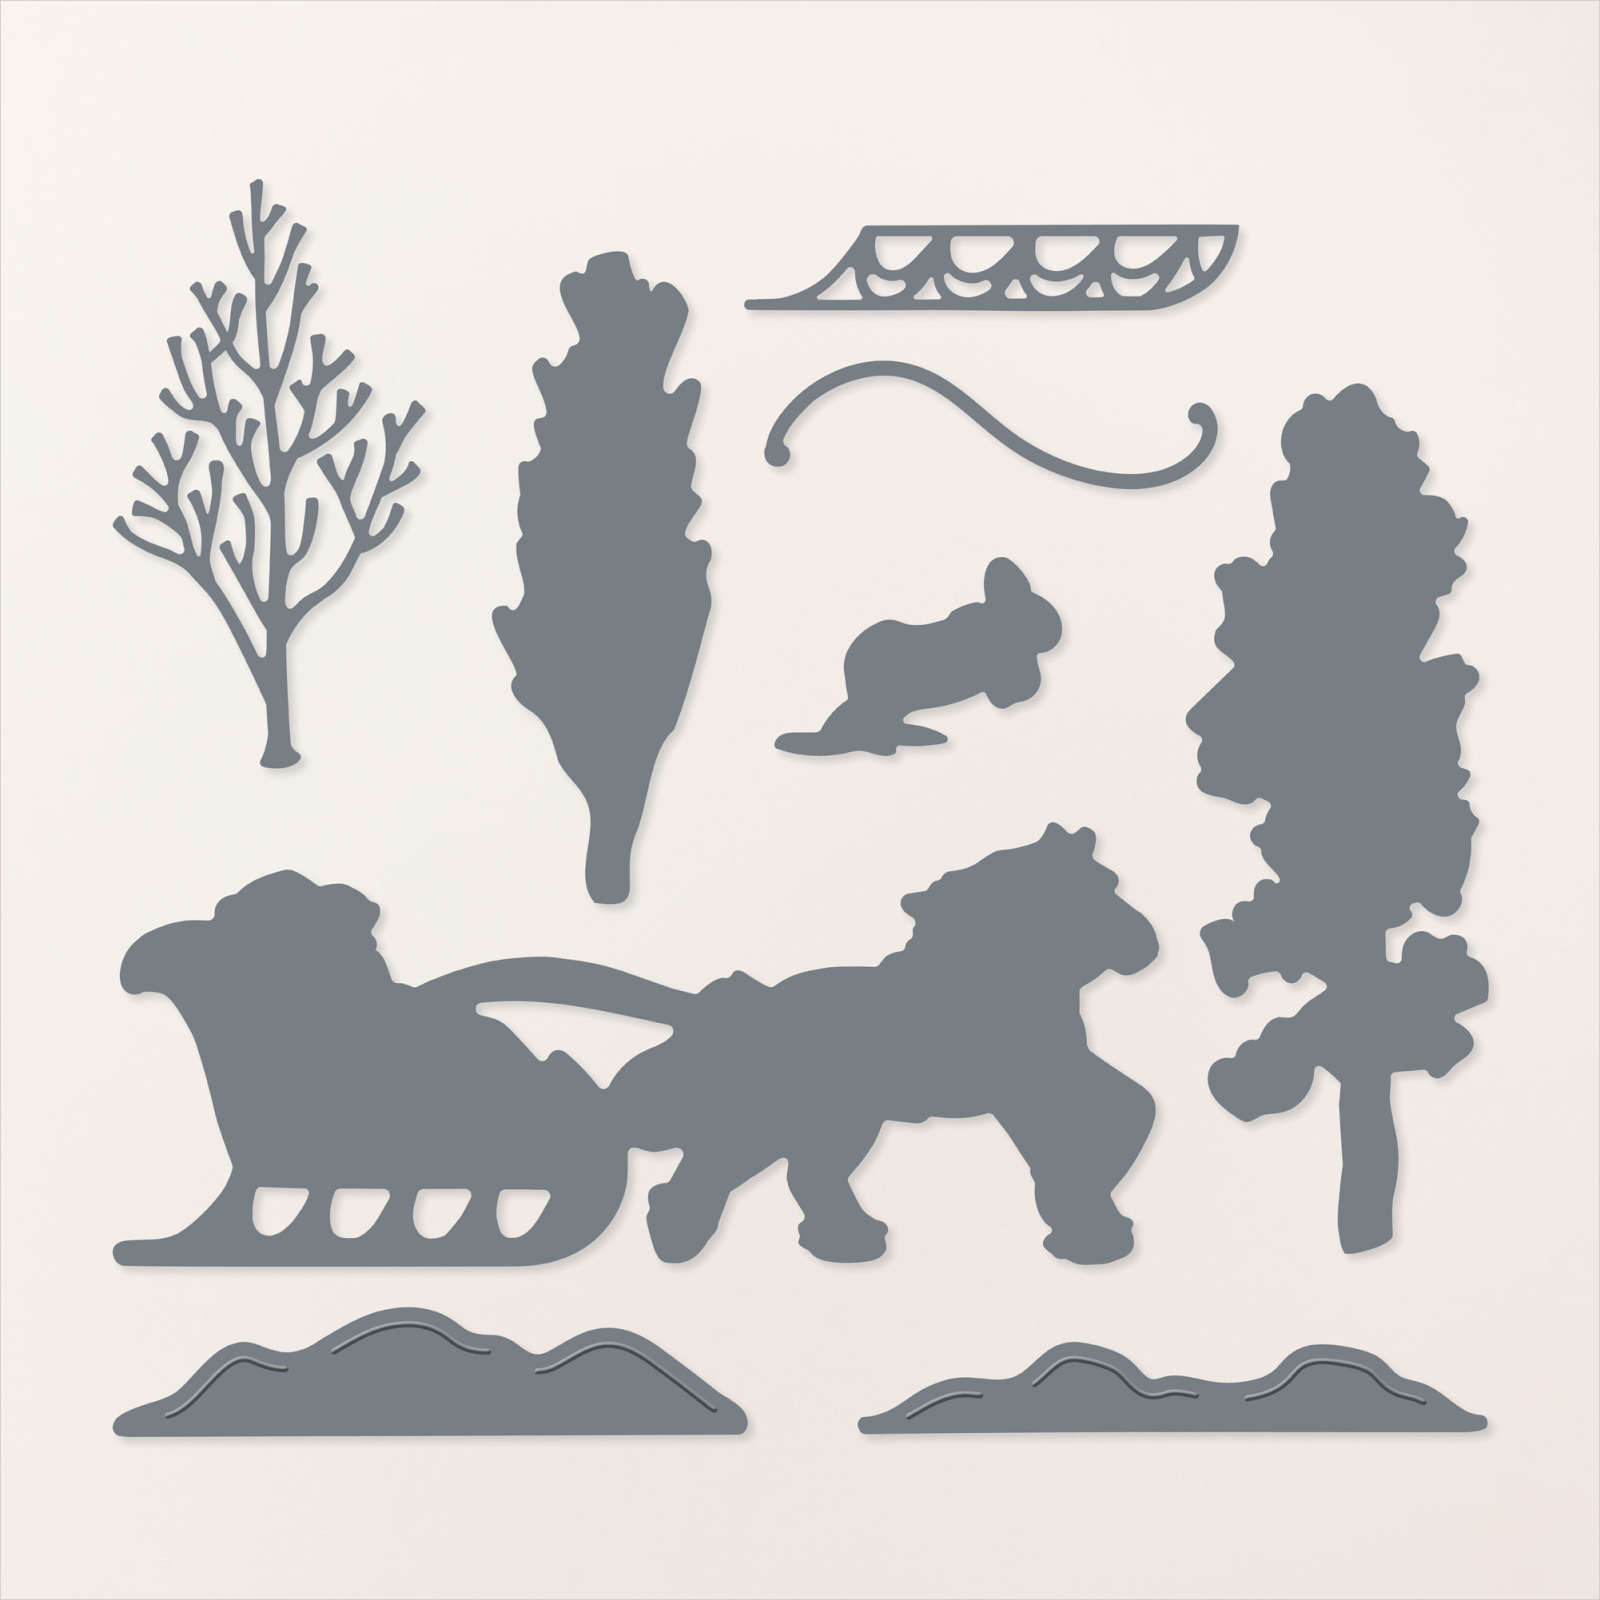
Today’s card again uses the Horse & Sleigh Bundle which you can now purchase as an Online Exclusive. I embossed Basic White card using the Merry Melody 3D Embossing Folder and attached it to scored and folded Smoky Slate card. I attached a piece of the One Horse Open Sleigh 6″ x 6″ Designer Series Paper to a piece of Smoky Slate card and then the card front. I stamped the horse & sleigh image from the Horse & Sleigh stamp set onto Basic White card using Memento Tuxedo Black ink.

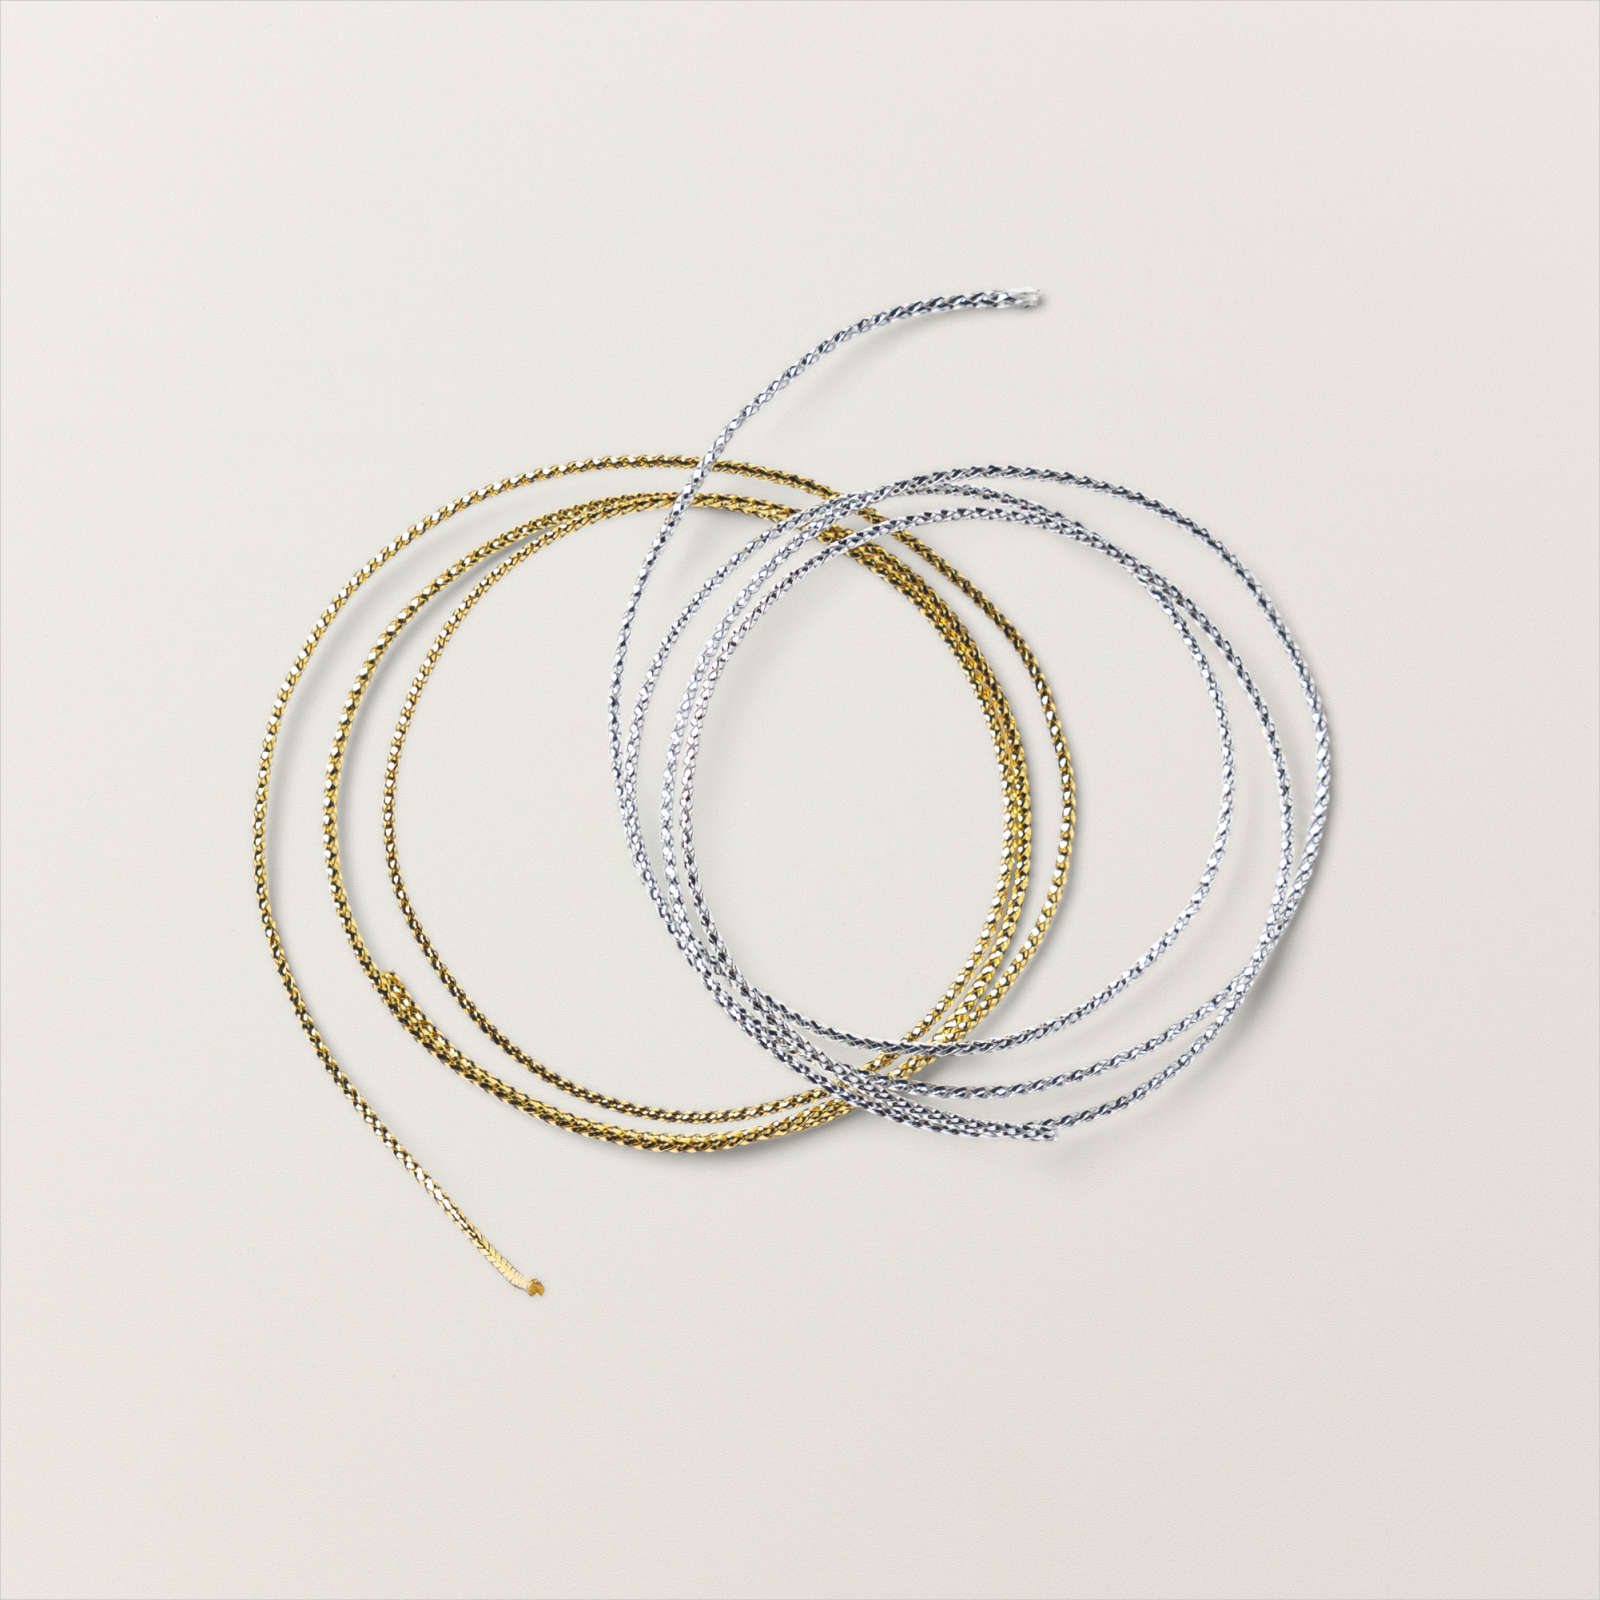
I cut out the image using the co-ordinating Horse & Sleigh Die before trimming the image so that I was left with the sleigh only. I coloured the sleigh using a Dark Smoky Slate Stampin’ Blend. I cut four pieces of the One Horse Open Sleigh Designer Series Paper and wrapped them with Gold cord from the Simply Elegant Trim and tied a knot. I layered the sleigh and the presents onto a piece of Basic White card.

I attached the Basic White panel to Smoky Slate card and then to the card front using dimensionals behind the top edge of the panel. I stamped the greeting from the Horse & Sleigh stamp set onto Basic White card using Real Red ink. I used my Paper Snips to trim around the greeting before attaching it to the card front using dimensionals where necessary. I stamped another greeting from the Horse & Sleigh stamp set onto Basic White card using Real Red ink. I attached Smoky Slate card behind one long edge of One Horse Open Sleigh Designer Series Paper before attaching it to the bottom of the stamped Basic White card.
I love this stamp set but find that it is a little bit “wintery” for an Aussie Christmas but I think this card will be perfect, don’t you?
Bye for now,
Kris
Product Used:


Mudgee
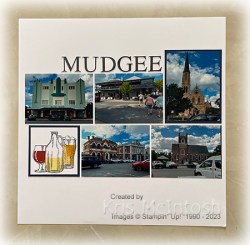
Today’s pages showcase some photos from our visit to Mudgee in April this year. We had three nights there which wasn’t nearly enough to explore the area so will have to go back again. I attached my portrait photo to Night of Navy card before attaching it to the Basic White 12″ x 12″ pages. I added the other four photos on the pages without any mats. I stamped the title using the Classic Letters stamp set onto Basic White card using Memento Tuxedo Black ink. I cut out the the letters using my Paper Snips and attached them to the left hand page. I printed my journaling onto Basic White card which I attached to Night of Navy card before attaching it to the right hand page.

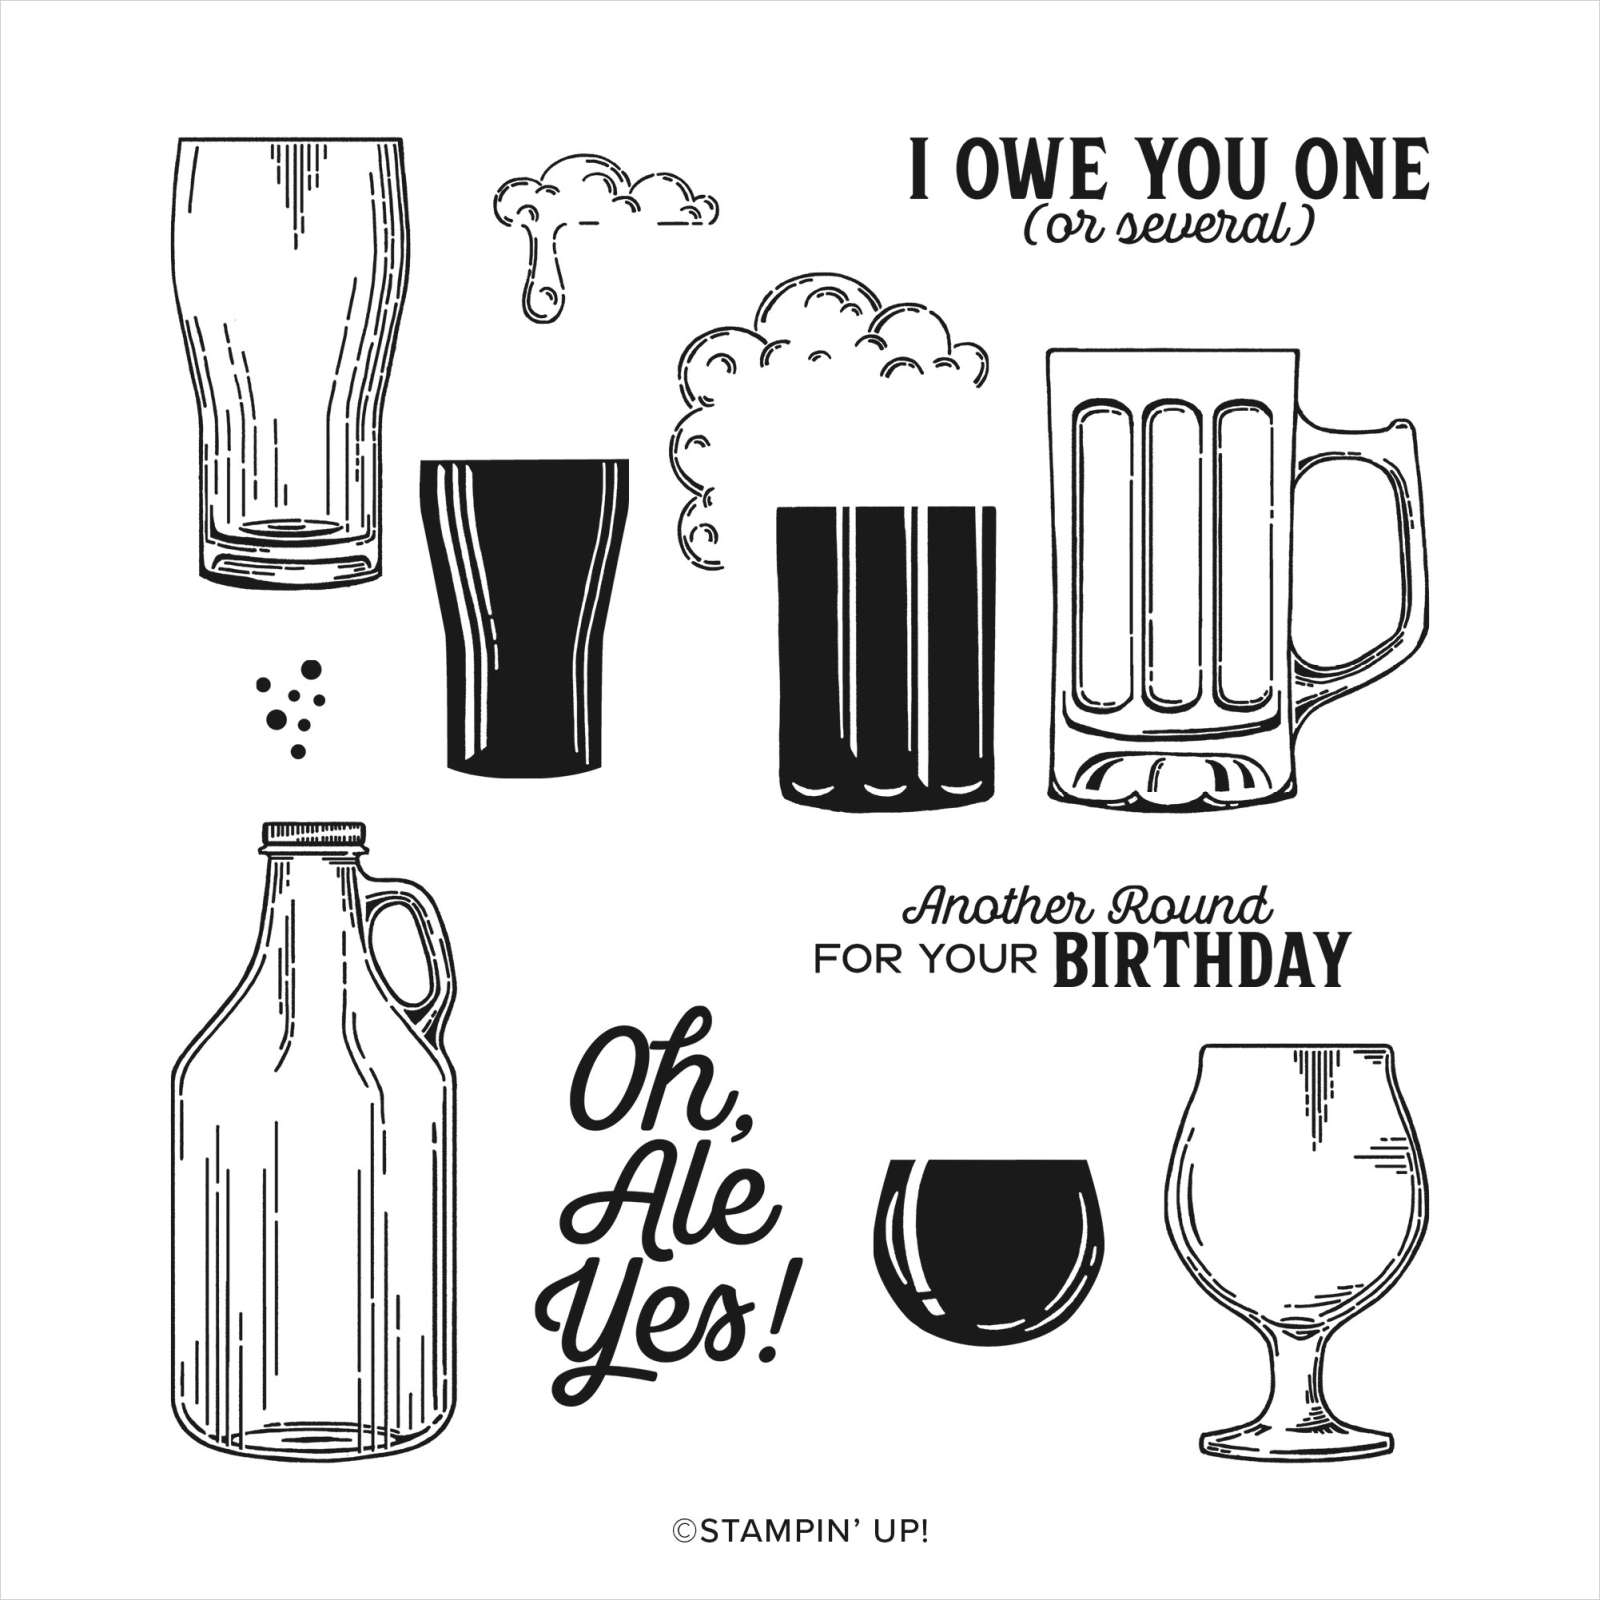
To decorate the panel on the left hand page, I stamped the jug image from the Brewed For You stamp set onto Basic White card using Memento Tuxedo Black ink. I covered the stamped image with a mask and stamped the outline beer glass from the Brewed For You stamp set onto the right hand side of the jug using the same ink. I stamped the outline wine glass image onto the left hand side of the jug using Memento Tuxedo Black ink. Before removing the mask, I stamped the fill image for the wine glass using Cherry Cobbler ink and the beer glass using Crushed Curry ink. I also stamped the froth image from the Brewed For You stamp set onto the beer glass using Memento Tuxedo Black ink. I removed the mask and added some colour to the jug image using the Light Daffodil Delight Stampin’ Blend. The stamped panel is attached to Night of Navy card and then to the page.

I love how these pages look, don’t you?
Bye for now,
Kris
Product Used:


Cheers
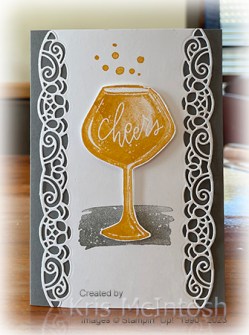
Today’s card uses the Cheers to the Season stamp set which I shared on my Facebook Live this week. I decided to create New Year card which is perhaps a little early but I am sure I will find a good use for it. I cut both sides of a piece of Basic White card using one of the Elegant Border Dies. I stamped the background image from the Cheers to the Season stamp set onto the Basic White card using Basic Gray ink. I stamped the glass image from the Cheers to the Season stamp set onto Basic White card using Crushed Curry ink and cut it out.

I attached it to the card front using dimensionals before stamping the “bubble” image from the same stamp set using Crushed Curry ink.
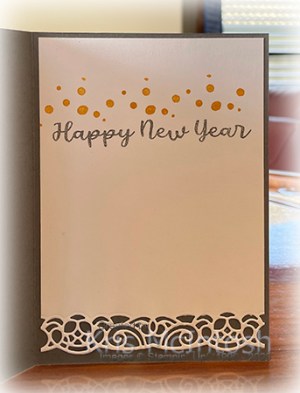
To decorate the inside of the card, I cut the bottom edge of a piece of Basic White card using the same die from the Elegant Border Dies. I stamped the greeting from the Year to Celebrate stamp set across the upper part of Basic White card using Basic Gray ink. I stamped the bubble image from the Cheers to the Season stamp set above the greeting using Crushed Curry ink.
Such a fun stamp set to play with and obviously it will co-ordinate with lot’s of different product.
Bye for now,
Kris
Product Used:
You can view the Cheers to You stamp set here and the Year to Celebrate stamp set here in my online store.


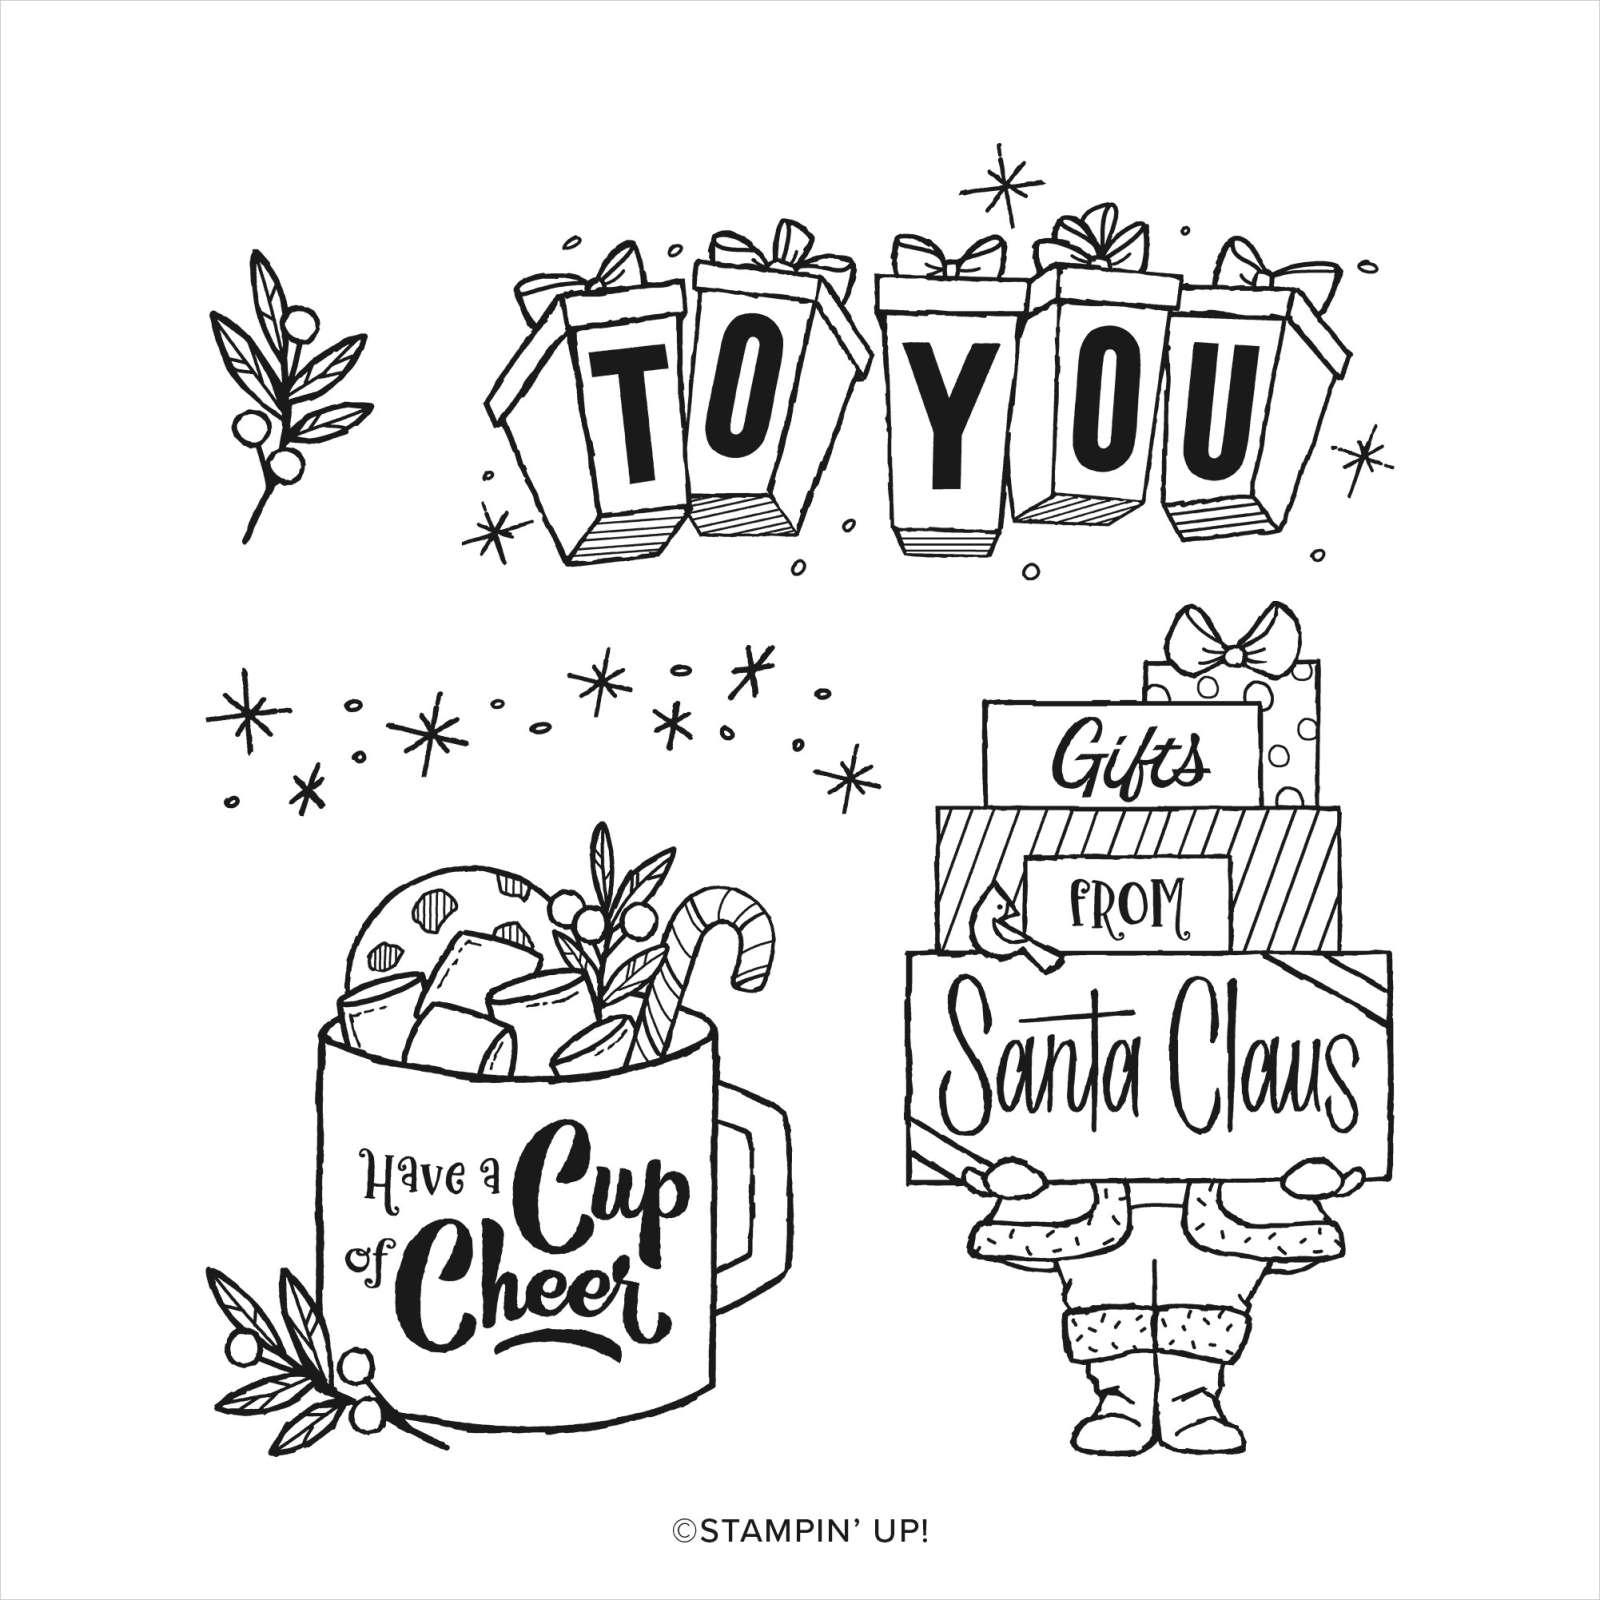
Cup of Cheer

Here is another card I created using the Gift of Giving stamp set from the September to December Mini Catalogue. I embossed Basic White card using the Painted Texture 3D Embossing Folder and attached it to scored and folded Cherry Cobbler card. I attached two different pattern pieces from the Joy 12″ x 12″ Specialty Paper to the embossed card. I cut Cherry Cobbler card using one of the Deckled Circle Dies and attached it to the card front using dimensionals.

I stamped the image from the Gift of Giving stamp set onto Basic White card using Memento Tuxedo Black ink. I coloured the image using Smoky Slate, Crumb Cake, Light Old Olive, Light Bubble Bath and Light Cherry Cobbler Stampin’ Blends.
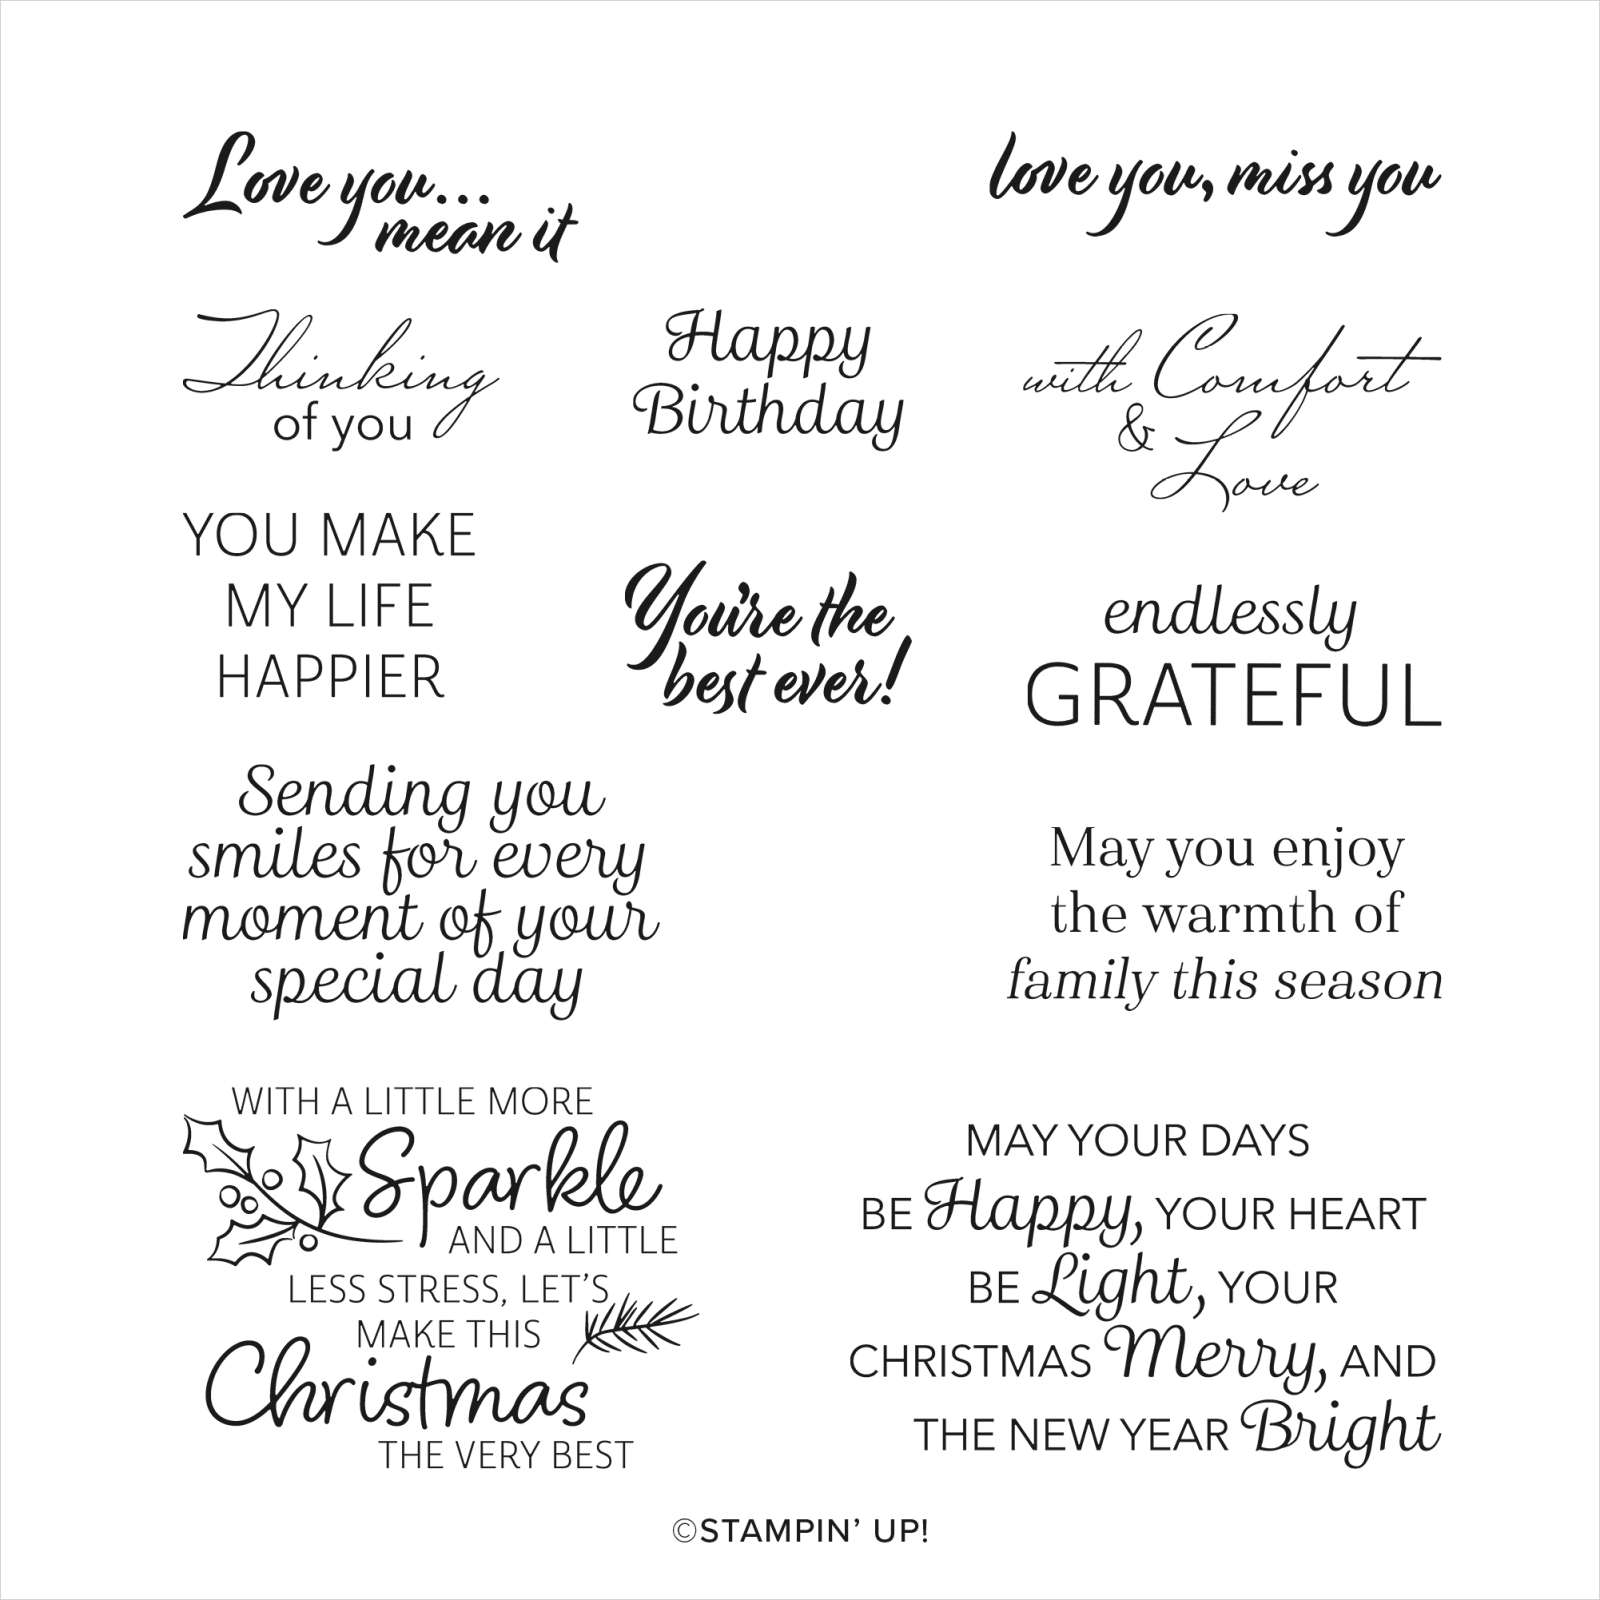
The image is cut out using another Deckled Circle Die and attached to the centre of the Cherry Cobbler die. To decorate the inside of the card, I attached a piece of Joy Specialty Designer Series paper across the bottom of Basic Whtie card. I stamped the greeting from the Very Best Occasion stamp set onto the Basic White card using Memento Tuxedo Black ink. I added colour to the greeting using the Light Old Olive and Light Cherry Cobbler Stampin’ Blends.

I love playing with this stamp set and think that all of the cards tuned out lovely, don’t you?
Bye for now,
Kris
Product Used:


Mamma Mia
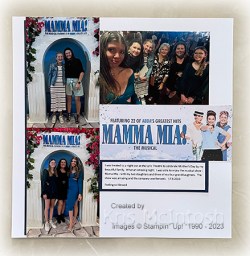
For Mother’s Day this year my family bought me a ticket to see Mamma Mia at the Lyric Theatre. What an amazing performance by a fabulous cast. I was joined by my two daughters and three of my four granddaughters to watch this show. Such a lovely night. My page is really pretty simple but as is always the case, it brings a smile to my face. I attached a strip of Night of Navy A4 card down the left hand side of a Basic White 12″ x 12″ page before attaching the photos of my girls and their daughters. Abi took the selphi of us all which was great because I cannot take selphies at all!. The panel for the title comes from the card that they gave me for Mother’s Day which I cut down to fit. I added journaling printed onto Basic White card, attached to Night of Navy card before attaching it to the page. So Lucky.
Bye for now,
Kris
Product Used:
Gifts From Santa Clause
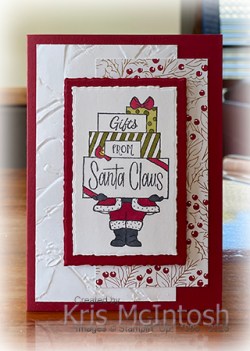
Today’s card is another one I created using the Gift of Giving stamp set from the September to December Mini Catalogue. For this card I embossed a piece of Basic White card using the Painted Texture 3D Embossing Folder and attached it to the left hand side of a Cherry Cobbler card front. I also attached a piece of the Joyful 12″ x 12″ Specialty Designer Series Paper to the right hand side of the card front overlapping the embossed card. I die cut Cherry Cobbler card using one of the Deckled Rectangle Dies and attached it to the card front using dimensionals.
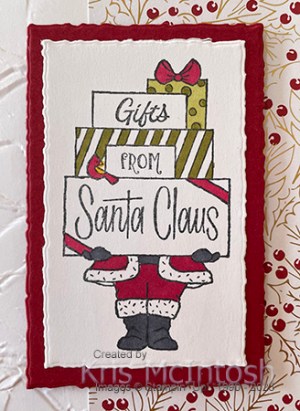
I stamped the image from the Gift of Giving stamp set onto Basic White card using Memento Tuxedo Black ink. I cut out the image using another of the Deckled Rectangle Dies. I coloured the image using Dark Daffodil Delight, Cherry Cobbler, Old Olive and Light Basic Black Stampin Blends.

The image is attached to the centre of the Cherry Cobbler die cut. To decorate the inside of the card I stamped a greeting from the Very Best Occasions stamp set onto Basic White card using Memento Tuxedo Black ink. I stamped the holly image from the Gift of Giving stamp set beside the greeting using the same ink. I coloured the image using the Light Old Olive and Light Cherry Cobbler Stampin’ Blends. I also attached a piece of the same Joyful Specialty Designer Series Paper across the bottom of the Basic White card before attaching it inside the Cherry Cobbler card base. Another fun card, don’t you think? You are really going to love this stamp set.
Bye for now,
Kris
Product Used:
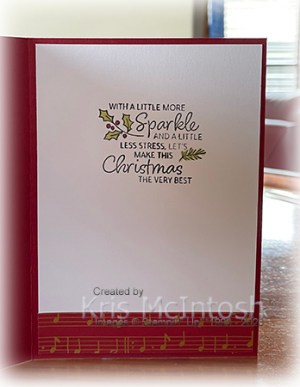
Merry Christmas
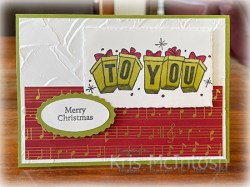
to You…. Today’s card shows off an image from the Gift of Giving stamp set which can be found in the September to December Mini Catalogue. This stamp set contains three large images for colouring in any manner you wish. I embossed Basic White card using the Painted Texture 3D Embossing Folder and attached it to scored and folded Old Olive card. I attached a piece of the Joyful 12″ x 12″ Specialty Designer Series Paper across the bottom of the embossed panel. I stamped the image from the Gift of Giving stamp set onto Basic White card using Memento Tuxedo Black ink. I coloured the image using Old Olive and Light Cherry Cobbler Stampin’ Blends before cutting out the image using one of the Deckled Rectangle Dies.

I attached the image to the card front using dimensionals. I stamped “Merry Christmas” from the Cottage Wreaths stamp set onto Basic White card using Memento Tuxedo Black ink and punched it out using the Double Oval Punch. I attached the greeting an Old Olive scalloped oval cut using the same punch and then the card front using dimensionals where necessary. To decorate the inside of the card, I attached a piece of the same Designer Series Paper across the bottom of Basic White card.

I stamped a greeting from the Very Best Occasions stamp set onto the Basic White card using Memento Tuxedo Black ink. I stamped the holly leaf image from the Gift of Giving stamp set beside the greeting using the same ink. I coloured the image using Light Old Olive and Light Cherry Cobbler Stampin’ Blends before attaching the panel to the inside of the Old Olive card base.
This is the first card I have made using this stamp set and I just know that I am going to love creating with it. You also have to love this gorgeous Specialty Paper from the September to December Mini Catalogue. It has lots of gold embossing on each of the four different patterns in the pack.
Bye for now,
Kris
Product Used:


Moree
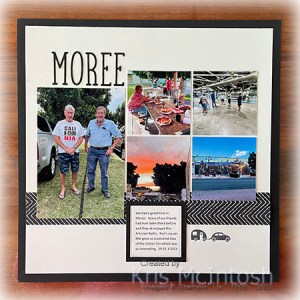
Today’s page shows off some photos of our time in Moree earlier this year. I trimmed 3/4″ of two sides of a Very Vanilla 12″ x 12″ page and attached a piece of Zoo Crew Designer Series Paper across the page. The Very Vanilla panel is attached to a retired Basic Black 12″ x 12″ page. I attached my photos and cut the title from Basic Black card using the Alphabet A La Mode Dies. I printed my journaling onto Very Vanilla card and used one of the squares from the Stylish Shapes Dies to cut it out. I attached the journaling to a Basic Black square cut using a larger square die before attaching it to the page.
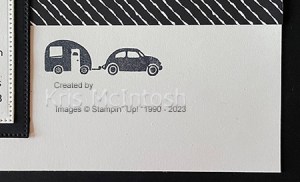
I stamped the caravan and car images from the retired Let’s Get Away stamp set onto the lower right hand corner using Memento Tuxedo Black ink. Another simple page but it brings a smile to my face as I remember the great time we had.
Bye for now,
Kris
Product Used: