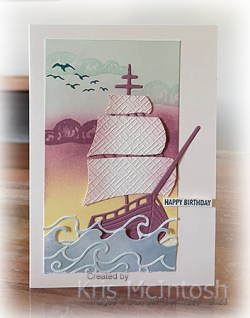
Peaceful Birthday
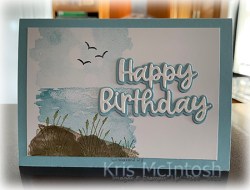
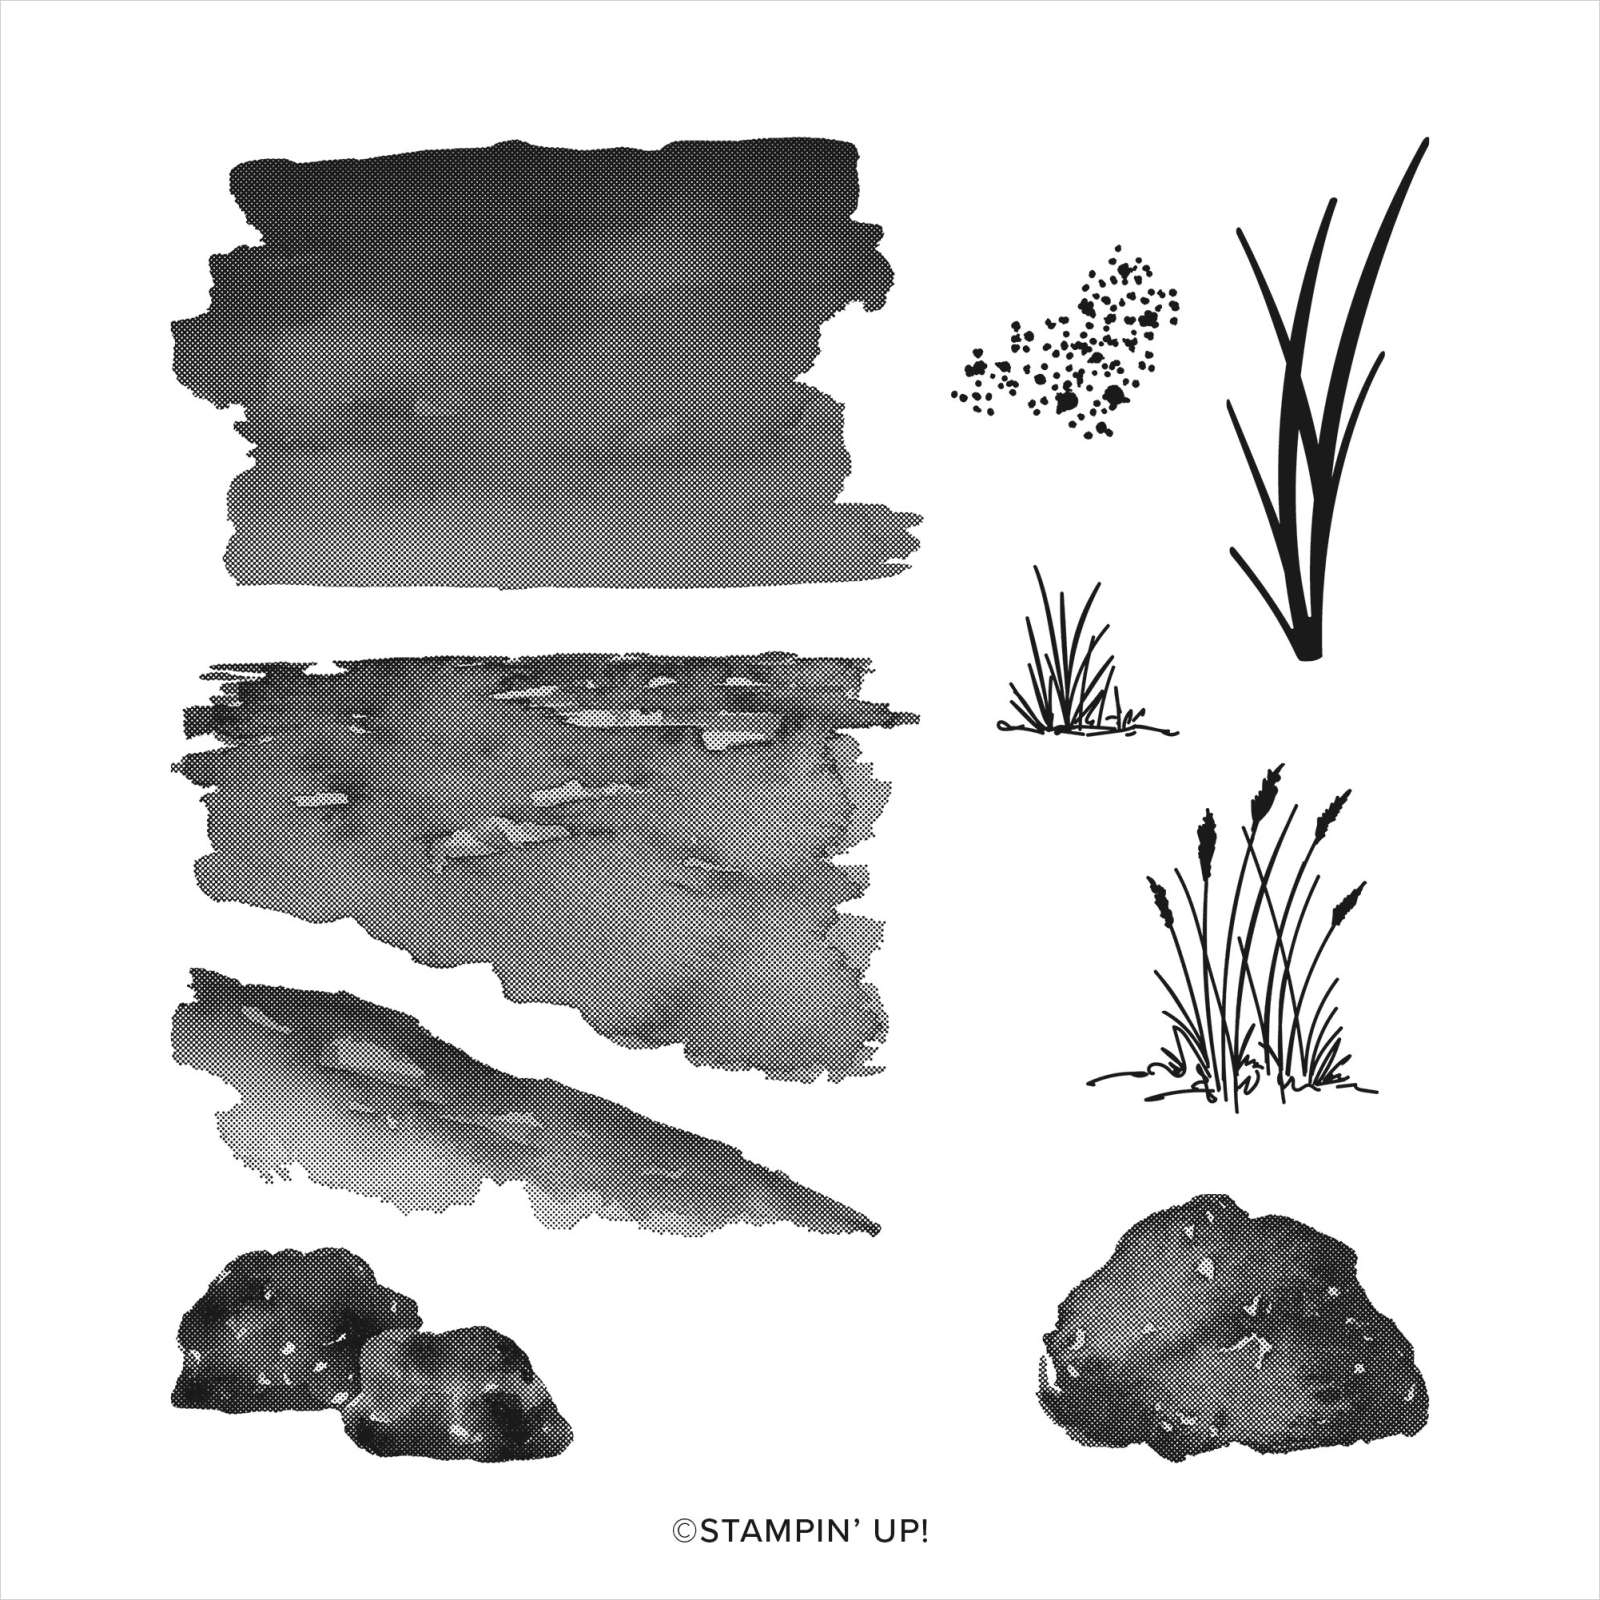
Today I am sharing a card I made using the Wanted to Say Dies. These are stand alone dies which are in the current Annual Catalogue, which means they do not co-ordinate specifically with any particular stamp set. I stamped the sand image from the Oceanfront stamp set onto the lower left hand corner of Basic White card using Crumb Cake ink. I stamped the sea image using Balmy Blue ink and the sky image using the same ink which I stamped onto scrap paper first.
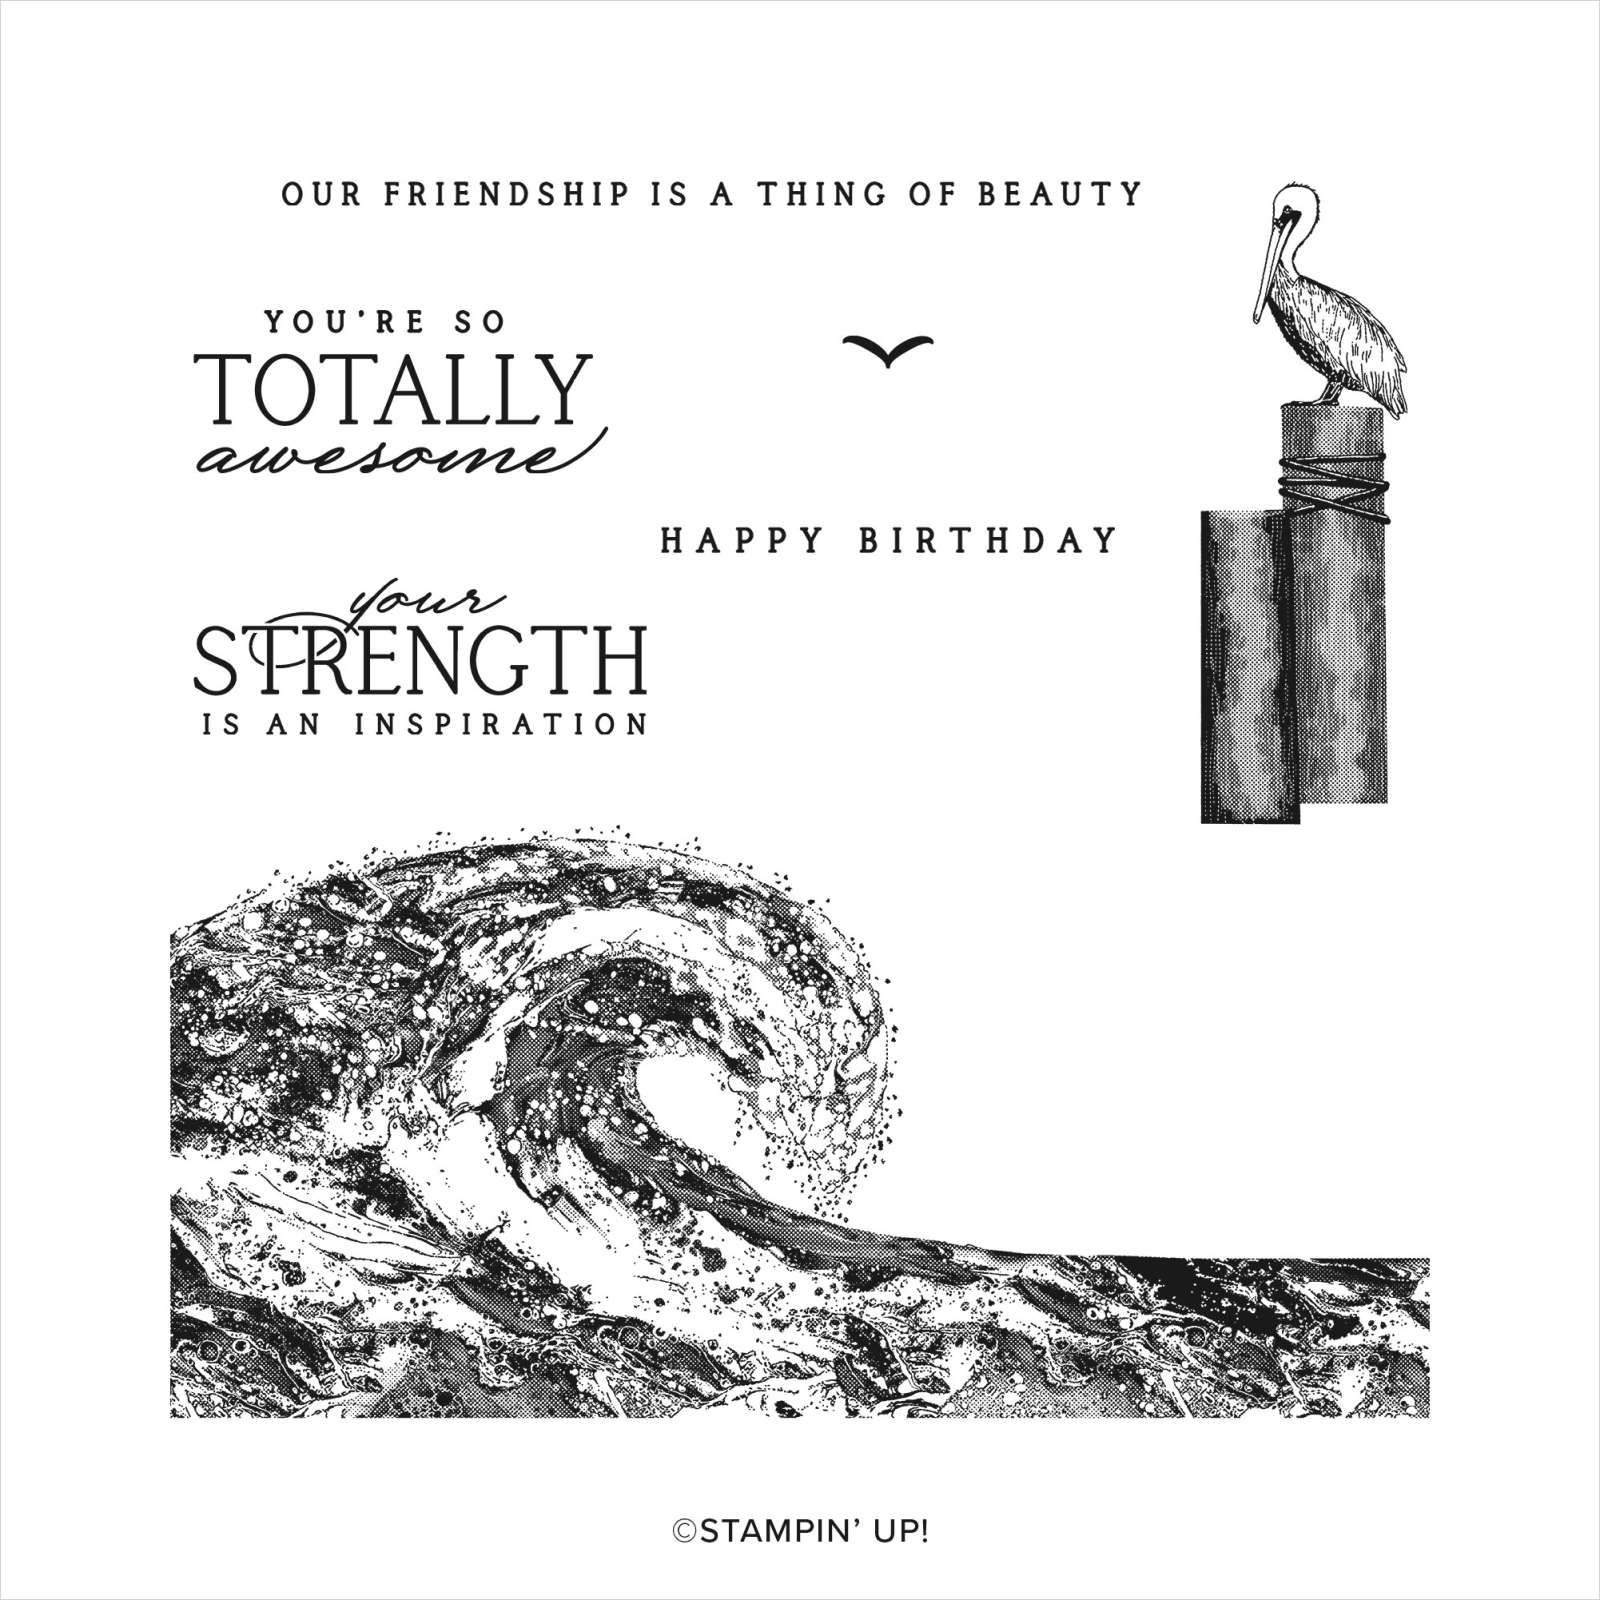
I stamped three birds from the Waves of Inspiration stamp set onto the sky using Memento Tuxedo Black ink. I stamped the large single rock and double rock images from the Oceanfront stamp set onto the sand using Crumb Cake ink. I stamped several of the grass images from the Oceanfront stamp set over the rock images using Mossy Meadow ink.
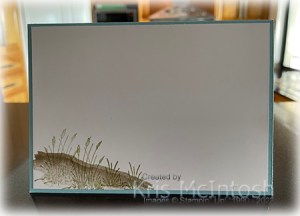
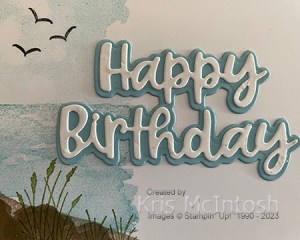
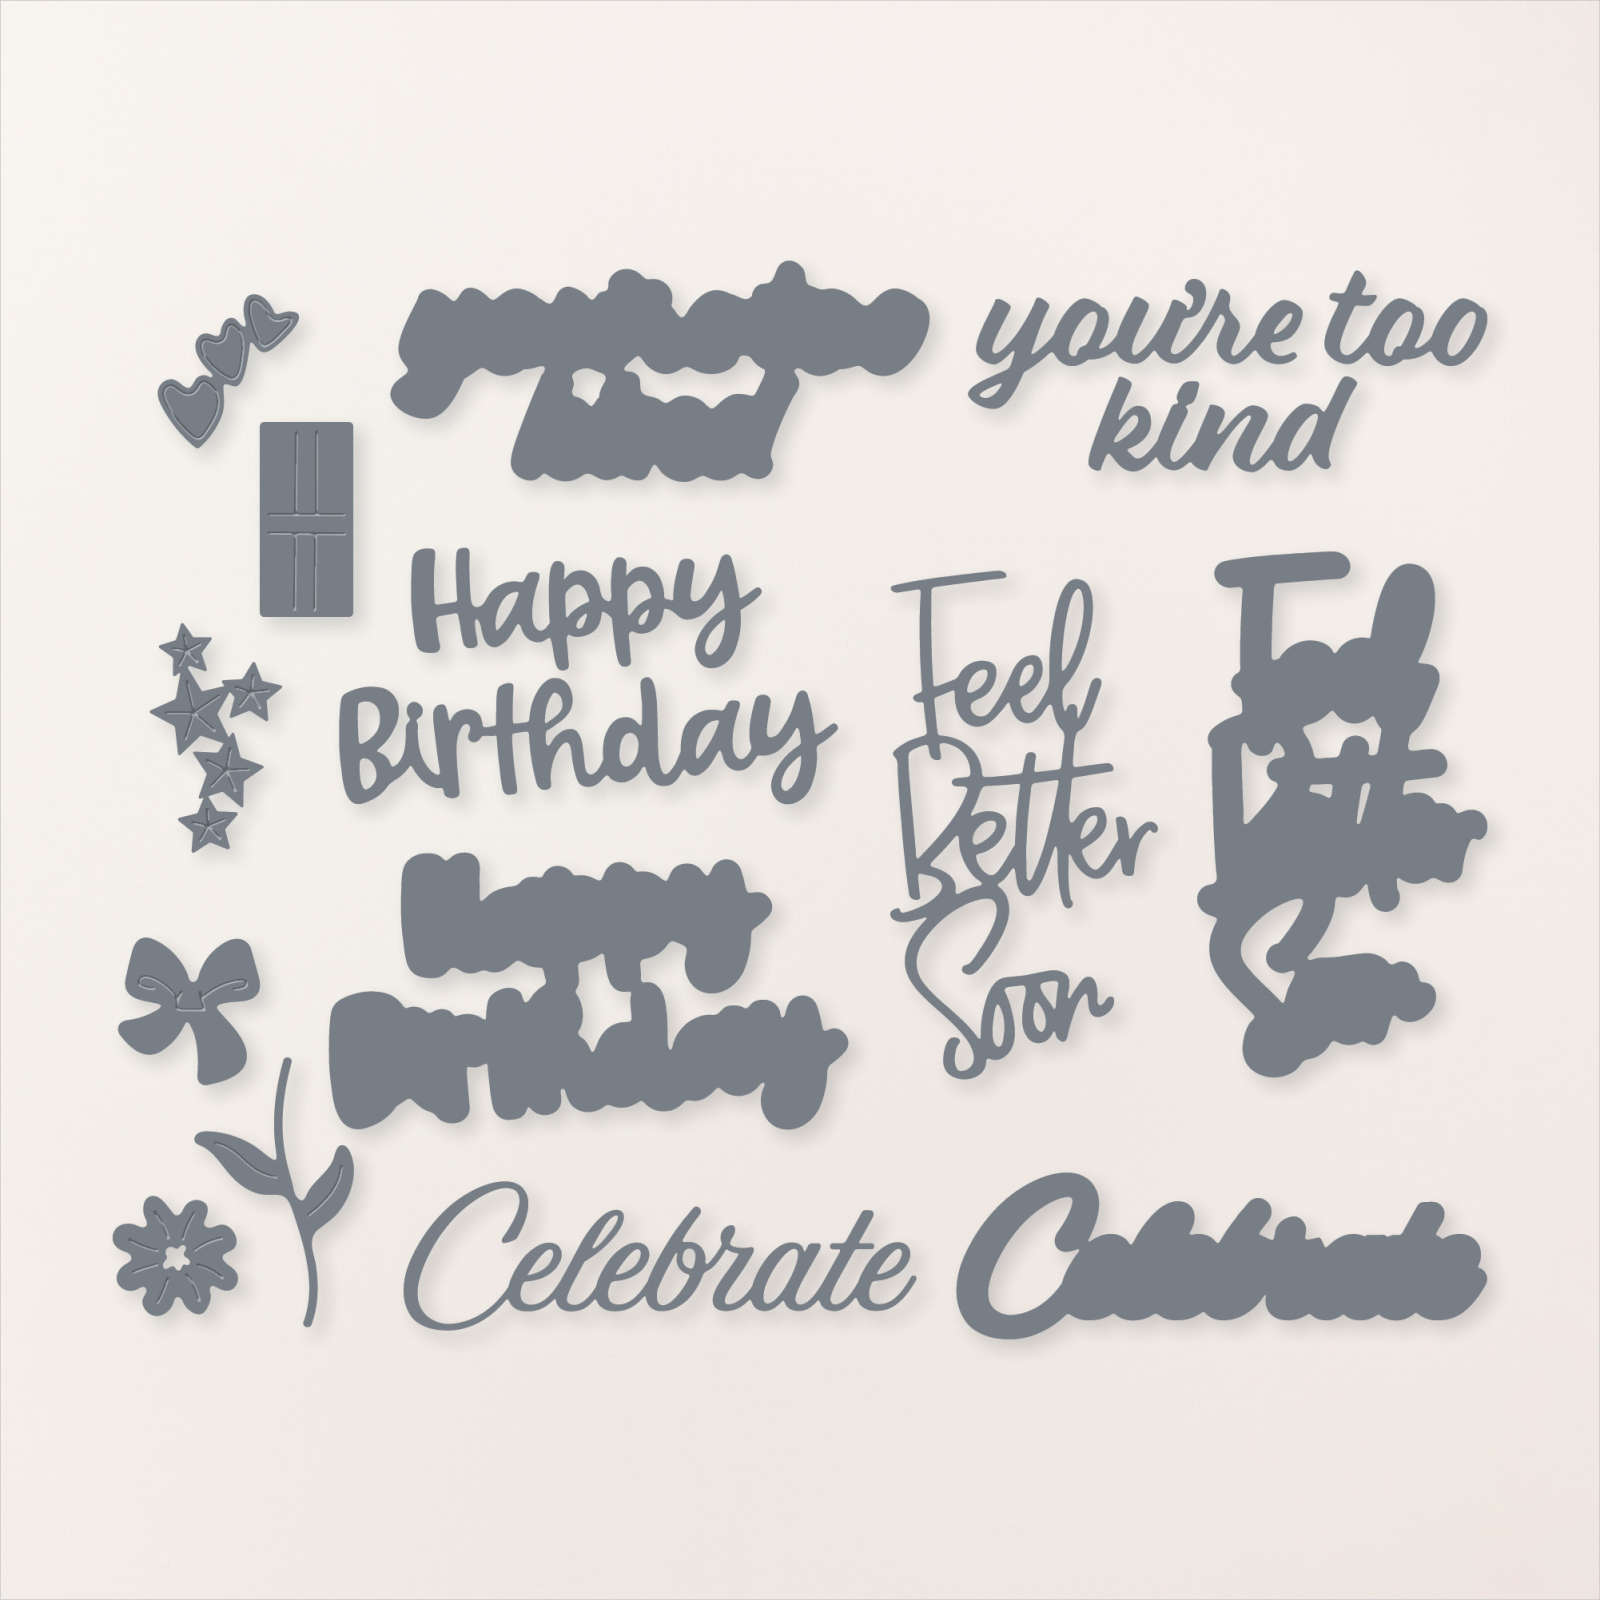
The panel is attached to scored and folded Balmy Blue card. I cut the background image for “Happy Birthday” from the Wanted to Way Dies from Balmy Blue card. I stamped the detailed “Happy Birthday” from Basic White card. The images are attached together before being attached to the card front. To decorate the inside of the card, I stamped the sand image from the Oceanfront stamp set onto the lower left hand corner of Basic White card. I also stamped several of the grass images using Mossy Meadow ink.
I love how the large “Happy Birthday” really makes this card.
Bye for now,
Kris
Product Used:


Darlington Beach
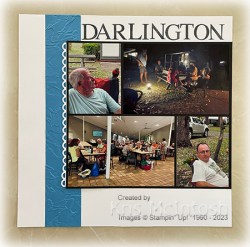
We had a great time at Darlington Beach this year. A great park in a great location. I decided to just show off a few photos from our week on a double page layout. I am not sure how you begin your memory keeping, but I like to see how many photos I want to share and then I try and find a sketch on Pinterest that suits my purpose. So if you want to see, here is the layout I found on Pinterest.

I embossed two pieces of Azure Afternoon 12″ x 12″ card using the Painted Texture 3D Embossing Folder. Because this embossing folder is kind of all over the place, you can emboss one end and then the other without compromising the finish. I attached one panel to the outer edge of each Basic White 12″ x 12″ page. I decided that I would attached the photos to Basic Black card so I cut down a piece of retired 12″ x 12″ card. I used one of the Scallop Contour Dies to cut lengths of Basic White card which I attached to each of the photo panels before attaching them to the Basic White pages. I used the Classic Letters stamp set to stamp the title onto the pages using Memento Tuxedo Black ink. I printed the journaling onto Basic White card, which I attached to Basic Black card before attaching it to the right hand page.

If you check out the layout, you will see that I have followed it pretty much exactly and I love how my pages turned out.
Bye for now,
Kris
Product Used:


Celebrate

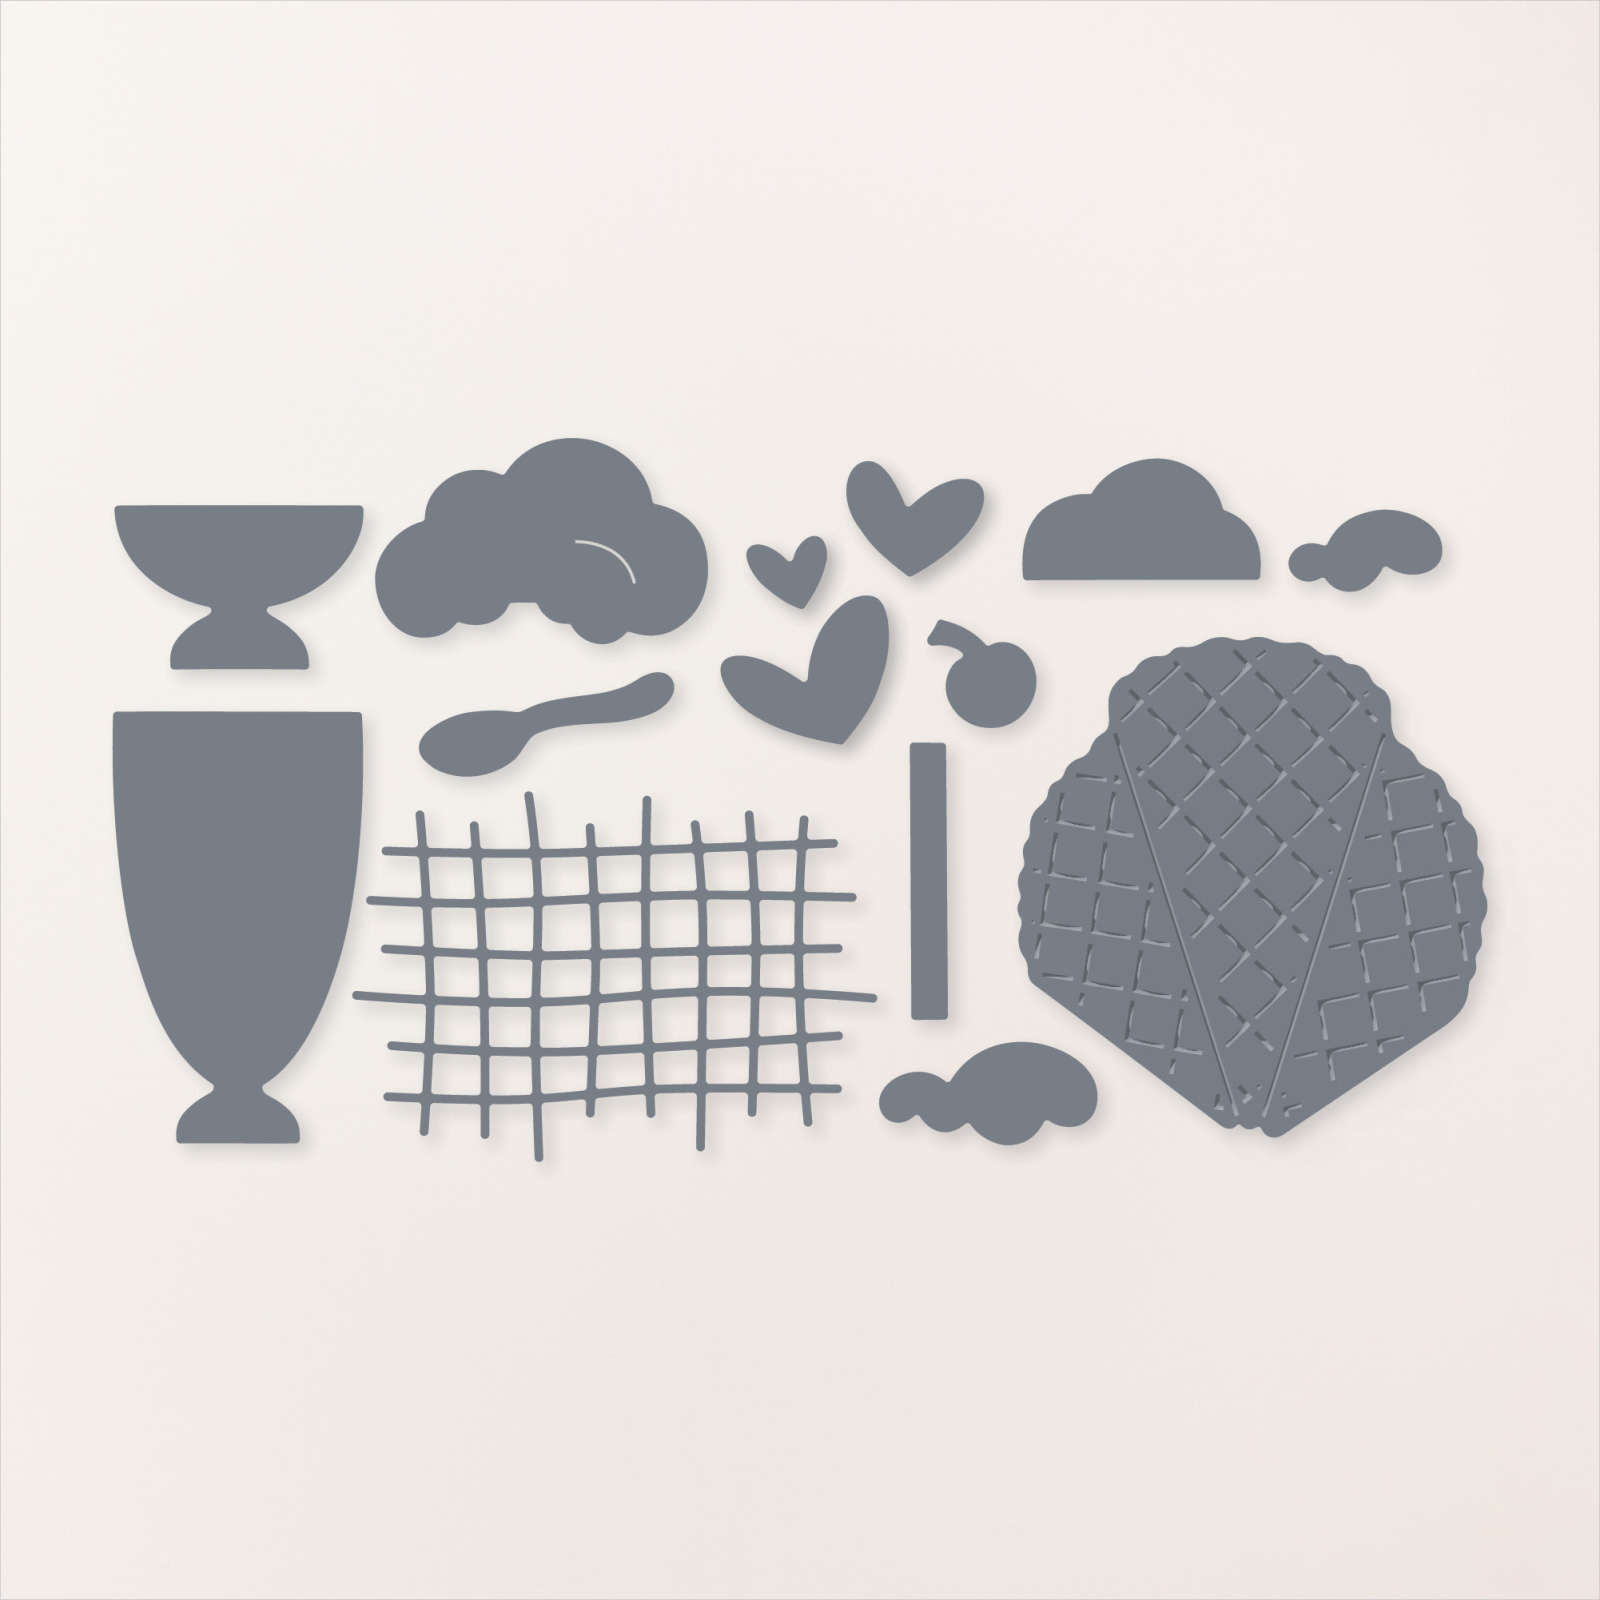
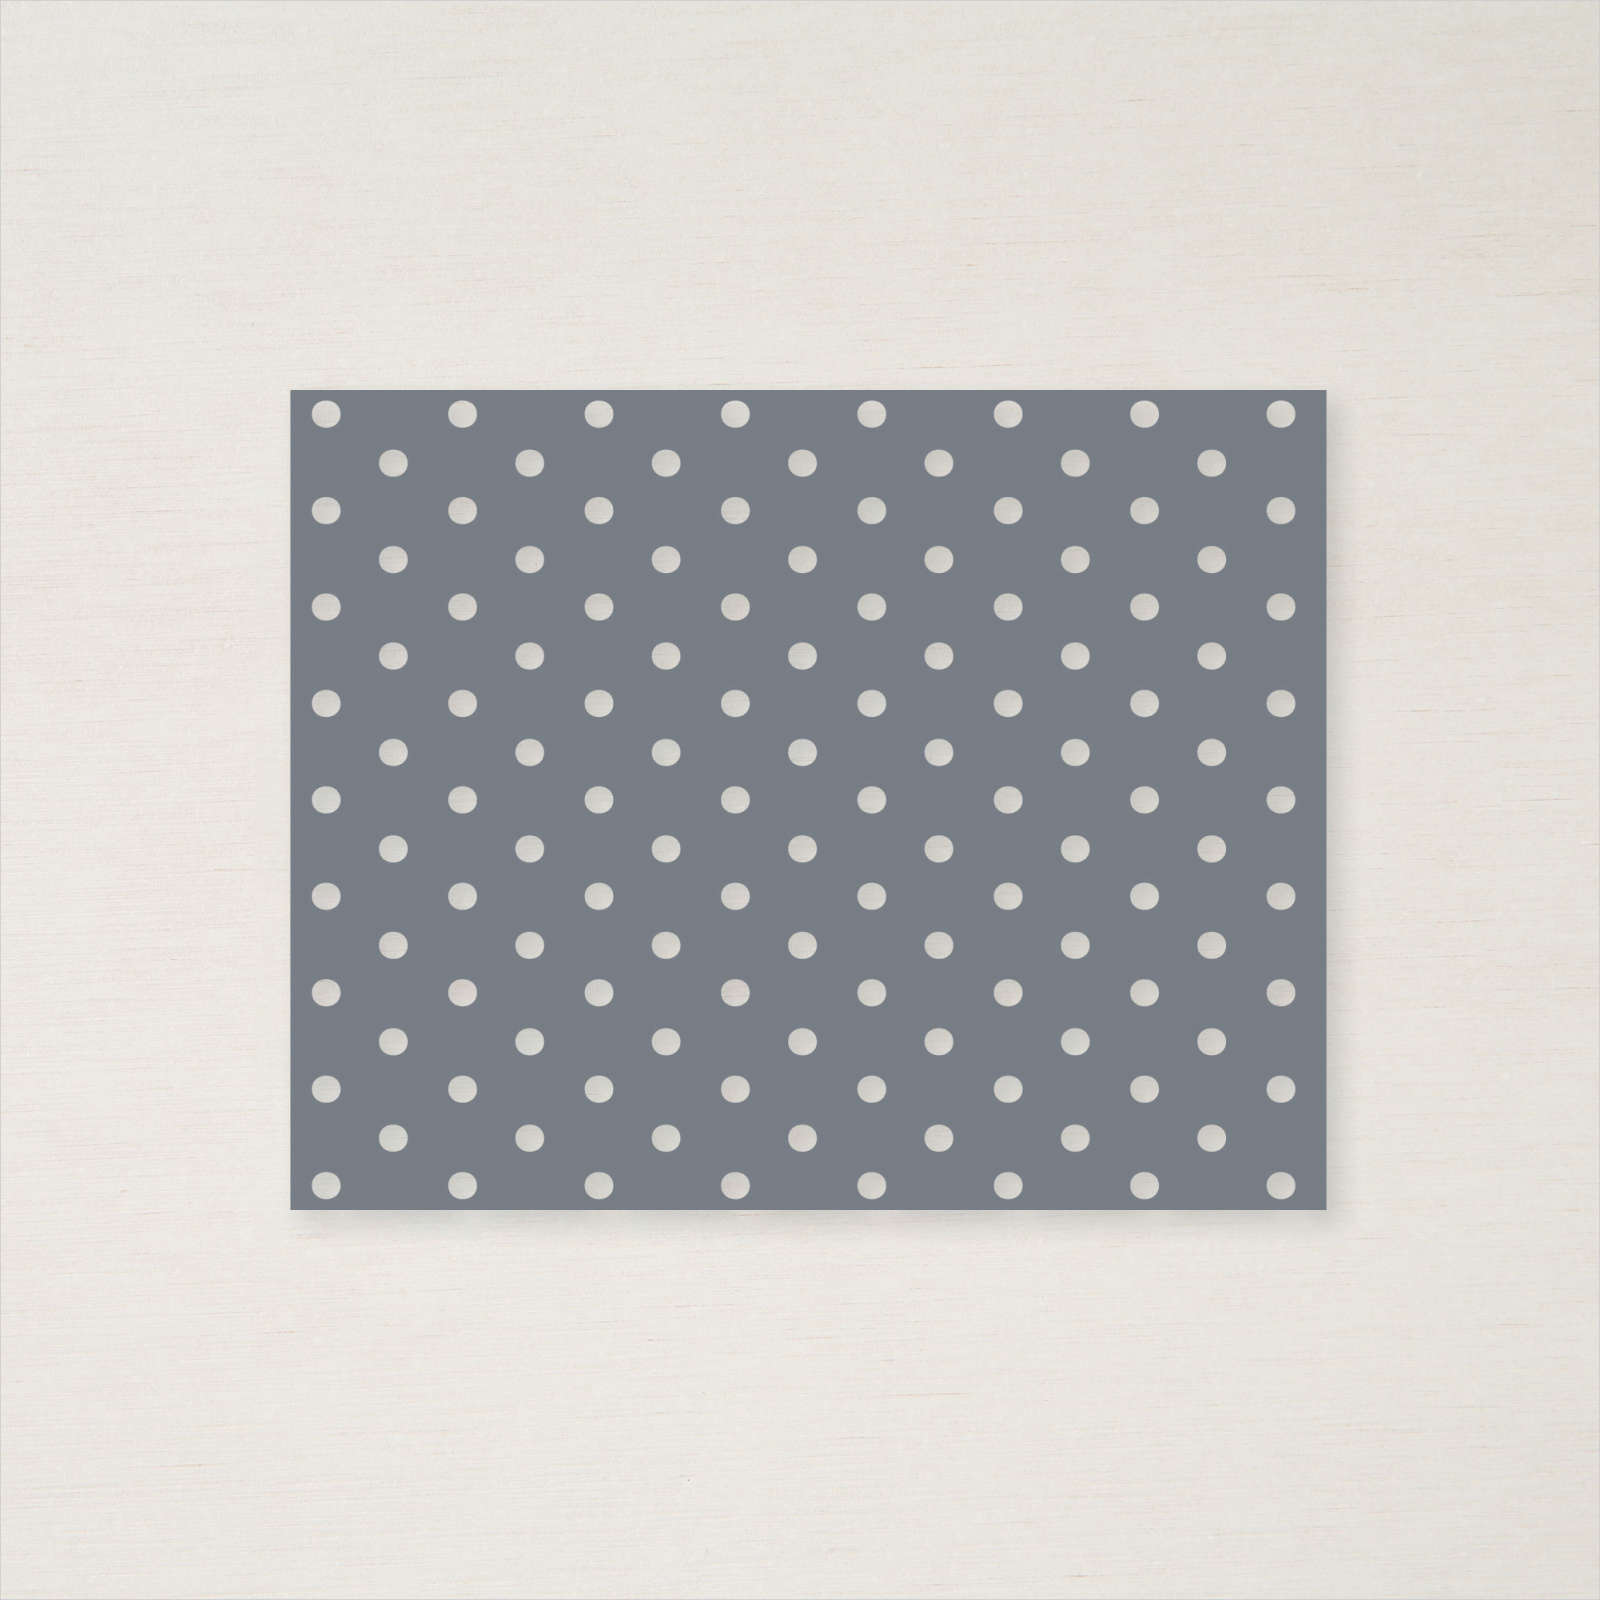
I belong to a Demonstrator only Facebook page and June Dunn shared a card which I just adored and had to CASE. I attached strips of each of the colours from the Brights collection to Basic White card to cover the whole panel. I cut another piece of Basic White card using the Dots and Spots Die and attached it over the striped panel. The whole piece is attached to scored and folded Basic Black card. I cut a circle from Basic Black card using the largest circle from the Stylish Shapes Dies and attached it to the card front. I stamped the solid glass image from the Share A Milkshake stamp set onto Basic White card using Lemon Lime Twist which I stamped onto scrap paper first. I stamped the detailed glass image over the top using Lemon Lime Twist ink.
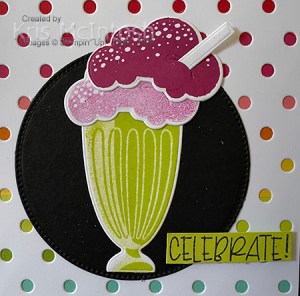
I stamped the ice cream image from the Share A Milkshake twice onto Basic White card using Berry Burst ink. I didn’t re-ink for the second image. I cut Basic White card using the straw die from the Share A Milkshake Dies as well as cutting out the stamped images using their co-ordinating dies. I attached the glass image to the Basic Black circle with the two ice cream images on top, making sure to thread my straw through the hole in the top image first.

I stamped “celebrate” from the Share A Milkshake stamp set onto Lemon Lime Twist card using Memento Tuxedo Black ink. I cut out the greeting using my paper snips and attached it to the card front using dimensionals. To decorate the inside of the card, I created a narrow strip of Basic White card cut using the Dots and Spots Die with two strips of Bright collection card behind it. I added a narrow strip of Basic Black behind one long edge before attaching the panel across the bottom of Basic White card. I stamped “happy birthday” from the Enjoy The Rhythm stamp set onto the Basic White card using Memento Tuxedo Black ink. I added the cherry image from the Share A Milkshake stamp set beside the greeting using Berry Burst ink.
I just love how bright and happy this card is, don’t you? So thank you June for the inspiration.
Bye for now,
Kris
Product Used:


Lemon Lolly

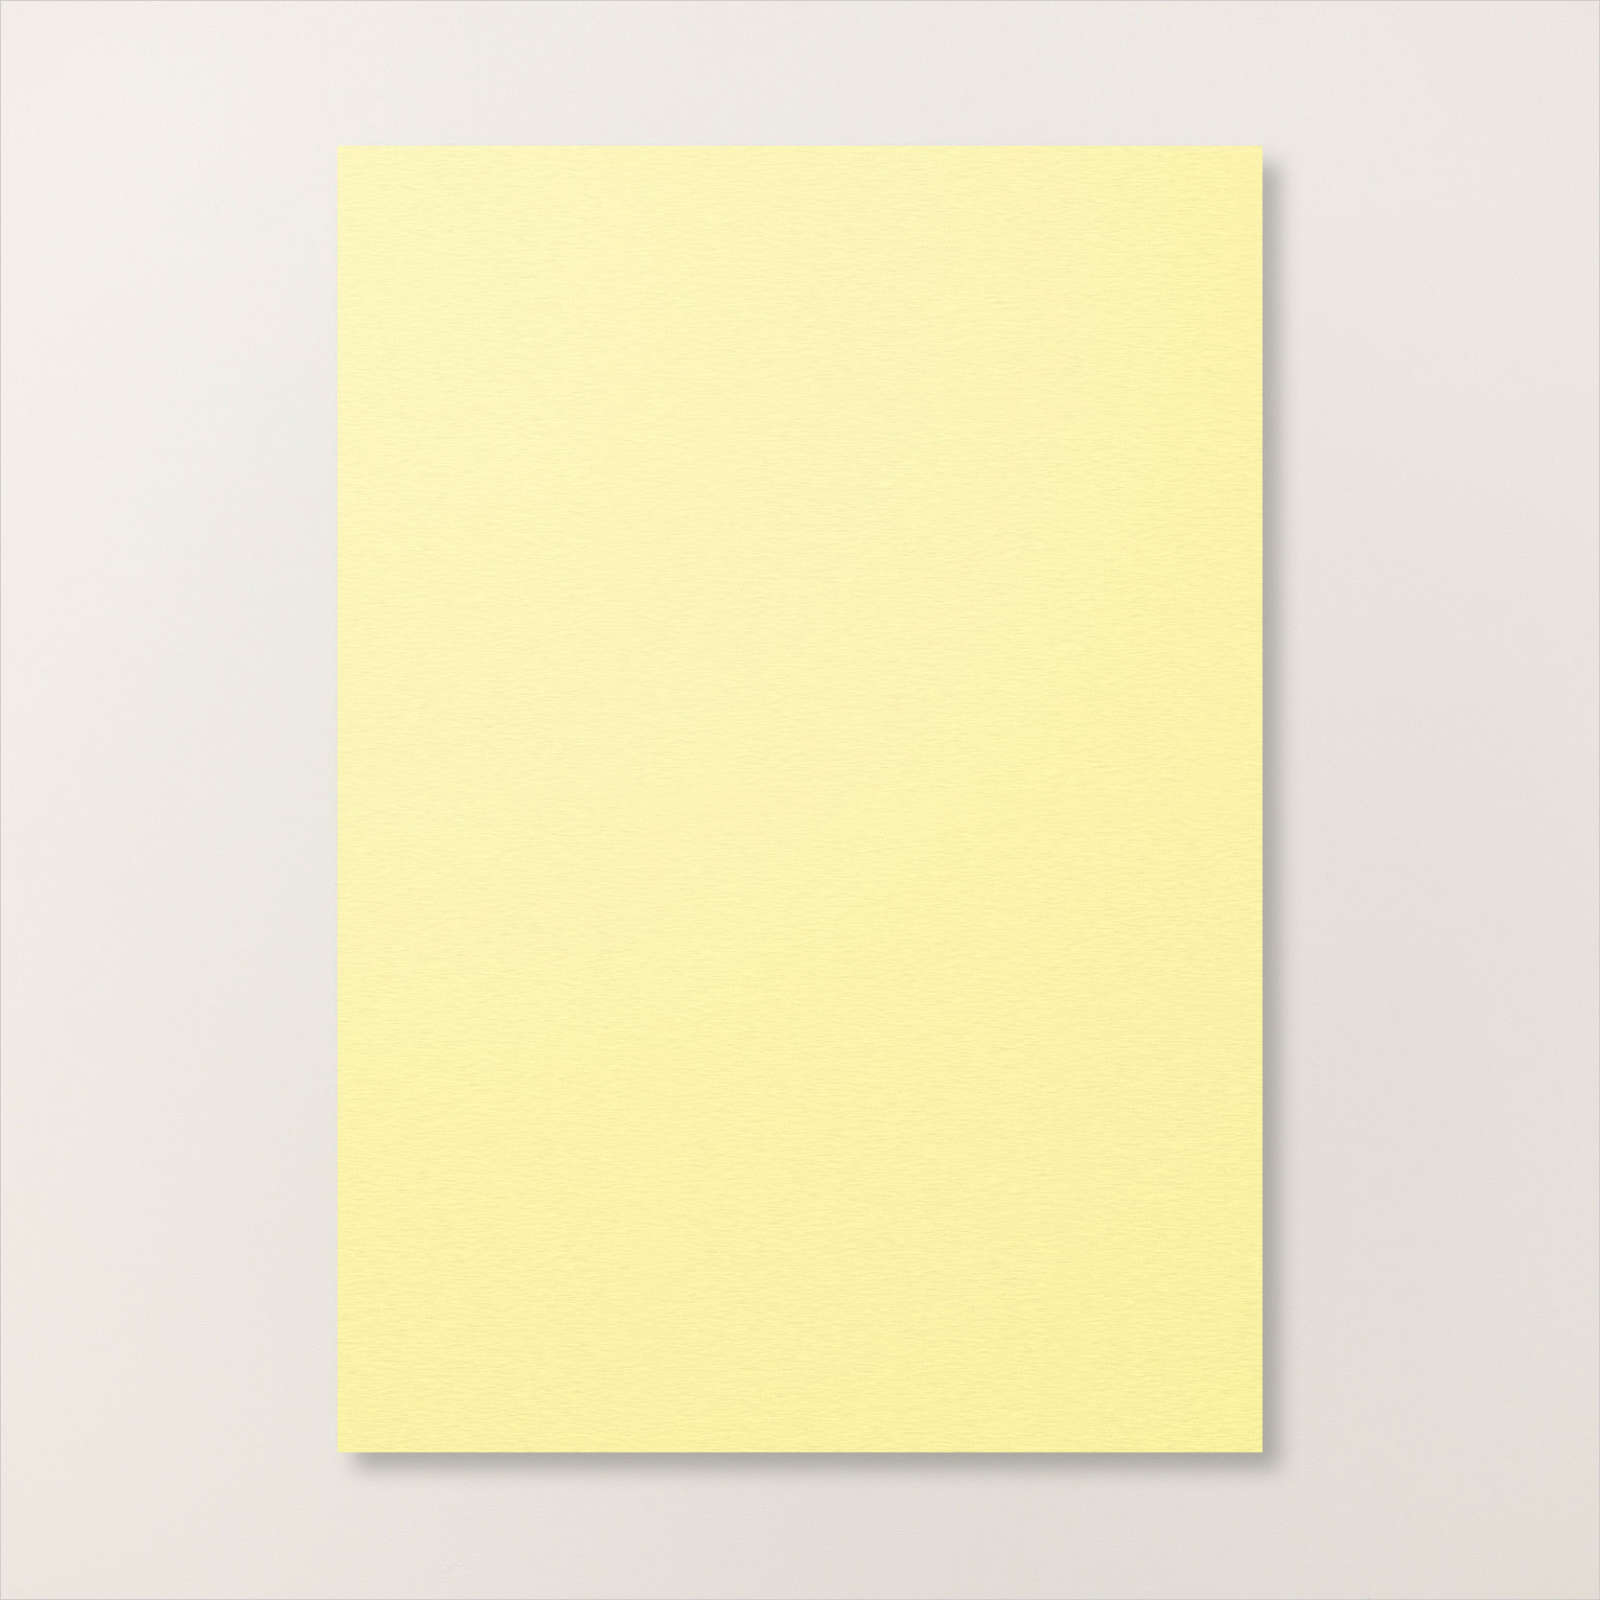
Today I have another card to share which I CASEd from the current Annual Catalogue. The card base is cut from Lemon Lolly card to which I added Lemon Lolly ink in off set stripes across the card front as well as around the edges. I added the ink using a Blending Brush. I die cut two pieces of Lemon Lolly card using one of the Elegant Borders Dies.
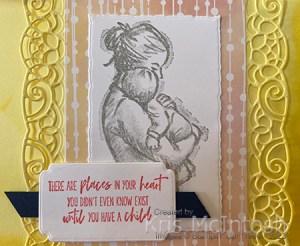
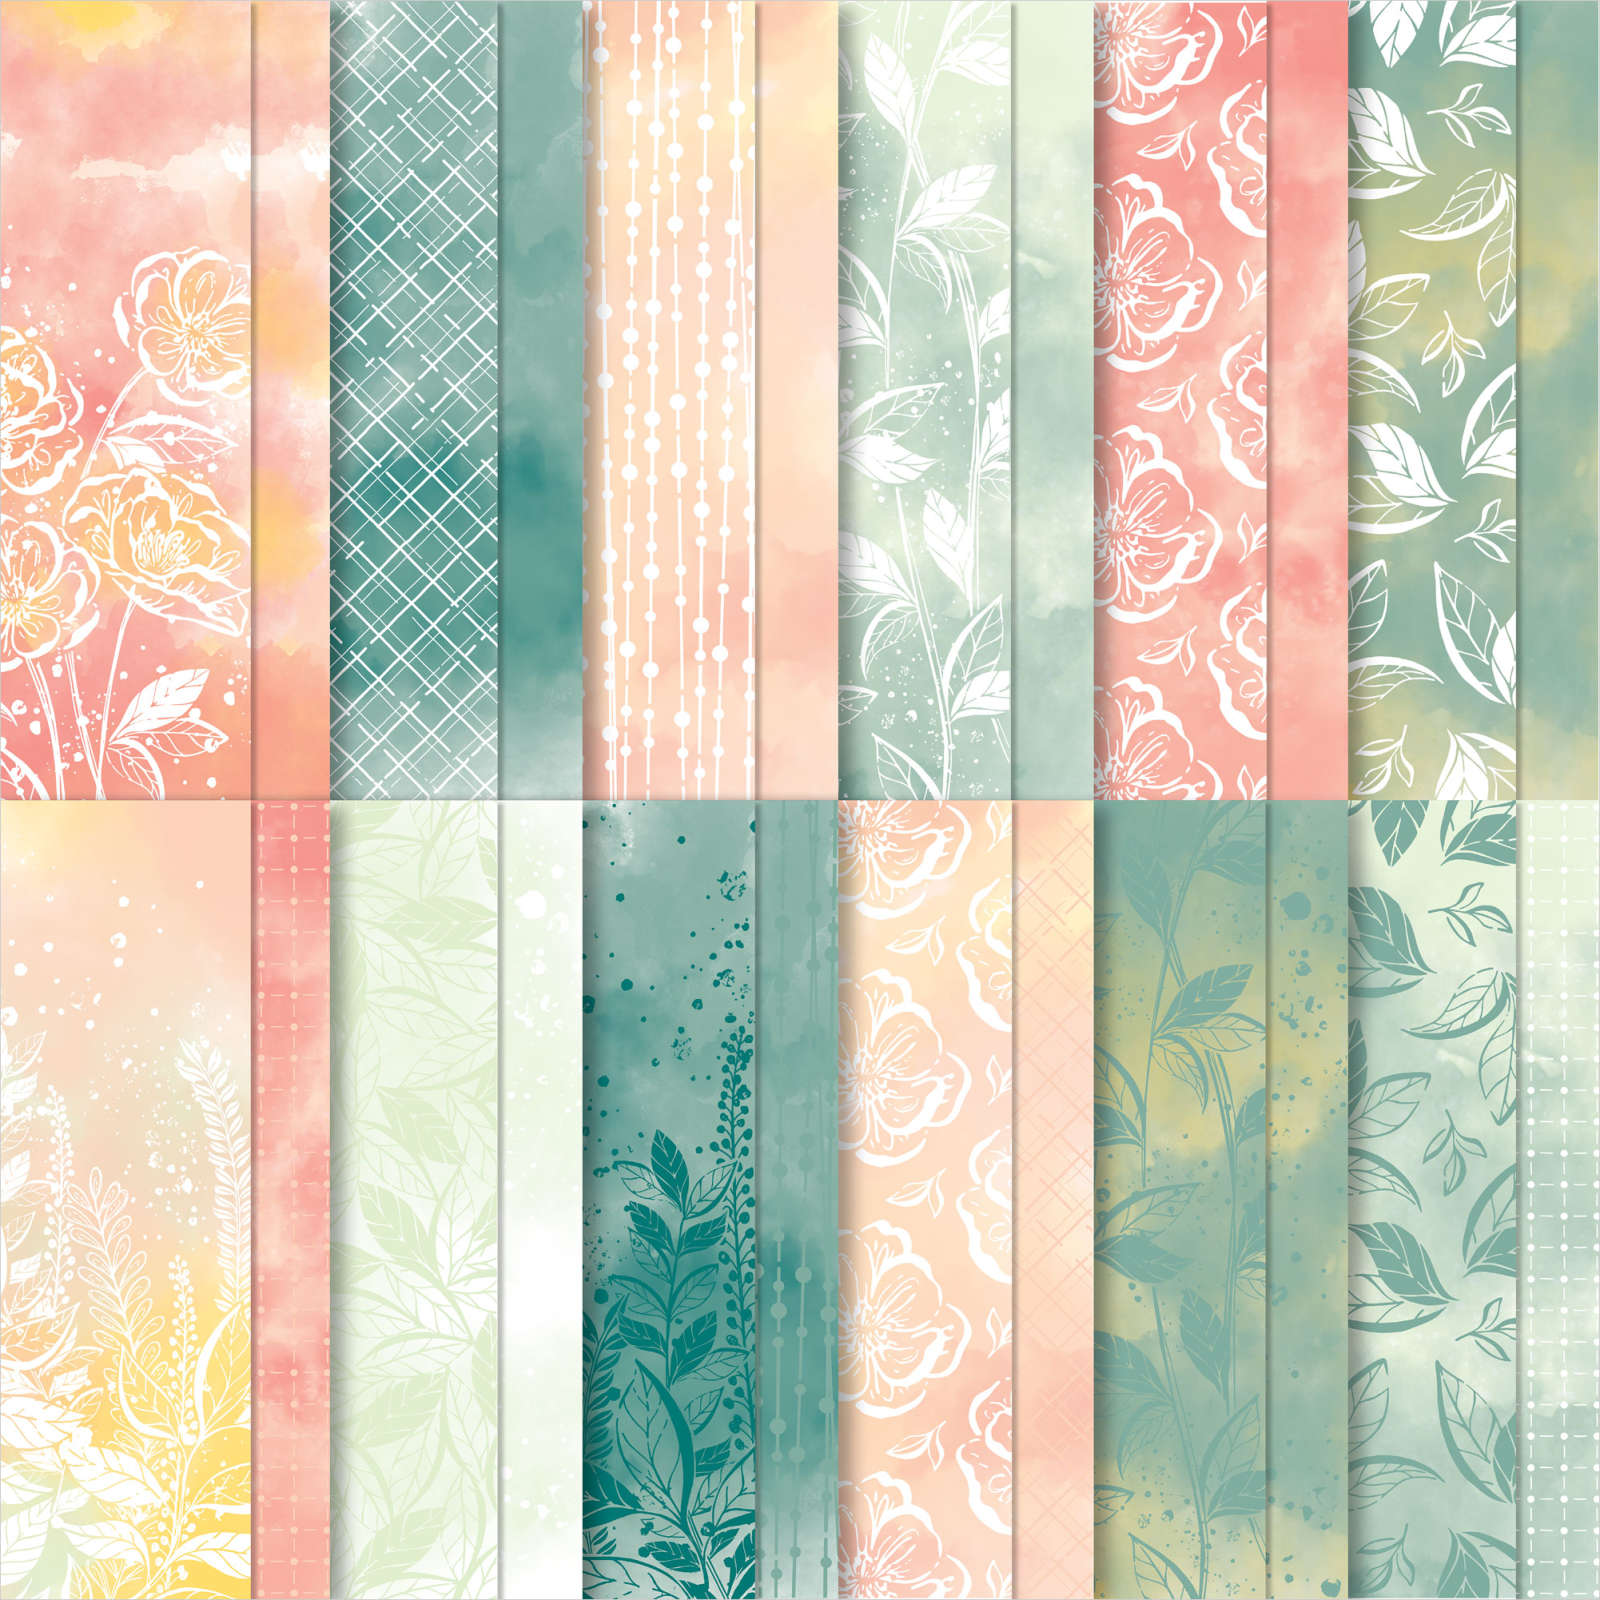
I attached one panel to the back of each side of a piece of Hello, Irresistible 6″ x 6″ Designer Series Paper. The panel is attached to the right hand side of the Lemon Lolly card base.
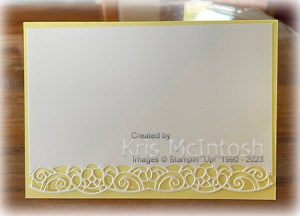
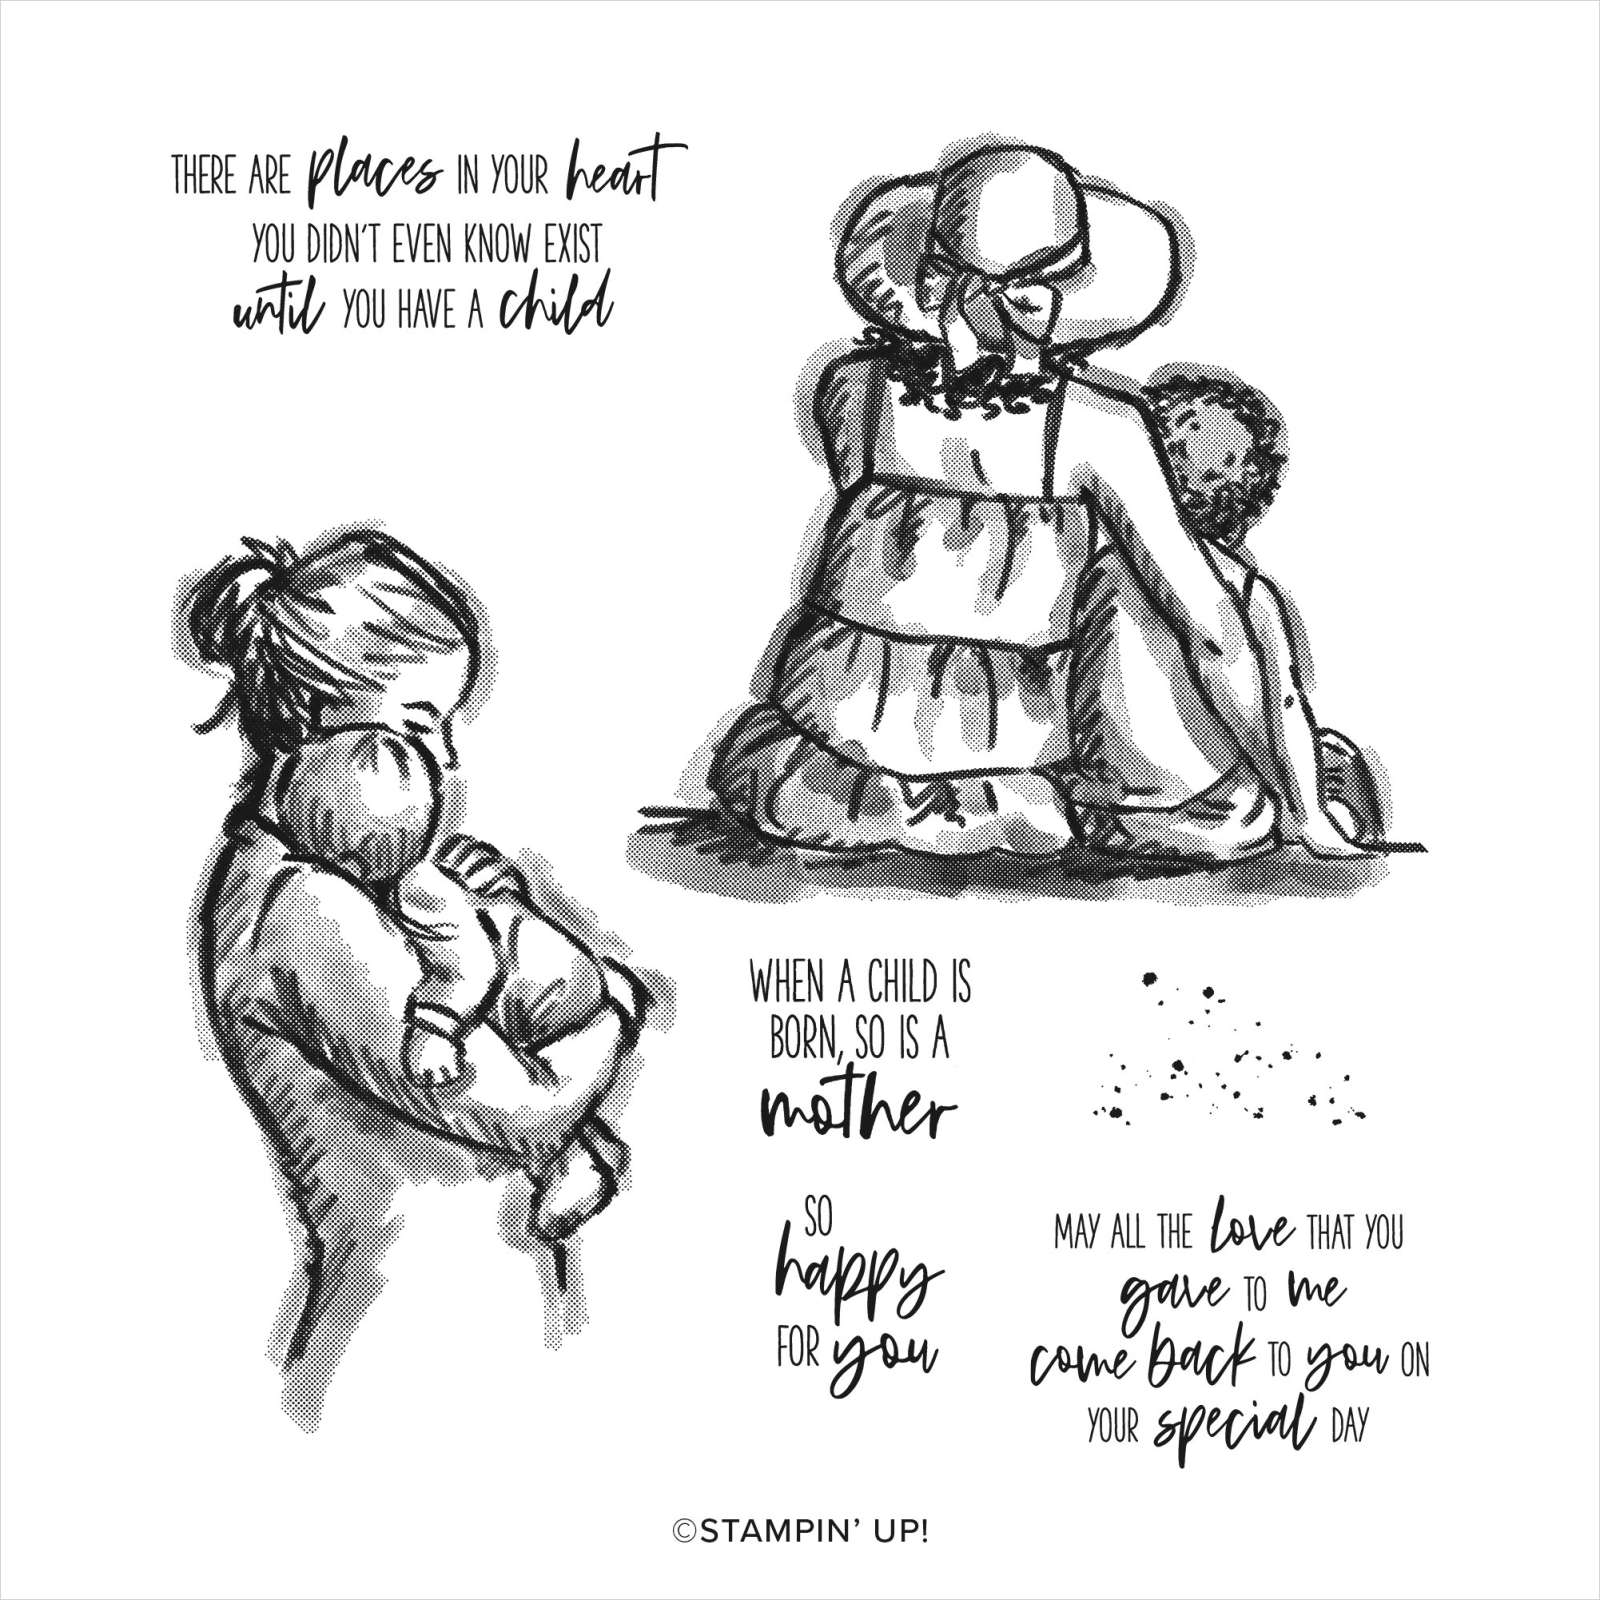
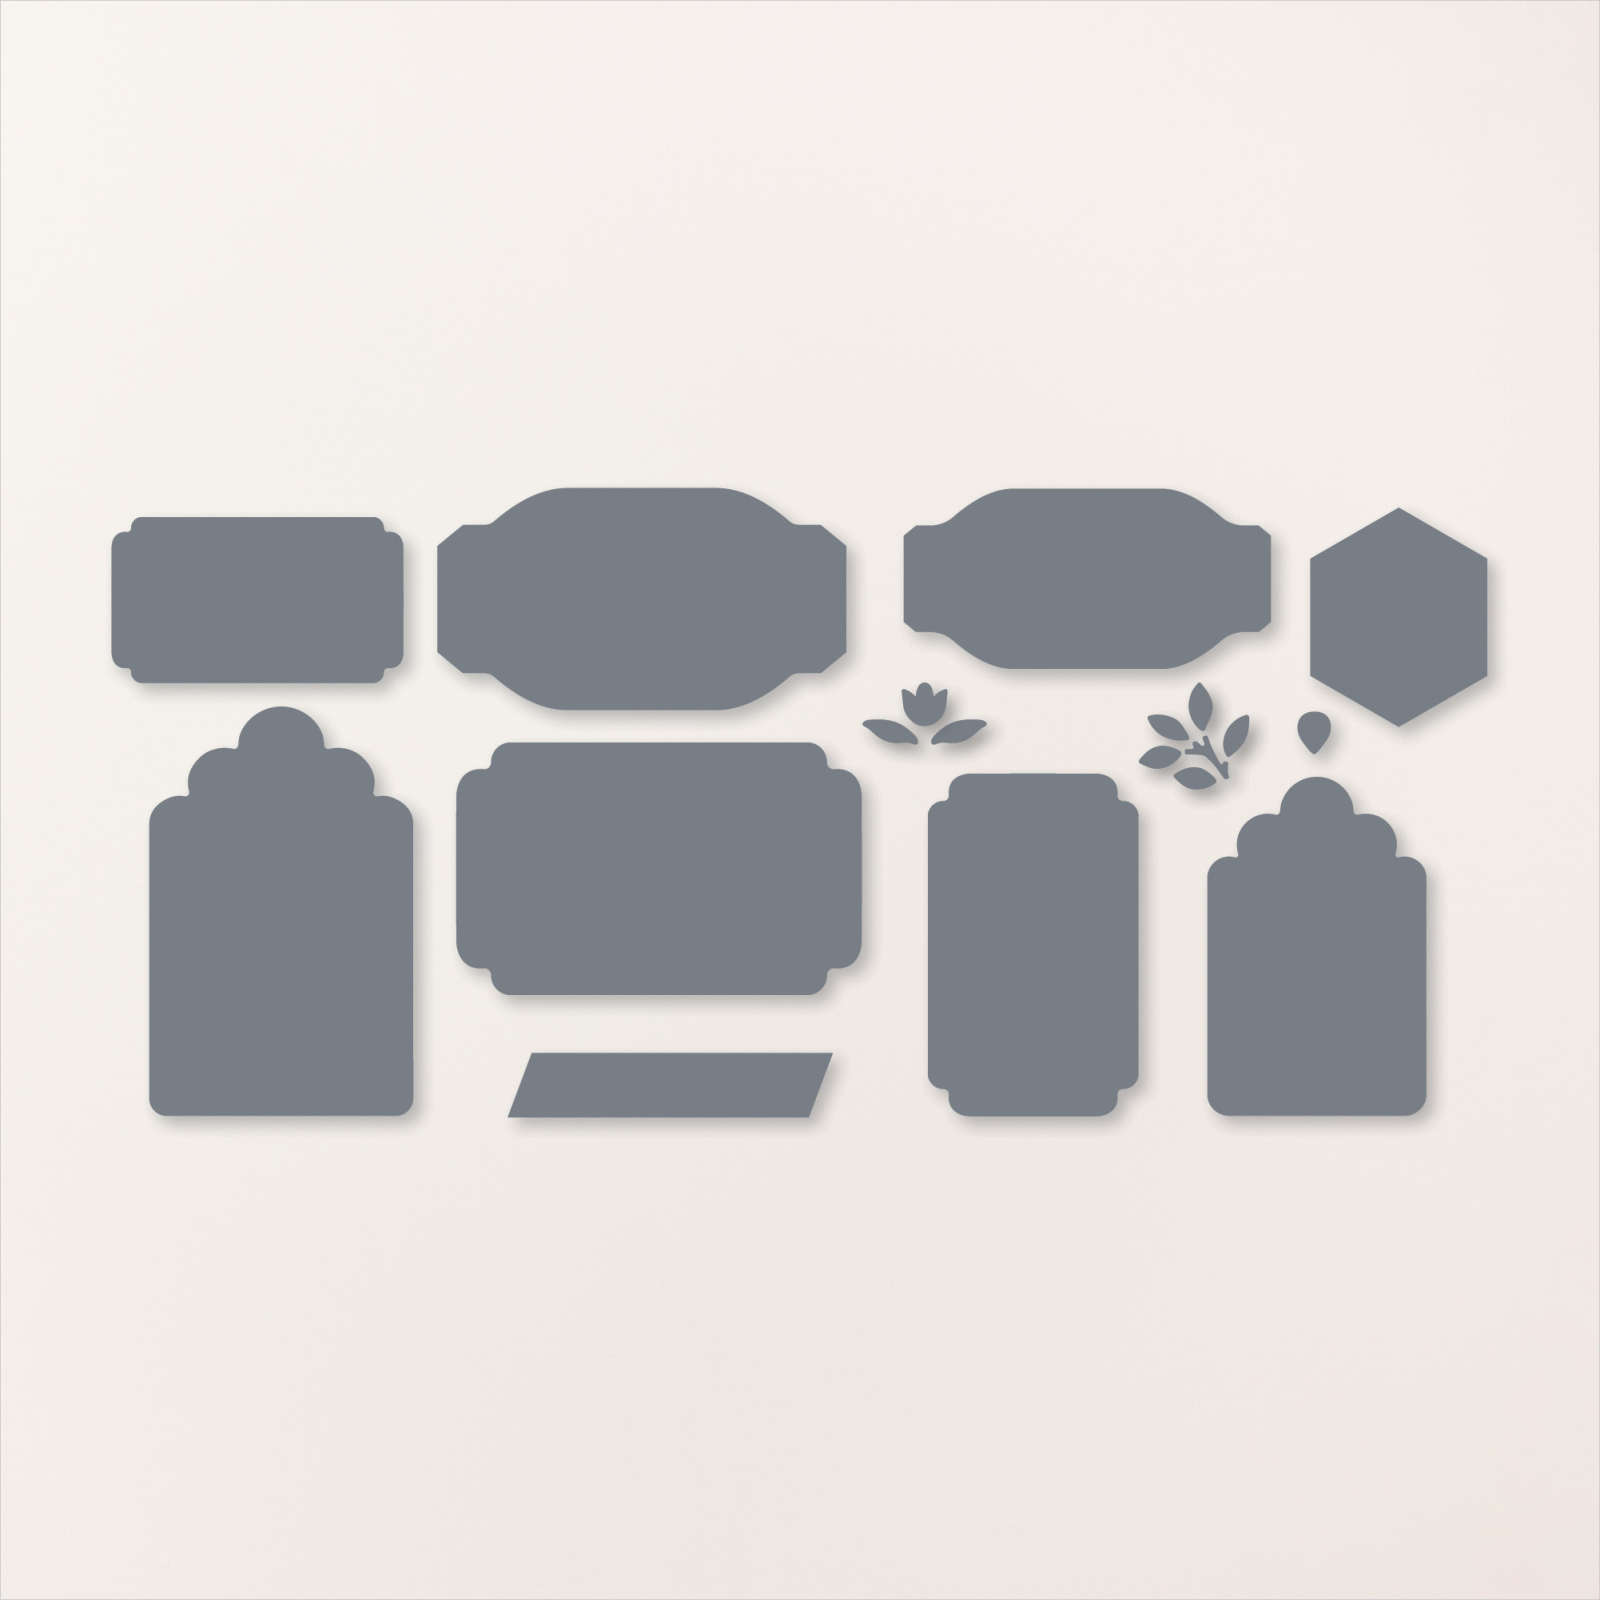
I stamped the image from the Places in the Heart stamp set onto Basic White card using Smoky Slate ink. I cut out the image using one of the Deckled Rectangle Dies and attached it to the centre of the Designer Series Paper. I stamped the greeting from the Places in the Heart stamp set onto Basic White card using Flirty Flamingo ink and cut it out using one of the Something Fancy Dies. I attached a narrow strip of Night of Navy card to the back of the greeting panel before attaching it to the card front using dimensionals. To decorate the inside of the card, I cut one long edge of a piece of Basic White card. This card kind of took me out of my comfort zone, but boy is the finished result worth it. Don’t you agree.
Bye for now,
Kris
Product Used:


Mum and Dad
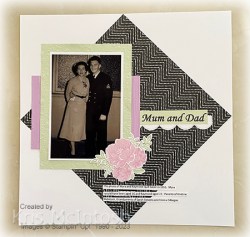
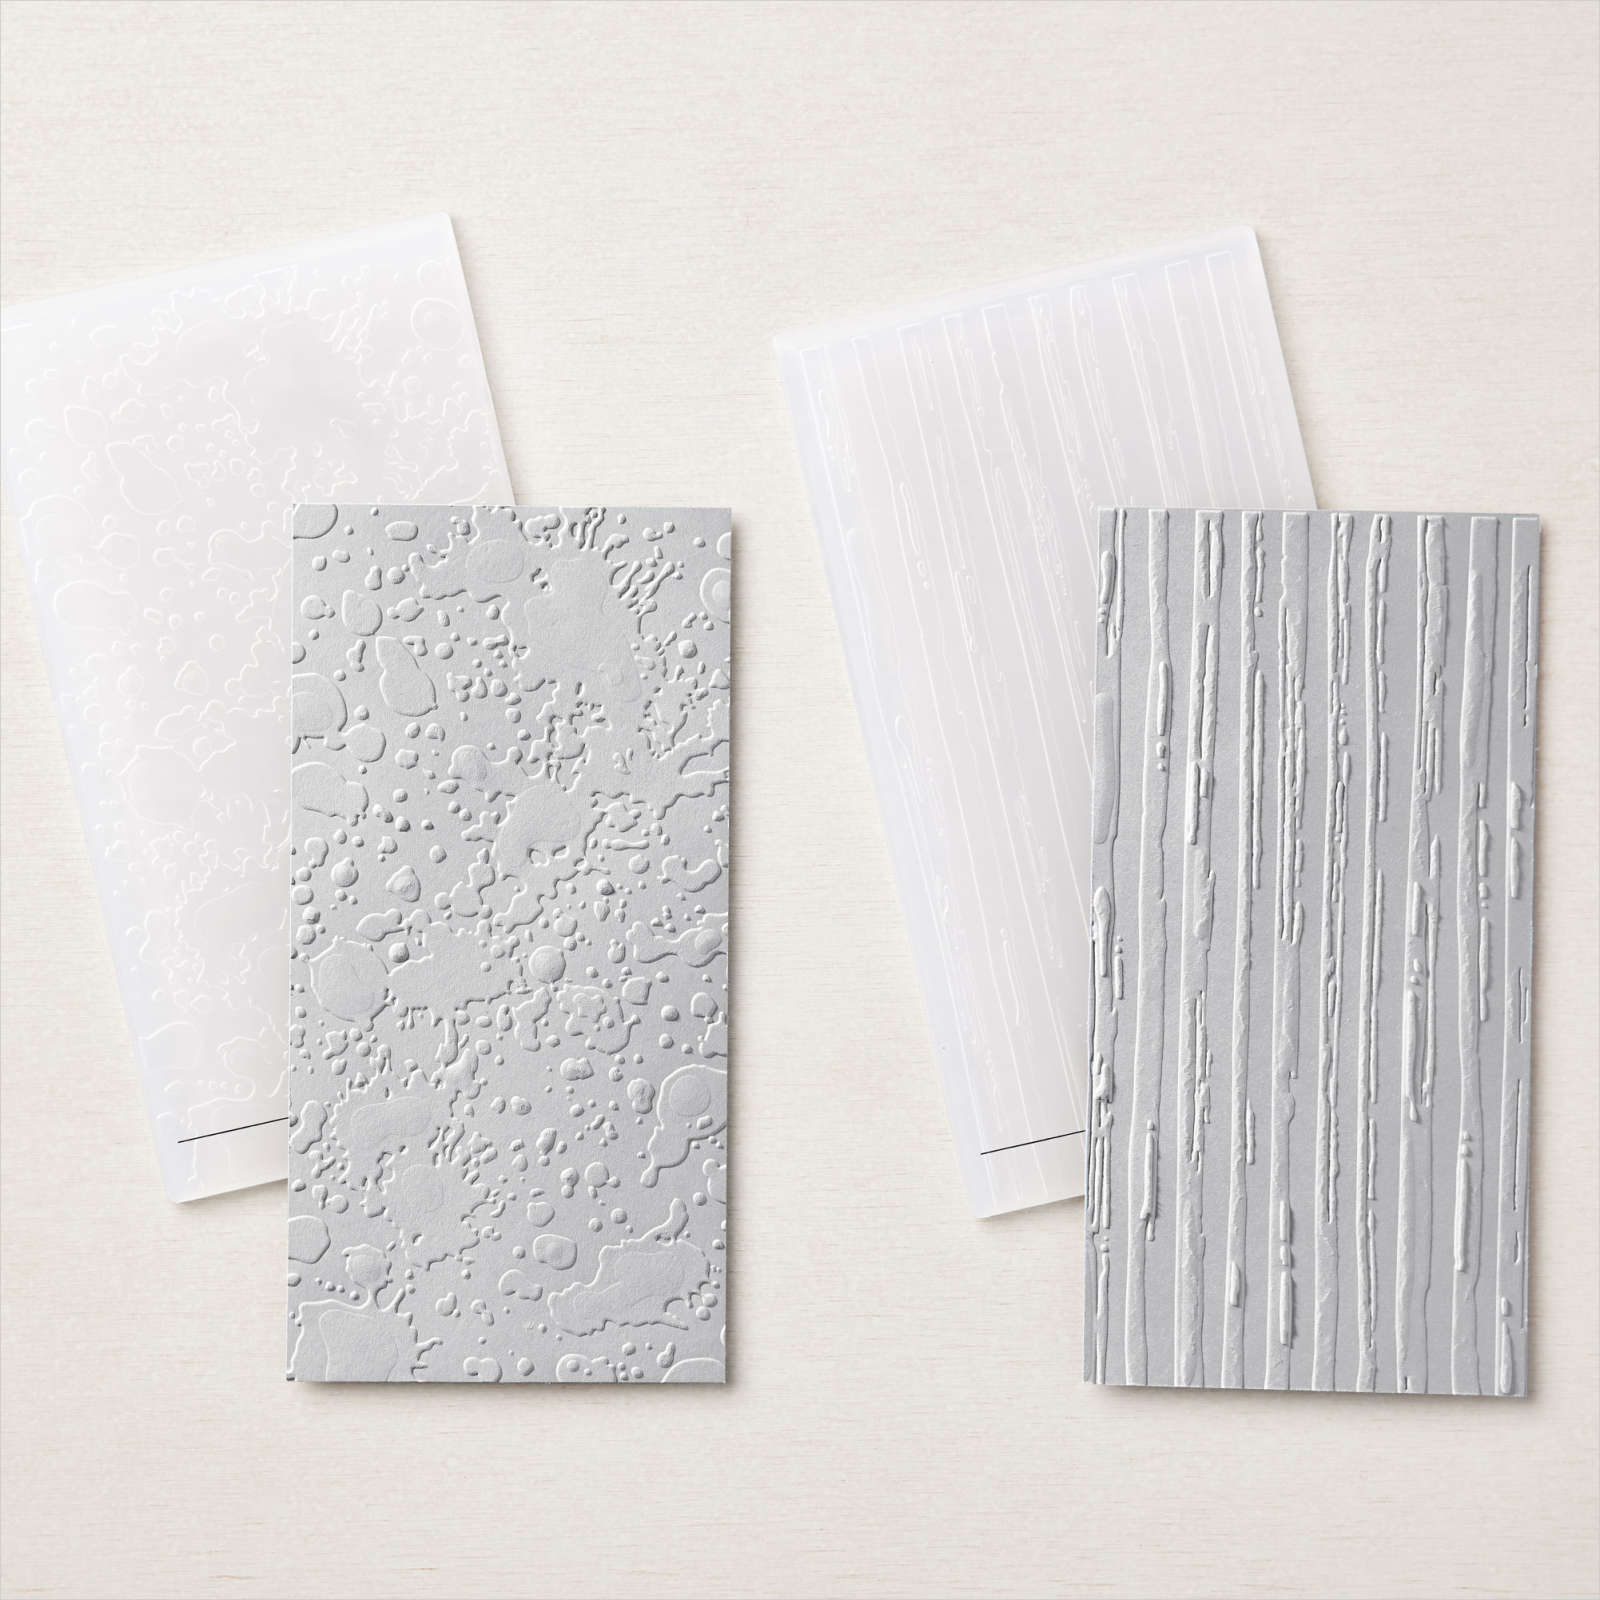
Today’s page shows off a photo of my Mum and Dad before they got married. I cut a piece of Zoo Crew 12″ x 12″ Designer Series Paper into a smaller square and attached it to a Basic White 12″ x 12″ page. I cut a strip of Basic White card using the scallop edge die from the Scalloped Contour Dies and attached it across the centre of the page. I attached my photo to Basic White card and then a panel of Soft Sea Foam card which I embossed using one of the Stripes & Splatters 3D Embossing Folders. The photo panel is attached to Fresh Freesia card which is also embossed using one of the Stripes & Splatters 3D Embossing Folders. The whole panel is attached to the left hand side of the page. I printed the title onto Soft Sea Foam card and attached it to the right hand side of the page.

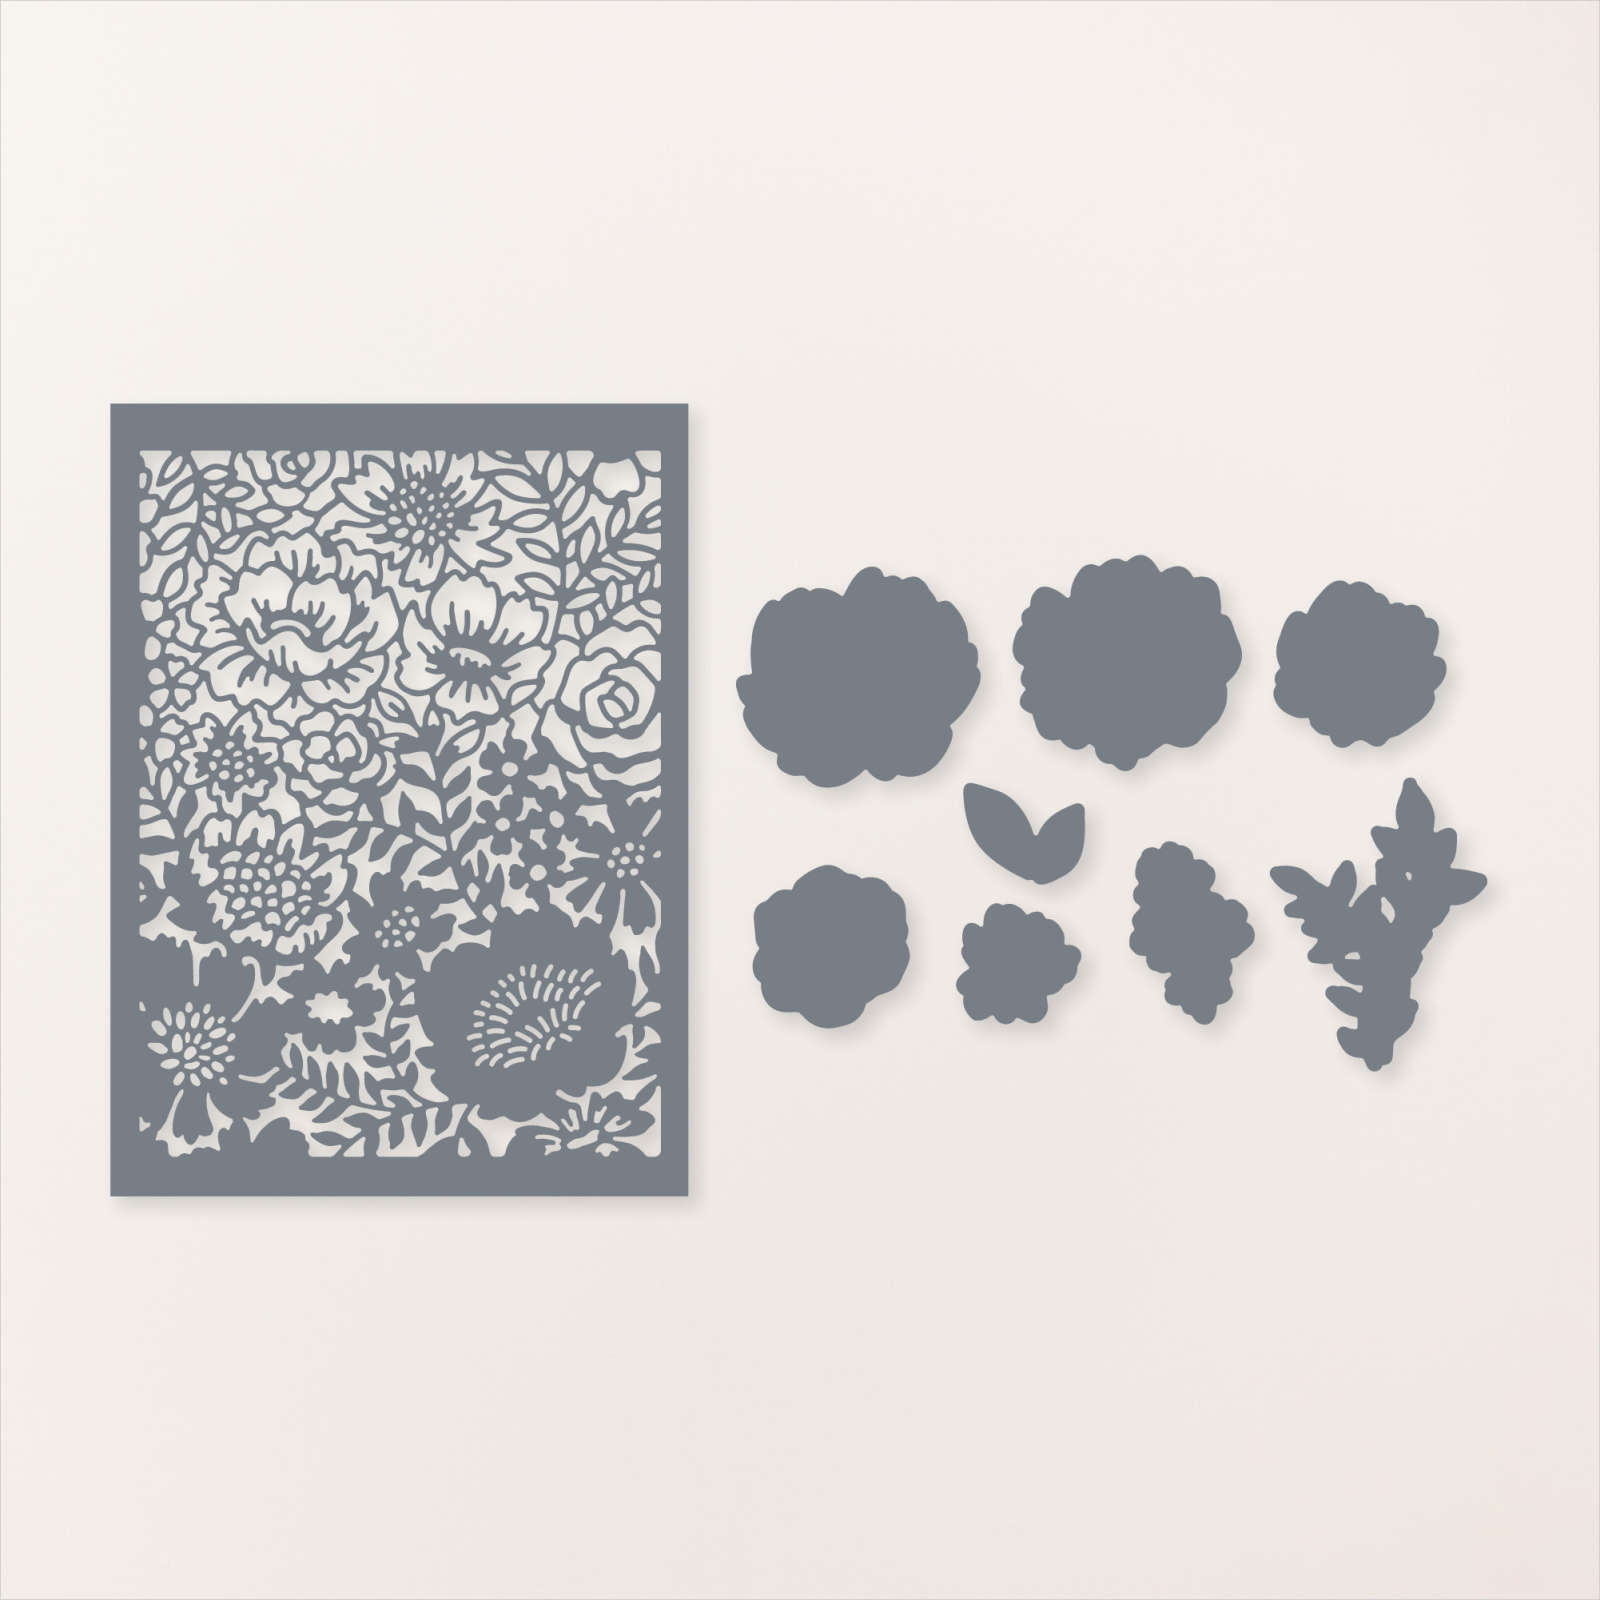
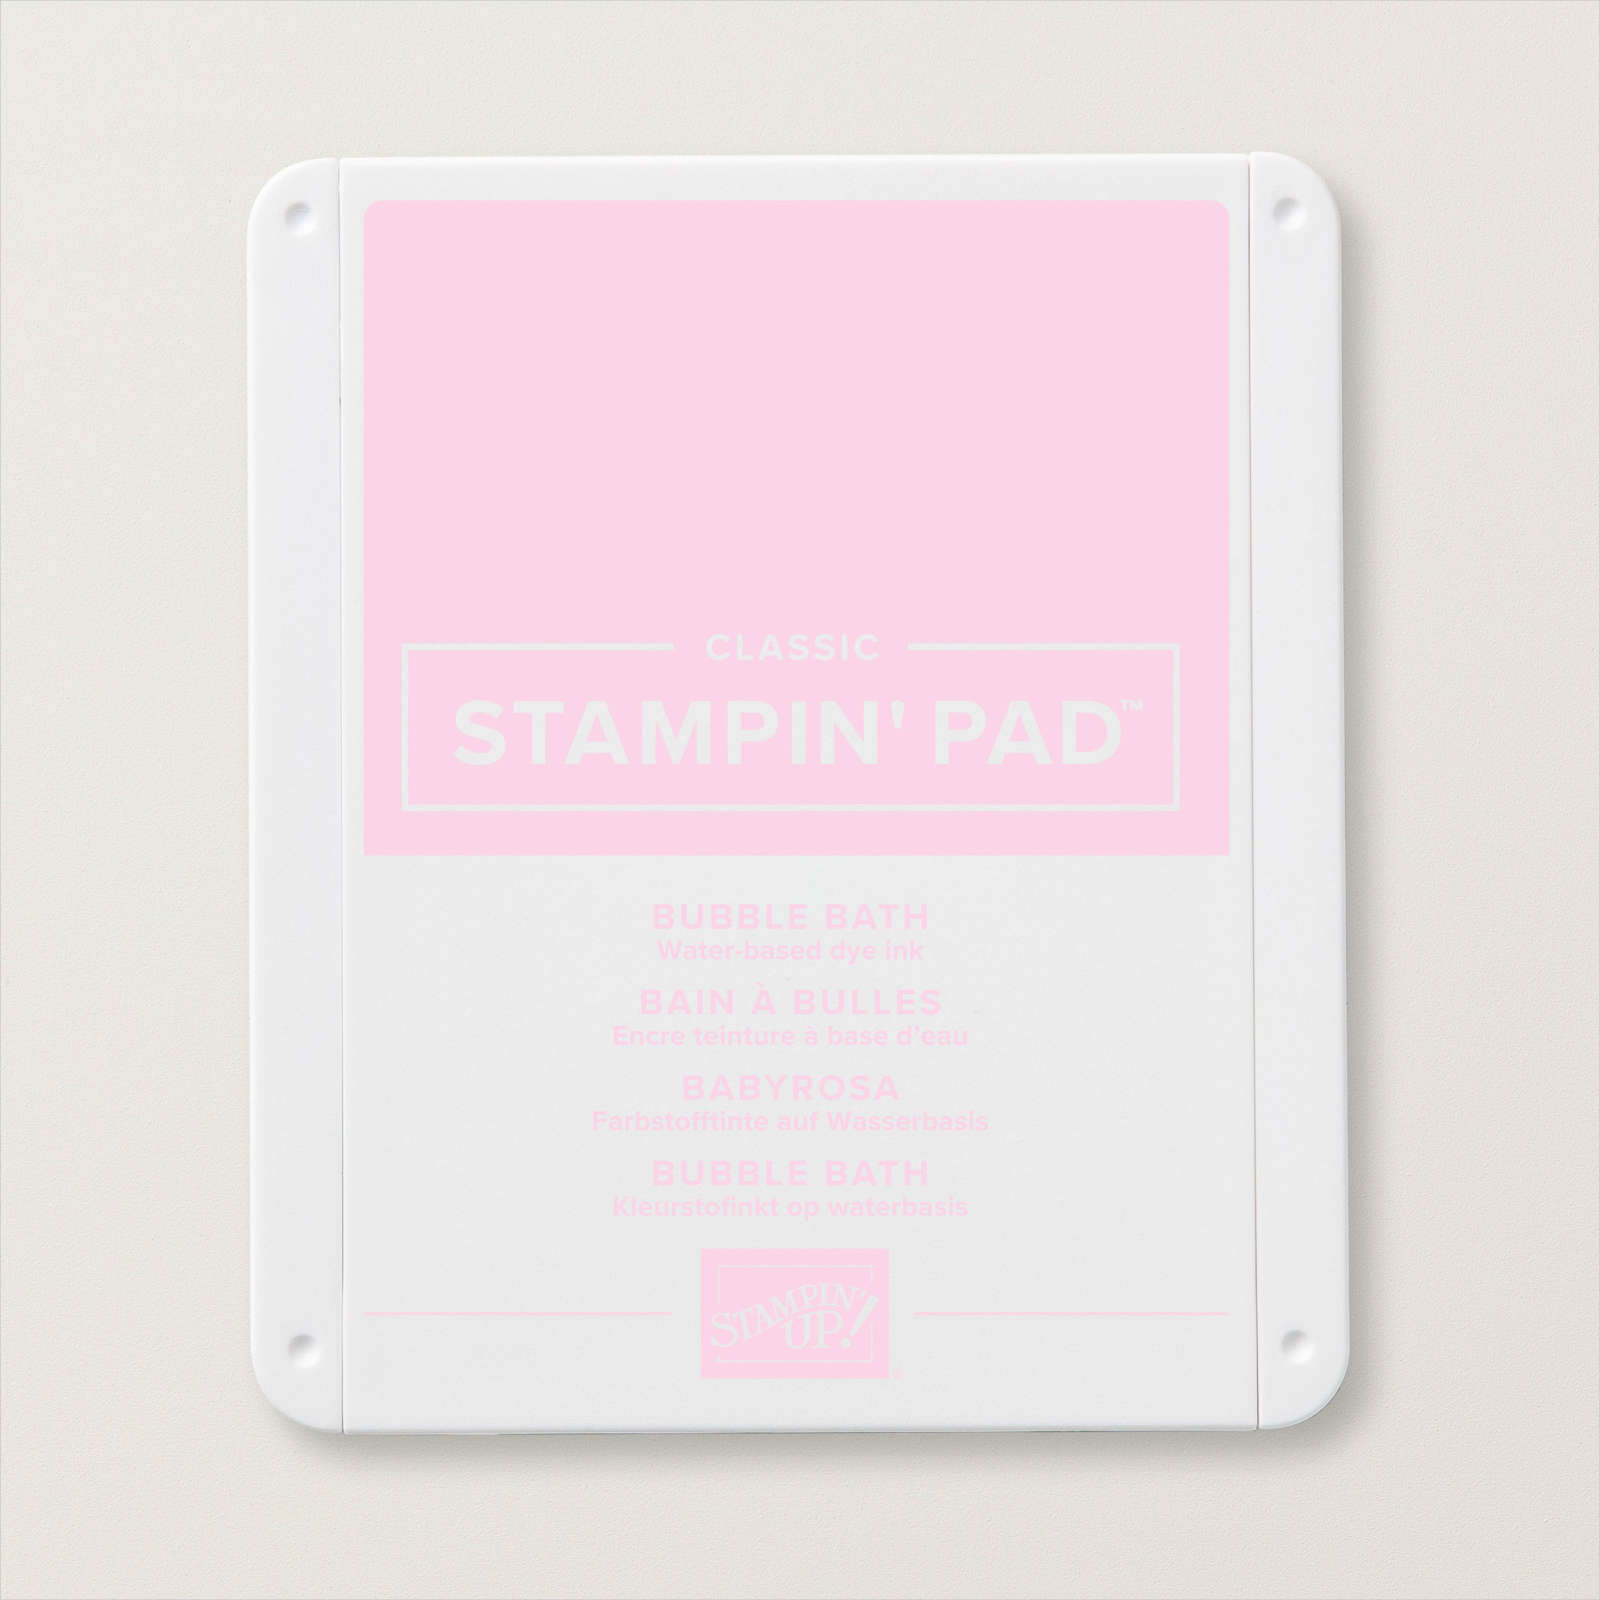
I stamped one large and two smaller solid flowers from the Two-Tone Flora stamp set onto Basic White card using Bubble Bath ink. I stamped the detailed flowers over the top using Fresh Freesia ink. I also stamped two large and two small leaves from the Two-Tone Flora stamp set onto Basic White card using Soft Sea Foam ink. All of the flowers and leaves were cut out using the co-ordinating Two-Tone Flora Dies. I layered the flowers and leaves onto the lower right hand corner of the photo. I printed my journaling onto Basic White card, cut it into strips and attached it below the flowers and leaves. I love how this page turned out and love having a photo of Mum and Dad from before they were married.
Bye for now,
Kris
Product Used:


Irresistible Birthday
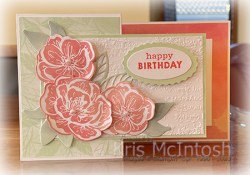
Today’s card is one I made for a special friend. Unfortunately I was a little late getting this in the mail, but I hope that Shirley had a lovely birthday. I cut my card base from Thick Basic White card and scored the front panel in half to create a fold. I added pieces of the Hello, Irresistible 6″ x 6″ Designer Series Paper to the inside back panel and the front of the fold on the card front.
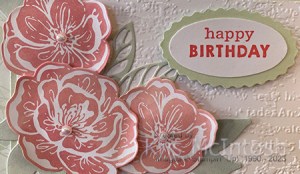
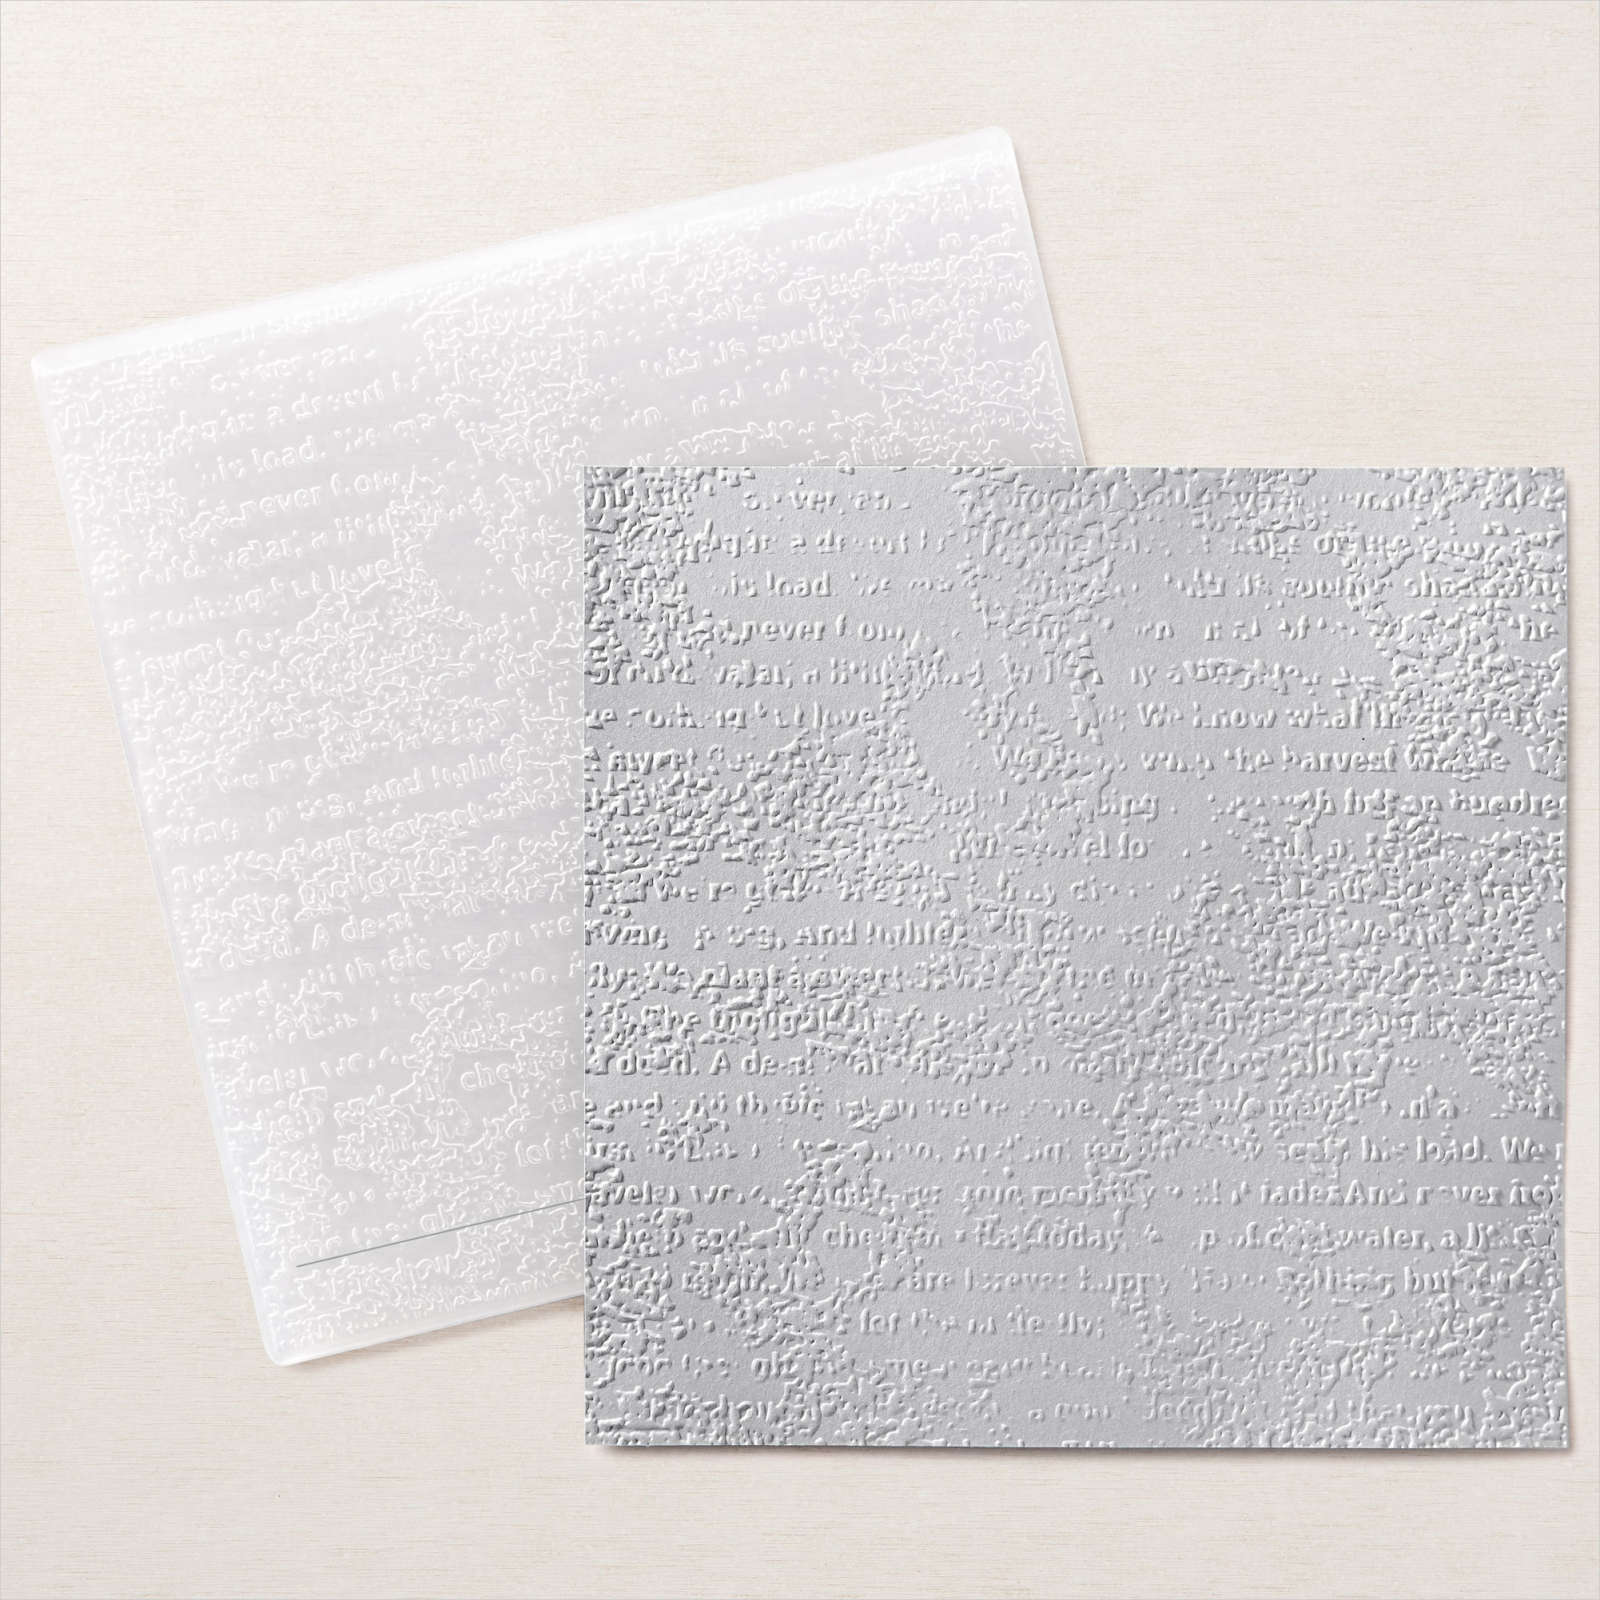
I embossed Basic White card using the Timeworn Type 3D Embossing Folder and attached it to Soft Sea Foam card. I cut the flowers and the leaves from a couple of patterns from the Hello, Irresistible Designer Series Paper using the Irresistible Blooms Dies.
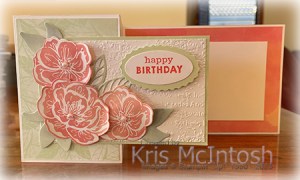
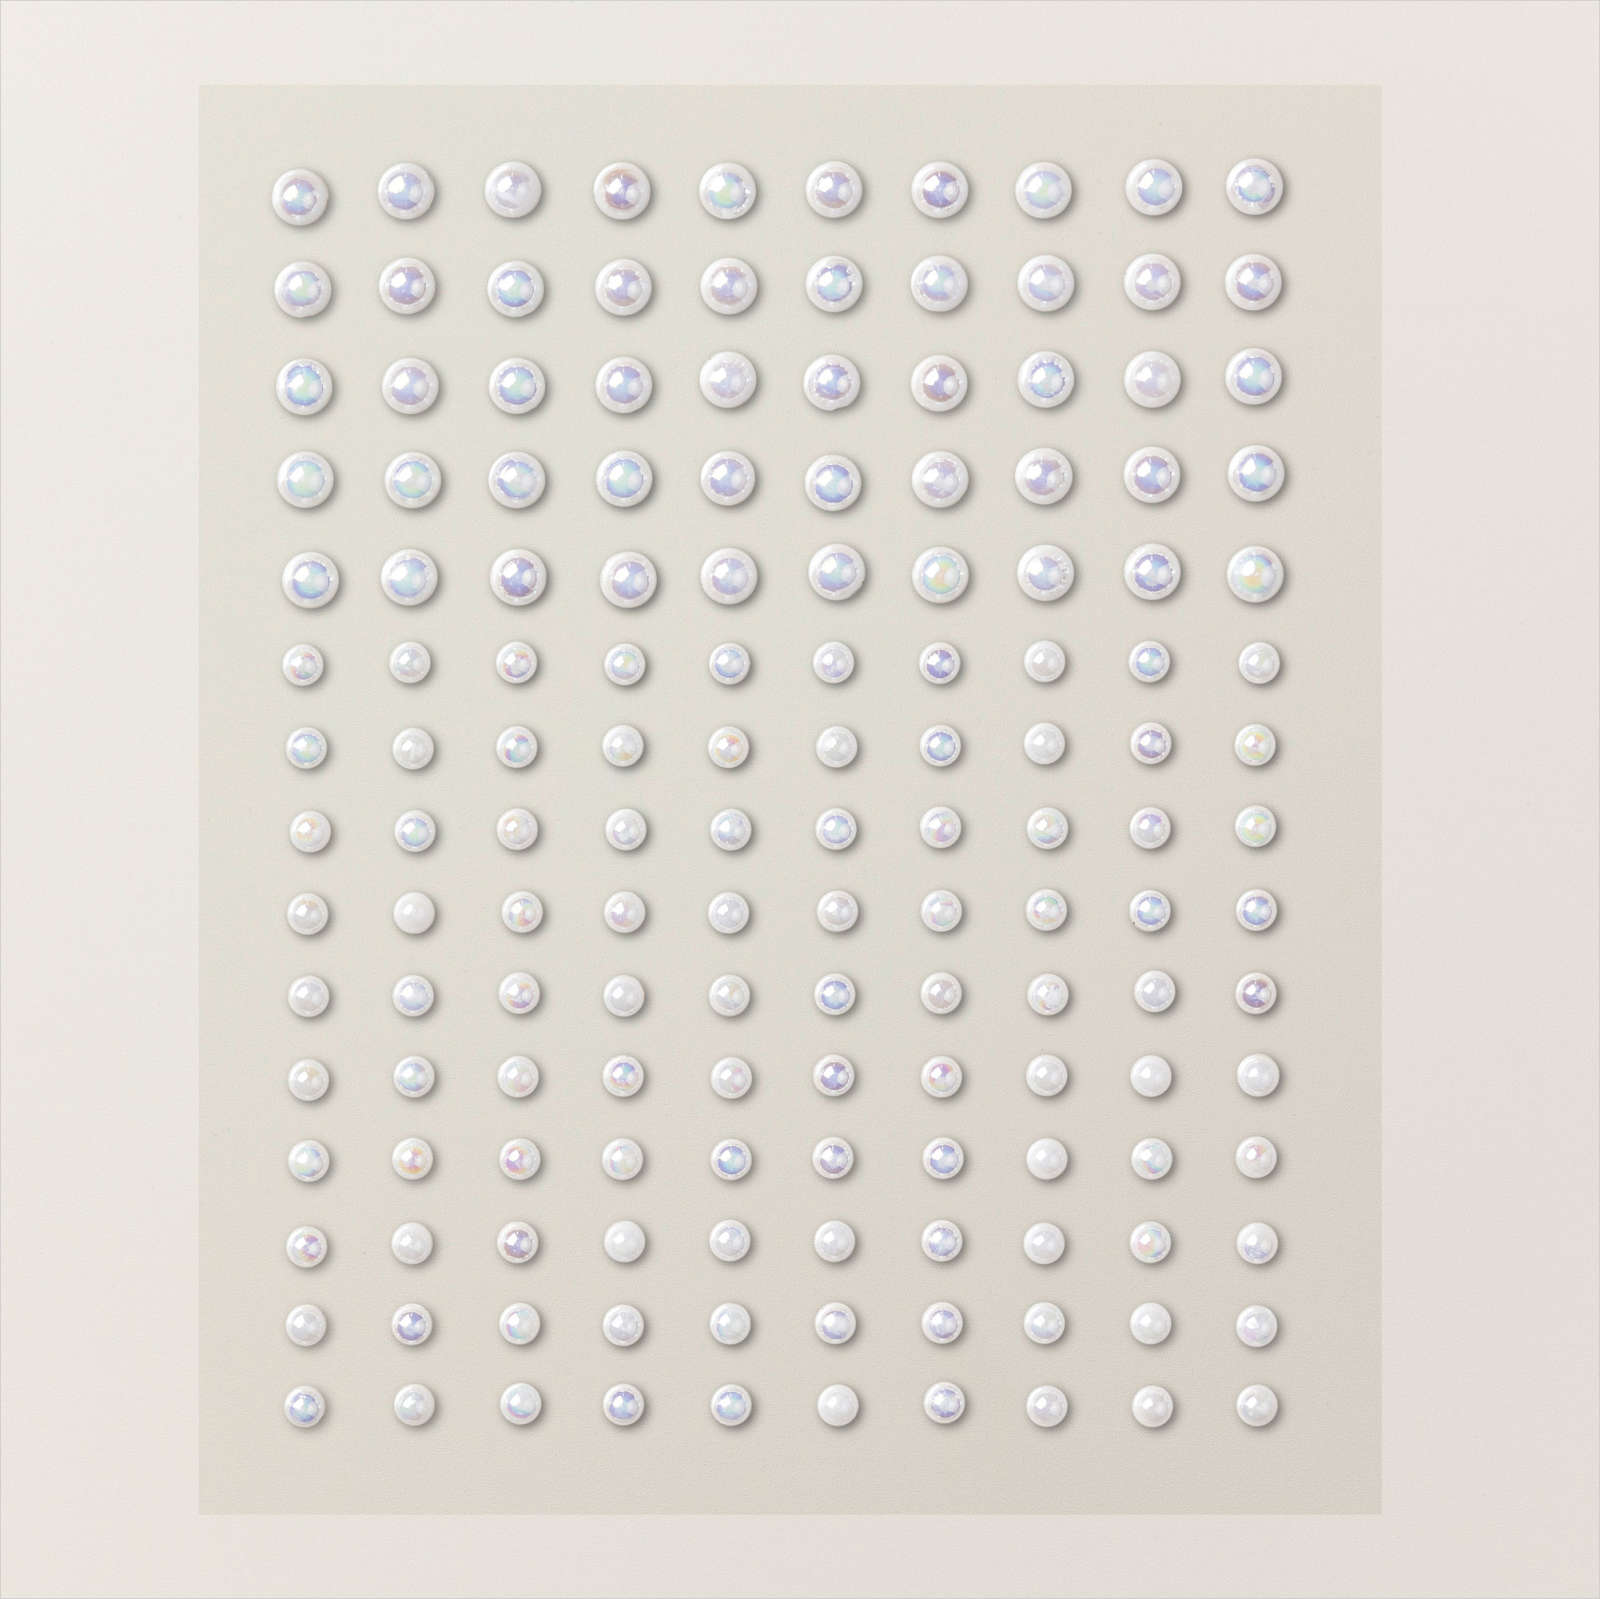
I used my bone folder to give some shape to the flowers before attaching them to the card front using dimensionals. I attached the leaves flat underneath the flowers. I stamped the greeting from the Enjoy the Rhythm stamp set onto Basic White card using Flirty Flamingo ink. The greeting is punched out using the Double Oval Punch. I attached the greeting to a Soft Sea Foam scalloped oval created using the same punch and then the card front using dimensionals. I added Iridescent Basic Pearls to the centre of each of the flowers. I added a piece of Basic White to the inside of the card to write my message. Happy birthday once more Shirley.
Bye for now,
Kris
Product Used:


Father’s Day

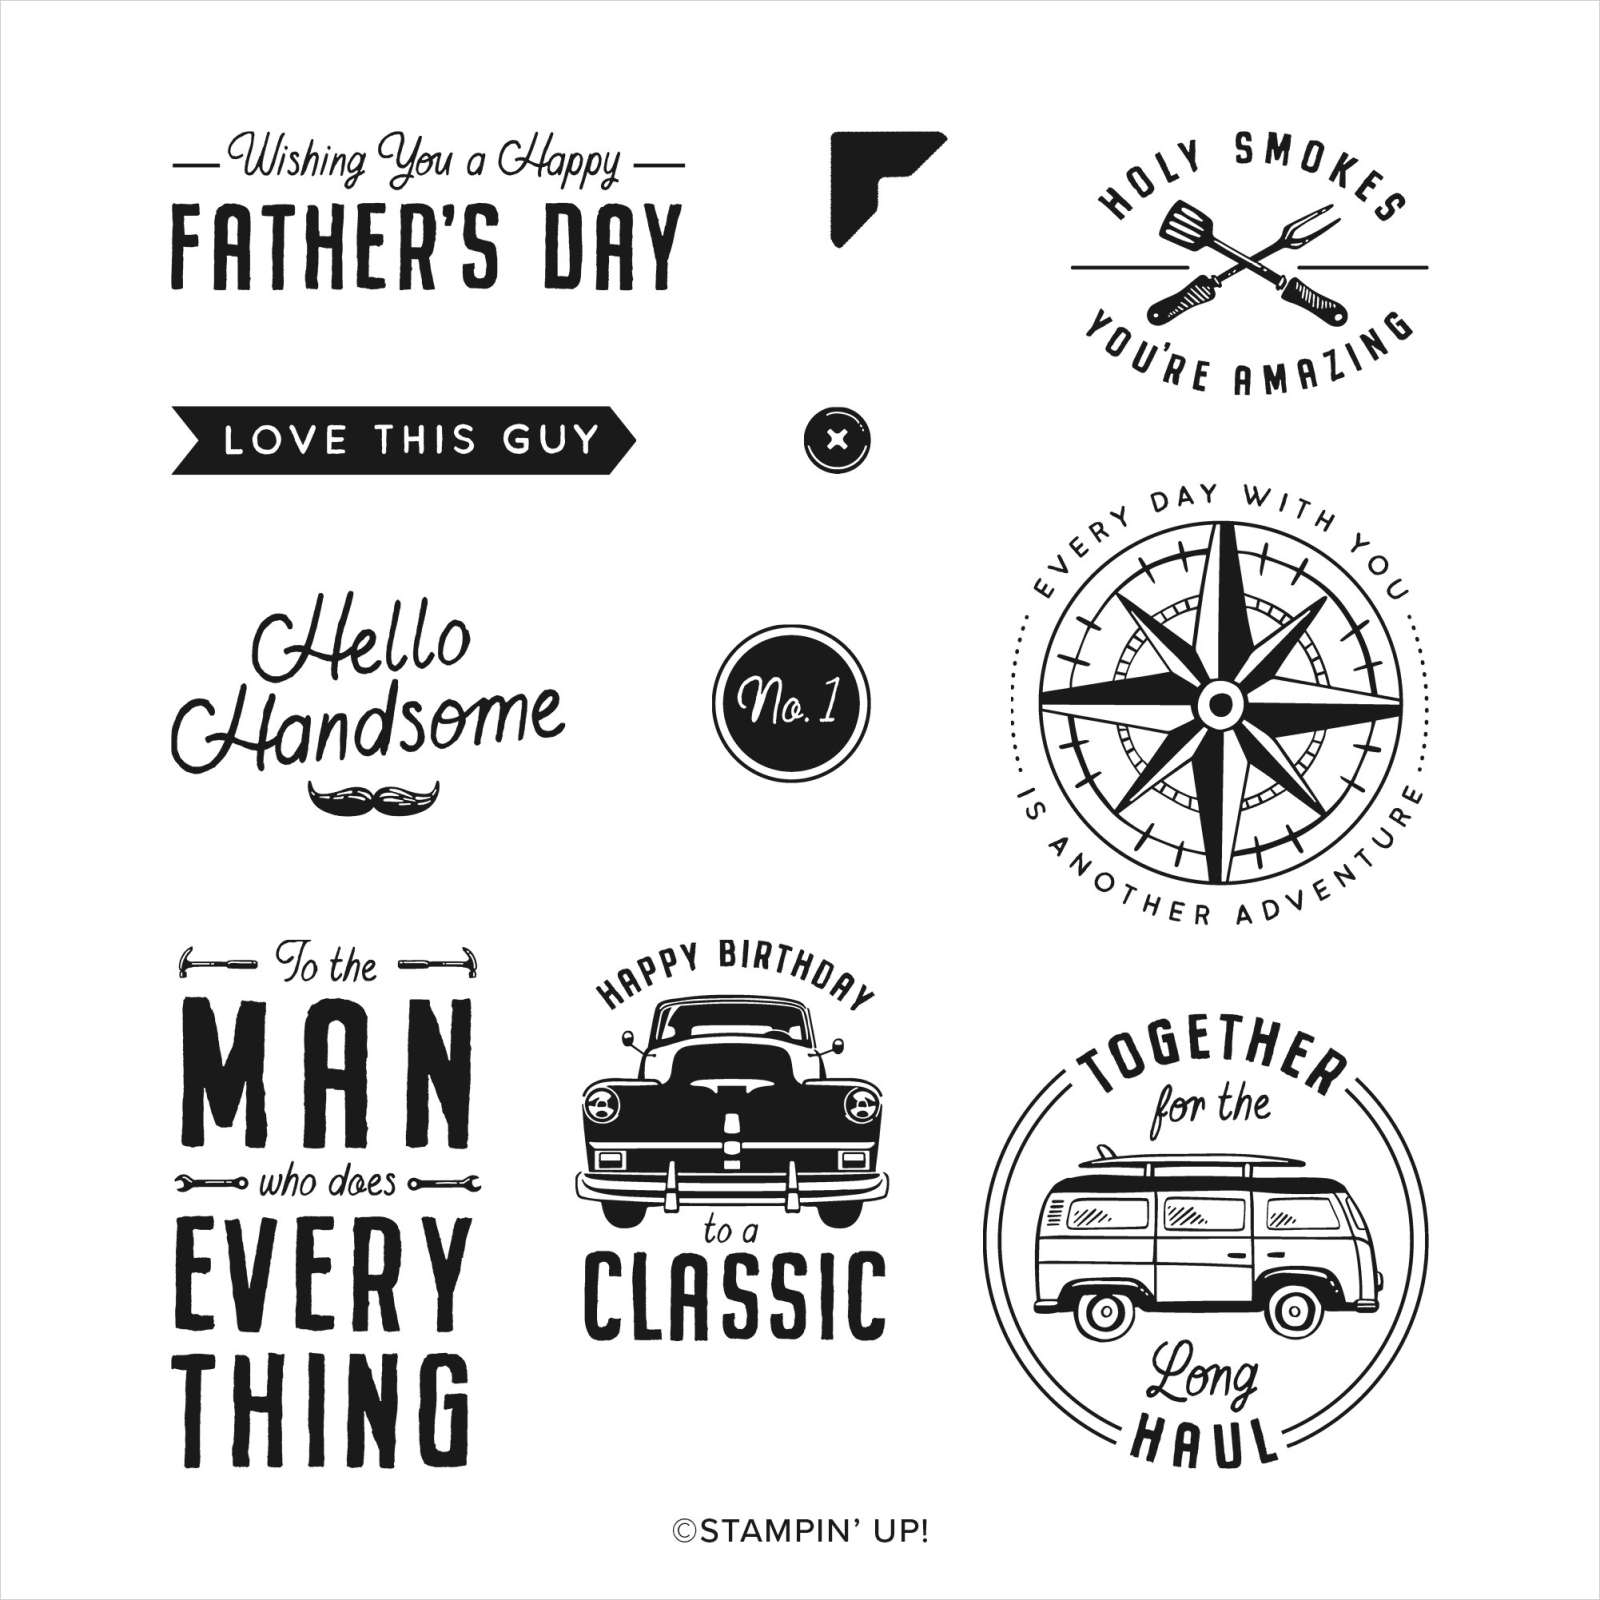
Today I have a card to share with you that I CASEd from Anna Wheaton. She shared some cards on a Demonstrator only Facebook page I belong to and I just loved her idea. I attached a piece of Adhesive Sheet to the back of a small piece of each of the new in-colours with the die from the All That Dies. I attached each of the die cuts to a Basic White panel following the layout that Anna used. Don’t all those new in-colours look lovely together?
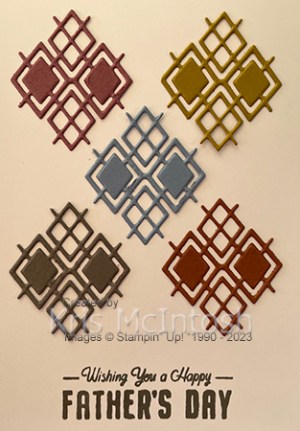
To complete the card front, I stamped the greeting from the He’s All That stamp set on the bottom of the Basic White panel using Pebbled Path ink. The whole panel is attached to a panel of Wild Wheat card before being attached to scored and folded Pebbled Path card.

To decorate the inside of the card, I kept it really simple. I stamped another greeting from the He’s All That stamp set onto Basic White card using Pebbled Path ink. I love this card, so thank you Anna for the inspiration.
Bye for now,
Kris
Product Used:


Miles

This was our last stop on our trip to Winton and back. Such great friends, I love spending time with. For today’s page I kept it really simple. I trimmed the photos to 6″ x 3″ and attached them down the centre of a Basic White 12″ x 12″ page. I printed “Last Night Miles” onto Balmy Blue card and trimmed it down to 2″ x 3″. I used the retired Detailed Trio Punch to round the upper right hand corner. I cut another piece of Balmy Blue card to 2″ x 3″ and rounded one corner. I embossed the panels using the Painted Texture 3D Embossing Folder before attaching them beside the top photo.
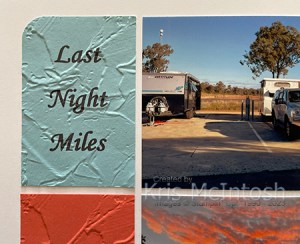
I printed “Good Times, Good Friends, 3.7.2022” onto Calypso Coral card. I cut a second piece of Calypso Coral card and embossed them using the Painted Texture 3D Embossing Folder. These panels are attached beside the second photo on the page. I stamped the greeting from the long retired Let’s Get Away stamp set onto Lost Lagoon card using Memento Tuxedo Black ink. I cut another panel of Lost Lagoon card and rounded one corner on each piece. The panels are embossed using the Painted Texture 3D Embossing Folder before being attached beside the third photo. As I said simple, but makes me very happy when I look at these photos.
Bye for now,
Kris
Product Used:

On The Ocean CASE
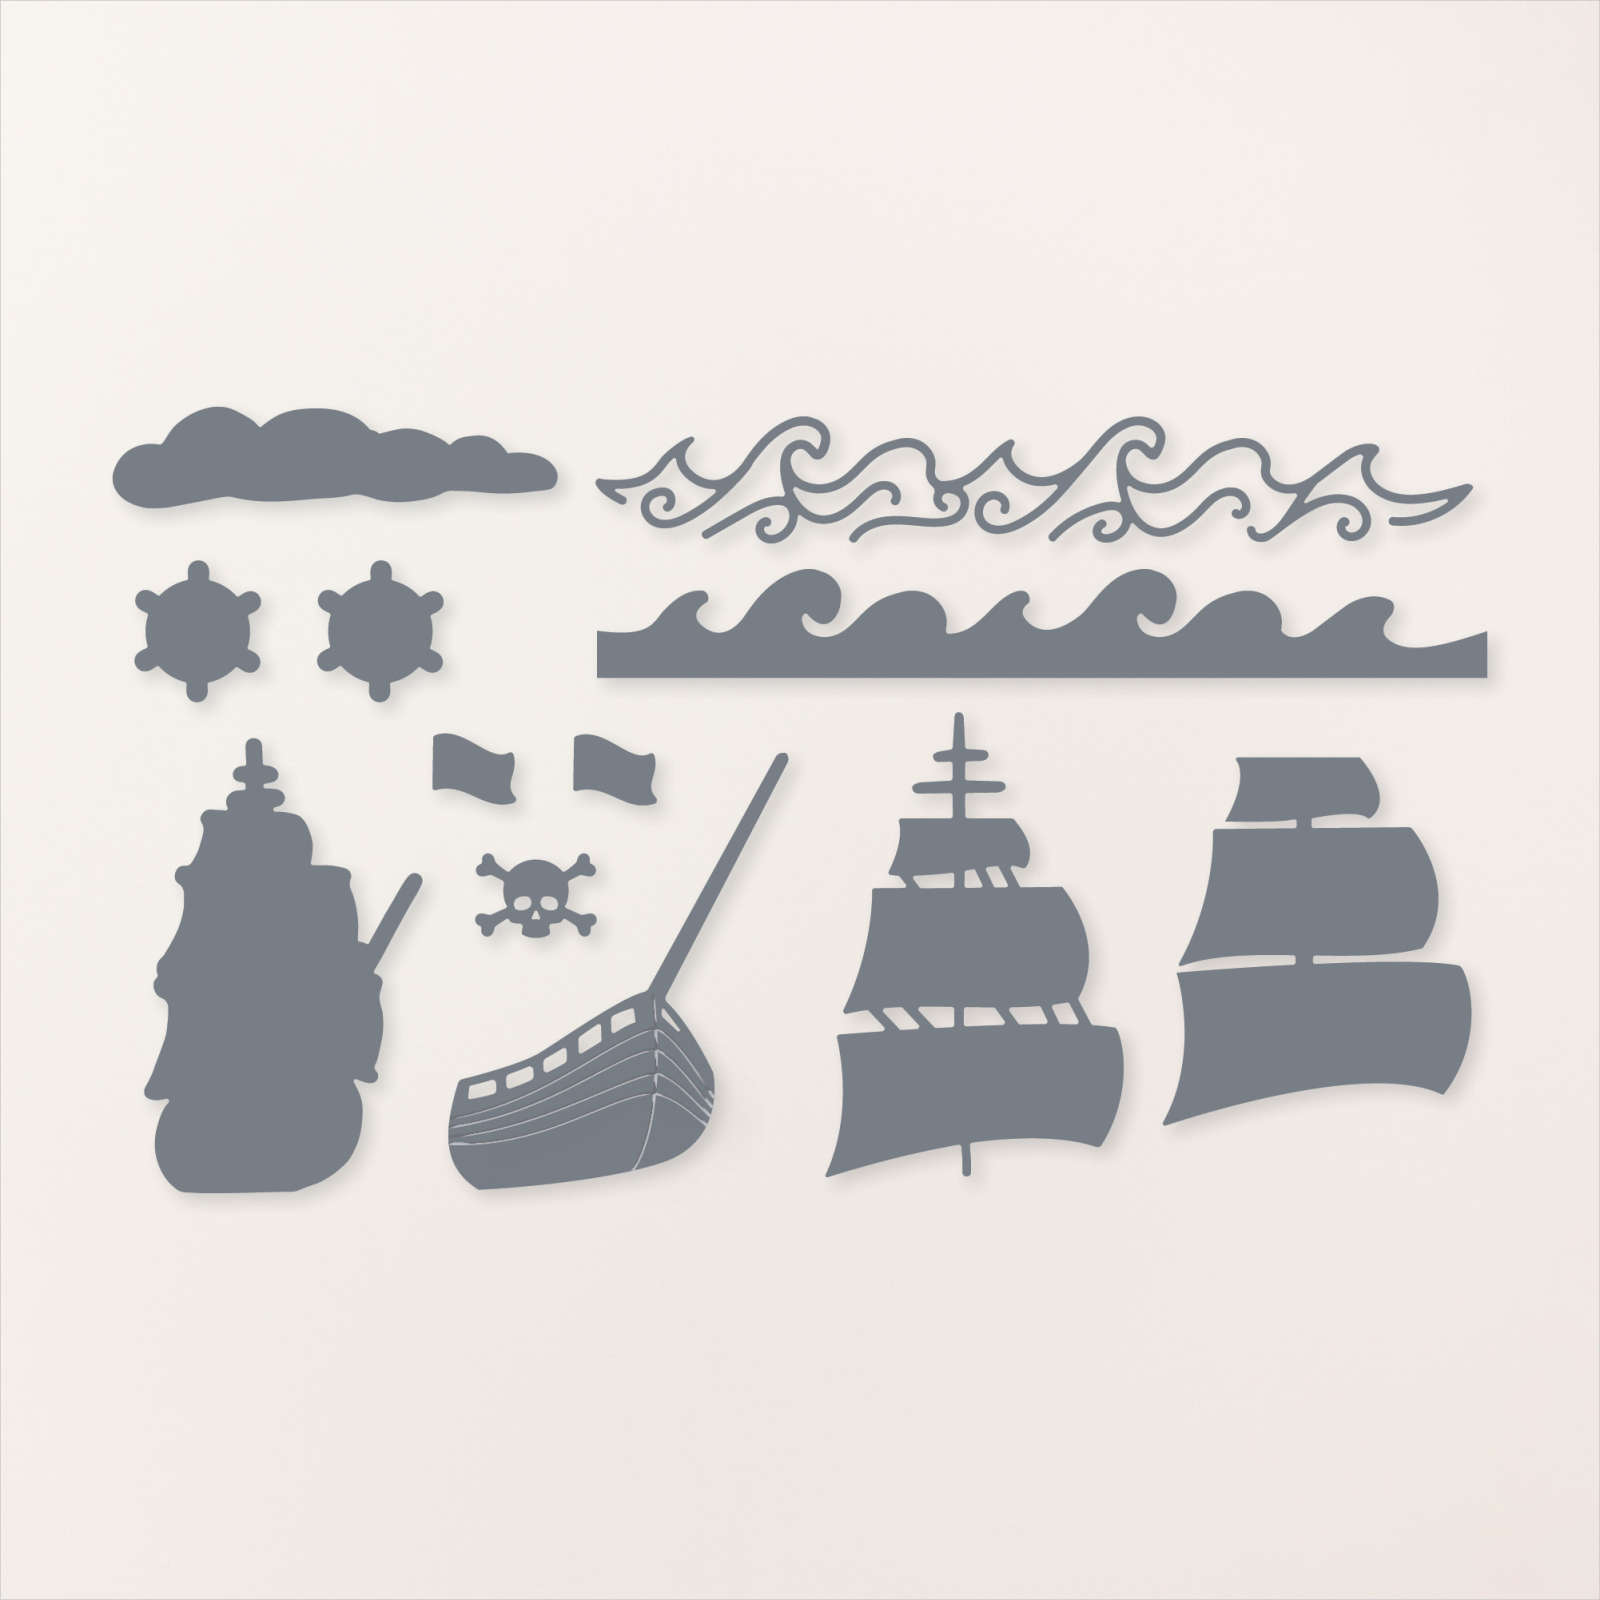
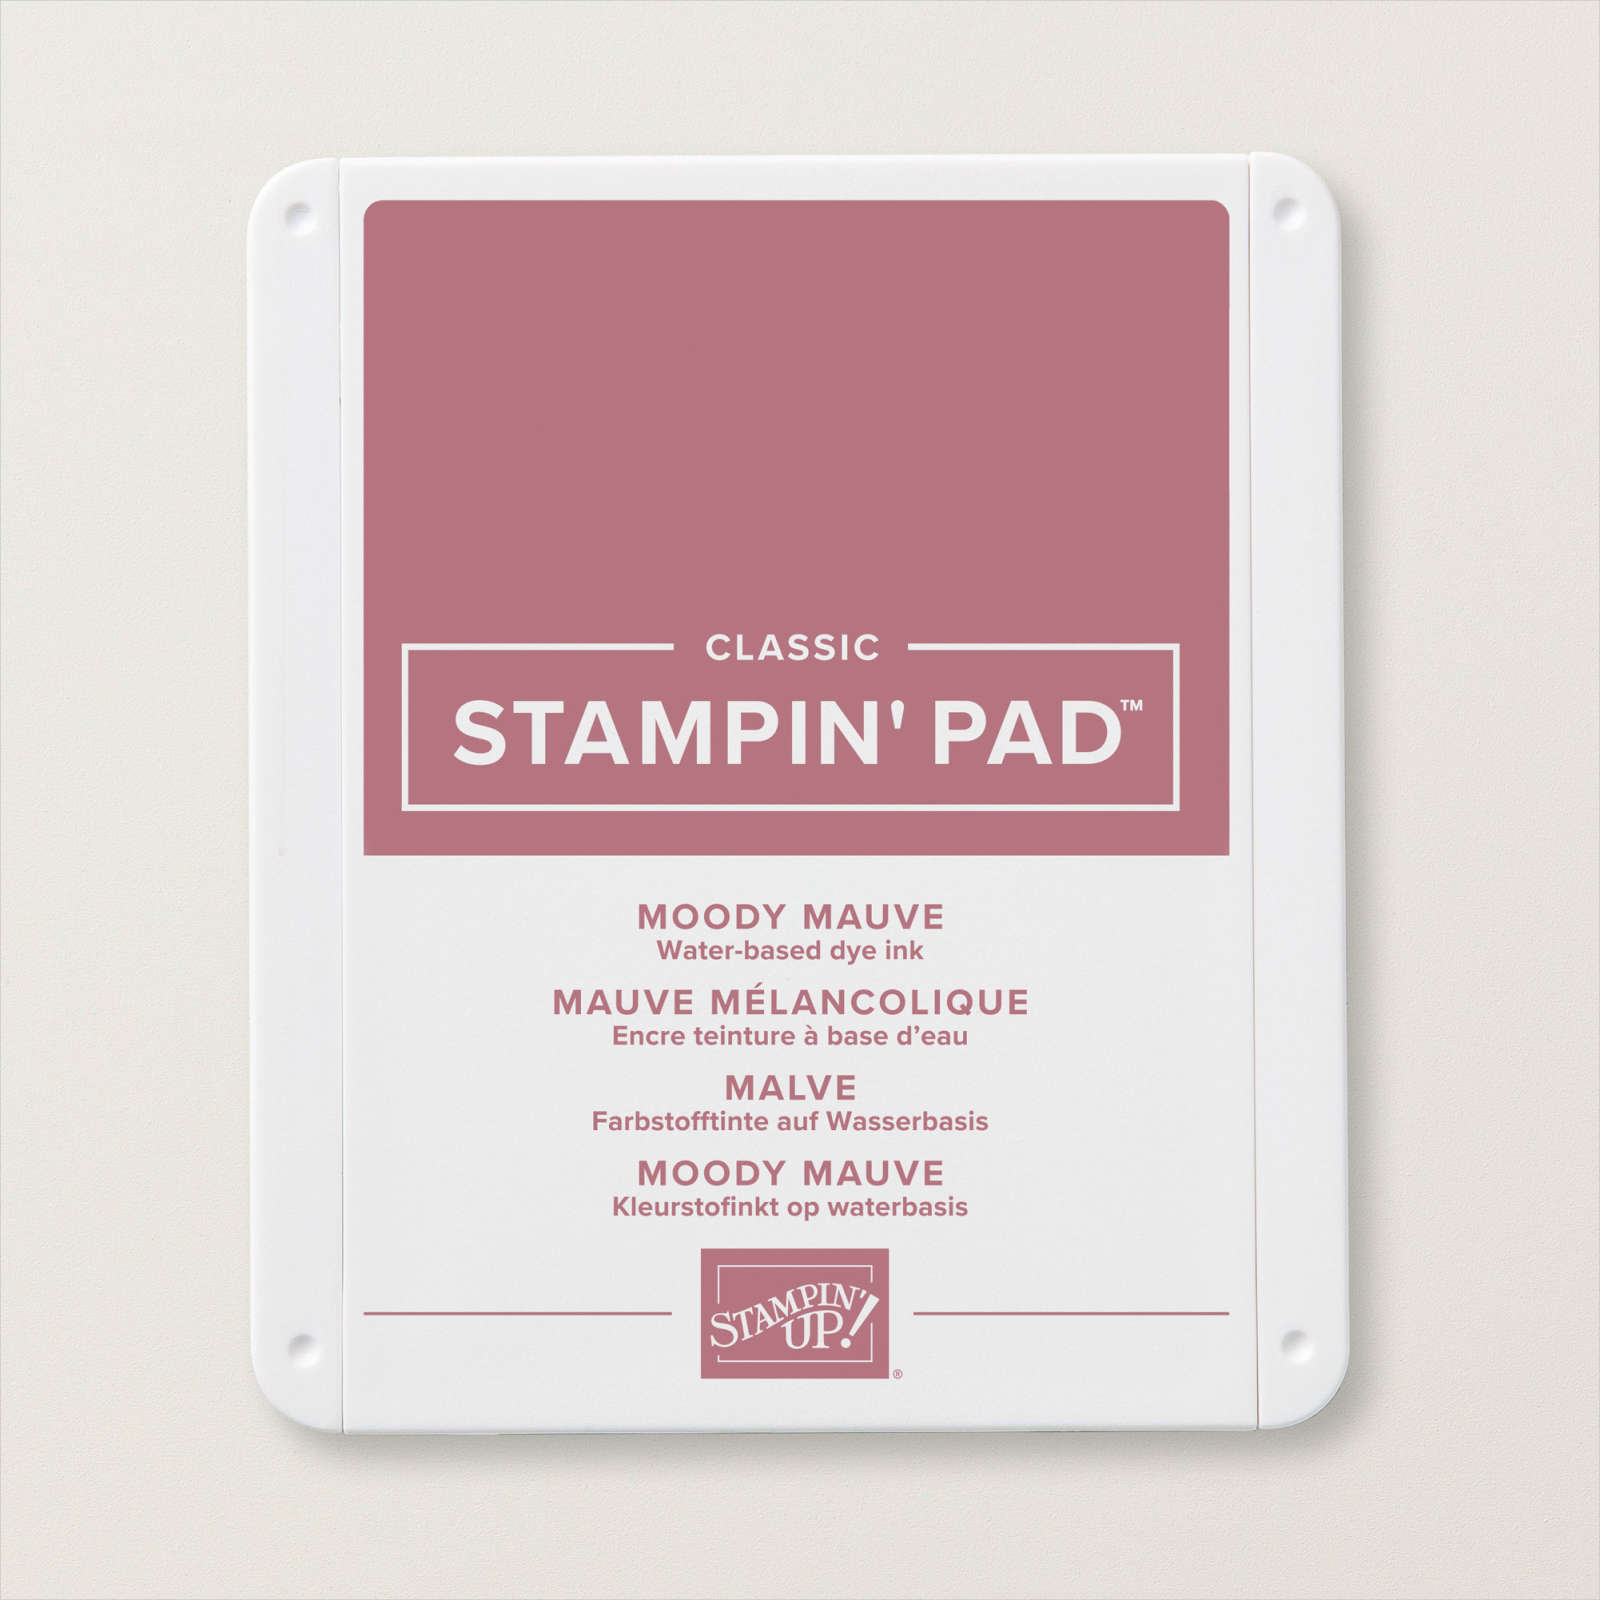
Today I have another card to share with you that I CASEd from the new Annual Catalogue. To begin I cut a piece of Very Vanilla card and used a blending Brush to add Pool Party ink across the top of the panel. I used a Blending Brush to add Moody Mauve ink below the Pool Party ink and then Lemon Lolly ink below the Moody Mauve ink. I stamped a couple of the cloud images from the On The Ocean stamp set onto the Pool Party section using Pool Party ink and onto the Moody Mauve section using Moody Mauve ink. I attached the coloured Very Vanilla card to scored and folded Thick Very Vanilla card.

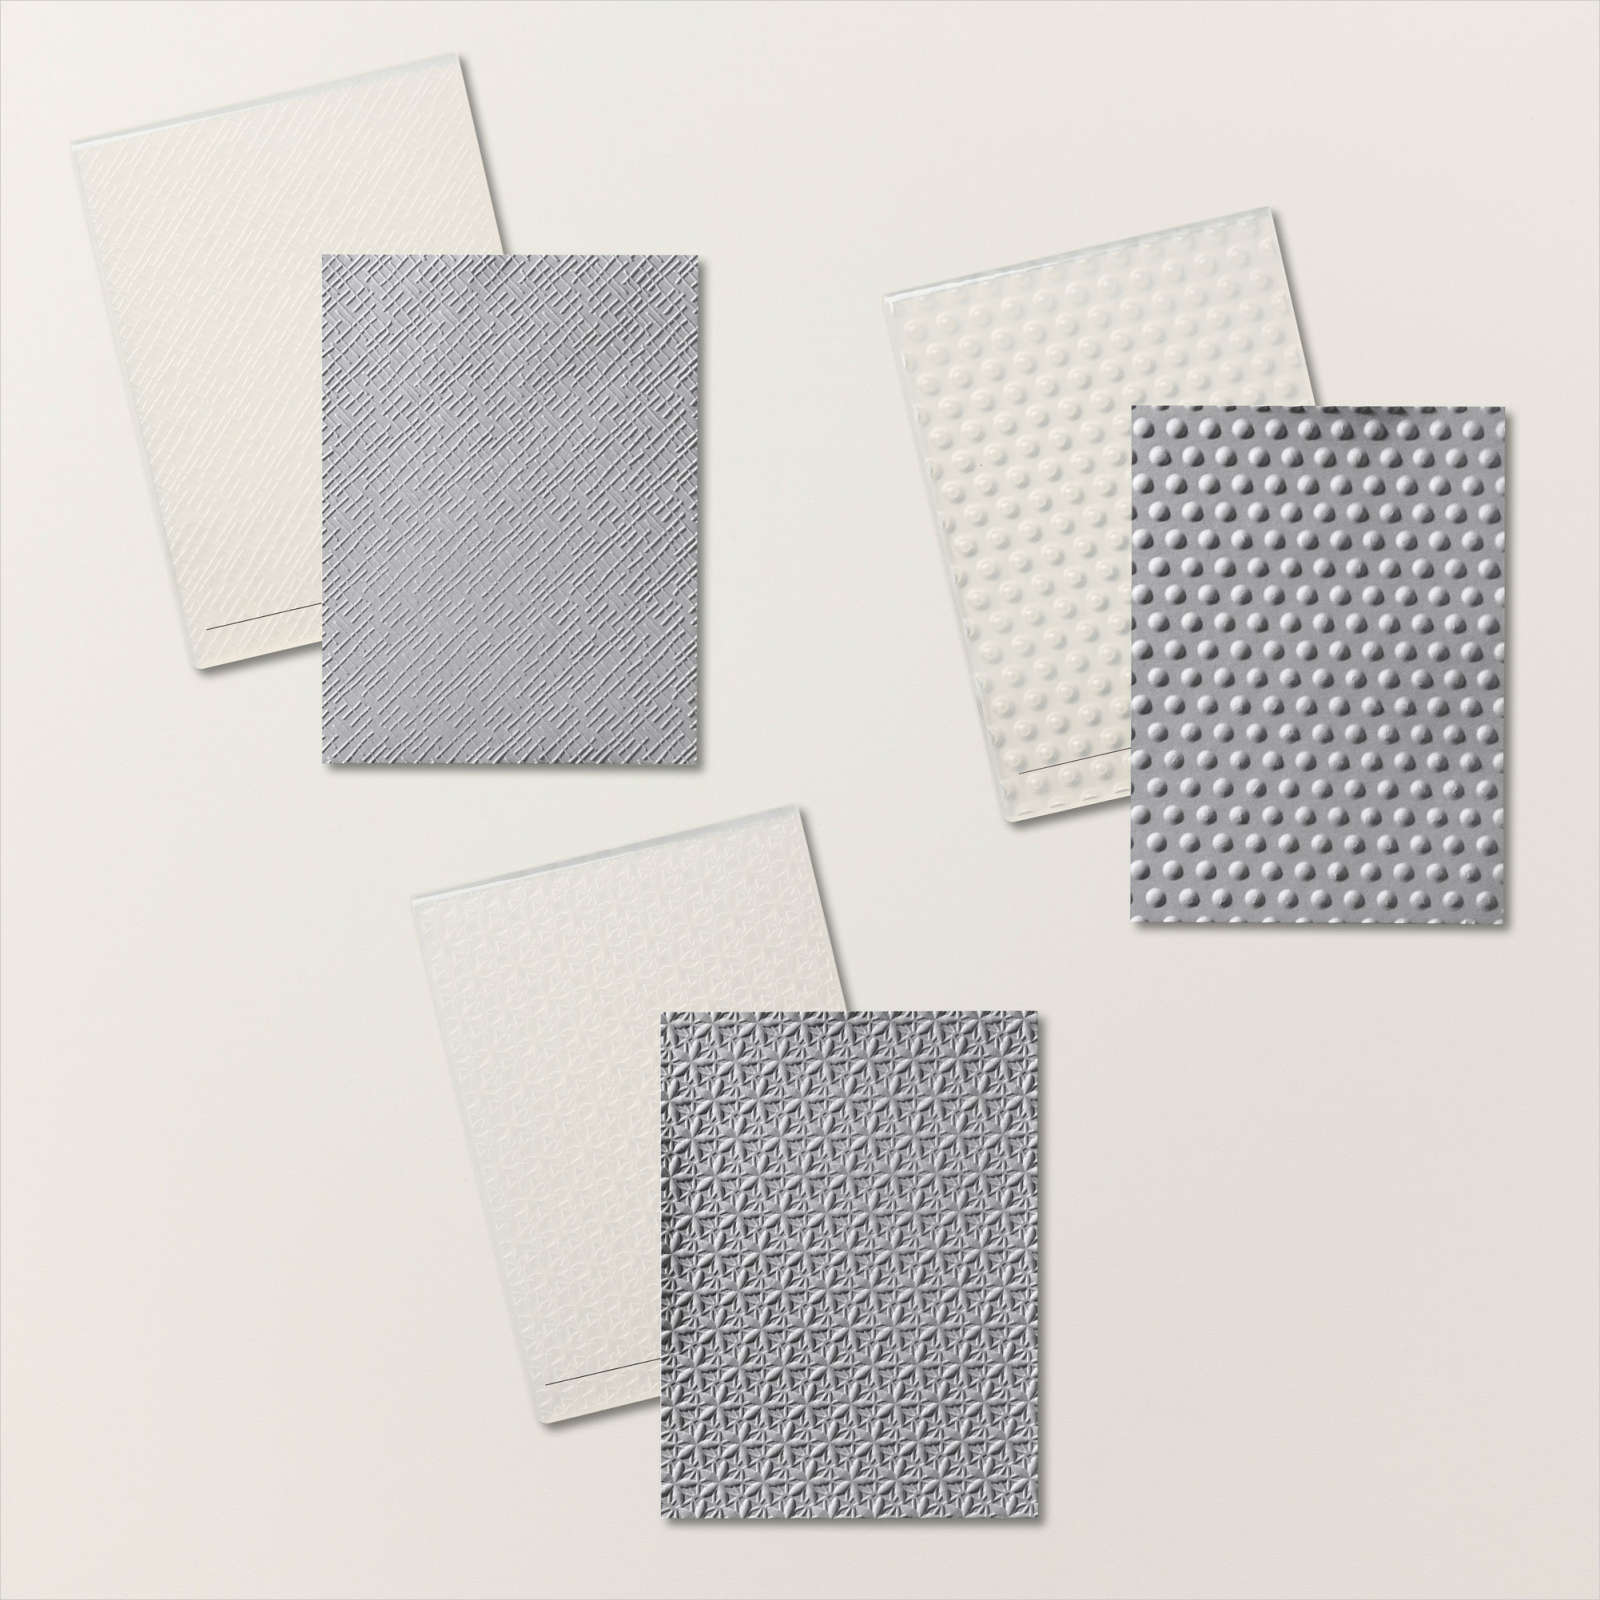
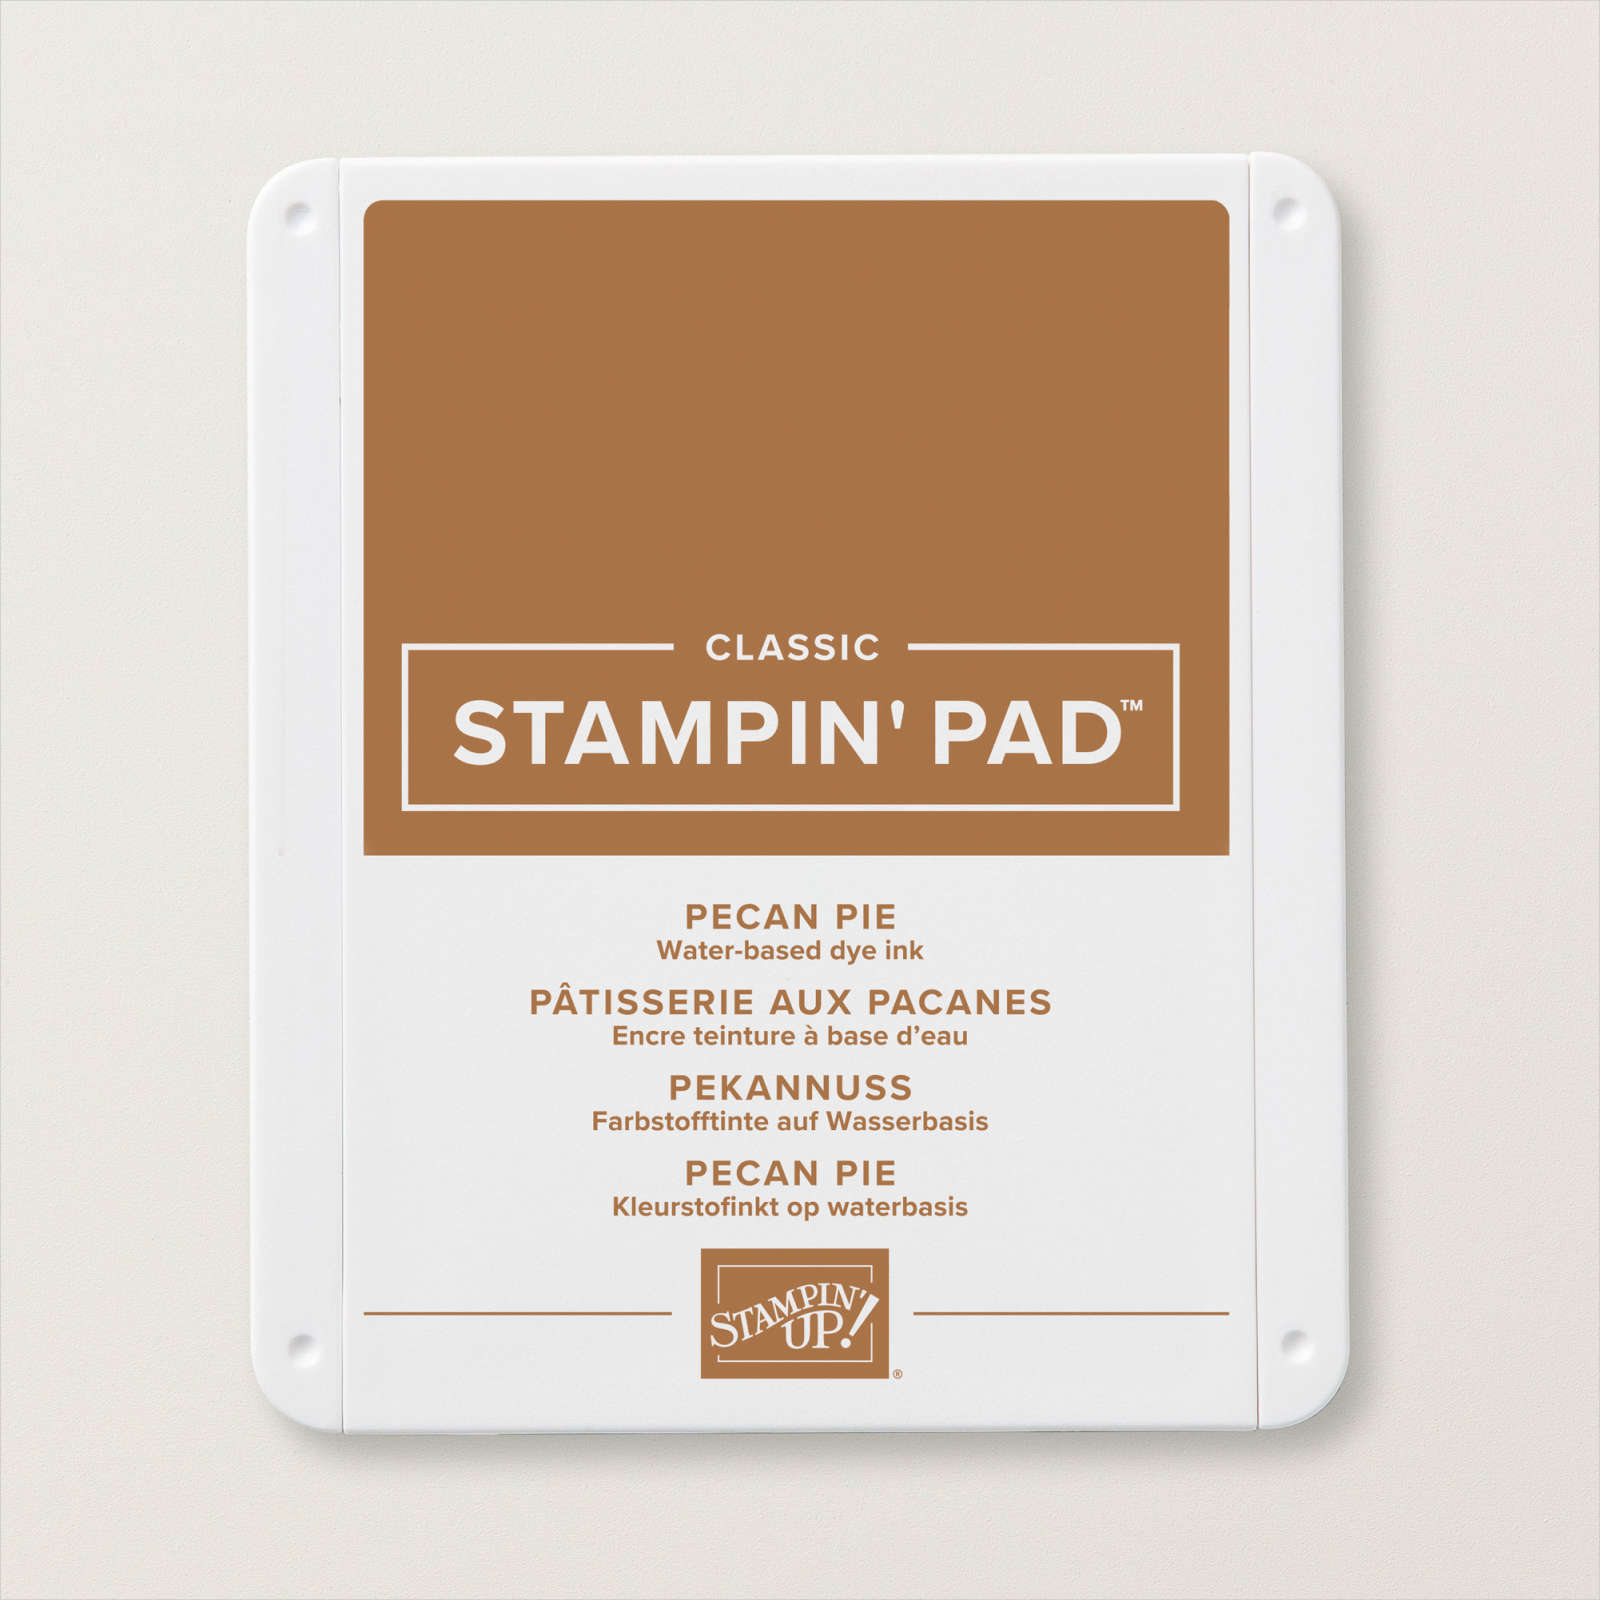
I die cut a panel of the Hello, Irresistible 6″ x 6″ Designer Series Paper using the On The Ocean Dies three times to create the ocean. I also cut Moody Mauve card using the die for the boat and also the sail/mast from the On The Ocean Dies. I attached the boat die cut to the coloured panel with the ocean panels over the top. I die cut the sails from Very Vanilla card using the On The Ocean Die and embossed the panel using one of the Basics 3D Embossing Folders. I added a little Pecan Pie ink to the sails before cutting them apart. I attached them to the sail/mast die cut before attaching the panel to the card front. I stamped the bird image from the On The Ocean stamp set onto the card front using Pretty Peacock ink.

I also stamped “happy birthday” from the On The Ocean stamp set onto Very Vanilla card using Very Vanilla ink. I trimmed around the greeting and attached it to the card front using dimensionals. To decorate the inside of the card, I die cut the same pattern of Hello, Irresistible Designer Series Paper using the On The Ocean Dies and attached them across the bottom of a Very Vanilla panel. I stamped another greeting from the On The Ocean stamp set onto the Very Vanilla panel using Pretty Peacock ink.
I love CASEing the catalogue because Stampin’ Up! makes it so easy for demonstrators. As a demonstrator you can access all of the info on how to create each of the cards in the Annual Catalogue. How good is that. Another reason to join Stampin’ Up!
Bye for now,
Kris
Product Used:


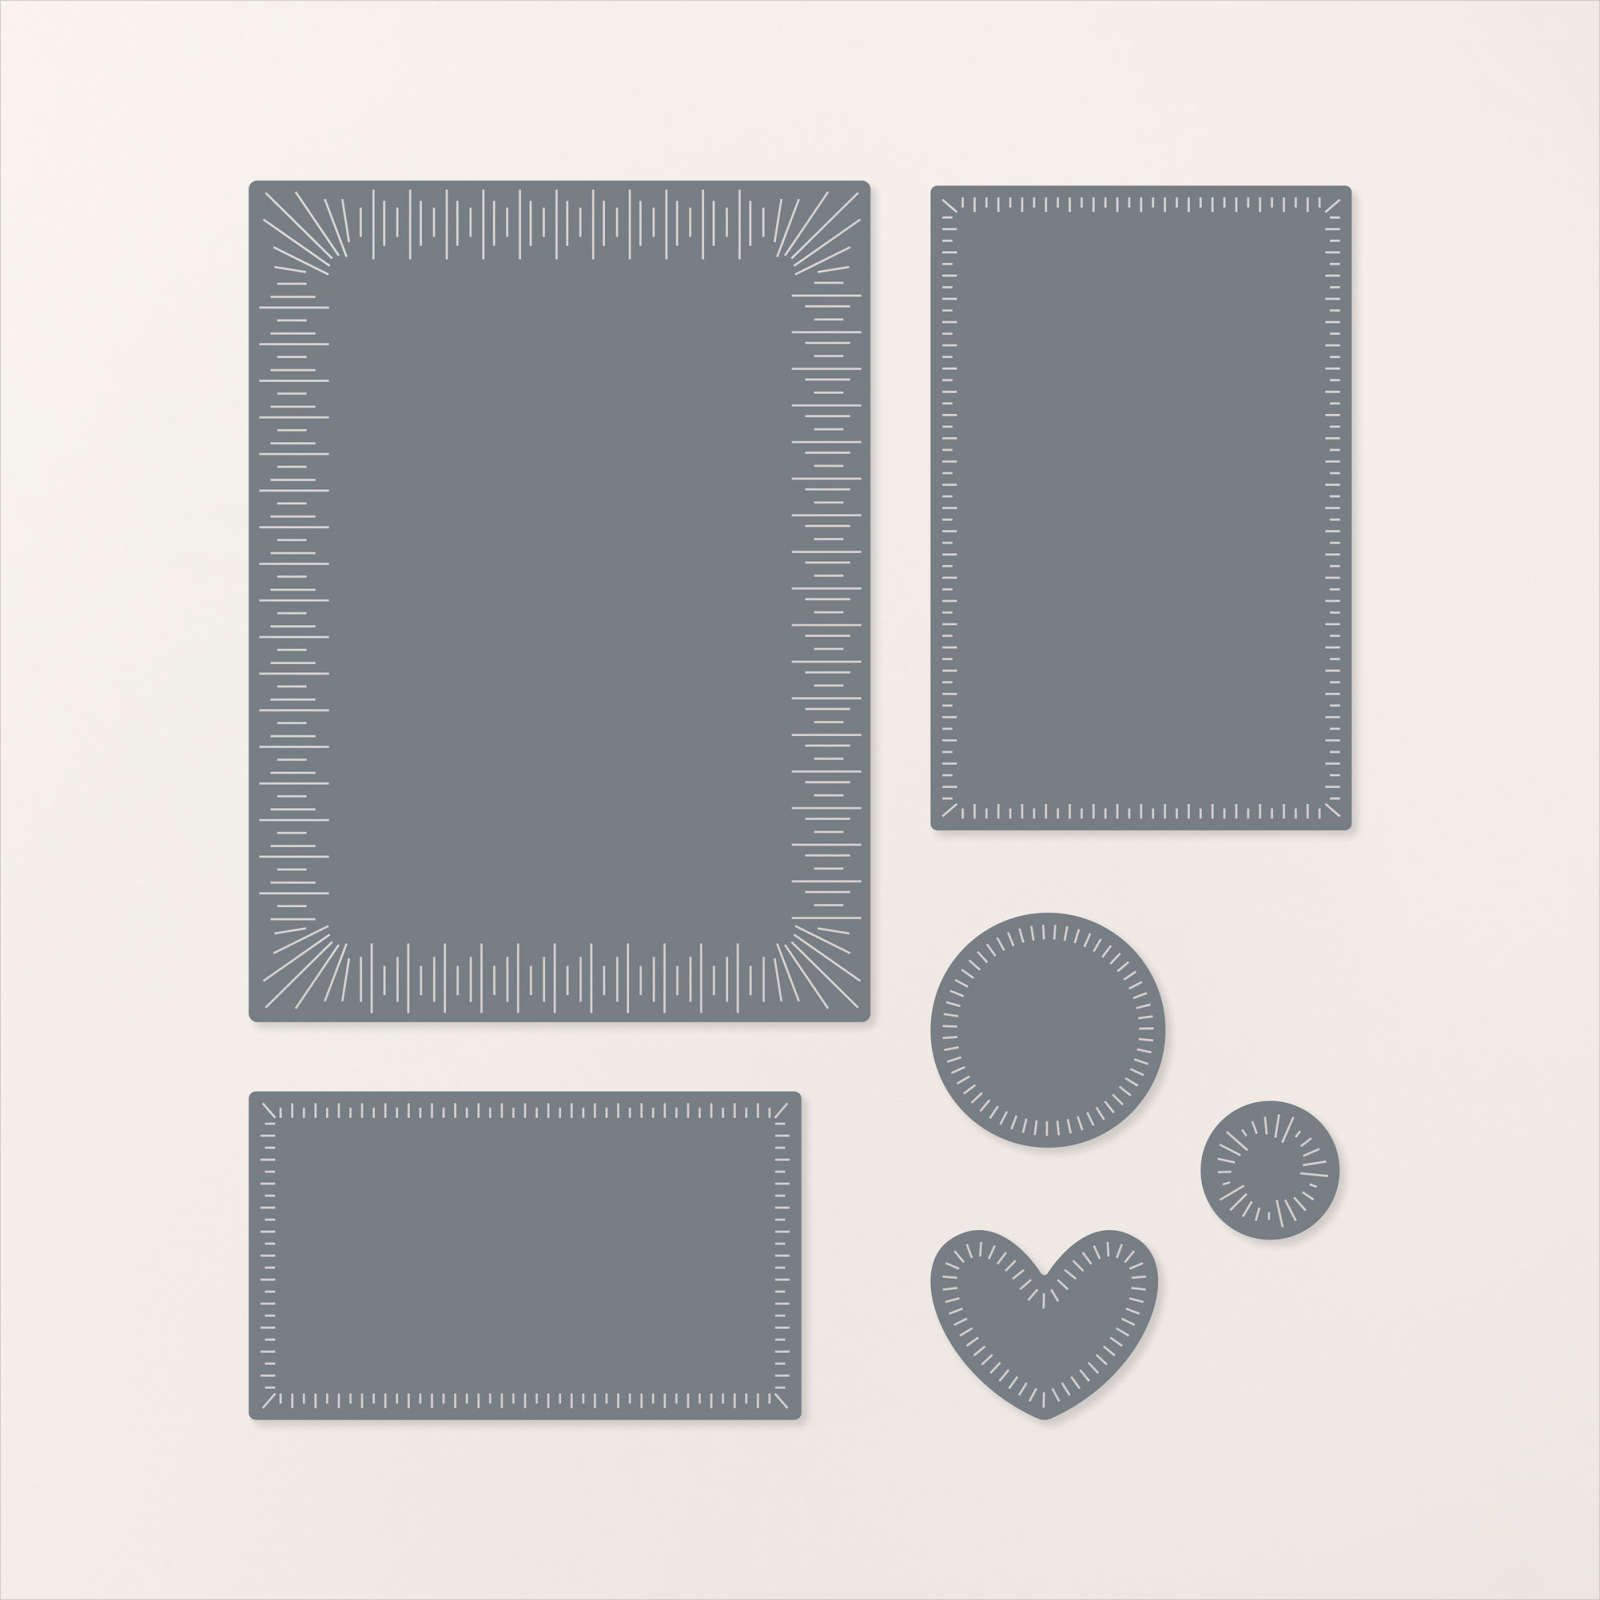
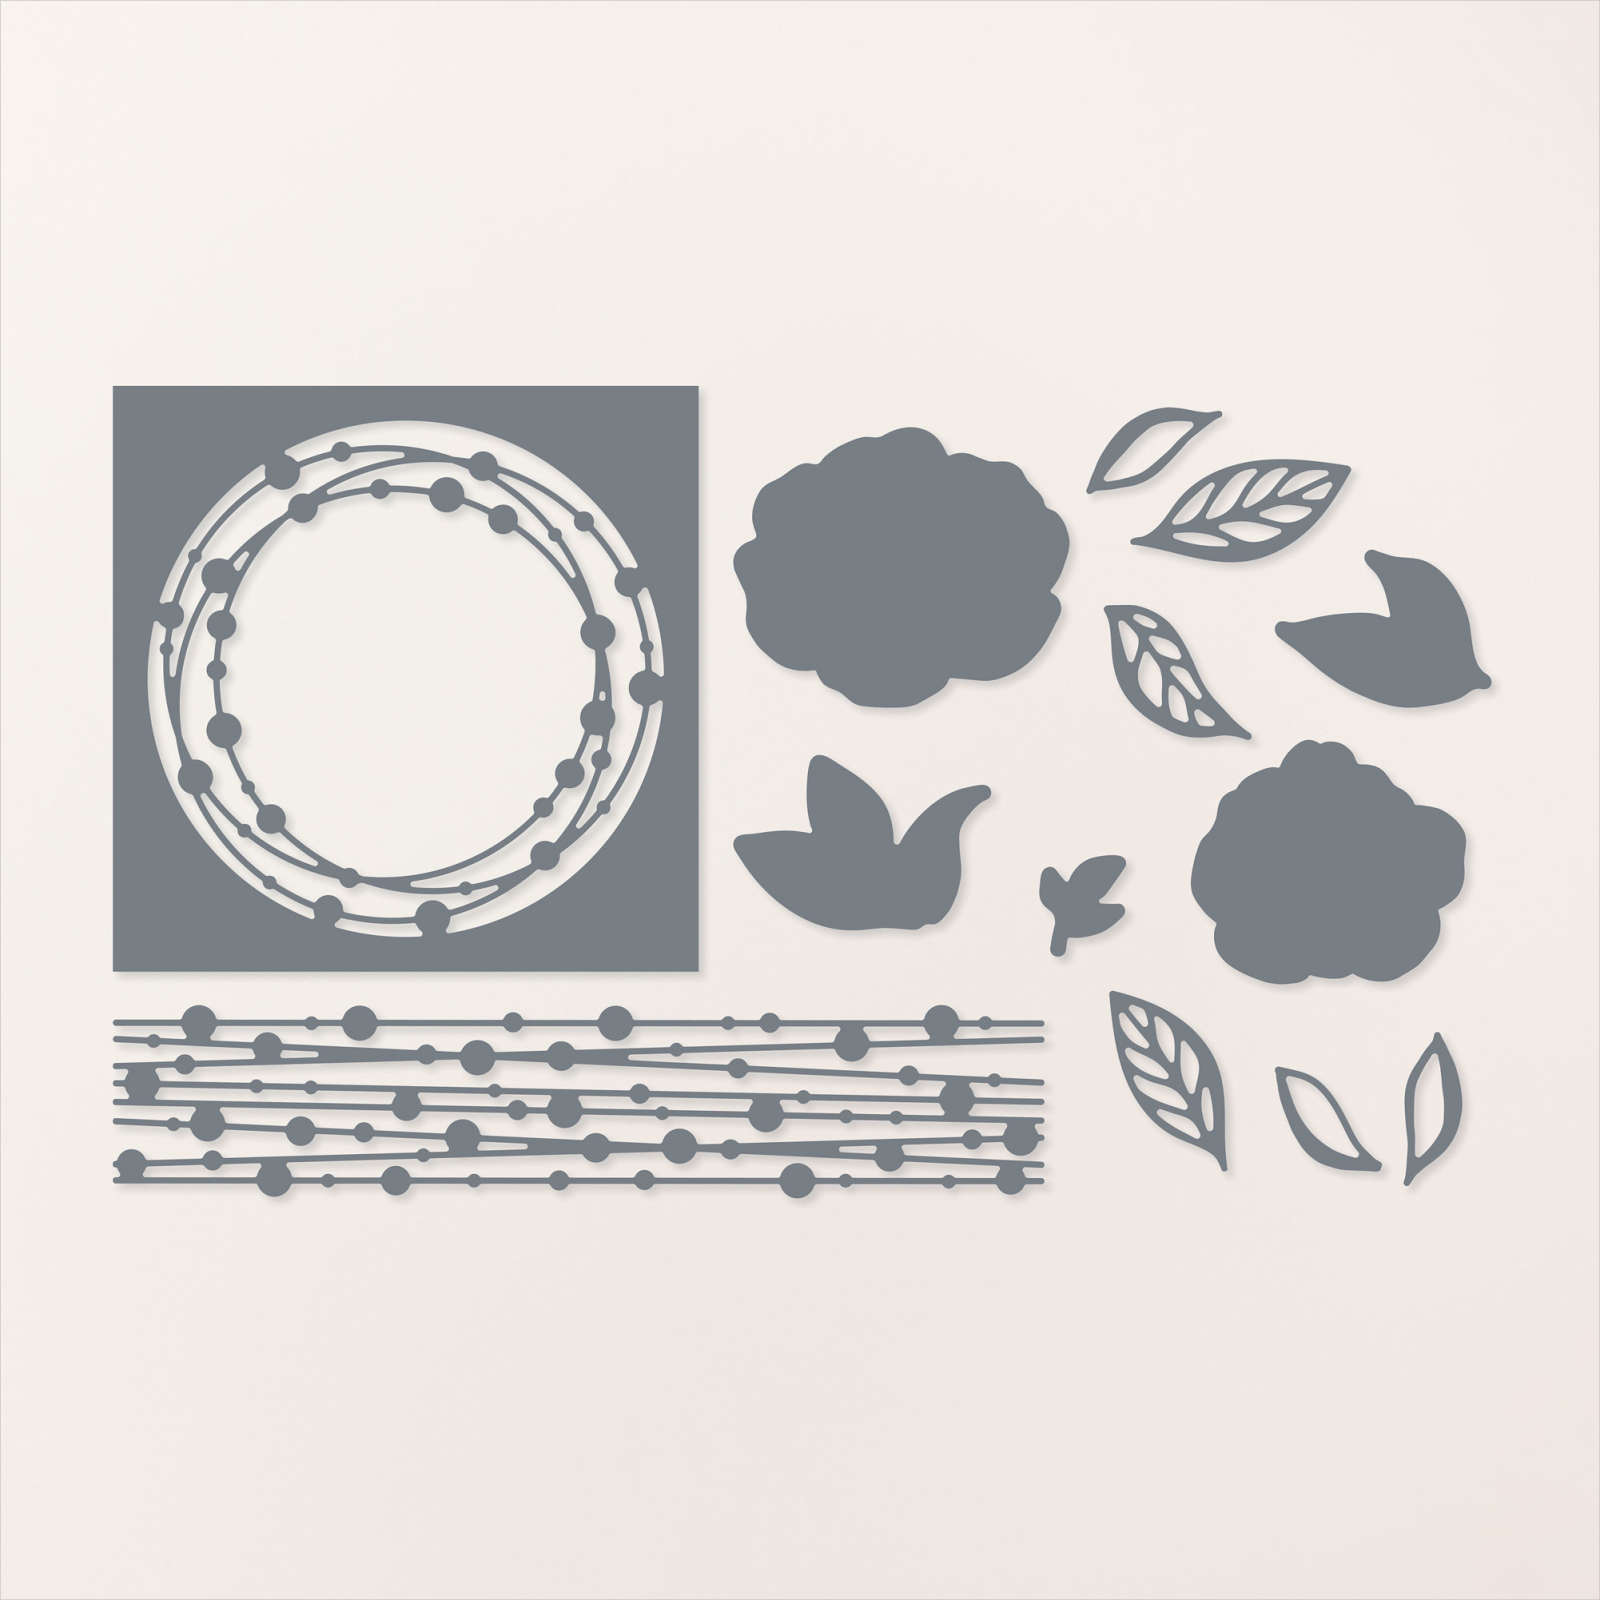
Radiating Stitches

Today I have a card to share using the Radiating Stitches Dies which are part of the Online Exclusive products. I began by cutting Gray Granite card using the largest rectangle from the Radiating Stitches Dies. I then used the second largest rectangle to cut the centre from the die to create a frame. I cut Basic White card using the background die from the Two-Tone Flora Dies, trimmed it down and attached it to the back of the Gray Granite frame. The whole piece is attached to scored and folded Fresh Freesia card. I stamped three of the largest solid flowers from the Two -Tone Flora stamp set onto Basic White card using Bubble Bath ink.

I stamped the detailed flower images over the top using Fresh Freesia ink. I stamped three sets of leaves from the Two-Tone Flora stamp set onto Basic White card using Lost Lagoon ink. All of the flowers and leaves were cut out using co-ordinating dies from the Two-Tone Flora Dies. I layered the flowers and leaves onto the lower left hand corner of the Gray Granite die, attaching the largest flower and one set of leaves using dimensionals.

I stamped “happy birthday” from the Something Fancy stamp set onto Basic White card using Fresh Freesia ink. The greeting is cut out using one of the Something Fancy Dies and attached to the card front using dimensionals. To decorate the inside of the card I stamped the largest solid flower from the Two-Tone Flora stamp set onto the lower left hand corner of Basic White card using Bubble Bath ink. I stamped the detailed flower image over the top using Fresh Freesia ink. I covered the stamped flower with a paper mask and stamped the leaf image using Lost Lagoon ink.
I love how pretty this card is and I am sure to be using these Radiating Stitches Dies on lots more projects.
Bye for now,
Kris
Product Used: