Christmas Clasics
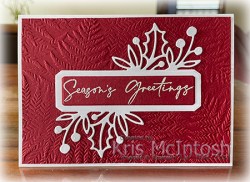
Yesterday in my Facebook Live I shared some cards made using Christmas Classics Bundle from the September to December Mini Catalogue and today I have another one to share. I embossed Cherry Cobbler card using the Fern 3D Embossing Folder and attached it to scored and folded Thick Basic White card.

I cut Basic White card using the decorative banner die from the Christmas Classics Dies. I attached the die cut to the centre of the embossed Cherry Cobbler card. I cut Cherry Cobbler card using the smaller banner die from the Christmas Classics Dies. I stamped the greeting from the Christmas Classics stamp set onto the Cherry Cobbler banner using Versamark ink.
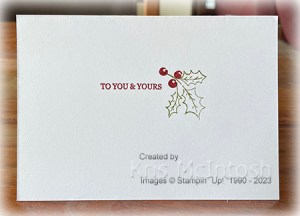
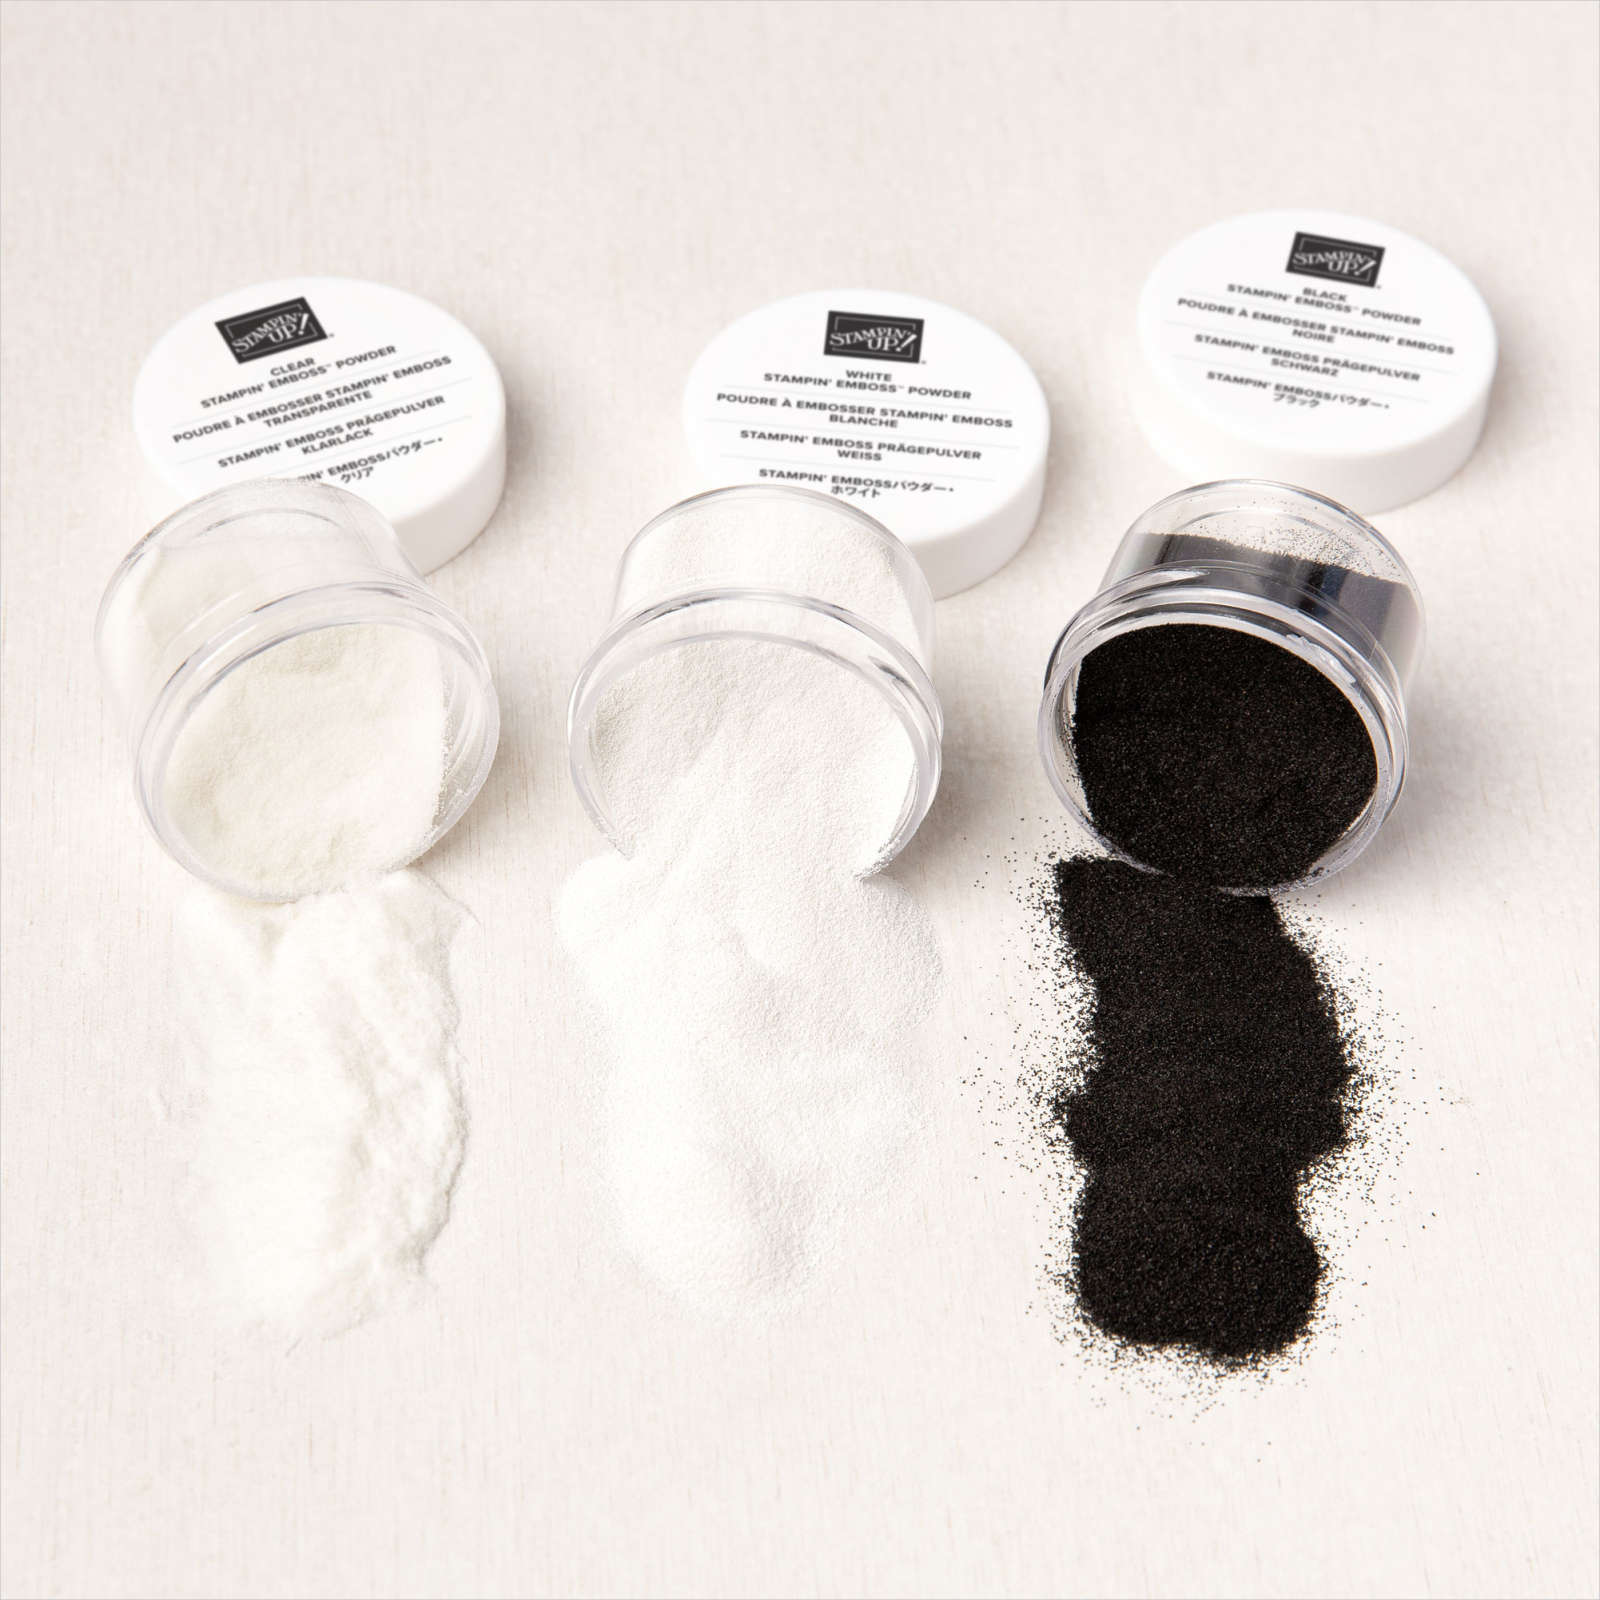
I sprinkled the greeting with White Embossing Powder and heat set it. The greeting is attached to the centre of the Basic White banner. To decorate the inside of the card, I stamped the holly leaves from the Christmas Classics Bundle using Old Olive ink. I stamped another greeting from the Christmas Classics stamp set and the berry image using Cherry Cobbler ink. I decided that I should create another card this time using Old Olive card to emboss and stamp on.

I think they both look great and so simple to create.
Bye for now,
Kris
Product Used:


Delightfully Floral Birthday
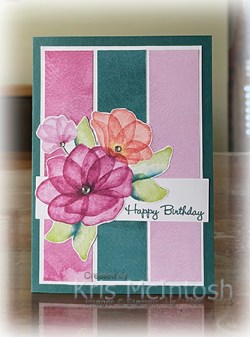
I created this card for a friend who recently celebrated her birthday. I cut three pieces of the Delightfully Floral 12″ x 12″ Designer Series Paper to Basic White card. This Designer Series Paper is a new addition to the Online Exclusives and co-ordinates perfectly with the Translucent Florals Bundle. However, this designer series paper will only be available while stocks last. I attached the Basic White panel to scored and folded Pretty Peacock card. I stamped “happy birthday” from the Go To Greetings stamp set onto the lower right hand corner of a strip of Basic White card using Pretty Peacock ink.
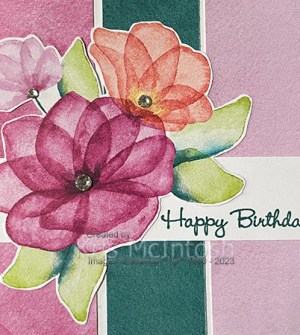
The stamped panel is attached across the lower part of the card front. I cut the image from one of the papers in the Delightfully Floral Designer Series Paper and attached it to the card front. I added a Basic Rhinestone to each of the flowers just to add a little bling.
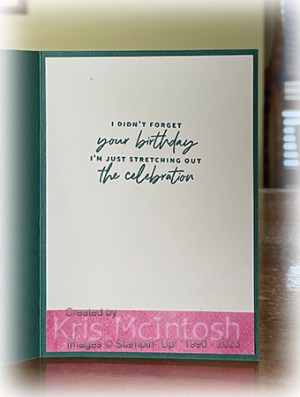
To decorate the inside of the card, I stamped a greeting from the Something Fancy stamp set onto Basic White card using Pretty Peacock ink. I also added a strip of one of the papers from the Delightfully Floral 12″ x 12″ Designer SEries Paper across the bottom of the stamped panel.
I love how soft and pretty this card is, don’t you. Perhaps I have inspired you to check out the new Online Exclusives in my online store.
Bye for now,
Kris
Product Used:


Free Shipping

If you love saving money as much as I do then you are going to love this offer from Stampin’ Up!. From tomorrow the 9th October up to and including the 11th October if you place an order of $65.00 or more you will have Free Shipping. How amazing is that. So if you have a long wish list, then this would be the perfect time for you to place an order. Happy shopping.
Bye for now,
Kris
Father’s Day 2012
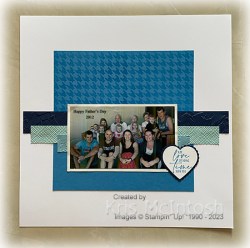
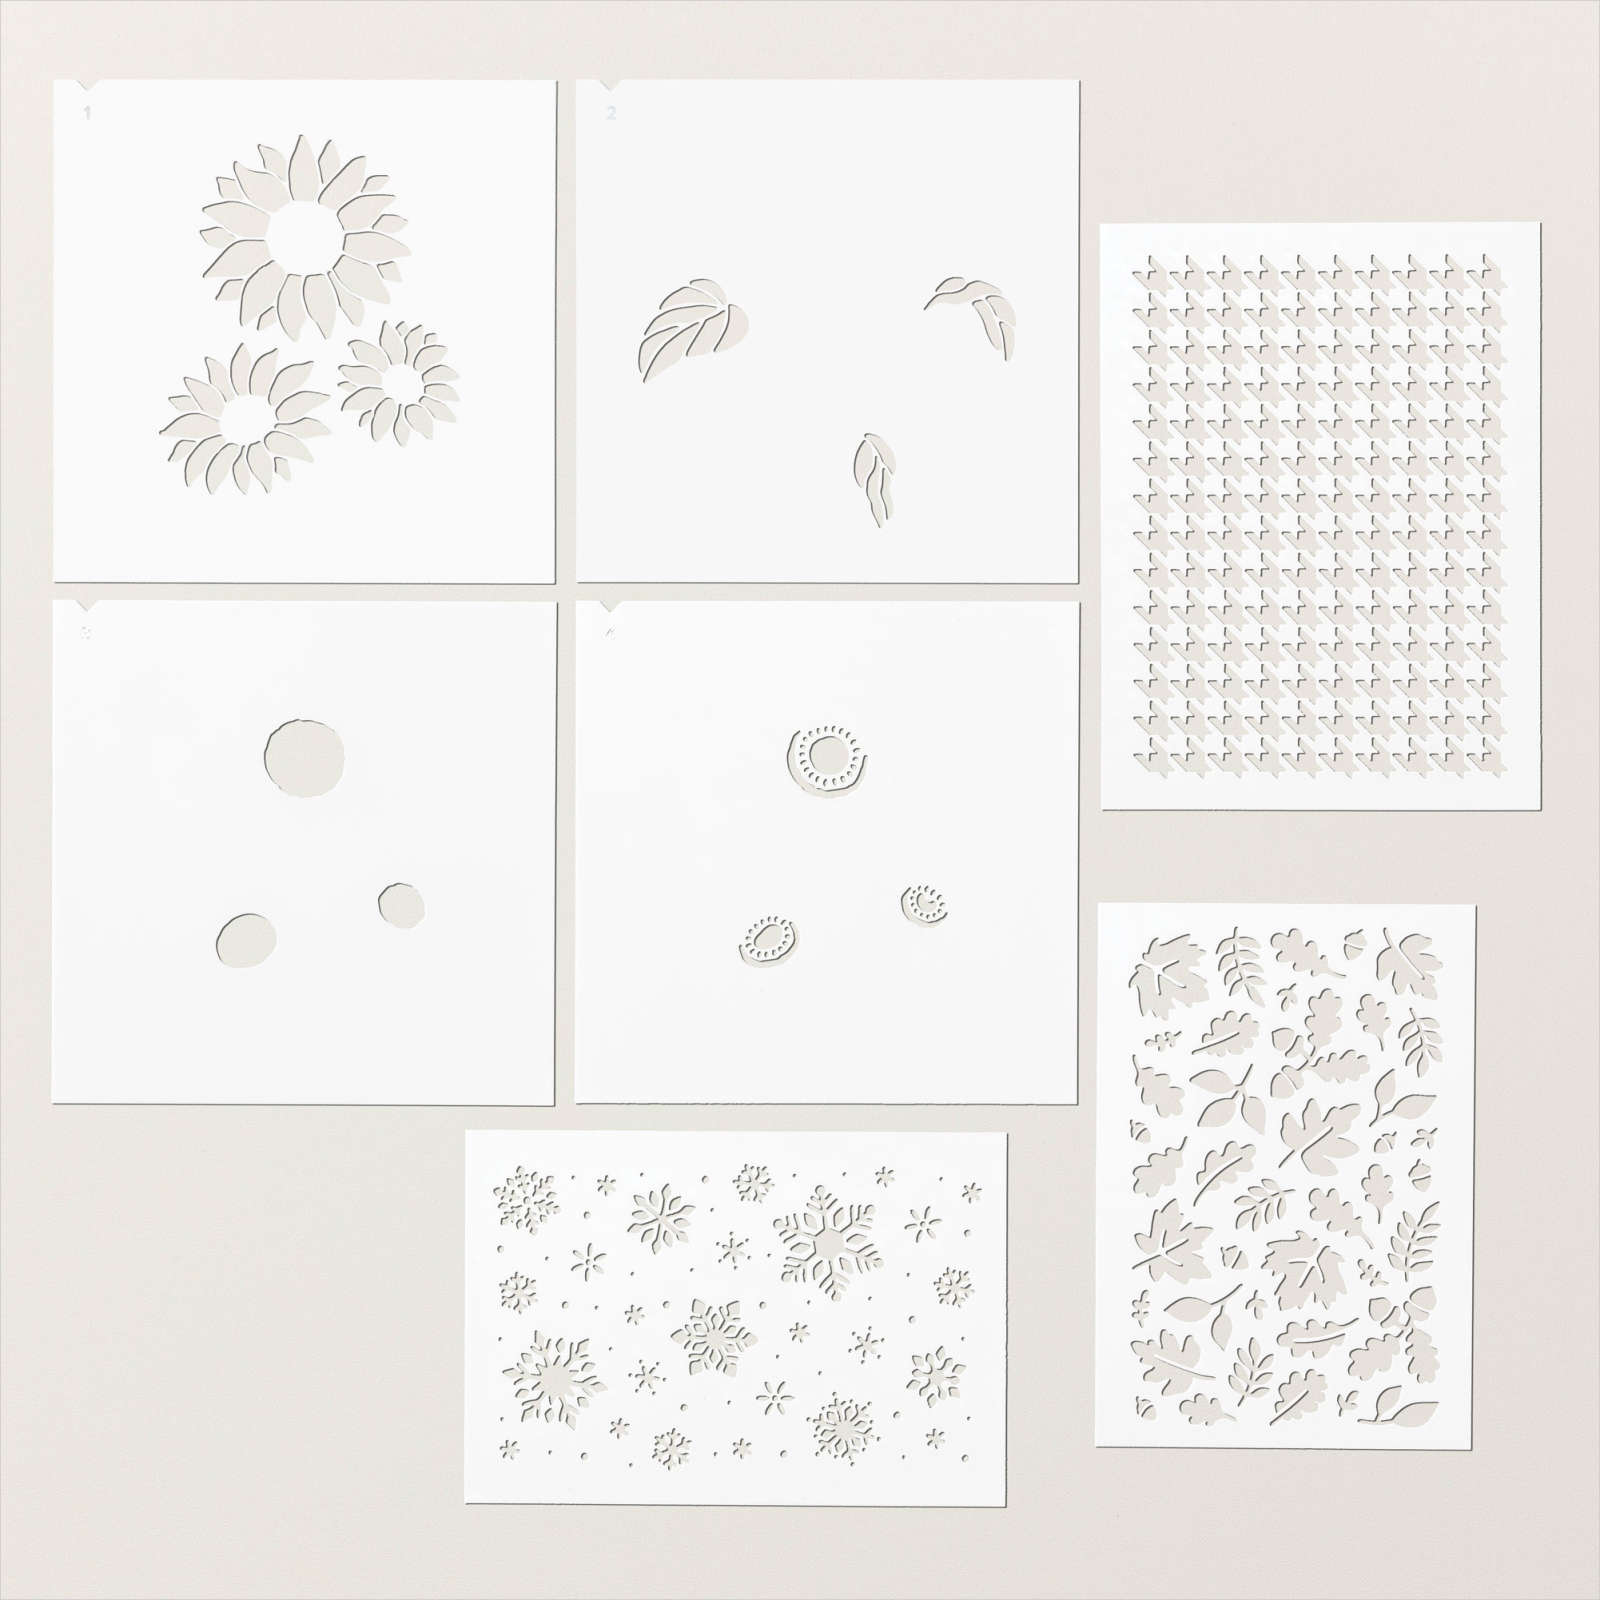
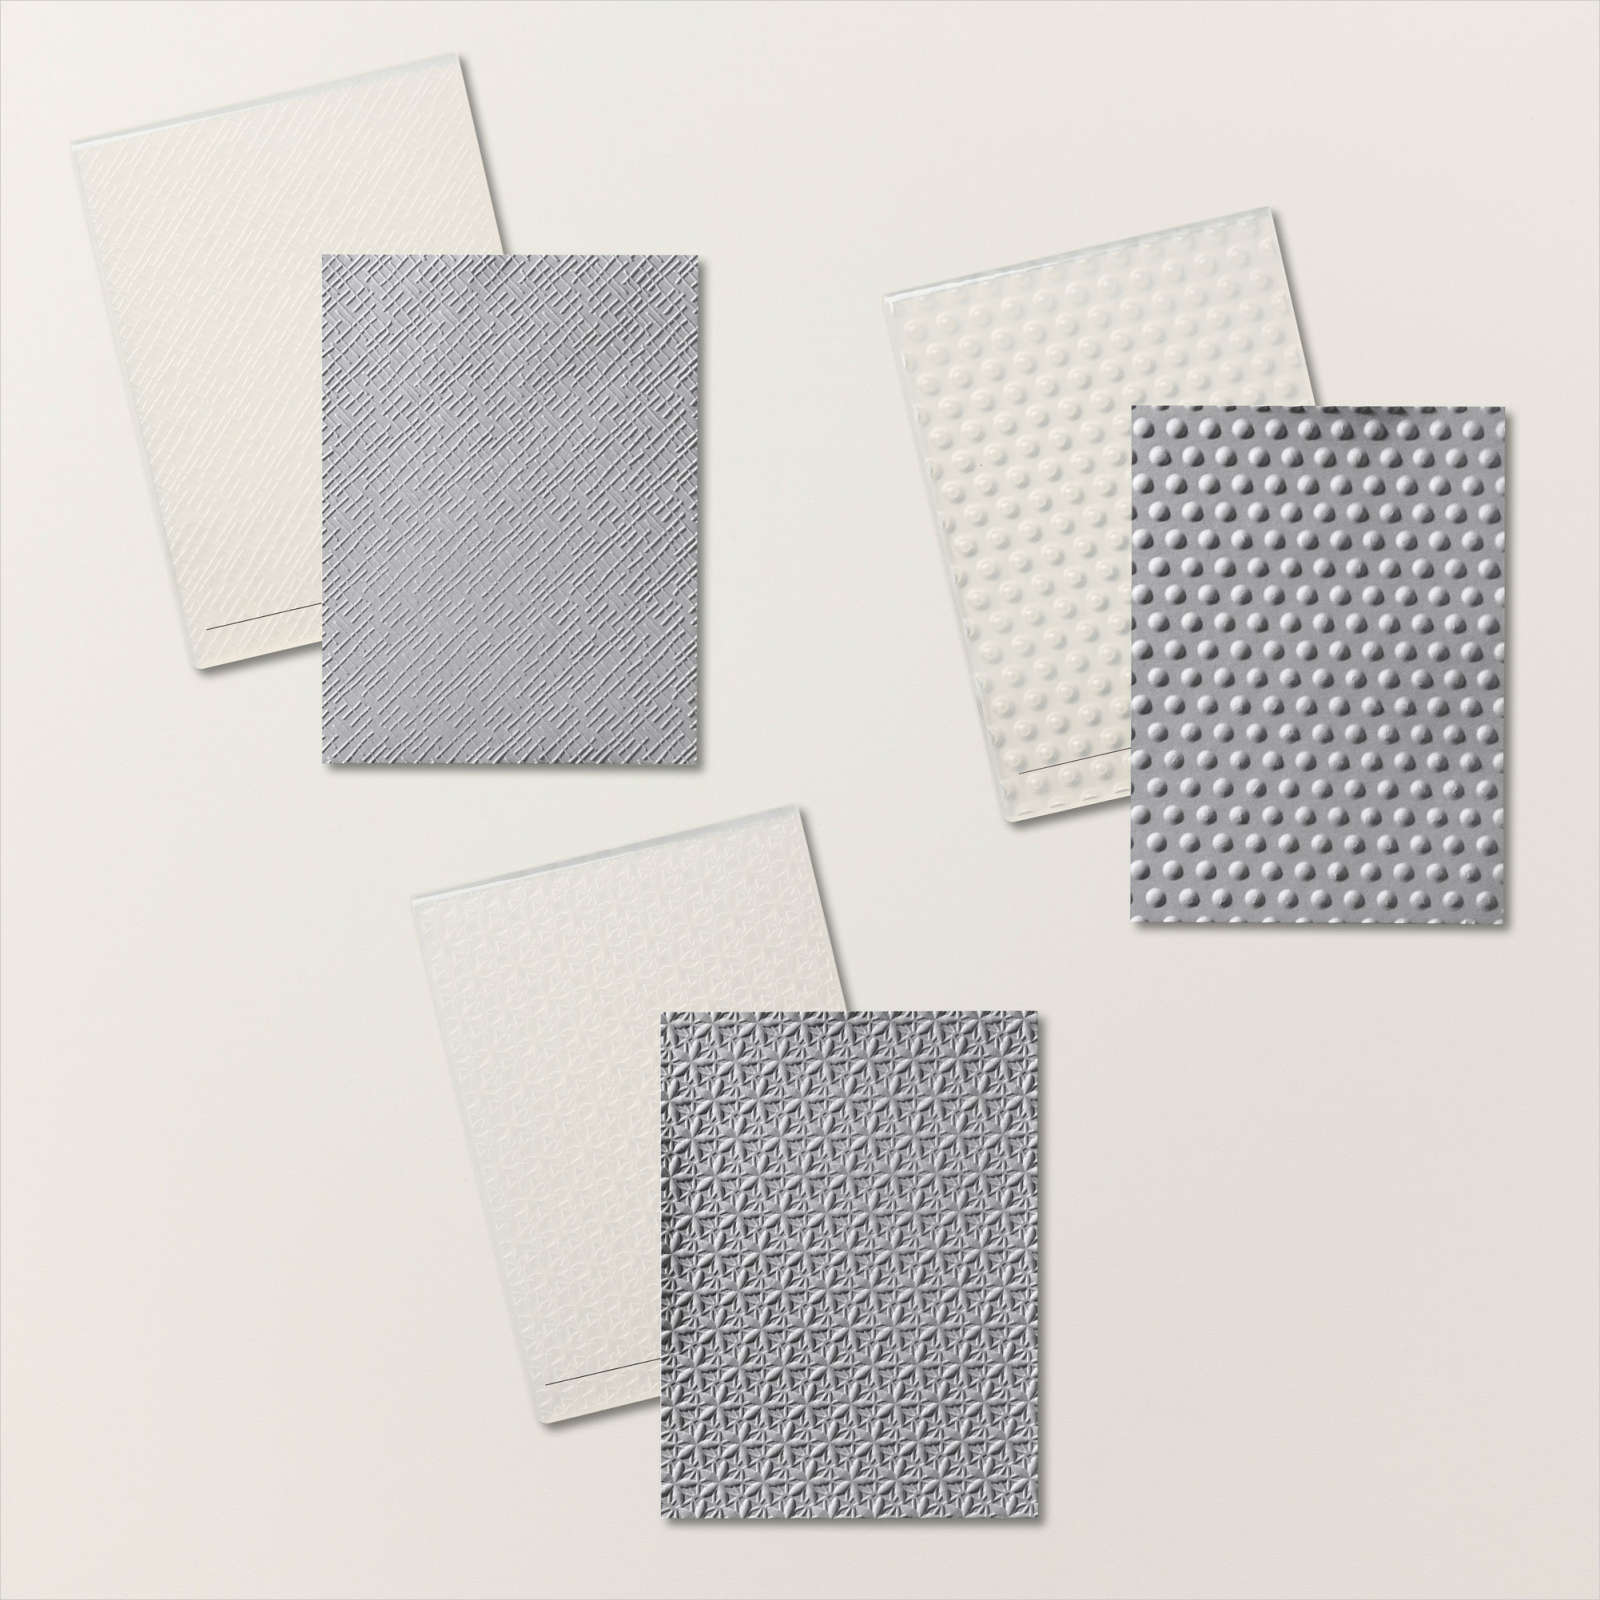
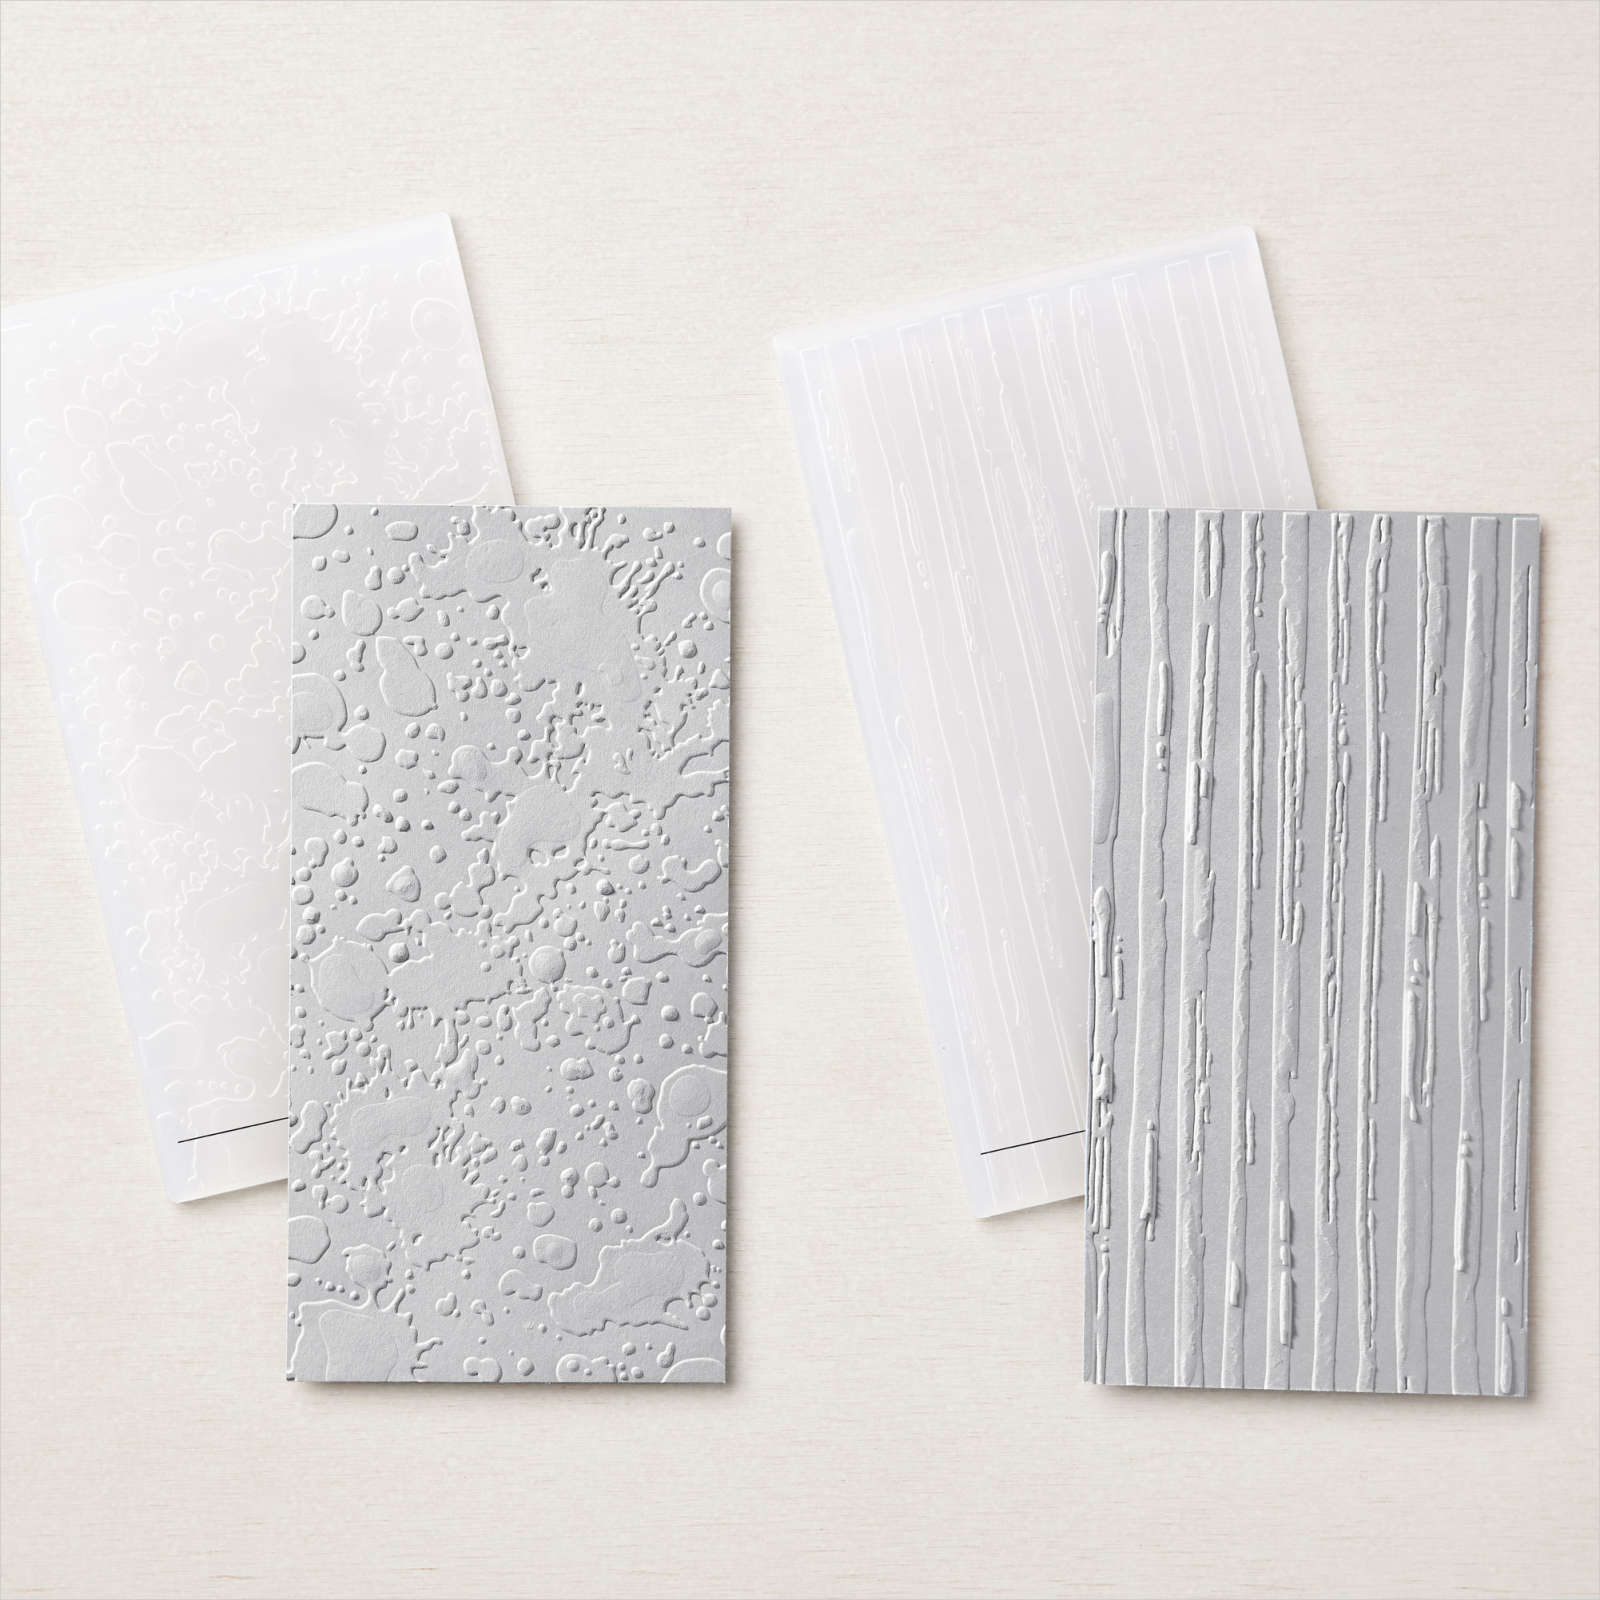
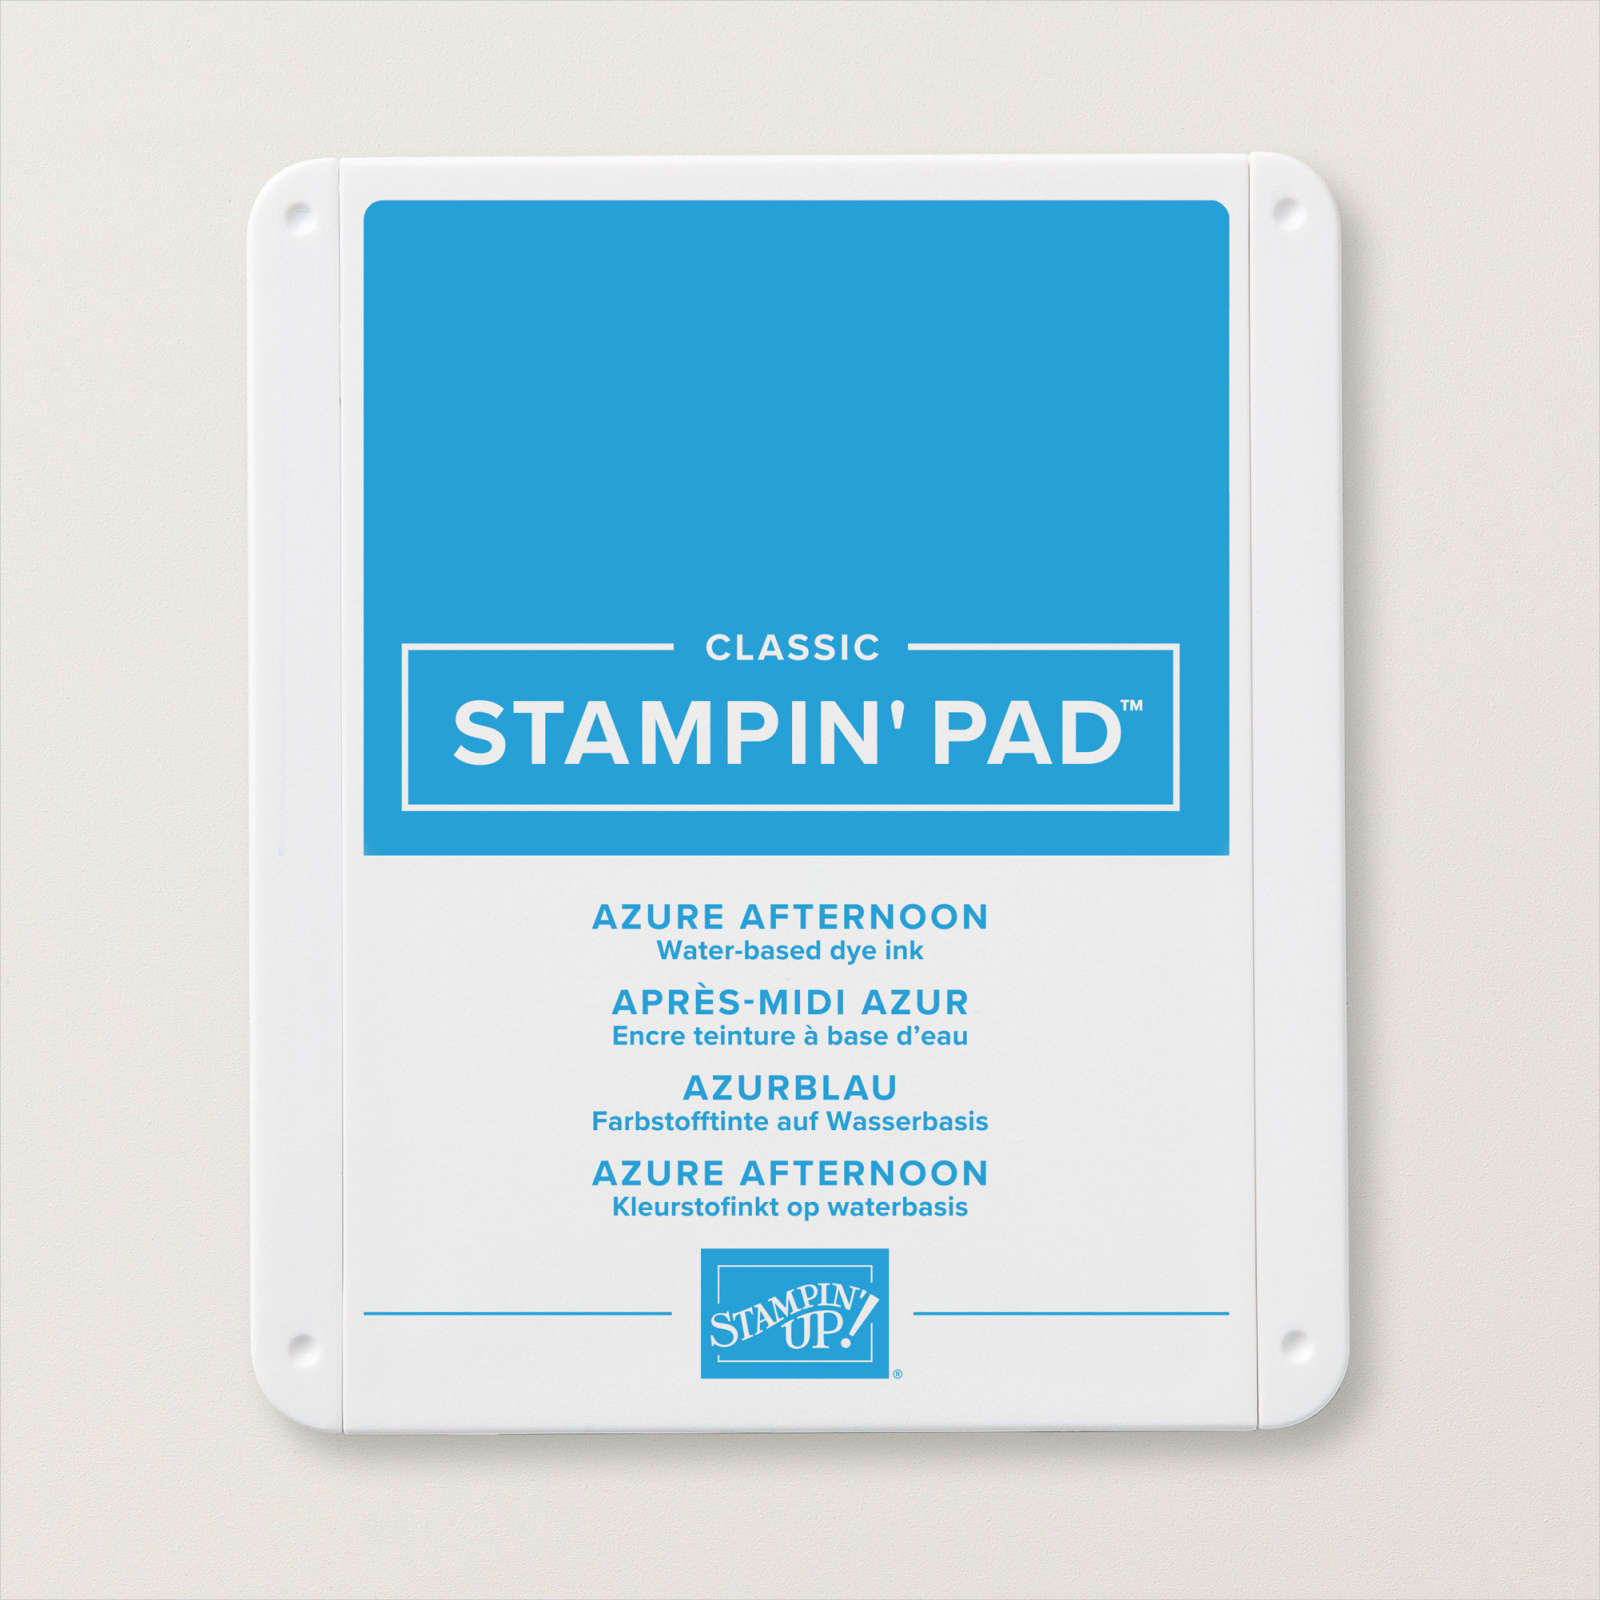
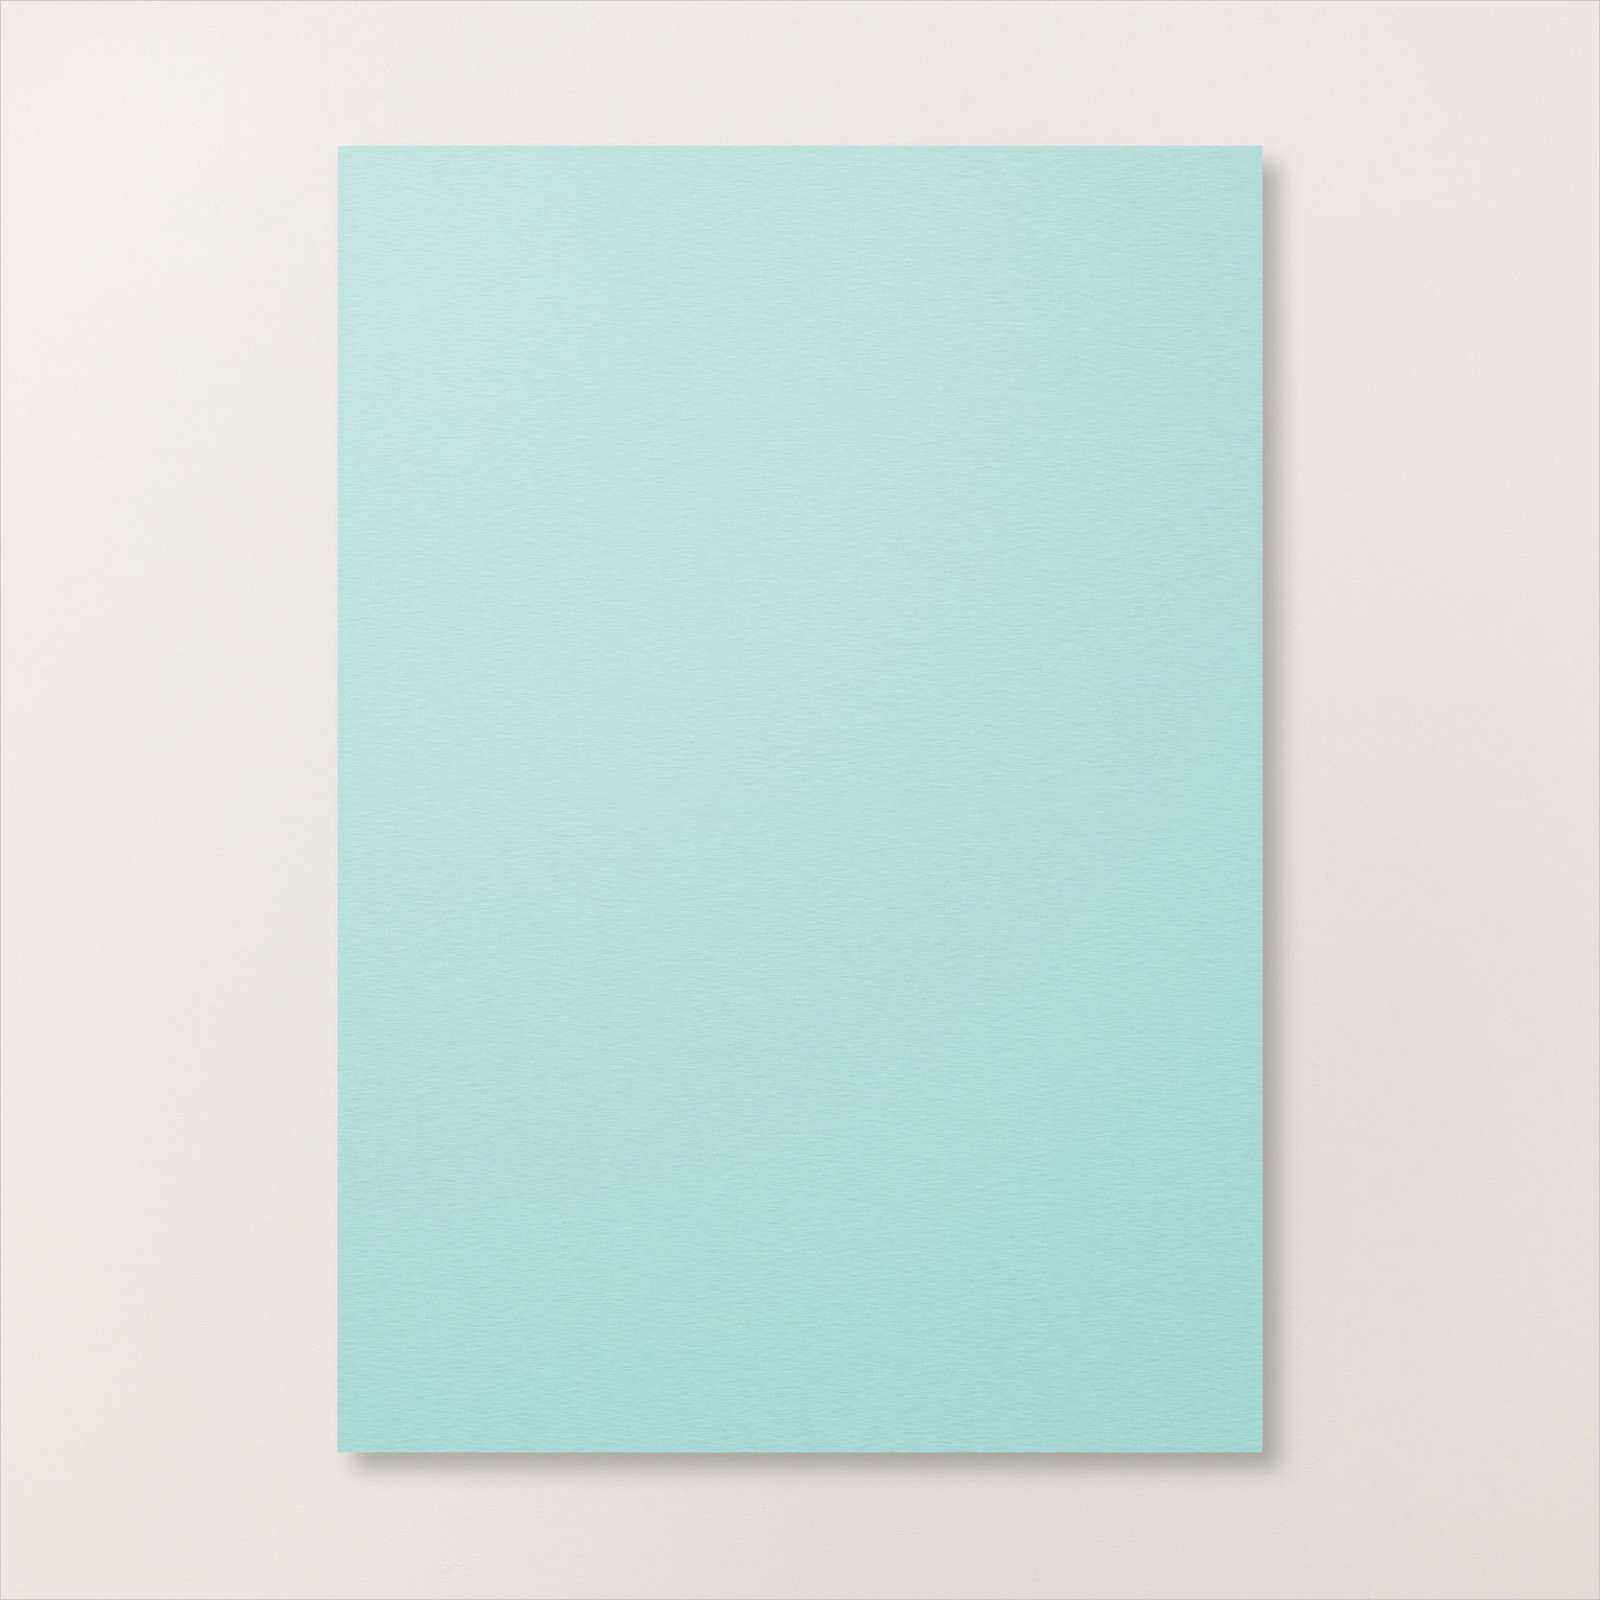
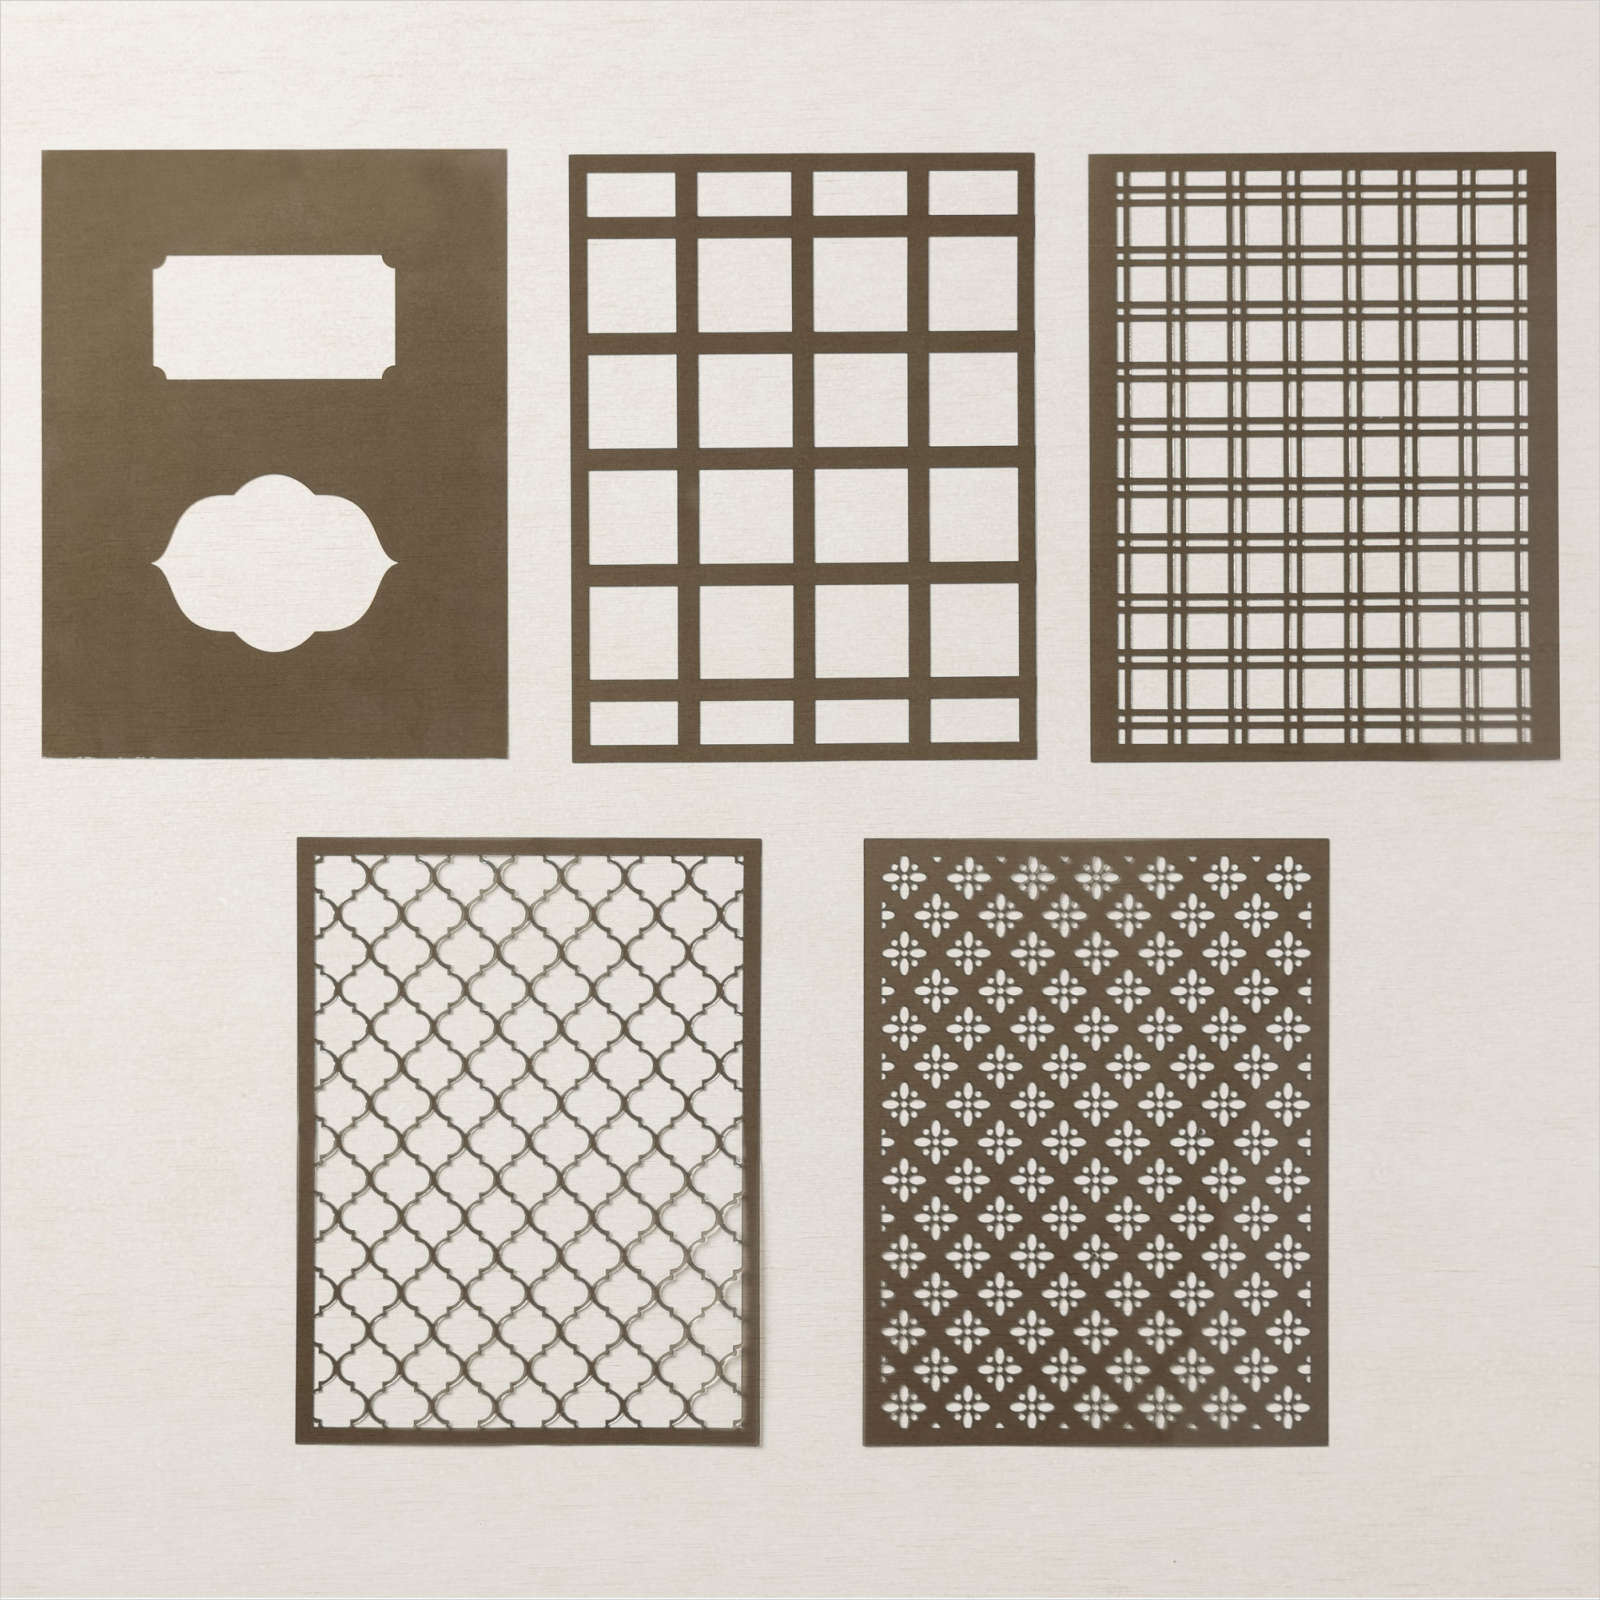
I found this photo taken on Father’s Day 2012 in my box on the shelf and even though the photo is a little past its best, I just had to create this page. I used the Abundant Beauty Decorative Masks to add Azure Afternoon ink to the top section of a piece of Azure Afternoon card. The decorated panel is attached to the centre of a Basic White 12″ x 12″ page. I cut a strip of Night of Navy card and embossed it using the Painted Texture 3D Embossing Folder and attached it across the page.

I embossed a strip of Pool Party card using one of the folders from the Basics 3D Embossing Folders and attached it across the bottom of the Night of Navy card. I embossed a strip of Balmy Blue card using the splatter folder from the Stripes & Splatters 3D Embossing Folders and attached it across the bottom of the Pool Party card. I attached my photo over the top. I stamped the greeting from the So Sincere stamp set onto Basic White card using Azure Afternoon ink and punched it out using the plain heart from the now retired Heart Punch Pack. I punched Night of Navy card using the scalloped heart from the Heart Punch Pack and attached the two hearts together. The greeting is attached to the bottom right hand corner of the photo. I love how happy this page makes me feel. So lucky to have my family living so close.
Bye for now,
Kris
Product Used:


Noel

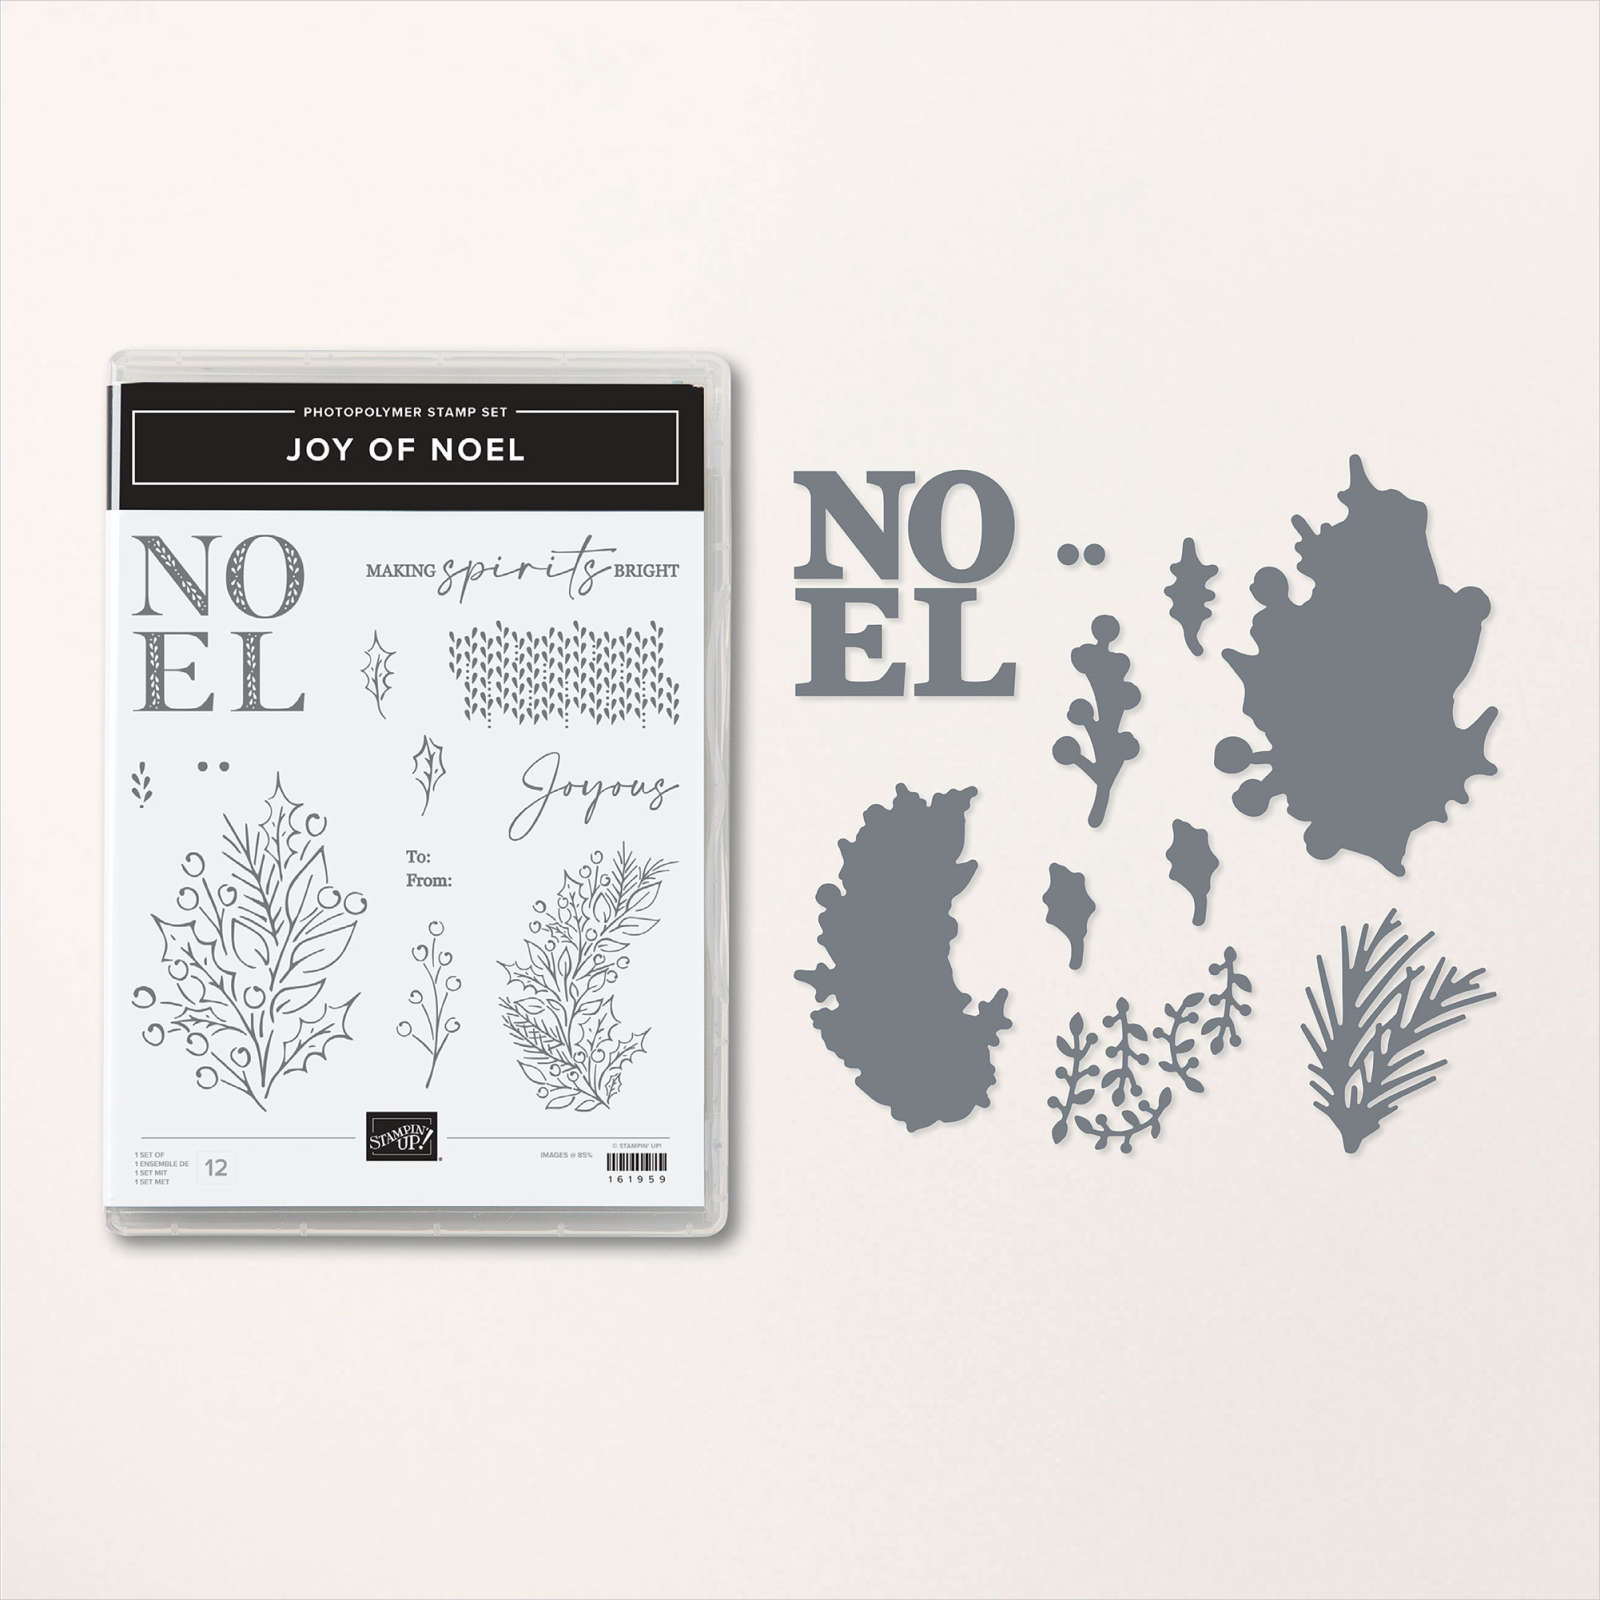
This week in my Facebook Live, I shared some cards using the Joy of Noel Bundle. This bundle is part of the Joy of Christmas collection and includes another stamp set/die bundle as well as designer series paper, gems, ribbon and specialty paper. I stamped the image from the Joy of Noel stamp set directly onto the top of Basic White card and again onto the bottom section of the card using Memento Tuxedo Black ink. I coloured the images using Old Olive and Light Cherry Cobbler Stampin’ Blends.

I attached a strip of Basic White card to Cherry Cobbler card and attached it across the stamped panel between the two images. I stamped “Noel” onto Basic White card using Cherry Cobbler ink and cut out the letters using the co-ordinating Joy of Noel Dies. I attached the letters across the Basic White panel.

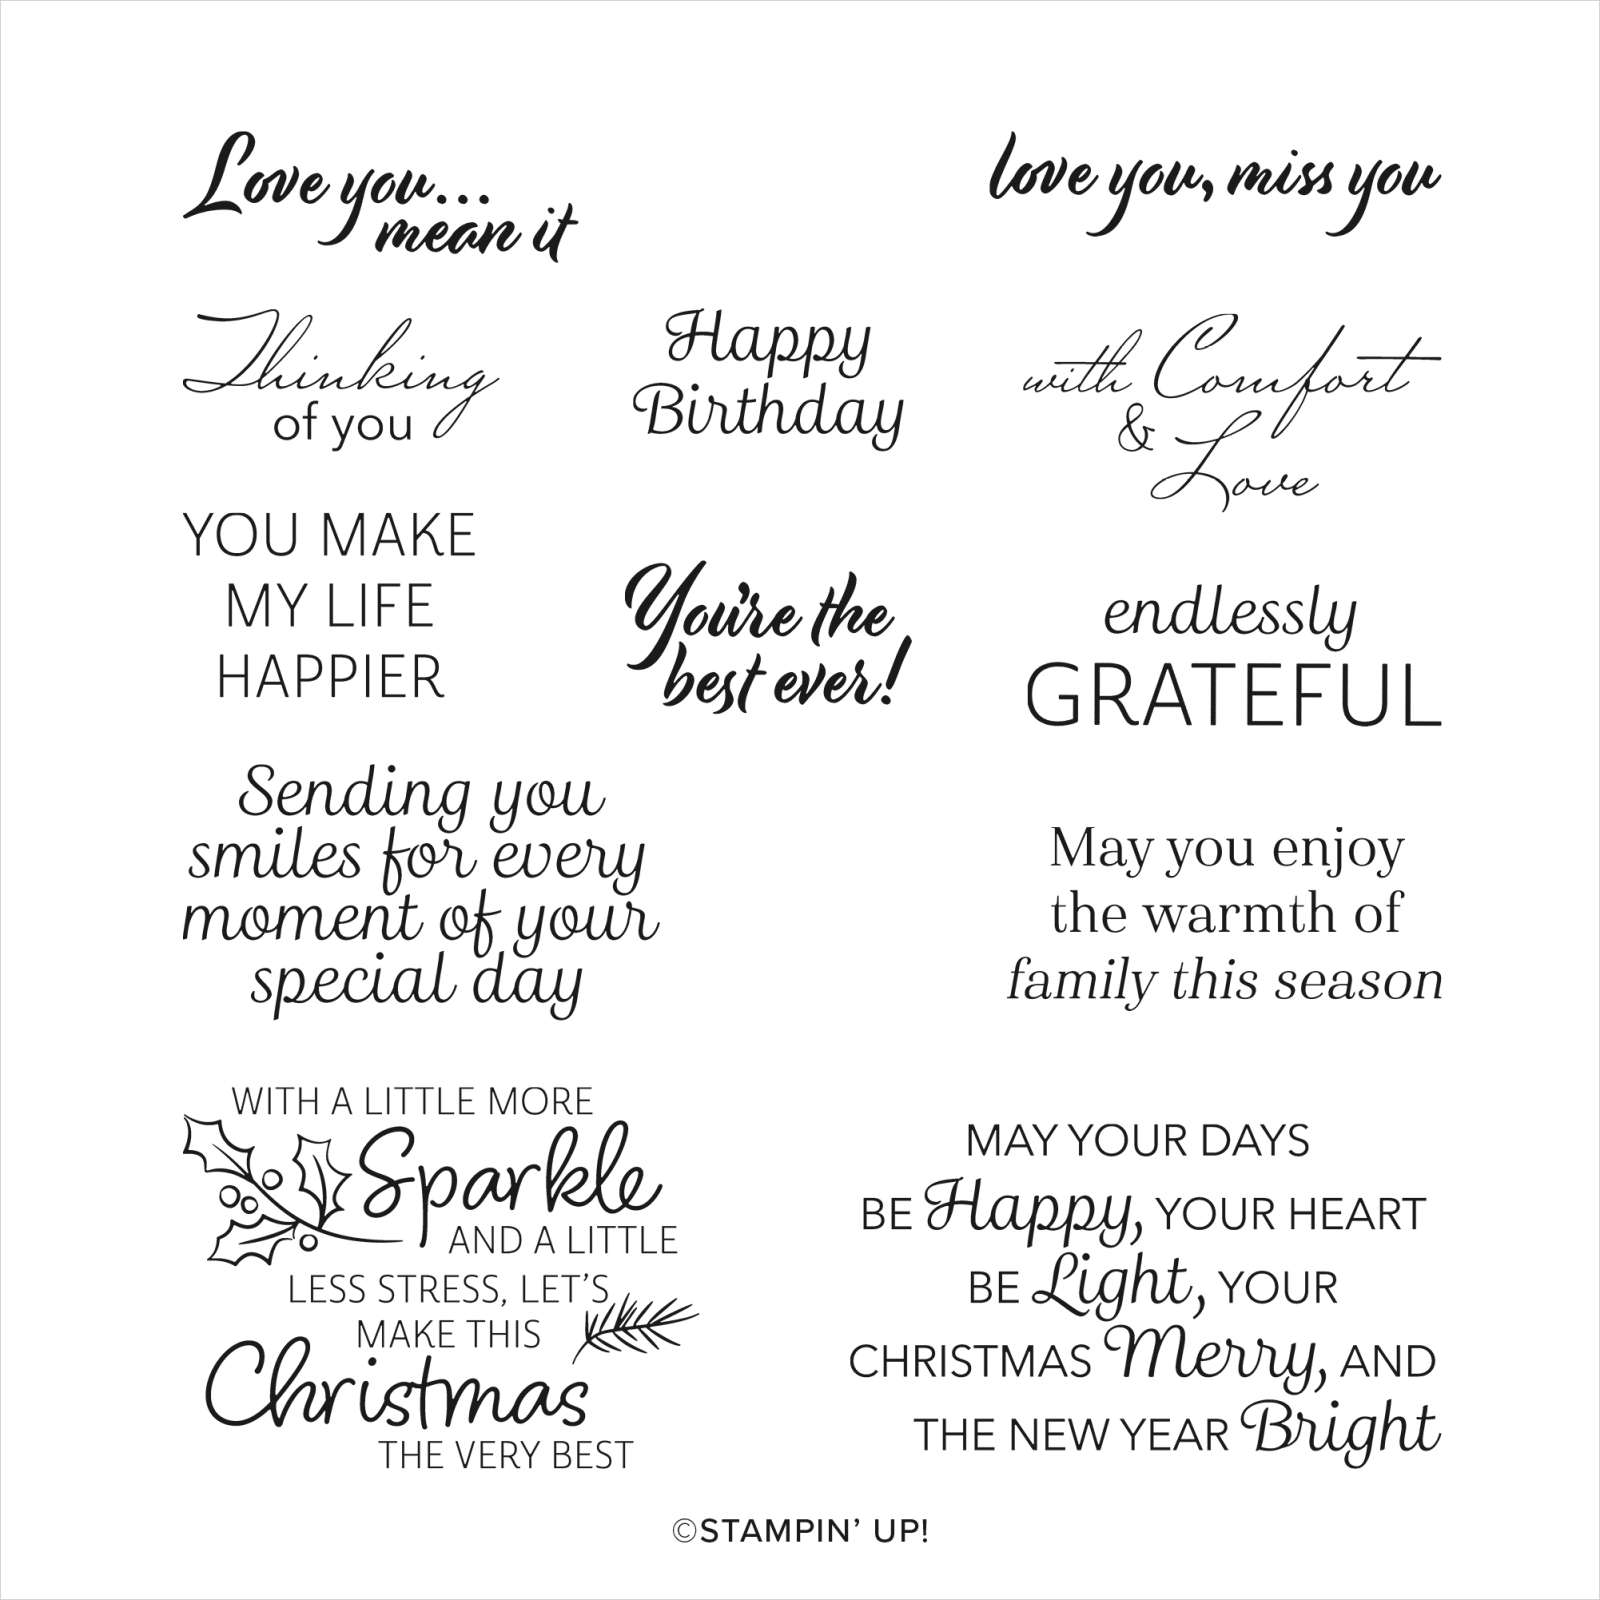
To decorate the inside of the card, I stamped and coloured the image as before onto the left hand side of Basic White card using Memento Tuxedo Black ink. I also stamped a greeting from the Very Best Occasions stamp set using Cherry Cobbler ink. Since I loved this card so much I created another one but this time, I embossed the Basic White card using the Painted Texture 3D Embossing Folder. The two images were stamped onto Basic White card, coloured as before and cut out using the co-ordinating Joy of Noel dies. I attached the images to the card front using dimensionals. I decorated the inside of the card as for the first one.
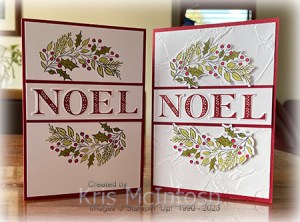
I think they both look great, but I love the stepped up look in the second card a little more, what about you?
Bye for now,
Kris
Product Used:


Masked Celebration

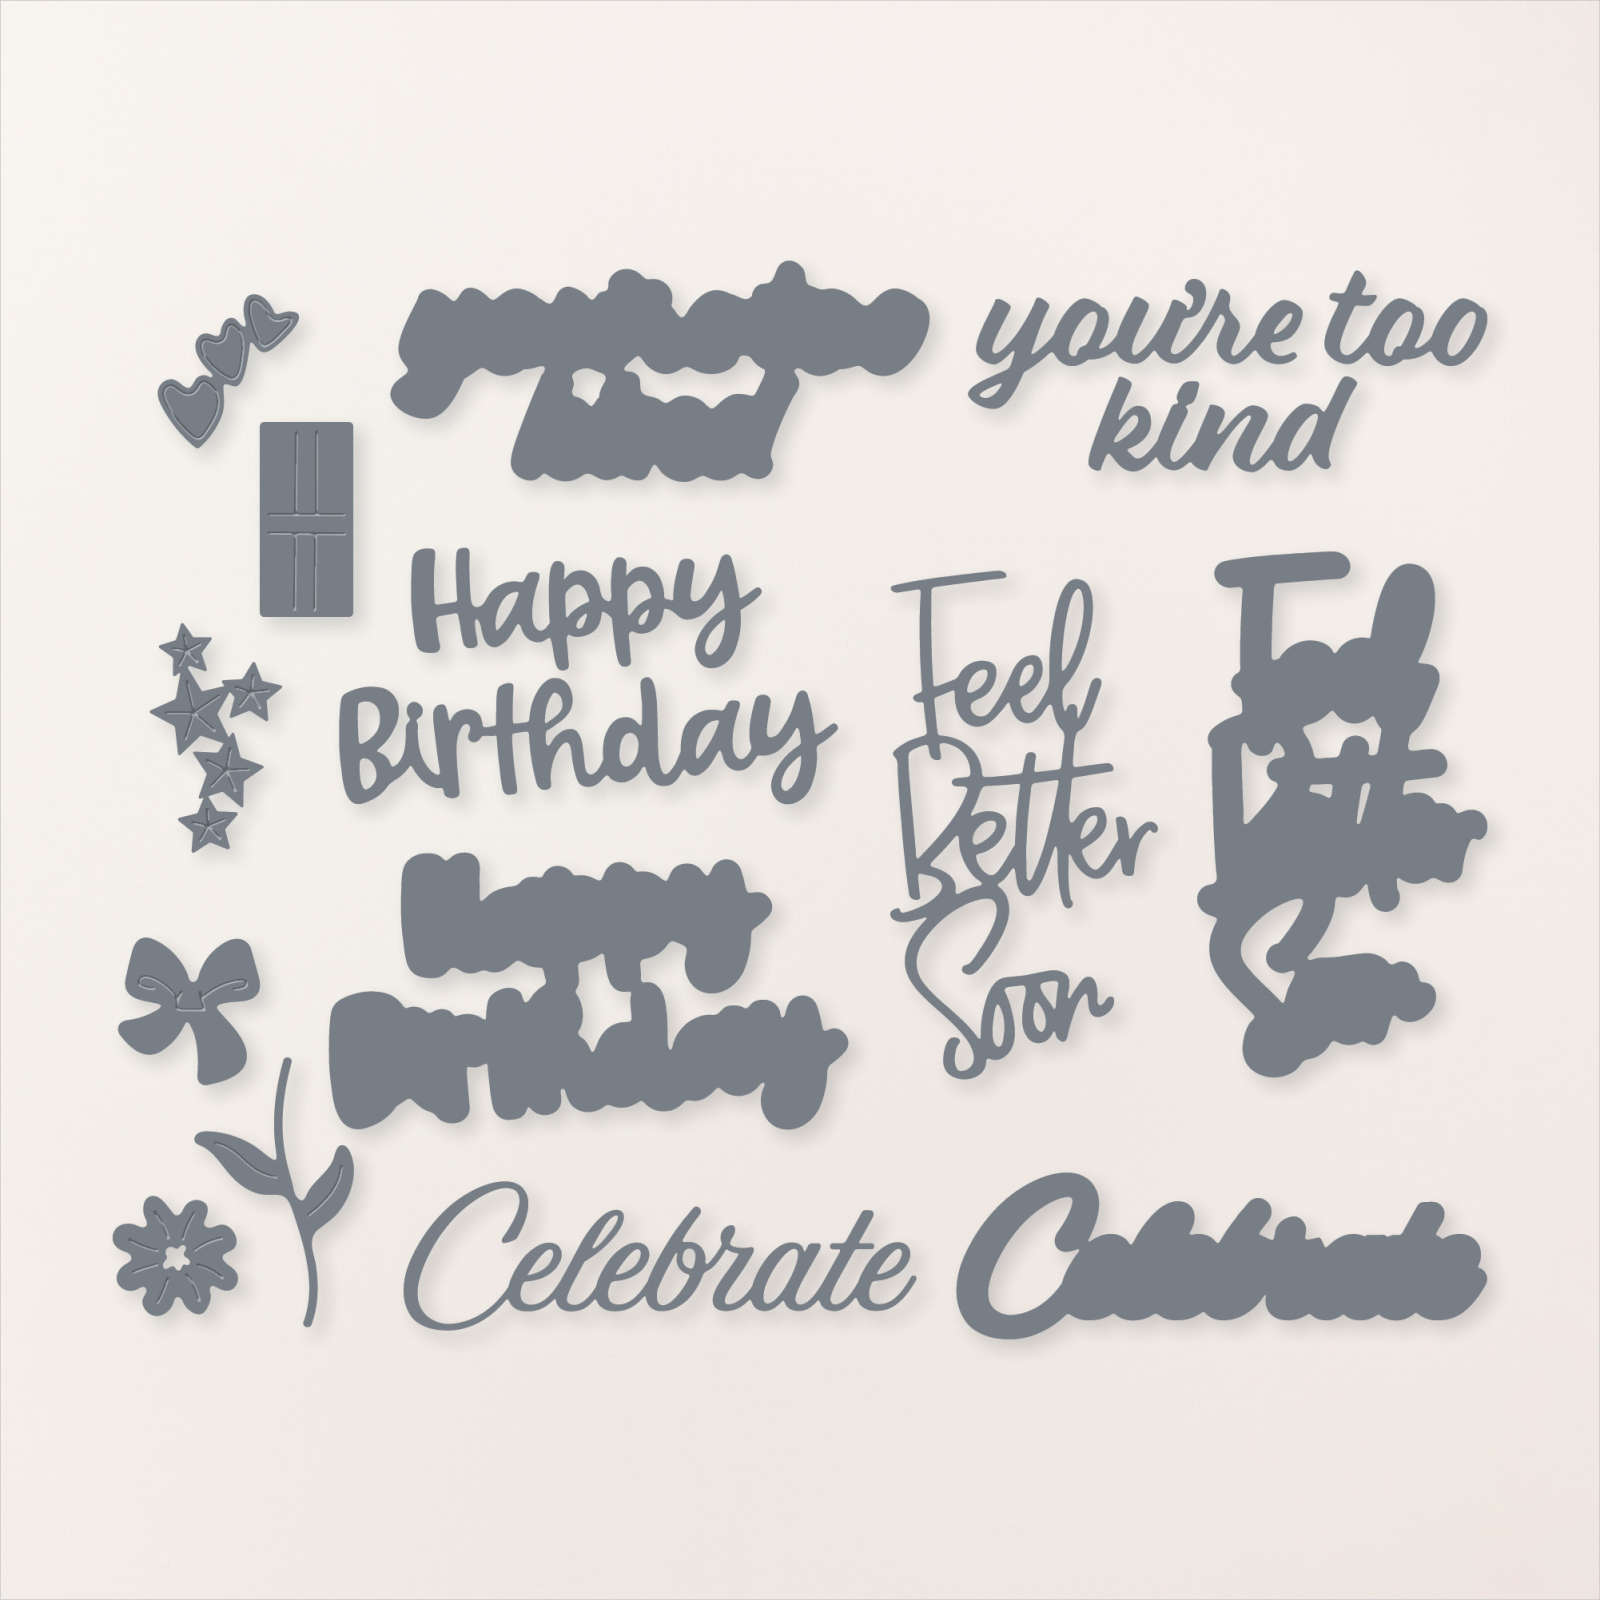
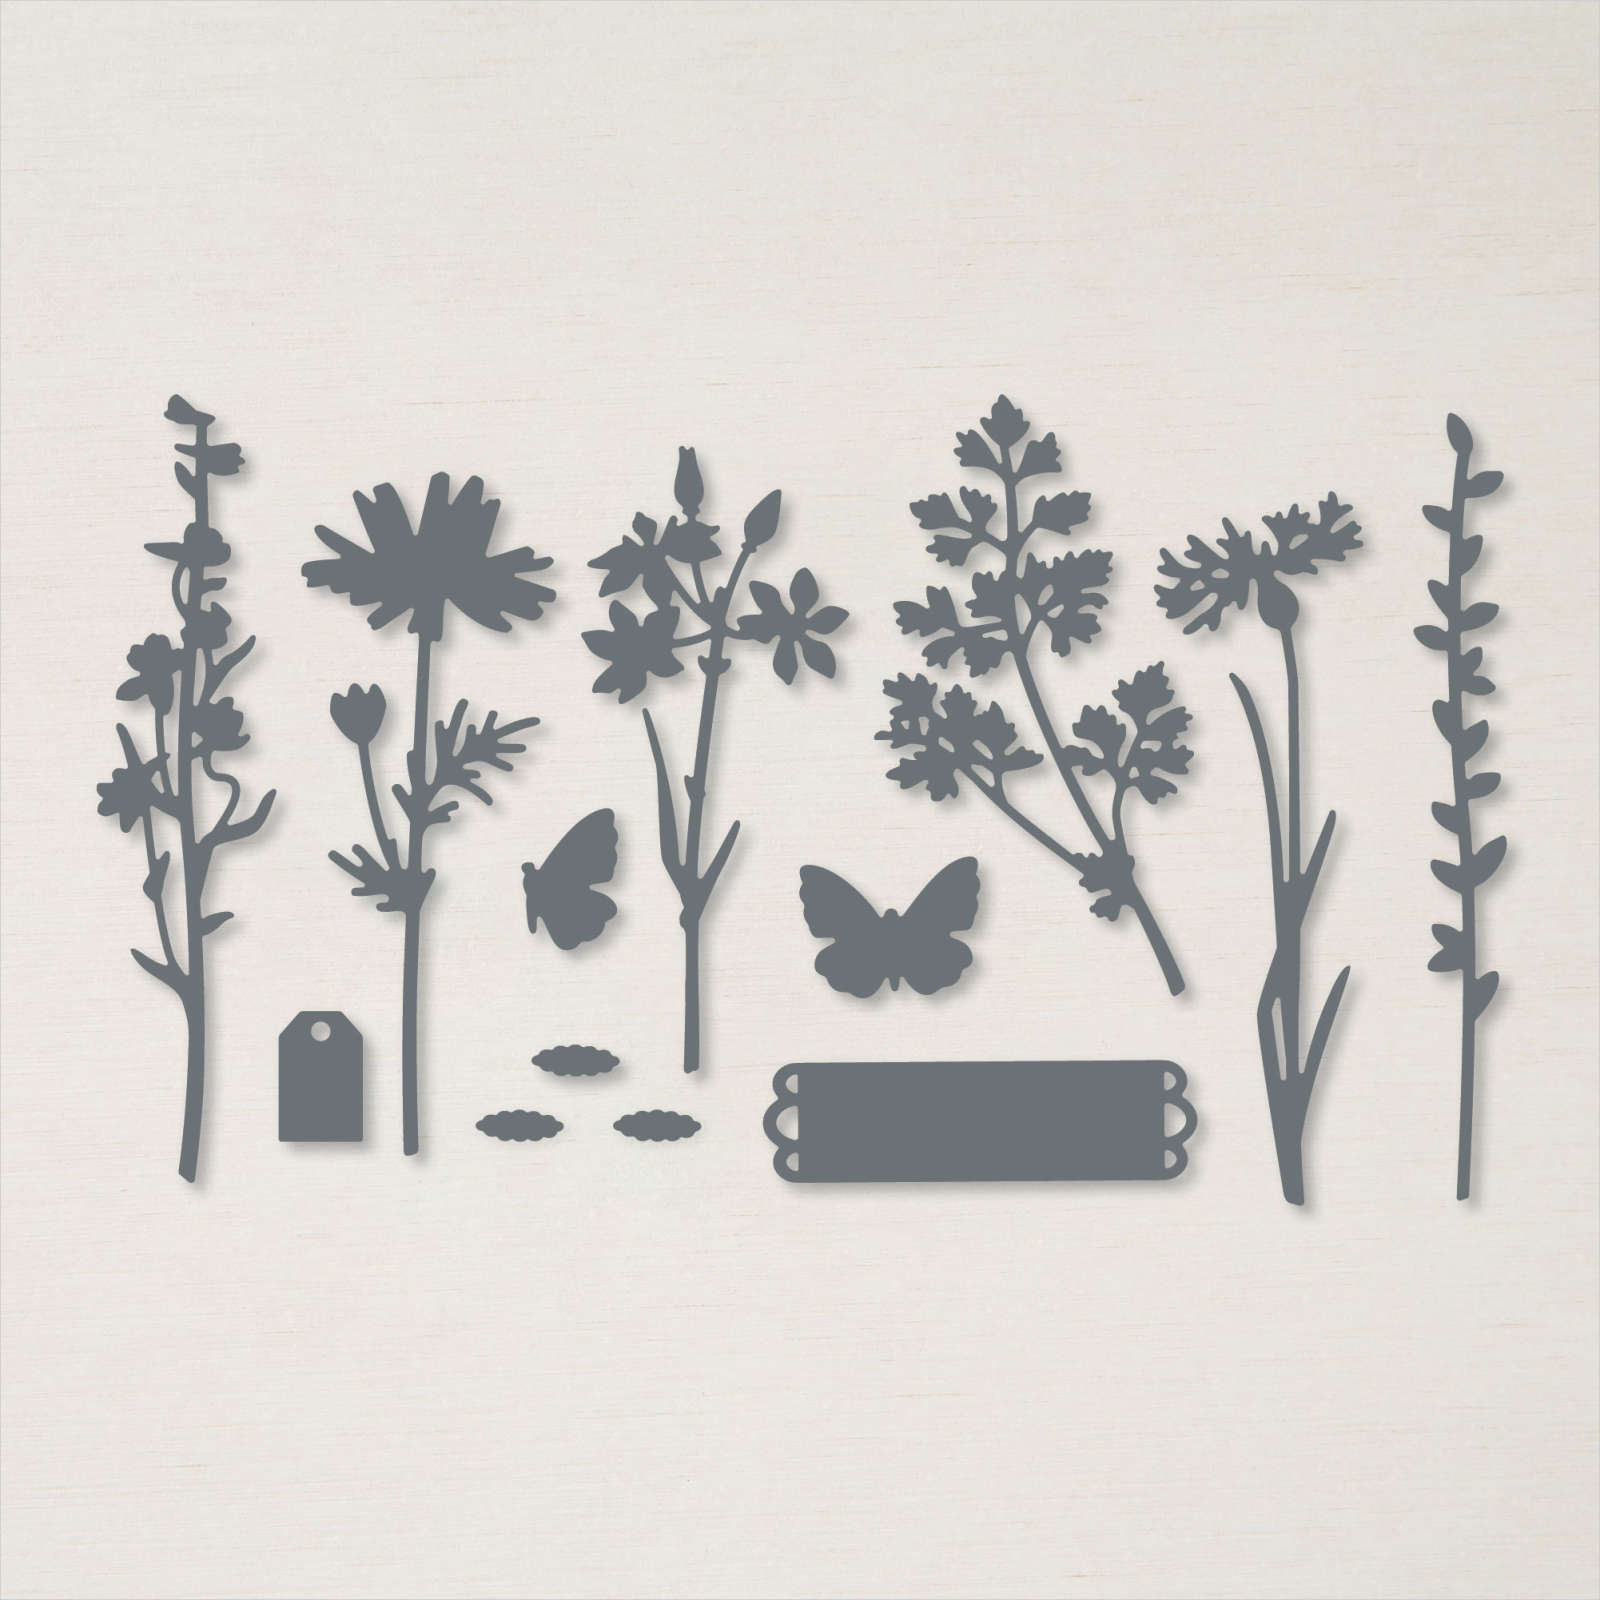
Today’s card once again uses the Wanted to Say Dies from the new Annual Catalogue. I attached one of the Artistic Mix Decorative Masks over the top of a piece of Balmy Blue card and used a Blending Brush to add Balmy Blue ink over the mask. The blended panel is attached to scored and folded Balmy Blue card. I die cut Basic White card using one of the Meadow Dies and attached it to the card front.

I also cut a butterfly from Basic White card using another of the Meadow Dies. The butterfly is also added to the card front.
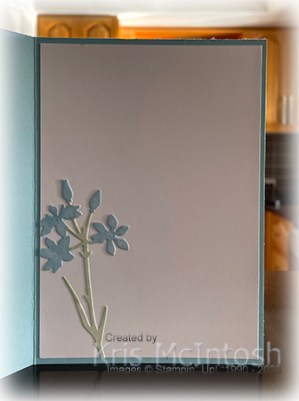
I die cut the background “celebrate” die from the Wanted to Say Dies from Basic White card. I die cut the detailed “celebrate” from Balmy Blue card and attached it to the background die. The greeting is attached to the card front using dimensionals. To decorate the inside of the card, I die cut Basic White card using another of the dies from the Meadow Dies. This time, I used Dark Balmy Blue and Dark Soft Sea Foam Stampin’ Blends to colour the image before attaching it to the lower left hand corner of Basic White card. I think these dies are going to be a great addition to my card making and memory keeping.
Bye for now,
Kris
Product Used:


Gulgong

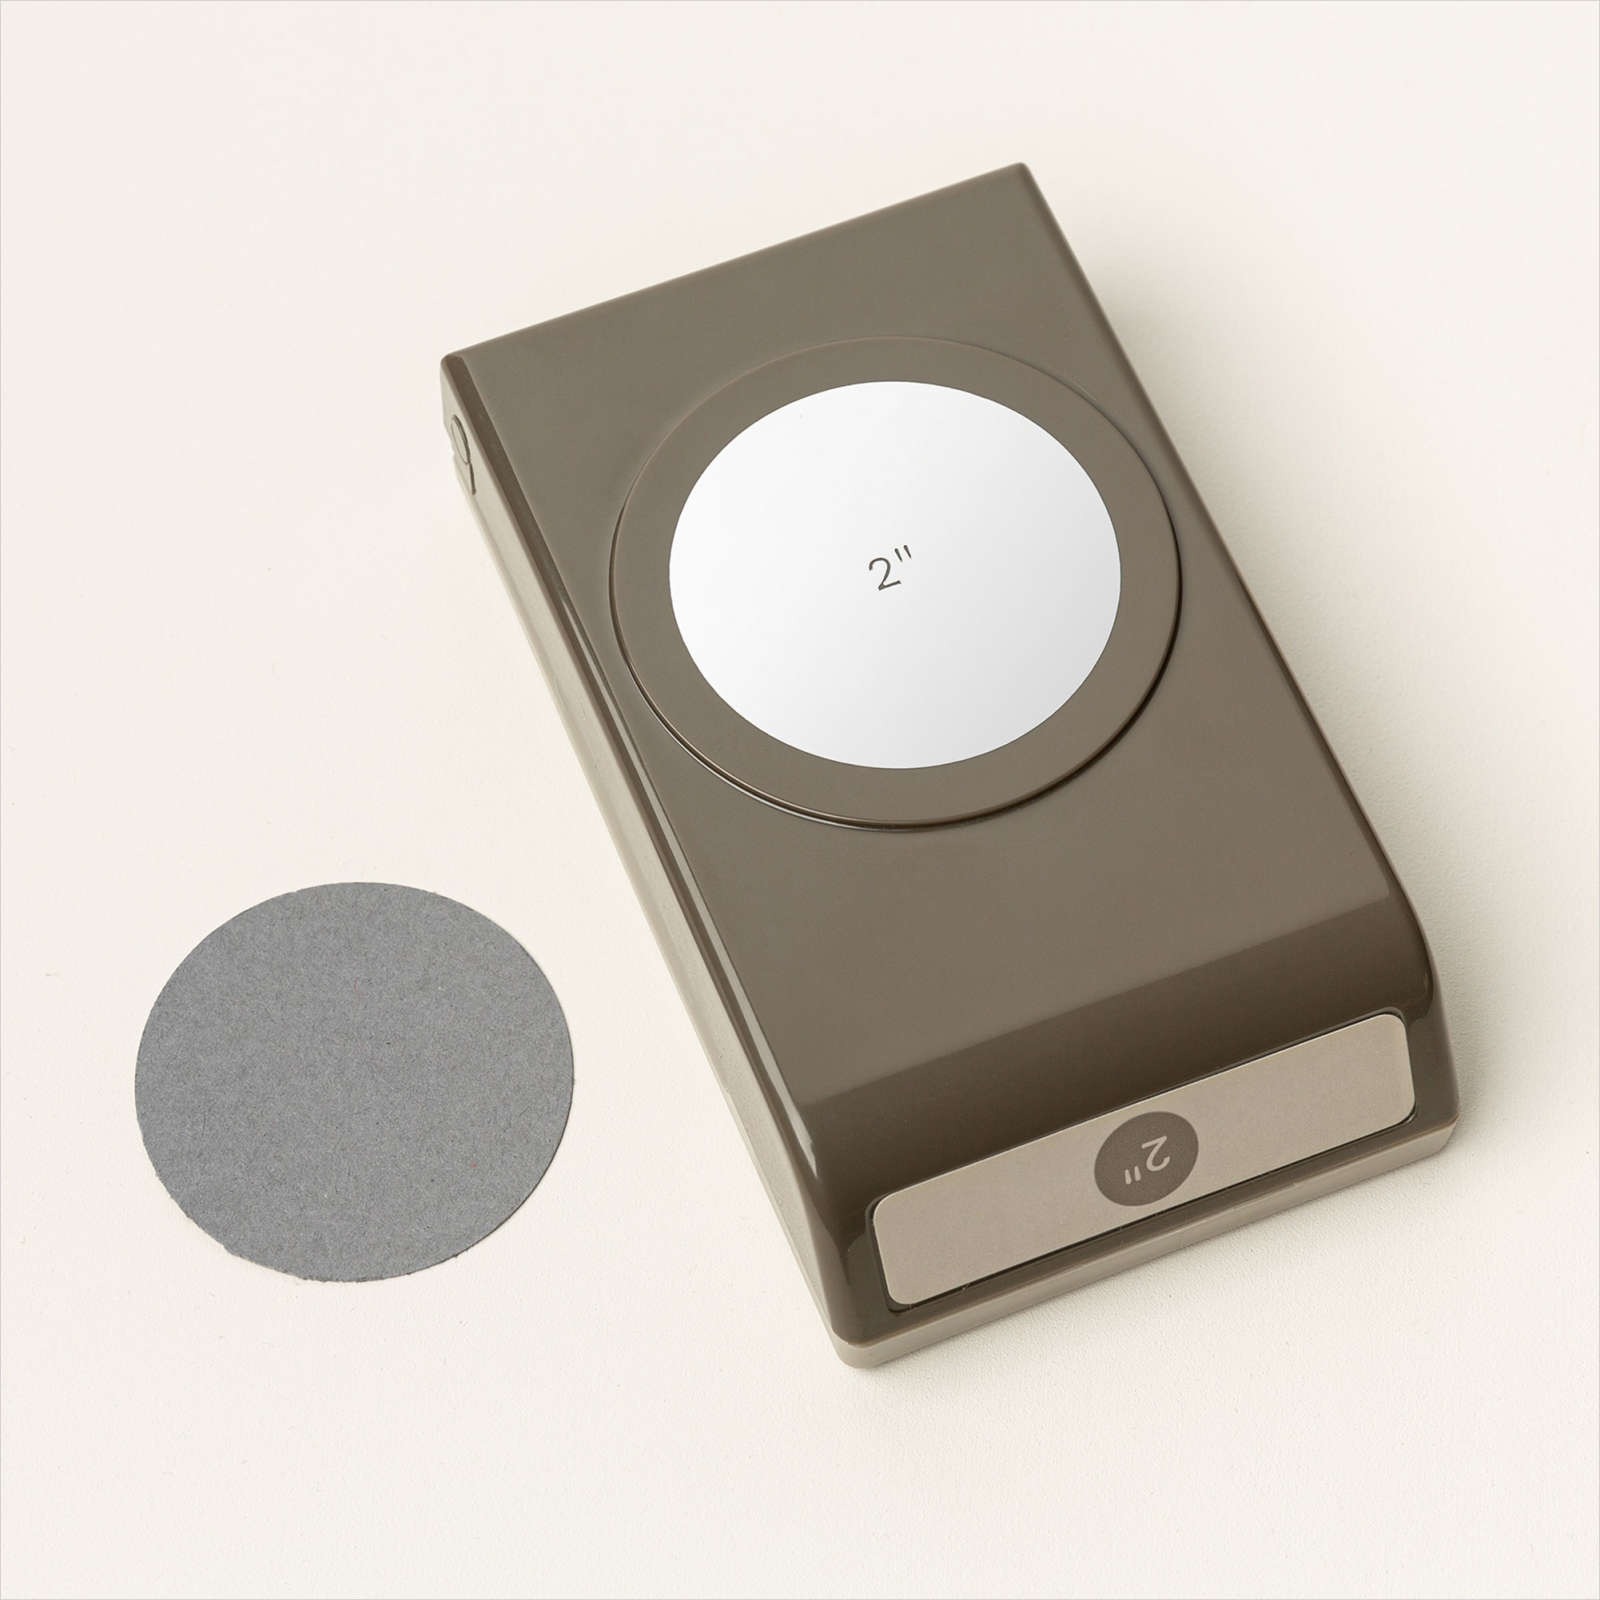
While we were staying at Mudgee we took a day trip to Gulgong – the town on the Ten Dollar Note! What an amazing place, and one that we will certainly visit again. I used one of the Abundant Beauty Decorative Masks to add Balmy Blue ink to the left hand side of a Basic White 12″ x 12″ page. I attached three different patterns from the Delightfully Eclectic 12″ x 12″ Designer Series Paper to the right hand side of the Basic White page. I printed my journaling onto Basic White card and attached it to Night of Navy card before attaching it to the top of the right hand side of the page. I attached all of my photos directly onto the page as well. I printed the titles onto Basic White card and used my Paper Snips to cut them out. I stamped the greeting from the now retired Peaceful Moments stamp set onto Basic White card using Night of Navy ink. I punched out the greeting using the 2″ Circle Punch and attached it to a Night of Navy 2-3/8″ Circle before attaching it to the page. As you know I like my photos to do most of the work on my pages, so it is relatively simple, but what the happy smile it brings to my face.
Bye for now,
Kris
Product Used:


Starter Kit Special

Buying a starter kit from Stampin’ Up! has always been a great way to stock up on things that you must have while at the same time getting a real bargain. However, to celebrate Stampin’ Up!s 35th Anniversary you can do even better. From the 3rd to the 31st October you have two options to save, get a bargain and become part of the Stampin’ Up! family –
Option 1 -Join Stampin’ Up! and receive $235.00 of current product (that is from any current catalogue or any current product online) and pay only $109.85.
OR
Option 2 – Joint Stampin’ Up! and received $317.25 worth of current product and pay only $169.00
WOW. That’s just amazing, think of all the things on your wish list you can add to your starter kit and pay only a fraction of the price.
BUT
Not only do you have these two options, but whichever option your choose you will automatically be signed up to have access to the virtual OnStage event on 11th November which will save you $123.00 (which is the registration price for existing Stampin’ Up! Demonstrators). This not only gives you access to this event on the day but you will also have access to the content after the date.
If you think this might be something you are interested in and you live in Australia, please do not hesitate to contact me for more information. I know that you will not regret becoming part of this amazing family.
Bye for now,
Kris
Merriest Trees

This week on my Facebook Live, I shared some cards I made using the Merriest Trees Bundle from the September to December Mini Catalogue. For this card, I attached a piece of Cherry Cobbler card to scored and folded Thick Basic White card. I die cut Gold Foil card using one of the Deckled Rectangle Dies and attached it to the centre of the Cherry Cobbler card. I die cut Basic White card using a slightly smaller Deckled Rectangle Die and attached it to the centre of the Gold Foil rectangle.

I stamped the solid tree image from the Merriest Trees stamp set onto Basic White card five times using Old Olive ink. I used the Merriest Trees Dies to cut first one section, then two sections and so on till I cut the full tree. I attached each of the smaller tree sections to the full sized free using dimensionals underneath the wide end and multipurpose glue under the tip of the tree.

I cut Gold Foil card using the star die from the Merriest Trees Dies and attached it to the top of the tree. I cut the tinsel from Gold Foil card using the Merriest Trees Die. I did attached Adhesive Sheet to the back of the Gold Foil card first so that it would make it easier to attach it to the tree. I also cut Cherry Cobbler card using the tree skirt die which I attached to the bottom of the Basic White rectangle. The tree is attached over the top of the skirt onto the Basic White rectangle. To decorate the inside of the card, I stamped two layers of the solid tree onto Basic White card using Old Olive ink and cut it out using the co-ordinating Merriest Trees Dies. The die cut is attached to Basic White card before I stamped the greeting from the Merriest Trees stamp set using Cherry Cobbler ink.
Oh what fun this set is going to be, I am really loving it.
Bye for now,
Kris
Product Used:


Season of Cheer

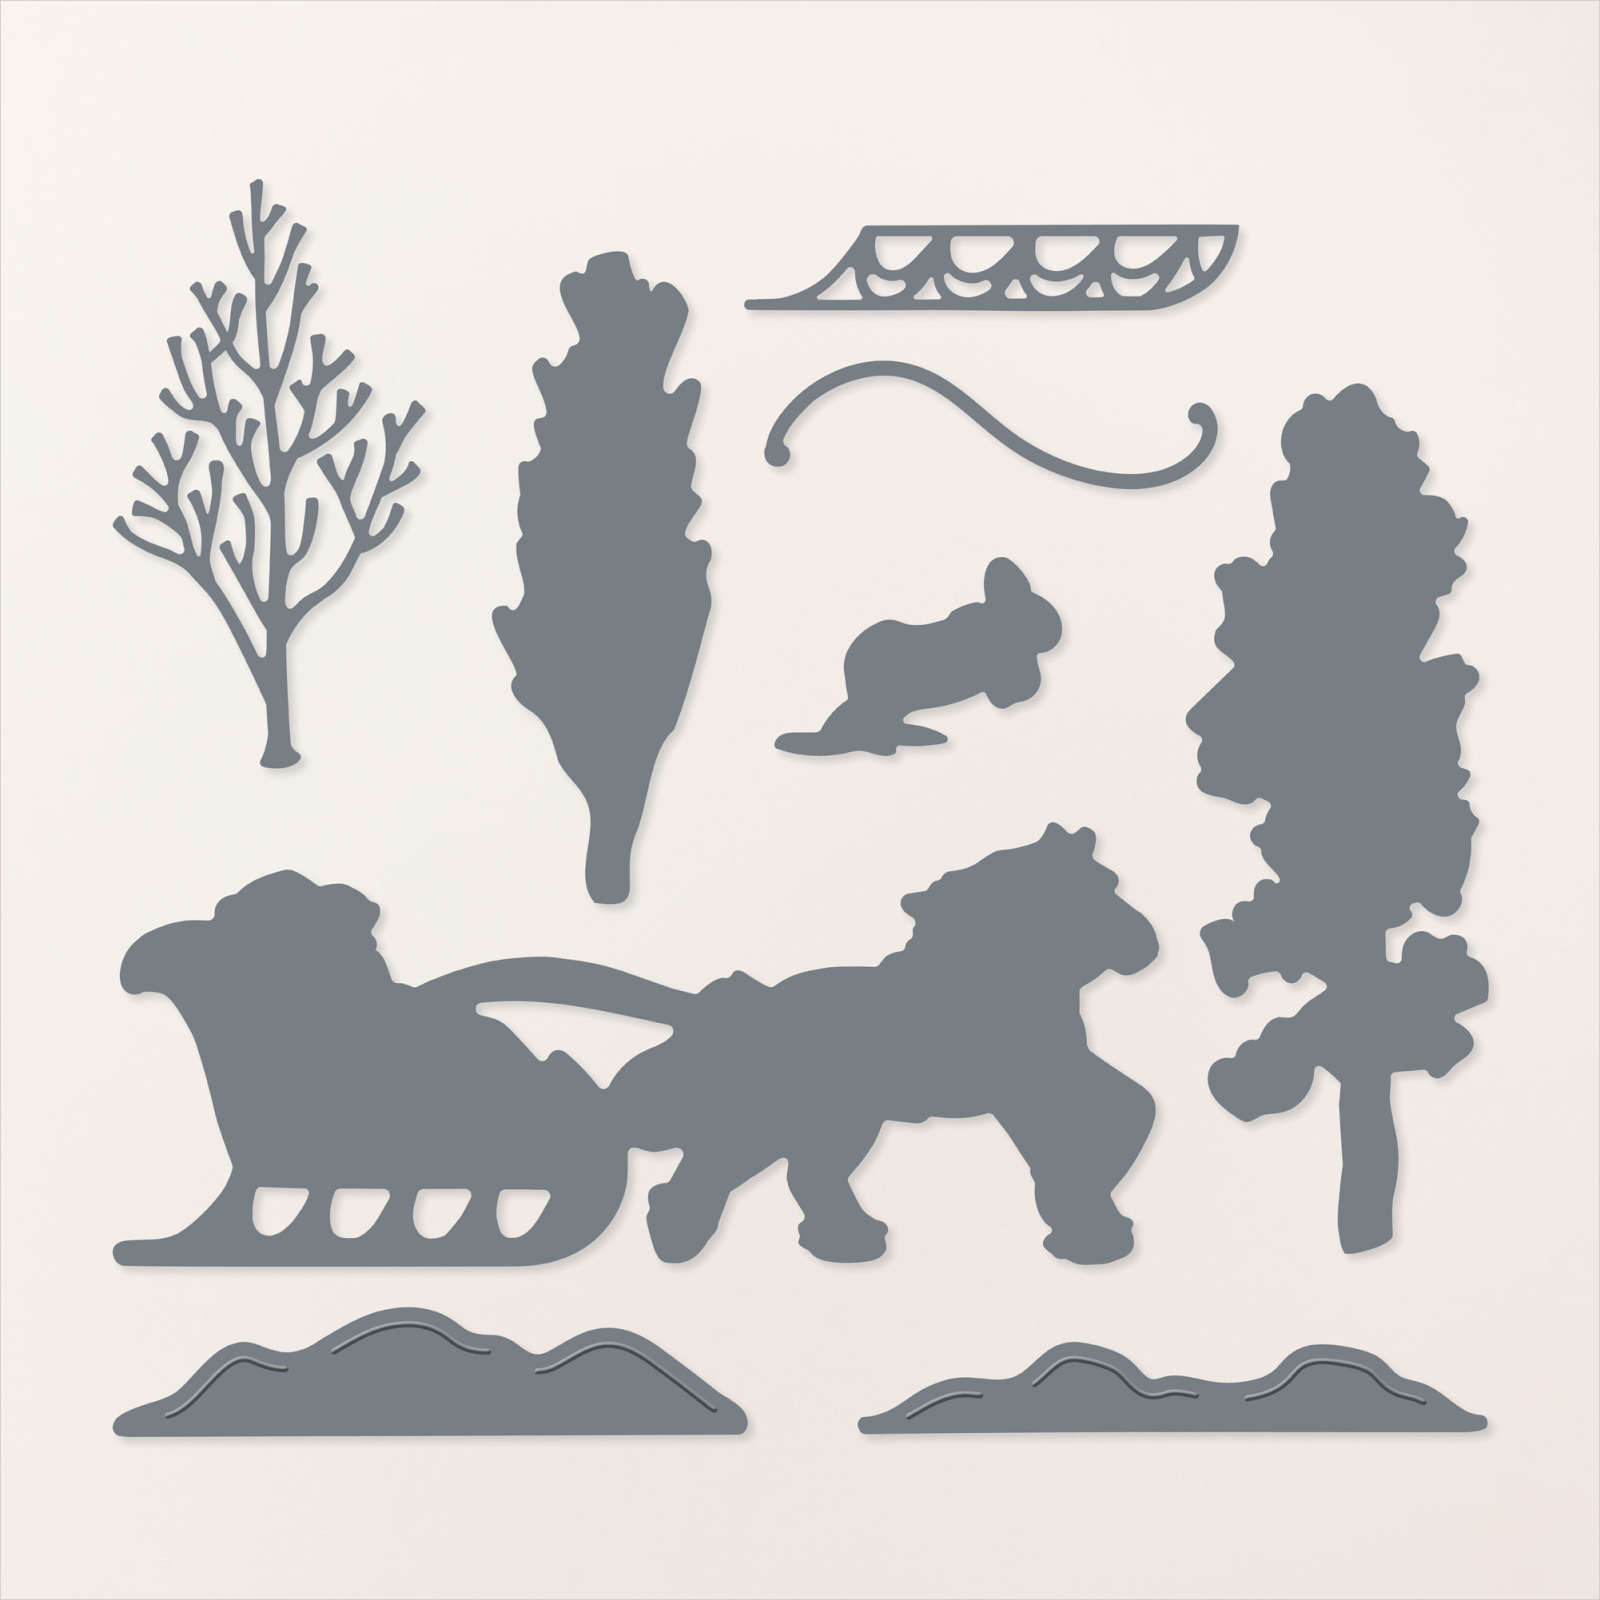
Today’s card again uses the Horse & Sleigh Bundle which you can now purchase as an Online Exclusive. I embossed Basic White card using the Merry Melody 3D Embossing Folder and attached it to scored and folded Smoky Slate card. I attached a piece of the One Horse Open Sleigh 6″ x 6″ Designer Series Paper to a piece of Smoky Slate card and then the card front. I stamped the horse & sleigh image from the Horse & Sleigh stamp set onto Basic White card using Memento Tuxedo Black ink.

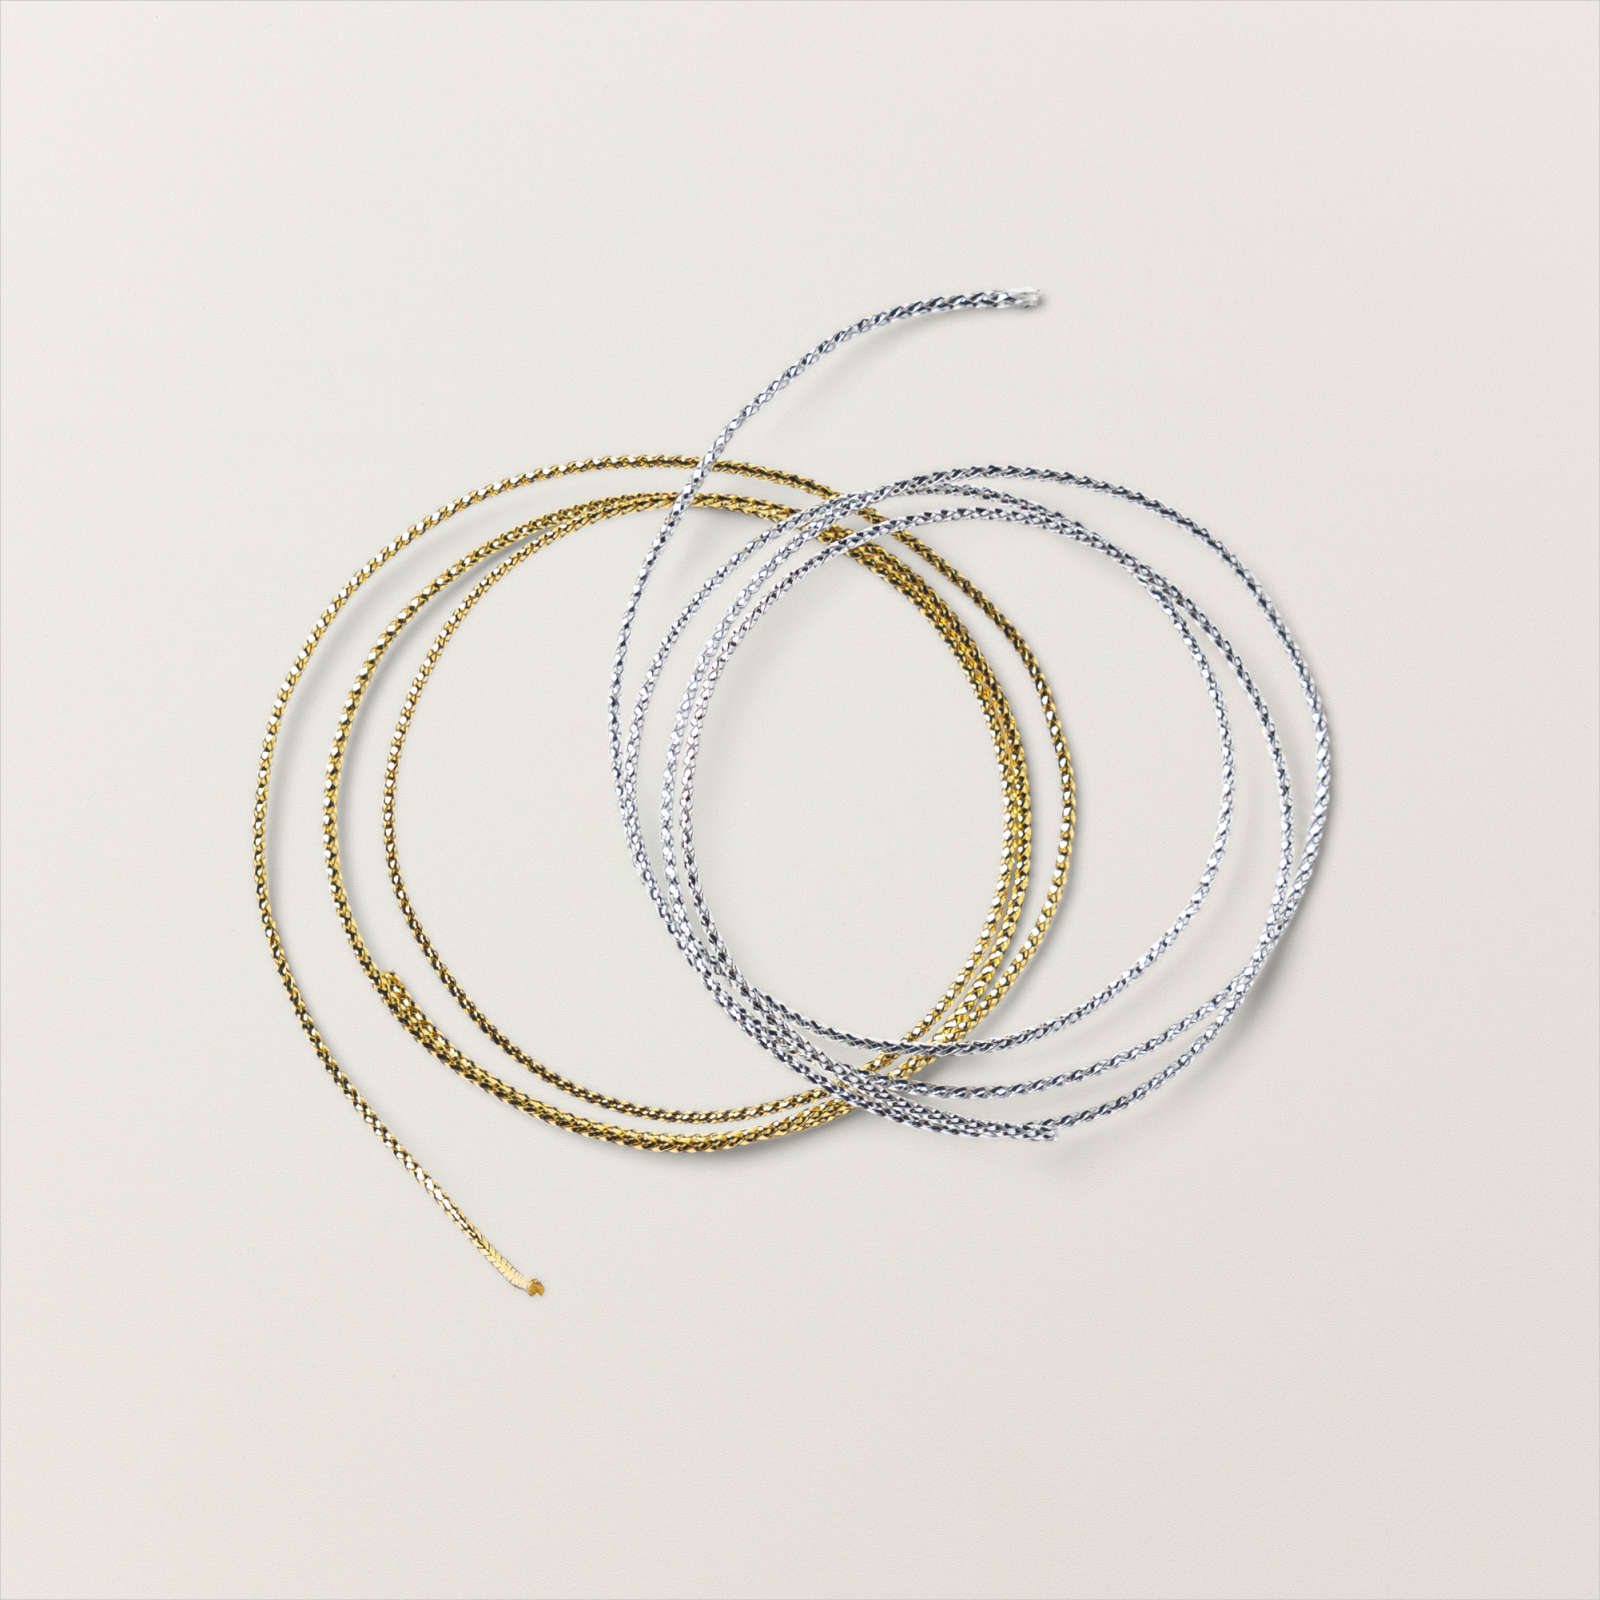
I cut out the image using the co-ordinating Horse & Sleigh Die before trimming the image so that I was left with the sleigh only. I coloured the sleigh using a Dark Smoky Slate Stampin’ Blend. I cut four pieces of the One Horse Open Sleigh Designer Series Paper and wrapped them with Gold cord from the Simply Elegant Trim and tied a knot. I layered the sleigh and the presents onto a piece of Basic White card.

I attached the Basic White panel to Smoky Slate card and then to the card front using dimensionals behind the top edge of the panel. I stamped the greeting from the Horse & Sleigh stamp set onto Basic White card using Real Red ink. I used my Paper Snips to trim around the greeting before attaching it to the card front using dimensionals where necessary. I stamped another greeting from the Horse & Sleigh stamp set onto Basic White card using Real Red ink. I attached Smoky Slate card behind one long edge of One Horse Open Sleigh Designer Series Paper before attaching it to the bottom of the stamped Basic White card.
I love this stamp set but find that it is a little bit “wintery” for an Aussie Christmas but I think this card will be perfect, don’t you?
Bye for now,
Kris
Product Used: