Seventeen
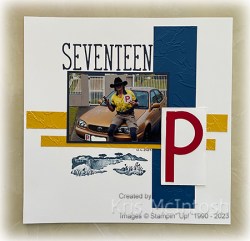
Today’s page showcases the photo that Ethan sent to me after he got his “P” plates.. I embossed a piece of Blueberry Bushell card using the Painted Texture 3D Embossing Folder and attached it to the right hand side of a Basic White 12″ x 12″ page. I cut two strips of Crushed Curry card, embossed them using the same embossing folder and attached them across the page. I attached my photo to Night of Navy card before attaching it to the page.

I cut Basic White card using the now retired Stitched Rectangle Dies and attached it to the right hand side of the page using dimensionals. I cut Real Red card using two of the circles from the Stylish Shapes Dies and using one of the Stitched Rectangle Dies. I used these two pieces to create my “P” which I attached to the Basic White rectangle. I stamped the image from the Scenic Wonders stamp set below the photo using Night of Navy ink. I wrote the date using one of the retired Journaling Pens. I cut the title from Night of Navy card and attached it above the photo. I love this page and am so happy for him to have passed this milestone.
Bye or now,
Kris
Product Used:


Scenic Birthday
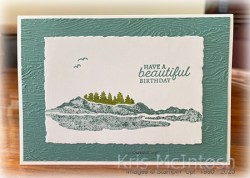
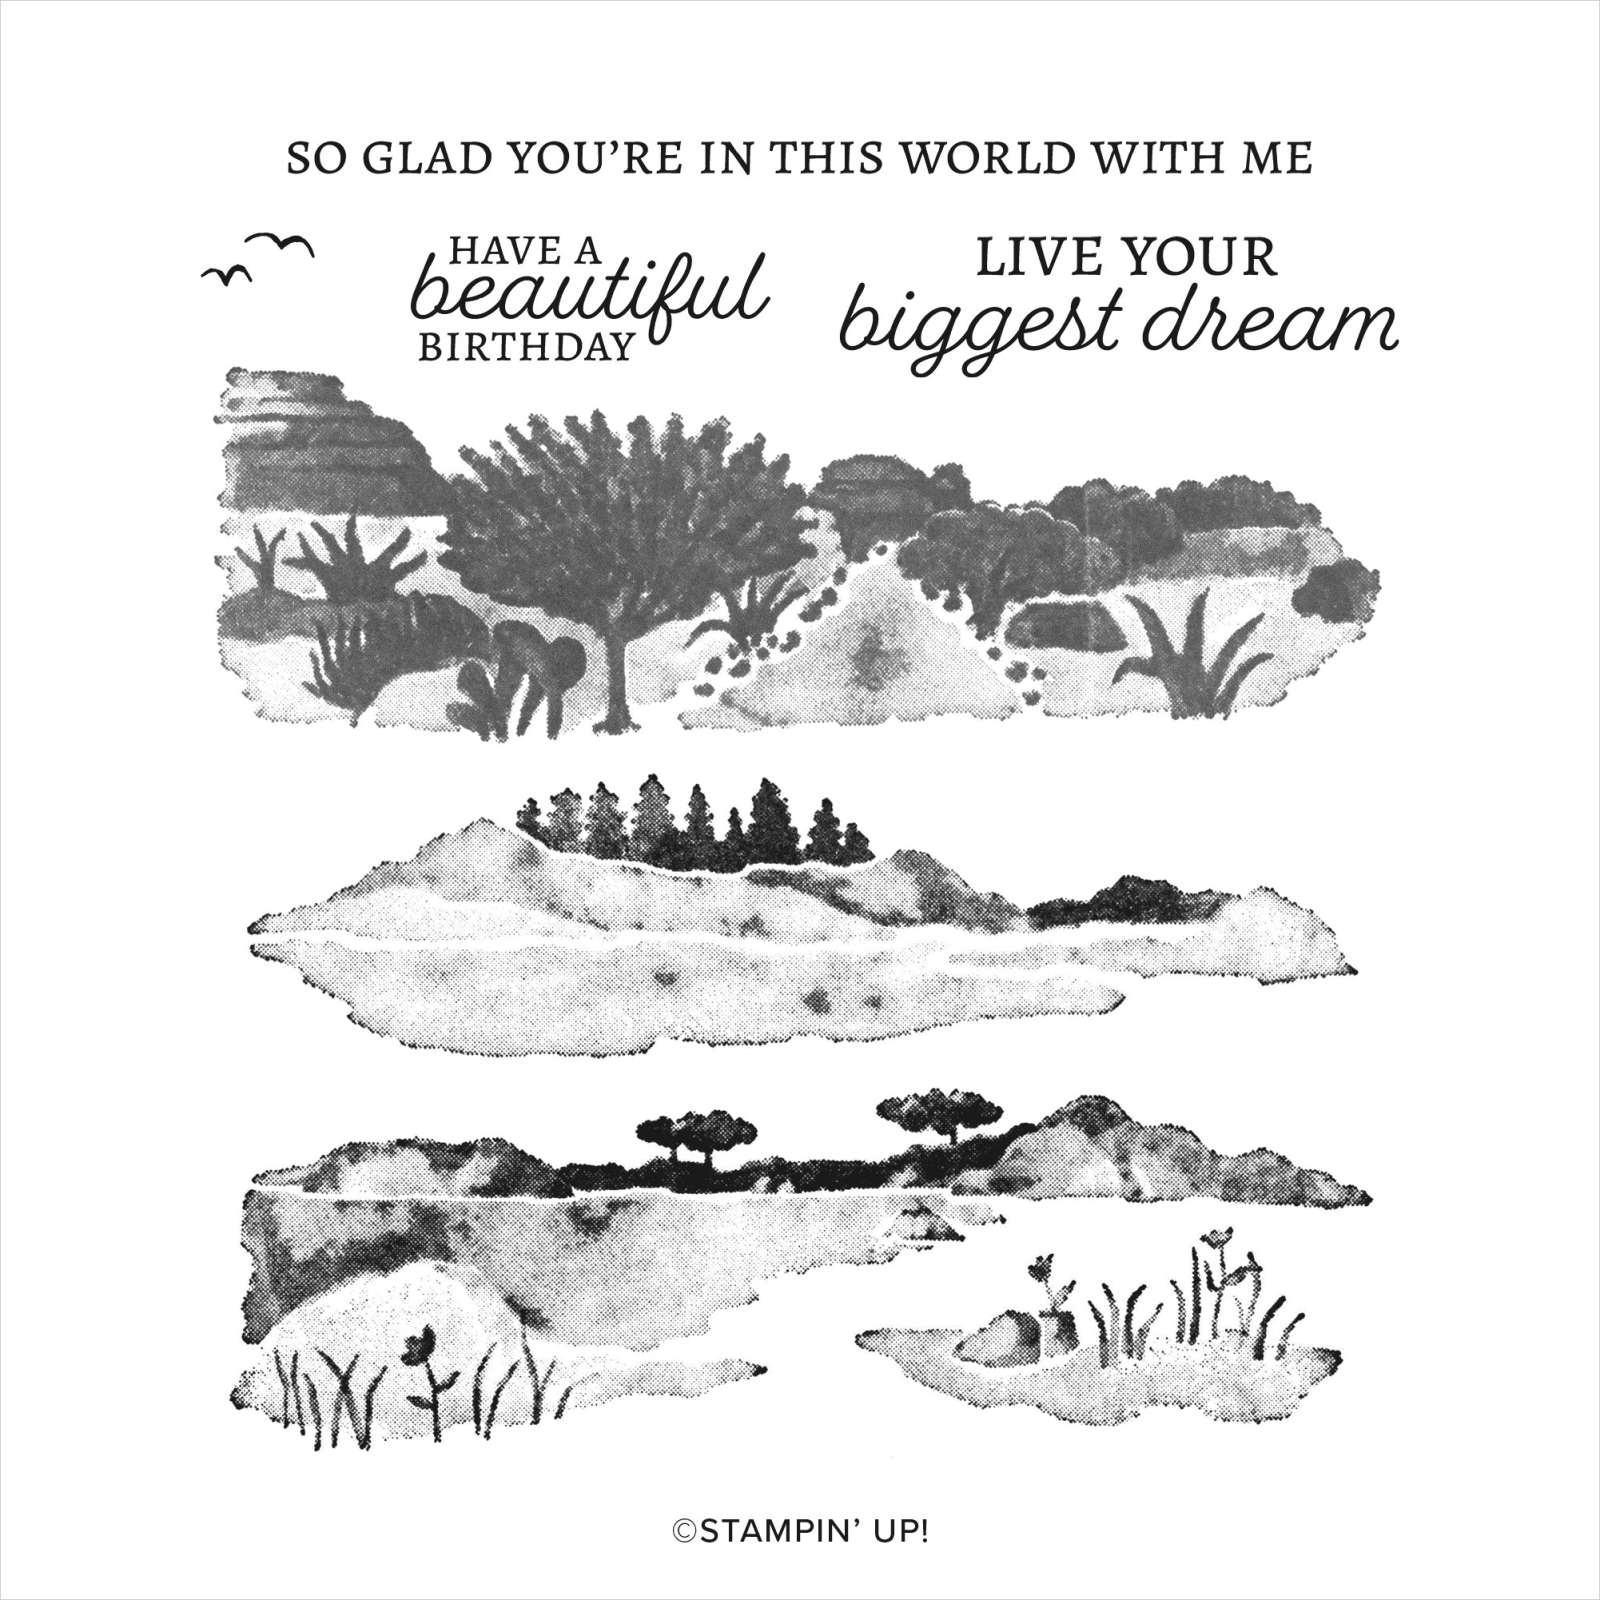
This week in my Facebook Live, I shared some cards I created using the Scenic Wonders stamp set. Today I have another one to share with you. For this card, I embossed Lost Lagoon card using the Timber 3D Embossing Folder and attached it to scored and folded Thick Basic White card.

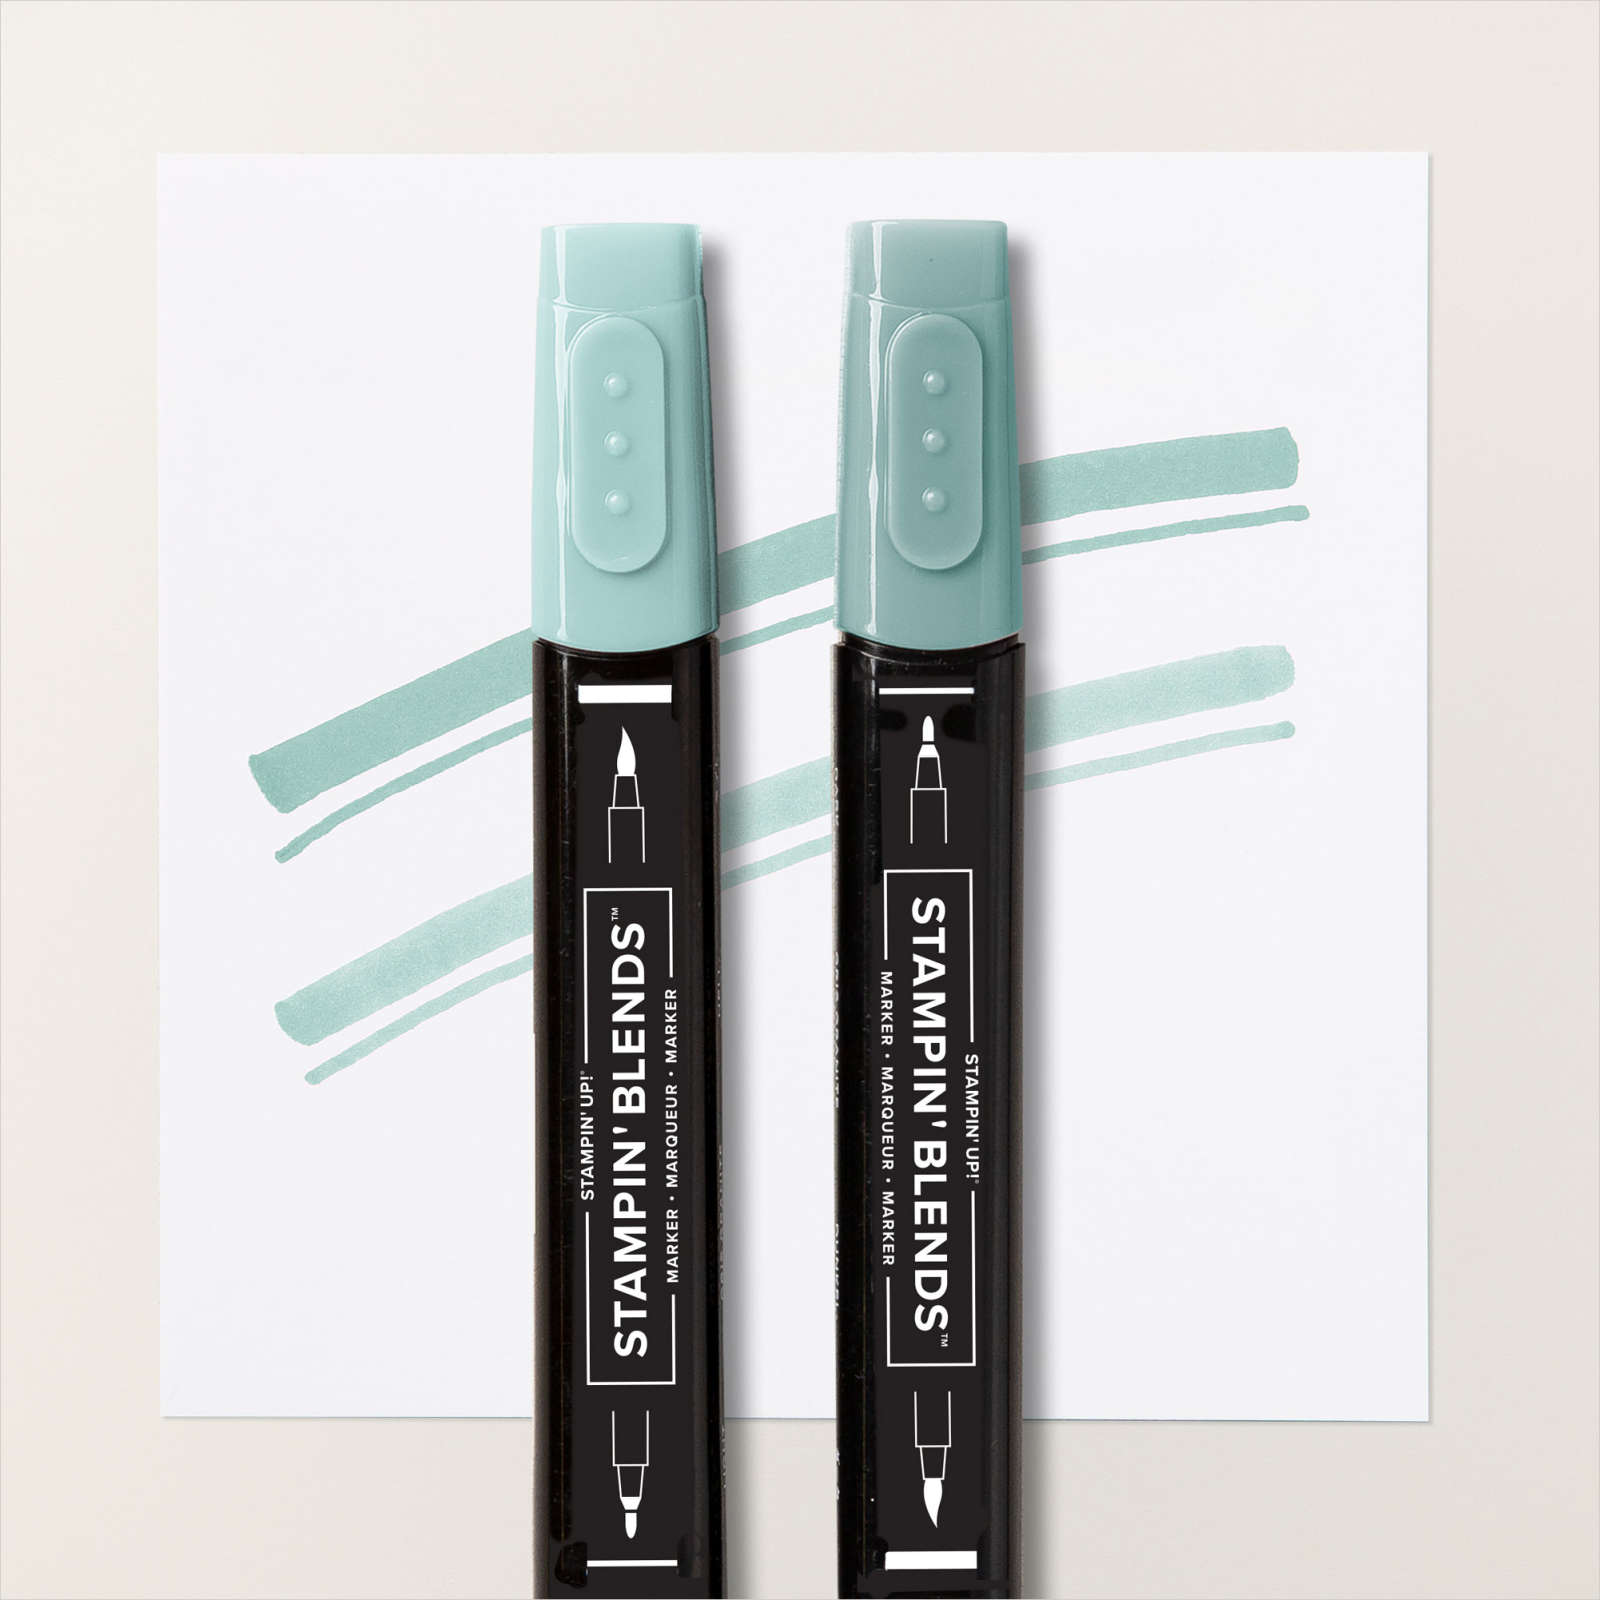
I used the Lost Lagoon and Old Olive Stampin’ Write Markers to ink up one of the images from the Scenic Wonders stamp set which I stamped onto Basic White card. I cut out the image using one of the Deckled Rectangle Dies before stamping the greeting from the Scenic Wonders stamp set using Lost Lagoon ink.

I also stamped the bird image from the same stamp set using Lost Lagoon ink before attaching the panel to the centre of the card front. I re-inked the image using the same Stampin’ Write Markers and stamped it onto the lower the left hand corner of Basic White card. This panel is attached to the inside of the card. This is a fabulous stamp set and if you check out my cards from my Facebook Live you will see how amazing these images turn out just using one ink colour! I hope I have inspired you to take a look at this stamp set from the new Annual Catalogue.
Bye for now,
Kris
Product Used:


Happy 17th

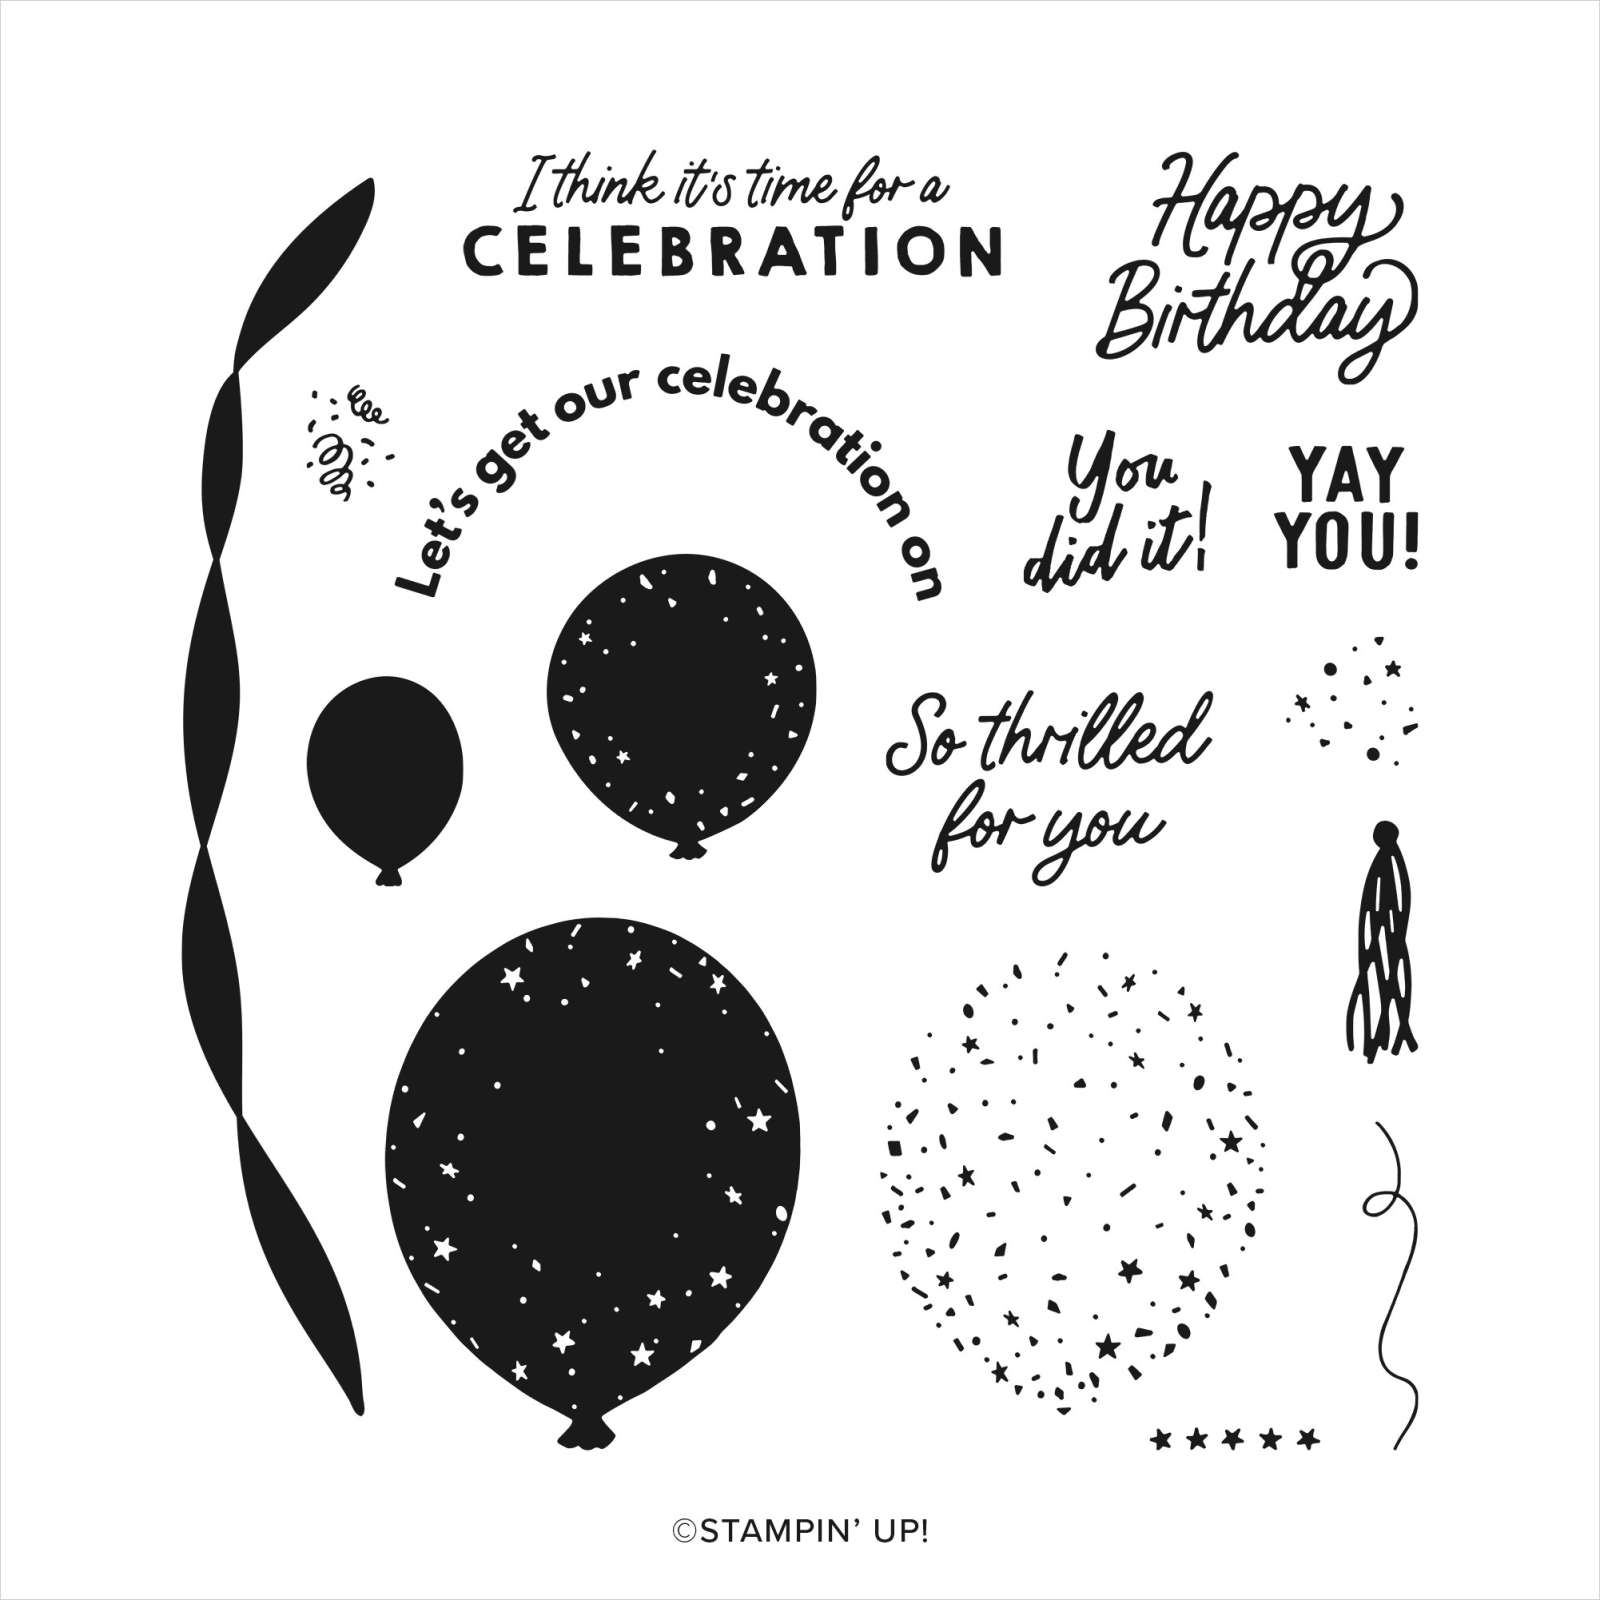
My eldest grandson turned 17 last week and I thought I would share the card I made for him. I cut a piece of Basic White card into two pieces on the diagonal. I stamped the greeting from the Beautiful Balloons stamp set onto the lower right hand corner of one panel before embossing the panels using one of the Basics 3D Embossing Folders. I attached the embossed panels to Night of Navy card and then scored and folded Thick Basic White card. I stamped the largest balloon from the Beautiful Balloons stamp set onto Basic White card using Balmy Blue ink.
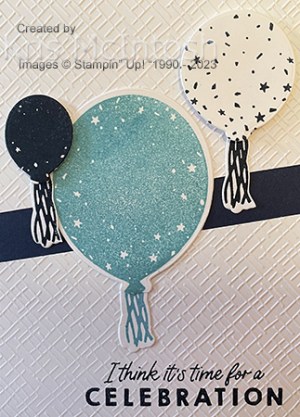
I stamped the large confetti balloon onto Basic White card using Night of Navy ink. I stamped the medium sized balloon from the Beautiful Balloons stamp set onto Basic White card using Night of Navy ink. I cut the large balloon out using the co-ordinating Beautiful Balloons Die. I cut the confetti balloon out using the medium sized balloon die from the Beautiful Balloons Dies and the Night of Navy balloon using the smallest balloon die from the Beautiful Balloons Dies. I stamped the ribbon image from the Beautiful Balloons stamp set onto Basic White card once using Balmy Blue ink and twice using Night of Navy ink. The ribbon images were cut out using the co-ordinating Beautiful Balloons Die. I attached the Night of Navy ribbons behind the two smaller balloons using dimensionals. I attached the Balmy Blue ribbon behind the largest Balloon using multipurpose glue. I attached the images to the card front using dimensionals under the two smaller balloons only. To decorate the inside of the card, I stamped “happy” from the happy birthday stamp in the Enjoy The Rhythm stamp set onto Basic White card using Night of Navy ink. I used the numbers in the Alphabest stamp set to stamp “17” onto Basic White card using Night of Navy ink. I used the retired 3/4″ circle punch to punch out the number and the retired 1″ circle punch to punch Night of Navy card. I attached the two circles together and attached the panel below the “happy”. I stamped “birthday” from the happy birthday stamp from the Enjoy The Rhythm stamp set below the number using Night of Navy ink.
I love the simple look of this card, just right for a young man, don’t you think?
Bye for now,
Kris
Product Used:


Celebrate 70

Recently Ron’s sister and her family came up to Sandstone Point for a few days to celebrate her 70th birthday. Ron and I together with Sarah and Ethan and Rhonda’s friends Reg & Di joined them for lunch to celebrate. I cut a piece of Bright and Beautiful 6″ x 6″ Designer Series Paper in half and attached one piece to the top and one to the bottom of a Basic White 12″ x 12″ page. I printed my jounaling onto Basic White card I attached the photo to Basic Black card.

I attached the attached the Basic White panel behind the lower edge of the photo before attaching the whole piece to the page. I cut Basic Black and Berry Burst card using “celebrate” from the Wanted to Say Dies. I attached the detailed greeting to the background greeting before attaching it to the Basic White journaling panel. I cut Basic Black card using the Alphabet A La Mode dies to create the “70” and attached the numbers to the Basic White panel. I cut Bubble Bath, Basic Black and Berry Burst card using the small die from the Beautiful Balloon Dies and attached them to the Basic White panel. Again a simple page but one that brings a smile to my face – such a happy day.
Bye for now,
Kris
Product Used:


Pebbled Birthday

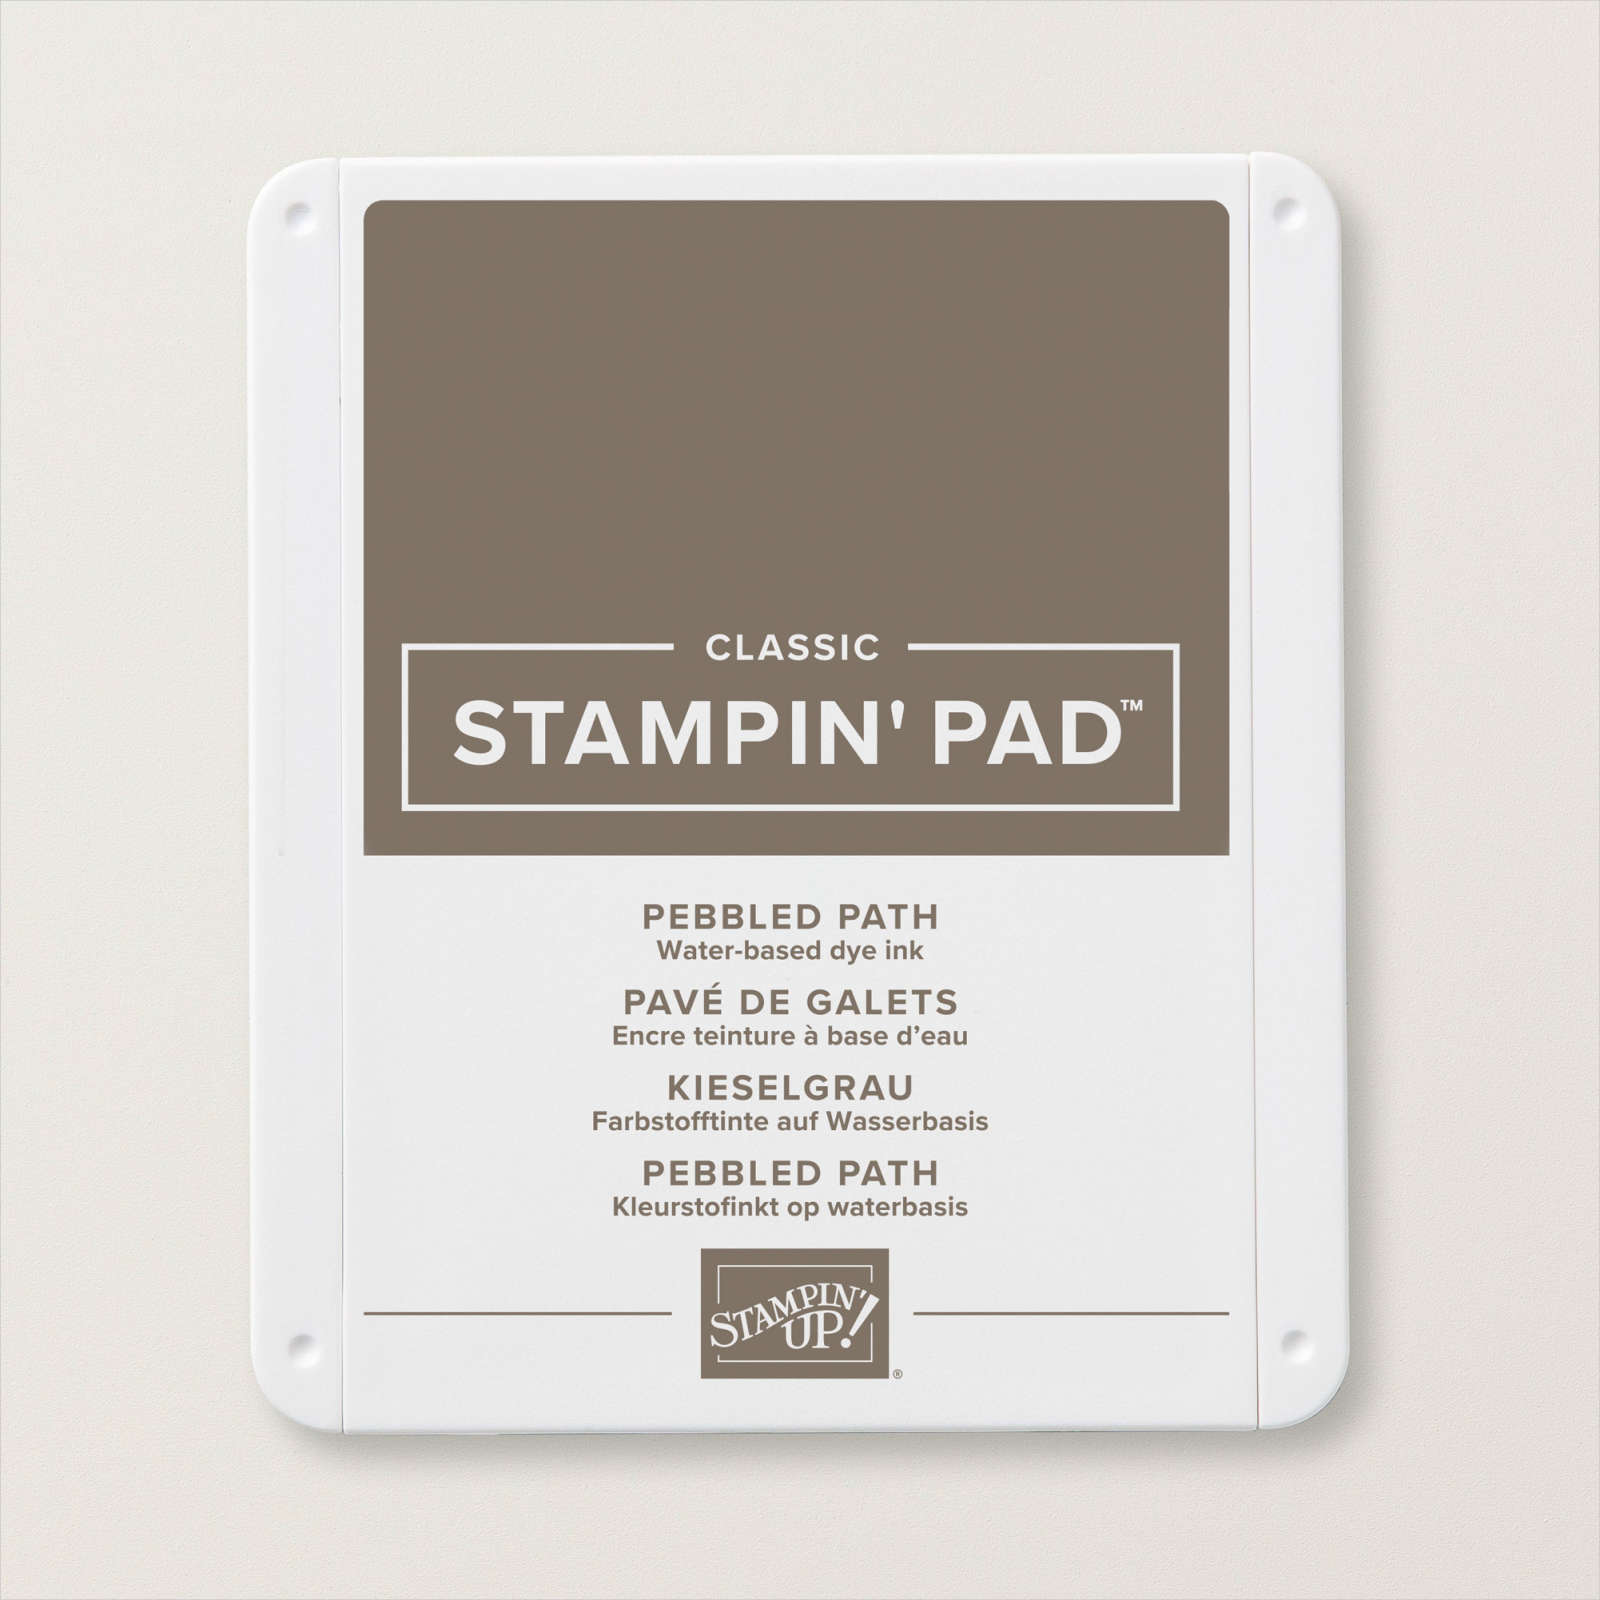
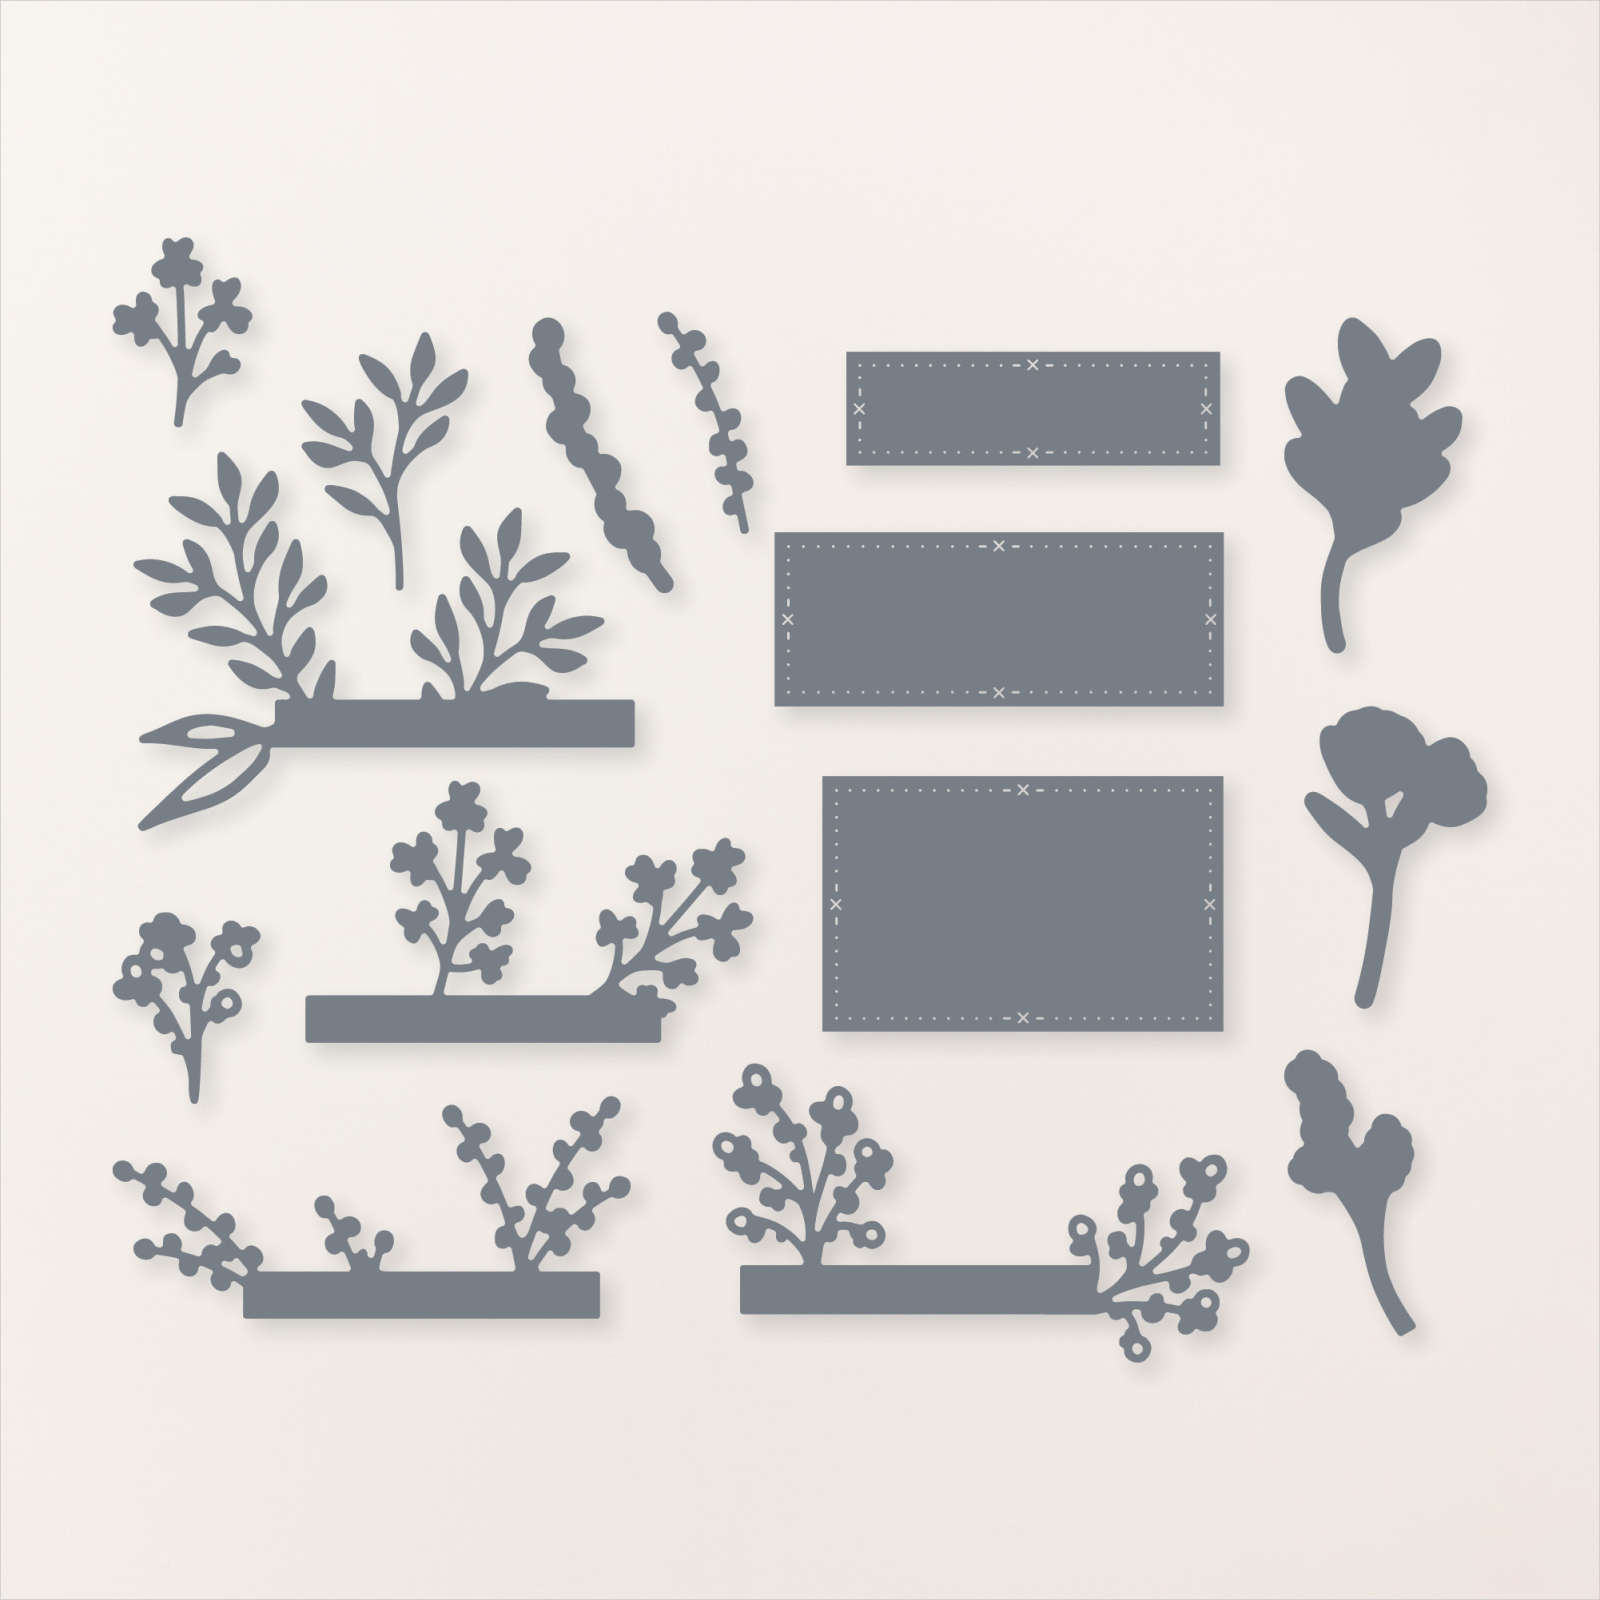
Today I have a card to share with you using the Nested Essential Dies from the new Annual Catalogue. These are stand-alone dies which means they do not co-ordinate specifically with any particular stamp set. This means you can use these layering dies with any stamps you might have in your stash. I embosed a panel of Very Vanilla card using the Merry Melody 3D Embossing Folder. I cut a piece of the Let’s Go Fishing 12″ x 12″ Designer Series Paper and attached it to the left hand side of the embossed card.

I wrapped the edge of the Designer Series Paper with a length of the Pebbled Path 3/8″ Textured Ribbon. The whole panel is attached to scored and folded Pebbled Path card. I stamped the drum image from the Enjoy The Rhythm stamp set onto Very Vanilla card using Pebbled Path ink. I cut out the image using one of the Nested Essentials Dies.

I attached the image panel to the card front using dimensionals. I stamped “happy birthday” from the Enjoy The Rhythm stamp set onto Very Vanilla card using Pebbled Path ink. I punched out the greeting using the Double Oval Punch and attached it to a Pebbled Path scalloped oval cut using the same punch. I attached the greeting to the card front using dimensionals where necessary. To decorate the inside of the card I stamped another greeting from the Enjoy The Rhythm stamp set onto Very Vanilla card using Pebbled Path ink. I stamped the music image from the Enjoy The Rhythm stamp set below the greeting using the same ink. I am so happy with this card. I think the new in-colour is fabulous for creating male cards, don’t you.
If you want more inspiration for these dies, check out my Facebook Live from yesterday where I share three more cards using the Nested Essential Dies.
Bye for now,
Kris
Product Used:


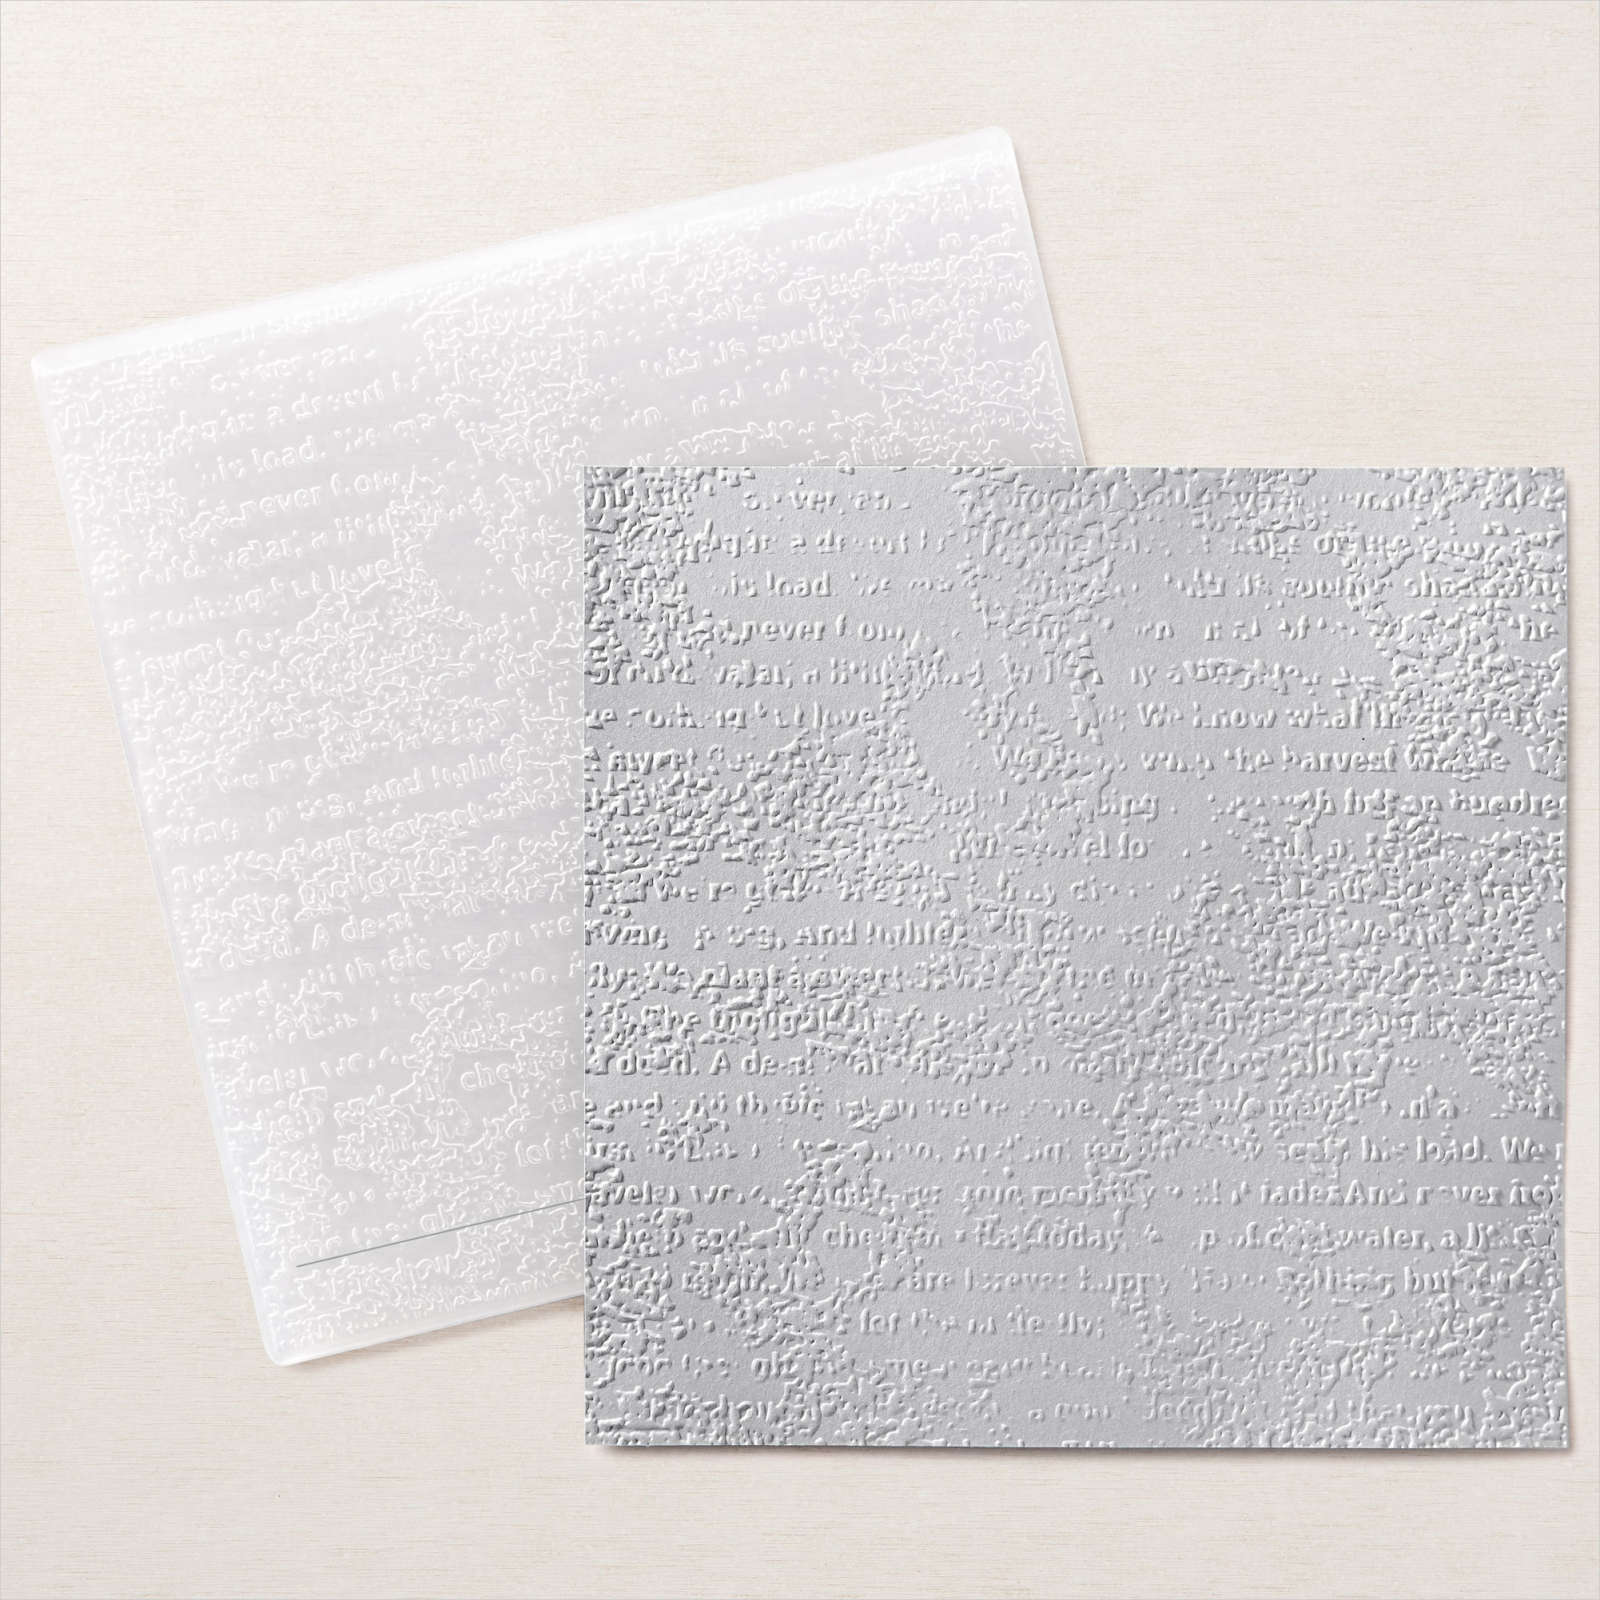
Meadow Thinking of You
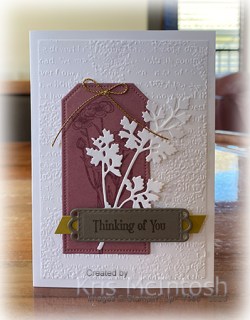
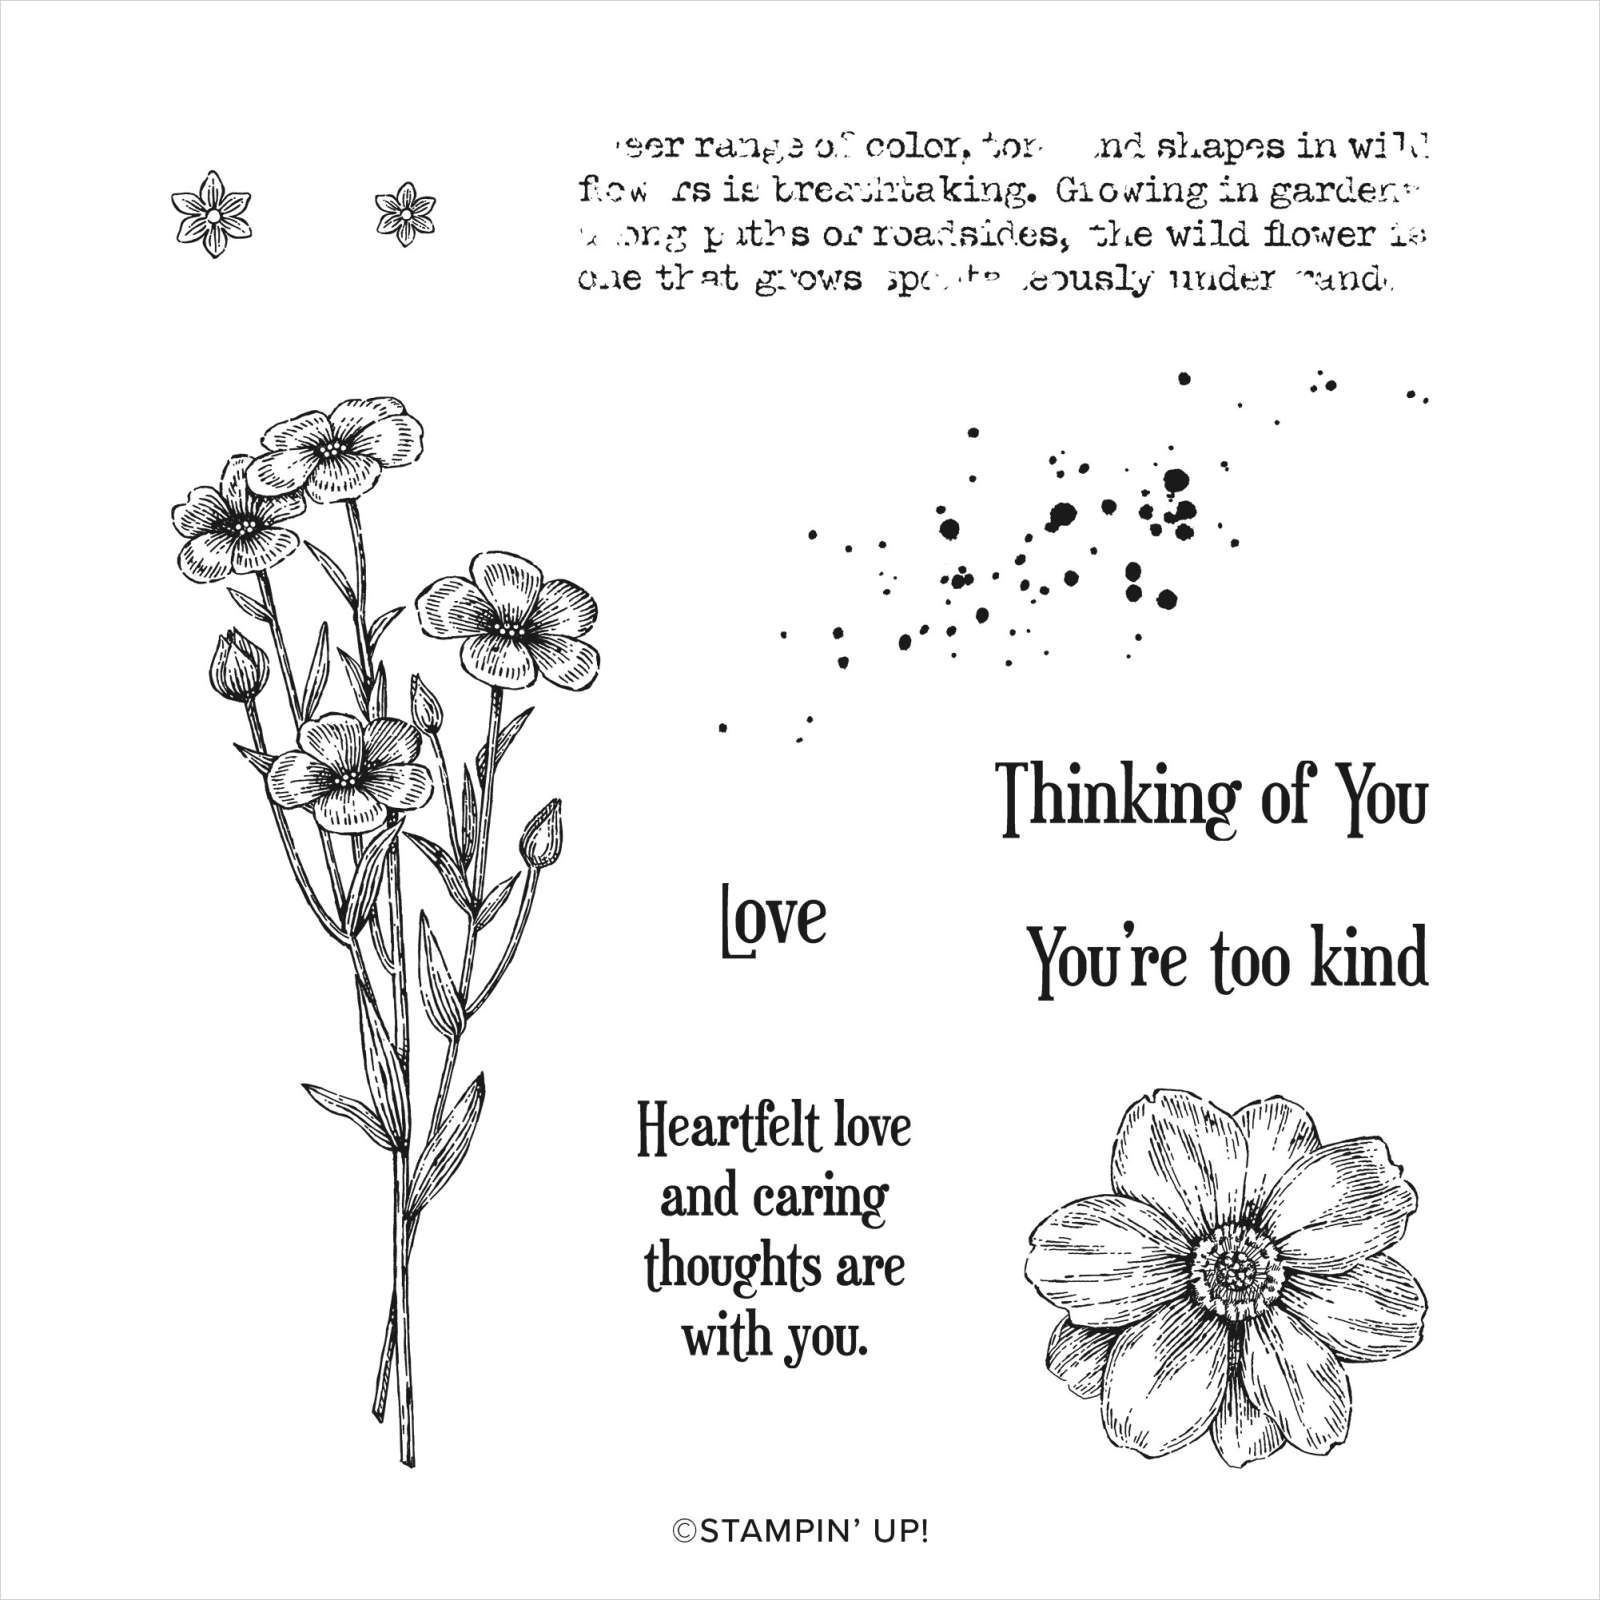
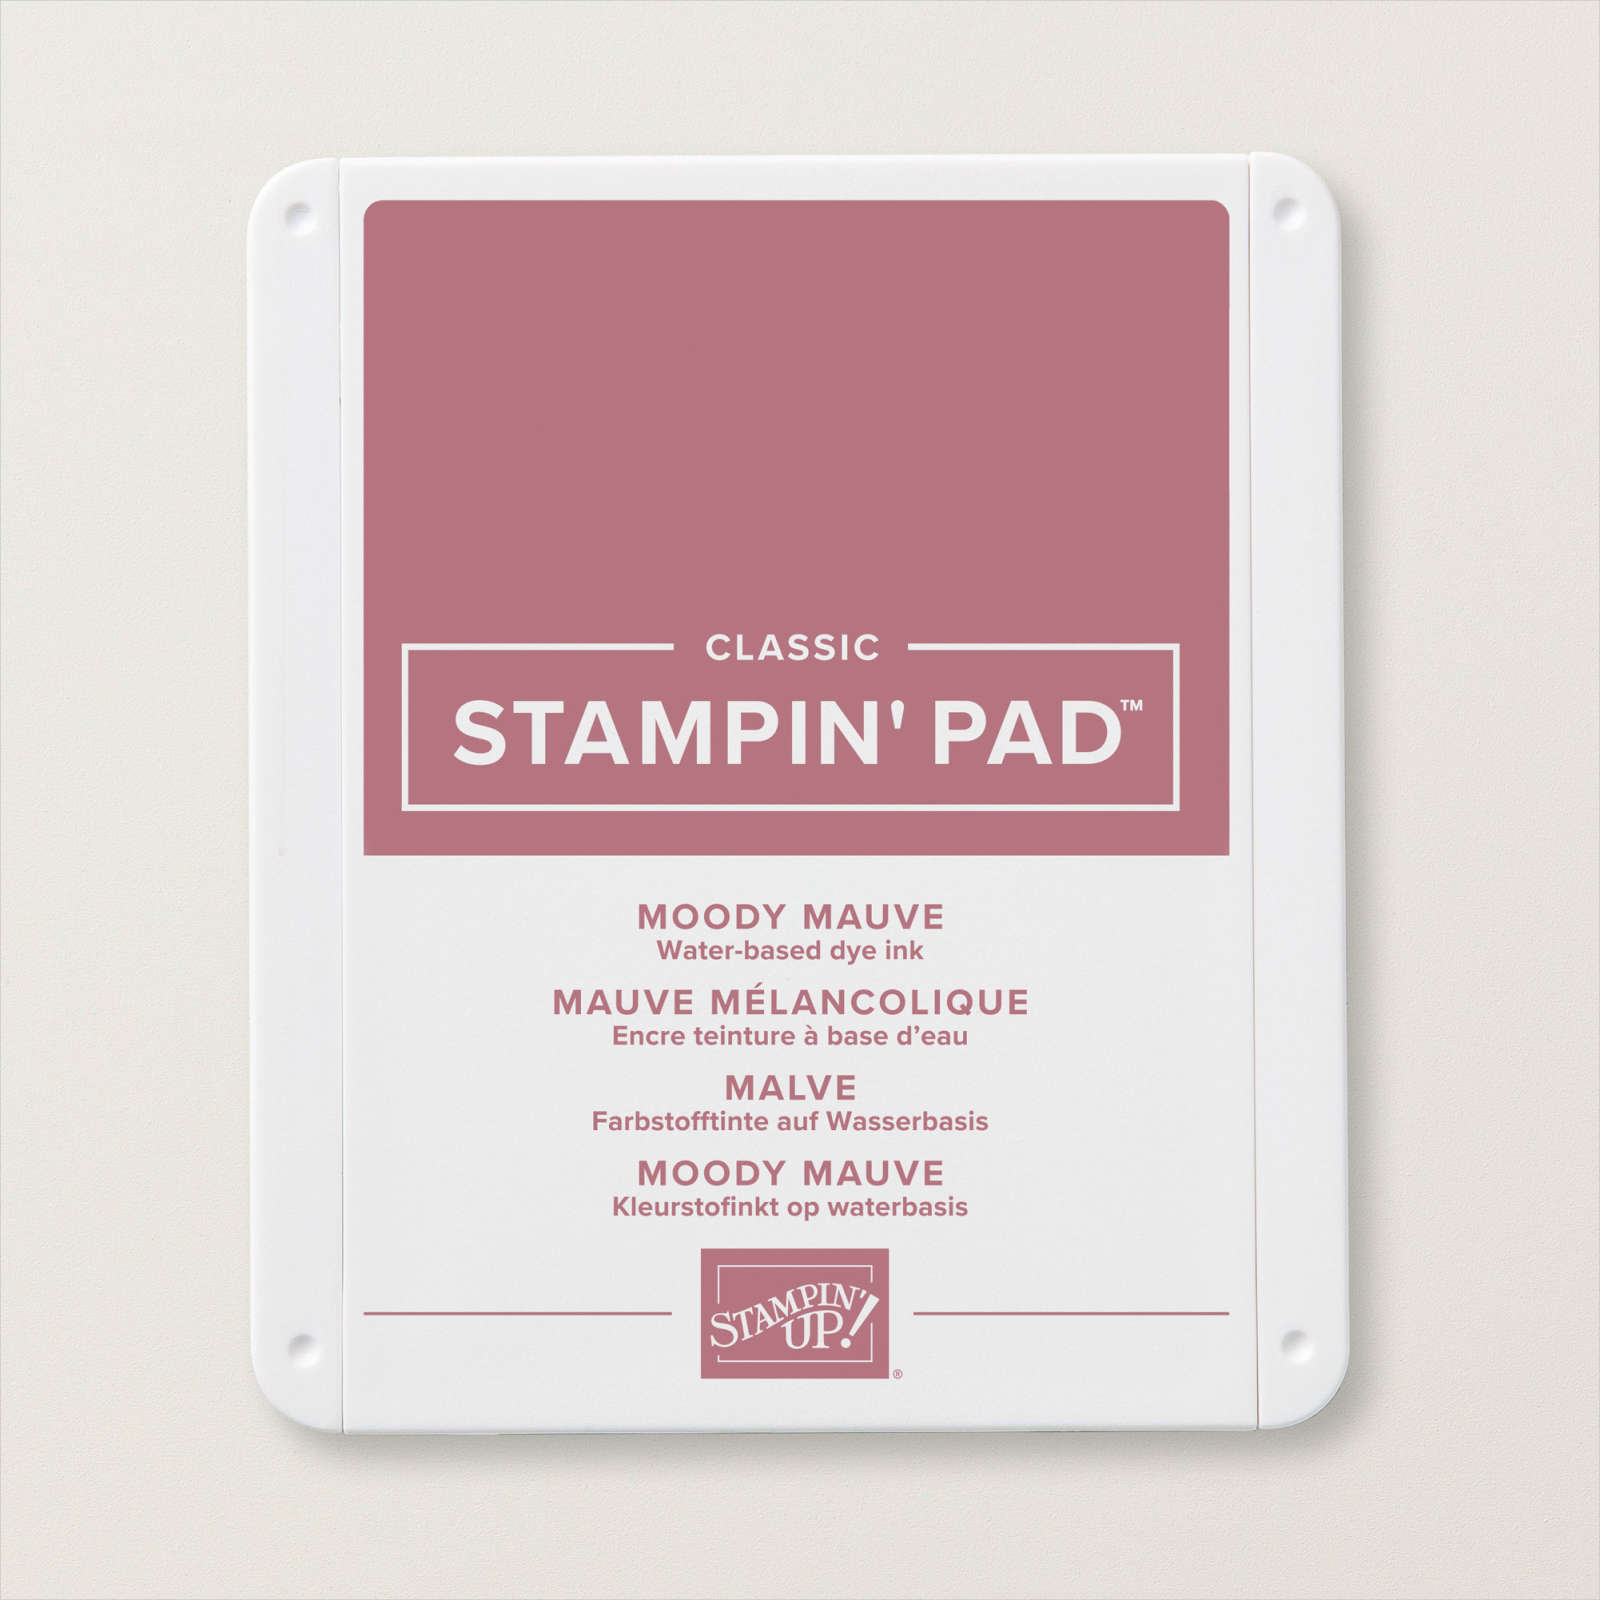
I found a card on Pinterest and decided to CASE it, with a few changes. I embossed Basic White card using the Timeworn Type 3D Embossing Folder and attached it to scored and folded Thick Basic White. I stamped the large floral image from the Quiet Meadow stamp set onto Moody Mauve card using Moody Mauve ink. I cut out the image using one of the Tailor Made Tags and attached it to the card front.

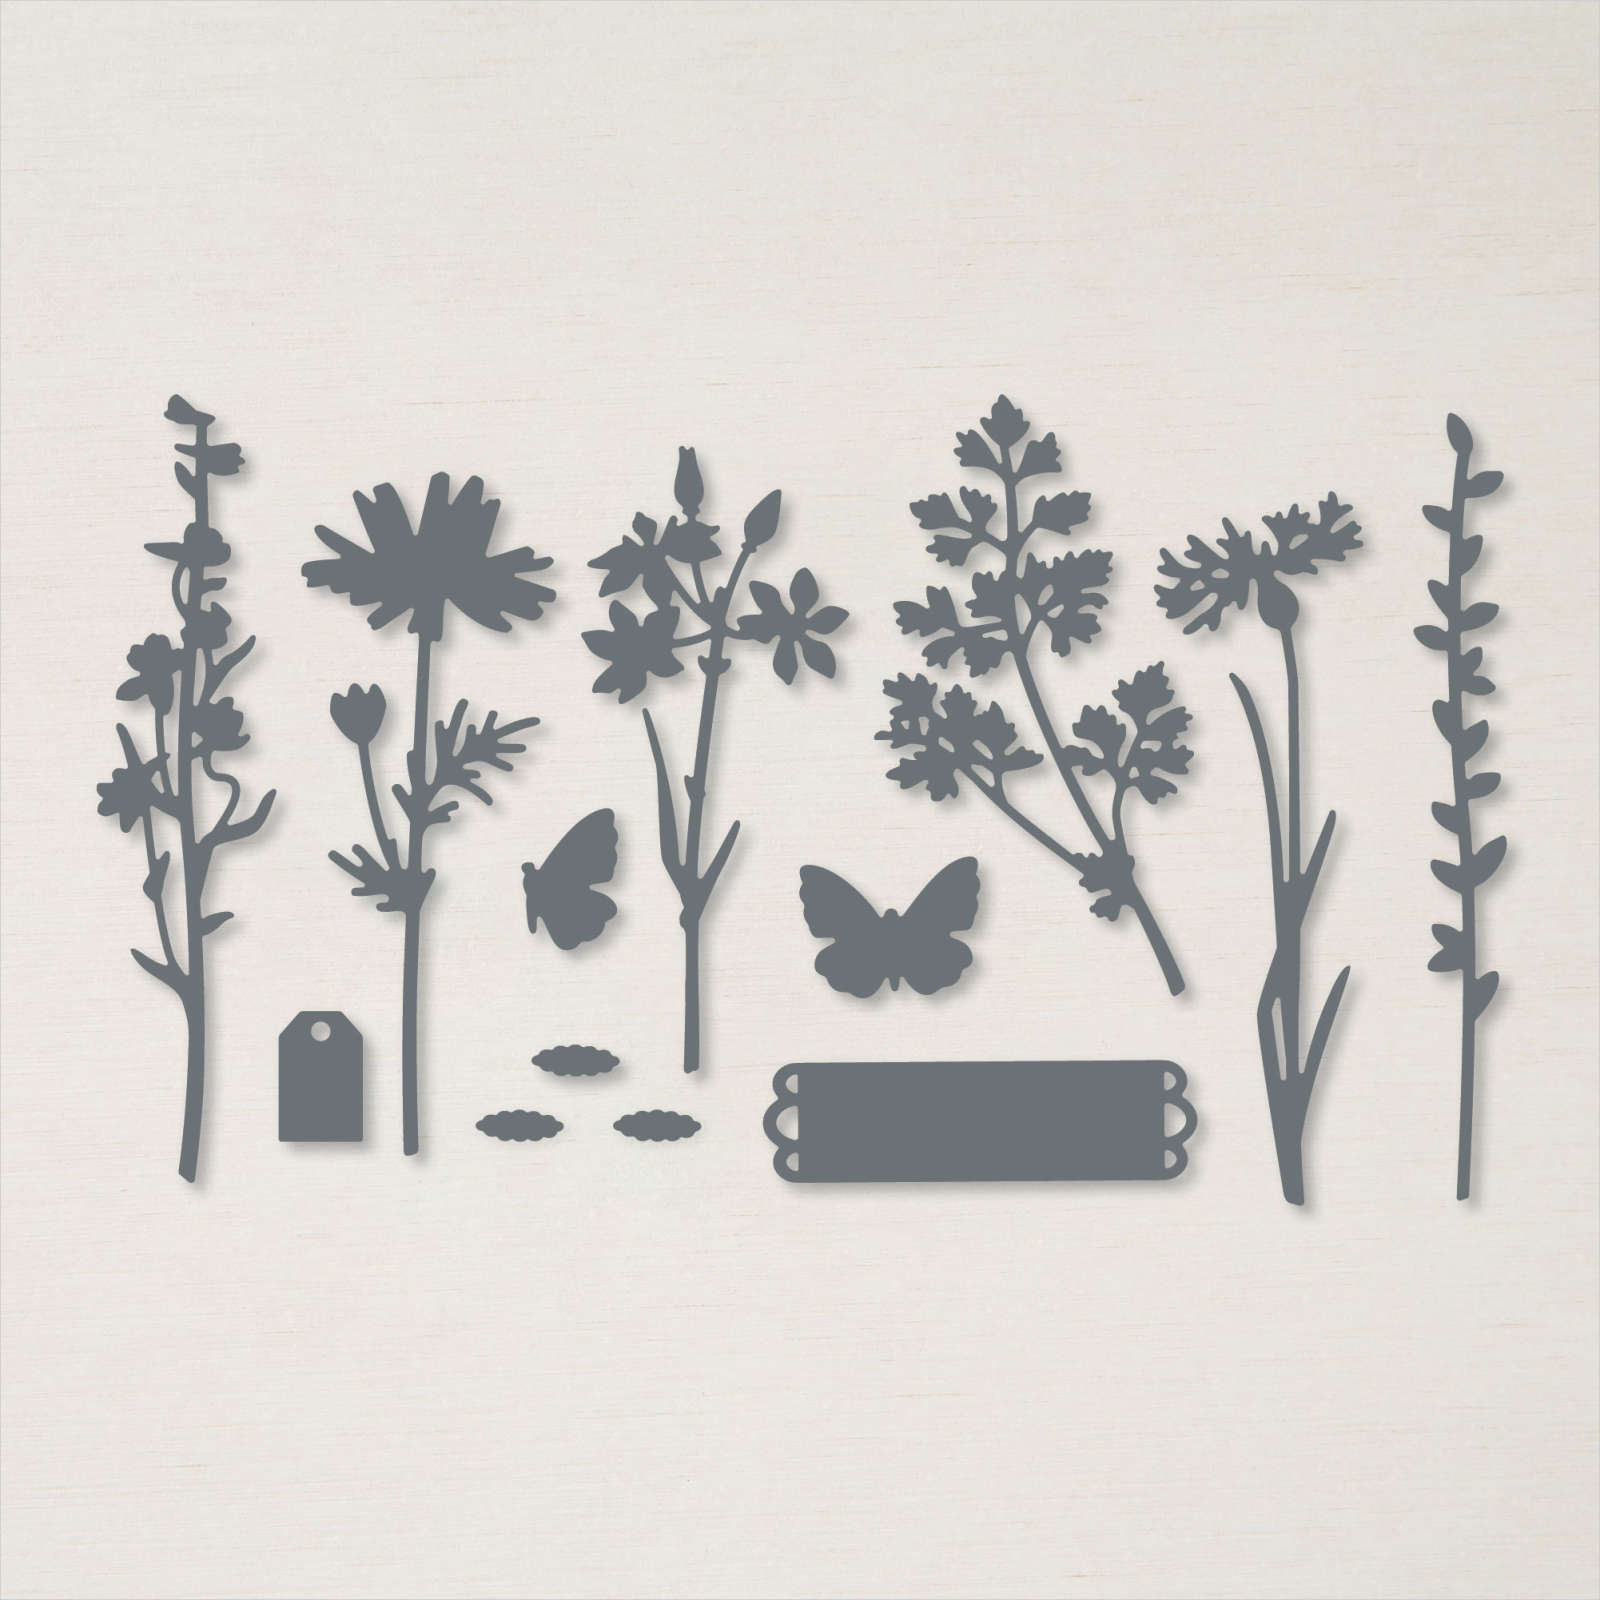
I die cut Basic White card using one of the Meadow Dies and attached it to the card front over the tag. I stamped “Thinking of You” from the Quiet Meadow stamp set onto Pebbled Path card using Pebbled Path ink and cut it out using the banner die from the Meadow Dies.
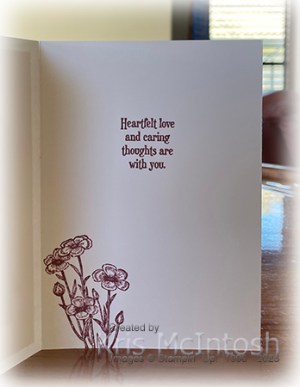
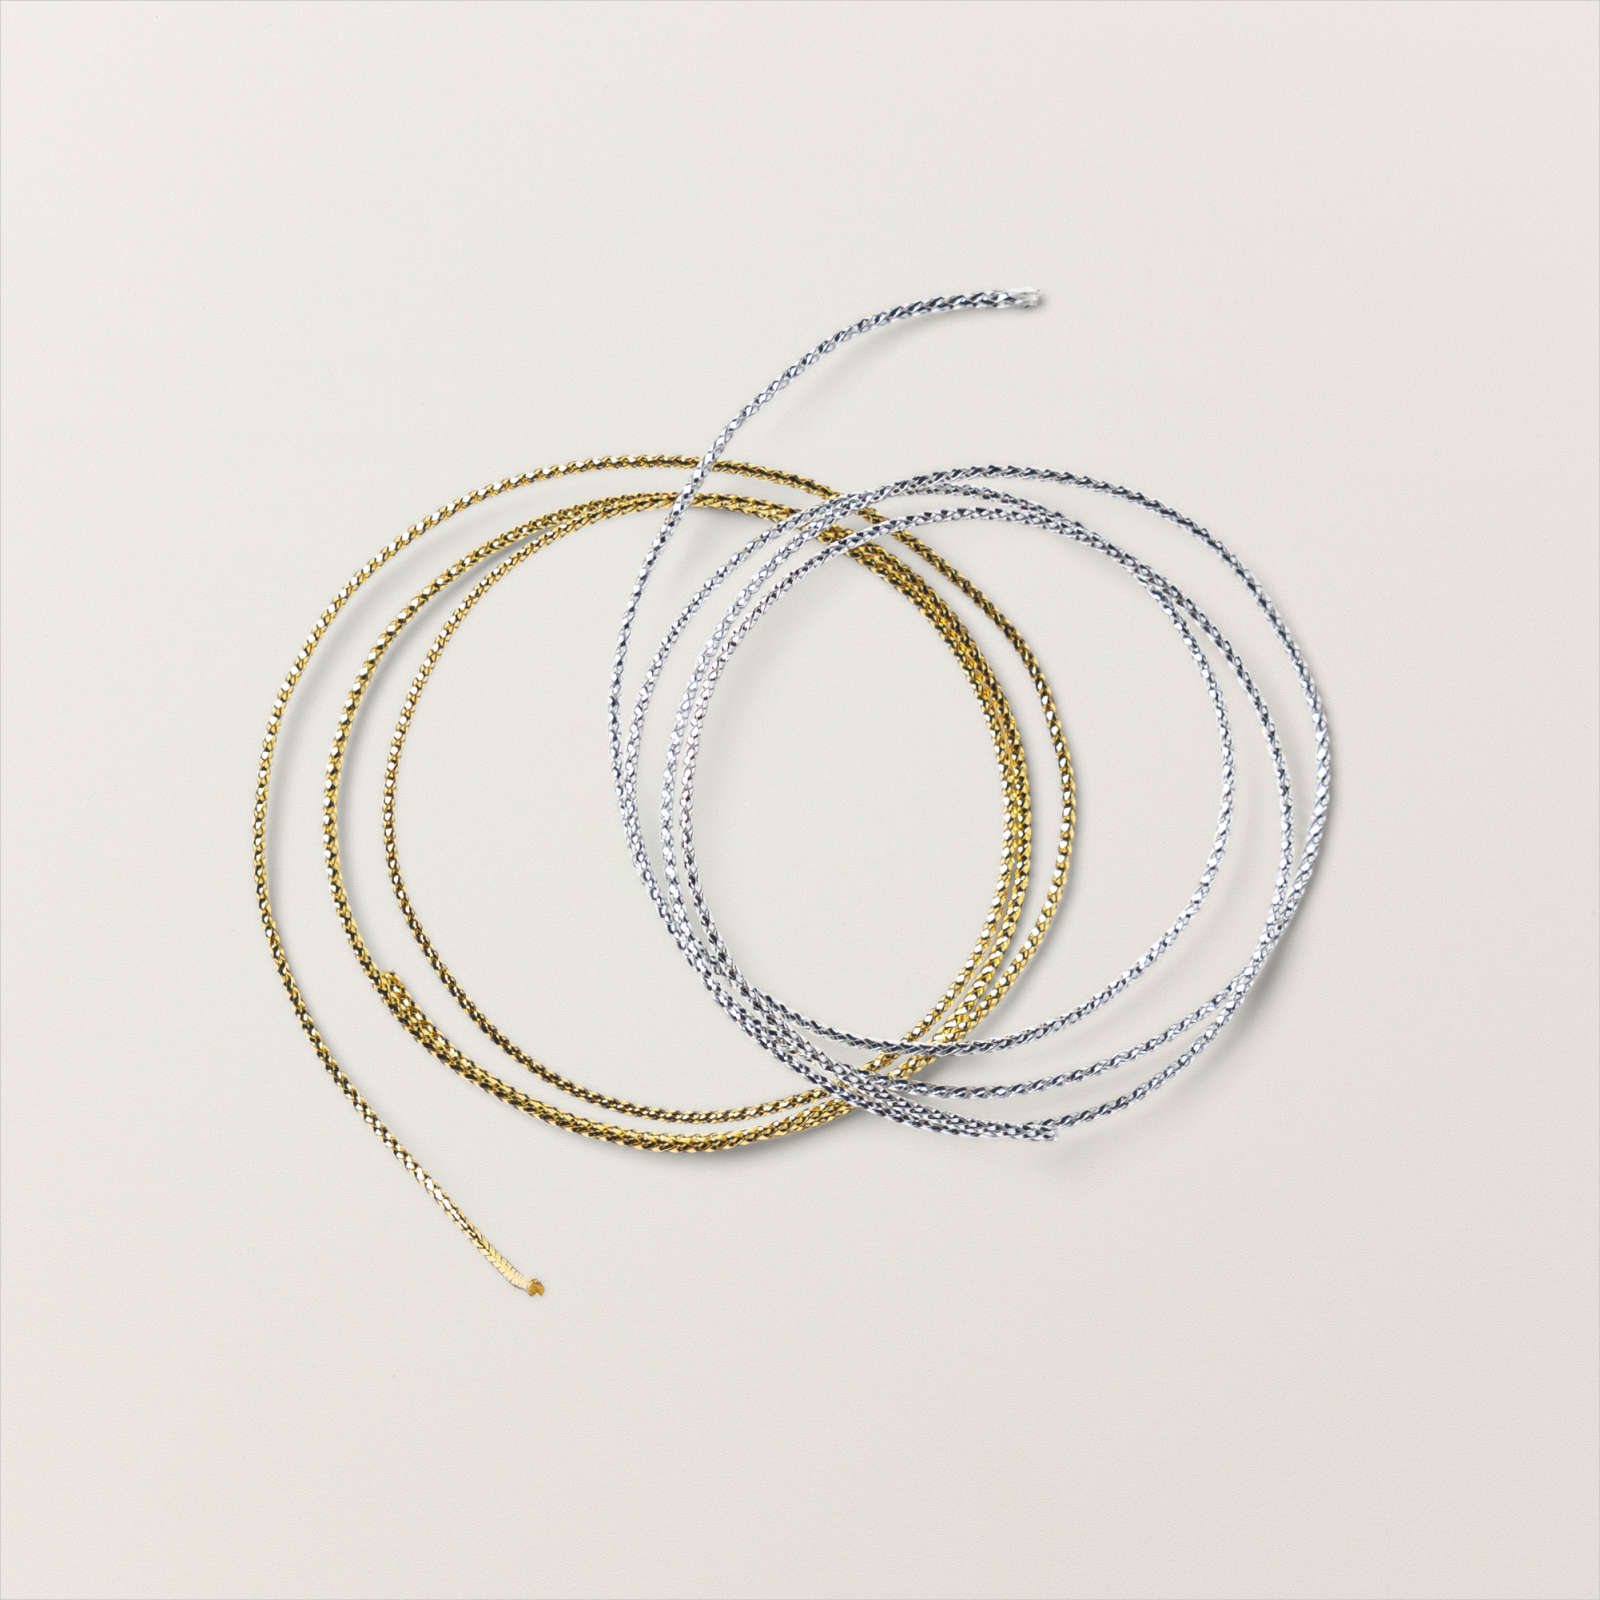
I cut a strip of Wild Wheat card and attached it behind the greeting before attaching it to the card front using dimensionals. I tied a knot in a length of Gold Simply Elegant Trim and added to the top of the tag using a Glue Dot to hold it in place. To decorate the inside of the card, I stamped the large floral image from the Quiet Meadow stamp set onto the lower left hand corner using Moody Mauve ink. I stamped the greeting from the Quiet Meadow stamp set also using Moody Mauve ink.
I love how beautiful this card is, so thank you Cynthia Stevenson for the inspiration.
Bye for now,
Kris
Product Used:
Charlieville

We had a great time at Charlieville and were lucky enough to catch the Halfway there Shindig (half way to the Big Red Bash, Halfway to the border, halfway to Christmas!). It was a great concert but absolutely freezing by the time the sun went down. I attached a piece of the Countryside Inn 12″ x 12″ Designer Series Paper to a Basic White 12″ x 12″ page. I attached a narrow strip of Boho Blue card down the right hand side of the Designer Series paper. I embossed a piece of Misty Moonlight card using one of the Basics 3D Embossing Folders and attached it to the upper left hand corner of the page.
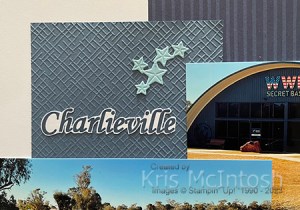
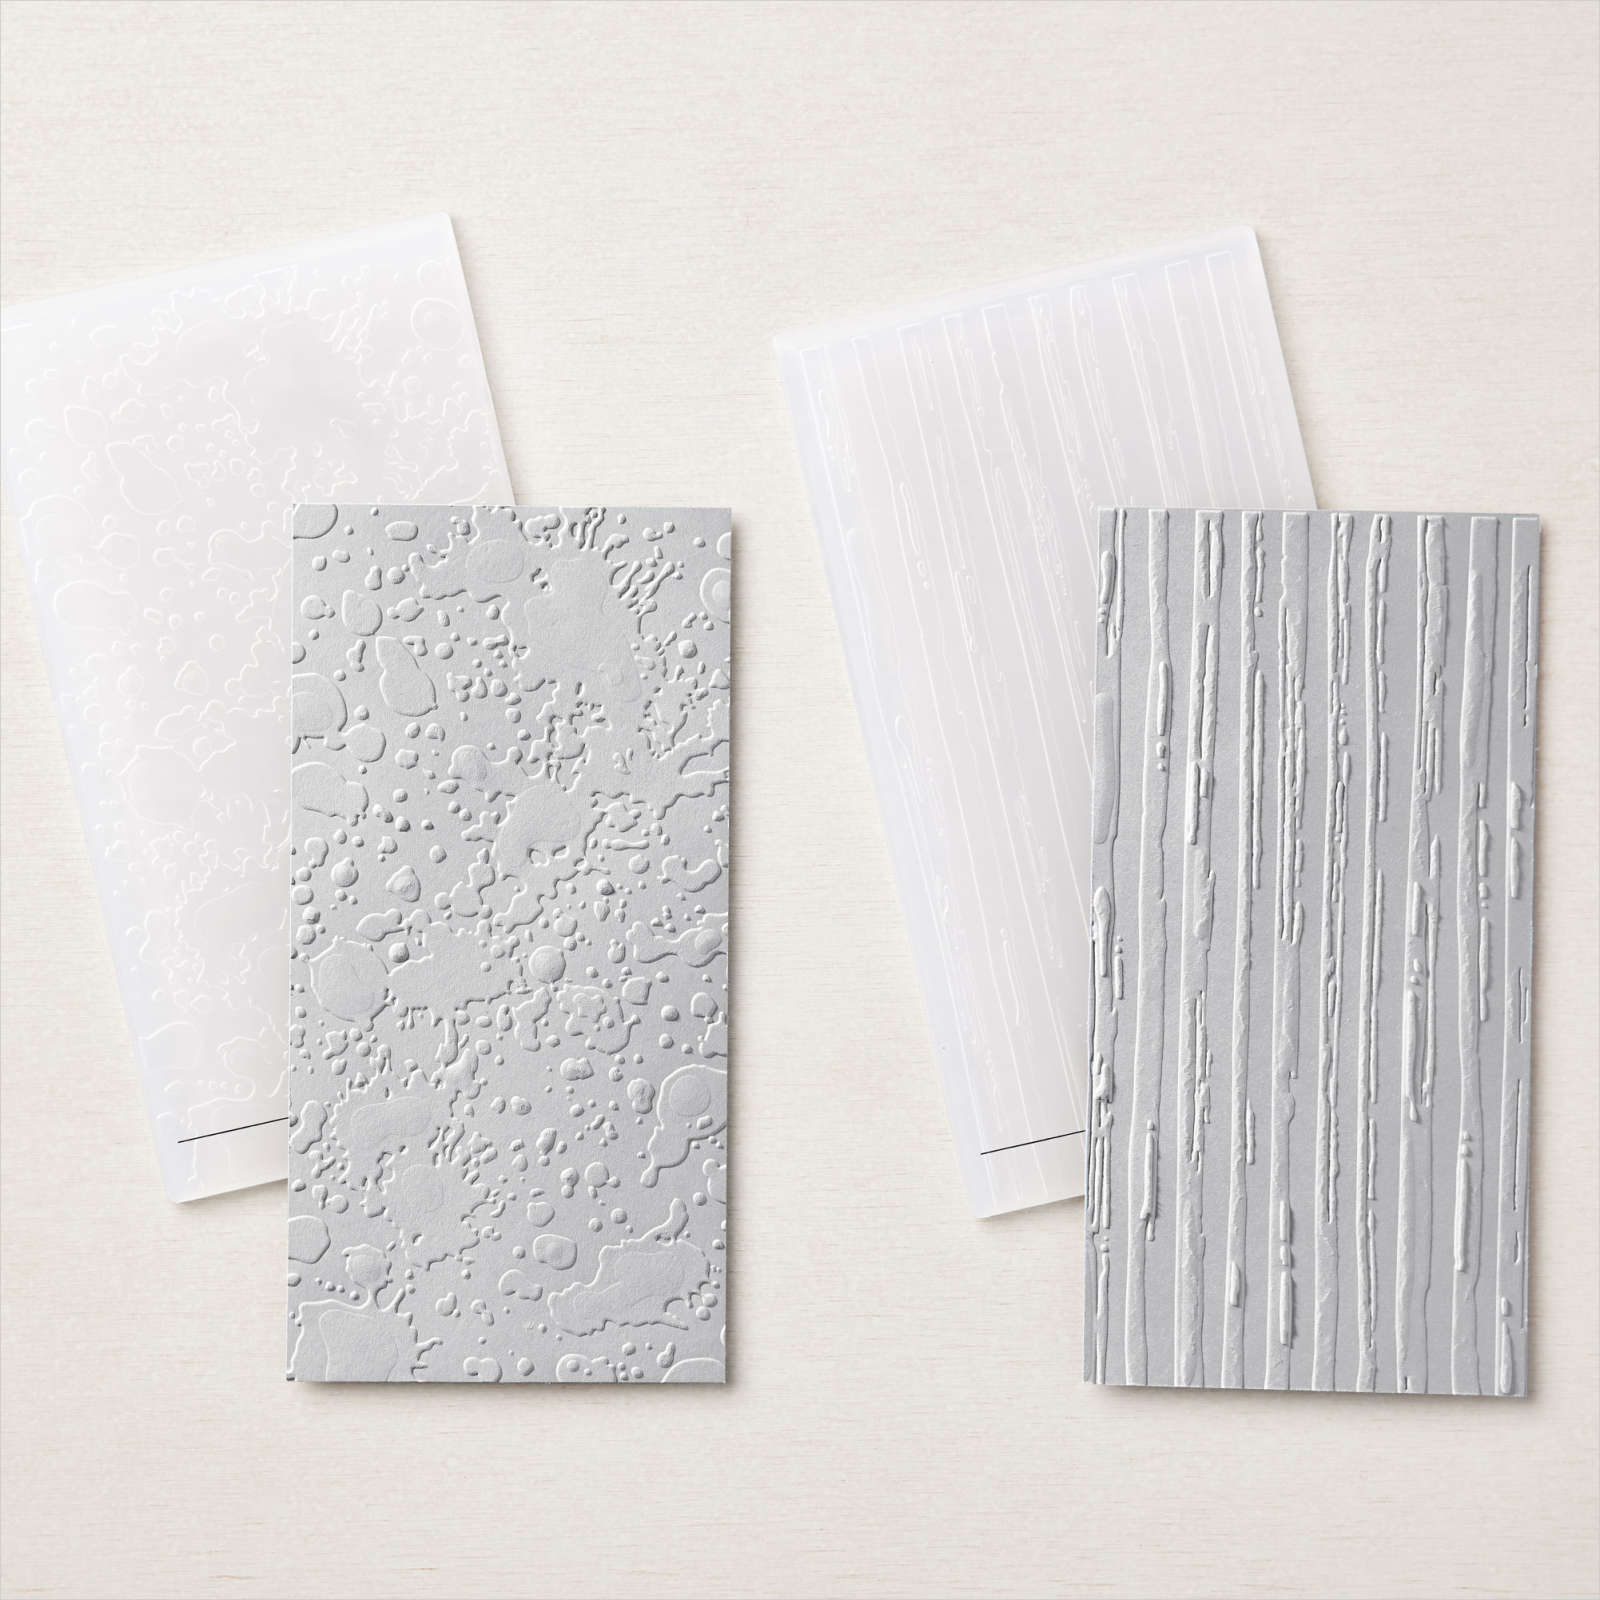
I embossed a piece of Boho Blue card using the splatter folder from the Stripes and Splatters 3D Embossing Folders and attached it to the lower left hand corner of the page. I embossed a piece of Balmy Blue card using the stripes folder from the Stripes and Splatters 3D Embossing Folders. I attached the photos to this embossed panel before attaching it to the page. I printed the title onto Basic White card and cut it out before attaching it to the embossed Misty Moonlight panel. I die cut Balmy Blue and Misty Moonlight card using the stars from the Beautiful Balloons Dies and also the Wanted to Say Dies. I embossed the solid stars from the Beautiful Ballons Dies using the polka dot folder from the Basics 3D Embossing Folders before attaching them randomly to the page. I added the dates to the page using the Basic Black Stampin’ Write Marker.
Bye for now,
Kris
Product Used:


Lattice Birthday

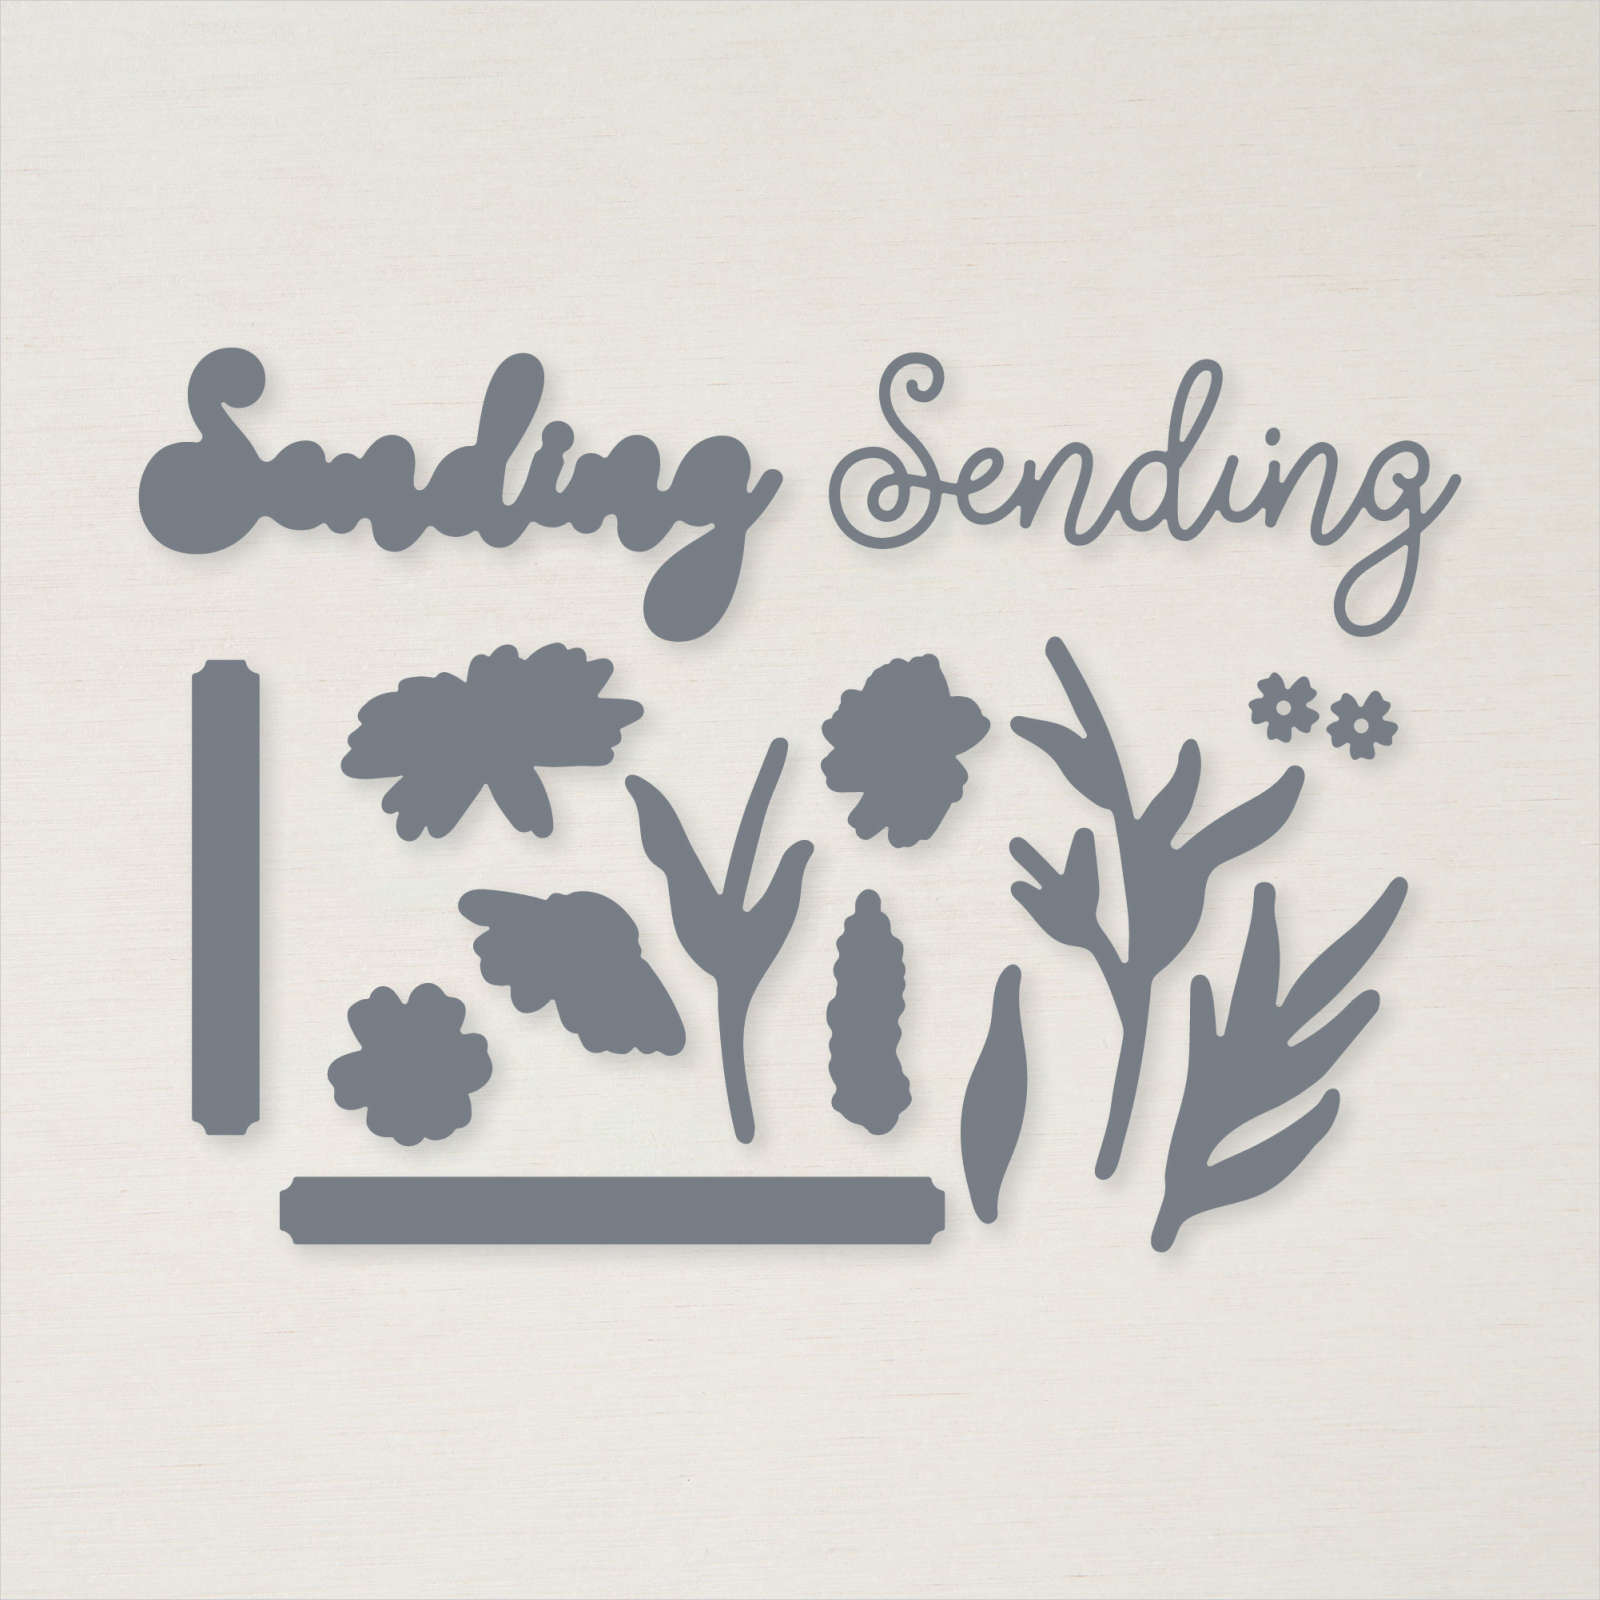
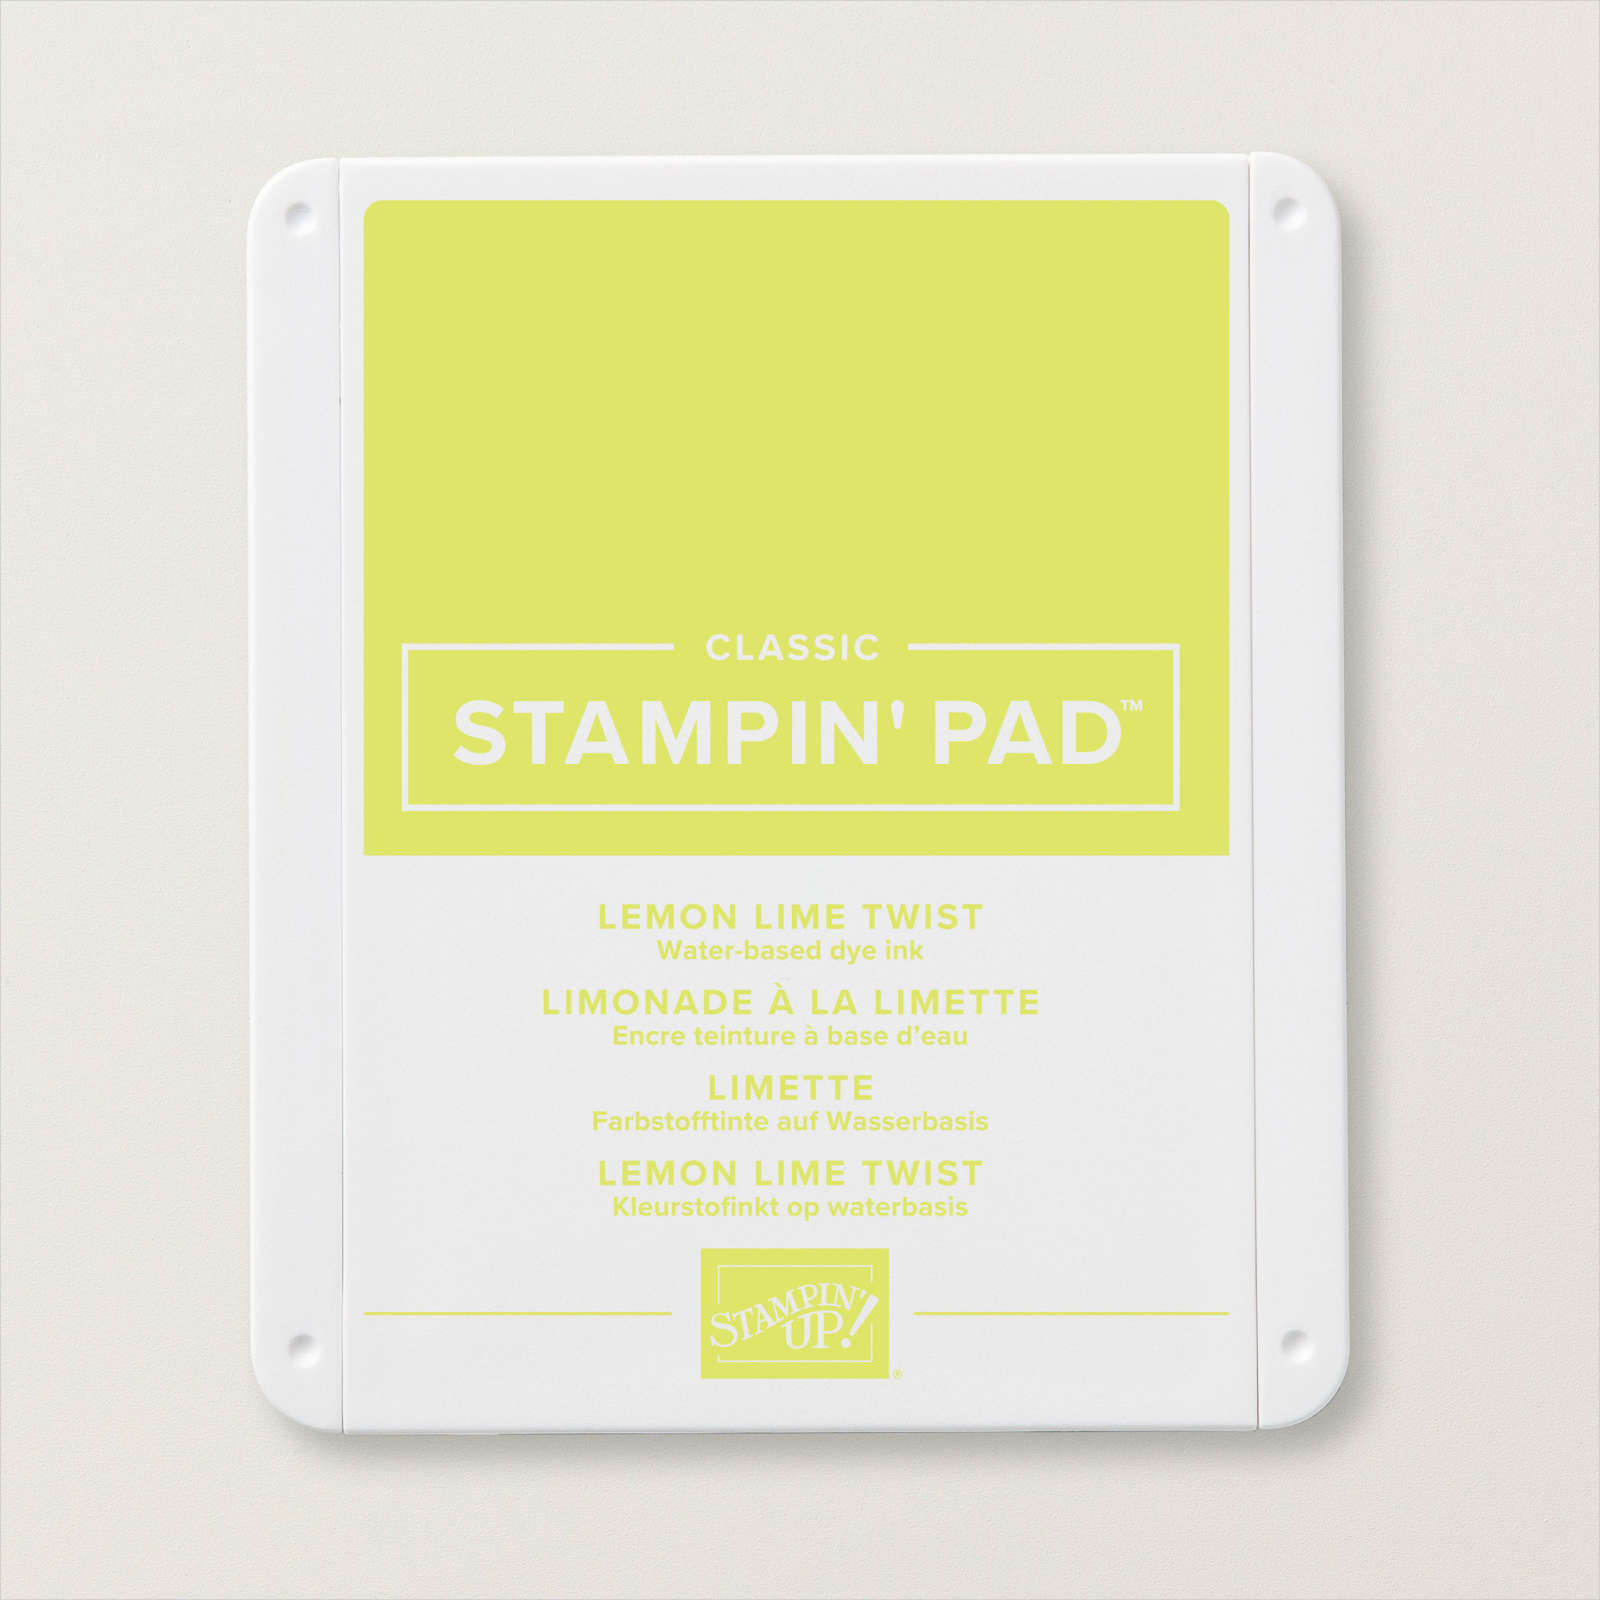
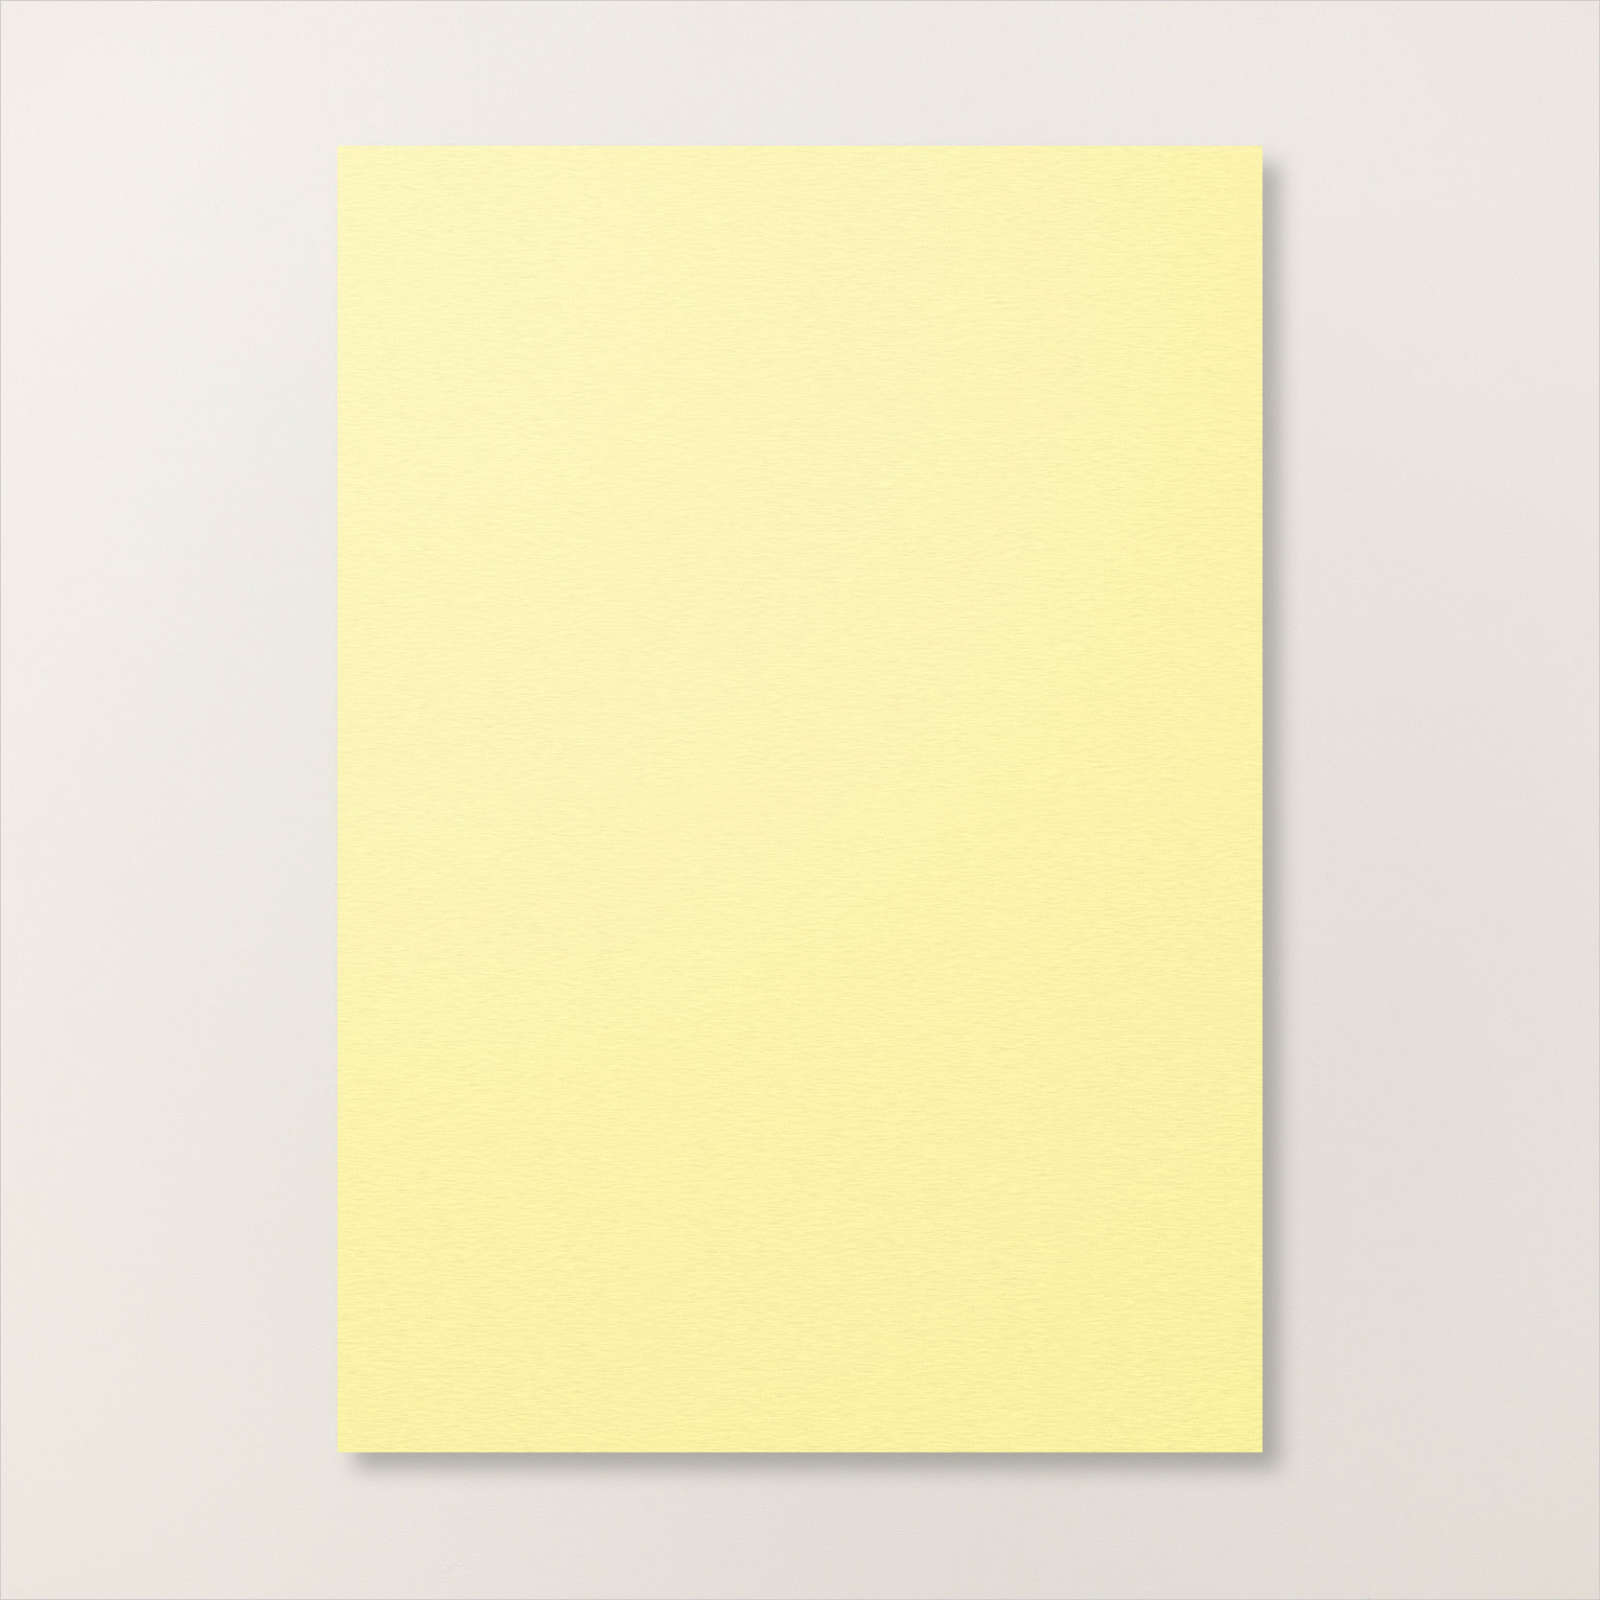
This week in my Facebook Live, I shared some cards I made using the fun Lattice technique. Today I have another card to share with you. For this card, I cut my card base from Thick Basic White card. After attaching the narrow strips to the card front, I embossed a piece of Lemon Lolly card using one of the Basics 3D Embossing Folders and attached it to the top panel on the card front. I stamped two of the large flower stems from the Sending Smiles stamp set onto Basic White card using Lemon Lime Twist ink.
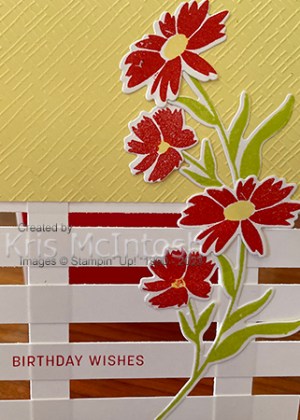
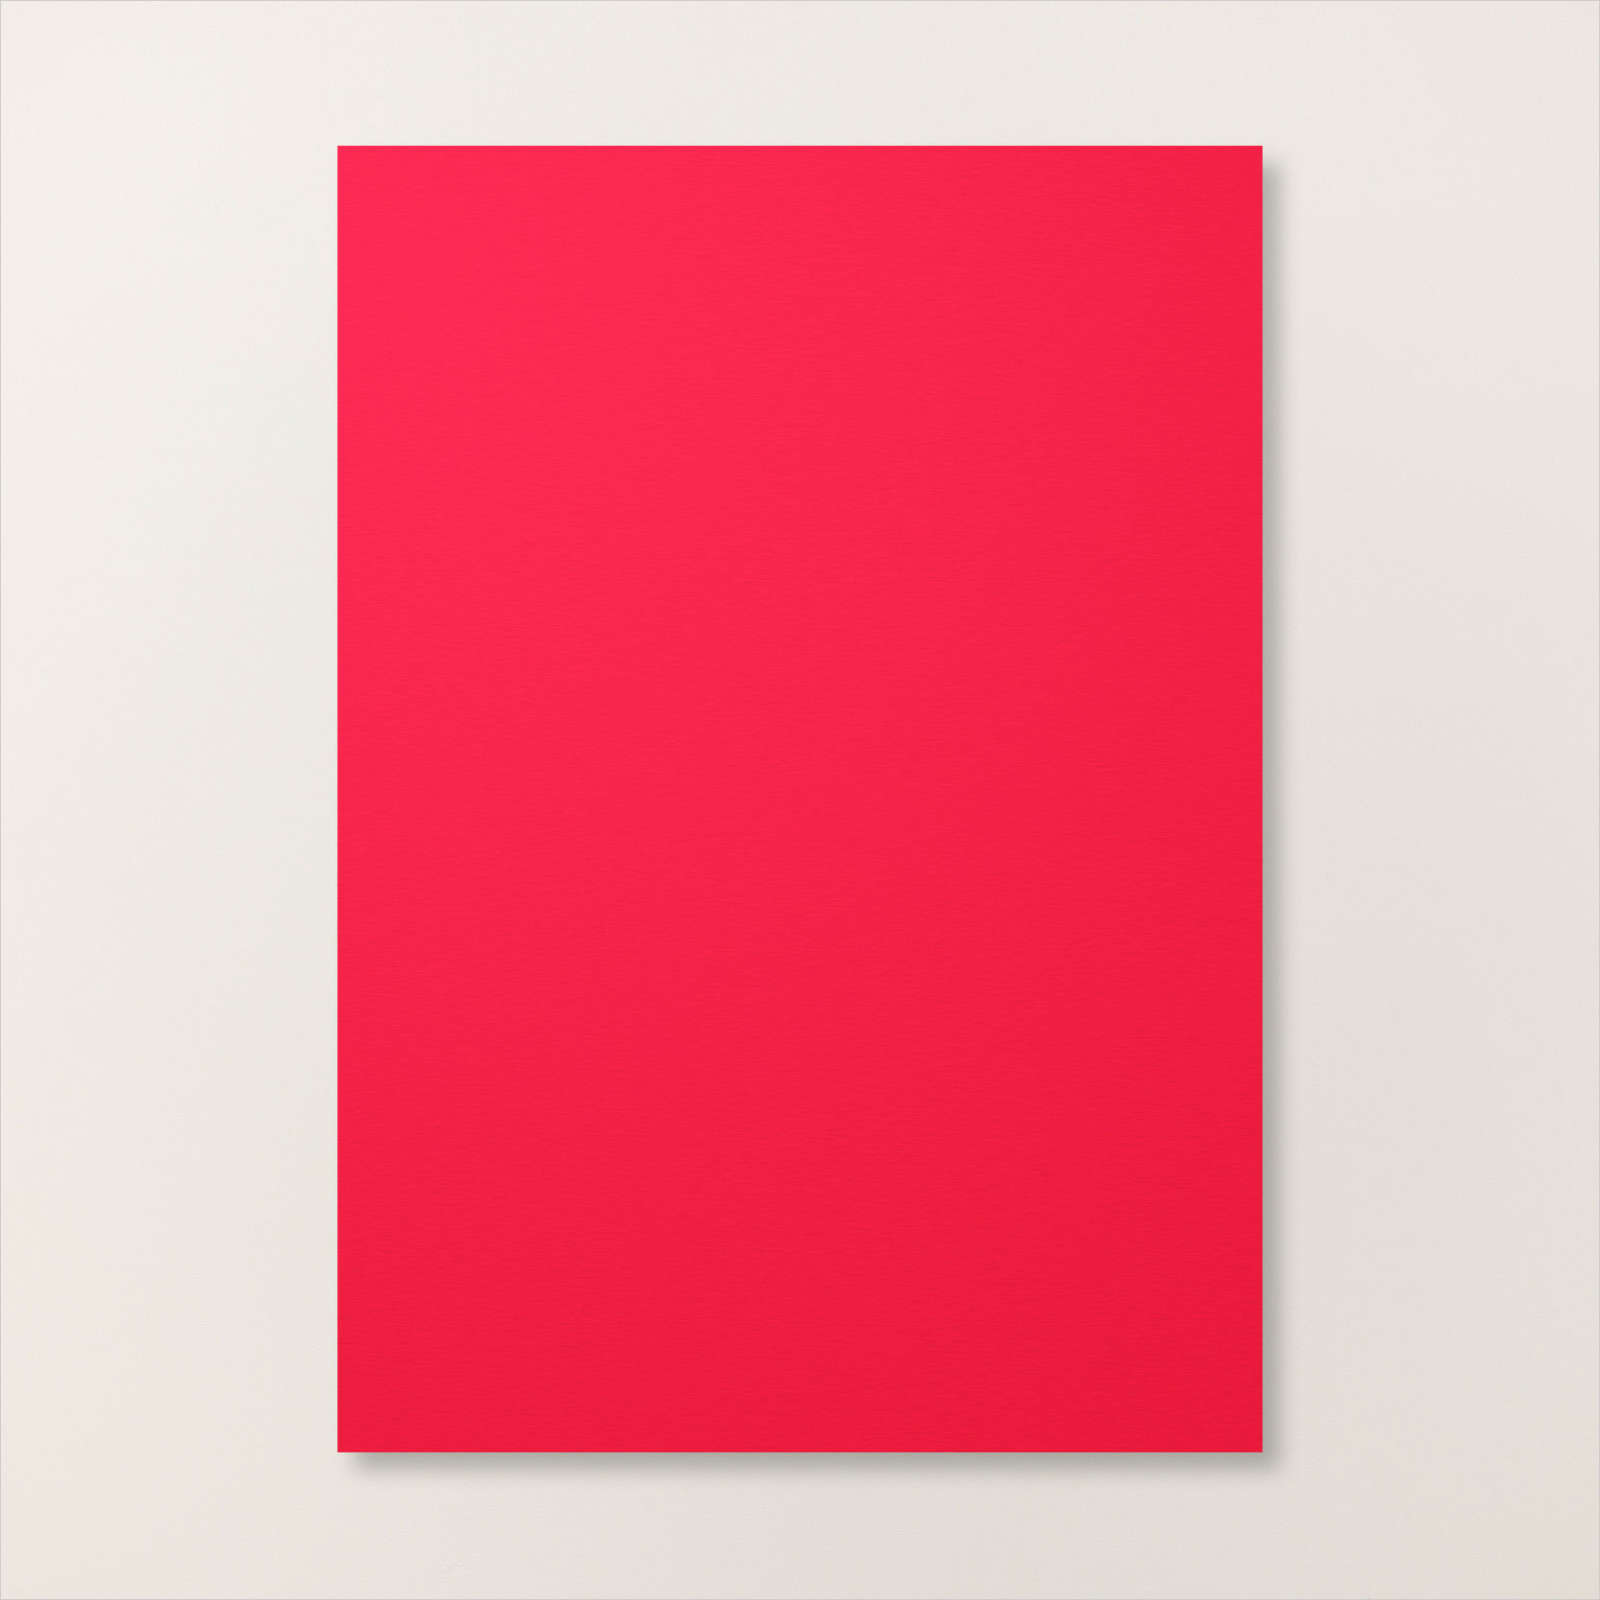
I stamped two large flowers and two smaller flowers from the same stamp set onto Basic White card using Poppy Parade ink. I stamped the flower centres from the Sending Smiles stamp set onto the flowers using Lemon Lolly ink.
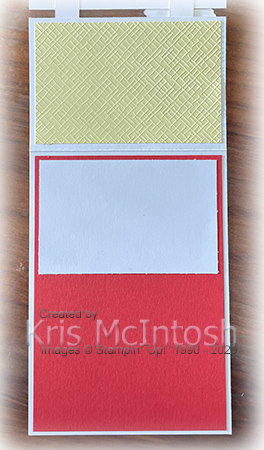
All of the flowers and the flower stems were cut out using the co-ordinating Sending Dies. I attached the flower stems and the flowers to the right hand side of the card front. I also stamped the greeting from the Sending Smiles onto one of the cross panels using Poppy Parade ink. To decorate the inside of the card, I embossed another panel of Lemon Lolly card using the Basics 3D Embossing Folder and attached it to the back of the card front. I attached a piece of Basic White card across the top of a panel of Poppy Parade card before attaching the whole piece to the inside of the card. I love how much fun these cards are to create. You are only limited by your imagination.
Bye for now,
Kris
Product Used:


Timeless thinking of you
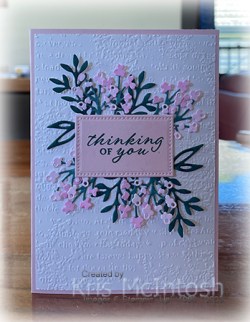
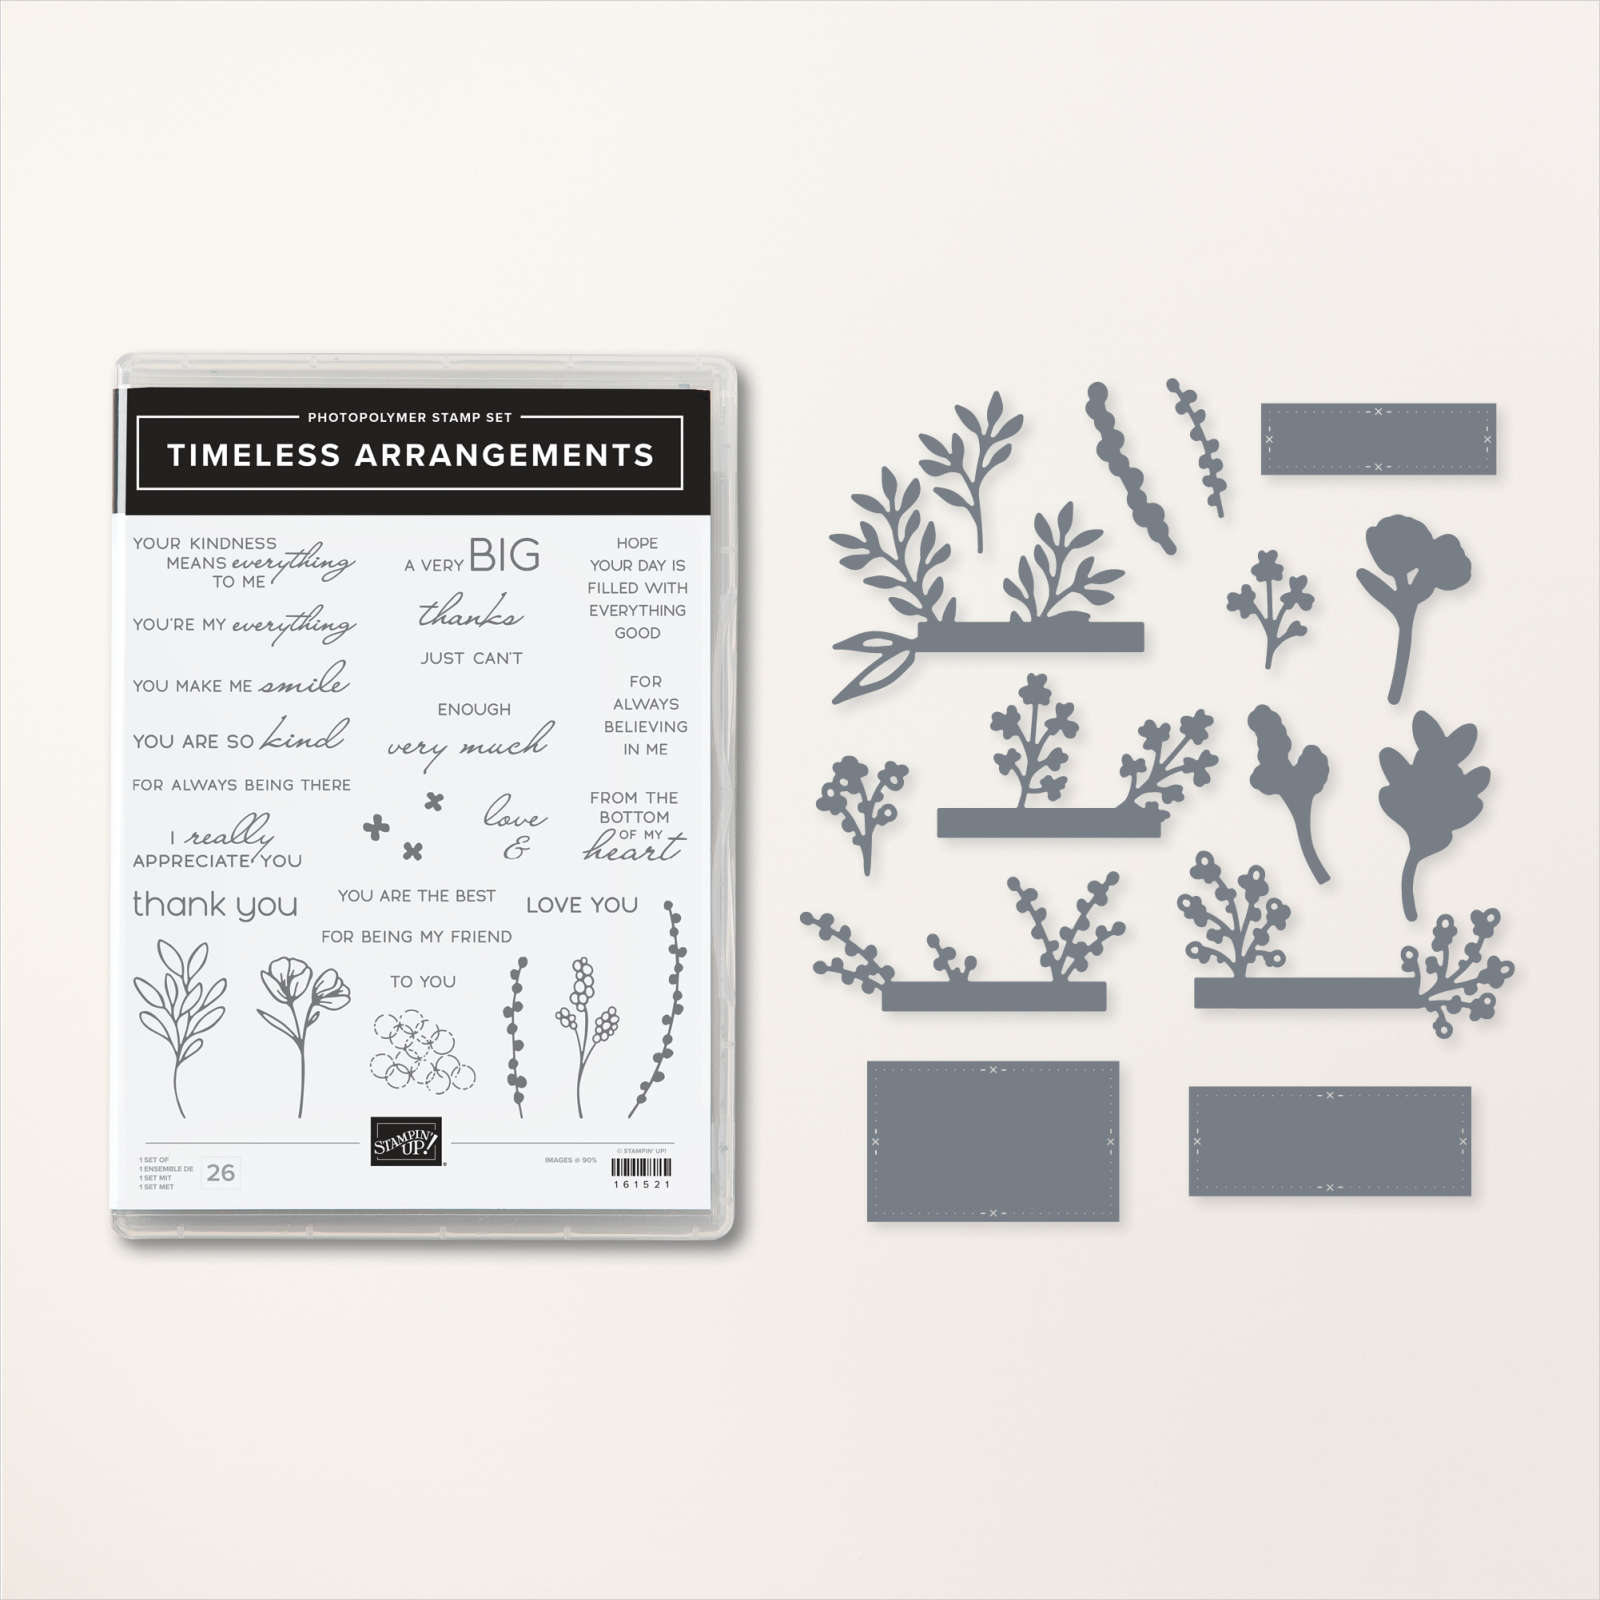
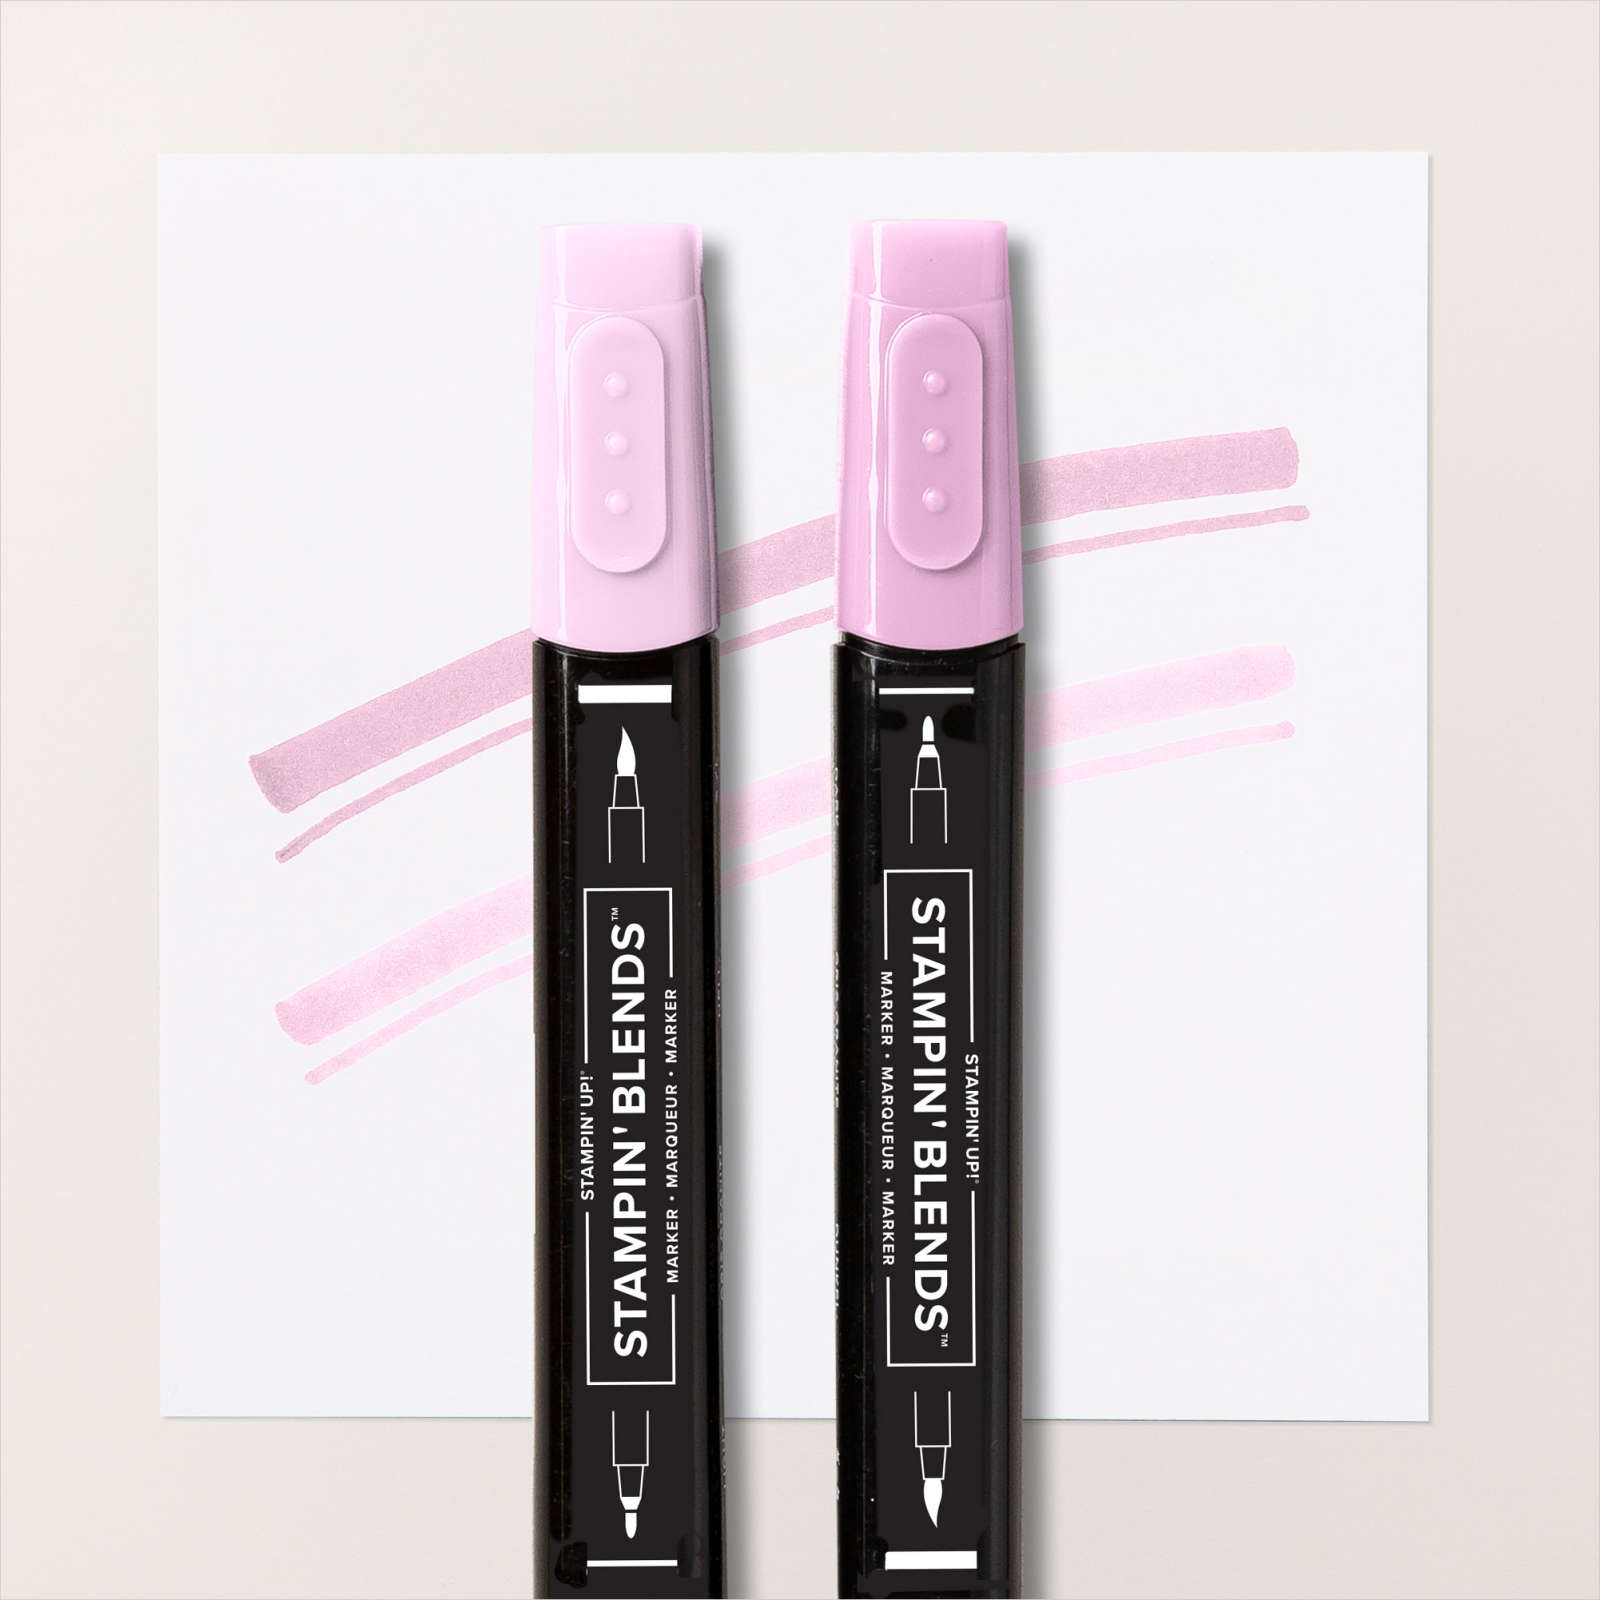
I shared this card with you recently and ever since I made it I had an idea floating around in my head. So today I have used the idea to create my card today. For this card, I embossed Basic White card using the Timeworn Type 3D Embossing Folder and attached it to scored and folded Bubble Bath card. I die cut three of the leafy banners from the Timeless Arrangements Dies twice from Basic White card. I used the Dark and Light Pretty Peacock and Dark and Light Bubble Bath Stampin’ Blends to colour the images.
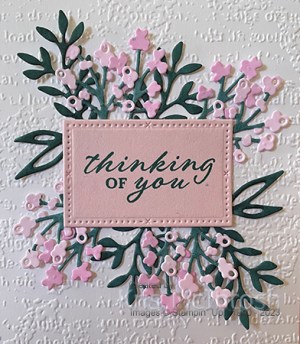
I was looking to create a softer colour by using the Stampin’ Blends instead of cutting from the coloured card. I stamped “thinking of you” from the Wonderful Thoughts stamp set onto Bubble Bath card using Pretty Peacock ink. I cut out the greeting using one of the dies from the Timeless Arrangement Dies.
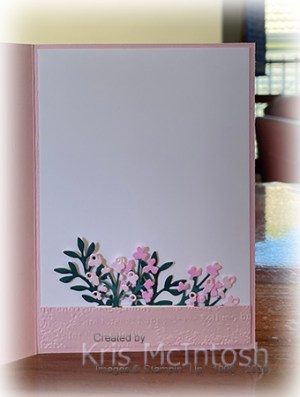
I layered one of each of the dies together and attached it to the back of the top of the greeting banner. I layered the remaining dies together and attached them to the back of the bottom of the greeting banner before attaching the whole panel to the card front. I love how gorgeous the flowers and leaves look against the white background. To decorate the inside of the card, I die cut the same three leafy banners from Basic White card using the Timeless Arrangements Dies. I coloured the dies again using the Pretty Peacock and Bubble Bath Stampin’ Blends. I embossed a narrow strip of Bubble Bath card using the Timeworn Type 3D Embossing Folder. I layered the coloured die cuts as before and attached them behind one long edge of the embossed card. The whole panel is attached across the bottom of Basic White card.
My idea was create a soft and pretty card and I think I pulled it off, don’t you.
Bye for now,
Kris
Product Used:


Mother’s Day

Today’s page showcases photos from our Mother’s Day lunch with my Mum and Dad. We didn’t attend a special lunch on the Sunday as it would be too much for Mum but went on the Monday. It was rather wet but we enjoyed watching the golfers head down the 18th hole to the clubhouse. I attached a piece of retired Perfectly Pencilled 12″ x 12″ Designer Series Paper across the centre of a Basic White 12″ x 12″ page. I attached the photos to Basic Black card. I coloured one of the floral images from the Perfectly Pencilled Designer Series Paper using Fresh Freesia, Bubble Bath, Dark Highland Heather and Dark Lost Lagoon Stampin’ Blends.

I cut out the image and attached it to the left hand corner of the page. I printed “2023” onto Basic White card and cut it out using one of the dies from the Nested Essentials Dies. I cut Basic Black card using a slightly large die and attached it to the back of the photo before attaching it to the upper left hand corner of the page. I printed a little journaling onto Basic White card and cut it out using one of the banners from the Stylish Shapes Dies. I attached this to the second photo before attaching to the right hand side of the page. I cut the title from Basic Black card using the Alphabet A La Mode Dies and attached it to the upper right hand corner of the page. I decided to add some retired Basic Pearls to the centre of the flowers, just because! Let me know what you think.
Bye for now,
Kris
Product Used: