Girls Night Out

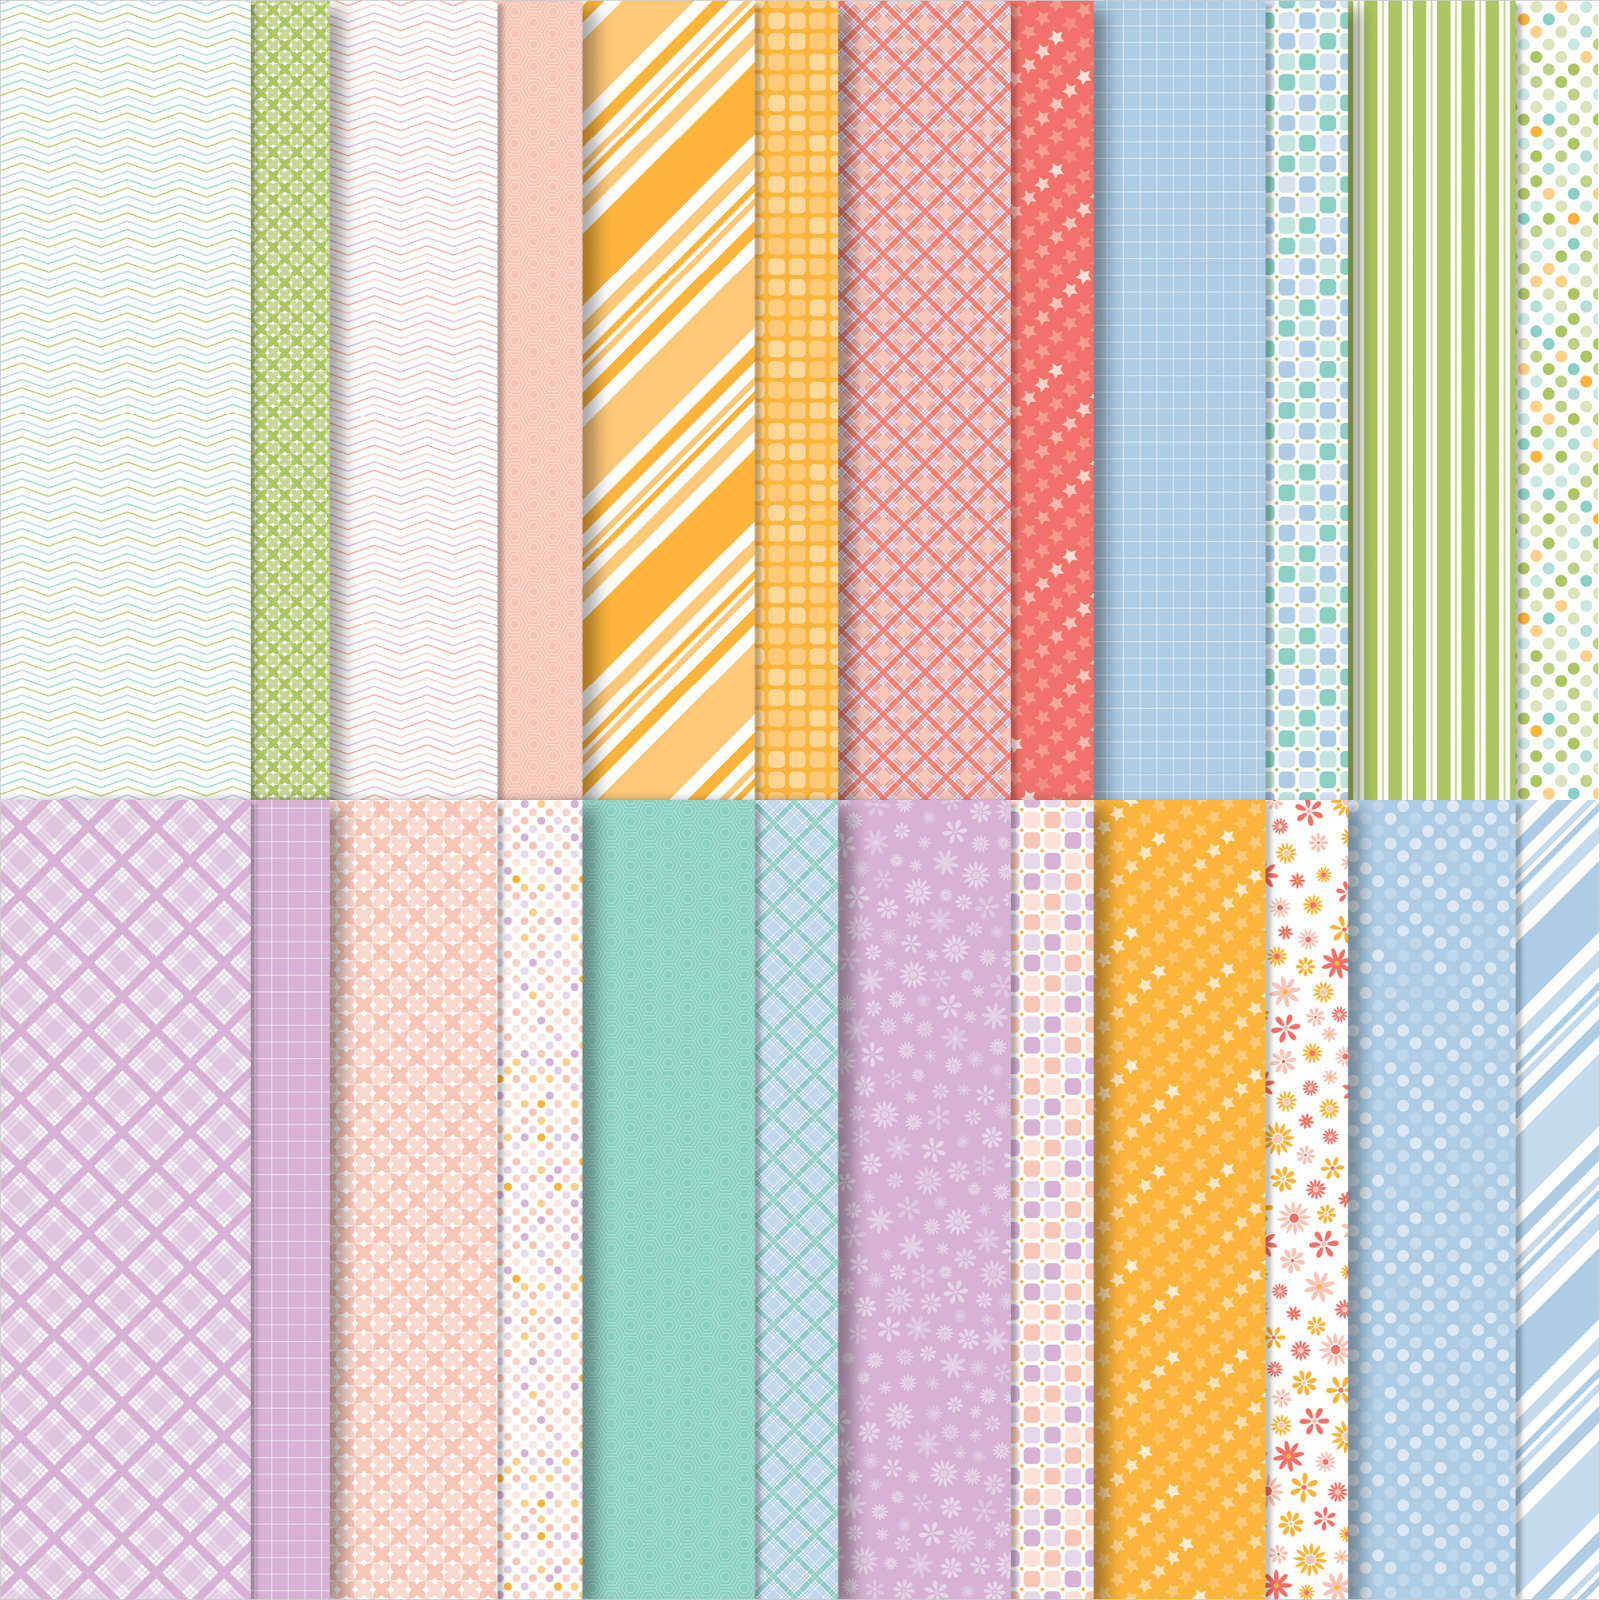
Today’s page shows off some photos of the night we went to QPAC to see Hamilton. I was treated to my dinner and ticket by my two lovely daughters. Three of my granddaughters attended as well. Such a great show and a lovely night. This beautiful paper will soon be retired, but you could use any of the gorgeous papers you have in your stash. I cut varying widths of Fresh Freesia patterns of the Dandy Designs 12″ x 12″ Designer Series paper. I cut a “v” in one end of each strip and attached them down the right hand side of my Basic White 12″ x 12″ page. I attached the two small photos to Basic Black card before attaching the photos over the Designer Series paper. I printed the title onto Basic White card and fussy cut the words and attached them to the top left hand corner of the page.
I stamped the large flower from the Beautifully Happy stamp set twice onto Basic White card using Memento Tuxedo Black ink. I added the flower fill image using Balmy Blue ink and the leaf fill images using Granny Apple Green ink. I cut out the large flowers and leaves and attached each one to the page. I printed my journaling onto Basic White card and cut it into narrow strips. attached I each strip to a narrow strip of Fresh Freesia card before attaching the strips to the lower left hand corner of the page. I still have lots of this beautiful Dandy Designs Designer Series Paper to use up, so I guess you will be seeing it on more pages in the future. Of course, you could change it out for any of the beautiful papers you have in your stash. I must admit that I truly love the Beautifully Happy stamp set as well, mostly because it is two step and you get great depth in the ink when you stamp. I hope I am inspiring you to get your photos off your phone and onto pages so that you can enjoy sharing them with your loved ones.
Bye for now,
Kris
Product Used:


Happy Birthday

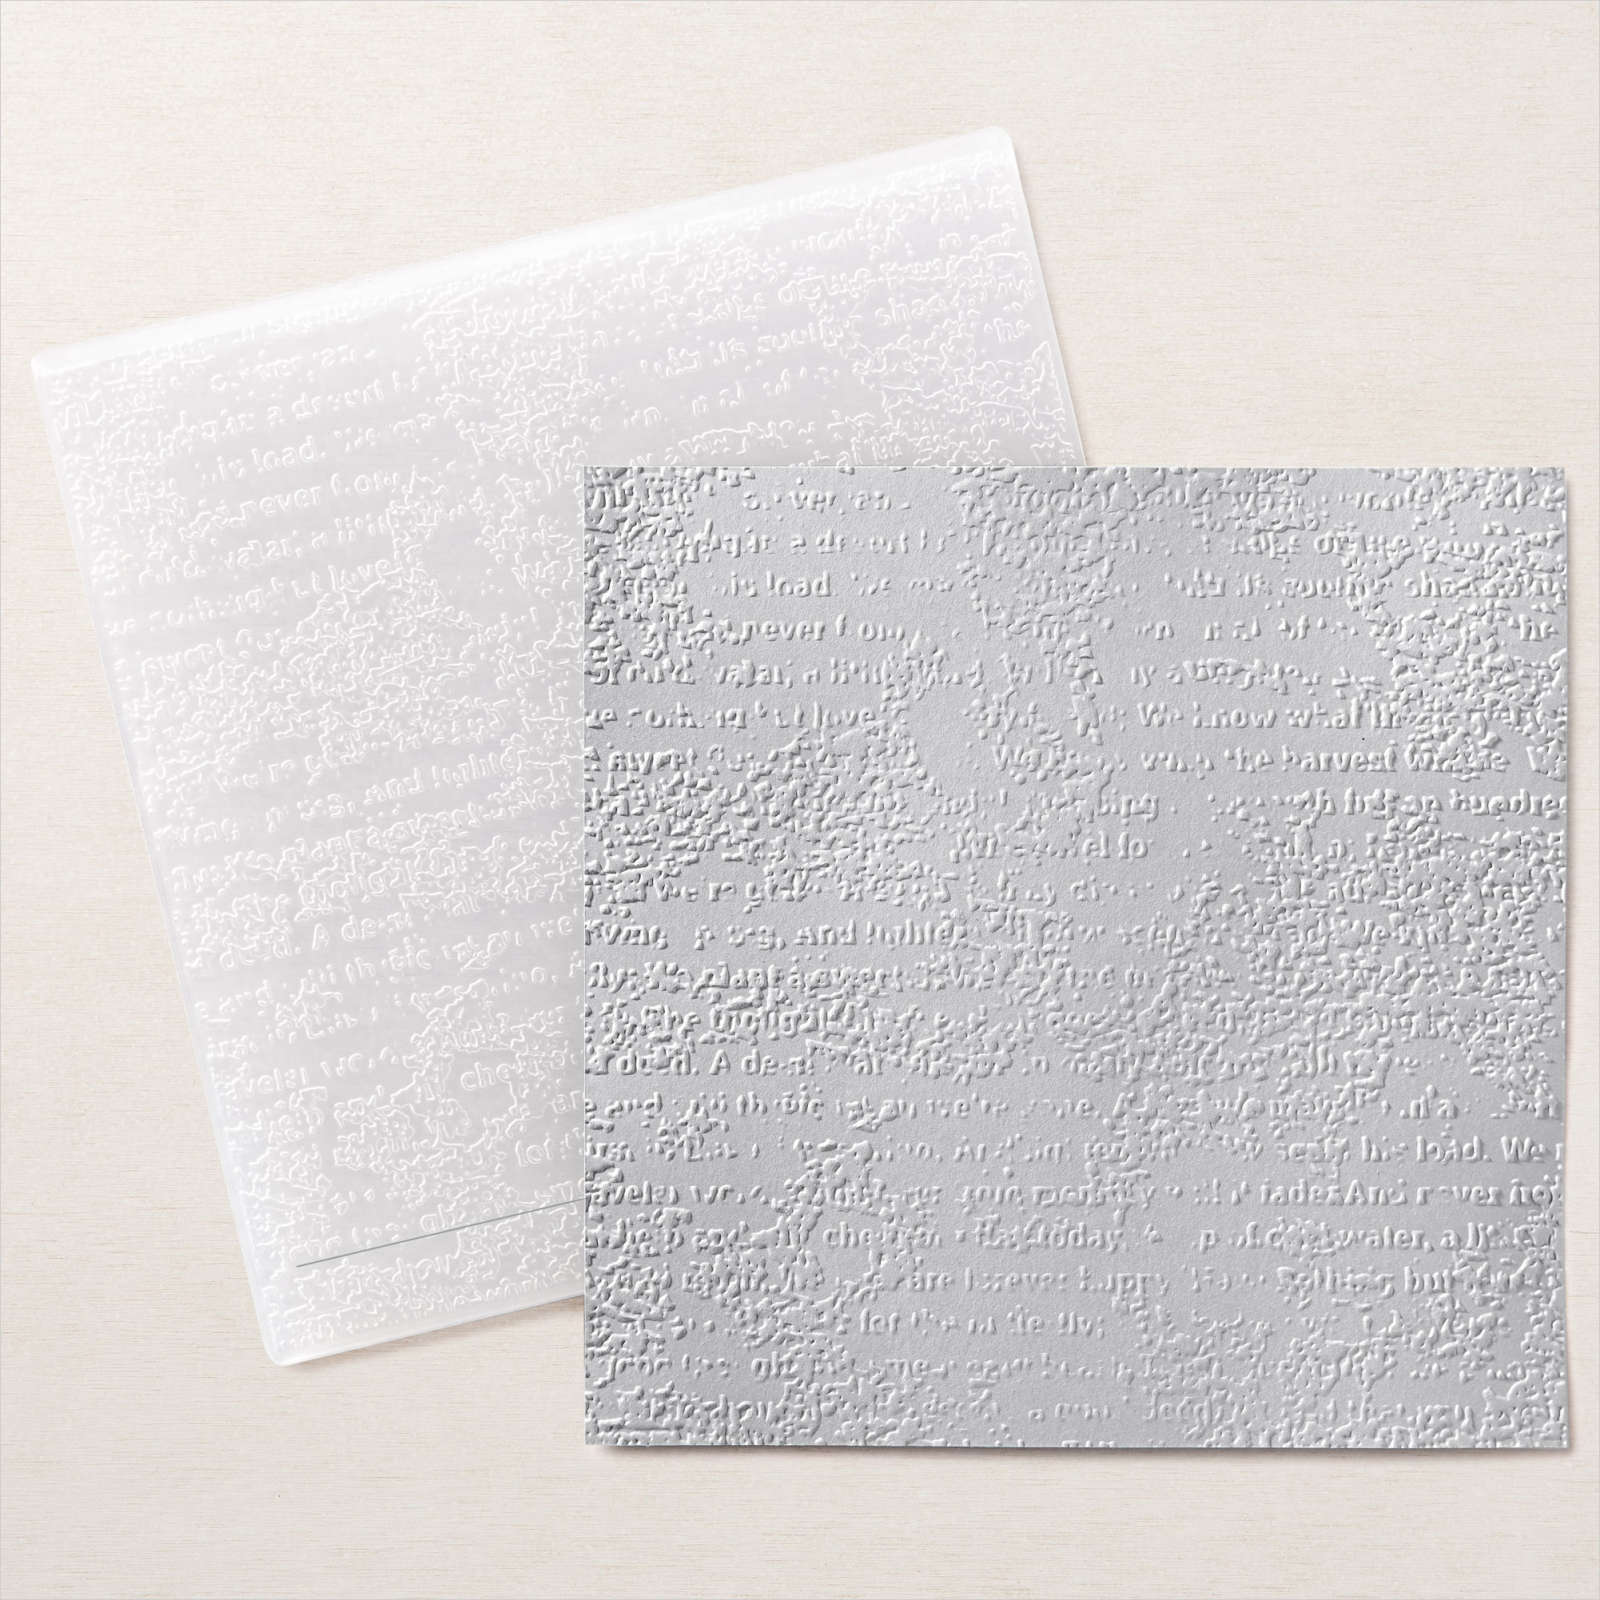
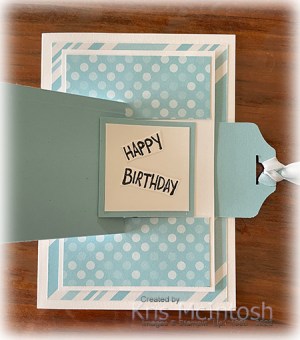
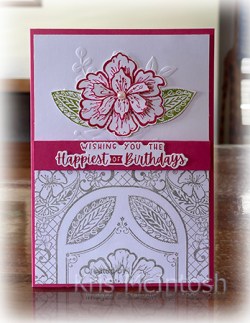
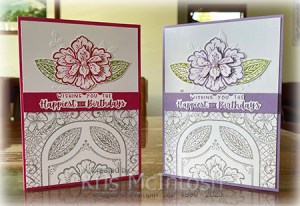
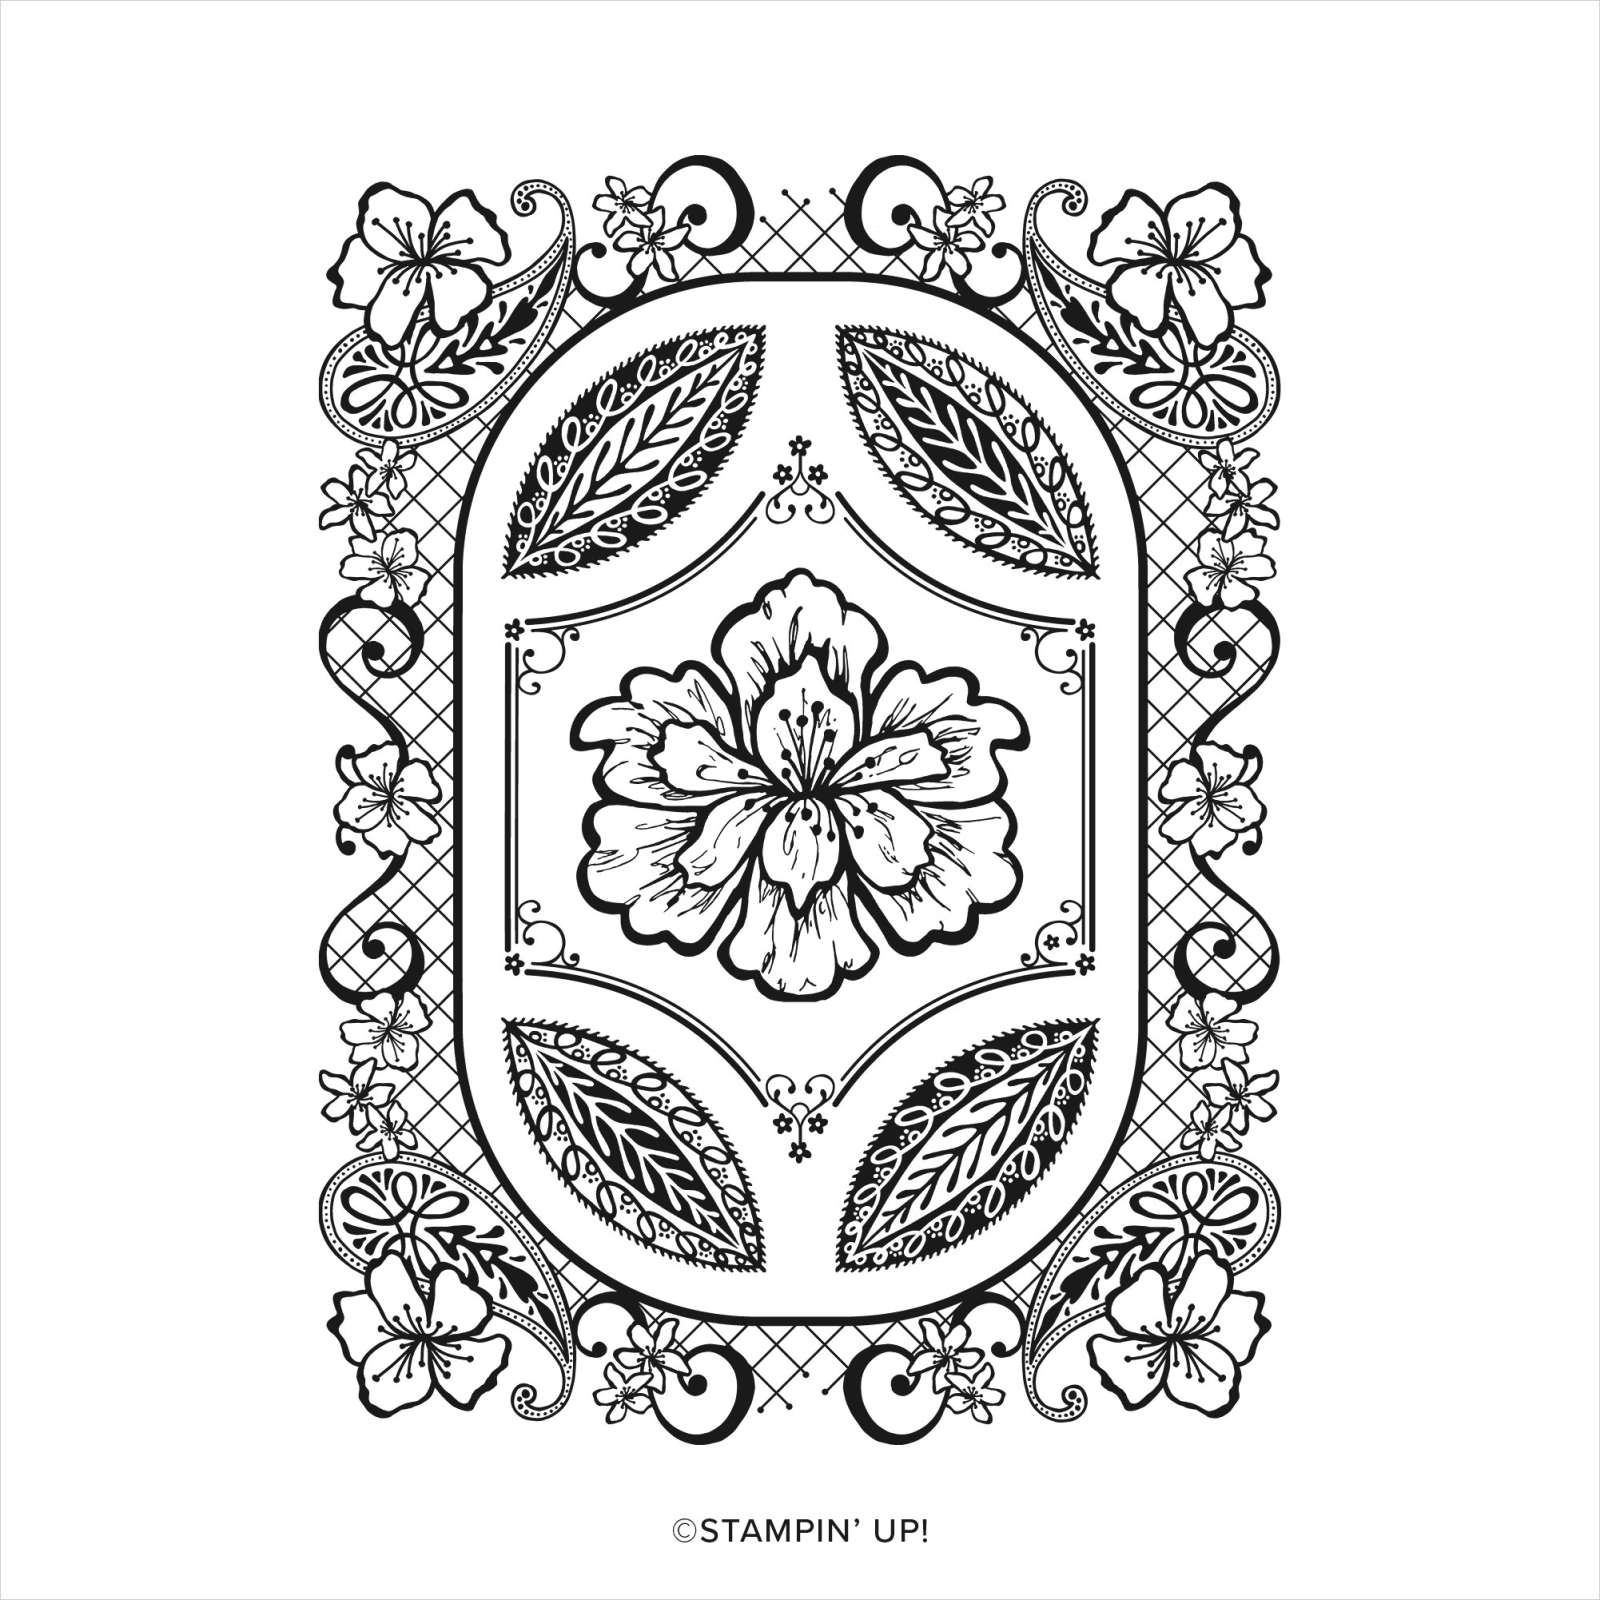
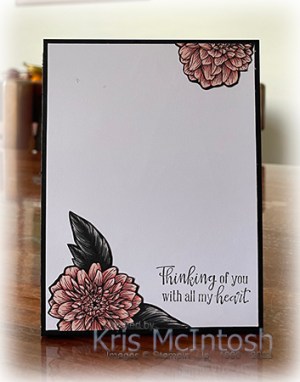
For today’s card, I embossed Basic White card using the Timeworn Type 3D Embossing Folder. I cut a circle from Soft Succulent card using the largest circle from the Stylish Shapes Dies. I attached the circle to the embossed card before attaching a strip of Dandy Designs 12″ x 12″ Designer Series Paper across the top. I attached the embossed card to scored and folded Thick Basic White card using dimensionals. I stamped the image from the Framed Florets stamp set onto Basic White card using Memento Tuxedo Black ink.

I coloured the image using Fresh Freesia, Soft Succulent and Dark So Saffron Stampin’ Blends. I cut out the image using the Stitched Rectangle Dies and attached it to the card front using dimensionals. I stamped “happy birthday” from the Go To Greetings stamp set onto Basic White card using Soft Succulent ink. I cut a “v” into one short end of the greeting banner and attached it to the card front using dimensionals where necessary.

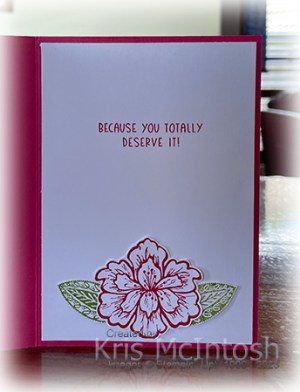
To decorate the inside of the card, I attached a narrow strip of Dandy Designs Designer Series Paper across the bottom of Basic White card. I stamped the same image from the Framed Florets stamp set on the left hand side of the Basic White card using Memento Tuxedo Black ink. I coloured the image using the same Stampin’ Blends before attaching the panel to the inside of the card base. I am loving this beautiful Designer Series Paper which is one of the items you can earn for FREE during Sale-a-Bration.
Bye for now,
Kris
Product Used:


Pop Up Owl
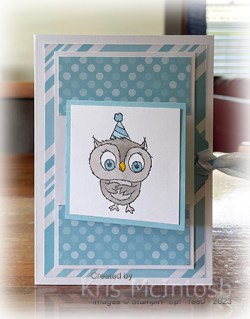
Today I have a card to share with you which I made for my great nephews birthday. I attached a piece of Dandy Designs 12″ x 12″ Designer Series Paper to the front of a Thick Basic White card base. I used Basic White and Balmy Blue card to create the pop-up mechanism following instructions I purchased from Elizabeth Shannon. I stamped the owl from the Adorable Owl stamp set onto Basic White card using Memento Tuxedo Black ink. I coloured the image using Gray Granite, Balmy Blue and Dark Daffodil Delight Stampin’ Blends. The greeting on the pop up comes from the Party Puffins stamp set.
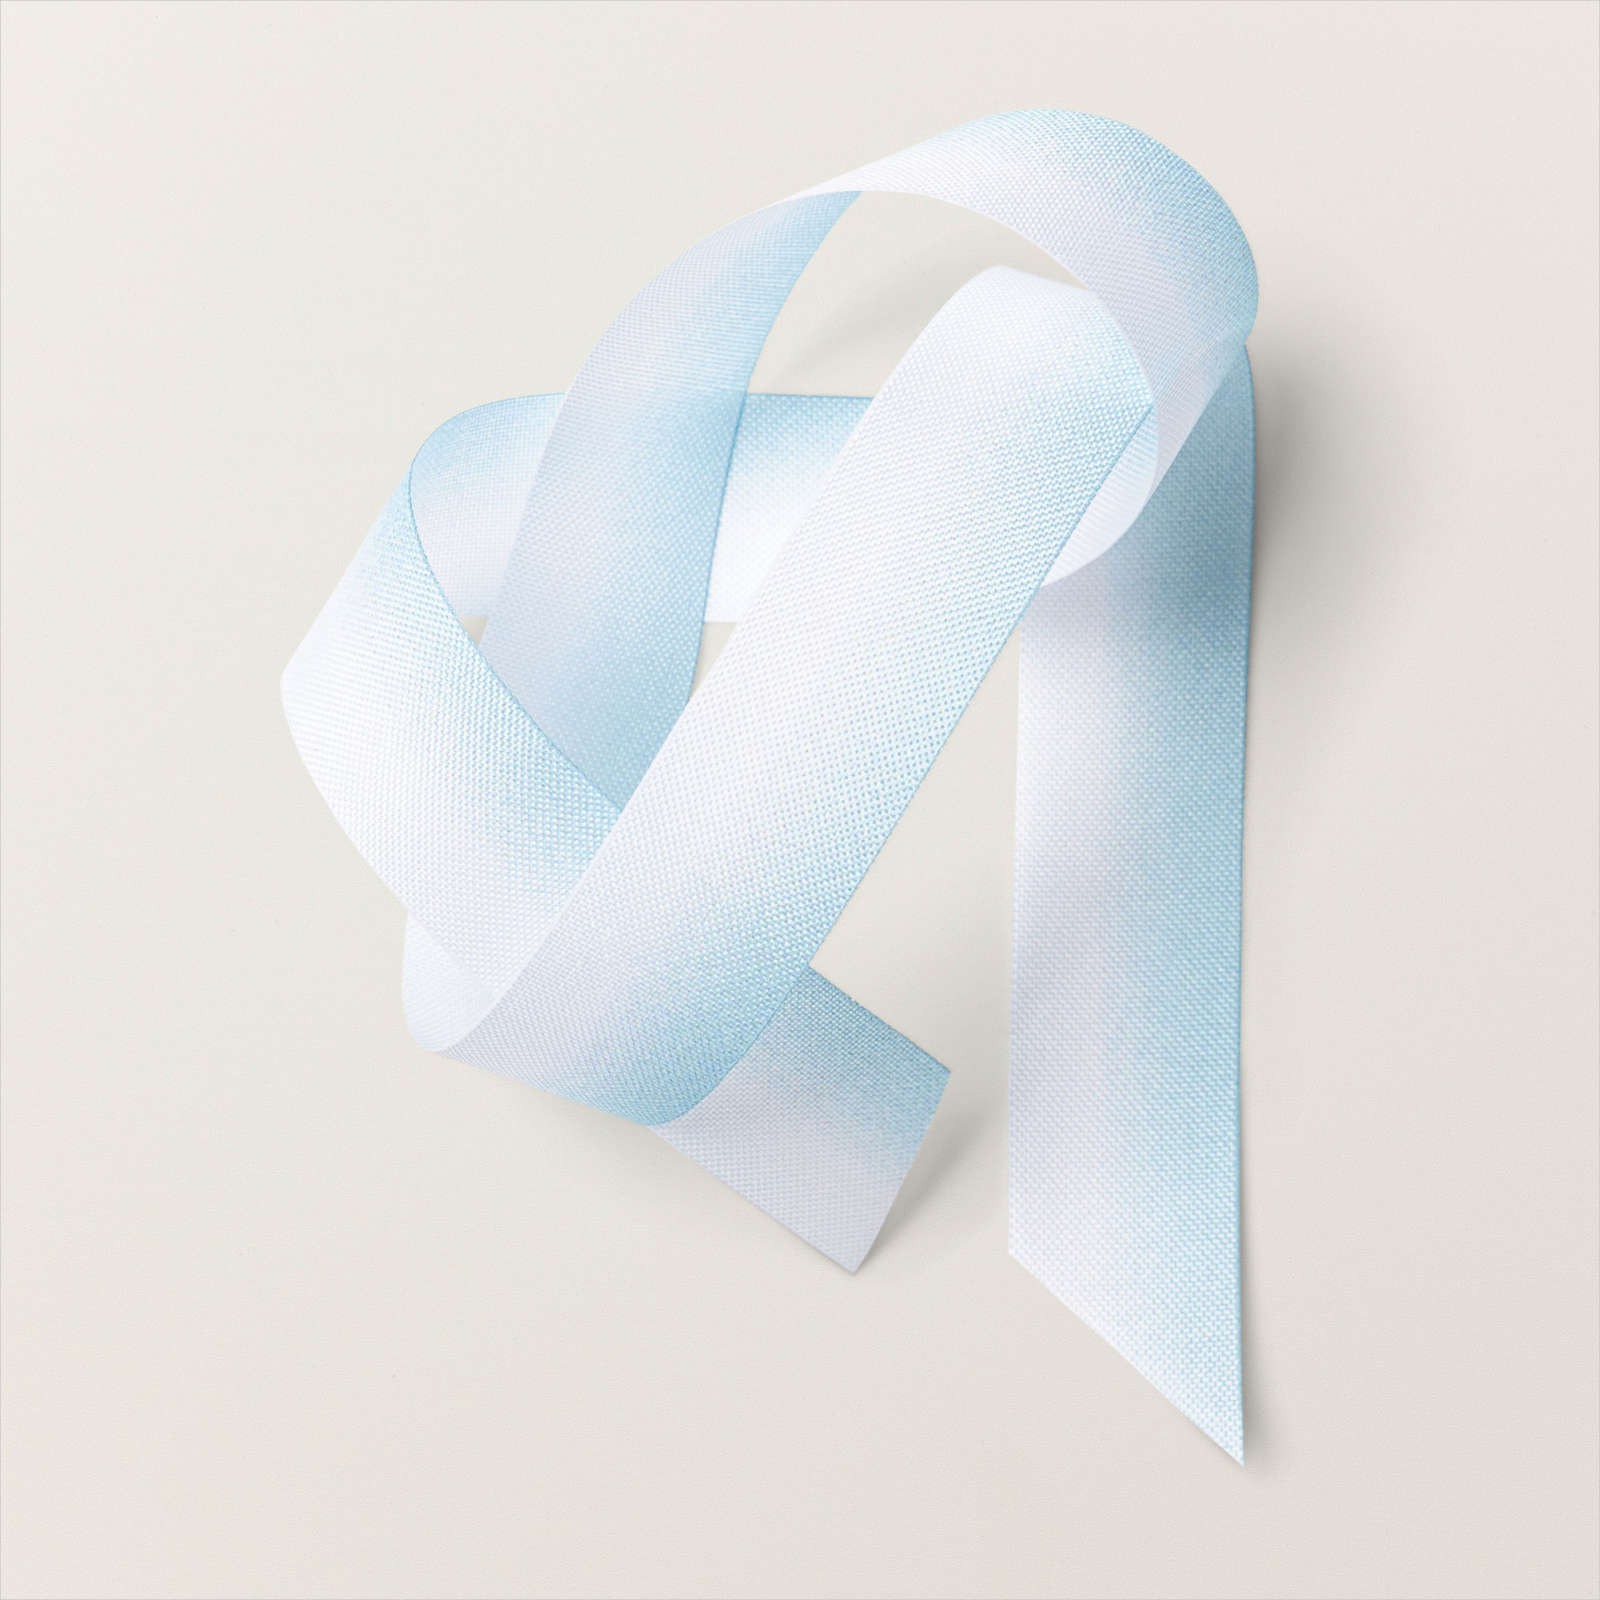
I stamped the greeting onto Basic White card using Memento Tuxedo Black ink and cut it out before attaching to the Basic White card. The ribbon on the pull mechanism is Balmy Blue & White 1/2″ Variegated Ribbon. I used the Fancy Tag Topper punch to create the place for the ribbon.

I realised after I had put the pull mechanism together that I needed to decorate the Basic White panel, so I cut a couple of strips of Dandy Designs Designer Series Paper and attached one to the top section and one to the bottom section which I think looks ok. To decorate the inside of the card, I stamped the cake image from the Party Puffin stamp set onto Basic White card, using Memento Tuxedo Black ink. I coloured the image using Balmy Blue and Dark Daffodil Delight Stampin’ Blends. I stamped the greeting from the Party Puffin stamp set onto Basic White card using Memento Tuxedo Black ink and cut it into two pieces before attaching it beside the cake. This is a fun card to make and really not that hard once you give it a try. I hope Jack liked it too.
Bye for now,
Kris
Product Used:


Longreach

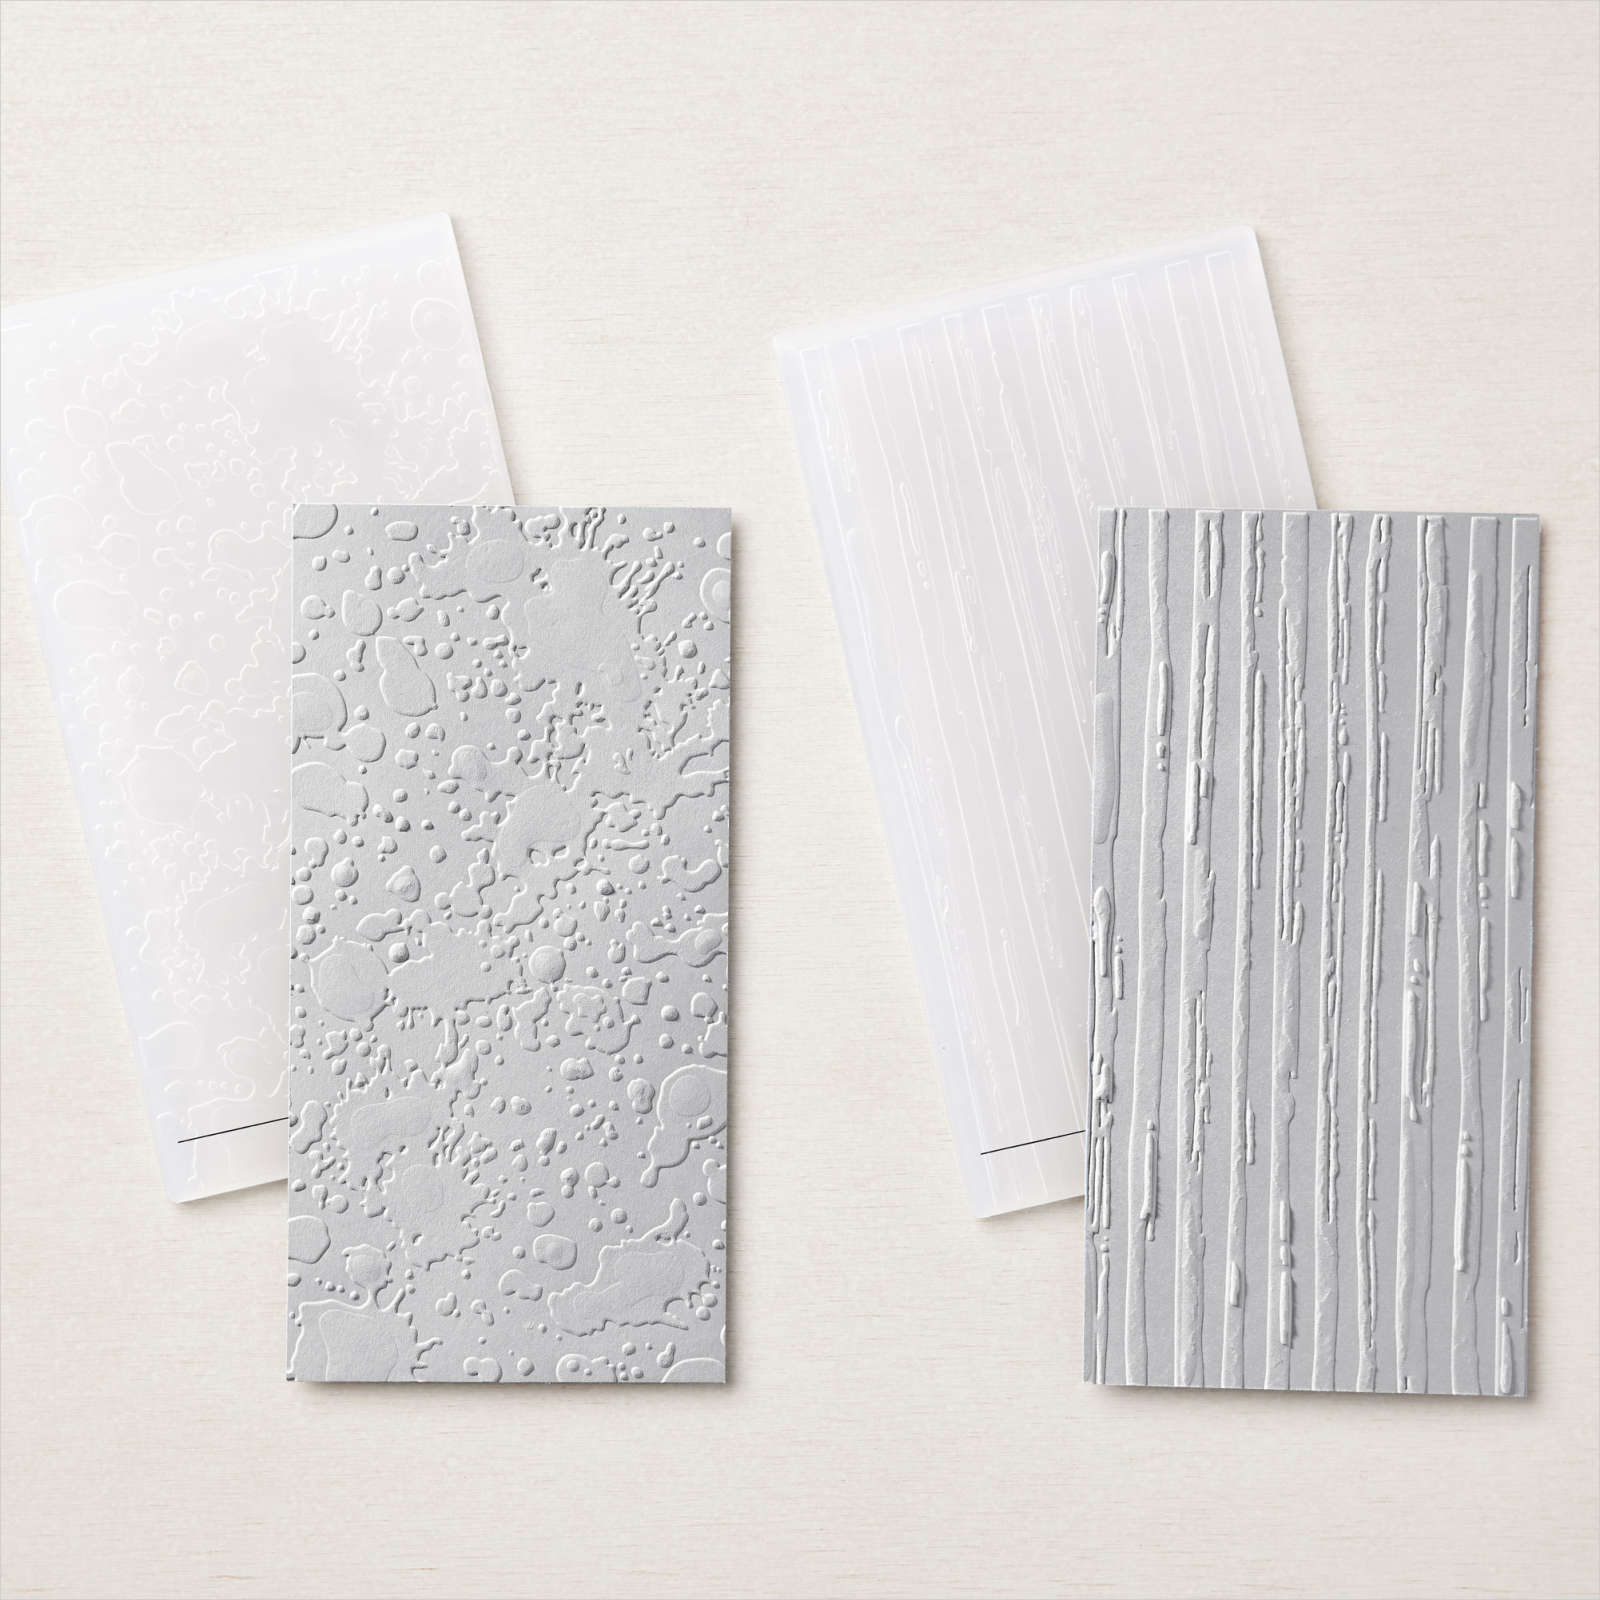
We visited Longreach last year with our friends and spent quite a few days there – there is so much to see and do. We attended the Old Time Tent show at the back of the Station Store and laughed till our sides hurt. For my page today I cut two strips of Night of Navy which I embossed using the splatter folder from the Stripes & Splatters 3D Embossing Folders. I cut a strip of balmy blue card and embossed is using the stripe folder from the Stripes & Splatters 3D Embossing Folders. I cut a piece of Smoky Slate card which I embossed using the Painted Texture 3D Embossing Folder. I layered all of these strips of card and attached them to the left hand side of a Basic White 12″ x 12″ page. I cut a circle from Balmy Blue card using the Layering Circle Dies and embossed is using the Painted Texture 3D Embossing folder. I attached the Balmy Blue circle beneath the photo on the bottom right. I cut a circle from Smoky Slate card and embossed it using the Timeworn Type 3D Embossing Folder.

The circle is cut in half and attached to the bottom of the page. I cut the title from Night of Navy and Basic White card using the Alphabet A La Mode Dies and attached it across the bottom of the page. I cut a circle from Basic White card using the Layering Circle Dies and printed my journaling onto it. I attached the journaling to a Night of Navy scalloped circle cut using the same dies before attaching it to the page. Another simple page but I love how you can add interest to the page just by using some of Stampin’ Up!’s basic supplies such as embossing folders and dies. I’d love to hear what you think.
Bye for now,
Kris
Product Used:


Perfectly Detailed Birthday
This week in my Facebook Live, I shared some cards I made using the Perfectly Detailed stamp. This is a large stamp and covers the whole of a card front. For today’s card I embossed Basic White card using one of the folders from the Elegant Eucalyptus 3D Embossing Folders. I stamped the Perfectly Detailed stamp onto Basic White card using Smoky Slate ink. I cut the panel in half and attached it to the bottom of the embossed Basic White card.

I attached a narrow strip of Melon Mambo card across the top of the stamped panel using dimensionals before attaching the Basic White panel to scored and folded Melon Mambo card. I stamped two of the leaves from the Perfectly Detailed stamp onto Basic White card using Granny Apple ink and cut them out.
I stamped the large flower image twice onto Basic White card using Melon Mambo ink. I cut out one full flower and one centre of the flower and attached them together using dimensionals. The flower and leaves are attached over the embossed half of the card front. I stamped the greeting from the Charming Sentiments stamp set onto Basic White card using Melon Mambo ink. I used the co-ordinating Sentiment Silhouette Die to cut out the greeting before attaching it to the card front. To decorate the inside of the card I stamped the large flower onto Basic White card using Melon Mambo ink. I stamped two leaves onto Basic White card using Granny Apple Green ink. I cut out the flower and leaves and attached them to the bottom of Basic White card. I stamped another greeting from the Charming Sentiments stamp set onto the Basic White card using Melon Mambo ink.
I loved the finished result and decided to create another card using Highland Heather and Pear Pizzazz ink and Highland Heather card. I think they both look lovely, don’t you?
Bye for now,
Kris
Product Used:


Retirement Wishes

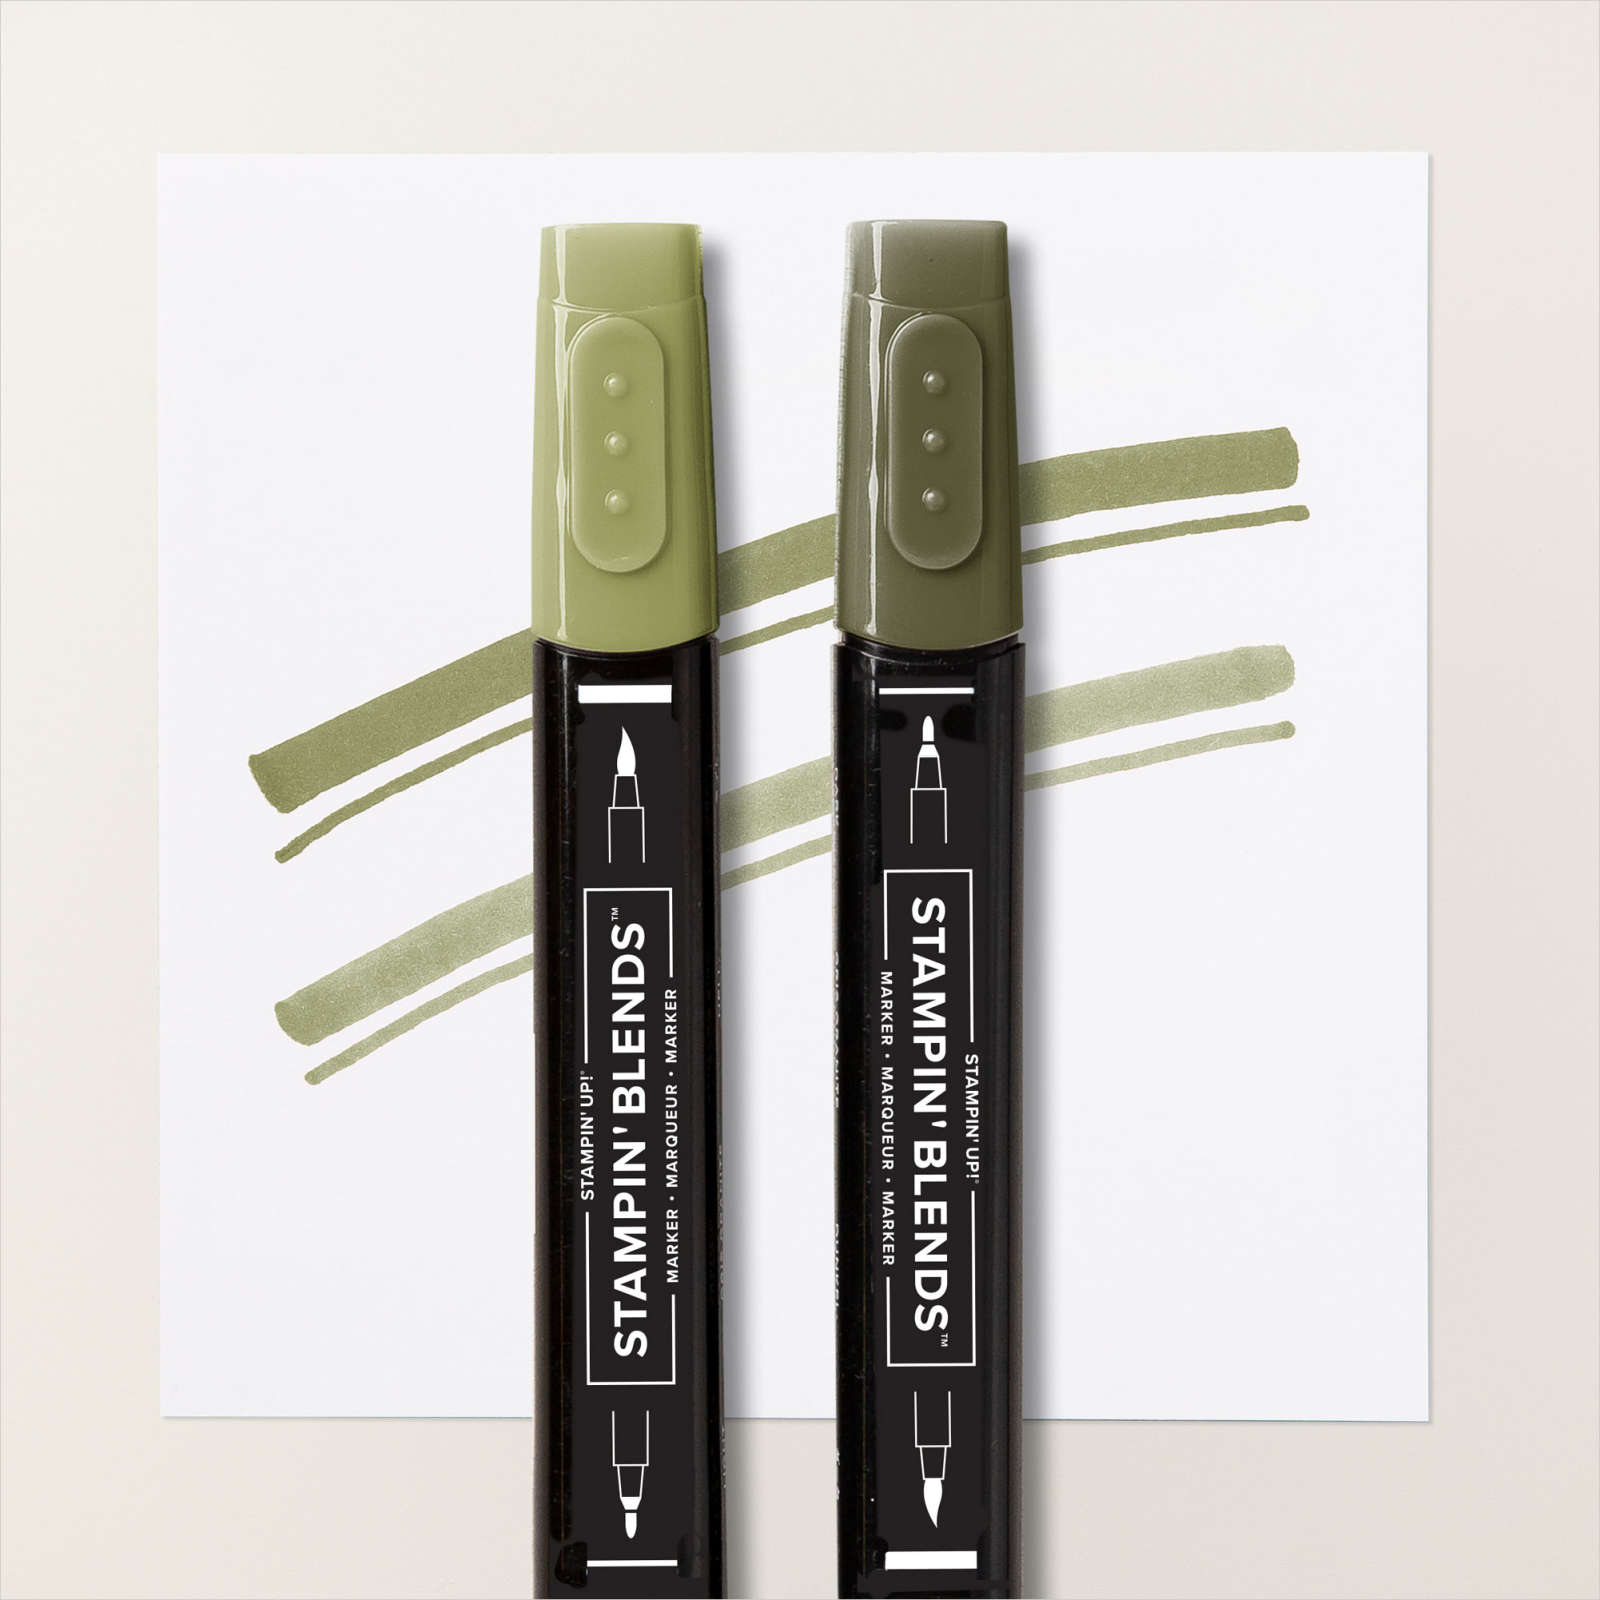
For today’s card, I embossed Basic White card using the Timeworn Type 3D Embossing Folder and attached it to scored and folded Mossy Meadow card. I stamped the image from the In The Country stamp set (available 4.1 – 28.2.2023 FREE with a qualifying order during Sale-a-bration) onto Basic White card using Memento Tuxedo Black ink. I coloured the image using Mossy Meadow, Light Old Olive, Dark Soft Suede and Light Crumb Cake Stampin’ Blends.

I cut out the image using the smaller frame from the Fabulous Frames Dies. I used the same die to cut Soft Suede card and the larger frame die to cut Mossy Meadow card. I used the centre piece from the large frame and attached it to the card front. I used the Soft Suede outer frame from the smaller frame and attached it to the Mossy Meadow Panel. Lastly I attached the stamped and coloured panel. I stamped “retirement wishes” from the Paradise Palms stamp set onto Basic White card using Mossy Meadow ink and punched it out using the Double Oval Punch.

I punched Mossy Meadow card using the same punch and attached the greeting. The greeting panel is attached to the card front using dimensionals. To decorate the inside of the card, I stamped another greeting from the Paradise Palms stamp set onto Basic White card using Mossy Meadow ink. I embossed a narrow strip of Basic White card using the Timeworn Type 3D Embossing Folder and attached a narrow strip of Mossy Meadow card behind one long edge. The embossed panel is attached to the bottom of the stamped Basic White card.
I am no artist but I think that the image looks like a painting, don’t you?
Bye for now,
Kris
Product Used:


Flowered Birthday
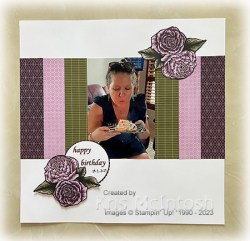
Today’s page shows off my eldest daughter celebrating her recent birthday. I attached the photo along with strips of the Favoured Flowers Designer Series Paper (which you can earn for FREE with a qualifying order during Sale-A-Bration) across a Basic White 12″ x 12″ page. I printed the title onto Basic White card and cut it out using the Layering Circle Dies. I attached the title to a Blackberry Bliss scalloped circle cut using the same dies before attaching it to the page.

I cut the flowers from the Favoured Flowers Designer Series Paper and attached them across the bottom of the title. This paper co-ordinates with the Fragrant Flowers Bundle which you will find on page 21 of the current Mini Catalogue. I do not have the Fragrant Flowers Bundle but love that you can use the paper to cut out images to create beautiful pages or cards. Don’t delay placing your order if you want this paper as Sale-a-Bration is drawing to a close. If you order the Fragrant Flowers Bundle you only need to add some dimensionals or adhesive to the order and you can have the paper for FREE. Happy shopping!
Bye for now,
Kris
Product Used:


Favoured Sympathy

I used the gorgeous Favoured Flowers 12″ x 12″ Designer Series Paper to create today’s card which I also featured in this week’s Facebook Live. This paper is FREE with a qualifying order ($90.00) during Sale-A-Bration. This paper also co-ordinates with the Fragrant Flowers Bundle which you can find on the page 21 of the new Mini Catalogue. Order the Frangrant Flowers Bundle and add some dimensionals and you can get the paper for FREE, but don’t delay because these products are only available while stocks last.

I cut the two card bases from Basic Black card and attached pieces of the Favoured Flowers Designer Series Paper to the large back panel as well as the front and tops of the boxes. I cut Basic White card and stamped “with deepest sympathy” from the Peaceful Moments stamp set onto the lower left hand corner using Memento Tuxedo Black ink.
I cut a flower from the Favoured Designs Designer Series Paper and attached it to the upper right hand corner of the stamped Basic White card before attaching the whole panel to the card front. To decorate the back of the card, I cut two flowers from the edge of the Designer Series Paper and attached one flower to the bottom left hand corner and a small flower to the upper right hand corner of Basic White card. I stamped another greeting from the Peaceful Moments stamp set onto the lower right hand corner of the Basic White card using Memento Tuxedo Black ink. The Basic White panel is attached to the back of the card so that you can write a message. These pop up cards are fun to make and the great thing is they fold flat to go into a standard envelope.
Bye for now,
Kris
Product Used:

Beautiful Birthday

Today I have a card to share with you that I made for my eldest daughter’s recent birthday. I cut Basic White card using one of the border dies from the Around the Bend Dies. I embossed the Basic White panel and attached it to a piece of Design a Daydream 12″ x 12″ Designer Series Paper. The whole panel is attached to scored and folded Petal Pink card. I stamped the large floral image from the Beautifully Happy stamp set (you can earn this one for free during Sale-A-Bration with a qualifying order) onto Basic White card using Memento Tuxedo Black ink.

I coloured the image using the co-ordinating fill images from the Beautifully Happy stamp set using Petal Pink and Granny Apple Green ink. I cut out the image using one of the Stitched Rectangle Dies. The image panel is attached to the centre of the card front. I stamped the image a second time onto scrap Basic White card using Memento Tuxedo Black ink and stamped the flower fill image using Petal Pink ink.

I cut out two of the flowers and attached them over the first image using dimensionals. I coloured a large Basic Pearl using the Dark Petal Pink Stampin’ Blend and added it to the large flower centre. To decorate the inside of the card, I stamped the greeting from the Framed Florets stamp set onto Basic White card using Granny Apple Green ink. I attached a narrow strip of the same pattern of Design A Daydream Designer Series Paper across the bottom of the card. I attached a narrow strip of Petal Pink card across the top of the Designer Series Paper. A pretty card, don’t you think. If you love this stamp set, make sure that you place a qualifying order to earn it for FREE. Don’t forget all Sale-a-bration products are while stocks last.
Bye for now,
Kris
Product Used:
For some reason I cannot get the icon for the Around the Bend Dies to come up, however, you can view them here.

Happy Day
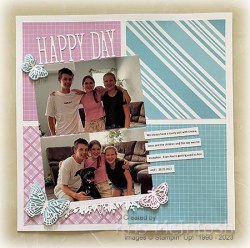
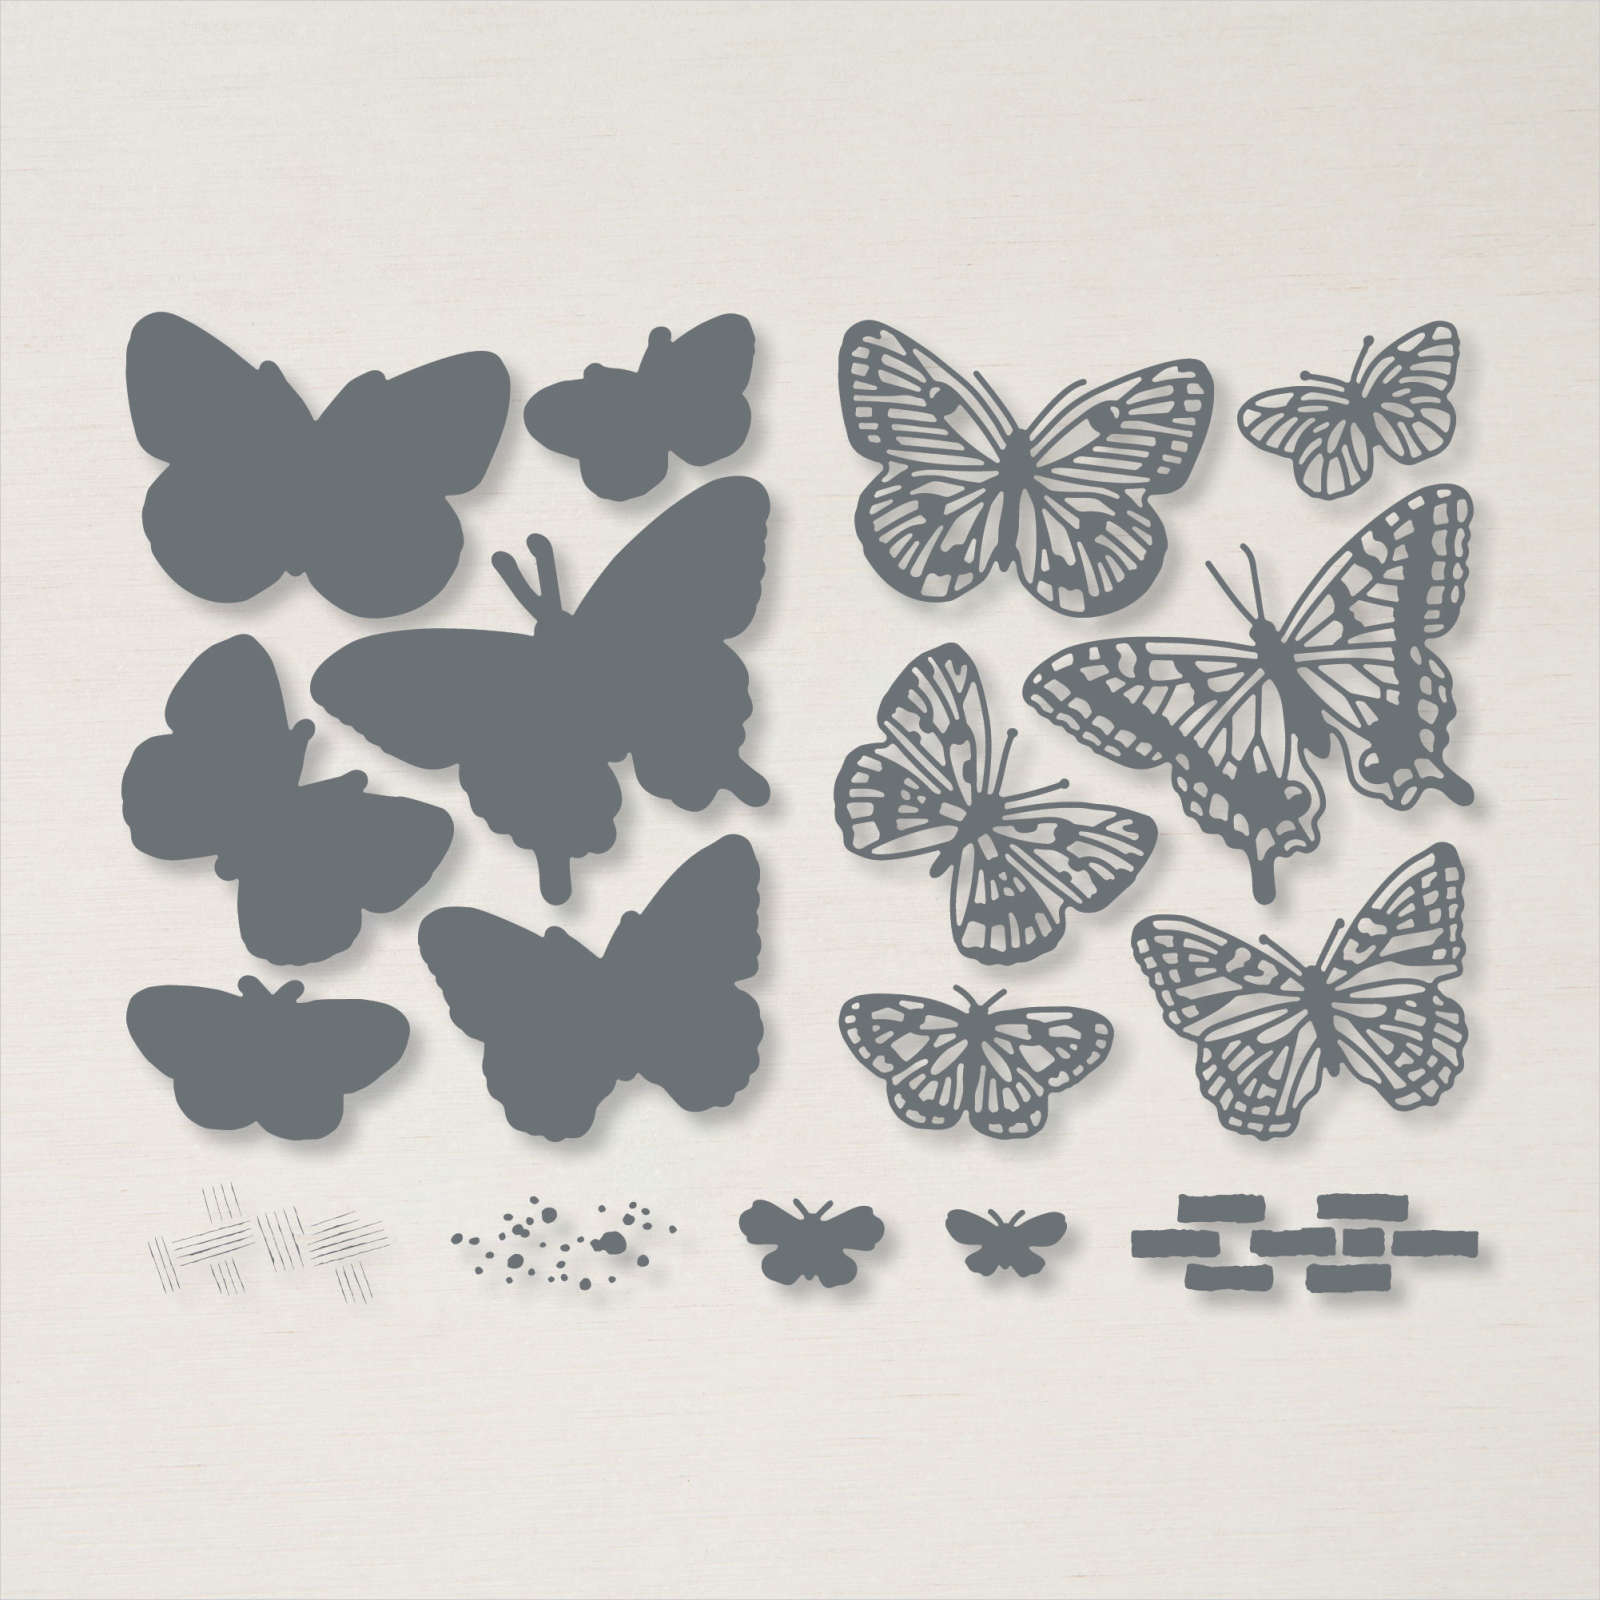
Today’s page shows off a couple of photos of my youngest daughter’s children. We had been down to visit and check out the work on their backyard extensions. I attached pieces of the Dandy Designs 12″ x 12″ Designer Series Paper to a Basic White 12″ x 12″ page. (This paper is available during Sale-a-Bration for FREE with a qualifying order.) I cut Basic White card using the edge die from the Eden Dies and attached it across the bottom of one of the photos. The photos are attached to the page without adding additional mats. I cut the title from Basic White card using the Alphabet A La Mode Dies and attached it above the photos.

I cut Balmy Blue and Fresh Freesia card using the Brilliant Wings Dies. I also cut Basic White card using the detailed images from the same dies. I attached the detailed images to the solid images before attaching them to the page. I printed my journaling onto Basic White card and cut it into strips before attaching it to the page. This is such a bright happy page and shows off my grandchildren perfectly, don’t you think? If you love this paper as much as I do don’t delay in placing your order so that you can get this paper for FREE. Sale-a-Bration ends on the 28th February and products are available only while stocks last.
Bye for now,
Kris
Product Used: