Special Birthday

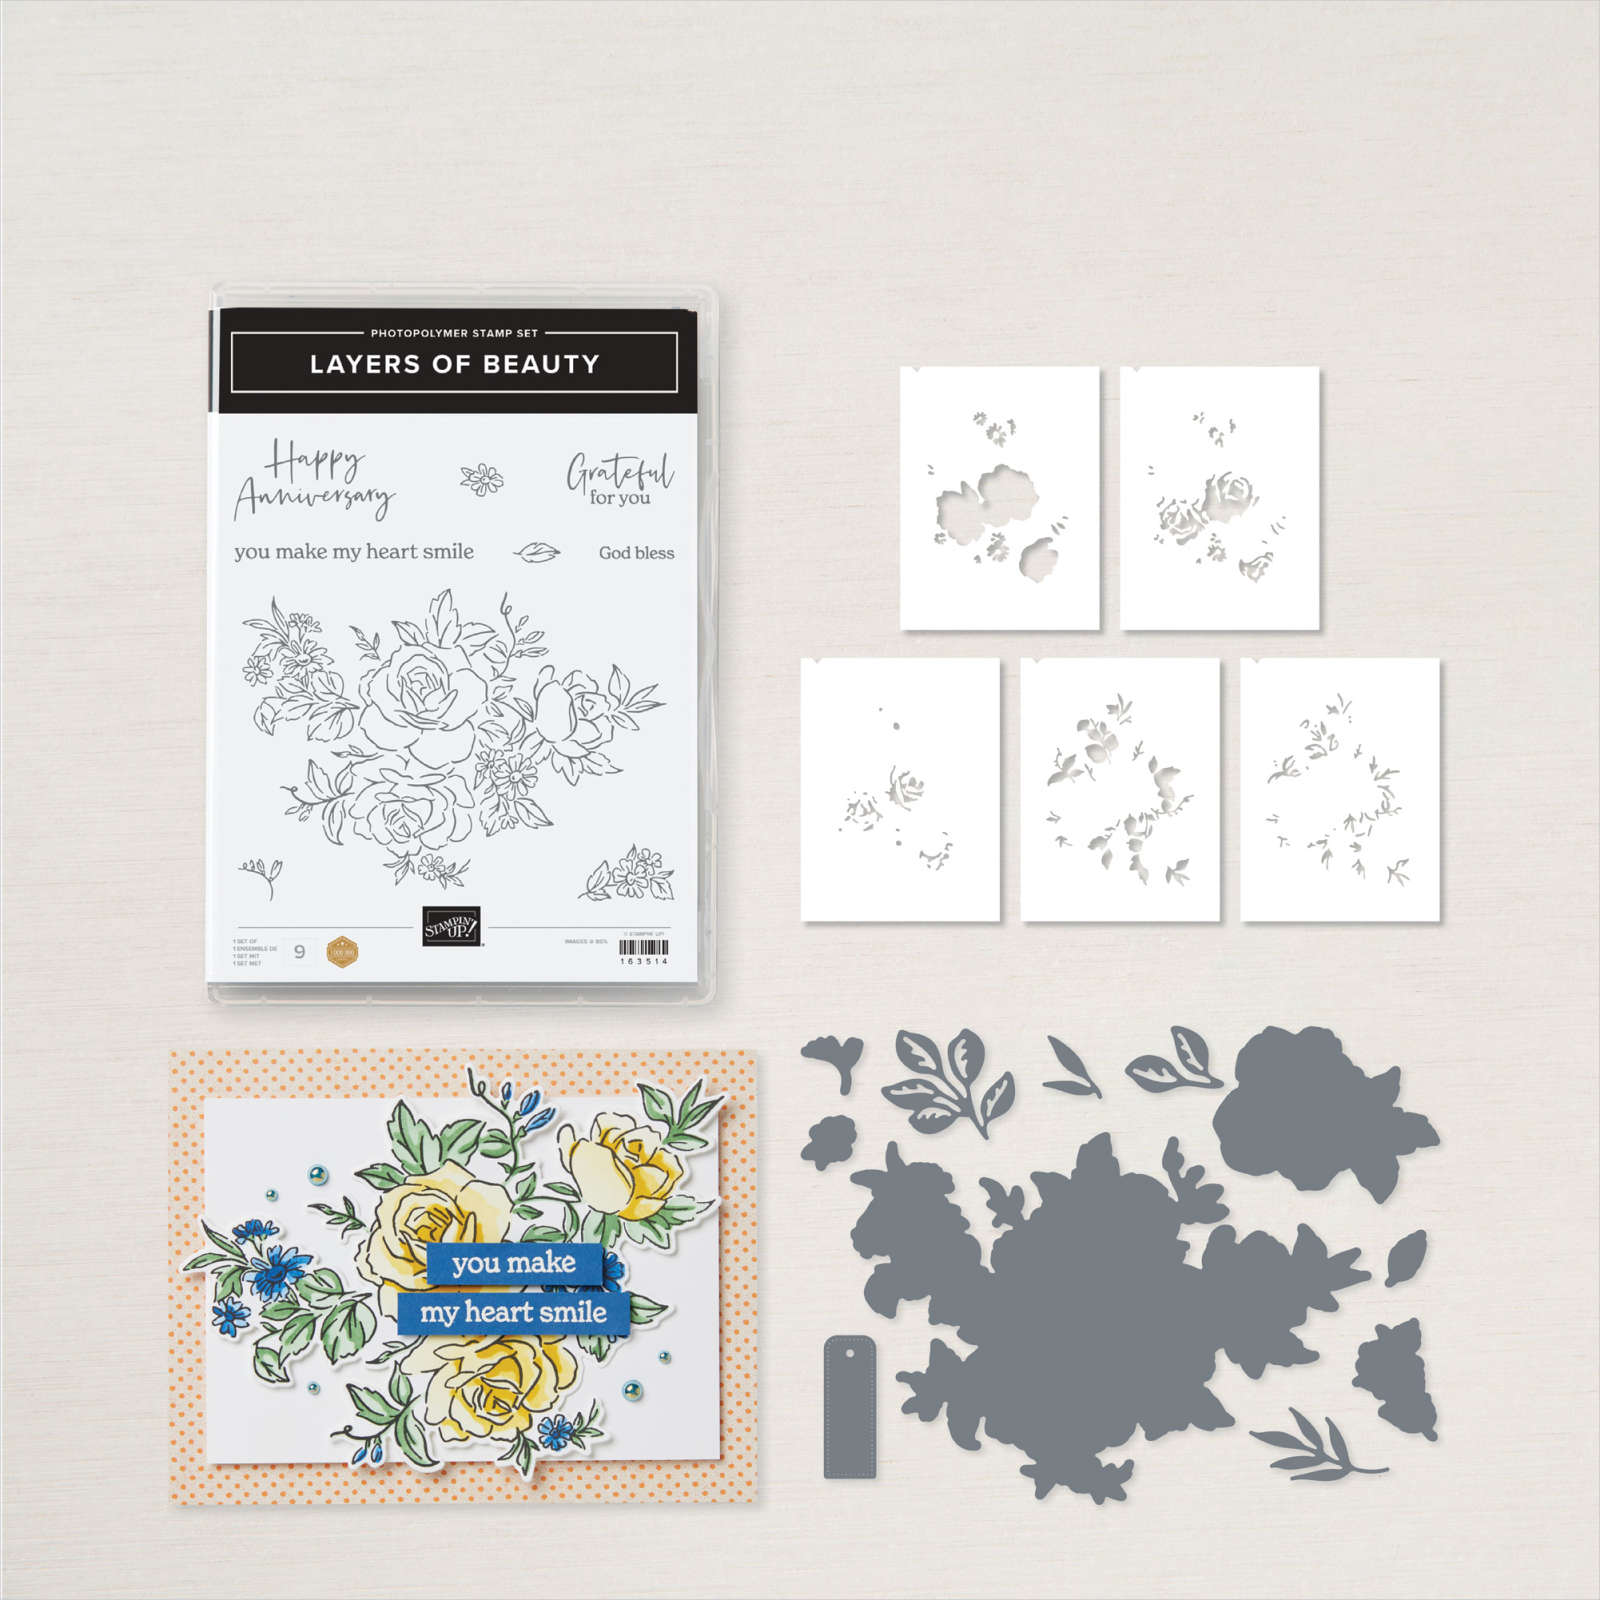
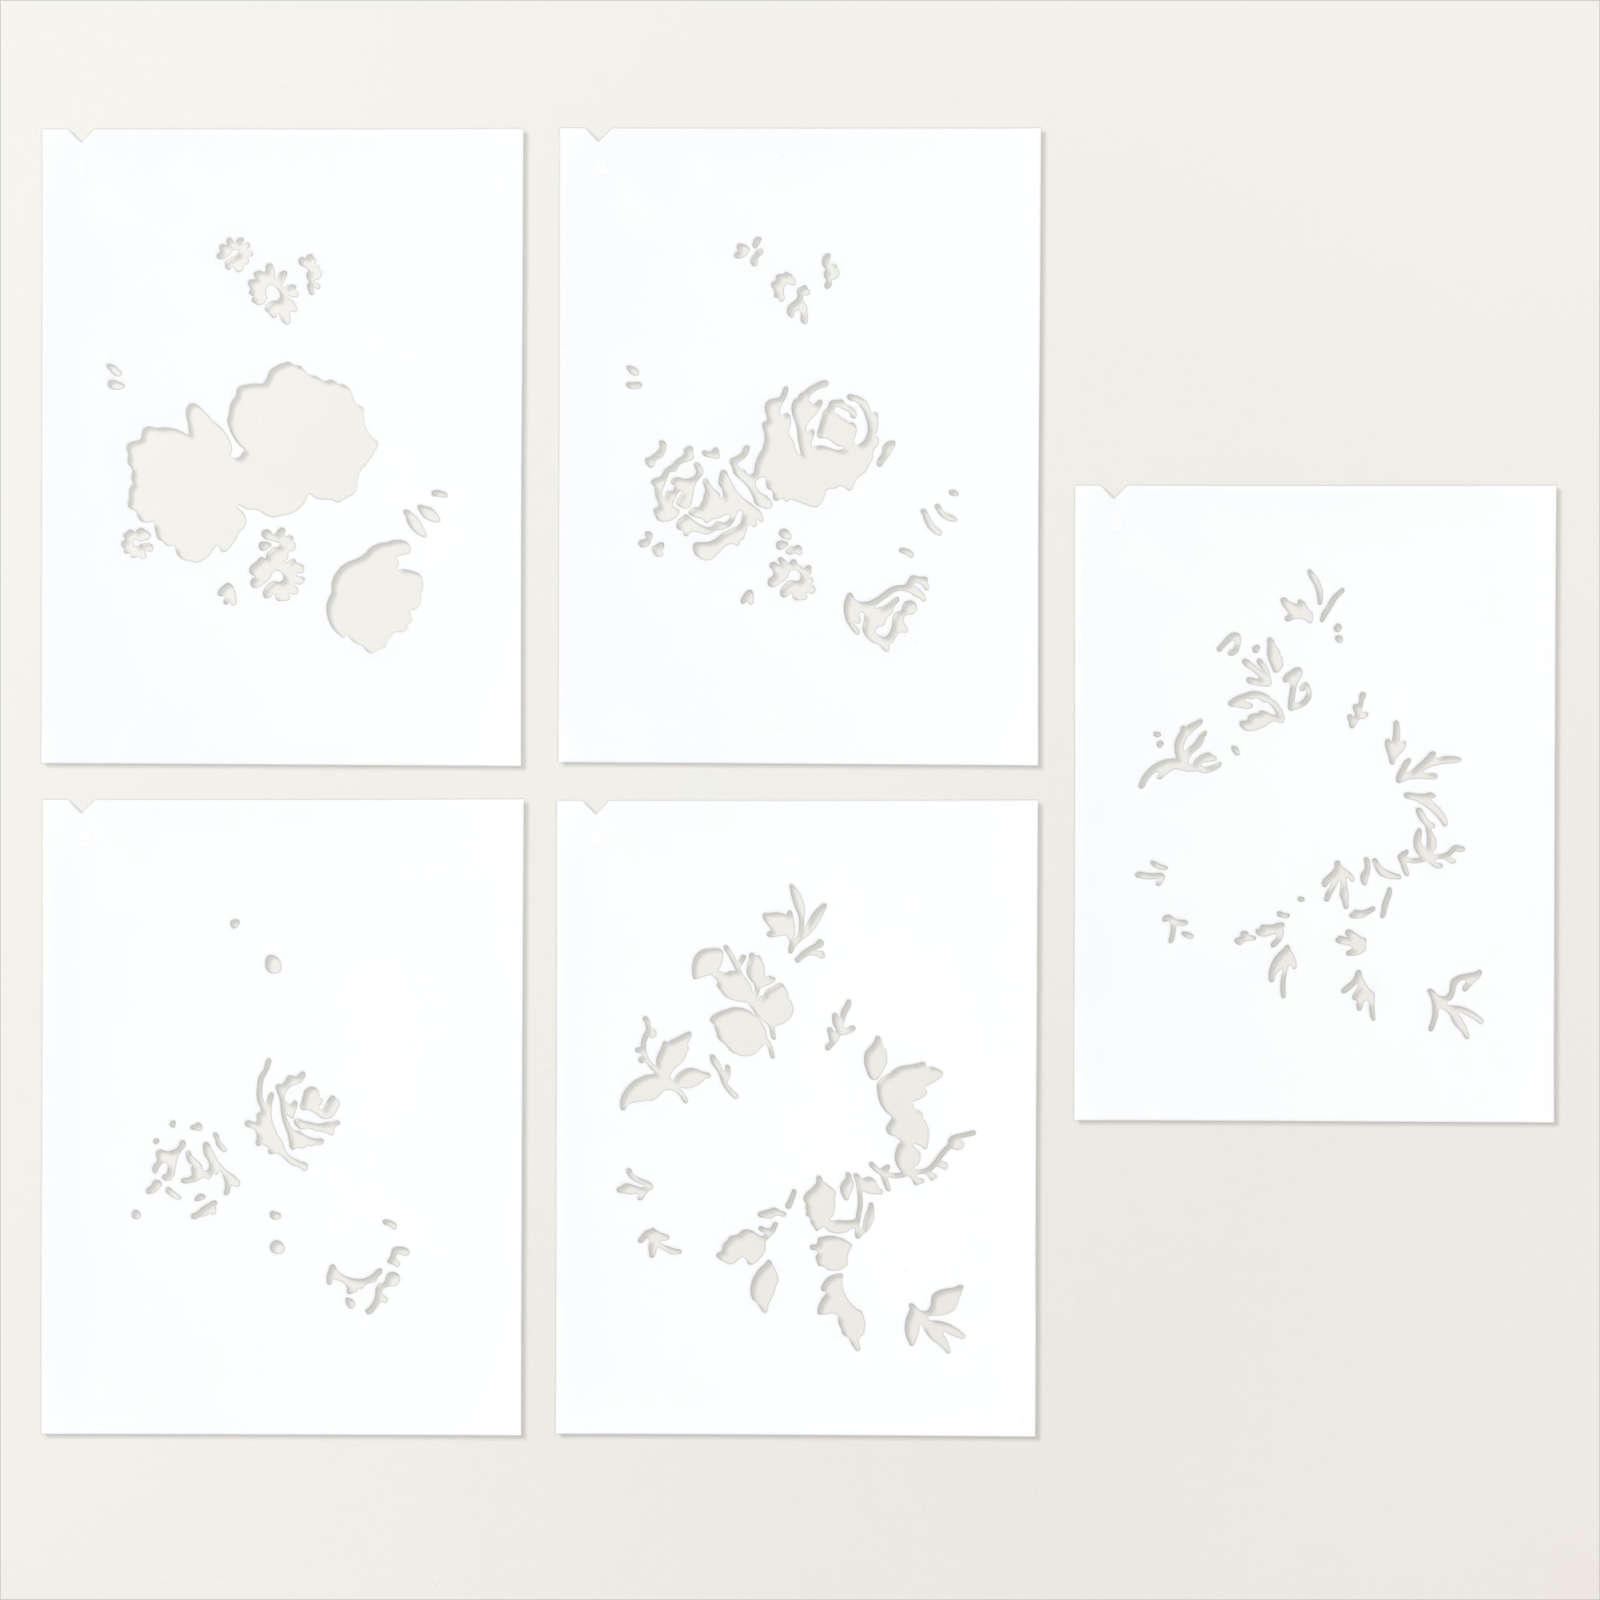
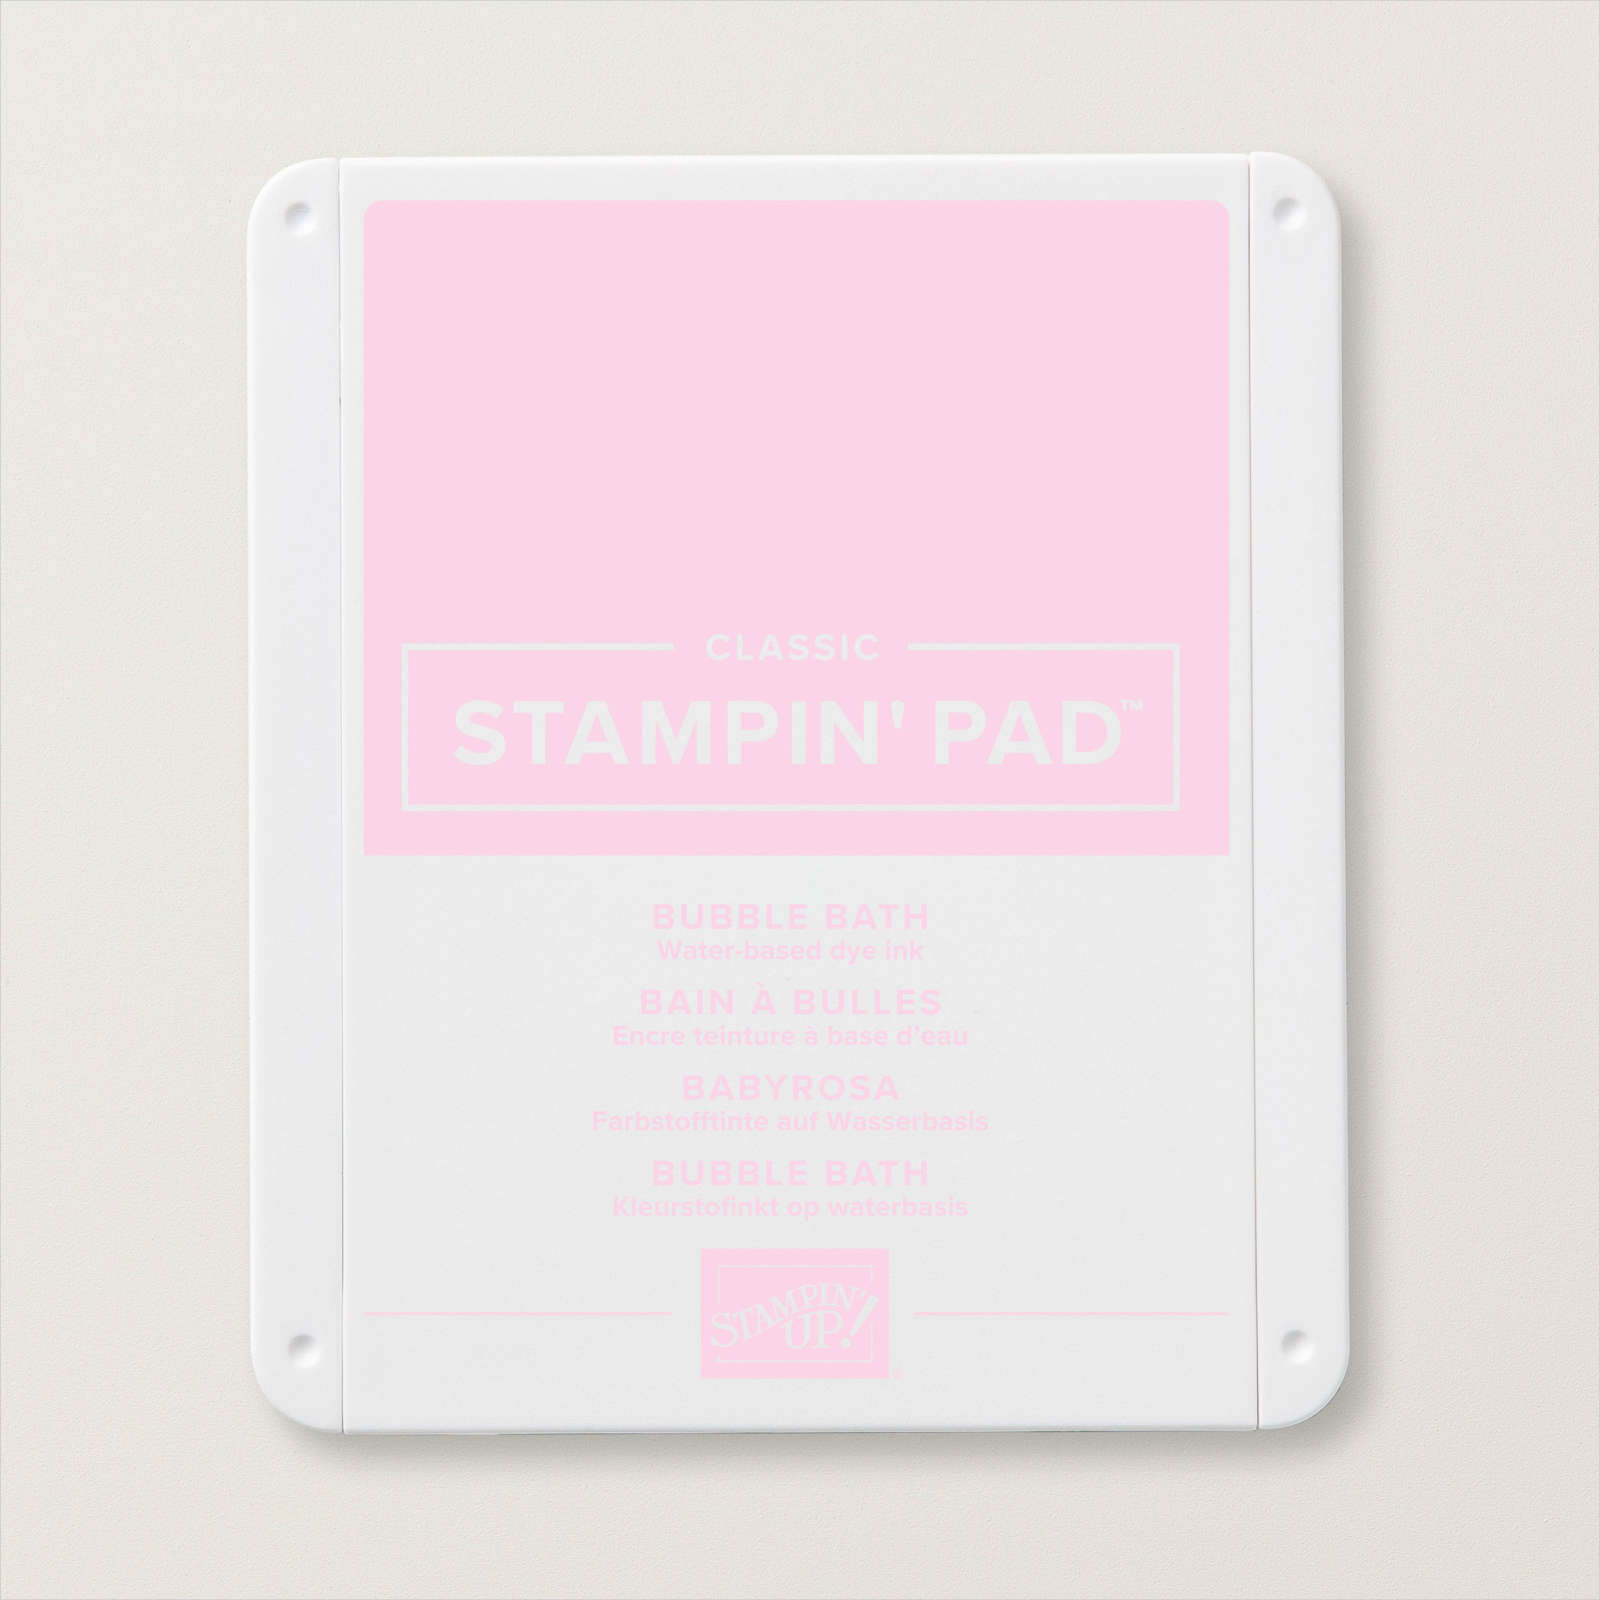
Today I have a card t share with you I created for my granddaughter’s birthday. I was inspired to create this card after watching Janice Gilhooley’s video on the CDT 31 Days of Christmas. She showed us how to create a card by partially cutting a die. I stamped the large image from the Layers of Beauty stamp set onto Basic White card using Memento Tuxedo Black ink. I used the Layers of Beauty Masks to add Bubble Bath and Fresh Freesia ink to the flowers and Lost Lagoon ink to the leaves.

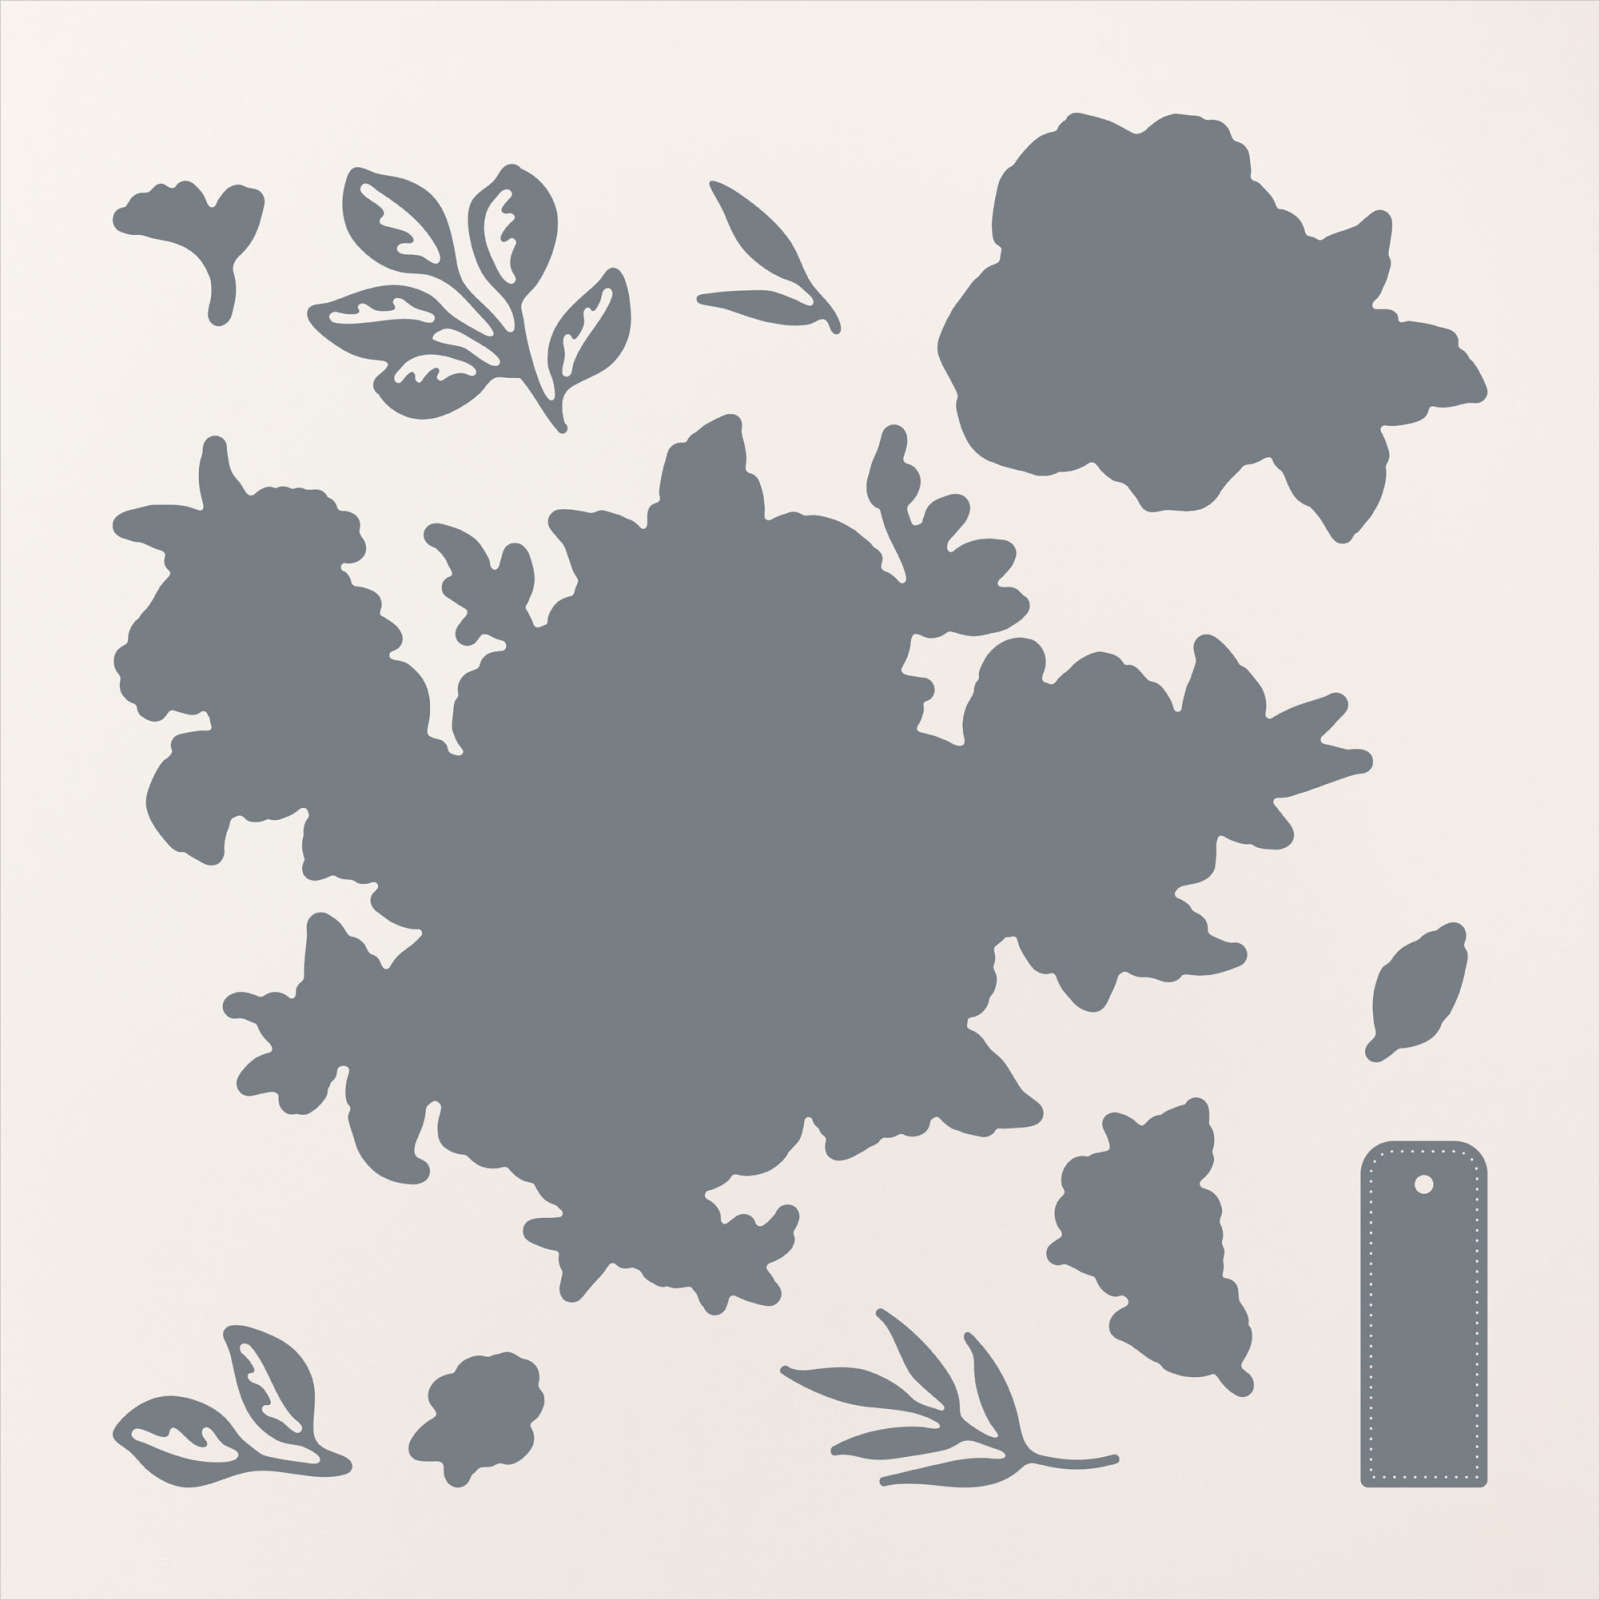
I layered the stamped card onto another card front and cut the edge of the design using the co-ordinating Layers of Beauty Die. I stamped “happy birthday” from the Charming Day stamp set onto the stamped panel using Lost Lagoon ink. I attached the stamped image to the front of the Fresh Freesia card base.

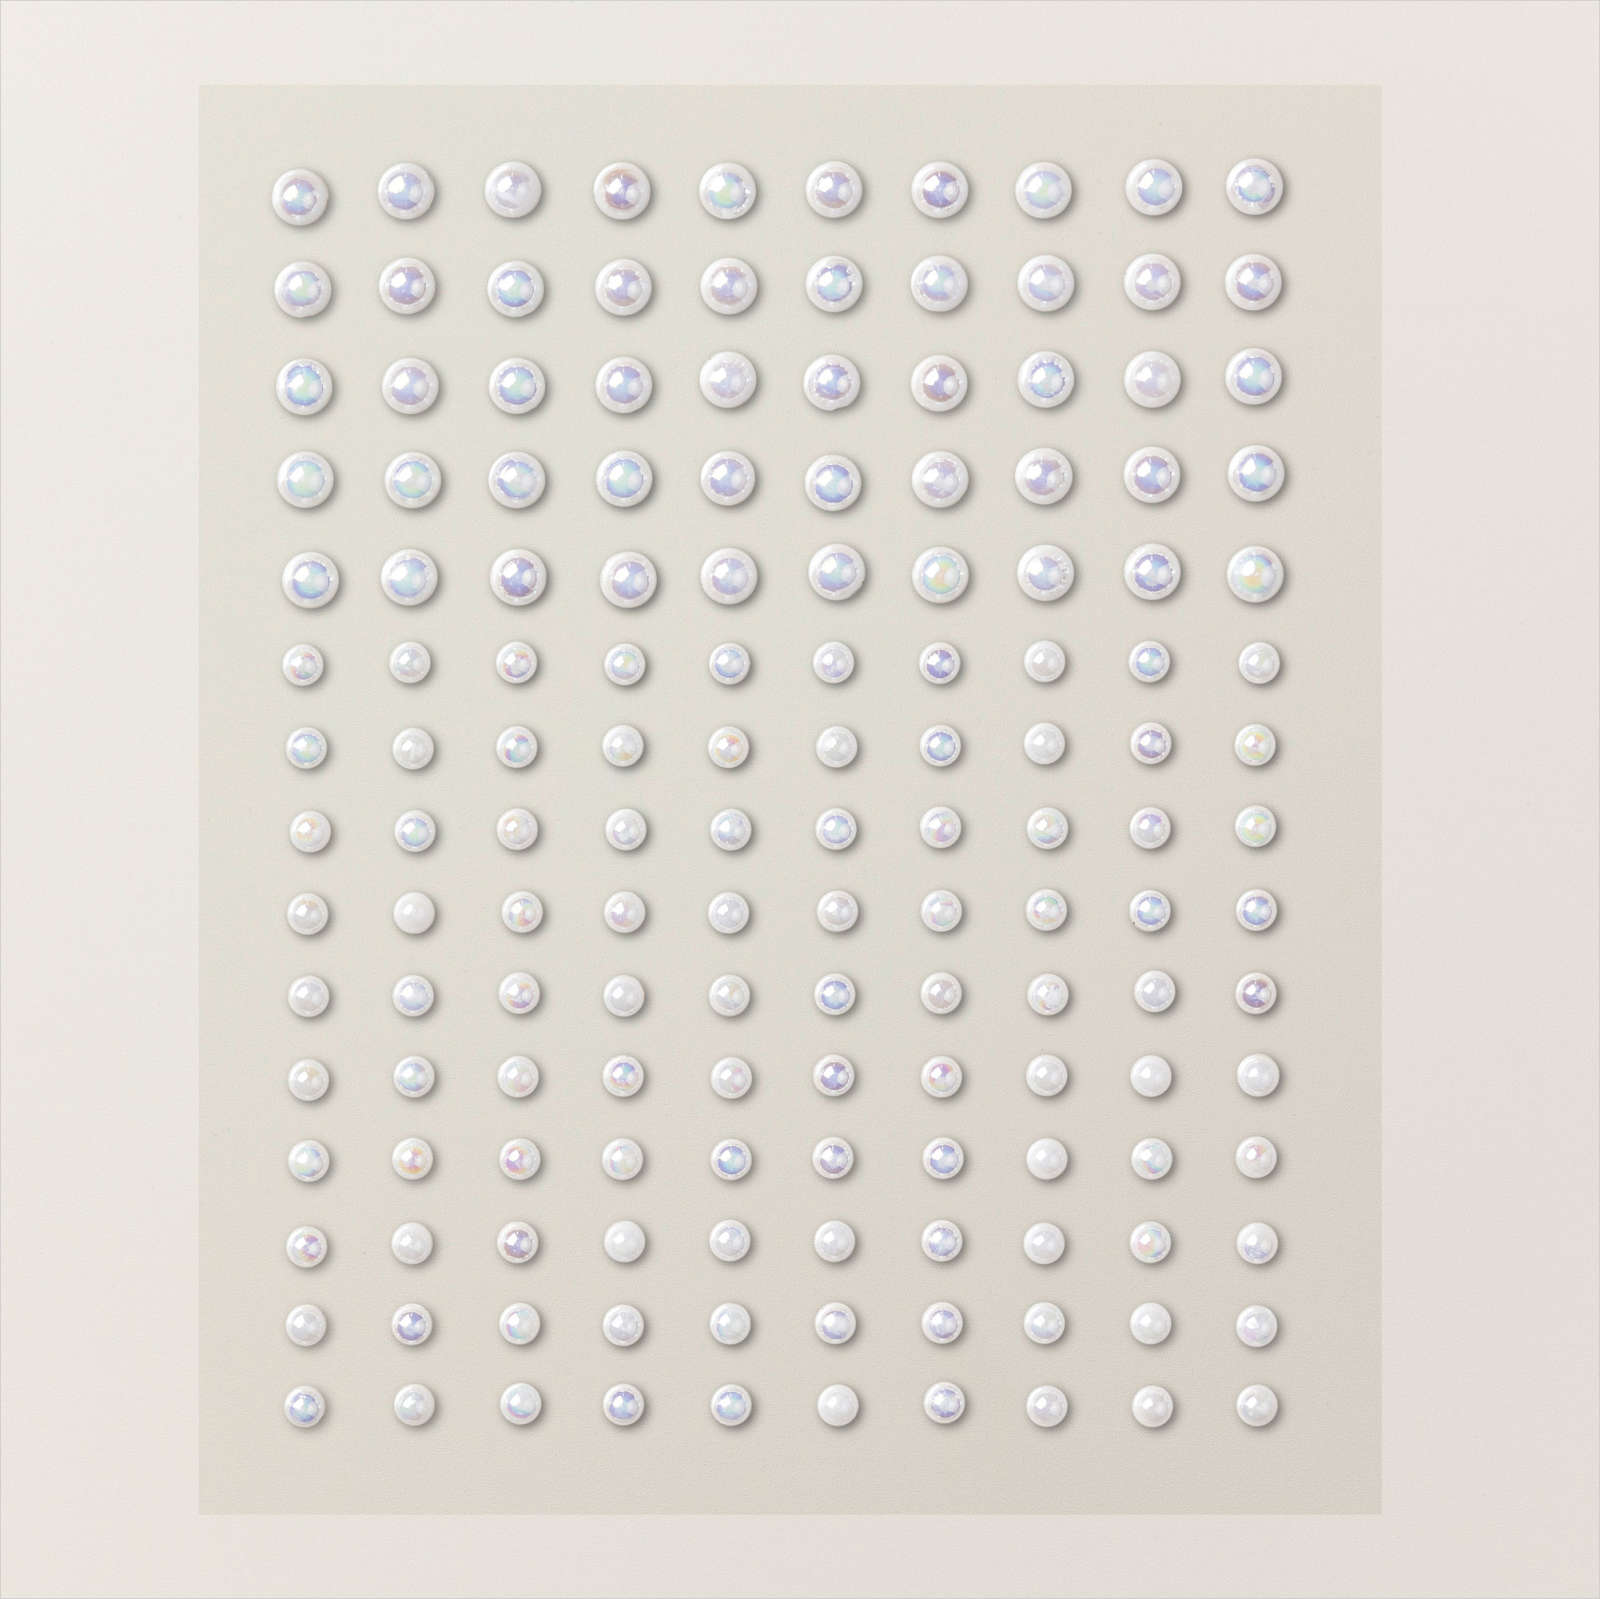
I embossed the “wrong” side of the un-stamped partially die cut Basic White panel using the Exposed Brick 3D Embossing Folder. I attached the embossed panel onto the back of the card front making sure to line up the die cut edges. I embossed a piece of Fresh Freesia card using the Exposed Brick 3D Embossing Folder. The embossed panel is attached to a Basic White panel before being attached to the inside of the card base. I coloured Iridescent Basic Pearls using the Dark Fresh Freesia Stampin’ Blend and attached them to the card front. I wouldn’t have even considered trying this technique until I watched the CDT 31 Days of Christmas video. I am loving all the techniques and ideas the presenters have been sharing and a special thanks to Janice for this technique.
Bye for now,
Kris
Product Used:


Port Douglas
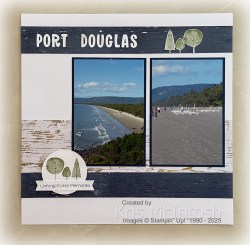
Today’s pages show off some photos from our very first visit to Port Douglas way back in 2010. I used the 1, 2, 3 Layout from November’s Class to create my pages. You can find the 1, 2, 3 Layouts by Noreen Smith here on You Tube. I cut a piece of Country Woods 12″ x 12″ Designer Series Paper and attached them to White Willow 12″ x 12″ card to create my page. I attached all of my photos to Night of Navy card before attaching them to the pages.

The title is cut from Basic White card using the Mini Alphabet Dies. I love how it stands out on that Misty Moonlight background, don’t you? I stamped the tree image from the retired Autumn to Remembers stamp set onto Basic White card using Old Olive ink. I hand cut the trees and attached them beside the title. I stamped the same trees onto another scrap piece of Basic White card using Old Olive ink and used one of the circles from the Stylish Shapes Dies to cut it out. I stamped the greeting from the retired Snow Days stamp set onto Basic White card using Old Olive ink.

The greeting is cut out using one of the banners from the Stylish Shapes Dies. I layered the banner onto the circle and attached it to the lower left hand corner of the left page. I stamped the greeting from the Weekend Adventure stamp set onto the right hand page using Misty Moonlight ink. I once more stamped the tree image from the Autumn to Remember stamp set below the greeting. I printed my journaling onto Basic White card and cut it into strips. I dipped the edges of the strips into Misty Moonlight ink before attaching the strips to the right hand page. I love the photos of the hang gliders which were taken at Rex Lookout which is between Mossman and Port Douglas.
Bye for now,
Kris
Product Used:


Sending Love
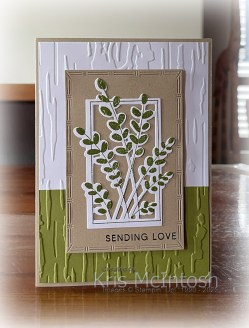
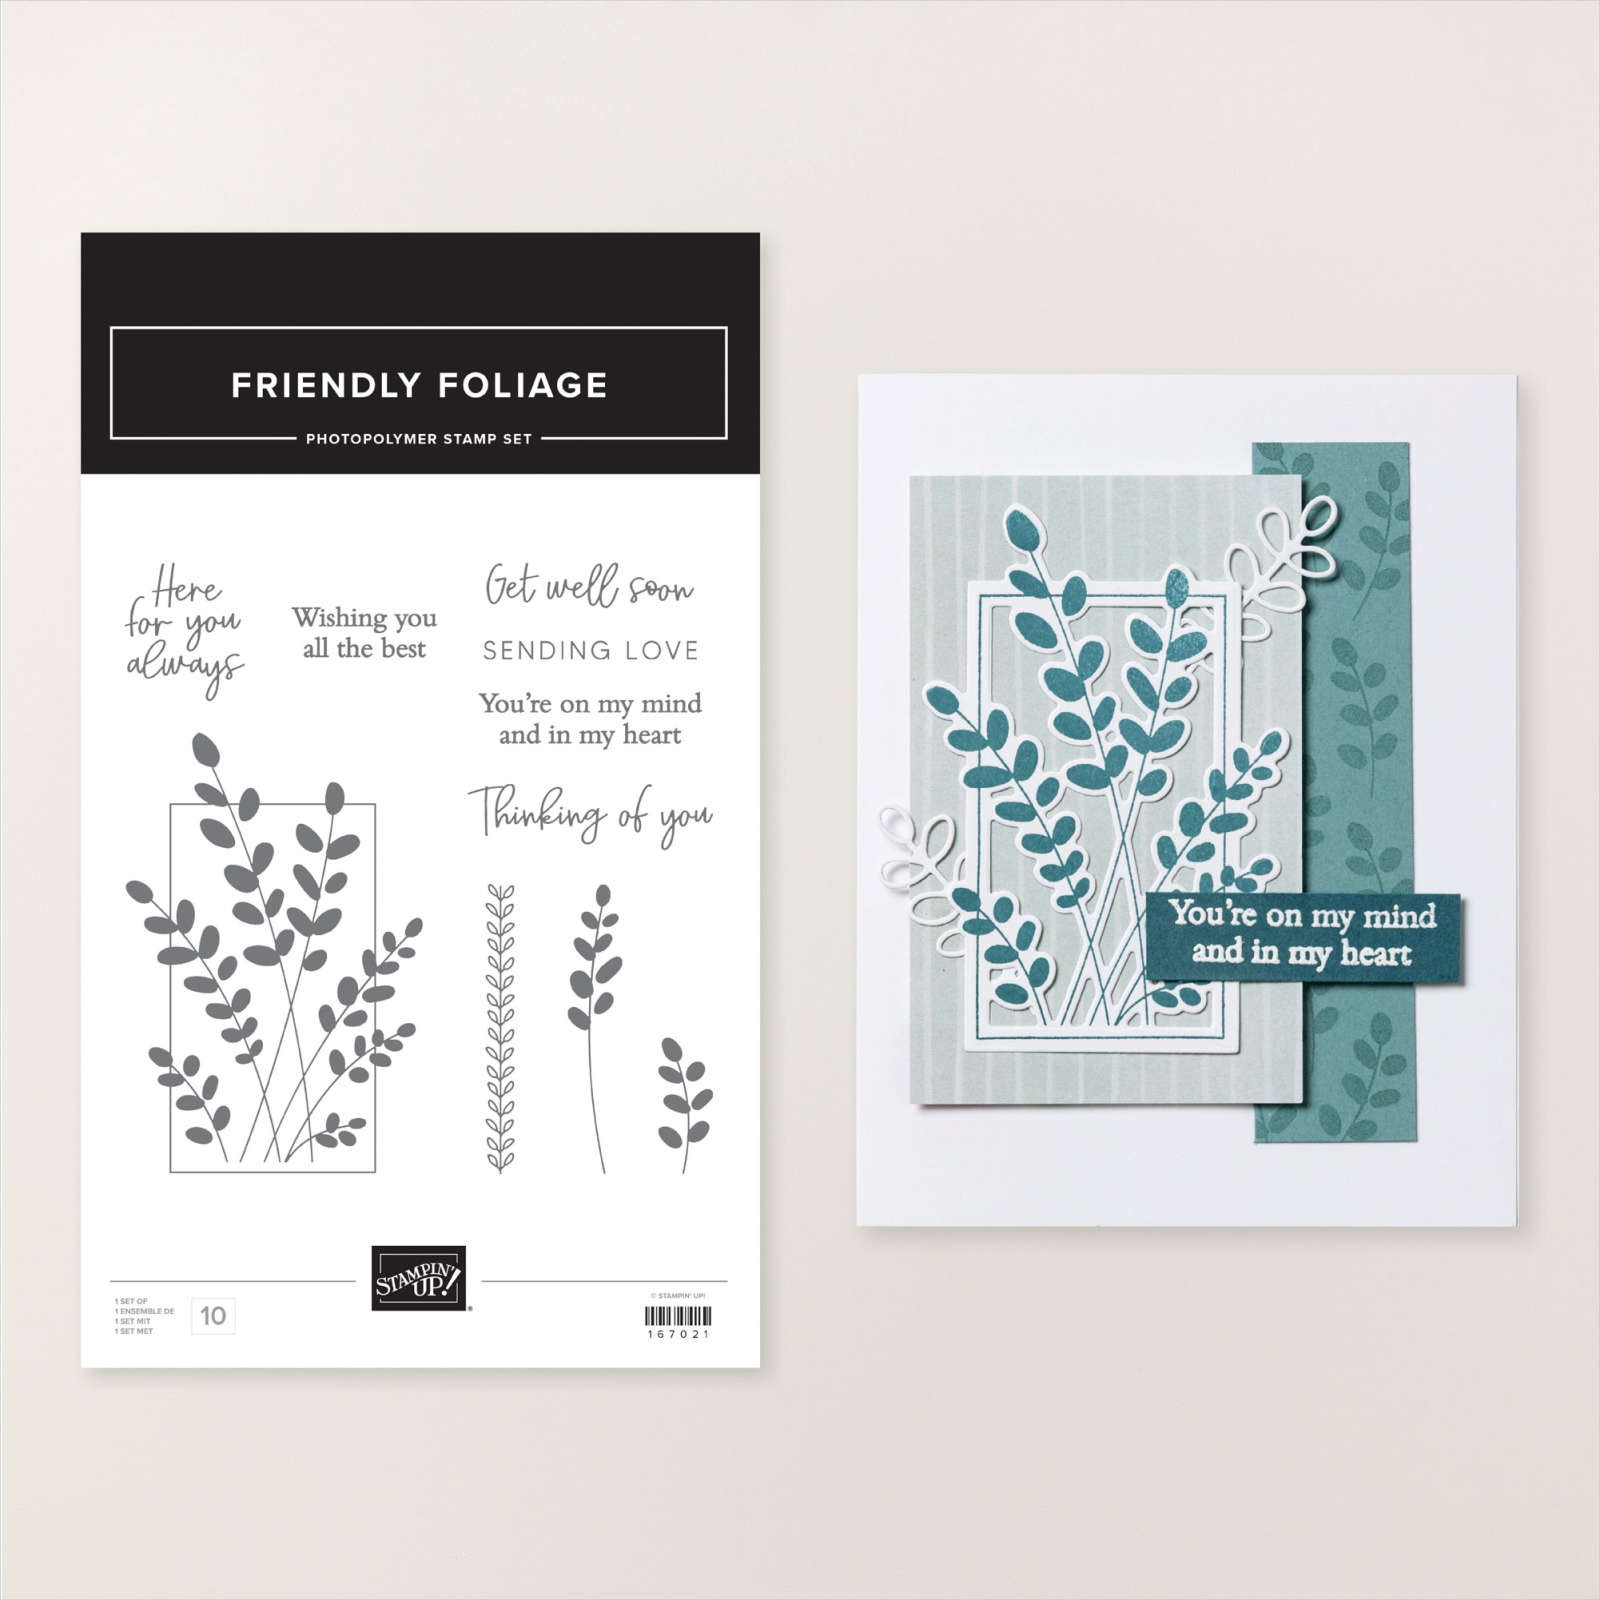
This week in my Facebook Live I shared some cards I created using the Friendly Foliage Bundle. This is an Online Exclusive, so you will have to check out my Online Store to find it. I attached a piece of Old Olive card across the bottom of a Basic White panel. The whole panel is embossed using the Birch 3D Embossing Folder before being attached to scored and folded Crumb Cake card. I cut Crumb Cake card using one of the Textured Notes Dies. I stamped the greeting from the Friendly Foliage stamp set onto the lower right hand corner of the Crumb Cake rectangle using Early Espresso ink.

I attached the panel to the card front using dimensionals. I stamped the large floral image from the Friendly Foliage stamp set onto Basic White card using Old Olive ink. I cut out the image using the Friendly Foliage Dies.

The image is attached to the Crumb Cake panel on the card front. To decorate the inside of the card I stamped the large single leaf and small single leaf from the Friendly Foliage stamp set onto Basic White card using Old Olive ink. I stamped the greeting from the Friendly Foliage stamp set beside the leaves using Early Espresso ink. The whole panel is attached to the inside of the Crumb Cake card base. I love this stamp set and can’t believe I waited so long to purchase it.
Bye for now,
Kris
Product Used:


Thinking of You
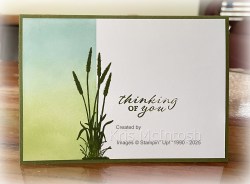
Today I have another simple card I created using the Prairie Grass stamp set. For this card, I masked the right hand side of a Basic White panel and added Soft Sea Foam and Lost Lagoon ink using Blending Brushes. I stamped the image from the Prairie Grass stamp set onto the edge of the blended panel using Mossy Meadow ink.

I stamped “thinking of you” from the Wonderful Thoughts stamp set using Mossy Meadow ink. The panel is attached to scored and folded Mossy Meadow card.

To decorate the inside I created a blended panel using Blending Brushes on the left hand side of Basic White card using Soft Sea Foam and Lost Lagoon ink. Once more I stamped the image from the Prairie Grass stamp set using Mossy Meadow ink. I have been a bit obsessed with the idea of using the Blending Brushes to create backgrounds for the images in the Prairie Grass stamp set, however, I love how this turned out. I would love to hear what you think.
Bye for now,
Kris
Product Used:


Black Friday Sale

Well how exciting! Stampin’ Up! is holding it’s first ever Black Friday Sale beginning tomorrow and ending at midnight on the 1st December. During this sale you will be offered savings of 40% on Stampin’ Blends, Paper Trimmer and blades, Ink bundles. You will offered savings of 25% off select adhesives and 15% off select cardstock. Sounds like a great time to stock up on those items on your wish list. I know that I am certainly going to take advantage of this great special. So just pop into my online store tomorrow and check out the savings.
Bye for now
Kris
A Perfect Day
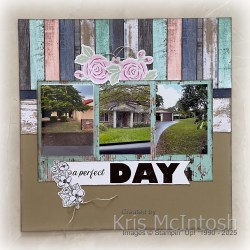
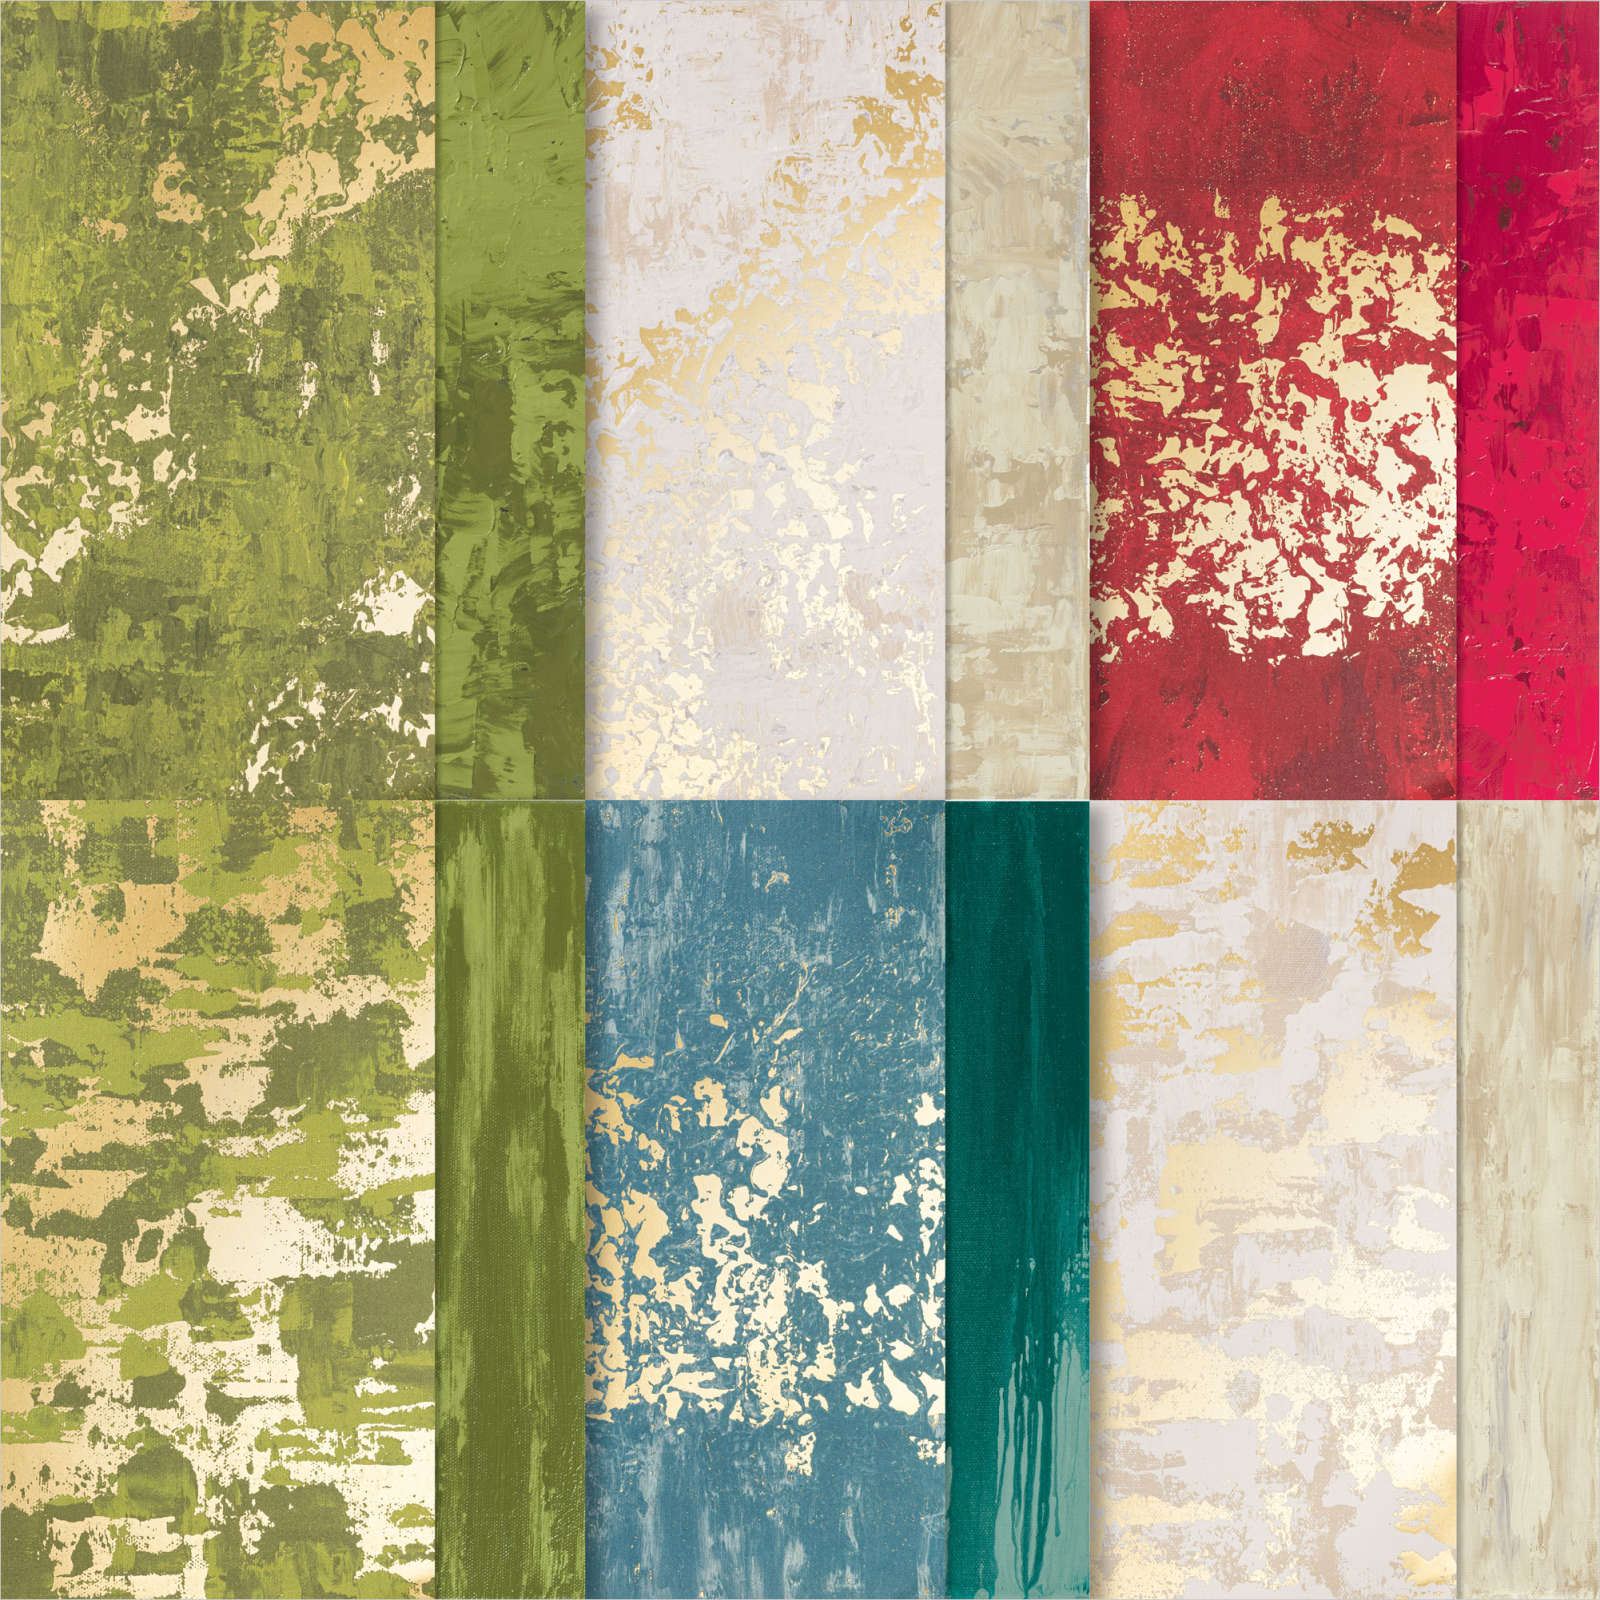
Today’s pages show off some photos from our last holiday with Mum and Dad in May last year. I found this layout on You Tube by Craft With Julie and loved it, so of course I had to CASE it. I used Crumb Cake Two Tone Card to create the bases and attached the Country Woods 12″ x 12″ Designer Series Paper.

Each of the page bases and the Designer Series Paper pieces are all sponged with Early Espresso card. I did use a 3″ x 4″ Flip Flap to the left page so that I could add my journaling.

I used the Fully Flowering Ephemera to add interest to my pages as well as some Linen Thread. I used the retired Documenting The Day stamp set to stamp the title onto the Basic Whtie card banner using Early Espresso ink. I love how these pages turned out, don’t you. So, thank you Julie for the inspiration and the instruction video.
Bye for now,
Kris
Product Used:


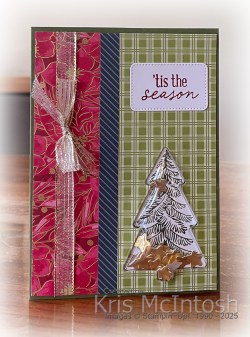
‘Tis the Season
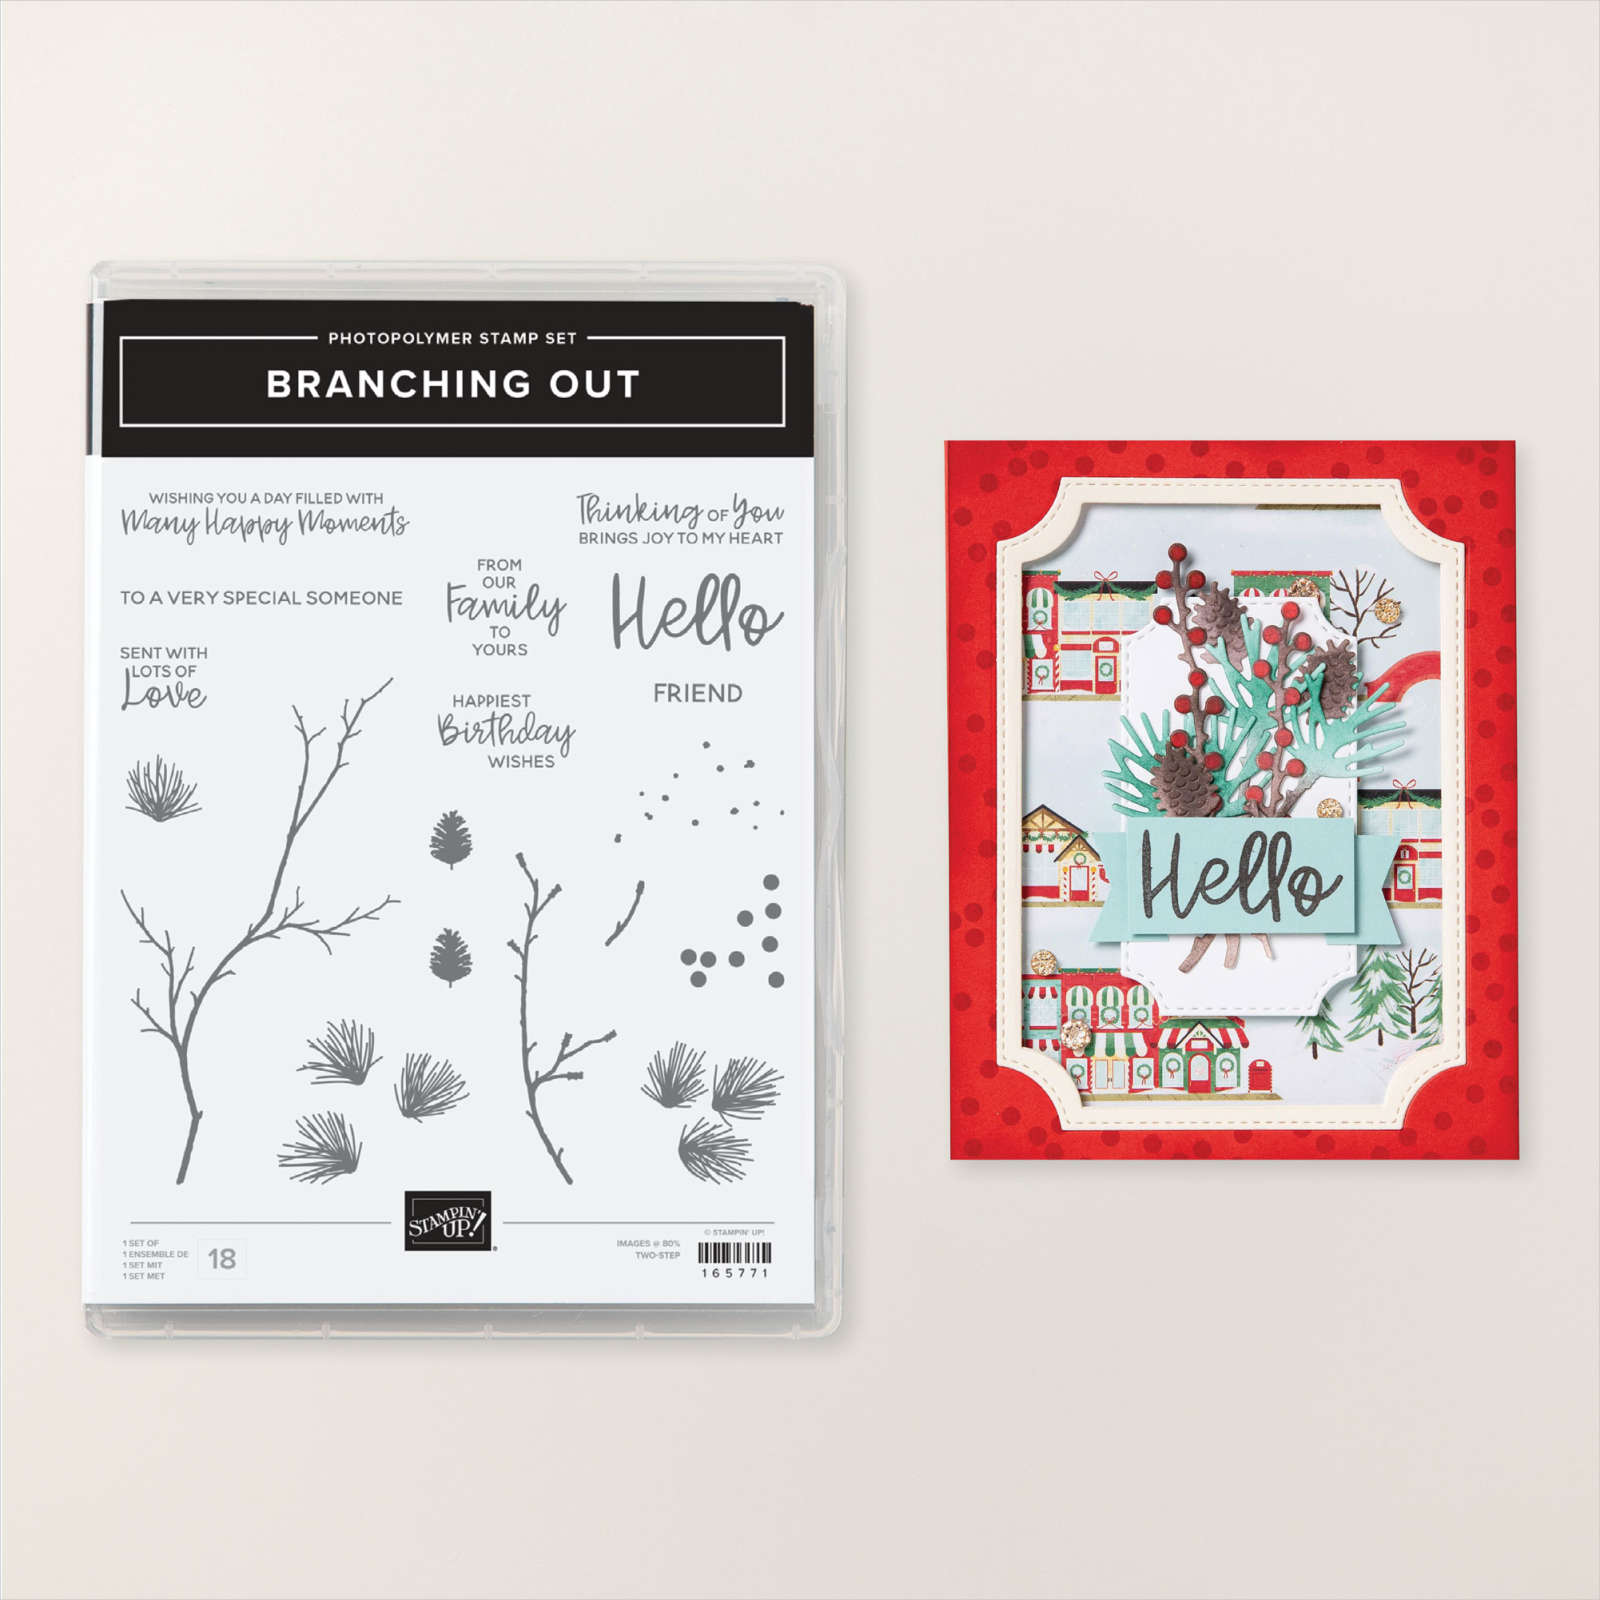
This week in my Facebook Live I shared some cards I created using the Branching Out Bundle. This bundle can be seen in the current August to December Mini Catalogue. For today’s card I embossed a piece of Basic White card using the Traditional Wreath 3D Embossing Folder. I attached the embossed card to scored and folded Mossy Meadow card. I cut Real Red and Basic White card using the two largest dies from the Branching Out Dies. I stamped the branch image from the Branching Out stamp set onto the Basic White die cut using Early Espresso ink. I stamped both of the three leaf images onto the branch image use Mossy Meadow ink.

I die cut Real Red card three times using the berry die from the Branching Out Dies. I trimmed the images a little before attaching them to the stamped branch. I die cut Early Espresso card three times using the pine cone die from the Branching Out Dies and attached them to the stamped branch. I stamped “’tis the Season” from the Pine Tree Trimmings stamp set onto the lower left hand corner of the Basic White die cut. I attached the stamped die cut to the Real Red die cut and then the card front using dimensionals. I added three Traditional Sparkling Sequins around the greeting.

To decorate the inside of the card, I stamped the branch image from the Branching Out stamp set onto the lower left hand corner of Basic White card using Early Espresso ink. I stamped both the three leaf images from the same stamp set onto the branch image using Mossy Meadow ink. I stamped the pine cone image from the Branching Out stamp set three times onto the branch image using Early Espresso ink. I stamped “fa la la” from the Keeping Traditions stamp set above the stamped branch image using Cherry Cobbler ink. The stamped panel is attached to the inside of the Mossy Meadow card base. I can’t believe I waited this long to purchase this stamp set it is so much fun.
Bye for now,
Kris
Product Used:


Shaker Christmas
I am sharing a card today that I created from instructions in the CDT 31 Days of Christmas. I so loved watching the video each day showing how to create new cards using lost of different products. For this card, I attached three different pieces of Traditions of Christmas 12″ x 12″ Designer Series Paper to Basic White card (the Designer Series Paper completely covers the Basic White panel). I used the Pine Trees Trimming Die to cut the shape into the right hand panel of Designer Series paper. I stamped the tree image from the Pine Trees Trimming stamp set onto Basic White card using Mossy Meadow ink and cut it out using the Pine Tree Trimming Die.

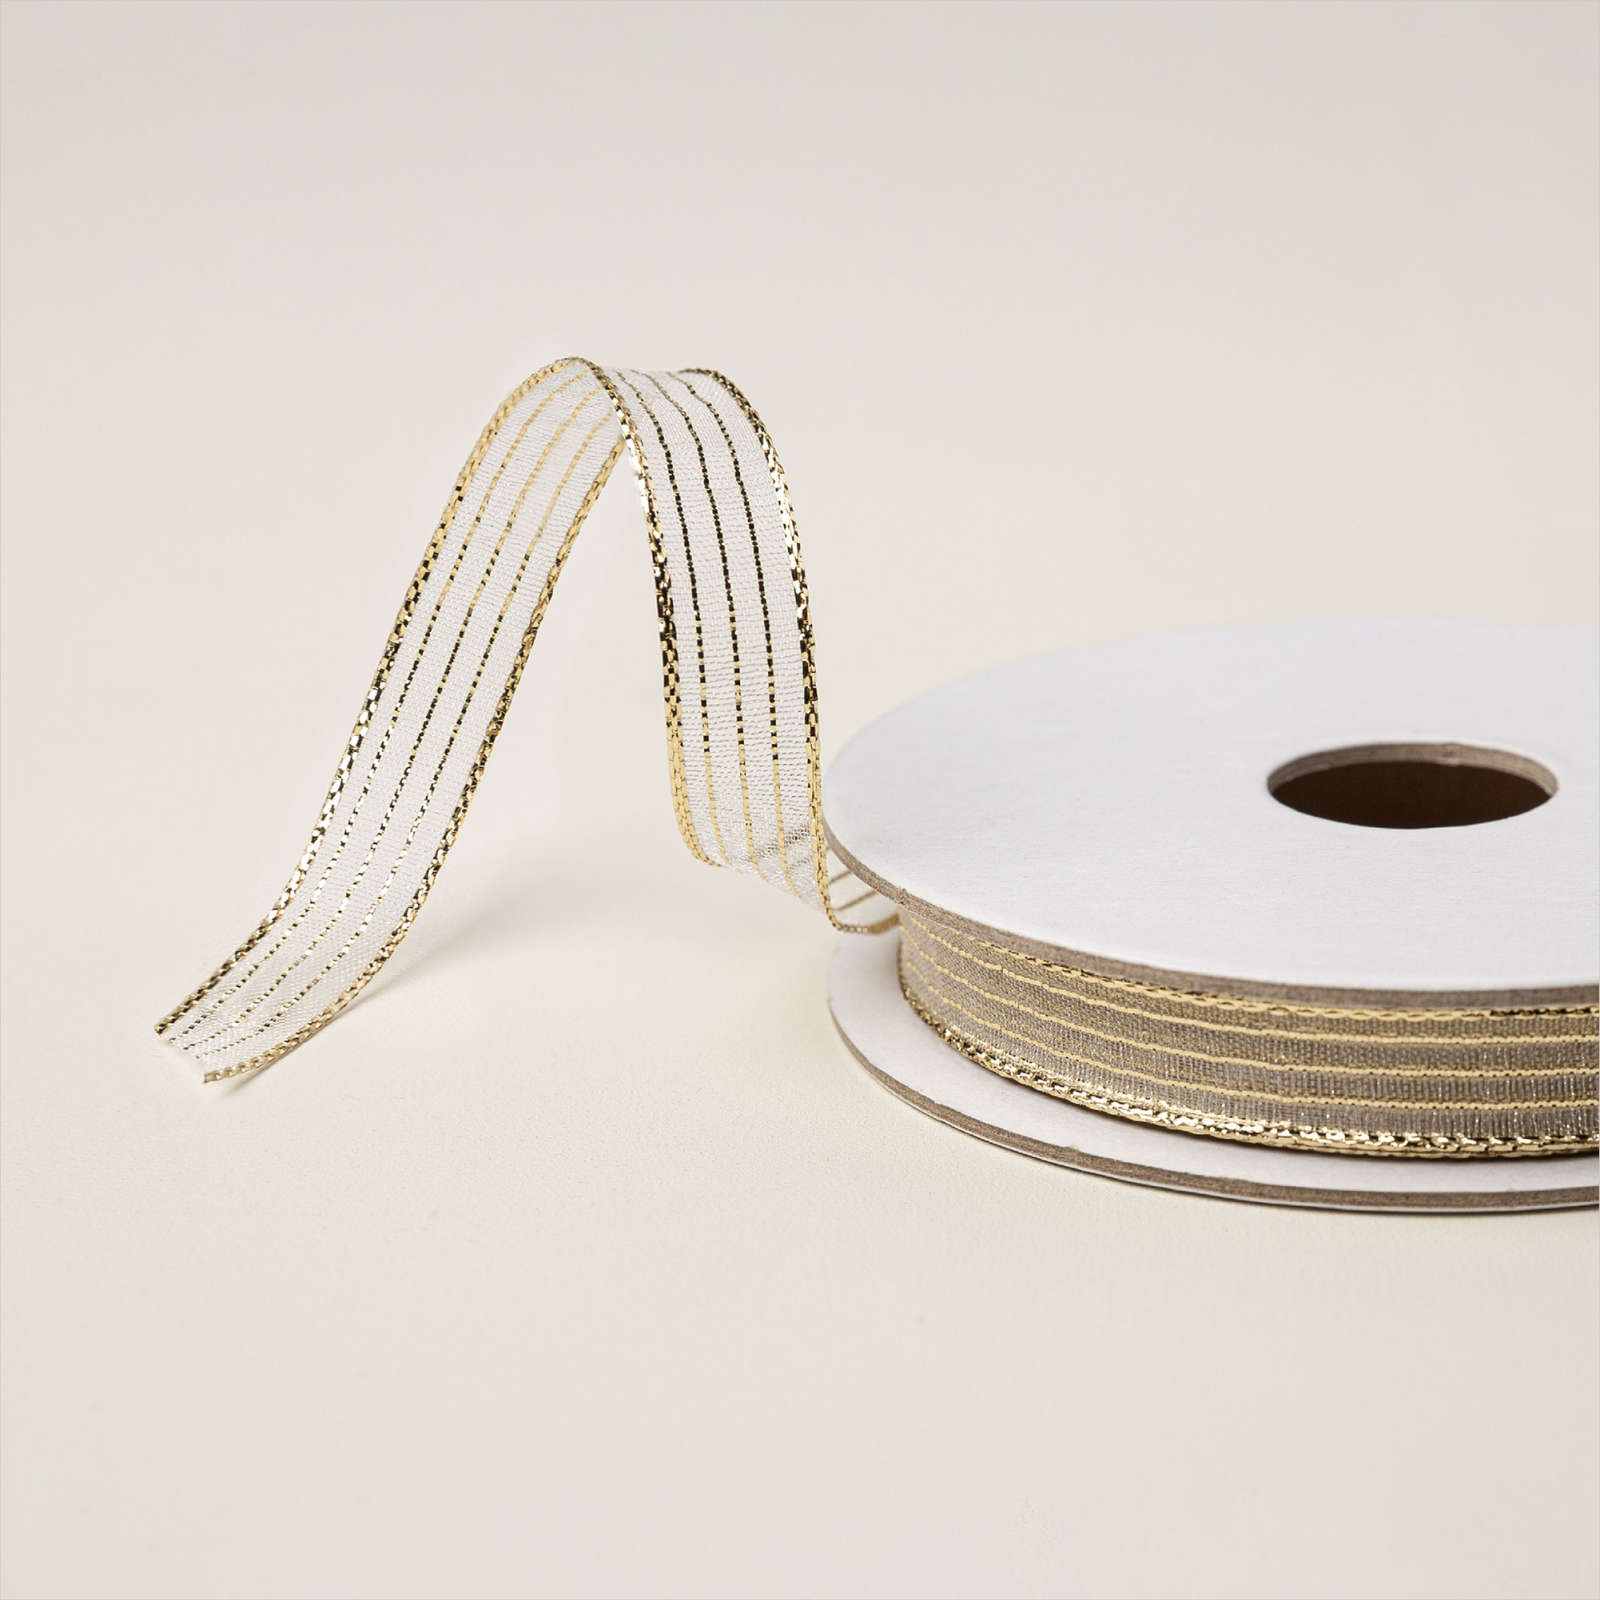
I die cut Gold Foil card using a star image that I found in my stash to create the filling for my Tree Shaker Dome. I laid the die cut tree on a flat surface, added the Gold Stars and then attached the Shaker Dome to the tree image. I wrapped the left hand panel of Designer Series Paper using the Gold Striped 3/8″ Mesh Ribbon. I attached the Shaker Dome inside the die cut on the card front before attaching the whole panel to scored and folded Mossy Meadow card.

I tied a bow onto the Gold Striped Ribbon to add a little extra decoration I stamped the greeting from the Pine Tree Trimmings stamp set onto Basic White card using Cherry Cobbler ink. I cut out the greeting using one of the Nested Essential Dies and attached it to the card front. To decorate the inside of the card, I attached a strip of one of the same patterns of Traditions of Christmas Designer Series Paper across the bottom of Basic White card. I used Mossy Meadow ink to add another greeting from the Pine Tree Trimmings stamp set as well. I love how pretty this card is, so thank you Katy for the inspiration.
Bye for now,
Kris
Product Used:


Daintree
Today’s page shows off some photos of our first trip to the Daintree. Ron and I had such a great time working our way up the coast and back again. I created this layout using the 1, 2, 3 Layout we used in October’s class. You can find these layouts by Noreen Smith on You Tube. I cut a piece of Everyday Happiness 12″ x 12″ Designer Series Paper to create the pages. I did add a little Night of Navy ink to the edges of all the Designer Series Paper pieces.

I added Night of Navy mats to the two photos on the left page and the 4″ x 4″ photo on the right page. I used a Blending Brush to add a little Balmy Blue ink across the bottom of the left hand page. I cut the trees from Lost Lagoon card using the Scenic Adventure Dies. I cut the grassy piece from Lost Lagoon card using another of the Scenic Adventure Dies. For each of these pieces I used a Blending Brush to add Lost Lagoon over the tops of the die cuts. I also cut a piece of Pool Party card using another of the Scenic Adventure Dies. I used a blending brush to add Pool Party ink to the top of this piece of card.

I layered the die cuts across the blended panel on the left hand page. I also added Balmy Blue ink using a Blending Brush to the upper right hand corner of the right hand page. I die cut Lost Lagoon card using the tree die from the Scenic Adventure Dies and added a little Lost Lagoon ink before atttaching the trees to the right hand page. I printed my journaling onto Basic White card which I cut into strips. I dipped the edges of the strips into the Night of Navy ink pad to give them a little more dimension before attaching them to the right hand page. My title is cut from Night of Navy card using the Alphabet A La Mode Dies. I die cut Lost Lagoon card using the tree dies from the Scenic Adventure Dies and layered them beside the title. I love how these pages are enhanced by the beautiful Designer Series Paper, don’t you.
Bye for now,
Kris
Product Used:


‘Tis The Season
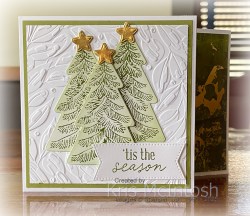
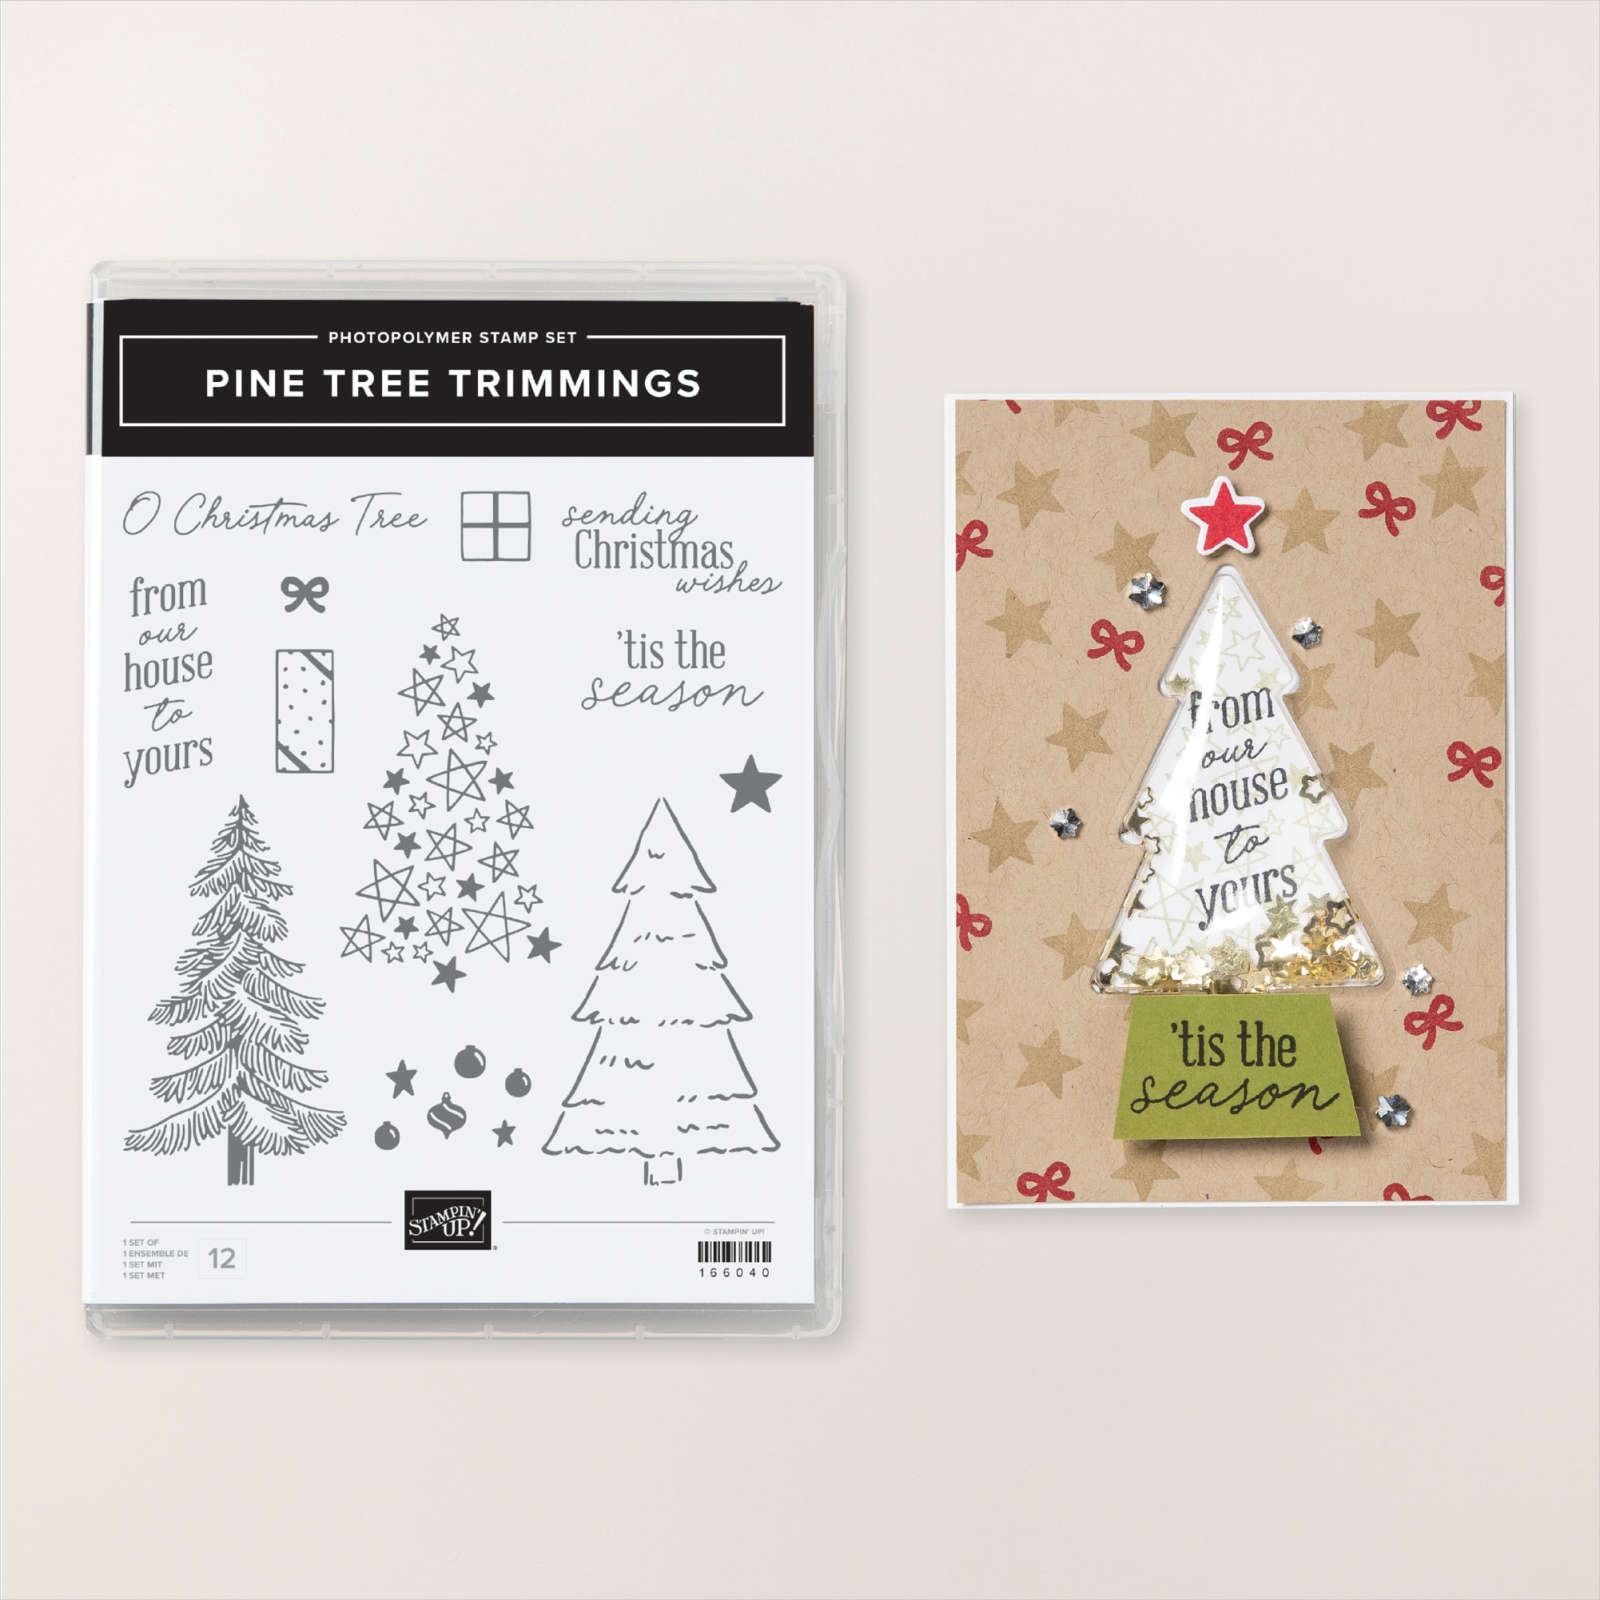
This week in my Facebook Live I shared some cards created with the Pine Tree Trimmings Bundle which is an Online Exclusive. Today’s Gift Card Holder features the same bundle. I cut my card base from Thick Basic White card. I attached a piece of Seasonal Elegance 12″ x 12″ Designer Series Paper to the inside flap which is where the Gift Card will go. I also punched the edge using the 1-3/4″ Circle Punch so that the Gift Card will come out easier. You could use any circle punch or any other shape you wish to do this. I stamped the greeting from the Pine Tree Trimmings stamp set onto Basic White card using Old Olive ink.

I also attached a strip of the Seasonal Elegance Designer Series Paper to the right hand side before attaching it to the inside of the card base. I embossed Basic White card using the Traditional Wreath 3D Embossing Folder and attached it to Old Olive card. The whole panel is attached to the front of the Gift Card Holder. I stamped the tree image from the Pine Tree Trimmings Stamp Set onto Basic White card three times using Old Olive ink. I cut out the trees using the Pine Tree Trimmings Die and used a Blending Brush to add Old Olive card to the die cut pieces.

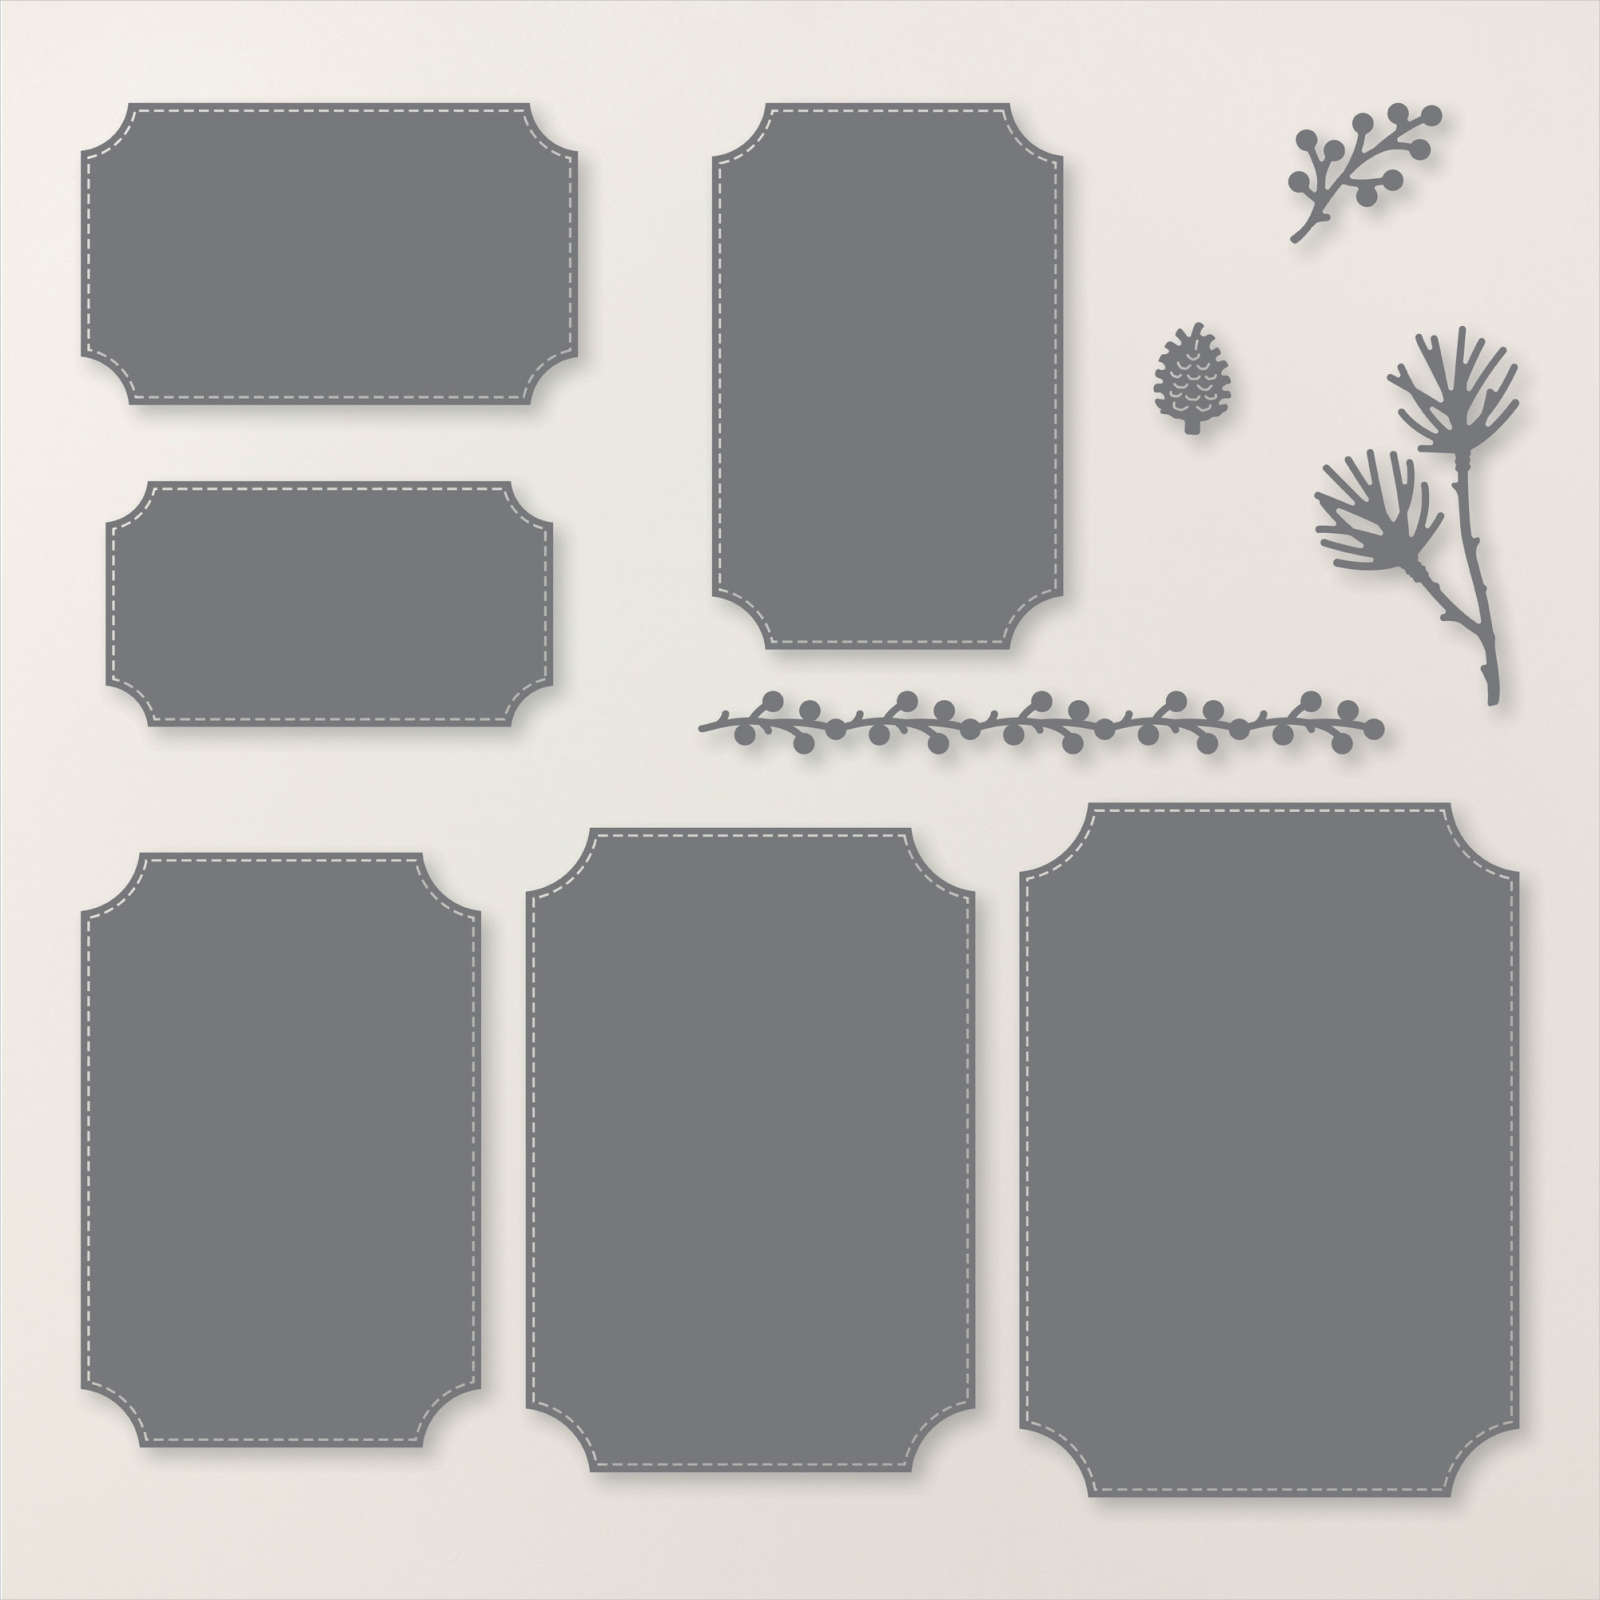
The trees are layered onto the embossed Basic White card with the top tree attached with dimensionals. I die cut Gold Foil card three times using the star from the Pine Tree Trimmings Dies. I attached the stars to the top of each of the tree images. I stamped the greeting from the Pine Tree Trimmings Stamp Set onto Basic White card using Old Olive ink. I cut out the greeting using one of the banners from the Stylish Shapes Dies. I attached the greeting to the card front using dimensionals where necessary. I love these Gift Card Holders for Christmas and I am sure you will see more examples using different product over the next month or so. There is a tutorial for this Gift Card holder in my Free Tutorials.
Bye for now,
Kris
Product Used: