Celebrate

Today’s page shows off some photos from my Mum & Dad’s birthday lunch this year. My Mum turned 85 and Dad turned 91. For the left hand page I cut a circle from some retired “blue” 12″ x 12″ card that I had in my stash and attached it to a Very Vanilla 12″ x 12″ page. I attached Night of Navy card across the right hand side of this page and the left hand side of another Very Vanilla 12″ x 12″ page. I attached three larger photos to Basic Black card before layering them down the right hand side of the first page. I attached a strip of Crumb Cake card beside the left hand edge of the photos. I attached the two smaller photos to Basic Black card and attached them to the left hand side of the page. I added a strip of Night of Navy card below the two smaller photos and added “celebrate”. Celebrate was cut from Very Vanilla card using the retired Celebrate You Thinlets. I cut a circle from the same “blue” card using the Layering Circle Dies and embossed it using the Bouquet of Love Embossing Folder.
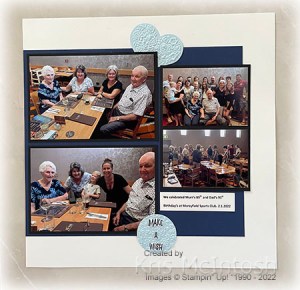
I stamped the greeting from the A Grand Kid stamp set onto Very Vanilla card using Night of Navy ink. I attached the two circles together before attaching them to the left hand page. I attached two large and two smaller photos to Basic Black card before attaching them to the right hand page. I cut the same “blue” card using the heart die and the Bouquet of Love Embossing Folder and slipped it underneath the top edge of the photos. I printed the journaling onto Very Vanilla card and attached it below the two small photos on the right hand page. I cut a circle from the “blue” card and embossed it using the Bouquet of Love Embossing Folder before attaching it to the right hand page. I stamped the greeting from the Party Puffins stamp set onto Very Vanilla card using Night of Navy ink. I trimmed the words and attached them to the embossed circle.

Lots of lovely photos to remember this special day.
Bye for now,
Kris
Product Used:


Horizon Birthday
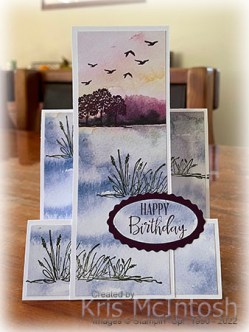
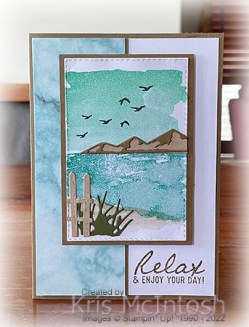
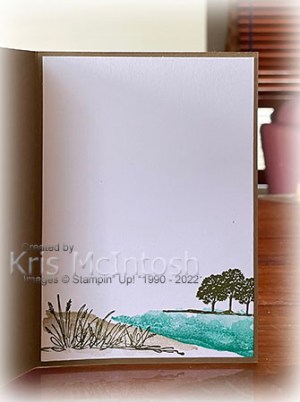
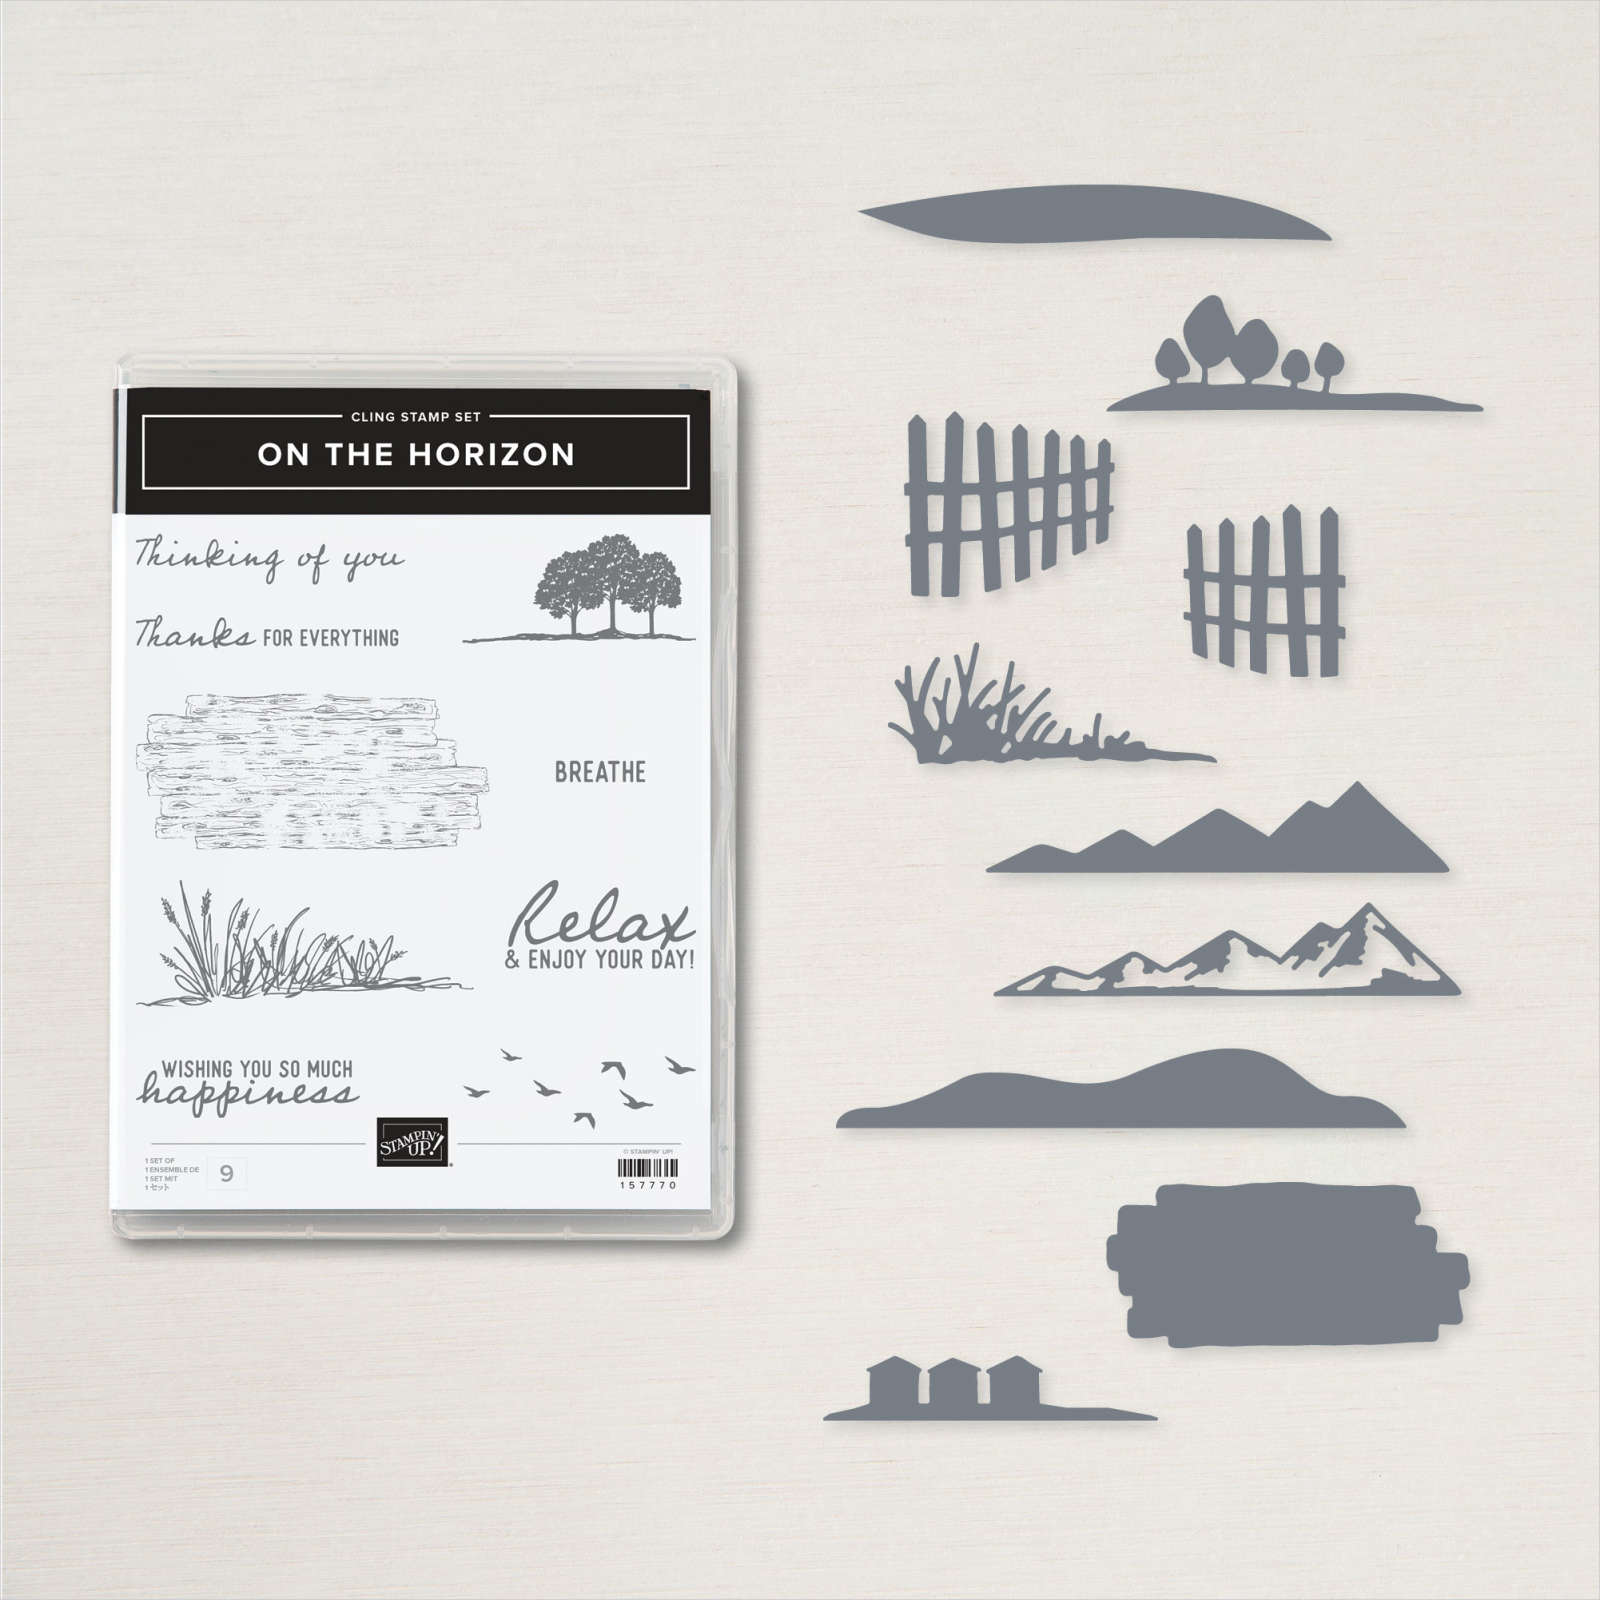
Today’s card is another Faux Centre Step card, these cards featured in my Facebook Live this week and thought I would share another one with you. I love the New Horizon Designer Series Paper and decided to use it on this card. I cut the card base and centre step from Basic White card. I cut all of the panels from New Horizon Designer Series Paper, matching the design as best as I could. I stamped the tree image from the On The Horizon stamp set onto the centre panel using Blackberry Bliss ink. I also stamped the birds from the On The Horizon stamp set using the same ink.
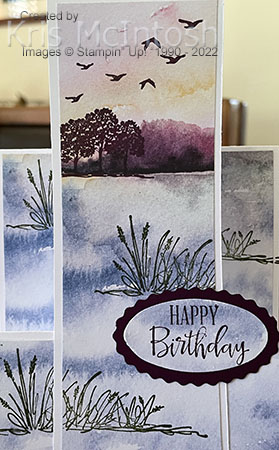
I stamped the grass image twice across the bottom of the centre panel using Mossy Meadow ink. I stamped the grass image onto the Designer Series Paper panels on the card base, matching them to the images on the centre panel as closely as I could.

I stamped “happy birthday” from the Peaceful Moments stamp set onto New Horizon Designer Series Paper using Blackberry Bliss ink. I punched out the greeting using the Double Oval Punch. The greeting is attached to a Blackberry Bliss scalloped oval before attaching the it to the card front. I love how the Designer Series Paper does all the hard work creating beautiful backgrounds, don’t you?
Bye for now,
Kris
Product Used:


You’re the Nicest
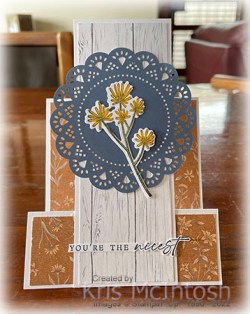
This week on my Facebook Live, I created a few Faux Centre Step cards using the instructions shared by Linda Schnabel. I used these cards as a way to show off some products and stamp sets which are retiring with the end of this Annual Catalogue. I cut my card base and centre step from Basic White card. I attached pieces of the Heart & Home 12″ x 12″ Designer Series Paper (this Designer Series Paper will be retiring with the launch of the next Annual Catalogue) to the card base and centre step, following Linda’s instructions.
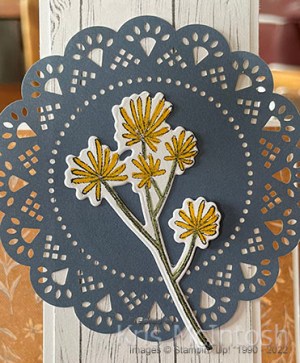
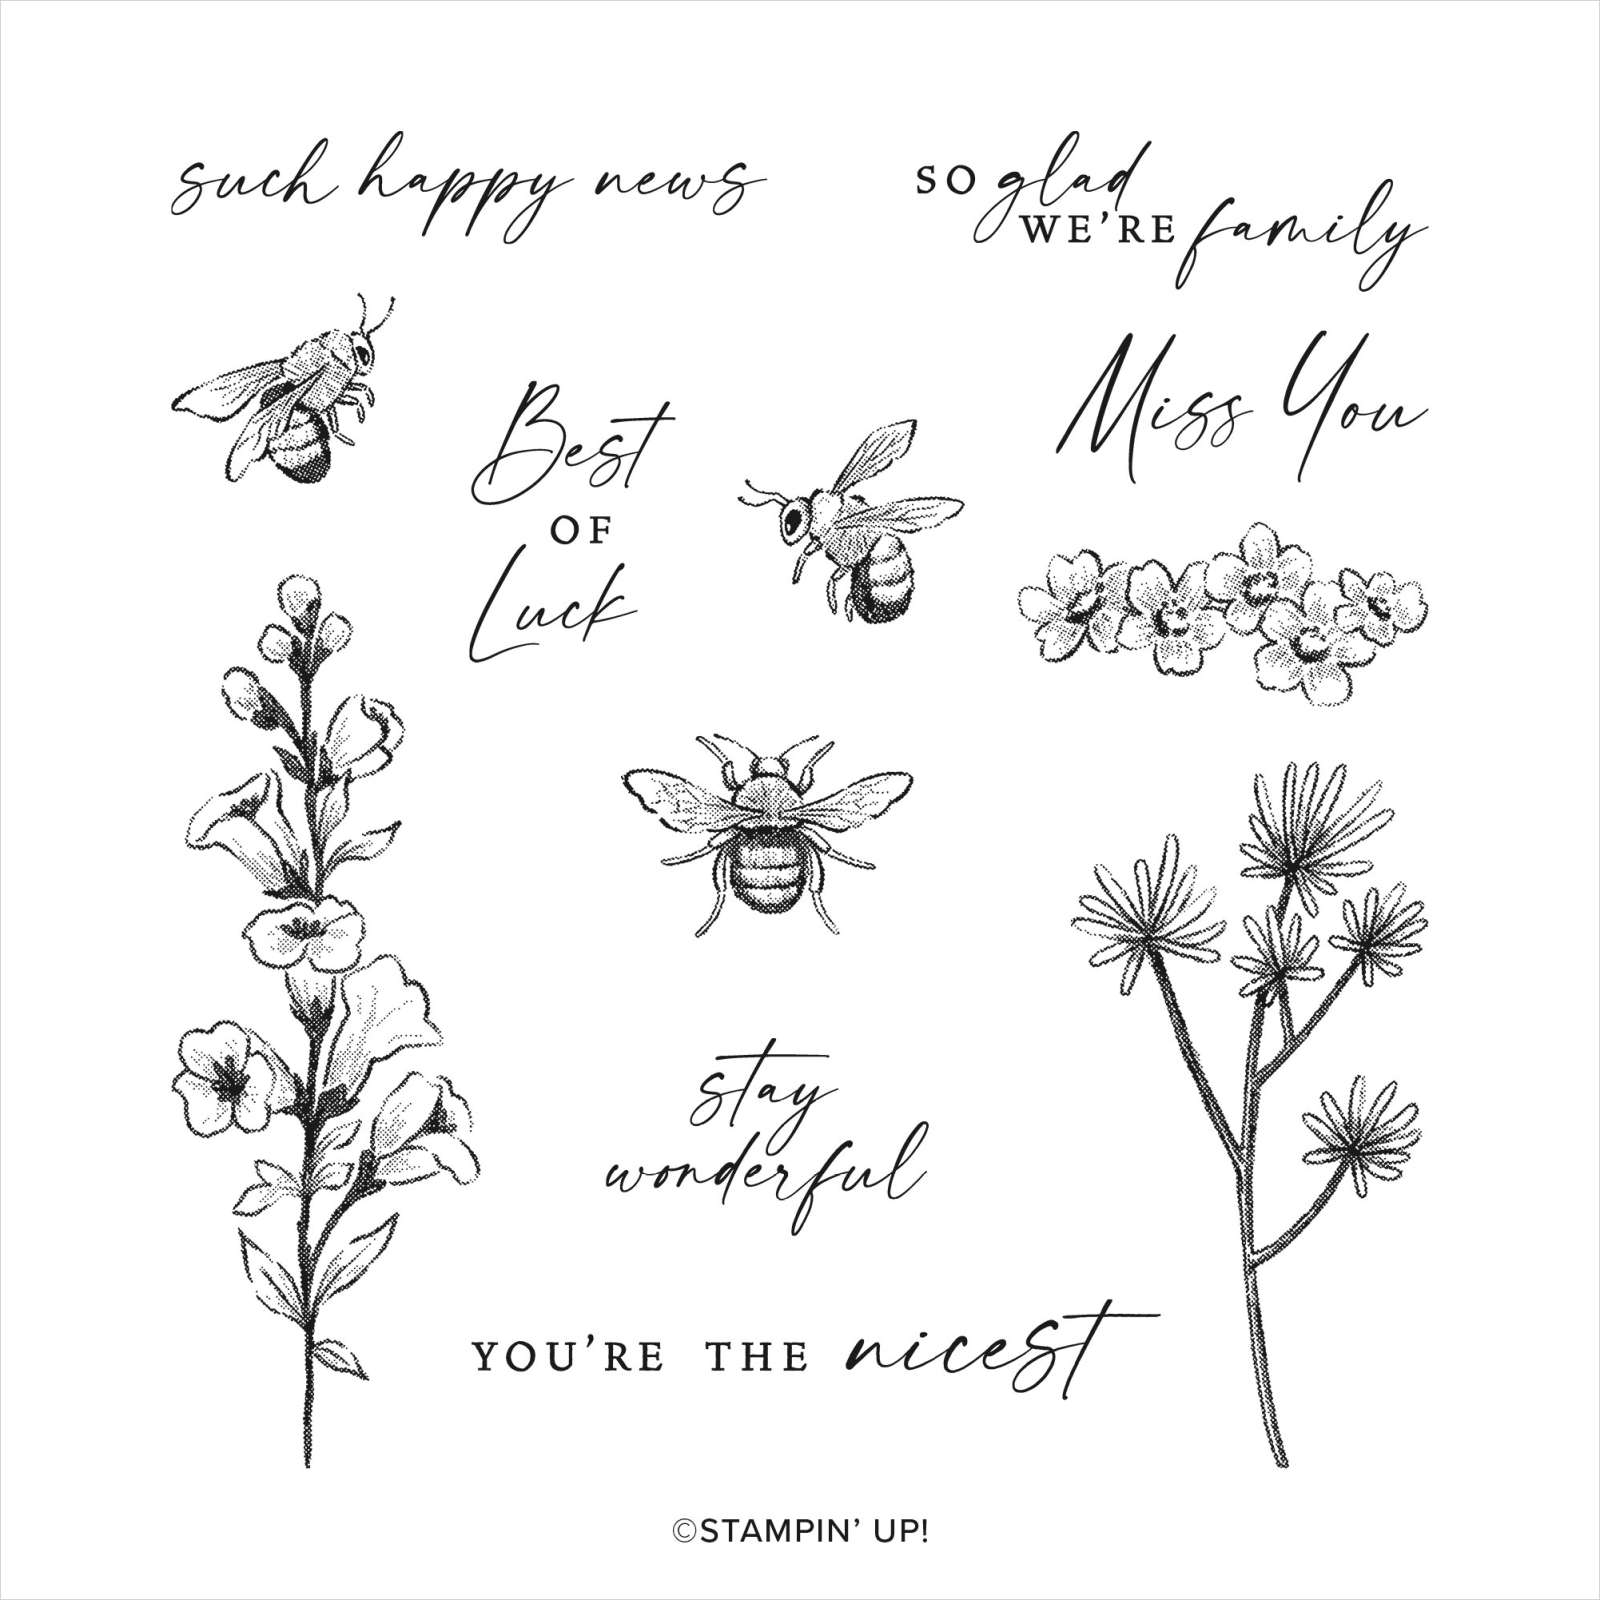
I attached a Misty Moonlight Heart & Home Doily (also retiring) to the centre step allowing it to overhang the edges. I stamped the image from the Honeybee Home stamp set onto Basic White card using Memento Tuxedo Black ink. I coloured the image using the Dark Daffodil Delight and Light Mossy Meadow Stampin’ Blends.
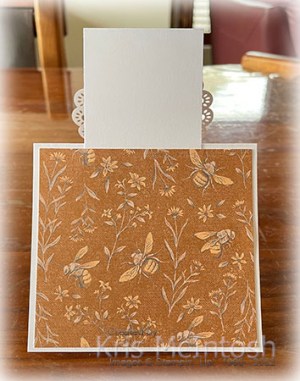
I cut out the flower using the co-ordinating Honeybee Blooms Die before attaching it to the centre of the Doily. I stamped the greeting from the Honeybee Home stamp set onto Basic White card using Misty Moonlight ink (retiring). I cut out the greeting using my paper snips and attached it across the bottom of the card. I also attached a piece of Heart & Home Designer Series Paper to the back of the card, which covers the join of the centre step panel.
I have always loved make centre step cards but cutting them out can be a bit fiddly. This way is so much easier but still packs a bit WOW, don’t you think?
Bye for now,
Kris
Product Used:


Glad we’re Family
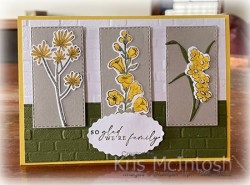
I was inspired by this card I found on Pinterest to finally break out my Honeybee Home Bundle. I attaching Mossy Meadow card across the bottom of Basic White card before embossing the whole piece using the Bricks & Mortar 3D Embossing Folder. I attached the embossed panel to scored and folded Daffodil Delight card. I cut Gray Granite card three times using one of the Stitched Rectangle Dies. I attached the rectangles to the embossed card using dimensionals. I stamped the three floral images from the Honeybee Home stamp set onto Basic White card using Memento Tuxedo Black ink.
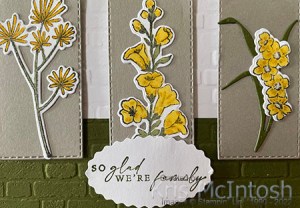
I coloured the images using Light Mossy Meadow, Light Crumb Cake and Daffodil Delight Stampin’ Blends. The images were cut out using the co-ordinating Honeybee Blooms Die. I also cut Mossy Meadow card using the leaf die from the Honeybee Blooms Dies. I attached the two large floral images to a Gray Granite stitched rectangle. I attached the Mossy Meadow leaf to the last Gray Granite rectangle and attached the multi-floral image over the top. I stamped the greeting from the Honeybee Home stamp set onto Basic White card using Mossy Meadow ink.
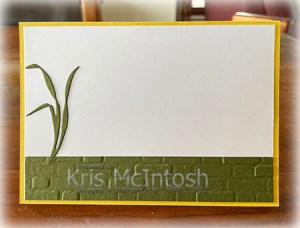
I punched out the greeting using the Double Oval Punch and attached it to the card front using dimensionals where necessary. To decorate the inside of the card, I embossed a narrow strip of Mossy Meadow card using the Brick & Mortar 3D Embossing Folder. I cut the leaf from Mossy Meadow card using the Honeybee Blooms Die and attached it to the lower left hand corner of Basic White card. I attached the embossed Mossy Meadow panel across the bottom of the Basic White panel so that it just covers the ends of the leafy die cut.
I love how this card turned out and I am so grateful to Jolanda for her inspiration.
Bye for now,
Kris
Product Used:


More On The Horizon
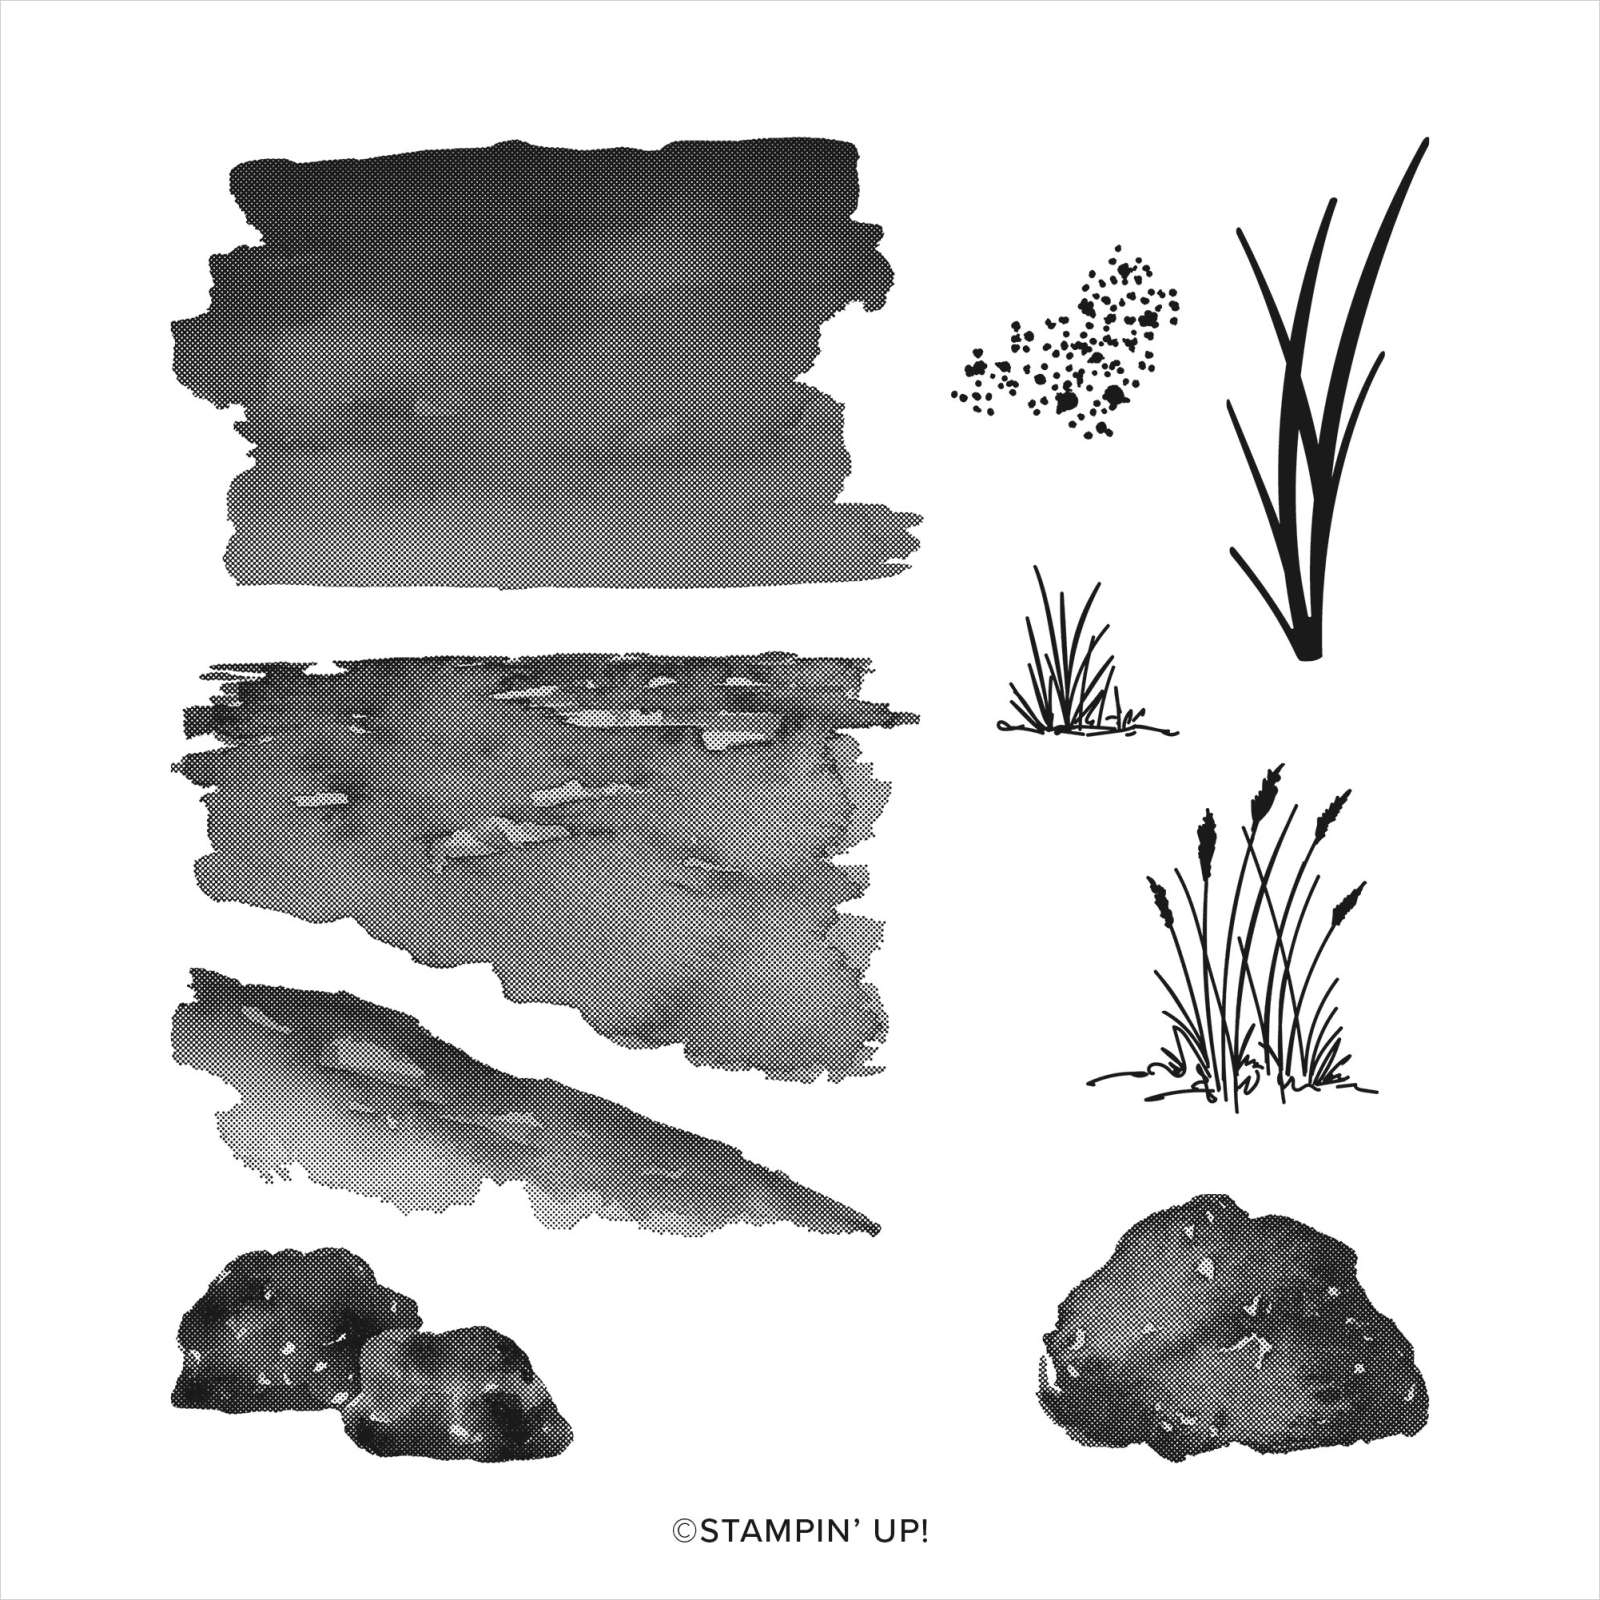
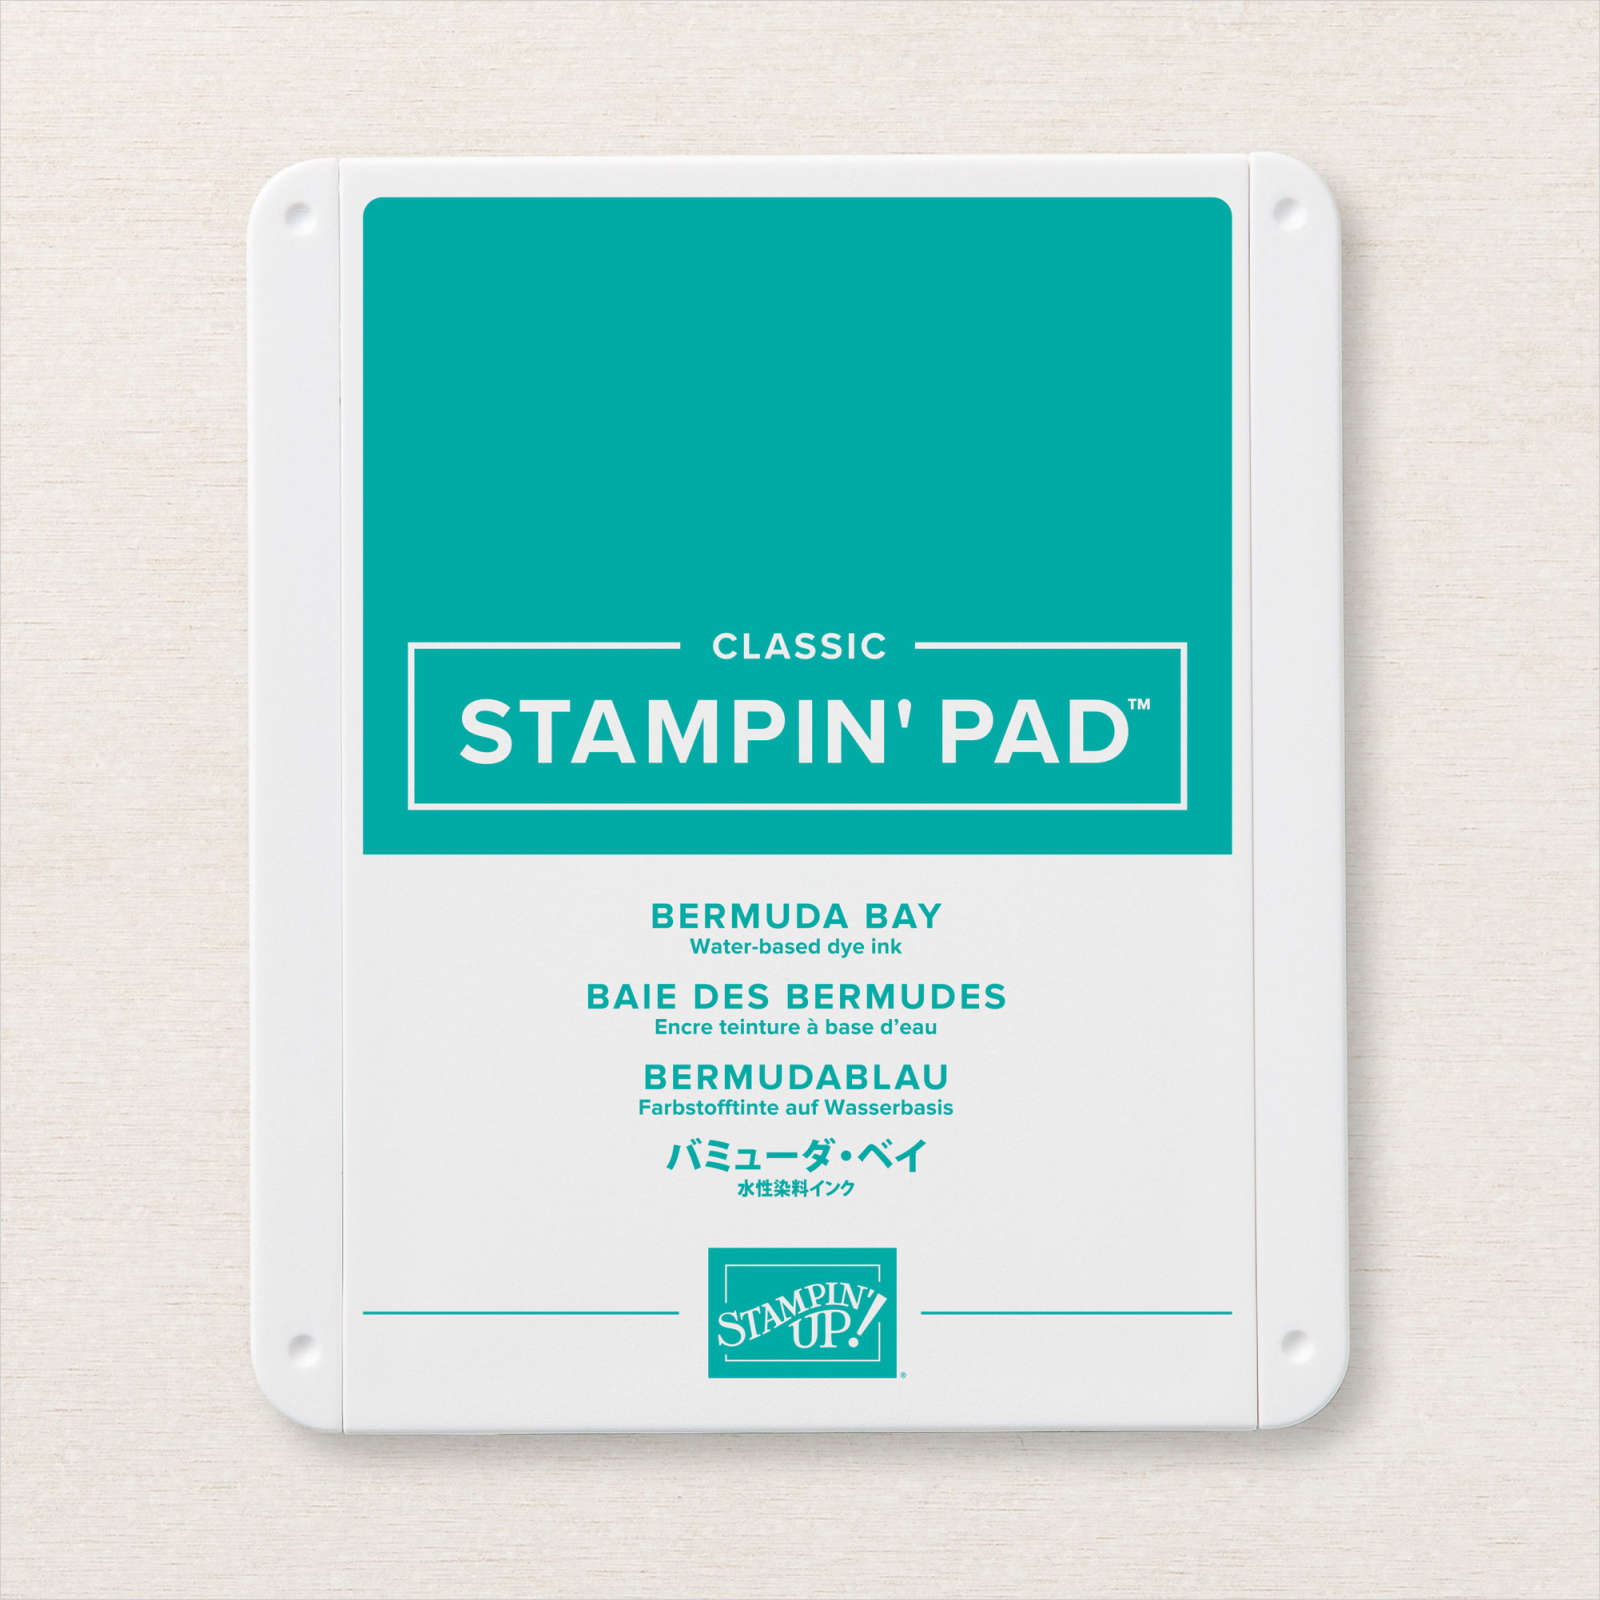
I am kind of in love with the On The Horizon stamp set and the co-ordinating Horizon Dies. I love that I can use them with lots of other stamps and dies that I have in my stash. For today’s card, I stamped the greeting from the On The Horizon stamp set onto the lower right hand corner of Basic White card using Soft Suede ink. I attached a narrow strip of Soft Suede card behind one long edge of a strip of Simply Marbleous Designer Series Paper. I attached the Designer Series Paper panel to the stamped Basic White card and then scored and folded Soft Suede card. I stamped one image from the Oceanfront stamp set onto Basic White card. I stamped a second image from the Oceanfront stamp set above the first image using Bermuday Bay ink.

Lastly I stamped a third image from the Oceanfront stamp set above the second image. I die cut the image panel using one of the Stitched Rectangle Dies. I die cut Mossy Meadow card using the grass die from the Horizon Dies. I trimmed the die and attached it to the bottom of the stamped panel. I stamped the “wood” image from the On The Horizon stamp set onto Crumb Cake card using Soft Suede ink and cut it using one of the “fence” dies from the Horizon Dies. I attached a section of the die over the top of the grass image. I die cut Crumb Cake card using the solid mountain die from the Horizon Dies and Soft Suede card using the detailed mountain image.
I attached the mountain die cuts together and attached them to the stamped panel, trimming off some of the excess. Lastly I stamped the bird image from the On The Horizon stamp set using Memento Tuxedo Black ink. I attached the image panel to a Soft Suede card and then the card front using dimensionals. To decorate the inside of the card, I stamped one of the images from the Oceanfront stamp set onto the lower left hand corner of Basic White card using Sahara Sand ink. I stamped the same image again this time using Bermuda Bay ink. I stamped the grass image and the tree image from the On The Horizon stamp set using Mossy Meadow ink.
Another card I am so happy with. What do you think? Do you love these stamp sets and dies as much as I do?
Bye for now,
Kris
Product Used:


Family

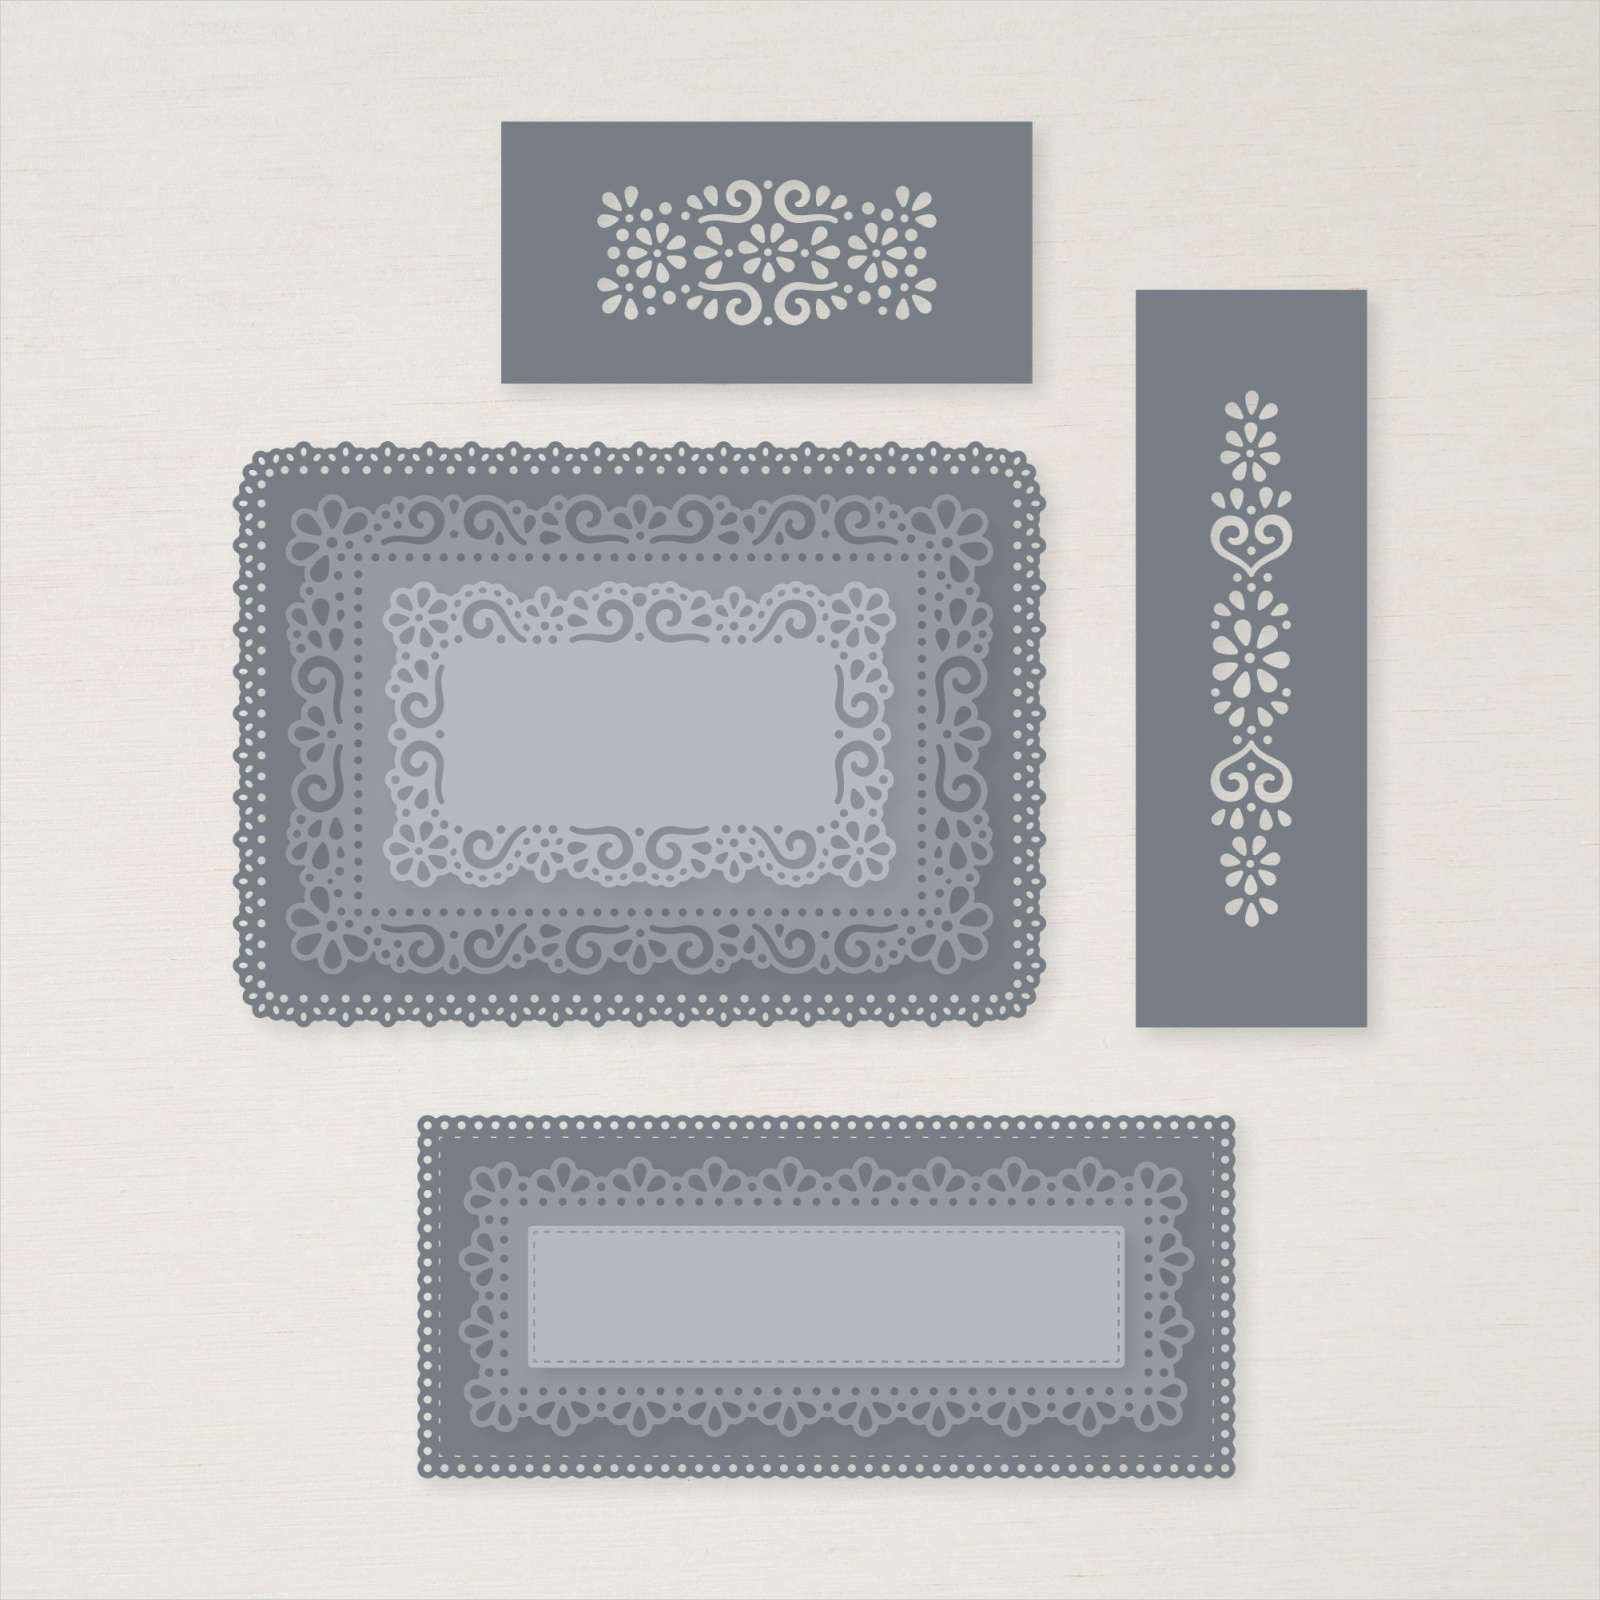
Today’s page shows off a photo of my grandmother with some of her aunties and some of her cousins. I had the Slim Card Dies still out on my table and decided to use them to create the accents for this page. I cut Night of Navy card using one of the edge dies from the Slim Card Dies before attaching it to Smoky Slate card. I cut the outline of the Slim Card Die from Very Vanilla card and attached it to the Night of Navy card. I added pieces cut from three different patterns of the In Good Taste 12″ x 12″ Designer Series paper inside the Very Vanilla outline. The whole panel is attached to the left hand side of a Very Vanilla 12″ x 12″ page.
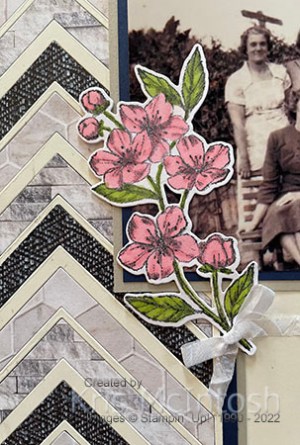
I attached the photo to Night of Navy and then Smoky Slate card before attaching it to the page. I cut Night of Navy using one of the Ornate Layers Dies and attached it to the lower right hand corner of the page. I stamped the flower from the Forever Blossoms stamp set onto Basic White card using Memento Tuxedo Black ink. I coloured the image using Flirty Flamingo and Granny Apple Green Stampin’ Blends. I cut out the flower using the co-ordinating Cherry Blossom Die. I wrapped the bottom of the flower stem with White Crinkled Ribbon and tied a bow before attaching it to the page, partially over the photo. I printed my journaling onto Very Vanilla card and attached it to the centre of the Night of Navy die.
I love how gorgeous that striped panel looks on this page, don’t you.
Bye for now,
Kris
Product Used:


Perfect Birthday

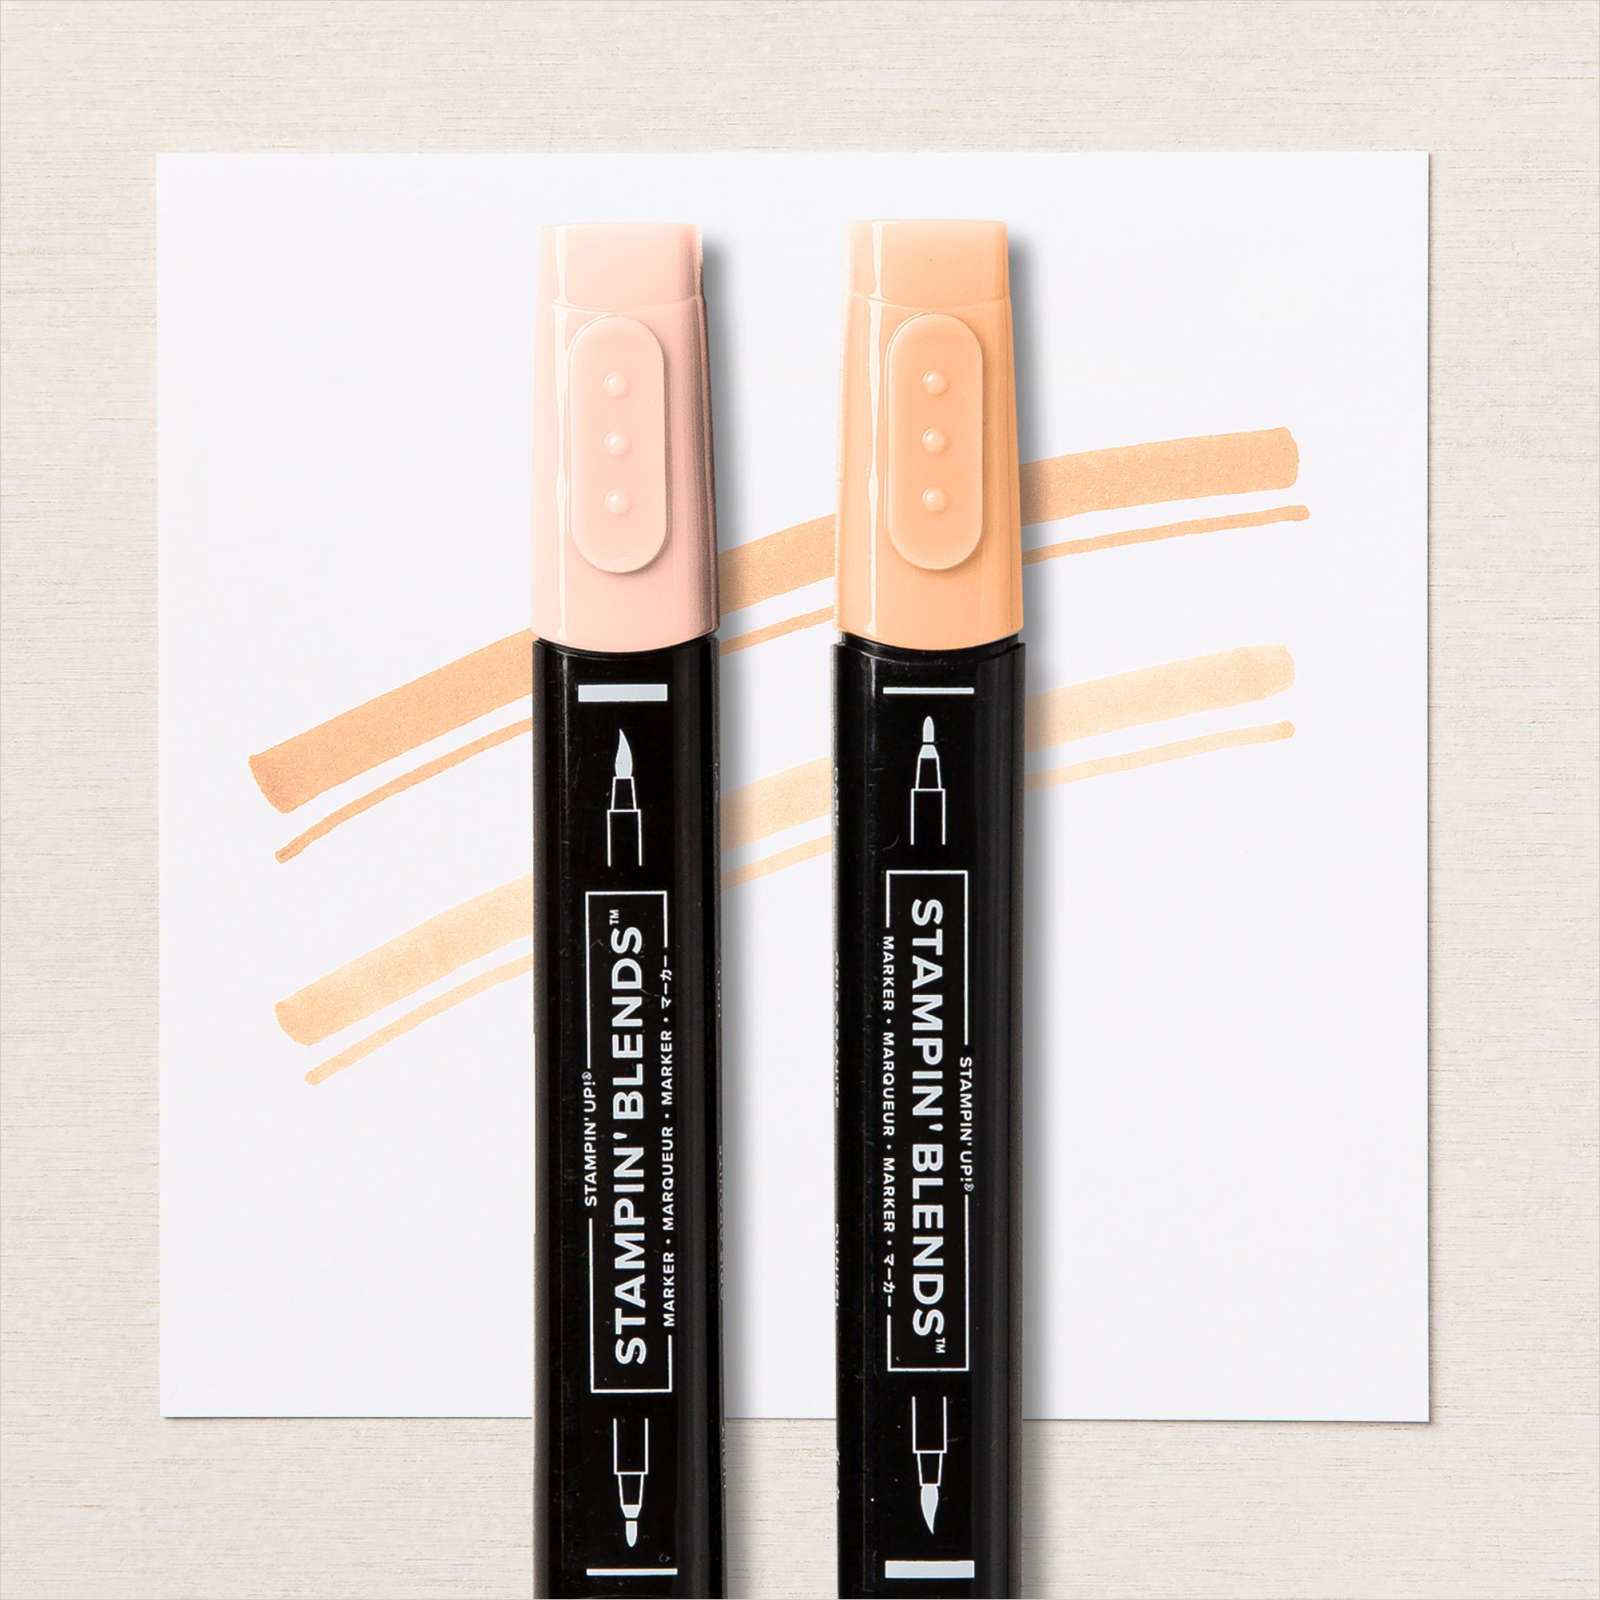
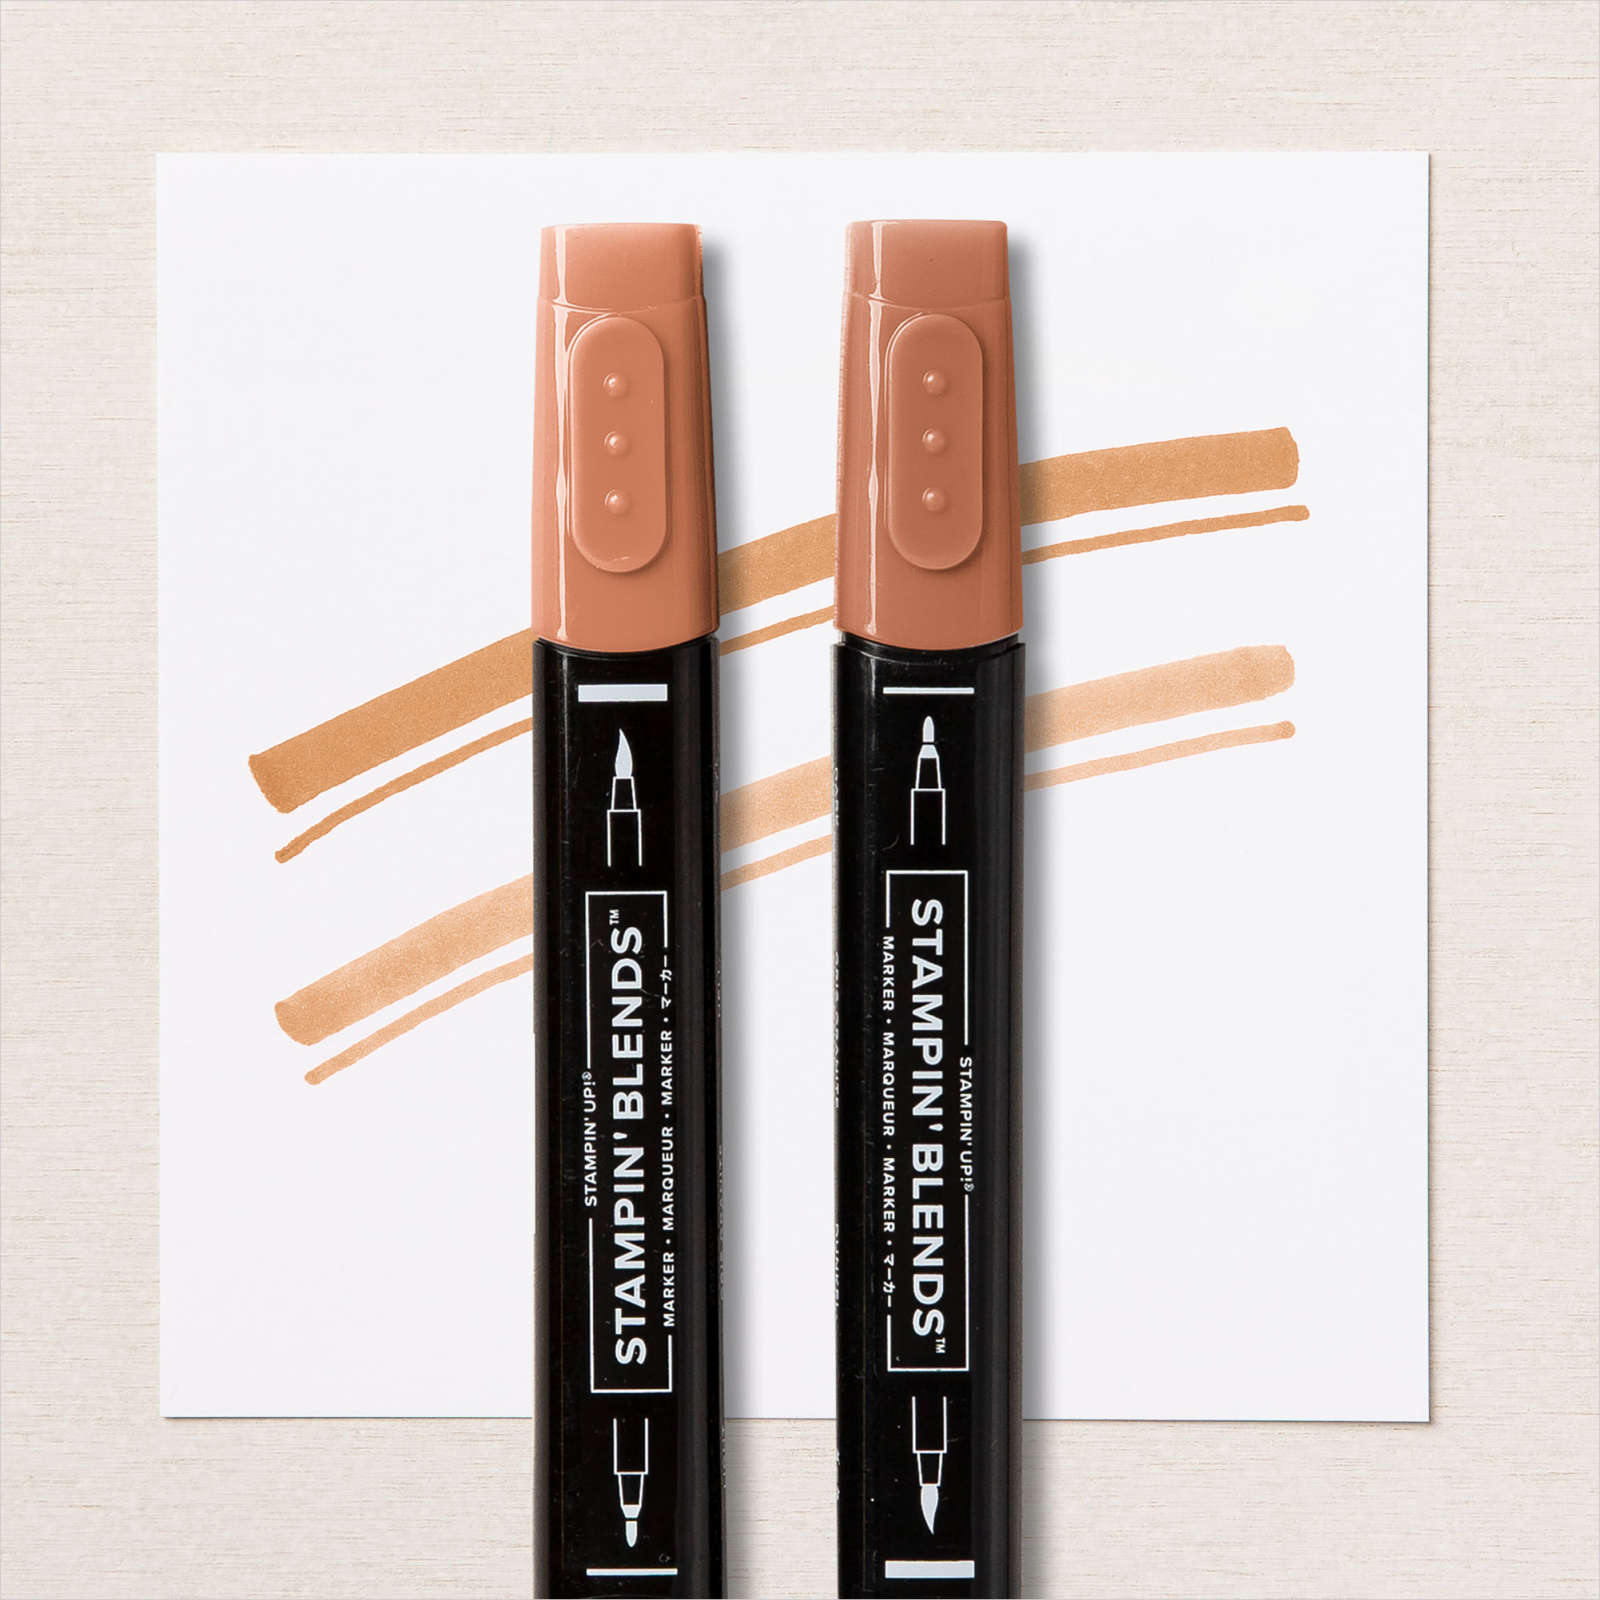
After sharing the Slim Card Bundle in my Facebook Live this week, I wanted to create a fancy fold card using the border dies that come with the Slim Card Dies. I started by cutting my card base from Thick Basic White card, which I scored to create three folds. I used the border die from the Slim Card Dies to cut the front panel to create this lovely edge. I cut a piece of Heart of Home 12″ x 12″ Designer Series Paper using the same border die and attached it to the front panel. I stamped the image from the Blessings of Home stamp set onto Basic White card using Smoky Slate ink. I coloured the image using Fresh Freesia, Pale Papaya, Light Cinnamon Cider, Dark Daffodil Delight and Soft Succulent Stampin’ Blends.
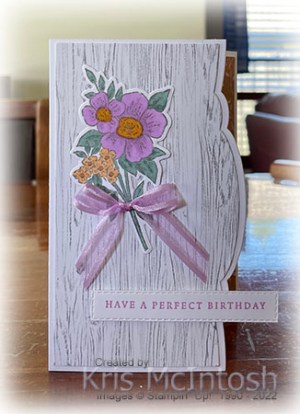
I cut out the image using the co-ordinating Flowers of Home Die. I attached the image to the front panel. I tied a bow in a length of Fresh Freesia Open Weave Ribbon and attached it to the flower stem using a Glue Dot. I stamped the greeting from the Blessings of Home stamp set onto Basic White card using Fresh Freesia ink and cut it out using one of the Stitched Rectangle Dies.I attached the greeting to the card front using dimensionals.

I added another piece of the Heart of Home Designer Series Paper but used a different pattern to cover the inside fold of the card. To decorate the inside centre panel I stamped the greeting from the Blessings of Home stamp set onto Basic White card using Soft Succulent ink. I attached a piece of Heart & Home Designer Series Paper across the bottom of the stamped Basic White panel.
I love how gorgeous the fancy border looks on the front of this card, don’t you?
Bye for now,
Kris
Product Used:


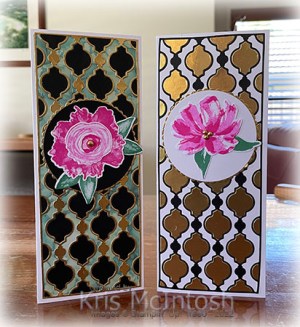
Slim Cards
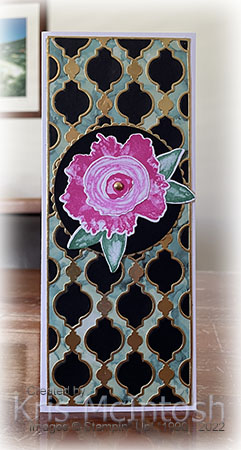
This week in my Facebook Live I shared some cards I made using the Slim Sayings stamp set and one of the dies from the Slim Card Dies. Today I have two more to share with you. For the first card, I cut my card base from Thick Basic White and attached a piece of the Expressions in Ink 12″ x 12″ Designer Series Paper. I die cut Gold Foil card using the die from the Slim Card Dies. I attached the outside piece of the die to the Designer Series Paper. I cut Basic Black card using the same Die and attached the pieces from the Basic Black die cut into the shaped sections of the Gold Foil die. I cut Basic Black card using the largest circle from the Layering Circle Dies and Gold Foil card using the largest scalloped Die.

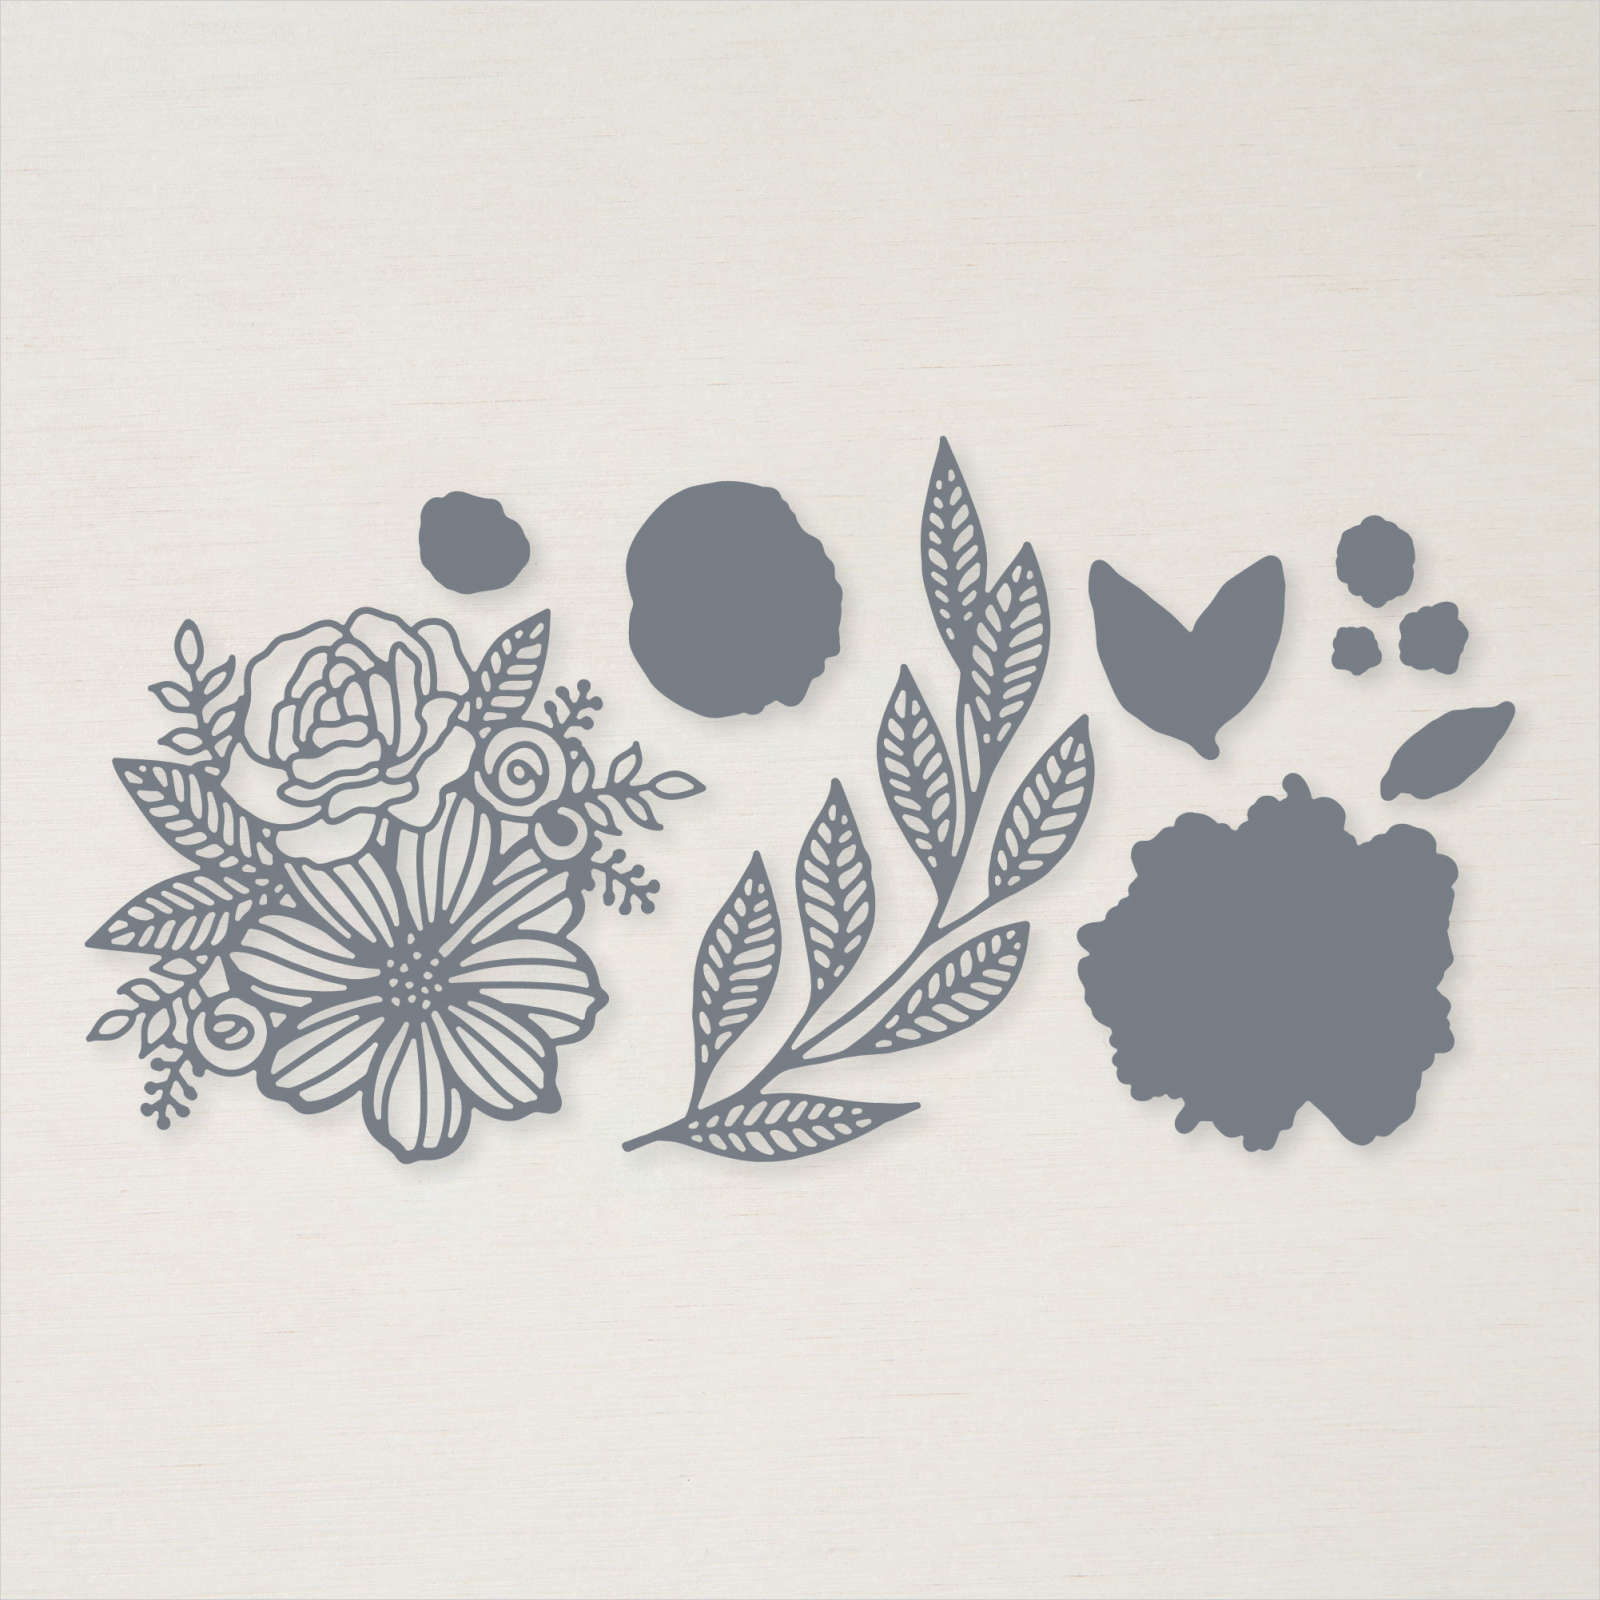
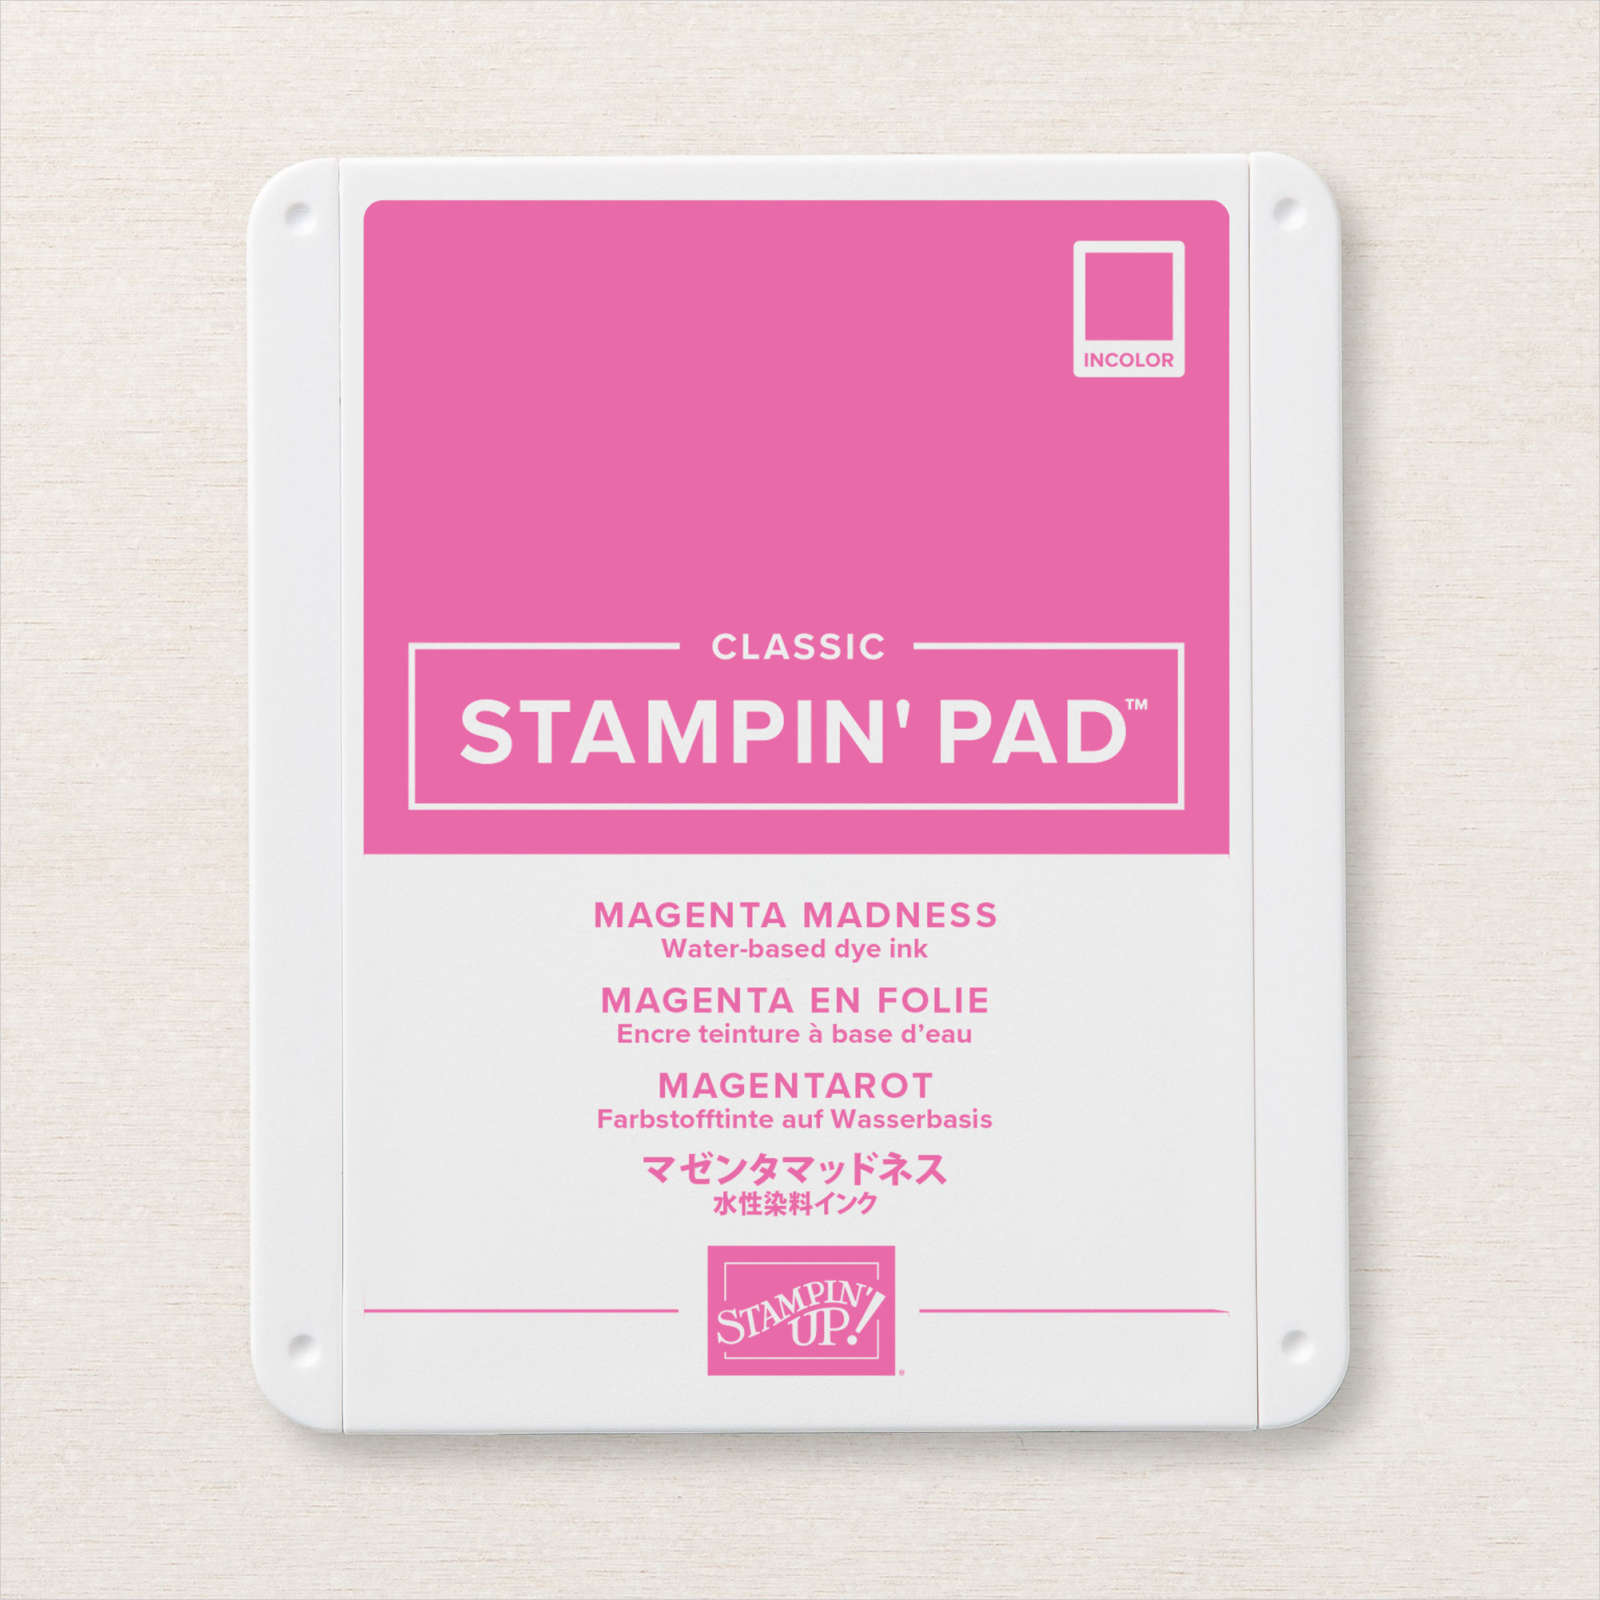
I attached the Basic Black circle to the Gold Foil scalloped circle and then the card front. I stamped the large flower from the Artistically Inked stamp set onto Basic White card using Magenta Madness ink. I stamped the medium flower from the Artistically inked stamp set onto Bssic White card using Magenta Madness ink which I stamped onto scrap paper first.
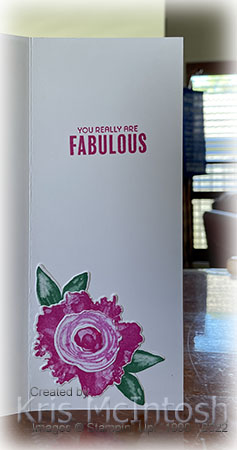
I stamped the small flower from the Artistically Inked stamp set onto Basic White card using Magenta Madness ink as well. I also stamped two sets of leaves from the Artistically Inked stamp set onto Basic White card using Just Jade ink. All of the images were cut out using the co-ordinating die from the Artistic Dies. I layered the flowers and leaves and attached them to the Basic Black circle. I also added a Gold Brushed Metallic Dot to the centre of the flower. To decorate the inside of the card, I stamped, die cut and assembled another flower and attached it to the lower left hand corner. I also stamped the greeting from the Slim Sayings stamp Set. To create the second card, I cut Thick Basic White card to create the card base.

I attached the Basic Black outline die which I cut for the first card. I attached the gold foil shaped pieces from the first card into the spaces in the Basic Black die cut. I cut the largest circle in the Layering Circle Dies from Basic White card and the largest scalloped circle from Gold Foil card. I attached the circles together before attaching them to the card front.
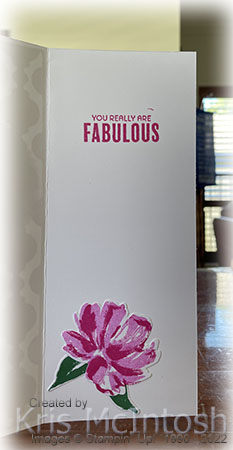
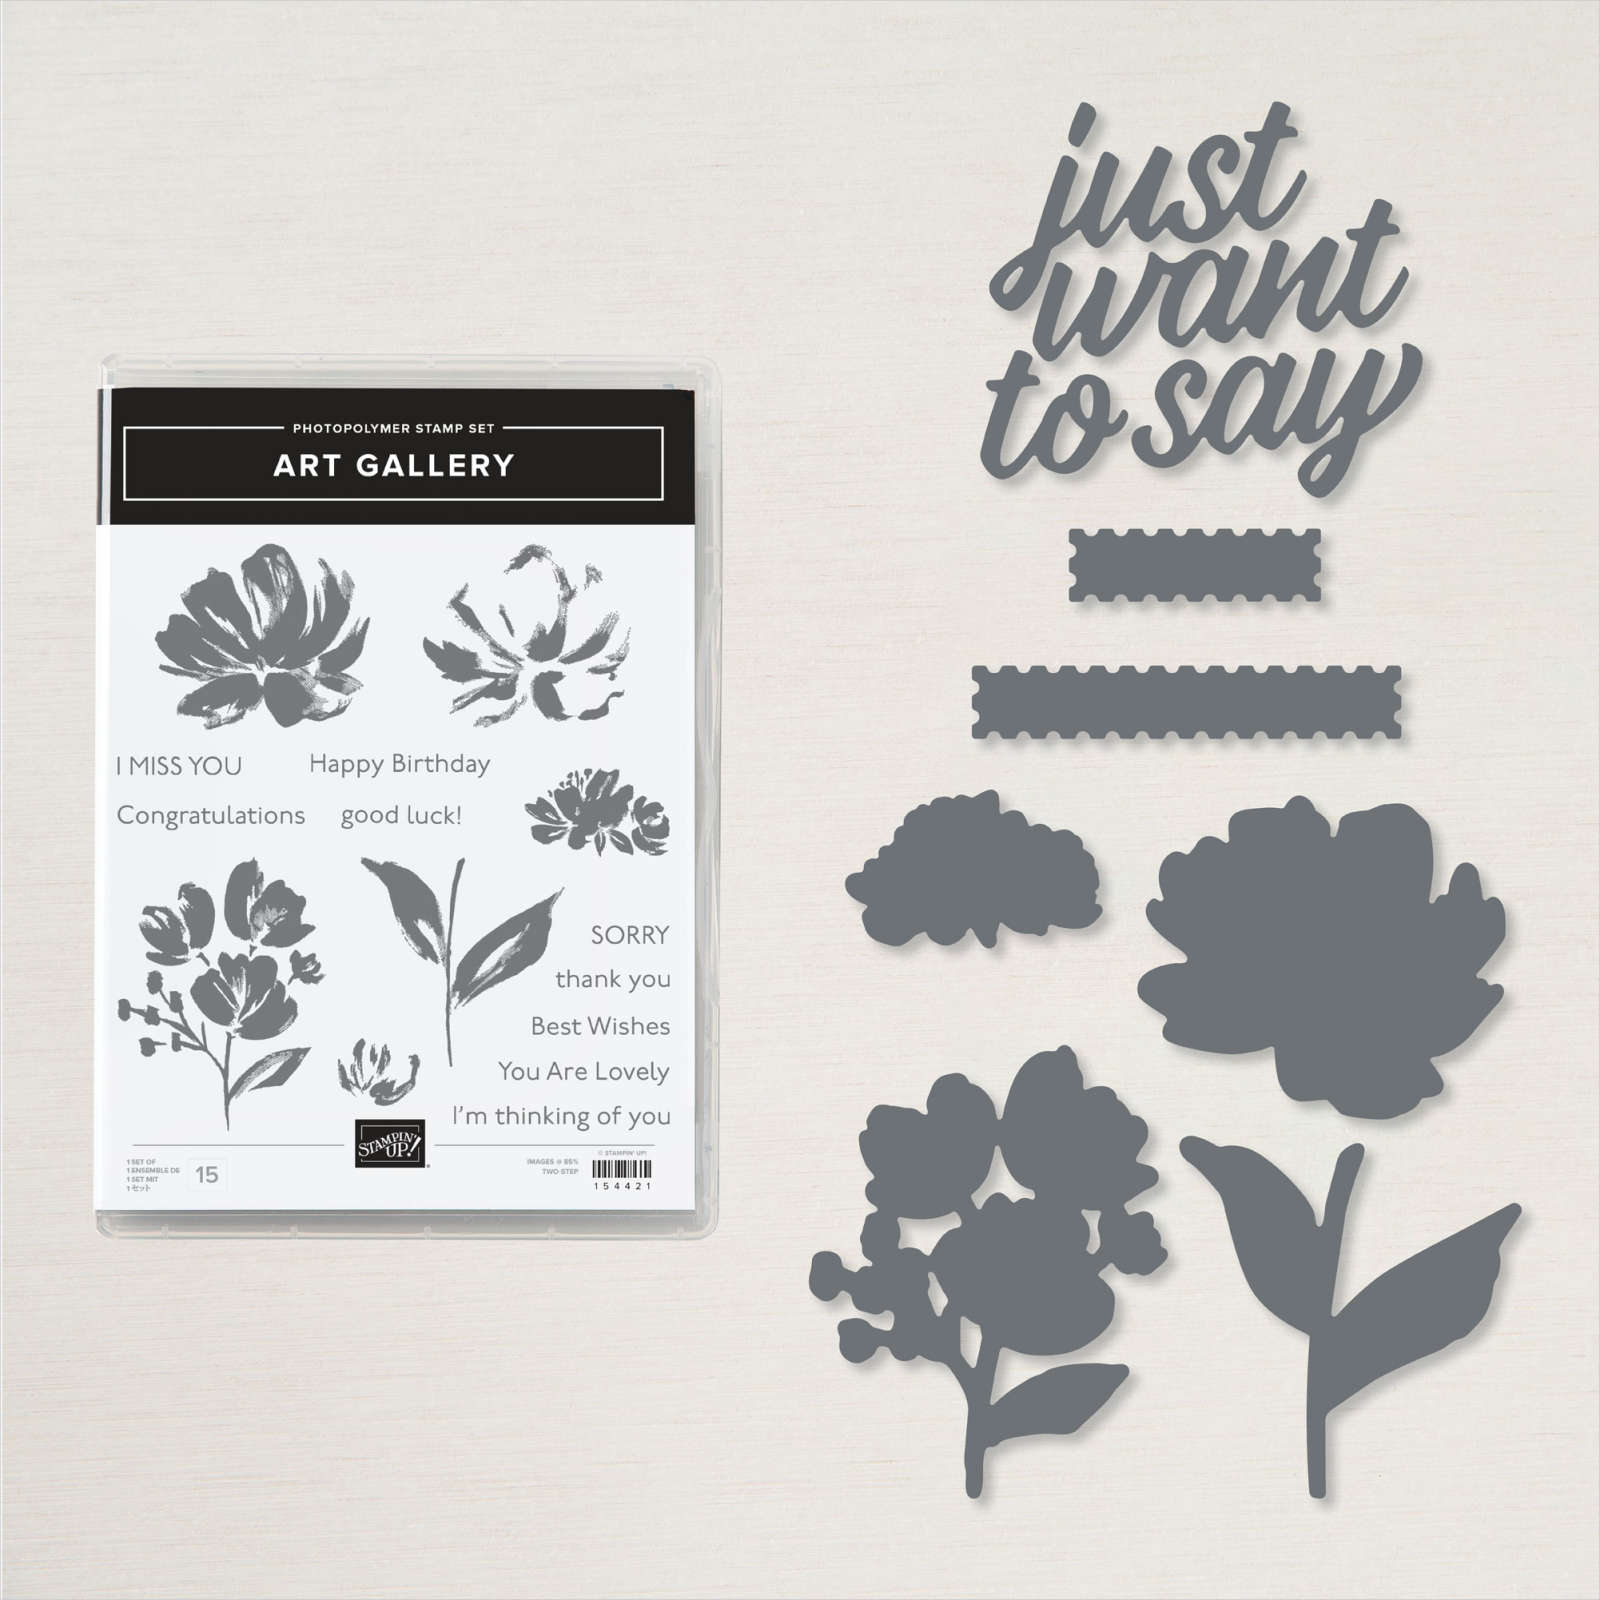
This time I stamped the large solid flower from the Art Gallery stamp set onto Bssic White card using Magenta Madness ink which I stamped onto scrap paper first. I stamped the detailed large flower over the top using Magenta Madness ink. I also stamped the leaf image from the Art Gallery stamp set onto Basic White card using Just Jade ink. I cut out the images using the co-ordinating Floral Gallery Dies. I trimmed away the stem from the leaves, layered them behind the flower before attaching to the Bssic White circle. I also added three Gold Brushed Metallic Dots to the centre of the flower. To decorate the inside of this card, I stamped, die cut and layered the flower and leaves as for the card front. The flower is attached to the lower left hand corner of the inside of the card. I also stamped the greeting from the Slim Sayings stamp set using Magenta Madness ink.
Can I just say that I have had these dies and stamp set for quite a while and I have been putting off getting them out, but after using them this week, I wonder why. They are such fun. I hope you like my cards today.
Bye for now,
Kris
Product Used:


Thanks For Everything

Recently in my Facebook Live this week, I shared a couple of cards I made using the New Horizon Designer Series Paper and the On The Horizon Bundle. Today I have a pair of cards created by cutting two 3″ square pieces of New Horizon Designer Series Paper. For the first card, I stamped the tree image from the On The Horizon stamp set twice onto the paper using Blackberry Bliss ink. I also stamped the grass image from the On The Horizon stamp set across the bottom of the Designer Series Paper using Misty Moonlight ink.
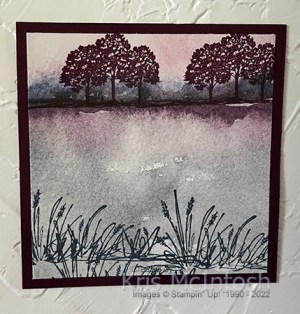
I attached the Designer Series Paper to a square of Blackberry Bliss card. I stamped the greeting from the On The Horizon stamp set onto the bottom of Basic White card using Blackberry Bliss ink. The stamped Basic White card is embossed using the Painted Texture 3D Embossing Folder. The embossed panel is attached to scored and folded Blackberry Bliss card before attaching the Designer Series Paper panel.
To decorate the inside of the card, I attached a narrow strip of New Horizon Designer Series Paper across the bottom Basic White card. I stamped the tree image from the On The Horizon stamp set onto the right hand side of the Basic White card using Blackberry Bliss ink just above the Designer Series Paper.
For the second card, I cut the New Horizon Designer Series paper using the solid mountain die from the Horizon Dies. I cut the detailed mountain die from Misty Moonlight card and attached it over the solid mountain panel. I attached the die cut piece across the New Horizon Designer Series Paper 3″ square. I die cut Evening Evergreen card using the tree die from the Horizon Dies and attached it across the bottom of the Designer Series Paper. The Designer Series Paper panel is attached to Blackberry Bliss card and then Basic White card which has been stamped and embossed as before. The card base is also Blackberry Bliss card. To decorate the inside of this card, I attached a strip of New Horizon Designer Series Paper across the bottom of Basic White card. I die cut the solid and detailed mountain images from the Horizon Dies as for the card front and attached them across the top of the Designer Series Paper.

I love how well the New Horizon Designer Series Paper works with the stamped and die cut images from the On The Horizon Bundle.
Bye for now,
Kris
Product Used:


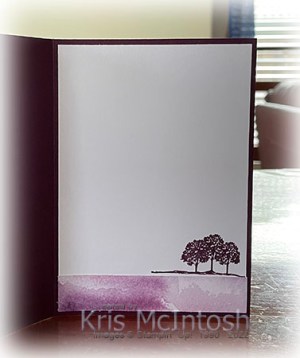
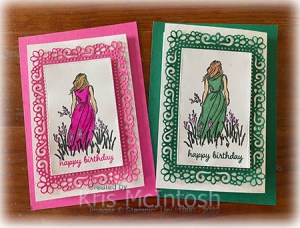
Beautiful Birthday
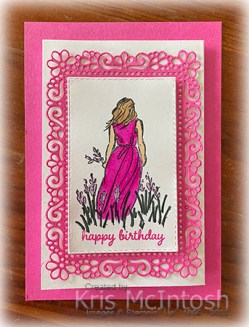
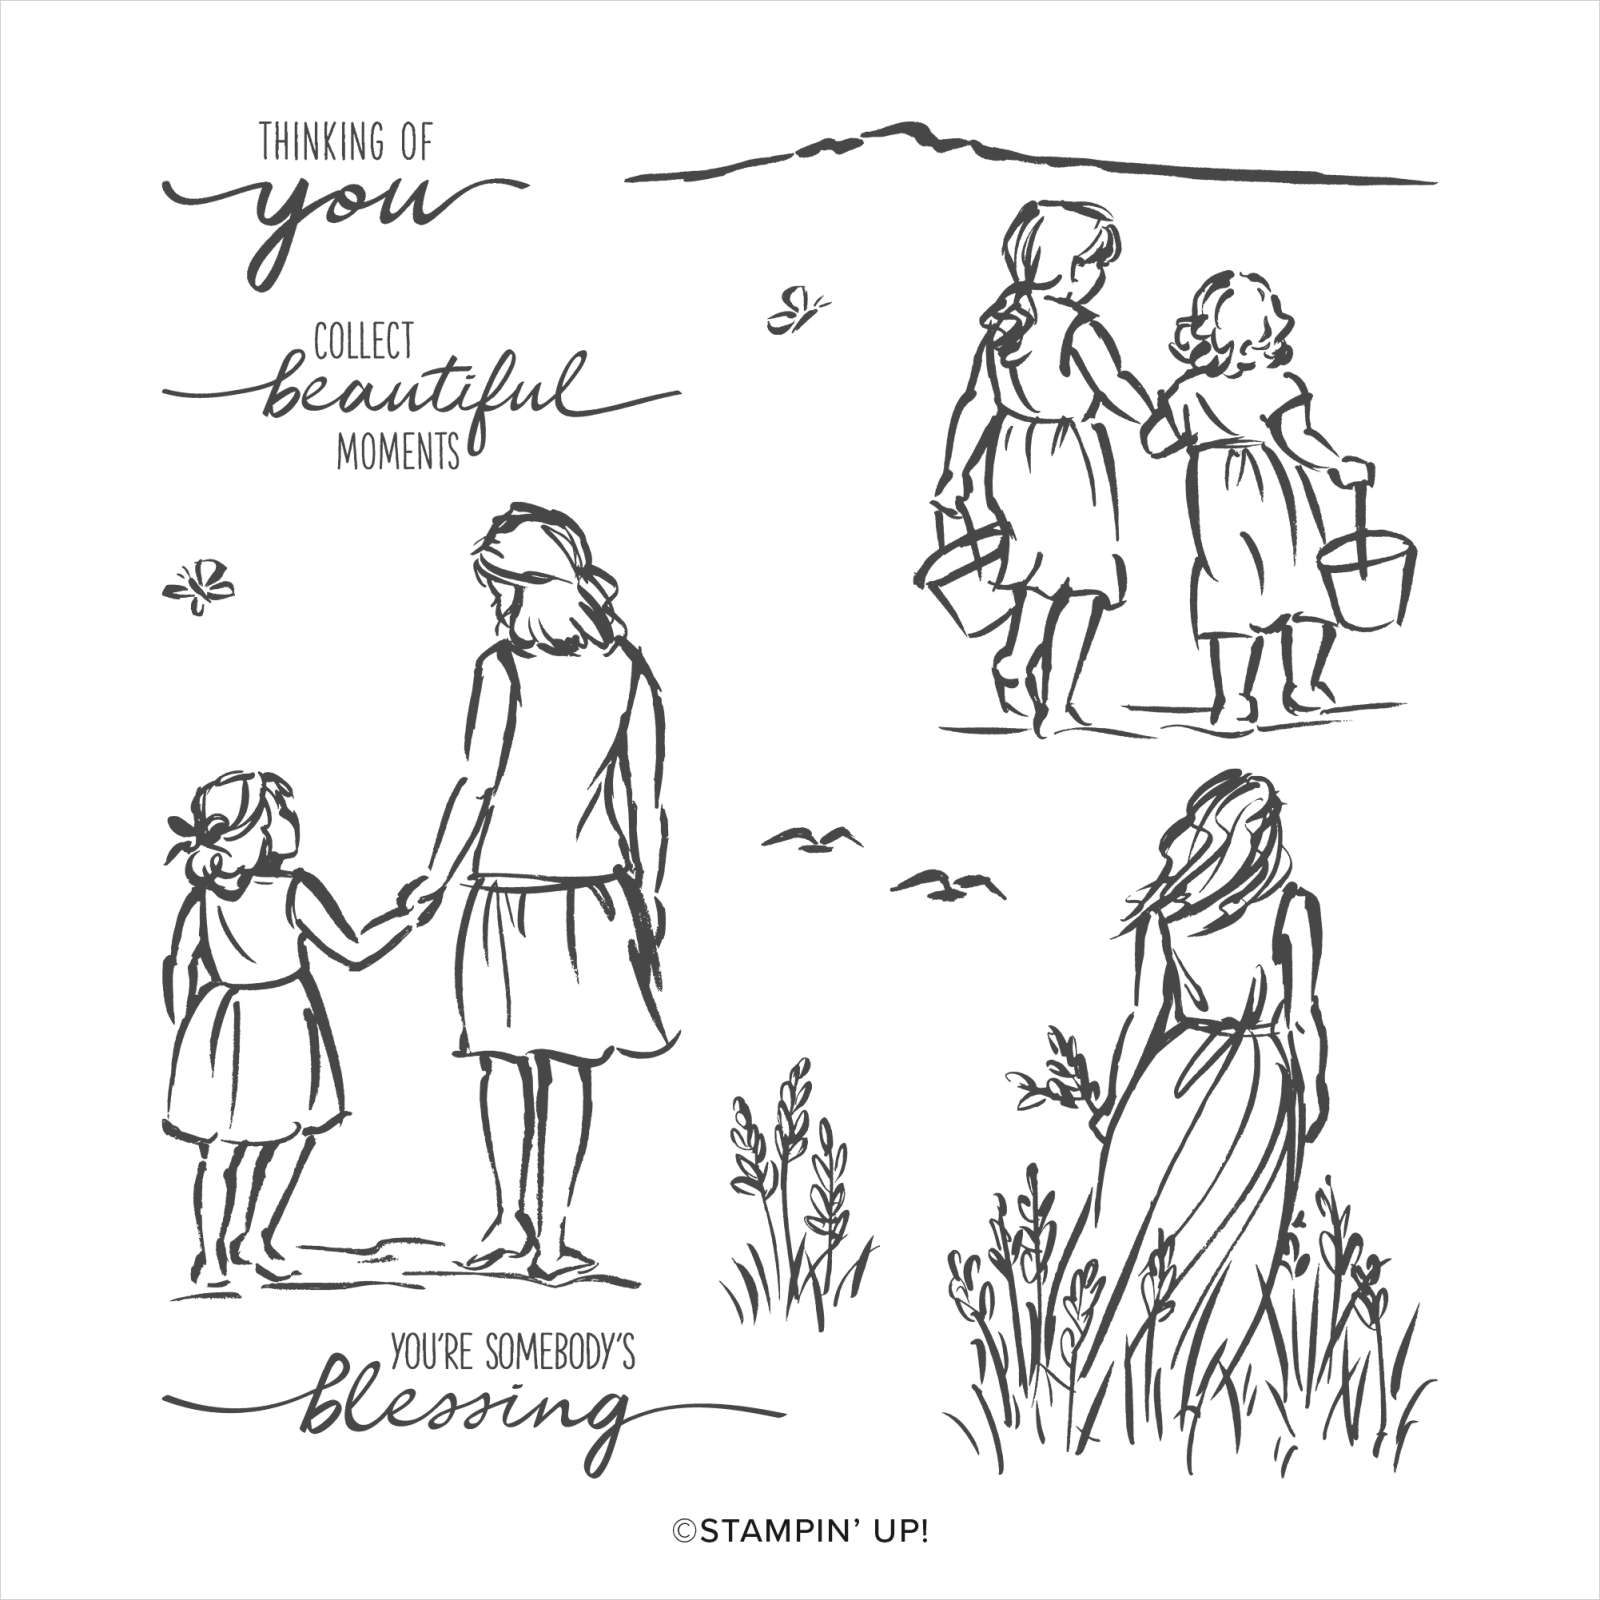
During March I have two granddaughters who celebrate their birthdays. Elyssa at the beginning of the month and Ava at the end of the month. I loved the first card I created so much, I thought I would make them both the same card in different colours. These are both gift card (or cash) holders. I cut the folding base from Basic White card and attached it to a Magenta Madness card base. To decorate the front of the card I attached a panel of Magenta Madness card which I cut using one of the Ornate Layers Dies. I stamped the image from the Beautiful Moments stamp set onto Basic White card using Memento Tuxedo Black ink.
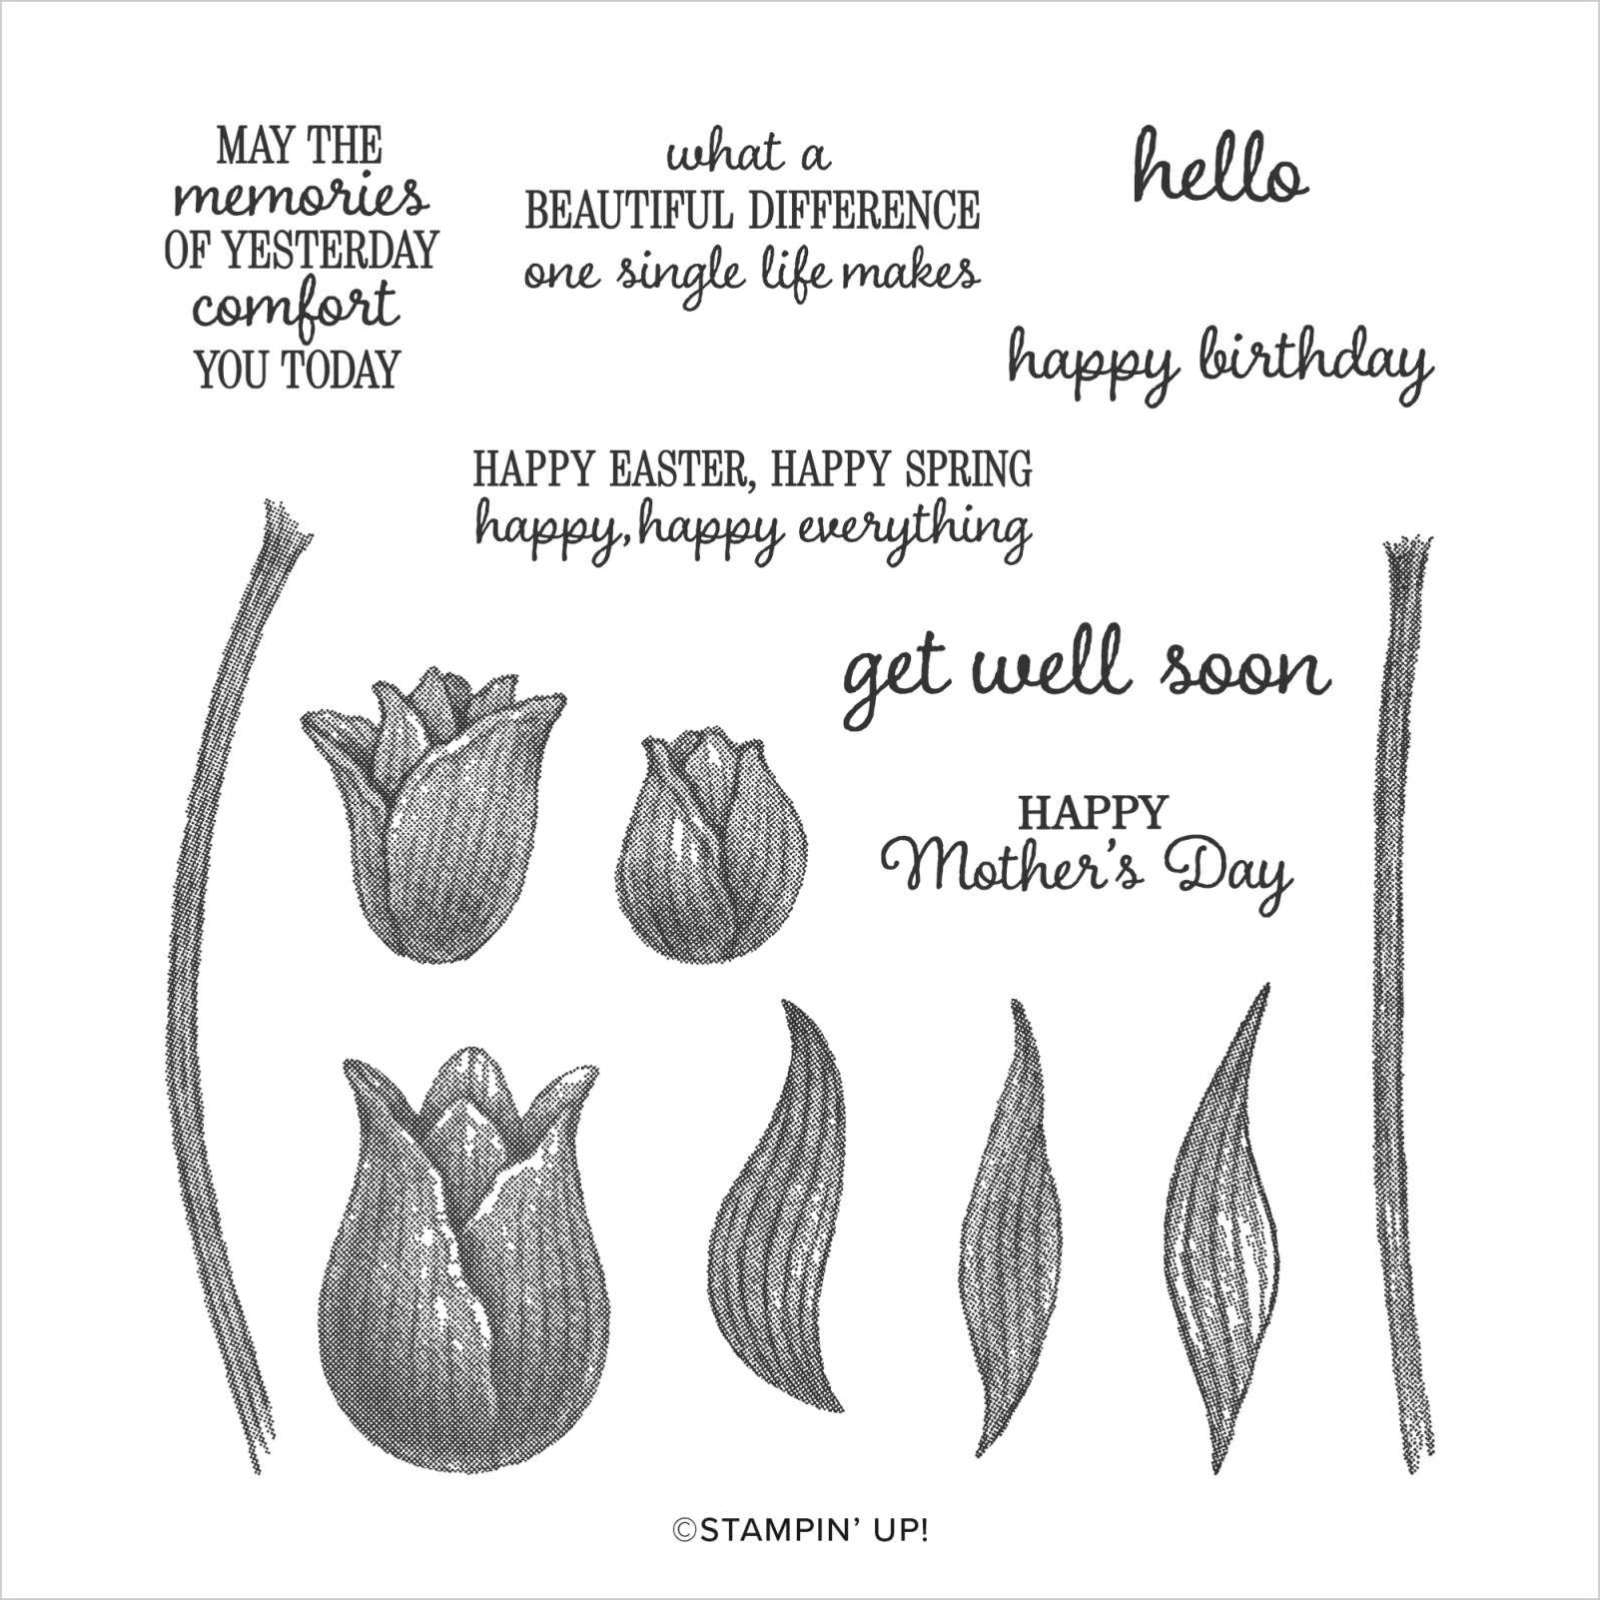
I cut it out using one of the Stitched Rectangle Dies. I coloured the image using Magenta Madness, Light Medium (light) Skin tones, Medium (dark) Skin Tones, Dark Fresh Freesia and Dark Evening Evergreen Stampin’ Blends. I stamped the “happy birthday” from the Timeless Tulips stamp set onto the bottom of the image panel using Magenta Madness ink.

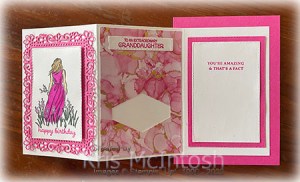
The panel is attached to the centre of the die cut using dimensionals. I cut a piece of Expressions in Ink Designer Series Paper and punched the bottom edge using the Tailored Tag Punch. The panel is attached to the centre of the folding section, making sure that I can tuck my gift card (or money) into the punched out section. I stamped the greeting from the A Grand Kid stamp set onto Basic White card using Magenta Madness ink and cut it out using one of the Stitched Rectangle Dies.
The greeting is attached it to the Designer Series Paper. To decorate the last panel I cut Basic White card using one of the Stitched Rectangle Dies and stamped the greeting from the retired Strong & Beautiful Stamp set using Magenta Madness ink. The panel is attached to a slightly larger Magenta Madness stitched rectangle.
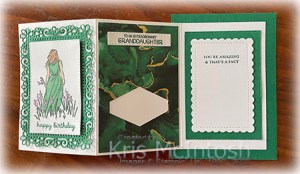
As I said I was so happy with this card, I created another in exactly the same manner but this time using Shaded Spruce card and ink. I used Shaded Spruce Stampin’ Blends to colour the dress on the card front this time and added a slightly different Basic White die cut to the last inside panel. This one is cut using the Scalloped Contour Dies.
Aren’t they pretty? I know that each of my granddaughters loved their cards.
Bye for now,
Kris
Product Used: