Floral Thanks
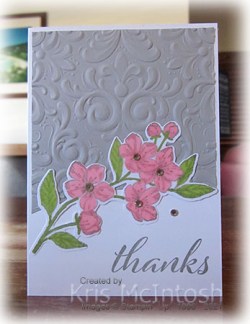
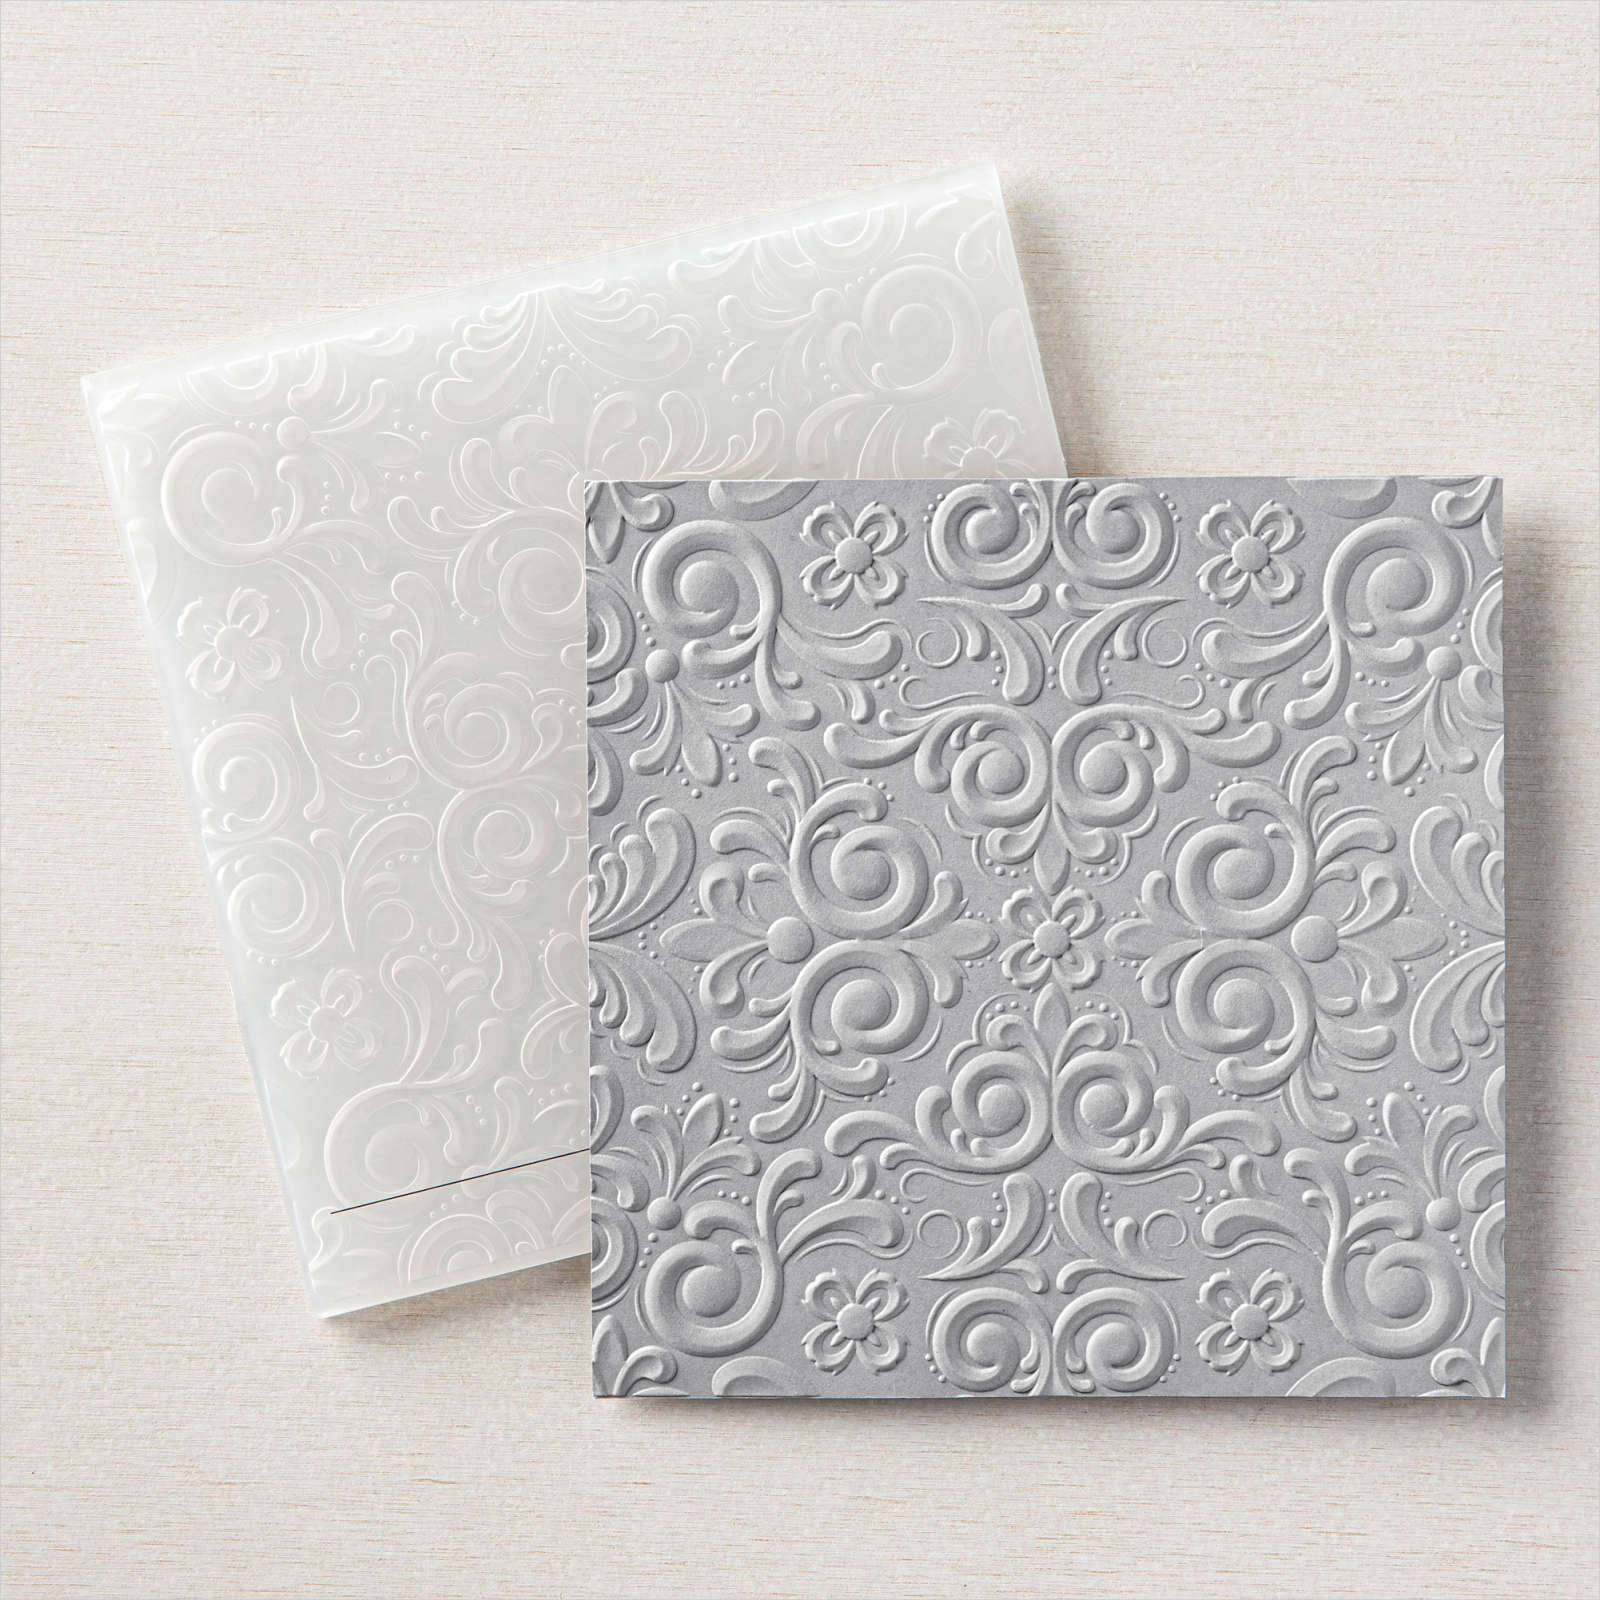
I was inspired by this card by Teri Pocock on Pinterest to create my own version or two! I cut a piece of Smoky Slate card using the rounded Basic Border die and embossed it using the Parisian Flourish 3D Embossing Folder. I attached the embossed panel to the front of scored and folded Thick Basic White card. I stamped “thanks” from the Artistically Inked stamp set onto the lower right hand corner using Smoky Slate ink.

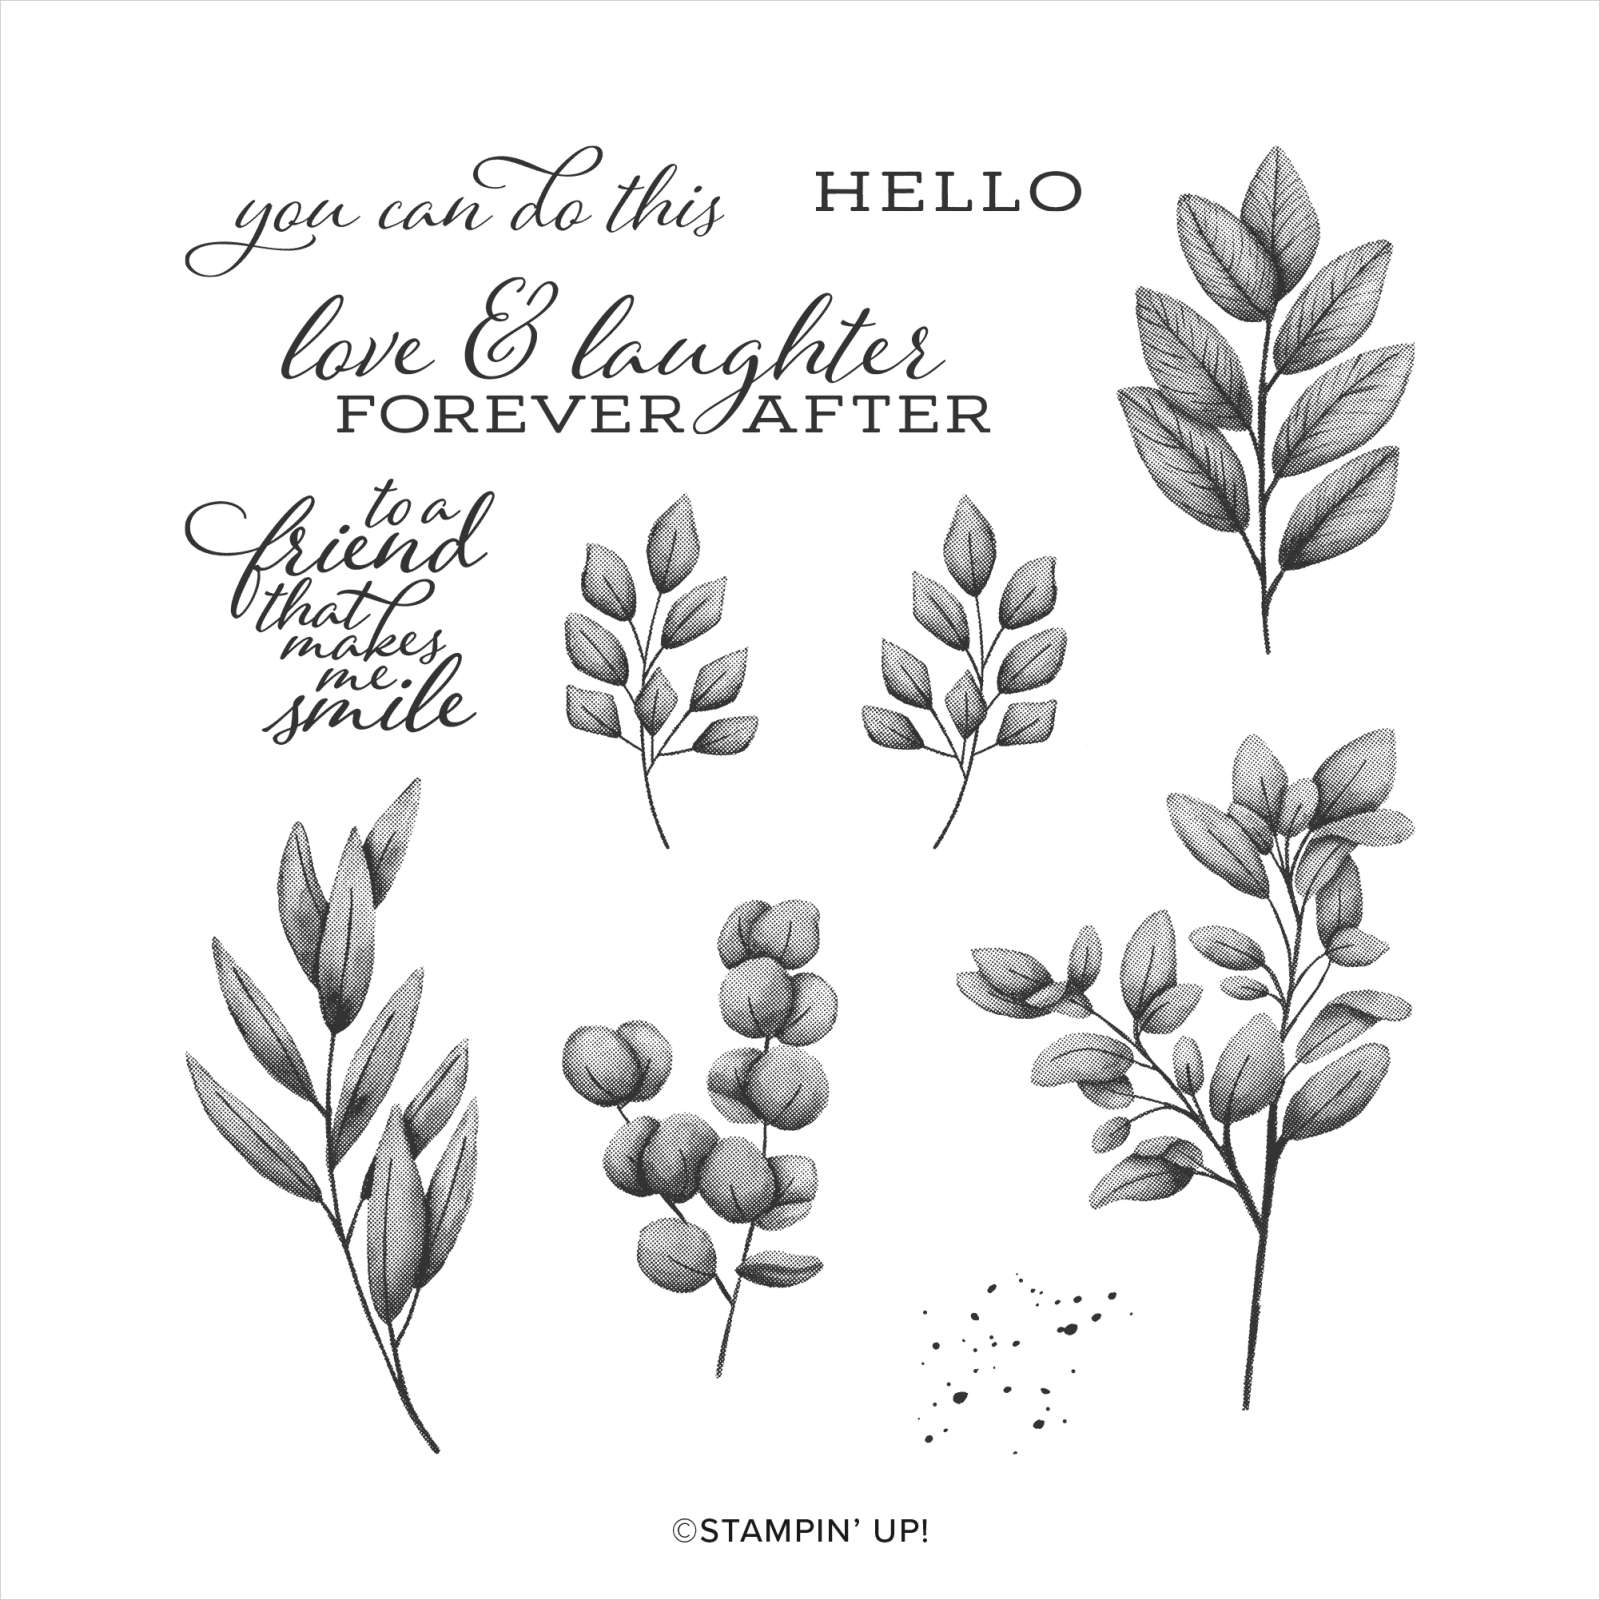
I stamped the image from the Forever Blossoms stamp set onto Basic White card using Sm ink. The image is coloured using the Flirty Flamingo and Granny Apple Green Stampin’ Blends.

The image is cut out using the co-ordinating Cherry Blossom Die and attached across the bottom of the embossed card. I added some Basic Rhinestones to the centre of the flower. To decorate the inside of the card, I stamped the top portion of the same floral image from the Forever Blossoms stamp set onto the lower left corner of Basic White card. The image is coloured using the same Stampin’ Blends before attaching to the inside of the Thick Basic White card base.

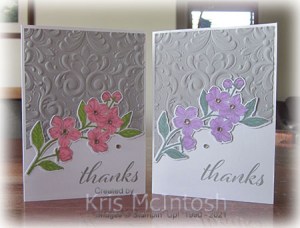
I thought I would have another try at this card using different Stampin’ Blends. This time I stamped the floral image from the Forever Blossoms stamp set onto Basic White card using Smoky Slate ink and coloured the image using Fresh Freesia and Soft Succulent Stampin’ Blends. I die cut the image using the Cherry Blossom Die and used repositional glue to attach it across Smoky Slate card.

I trimmed the Smoky Slate card to match the shape of the die cut. I removed the flower and embossed the Smoky Slate card using the Parisian Flourish 3D Embossing Folder. I attached the flower to the embossed card before attaching the panel to scored and folded Thick Basic White card. I stamped the greeting from the Artistically Inked stamp set onto the lower right hand corner of the card base using Smoky Slate ink. Once more I added some Basic Rhinestones to the flower centres. I stamped and coloured the inside panel as before but this time using the Fresh Freesia and Soft Succulent Stampin’ Blends.
I love how they turned out and thank Teri for the inspiration.
Bye for now,
Kris
Product Used:


Nogo Station
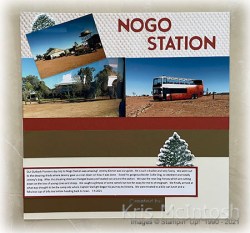
We have done many tours with the Outback Pioneers while staying in Longreach but we have never done the Nogo Station tour until this last visit. I cut a piece of In Good Taste Designer Series Paper in half and attached one half to the top of two Very Vanilla 12″ x 12″ pages. I attached a strip of Cajun Craze below the Designer Series Paper on both pages. I also attached a strip of Soft Suede card across both pages below the Cajun Craze Strip.
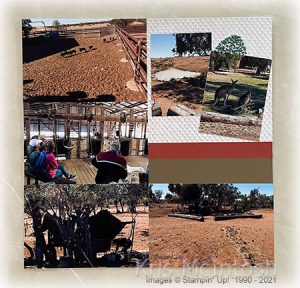
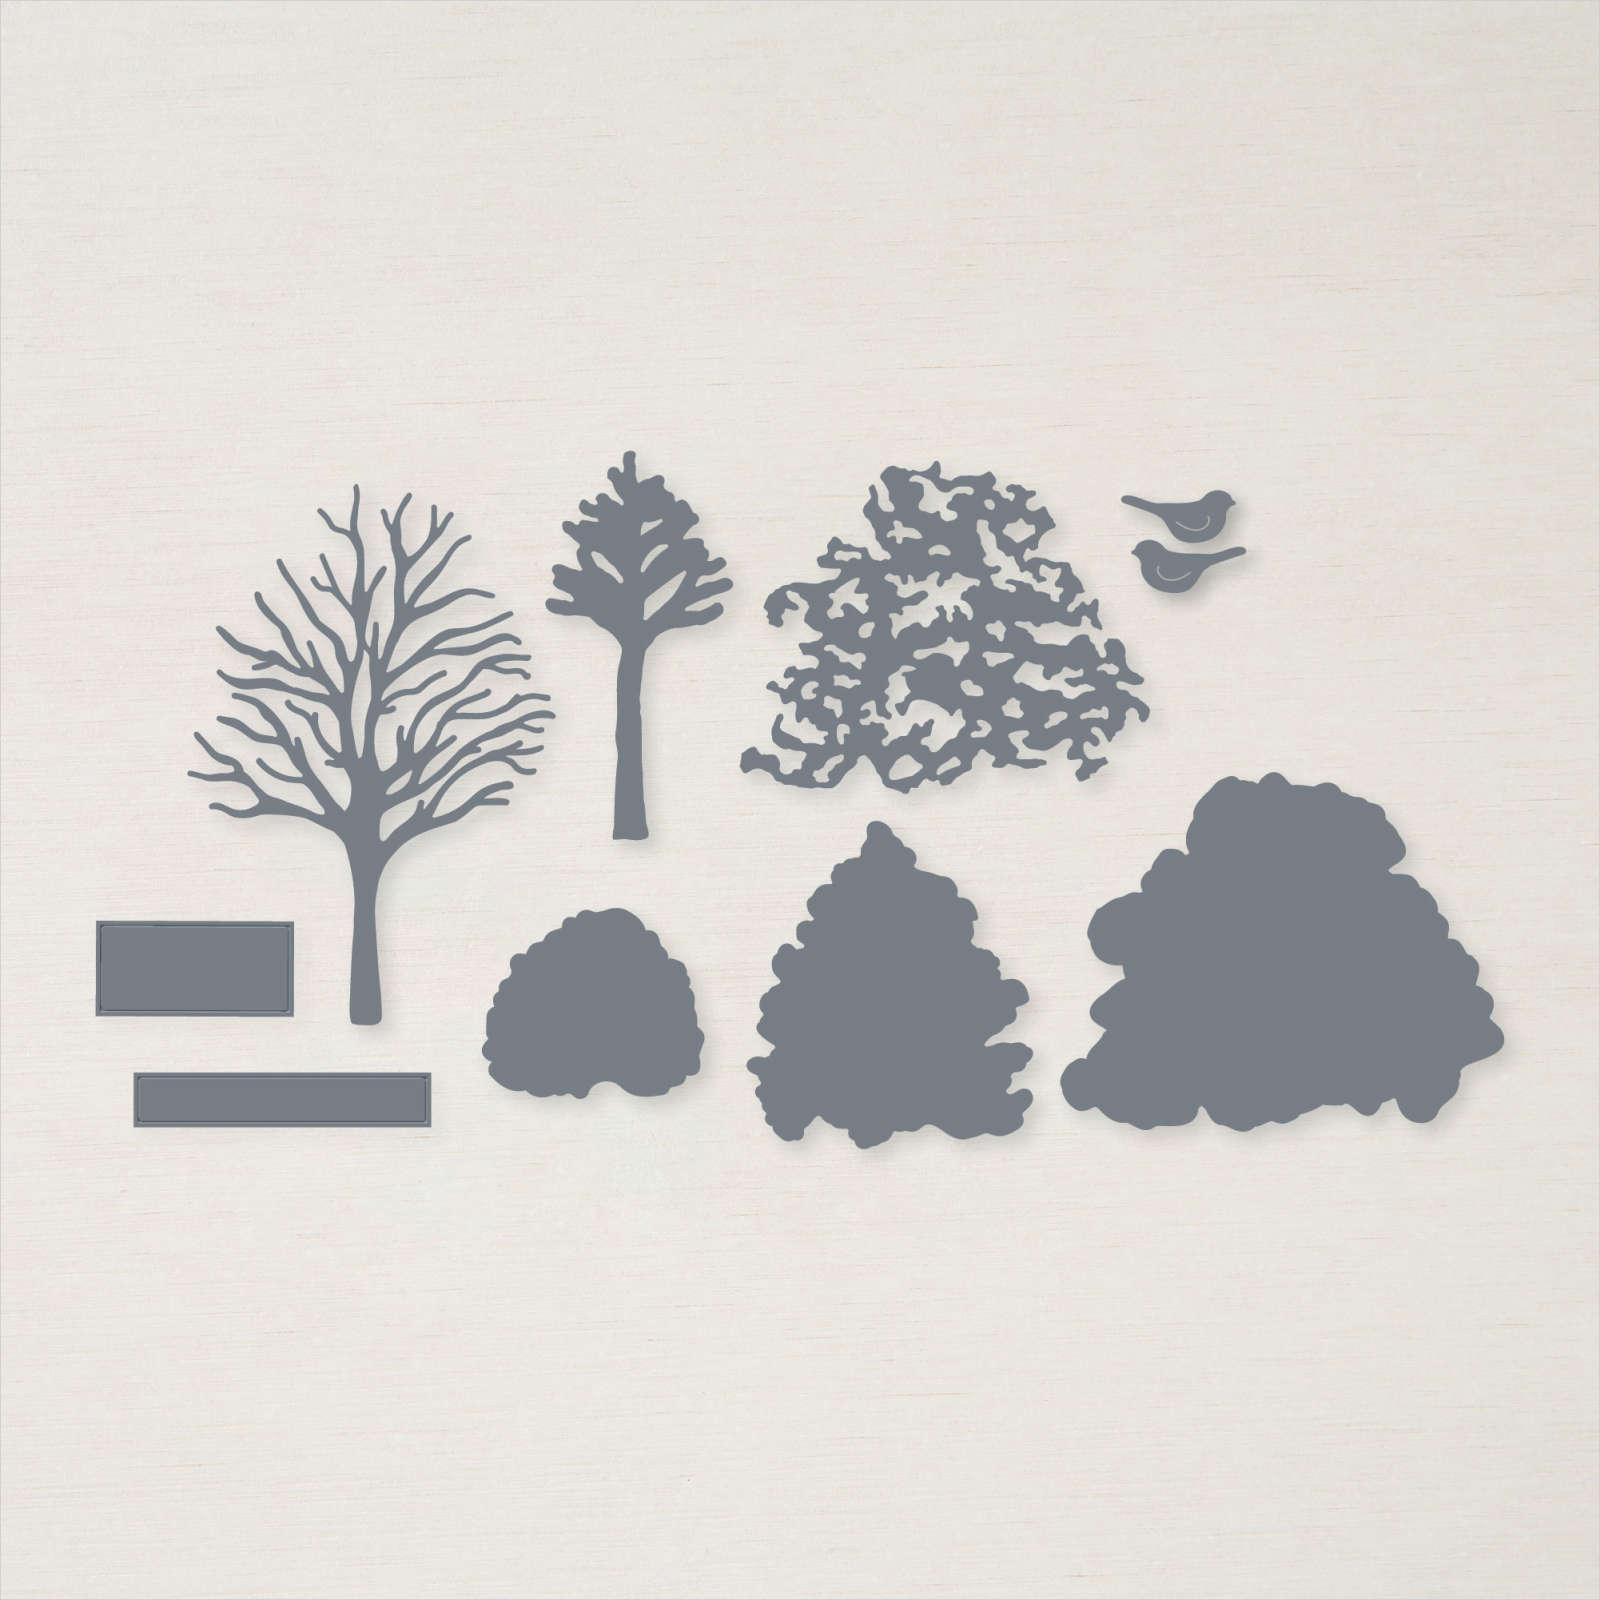
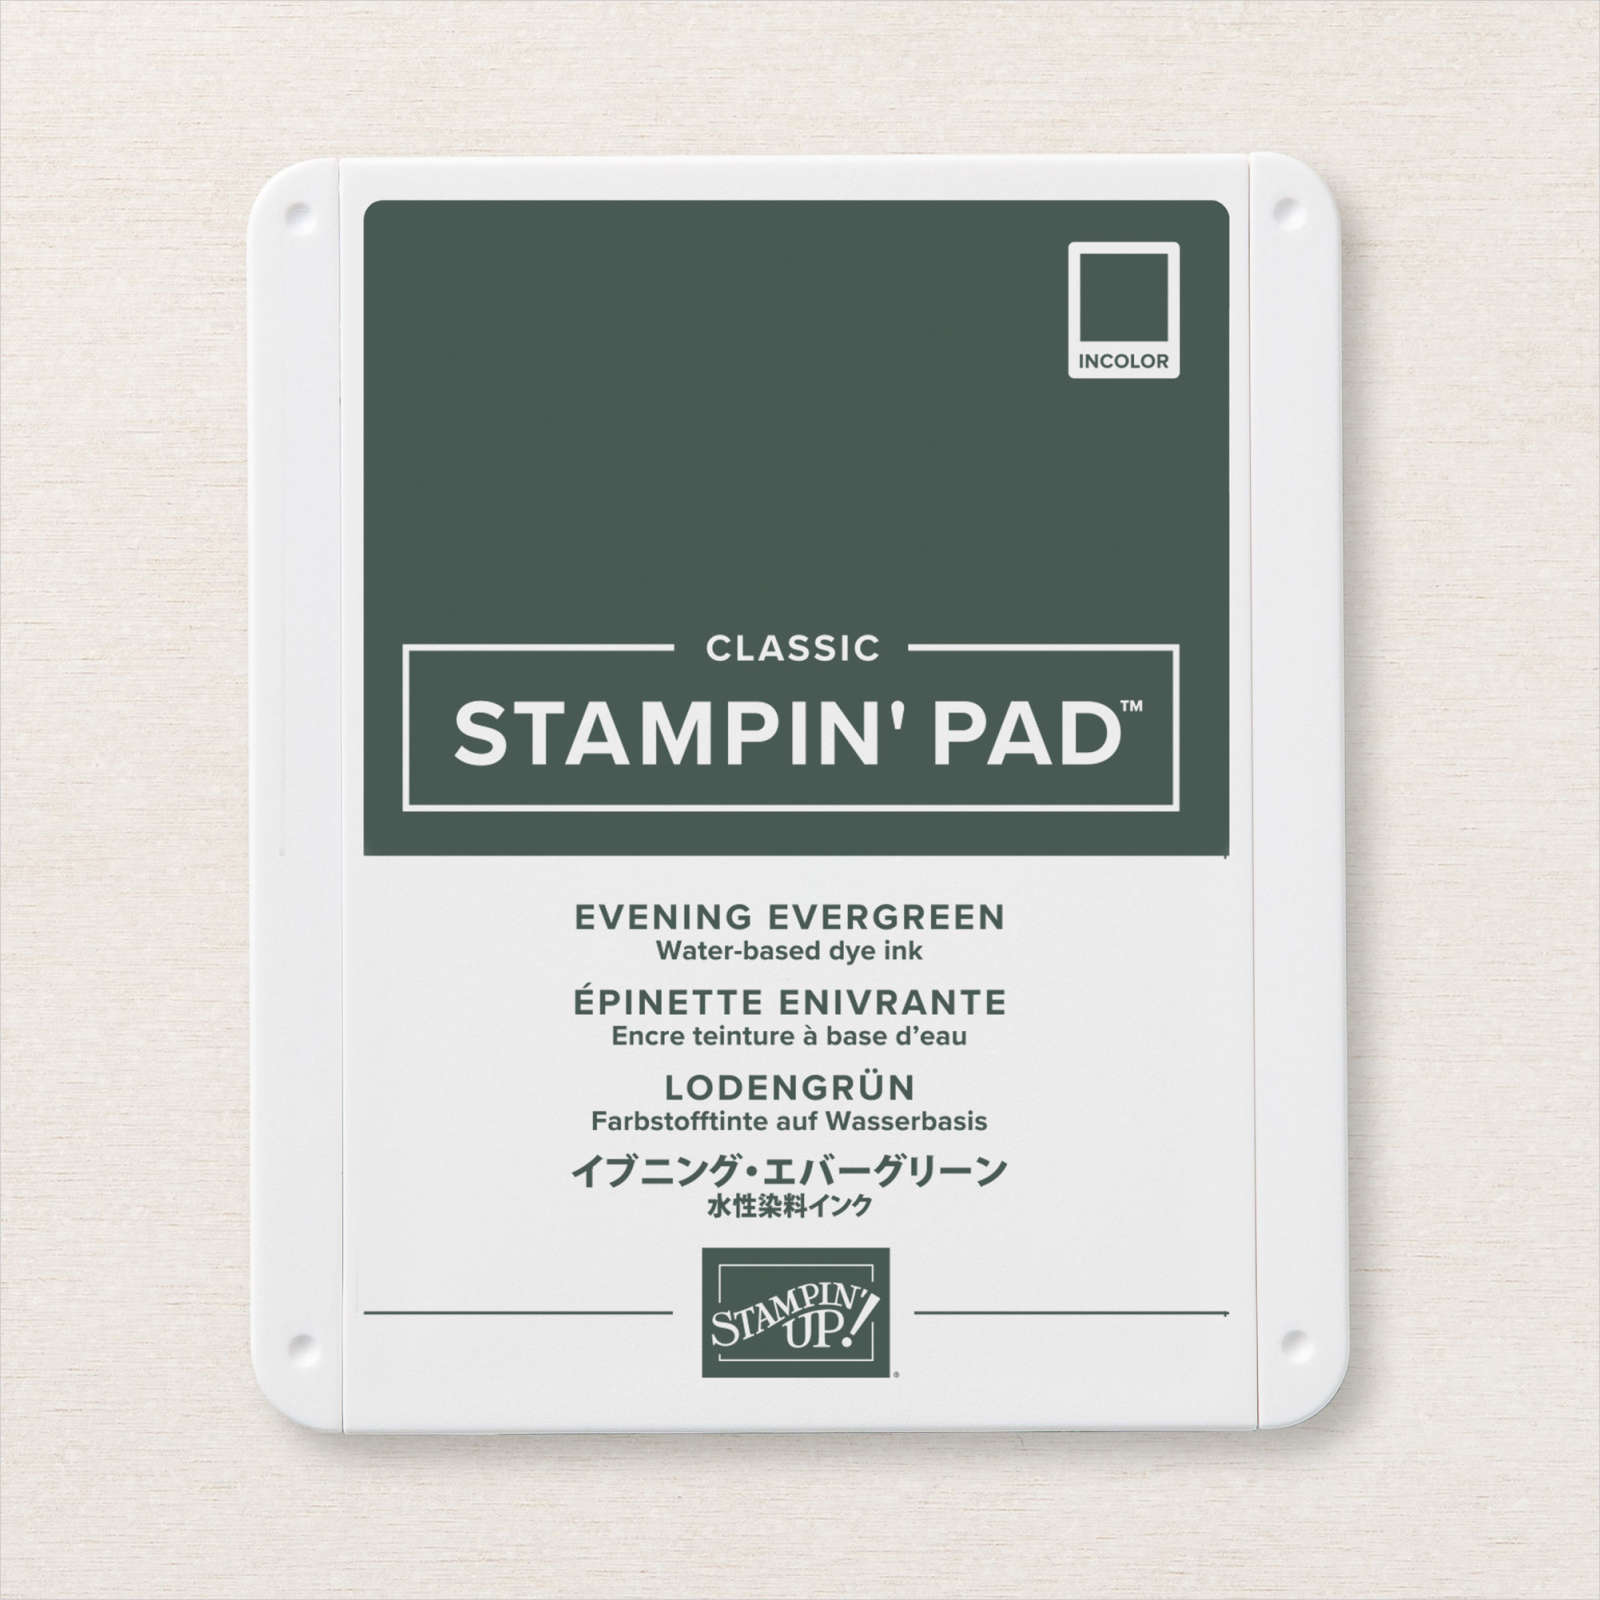
I attached two large and one small photo to the left hand page and four large and two small photos to the right hand page. I cut my title from Cajun Craze card using the Playful Alphabet Dies. The trees were created by stamping the large and the small solid trees from the Beauty of Friendship stamp set onto Very Vanilla card using Soft Succulent ink. I stamped the detailed trees over the top using Evening Evergreen ink. The trees were cut out using the co-ordinating Beautiful Trees Dies and attached over the two pages. My journaling is printed onto Whisper White card and attached to Cajun Craze card before being attached to the page with a strip of Soft Suede underneath.
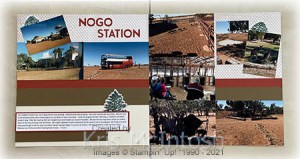
Simple pages but the photos bring back so many memories of a wonderful day (and stay) in Longreach. If you ever get to Longreach visit the Station Store in the main street and check out the gorgeous products for sale and don’t forget to book a tour with this great bunch of people.
Bye for now,
Kris
Product Used:


Starry & Bright

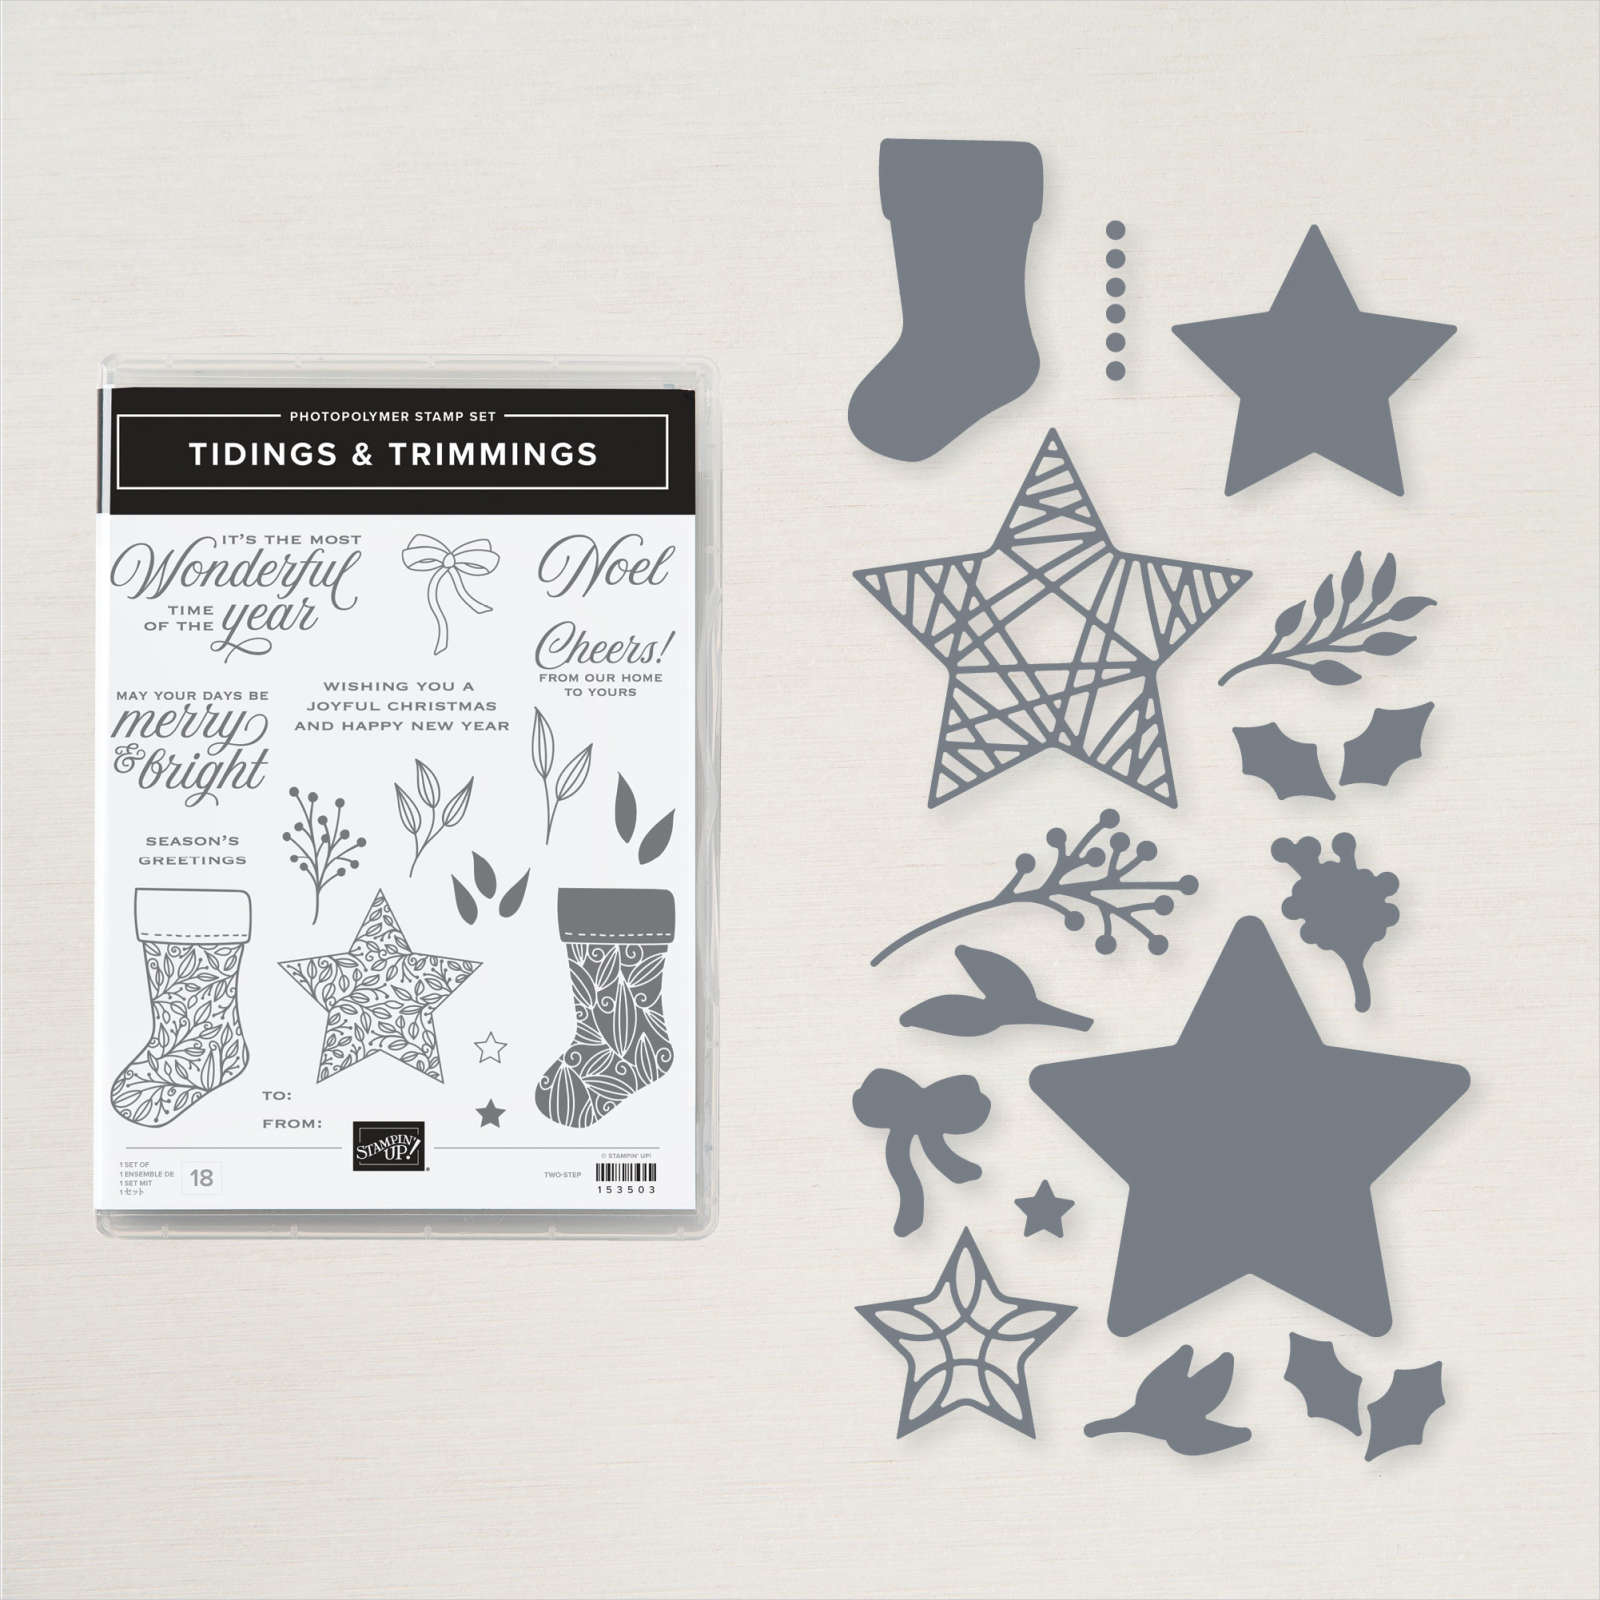
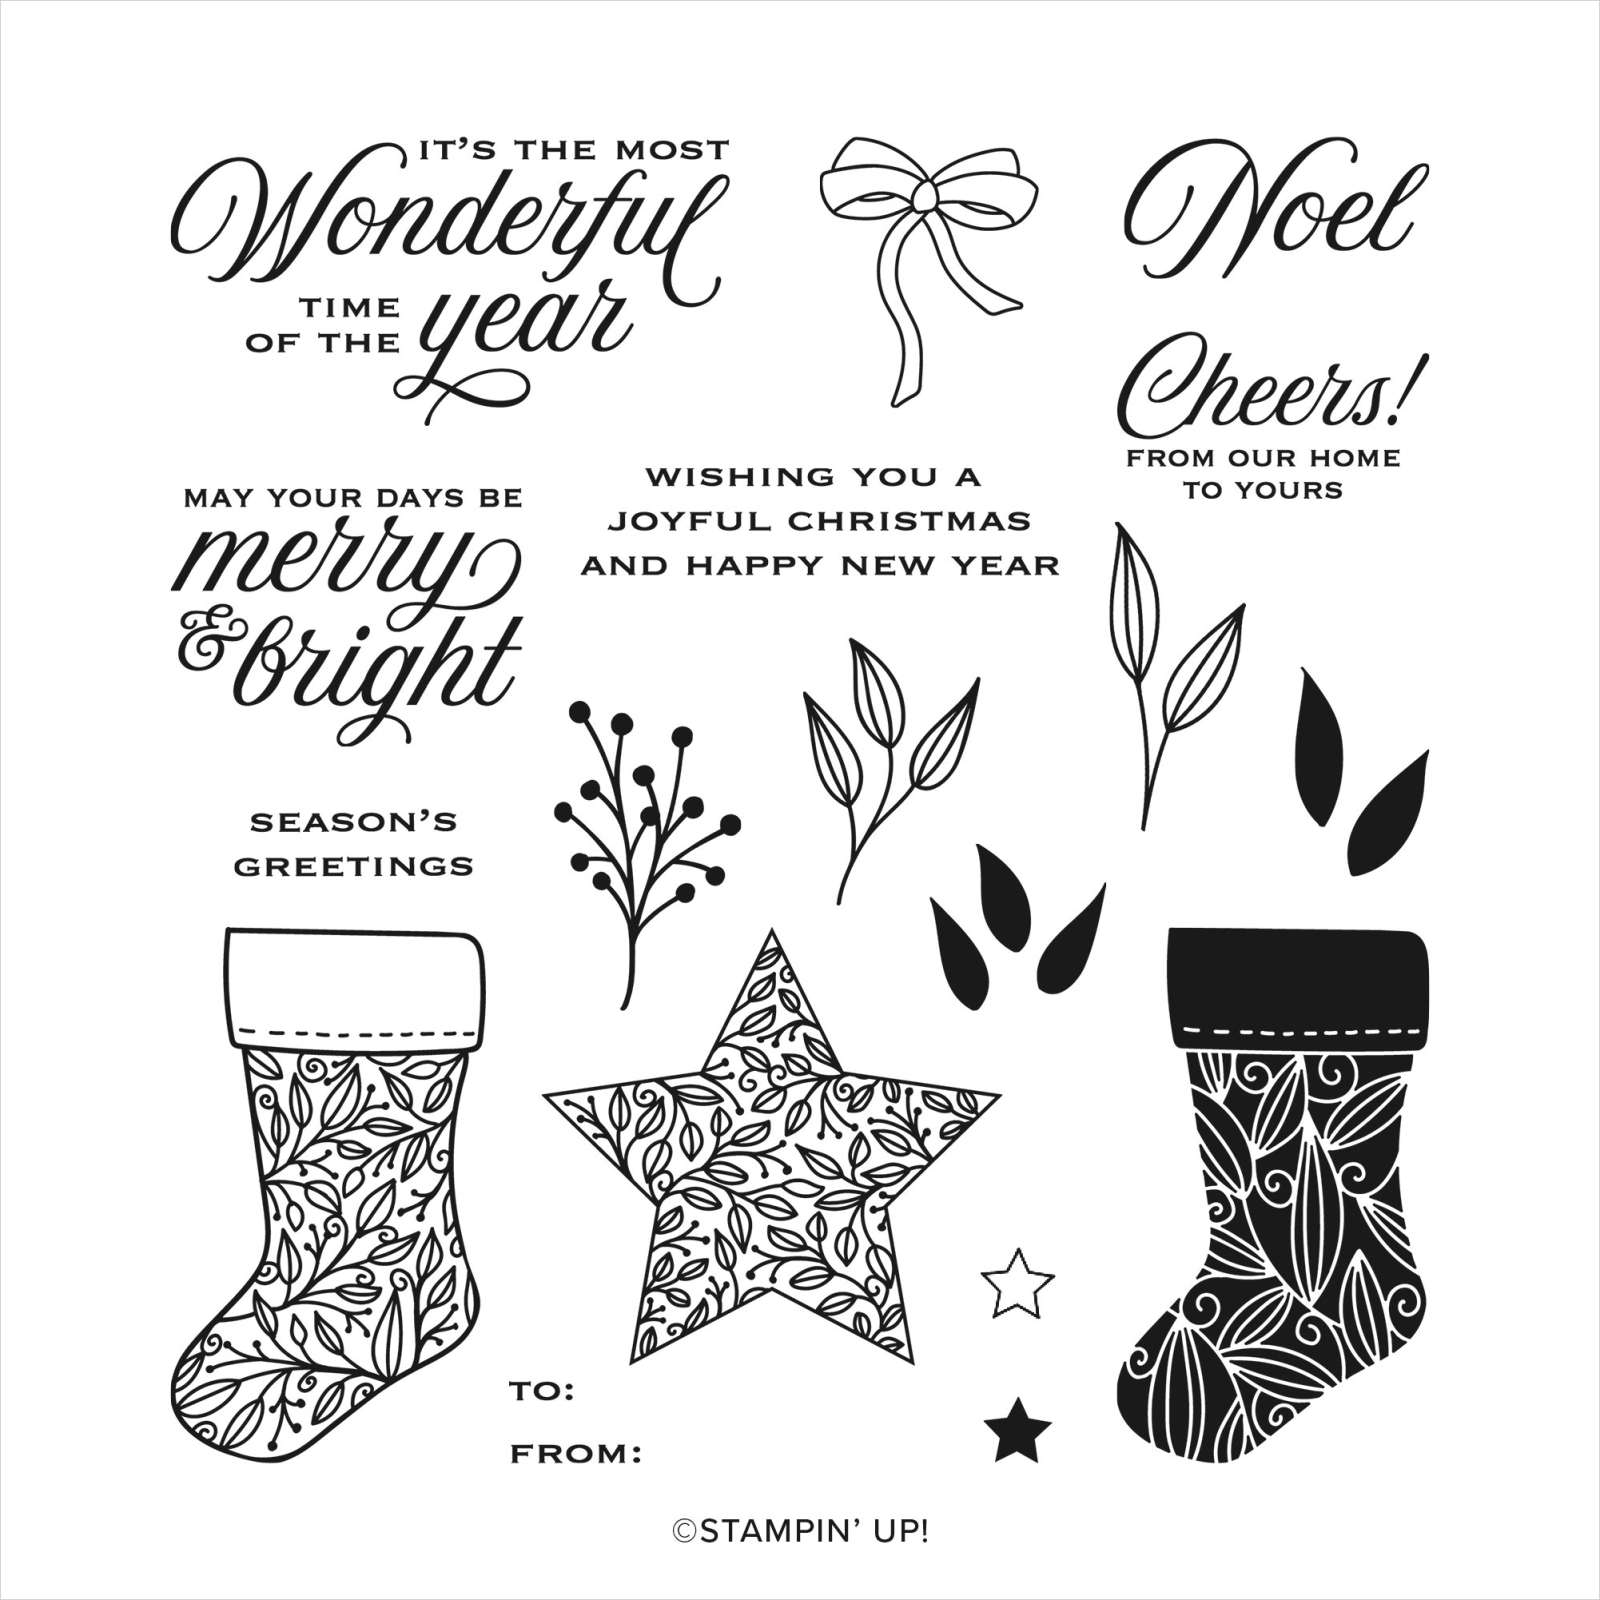
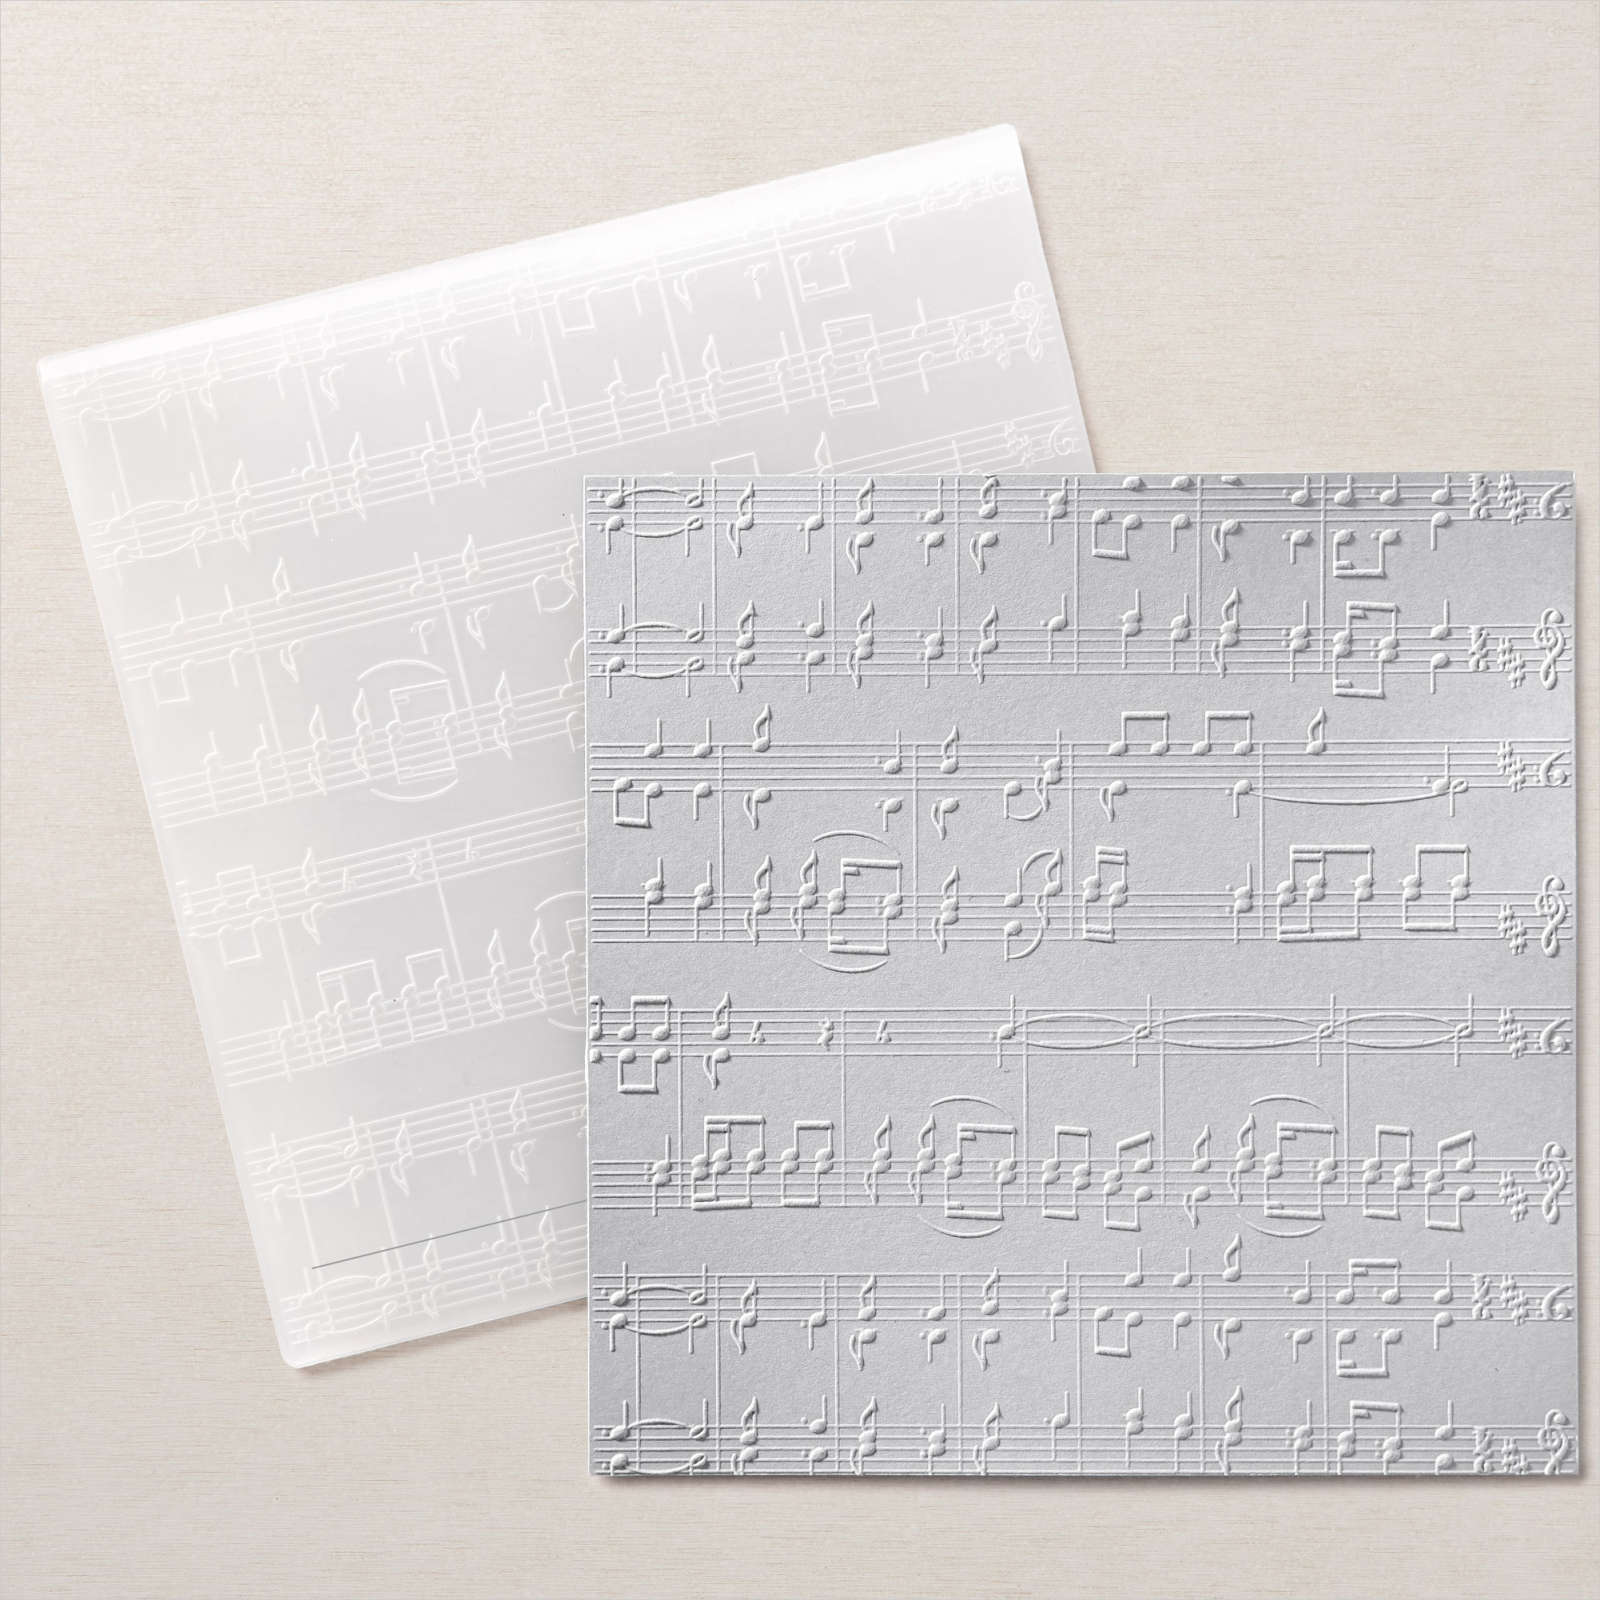
Today’s card is one that I made for my grandson’s for Christmas. It’s kind of hard to make teenage boy cards at Christmas because we have so many flowery stamp sets. I saw this card on Pinterest by Jennifer Cotton which gave me some inspiration. I stamped the greeting from the Tidings & Trimmings stamp set onto the lower right hand corner of Basic White card using Cherry Cobbler ink. I embossed the stamped panel using the Merry Melody 3D Embossing Folder. I attached a piece of the Tidings of Christmas Designer Series Paper to the left hand side of the embossed card.
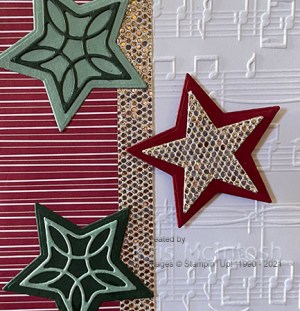
I also attached a narrow strip of the Be Dazzling Specialty Paper (Sale-a-bration Freebie) next to the Designer Series Paper. The whole panel is attached to scored and folded Cherry Cobbler card. I used the Christmas Trimmings Dies to cut a solid star from Soft Succulent, Cherry Cobbler and Evening Evergreen card.

I used another Christimas Trimmings Die to cut the detailed star from Soft Succulent and Evening Evergreen card. I attached the detailed Soft Succulent star to the solid Evening Evergreen star and the detailed Evening Evergreen star to the solid Soft Succulent star. I cut the Be Dazzling Specialty Paper using one of the Stitched Stars Dies and attached it to the centre of the solid Cherry Cobbler star. These dies do not match exactly but look perfect together anyway. I attached the Soft Succulent and Evening Evergreen stars flat to the card front and the Cherry Cobbler star using dimensionals. To decorate the inside of the card, I stamped another greeting from the Tidings & Trimmings stamp set onto Basic White card using Cherry Cobbler ink. I attached a narrow strip of Tidings of Christmas Designer Series Paper across the bottom of the stamped Basic White card. I attached a narrow strip of Be Dazzling Specialty Paper abutting the top edge of the Designer Series Paper.

I think they turned out great for a couple of young men, so thanks Jennifer for the inspiration.
Bye for now,
Kris
Product Used:


Love Santa Tags (Not)
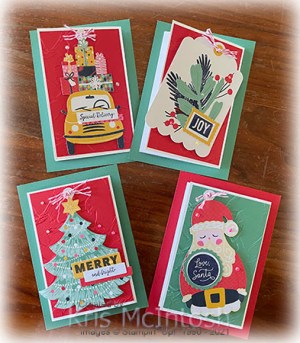
Today I want to share with you some Gift Card Holders I made using the Love Santa Tag Kit. These tags are amazing just as tags but they make great embellishments for other things too. I used an idea that was shared by Deseree Buss Krumm on a Demonstrator only Facebook Page way back in 2018 to create these Gift Card Holders. The first thing I did was follow the kit instructions and create each of the tags. Next I created the folded section by cutting and scoring Basic White card.
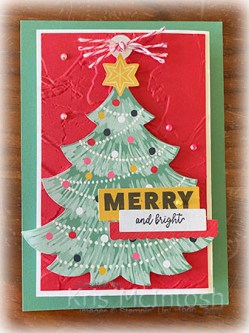
I embossed Poppy Parade or Just Jade card using the Painted Texture 3D Embossing Folder and attached one embossed panel to the front of the folding section and one embossed panel to the last panel of the folding section. I attached the die cut tag to the front panel using dimenionals.
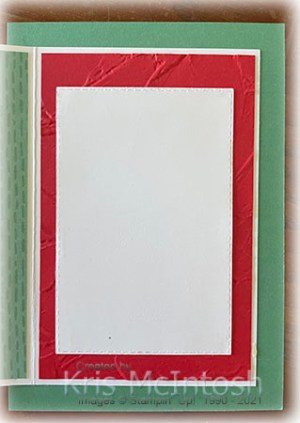
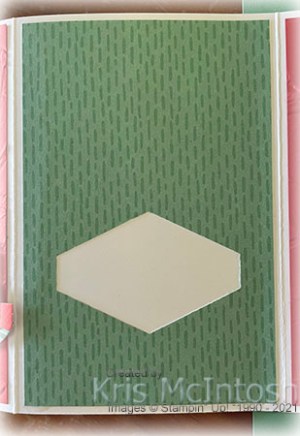
I wanted to add the twine so I tied it in a knot and added it to the eyelet hole using a Glue Dot to hold it in place. For three of the cards I added a piece of Penguin Playmates Designer Series Paper (Sale-a-bration Freebie). I punched each of these panels using the Tailored Tag Punch to create somewhere to add my Gift Card. The last card has a piece of Peaceful Prints Designer Series Paper (Sale-a-bration Freebie) which I also punched using the Tailored Tag Punch. Each of the panels is attached to a piece of either Just Jade of Poppy Parade card. To create somewhere to write my message, I cut Basic White card using the Stitched Rectangle Dies and attached the die cut to the inside embossed panel.
These are such simple cards to create and if you would like to create them you can download the tutorial for free here. You will find that the instructions begin with a different variation but the Love Santa Gift Card Holders are also included.
I’d love to know how you go creating these.
Bye for now,
Kris
Product Used:


Triangles and Christmas
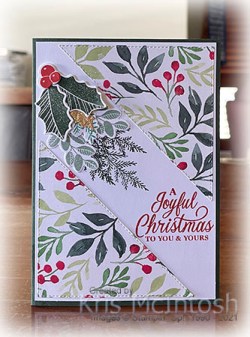
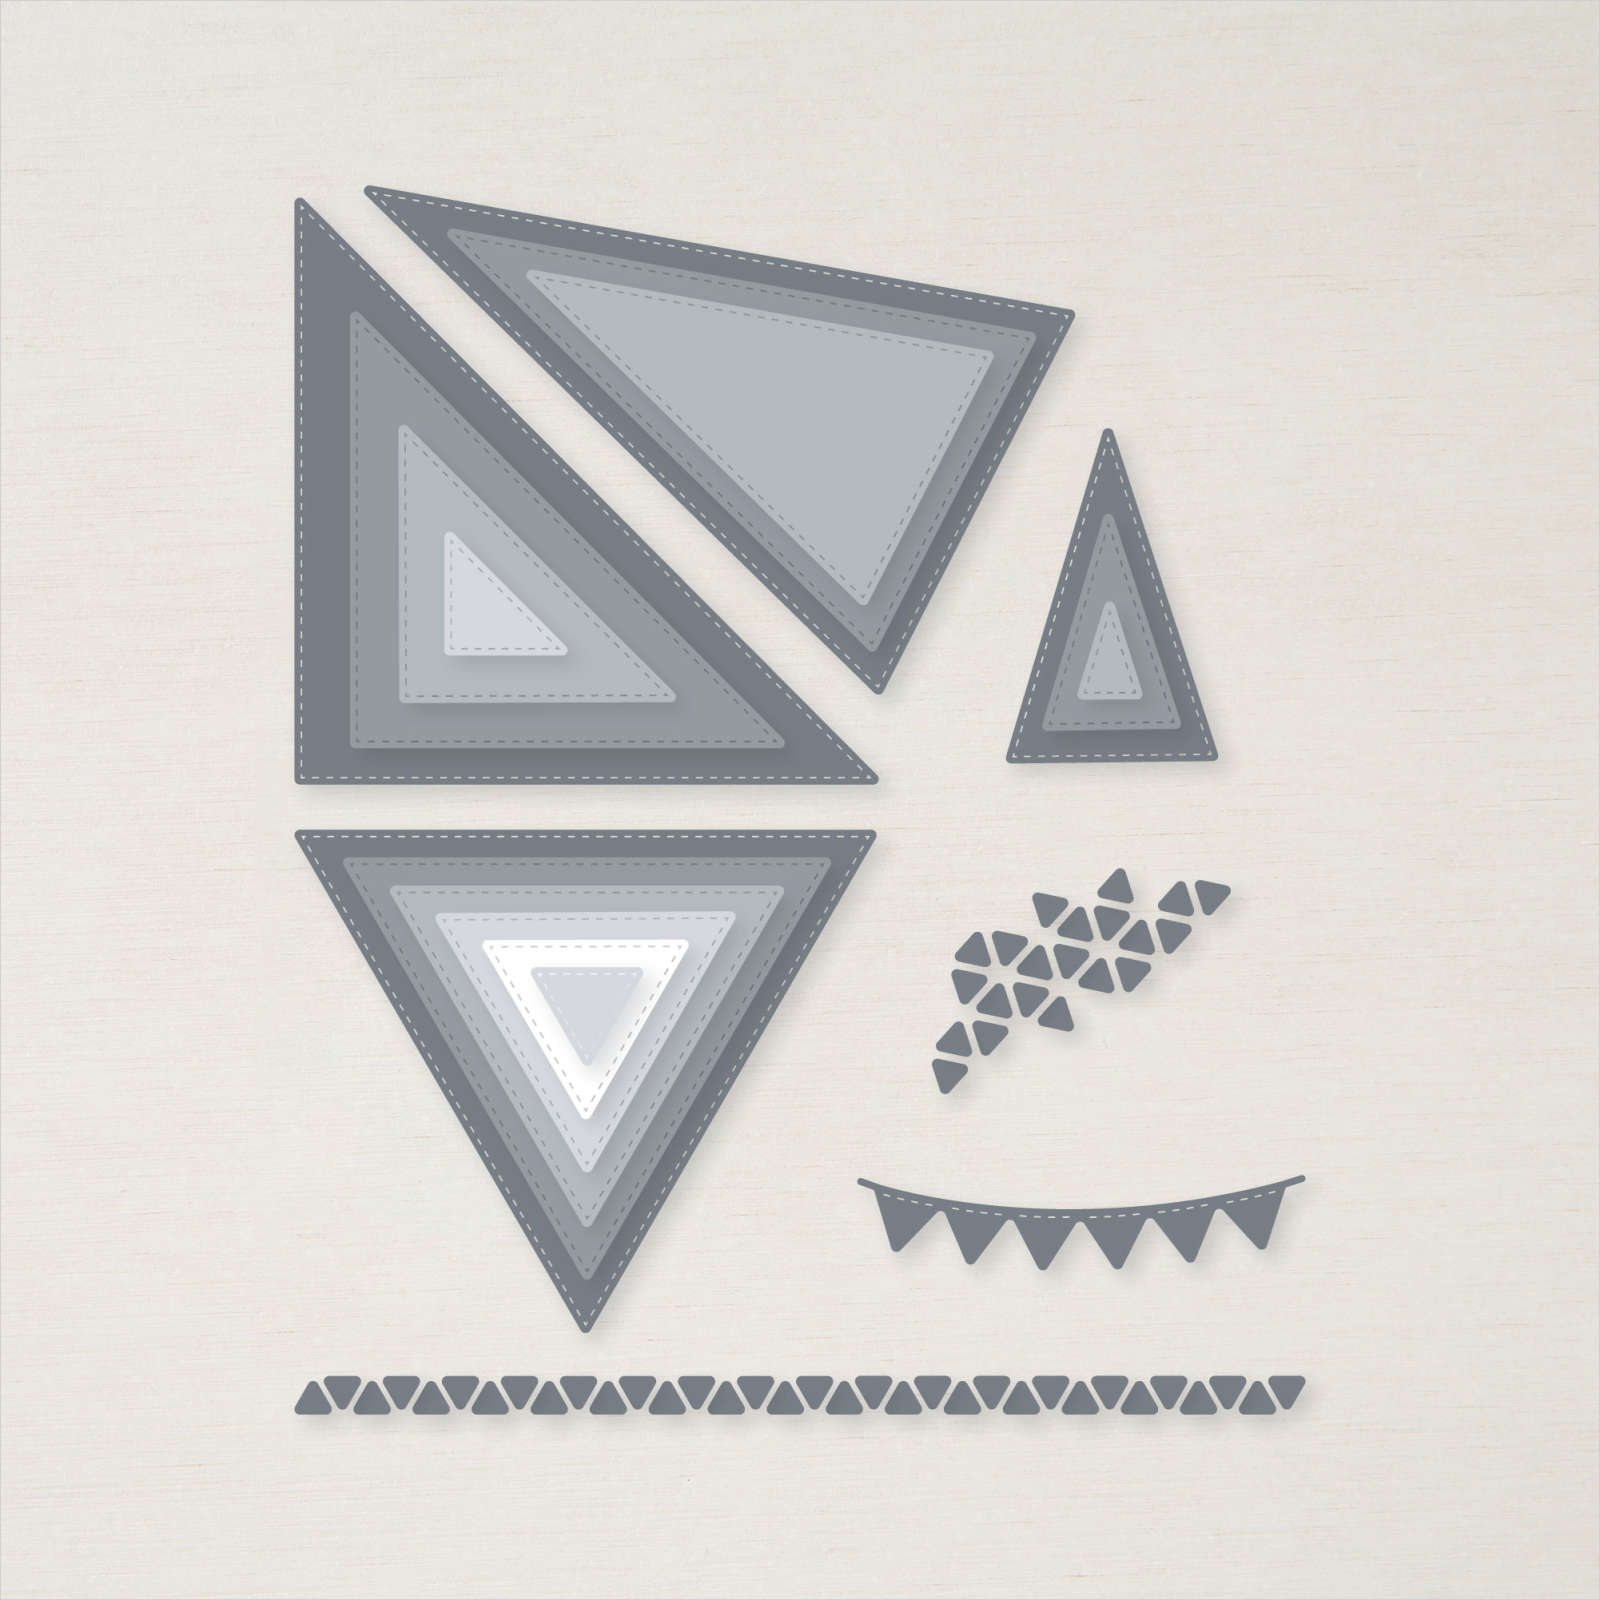
I saw a US Stampin’ Up! Demonstrator (Patty Bennett) show how to use the Stitched Triangle Dies to add panels to your card front and thought it was a good idea and decided to have a go. I cut Painted Christmas 12″ x 12″ Designer Series Paper using the largest of this shape Stitched Triangle Die and attached them to the upper right and lower left hand corners of Basic White card. I stamped the greeting from the Merriest Moments stamp set onto the Basic White card using Real Red ink. I stamped one of the leaf images from the Merriest Moments stamp set three times onto the upper right hand corner of the Basic White card using Evening Evergreen ink.

I stamped various leaves onto Basic White card using Soft Succulent, Just Jade and Evening Evergreen ink and cut them out using the co-ordinating Merriest Frames Dies. I also stamped the berry image from the Merriest Moments stamp set onto Basic White card using Real Red ink and cut it out using the co-ordinating die. I layered the leaves onto the Basic White card over the stamped leaves and included one of the Gold Holly Leaves.

The holly leaves and berries are attached at the top using mini dimensionals. To decorate the inside of the card, I stamped another greeting from the Merriest Moments stamp set onto Basic White card using Evening Evergreen ink. I had one leaf I had stamped and die cut left so I attached that beside the greeting. I attached a narrow strip of Evening Evergreen card behind one long edge of Painted Christmas Designer Series Paper before attaching the panel across the bottom of the stamped card.
Now that I have finished the card, I am not sure whether or not I like it. I think it might just be a little too busy for me. What about you? What do you think?
Bye for now,
Kris
Product Used:


Blessings

Today’s card is one that I made for my daughter and son-in-law who recently celebrated their wedding anniversary. Since my pre-pre-order had arrived I used products from the Heart & Home Product Suite from the next mini catalogue to create this card. I embossed Basic White card using the Hive 3D Embossing Folder and attached one of the Misty Moonlight Heart & Home doilies to the upper right hand corner. I cut Fresh Freesia card using one of the Scalloped Contour Dies to create a scalloped border which I attached behind one long edge of a piece of the Heart & Home 12″ x 12″ Designer Series Paper.

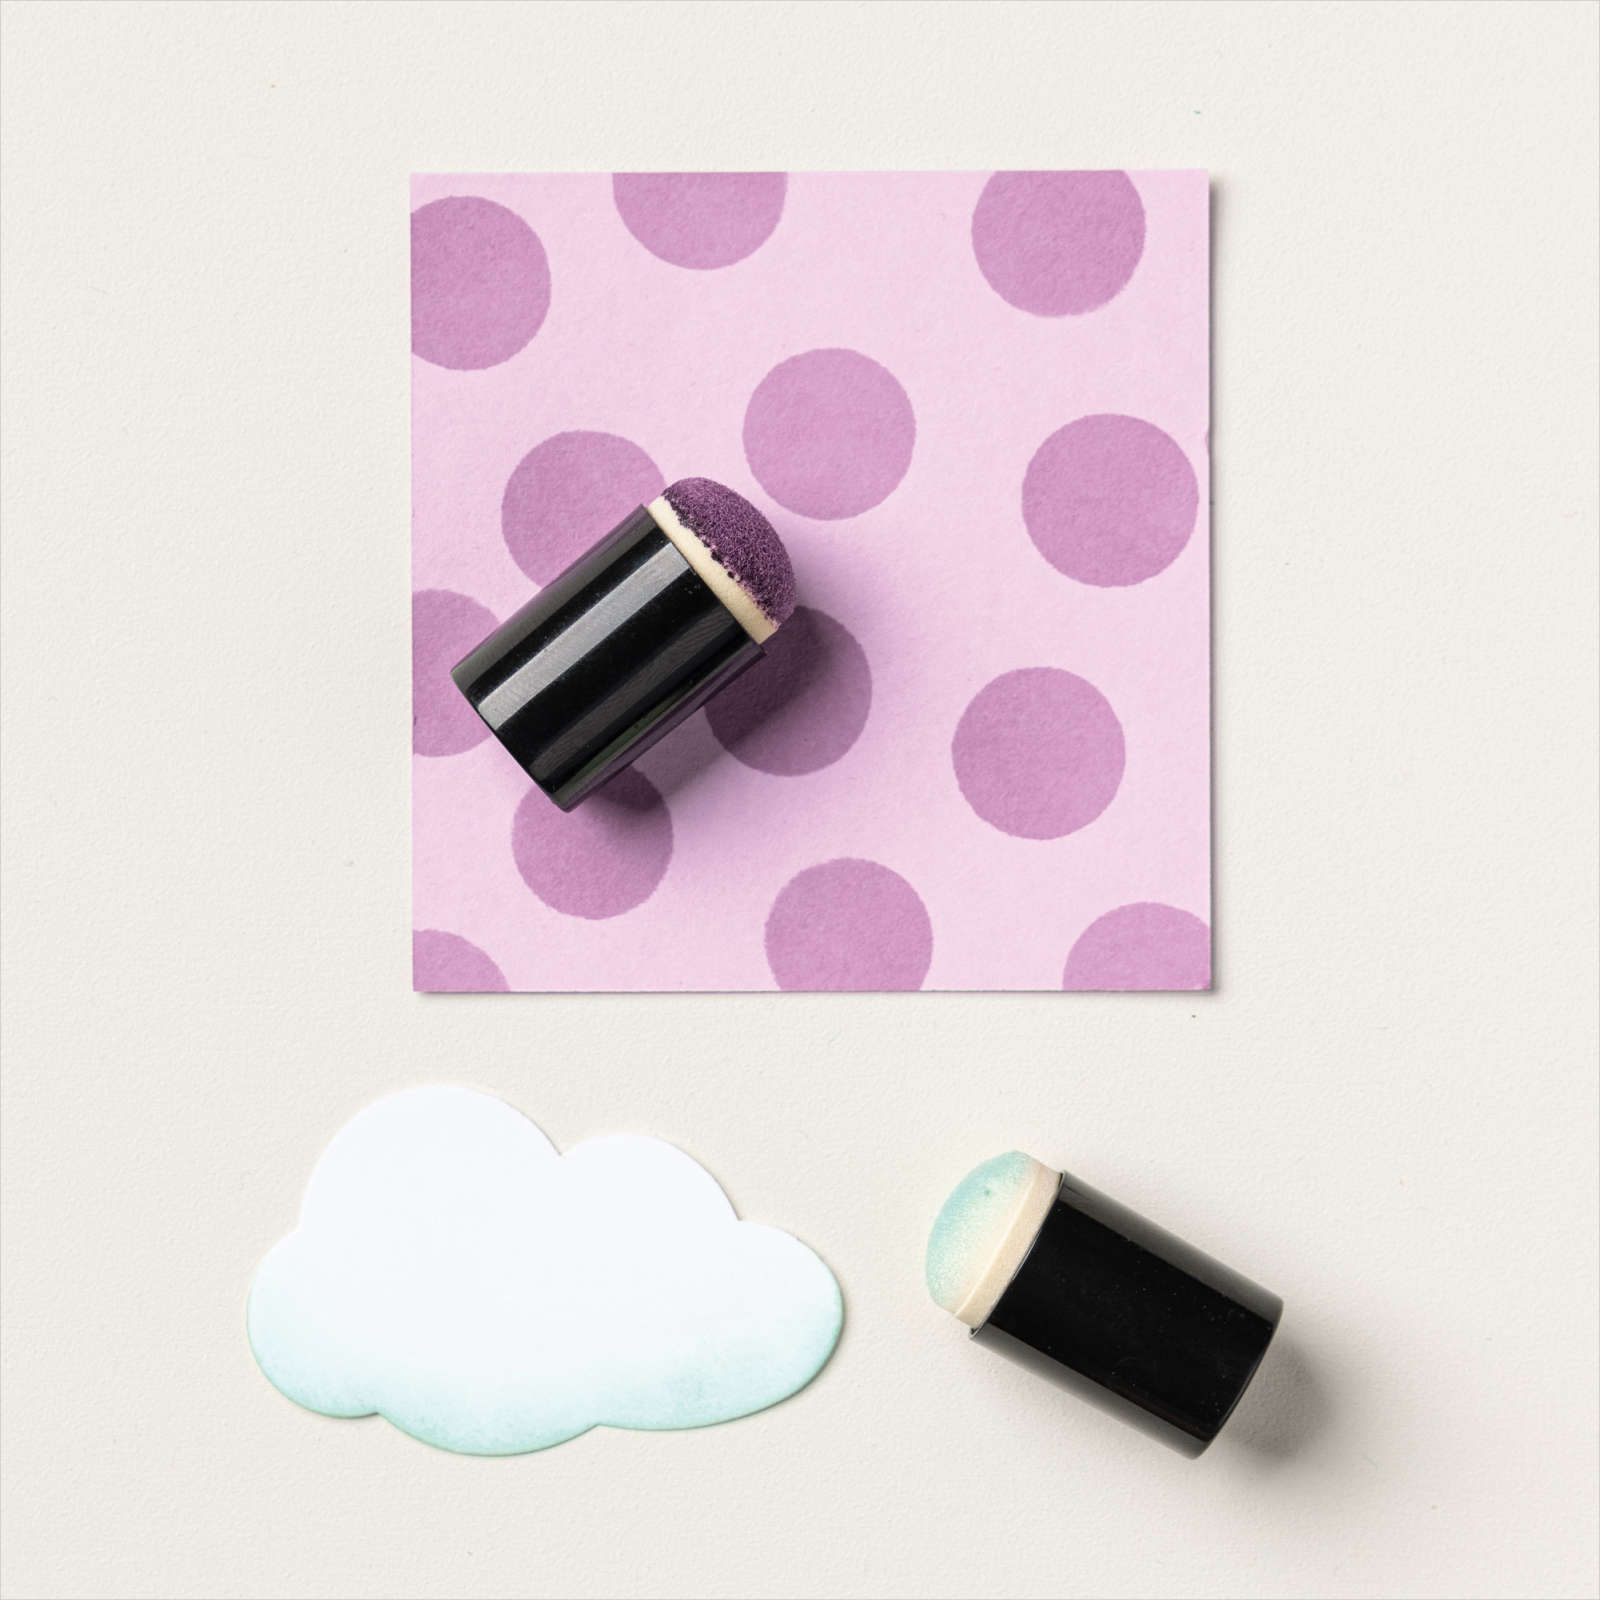
I attached the designer series paper to the left hand side of the embossed Basic White card before attaching the whole panel to scored and folded Misty Moonlight card. I stamped the large floral image from the Blessings of Home stamp set onto Basic White card using Misty Moonlight ink. I used a sponge dauber to add some Misty Moonlight ink to colour to the flower.

I cut out the flower using the co-ordinating Flowers of Home Die and attached it to the card front using dimensionals. I stamped the greeting from the Blessings of Home stamp set onto a strip of Basic White card using Misty Moonlight ink. I attached the greeting to a slightly wider strip of Misty Moonight card and then the card front using dimensionals where necessary. To decorate the inside of the card, I stamped the large floral image from the Blessings of Home stamp set onto the lower right hand corner using Misty Moonlight ink. I again added some Misty Moonlight ink to the image using a sponge dauber. I also stamped the greeting from the Forever Fern stamp set using Misty Moonlight ink. I cut another scalloped edge from Fresh Freesia card and attached it behind a piece of the Heart & Home 12″ x 12″ Designer Series Paper. The Designer Series Paper panel is attached across the bottom of the stamped Basic White card.
I hope that my daughter and her husband love this card as much as I do.
Bye for now,’
Kris
Product Used:
Sorry I can’t share the links yet for the Blessings of Home Bundle and co-ordinating products, but I am sure you will love them when the new Mini Catalogue is released in January.


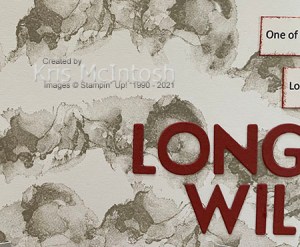
Longreach Wildlife

Today’s page is a simple one which simply shows off a couple of photographs of the visiting Wildlife in the park we stay at Longreach. Brolgas and Emus were our main visitors this time but usually there are lots of Kangaroos as well. I stamped a Very Vanilla 12″ x 12″ page using the large background image from the Artistically Inked stamp set and Sahara Sand ink. I wanted to create a kind of circle look with the stamped images.
I attached two of the photos to Sahara Sand card before attaching them to the stamped page. The third photo is attached to Cajun Craze card before being attached to the Very Vanilla page using dimensionals. I cut the title from Cajun Craze card using the Playful Alphabet Dies. The journalling is printed onto Very Vanilla card which I cut into strips before sponging the edges very lightly with Cajun Craze ink. The Emus we saw in the park were often seen when we were out and about around the town.
Bye for now,
Kris
Product Used:


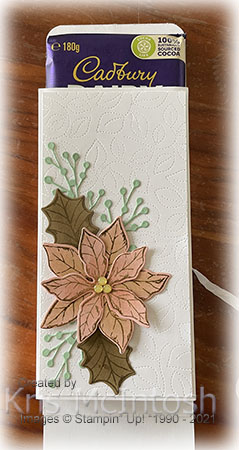
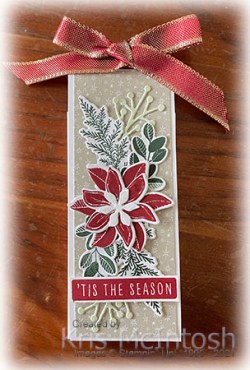
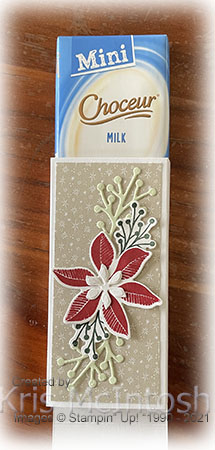
Large Chocolate Slider
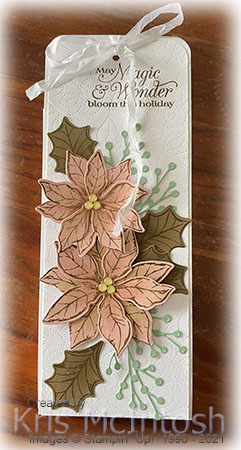
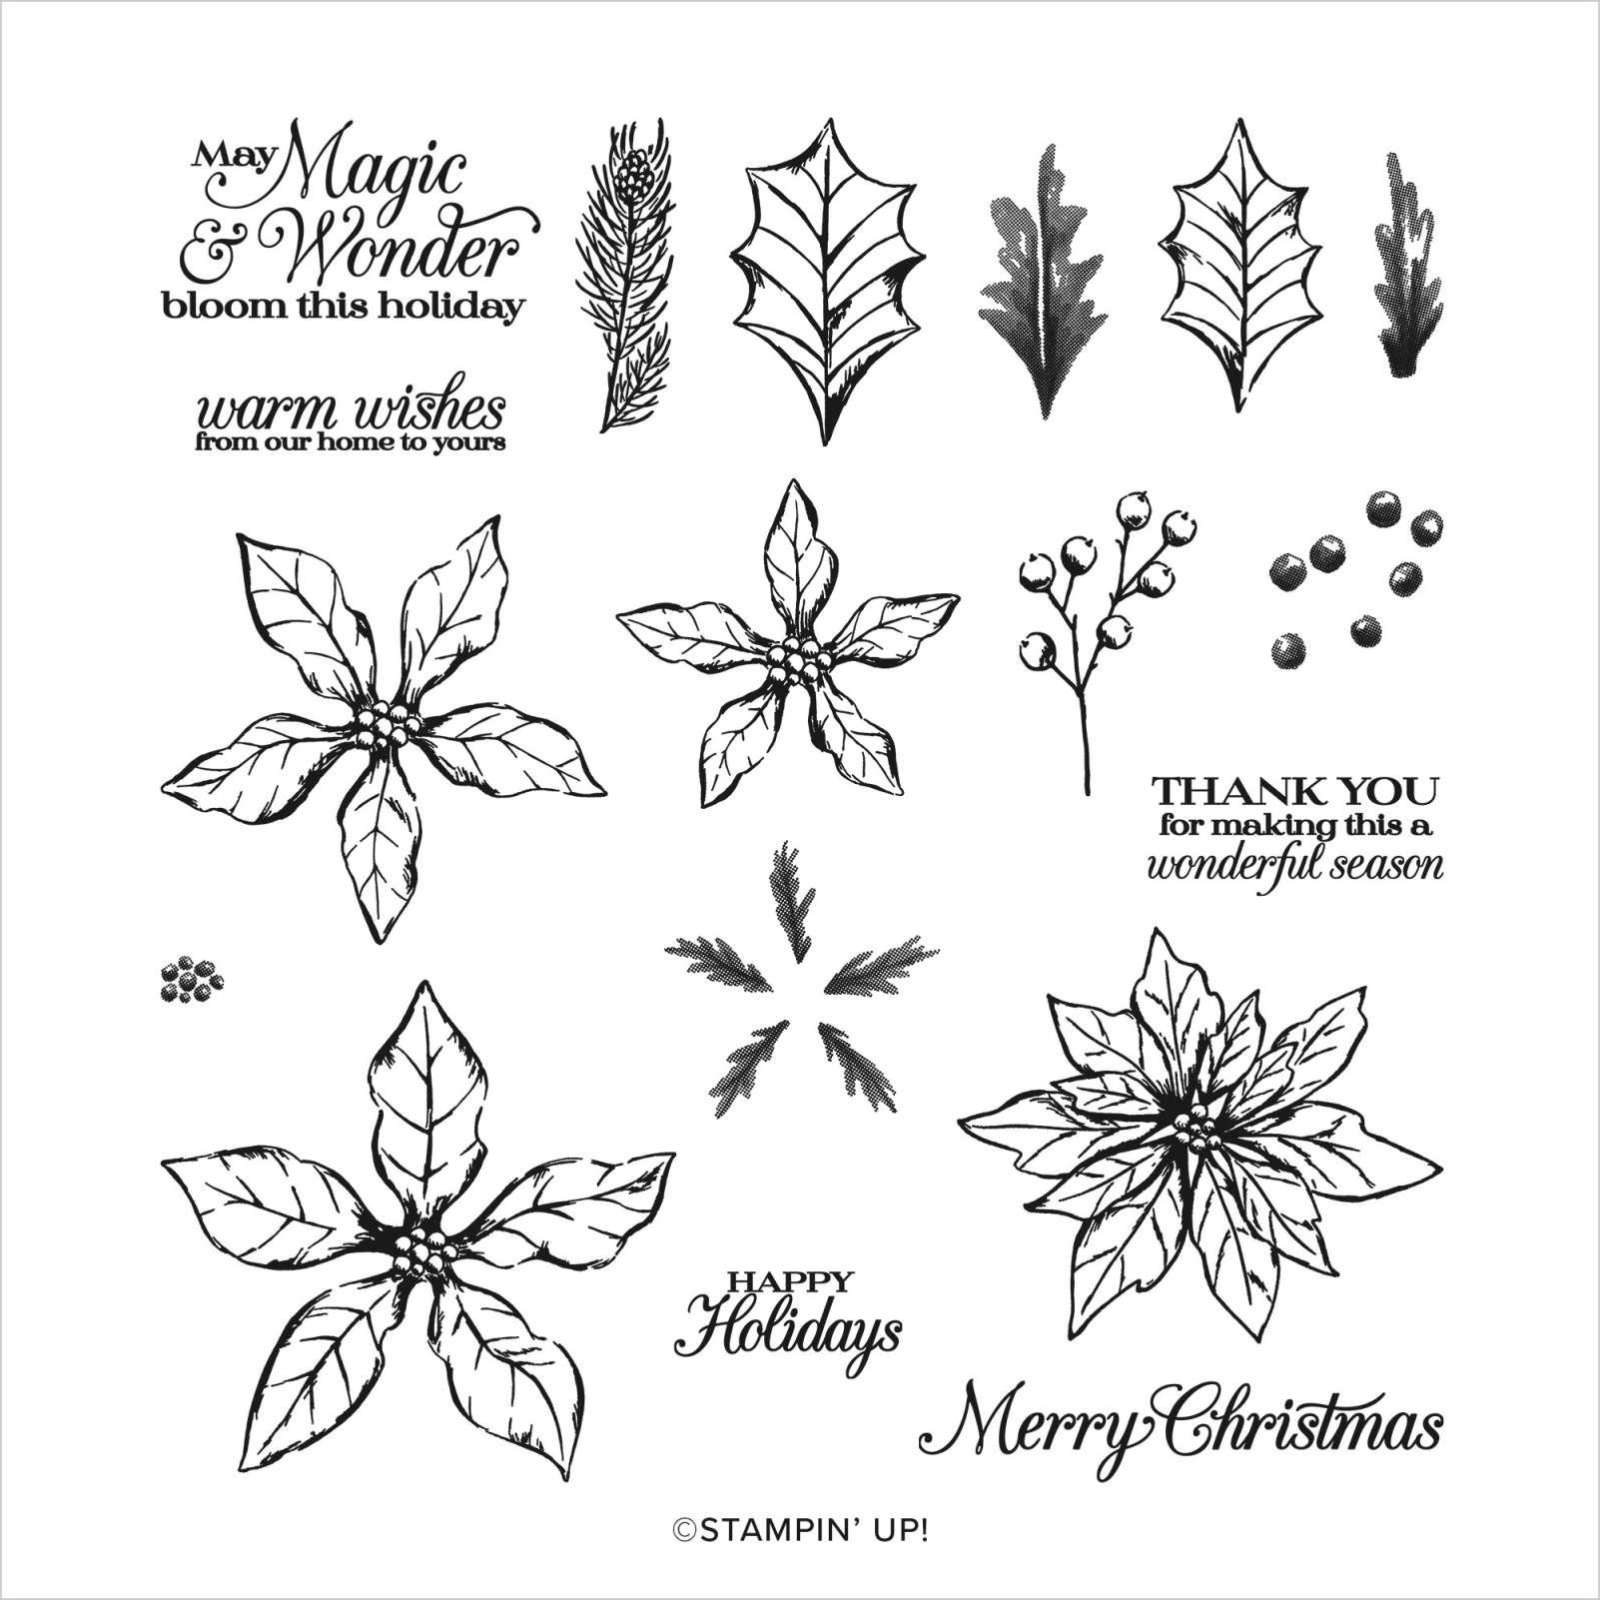
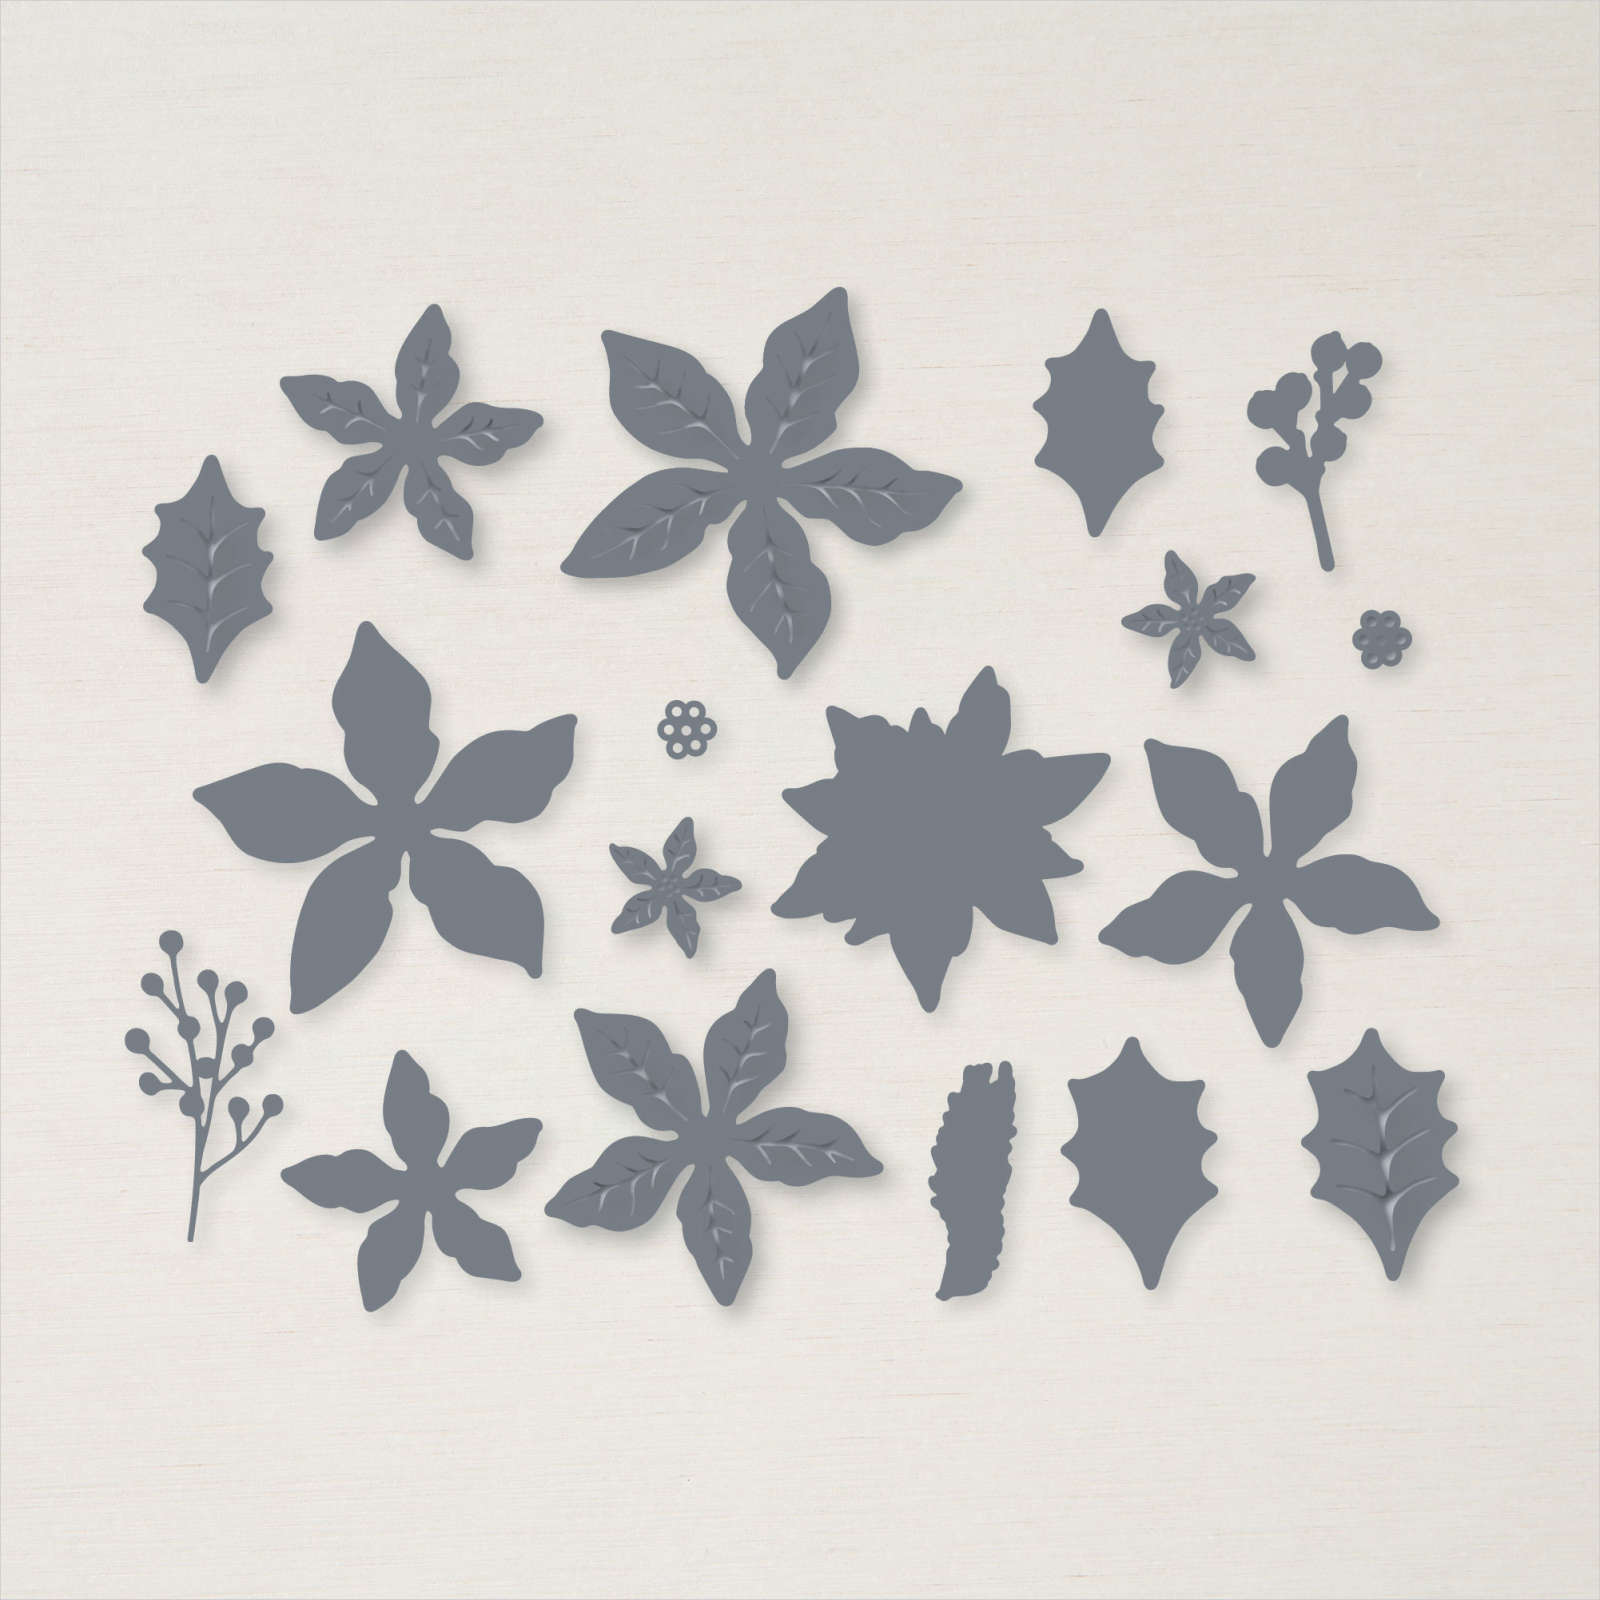
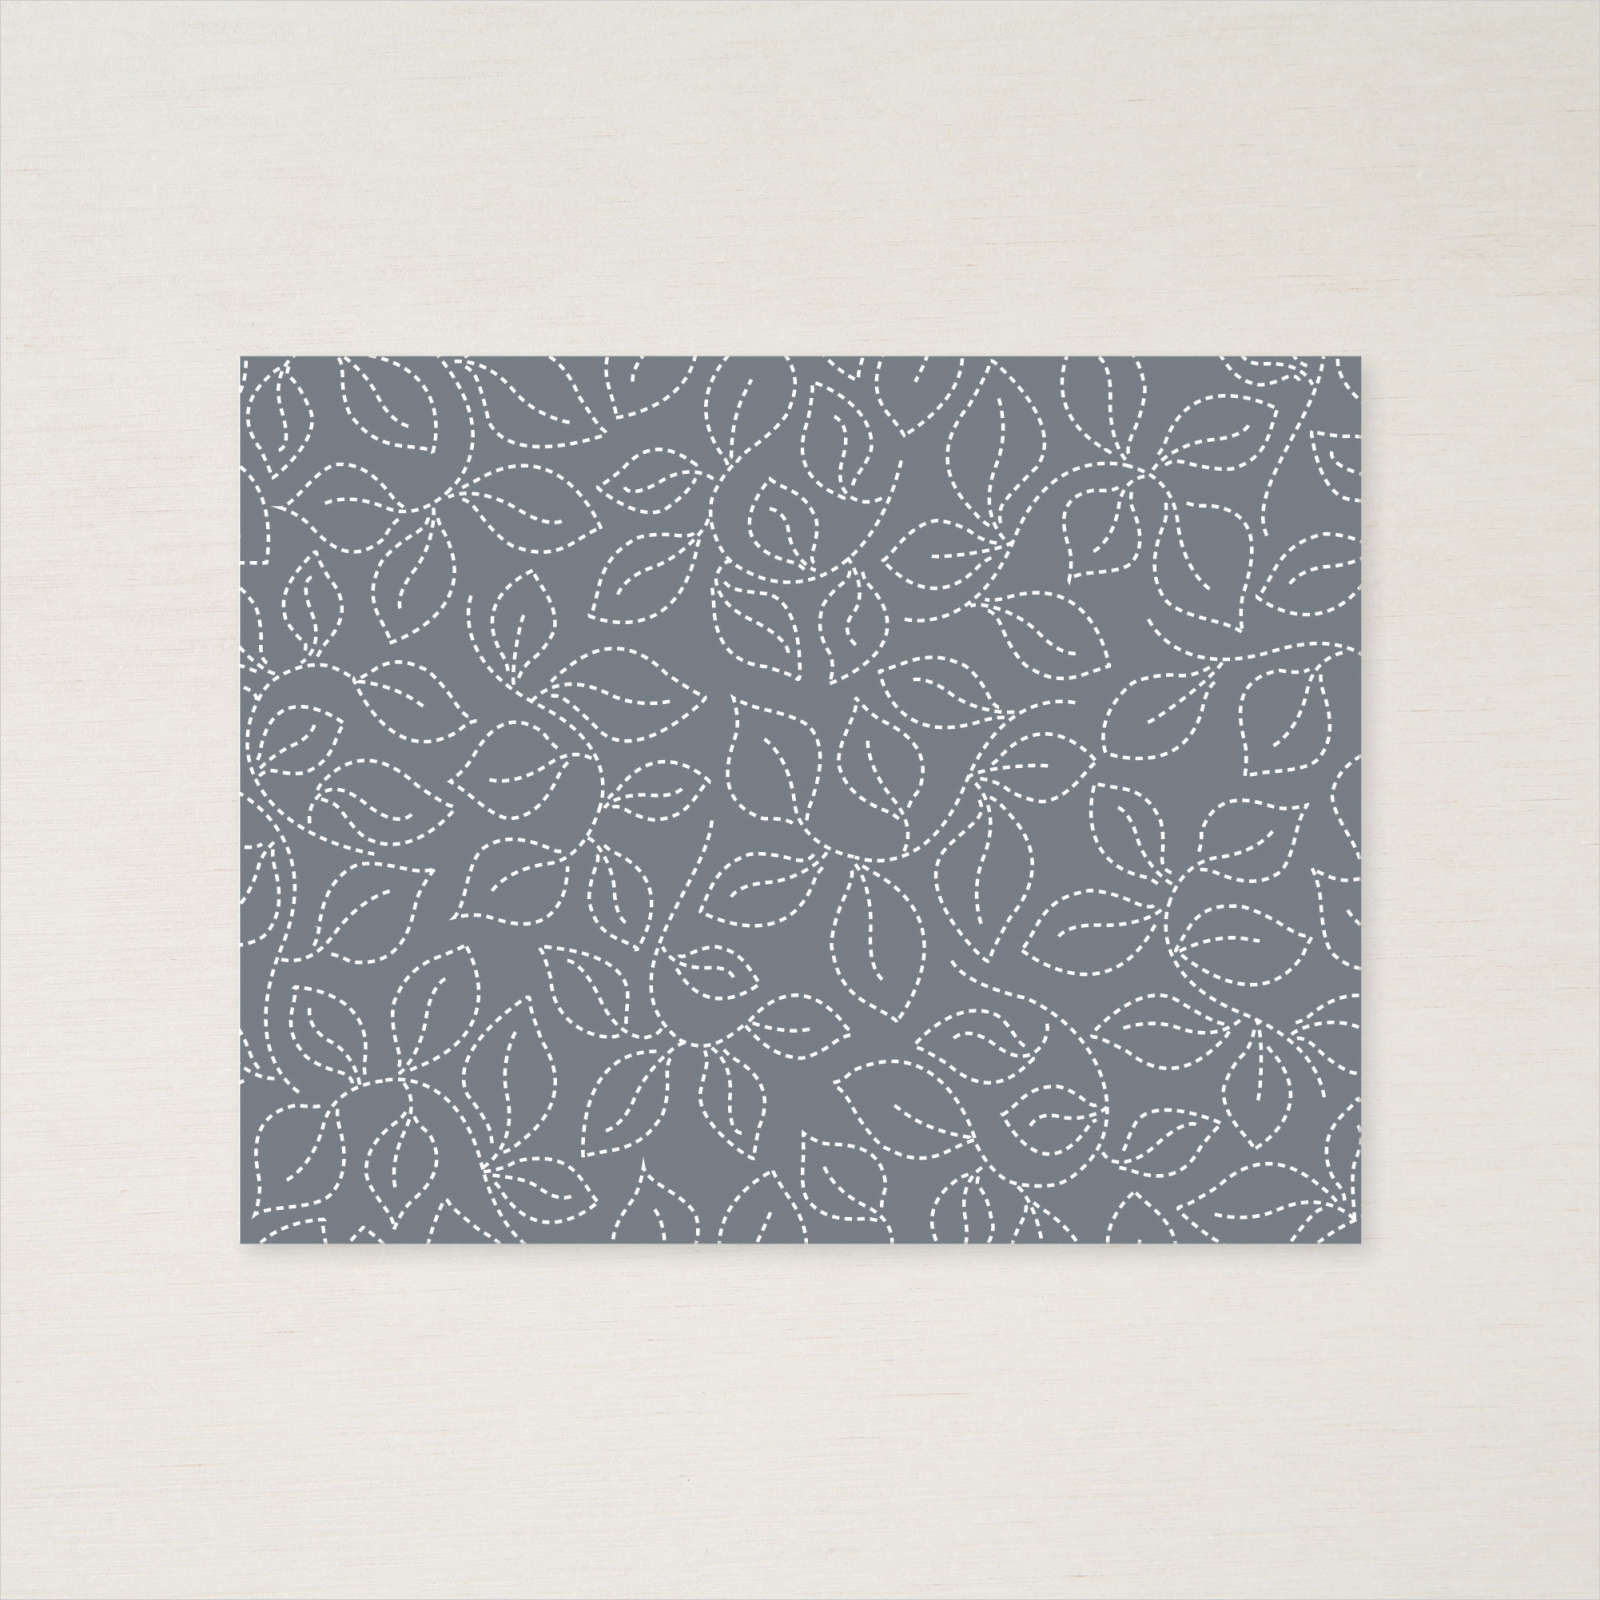
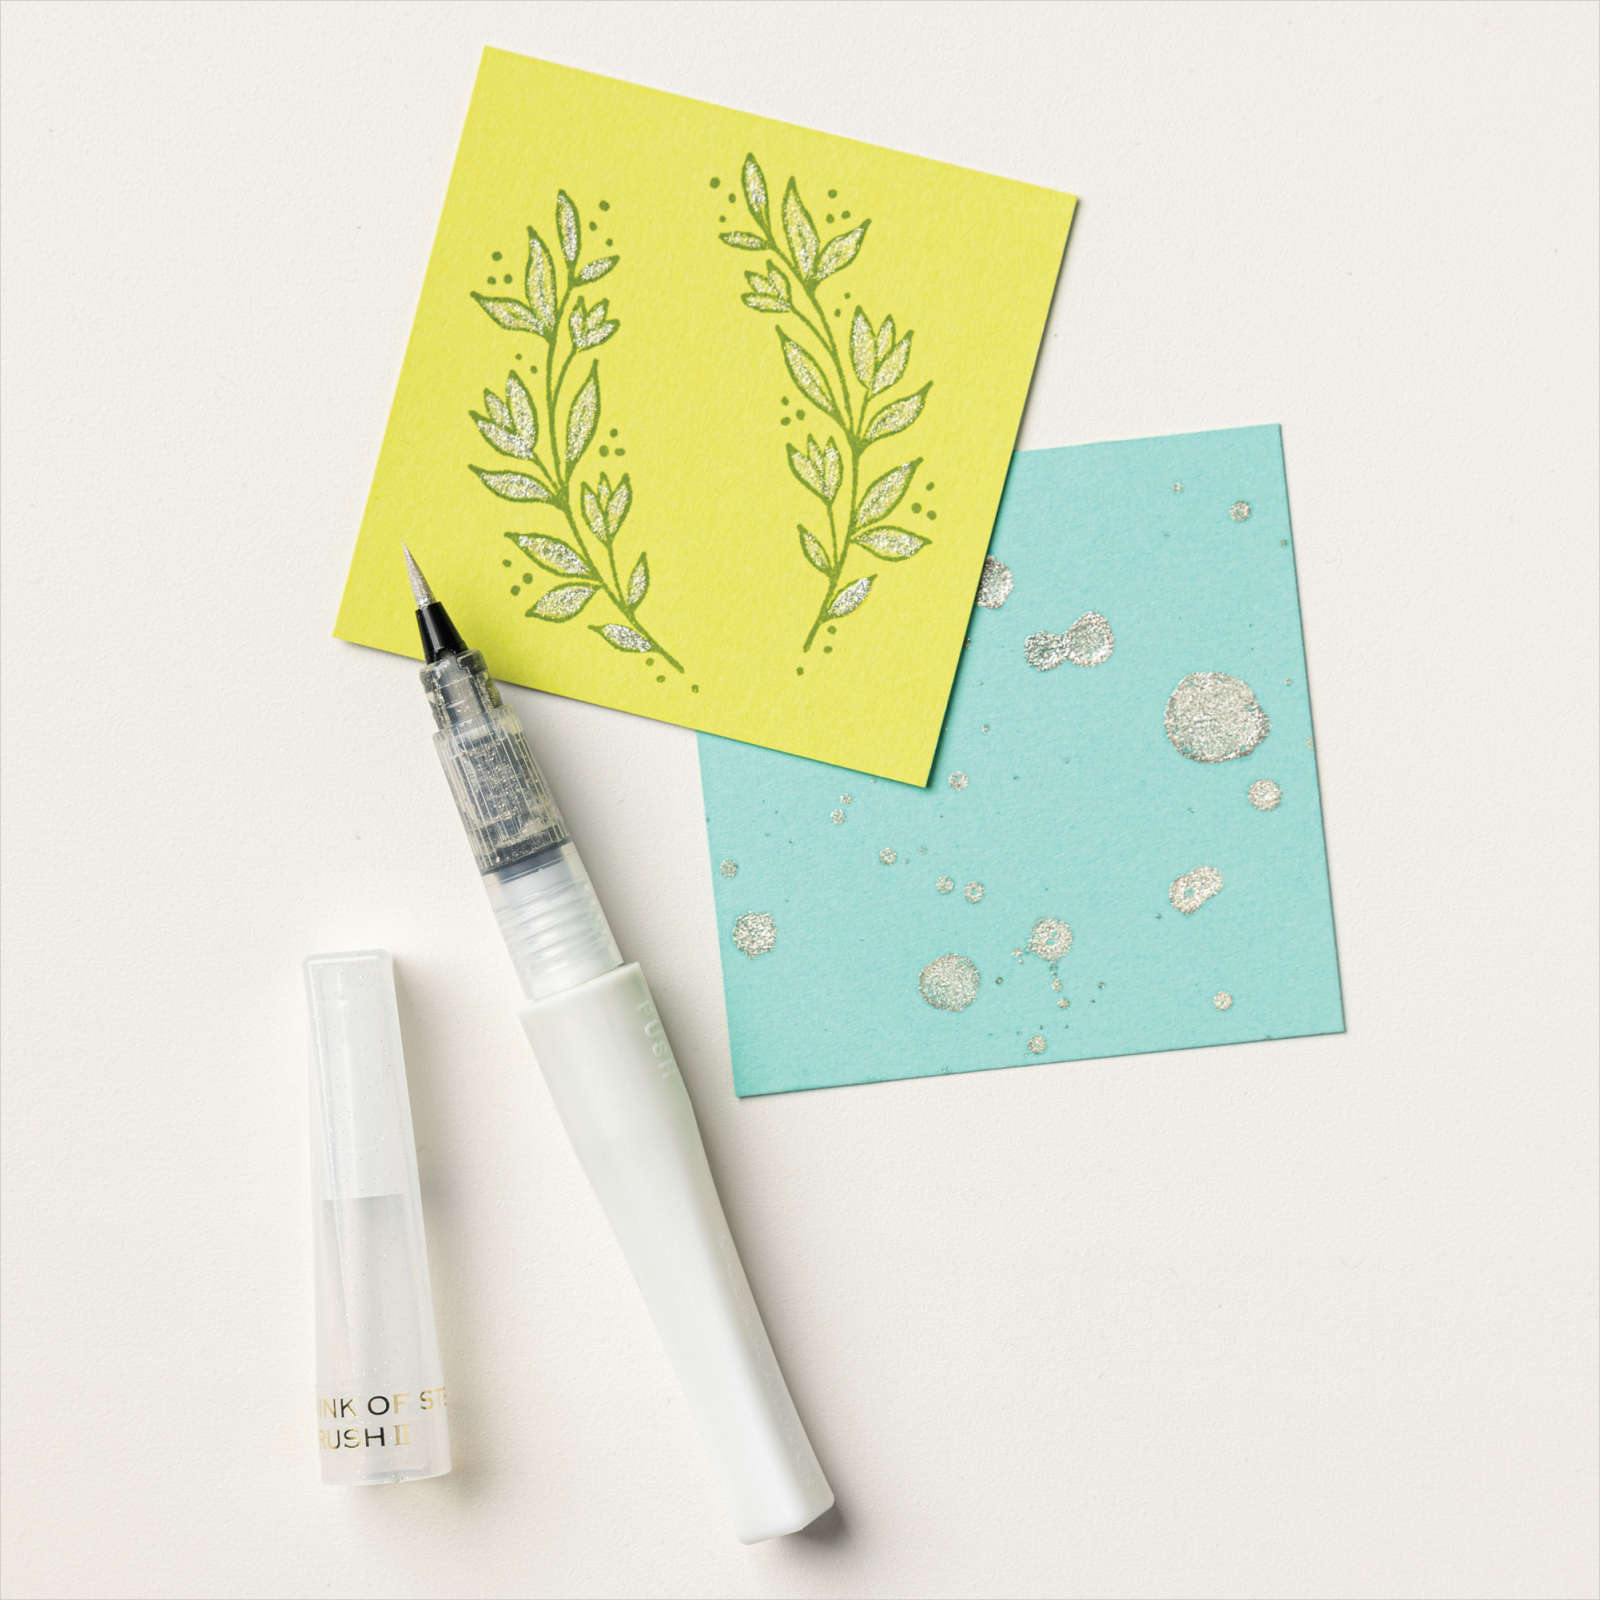
This week on my Facebook Live I showed how to create chocolate sliders in two different sizes. Today’s chocolate slider features a 180g or family sized chocolate. I stamped with the greeting from the Poinsettia Petals stamp set onto the top of Basic White card using Soft Suede ink. I embossed this panel using the Stitched Greenery Die (I had to do it twice so I made sure that the join would be covered by my decoration) and attached it to the Basic White base panel. I stamped two large and two medium poinsettias from the Poinsettia Petals stamp set onto Blushing Bride card using Soft Suede ink and cut them out using the co-ordinating Poinsettia Die. I sponged a little Soft Suede ink onto the centre of the flowers and added some Wink of Stella before layering them together and attaching them to the slider front panel.
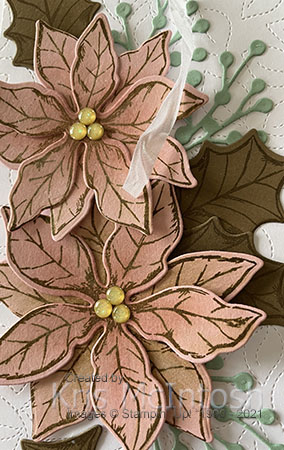
I stamped the large leaf from the Poinsettia Petals stamp set three times onto Soft Suede card using Soft Suede ink. The leaves are cut out using the co-ordinating Poinsettia Die. I also cut Mint Macaron card three times using the berry die from the Poinsettia Dies.
I layered the leaves and berry dies around the flowers. Lastly I added some Gold Glitter Enamel Dots (retired) to the centre of the flowers. To decorate the inside panel, I embossed Basic White card once more using the Stitched Greenery Die and before attaching two medium flowers, two large leaves and three berry dies. The flowers, leaves and dies were created in the same manner at the ones on the front of the slider.
I think these would make great gifts, don’t you? You can get more information on how to create these on my Facebook Page.
Bye for now,
Kris
Product Used:


Chocolate Slider
Yesterday on my Facebook Live, I shared how to create a chocolate slider to house the small chocolates sold at Aldi (you get five in a pack). I have shared this before but I couldn’t help sharing again as it is such a fun way to present a small gift. You can find a tutorial on my Free Tutorial page. For this slider I cut the base from Basic White card. I added a layer of Christmas Tidings 6″ x 6″ Designer Series paper before punching both short ends using the Fancy Tag Topper Punch. I stamped several images from the Merriest Moments stamp set onto Basic White card using Shaded Spruce ink and cut them out using the co-ordinating Merriest Frames Die.

I stamped the large and small flowers from the Merriest Moments stamp set onto Basic White card using Cherry Cobbler ink and cut them out using the co-ordinating Merriest Frames Dies. I cut Basic White card using the small flower die from the Merriest Frames Dies. The last piece is a berry image die cut from Soft Sea Foam card using one of the Poinsettia Dies.
I layered all of the leaves and flowers onto the front of the Chocolate Slider. I stamped the greeting from the Christmas to Remember stamp set onto Basic White card using Cherry Cobbler ink and used my Paper Snips to cut it out. The greeting is attached using Mini Dimensionals. To decorate the inside of the slider I attached a piece of the same pattern Christmas Tidings Designer Series Paper. I stamped and die cut several of the same leaves, flowers and berries as I did for the front and layered them onto the Designer Series Paper. I tied my Chocolate Slider closed with a length of Cherry Cobbler and Gold Metallic Edged Ribbon.
Isn’t this cute? These make great Christmas table decorations or stocking fillers. Tomorrow I have a slider for a larger chocolate to share with you.
Bye for now,
Kris
Product Used:


Green and Gold Christmas

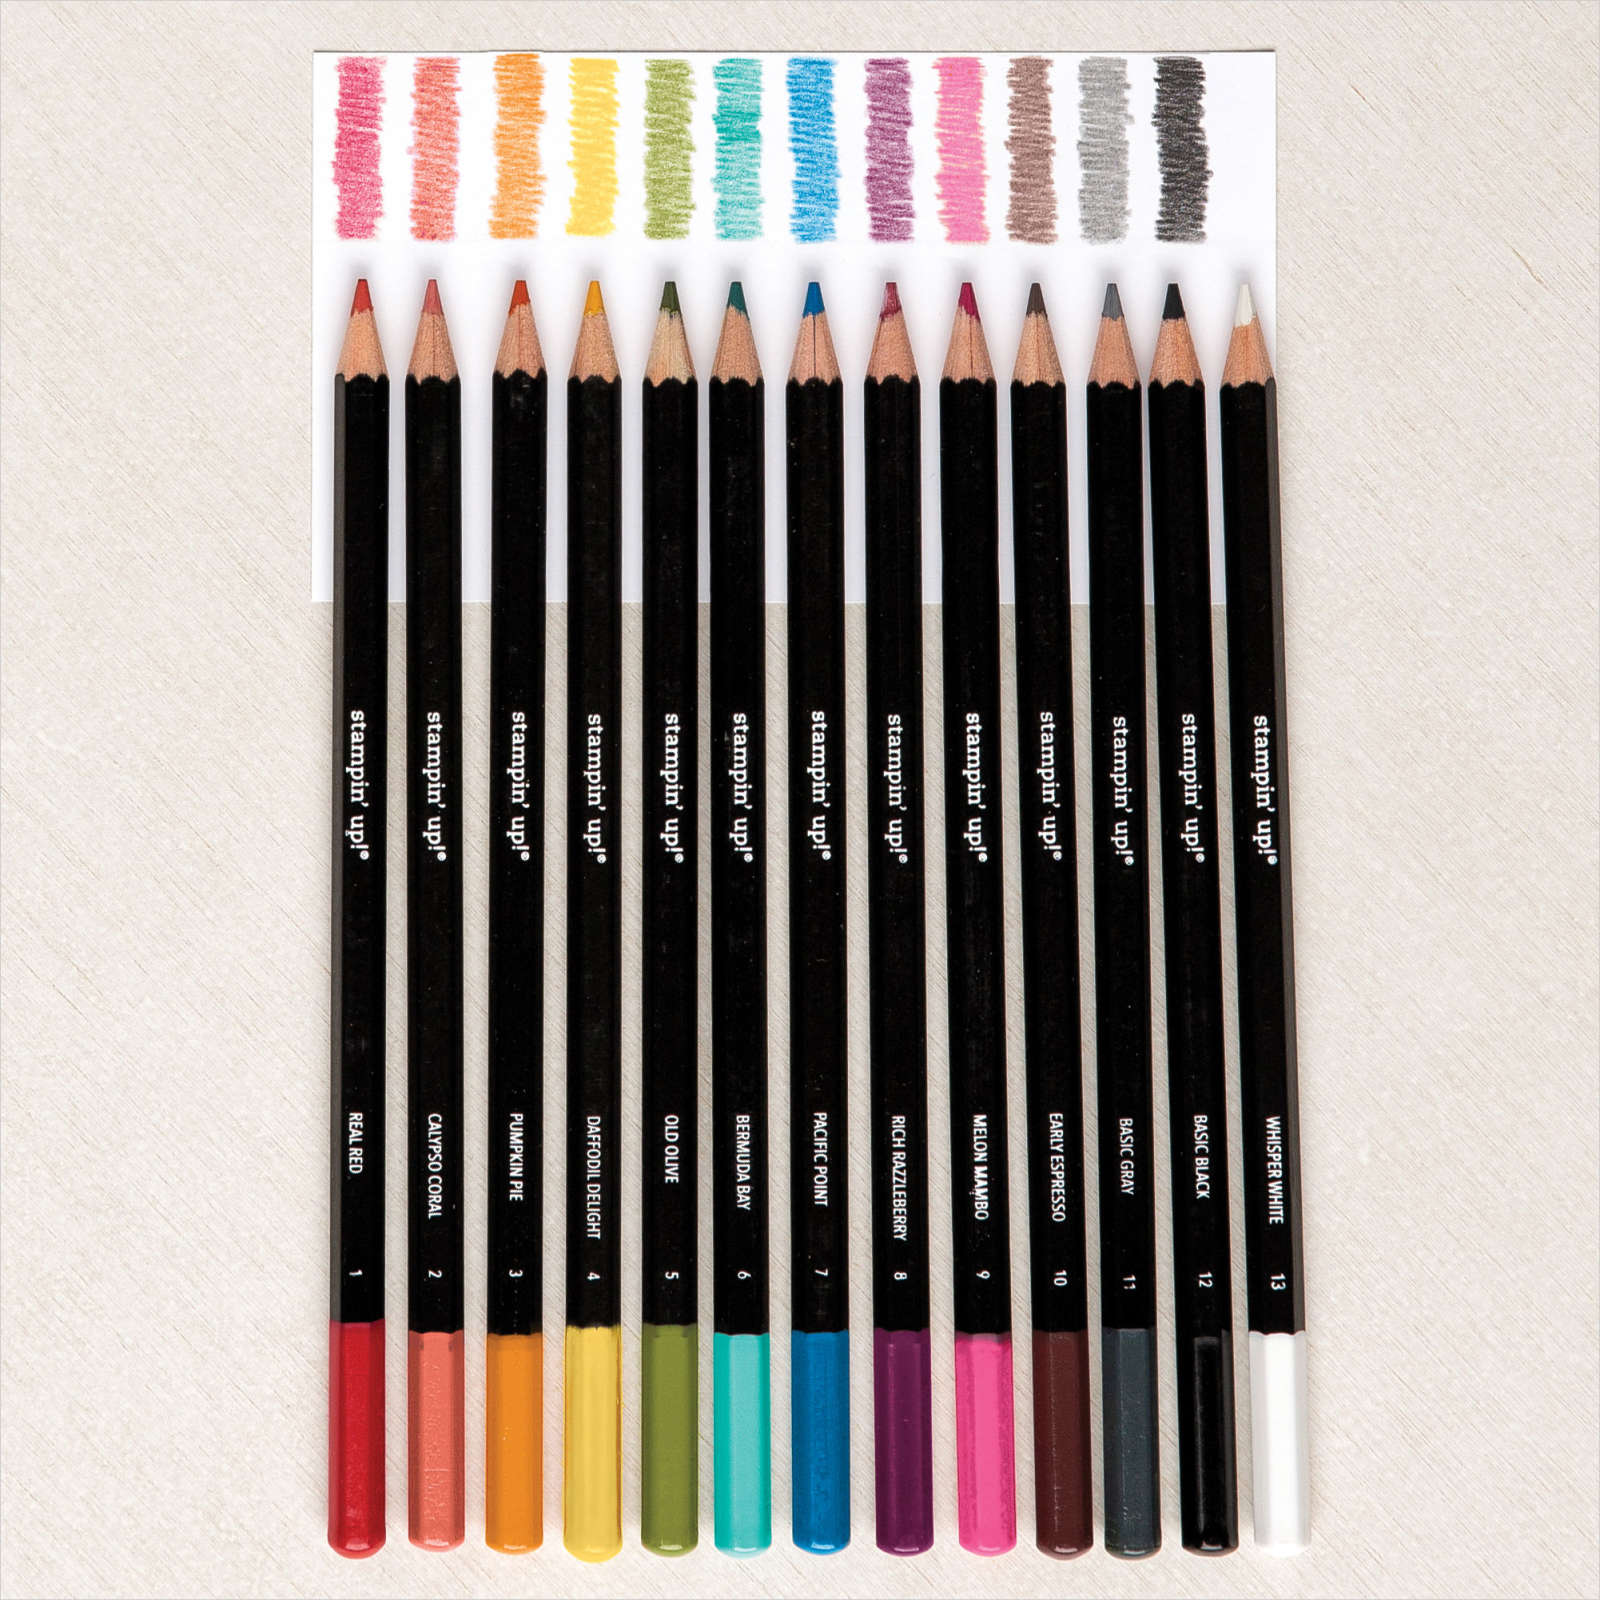
Today’s card again uses the technique that I shared in last weeks Facebook Live, this time for Christmas. I love the background image Festive Foliage and I think it works great for this technique. I began by cutting Shaded Spruce card using the largest Scalloped Contour Die and attached it to scored and folded Thick Basic White card. I cut Gold Foil using one of the Stitched Rectangle Dies and attached it to the centre of the Shaded Spruce scalloped rectangle. I stamped the Festive Foliage stamp onto Shaded Spruce card using Versamark ink, sprinkled the image with White Embossing Powder and heat set it. I coloured some of the leaves using the White Watercolour Pencil before cutting the image using another of the Stitched Rectangle Dies.
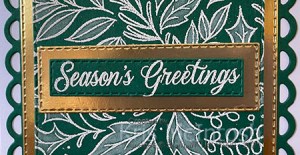
The panel is attached to the card front using dimensionals. I cut Gold Foil using one of the Stitched Rectangle Dies and attached it across the card front. I stamped the greeting from the Merriest Moments stamp set onto Shaded Spruce card using Versamark ink, sprinkled the image with White Embossing Powder and heat set it.

I cut out the greeting using another of the Stitched Rectangle Dies and attached it to the Gold Foil stitched rectangle using dimensionals. To decorate the inside of the card, I stamped another greeting from the Merriest Moments stamp set onto Basic White card using Shaded Spruce ink. I stamped the Festive Foliage stamp onto a strip of Shaded Spruce card which I heat set and coloured as before. I attached a narrow strip of Gold Foil card behind one long edge of the stamped Shaded Spruce card. I cut Shaded Spruce card using the largest rectangle from the Scalloped Contour Dies to create an edge which I attached behind the Gold Foil card. The whole panel is attached across the bottom of the stamped Basic White card.
I have to say this is such a pretty card which I love. What about you what do you think?
Bye for now,
Kris
Product Used: