Christmas in July
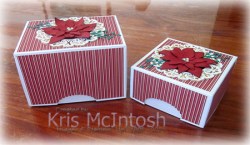
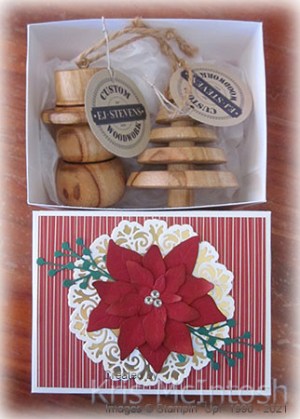
My husband and I recently spent three days in Stanthorpe recently to celebrate Christmas in July with the Fortitude Caravan Club. We had a lovely time although it was really cold and Friday was wet too. On Saturday afternoon we had a Secret Santa gift giving session and I thought I would share with you how I presented our gifts. The first gift was two beautiful Christmas Tree decorations made by my Grandson Ethan.

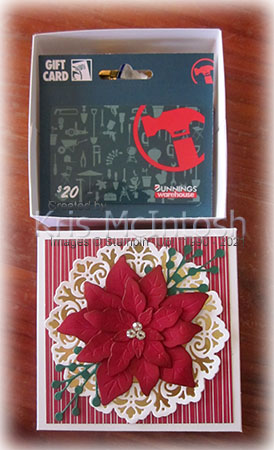
They are made from Camphor Laurel wood and smell devine. I created the box base and lid from Basic White 12″ x 12″ card. The box was 13cm x 10cm and 8cm deep. The second box is also created from Basic White card and is slightly smaller being 10cm x 10cm and 5cm deep. This box held some chocolates and a Bunnings Gift Voucher.
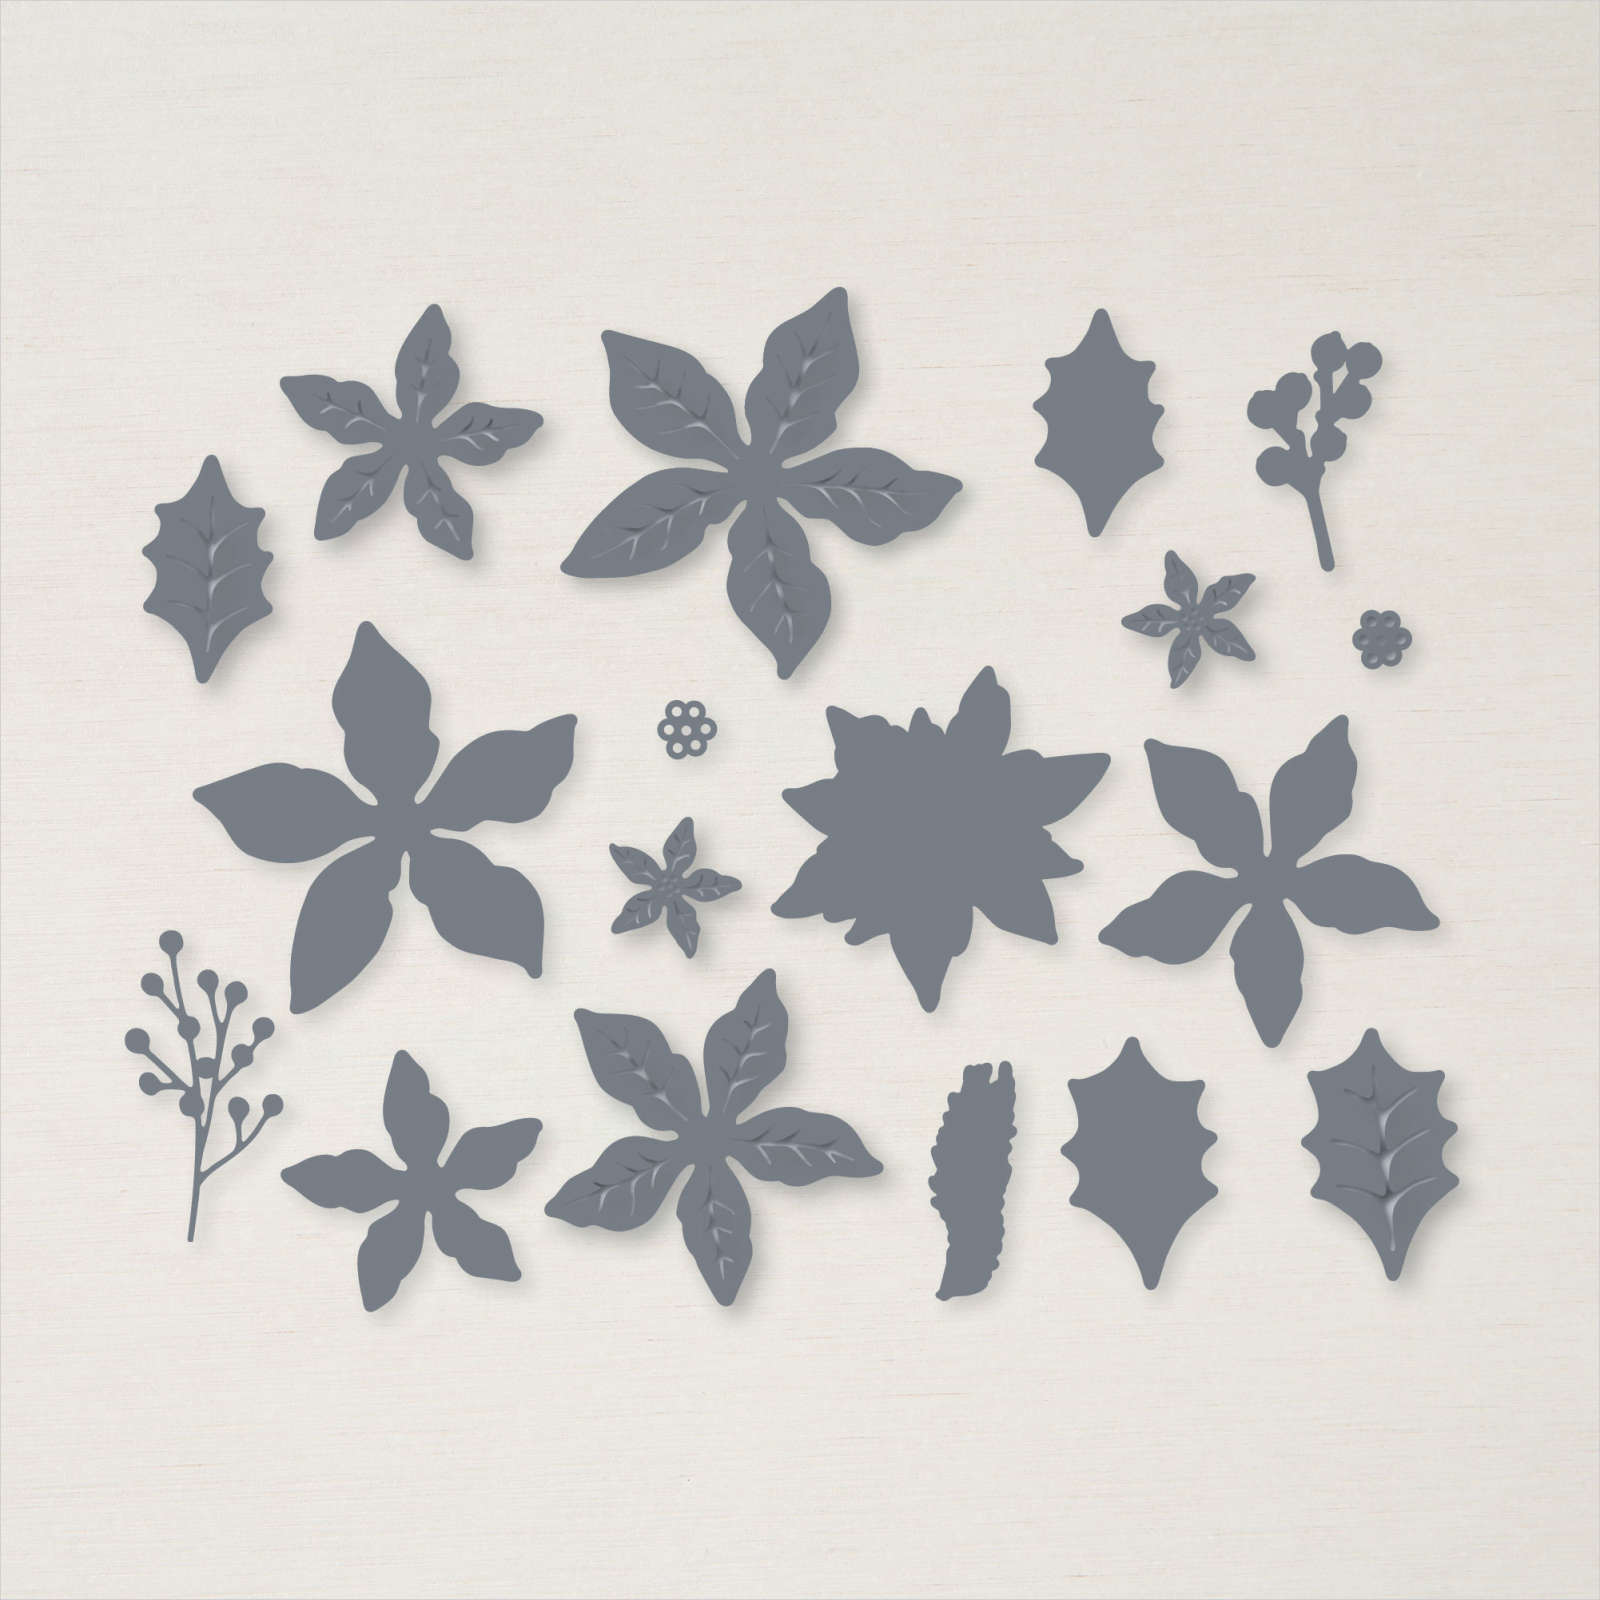
My hubby loves Bunnings Gift Vouchers and wanted to steal this present back! To decorate the box lids I added panels of the Tidings of Christmas 6″ x 6″ Designer Series Paper. I punched two sides of the lids using the Double Oval Punch to give a finger grip to remove the lid. I cut Basic White card using one of the Encircled in Beauty Dies and attached it to Gold Foil card cut using the same dies before attaching the panel to the lid. I cut the flower petals from Cherry Cobbler card using the Poinsettia Dies.
I added a slight sponging of Cherry Cobbler ink around the edges of the flowers before attaching them together. The flower is attached to the centre of the dies on the lid of the box with dimensionals underneath the outer part of the petals and glue dots in the centre to give it a little dimension. I cut Shaded Spruce card using another of the Poinsettia Dies, which I attached on either side of the flower. Lastly I added three Basic Rhinestones to the centre of the flower because you have to have bling.
I hope whoever received the gifts loves them as much as I do.
Bye for now,
Kris
Product Used:


Mojo Sketch 559
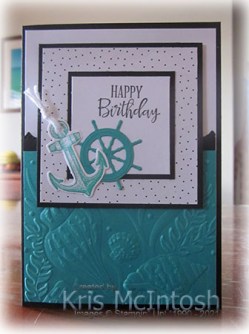
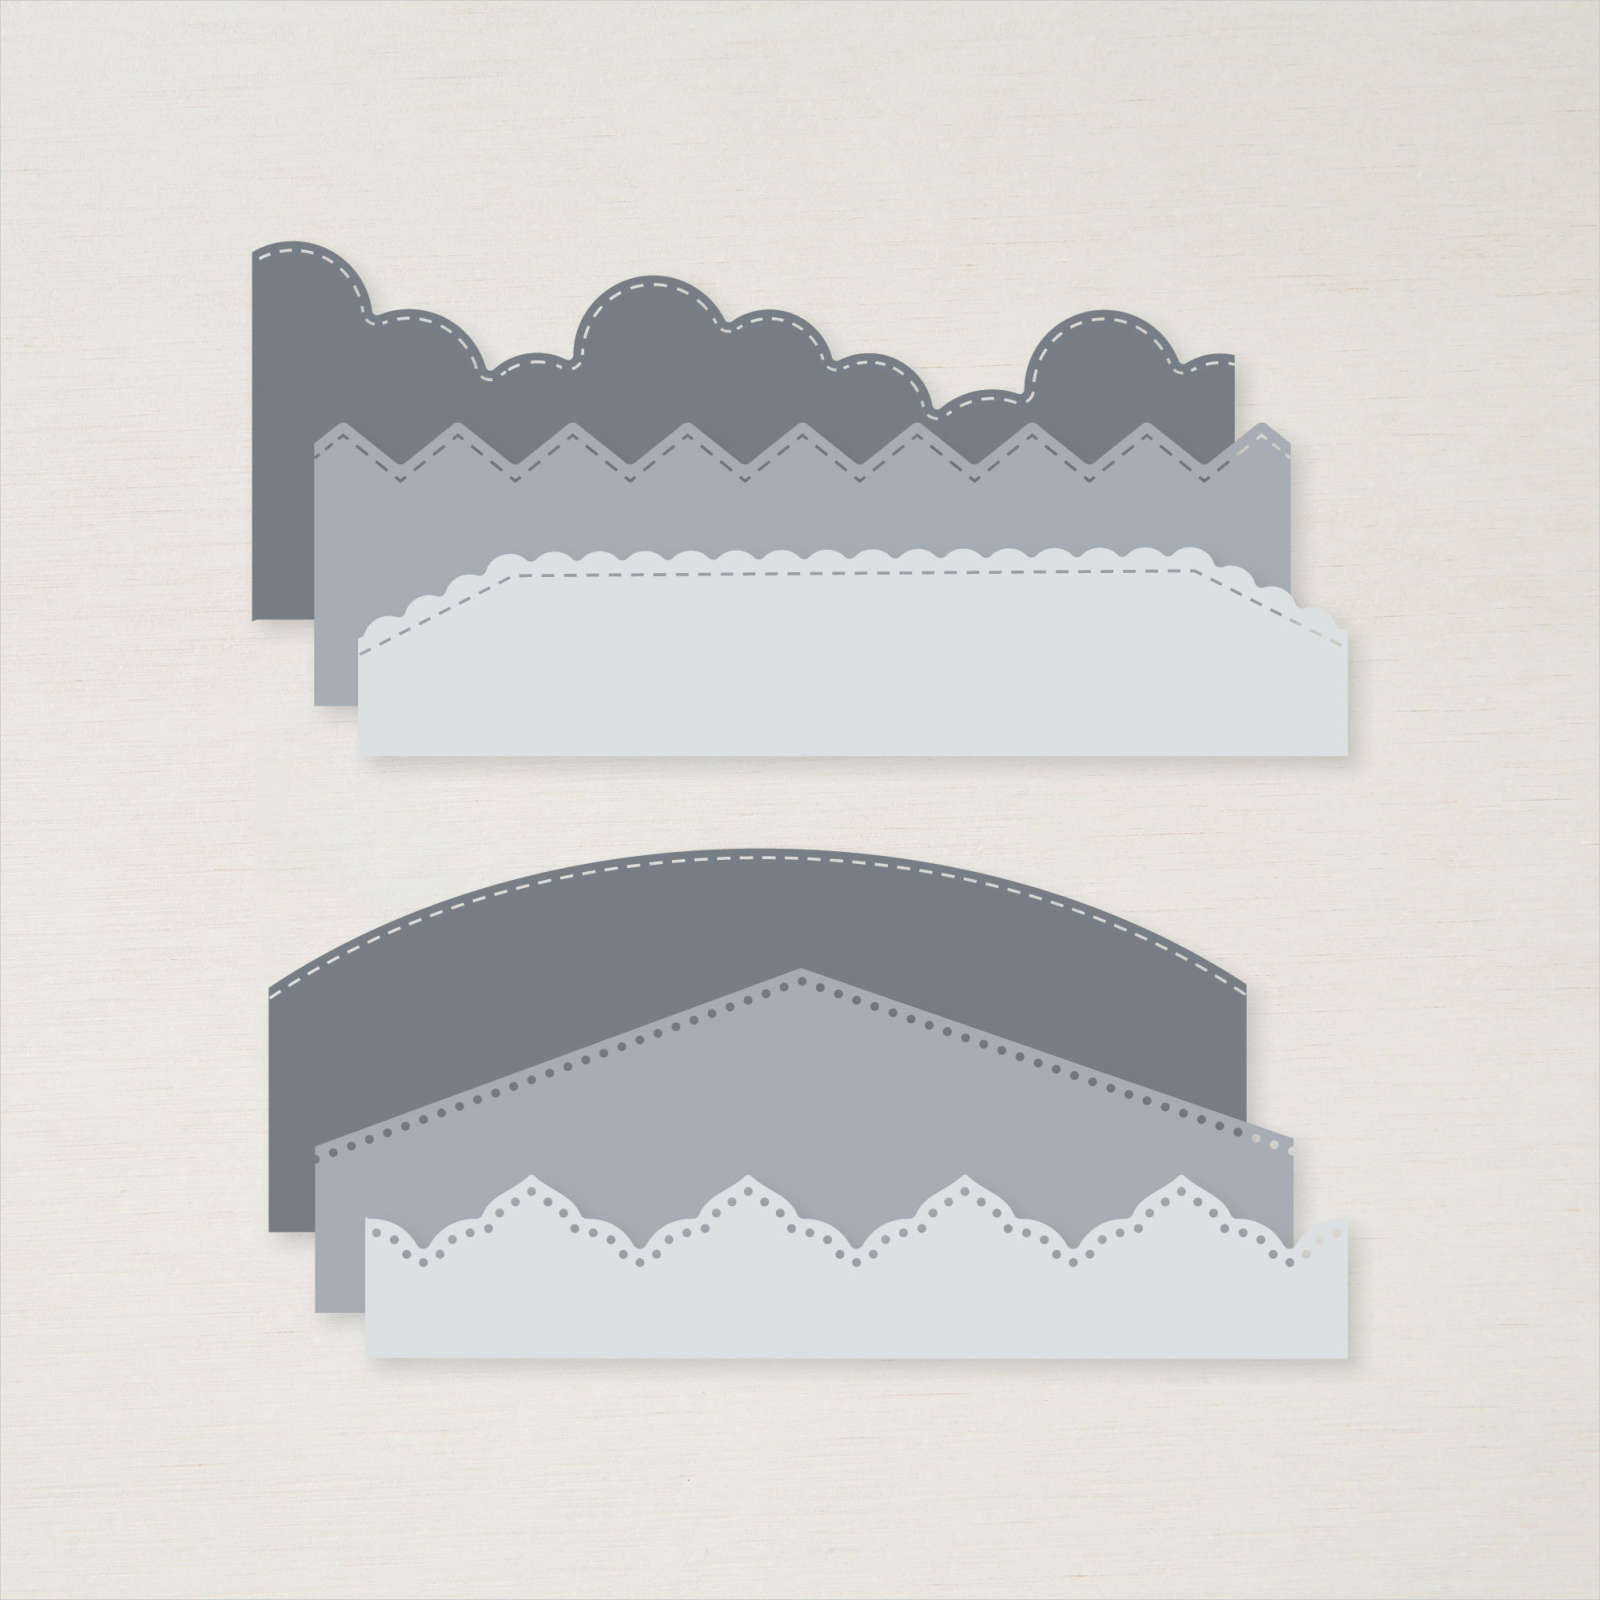
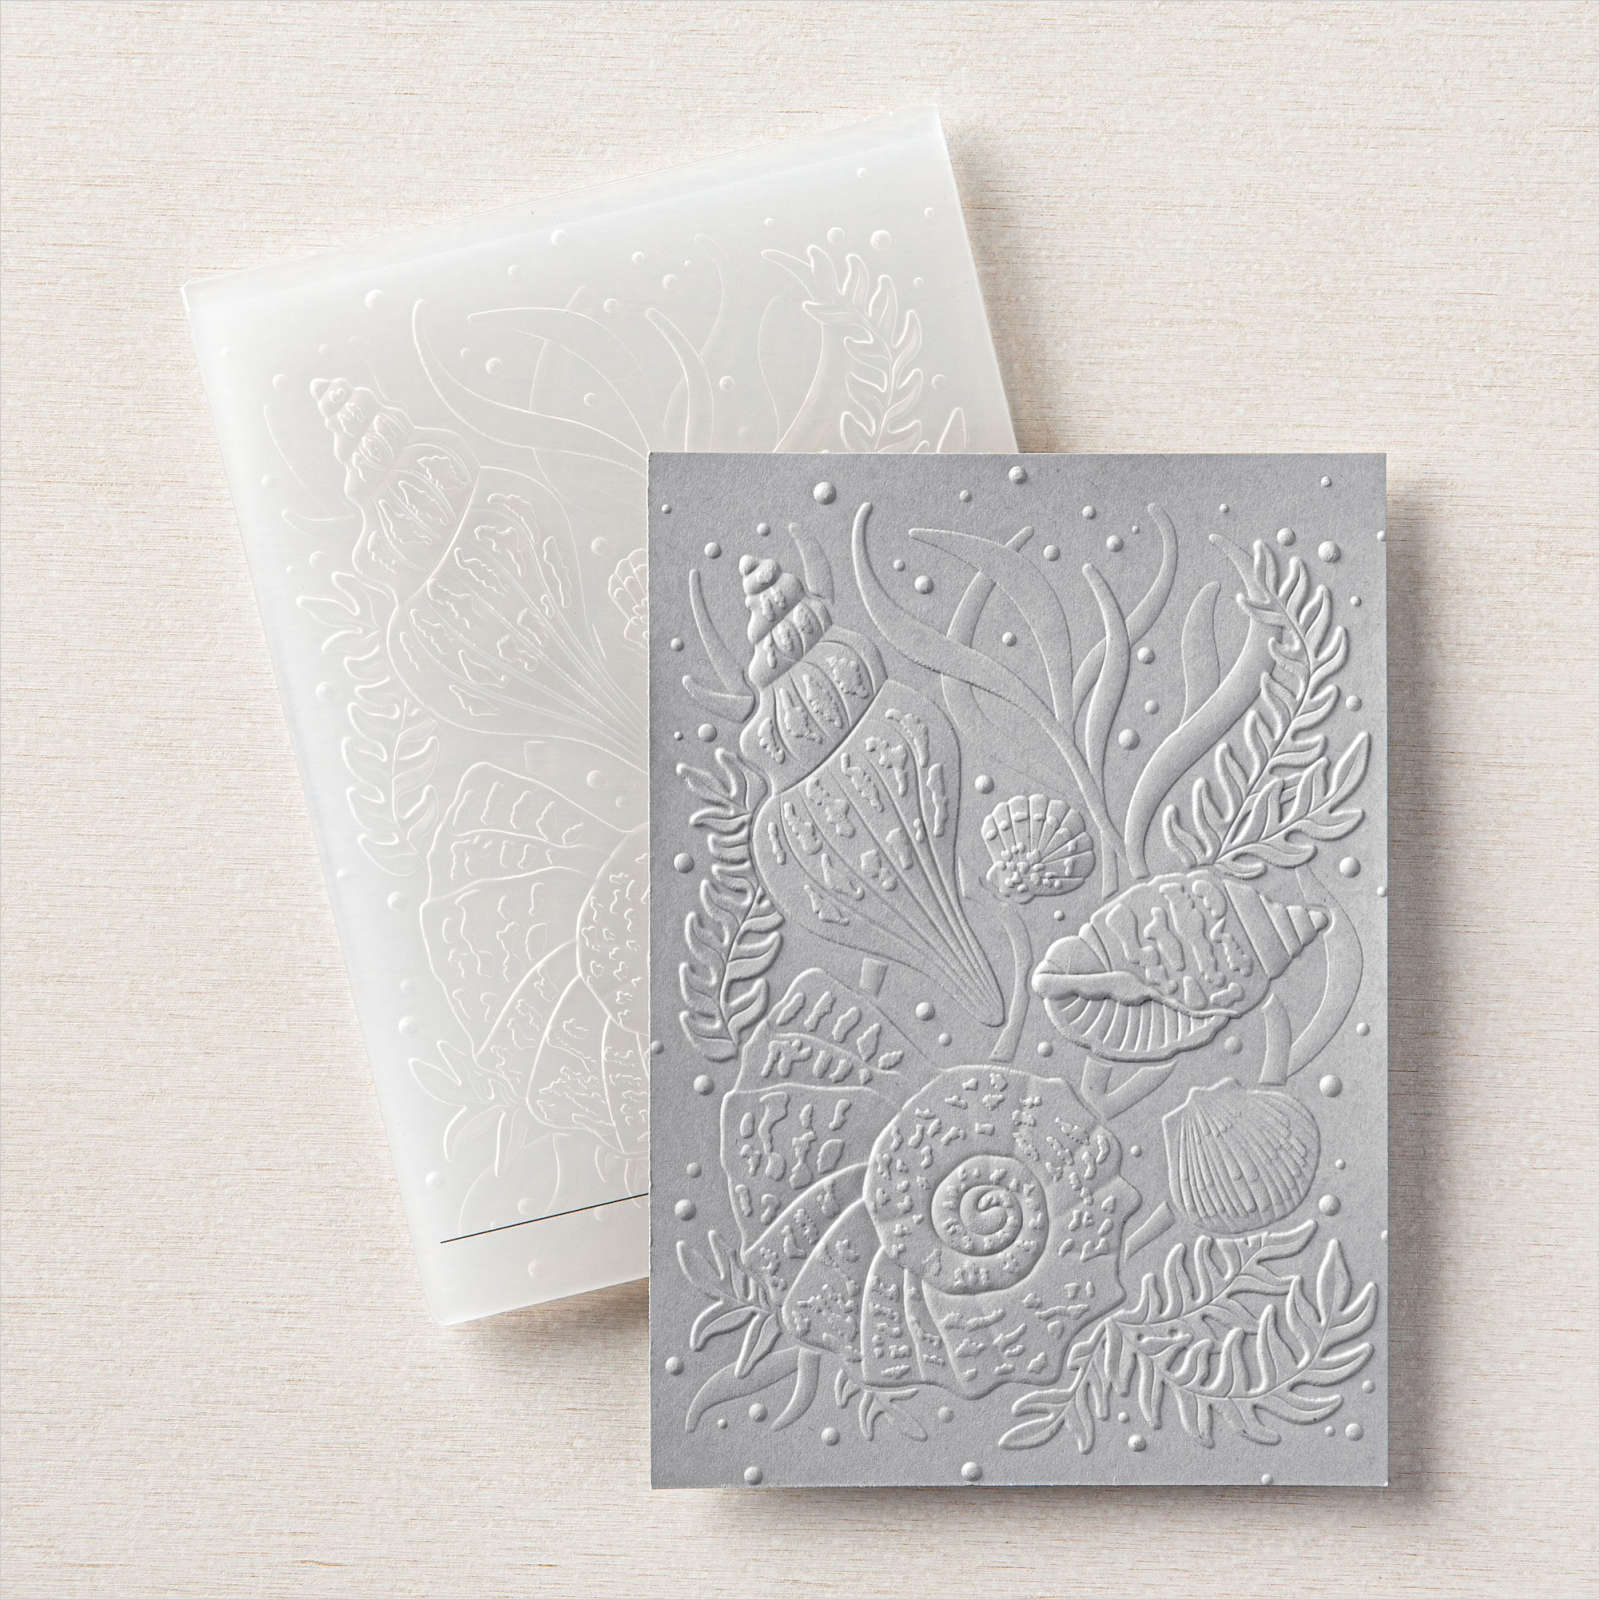
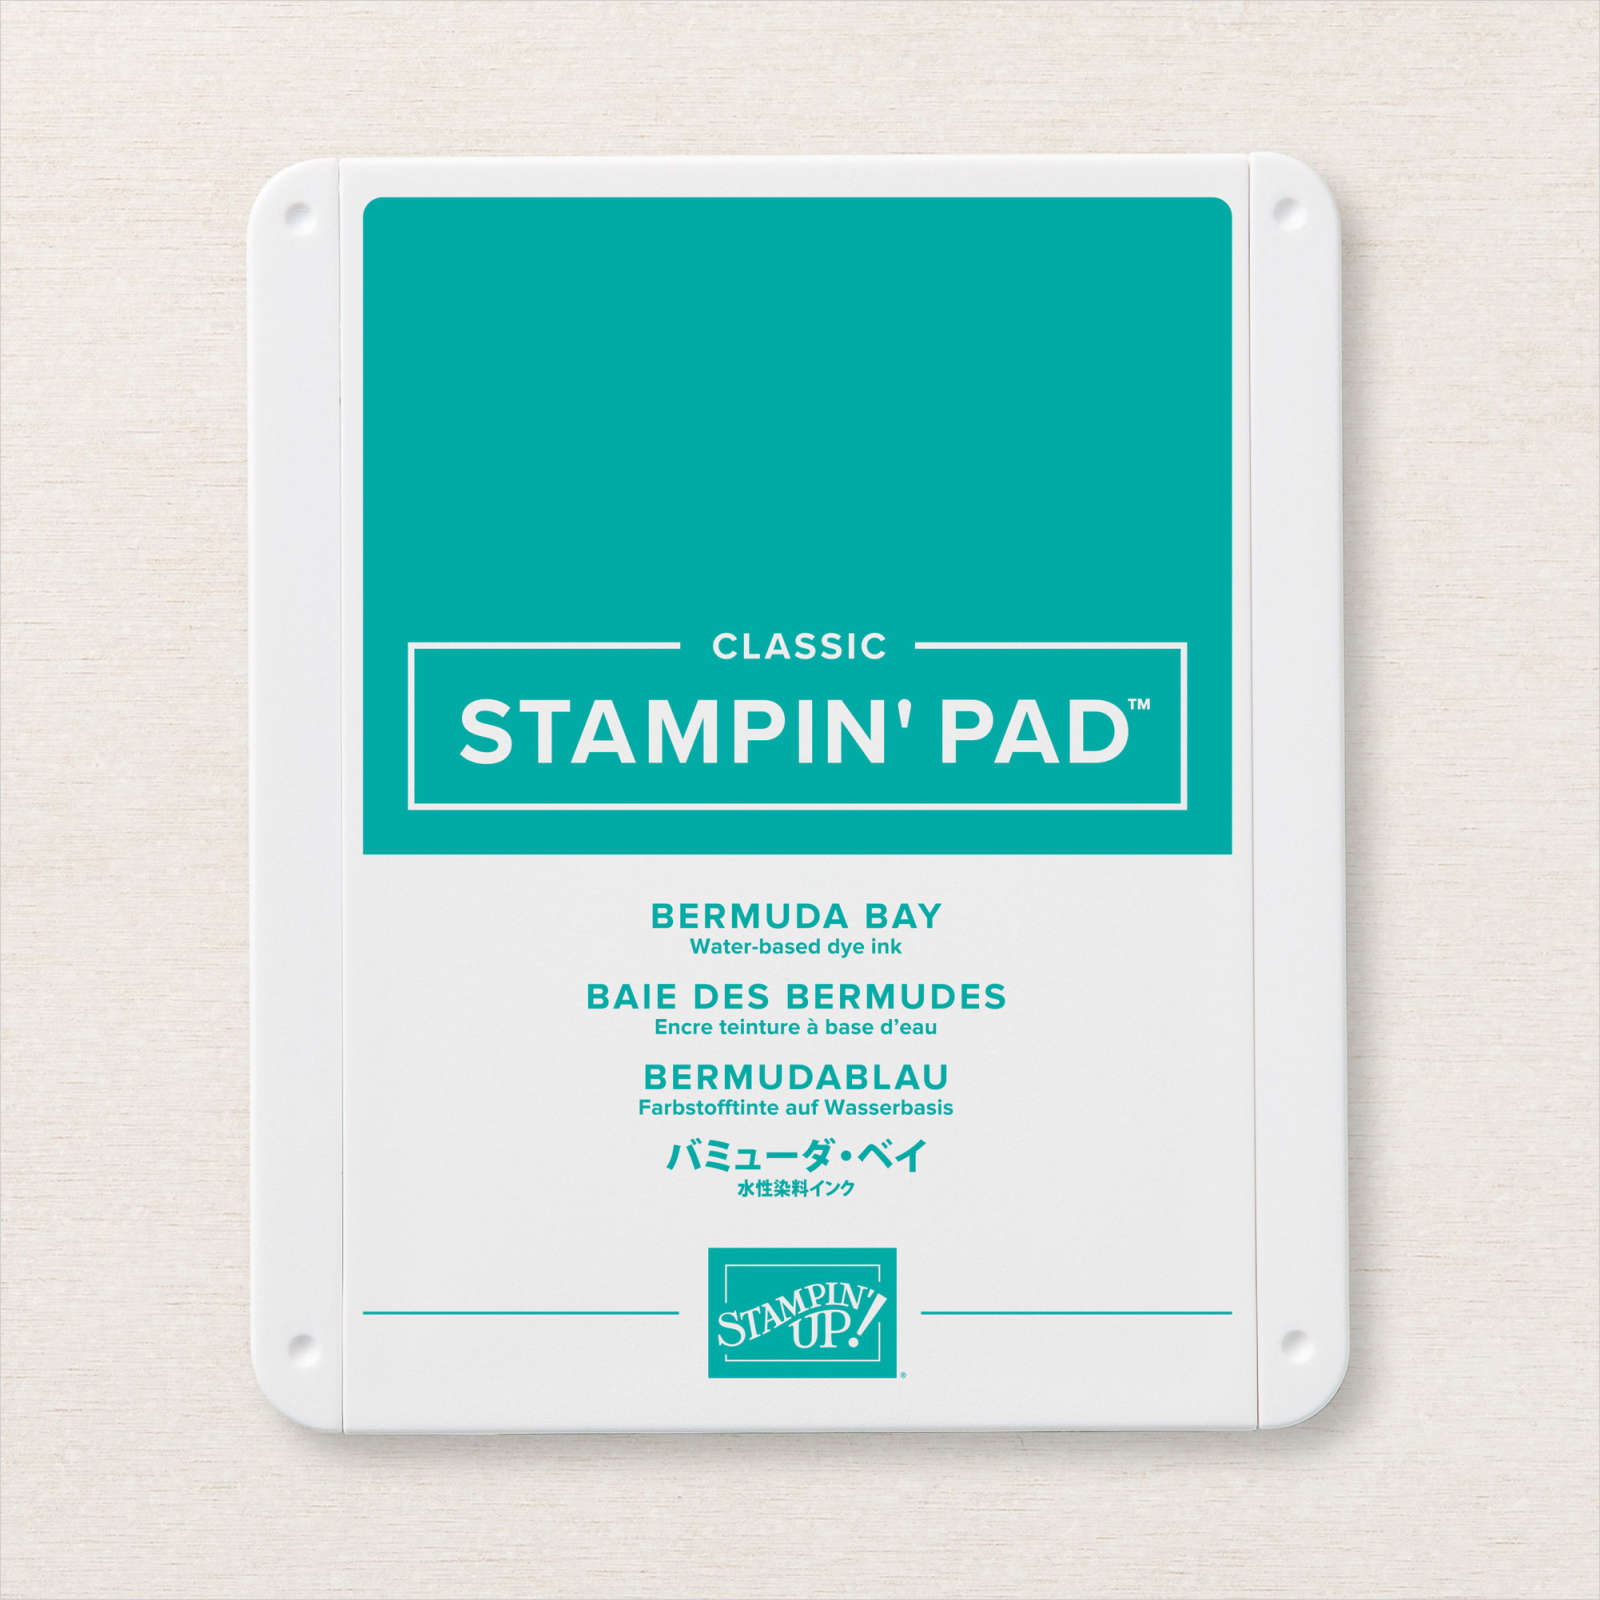
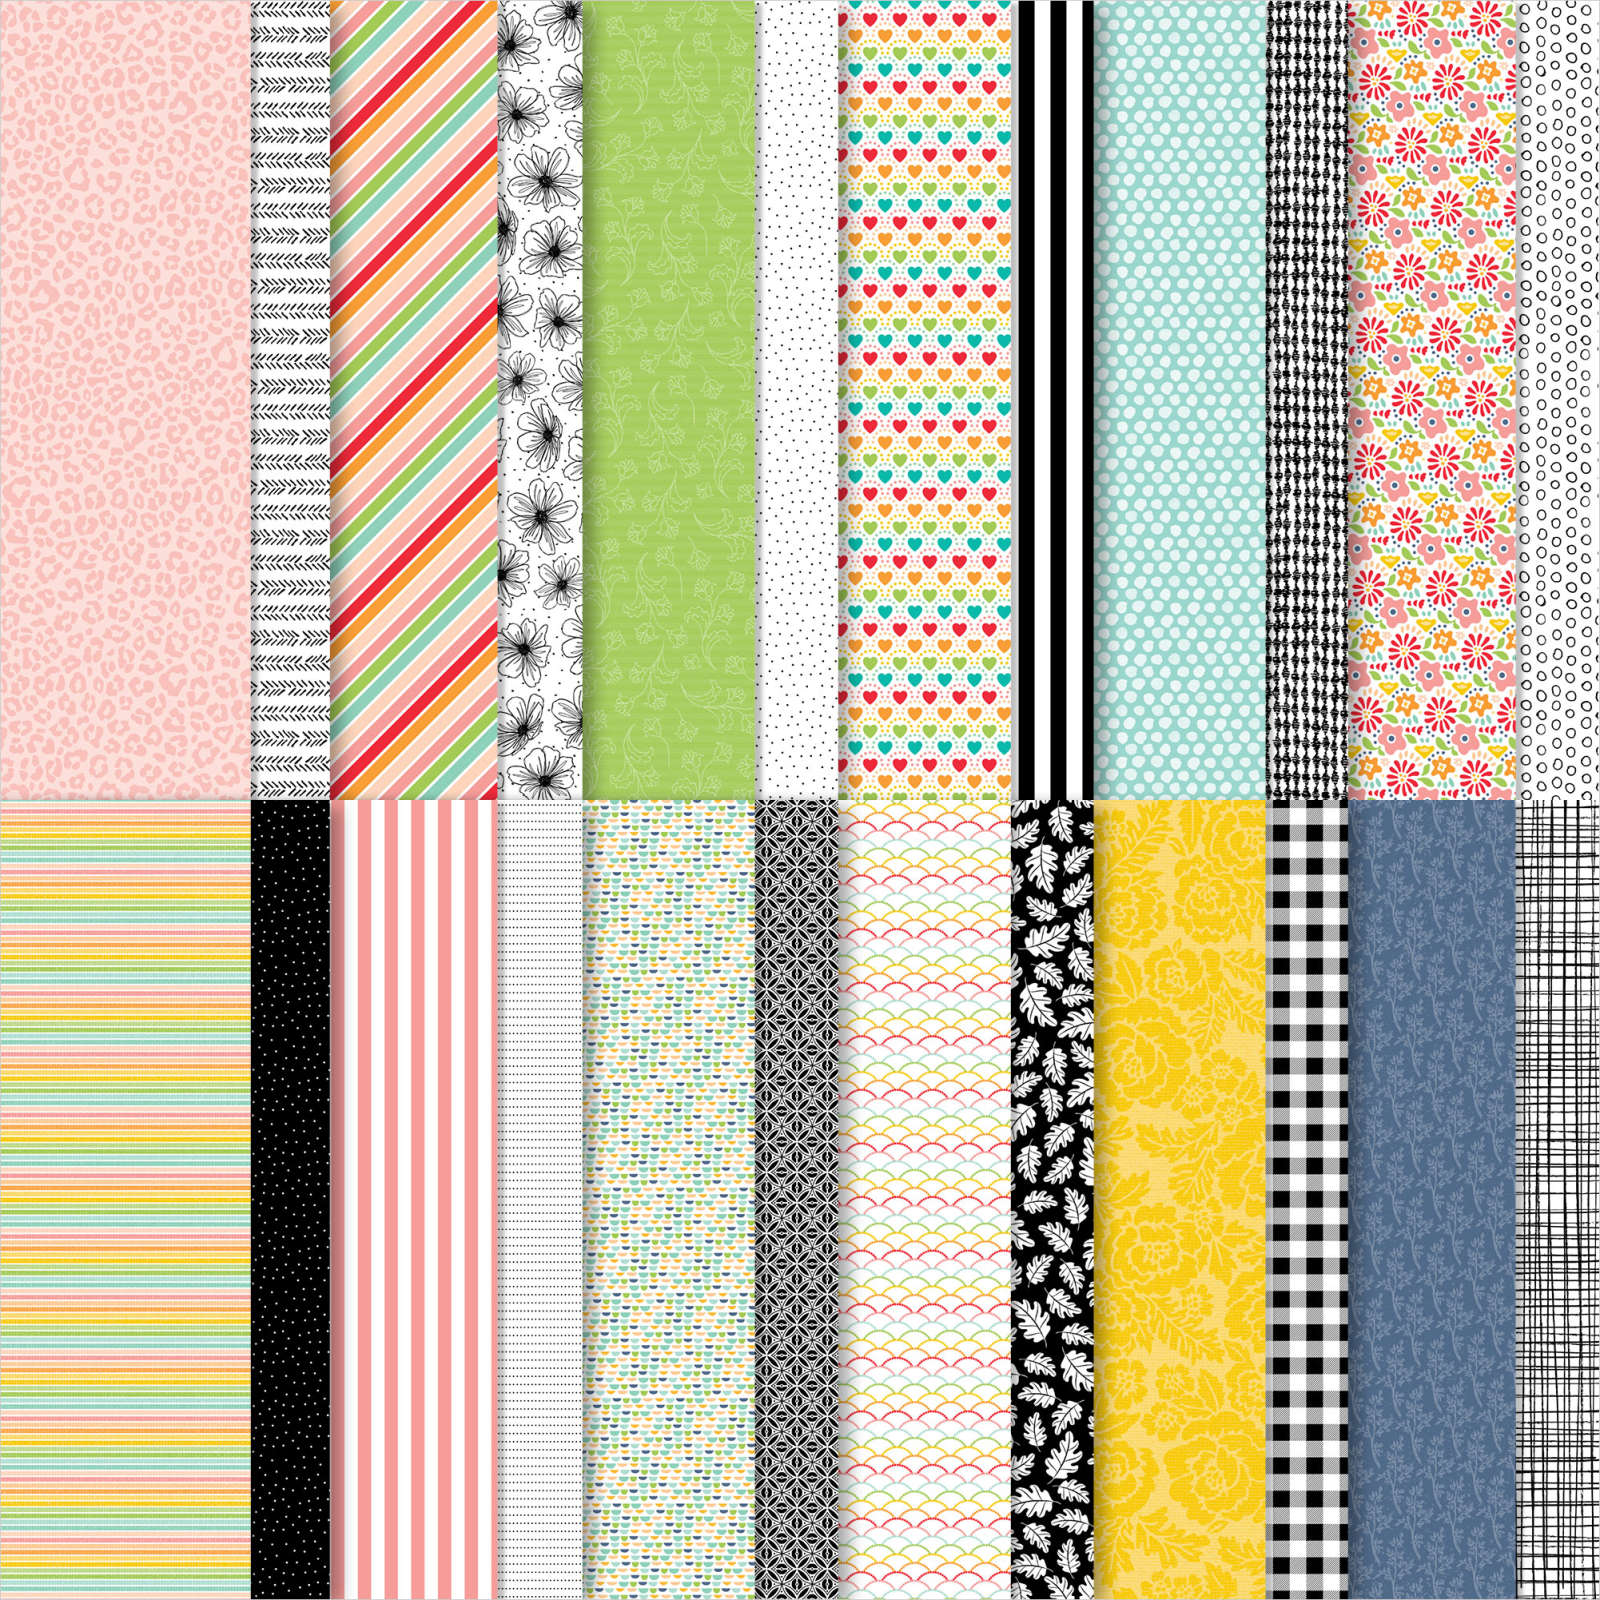
Today’s card was inspired by a sketch challenge at Poetic Artistry which by the time I found it was already closed. However, I decided to use the sketch to create the card I am sharing with you today. I embossed a piece of Bermuda Bay card using the Seashells 3D Embossing Folder. I cut Basic Black card using one of the dies from the Basic Border Dies and attached it behind one long edge of the embossed Bermuda Bay card. The panel is attached to Basic White card and then scored and folded Basic Black card. I attached a piece of Pattern Party Designer Series Paper to Basic Black card and then the card front using dimensionals.
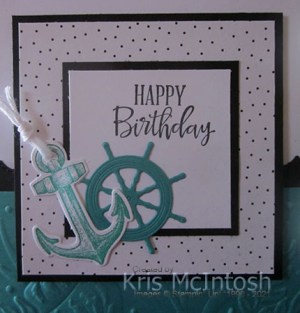
I stamped “happy birthday” from the Peaceful Moments stamp set onto Basic White card using Memento Tuxedo Black ink. I attached the stamped panel to Basic Black card and then to the middle of the Designer Series Paper panel.

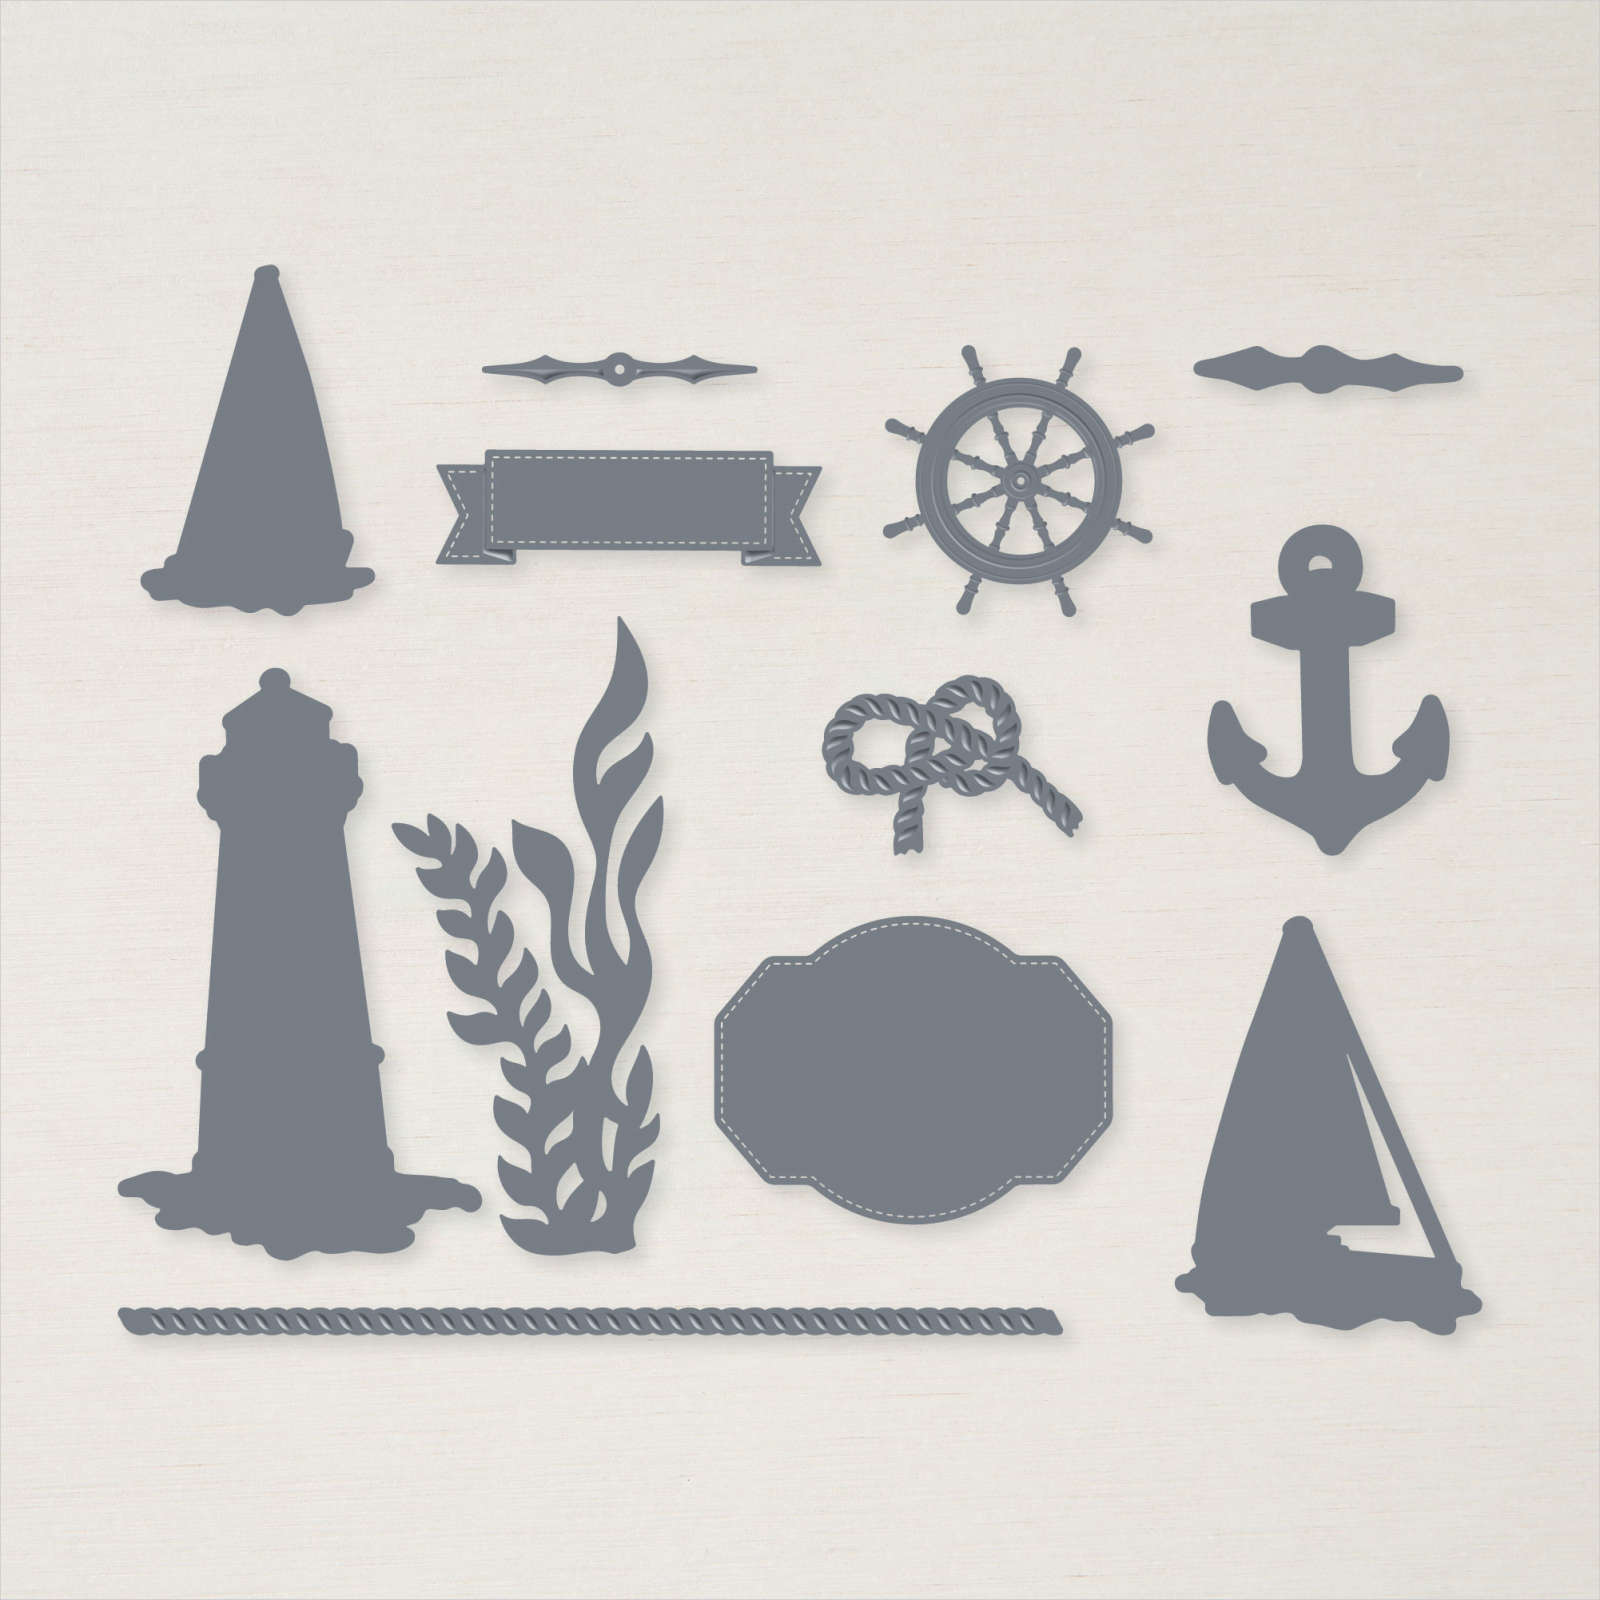
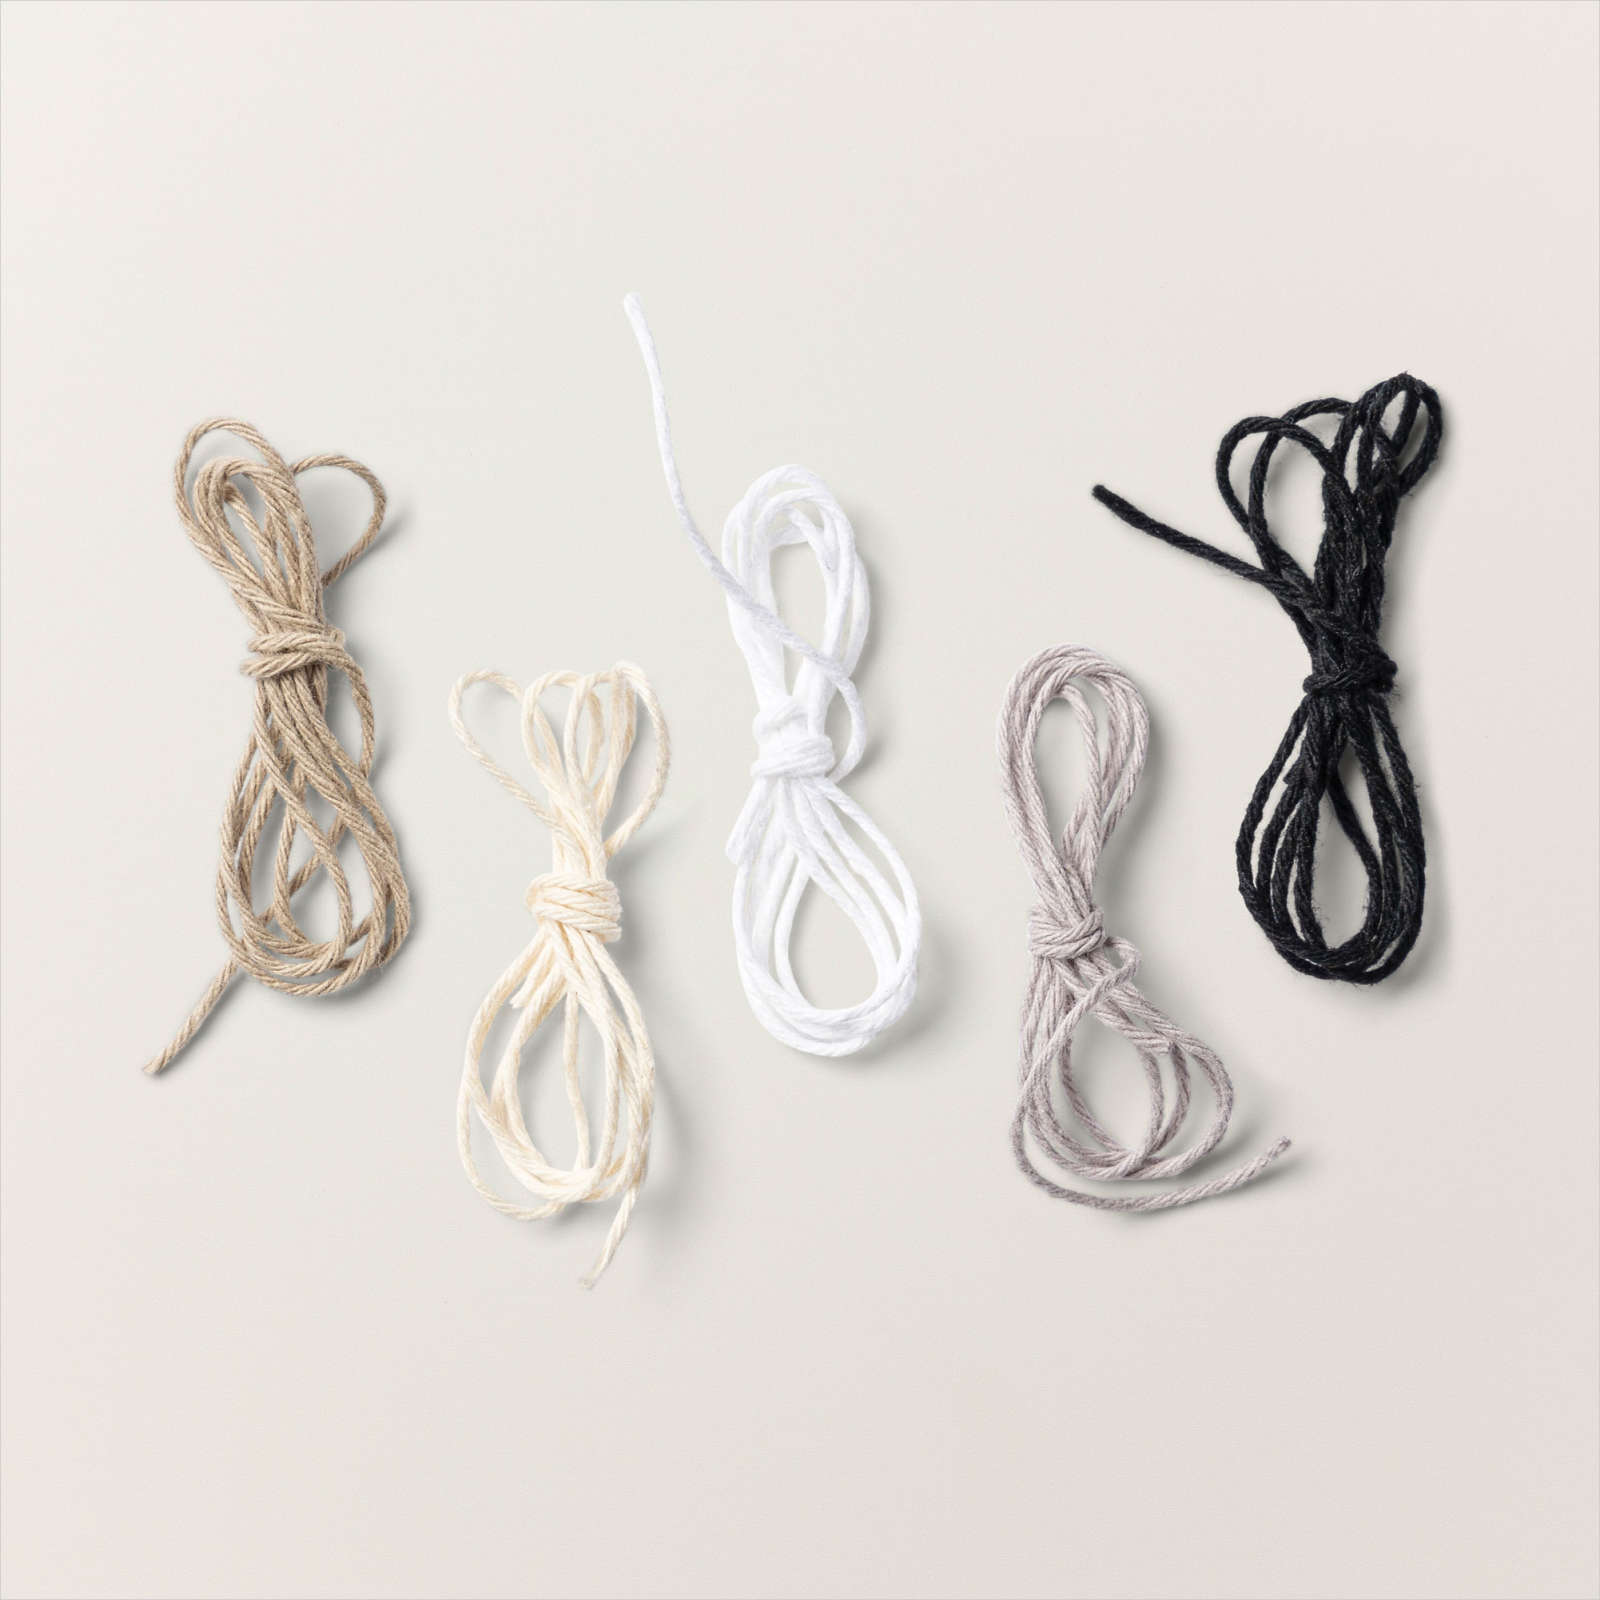
I cut Bermuda Bay card using the wheel die from the Smooth Sailing Dies and attached it onto the stamped panel below the greeting. I stamped the anchor image from the Sailing Home stamp set onto Basic White card using Bermuda Bay ink. I cut out the anchor using the co-ordinating Smooth Sailing Die. I threaded some White Twine from the Baker’s Twine Essentials Pack through the hole in the top of the anchor and tied a knot before attaching it to the card front. To decorate the inside of the card, I stamped the compass image from the Sailing Home stamp set onto Basic White card using Bermuda Bay ink. I embossed Bermuda Bay card using the Seashells 3D Embossing Folder before attaching the other half of the die cut from Basic Black card using the Basic Border Dies behind one long edge. The panel is attached to the bottom of the stamped Basic White card.
I love the way this card turned out, don’t you?
Bye for now,
Kris
Product Used:


Anzac Day 2021
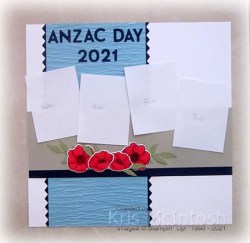
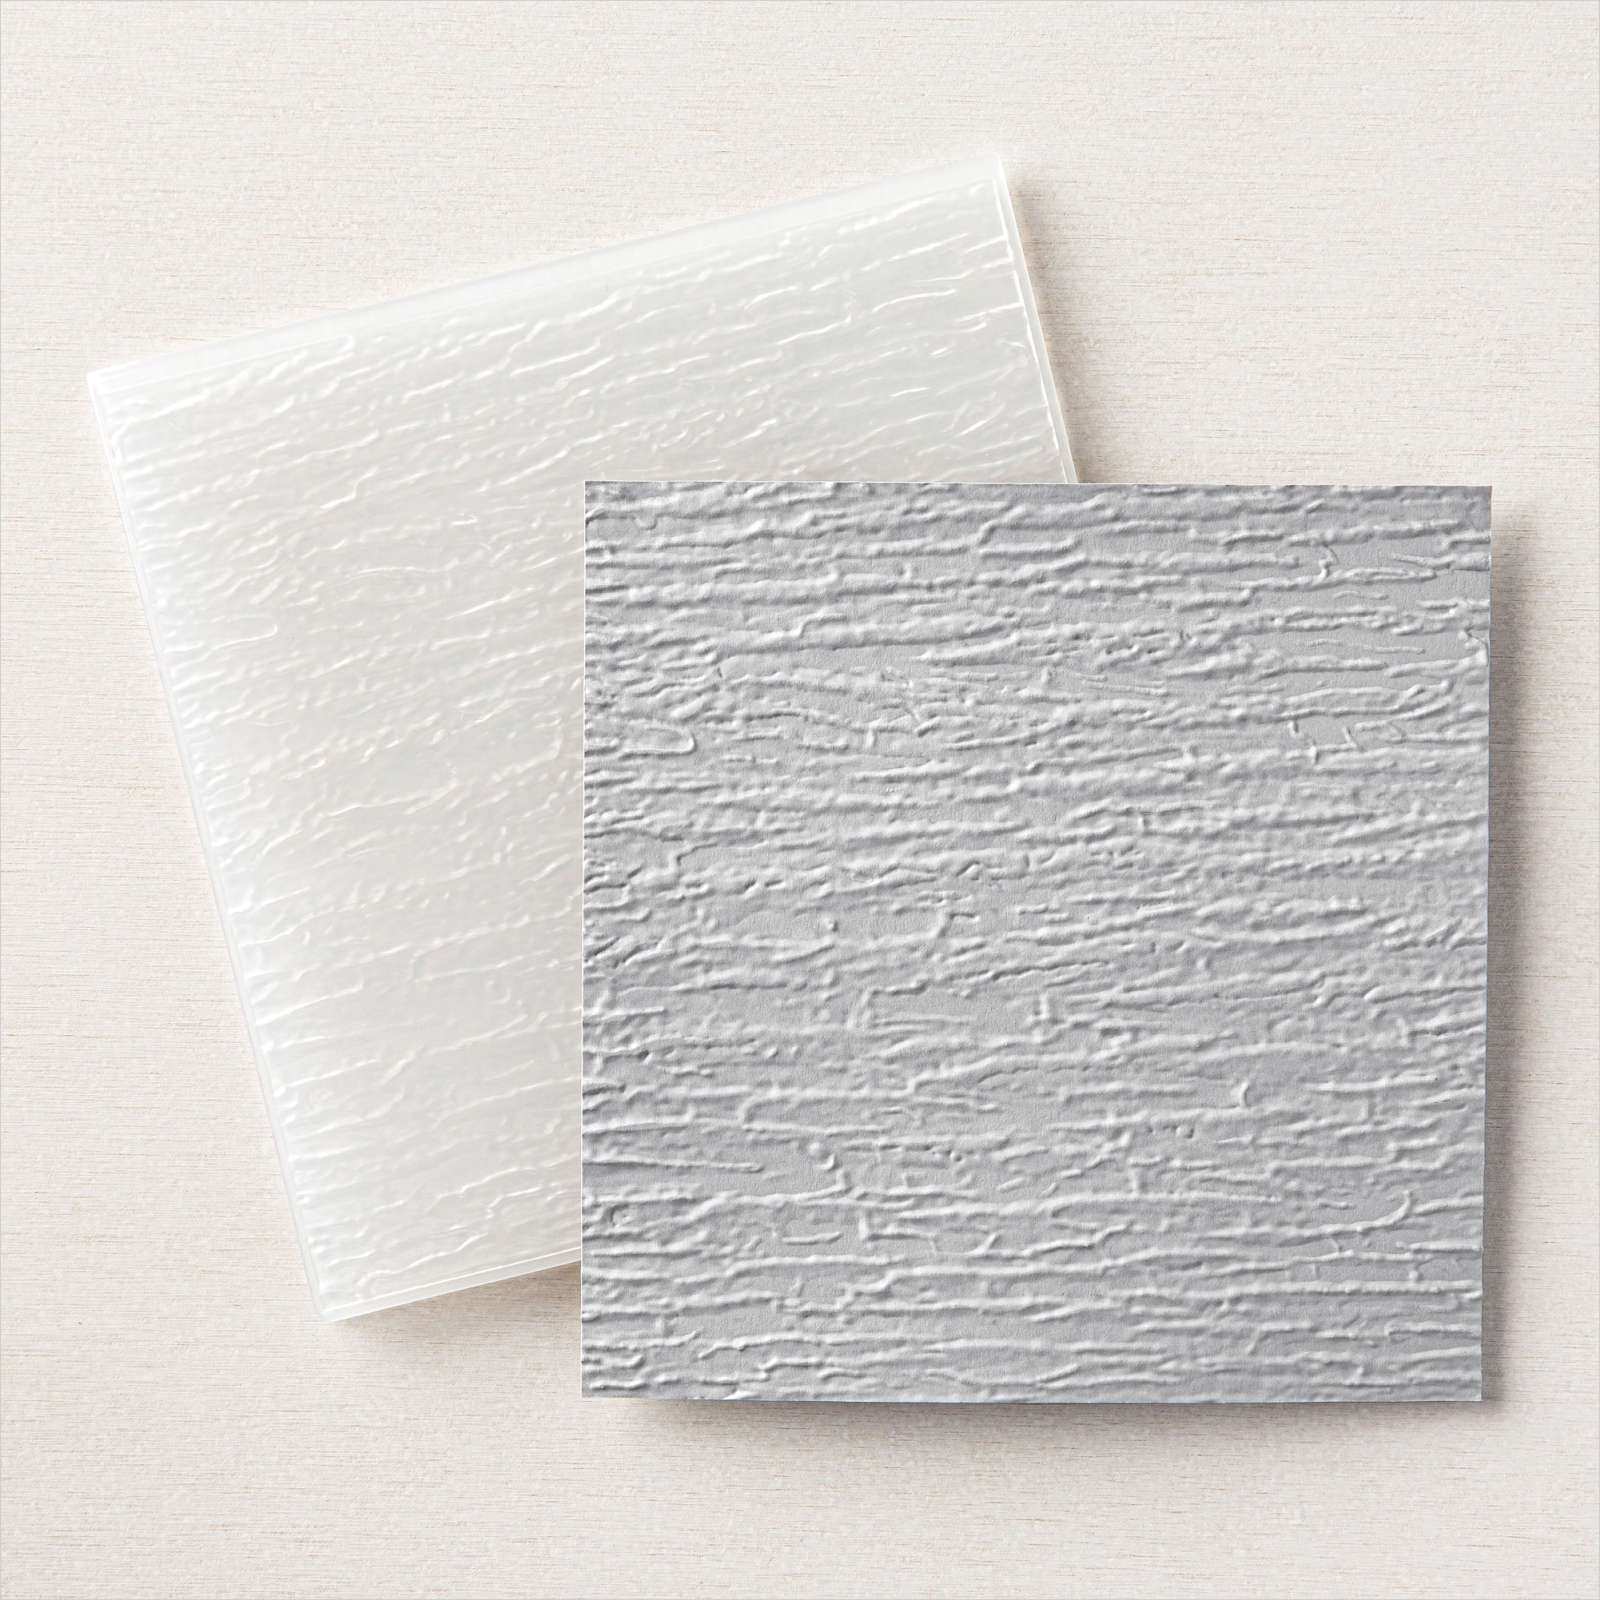
We were able to join our daughter and her family at the Dawn Service on Anzac Day at Ethan’s Cadet Base. Unfortunately the Cadet rules are that I cannot share any photos of Ethan wearing his uniform. So I have placed some copy paper to indicate where the photos will go. I started my page by embossing Balmy Blue card using the Bark 3D Embossing Folder. I cut Night of Navy card using one of the Basic Border Dies and attached the die cuts down each side of the embossed card before attaching the panel to a Basic White 12″ x 12″ page.
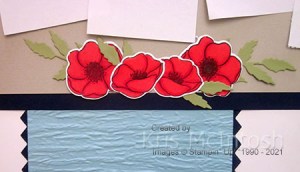
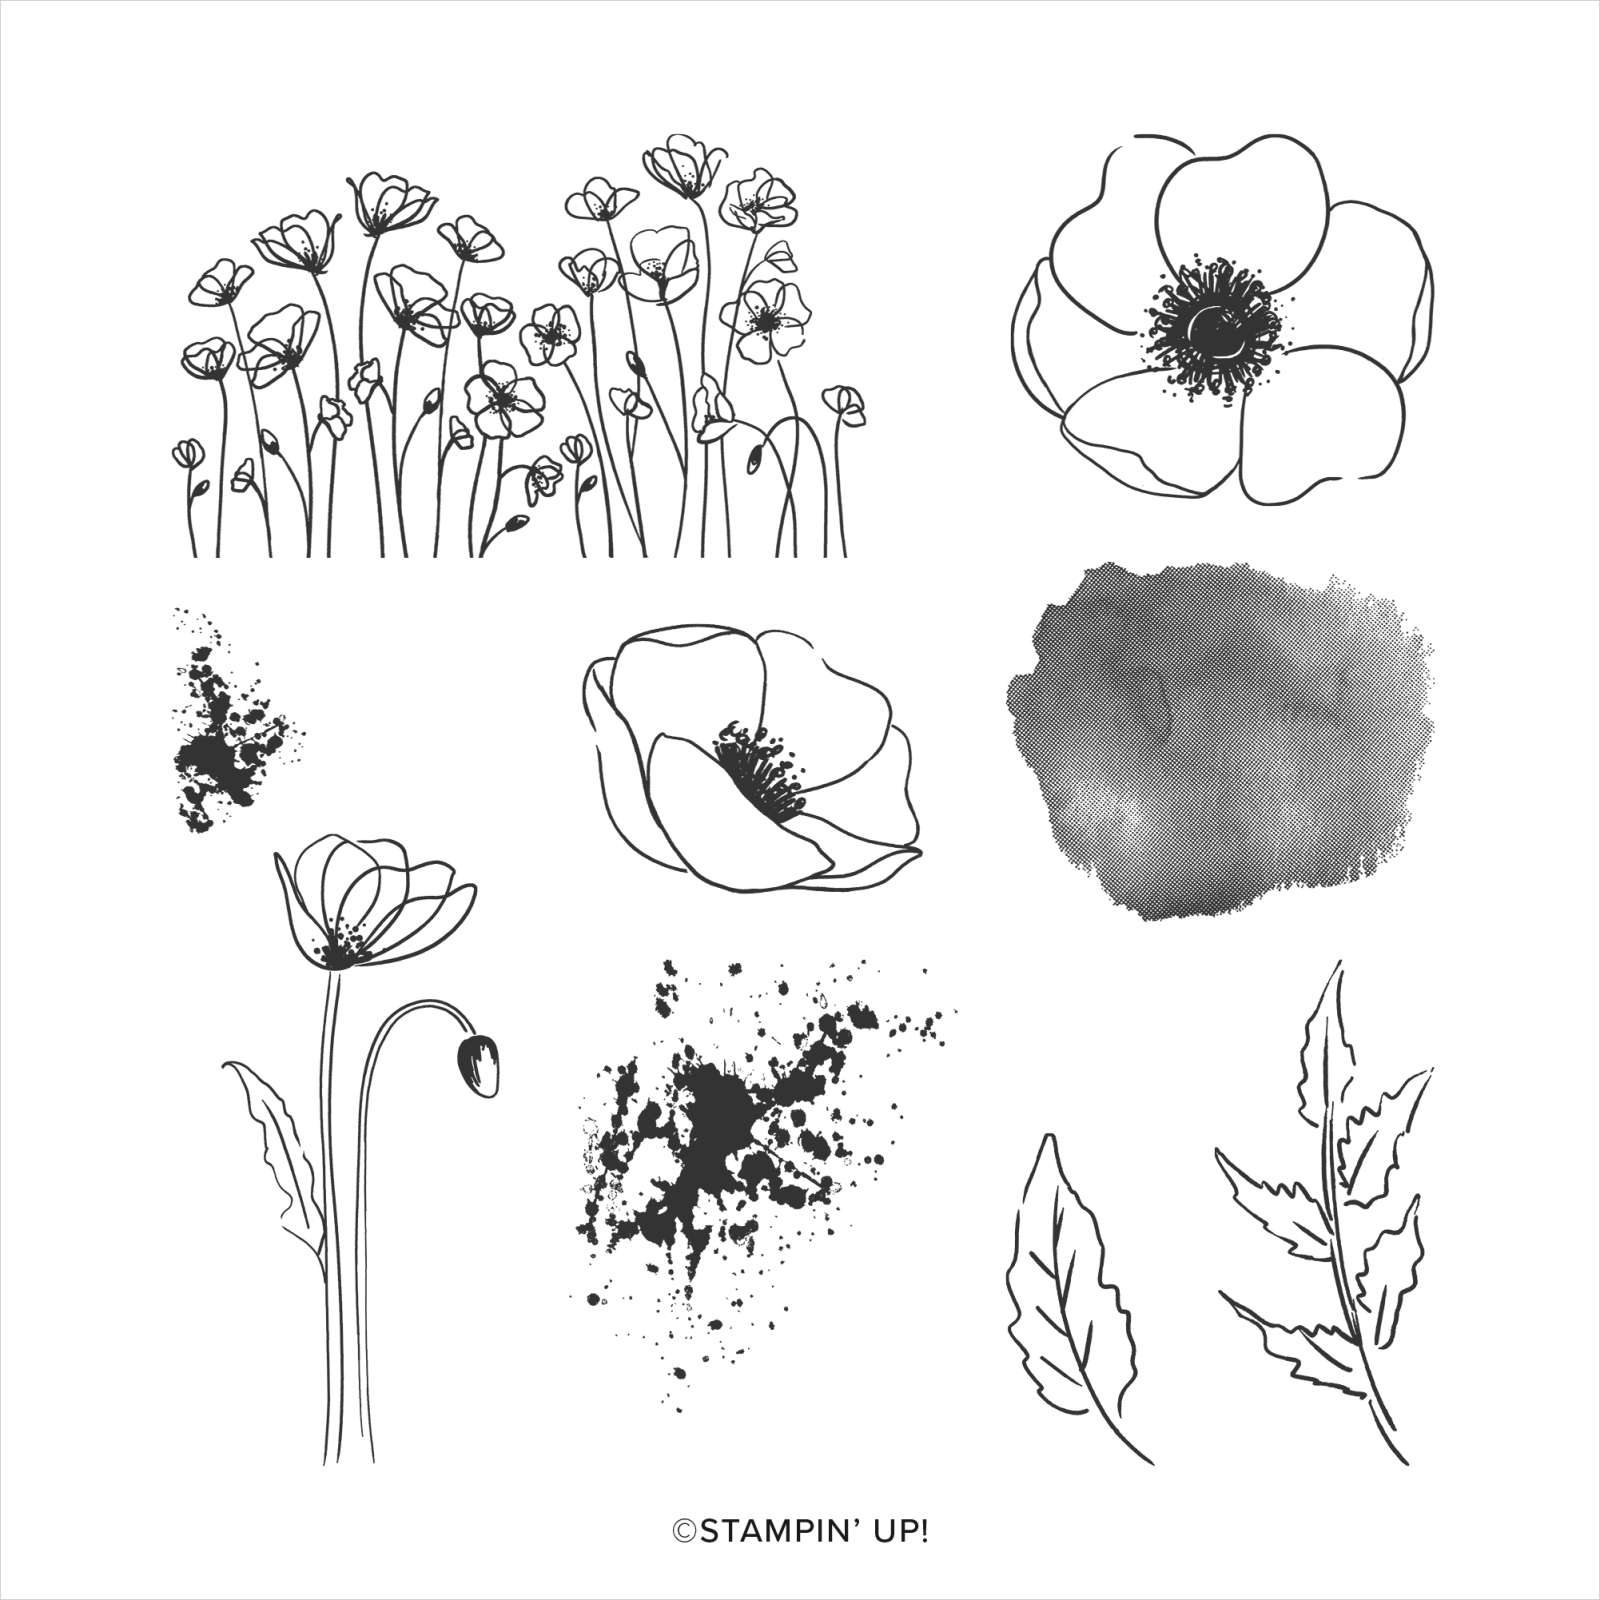
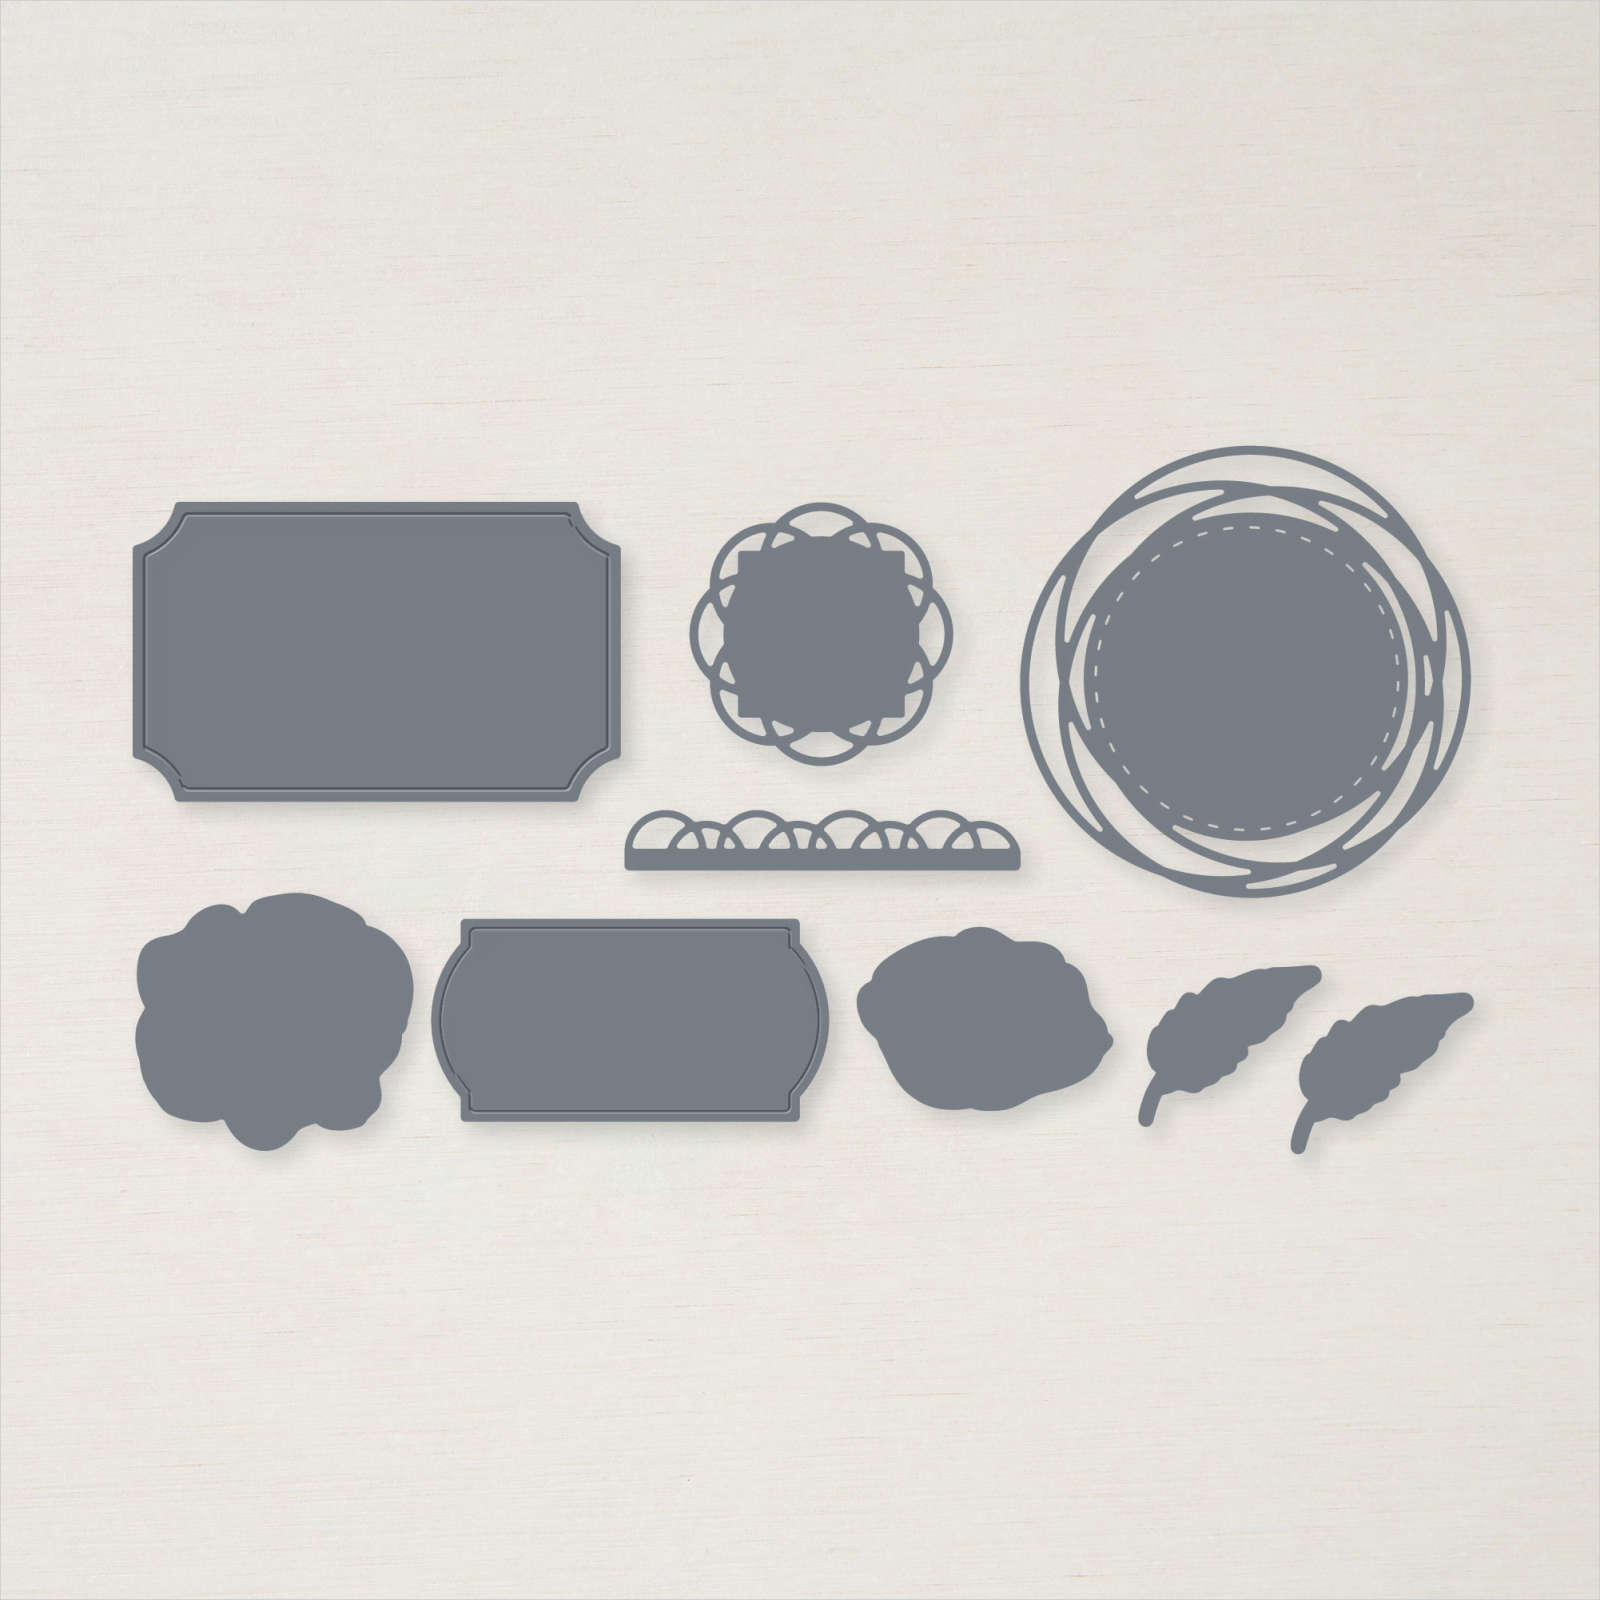
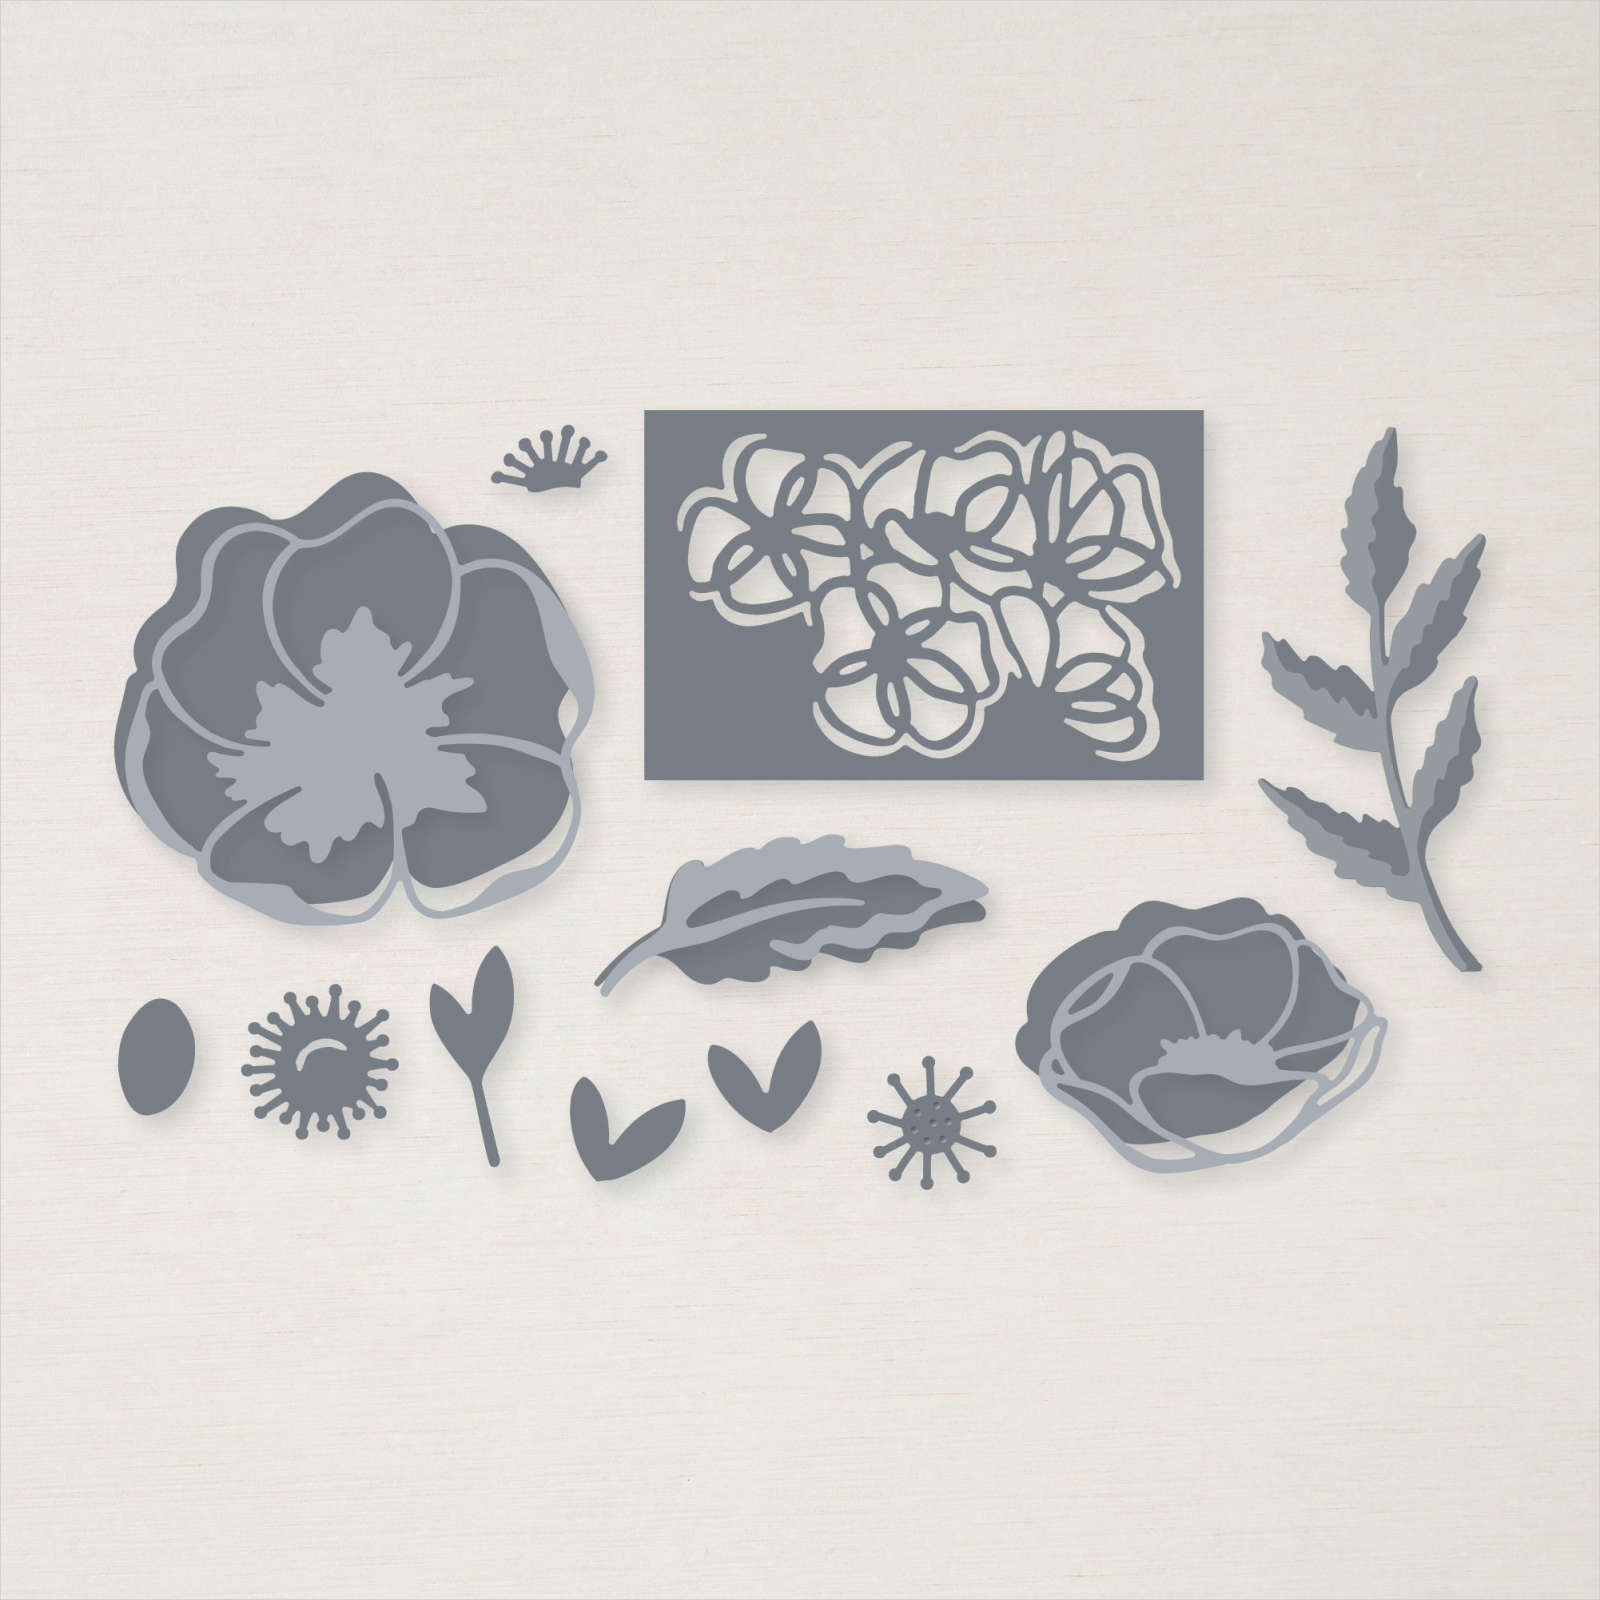
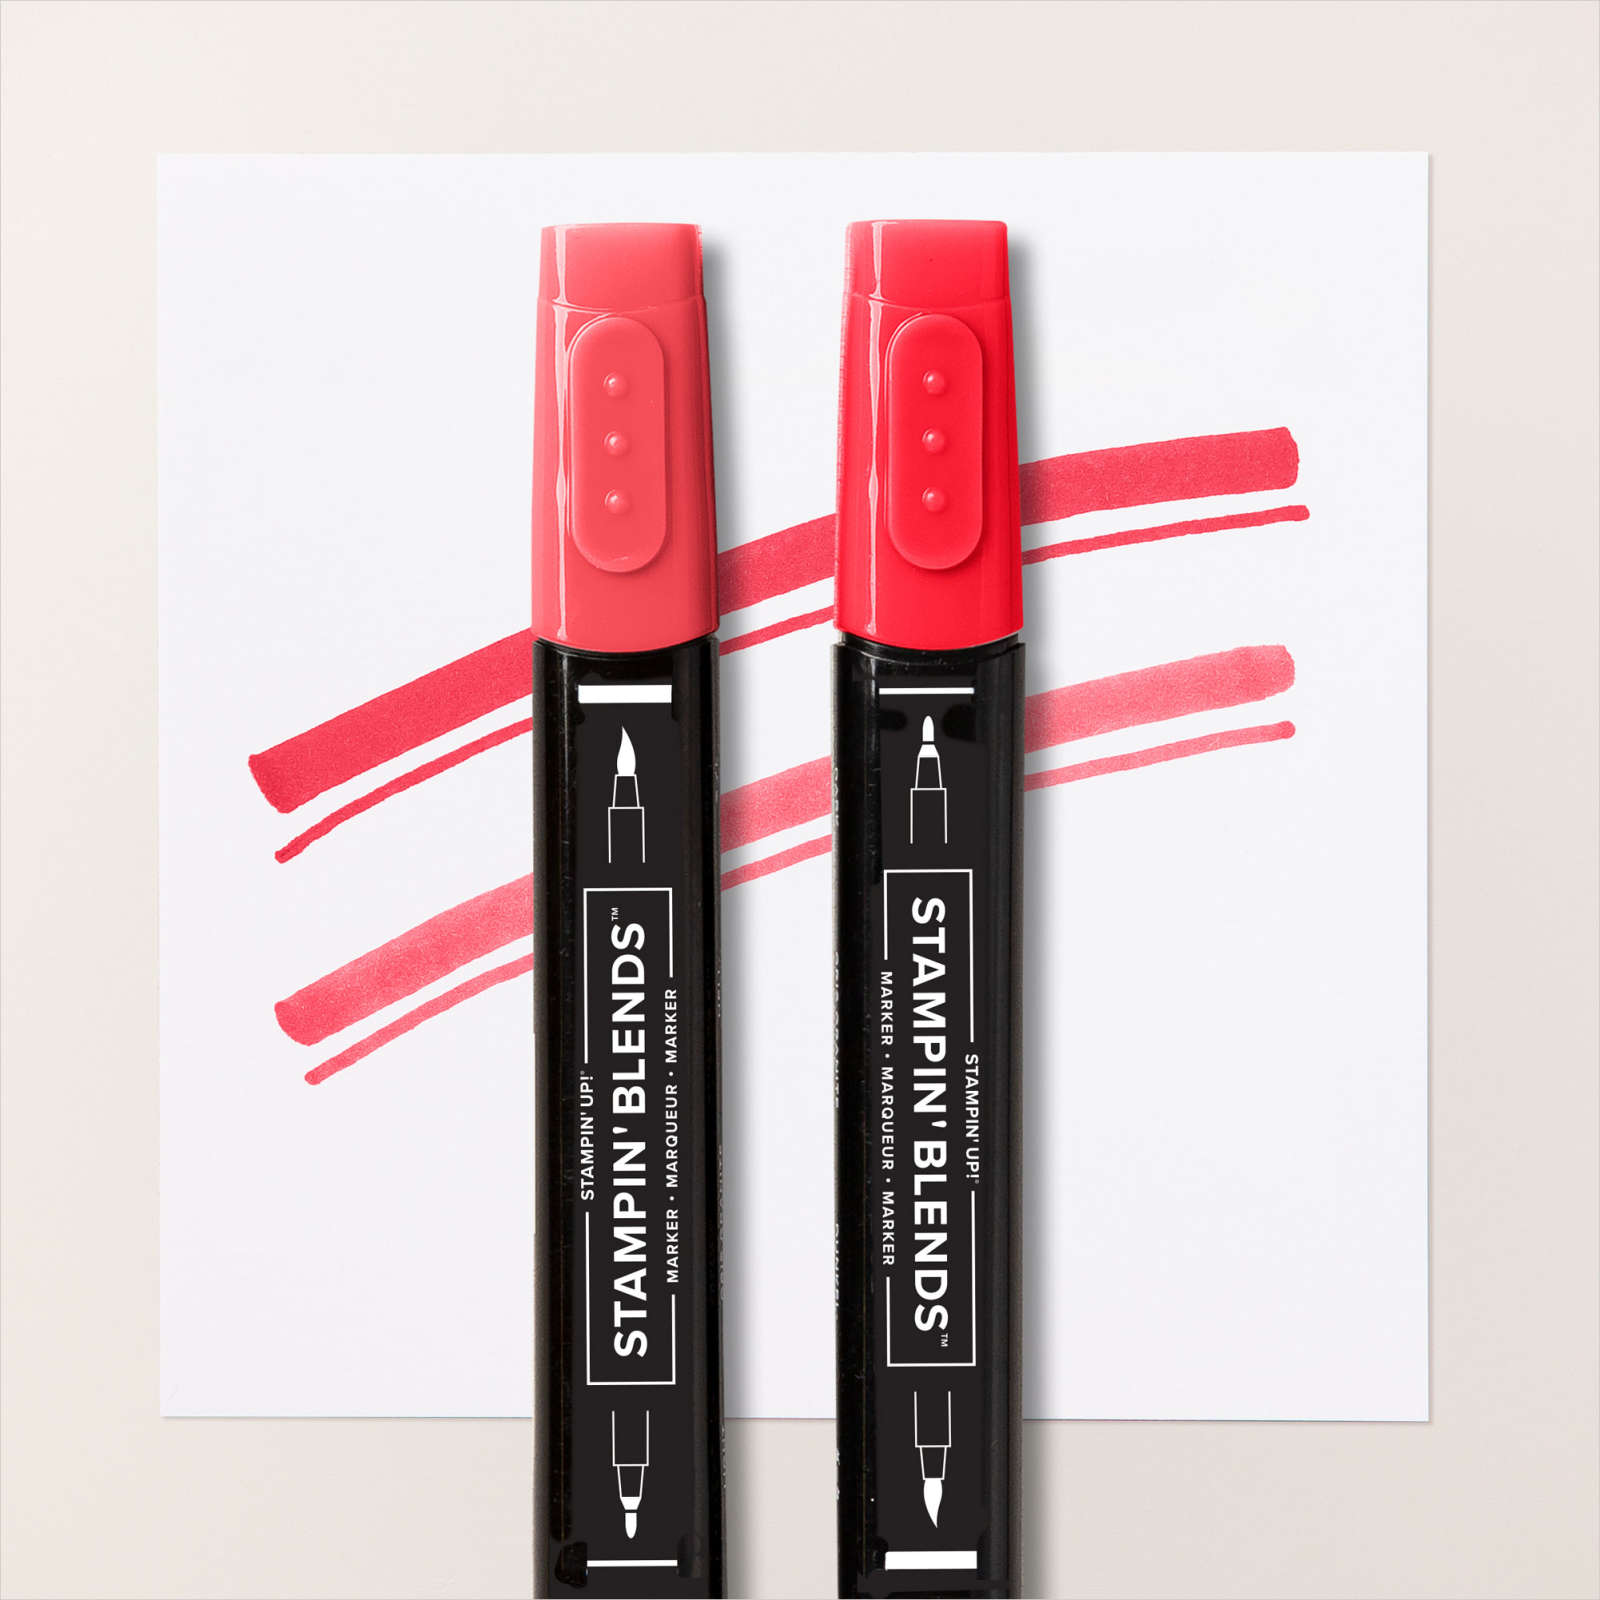
I attached a strip of Night of Navy behind one long edge of a wide strip of Crumb Cake card before attaching it to the page. I cut the title from Night of Navy card using the Playful Alphabet Dies. I stamped the large and small flower from the Painted Poppies stamp set onto Basic White card using Memento Tuxedo Black ink. I coloured the flowers using the Poppy Parade Stampin’ Blends and cut them out using the Painted Labels Dies. I cut Pear Pizzazz card using one of the Poppy Moments Dies to create the leaves. I layered the flowers and leaves together before attaching them to the page. I hope you like the layout and perhaps it will inspire you to create a page of your own.
Bye for now,
Kris
Product Used:


Bouquet of Hope

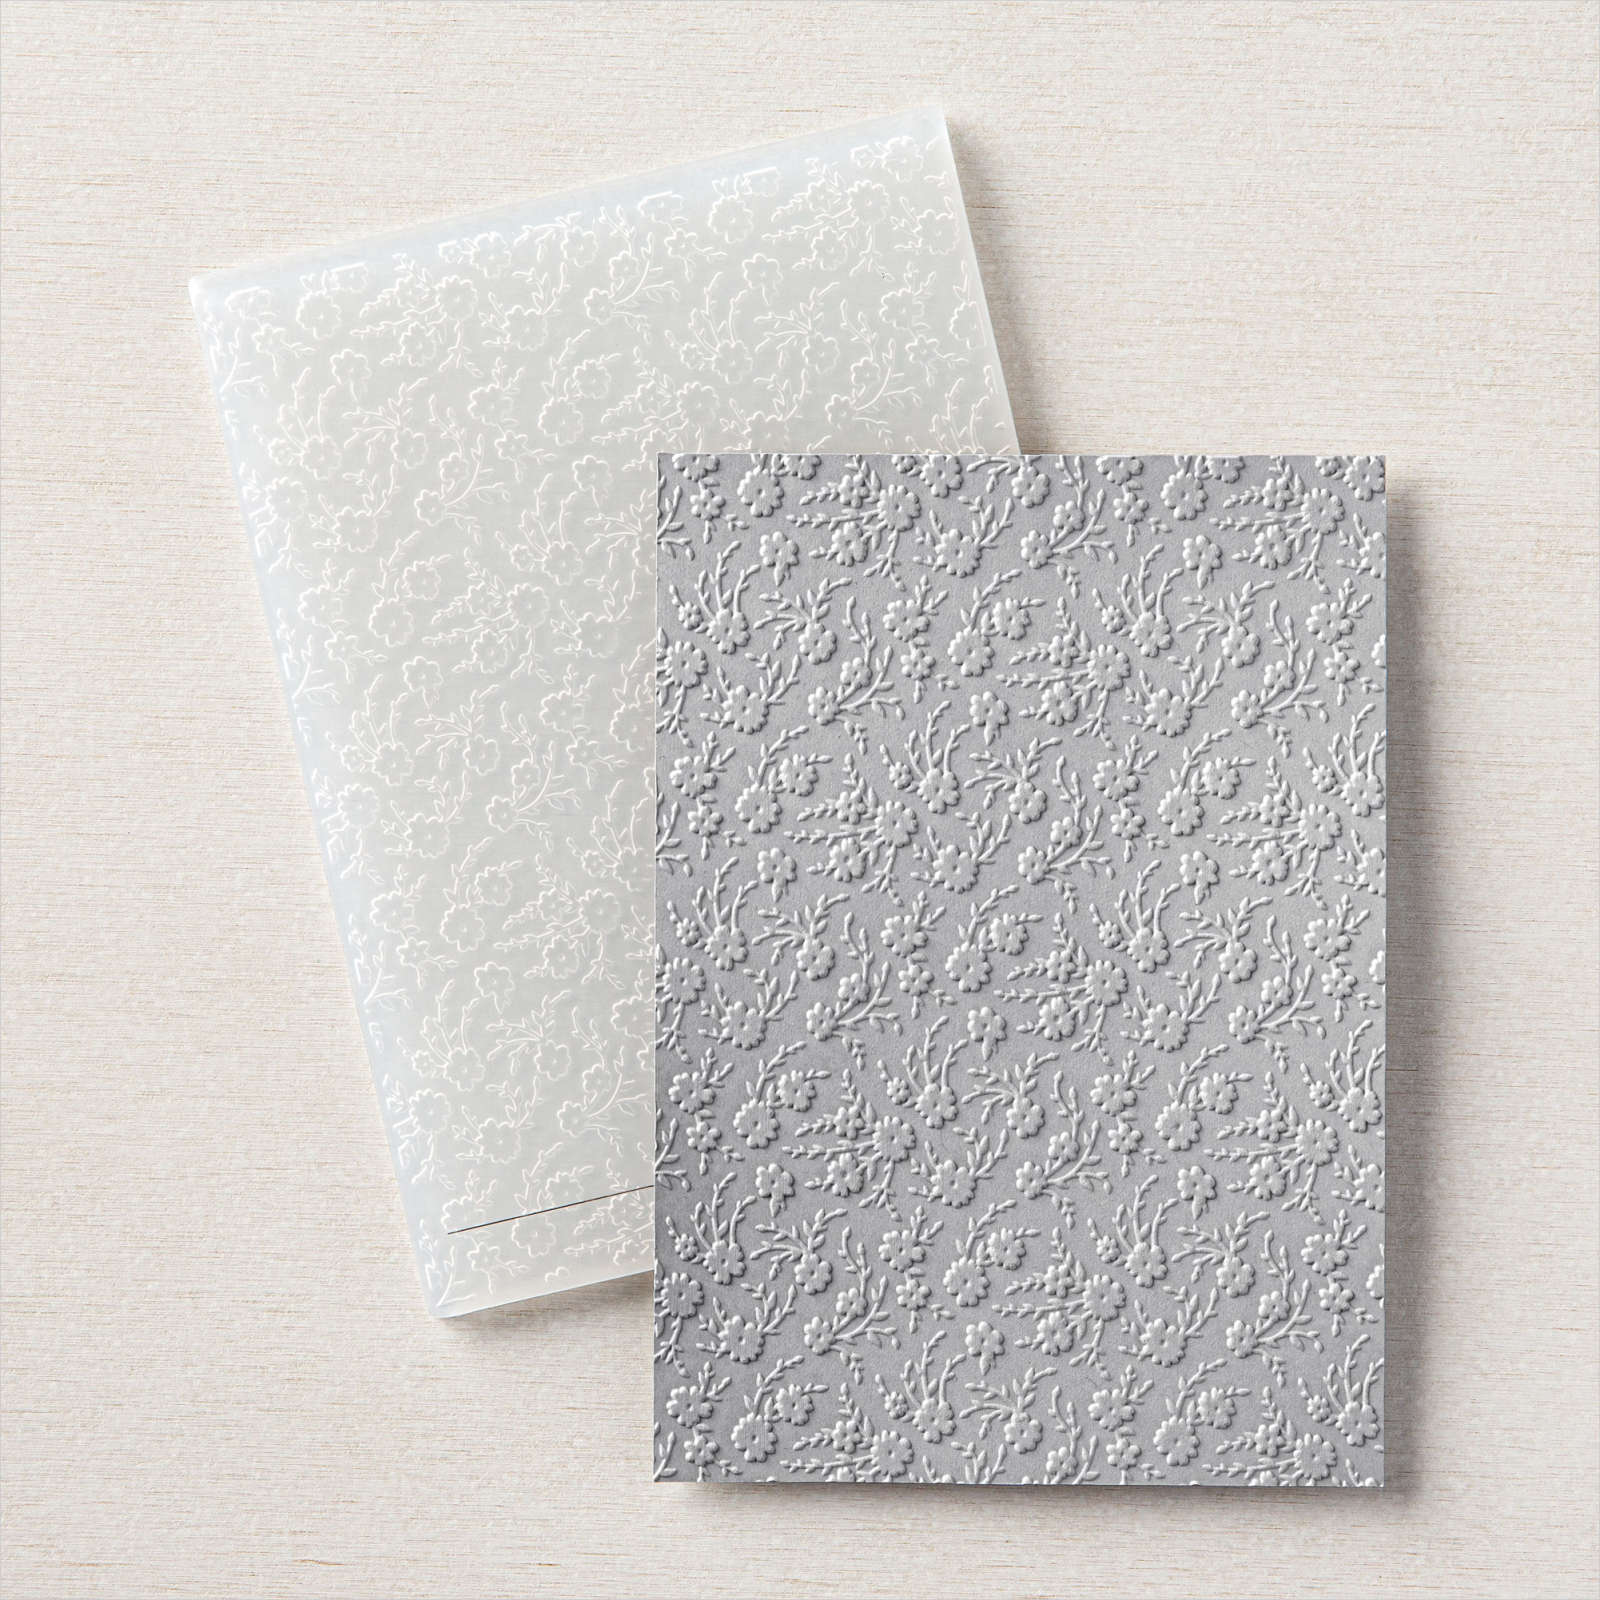
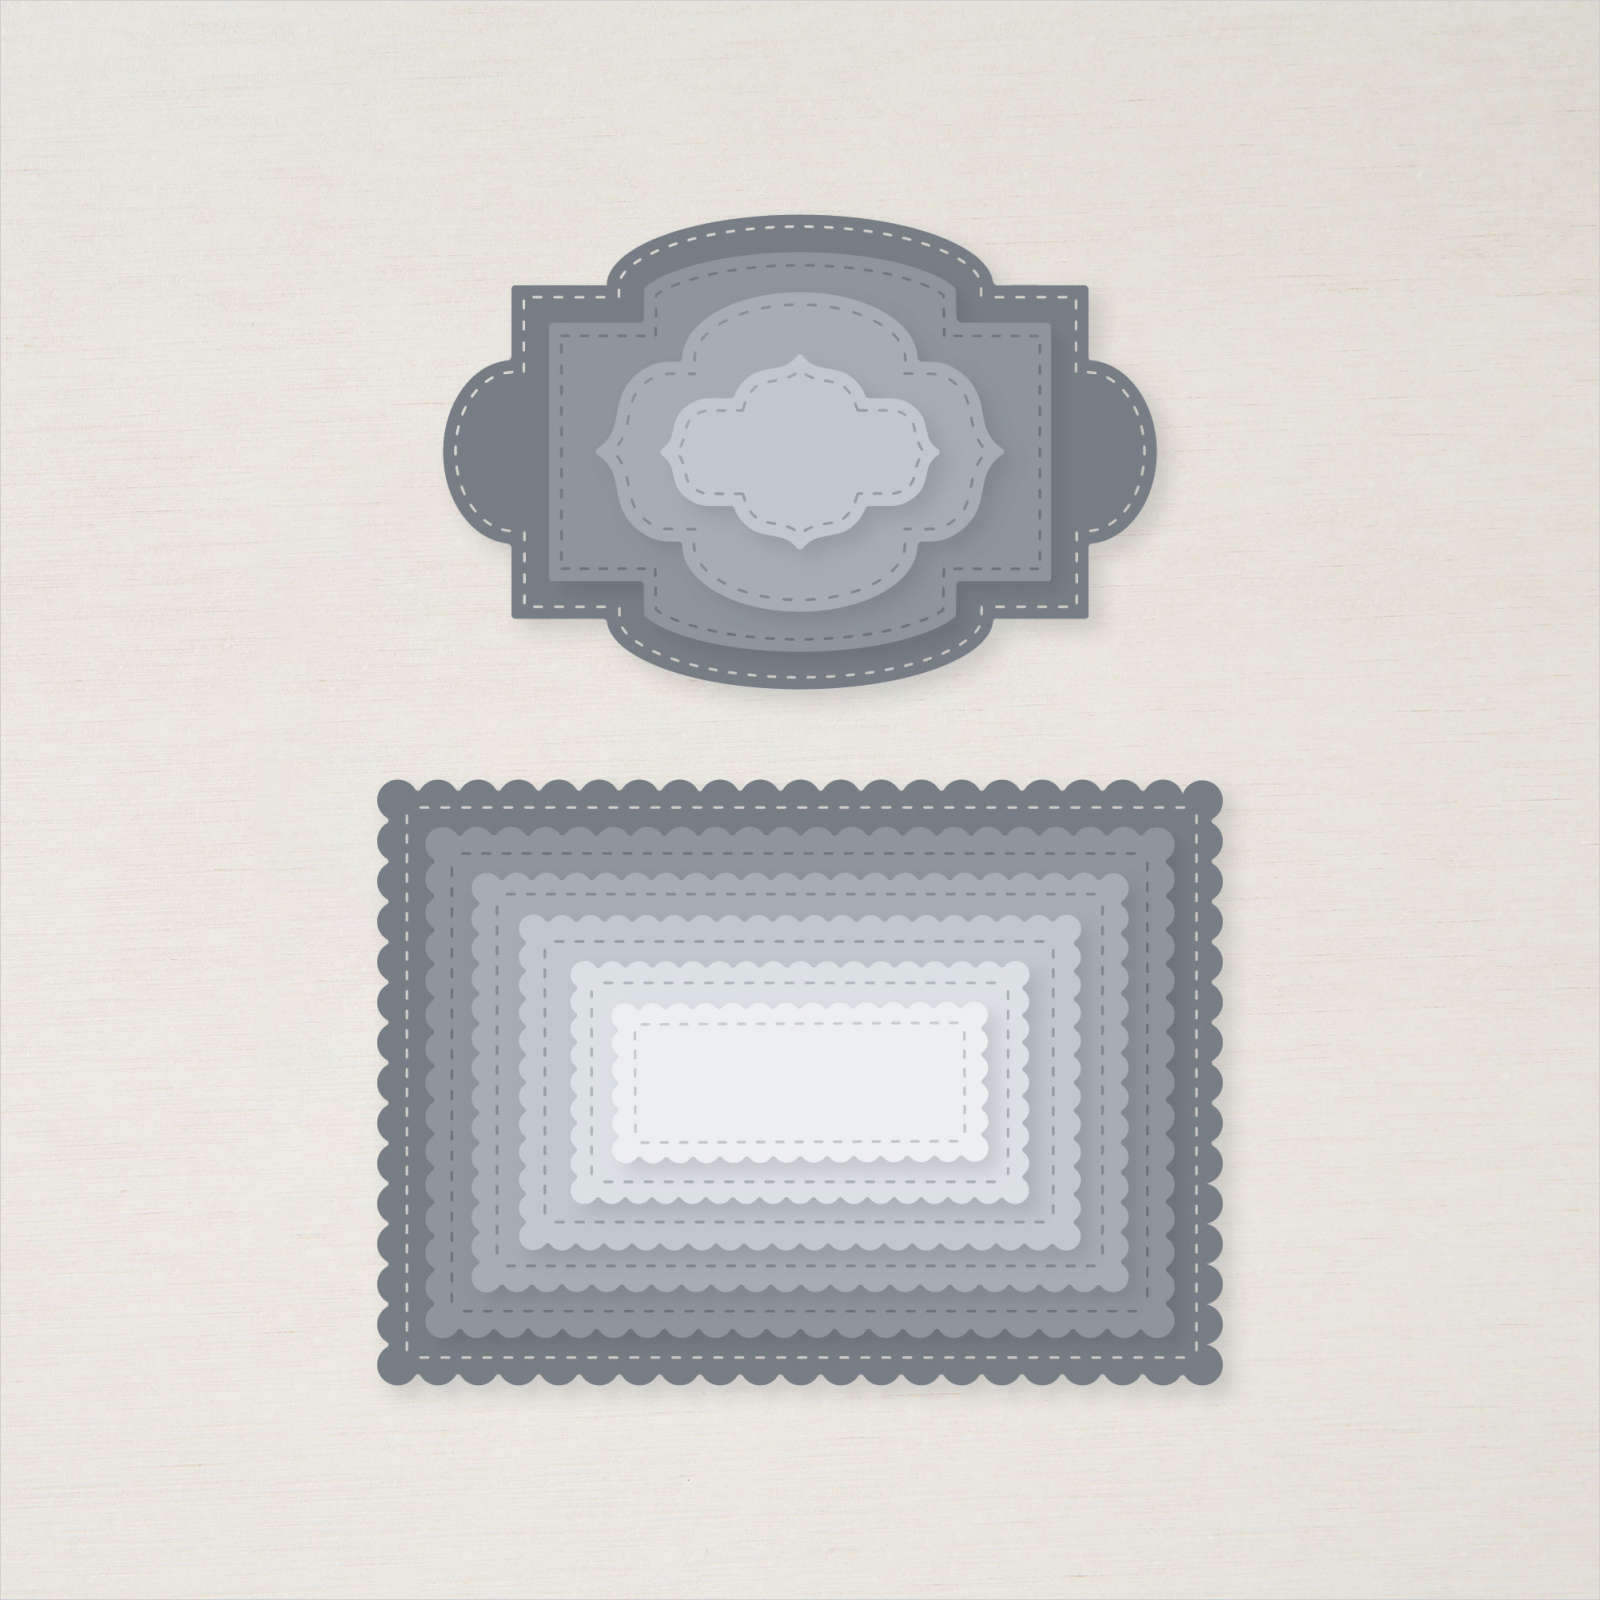
Today I thought I would share the cards I made using up all of the bits and pieces in the Paper Pumpkin Bouquet of Hope which was released to the Australian market earlier this year. For this particular card design, I created one exactly the same as the directions in the kit and then I created two cards using an additional layer of Basic White card cut using the Stitched so Sweetly Dies. The dies are stamped with the bouquet image from the Bouquet of Hope stamp set. To colour the stamped images I used Flirty Flamingo, Just Jade, Merry Merlot, Bumblebee, Soft Suede and Mossy Meadow Stampin’ Write Markers.

For this second card, I created one card the same as the directions in the kit. For the second card, I flipped the design to portrait but kept the layout the same. For the other three cards, I cut up the card base and used it like designer series paper on the cards, adding embossing with the Ornate Floral 3D Embossing Folder on one as well as some circle layers cut using the Layering Circle Dies. I used Thick Basic White and Just Jade card for the card bases.

For the next card, I created two cards as per the directions in the kit. For the next two, I used the card front to decorate the panels like designer series paper. I also cut the gold die cut in half so that I could use it on both cards. I added some of the twine to one and used the Double Oval Punch to add the greeting from the Peaceful Moments stamp set. The last card uses the back of the card base which I embossed using the Ornate Floral 3D Embossing Folder. I cut Gold Foil card using one of the dies from the Encircled in Beauty Dies to add to the card front. The greeting is stamped onto a Basic White circle cut using the Layering Circle Dies. The additional card bases are cut from Merry Merlot and Thick Basic White card.
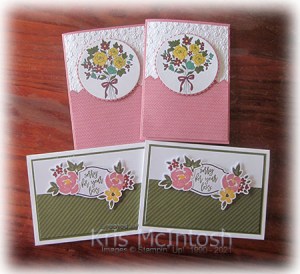
The last four cards are created by cutting up two envelopes and using the lining as Designer Series Paper. The pink cards have Basic White card embossed using the Ornate Floral 3D Embossing Folder and I have used the Layering Circle Dies to add the stamped image. They also have a piece of Rocco Rose card cut using one of the Basic Border Dies. The green cards have the die cut pieces from the Bouquet of Hope card kit which I didn’t use as per the directions. The card bases are Roccoco Rose which is now retired and Thick Basic White. I also used a layer of Mossy Meadow on the Basic White card bases.
I am very happy with these cards, and love that I could turn the ingredients for nine cards to create seventeen cards. The stamp set from this Paper Pumpkin kit is adorable with lovely sayings and images and I know that I will use it lots.
I’d love to hear what you think.
Bye for now,
Kris
Product Used:


For the Guys
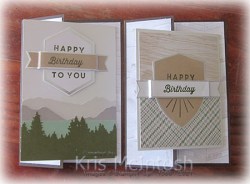
I shared the For the Guys card kit yesterday in my Facebook Live. This kit contains enough product to create five each of two cards and they are lovely cards. Today I thought I was share a variation I made using the product from the kit. I began with card bases cut from Early Espresso with the front panel cut down to 5cm (or 2″) and attached panels of the In Good Taste Designer Series Paper. I attached a panel of another pattern of the In Good Taste Designer Series Paper to the inside of each card.
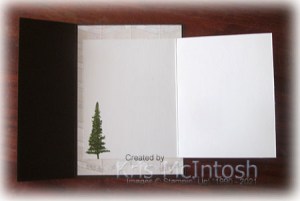
I cut down the card bases from the kit so that they would fit onto my Early Espresso card bases with the fold on the right hand side. I created the card fronts using the pieces from the card kit and stamped greetings using the stamp set and ink included in the kit. To finish off the inside of the cards, I stamped the single tree from the Mountain Air stamp set using the included Mossy Meadow ink. Although I followed the basic idea for creating a Joy Fold Card, I didn’t add anything to hold the front closed.
I’d love to know what you think.
Bye for now,
Kris
Product Used:


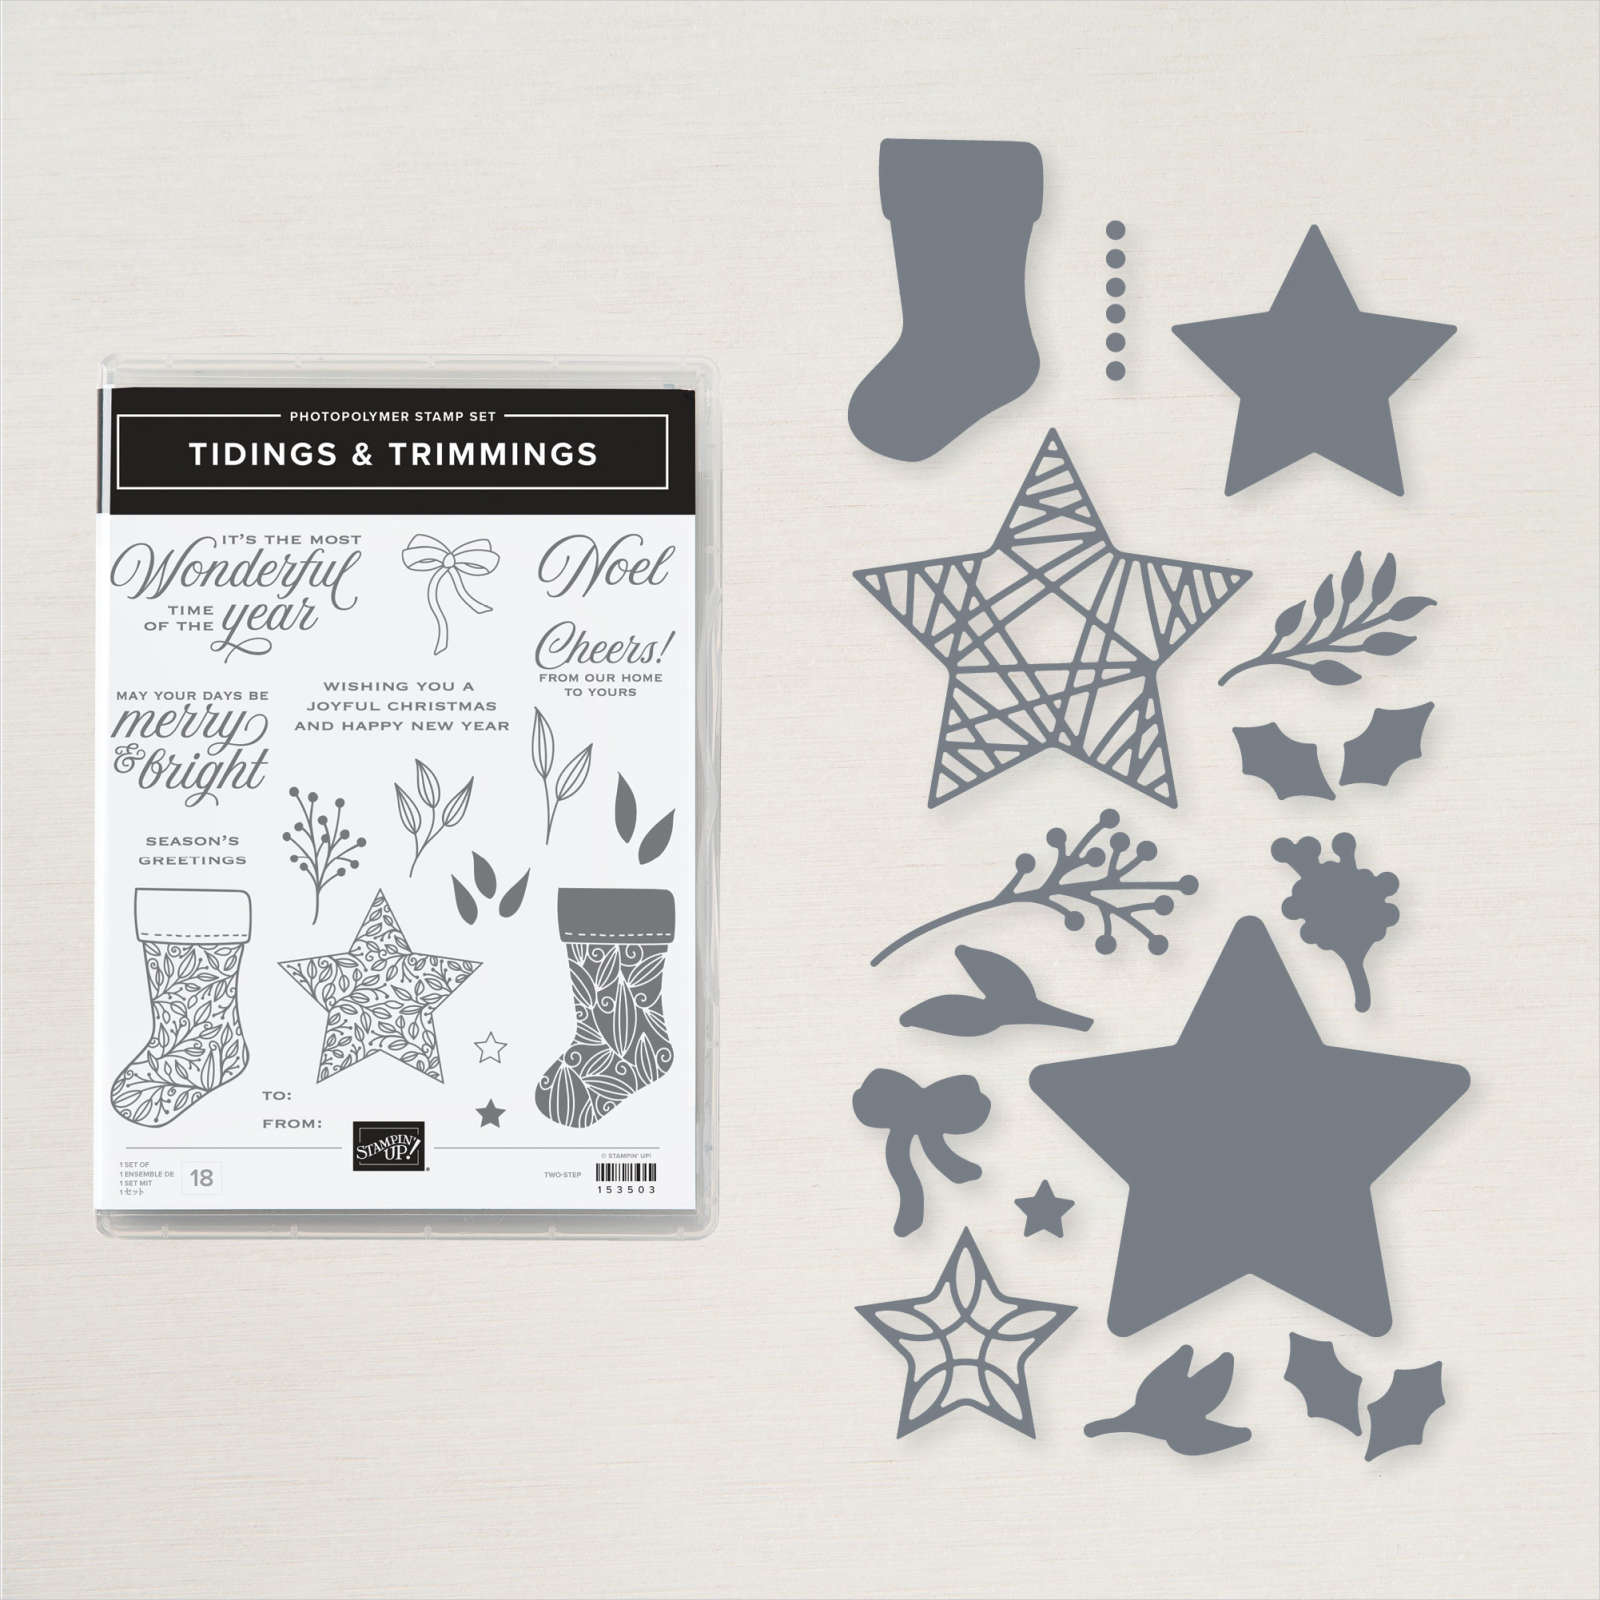
Most Wonderful Time

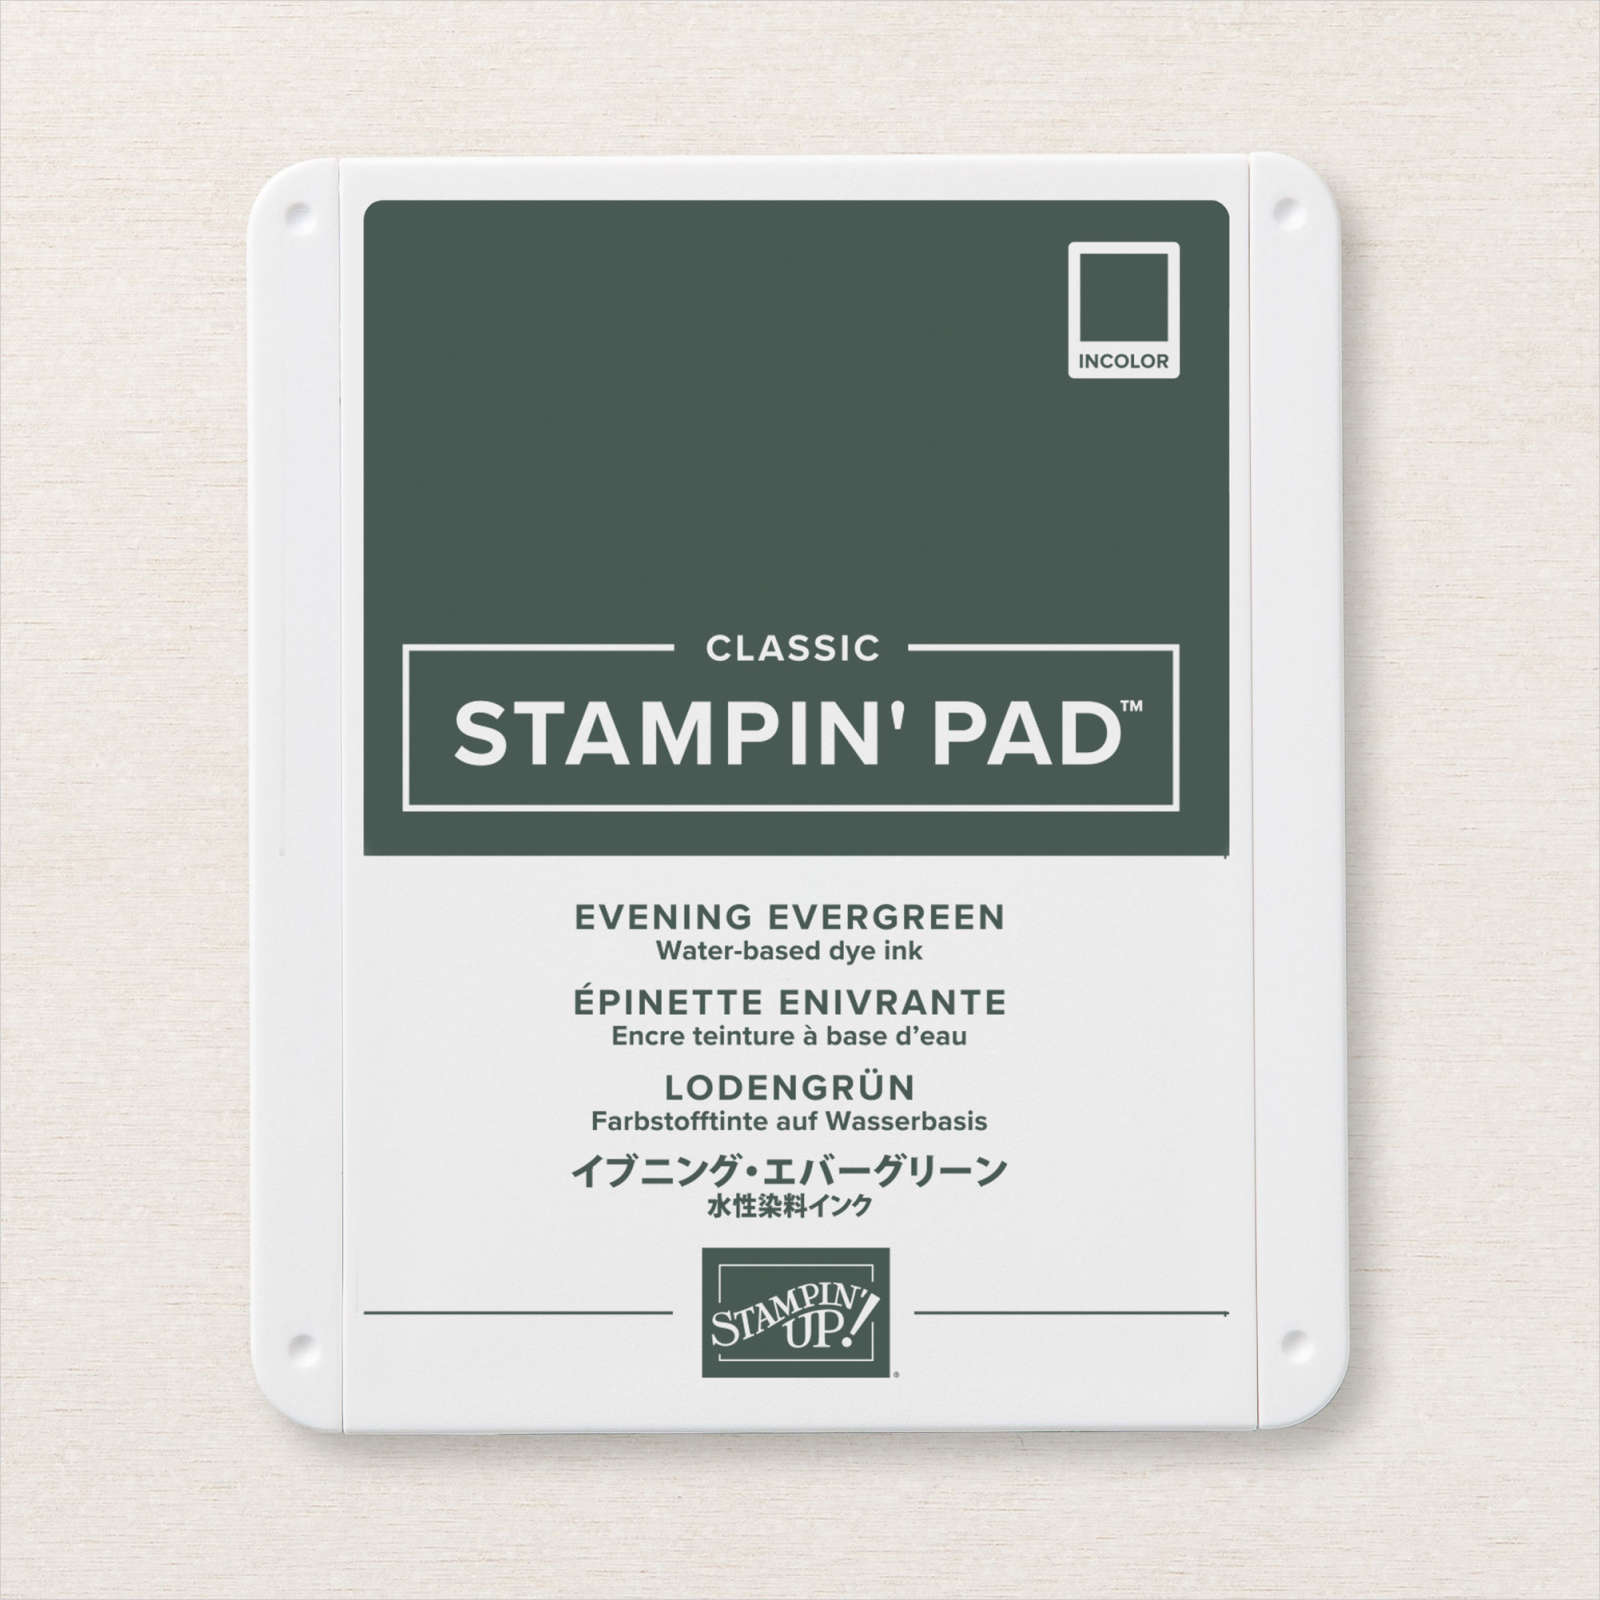
Despite the fact that I have previously shared several cards using this stamp set, this is the first card I created using the Tidings & Trimmings stamp set. I stamped “It’s the Most Wonderful Time of the Year” from the Tidings & Trimmings stamp set onto the bottom right hand corner of Basic White card using Evening Evergreen ink. I cut one long edge of a piece of Tidings of Christmas 6” x 6” Designer Series Paper using the rounded die from the Basic Borders Dies. I cut one edge of a narrow strip of Gold Foil card using the rounded die from the Basic Borders Dies.

I attached the Gold Foil die cut behind the edge of the Designer Series Paper die cut and attached it to the top edge of the stamped Basic White card. The whole panel is attached to scored and folded Cherry Cobbler card. I cut Basic White card using one of the circles from the Layering Circle Dies and attached it to a scalloped circle cut from Gold Foil card using the same dies.

The circle panel is attached to the card front using dimensionals. I stamped the stocking image from the Tidings & Trimmings stamp set onto Basic White card using Cherry Cobbler ink and cut it out using the co-ordinating Christmas Trimmings Die. I attached the die cut to the centre of the Basic White circle. To decorate the inside of the card, I stamped the greeting from the Tidings & Trimmings stamp set onto Basic White card using Evening Evergreen ink. The stamped panel is attached inside the Cherry Cobbler card base.
I actually created this card for my catalogue launch way back in May but I would love to know what you think.
Bye for now,
Kris
Product Used:


You’re in my Thoughts

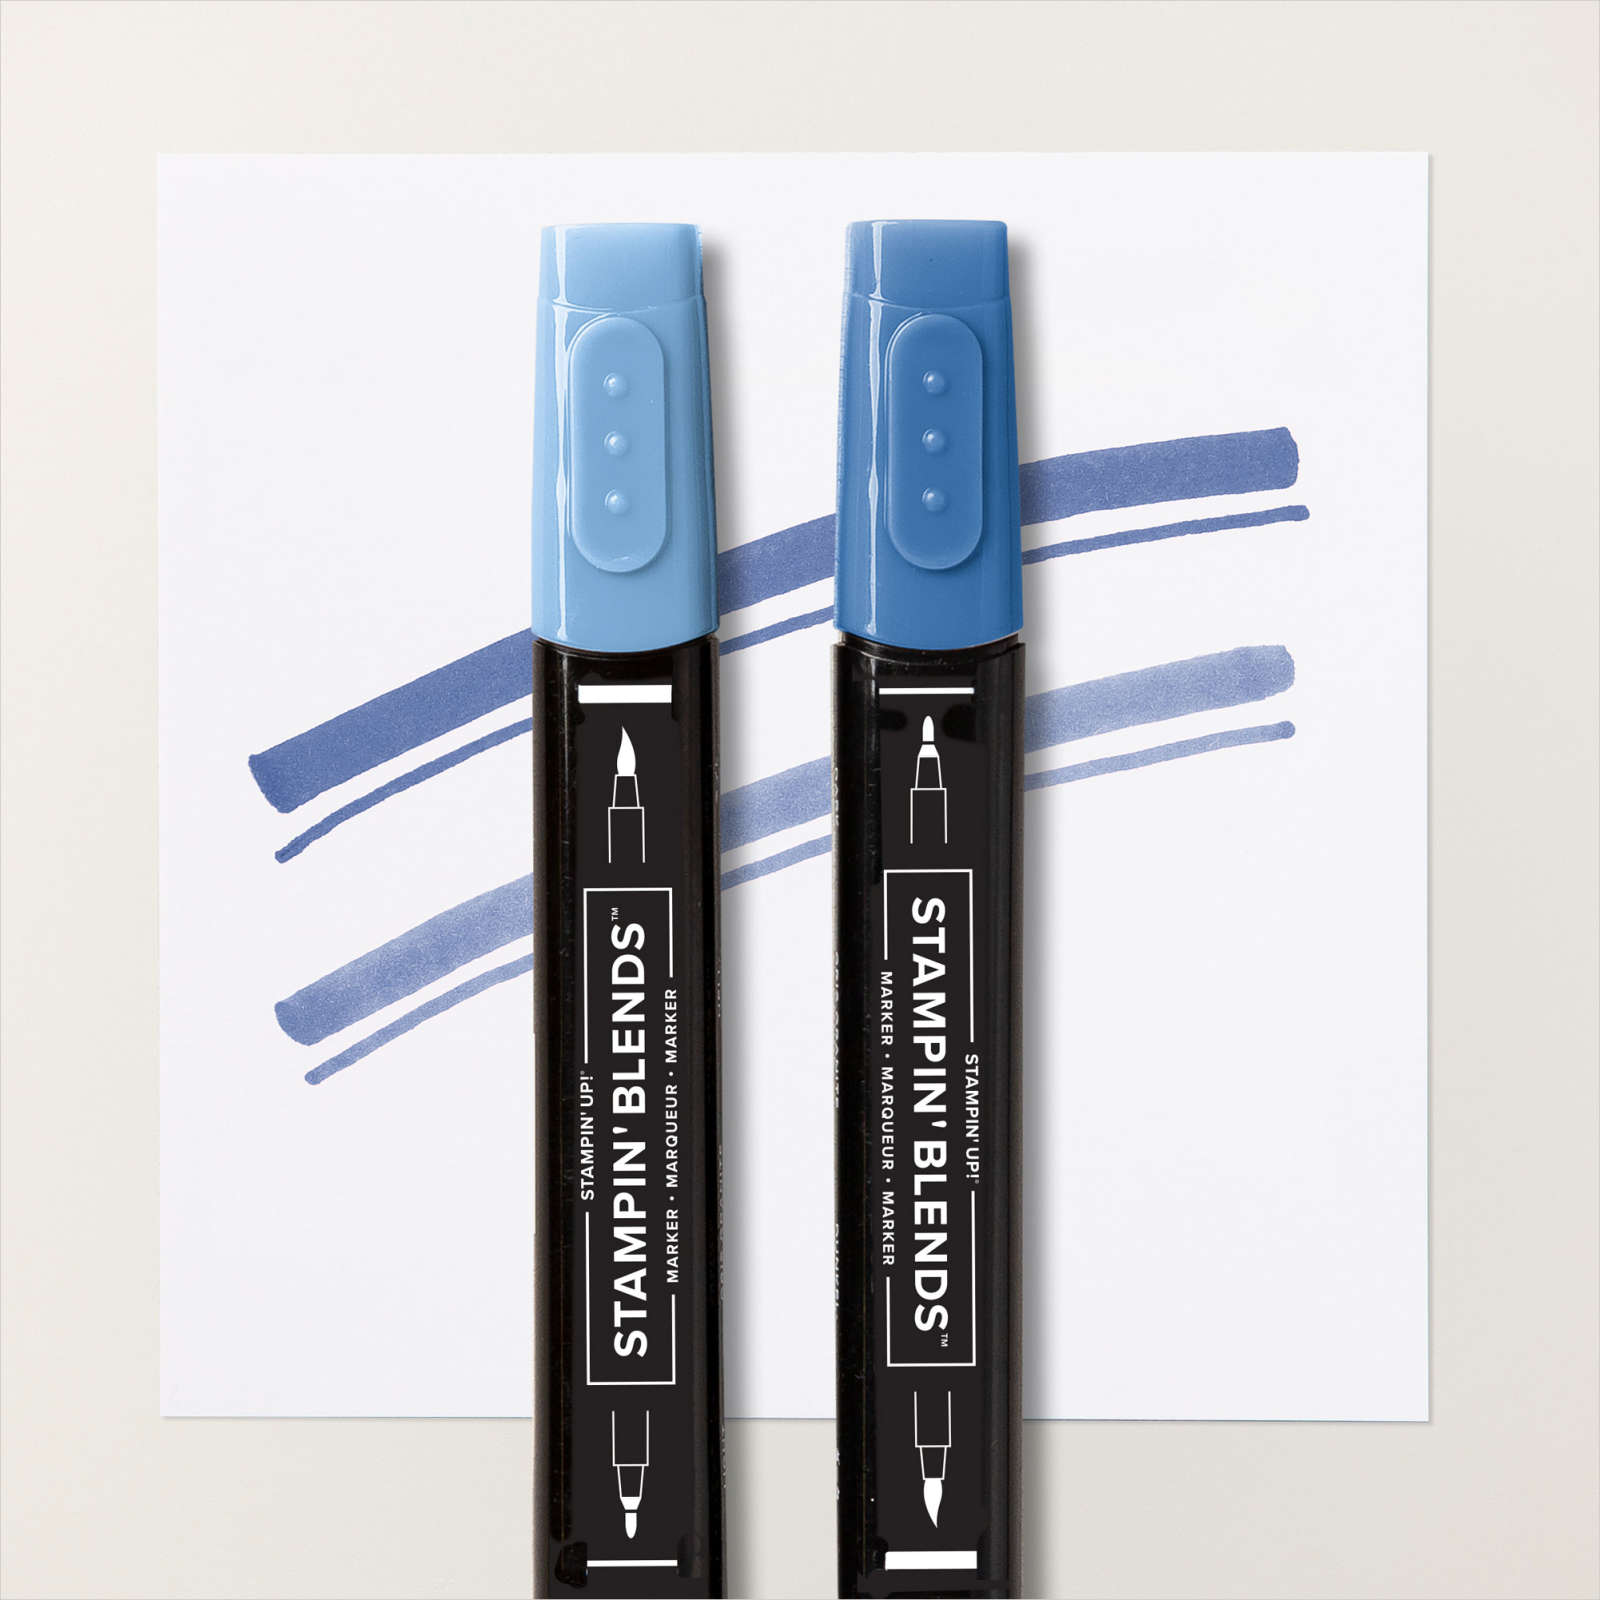
Today I created two versions of the same card for a couple of lovely ladies who have recently experienced a terrible loss. For the first card, I used one of the dies from the Encircled in Beauty Dies to cut Flirty Flamingo card. The Flirty Flamingo card is then embossed using the Tasteful Textile 3D Embossing Folder. I placed the panel temporarily over a piece of Very Vanilla card and stamped the image from the Encircled in Friendship stamp set into the circle using Memento Tuxedo Black ink. I removed the embossed panel and coloured the image using Dark Flirty Flamingo and Dark Mint Macaron Stampin’ Blends.

I attached the embossed card permanently to the Very Vanilla card before attaching the panel to scored and folded Flirty Flamingo card. I stamped the greeting from the Encircled in Friendship stamp set onto a narrow strip of Very Vanilla card using Flirty Flamingo ink.

The greeting is attached across the bottom of the card. To decorate the inside of the card, I attached a strip of Flirty Flamingo card behind one long edge of a piece of Very Vanilla card embossed using the Tasteful Textile 3D Embossing Folder. The panel is attached across the bottom of Very Vanilla card. I stamped a greeting from the Timeless Tulips stamp set using Flirty Flamingo ink and stamped the single flower from the Encircled in Friendship stamp set beside the greeting using Memento Tuxedo Black ink. The image is once more coloured using Dark Flirty Flamingo and Dark Mint Macaron Stampin’ Blends. The whole panel is attached to the inside of the card base.
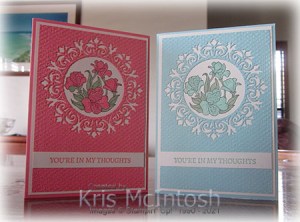
For the second card, I used Flirty Flamingo card, Flirty Flamingo ink and the Dark Flirty Flamingo Stampin’ Blend.
Bye for now,
Kris
Product Used:
Holidays

Today’s page shows off a couple of photos of my grandparents, one taken at Currumbin, the other I think was taken at Woolgoolga. I attached two strips of the now retired Forever Greenery Designer Series Paper across a Basic White 12″ x 12″ page. I attached my photos to Early Espresso card and then the page. I printed my journaling onto Basic White card, attached it to Early Espresso card and then to the page. The title is cut from Early Espresso card using the Playful Alphabet Dies. I stamped the images from the Free As A Bird stamp set onto Basic White card. I used Night of Navy, Old Olive, Daffodil Delight, Real Red, Flirty Flamingo and Soft Suede Stampin’ Blends to colour in the bird images.

I cut them out and attached them to the page. I used some photos I found on the internet of Lorikeets and used them as a guide to colour the birds and I think they turned out ok. What do you think?
Bye for now,
Kris
Product Used:


A Christmas Pyramid

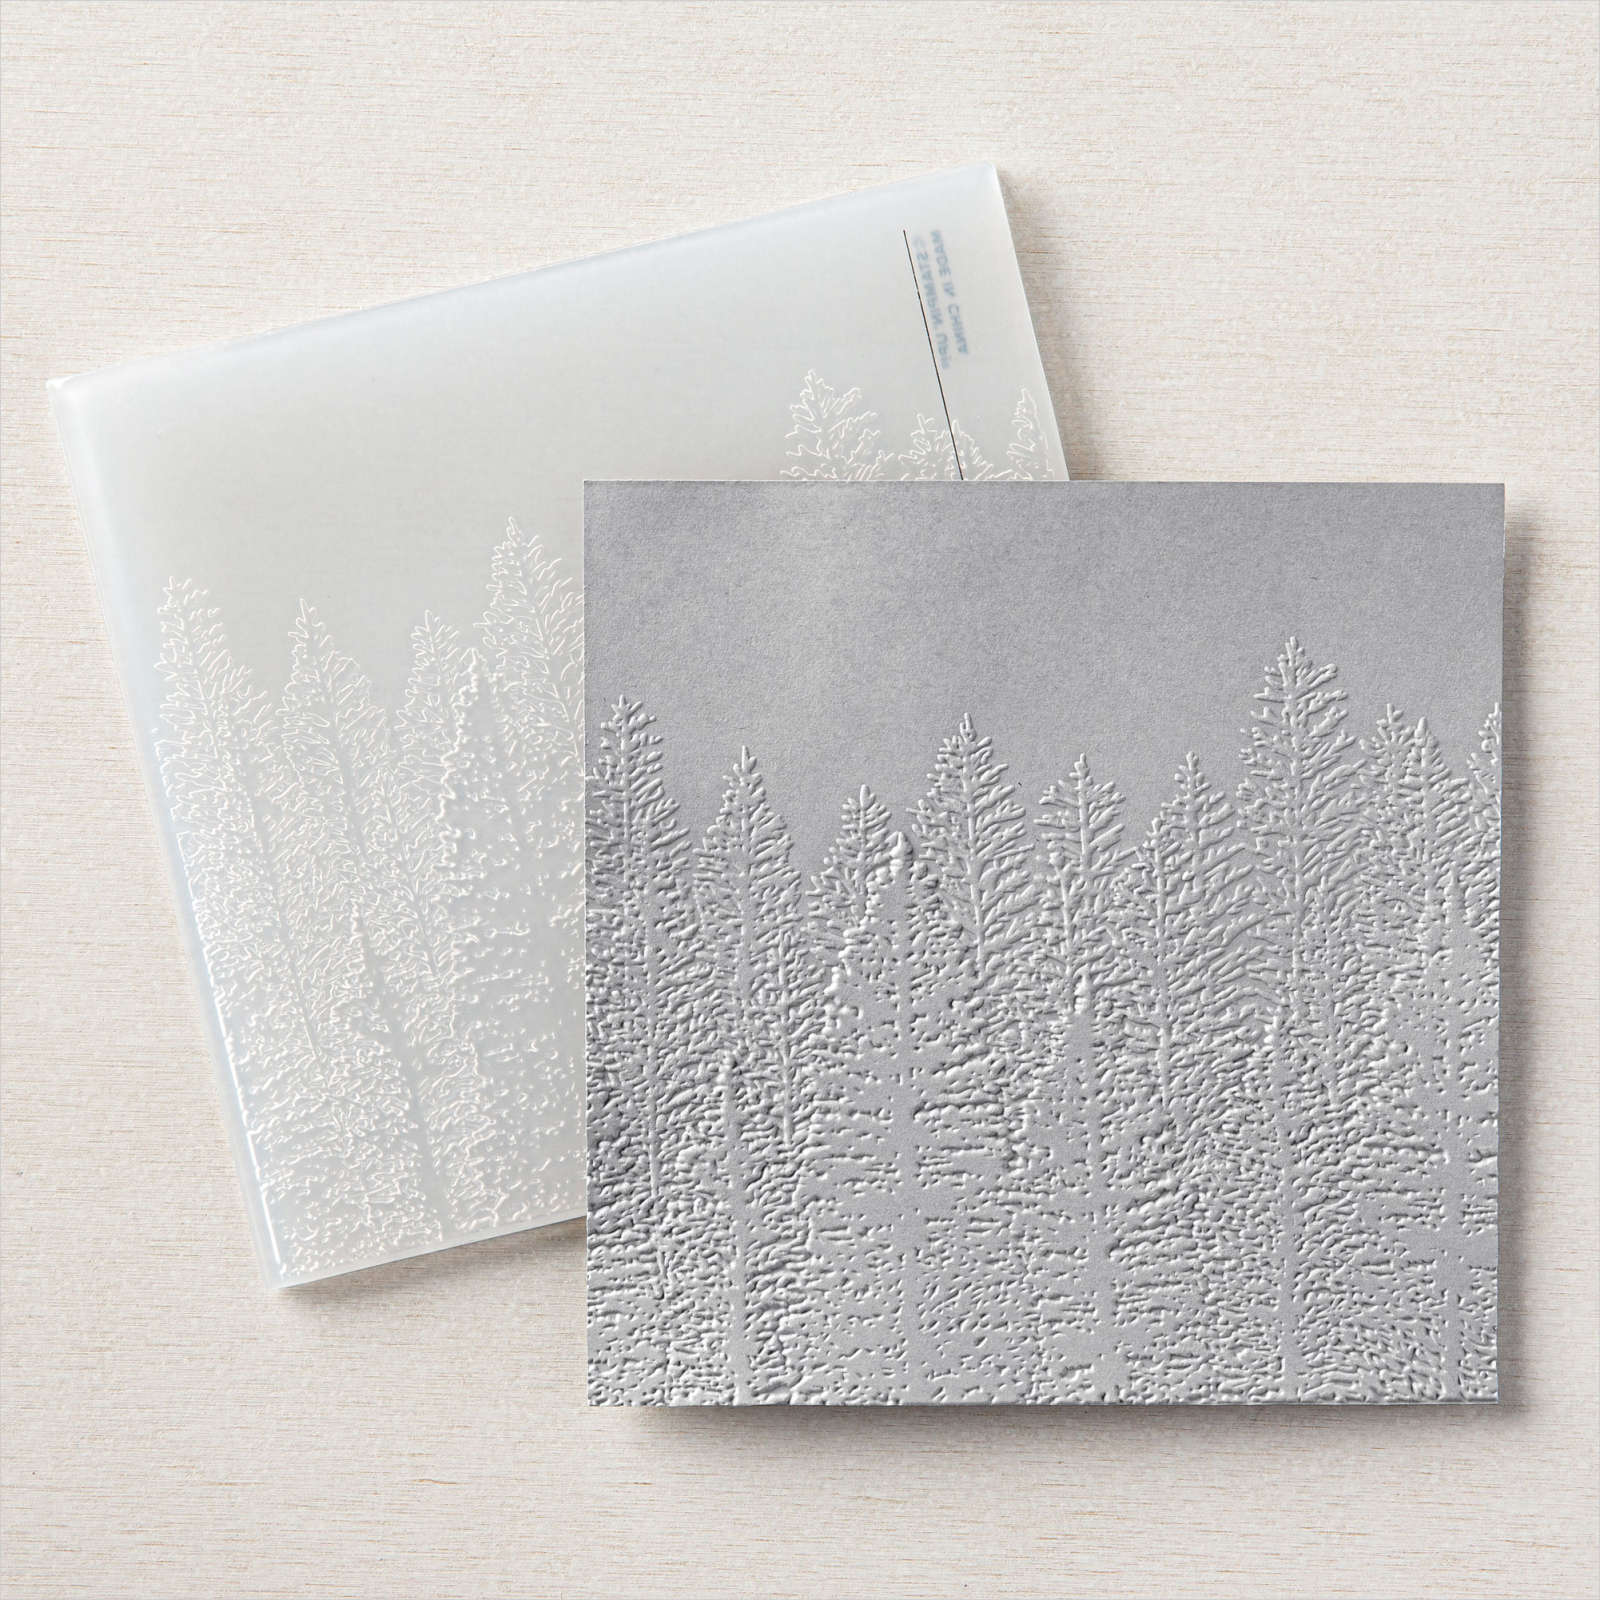
Today I have another Pyramid card to share with you using a stamp set from the July to December Mini Catalogue which will be available to customers on the 3rd August. Of course you could always join Stampin’ Up! and you can order this stamp set in your kit! I used Real Red card for the base of the card and added layers of Basic White which I embossed using the Evergreen Forest 3D Embossing Folder.
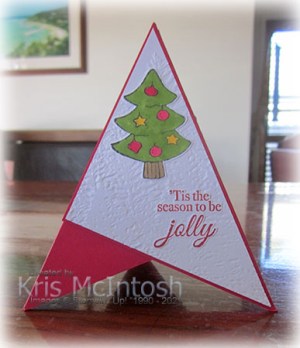
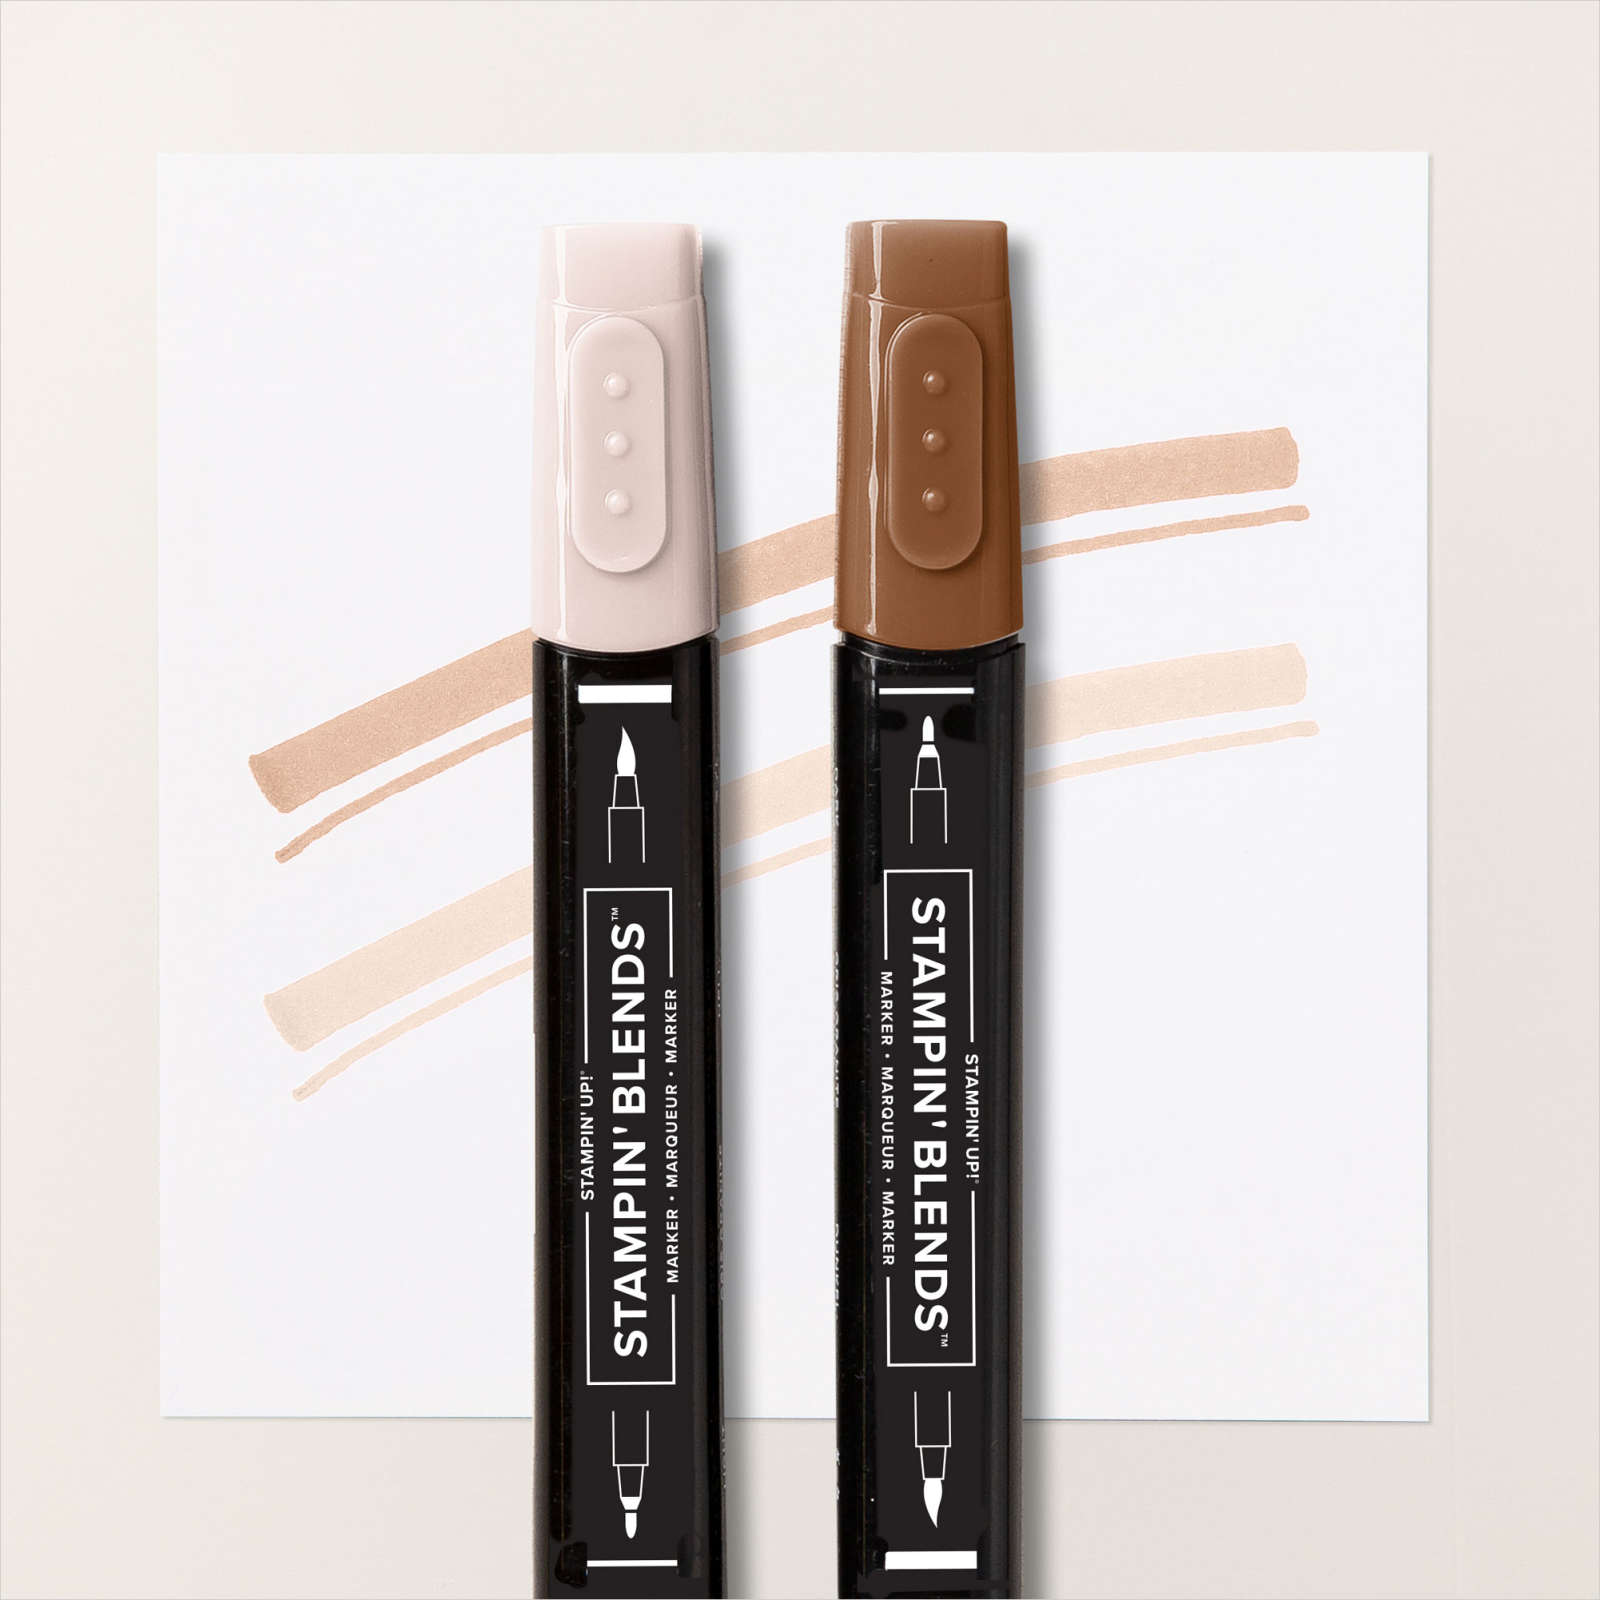
I stamped the images from the Be Jolly stamp set onto Basic White card using Memento Tuxedo Black ink. I coloured the images using a combination of these Stampin’ Blends – Real Red, Old Olive, Basic Black, Daffodil Delight, Soft Suede and Ivory.

After they were coloured I cut them out. The greetings for the card all come from another soon to be released stamp set called Holly Jolly Wishes. I stamped the greeting for the card front onto Basic White card using Real Red ink and punched it out using the Double Oval Punch. The punched greeting is attached using dimensionals to hold the pyramid open.

The greetings for the other two panels are stamped onto Basic White card using Real Red ink and cut out around the letters. To decorate the inside of the card and to give me somewhere to write a message, I attached Basic White card. I also stamped the little bird from the Be Jolly stamp set onto one piece using Memento Tuxedo Black ink. I added a little colour with the Dark Real Red and Dark Daffodil Delight Stampin’ Blends. These card are really fun to make and they will fold flat to go into a standard envelope. I’d love to know what you think.
Bye for now,
Kris
Product Used:


Come Sailing Pyramid Card
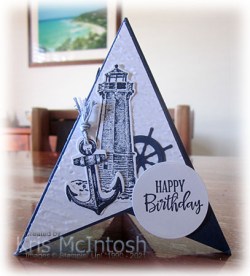
Yesterday in my Facebook Live, I shared how to create a pyramid card and today I have another to share with you. I used three Night of Navy 10.5cm squares to create the card base and added layers of 10cm square Basic White card which are cut in half diagonally and embossed using the Bark 3D Embossing Folder. For the first panel, I stamped the lighthouse and anchor images from the Sailing Home stamp set onto Basic White card using Night of Navy ink.

The images are cut out using the co-ordinating Smooth Sailing Dies. I also used the Smooth Sailing Dies to cut the wheel from Night of Navy card. I attached the wheel and lighthouse to the panel first. I tied a length of the Misty Moonlight/Silver twine from the Flowers For Every Season Ribbon Combo Pack through the anchor and attached it over the lighthouse.
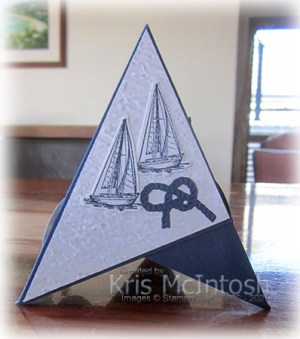
I stamped “happy birthday” from the Peaceful Moments stamp set onto Basic White card using Night of Navy ink and cut it out using the Layering Circle Dies. I attached it using dimensionals so that it would hold the pyramid card in position. To decorate the second panel, I stamped the compass and large sailing ship images from the Sailing Home stamp set onto Basic White card using Night of Navy ink. I cut out the sailing ship using the co-ordinating Smooth Sailing Die.
I also used the same dies to cut the seaweed from Night of Navy card. I cut out the compass image and attached it to a Night of Navy circle cut using the Layering Circles Dies. I attached the seaweed first with the sailing ship on top and lastly the compass image.

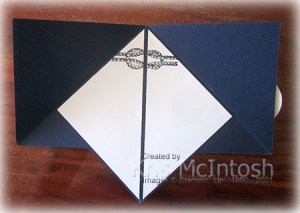
To decorate the last panel, I stamped the small sailing ship from the Sailing Home stamp set twice onto Basic White card using Night of Navy ink. I cut out the sailing ships using the co-ordinating Smooth Sailing Die. I also cut the “knot” from Night of Navy card using the same dies. To decorate the inside of the card, I attached Basic White card which I stamped using the rope image from the Sailing Home stamp set before I cut it in half diagonally.
Even though this card stands tall, it will fold flat to go into a standard envelope. How cool is that! I had forgotten how much fun these cards are to create. What about you, do you love them too.
Bye for now,
Kris
Product Used:


