Celebrate

Today I have a card to share using the Gallery Blooms Bundle. I attached a piece of Beautiful Gallery 6″ x 6″ Designer Series Paper to Basic White card and then scored and folded Lost Lagoon card. I stamped the large floral image from the Gallery Blooms stamp set onto Basic White card using Memento Tuxedo Black ink. I coloured the image using Peach Pie, Lost Lagoon and Dark Daffodil Delight Stampin’ Blends. I cut out the image using the co-ordinating Gallery Blooms Die.
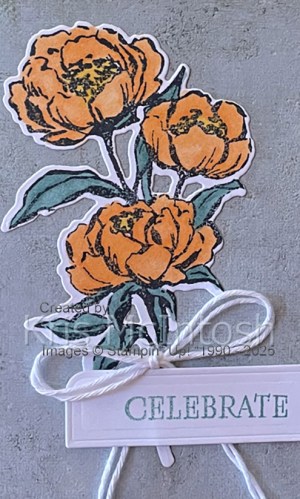
The image is attached to the card front. I tied a bow in a length of Basic White Trim from the Baker’s Twine Essentials Pack and attached it to the stem of the flower using a Glue Dot. I stamped the greeting from the Beautiful Motifs stamp set onto Basic White card using Lost Lagoon ink. I cut out the greeting using one of the Wonderful Thoughts Dies.

The greeting is attached to the card front using dimensionals where necessary. To decorate the inside of the card, I stamped an image from the Beautiful Motifs stamp set onto Basic White card using Lost Lagoon ink which I stamped onto scrap paper first. I stamped a greeting from the Beautiful Motifs stamp set over the top using Lost Lagoon ink. The stamped panel is attached inside the Lost Lagoon card base. Sometimes you get so many wonderful new things you forget about the wonderful things already in your stash.
Bye for now,
Kris
Product Used:


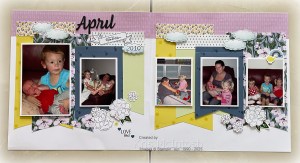
April Everyday Moments
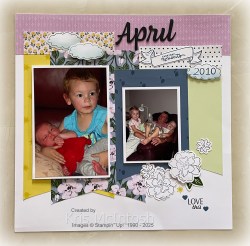
Today I have another page to share which I created using the Virtual Album Retreat kits. For this page I used the month of April and added the title to showcase some random photos shared with my grandchildren over the month. I didn’t change anything on this page except for the “everyday moments” sentiment which comes from the long retired Moments Like These Project Life stamp set.
For these pages we were shown how to use the flag on the right page to create a lift up flap for an extra photo or you could use it for your journaling. The flowers, leaves, hearts, clouds and banner are all images available in the two stamp sets supplied with the kit. I had so much fun creating these pages and love that I have them ready to add photos when I want.
Bye for now,
Kris
Product Used:
You can view the Month by Month Vitual Album Retreat 2025 here in my online store while stocks last.
Fancy Christmas
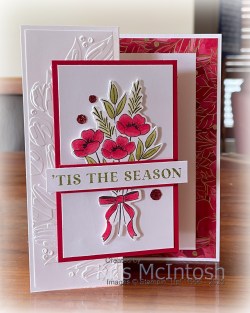
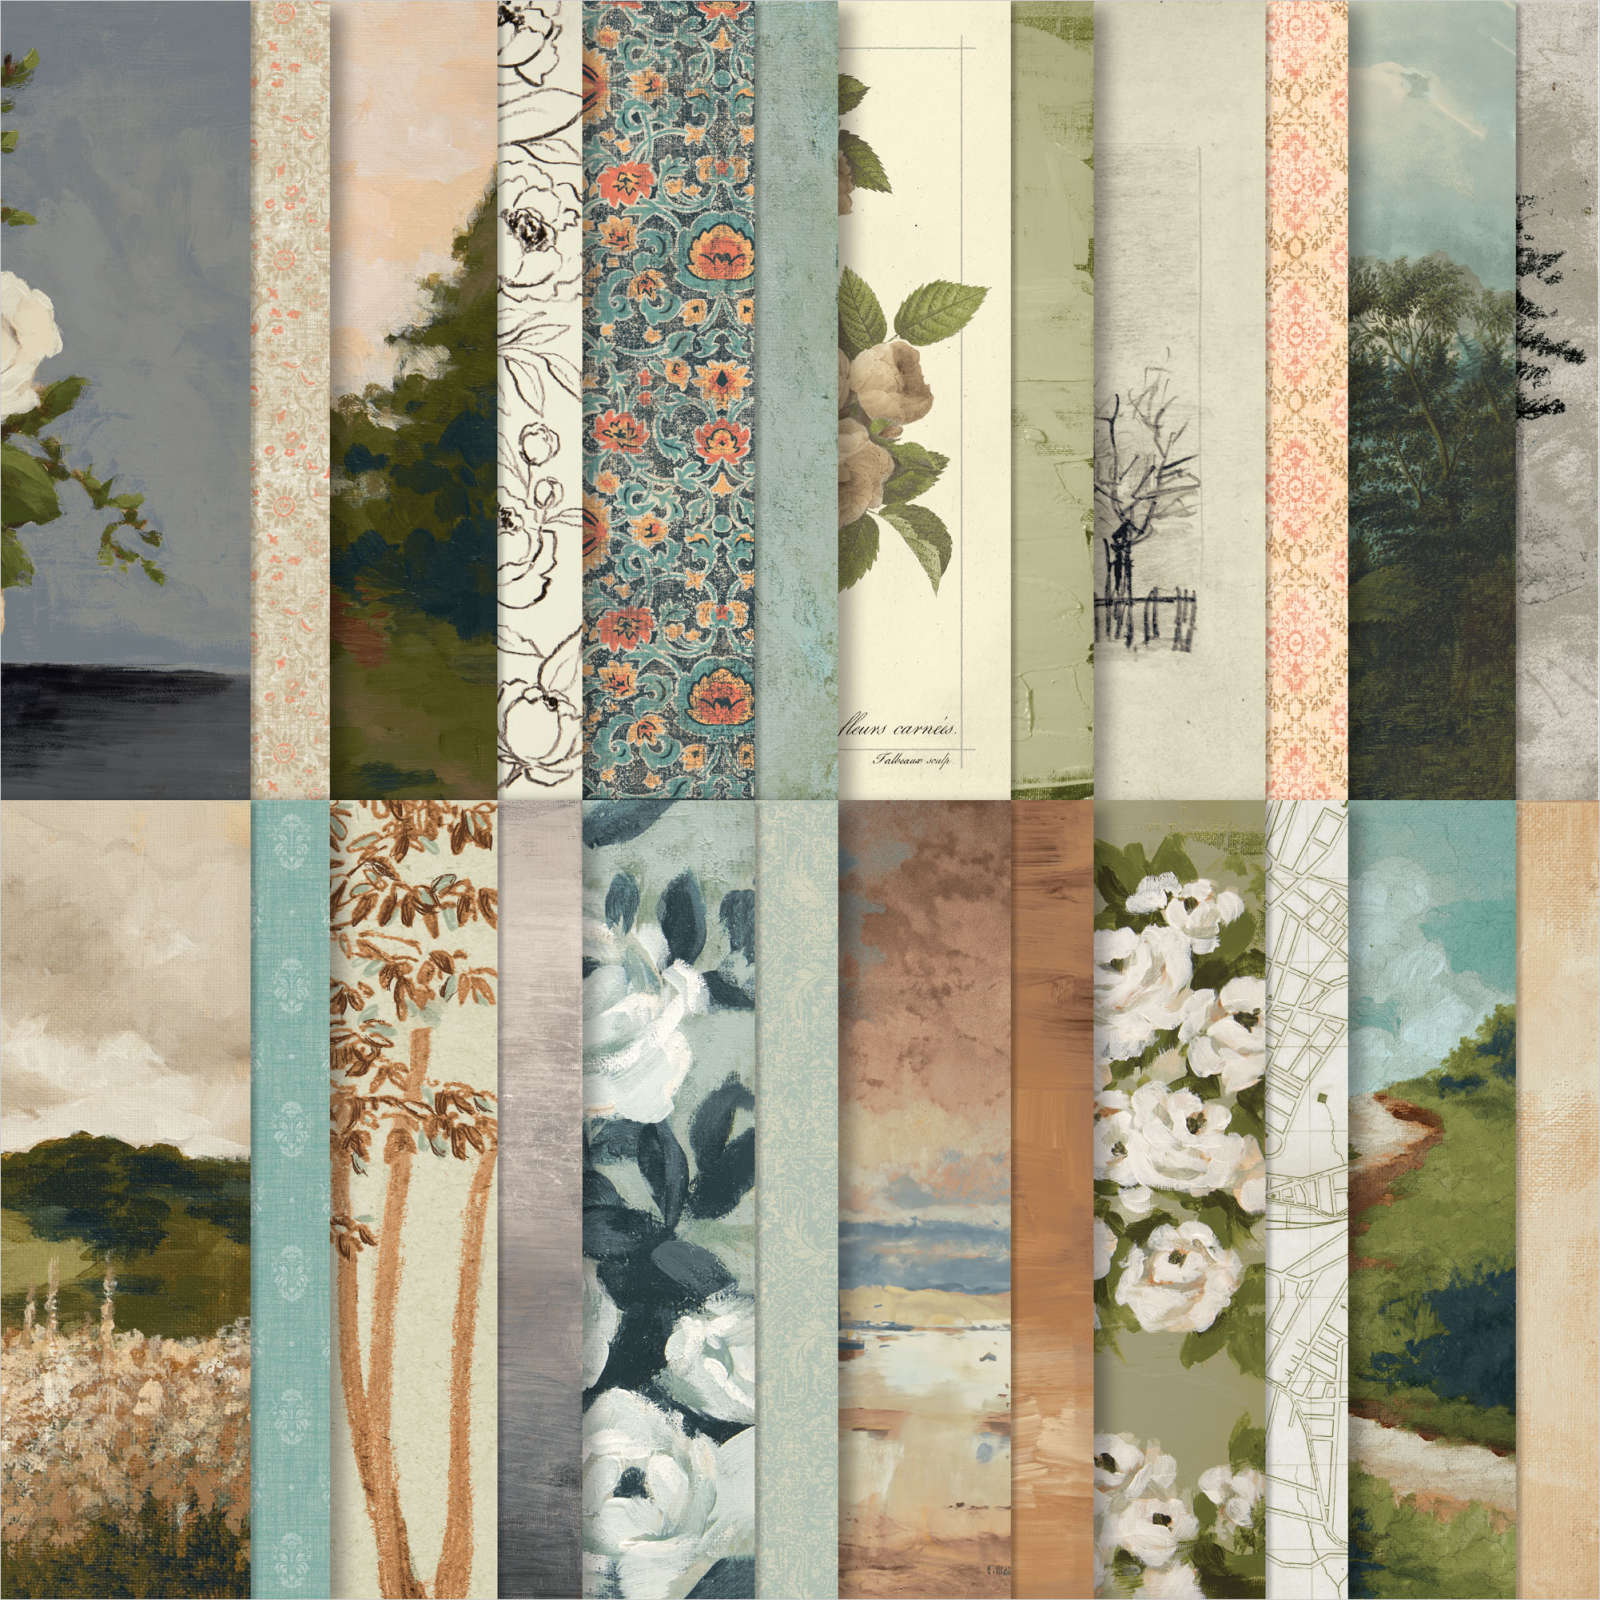
This week in my Facebook Live, I shared some cards I created using the Christmas Greenery Bundle and the Traditional Christmas Bundle. I also shared some ideas on how to colour in different ways using the beautiful images in the Christmas Greenery Bundle. Today I have another card to share with you using a fancy fold I learned from Susan Camperfield. You can view her instructions here. I cut my card base from Thick Basic White card and attached a piece of Traditions of Christmas 12″ x 12″ Designer Series Paper to the inside panel.
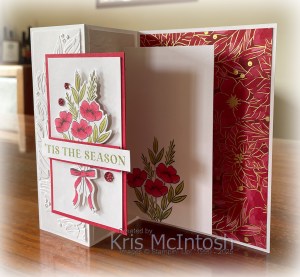
I embossed two pieces of Basic White card using the Traditional Wreath 3D Embossing Folder and attached them to the front panel and inside left panel of the card base. I stamped part of the large floral bunch onto the bottom of Basic White card using Memento Tuxedo Black ink. I coloured the image using Real Red & Old Olive Stampin’ Blends. This panel is attached to the mechanism in the centre of the card base.
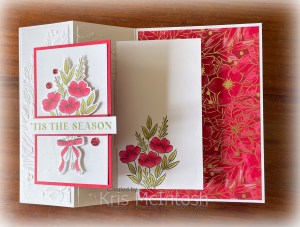
I attached Basic White card to Real Red card to create the front panel. I stamped the same floral bunch onto Basic White card using Memento Tuxedo Black ink. I coloured the image using the same Stampin’ Blends before cutting out the image using the co-ordinating Christmas Greenery Die. The image is attached to the front panel using dimensionals. I attached a piece of Real Red card across the centre of the image panel using dimensionals. I stamped the greeting from the Traditional Labels stamp set onto Basic White card using Old Olive ink. The greeting is attached across the centre of the Real Red card strip. Lastly I added three red Traditional Sparkling Sequins to the card front. I love how pretty this card looks using this great fancy fold by Susan Camperfield. I would love to hear what you think. Bye for now,
Kris
Product Used:


Thank you Note

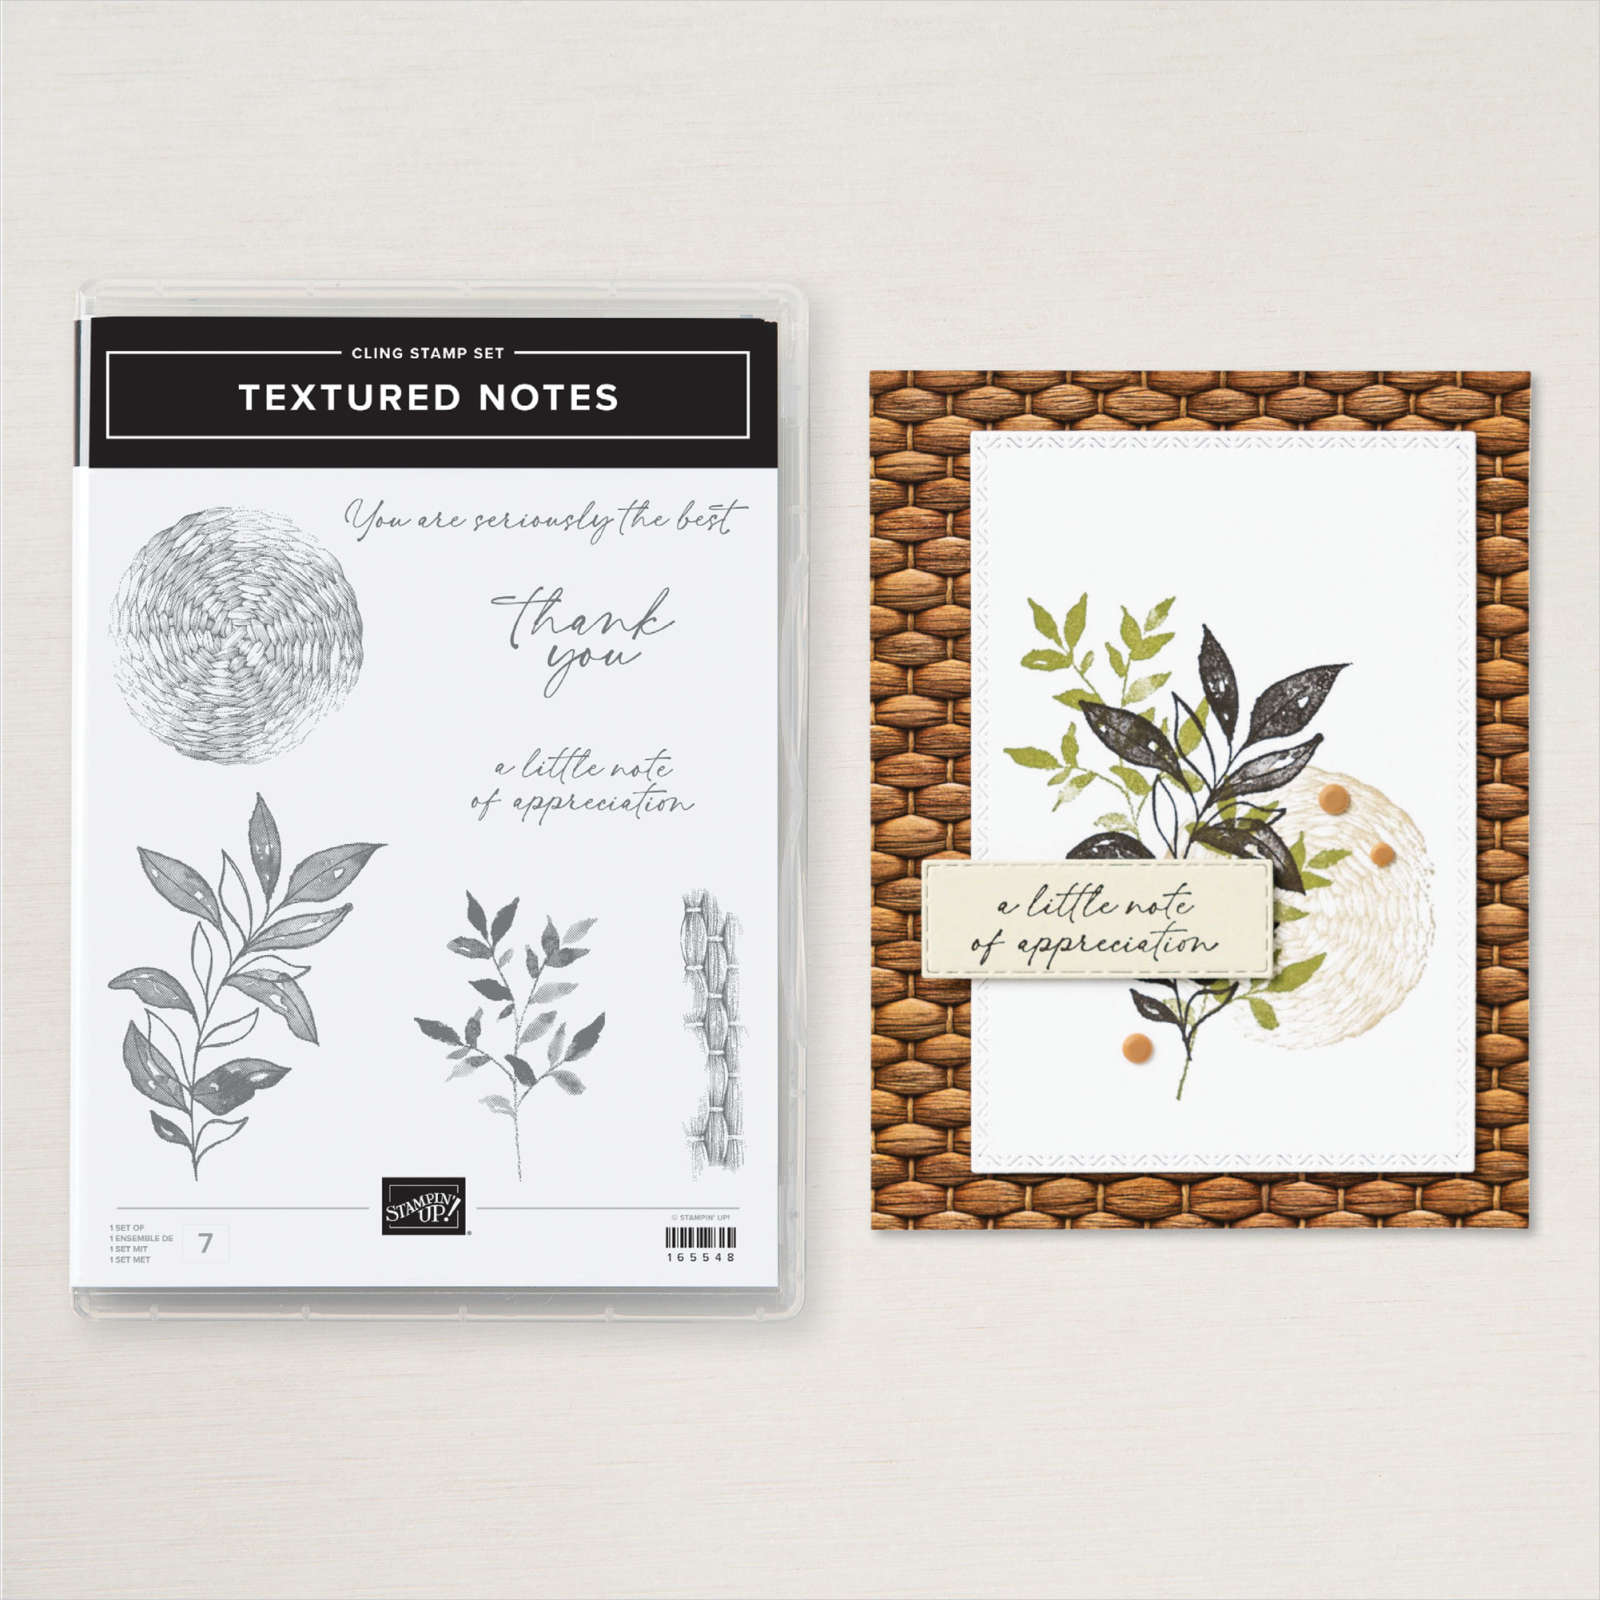
Today I had a little play with the dies from the Just a Note Bundle. I embossed a piece of Crumb Cake two -tone paper using the So Swirly Embossing Folder. The embossed panel is attached to scored and folded Thick Basic White card. I stamped the line image from the Just a Note stamp set onto Basic White card using Smoky Slate ink. I cut out the lines using the Just a Note Die. I stamped “thank you” from the Textured Notes stamp set onto the Basic White panel using Mossy meadow ink.
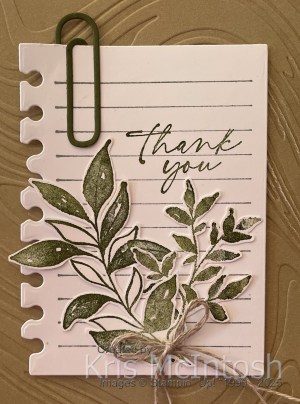
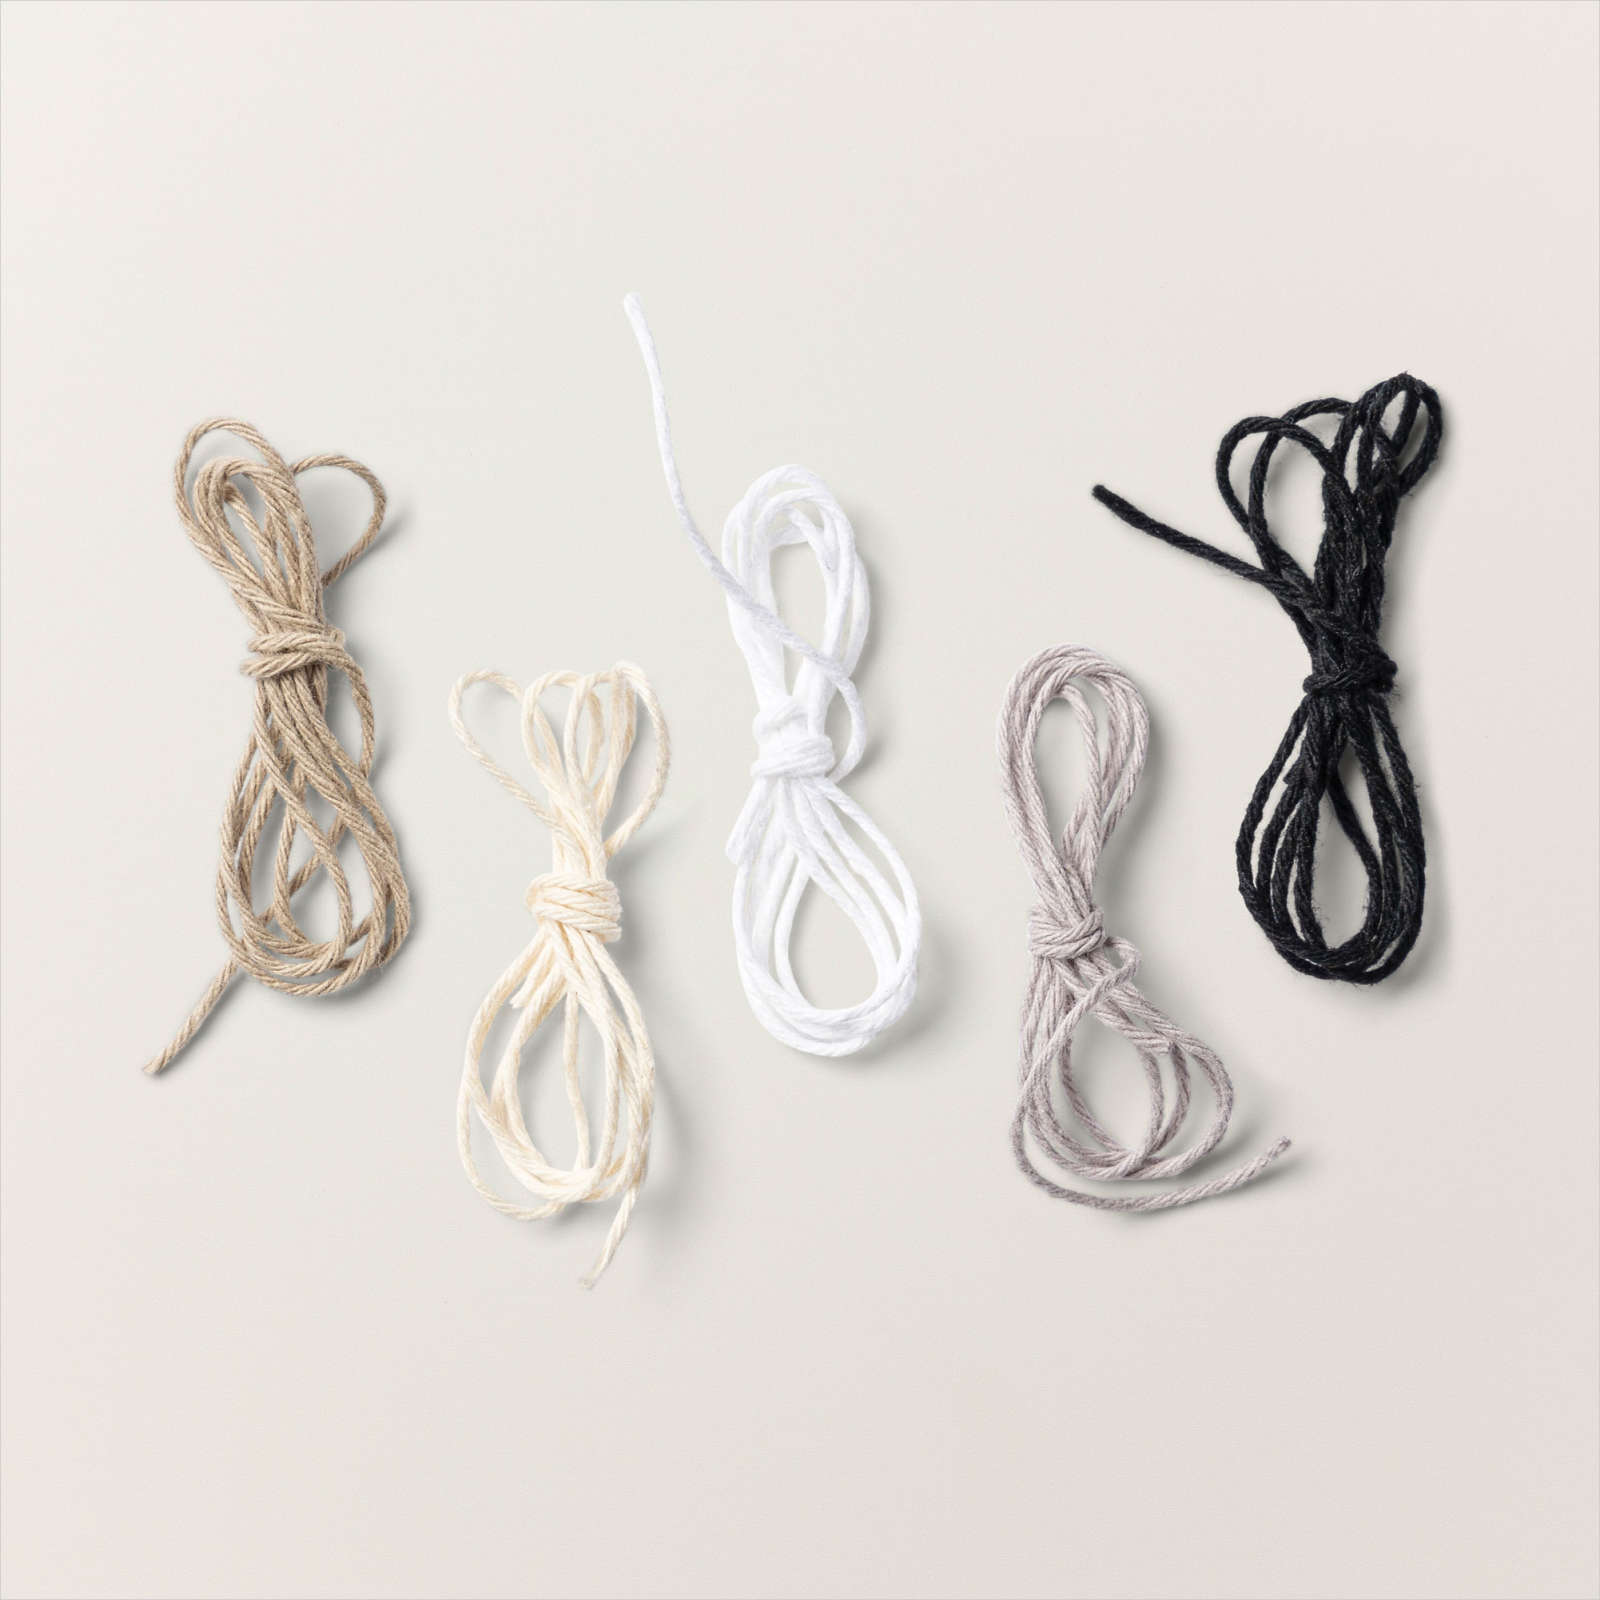
I stamped the two leaf images from the Textured Notes stamp set onto scrap Basic White card using Mossy Meadow ink. I fussy cut both of the leaf images and attached them to the stamped panel. I tied a bow in a length of Linen Thread and attached it to the leaf stems.
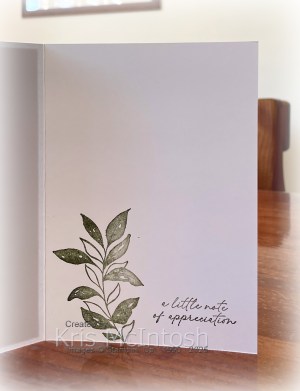
I also used the paper clip die from the Just a Note Dies to cut Mossy Meadow card. I attached the paper clip to the top of the Basic White panel. To decorate the inside of the card I stamped the large leaf image from the Textured Notes stamp set directly onto the Thick Basic White card base using Mossy Meadow ink. I stamped the greeting from the Textured Notes stamp set beside the leaf using Mossy Meadow ink. I love how this card turned out and I am sure I will find more ways to use this bundle.
Bye for now,
Kris
Product Used:


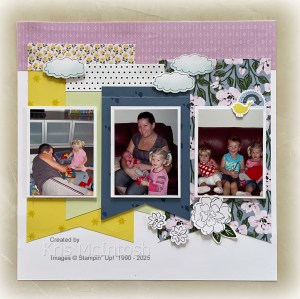
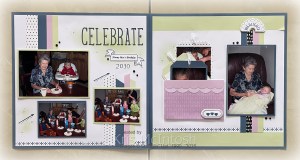
Celebrating Nanny Mac
Stampin’ Up! recently held a Virtual Album Retreat which was available for Demonstrators and Customers to attend. Unfortunately I couldn’t attend on the specified dates but the videos are all still available. To attend the retreat you needed to purchase a kit to create all of the pages – one for each month of the year. Everything for each page was either already cut which was amazing. Today I am going to share the January pages. I changed my title and the arrangement of the embellishments slightly but I stuck to the layout photo placement.
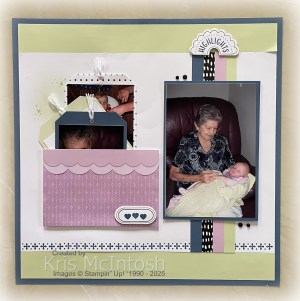
We were also shown how to create a pocket for this page so that you could add more photos or journalling. I decided to use some photos celebrating Ron’s mother’s birthday way back in 2010. The kit came with two stamp sets which have been used to create the embellishments on the page, however, I did create my title using Misty Moonlight card and the Alphabet A La Mode Dies. I am so happy to have these pages ready to go once I decide which photos I want to add. At the present time you can still purchase this kit and have access to all the videos to create either a month by month album or change it to suit your photos. This retreat was such a success that Stampin’ Up! are already planning the next one. Yay!
Bye for now,
Kris
Product Used:
You can view the Month by Month Album Retreat 2025 here in my online store while stocks last.


More Sweet Baby

I shared some cards I created using the Cutest Onsie stamp set recently and was inspired to create another version of the card. I attached a piece of Petal Pink card to the left hand side of Basic White card. I embossed the whole panel using the Mini Corrugated 3D Embossing Folder. The embossed panel is attached to scored and folded Petal Pink card. I stamped the onsie image from the Cutest Onsie stamp set onto Basic White card using Memento Tuxedo Black ink.

I coloured the image using Petal Pink Stampin’ Blends before cutting it out using one of the circles from the Stylish Shapes Dies. I stamped the heart image from the Cutest Onsie stamp set onto the onsie image using Memento Tuxedo Black ink. The image panel is attached to the card front using dimensionals.
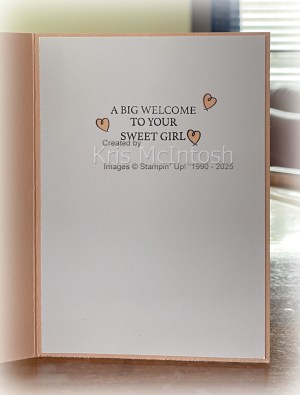
I stamped the greeting from the Cutest Onsie stamp set onto Basic White card using Memento Tuxedo Black ink. I cut out the greeting using one of the banner dies from the Stylish Shapes Dies. The greeting is attached over the bottom of the image panel using dimensionals where necessary. To decorate the insie of the card I stamped “a big welcome” and “sweet girl” from the Cutest Onsie stamp set onto Basic White card using Memento Tuxedo Black ink. I stamped the heart image from the Cutest Onsie stamp set three times around the greeting using Memento Tuxedo Black ink. I coloured the hearts using the Dark Petal Pink Stampin’ Blend before attaching the panel inside the card base. As before I decided to create another card this time using Balmy Blue card and Stampin’ Blends.

Don’t they look cute and so simple to create.
Bye for now,
Kris
Product Used:


Happy Place

Today I have a quick and simple card to share with you that I created using the Happy Place stamp set. You will find this stamp set in the September to December Mini Catalogue. I love it because of the beautiful texture in the “happy” but I also love the size of the greetings and I can see this working very well with my Memory Keeping.

I used the So Swirly Embossing Folder to emboss Basic White card which I attached to scored and folded Blueberry Bushel card. I stamped “happy” and “birthday” from the Happy Place stamp set onto Basic White card using Blueberry Bushel ink.
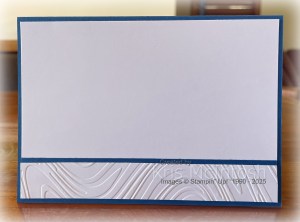
I attached the stamped panel to Blueberry Bushel card before attaching the panel to the card front. To decorate the inside of the card I embossed a narrow strip of Basic White card using the So Swirly Embossing Folder. I attached a narrow strip of Blueberry Bushel card behind one long edge of the embossed panel before attaching it across the bottom of Basic White card. This panel is attached to the inside of the card base. So what do you think? Simple but effective?
Bye for now,
Kris
Product Used:
You can view the Happy Place stamp set here in my online store.


Bay of Islands

Today’s page shows off some photos from our Great Ocean Road trip. The Bay of Islands was spectacular. I cut one piece of Everyday Happiness 12″ x 12″ Designer Series Paper using the September 1, 2, 3 Layout. The 1, 2, 3 layouts were created by Noreen Smith and can be found here on You Tube. The Everyday Happiness Designer Series Paper is attached to two White Willow 12″ x 12″ pages. I attached each of the photos to Night of Navy card before attaching them to the pages.

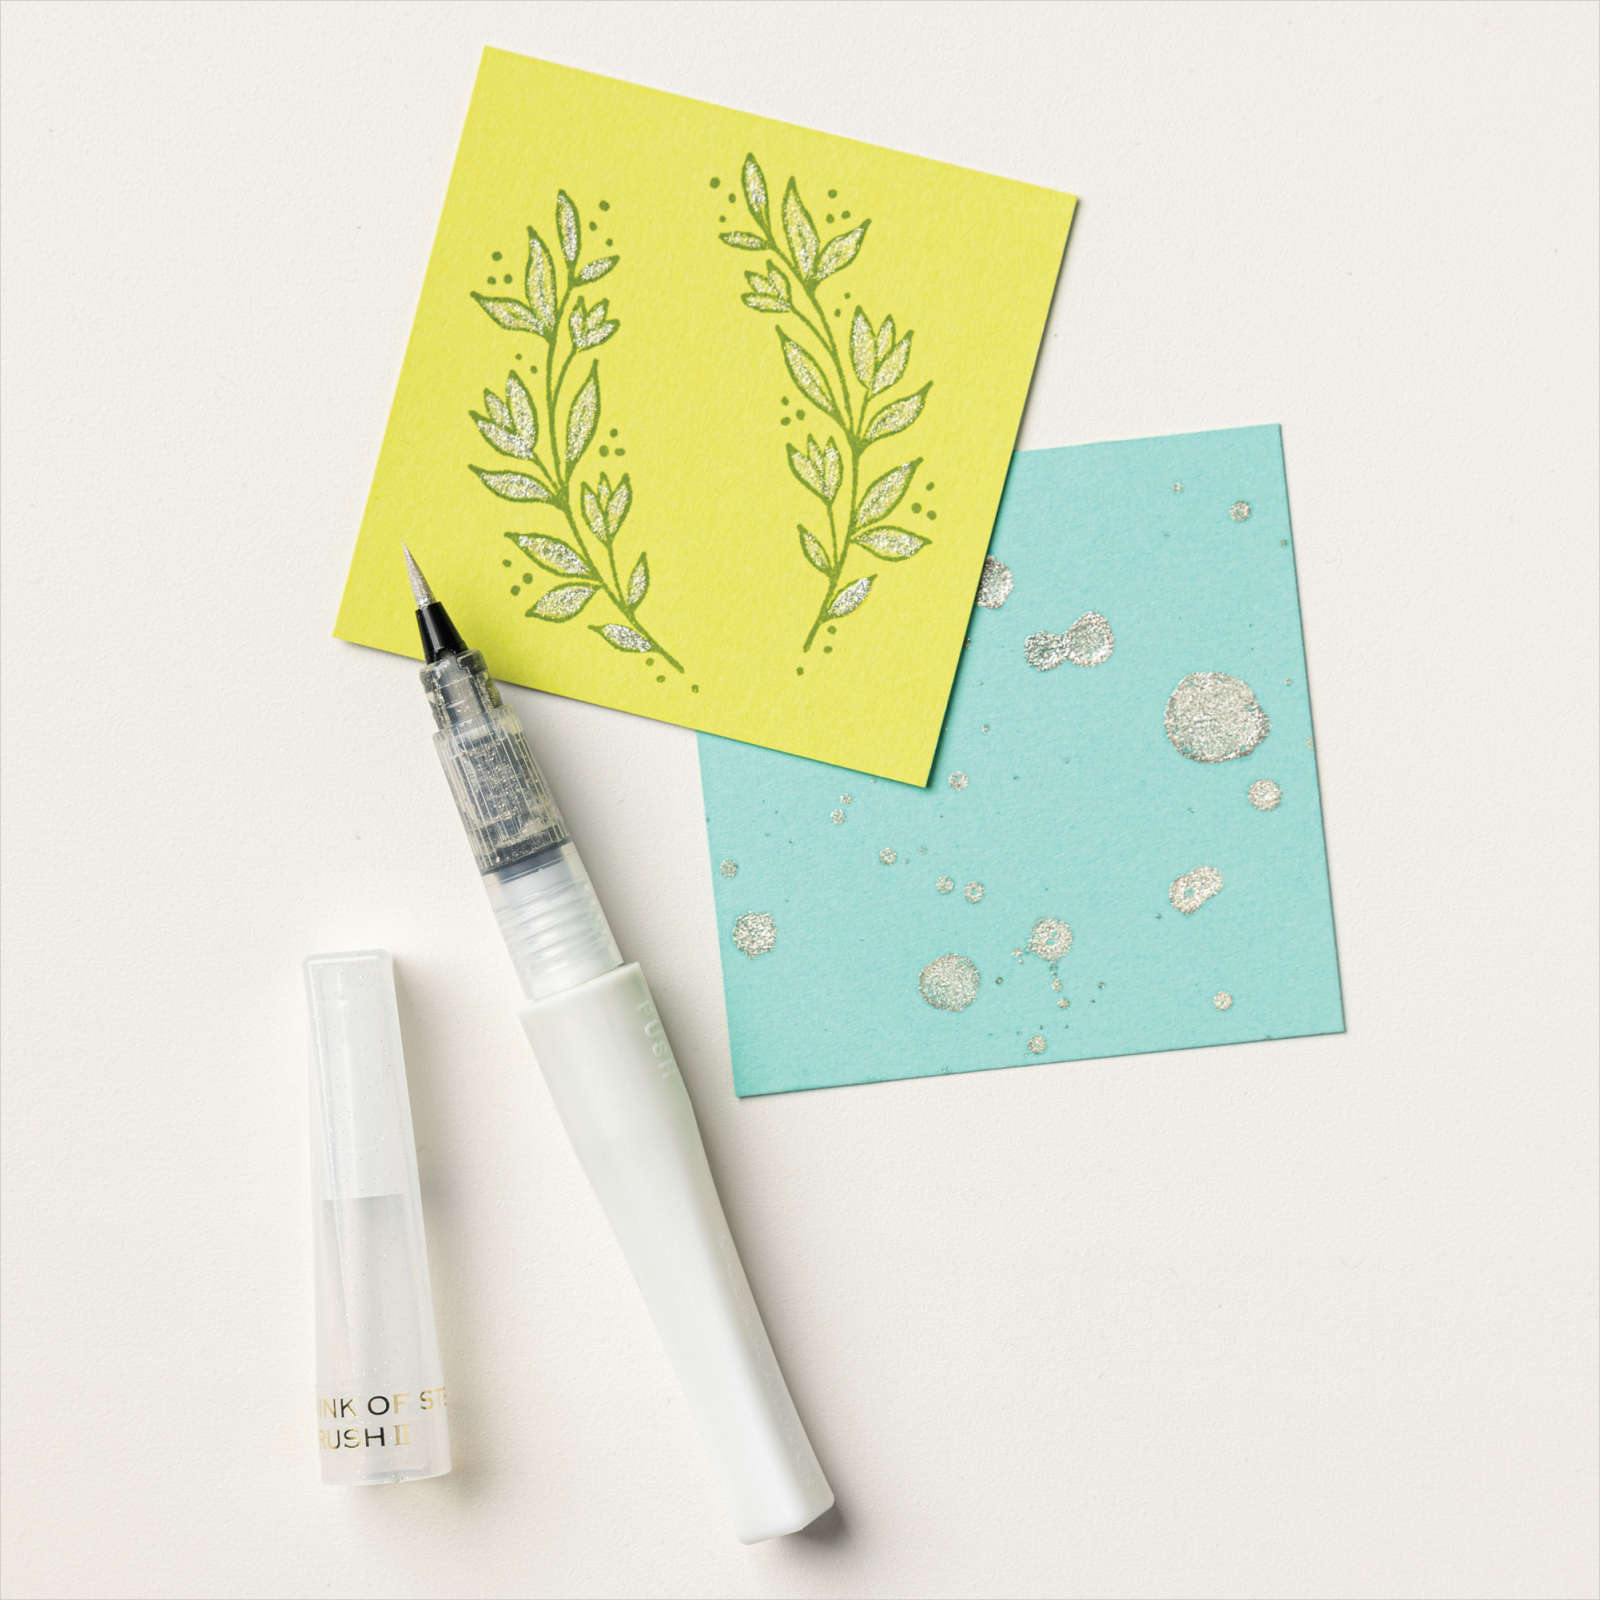
The title is cut from Night of Navy card using the Mini Alphabet Dies. I stamped a greeting from the Weekend Adventure stamp set onto the right hand page using Night of Navy ink. I die cut Night of Navy card using one of the retired Beauty of the Deep Dies. I stamped a large and small starfish images from the retired Seaside Wishes stamp set onto Basic White card using Balmy Blue ink. I cut them out using the co-ordinating retired Seaside Wishes Dies. I did add a little Wink of Stella to each of the starfish. I also used the retired Seaside Wishes Hybrid Embossing Folder to cut the sand dollars from Basic White card.
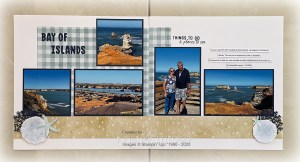
I used a Blending Brush and Night of Navy ink to add a little colour to the sand dollars. I layered one of the seaweed images with a sand dollar and a starfish on the bottom outside edge of both of the pages. My journaling is printed onto Basic White card and cut into strips. I dipped each of the strips into Night of Navy ink before attaching them to the right hand page. I so love using these layouts, they are quick and easy to put together and using different papers makes them useful for any occasion.
Bye for now,
Kris
Product Used:


Tidings of Comfort & Joy
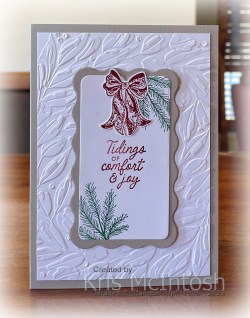
Todays card features a stand alone stamp set from the September to December Mini Catalogue. I embossed Basic White card using the Traditional Wreath 3D Embossing Folder and attached it to scored and folded Gray Granite card. I die cut Basic White card using the smaller tag from the Paper Tag Dies and Gray Granite card using the larger tag from the same dies. I stamped the leaf image from the Magic & Hope stamp set onto the upper right and lower left hand corners of the Basic White tag using Shaded Spruce ink.
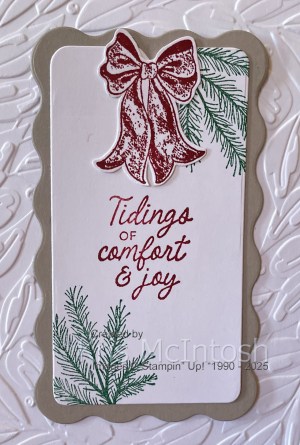
I stamped the greeting from the Magic & Hope stamp set onto the centre of the tag using Cherry Cobbler ink. I attached the two tags together before attaching them to the card front. I stamped the bow image from the Magic & Hope stamp set onto Basic White card using Cherry Cobbler ink and cut it out.
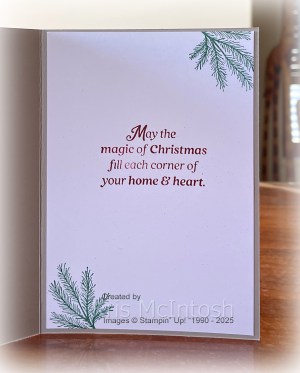
The bow is attached to the top of the tag on the card front. To decorate the inside of the card, I stamped the leaf image from the Magic & Hope onto the upper right and lower left hand corners of Basic White card using Shaded Spruce ink. I stamped the greeting from the Words For the Season stamp set on the centre of the Basic White card using Cherry Cobbler ink. I feel like this is probably a stamp set you could easily overlook in this Mini Catalogue. You can find it on page 59, so take a look. If you do you will see that this card was inspired by one of the samples in the catalogue.
Bye for now,
Kris
Product Used:
You can view the Magic & Hope stamp set here in my online store.
You can view the Traditional Wreath 3d Embossing folder here in my online store.


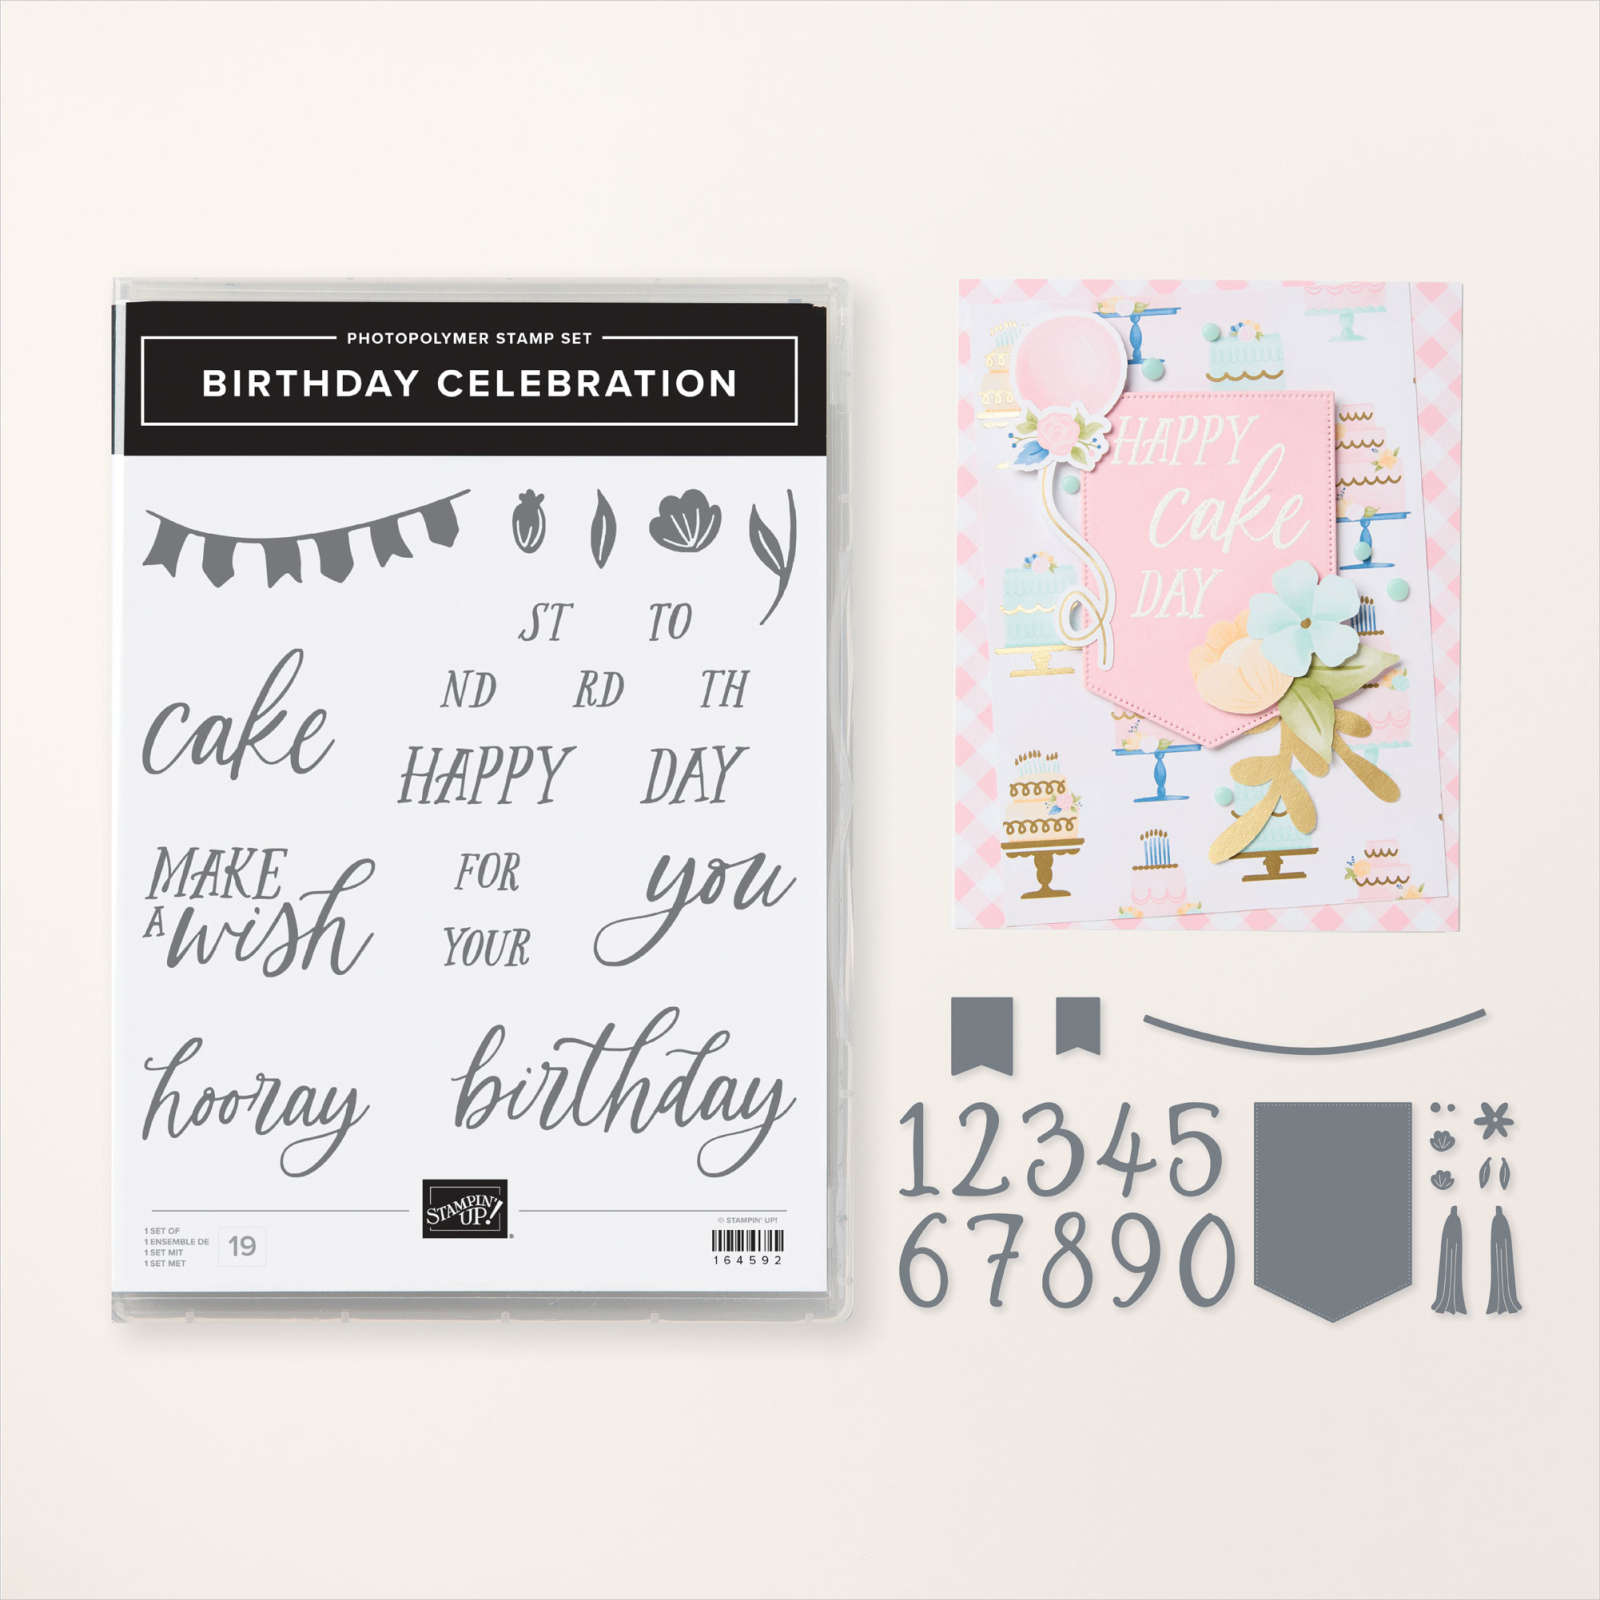
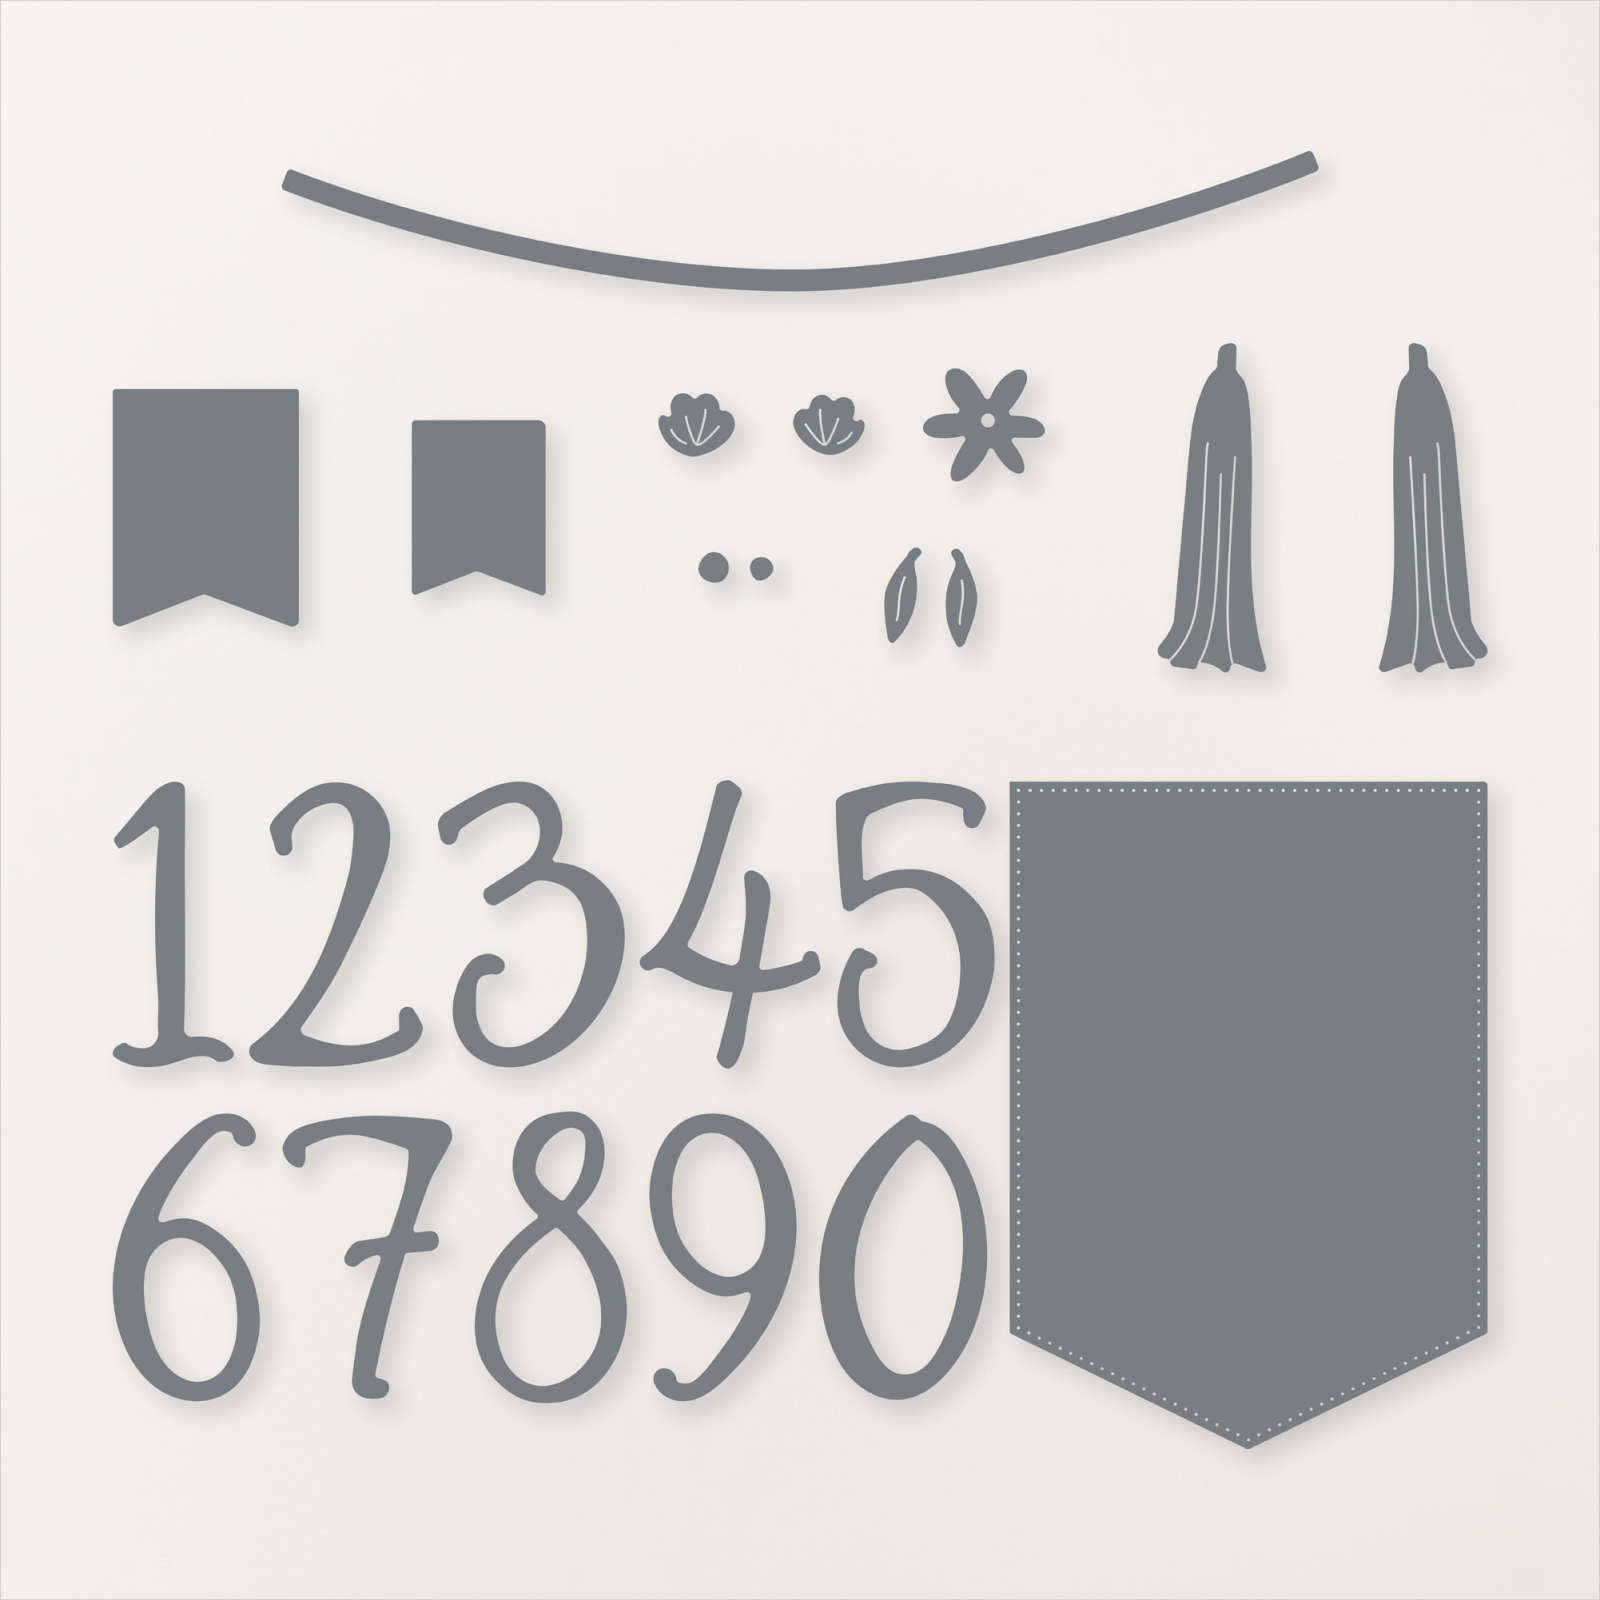
Unbounded Birthday
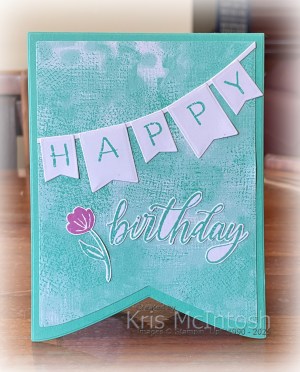
Today’s card was created when I had my first “play” with the Party Banners Dies. These dies are amazing. You can create large banners down to pretty small banners using these dies. I used the fourth largest die to cut Summer Splash card to create a card base. I lined up the folded edge of the card inside the top cutting line of the banner. I cut a piece of Unbounded Beauty 12″ x 12″ Designer Series Paper using the fifth largest die from the Party Banner Dies and attached it to the card front. I used the Birthday Celebration Dies to cut Basic White card using the banner dies and the “string” dies.

I used a stamp set which I received as part of the Virtual Scrapbooking Workshop to add the letters for “happy” using Summer Splash ink. I attached the banner across the top of the Designer Series Paper. I stamped “birthday” from the Birthday Celebration stamp set onto Basic White card using Summer Splash ink. I fussy cut the greeting and attached it to the card front.

I stamped the leaf image from the Birthday Celebration stamp set onto Basic White card using Summer Splash ink. I stamped the flower from the Birthday Celebration stamp set onto the leaf image using Petunia Pop ink. I cut out the flower and attached it to the card front. To decorate the inside of the card I cut Basic White card using the fifth largest die from the Party Banners Dies. I stamped the banner image from the Birthday Celebration stamp set across the top of the Basic White Banner using Summer Splash ink. I stamped the greeting from the Birthday Celebration stamp set also using Summer Splash ink. I love how this card turned out. I think I will be using this style of card for lots of celebrations.
Bye for now,
Kris
Product Used: