Tag Buffet
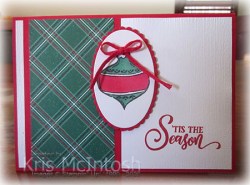
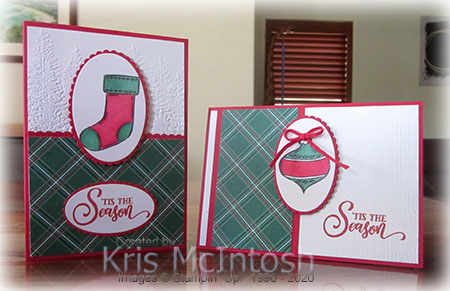
Yesterday on my Facebook Live I created each of the tags from the Tag Buffet Project Kit. To create these tags you need to purchase the Tag Buffet stamp set separately. I made a couple of cards to share today using this stamp set, just to show that it is useful far beyond the Project Kit.  For the first card, I stamped the greeting from the Tag Buffet stamp set onto the lower right hand corner of Whisper White card using Real Red ink. I embossed the stamped Whisper White card using the Subtle 3D Embossing Folder and attached it to scored and folded Real Red card.
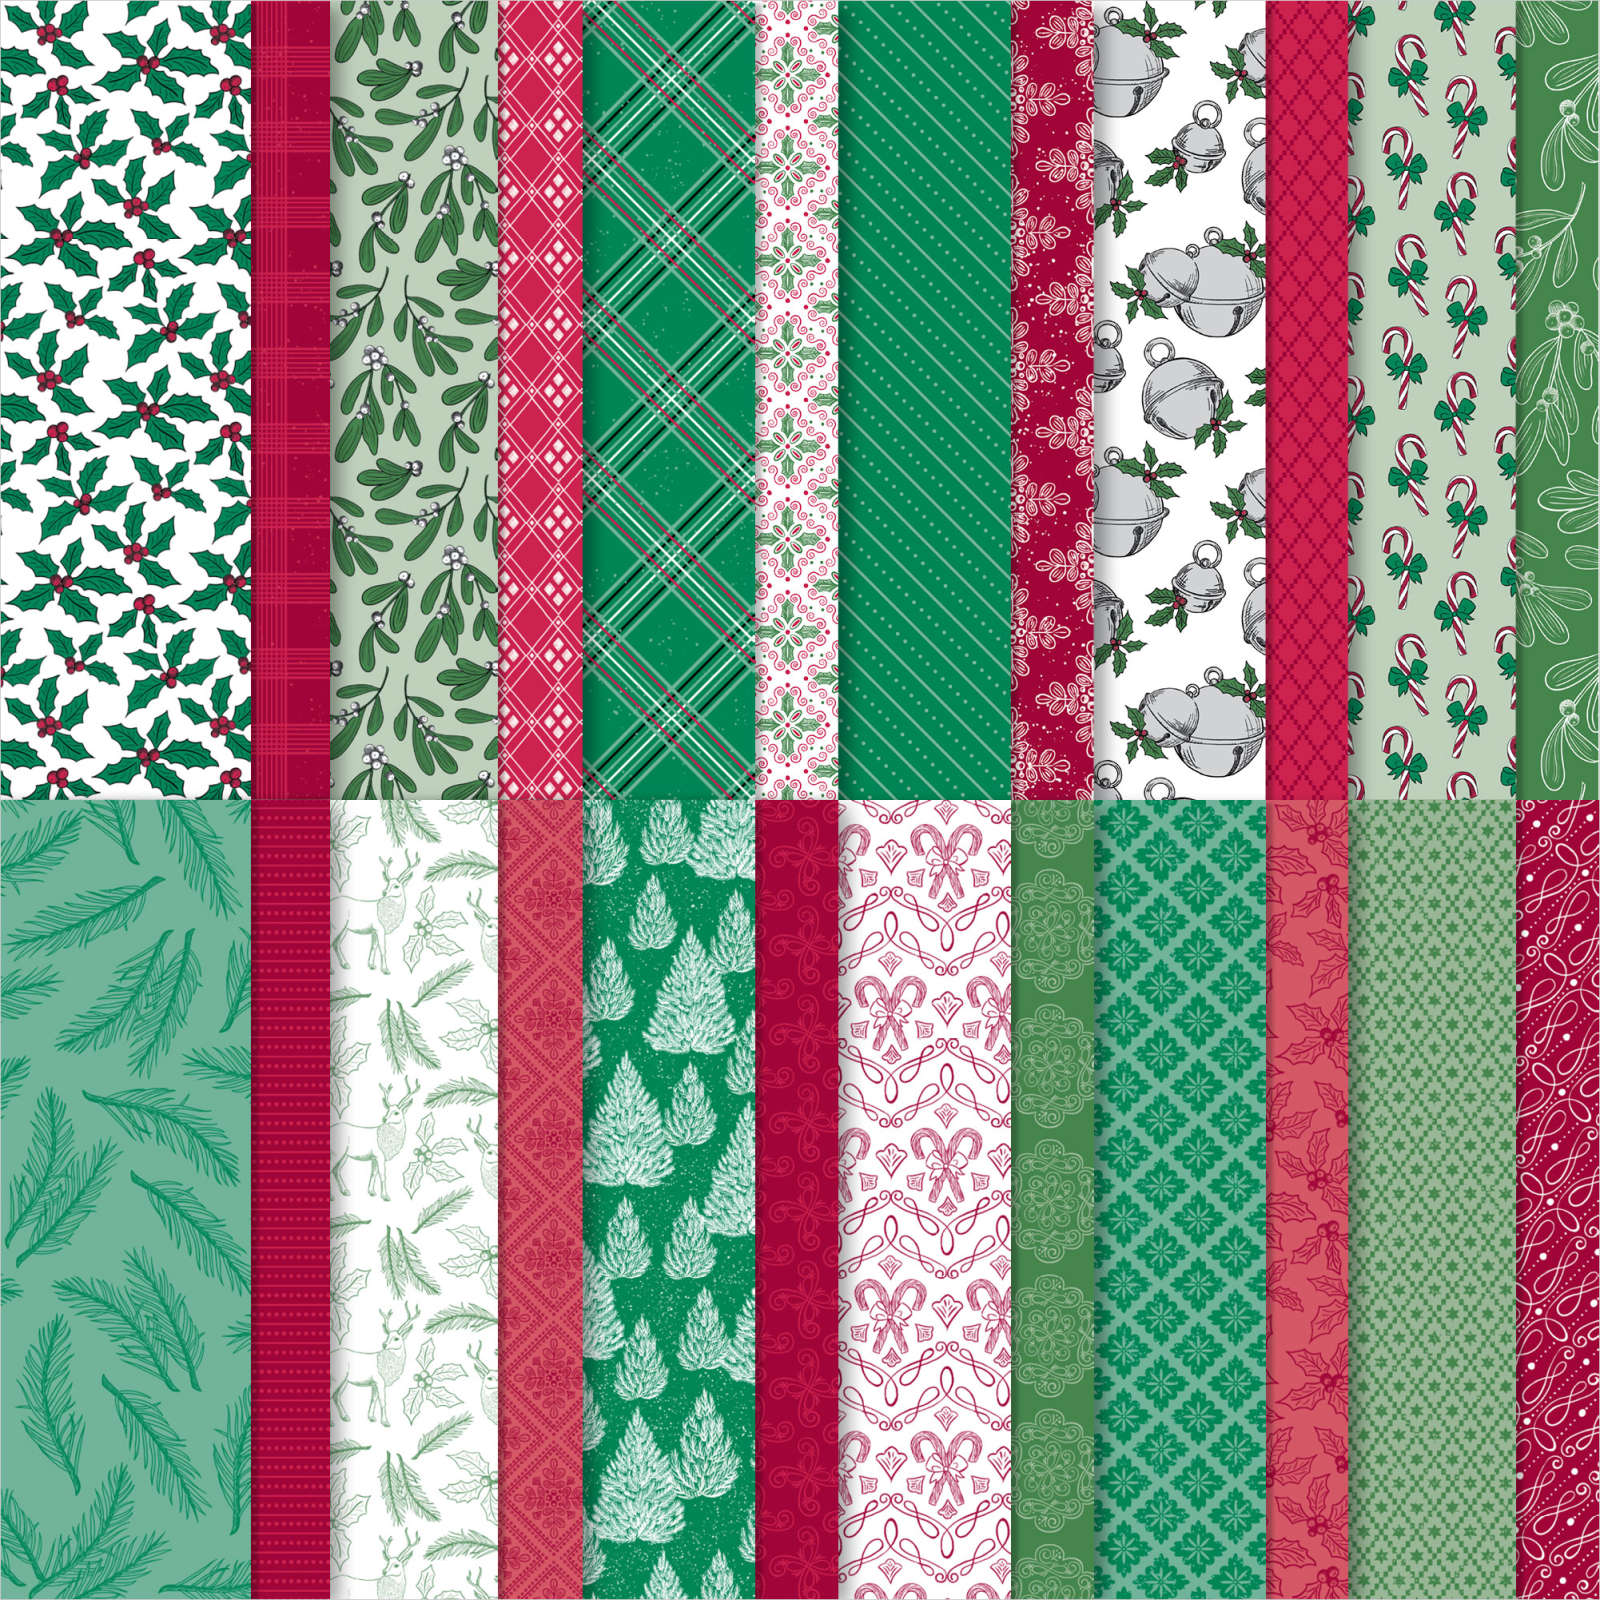
  I cut one long edge of a piece of Real Red card using the border from the Be Mine Stitched Dies and attached a piece of the ‘Tis the Season 6″ x 6″ Designer Series Paper. The Designer Series Paper panel is attached to the left hand side of the embossed Whisper White card.
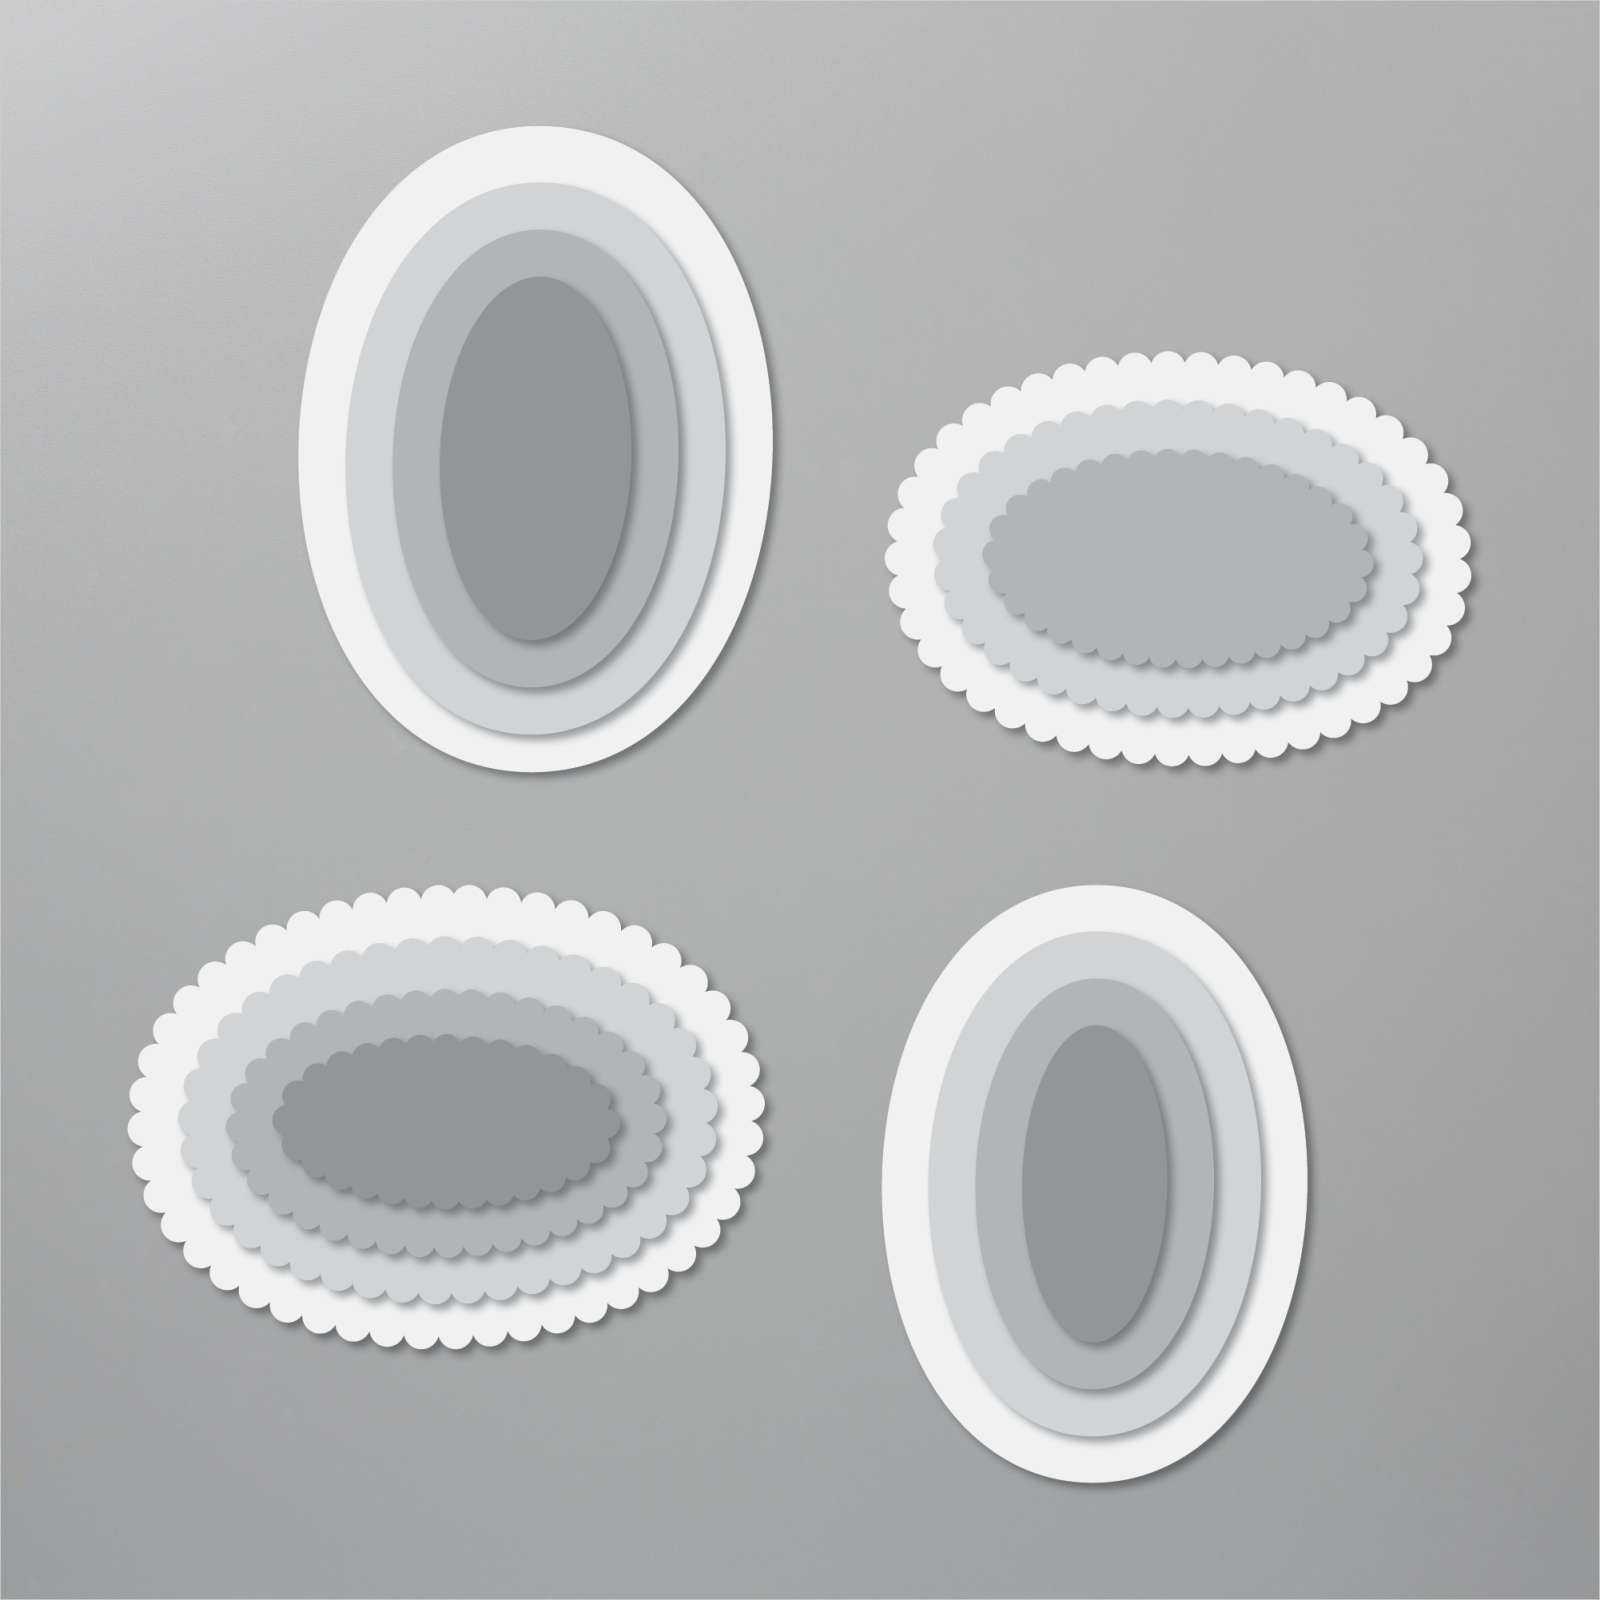
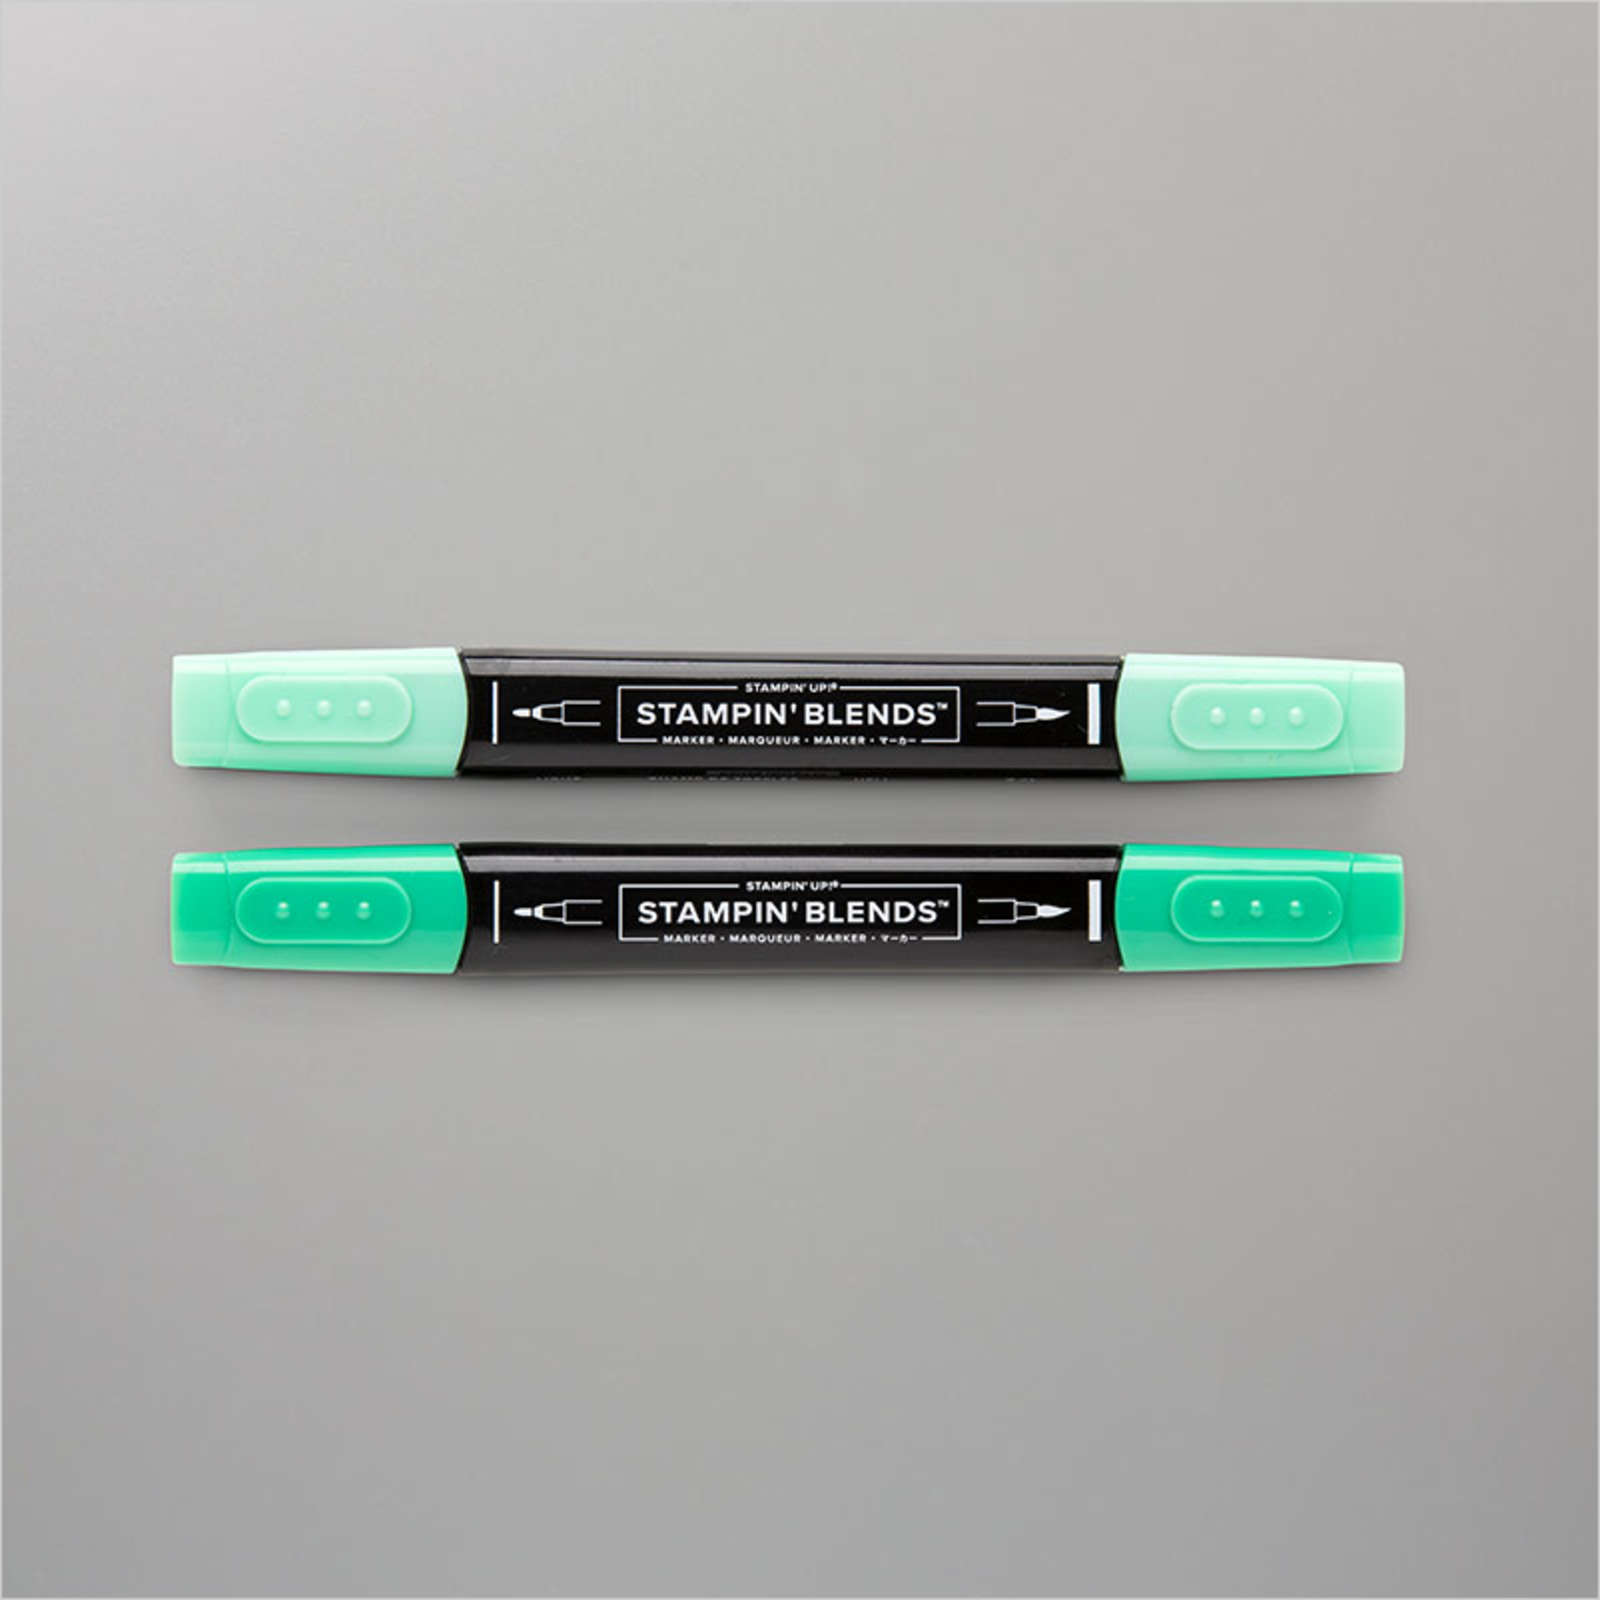
  I stamped the bauble image from the Tag Buffet stamp set onto Whisper White card using Memento Tuxedo Black ink. I coloured the image using the Real Red and Shaded Spruce Stampin’ Blends. I cut out the image using one of the Layering Ovals Dies and attached it to a Real Red scalloped oval cut using the same dies. The image panel is attached to the card front using dimensionals. I tied a bow in a length of Real Red Braided Linen Trim and attached it to the top of the bauble.
 To decorate the inside of the card, I stamped the greeting from the Tag Buffet stamp set onto Whisper White card using Real Red ink.
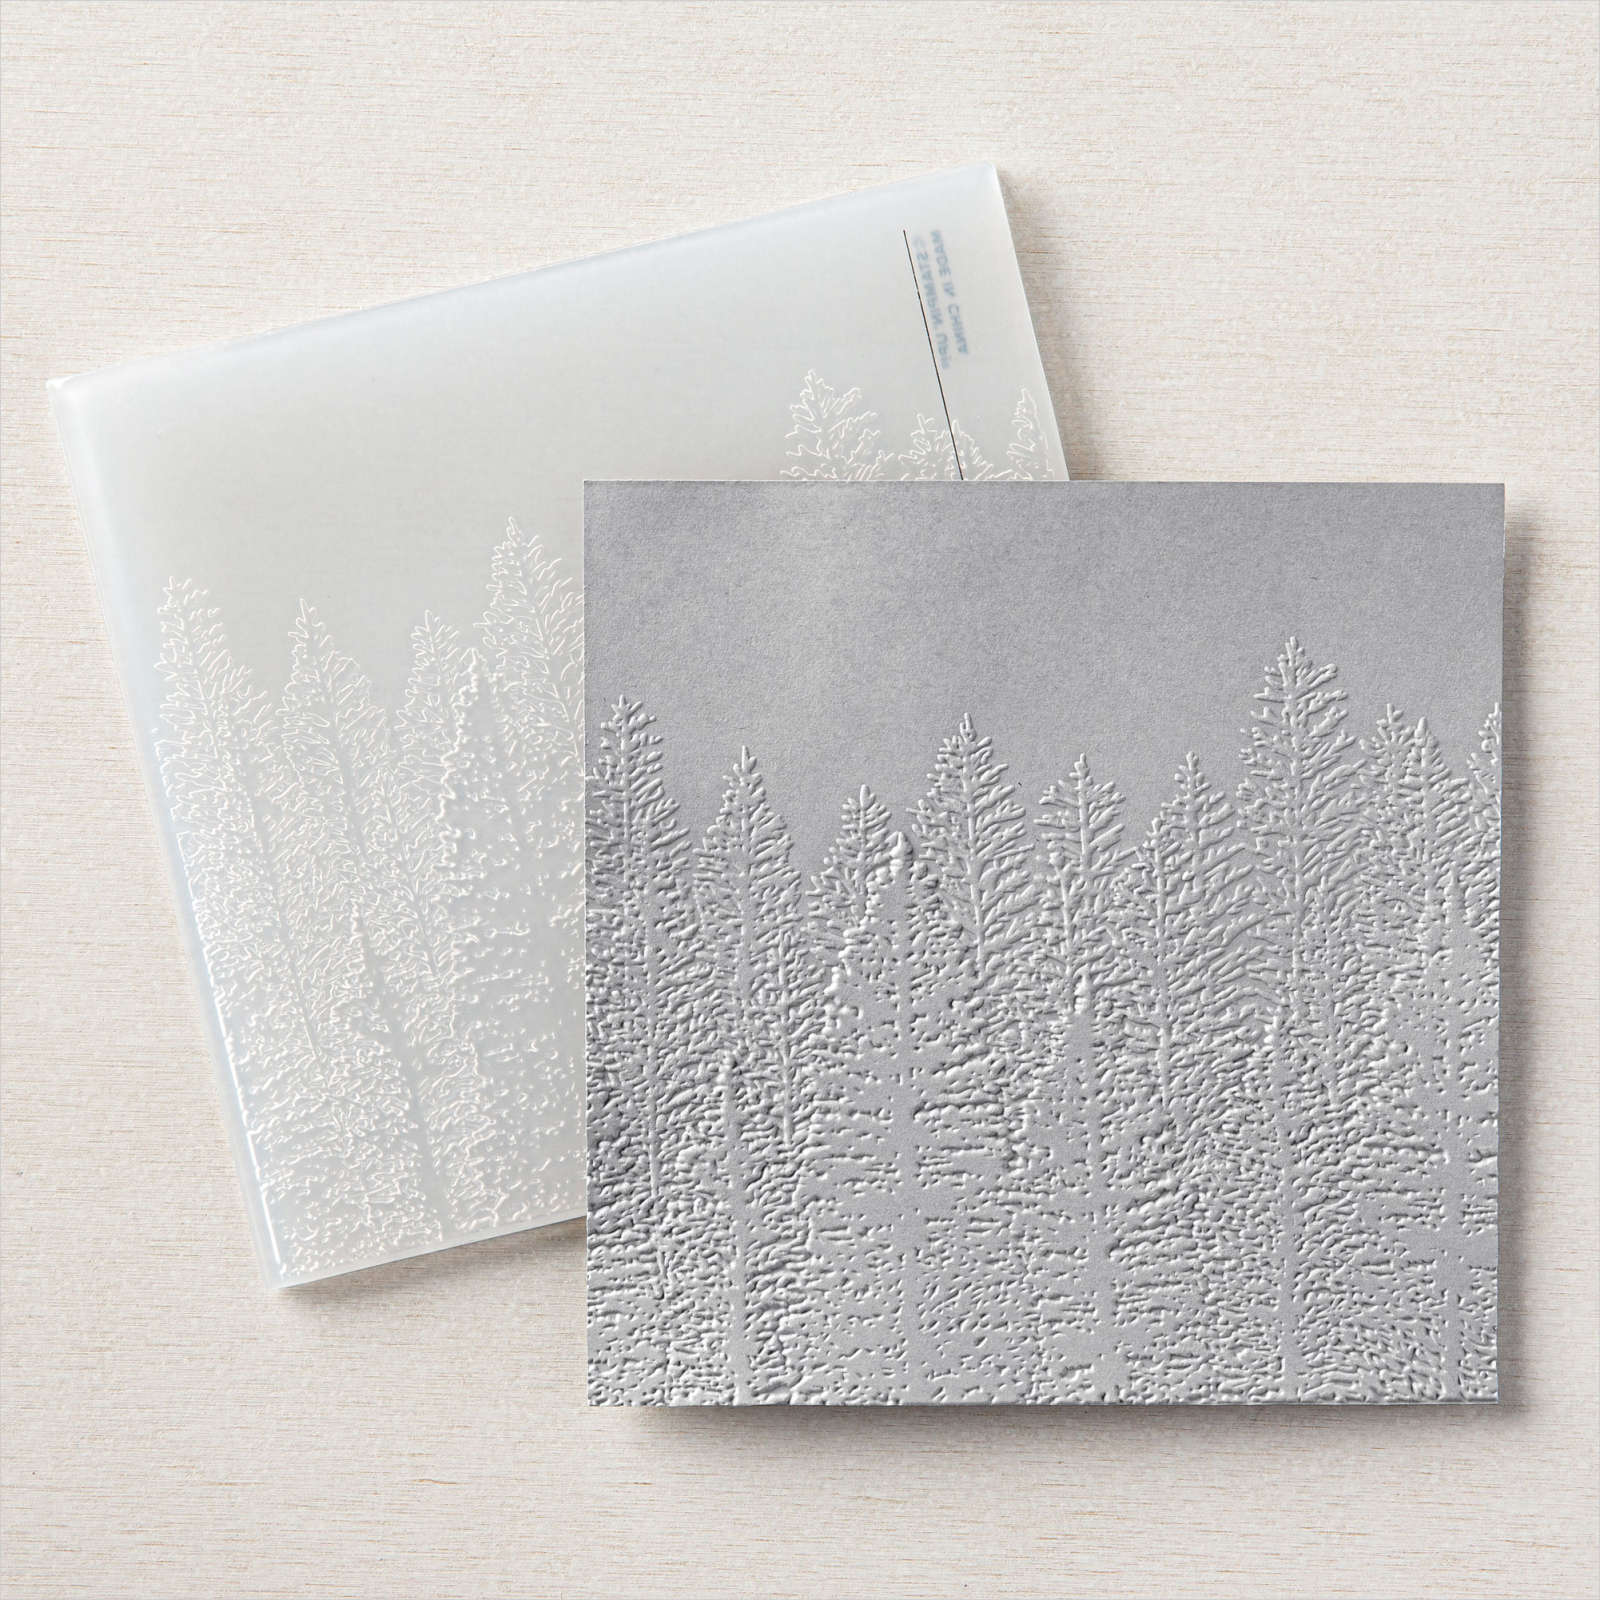
For the second card, I embossed Whisper White card using the Evergreen Forest 3D Embossing Folder. I cut the edge of a strip of Real Red card using the border die from the Be Mine Stitched Dies. I attached the border piece behind one edge of a piece of ‘Tis the Season 6″ x 6″ Designer Series Paper before attaching the panel to the bottom of the embossed card. I attached the whole piece to scored and folded Real Red card. I stamped the stocking image from the Tag Buffet stamp set onto Whisper White card using Memento Tuxedo Black ink. I coloured the image using Real Red and Shaded Spruce Stampin’ Blends before cutting out the image using the Layering Ovals Dies. I attached the image panel to a Real Red scalloped oval cut using the same dies. The image panel is attached to the card front using dimensionals. I stamped the greeting from the Tag Buffet stamp set onto Whisper White card using Real Red ink. I cut out the greeting using the Layering Ovals Dies, attached it to Real Red scalloped oval and then the card front.
To decorate the inside of the card I stamped the same greeting from the Tag Buffet stamp set onto Whisper White card using Real Red ink.
I think these cards turned out rather lovely, don’t you. I hope I have inspired you to take another look at this stamp set and see its possibilities.
Bye for now,
Kris
Product Used: