One design 3 ways

When we had our recent Onstage Online event, I was away and could only pop on now and then to watch the presentations live. I was fortunate enough to catch Donna Griffin give her Stamp and Share presentation. We were given information before the event to have supplies on hand to create along with her. I loved the layouts that she shared and yesterday on my Facebook Live I shared one of the layouts and today I am sharing a different one.

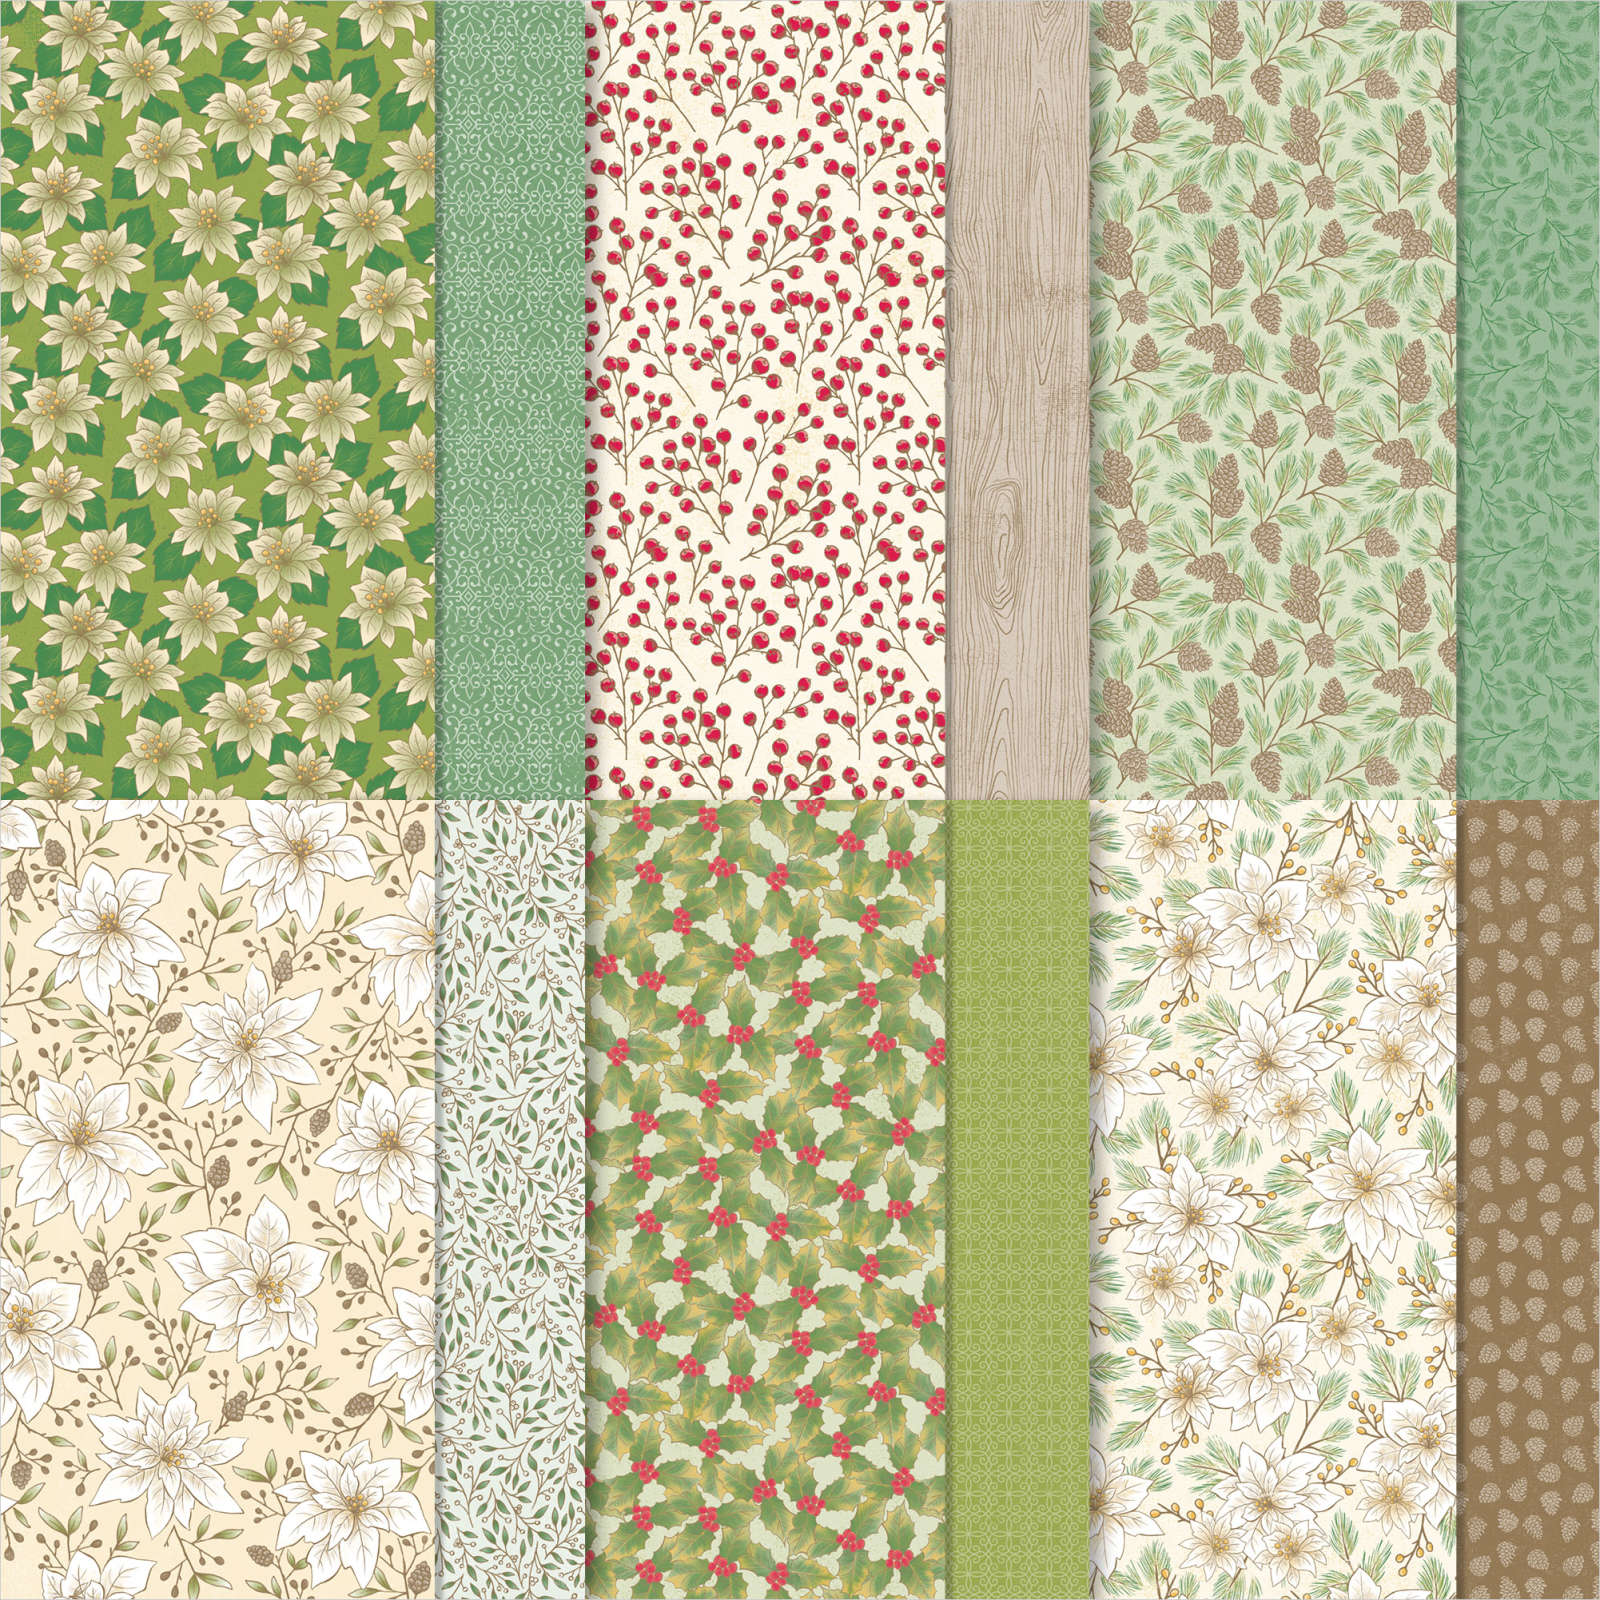
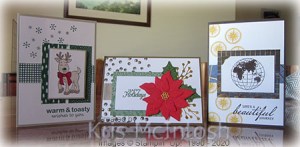
The first card uses the Warm and Toasty stamp set and the Classic Christmas 6″ x 6″ Designer Series Paper. I used the star image from the Warm and Toasty stamp set and Shaded Spruce ink to add some dimension to the top left hand corner of Whisper White card.

I also stamped the greeting from the same stamp set using Shaded Spruce ink onto the lower right hand corner of the Whisper White card. I cut three pieces of Designer Series Paper following the dimensions we were given and attached them to the stamped Whisper White card. The whole panel is attached to scored and folded Sahara Sand card. I stamped the reindeer image from the Warm & Toasty stamp set onto Whisper White card using Memento Tuxedo Black ink and coloured the image using Crumb Cake, Dark Cherry Cobbler and Light Flirty Flamingo Stampin’ Blends. I attached the image to Sahara Sand card and then the card front using dimensionals.

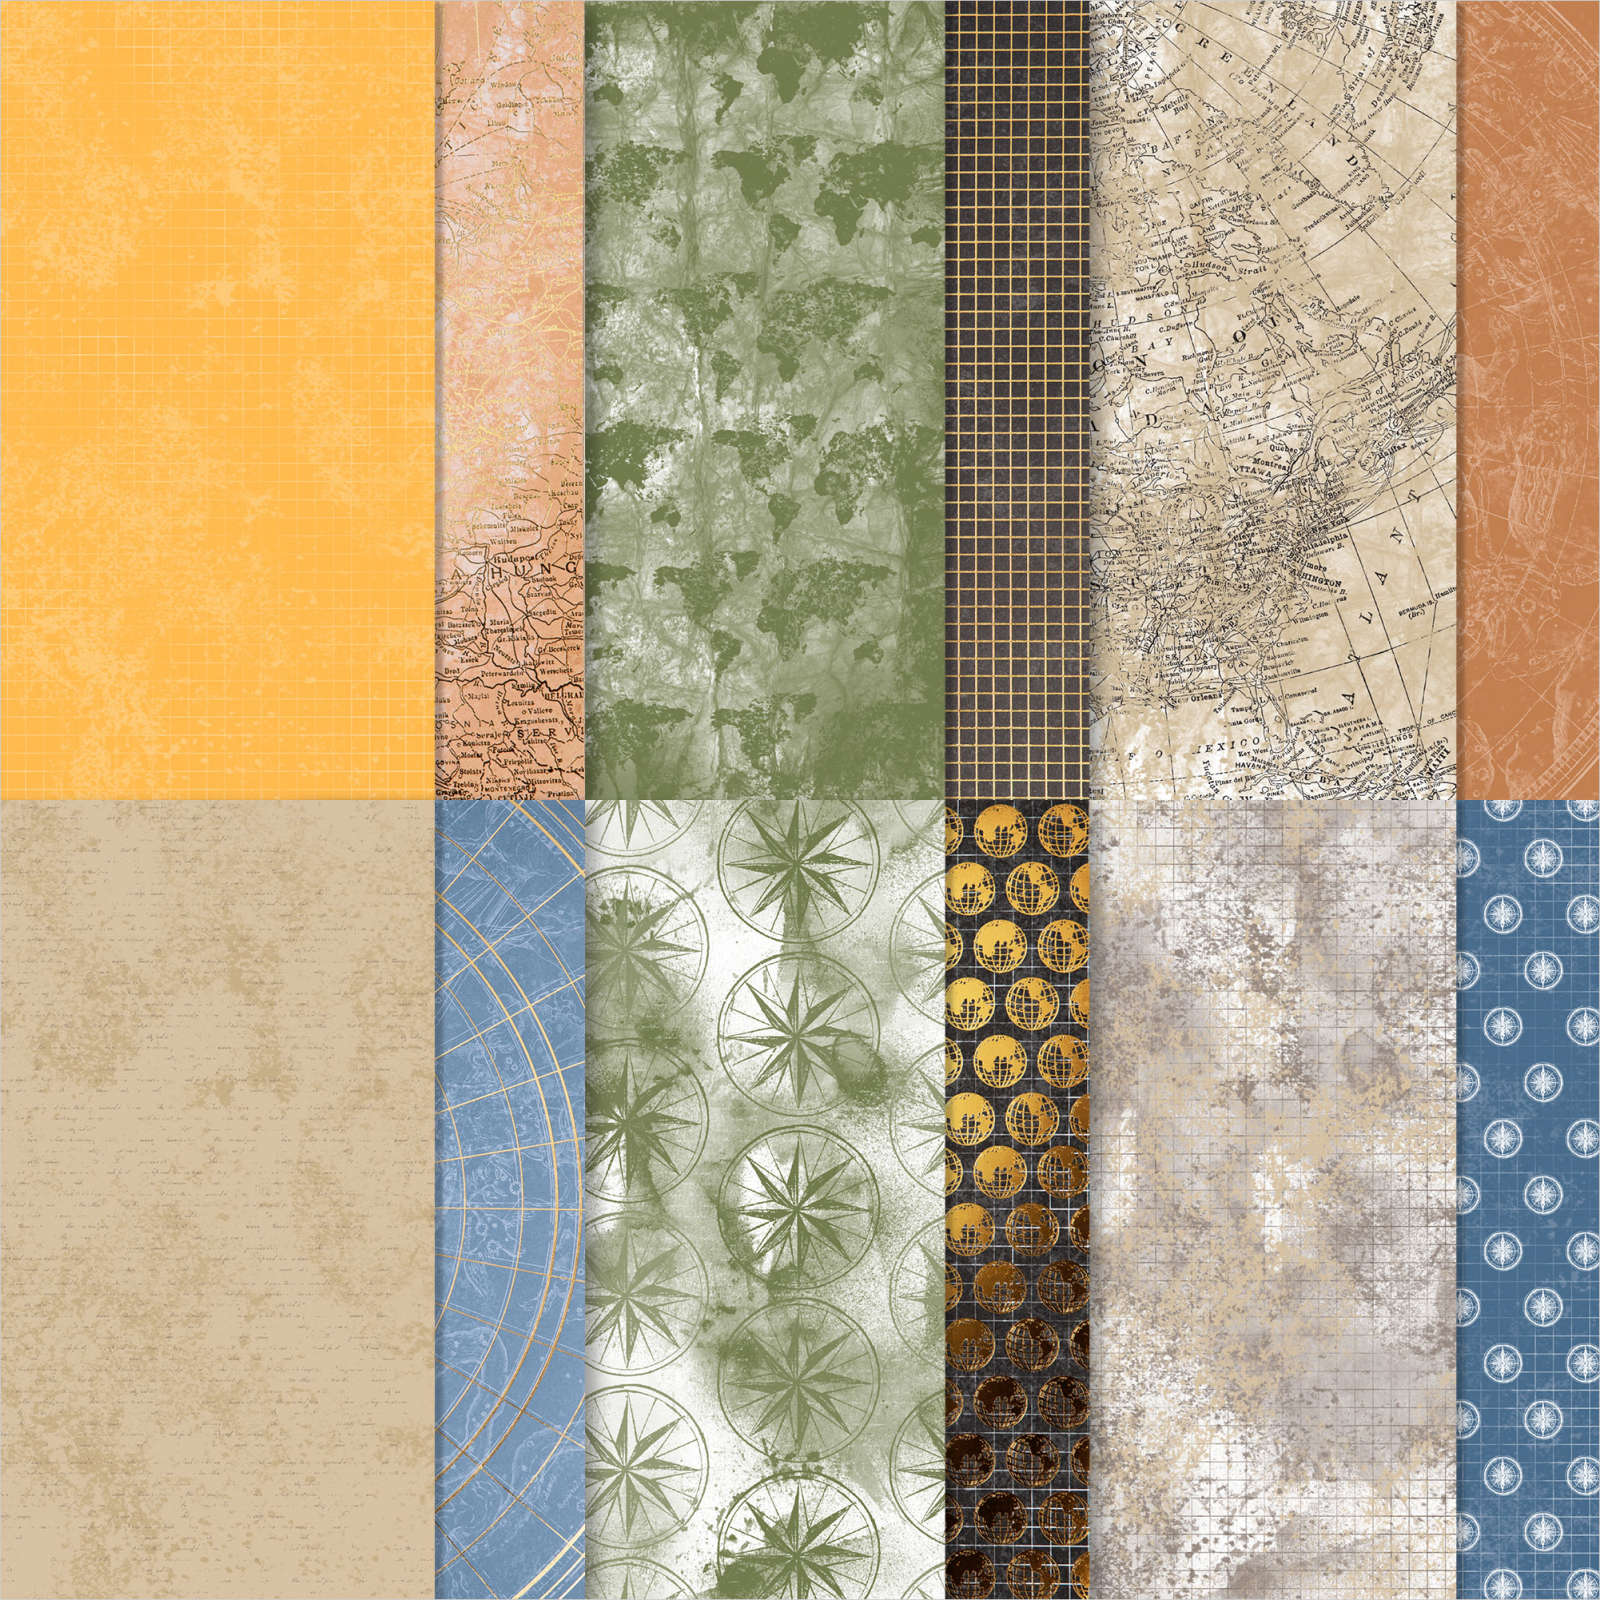
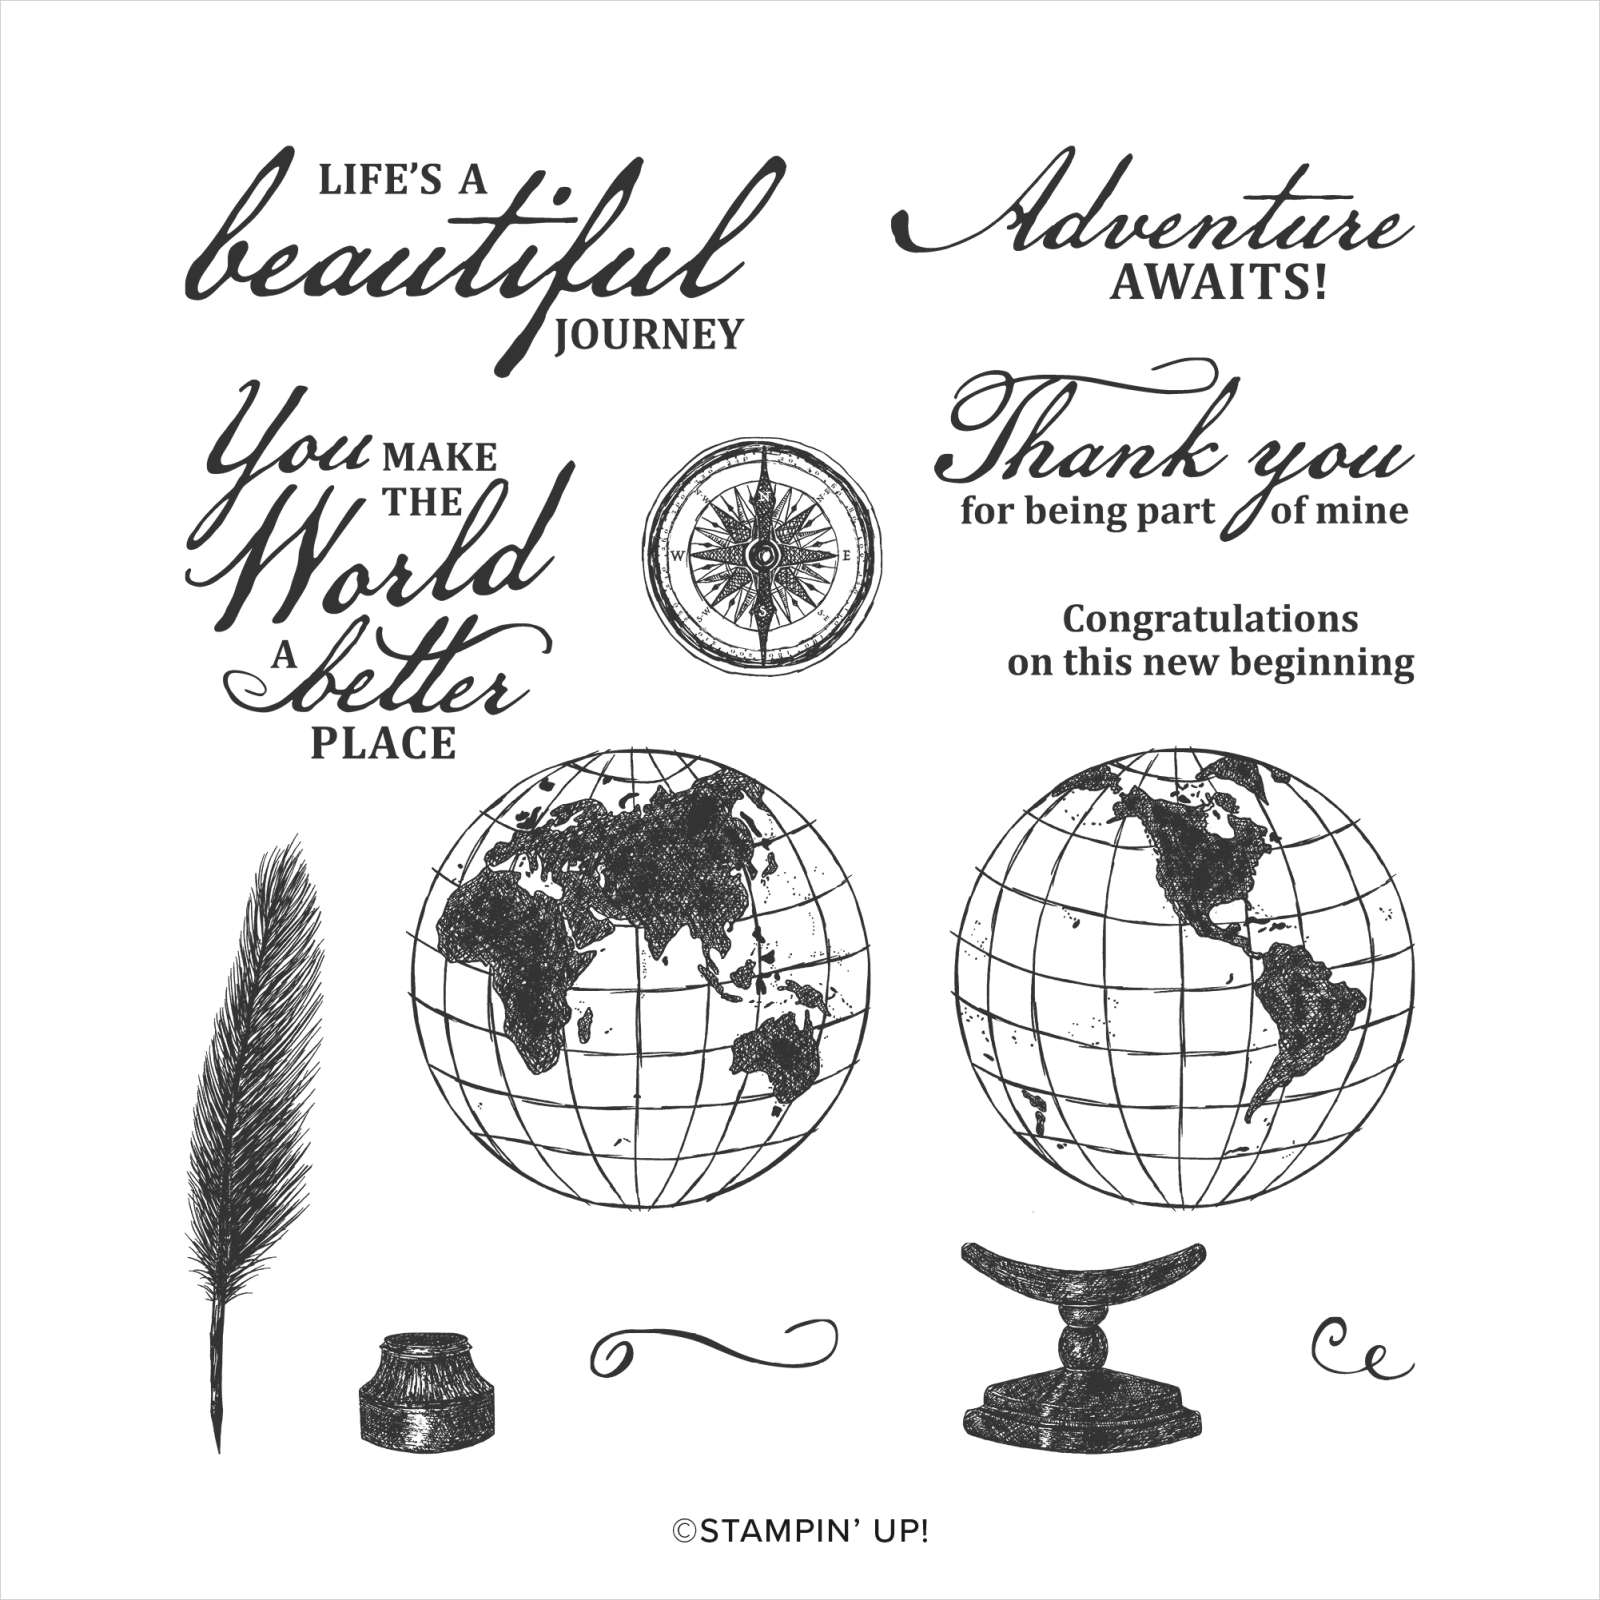
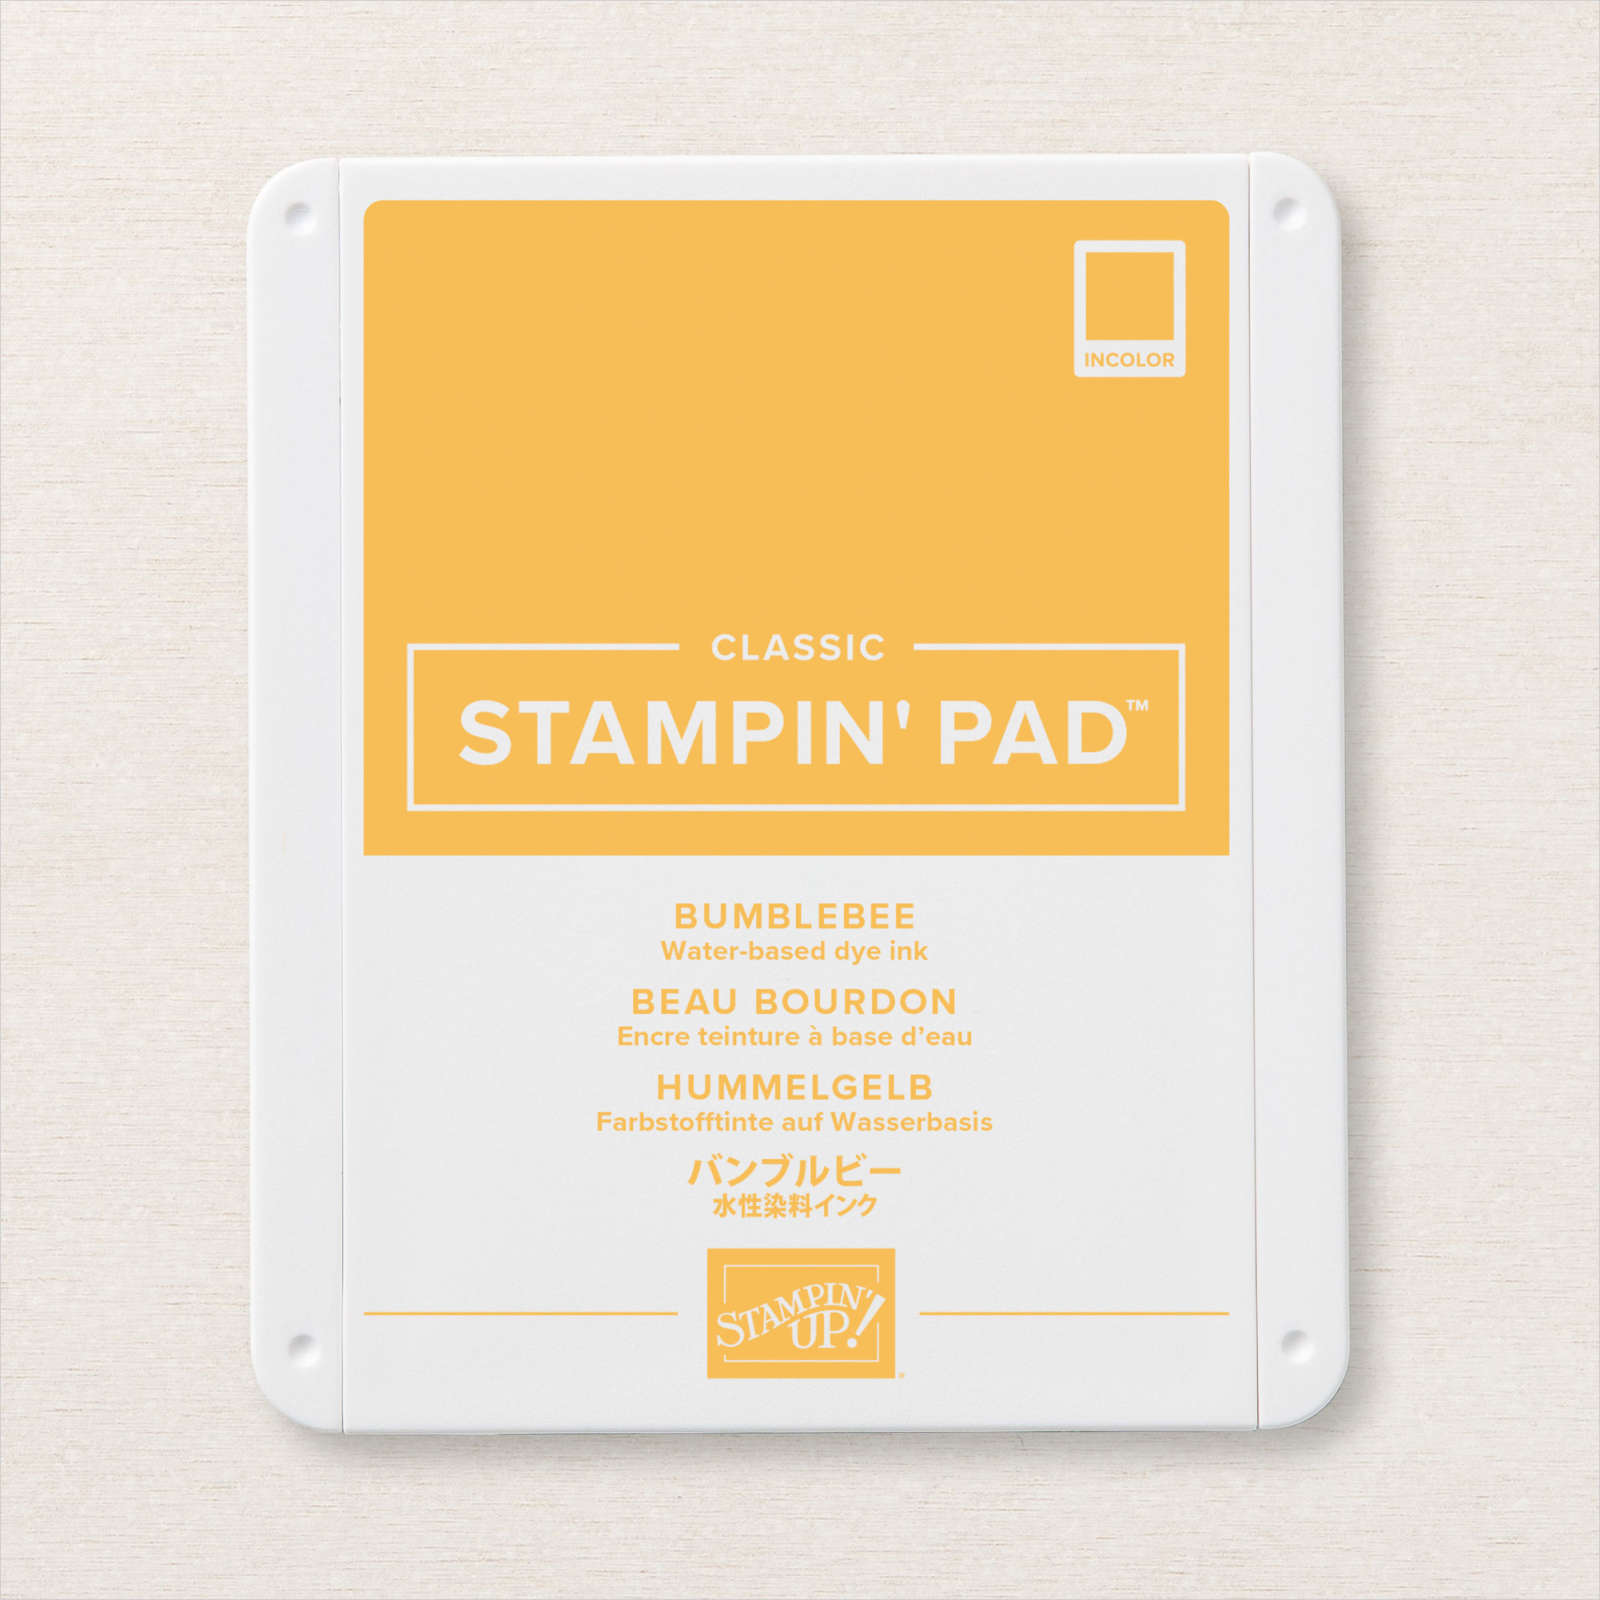
To decorate the inside of the card, I stamped the greeting from the Poinsettia Petals stamp set onto Whisper White card using Shaded Spruce ink.I attached a narrow strip of Sahara Sand card behind one long edge of one of the designs from the Classic Christmas 6″ x 6″ Designer Series Paper which I attached to the bottom of the stamped Whisper White card. For the second card, I stamped the image from the Beautiful World stamp set down the left hand side of Whisper White card using Bumblebee ink. I cut three pieces of the World of Good Specialty Designer Series Paper and attached them to the stamped card.
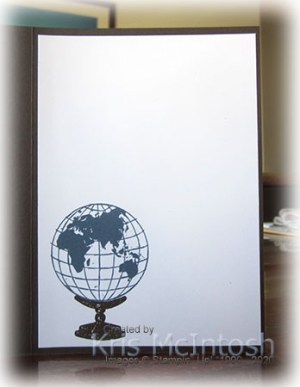
I also stamped the greeting from the Beautiful World stamp set onto the lower right hand corner of the Whisper White card using Early Espresso ink. I stamped the globe image from the Beautiful World stamp set onto Whisper White card using Early Espresso ink before attaching the panel to the card front using dimensionals. To decorate the inside of the card, I stamped the globe stand from the Beautiful World stamp set onto the lower left hand corner of Whisper White card using Early Espresso ink. I stamped the globe image onto the globe stand using Misty Moonlight ink.

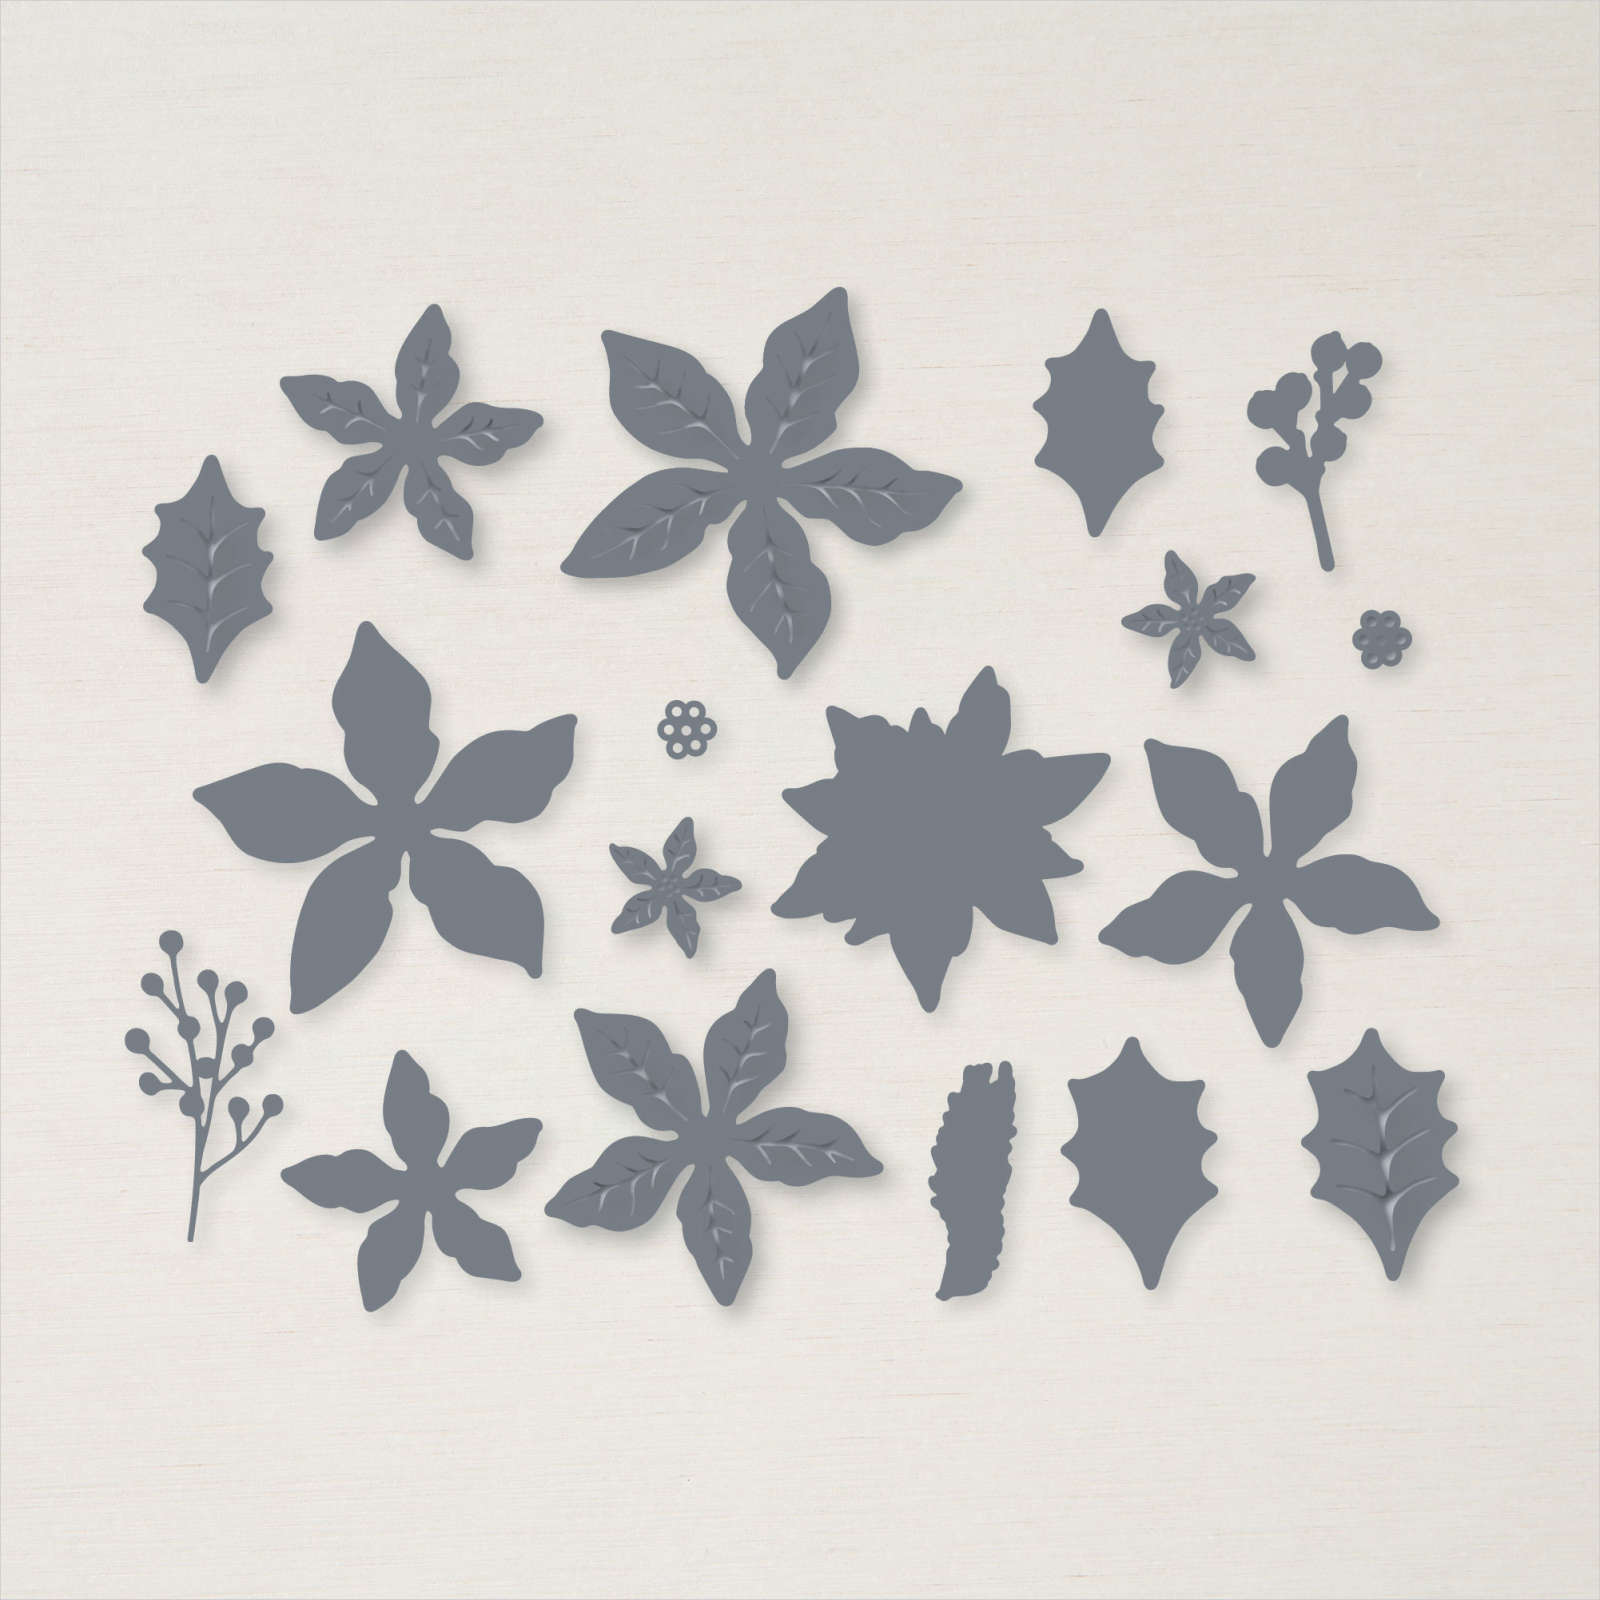
For the last card, I stamped the dots from the Poinsettia Petals stamp set onto the left hand side of Whisper White card using Soft Suede ink. I cut three pieces of the Poinsettia Place Designer Series Paper to the left hand side of the stamped Whisper White card. I stamped the three images to create the flower onto Poppy Parade card using Poppy Parade ink and cut them out using the co-ordinating Poinsettia Dies. I also stamped the small leaf image from the Poinsettia Petals stamp set onto Garden Green card using Garden Green ink and cut them out using the co-ordinating Poinsettia Die.

I cut Gold Foil card twice using the Poinsettia Dies which I attached to the card front along with the leaves. I used Glue Dots to attach the poinsettia petals to each other before using dimensionals where necessary to attach the flower to the card front. I cut the flower centre from Gold Foil card using the Poinsettia Die and attached it to the centre of the flower. To decorate the inside of the card, I stamped the greeting from the Poinsettia Petals stamp set onto Whisper White card using Garden Green ink. I attached a narrow strip of Soft Suede card behind one long edge of a piece of the Poinsettia Place Designer Series Paper and attached it to the bottom of the stamped card.
I really had fun playing with these great layouts and using some of Donna’s ideas to use different stamp sets than the one for which they were designed.
Bye for now,
Kris
Product Used: