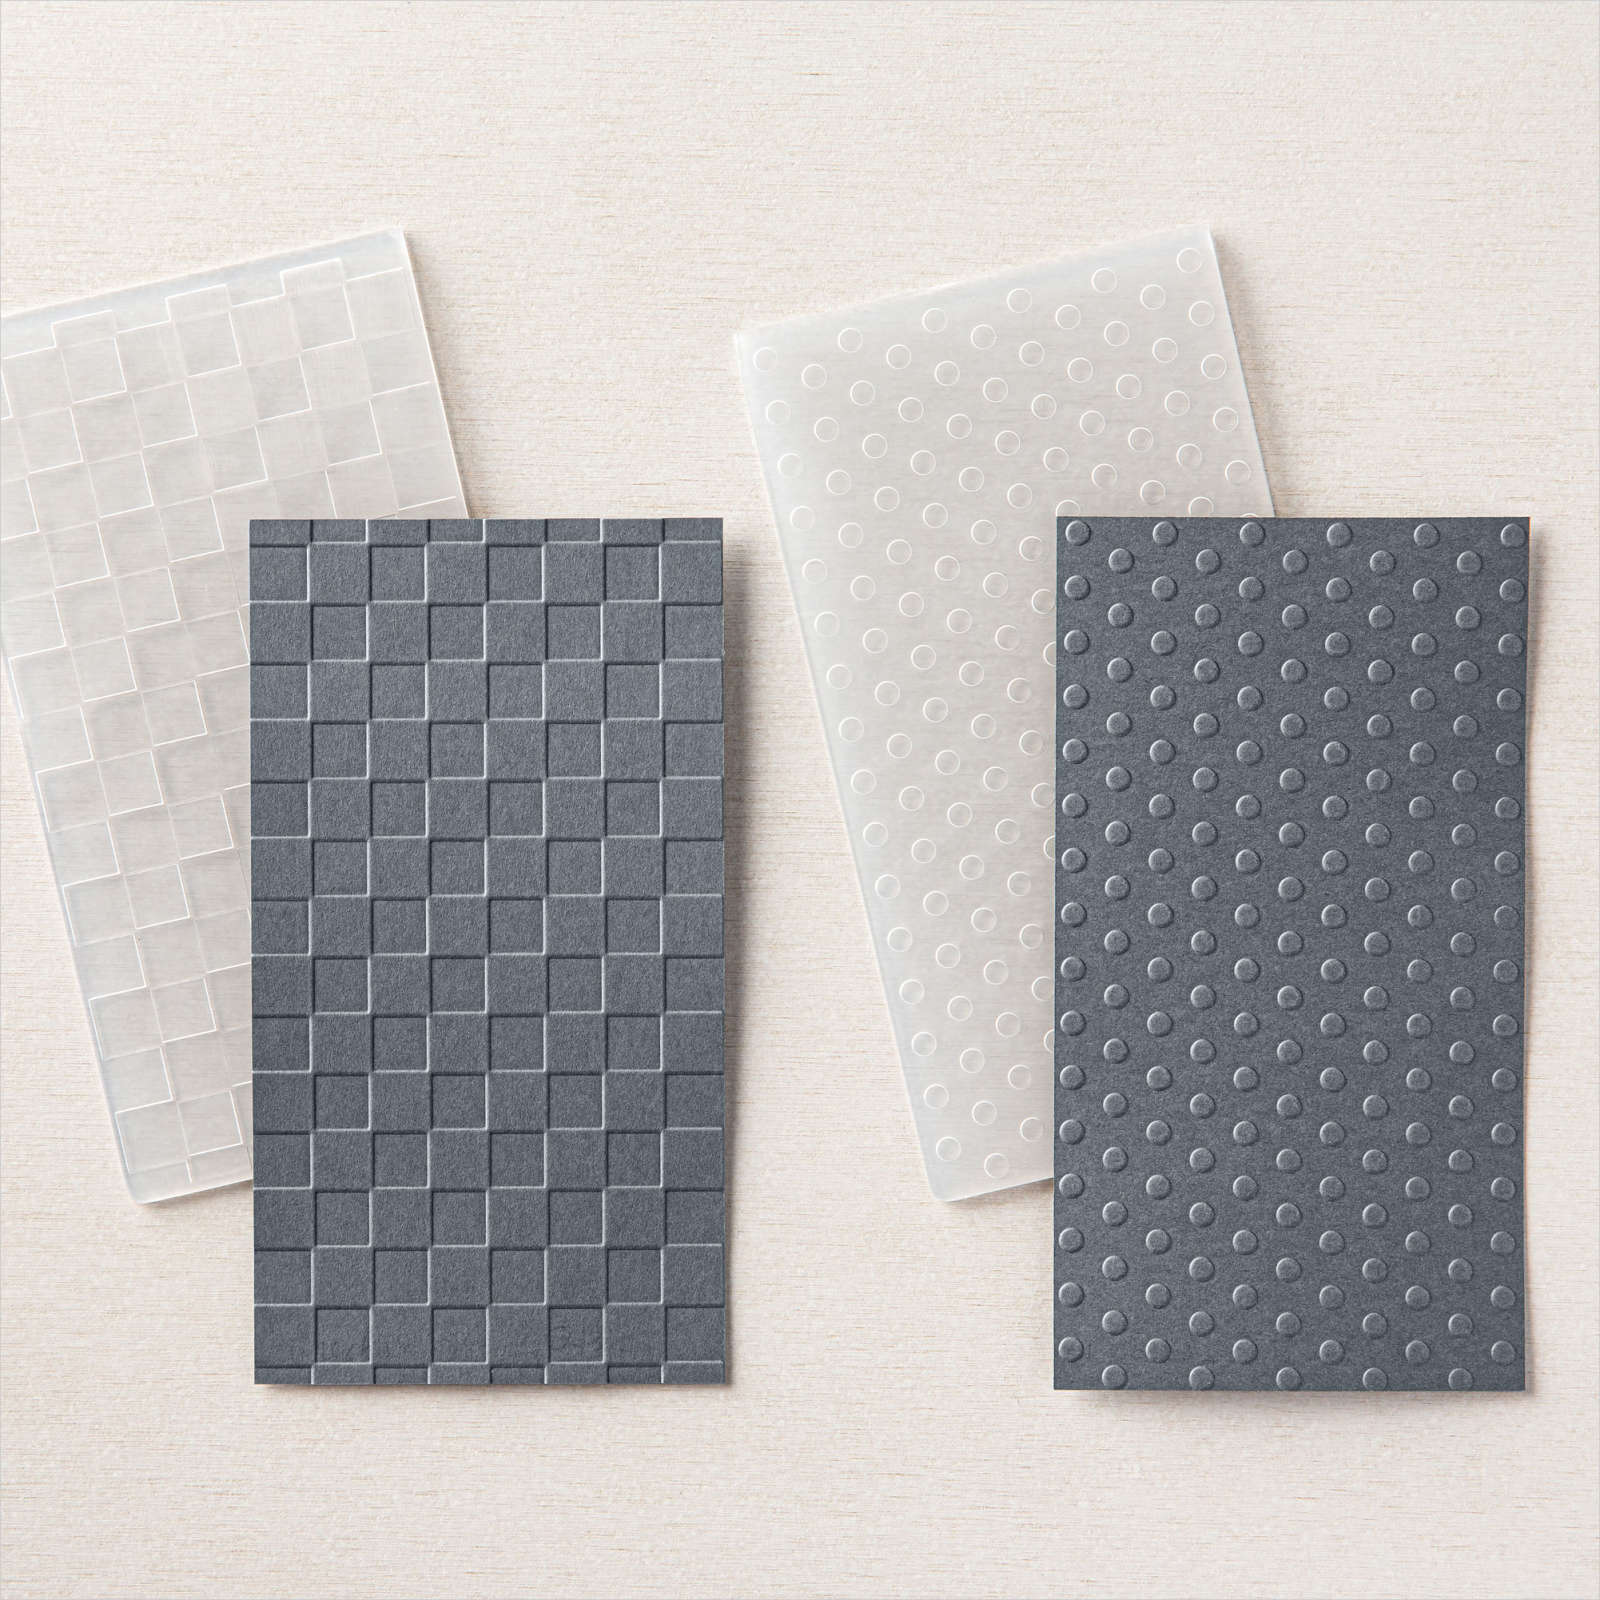
Sketch Layout

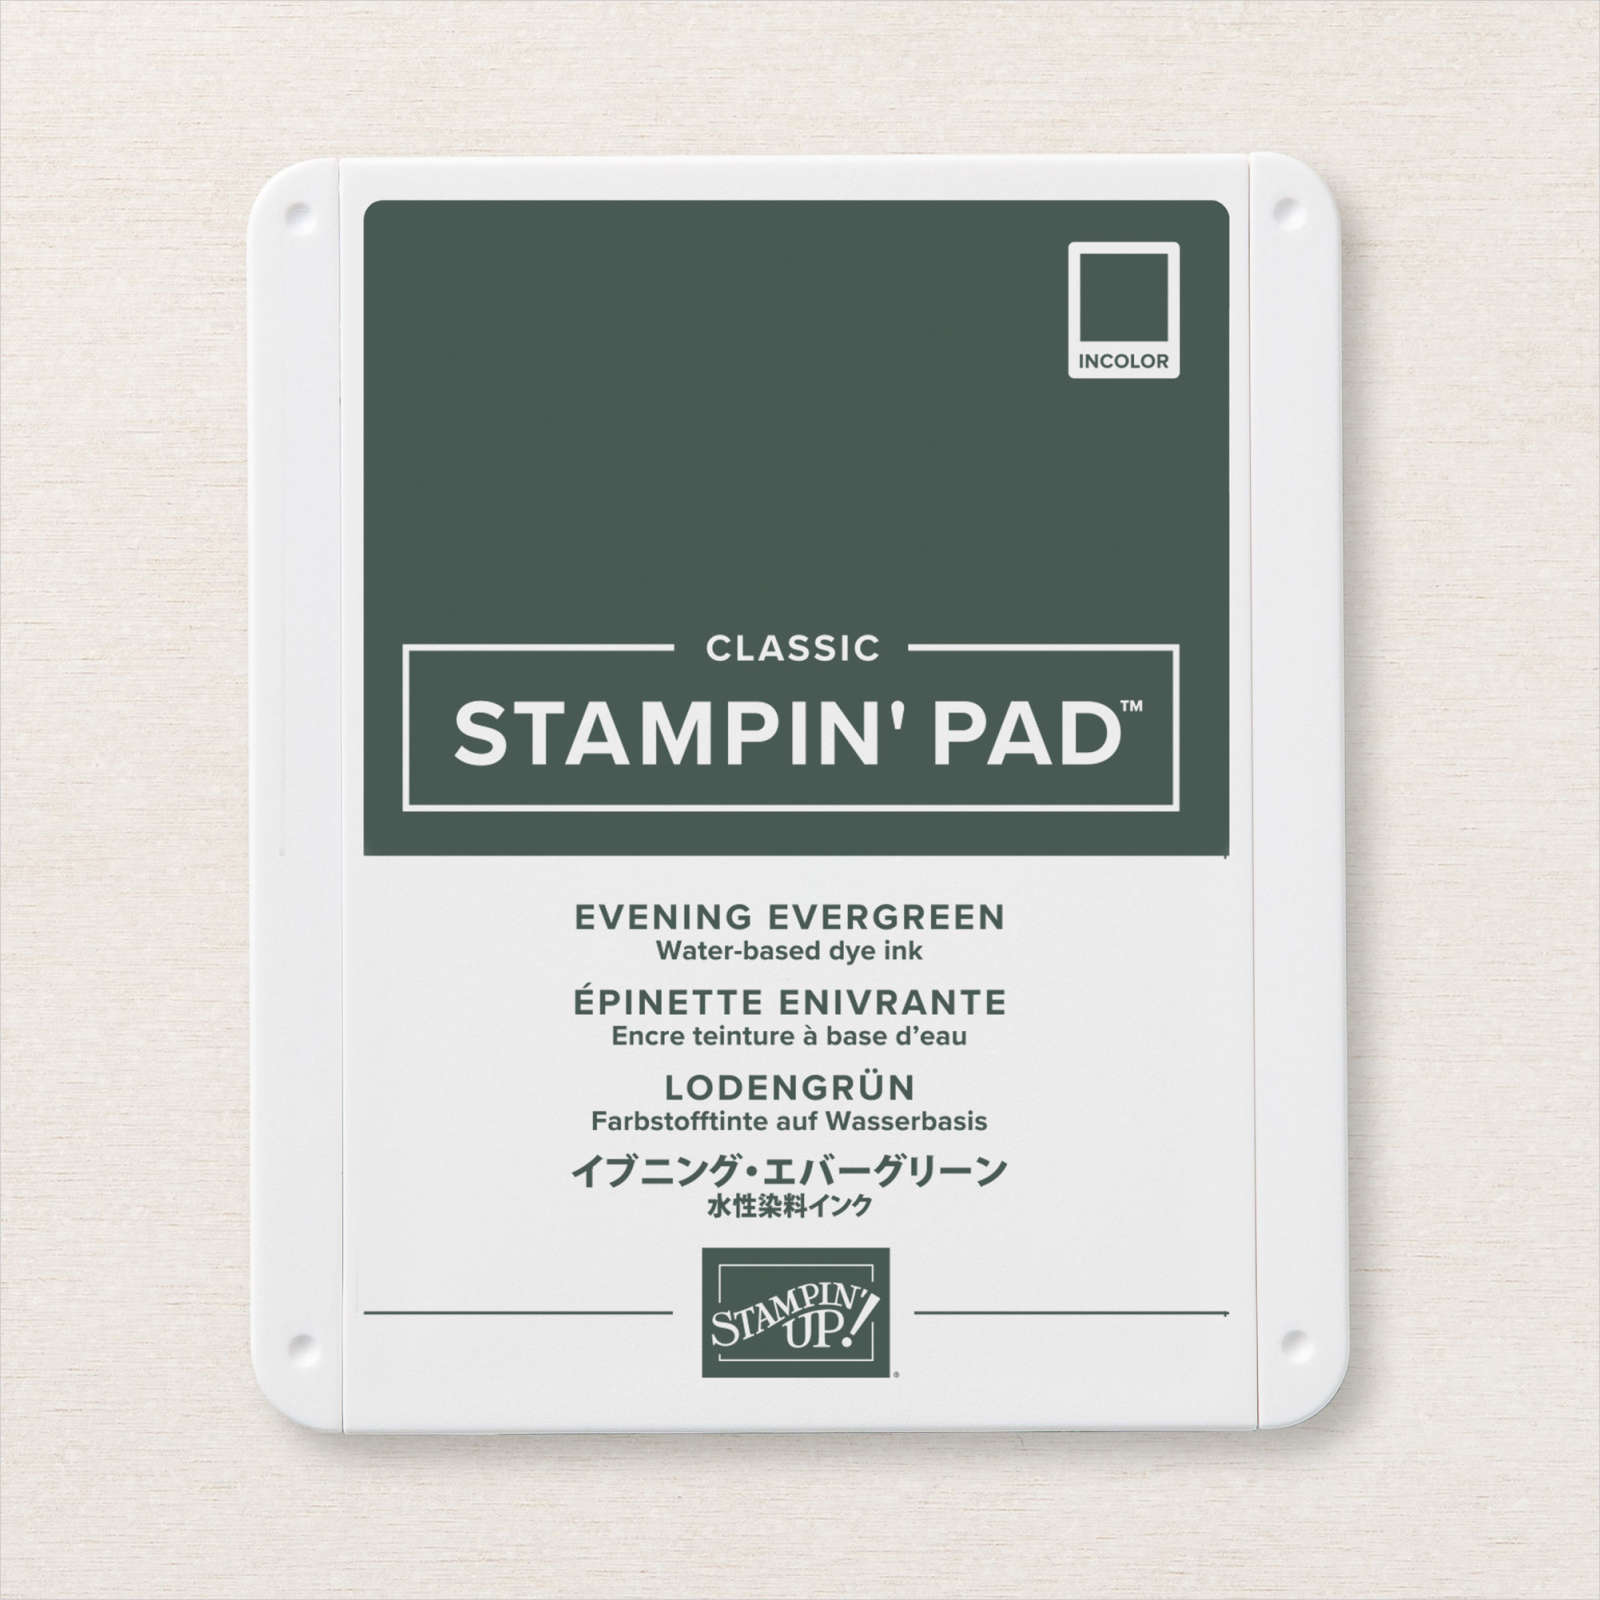
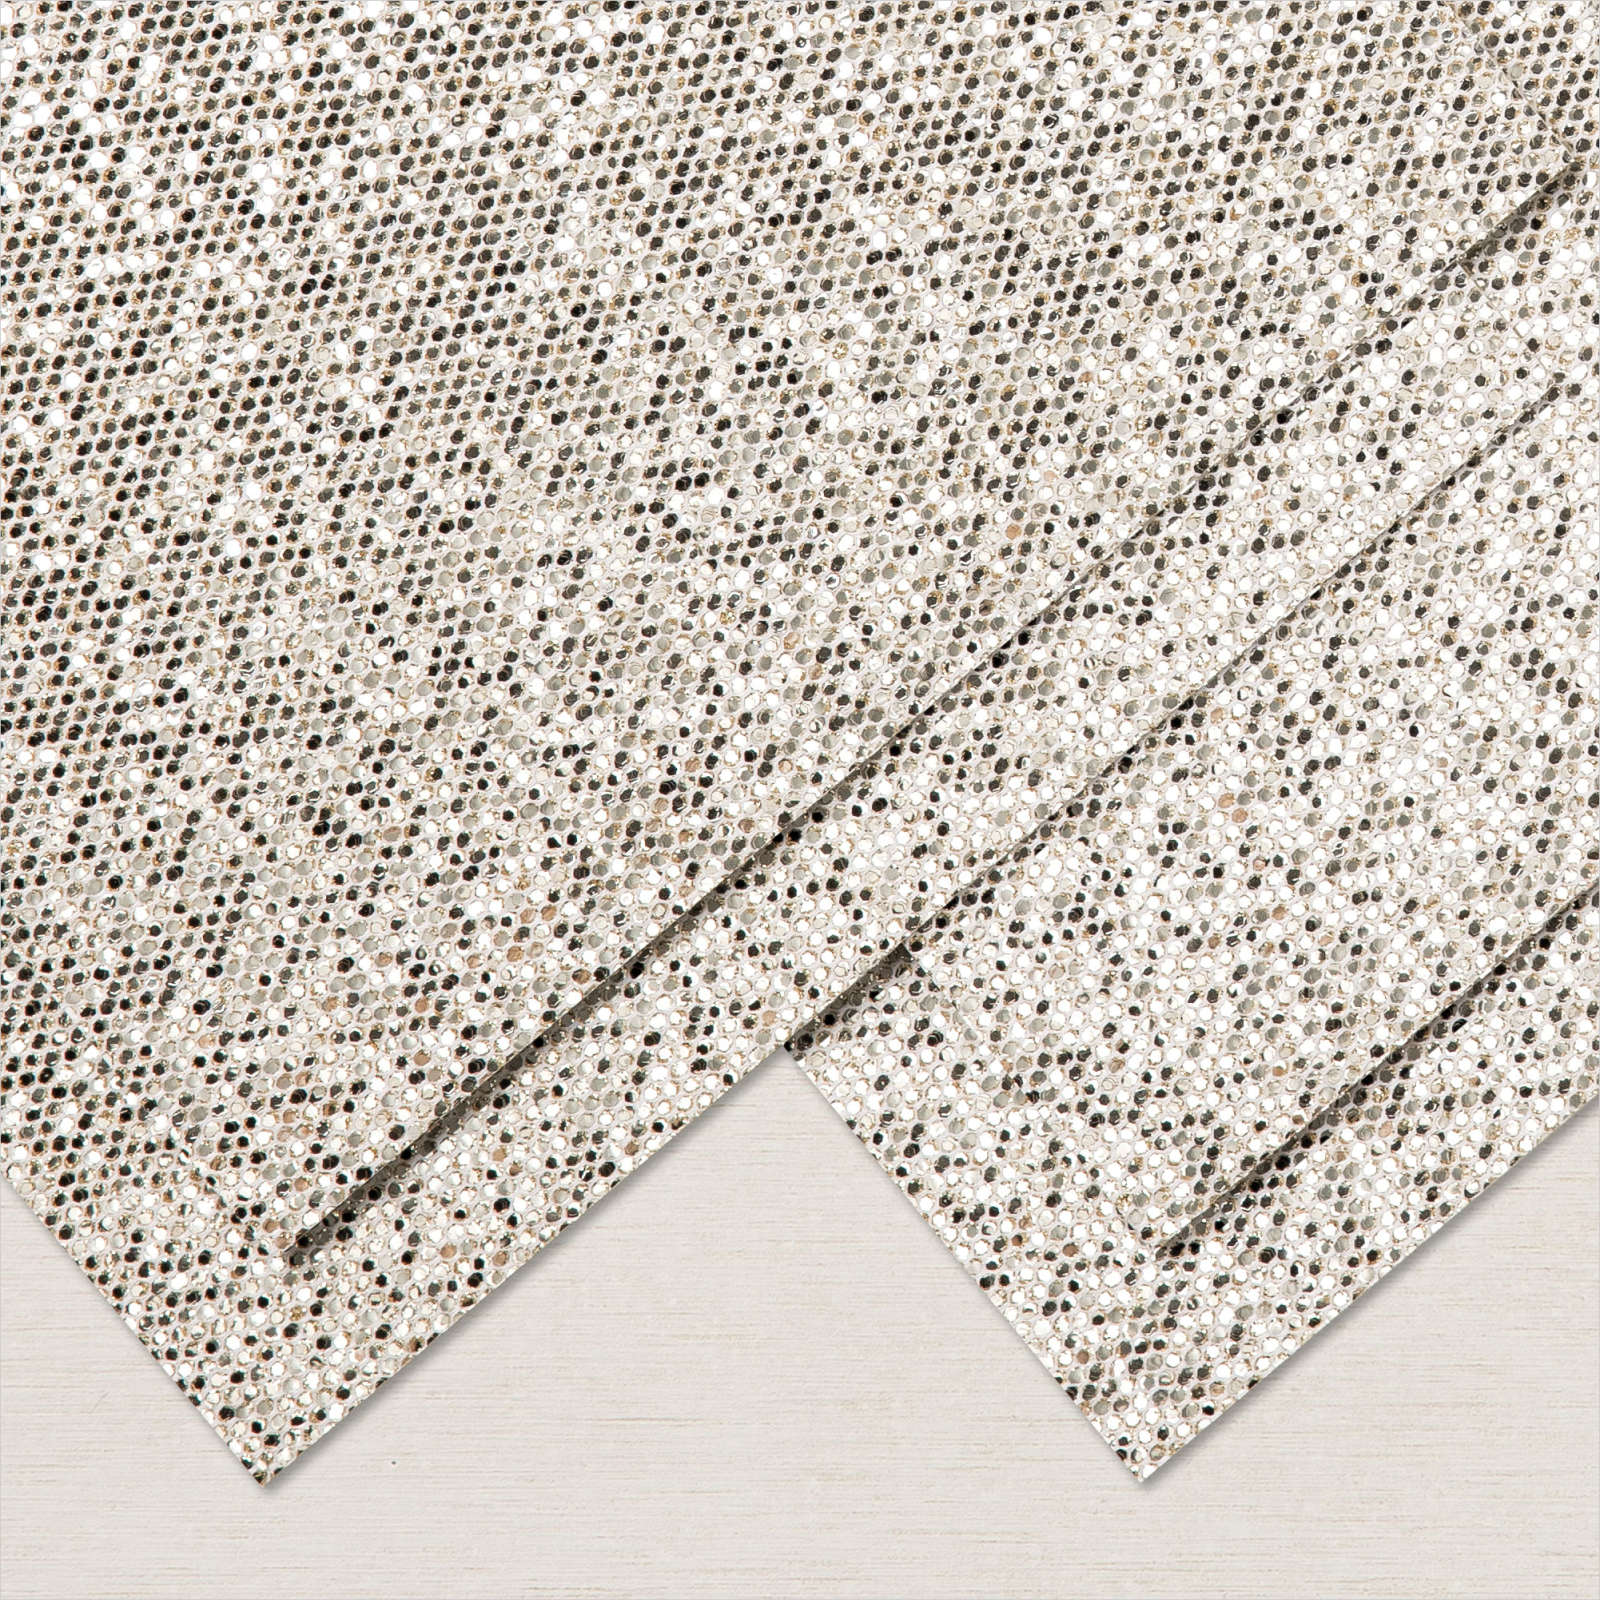
Yesterday in my Facebook Live, I showed how to interpret a card sketch and created three cards. Today’s card uses the same layout. I began by embossing Basic White card using the polka dot folder from the Checks and Dots Embossing Folders. I attached the embossed card to scored and folded Evening Evergreen card. I attached two pieces of the Tidings of Christmas 6″ x 6″ Designer Series Paper to the embossed card. I attached a narrow strip of the Be Dazzling 6″ x 6″ Designer Series Paper across the centre of the card front. Just a reminder today is your last chance to place an order ($90.00) to earn this beautiful Designer Series Paper for FREE!

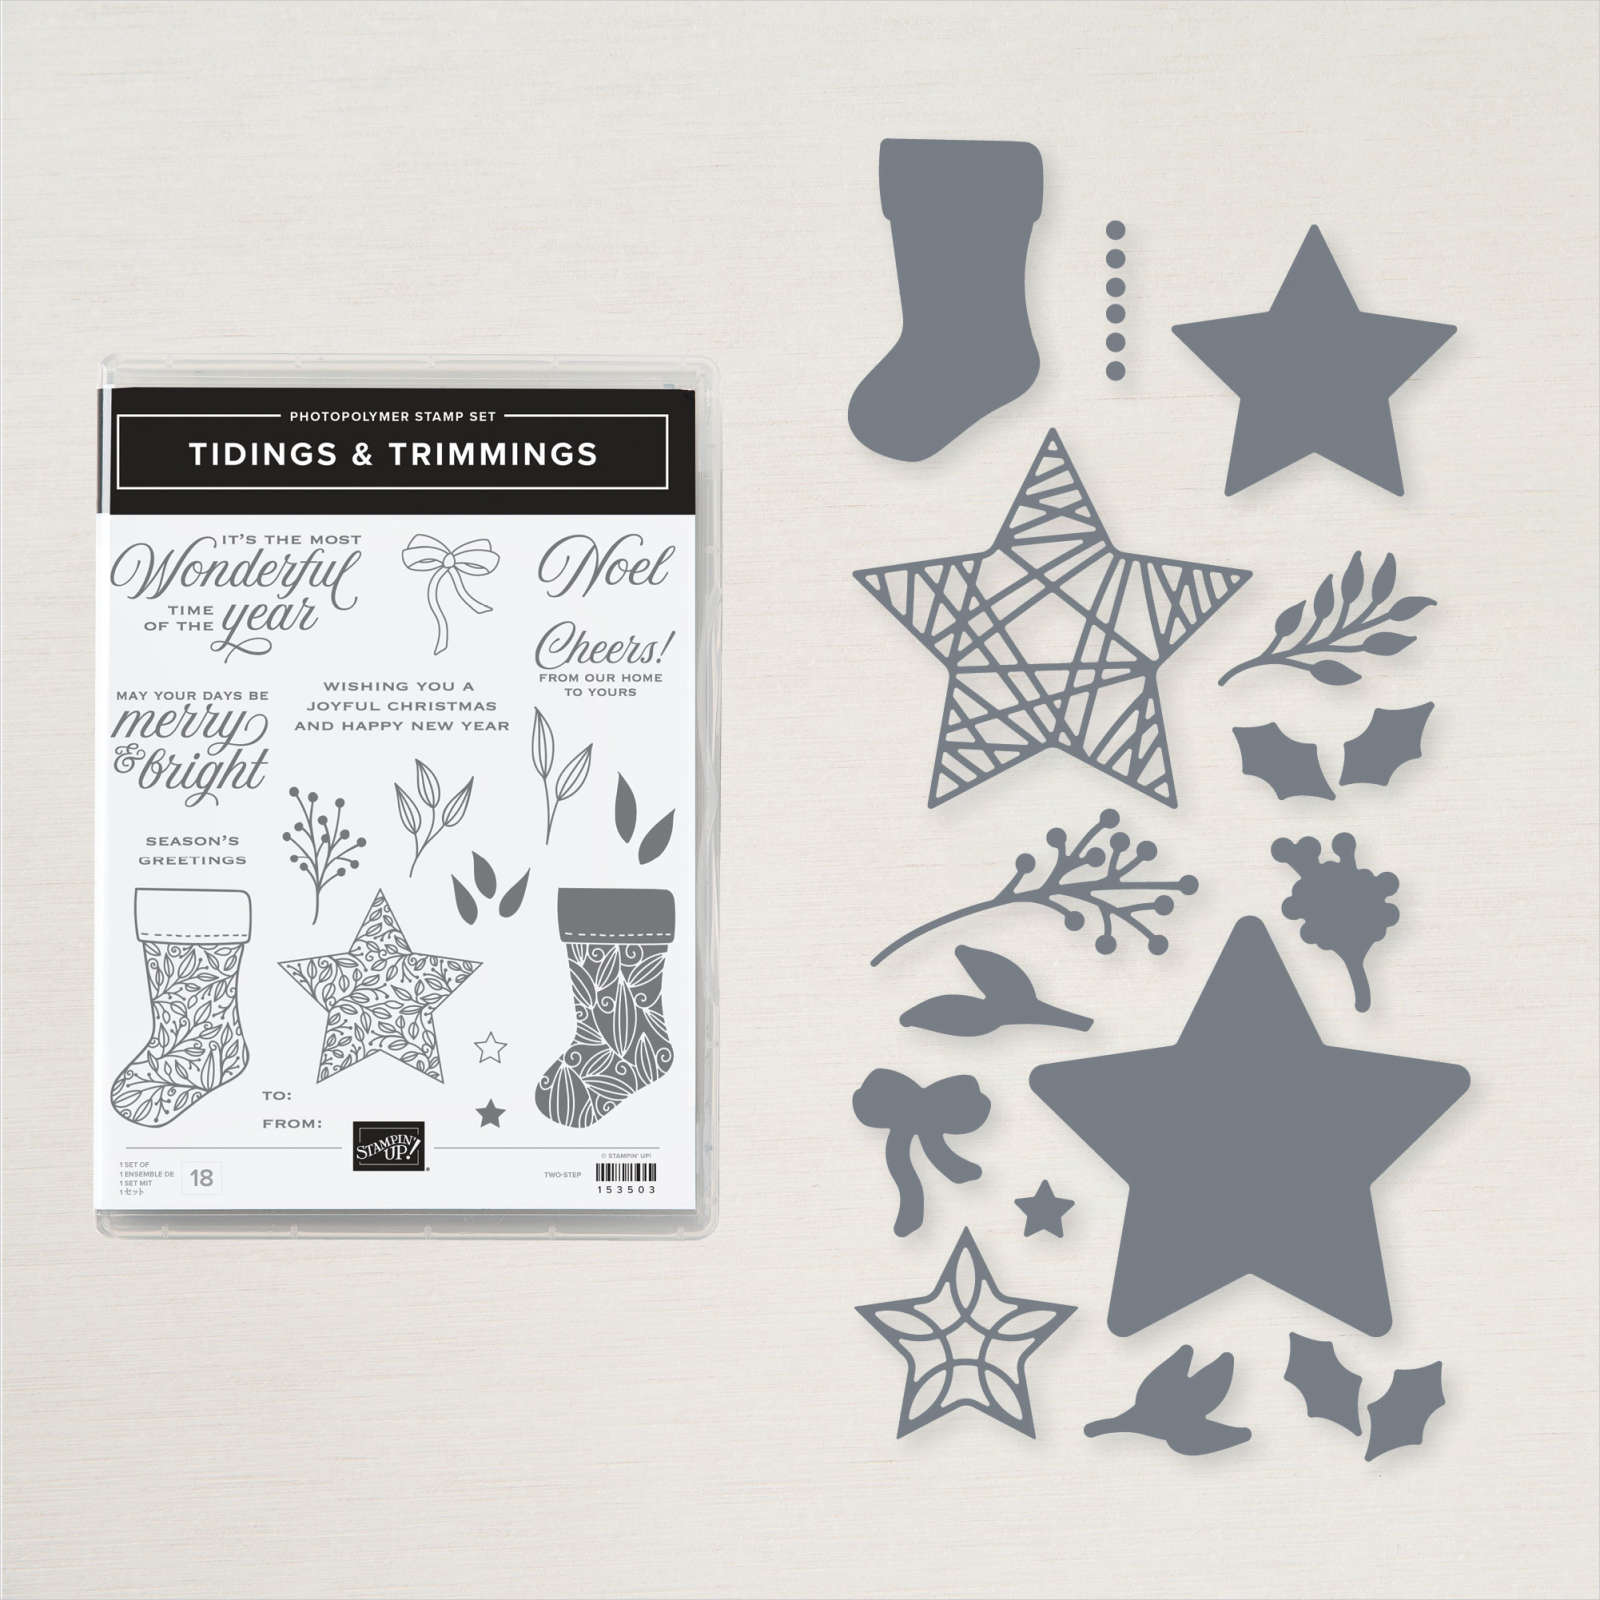
I cut a circle from Basic White card using the Layering Circle Dies and stamped the greeting from the Tidings & Trimmings stamp set using Cherry Cobbler ink. I attached it to a scalloped circle cut from Evening Evergreen card using the same dies. The circle panel is attached to the card front using dimensionals.
I stamped the stocking image from the Tidings & Trimmings stamp set onto Basic White card using Evening Evergreen ink and cut it out using the co-ordinating Christmas Trimmings Die. I stamped the bow image from the Tidings & Trimmings stamp set onto Basic White card using Cherry Cobbler ink and cut it out using the co-ordinating Christmas Trimmings Die. The stocking and bow are attached to the stamped Basic White circle.
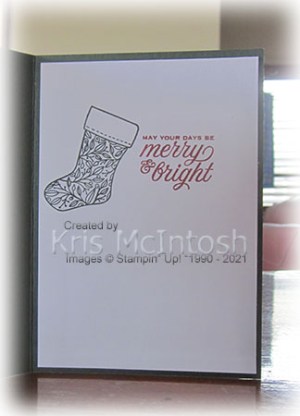
To decorate the inside of the card, I stamped another greeting from the Tidings & Trimmings stamp set onto Basic White card using Cherry Cobbler ink. I stamped the same stocking image from the Tidings & Trimmings stamp set beside the greeting using Evening Evergreen ink.
I have one more card to share using this layout tomorrow.
Bye for now,
Kris
Product Used: