May Your Season

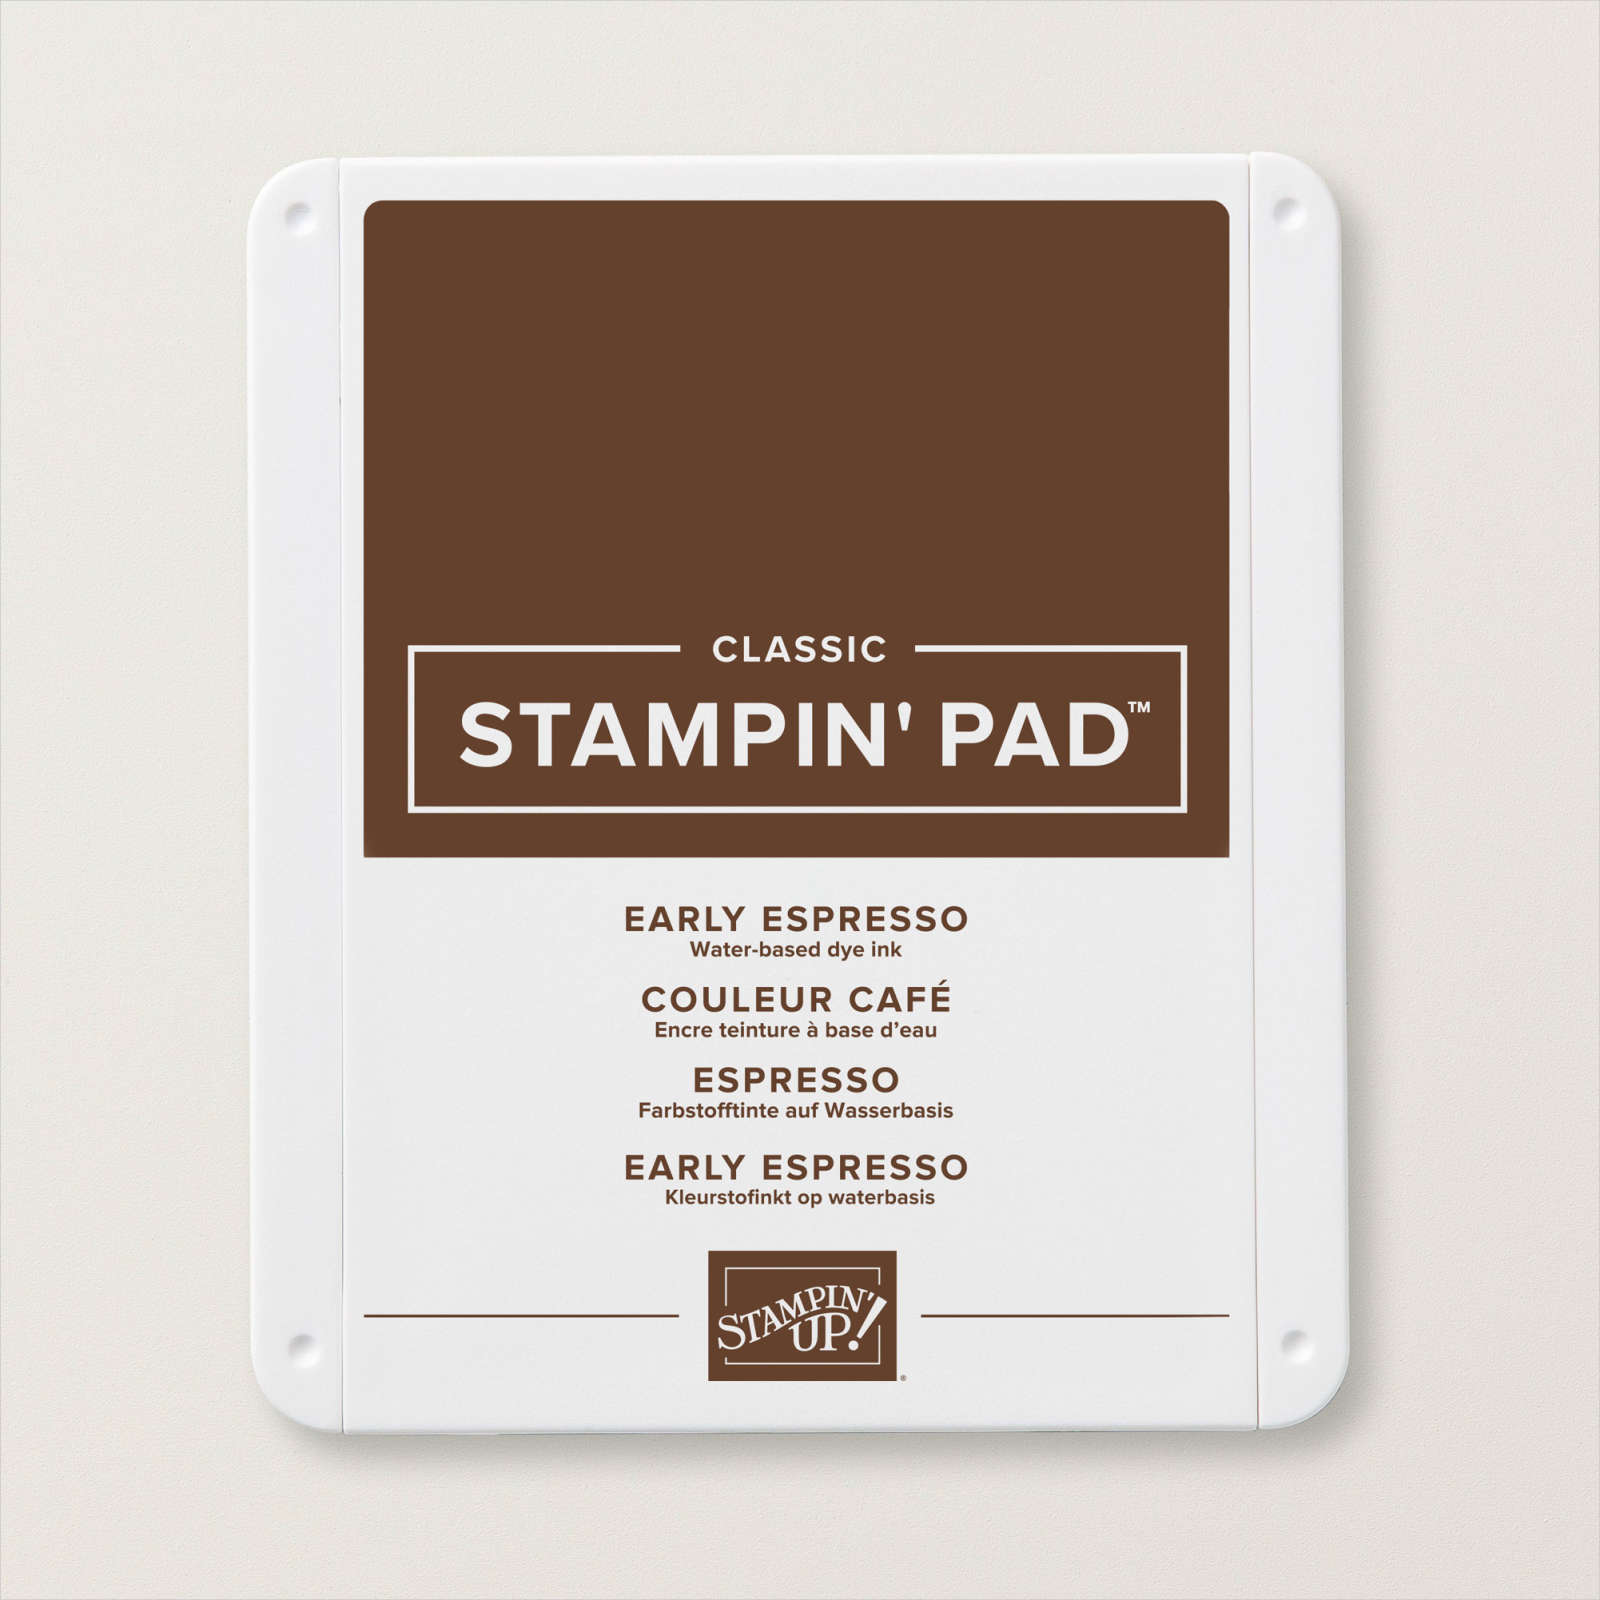
be Merry & Bright. Today’s page is another that I have created in preparation for the Christmas Season. I cut 3″ squares from Old Olive and Real Red card and embossed them using the Whimsical Woodland 3D Embossing Folder. I attached the embossed squares to an Early Espresso square which is attached to a Basic White 12″ x 12″ page. I stamped the solid tree from the Trimming the Tree stamp set onto Basic White card using Old Olive ink which I stamped onto scrap paper first. I stamped the detailed tree over the top using Old Olive ink and then cut out the image using the Tree Trimming Dies. I attached the tree to the lower left hand corner of the Early Espresso card. I attached Adhesive Sheet to the back of Real Red card and cut the three baubles using the Tree Trimming Dies.

I attached the baubles to the tree image. I attached Adhesive Sheet to the back of Gold Foil card and cut the bows and star using the Tree Trimming Dies. I attached a bow to the top of each bauble and the star to the top of the tree. I cut Early Espresso card and placed it in the centre of the page. This is where I will attach my photo. I stamped the greeting from the Trimming The Tree stamp set onto Basic White card using Early Espresso ink and cut it out using one of the label dies from the Tree Trimming Dies. I attached this to the page with adhesive only behind the right hand side so that I can slip my photo underneath.
A simple page but one that will let the photo shine. Don’t forget that the Tree Trimming Dies are only available for purchase this month. So if you want them, place your order ASAP to make sure you do not miss out.
Bye for now,
Kris
Product Used>


