Holly Jolly Greetings
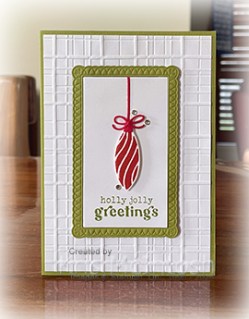
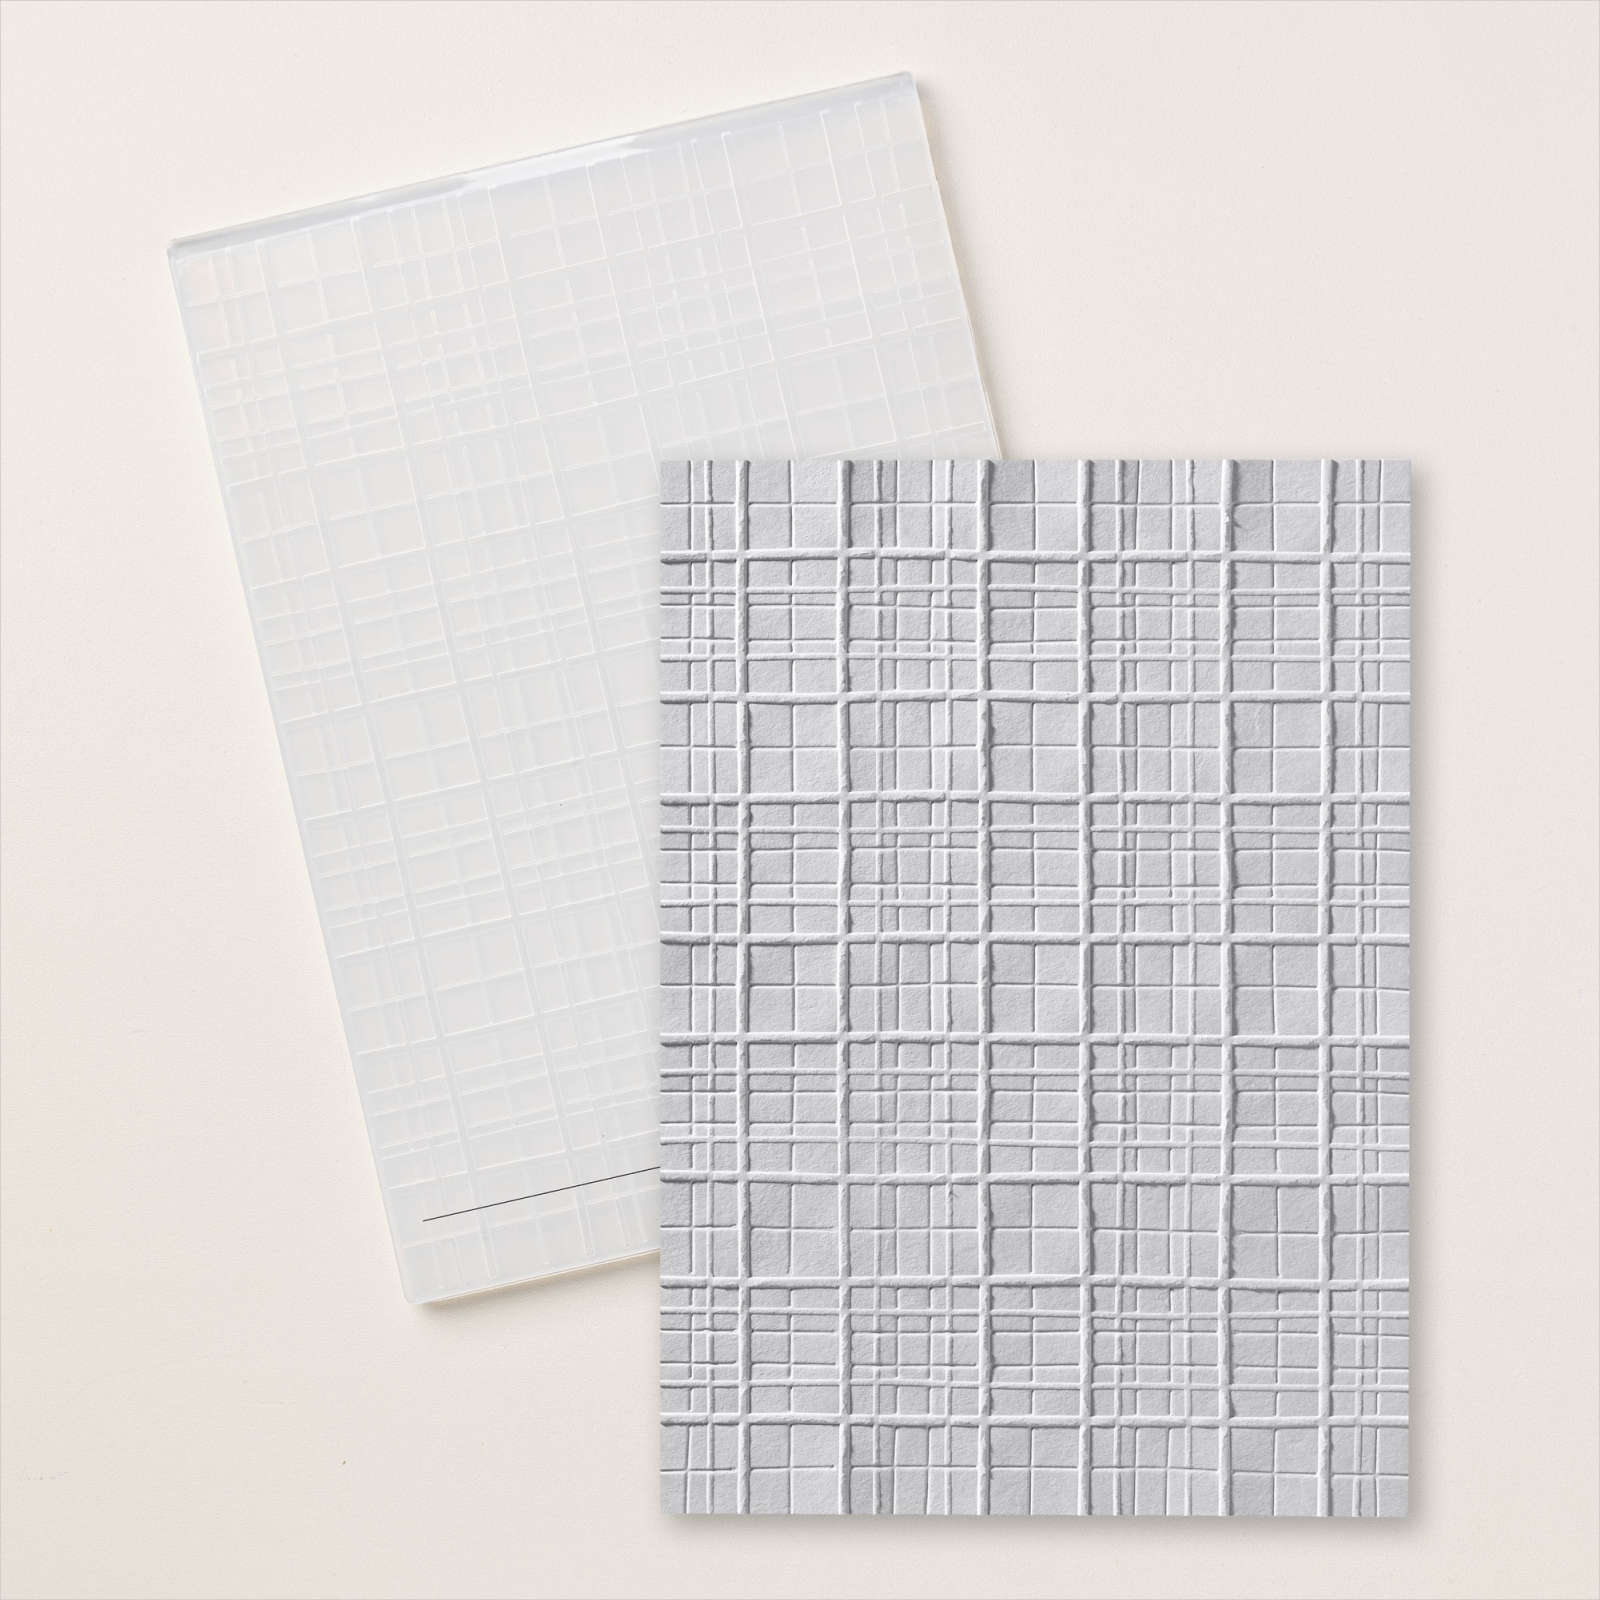
This week in my Facebook Live I shared some cards I created using the Festive Cheer Bundle. This bundle is part of the Online Exclusive release in July. For today’s card I embossed Basic White card using the Plaid 3D Embossing Folder and attached it to Old Olive card. I die cut Basic White card using the die from the Phrases & Frames Dies to create the Basic White central panel. I used the same die to cut Old Olive card to create the frame. Once I cut the frame I used the Impressions Plate to add more dimension to the frame. I stamped “holly jolly greetings” from the Festive Cheer stamp set onto the bottom of the Basic White die cut using Old Olive ink.

I stamped the bauble image from the Festive Cheer stamp set onto scrap Basic White card using Real Red ink. I cut out the image using the co-ordinating Festive Cheer Die. I used the Festive Cheer Dies to cut the string, bow and bauble topper from Real Red card.

I attached the bauble topper to the stamped bauble and attached it to the card front using dimensionals. I add the string flat onto the Basic White panel and bow to the top of the bauble. I attached the frame and the image panel to the card front using dimensionals. I also added three Basic Rhinestones to the card front. To decorate the inside of the card, I embossed a narrow strip of Basic White card using the Plaid 3D Embossing Folder. I attached a narrow strip of Old Olive card behind one long edge of the embossed panel. The embossed panel is attached across the bottom of Basic White card before it is attached inside the Old Olive card base. Such a fun card to create. I have a few more ideas for this one which I hope to share soon. If you would like to see all of the new July Online Exclusives, you can view the PDF here.
Bye for now,
Kris
Product Used: