Hot Foils
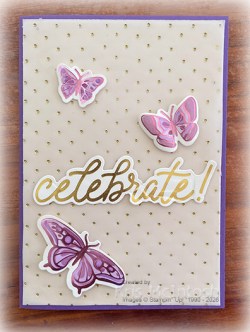
Today I have a card to share with you using the Stampin’ Up! Hot Foil System. This amazing System was launched on July 10 and if you want to see all the products available you can download the brochure here. If you want to see how it works then watch this video. I used the Swiss Dots Hot Foil Die and Gold Foil to create the dotted background on Vellum. I attached the Vellum to Very Vanilla two tone card and then a Gorgeous Grape card base.

I used “celebrate” from the Classic Greetings Hot Foil Dies and Gold Foil to create the title on Very Vanilla two tone card. I cut out the title using the co-ordinating die from the Classic Greetings Hot Foil Dies and attached it across the card front. I used the Butterfly Flight Hot Foil Dies and Light Pink Foil to add the Foil to Very Vanilla two tone card.

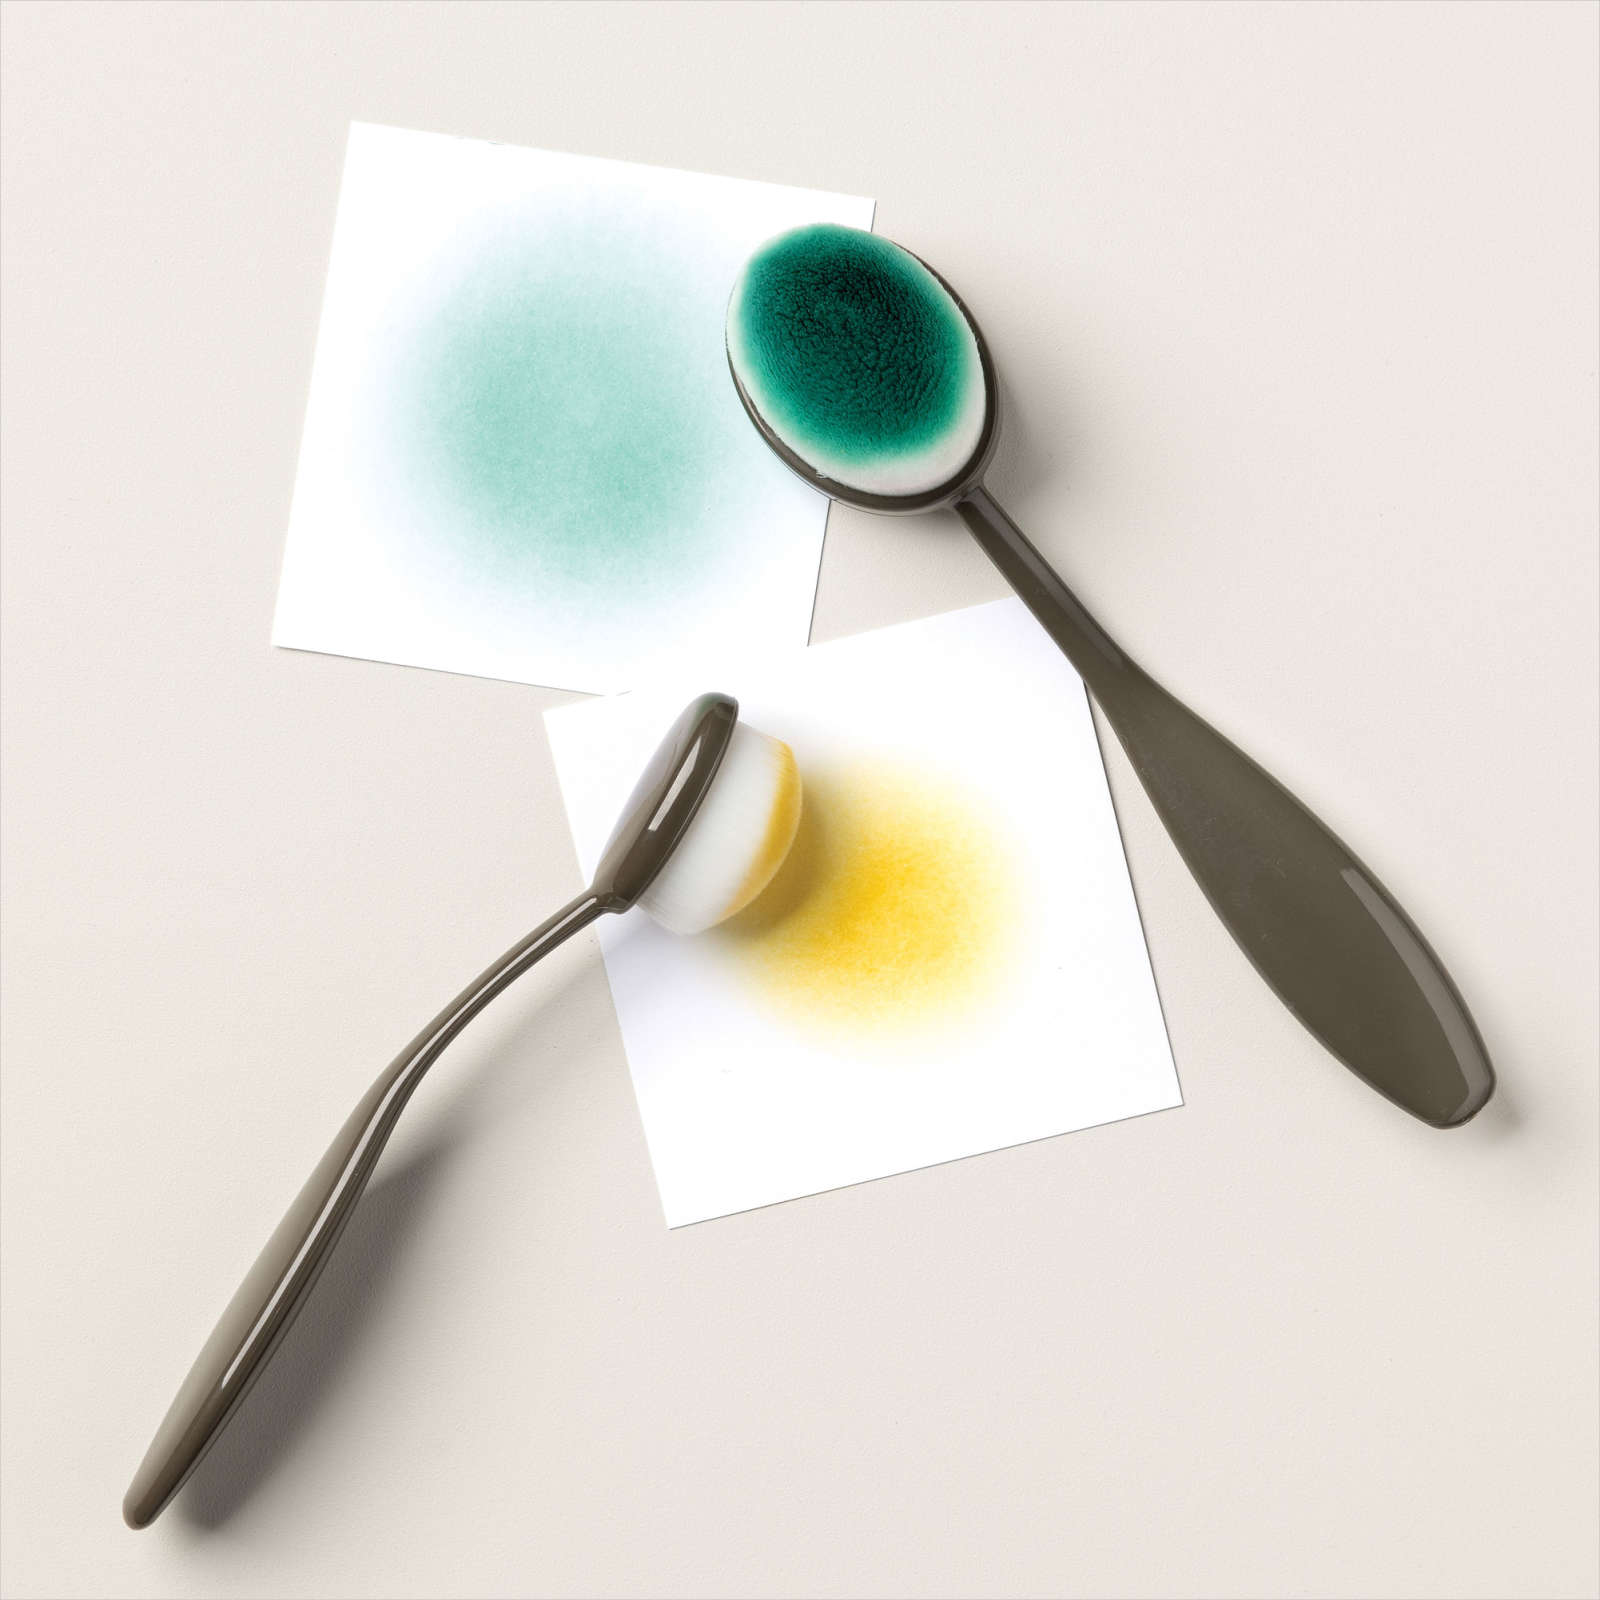
I used the Butterfly Flight Decorative Masks and blending brushes to add Highland Heather, Gorgeous Grape and Blackberry Bliss ink to the foiled butterfly images. I used the cutting die in the Butterfly Flight Foil Dies to cut out the butterflies. I curled the wings of three butterflies and attached them to the card front using dimensionals under the wings and multipurpose glue under the bodies. To decorate the inside of the card I stamped “it’s your birthday” from the Words of Beauty stamp set onto Very Vanilla card using Gorgeous Grape ink.

I attached a thin strip of the gold foiled Vellum to the left hand side of the stamped panel. I also attached another one of the butterflies to the lower left hand corner of the panel. I thought this was really pretty so I created another card exactly the same way but this time using Silver Foil instead of Gold Foil and Highland Heather for the card base as well as for stamping the greeting. I think this Hot Foil System is going to be a real winner and cannot wait to create more cards.
Bye for now,
Kris
Product Used: