Happy Birthday four ways

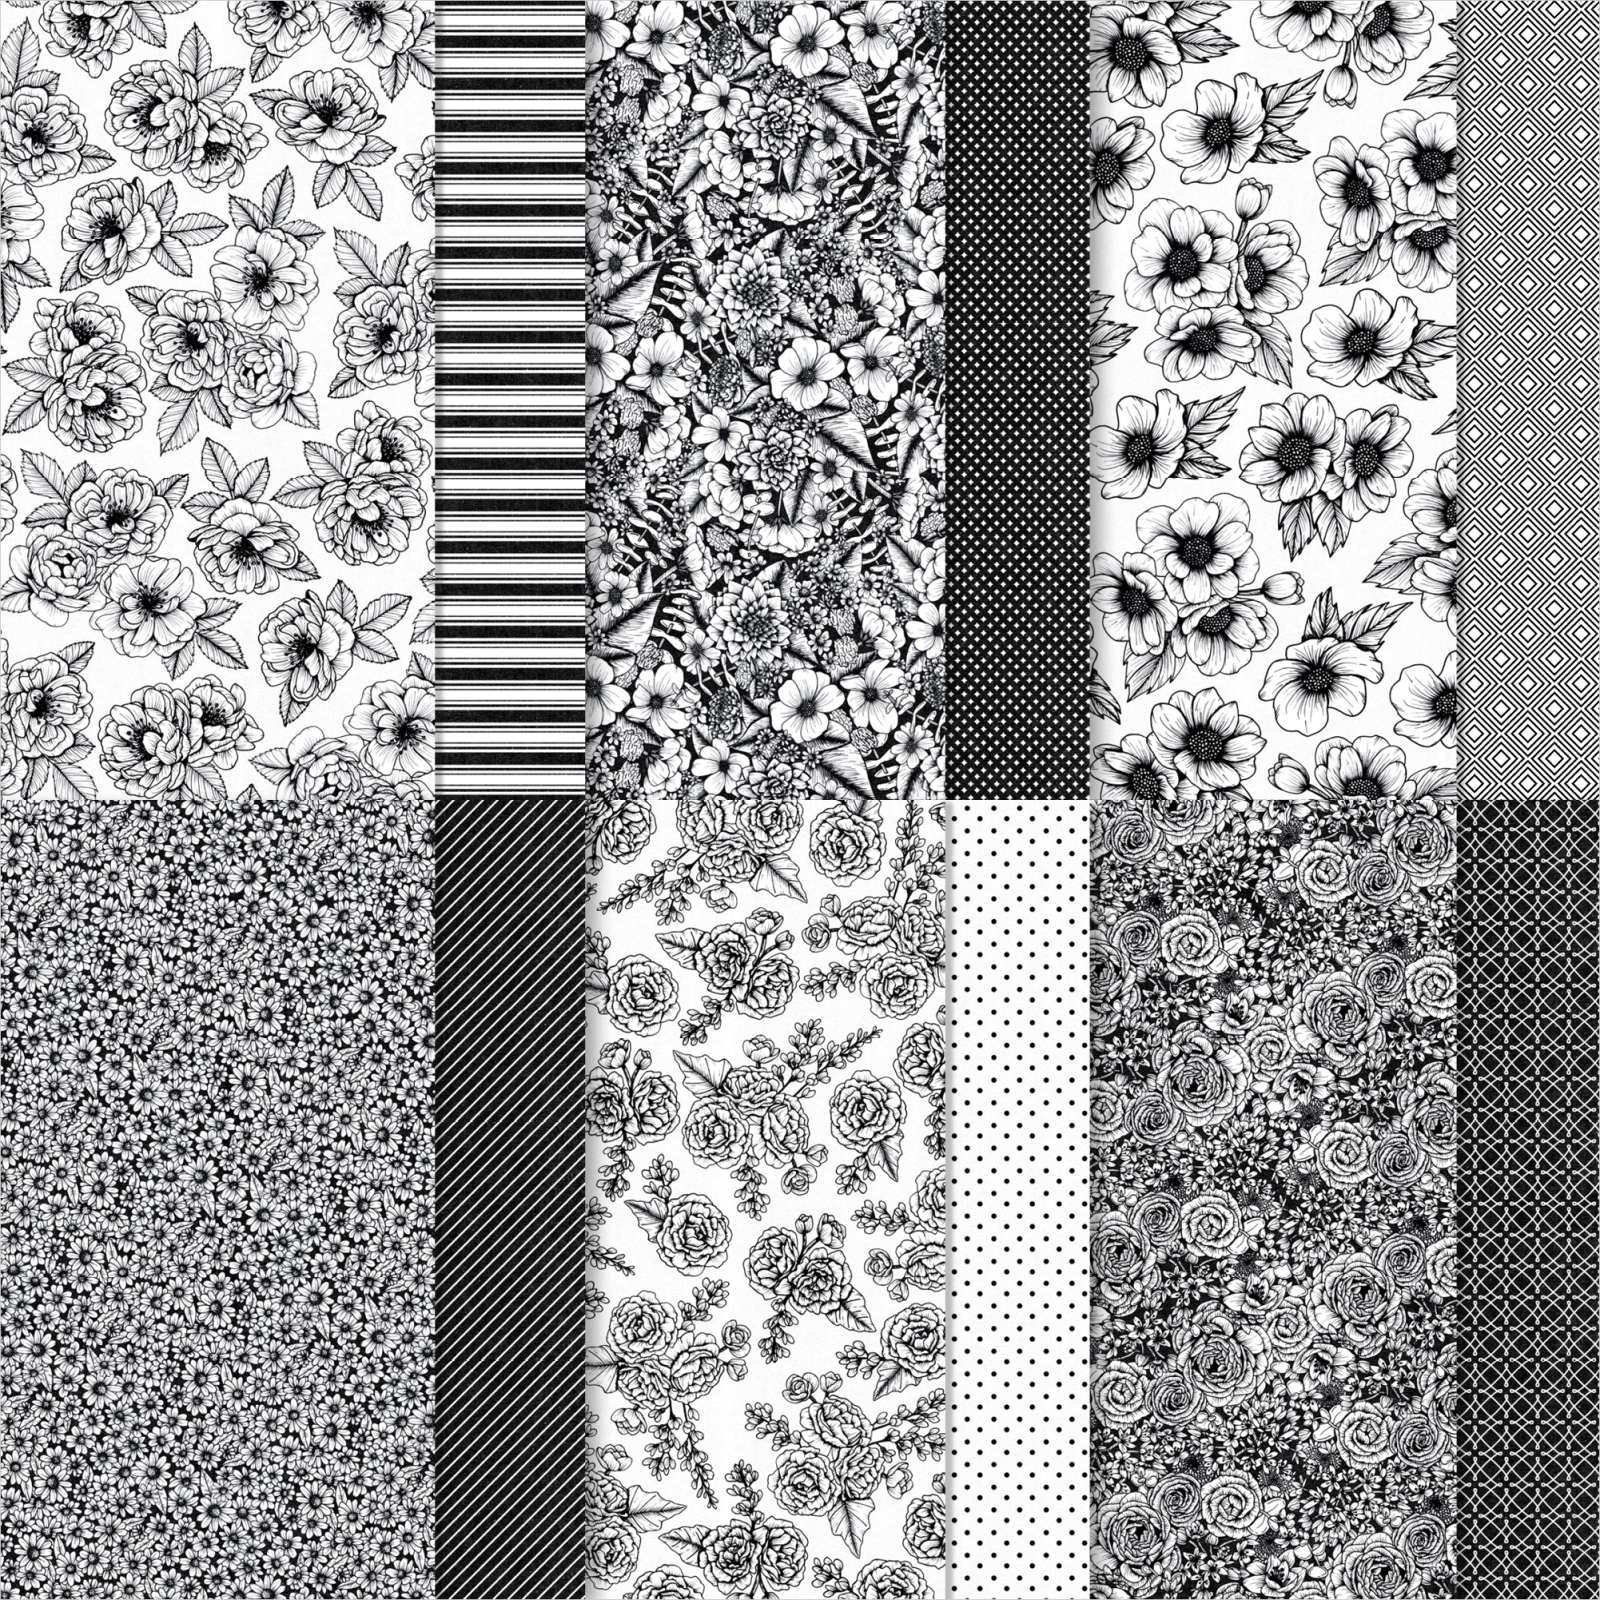
I was inspired by a card I saw on Pinterest which used the Painted Poppies stamp set and thought I would make something using the new Forever & Always stamp set. I began by cutting a frame from Basic Black card using the Stitched Rectangle Dies. I attached the frame to Whisper White card before attaching a piece of the True Love Designer Series Paper to the left hand side. The whole panel is attached to scored and folded Basic Black card. I cut a smaller rectangle from Basic White card using the Stitched Rectangle Dies and and stamped the greeting from the Peaceful Moments stamp set using Memento Tuxedo Black ink.
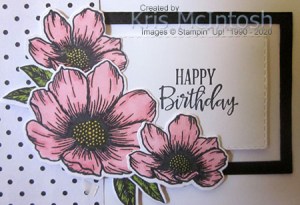
The Basic White rectangle is attached to the card front using dimensionals. I stamped one large and two small flowers from the Forever & Always stamp set onto Basic White card using Memento Tuxedo Black ink. I coloured the flowers using the Flirty Flamingo and Dark Daffodil Delight Stampin’ Blends. I stamped two large and two small leaves from the Forever & Always stamp set onto Basic White card using Memento Tuxedo Black ink and coloured them using the Dark Granny Apple Green Stampin’ Blend. I cut out the flowers and the leaves using the co-ordinating Always Dies.

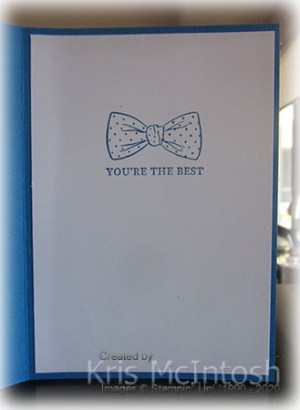
I attached the flowers and the leaves to the card front, partially covering the Basic White rectangle, using dimensionals where necessary. To decorate the inside of the card, I stamped the greeting from the Peaceful Moments stamp set using Memento Tuxedo Black ink. I stamped the small flower from the Forever & Always stamp set beside the greeting using Memento Tuxedo Black ink. The flower is coloured using the Flirty Flamingo and Dark Daffodil Delight Stampin’ Blends. I thought this card was really pretty and decided to re-create it using different colours and placing the pieces in different orientations. The second card is in the same landscape orientation but with the Designer Series Paper on the right hand side.

The flowers are coloured using Magenta Madness and Dark Mango Melody Stampin’ Blends. The leaves are coloured using the Dark Just Jade Stampin’ Blend. The third card is in the portrait orientation with the Designer Series Paper across the bottom of the Whisper White panel. The flowers are coloured using Rich Razzleberry and Dark Daffodil Delight Stampin’ Blends. The leaves are coloured using the Dark Granny Apple Green Stampin’ Blend. The last card is also in the portrait orientation and has the Designer Series Paper at the top of the Whisper White panel. The flowers are coloured using the Mango Melody Stampin’ Blends and the leaves using the Dark Old Olive Stampin’ Blend. Don’t you think they look pretty?
Bye for now,
Kris
Product Used:


Well Suited Challenge

Today’s card was inspired by the sketch challenge at Freshly Made Sketches. I created this card previously using the challange and it gave me an opportunity to create a card using the Well Suited Product Suite from the January – June 2021 Mini Catalogue. This is an amazing Mini Catalogue and if you live in Australia and do not have a Stampin’ Up! Demonstrator, then please contact me so that we can organise to get this catalogue to you as soon as possible. I embossed Whisper White card using the Tasteful Textile 3D Embossing Folder and attached it to scored and folded Pacific Point card.

I cut two different designs from the Well Suited Designer Series Paper using the Layering Squares Dies. I attached the Designer Series Paper panels to the card front.
I stamped the smaller bow tie from the Handsomely Suited stamp set onto Whisper White card using Pacific Point ink. I stamped the greeting, also from the Handsomely Suited stamp set, below the bow tie using Pacific Point ink. I cut out the images using the same sized square from the Layering Squares Dies. I attached the image panel to a scalloped square cut from Pacific Point card using the Layering Squares Dies. To decorate the inside of the card, I stamped the larger bow tie image from the Handsomely Suited stamp set onto Whisper White card using Pacific Point ink. I stamped the greeting from the same stamp set below the bow tie also using Pacific Point ink.
Quite a simple card really but one that I really love, so thank you Freshly Made for the inspiration.
Bye for now,
Kris
Product Used:


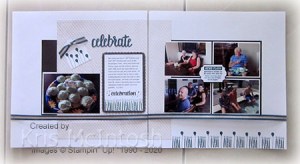
Celebrate
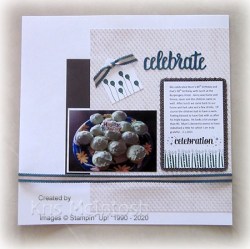
Today’s pages are dedicated to some photos from Mum and Dad’s birthday earlier in January. I attached a piece of In Good Taste Designer Series Paper to Basic White 12″ x 12″ pages. The Designer Series Paper is attached to the right hand side of the first page and the left hand side of the second page. However in the first instance I only attached the Designer Series Paper underneath the edge of the paper where it meets the edge of the Basic White page. I attached the photos to Basic White card and then Early Espresso card before attaching them to the Basic White pages. I slipped the Basic White card mats underneath the Designer Series Paper where necessary.
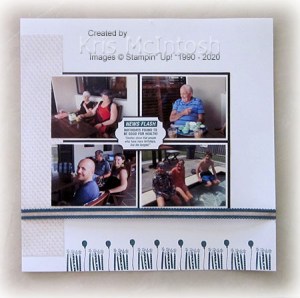
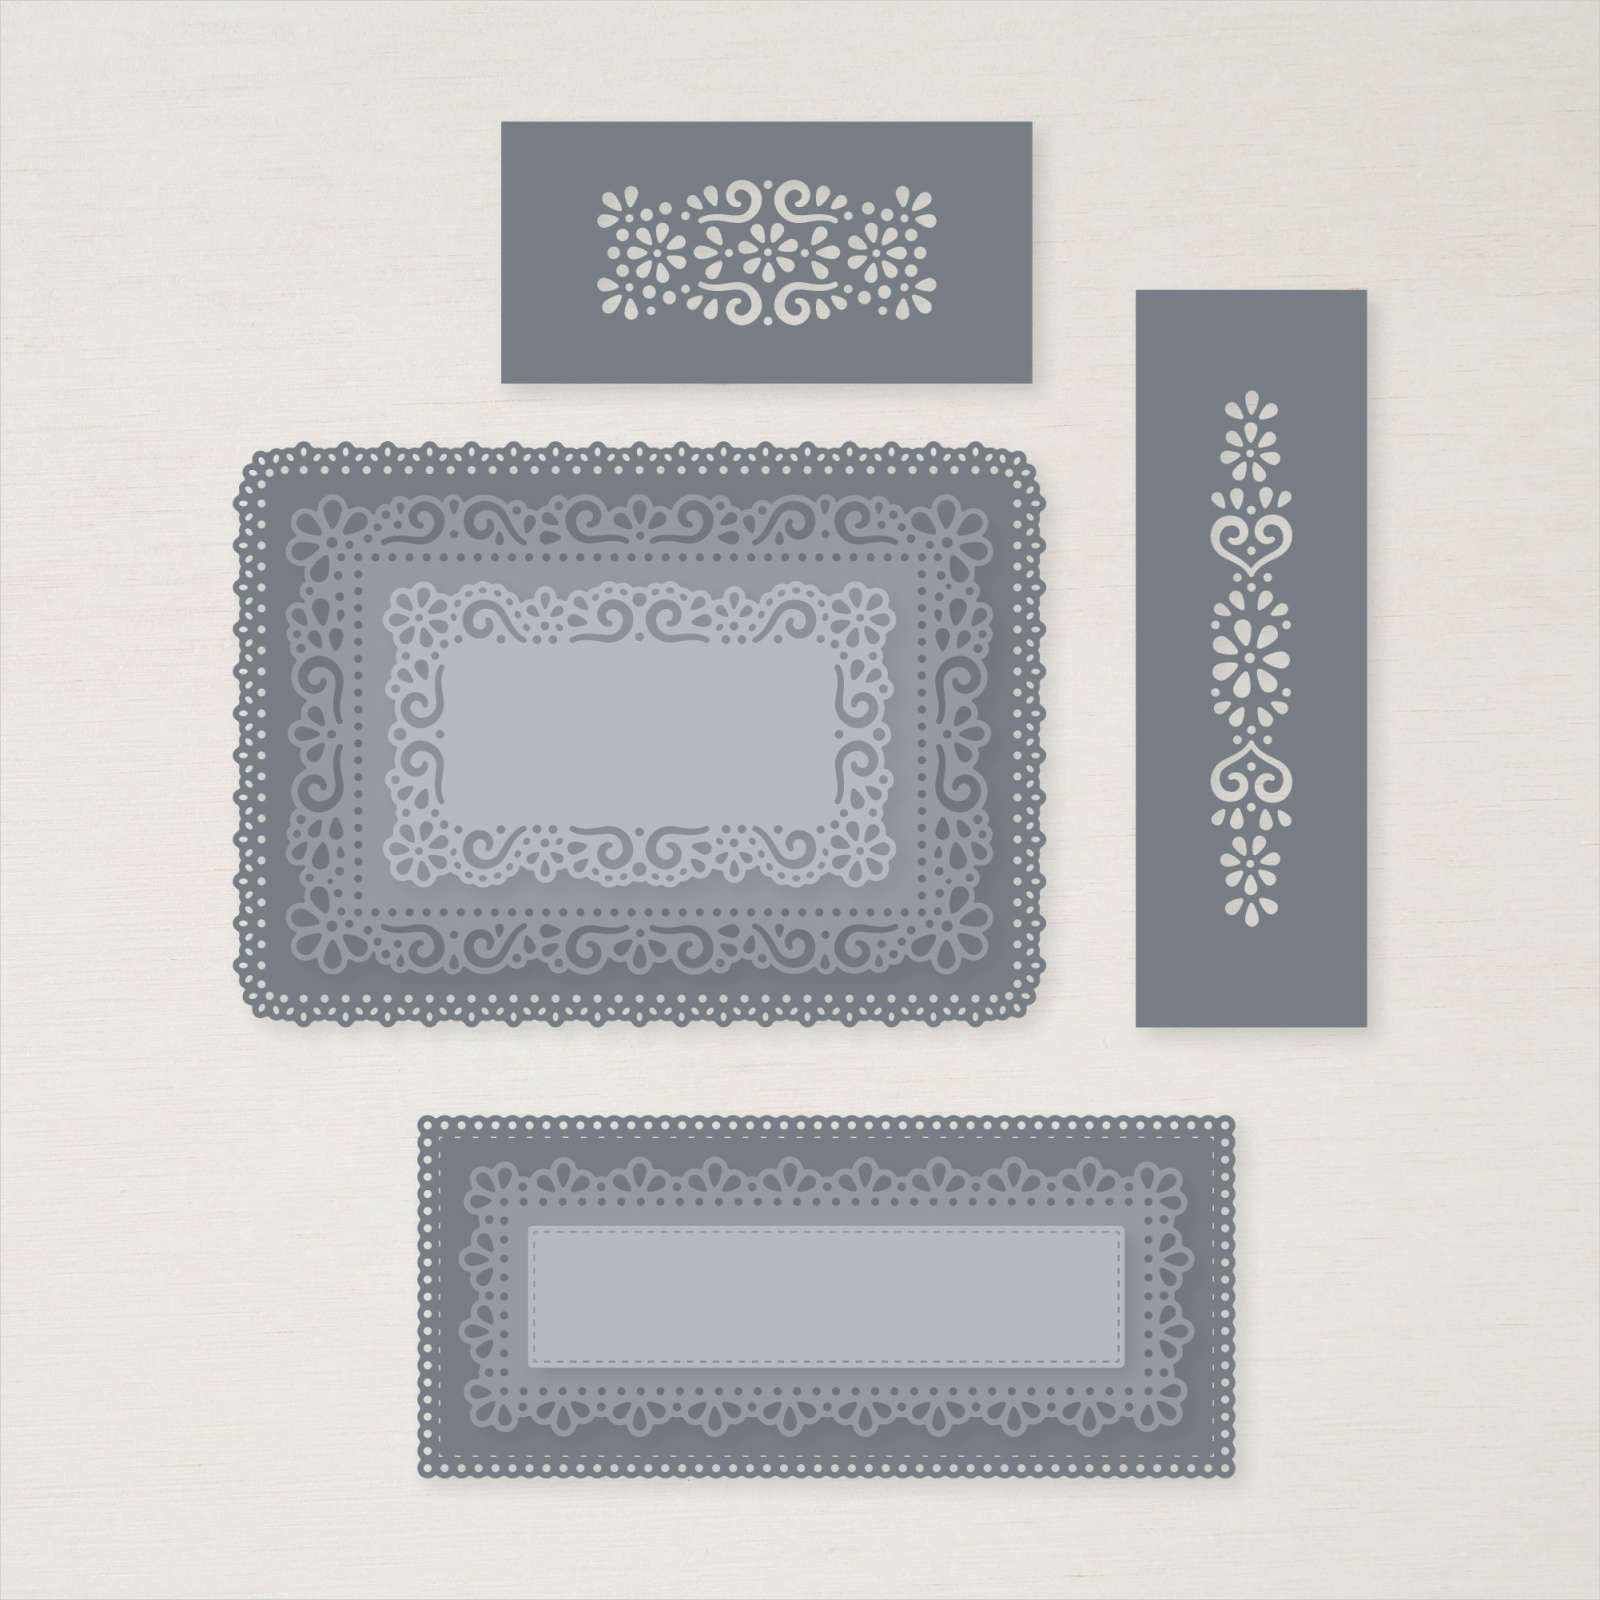
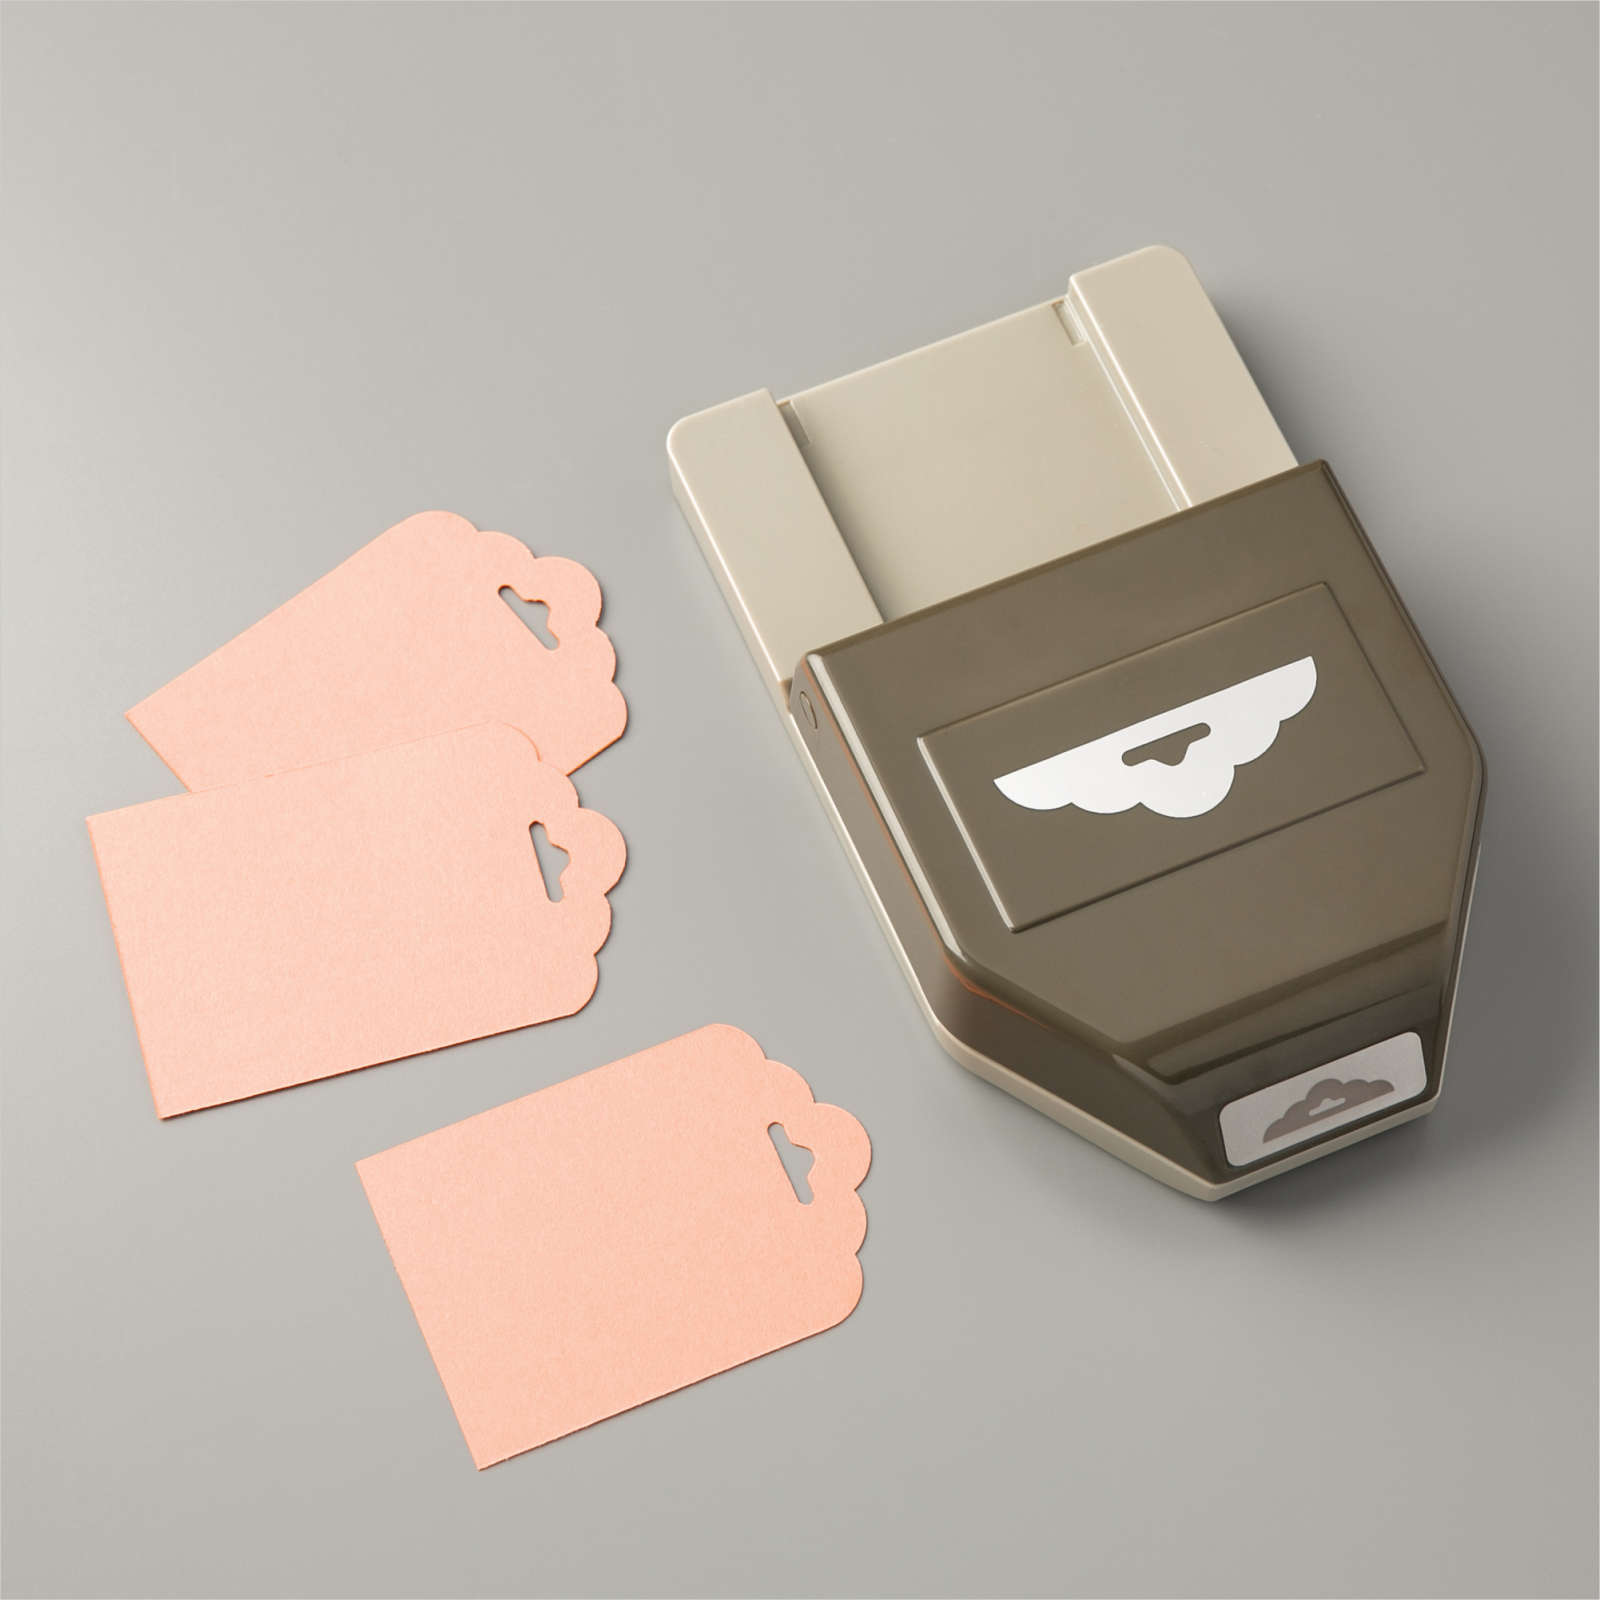
I stamped the balloons from the Approaching Perfection stamp set onto Whisper White card using Memento Tuxedo Black ink. I punched the top of the card using the Scalloped Tag Topper Punch. I coloured the balloons using the Dark Pretty Peacock Stampin’ Blend. I attached the tag to the top of the first page before adding Pretty Peacock 1/2″ Scalloped Linen Ribbon with a Glue Dot. I cut “celebrate” from Pretty Peacock card using the retired Celebrate You Dies before attaching it to the right hand side of the tag. I cut the journaling mat from Early Espresso card using the Ornate Layers Dies. The journaling is printed onto Basic White card. I stamped “celebration” from the retired Remember This stamp set below the journaling using Early Espresso ink. I stamped the candle image from the Approaching Perfection stamp set across the Basic White card below “celebration”. I stamped the balloons and the candles from the Approaching Perfection stamp set across the bottom of the right hand page using Pretty Peacock ink. I stamped the greeting from the Approaching Perfection stamp set onto Whisper White card using Pretty Peacock ink and punched it out using the Everyday Label Punch. I punched Early Espresso card using the same punch cut it in half and attached one half to the back of the top of the greeting and one half to the back of the bottom of the greeting. I attached the punched piece to the centre of the photos on the right hand page. Lastly I wrapped each page with the Pretty Peacock 1/2″ Scalloped Linen Ribbon.
Happy Birthday Mum and Dad.
Bye for now,
Kris
Product Used:


One For the Girls
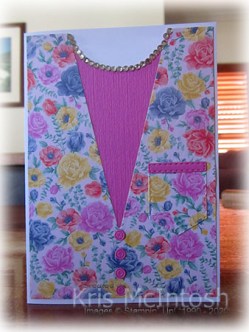
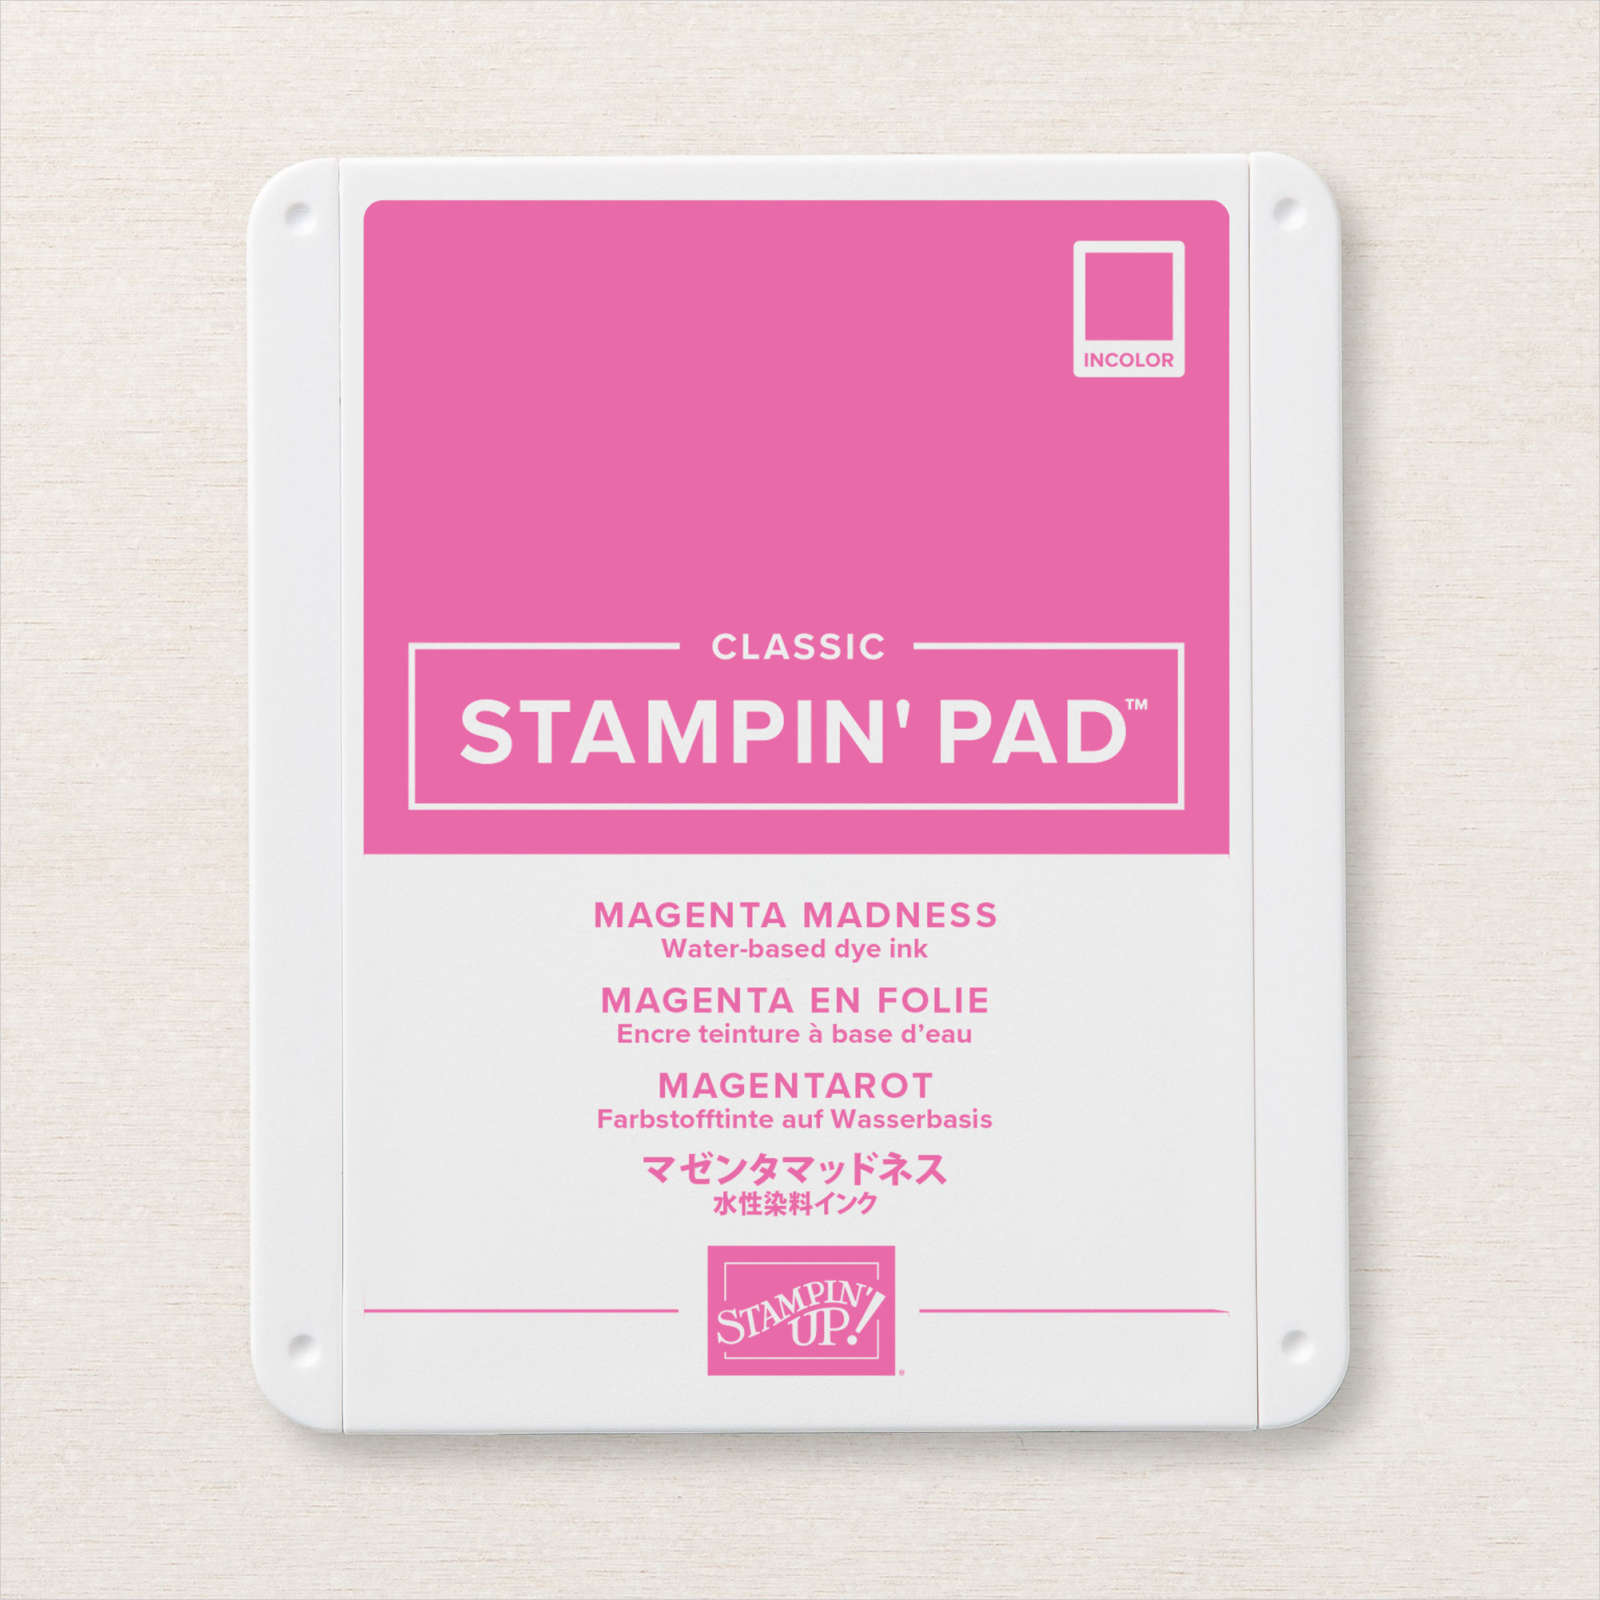
While I have been playing with the Well Suited Product Suite, I thought it would be nice to create something for the girls. So I cut a piece of the Flowers For Every Season 6″ x 6″ Designer Series Paper using the “V” die. I also cut a pocket from the same Designer Series Paper. I cut the pocket topper and buttons from Magenta Madness card. I temporarily attached the Designer Series Paper panel to Magenta Madness card and using one of the Layering Circle Dies cut a neckline shape into the Magenta Madness card.

I removed the Designer Series Paper panel and embossed the Magenta Madness card using the Subtle 3D Embossing Folder. I attached the Designer Series Paper to the embossed card and then scored and folded Thick Basic White card.
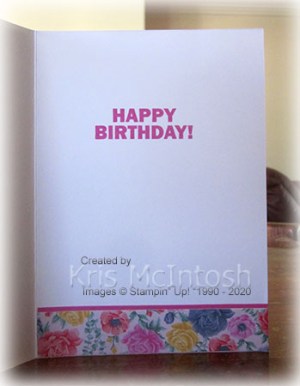
I attached the topper to the pocket. I added the buttons and then the pocket to the right hand side of the jacket. Lastly I added Basic Rhinestones around the edge of the Magenta Madness card to finish off the neckline of my “blouse”. To decorate the inside of the card, I stamped “happy birthday” from the Approaching Perfection stamp set using Magenta Madness ink. I attached a strip of Magenta Madness card behind one long edge of a strip of the same Designer Series Paper and attached it across the bottom of the inside of the card.
What do you think? I love it when something becomes more versatile than you think, don’t you? This is surely going to be a very popular Product Suite.
Bye for now,
Kris
Product Used:


Well Suited

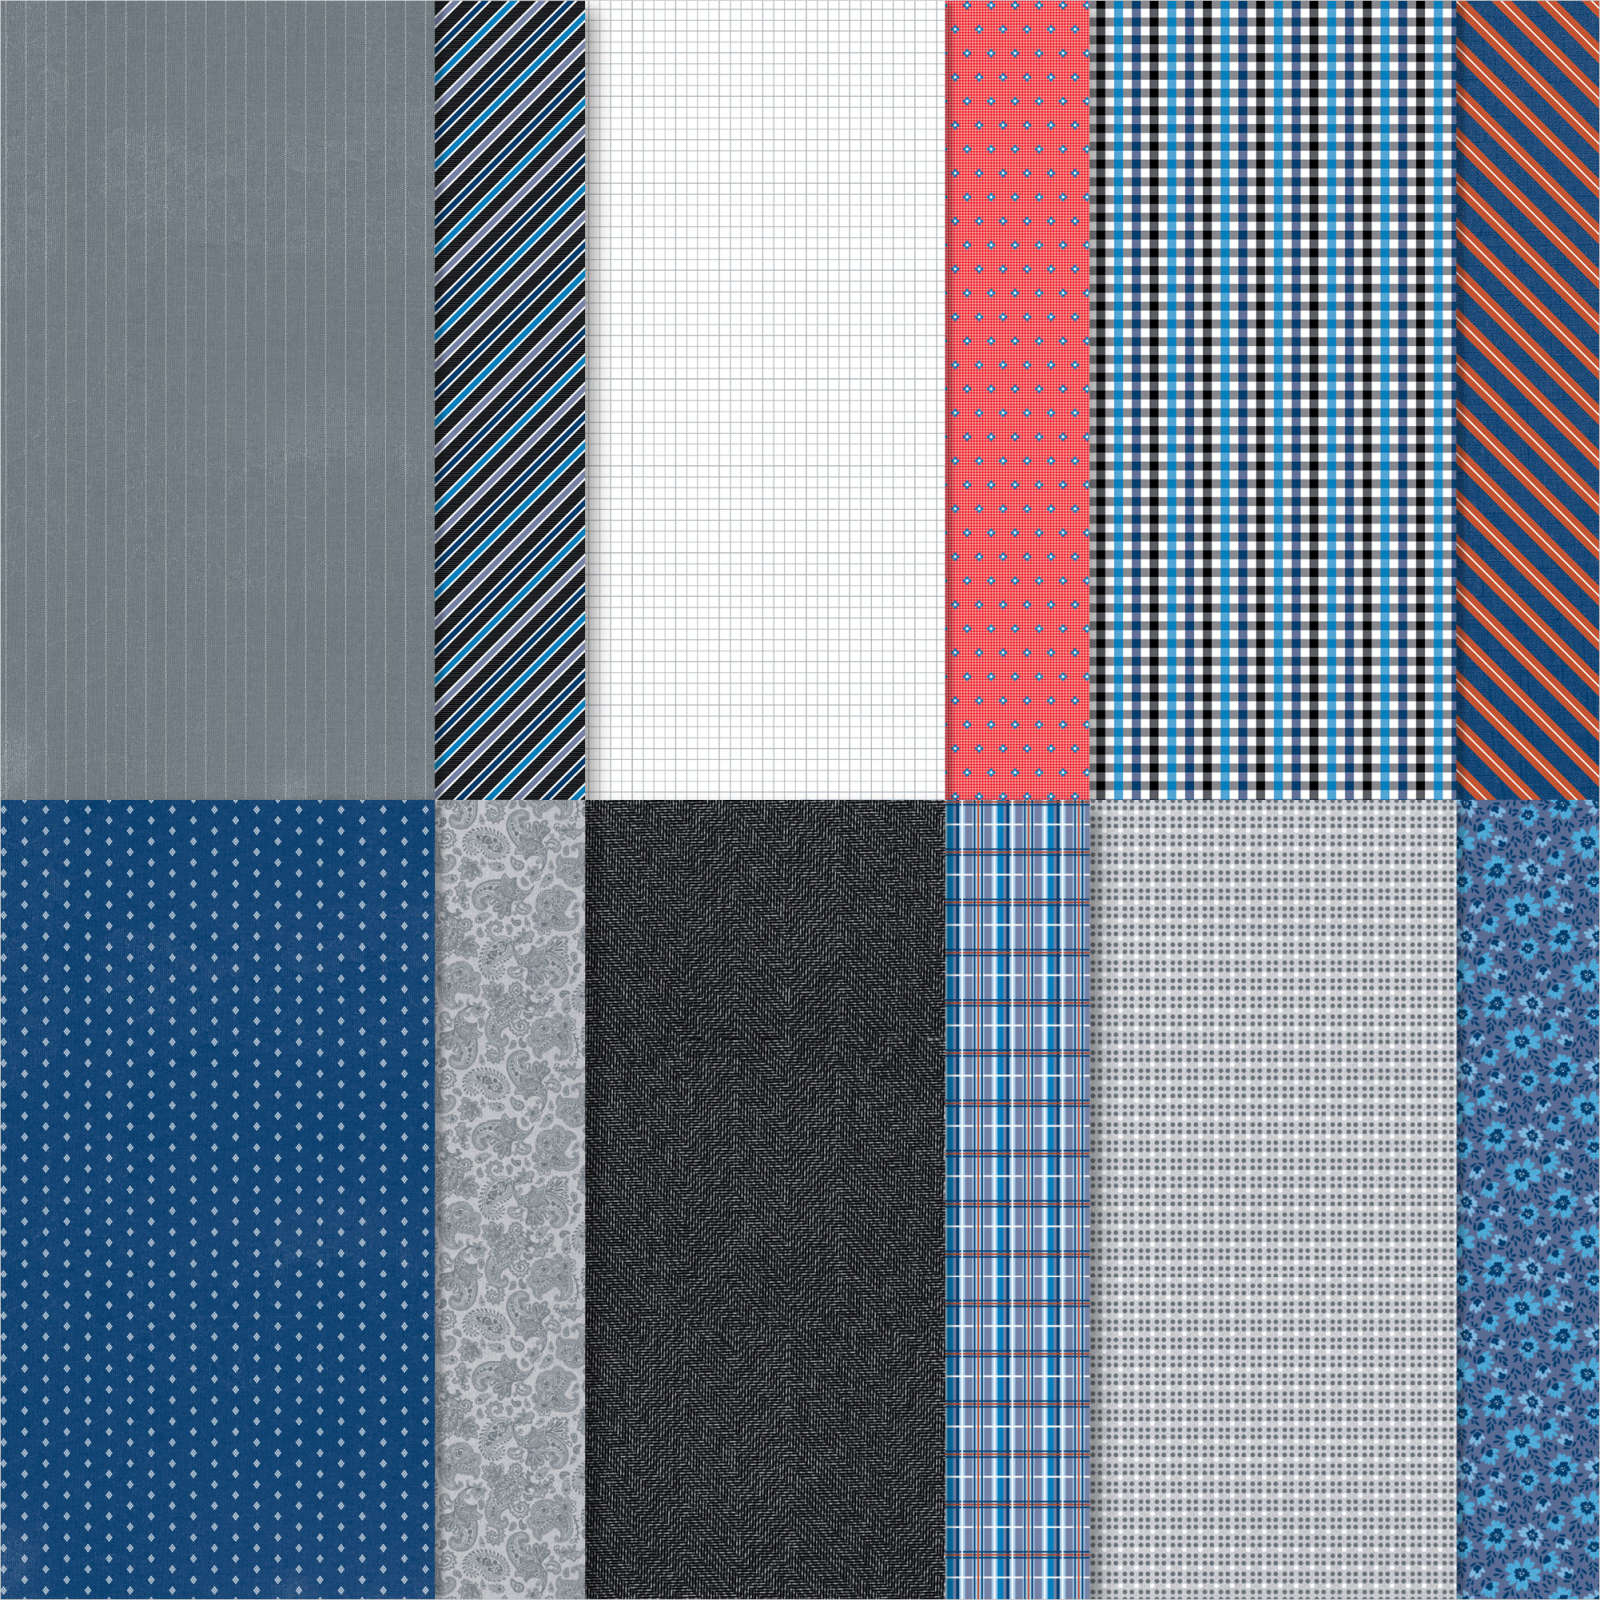
This week on my Facebook Live, I shared some cards I made using the Well Suited Product Suite and today I am going to share a couple more. This is another fantastic Product Suite from the January-June Mini Catalogue. The suite contains a stamp set, dies and twine. The dies are amazing and you can’t have this product suite in your possession without creating a “suit” card! I cut Basic Gray card using the “neckline” die from the Suit & Tie Dies before embossing the card using the Tasteful Textile 3D Embossing Folder. I cut one “pocket” from Basic Gray and embossed the pocket using the Tasteful Textile 3D Embossing Folder.

I cut the “collar” from Basic Gray and embossed it using the same embossing Folder. I cut the little topper for the pocket from Basic Gray but this time, I didn’t emboss. I cut the collar from Basic White card and the pieces for the tie and another collar from Well Suited Designer Series Paper.

I also cut one of the “brace” pieces and buttons from Basic Gray card. To create the card, I attached the Basic White collar to scored and folded Thick Basic White card. I attached the tie piece underneath the collar and then the shirt piece. I attached the brace piece to create a centre button panel and attached two buttons before attaching the embossed collar piece. I attached the designer series paper collar behind the pocket to look like a hankerchief. I added the topper before attaching the pocket to the right hand side of the jacket. Lastly I added the knot for the tie using mini dimensionals. To decorate the inside of the card I stamped the greeting from the Handsomely Suited stamp set onto the inside of the Thick Basic White card base using Basic Gray ink. I attached a piece of Basic Gray card behind one long edge of a piece of Well Suited Designer Series Paper and attached it across the bottom of the inside of the card base.

While I was creating this card, I decided to create another card using the reverse side of the Designer Series Paper. I think they both look great, but I do like the striped tie card slightly better. What about you? Which one is your favourite?
Bye for now,
Kris
Product Used:

Thank You
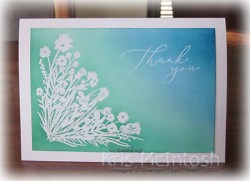
Today I am sharing a card I made using the Corner Bouquet stamp set and the Heal Your Heart stamp set. Both of these stamp sets you can earn for free during Sale-a-bration with a qualifying order. I decided to try an old technique using the new Blending Brushes. Oh My Goodness, they are amazing! I did use them on a Facebook Live back in December, if you would like to check it out. I began by stamping the large corner image from the Corner Bouquet stamp set onto the lower left hand corner of Basic White card using Versamark ink.

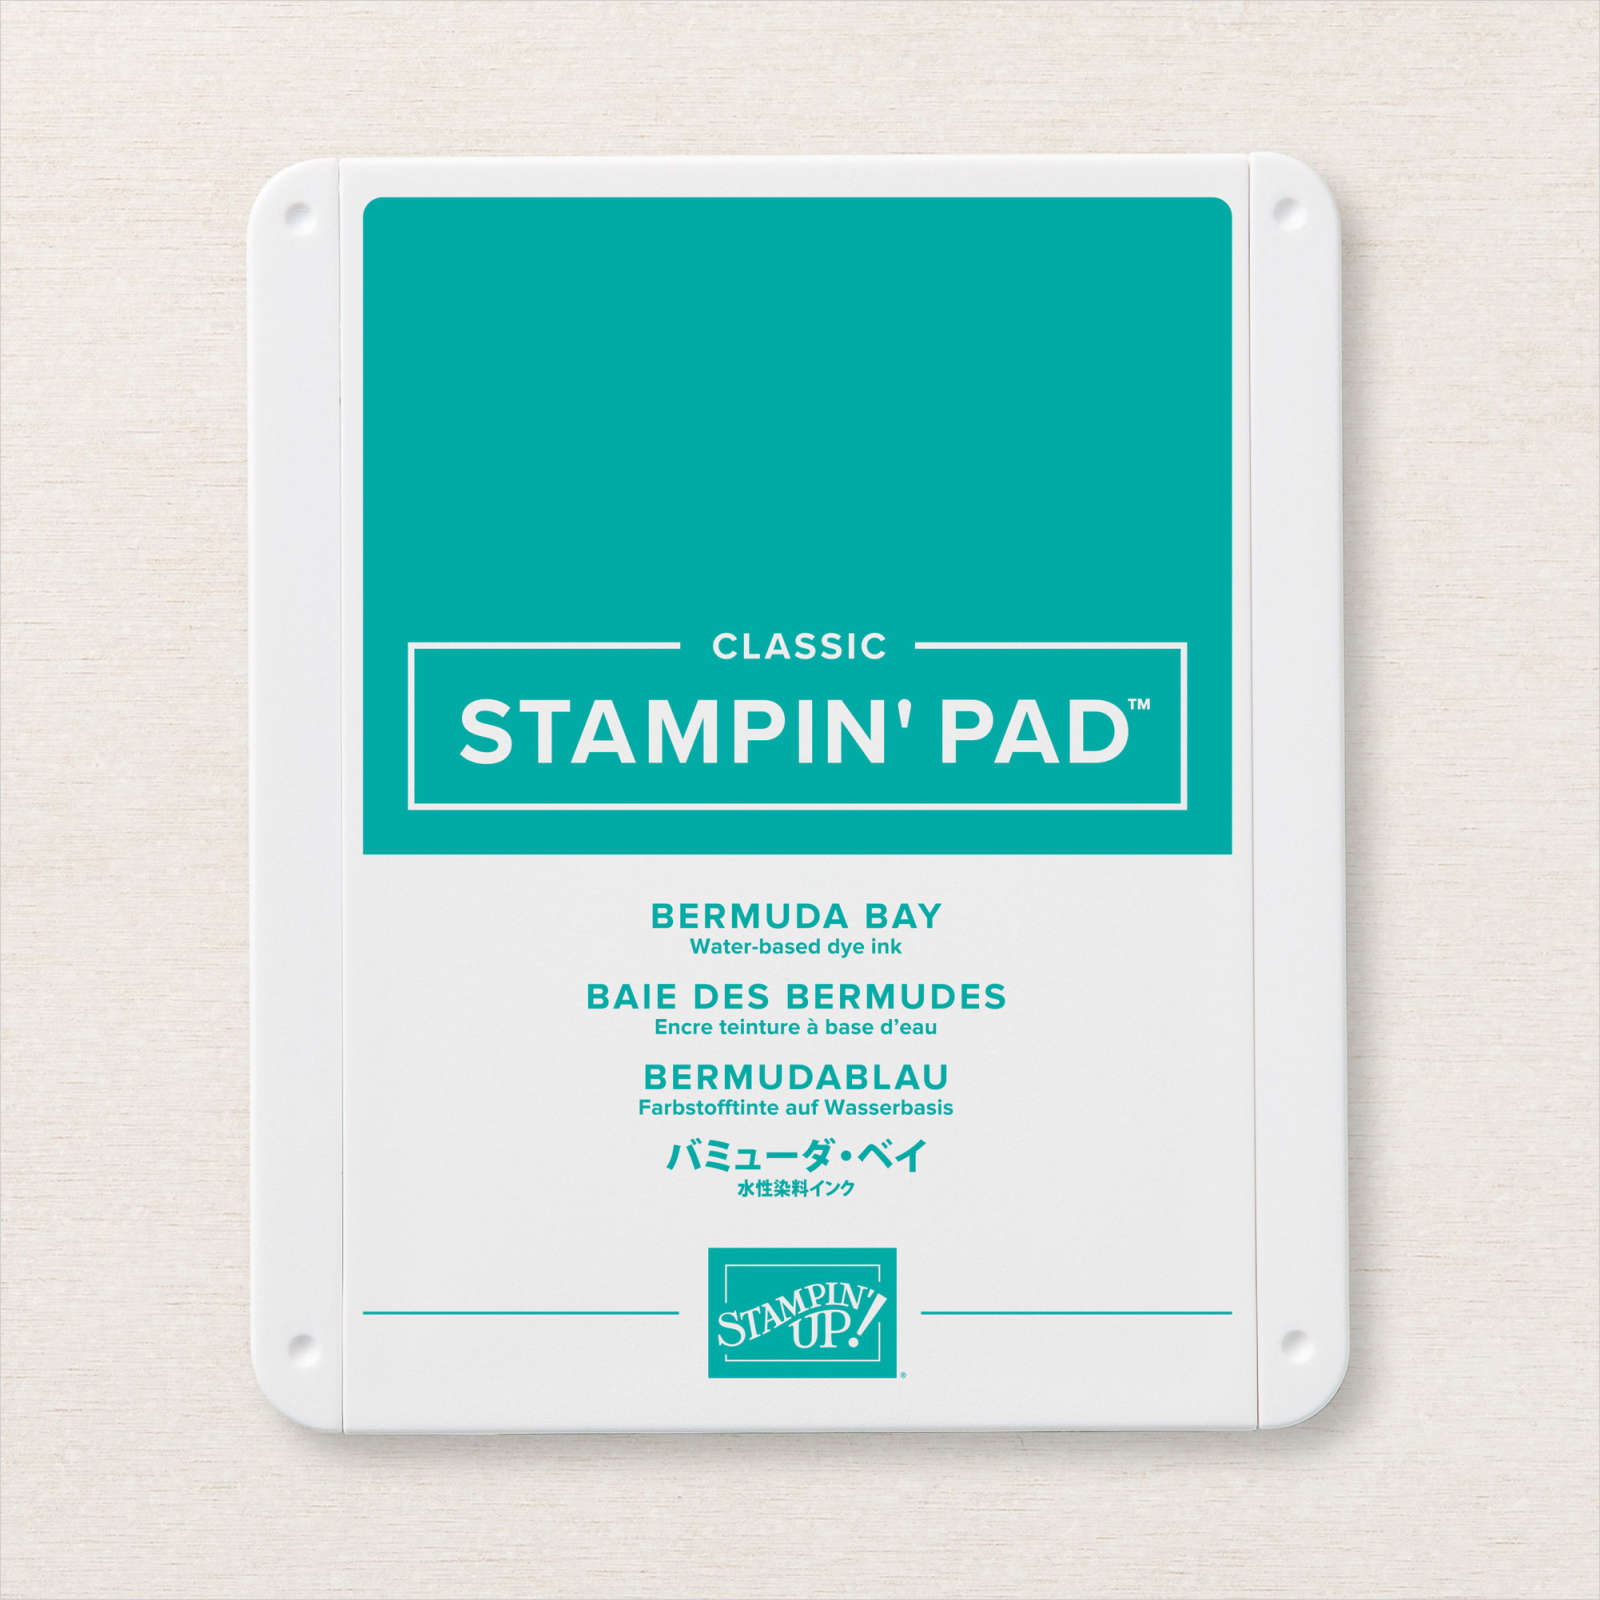
I added “thank you” onto the top right hand corner using the stamp from the Heal Your Heart stamp set, also using Versamark ink. I sprinkled on Clear Embossing Powder and Heat set the images. I used a Blending Brush to add Coastal Cabana ink to the Basic White card, starting in the lower left hand corner. I spread the ink across the panel on the diagonal until most of the stamped image was covered. I used the Blending Brush to add Bermuda Bay and Pacific Point ink until the whole panel was covered. I used a piece of paper towel to remove any ink from the embossed images before attaching the panel to scored and folded Thick Basic White card.

To decorate the inside of the card, I stamped the smaller corner image from the Corner Bouquet stamp set onto the lower left hand corner of Basic White card. I used a Blending Brush to add Coastal Cabana ink over the whole of the stamped image. I really love the Blending Brushes and since I went from light blue to dark blue ink colours, I didn’t need to change brushes, I just kept using the same one. When I was finished creating the card, I rinsed the Blending Brush under cold water until the colour stopped running and left it to dry. If you haven’t used these Brushes, try them, I know you will love them.
Bye for now,
Kris
Product Used:


A card for Sarah

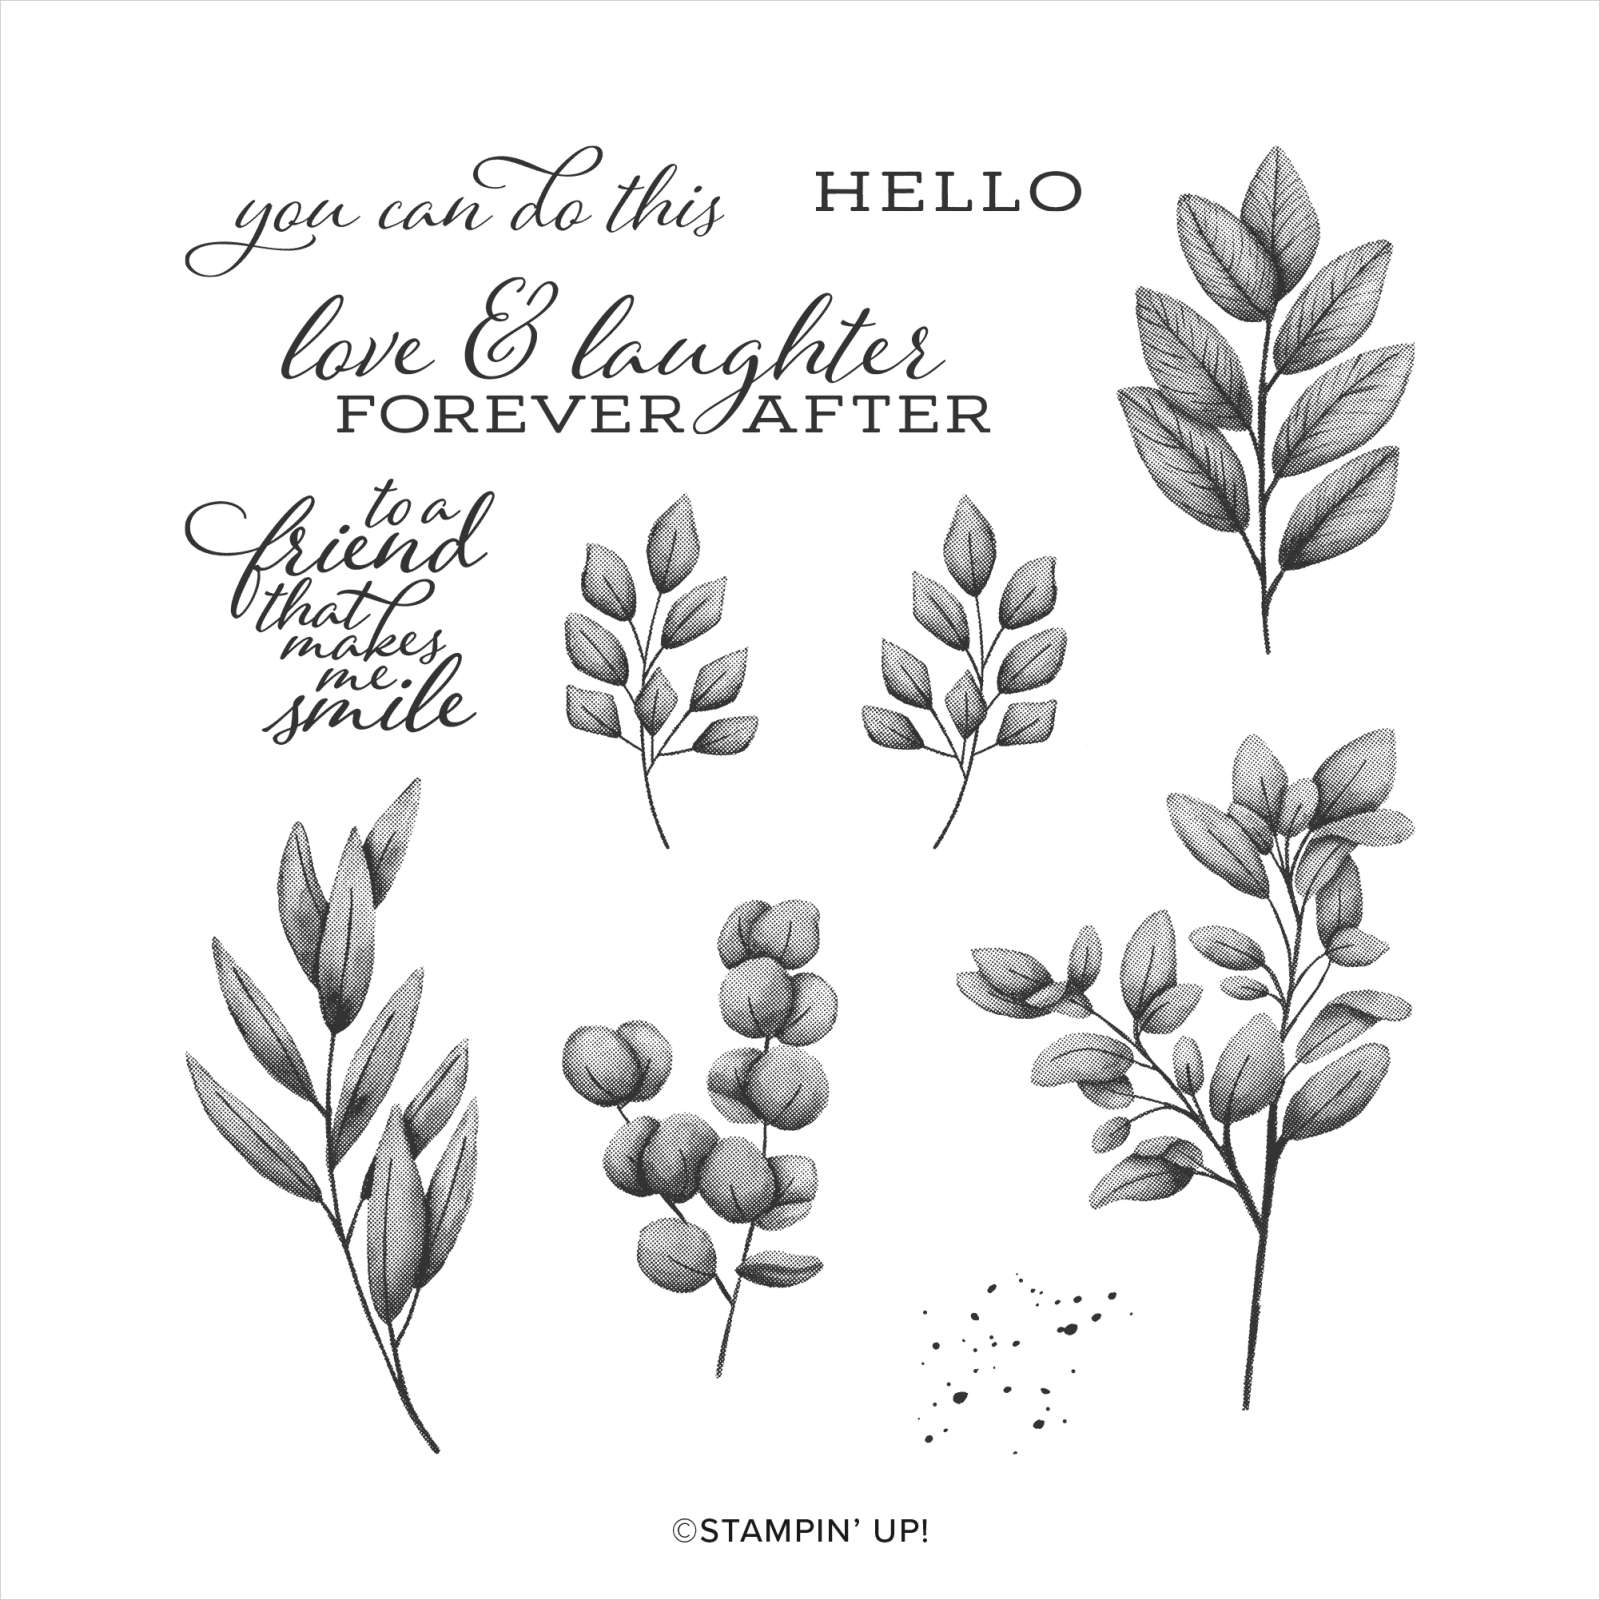
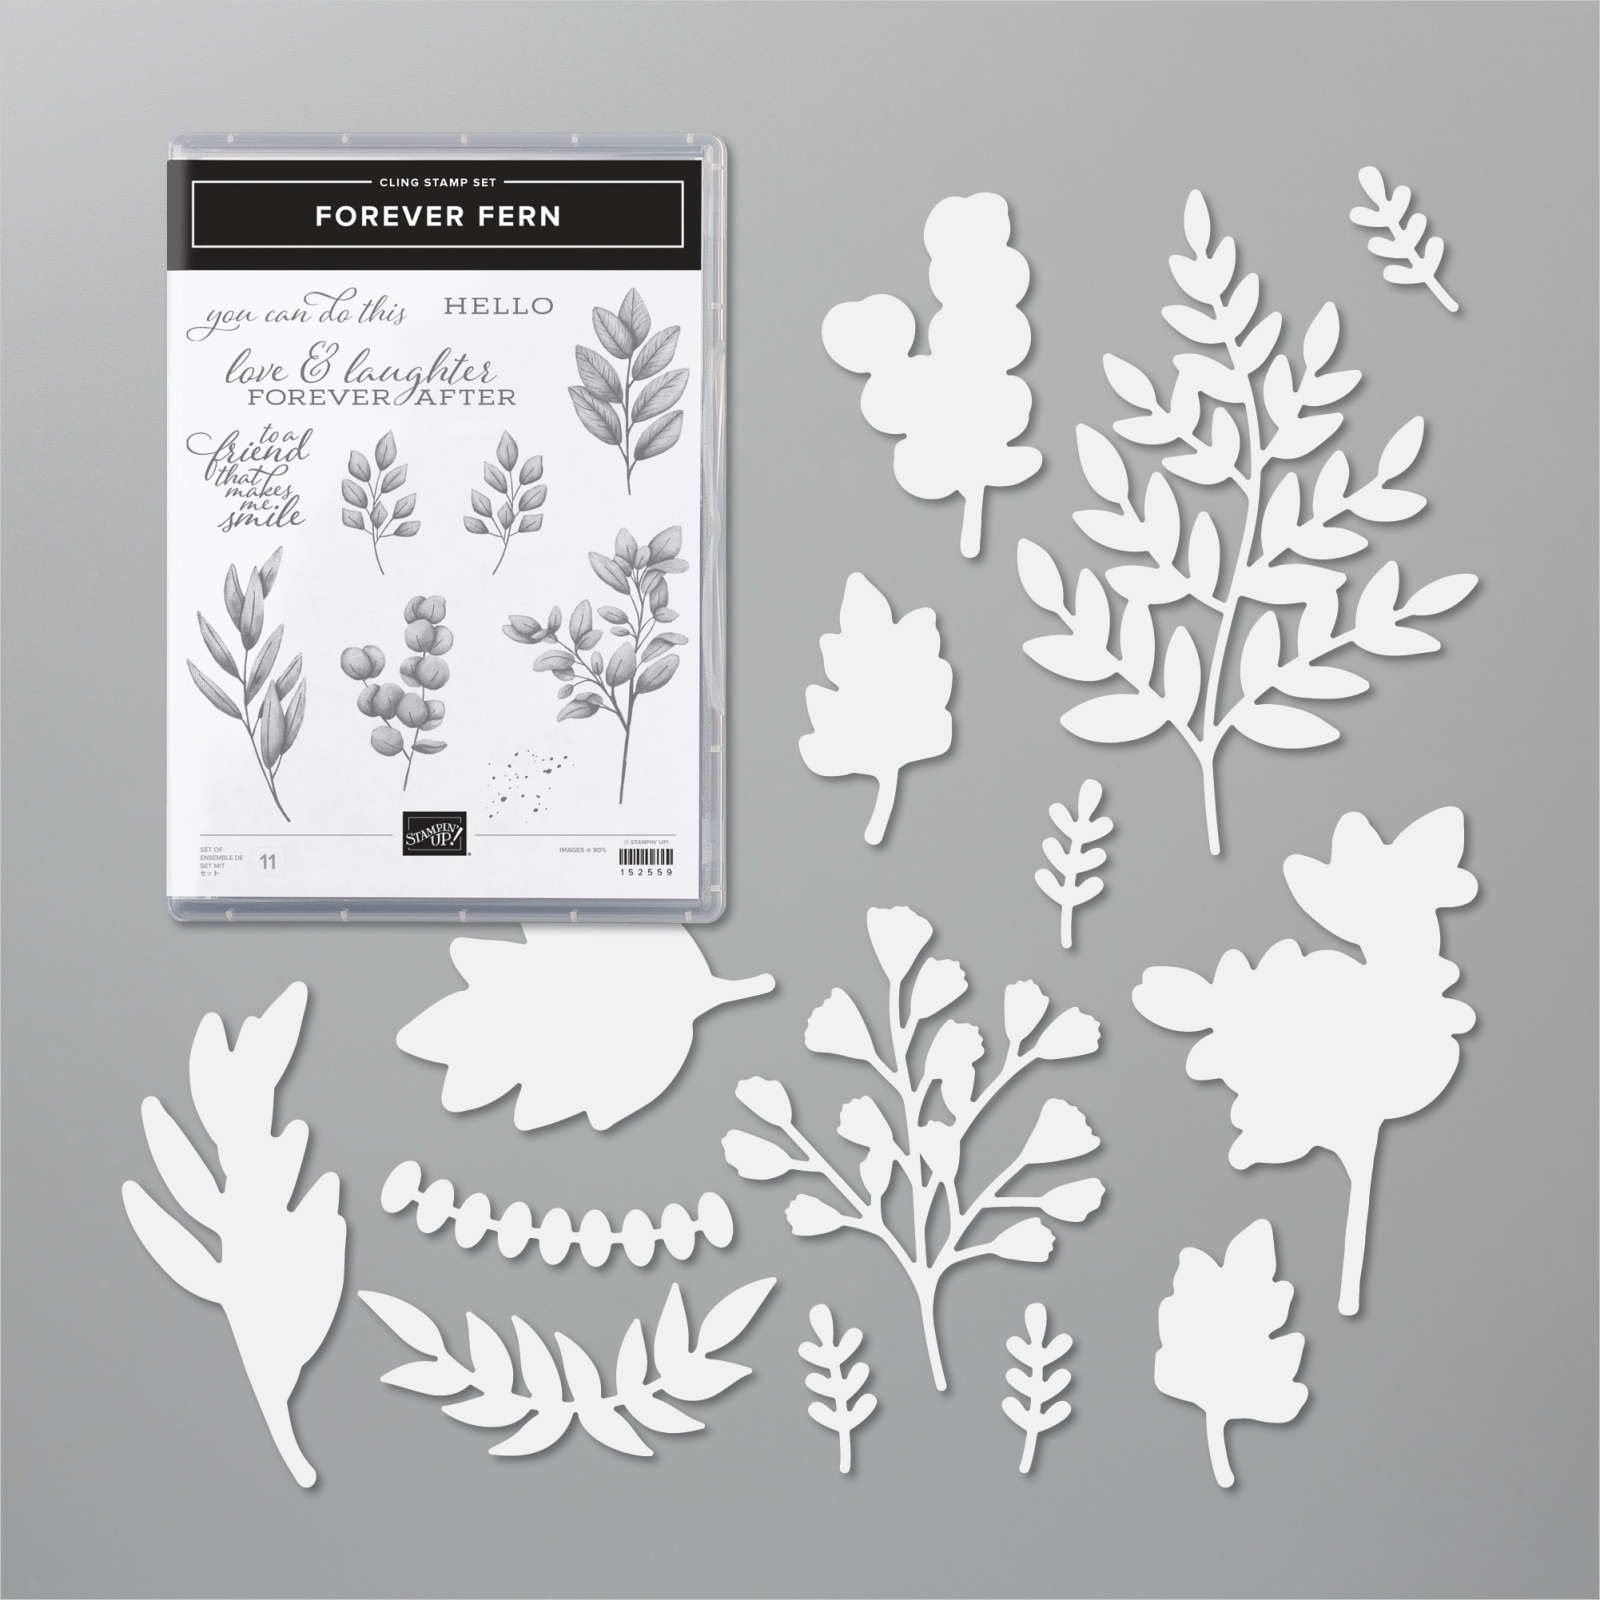
My eldest daughter recently celebrated her birthday last week and I thought I would share the card I made for her. I began by embossing Smoky Slate card using the Tasteful Textile 3D Embossing Folder. The embossed panel is attached to scored and folded Poppy Parade card before adding the wreath from the Forever Gold Laser Cut Specialty Designer Series Paper. I cut Granny Apple Green using one of the dies from the Flourishing Forever Dies and cut it in half. I stamped the small leaf image from the Forever Fern stamp set onto Whisper White card using Granny Apple Green ink and cut them out using the co-ordinating Forever Flourishing Die.
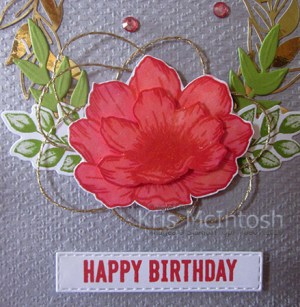
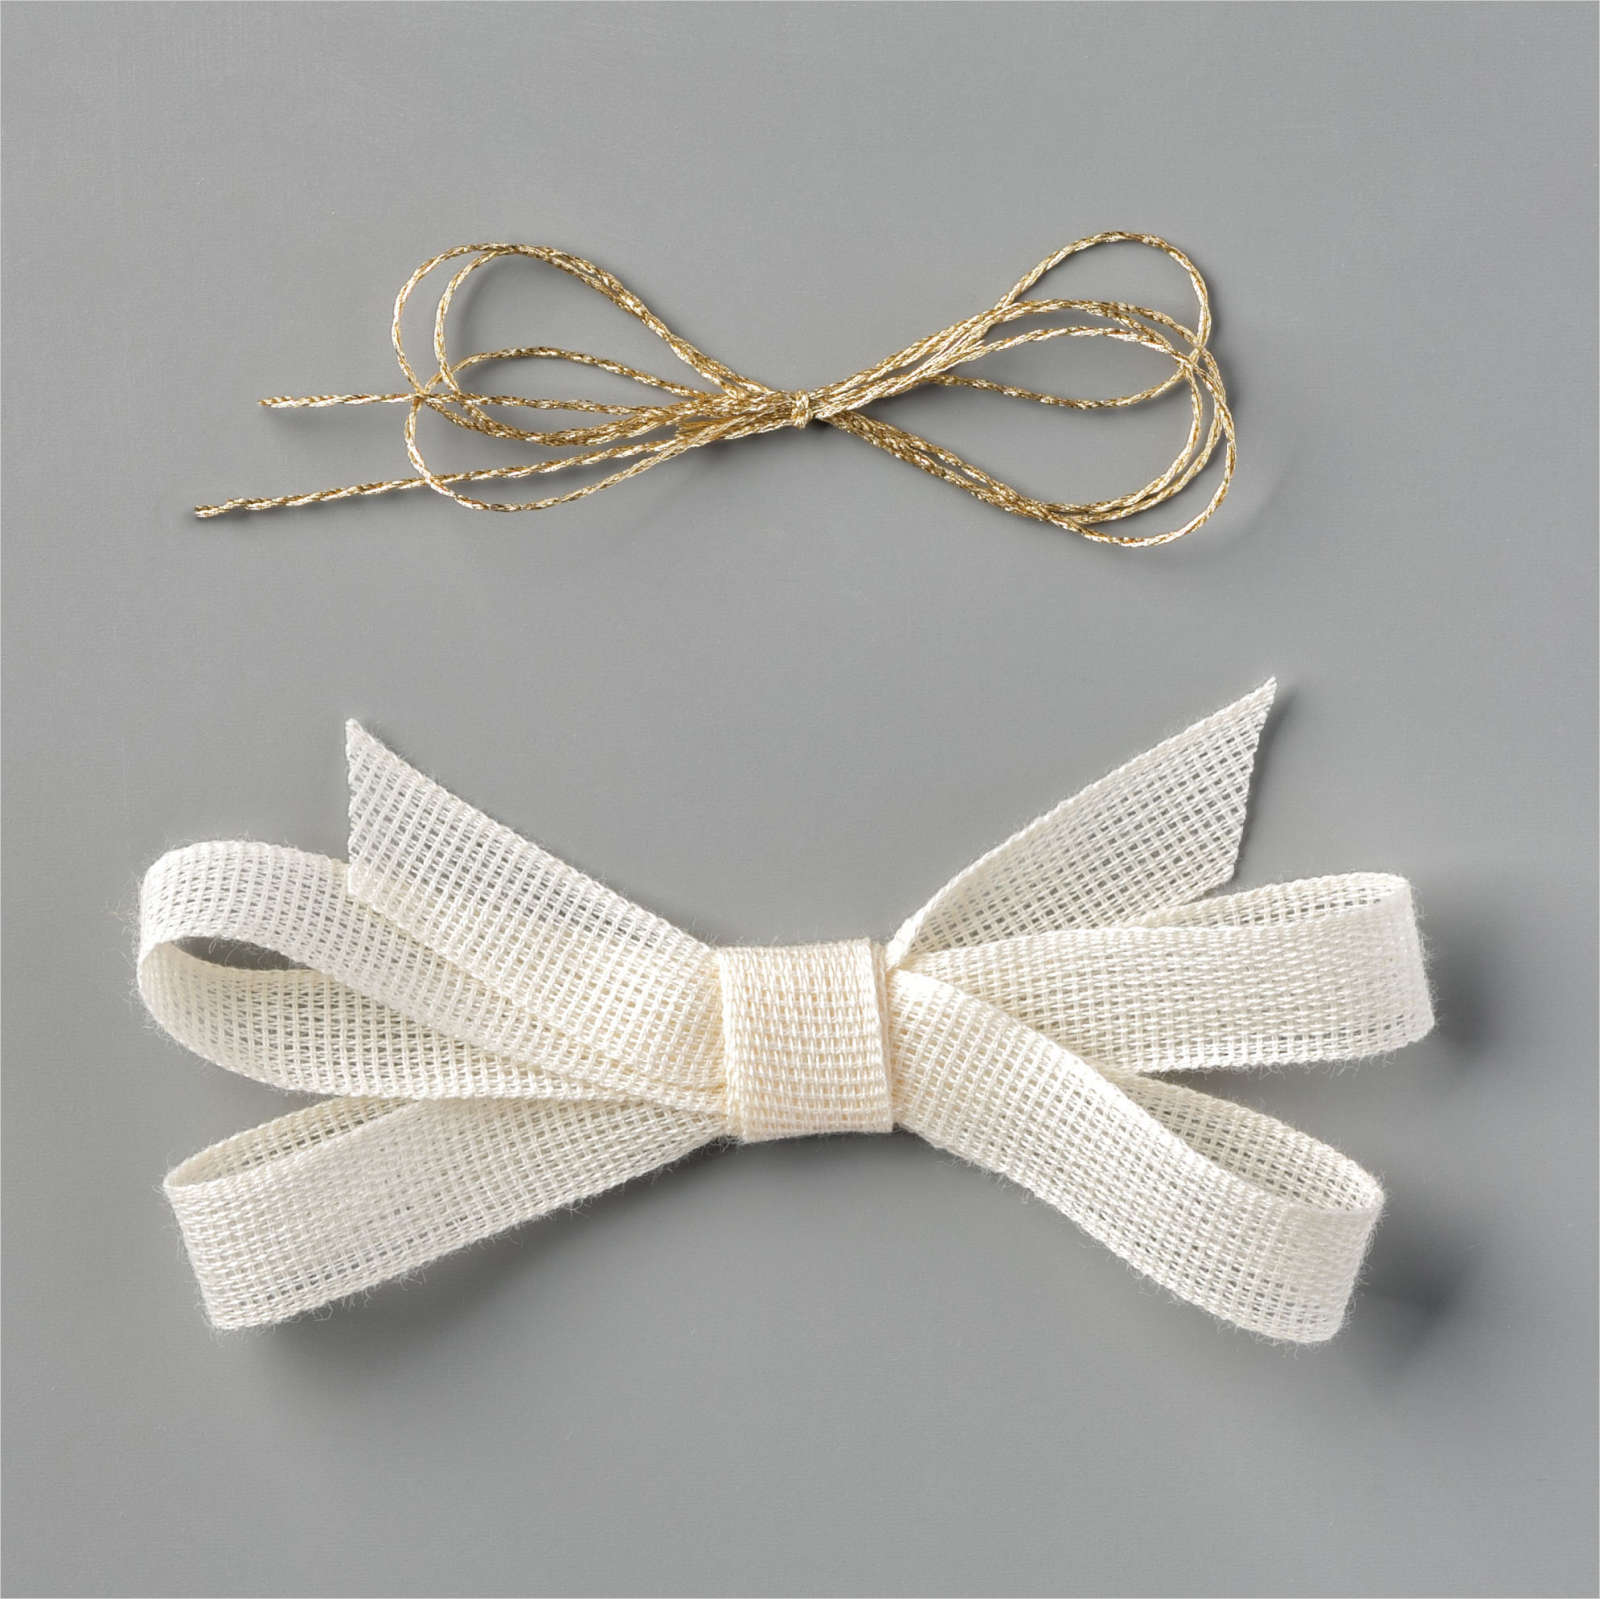
I stamped the large and small flowers from the Forever & Always stamp set onto Whisper White card using Poppy Parade ink. I coloured the flowers using the Light Poppy Parade Stampin’ Blend and cut them out, the large flower using the co-ordinating Always Die and the small flower by hand (I didn’t want any white on the edge of the small flower). I attached the small flower to the centre of the large flower using dimensionals and added some of the Gold Thread from the Forever Greenery Trim Combo Pack to the back of the flowers.

I layered the leaves onto the bottom of the wreath and attached the flower over the top using dimensionals. I stamped the greeting from the Itty Bitty Birthday stamp set onto Whisper White card using Poppy Parade ink and cut it out using the Stitched Rectangle Dies. The greeting is attached to the card front using dimensionals. I coloured three large Basic Rhinestones using the Dark Poppy Parade Stampin’ Blend and attached them to the card front.To decorate the inside of the card, I stamped another greeting from the Itty Bitty Birthday stamp set onto Whisper White card using Poppy Parade ink. I stamped the small flower from the Always & Forever stamp set next to the flower using Poppy Parade ink. I coloured the flower as before using the Light Poppy Parade Stampin’ Blend.
So pretty and I am not sure if you can see it but I did add some Clear Wink of Stella to the flower to give it a little shine.
Bye for now,
Kris
Product Used:
Basic White A4 card can be found here.


The Beach

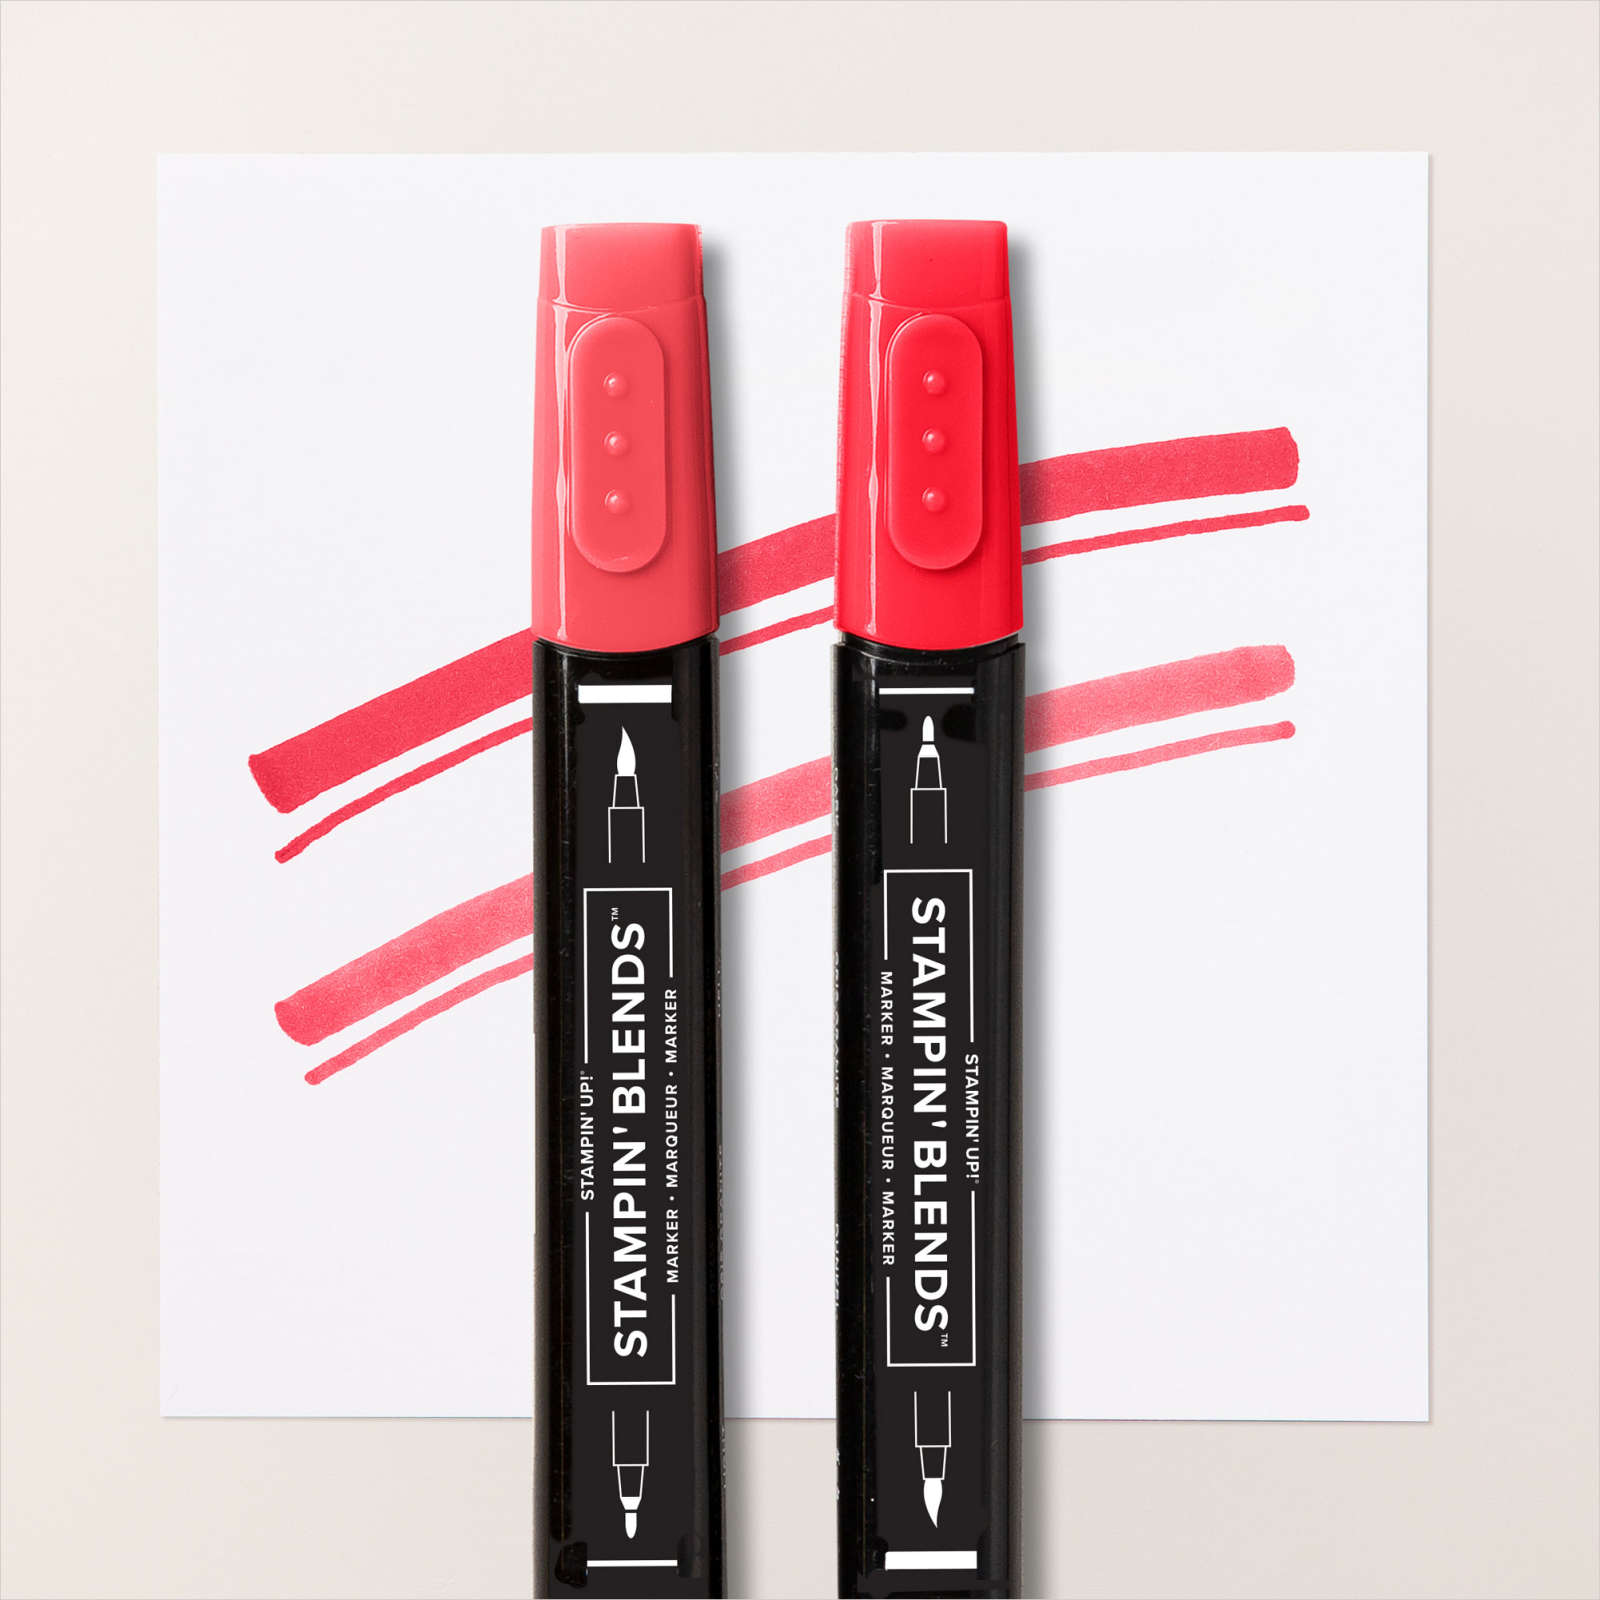
Today’s page shows off the only photo I could find of our visits to Lake Cathie beach. We spent a lot of time there when we first moved to Kew from Dubbo. I created the printed the journaling block onto Very Vanilla card and attached it as well as the photo and two pieces of Sea and Sand Designer Series Paper to Seaside Spray card. I did use the retired Corner Rounder on the Designer Series paper and the journaling block to match the photo. I attached the panel to a 12″ x 12″ Very Vanilla card. I cut Very Vanilla card three times using the large die from the Seaside Seashells Dies. I used a Blending Brush to add Soft Sea Foam ink to the “seaweed” part of the die and then stamped the shells using Sahara Sand, Blushing Bride and Seaside Spray. I did stamp off some of the images to give some variation in the shades.
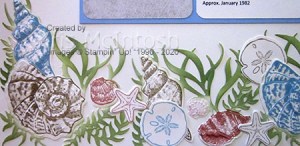
I also stamped some “starfish” and “sand dollars” using the same inks and cut them out using the co-ordinating Seaside Seashells Dies. I cut each of the dies in half and then some of the halves into pieces and attached them across the bottom of the page. I love the way I could add colour to the “seaweed” using the Blending Brush. Although it’s not a fantastic photo, it brings back happy memories of the time my grandmother spent with us.
Bye for now,
Kris
Product Used:


Try Stampin’ On Tuesday Challenge #488
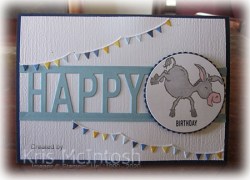
The challenge at Try Stampin’ On Tuesday this week immediately brought the Darling Donkey stamp set to mind. To begin I embossed Basic White card using the Subtle 3D Embossing Folder and attached it to scored and folded Night of Navy card. I cut a piece of Balmy Blue card using the the Happy Dies and attached it across the centre of the embossed Basic White card.

I cut two banners from Basic White card using the Happy Dies and coloured the flags using the Night of Navy, Balmy Blue and Daffodil Delight Stampin’ Blends. I attached one banner across the top left hand corner and one banner across the bottom of the card. I stamped the donkey from the Darling Donkey stamp set onto Whisper White card using Basic Gray ink. I coloured the image using Smoky Slate and Light Flirty Flamingo Stampin’ Blends. I cut out the donkey image using the Layering Circle Dies and stamped “birthday” from the Itty Bitty Greetings stamp set below the donkey using Night of Navy ink.
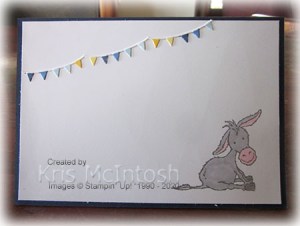
I attached the image to a Night of Navy scalloped circle cut using the Layering Circle Dies and then the card front using dimensionals. To decorate the inside of the card I cut Basic White card using the banner from the Happy Dies and coloured it using the Night of Navy, Balmy Blue and Daffodil Delight Stampin’ Blends. I attached the banner across the top left hand corner of Basic White card. I stamped another donkey from the Darling Donkey stamp set onto the lower right hand corner of the Basic White card using Basic Gray ink. I coloured the donkey using the Smokey Slate and Light Flirty Flamingo Stampin’ Blends.
I love this card. How could you not, with such gorgeous little donkey’s. A big thank you to Try Stampin’ on Tuesday for the inspiration.
Bye for now,
Kris
Product Used:


Sand & Sea
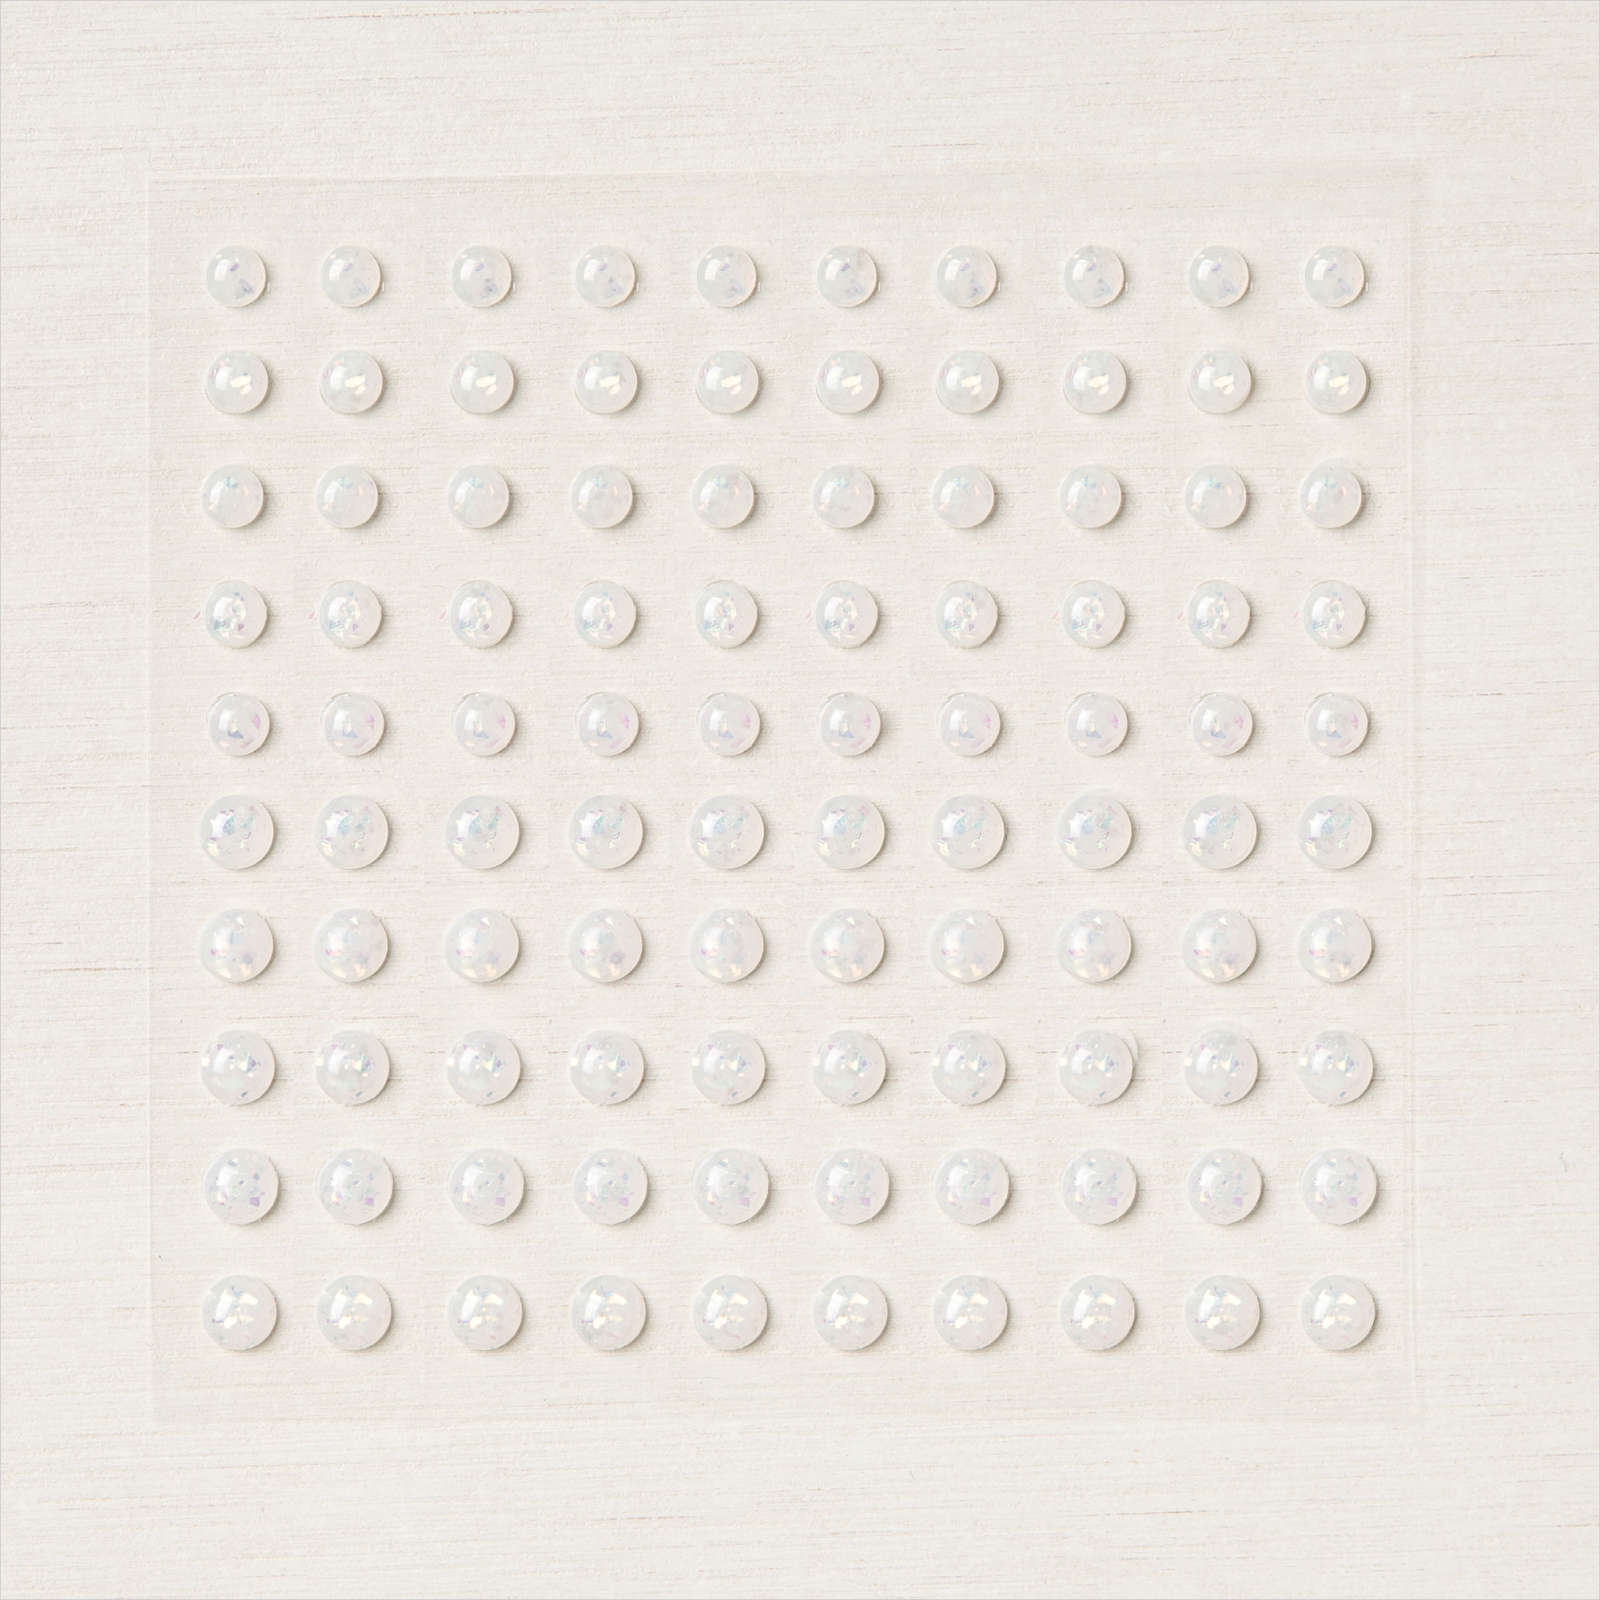
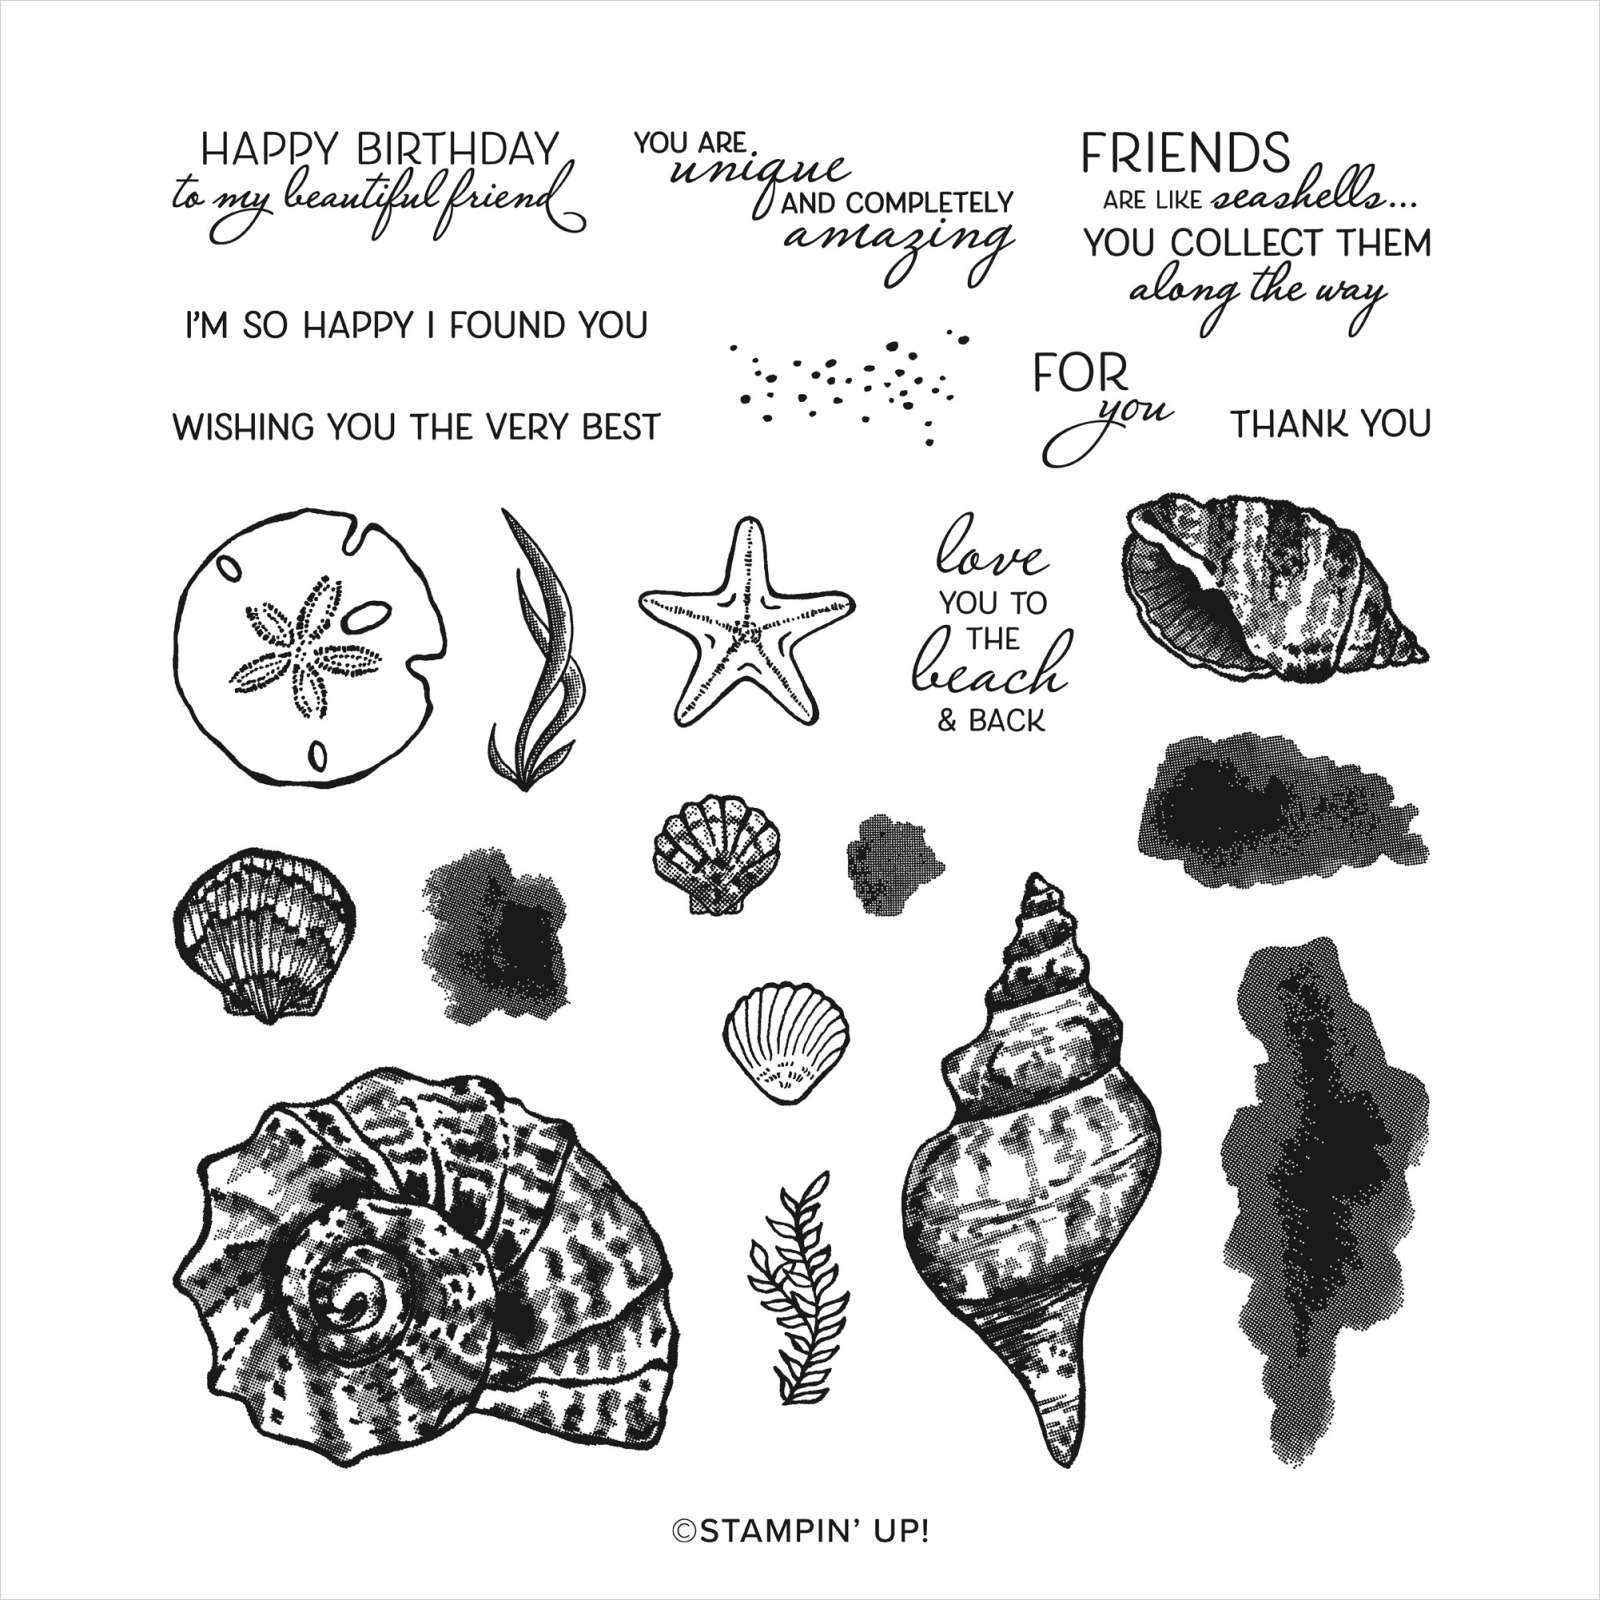
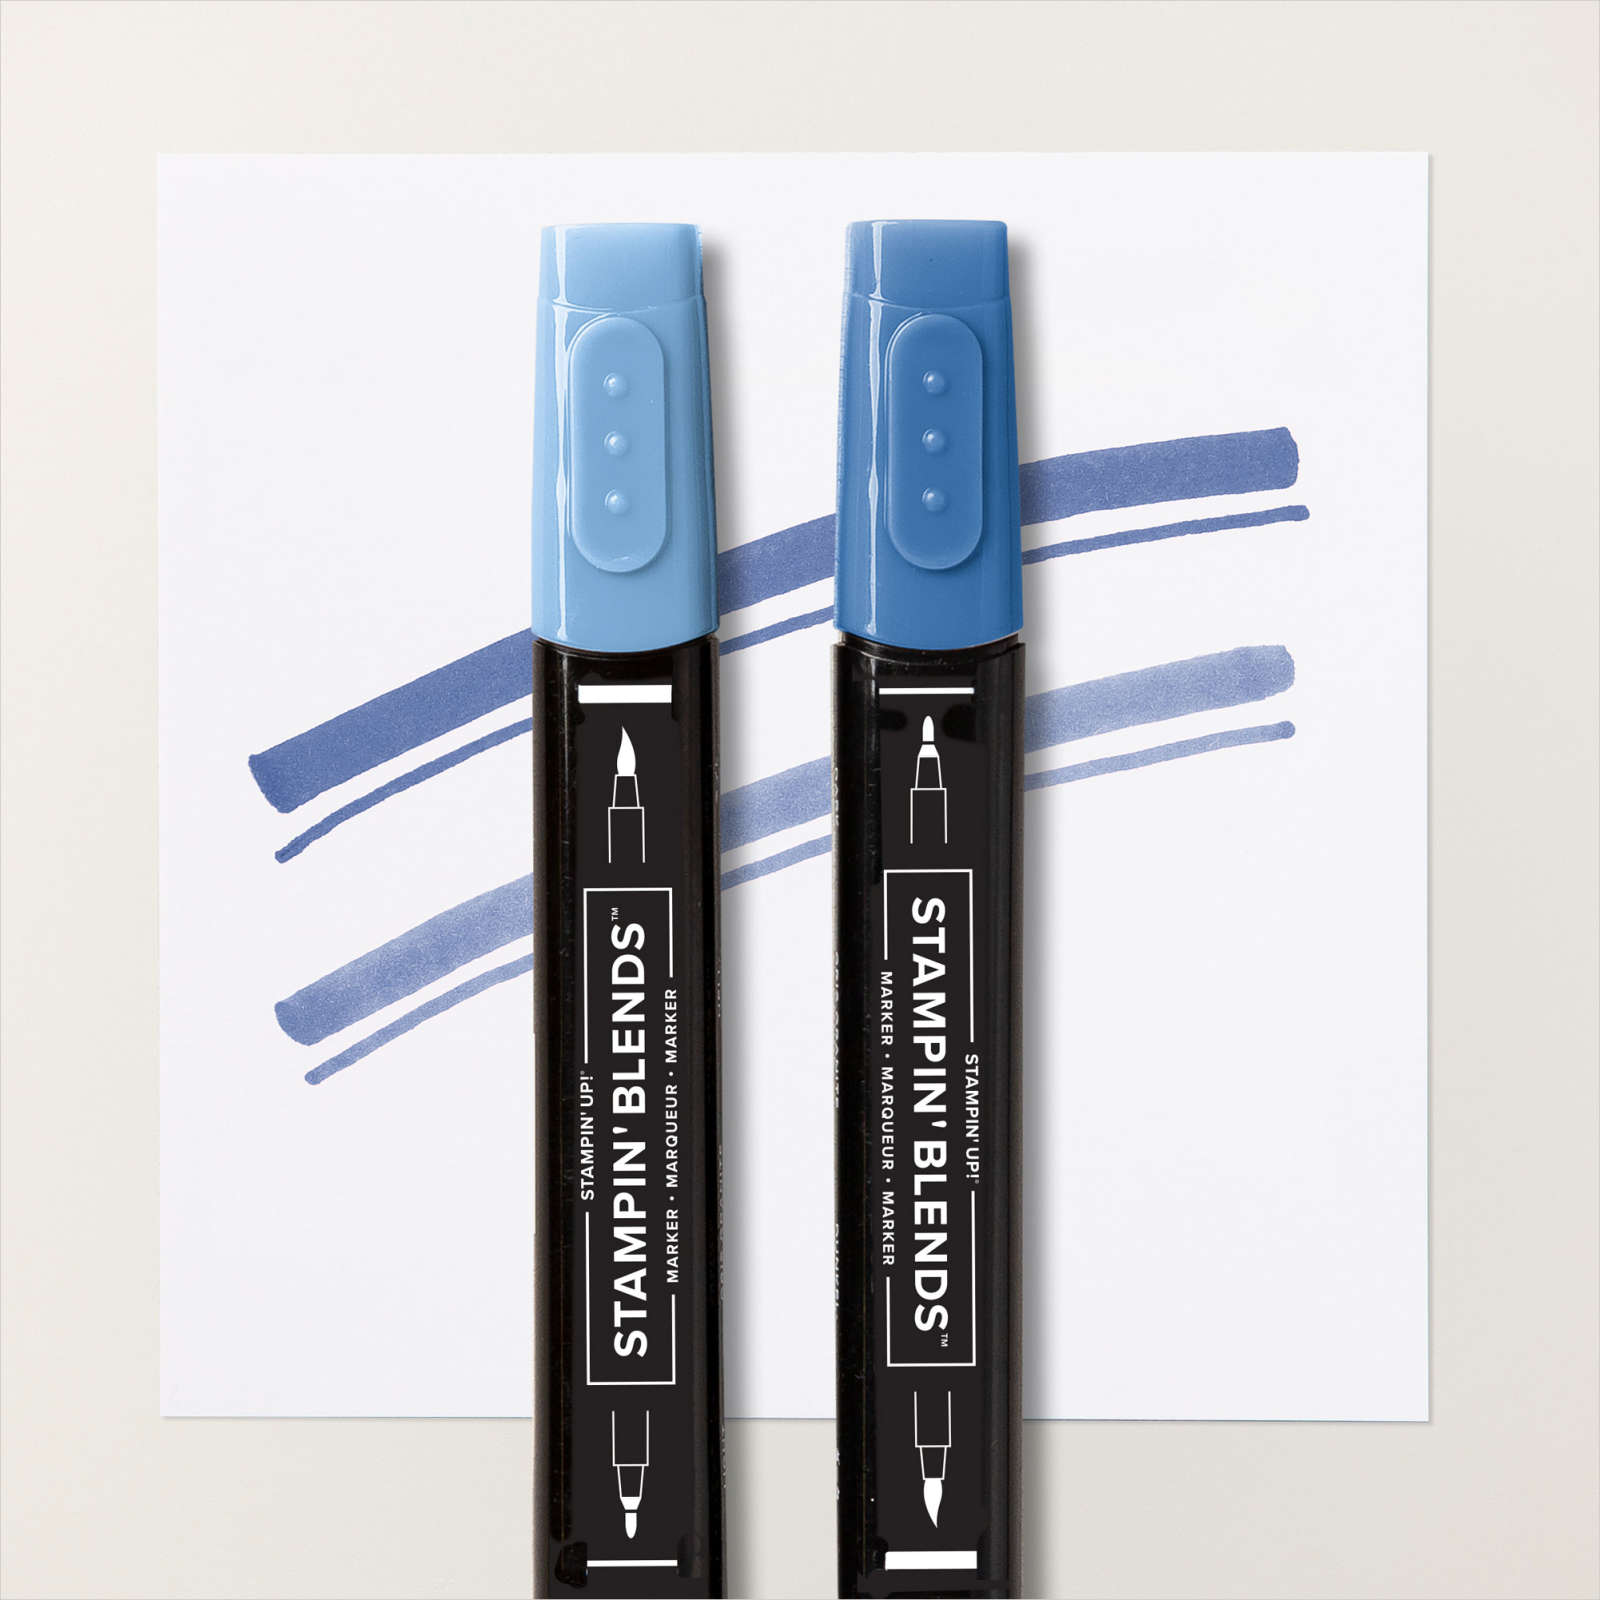
Yesterday on my Facebook Live I shared some of the products from the Sand & Sea Product Suite, which is one of the product suites from the January-June Mini Catalogue. The suite has a stamp set and co-ordinating dies, Designer Series Paper, embossing folder, stickers and beautiful opal rounds. So just a hint yesterday of what you can do this with great product suite. Today I am sharing a set of three cards using this beautiful product suite.
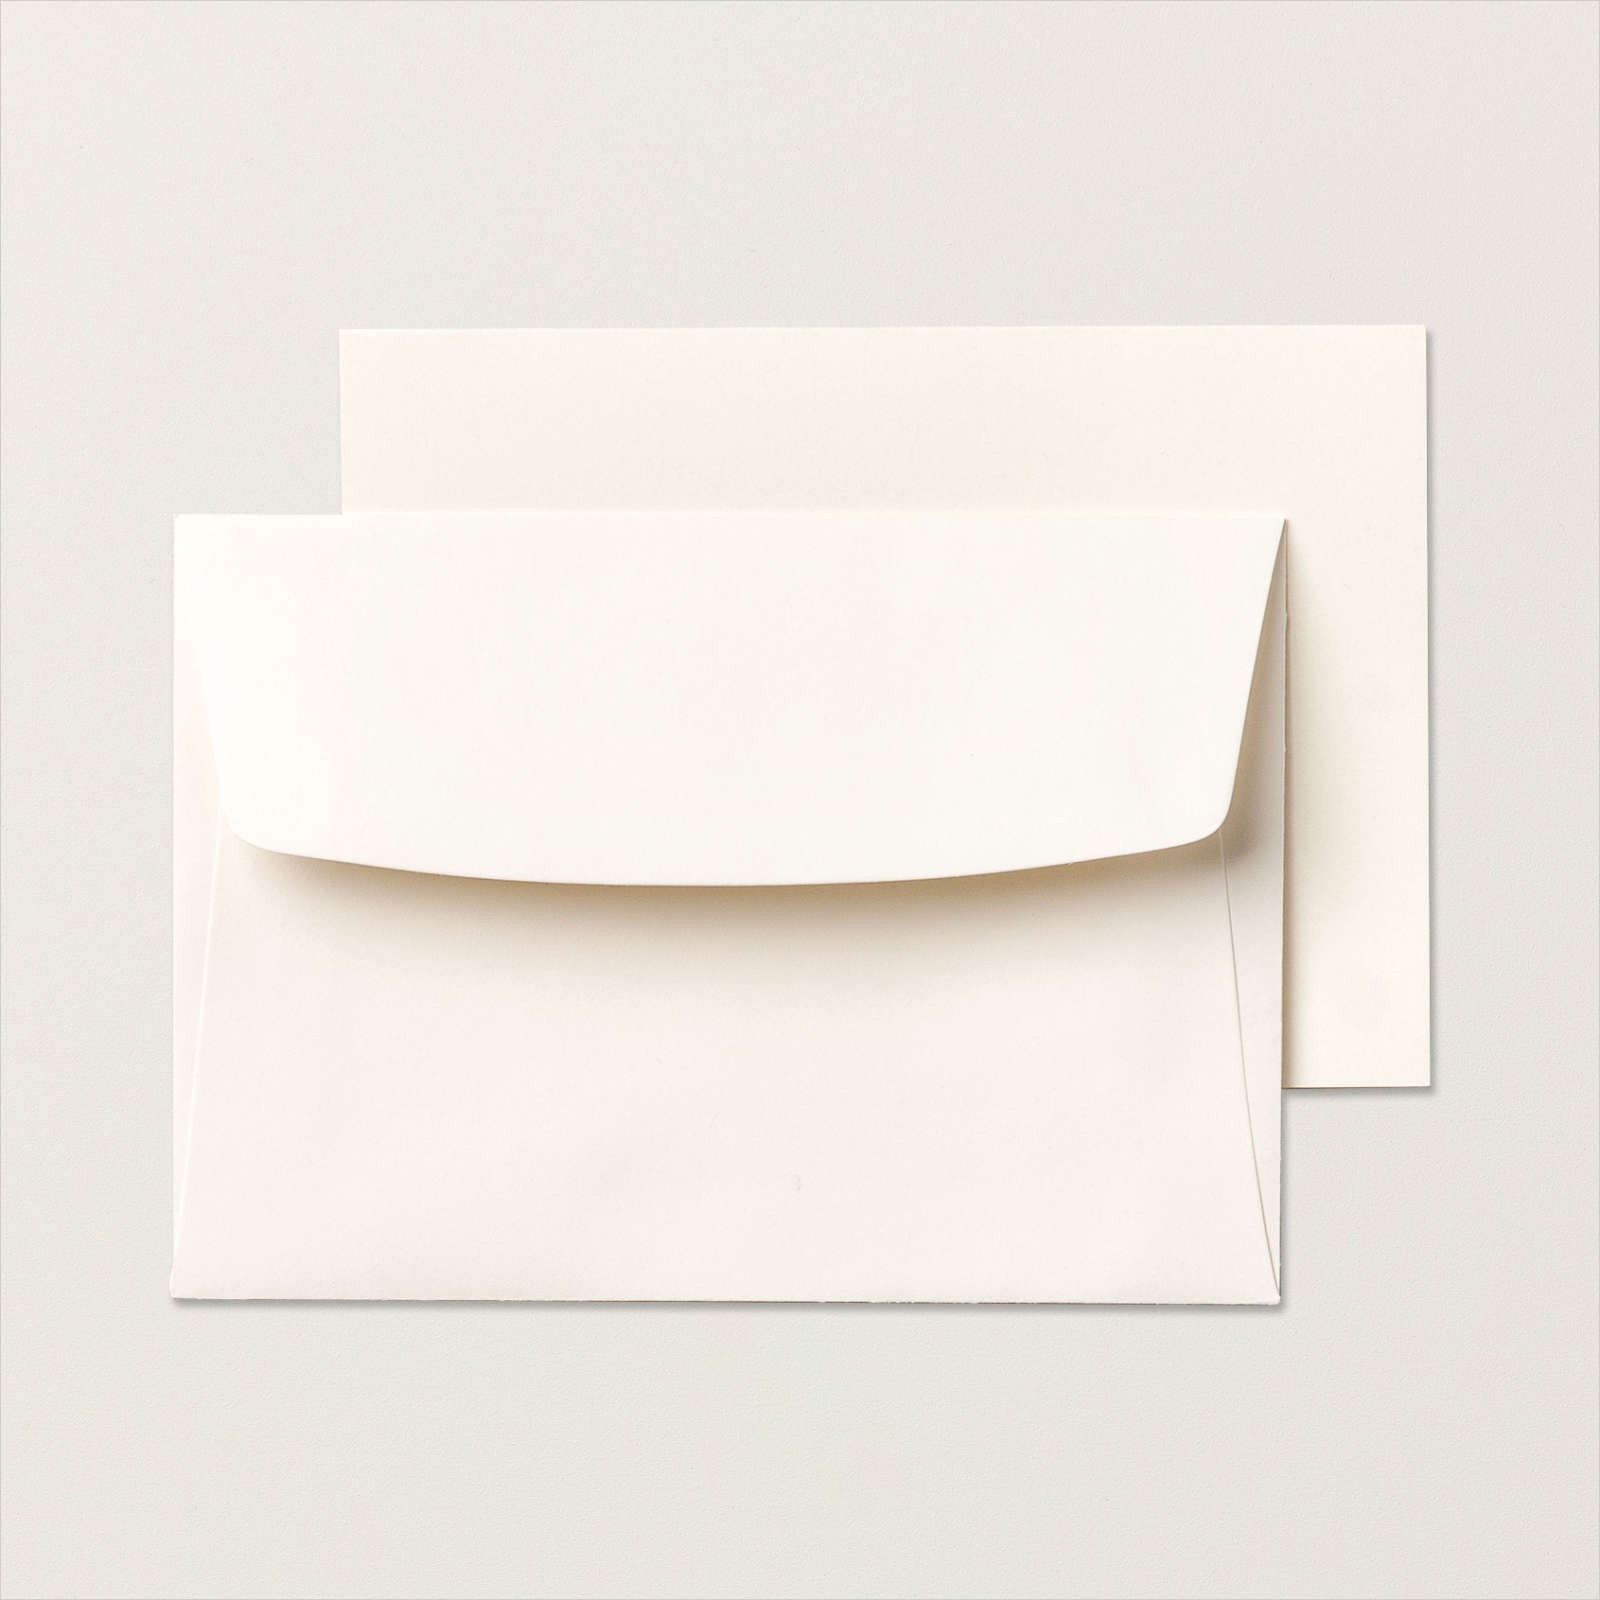
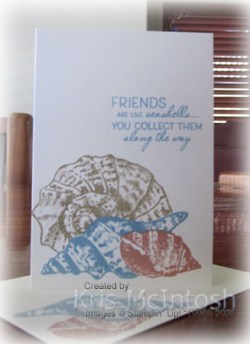
I didn’t share a Note Card yesterday so thought I would share my creation today. I stamped the shell from the Friends are Like Seashells stamp set onto the Note Card using Blushing Bride ink. I masked the image using a post-it-note mask and then stamped the second shell using Seaside Spray ink.

Without removing the first make, I masked the second shell using a post-it-note mask and then stamped the largest seashell from the Friends are Like Seashells stamp set using Sahara Sand ink and removed the two masks. I stamped the greeting from the Friends are Like Seashells stamp set using Seaside Spray ink.

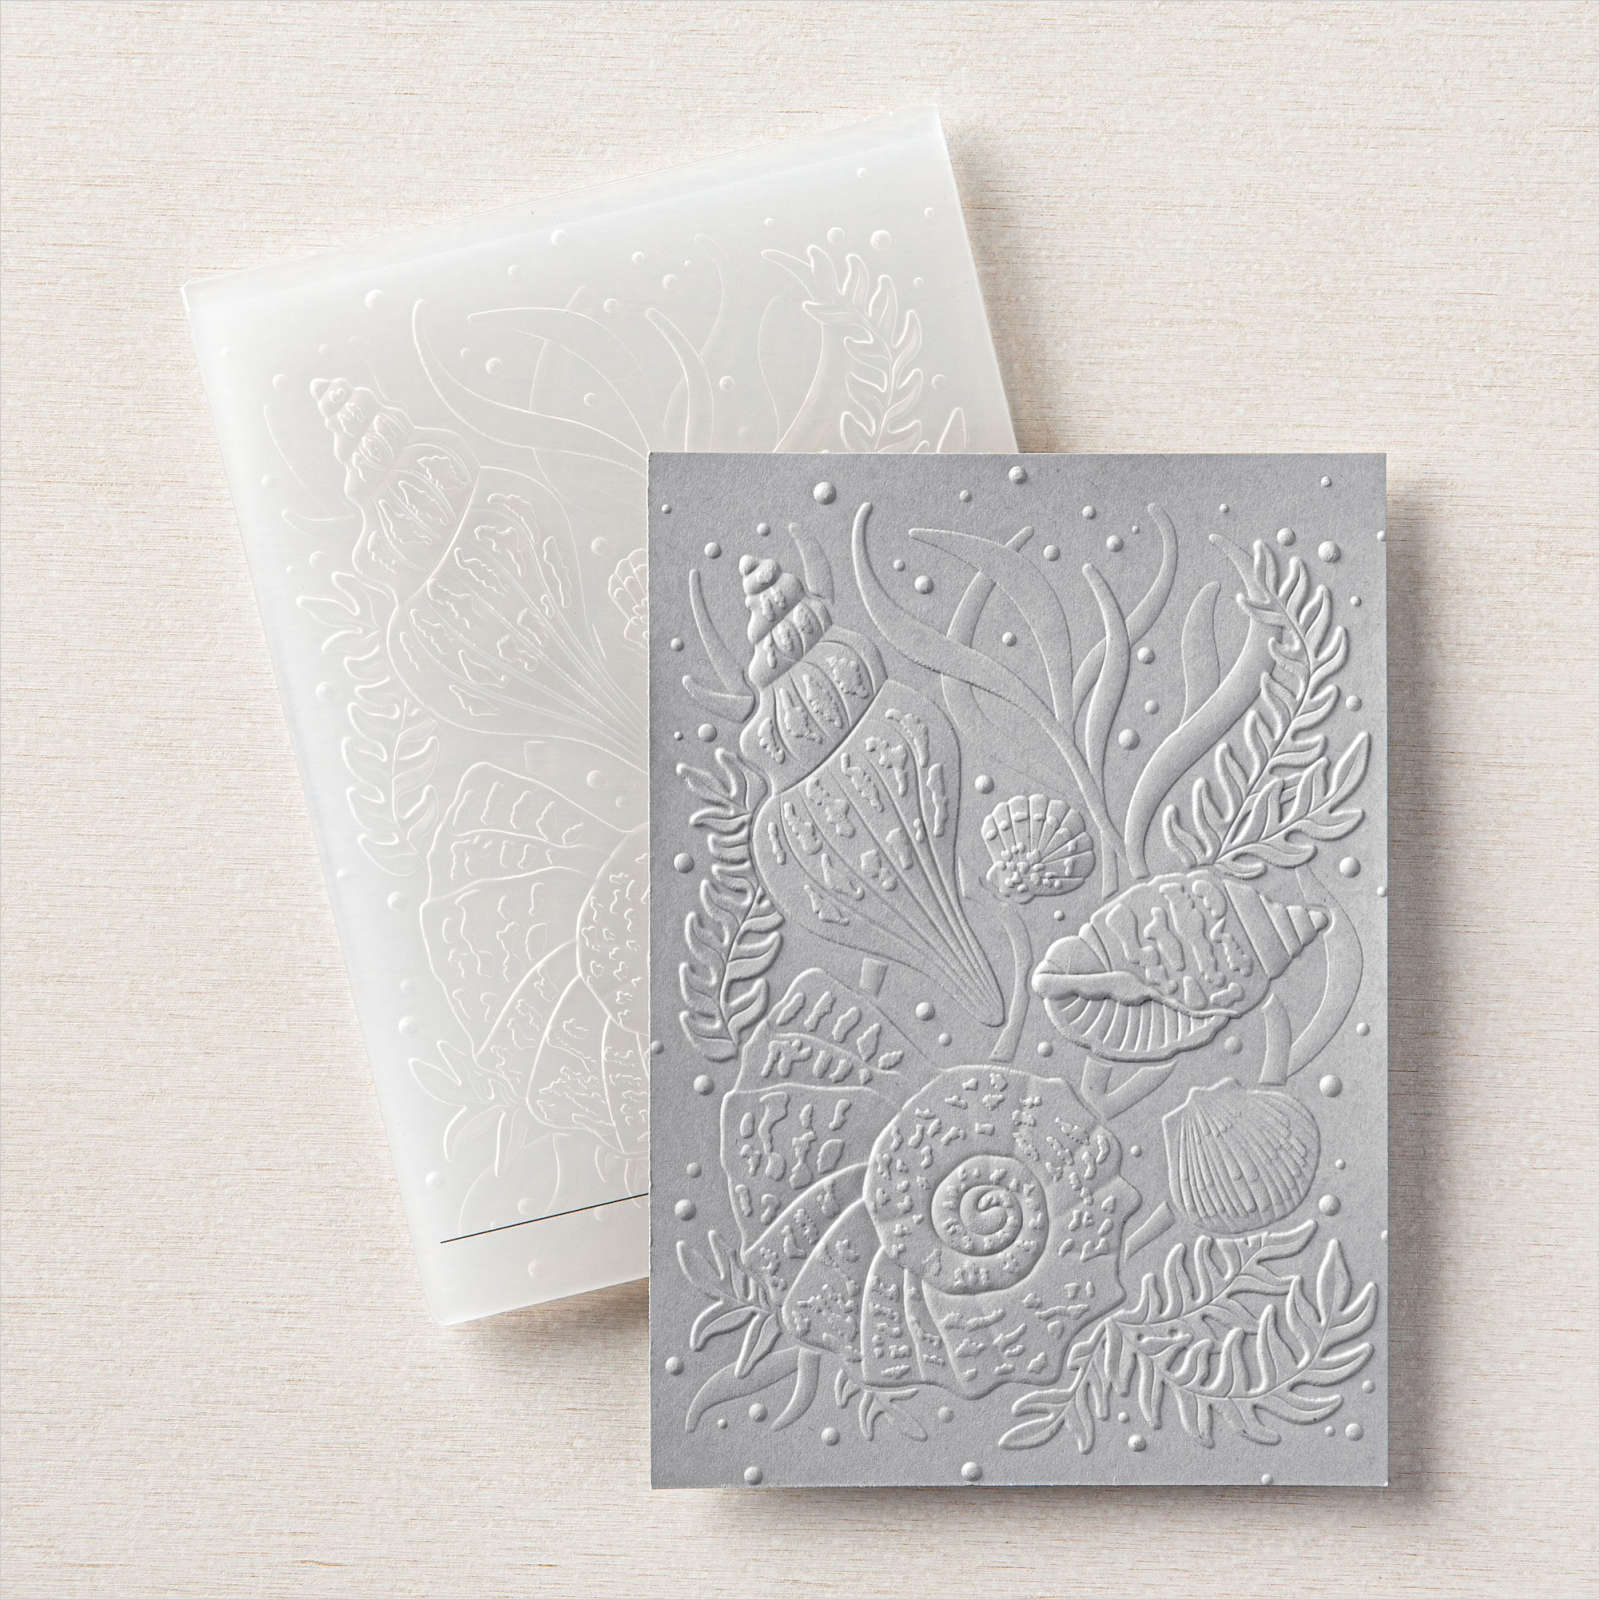
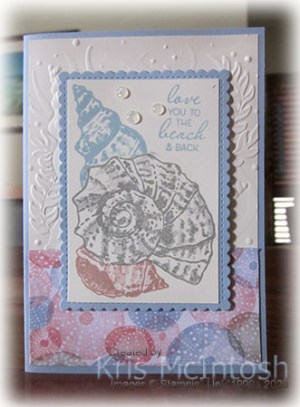
I also decorated the envelope using the two smaller shells, this time stamping the Seaside Spray shell first. For the second card I embossed Very Vanilla card using the Seashells 3D Embossing Folder and attached a piece of the Sand & Sea Designer Series Paper across the bottom. The whole panel is attached to scored and folded Seaside Spray card. I stamped the largest seashell from the Friends are like Seashells stamp set onto Very Vanilla card using Sahara Sand ink.

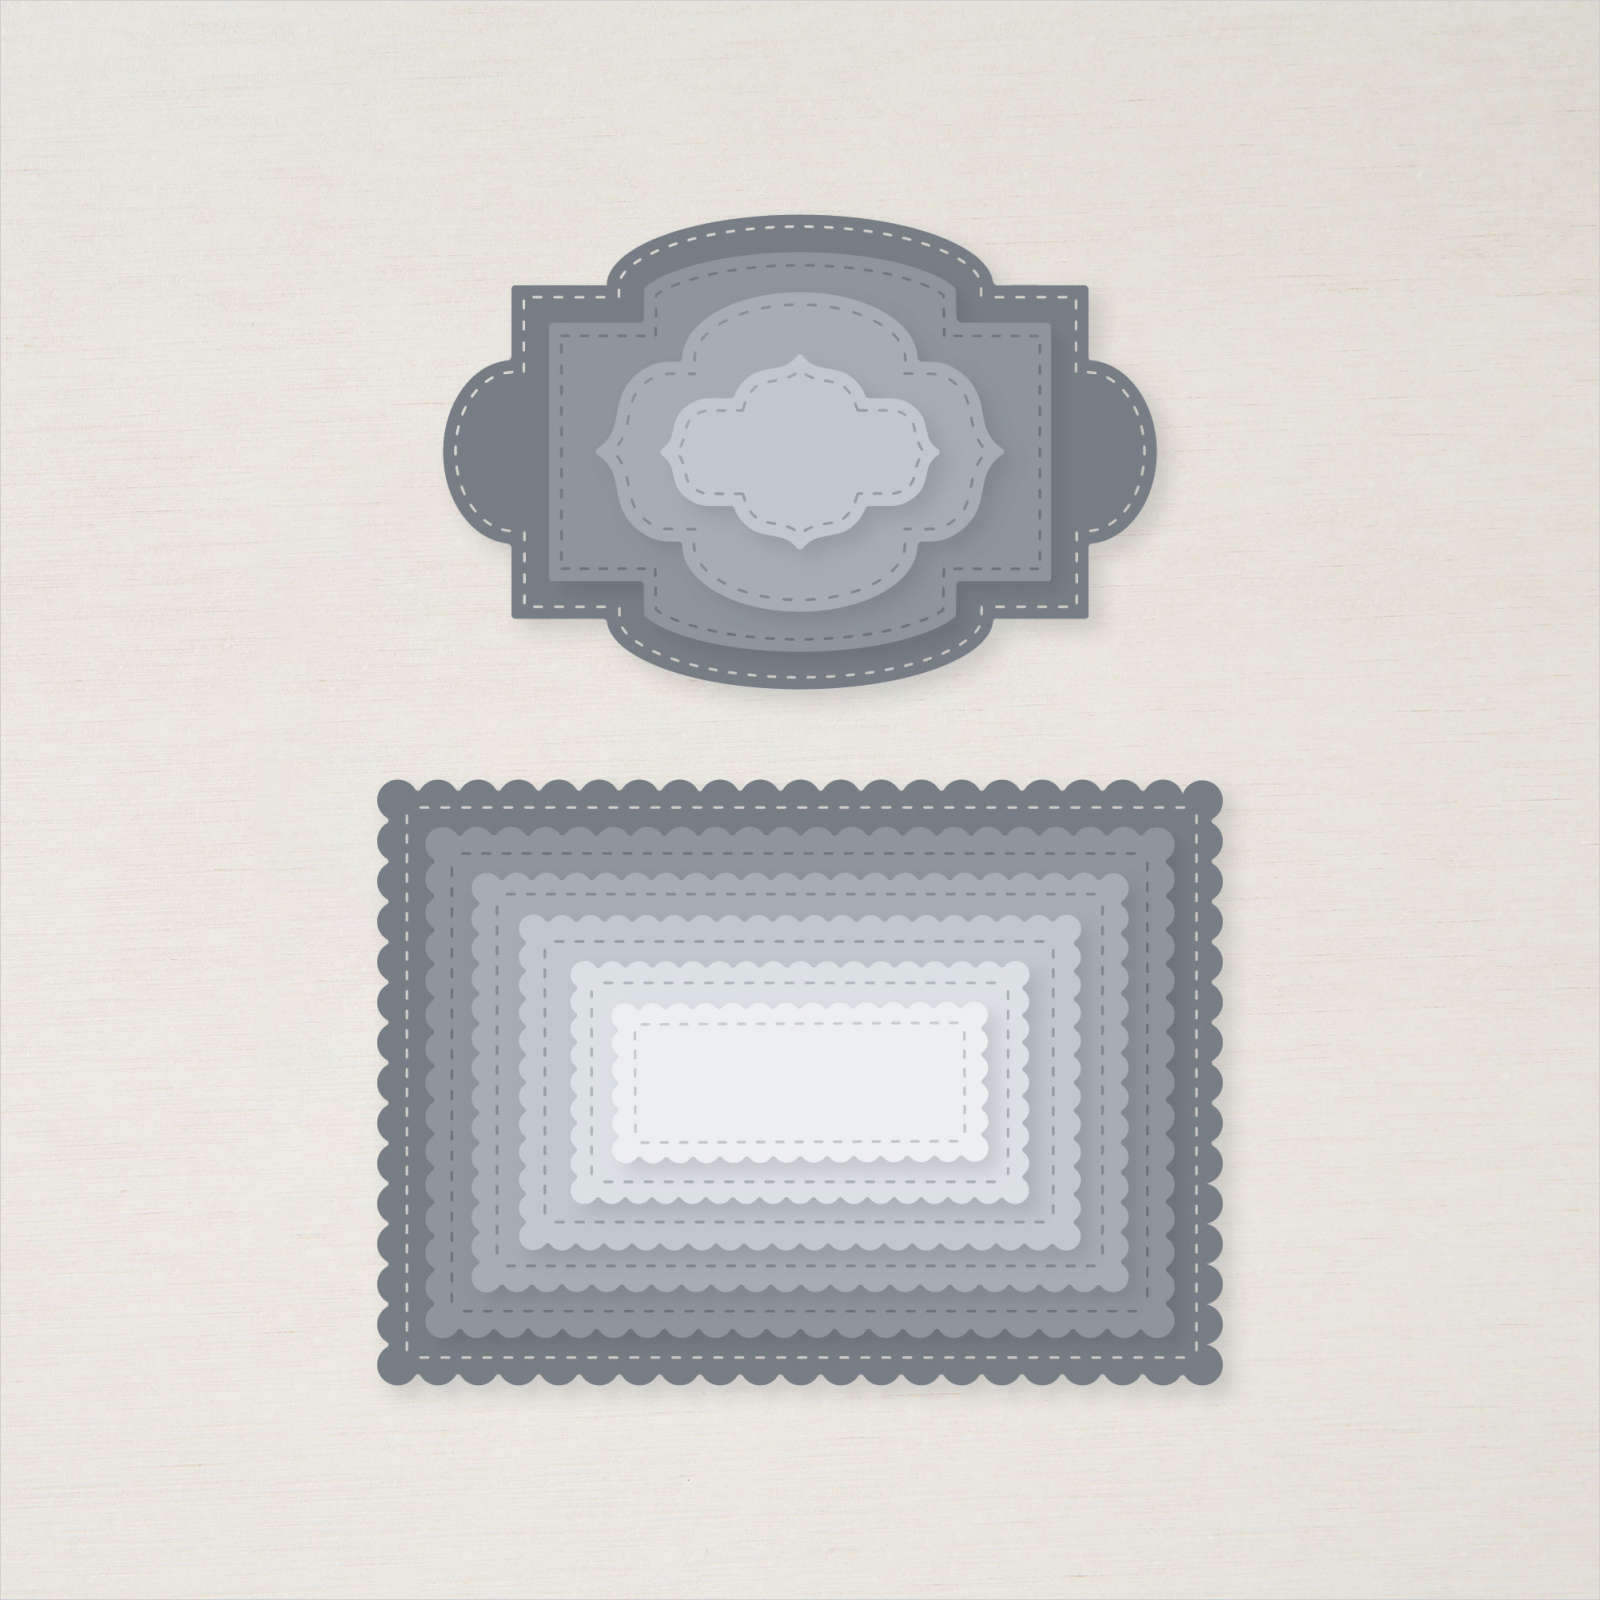
I cut a mask from a post-it-note and covered the stamped seashell before stamping a smaller seashell using Flirty Flamingo ink. With the mask still in place, I stamped another seashell from the Friends Are Like Seashells stamp set using Seaside Spray ink. I removed the post-it-note mask and stamped the greeting from the Friends Are Like Seashells stamp set using Seaside Spray ink. I attached the stamped Very Vanilla card to a Seaside Spray scalloped rectangle cut using the Stitched So Sweetly Dies.
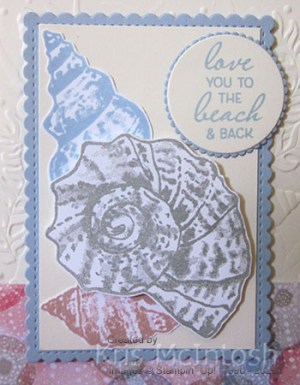
The image panel is attached to the card front using dimensionals. To finish off the card front I added 3 Opal Rounds to the image panel. To decorate the inside of the card, I stamped the seashell image from the Friends Are Like Seashells stamp set onto the left hand corner of Very Vanilla card using Seaside Spray ink. For the last card, I basically created the same card, but this time, embossing Very Vanilla card, adding the Sand & Sea Designer Series Paper and attaching to a card base of Seaside Spray.

The image panel is slightly different. This time I stamped the shell images onto Very Vanilla card using the same inks and cut them out using the Seaside Seashells Dies. I attached the two smaller shells flat to the Very Vanilla card and the large shell is added using dimensionals. The Very Vanilla card is attached to the Seaside Spray stitched rectangle cut using the Stitched So Sweetly Dies and then the card front using dimensionals. I stamped the greeting from the Friends are Like Seashells stamp set onto Very Vanilla card using Seaside Spray ink. I cut out the greeting using the Layering Circle Dies. I cut Seaside Spray card using a scalloped circle from the Layering Circles Dies and attached the greeting. The greeting is attached to the card front using mini dimensionals where necessary.
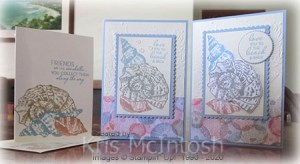
I think they all look lovely, don’t you? This is going to be such a fun product suite to work with and I just know you are going to love it.
Bye for now,
Kris
Product Used: