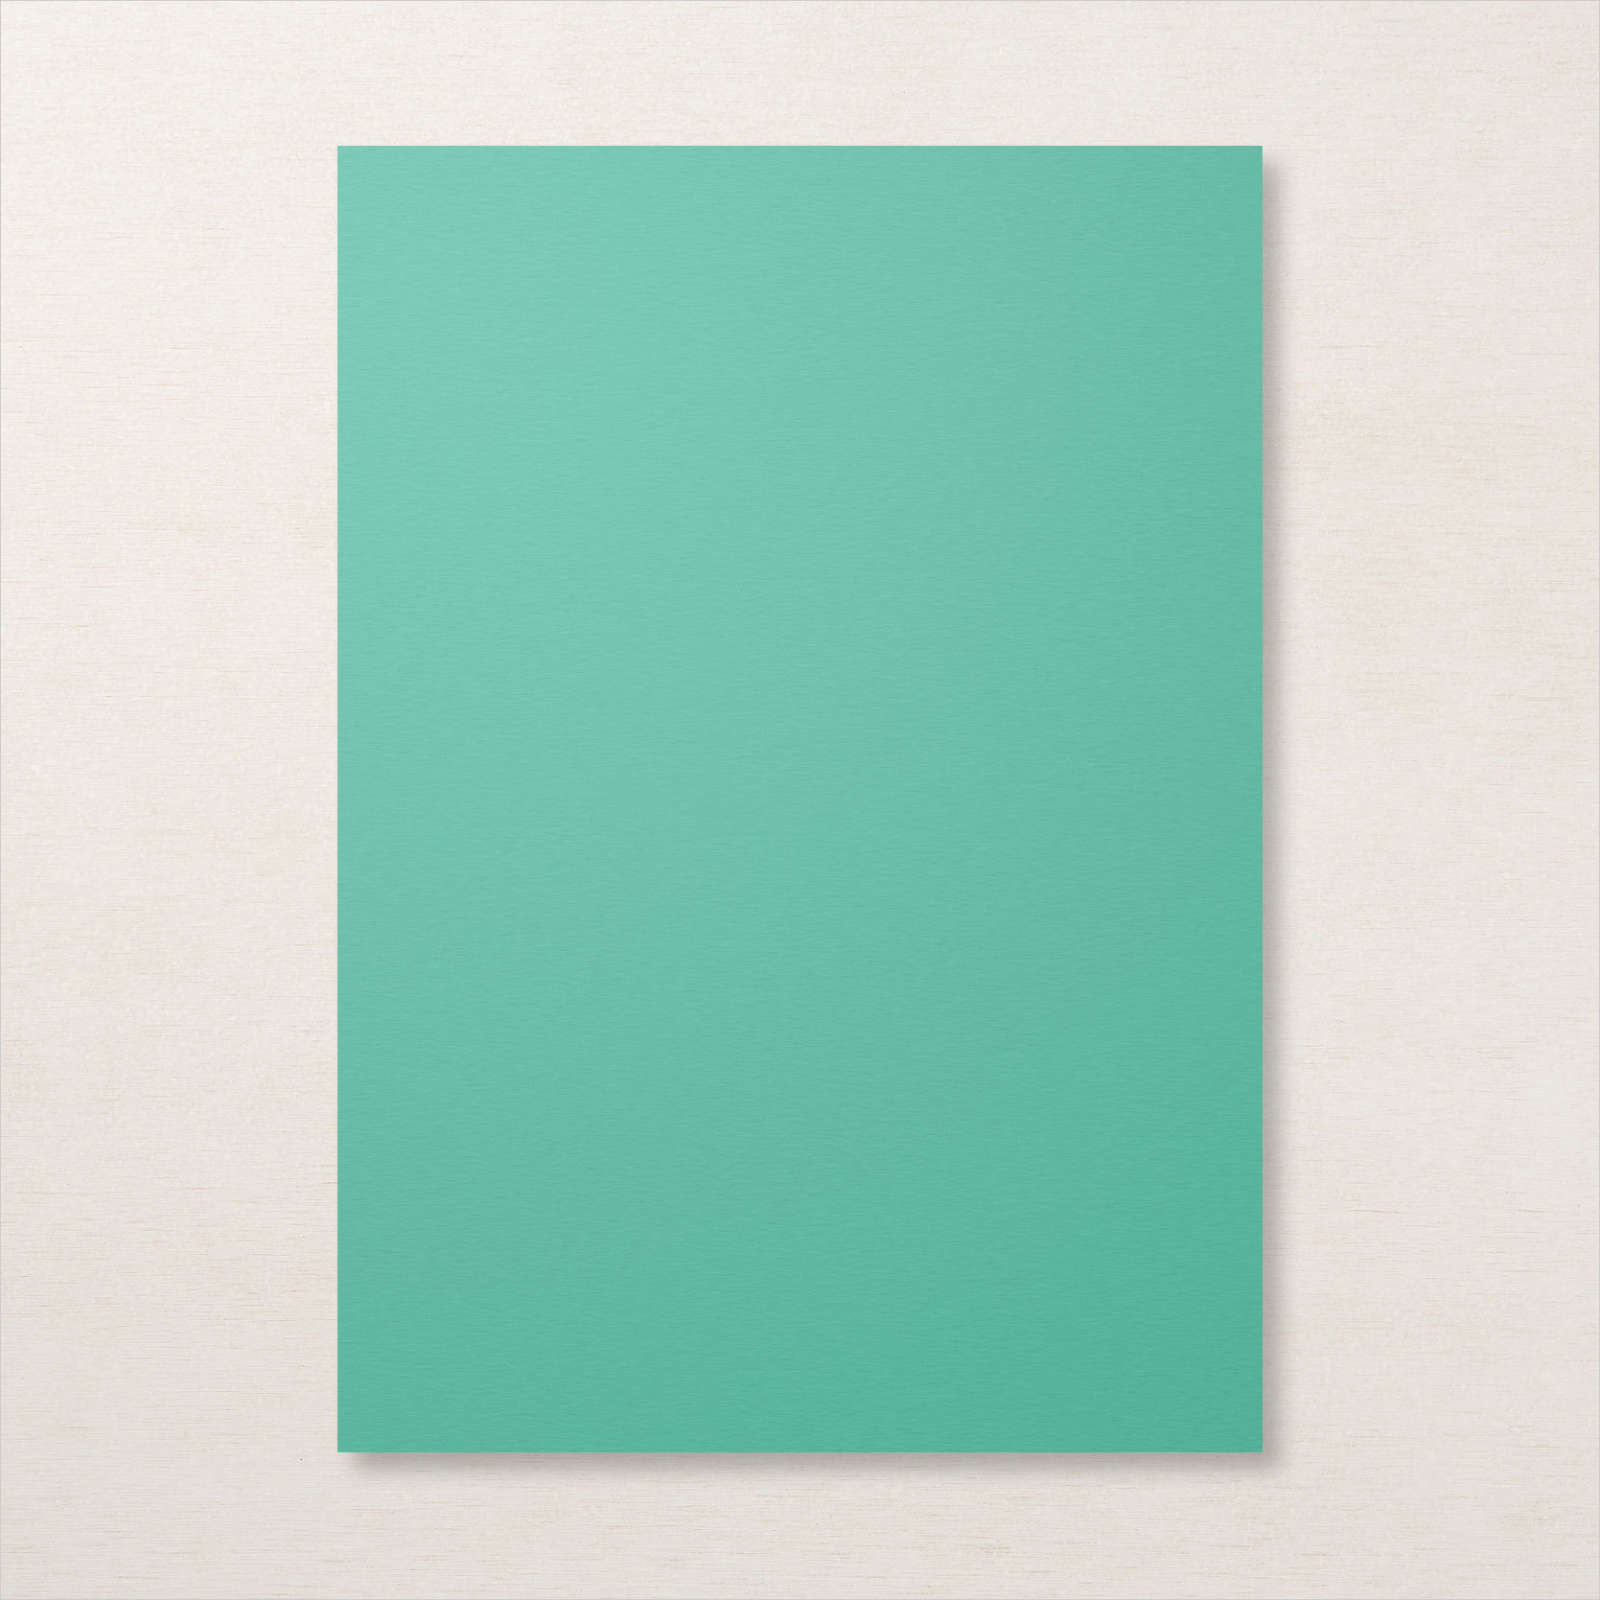
New In-Colours
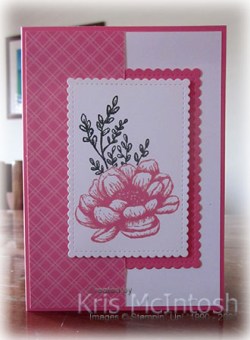
Today I have a set of cards to share with you using all of the new in-colours. These pretty new in-colours are available to purchase from today with the launch of the new annual catalogue. Yay! I have used the ink paper and Designer Series Paper on each card. I will do the step by step for the card using Polished Pink so you get the idea. Unfortunately my ribbon hadn’t arrived, so I will have to share that at a later time. I cut Polished Pink card using the largest rectangle from the stitched So Sweetly Dies and attached it to Basic White card.
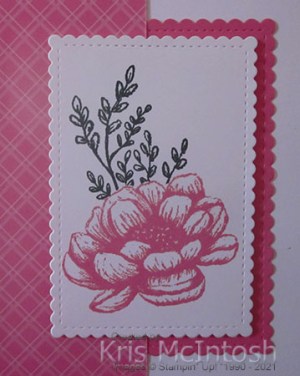
I cut a piece of one of the Polished Pink patterns from the 2021-2023 In-Colour 6″ x 6″ Designer Series Paper and attached it down the left hand side of the Basic White card, partially covering the die cut. The panel is attached to scored and folded Polished Pink card.

I cut Basic White card using the 2nd largest rectangle from the Stitched So Sweetly dies. I stamped the flower from the Tasteful Touches stamp set onto the Basic White die cut using Polished Pink ink. I covered the flower with a post-it-note mask and stamped the leaf image from the Tasteful Touches stamp set using Evening Evergreen ink. I removed the post-it-note mask and attached the panel to the card front using dimensionals. To decorate the inside of the card, I stamped the greeting from the Tasteful Touches stamp set using Polished Pink ink. I stamped the flower next to the greeting using the same ink. To decorate the inside of the cards using Soft Succulent and Evening Evergreen card bases, I stamped the greeting in the co-ordinating green ink. For the Soft Succulent card base, I stamped the flower using Pale Papaya ink and for the Evening Evergreen card, I stamped the flower using Fresh Freesia ink. I love the names of the new in-colours don’t you.

So what do you think of my set of cards, I think they are really pretty.
Bye for now,
Kris
Product Used:

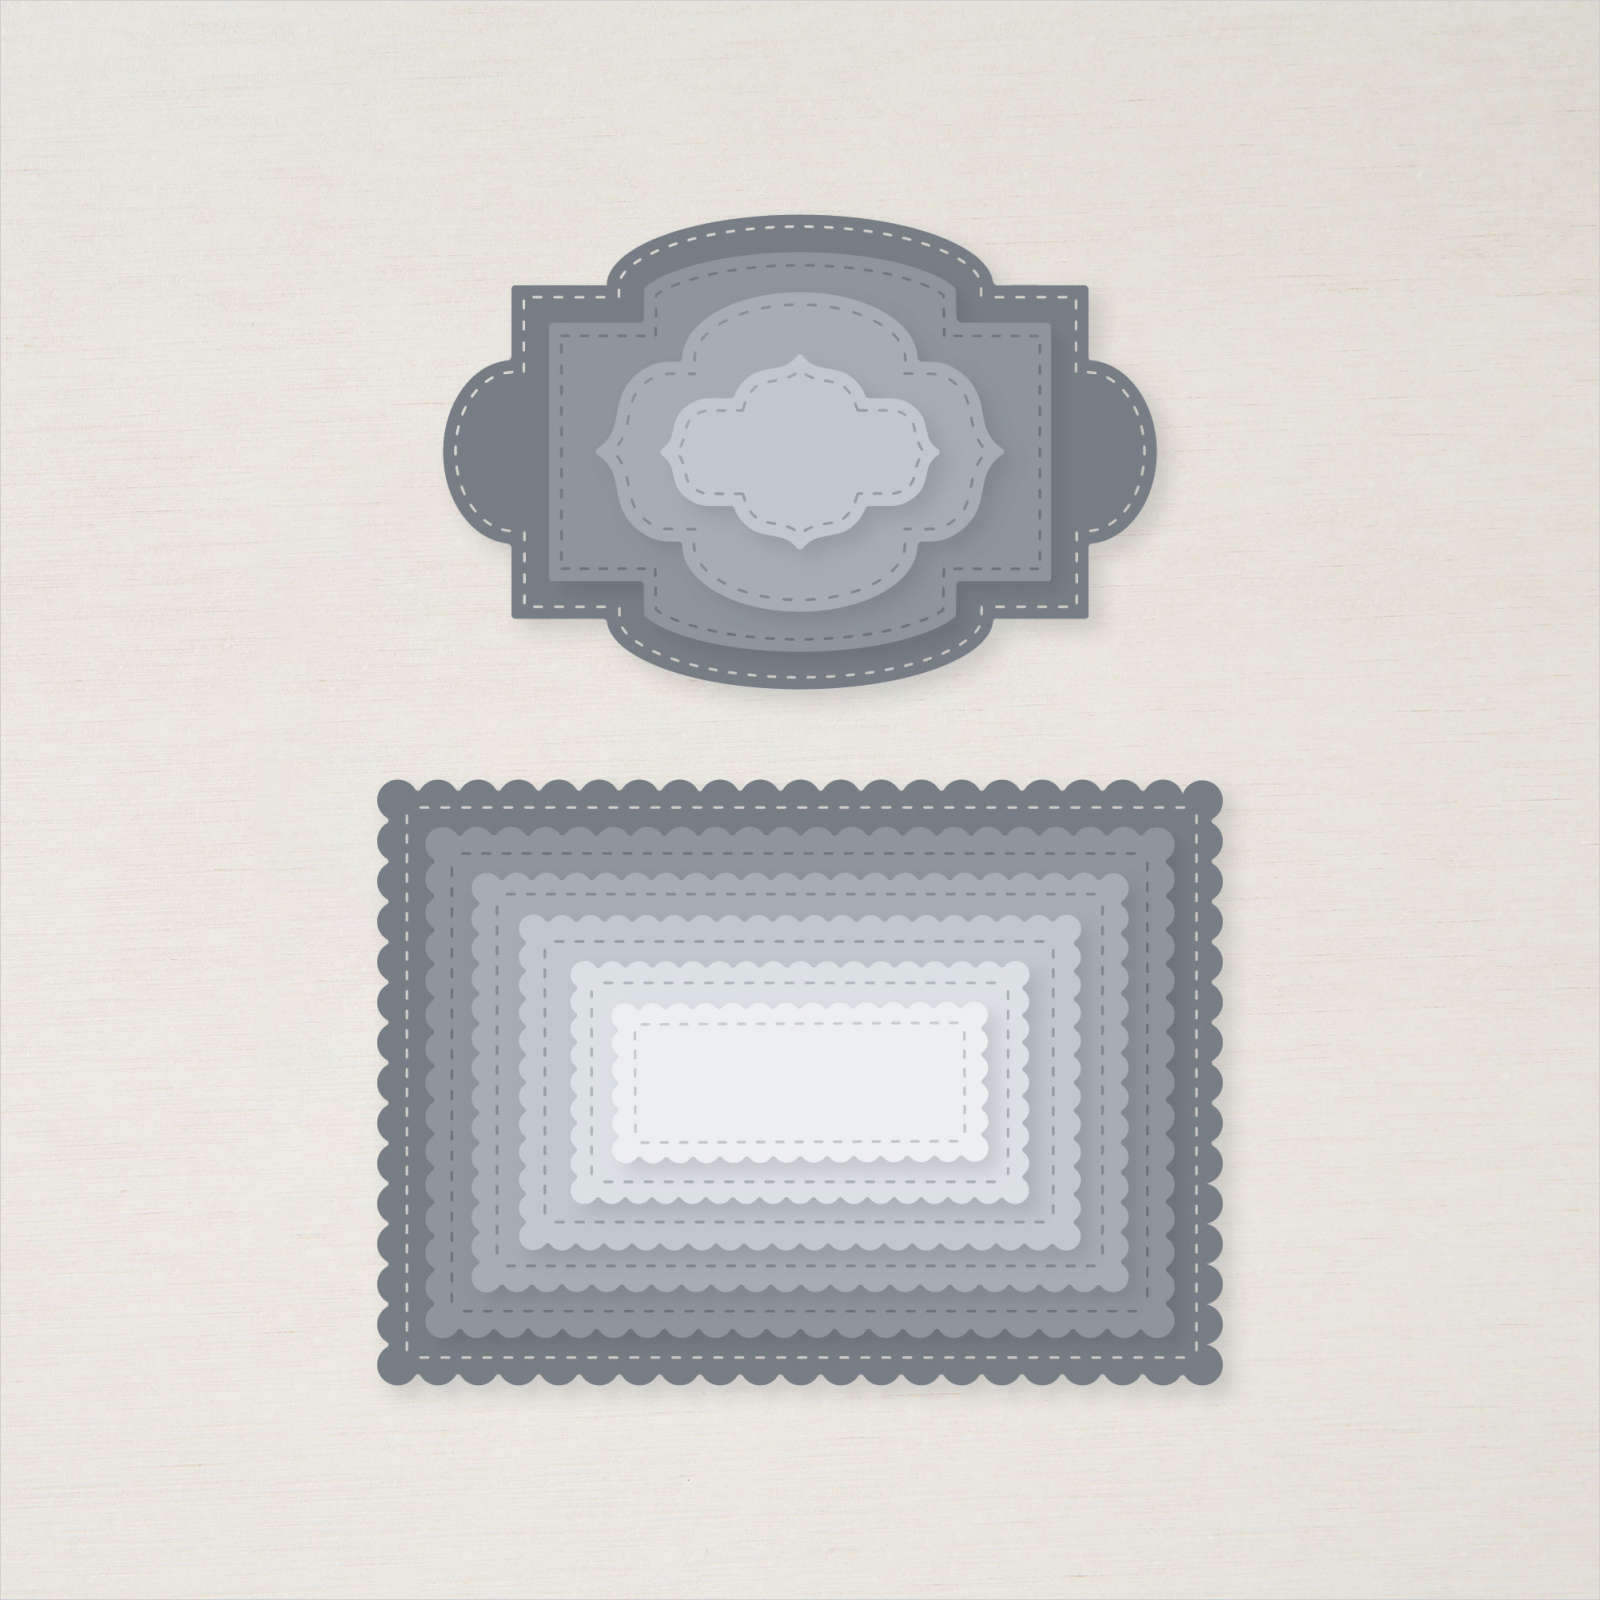
Party Puffins
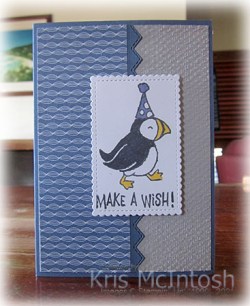
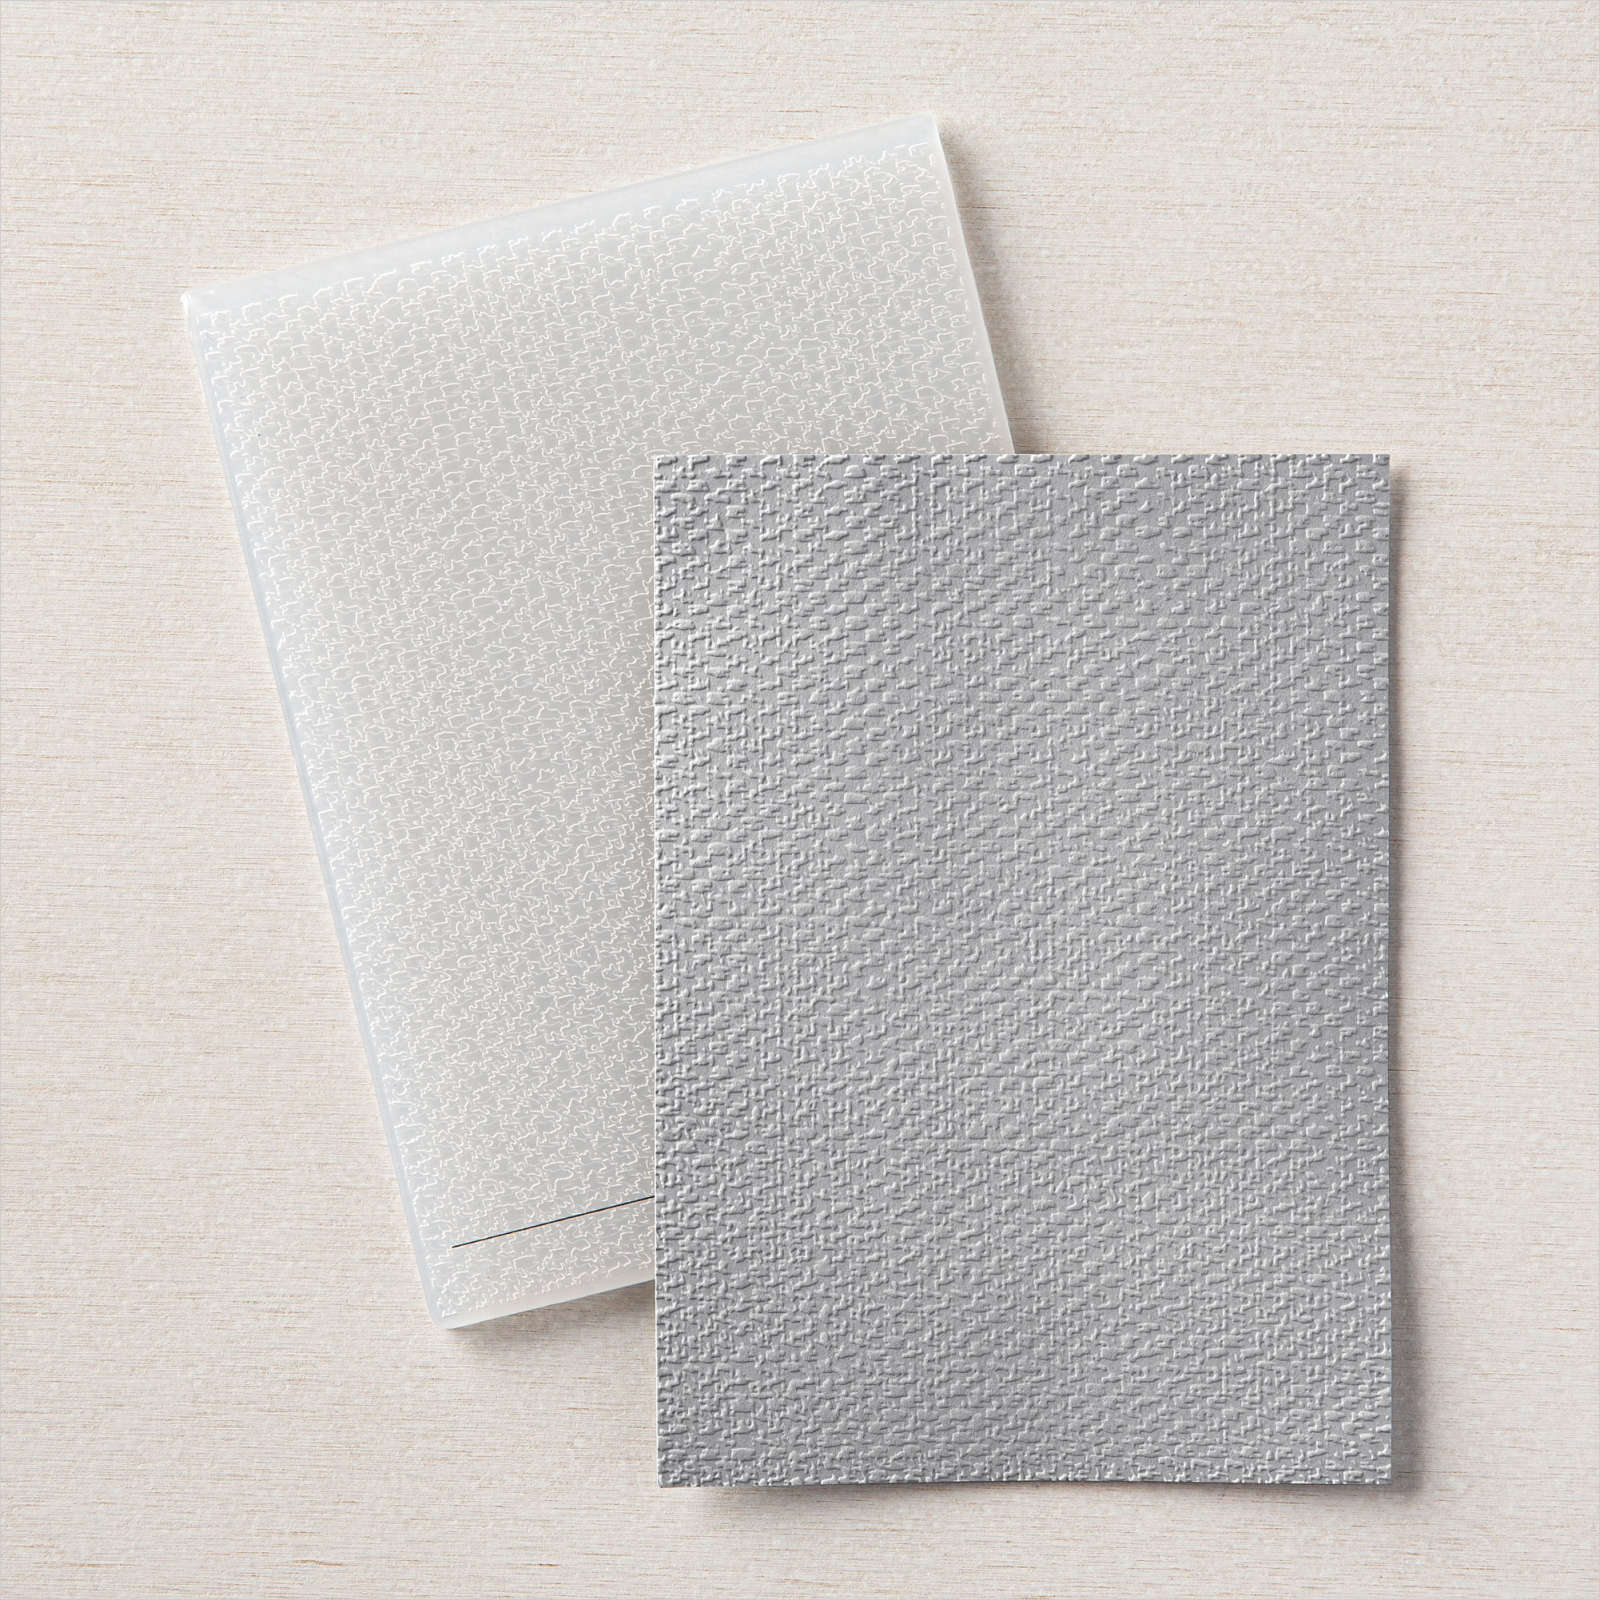
is a new and very cute stamp set in the new Annual Catalogue. This was one of the first items I ordered and I love it. I began creating my card by embossing Smoky Slate card using the Tasteful Textile Embossing Folder. I cut a strip of Misty Moonlight in half using a die from the Basic Borders Dies. The Basic Borders Dies are another new item in this year’s Annual Catalogue. There are six different borders all beautiful, all stitched on both cut edges, amazing! I attached one half behind one long edge of a piece of Dandy Garden 6″ x 6″ Designer Series Paper. I attached the panel to the left hand side of the embossed card and then scored and folded Misty Moonlight card.
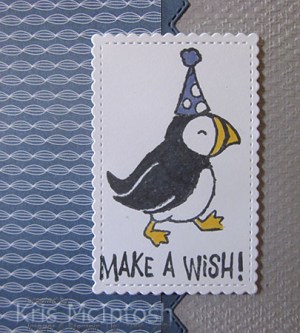
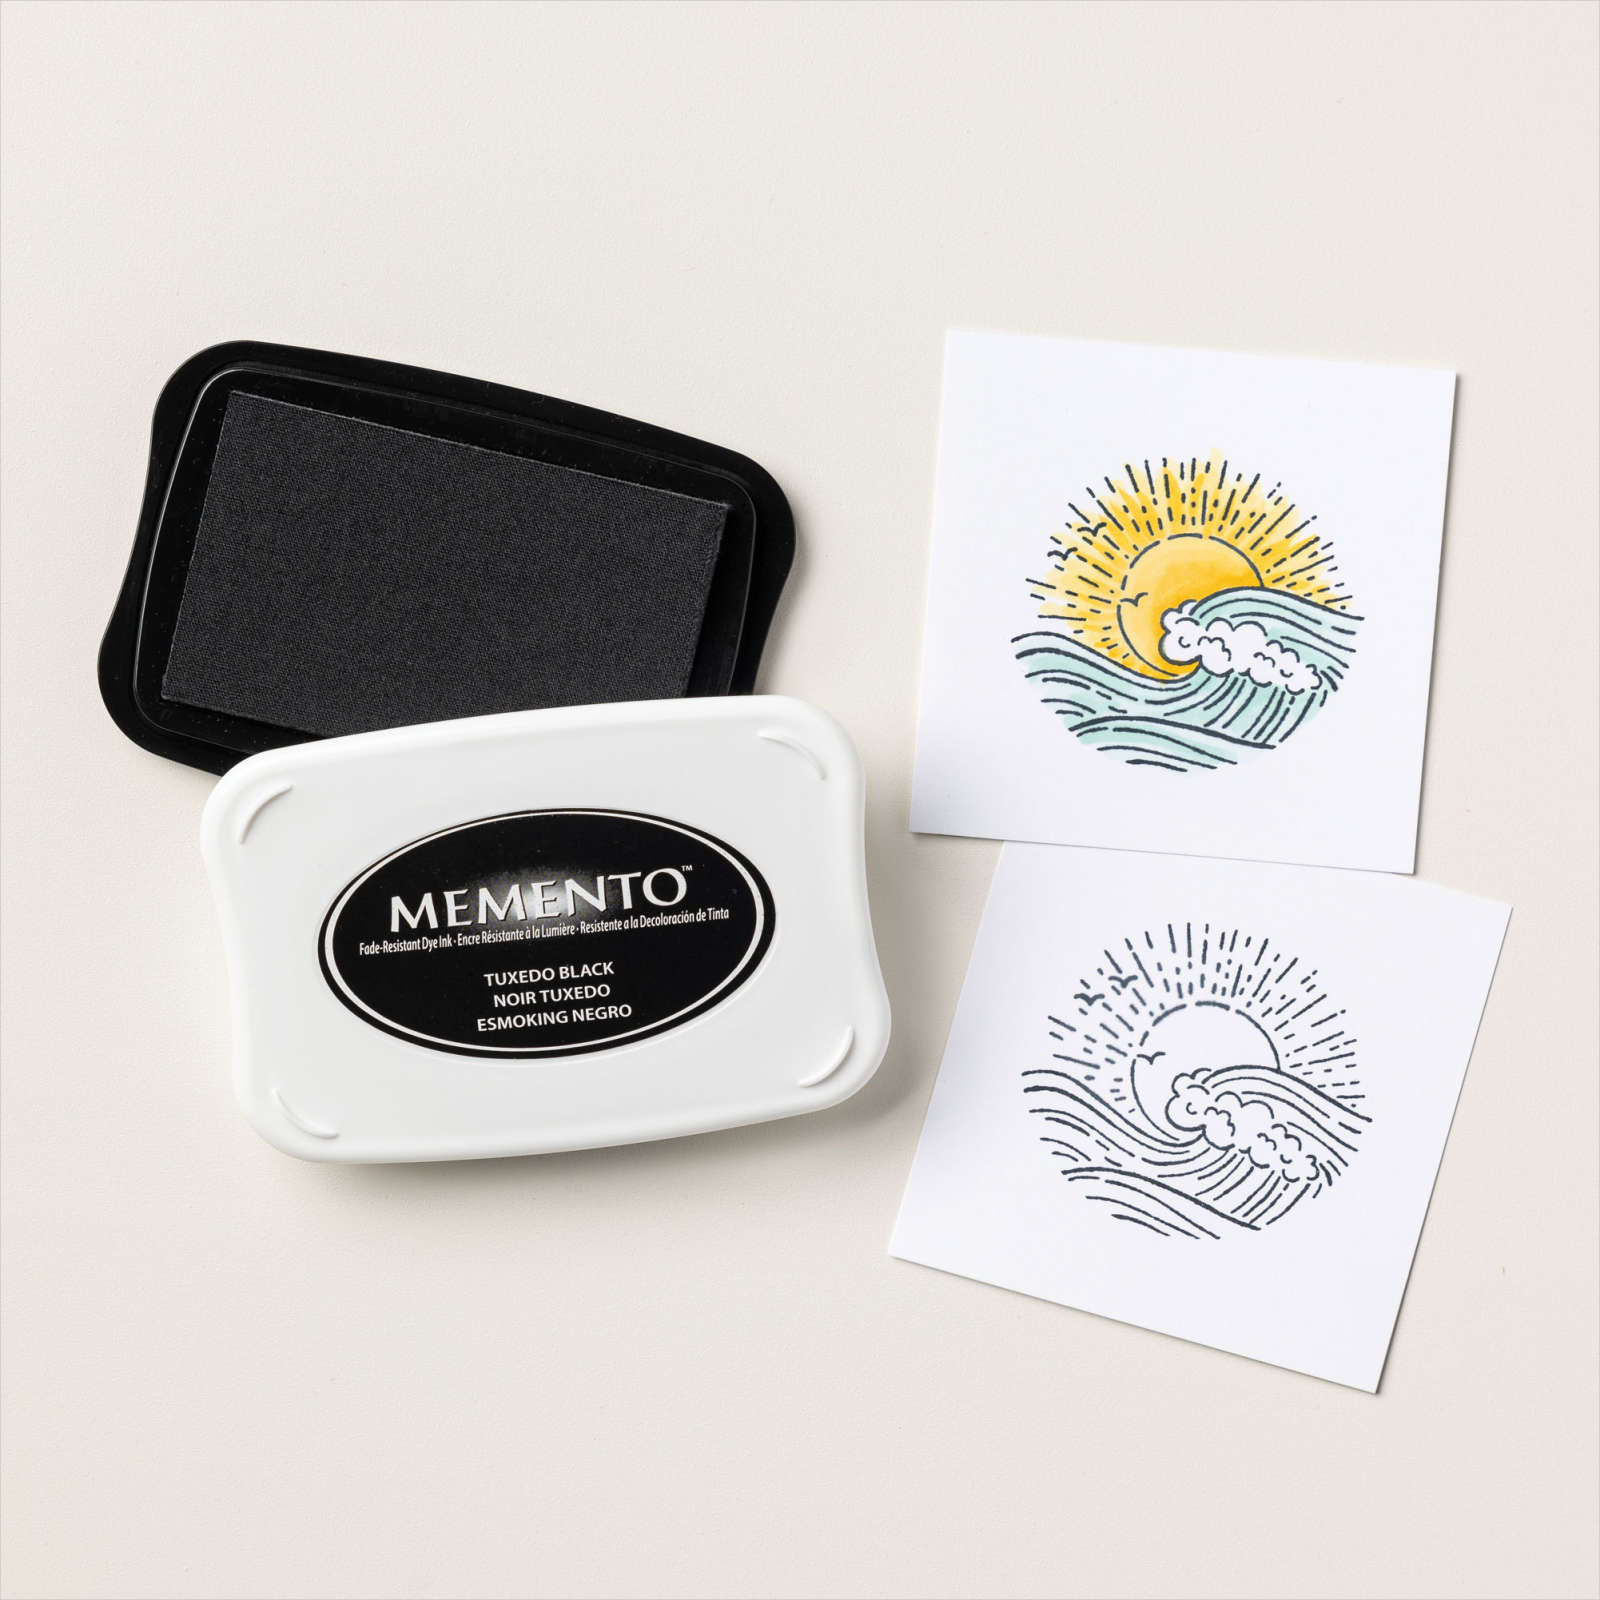
I cut Basic White card using one of the Stitched So Sweetly Dies. I stamped the puffin image from the Party Puffins stamp set onto the die cut using Memento Tuxedo Black ink. I stamped “make a wish” from the same stamp set below the puffin image also using Memento Tuxedo Black ink.
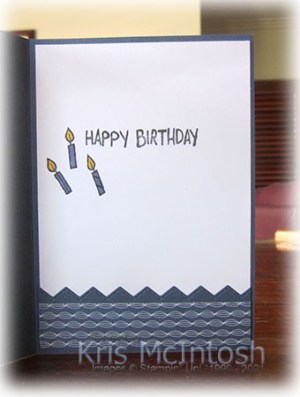
I coloured the beak and the feet of the party puffin using the Dark Daffodil Delight Stampin’ Blend. I coloured the hat using the Light Misty Moonlight Stampin’ Blend before attaching the image panel to the card front using dimensionals. To decorate the inside of the card, I stamped “happy birthday” from the Party Puffin stamp set onto Basic White card using Memento Tuxedo Black ink. I stamped the candle image from the Party Puffin stamp set next to the greeting also using Memento Tuxedo Black ink. I coloured the candles using the Dark Daffodil Delight and Light Misty Moonlight Stampin’ Blends. I attached the other half of the border cut from Misty Moonlight card using the Basic Borders Dies behind one long edge of a piece of the same pattern Dandy Garden Designer Series Paper. The designer series paper panel is attached across the bottom of the stamped Basic White card.
It’s such an amazing thing to get your hands on a new stamp set and start exploring the possibilities before the catalogue becomes available to everyone. It’s one of the things I love about being a demonstrator, however, as a customer you can purchase this stamp set in just a few days. So exciting!
Bye for now,
Kris
Product Used:

Beach Days
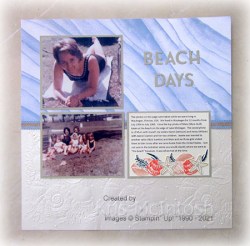
Today’s page shows off a couple of photos taken when we were living in Waukegan in 1964-1965. I love the photo of my Mum sun-baking and the other photos shows Mum, myself and my sisters with a friend of Mum’s and her children. I attached a piece of the Sand & Sea Designer Series Paper across the top of a Very Vanilla 12″ x 12″ page. I embossed a piece of the Pearlescent Specialty Paper using the Seaside 3D Embossing Folder. The embossed panel is attached to the bottom of the Basic White page.
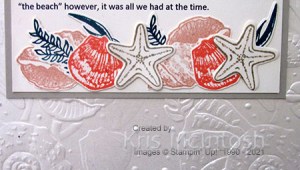
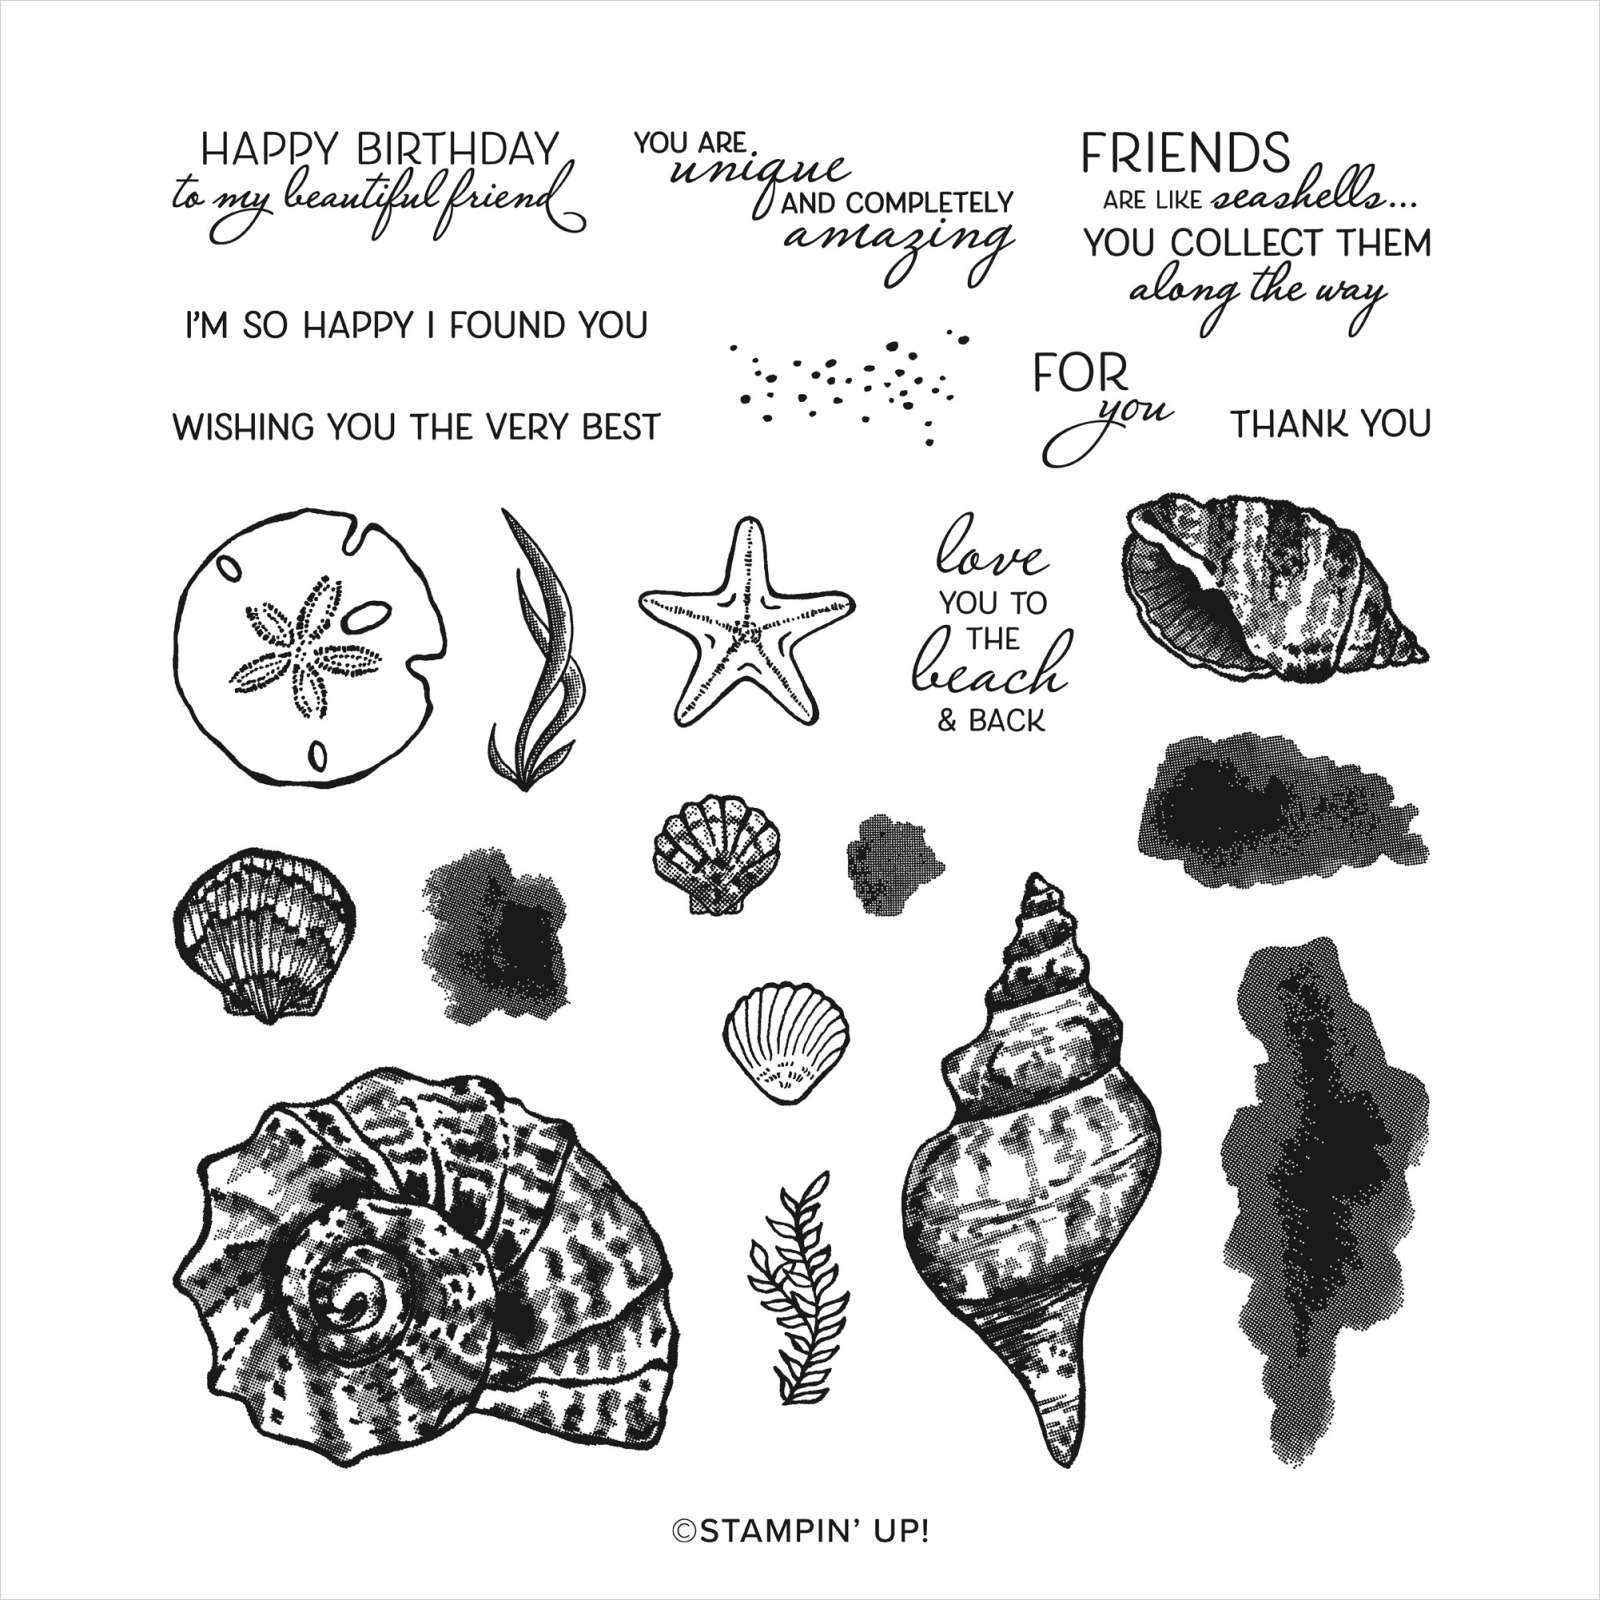
I wrapped the page using the Seaside Spray Scalloped Edge Linen Ribbon where the two papers meet. I attached my photos to Sahara Sand card before attaching them to the page. I cut the title from Sahara Sand card using the Playful Alphabet Dies. I created my journaling on the computer, printed onto Very Vanilla card. To decorate the panel, I stamped two shells from the Friends are Like Seashells stamp set onto Very Vanilla card using Blushing Bride ink. I stamped another two smaller shells from the same stamp set onto Very Vanilla card using Flirty Flamingo ink. I stamped two starfish from the Friends are Like Seashells stamp set onto Very Vanilla card using Sahara Sand ink. Lastly I stamped both of the seaweed images from the Friends are Like Seashells stamp set onto Very Vanilla card using Pretty Peacock. I cut out the seashells, starfish and seaweed images using the co-ordinating Seaside Seaseashells Dies. I attached the images across the bottom of the journaling panel before attaching the panel to Sahara Sand card and then the Very Vanilla 12″ x 12″ page. Another simple page but one that brings back lots of memories.
Bye for now,
Kris
Product Used:







Love & Laughter

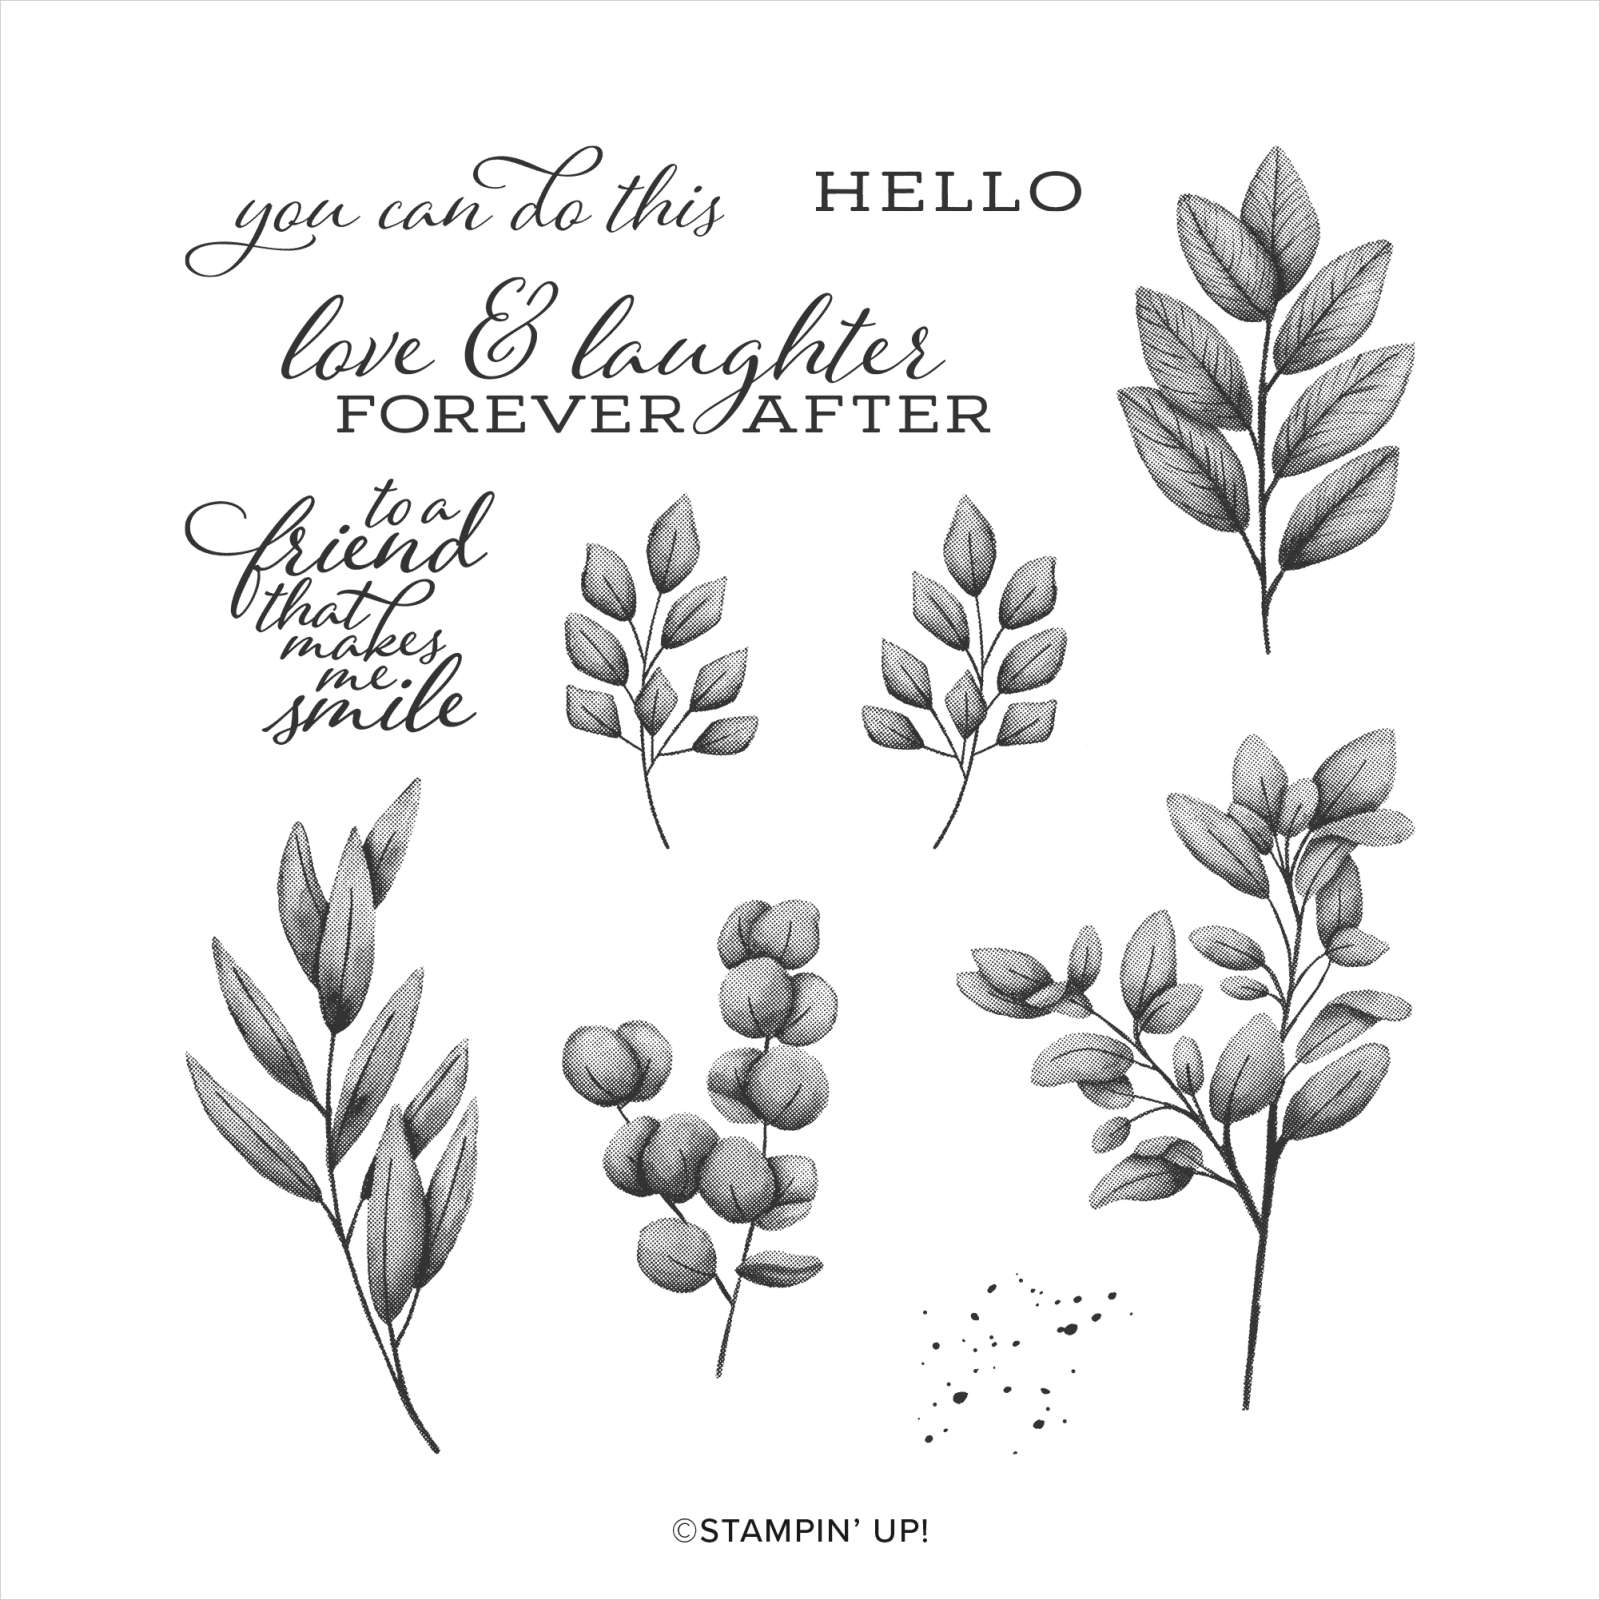
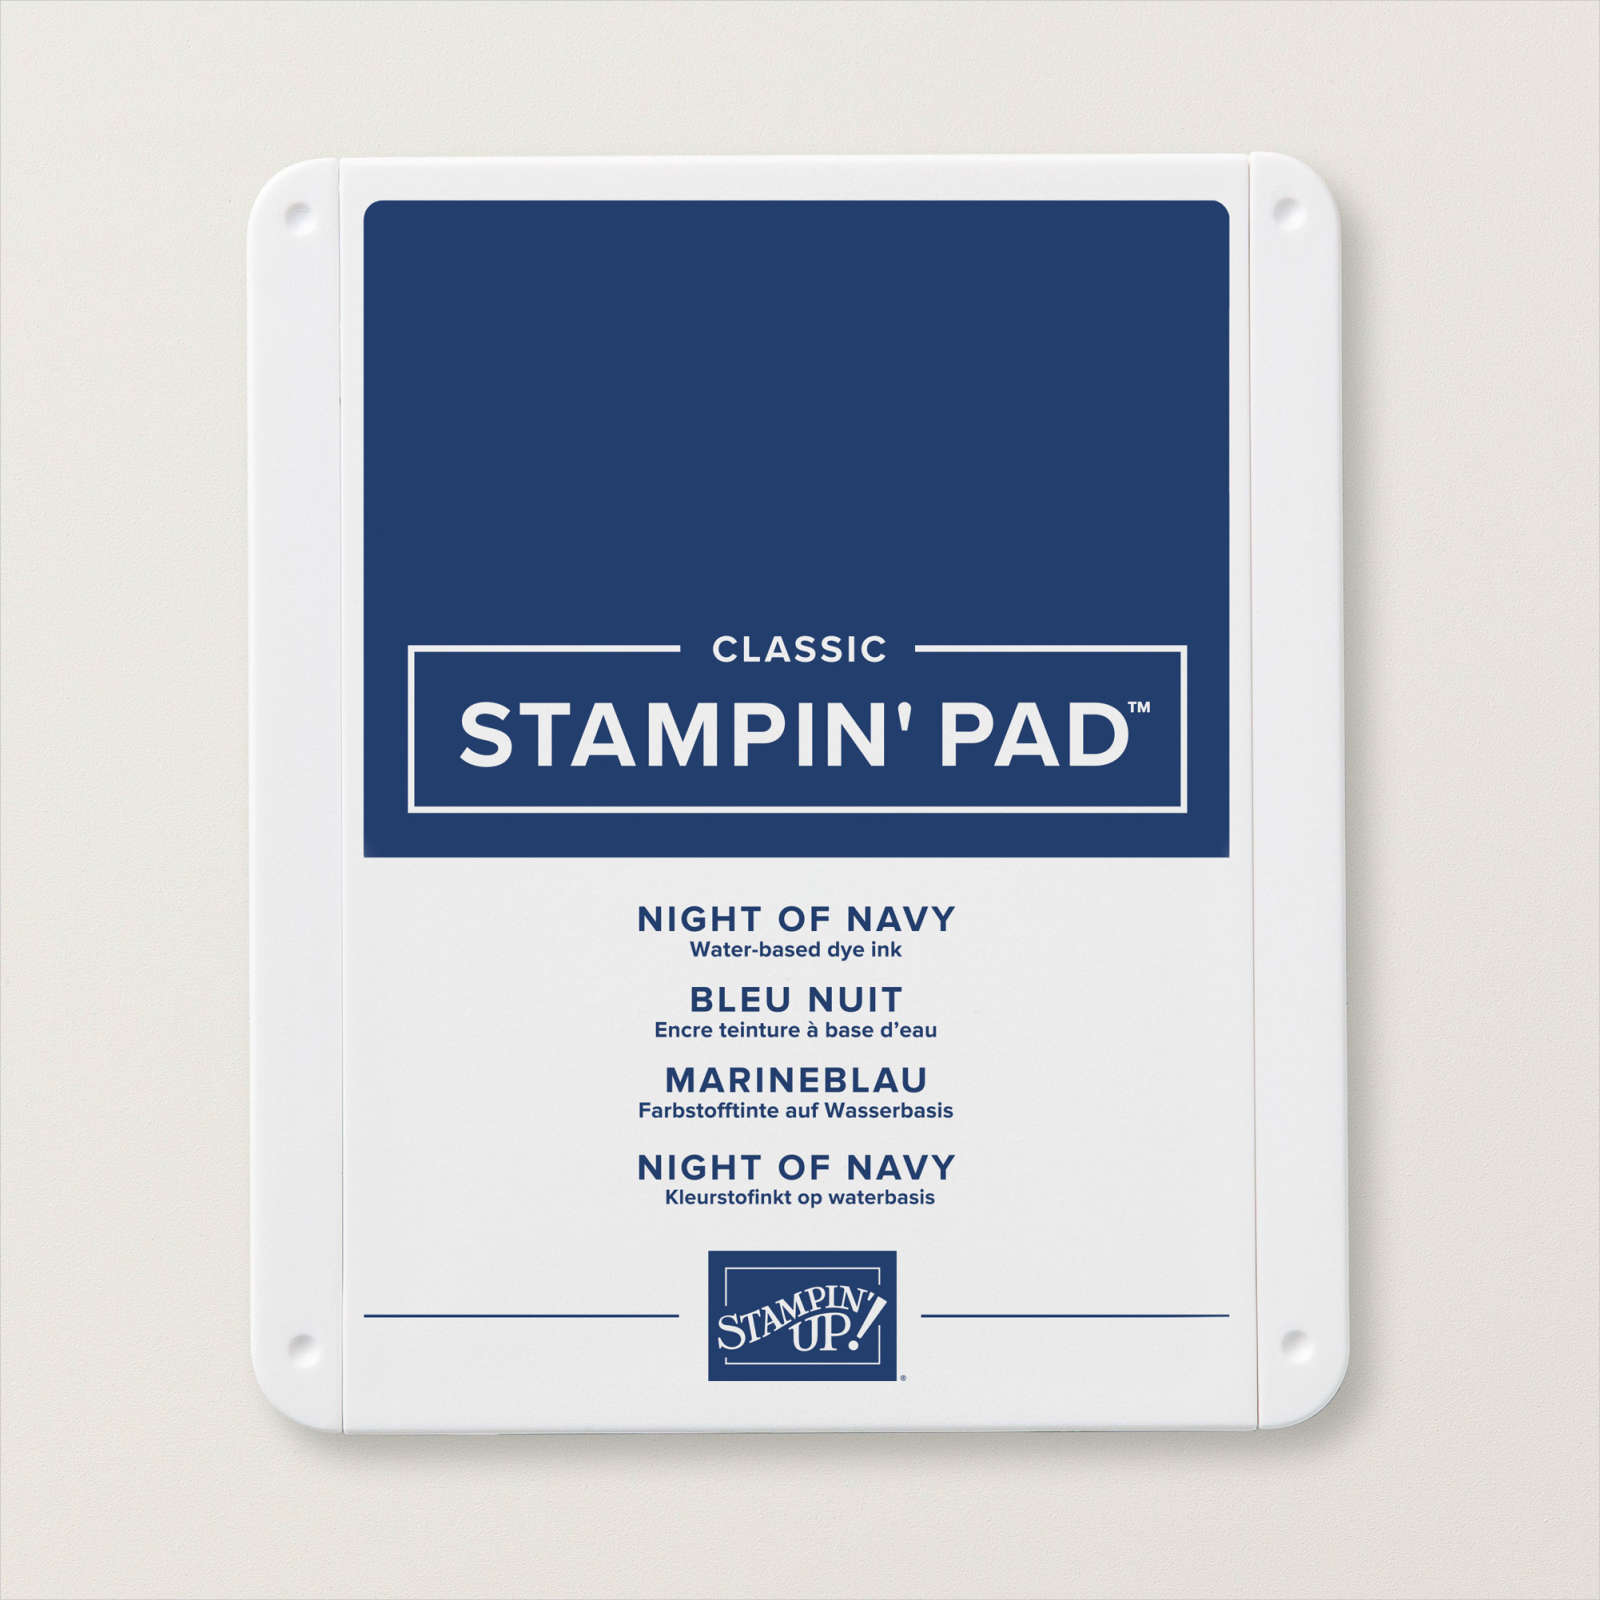
I found a card on Pinterest which I really liked and thought I would have a go at making my own version. I made the first card using a colour combination that my friend and fellow demonstrator Vicky Wright shared on her Facebook Page – Misty Moonlight, Night of Navy, Granny Apple Green and a neutral. You might have to scroll down a few posts to find it. So here is how it went. I embossed Misty Moonlight card using one of the Greenery Embossing Folders and attached it to scored and folded Night of Navy card.

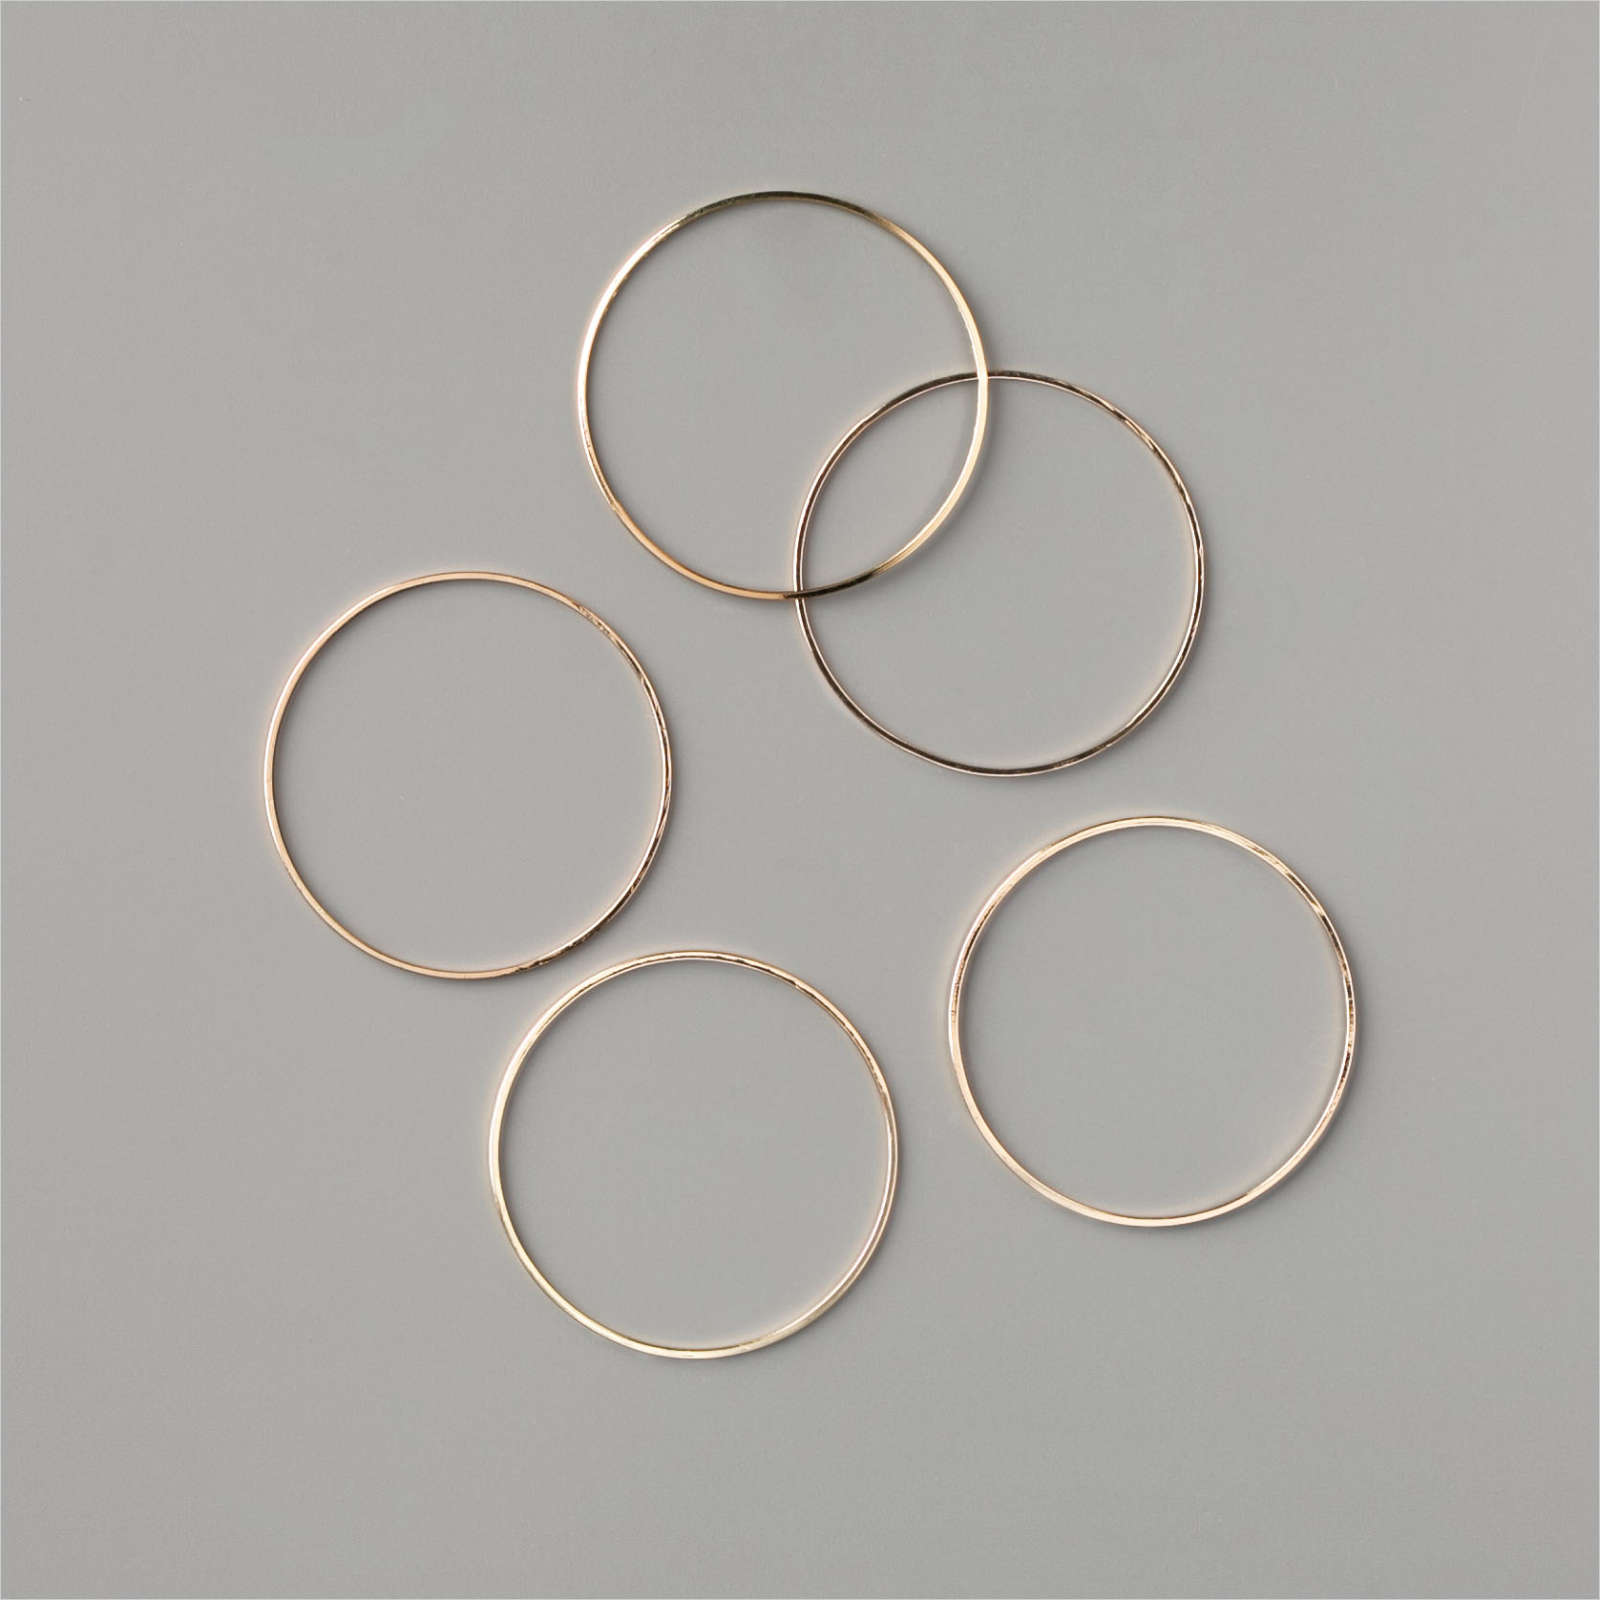
I embossed Basic White card using the other folder from the Greenery Embossing Folders and attached it to Night of Navy card and then the card front. I stamped two small leaves from the Forever Fern stamp set onto Basic White card using Granny Apple Green ink. I cut them out using the co-ordinating Forever Flourishing Dies and attached the leaves to the embossed Basic White card. I added a Gold Hoop over the top of the leaves.
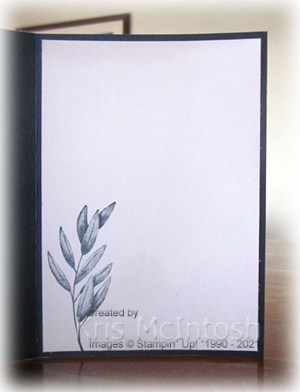
I stamped another leaf image from the Forever Fern stamp set onto Basic White card using Misty Moonlight card and another using Night of Navy ink. I cut out both images using the co-ordinating Forever Flourishing Die. I attached the Misty Moonlight and Night of Navy images on top of the Gold Hoop using Mini Dimensionals where necessary. I stamped the greeting from the Forever Fern stamp set onto Basic White card using Night of Navy ink and cut it out by hand. The greeting is attached across the bottom of the leaves and Gold Hoop, again using Mini Dimensionals where necessary. To decorate the inside of the card, I stamped one leaf image from the Forever Fern stamp set onto the lower left hand corner of Basic White card using Misty Moonlight ink. So thank you Pinterest for the inspiration and thank you Vicky for the colour combination.
I created two more versions of this layout, both using patterned paper from the Forever Designer Series Paper. The stamped version uses Old Olive, Just Jade and Pretty Peacock ink with Pretty Peacock card. The other version uses leaves from the Forever Gold Specialty Designer Series Paper.
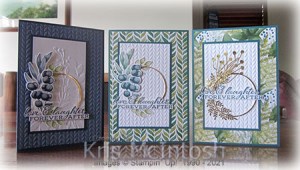
I think they are all very pretty but I believe my favourite is the one without Designer Series Paper. What about you, which one do you like best.
Bye for now,
Kris
Product Used:




Fond Farewell
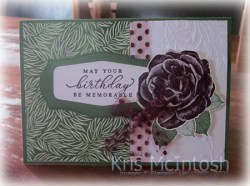
Today’s card shares a few things which are retiring in just a couple of days. I love the Healing Hugs stamp set and will be really sorry to see this gorgeous flower disappear from the catalogue. I embossed the Basic White card using one of the Greenery Embossing Folders. I attached a piece of Forever Greenery Designer Series Paper to the left hand side of the embossed card. I coloured a length of White Polka Dot Tulle Ribbon using the Dark Blackberry Bliss Stampin’ Blend.

I attached the ribbon at the edge of the Designer Series Paper before attaching the whole panel to scored and folded Garden Green card. I stamped the greeting from the Timeless Tropical stamp set onto Basic White card using Blackberry Bliss ink and cut it out using one of the Tasteful Textures Dies. I cut Garden Green card using another of the dies from the Tasteful Textures Dies and attached the greeting to the centre. I stamped the flower from the Healing Hugs stamp set onto Basic White card using Blackberry Bliss ink and cut it out. I stamped the leaf image from the Healing Hugs stamp set twice onto Basic White card using Garden Green ink and cut them out.
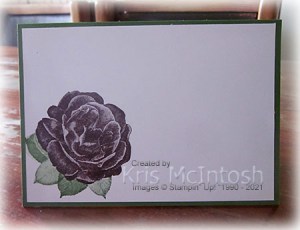
I attached the leaves to the back of the flower and the flower to the right hand side of the greeting panel. The whole piece is attached to the card front using dimensionals. I coloured another length of the White Polka Dot Tulle Ribbon using the Dark Blackberry Bliss Stampin’ Blend and tied a bow. I attached the bow to the card front using a Glue Dot. To decorate the inside of the card, I stamped the flower from the Healing Hugs stamp set onto the lower left hand corner of Basic White card. I covered the flower with a post-it-note mask and stamped the leaf image twice using Garden Green ink. This card is going to someone special. I hope she likes it.
Bye for now,
Kris
Product Used:




Thinking of You
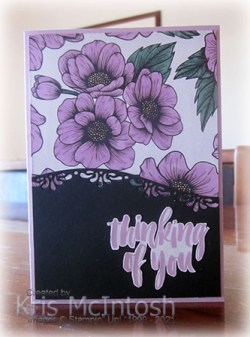
My first pre-order from the next Annual Catalogue arrived and I just had to have a play with the new in-colour Stampin’ Blends. I decided to use my favourite designer series paper, the True Love Designer Series Paper to create three cards using these new colours. For the first card I coloured the flowers and leaves using the Fresh Fresia and Soft Succulent Stampin’ Blends. I attached the coloured Designer Series Paper to a Basic White card front. I used the Curvy Dies to cut Basic Black card and attached it to the bottom of the Basic White panel so that it overlaped the end of the Designer Series Paper.
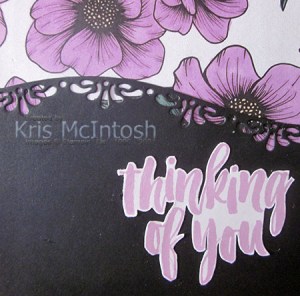
I love how the paper shows through the die cut edge of the Basic Black card. The panel is attached to scored and folded Fresh Fresia card. I stamped “thinking of you” from the retiring Rooted in Nature stamp set (sold out) onto Basic White card using Fresh Fresia ink.

I cut out the greeting and attached it to the card front. To decorate the inside of the card, I used the left over Basic Black card I cut for the card front and attached it to the bottom of Basic White card. I coloured a single flower from the same pattern Designer Series Paper and attached it to the Basic Black card. The second card uses the same pattern paper from the True Love Designer Series Paper but this time I used the Pale Papaya and Evening Evergreen Stampin’ Blends to colour the flowers and leaves. The card base is Pale Papaya card. The last card uses a different pattern from the same True Love Designer Series Paper, this time coloured using the Polished Pink and Soft Succulent Stampin’ Blends and attached to Polished Pink card.

I think these new in-colours are going to be amazing and I can’t wait to create more cards and scrapbook pages using these gorgeous colours.
Bye for now,
Kris
Product Used:

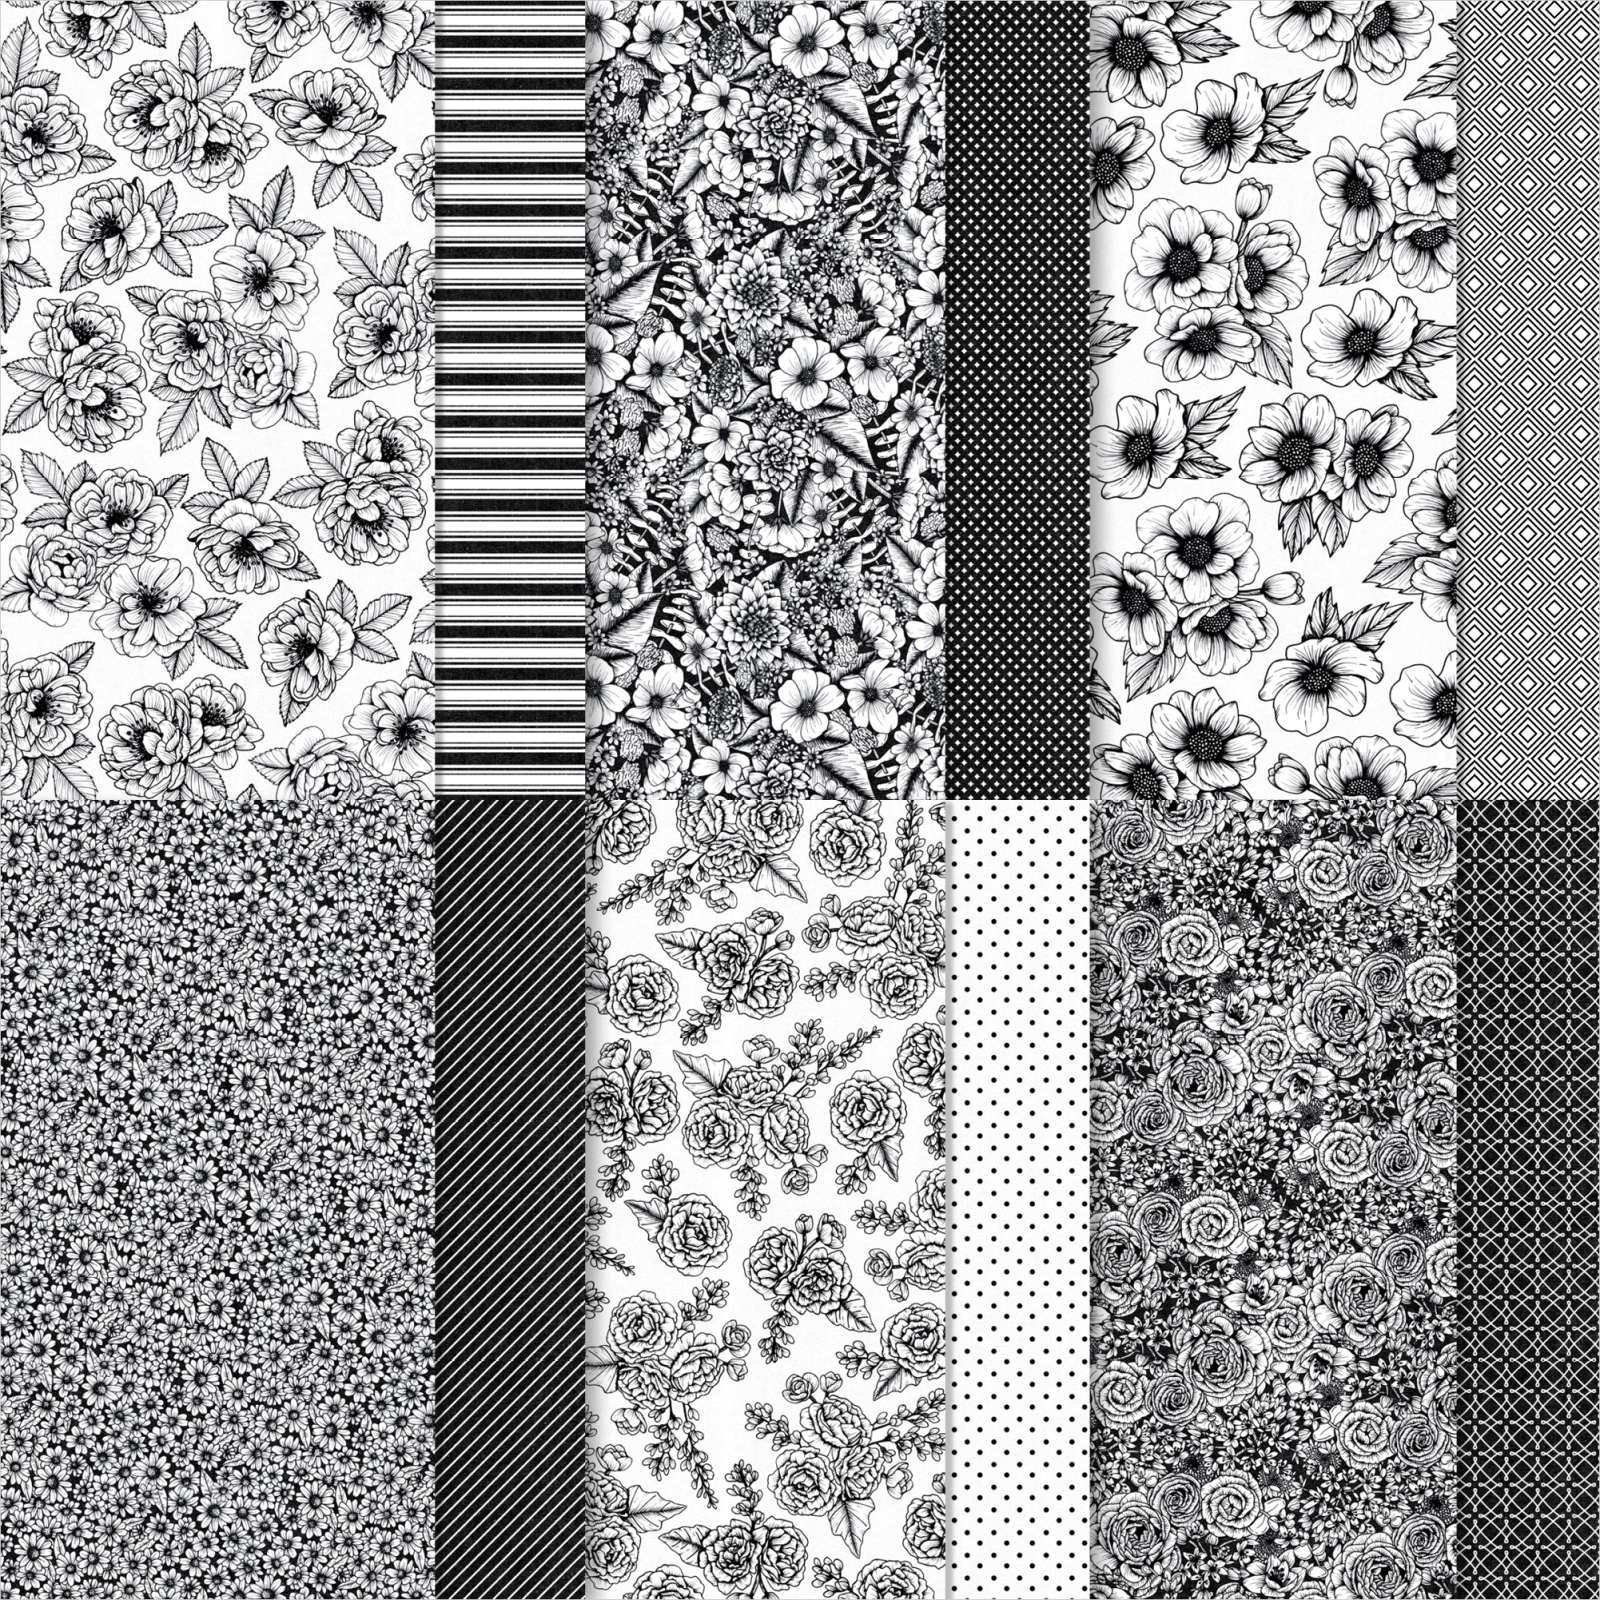
I
Floral Birthday

For today’s card, I embossed Basic White card using the Ornate Floral 3D Embossing Folder. I attached a piece of Flowers to Every Season 6″ x 6″ Designer Series Paper to Magenta Madness card before attaching the panel to the centre of the embossed Basic White card. The whole panel is attached to scored and folded Magenta Madness card. I stamped the flower from the Four Season Floral stamp set onto Basic White card using Memento Tuxedo Black ink. I cut out the flower using the Layering Circle Dies. I stamped “happy birthday” from the same stamp set below the flower using Memento Tuxedo Black ink.

I also stamped the flower onto scrap Basic White card using I Memento Tuxedo Black ink. I coloured both floral images using Magenta Madness and Just Jade Stampin’ Blends.

I cut out the flower on the scrap Basic White card and attached it over the flower on the circle die cut using dimensionals. I cut Magenta Madness card using one of the scalloped circles from the Layering Circles Dies. I attached the image panel to the Magenta Madness scalloped circle and then the card front using dimensionals. Just because, I added a Basic Rhinestone to each flower and one next to the greeting. To decorate the inside of the card, I stamped the same floral image from the Four Season Floral stamp set onto the bottom of Basic White card using Memento Tuxedo Black ink. Once more I coloured the image using the Magenta Madness and Just Jade Stampin’ Blends.
I love the finished result. Simple but so pretty. What about you, what do you think?
Bye for now,
Kris
Product Used:

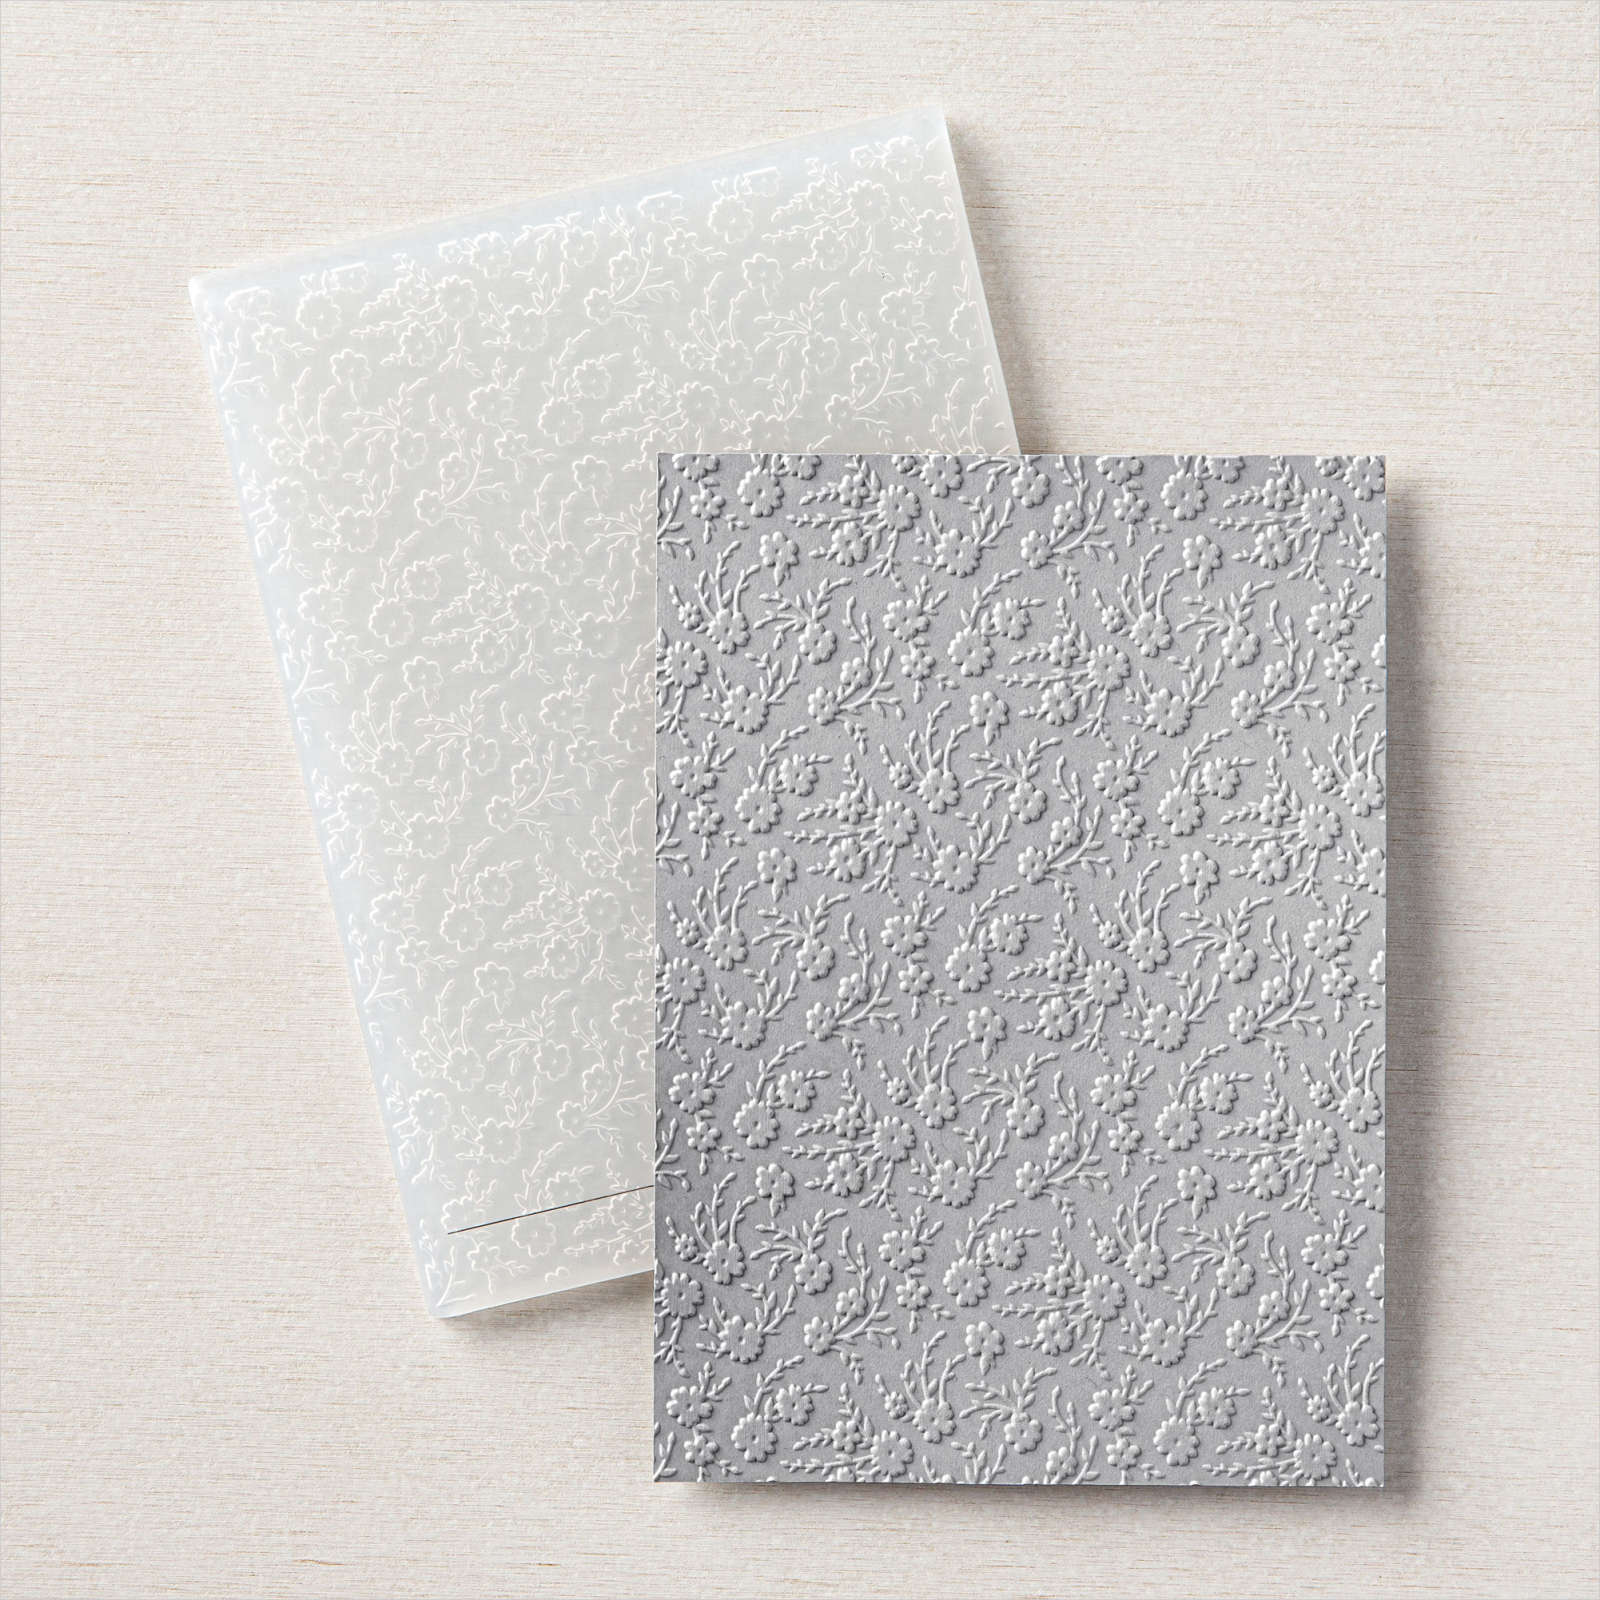




Lunch Dates

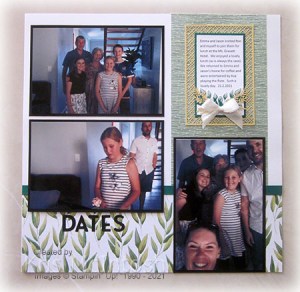
On the same weekend, we were invited to lunch at Sarah and Sean’s along with my Mum and Dad on Saturday and on the Sunday we joined Emma, Jason and the children at their local Hotel for lunch. A busy but so lovely weekend. I attached panels of Forever Greenery Designer Series Paper to Basic White 12″ x 12″ pages. I added a narrow strip of Shaded Spruce card to the top of the panels which spanned across the pages. The photos are attached to Basic Black card before being attached to the pages.
The title is cut from Basic Black card using the Playful Alphabet Dies. I created the journaling on the computer and printed onto Basic White card.
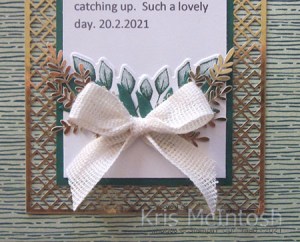
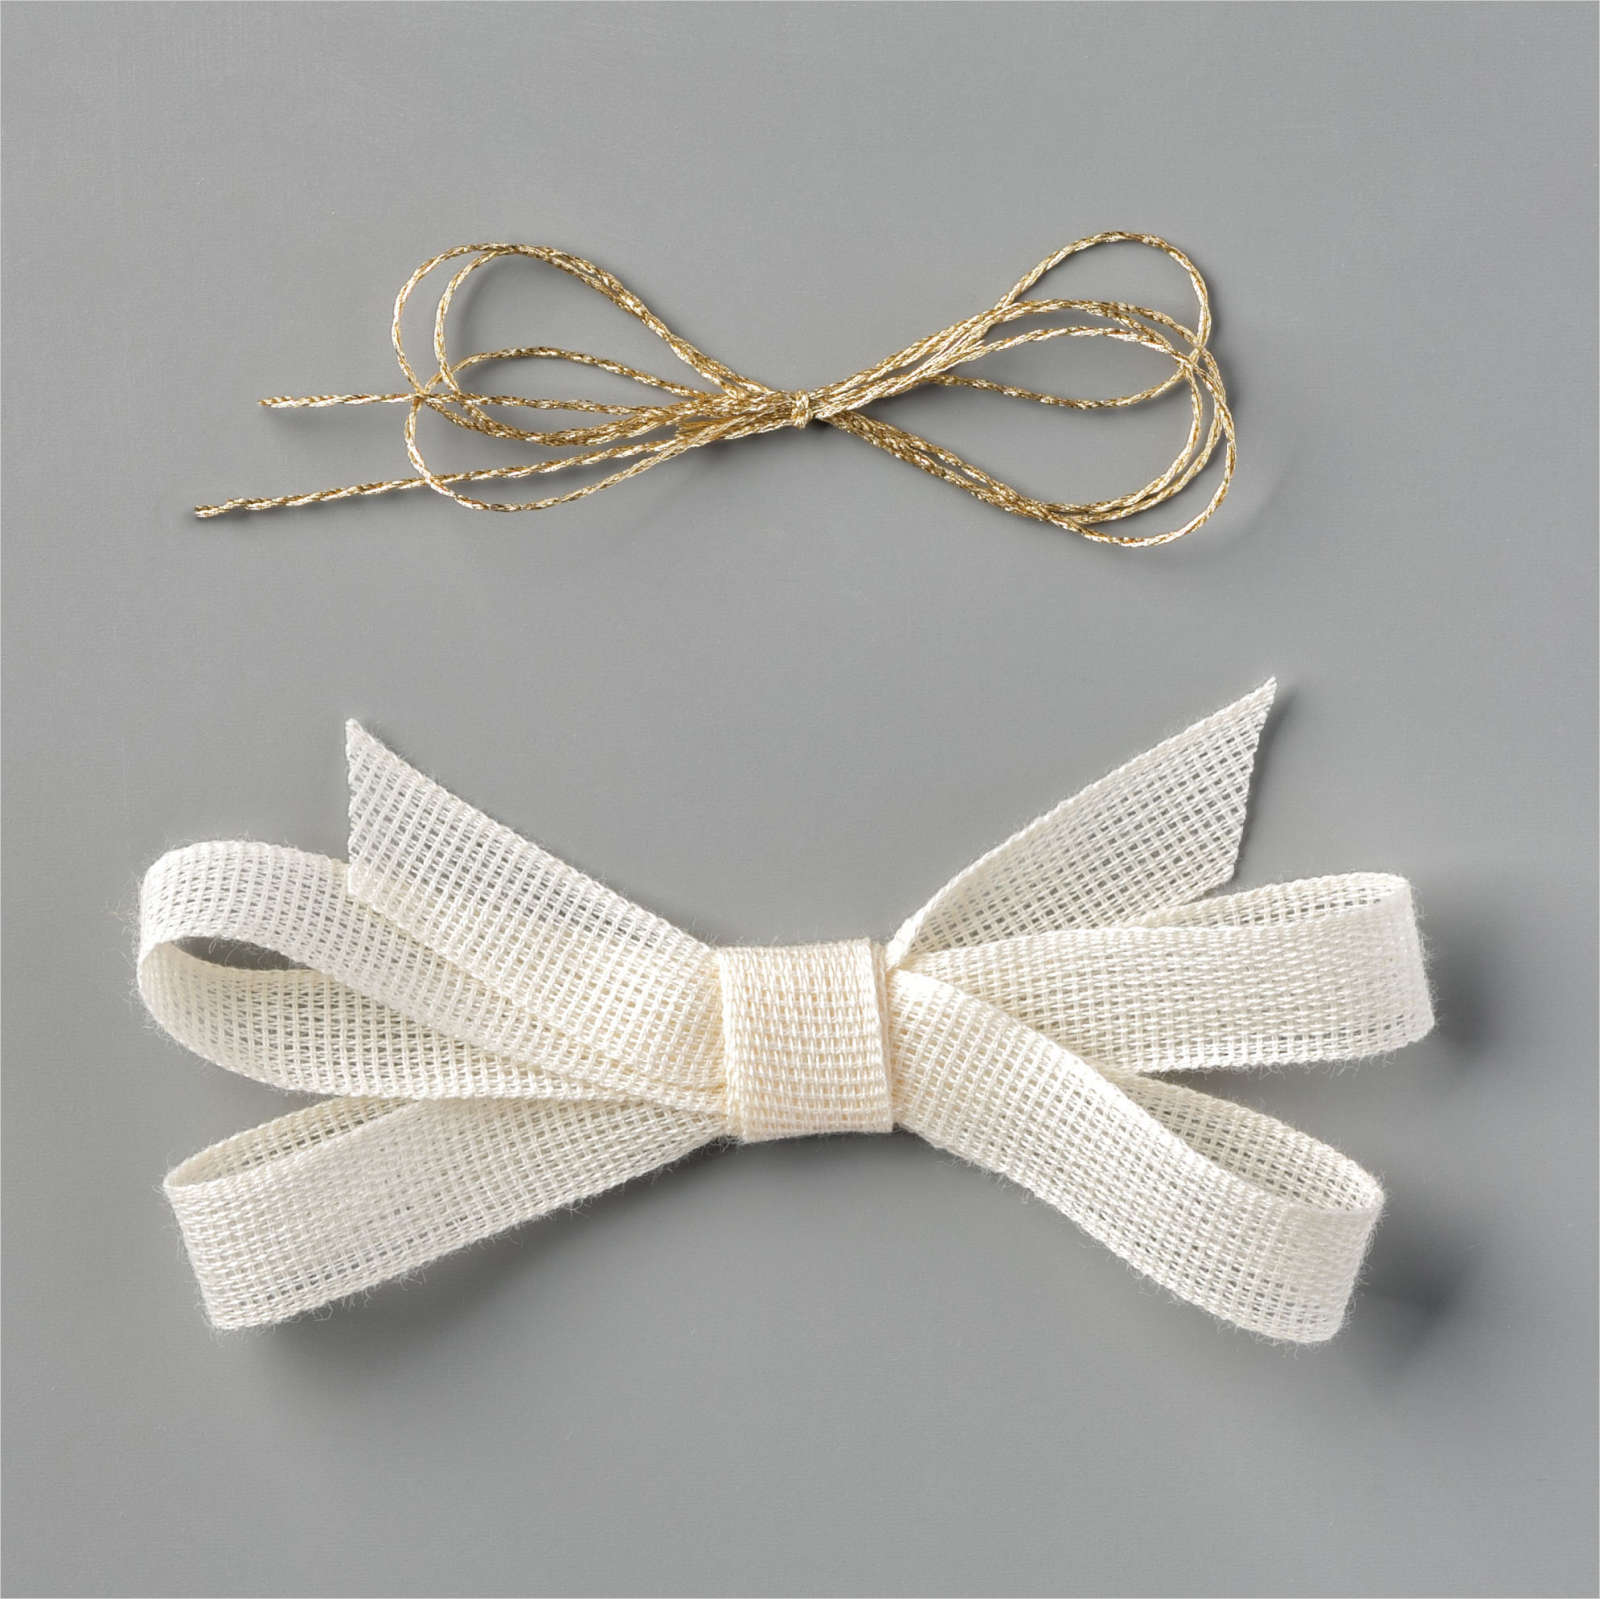
I attached the journaling to Shaded Spruce card and then one of the card fronts from the Forever Gold Laser Cut Specialty Designer Series Paper. To decorate the journaling panels, I stamped the smallest images from the Forever Fern stamp set twice each onto Basic White card using Shaded Spruce ink and cut them out using the co-ordinating Forever Flourishing Die. I attached two leaves to each of the journaling panels. I cut Shaded Spruce card twice using the half circle leaf die from the Forever Flourishing Dies and attached one to each journaling panel. I added a gold foil leaf over the top from the Forever Gold Laser Cut Specialty Designer Series Paper. Lastly I added a bow tied using the Vanilla Open Weave 1/2″ Ribbon from the Forever Greenery Trim Combo Pack.
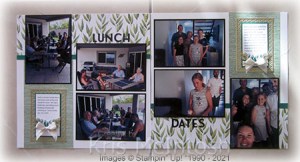
I love the brightness and colour of these pages and of course I love the memories that they bring.
Bye for now,
Kris
Product Used:


Sea & Sand Recessed Panel
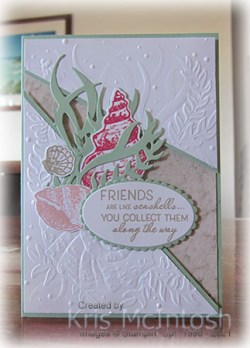
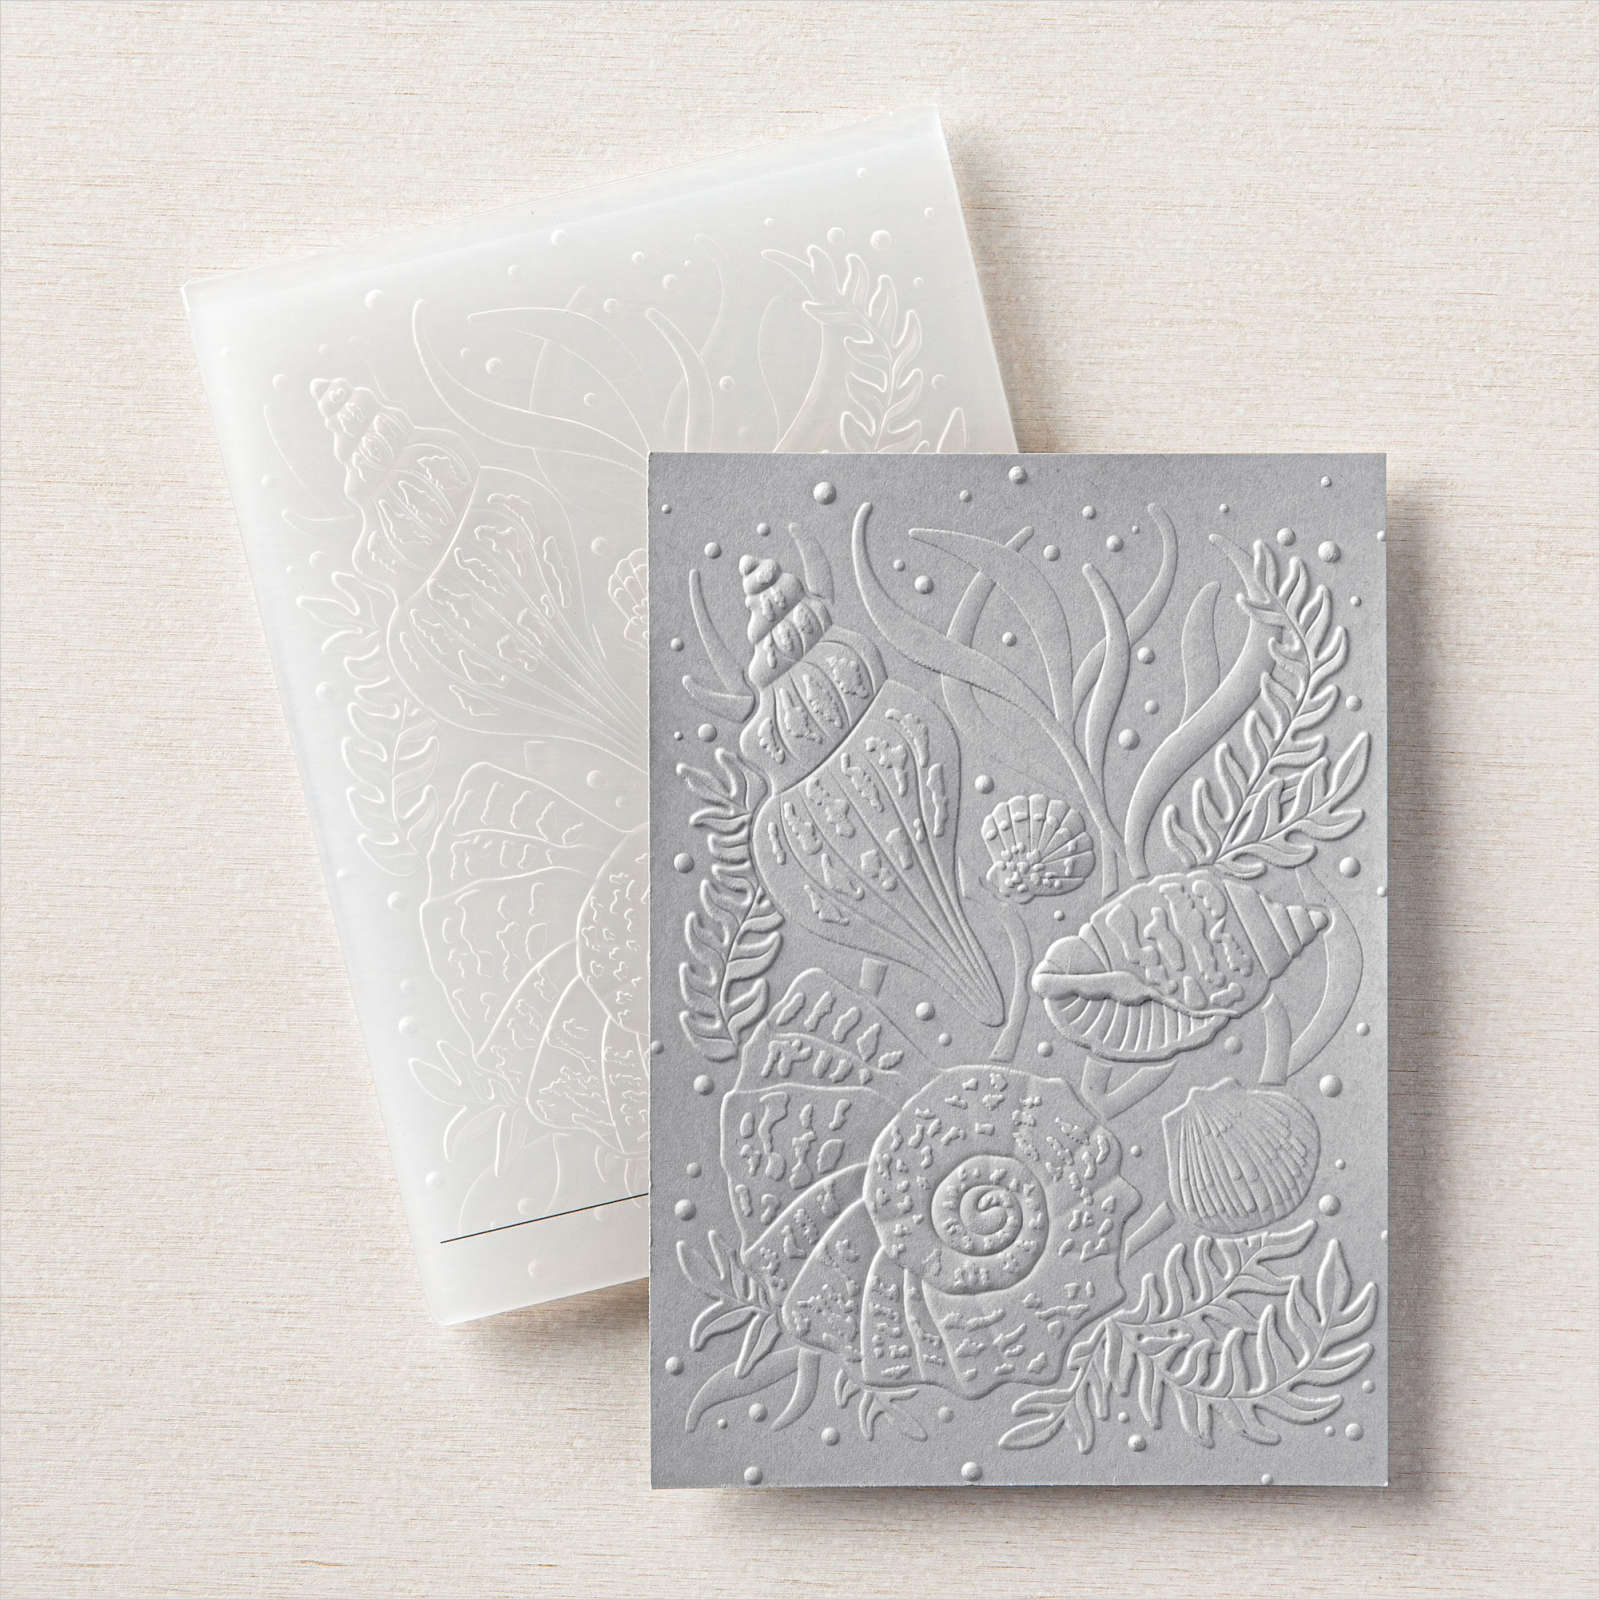
Today’s cards are made using the recessed panel idea I shared on my Facebook Live earlier this week. This time I used a piece of the Sea & Sand Designer Series Paper and Basic White card. After cutting the Basic White card, I embossed it using the Seashells 3D Embossing Folder. I attached the central Designer Series Paper panel to Basic White card. I attached a narrow strip of Mint Macaron behind the edges of the embossed Basic White card and attached the panels to the card front using dimensionals. The whole piece is attached to scored and folded Mint Macaron card.

I cut Mint Macaron card and Basic White card using the Seaside Seashells Die. I stamped the seashell images onto the Basic White die cut using Blushing Bride, Melon Mambo and Sahara Sand ink. I trimmed the seashells from the die cut and attached them to the Mint Macaron die cut.

I cut the Mint Macaron die cut into pieces and attached several of them to the card front, using dimensionals where the pieces sit over the recessed panel. I stamped the greeting from the Friends are Like Seashells stamp set onto Basic White card using Sahara Sand ink. I cut out the greeting using the Layering Ovals Dies and attached it to a Mint Macaron scalloped oval cut using the same dies. The image panel is attached to the card front using dimensionals where necessary. To decorate the inside of the card, I stamped a seashell from the Friends are Like Seashells stamp set using a co-ordinating ink colour. The second card uses the remaining die cut pieces for the card front decoration.
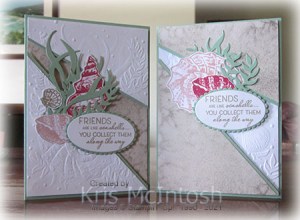
I love both versions of this cards, don’t you?
Bye for now,
Kris
Product Used:


Recessed Panel Card

Yesterday in my Facebook Live, I showed a couple of versions of the recessed panel card. I have never made one of these angled recessed panel cards before. I really don’t know why because I love that you get “two for one”. Cut one panel of designer series paper and one panel of co-ordinating card and you get two card fronts! Today’s card uses a piece of the Butterfly Bijou 6″ x 6″ Designer Series Paper which was a pre-release from the next Annual Catalogue in the Butterfly Brilliance Bundle. Unfortunately this paper was only available while stocks last and it has sold out. Anyway, I cut the Basic White card and Designer Series Paper using the template I shared yesterday.

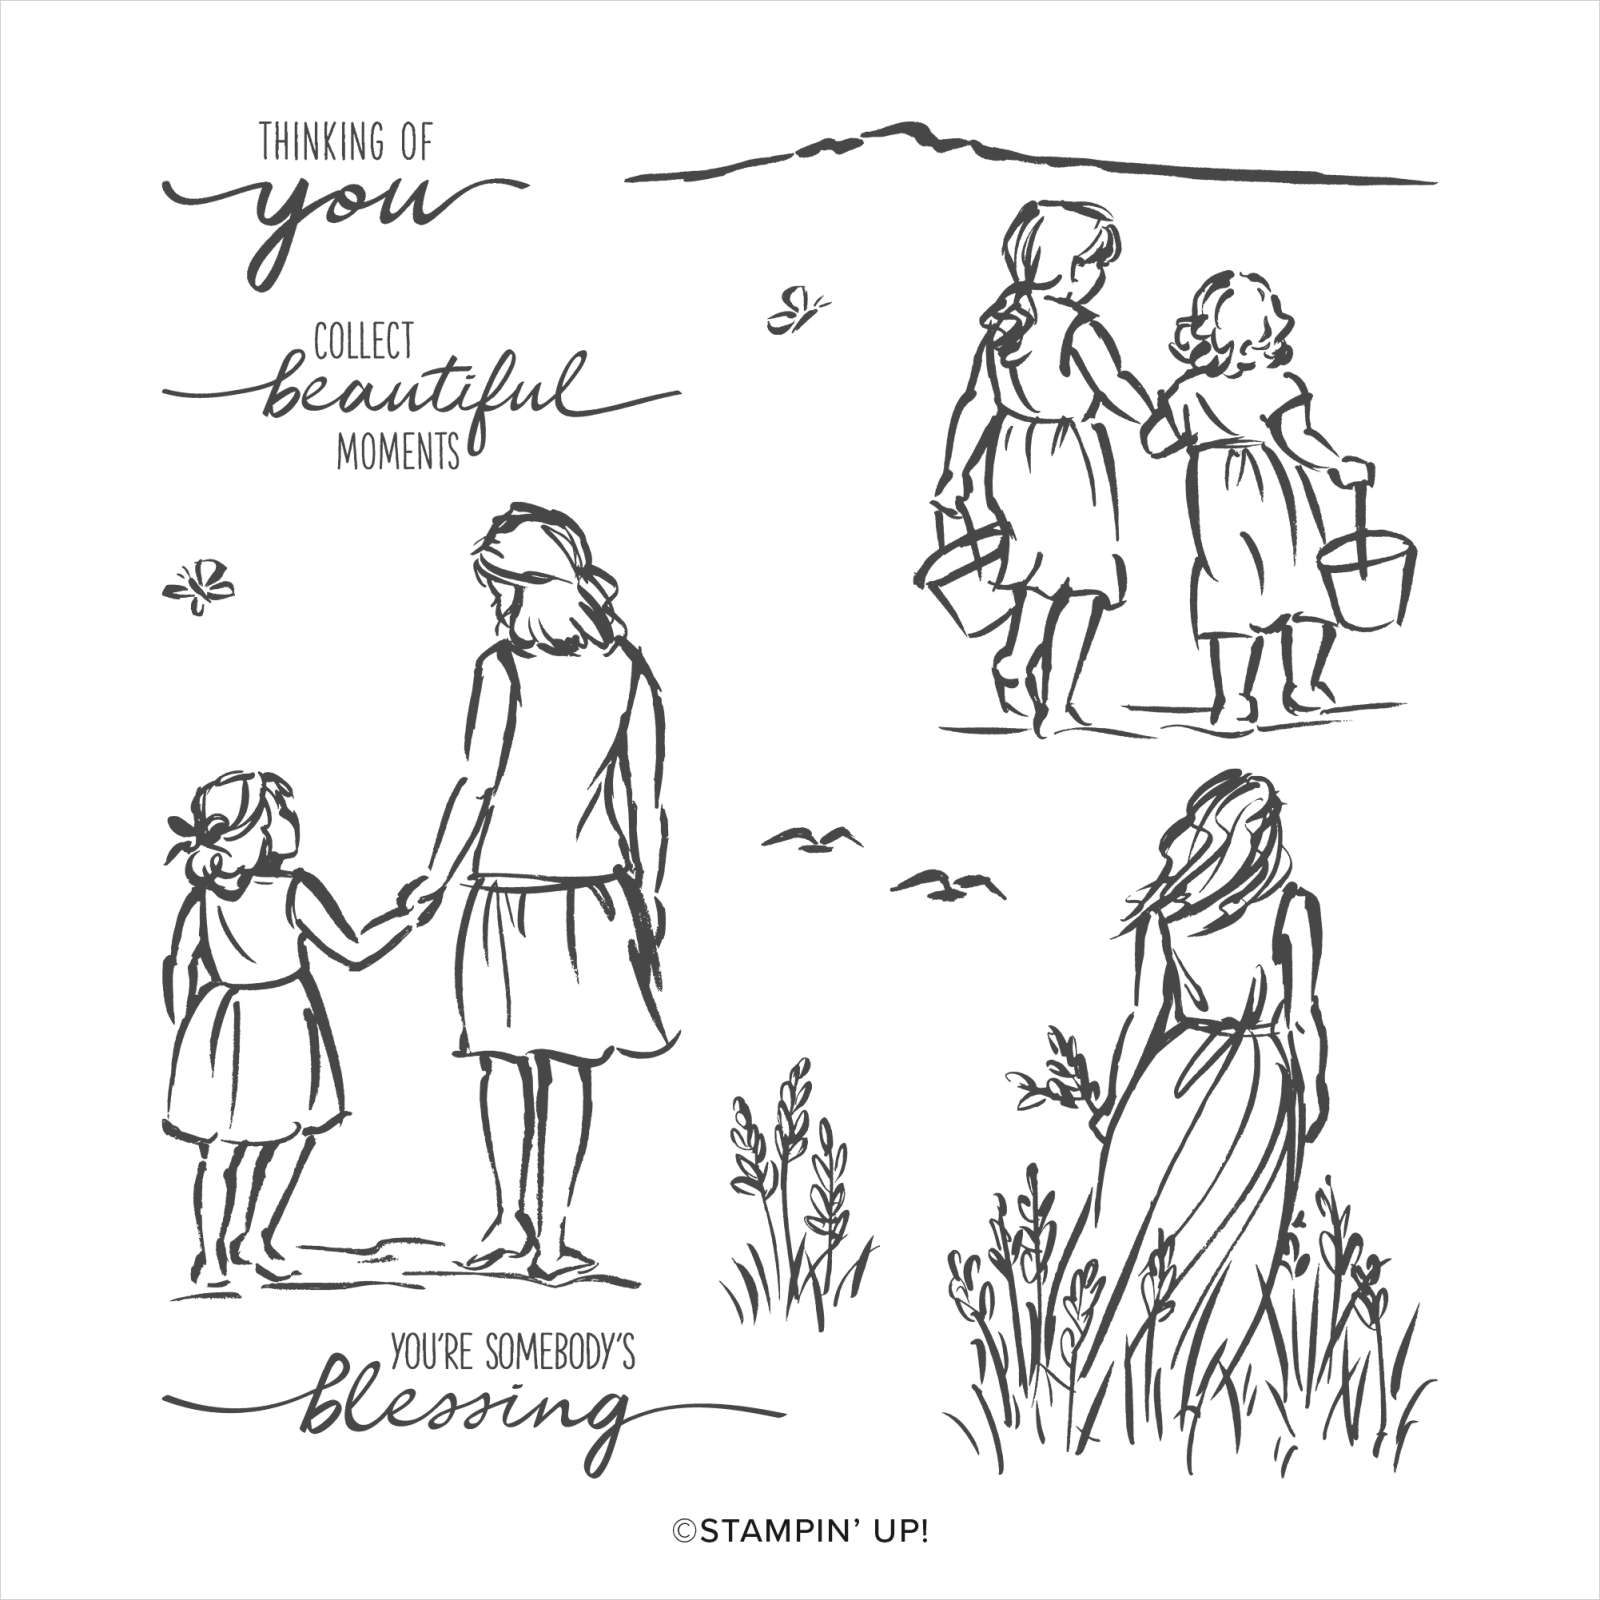
I embossed the Basic White card using the Painted Texture 3D Embossing Folder. Using the outside panels as a guide, I attached the central panel to Basic White card. I attached strips of Silver Foil card along the inside edges of the outside panels before attaching them to the Basic White card. The whole panel is attached to scored and folded Just Jade card. I stamped “thinking of you” from the Beautiful Moments stamp set onto Basic White card.
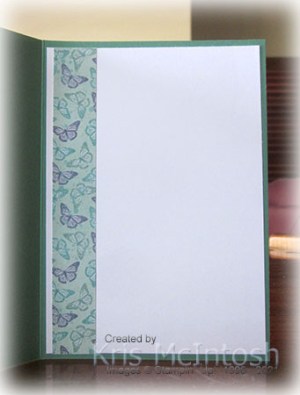
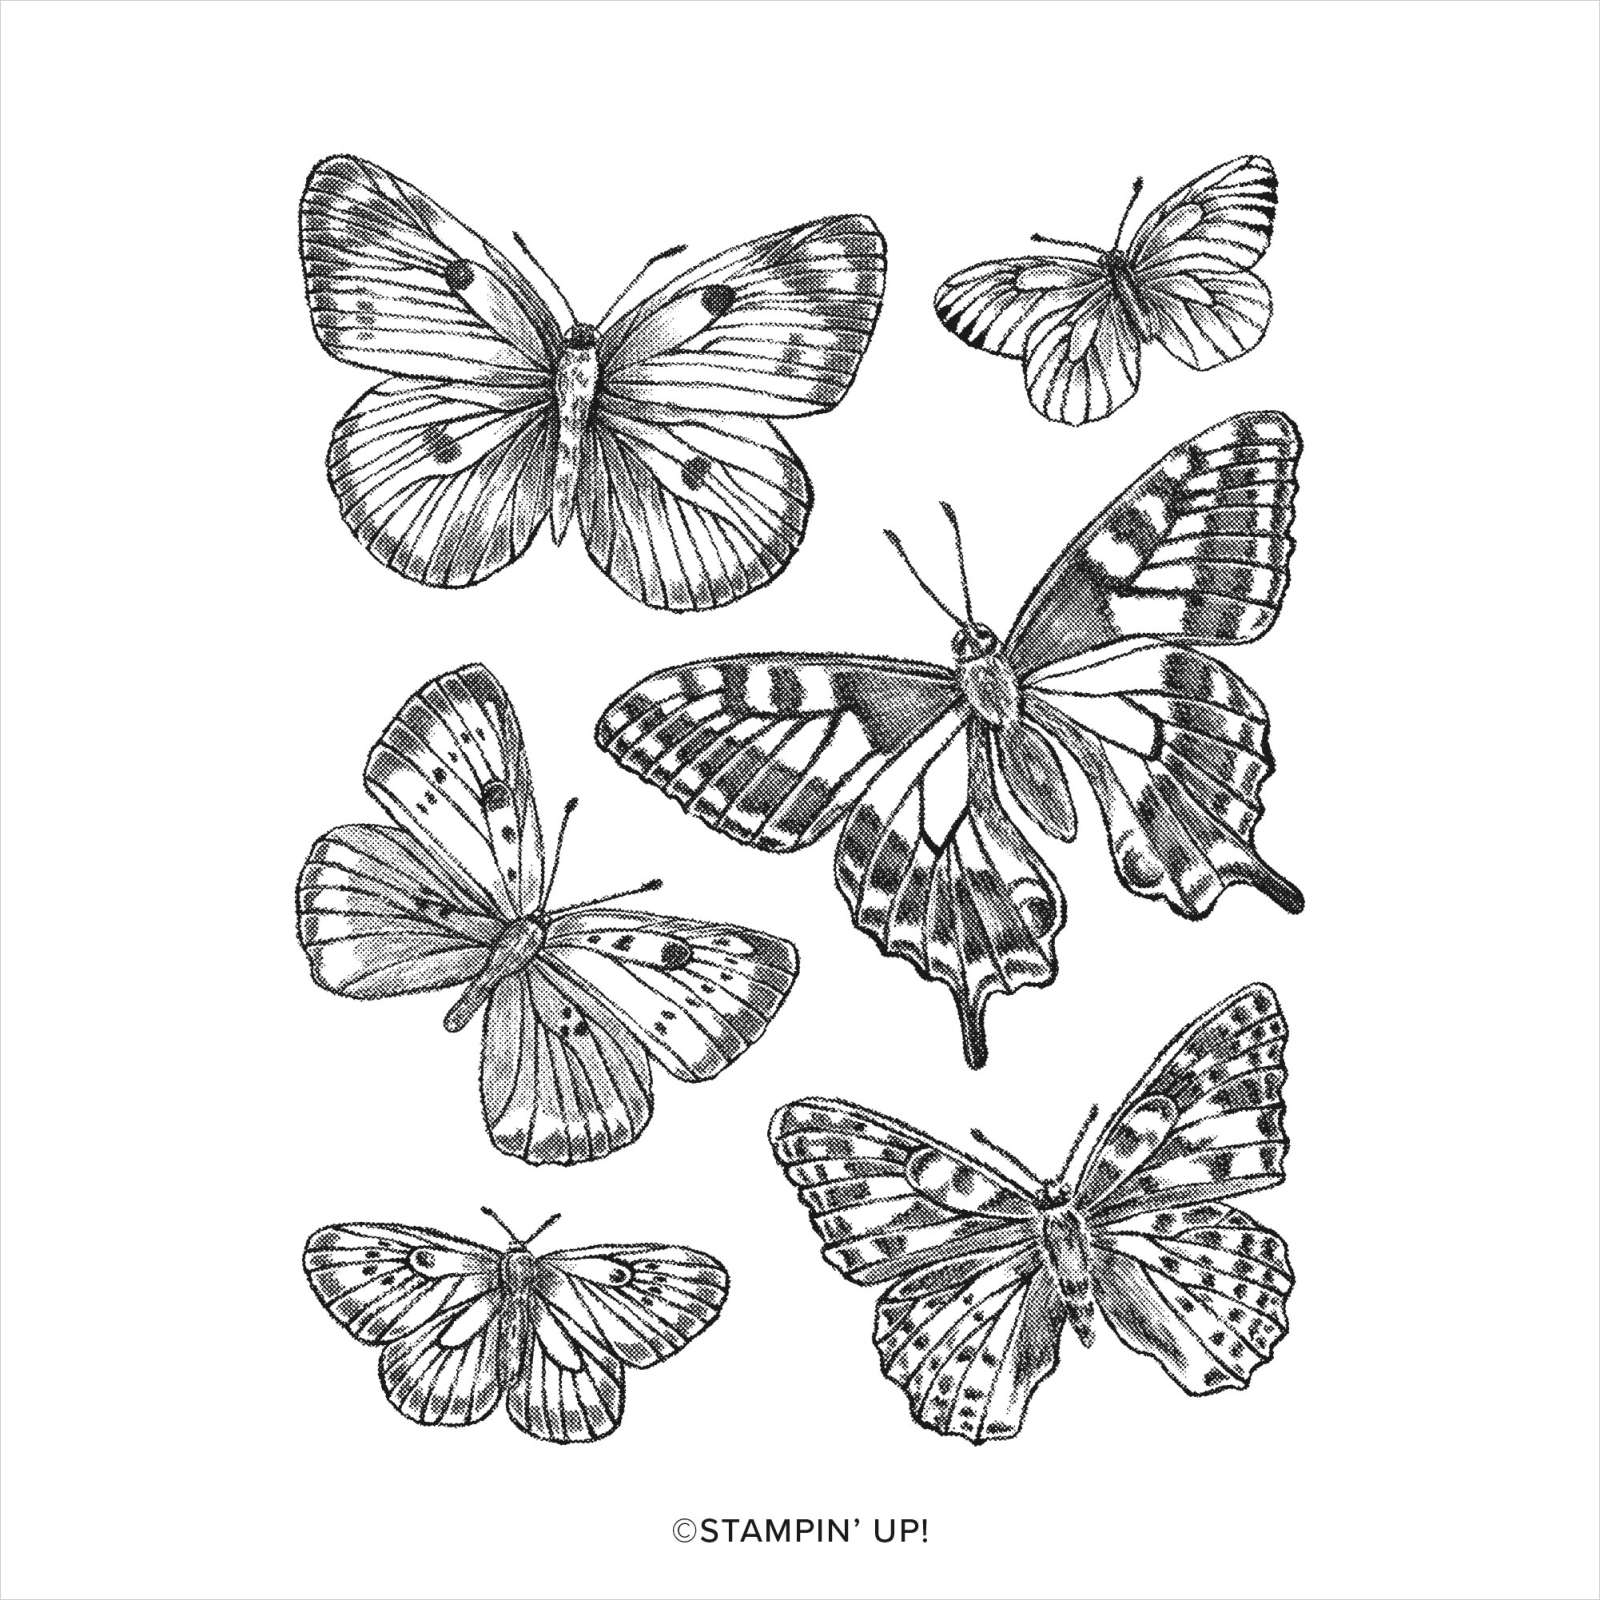
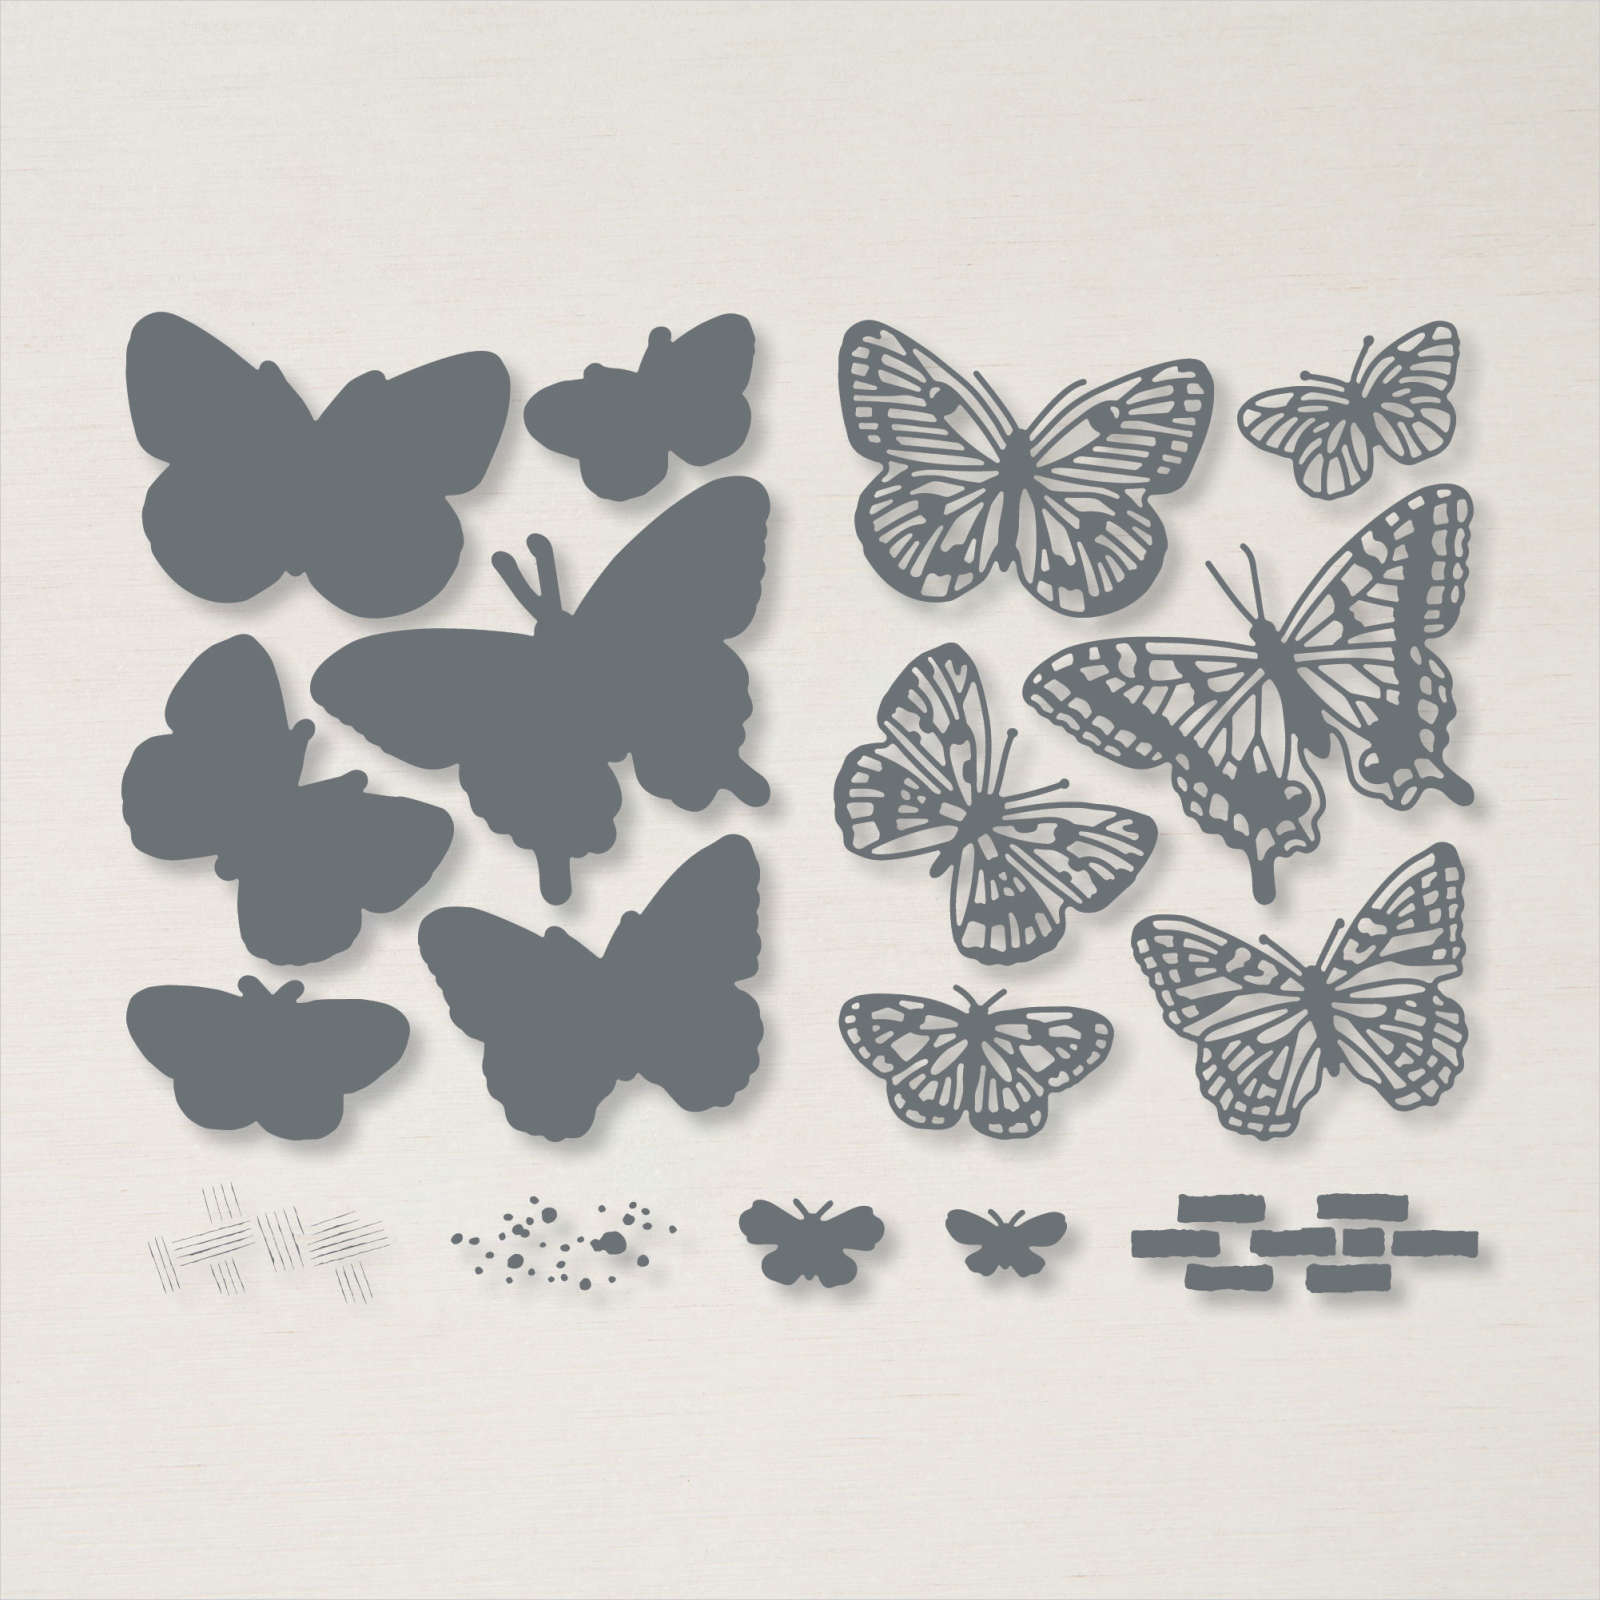
I cut out the greetings using one of the circles from the Stitched Shapes Dies (unfortunately sold out). The greeting is attached to a Silver Foil scalloped circle which was cut using the Layering Circles Dies. I attached the greeting to the card front using dimensionals. I stamped the butterfly from the Butterfly Brilliance stamp set onto Basic White card using Just Jade ink. I cut out the butterfly using the Brilliant Wings Dies. I curled the wings of the butterfly and attached it to the greeting panel using dimensionals under the wings and glue dots under the body. I cut the co-ordinating detailed butterfly from Silver Foil card using the Brilliant Wings Dies and curled the wings slightly upwards. I attached the Silver Foil butterfly to the stamped butterfly using Tombow Multipurpose Glue under the body and antennae only. To decorate the inside of the card, I attached a narrow strip of the same pattern Butterfly Bijou Designer Series Paper down the left hand side of Basic White card.

As I said at the beginning of this post, by cutting a co-ordinating piece of card and designer series paper you can create two card fronts and I think they both look pretty, don’t you. If you haven’t given one of these type of cards a try, take a look at my Facebook Live video and use the template to create your own versions.
Bye for now,
Kris
Product Used: