Anniversary

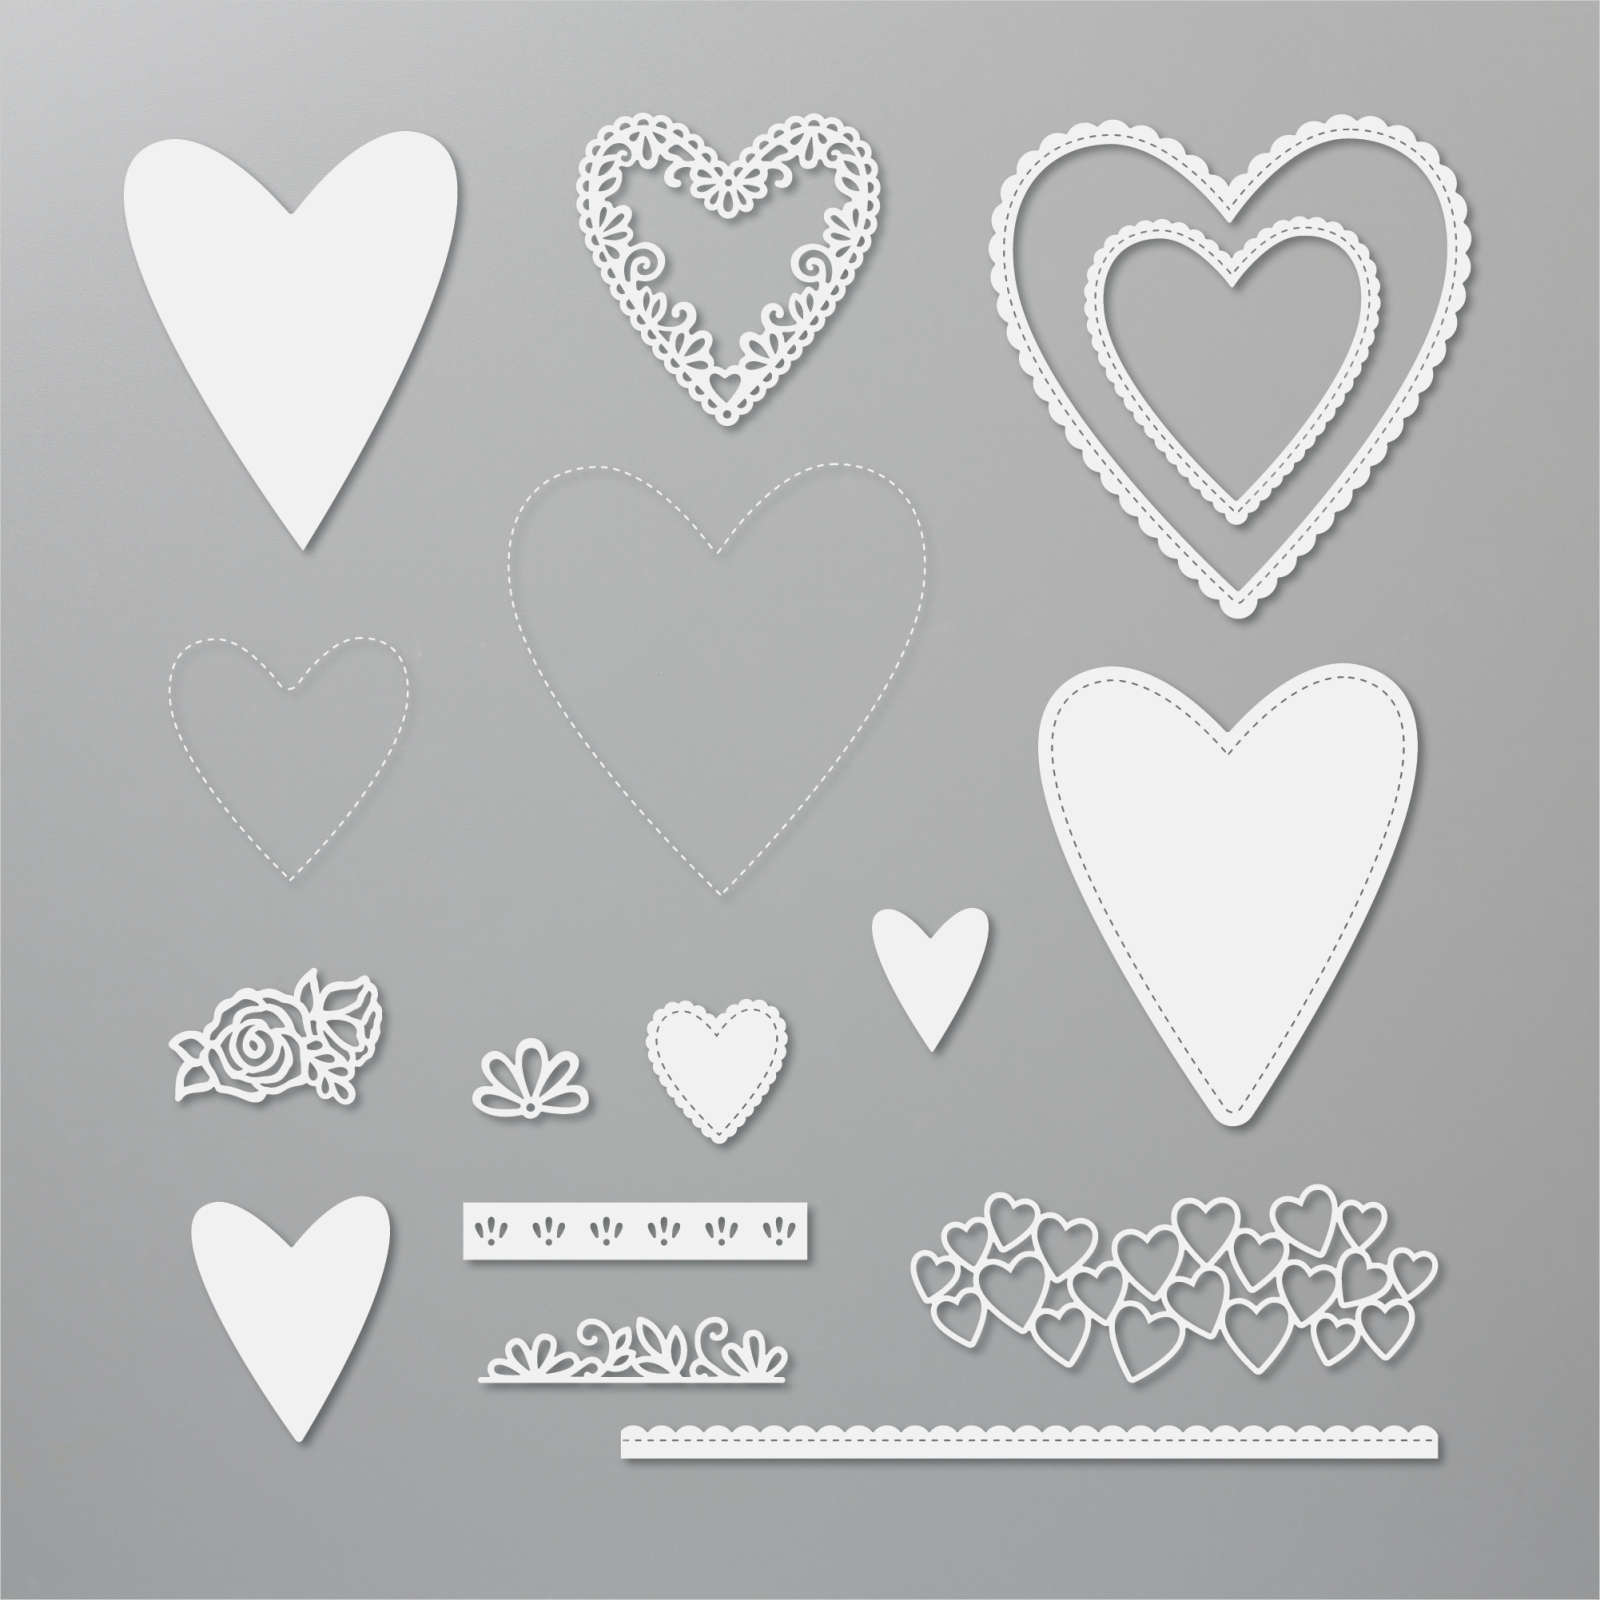
My daughter Emma and her husband celebrated their Wedding Anniversary recently and I thought I would share the card I made for them. I cut two pieces of my favourite True Love Designer Series Paper and attached them to Whisper White card and then scored and folded Basic Black card. I cut Basic Black and Basic White using the largest heart from the Be Mine Dies and attached the Basic Black scalloped heart outline to the card front. I embossed the Whisper White heart using the Scripty 3D Embossing Folder before attaching it to the card front inside the scalloped heart.

I stamped “happy anniversary” using the Well Said stamp set onto Basic White card. I punched out the greeting using the Double Oval Punch. I attached the greeting to a scalloped oval cut from Basic Black card using the same punch.

The greeting is attached to the card front using dimensionals. I coloured one of the flowers from the True Love Designer Series Paper using Bermuda Bay and Granny Apple Green Stampin’ Blends. I cut out the flower and attached it to the left hand side of the embossed heart. To decorate the inside of the card, I coloured one of the flowers from the True Love Designer Series Papers. I coloured the flower using the same Stampin’ Blends and cut it out. Because the flower was cut from the corner of the Designer Series Paper it fits perfectly onto the top left hand corner of Basic White card.
So Happy Anniversary Emma and Jason, I know you had an amazing day.
Bye for now,
Kris
Product Used:


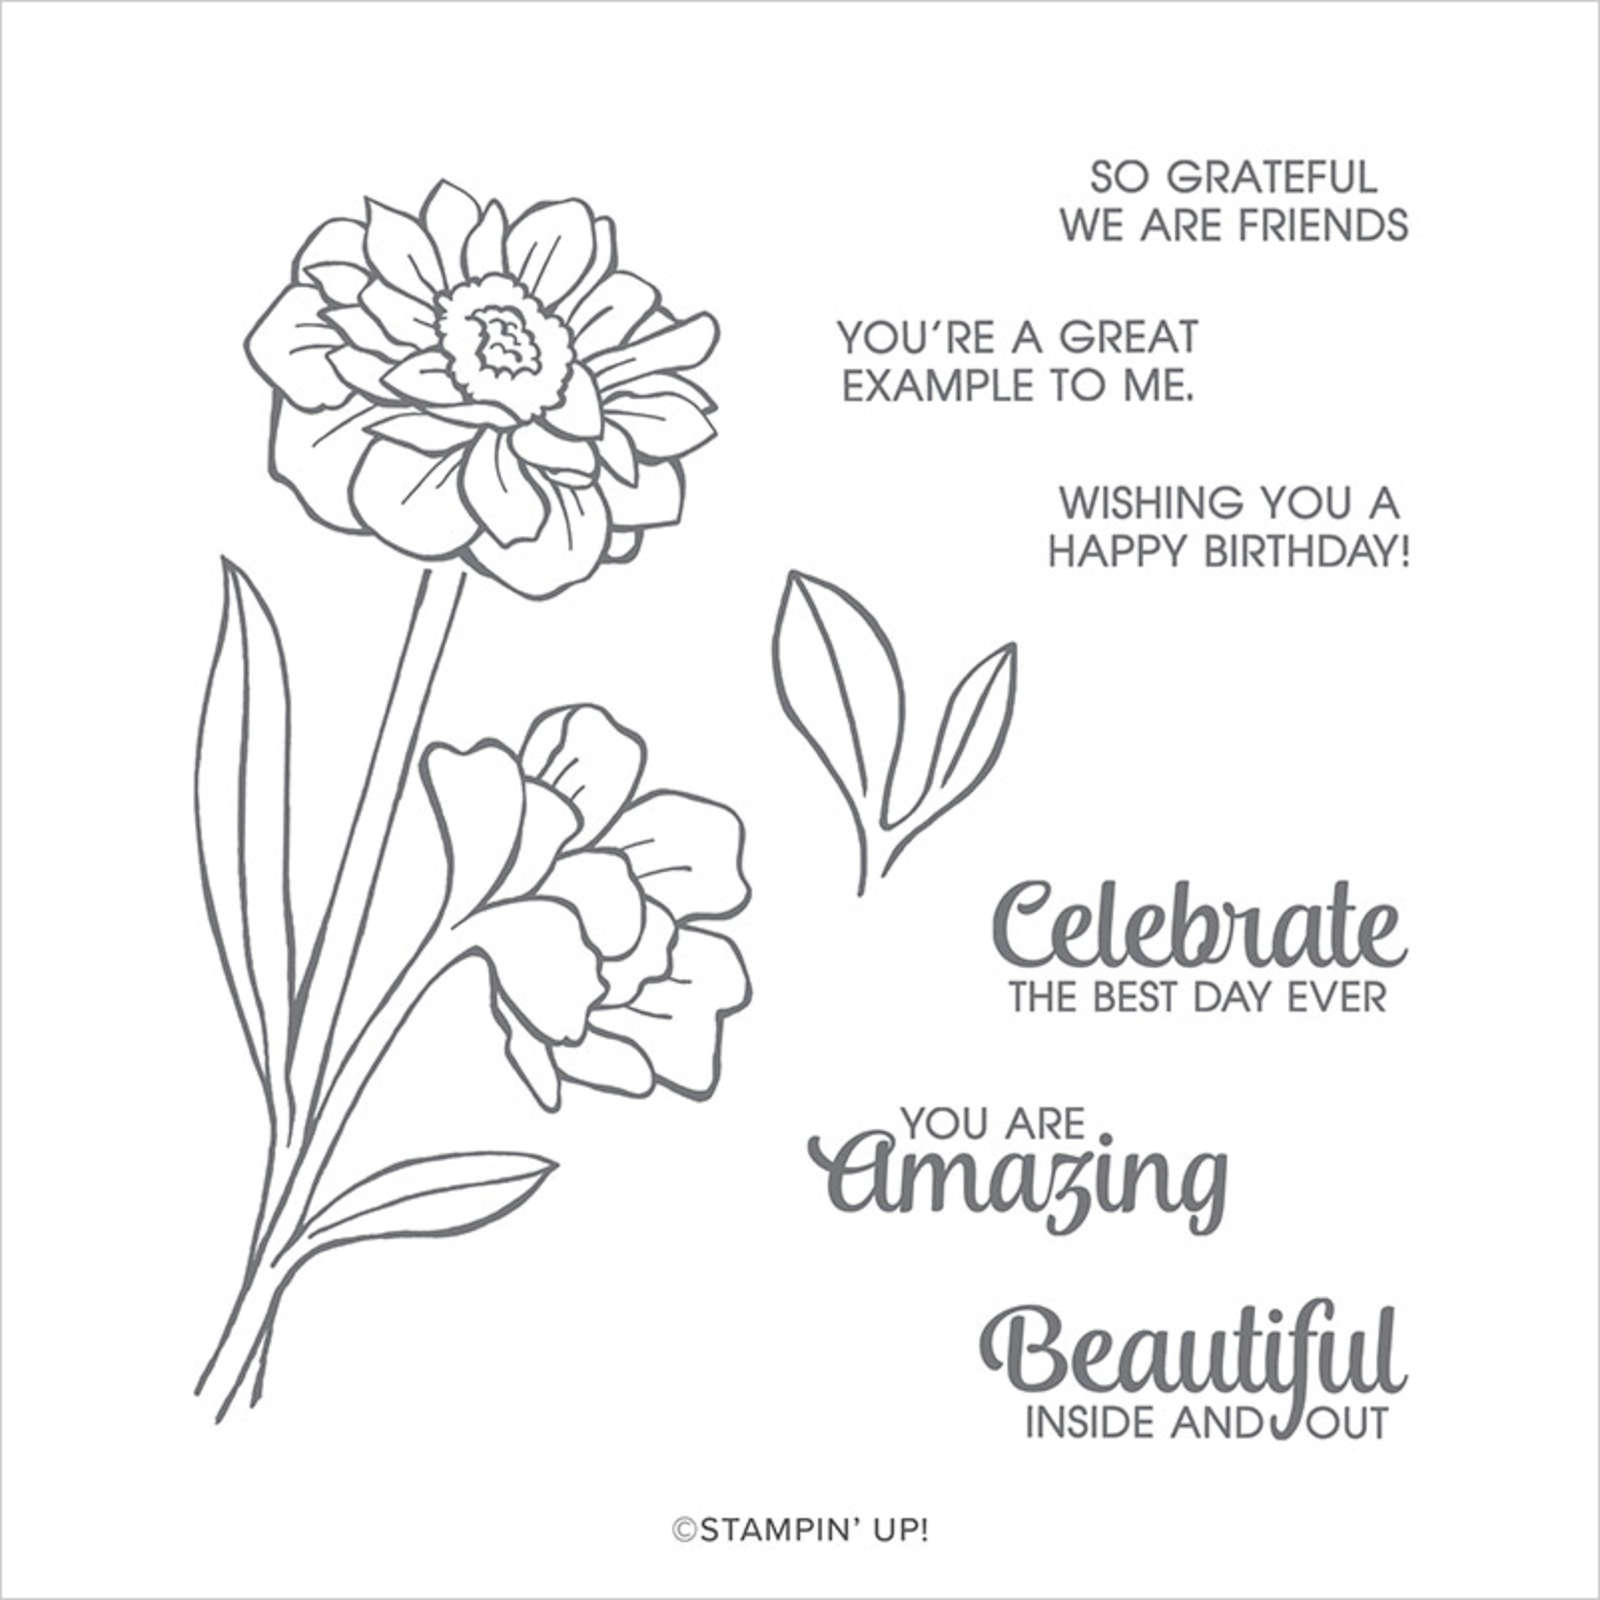
Fine Floral Thinking of You

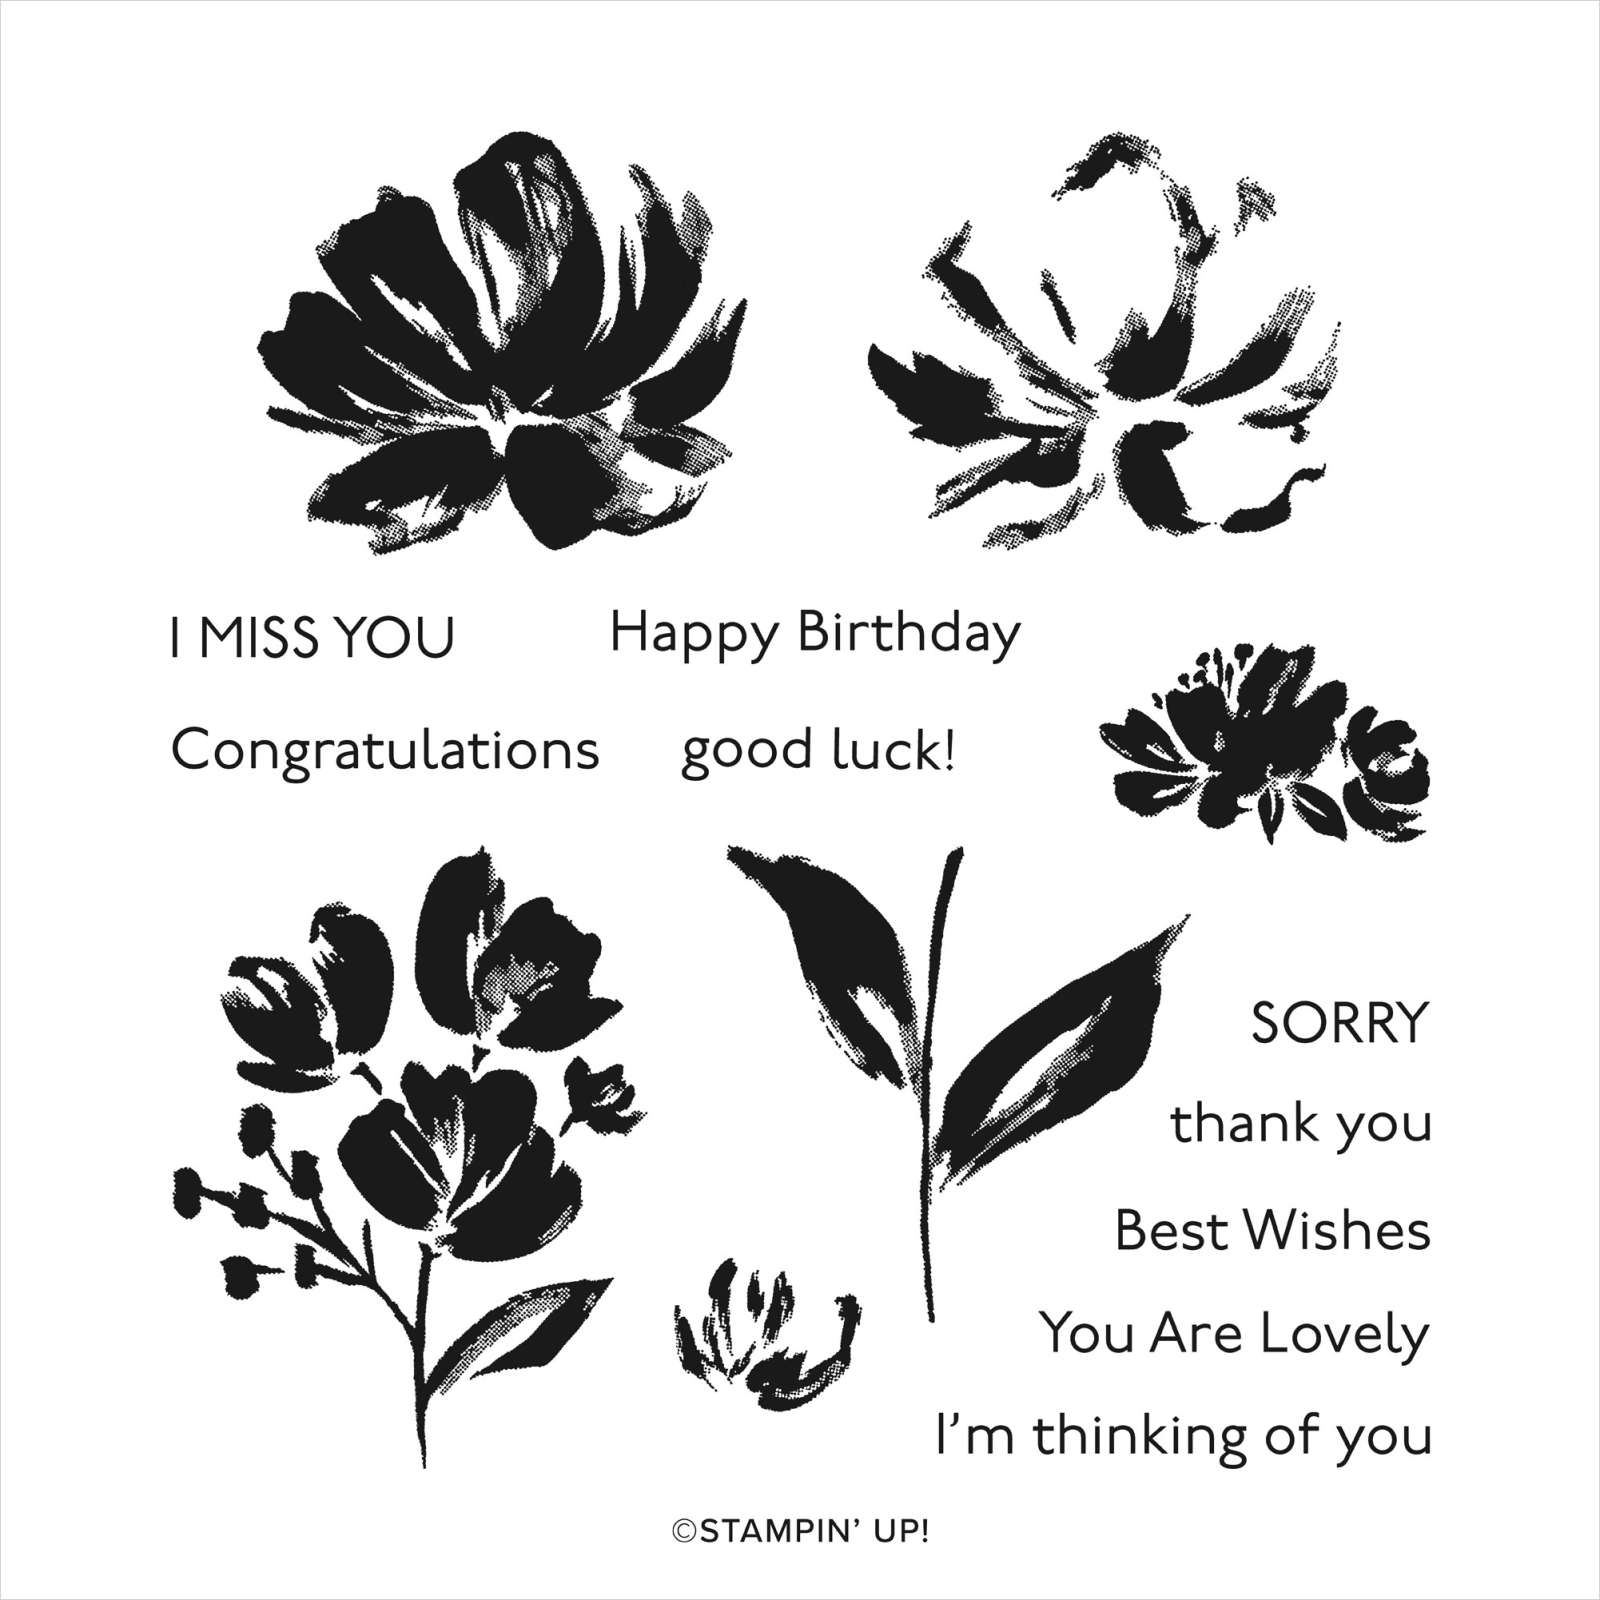
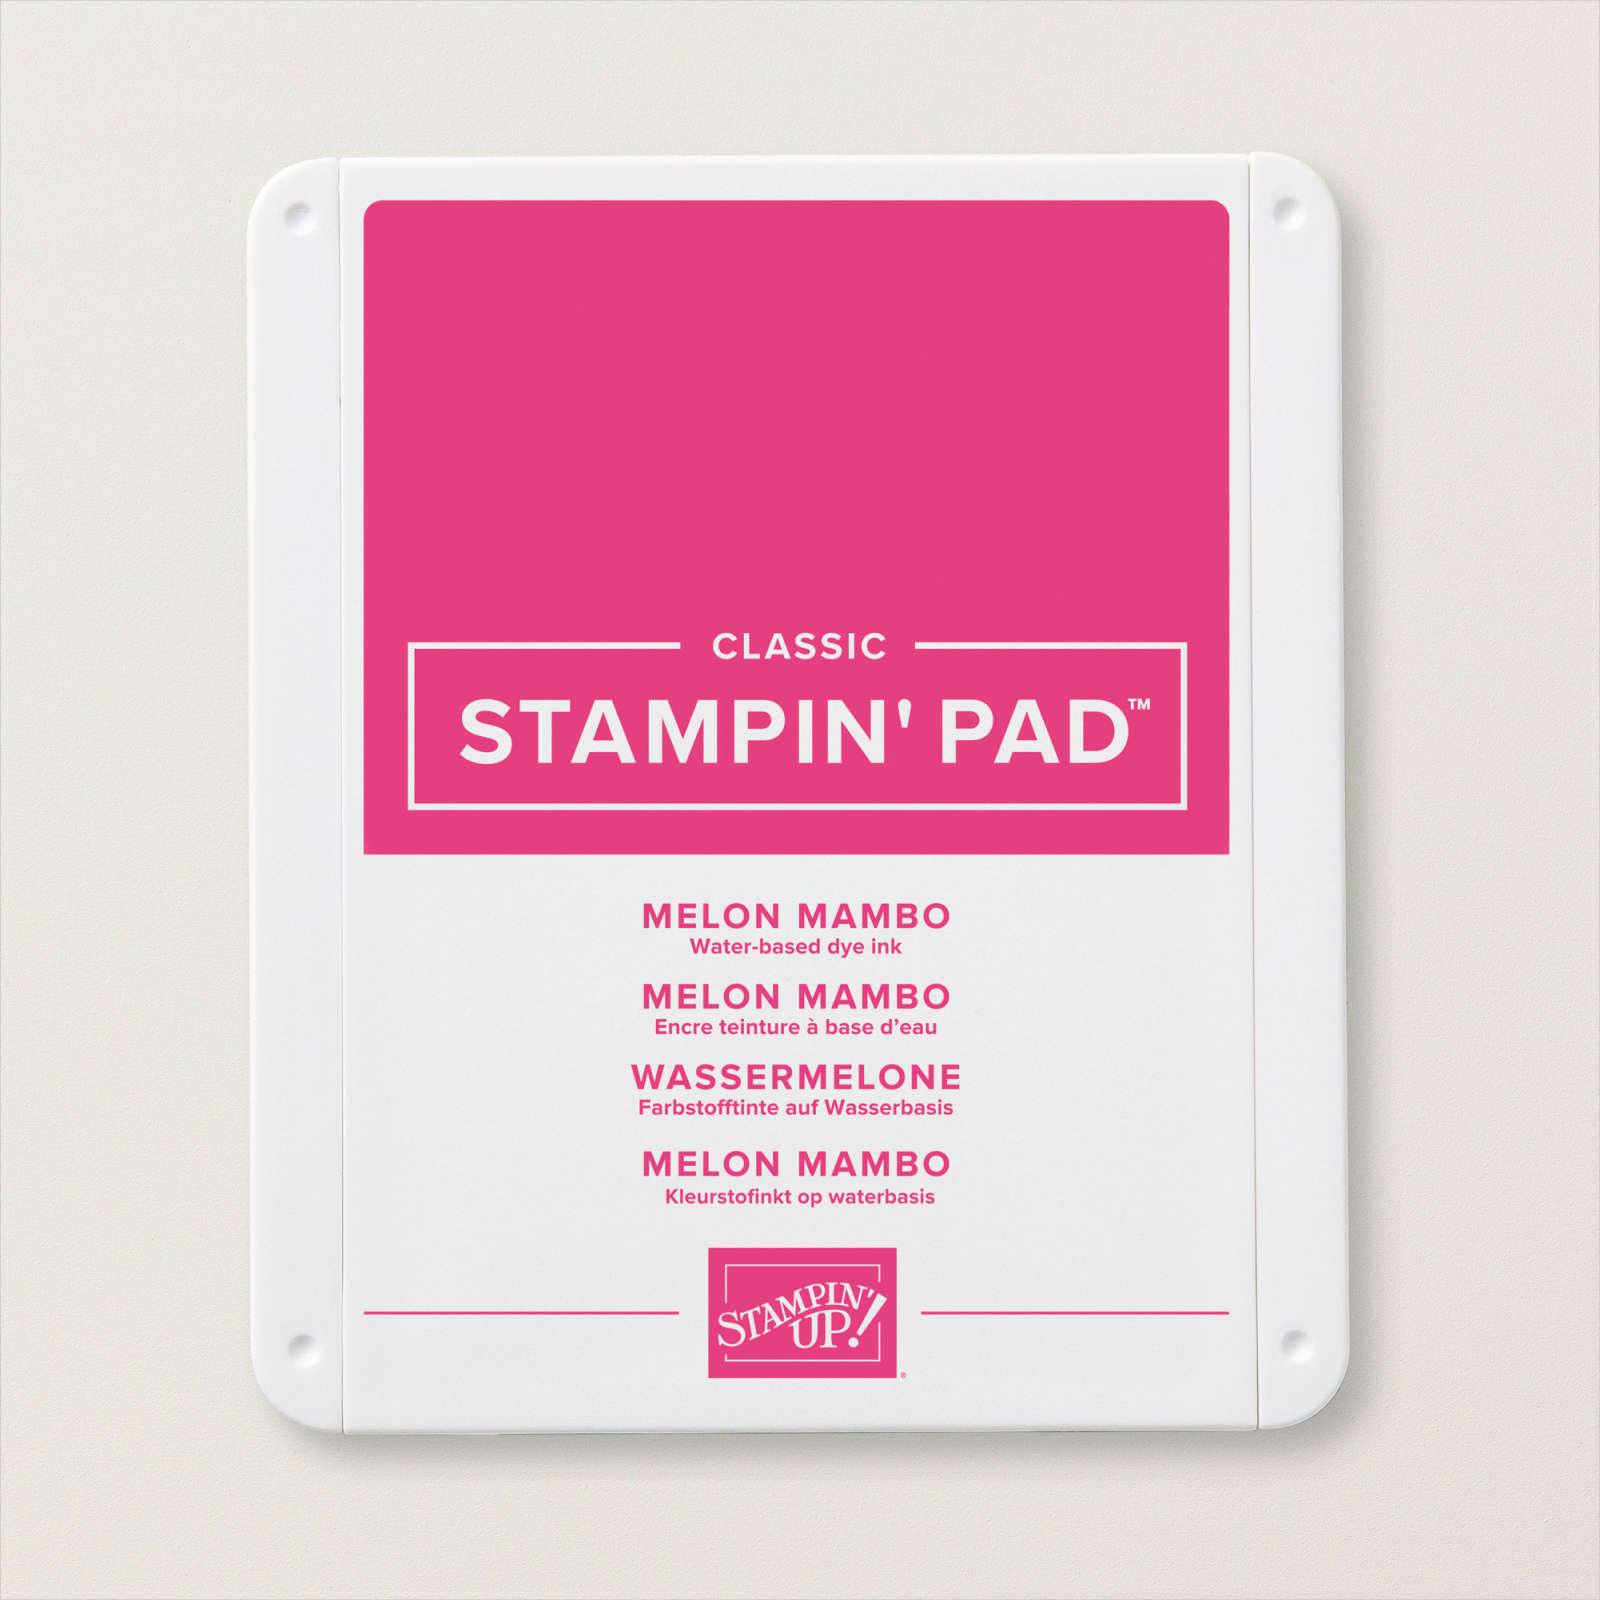
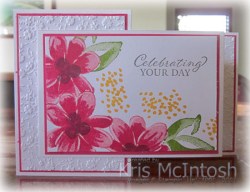
I created today’s card for a friend who recently underwent an operation and I thought I would share it with you. I stamped the stem image from the Art Gallery stamp set onto Basic White card using Old Olive ink. I stamped the solid flower image from the Art Gallery stamp set onto the stem using Melon Mambo ink which I had stamped onto scrap paper first. I stamped the detailed flower image over the top using Melon Mambo ink. I love how you get the variation in colour when you use a stamped off image.

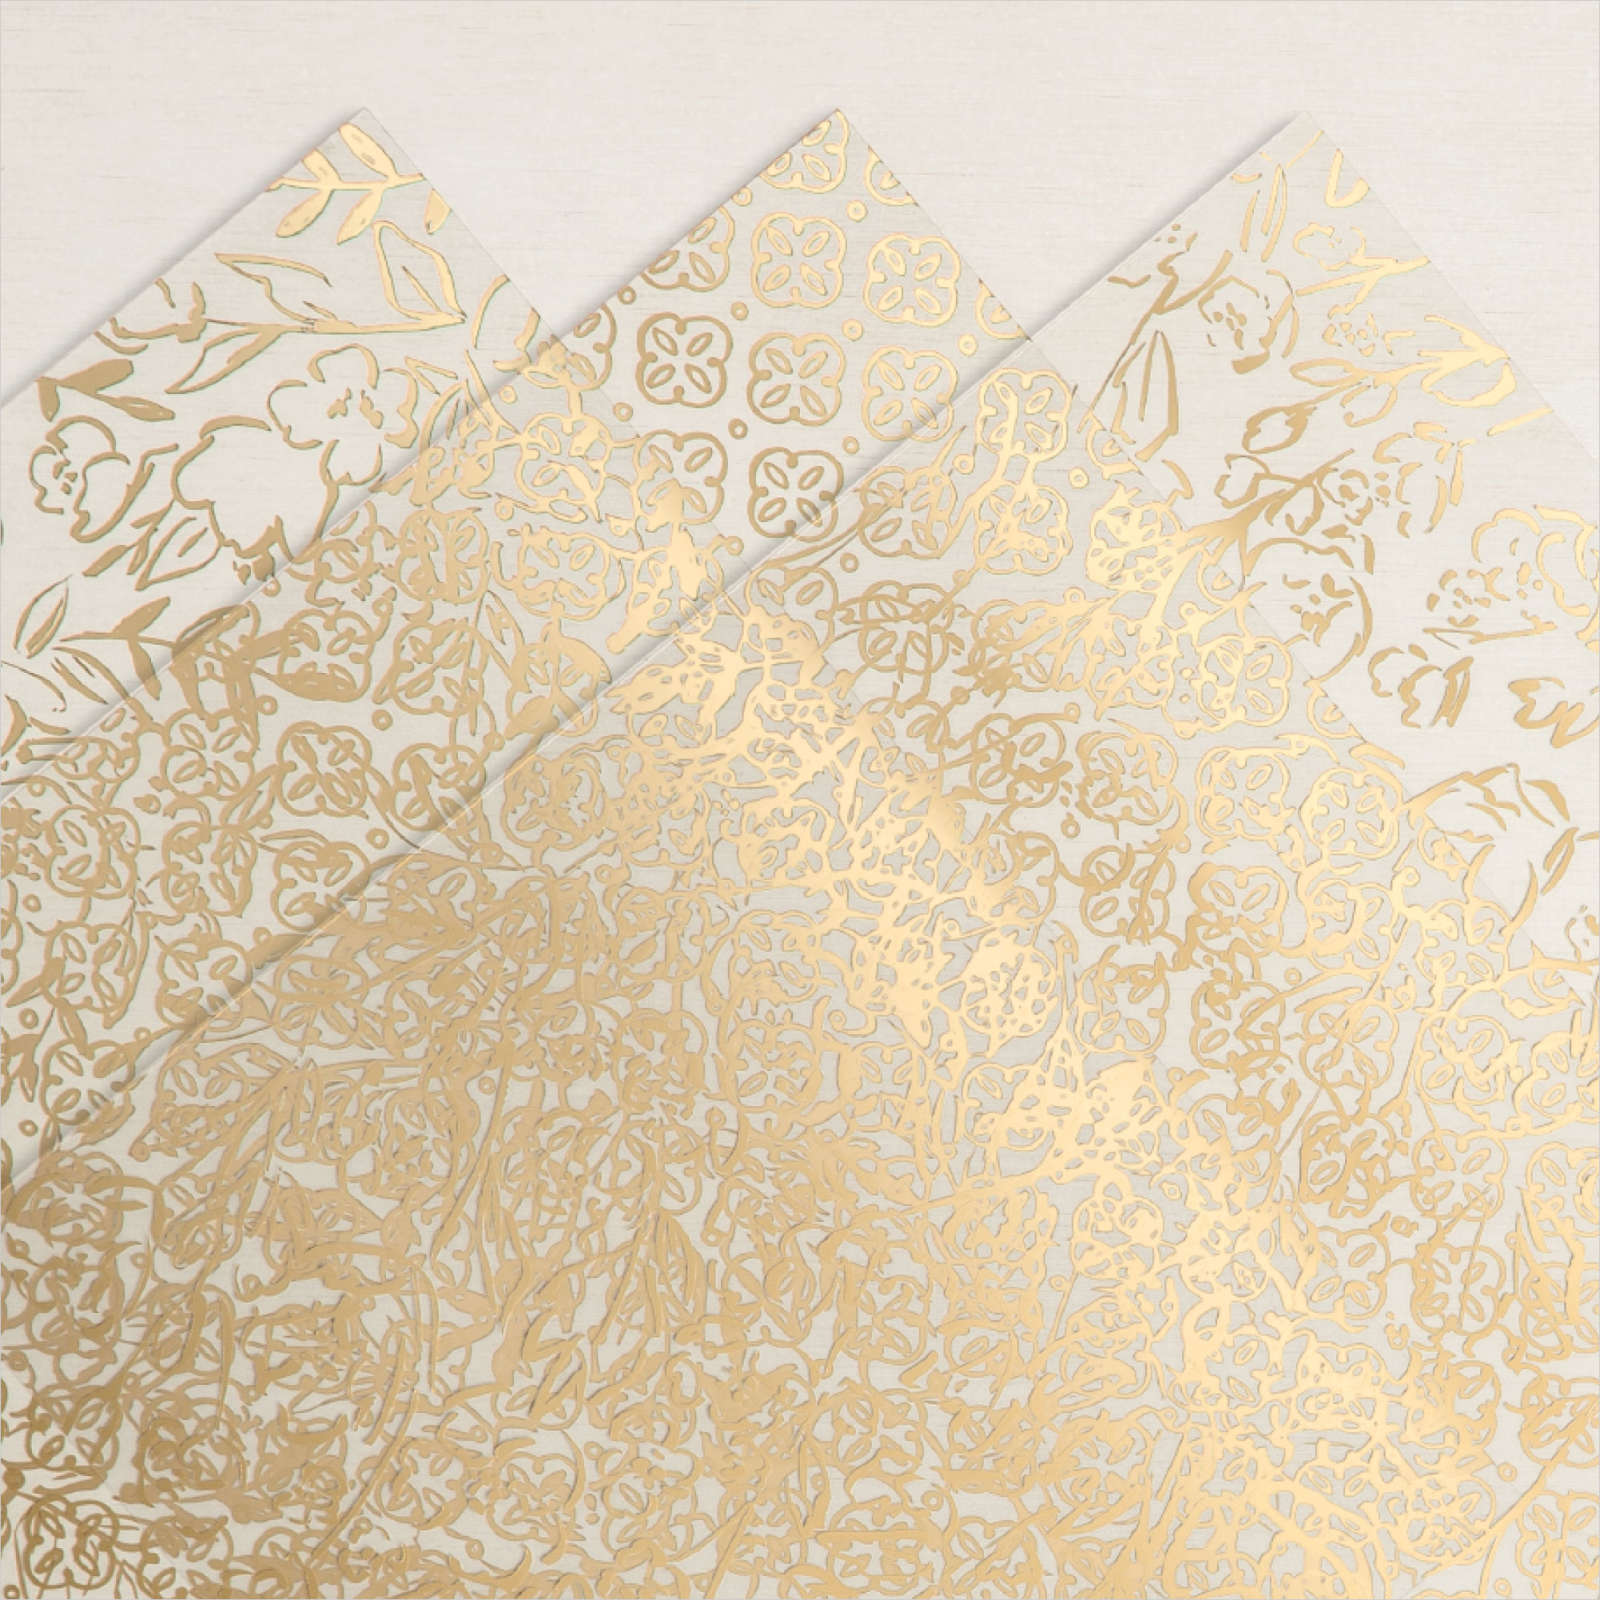
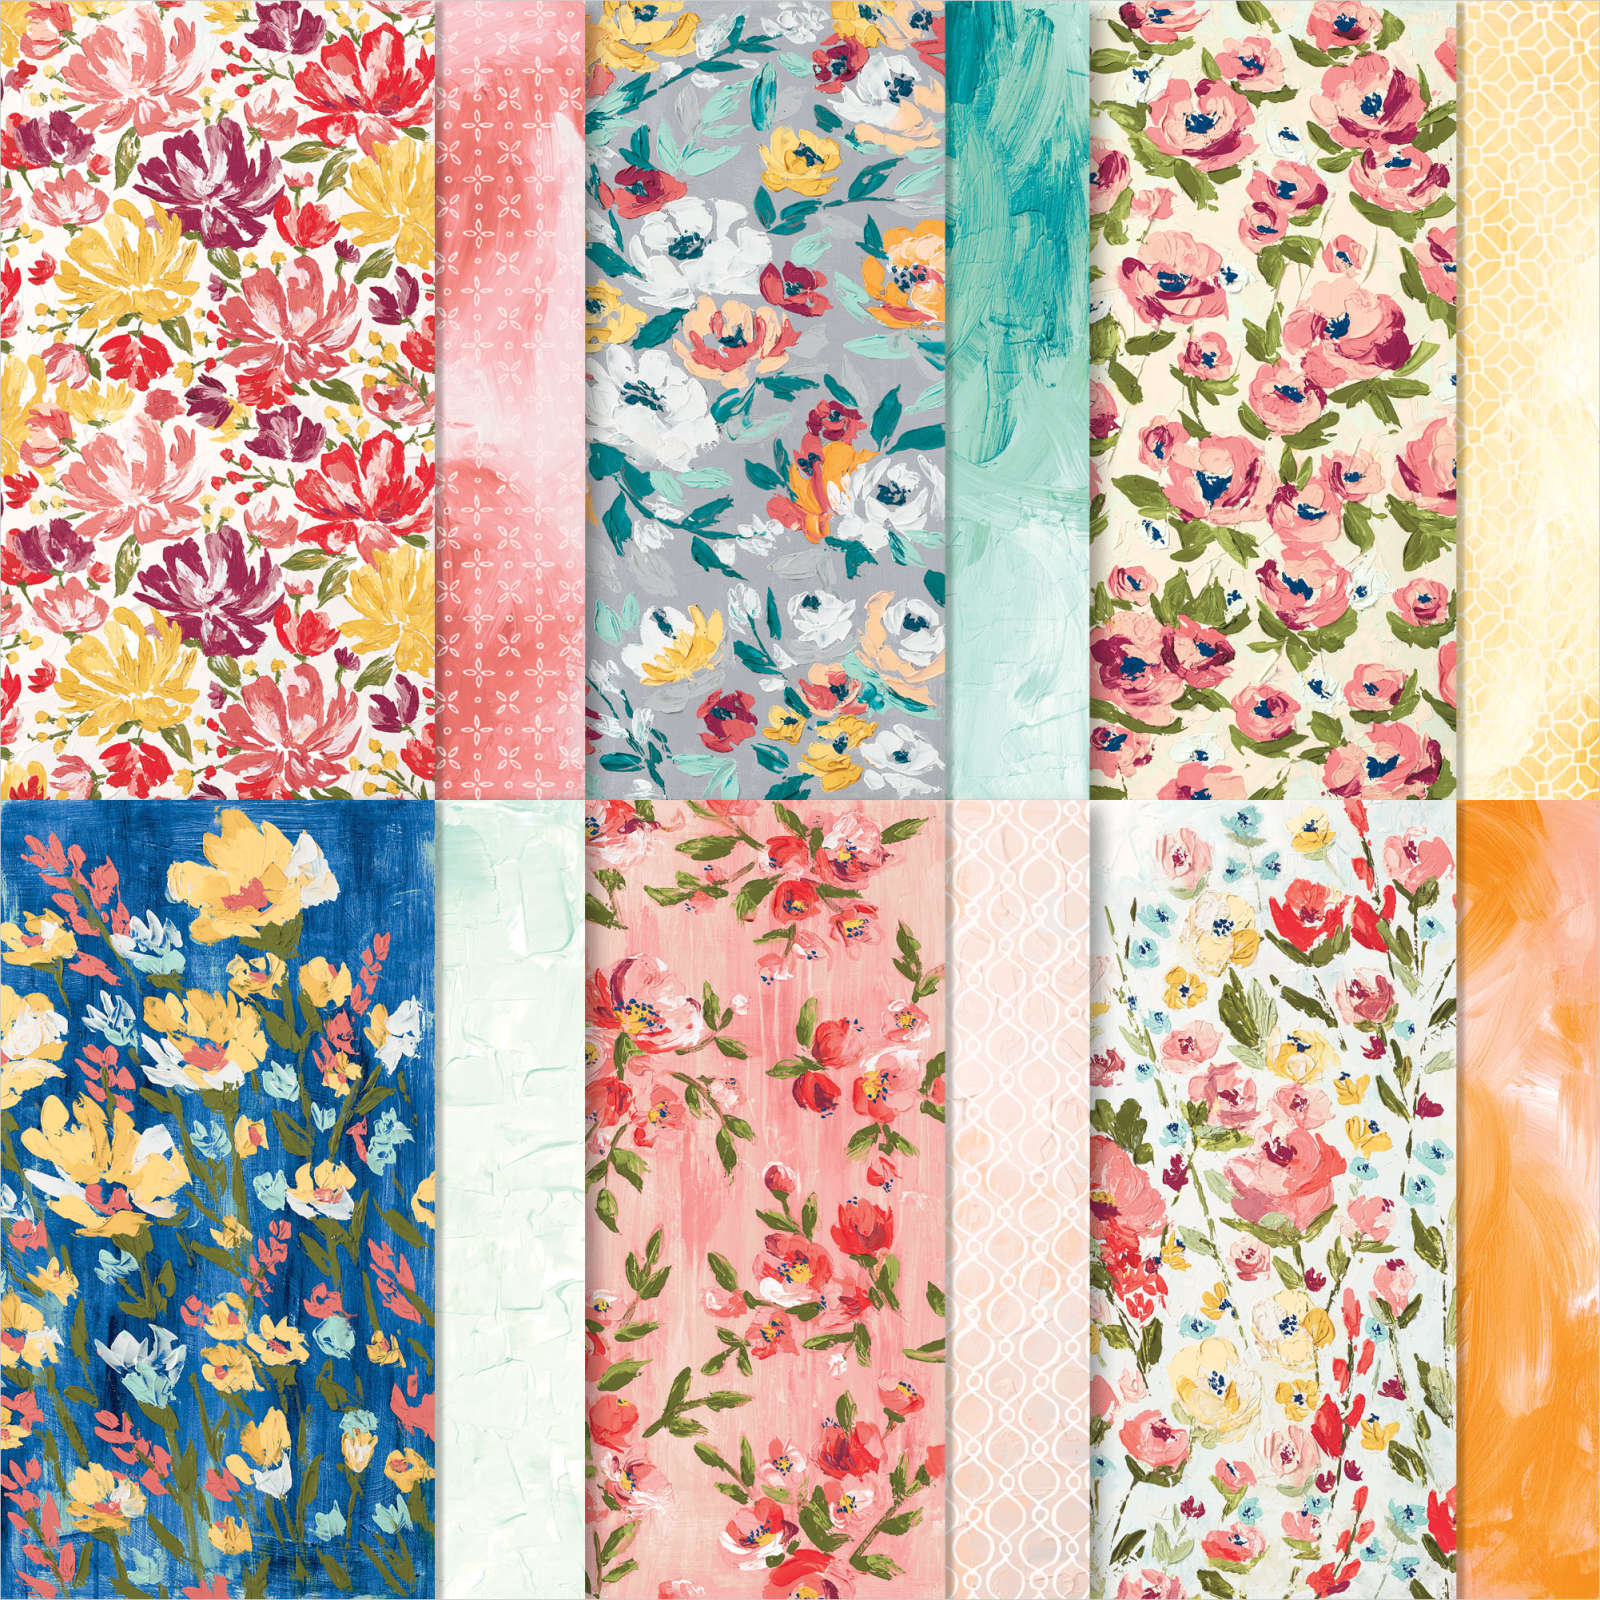
I inked the greeting from the Art Gallery stamp set so that I only inked the “thinking of you” using Old Olive ink. I stamped the greeting next to the leaf image. I attached a piece of the Golden Garden Designer Specialty Acetate to the co-ordinating paper from the Fine Art Floral Designer Series Paper.

I attached the Designer Series Paper panel across the bottom of the stamped Basic White panel. I attached a narrow strip of Gold Foil just above the designer series paper panel before attaching the Basic White card to Gold Foil card and then scored and folded Melon Mambo card. I had a couple of the now retired Beaded Pearls left so I added one to the centre of the flower. To decorate the inside of the card, I stamped the greeting from the Healing Hugs stamp set using Old Olive ink. I stamped the small floral image from the Art Gallery stamp set onto the bottom of the Basic White card using Melon Mambo ink which I had stamped onto scrap paper first. I added the small detailed flower over the top using Melon Mambo ink.
I love the finished card, don’t you.
Bye for now,
Kris
Product Used:


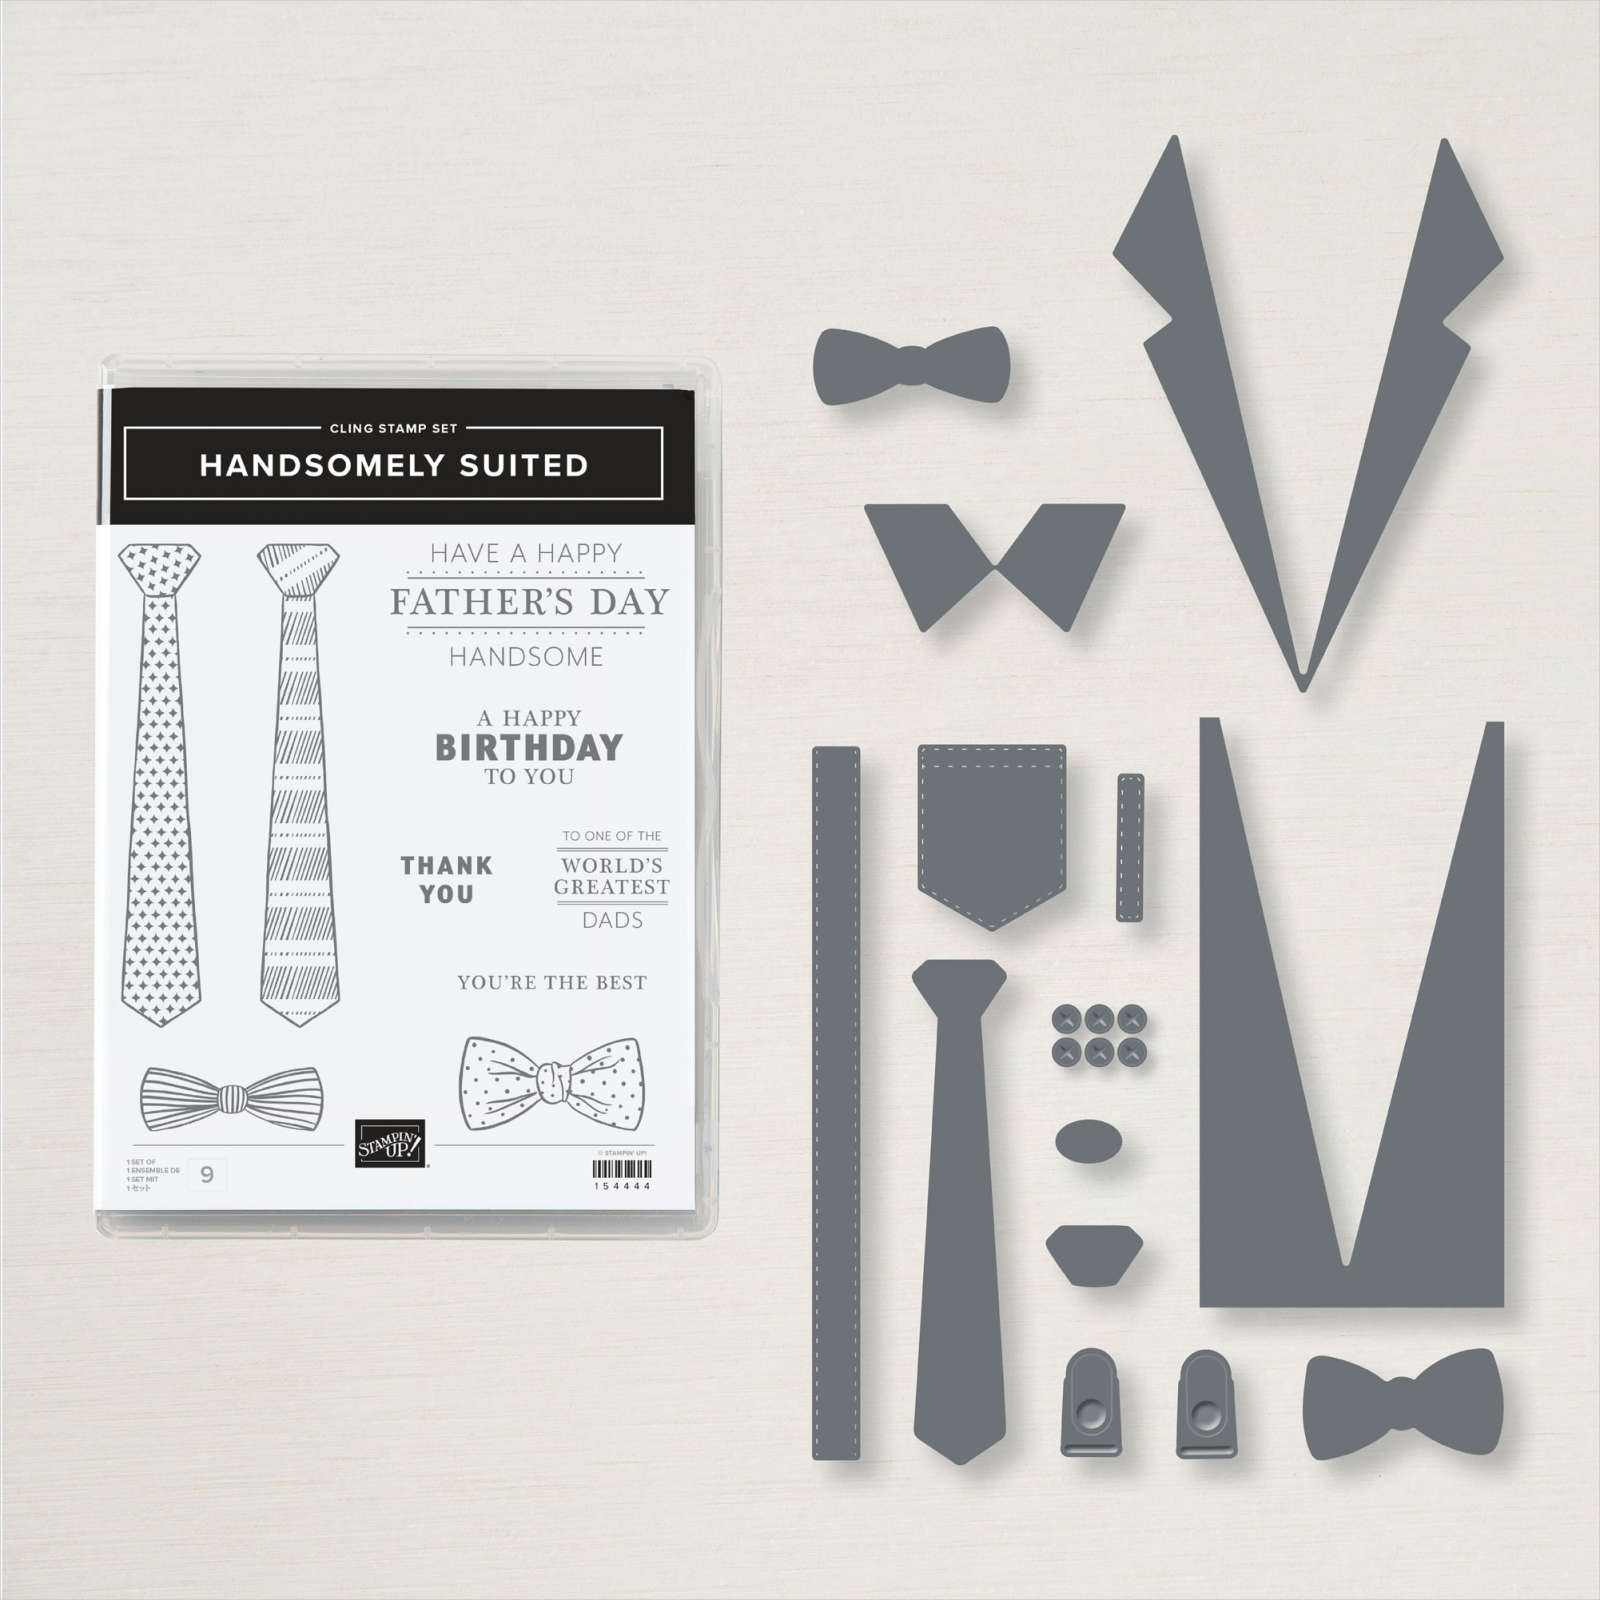
Birthday Suit
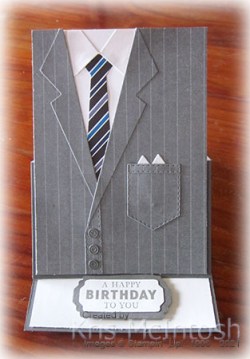
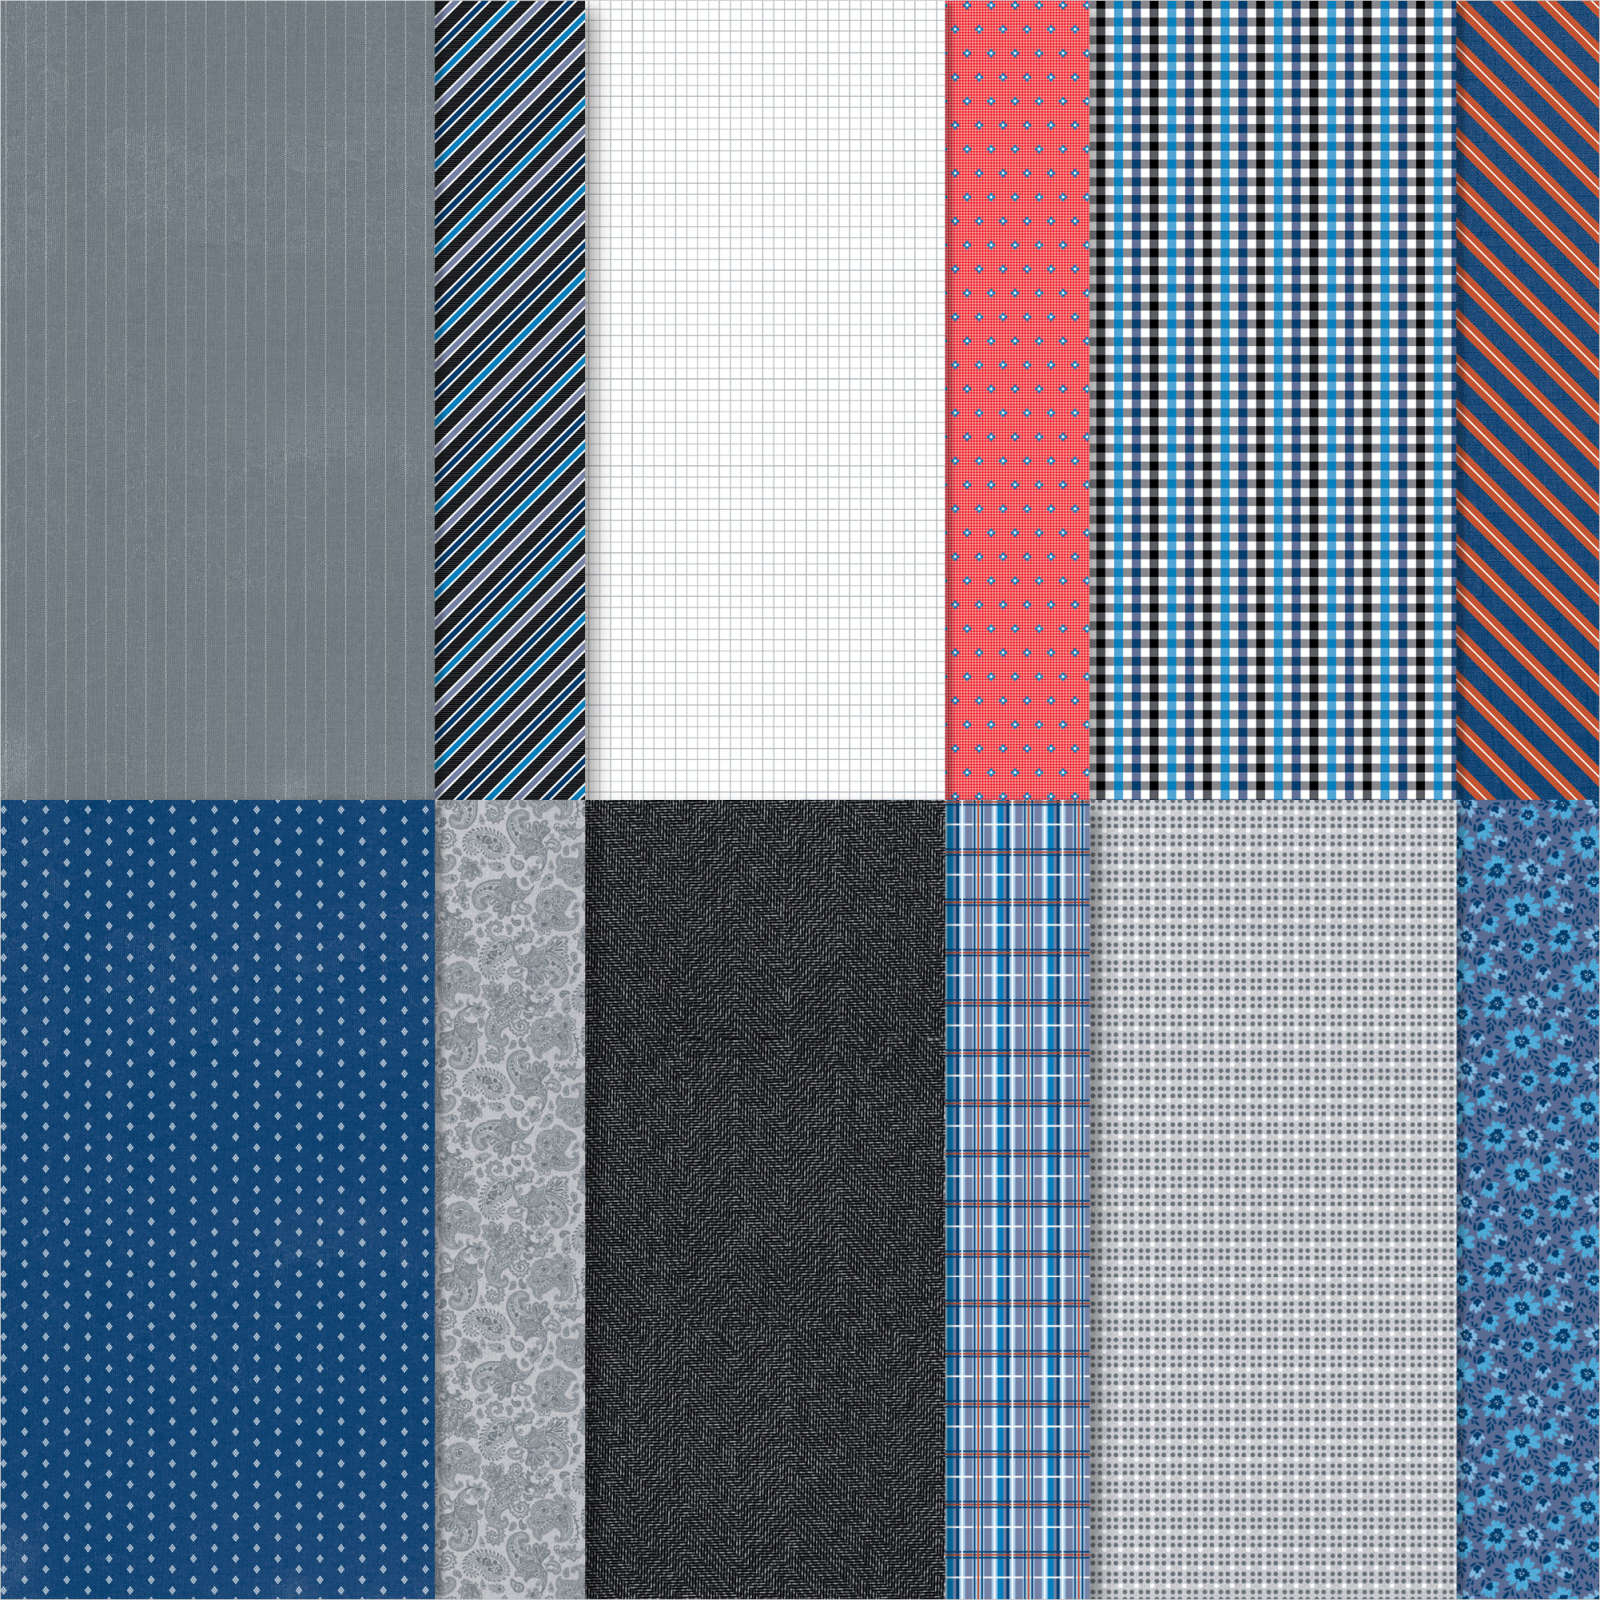
Today’s card uses the Hansomely Suited stamp set and the Suit & Tie Dies. I have wanted to try making a card where the coat pieces overlap and finally got it done. I cut the pieces for the suit and tie from the Well Suited Designer Series Paper using the Suit and Tie Dies. I cut the suit coat pieces in half at the end of the “v”. I attached the collar panel to one side and on the second side, I added the edging strip before attaching the collar piece. I attached the shirt collar piece to a Basic White layer making sure to attach the tie underneath.

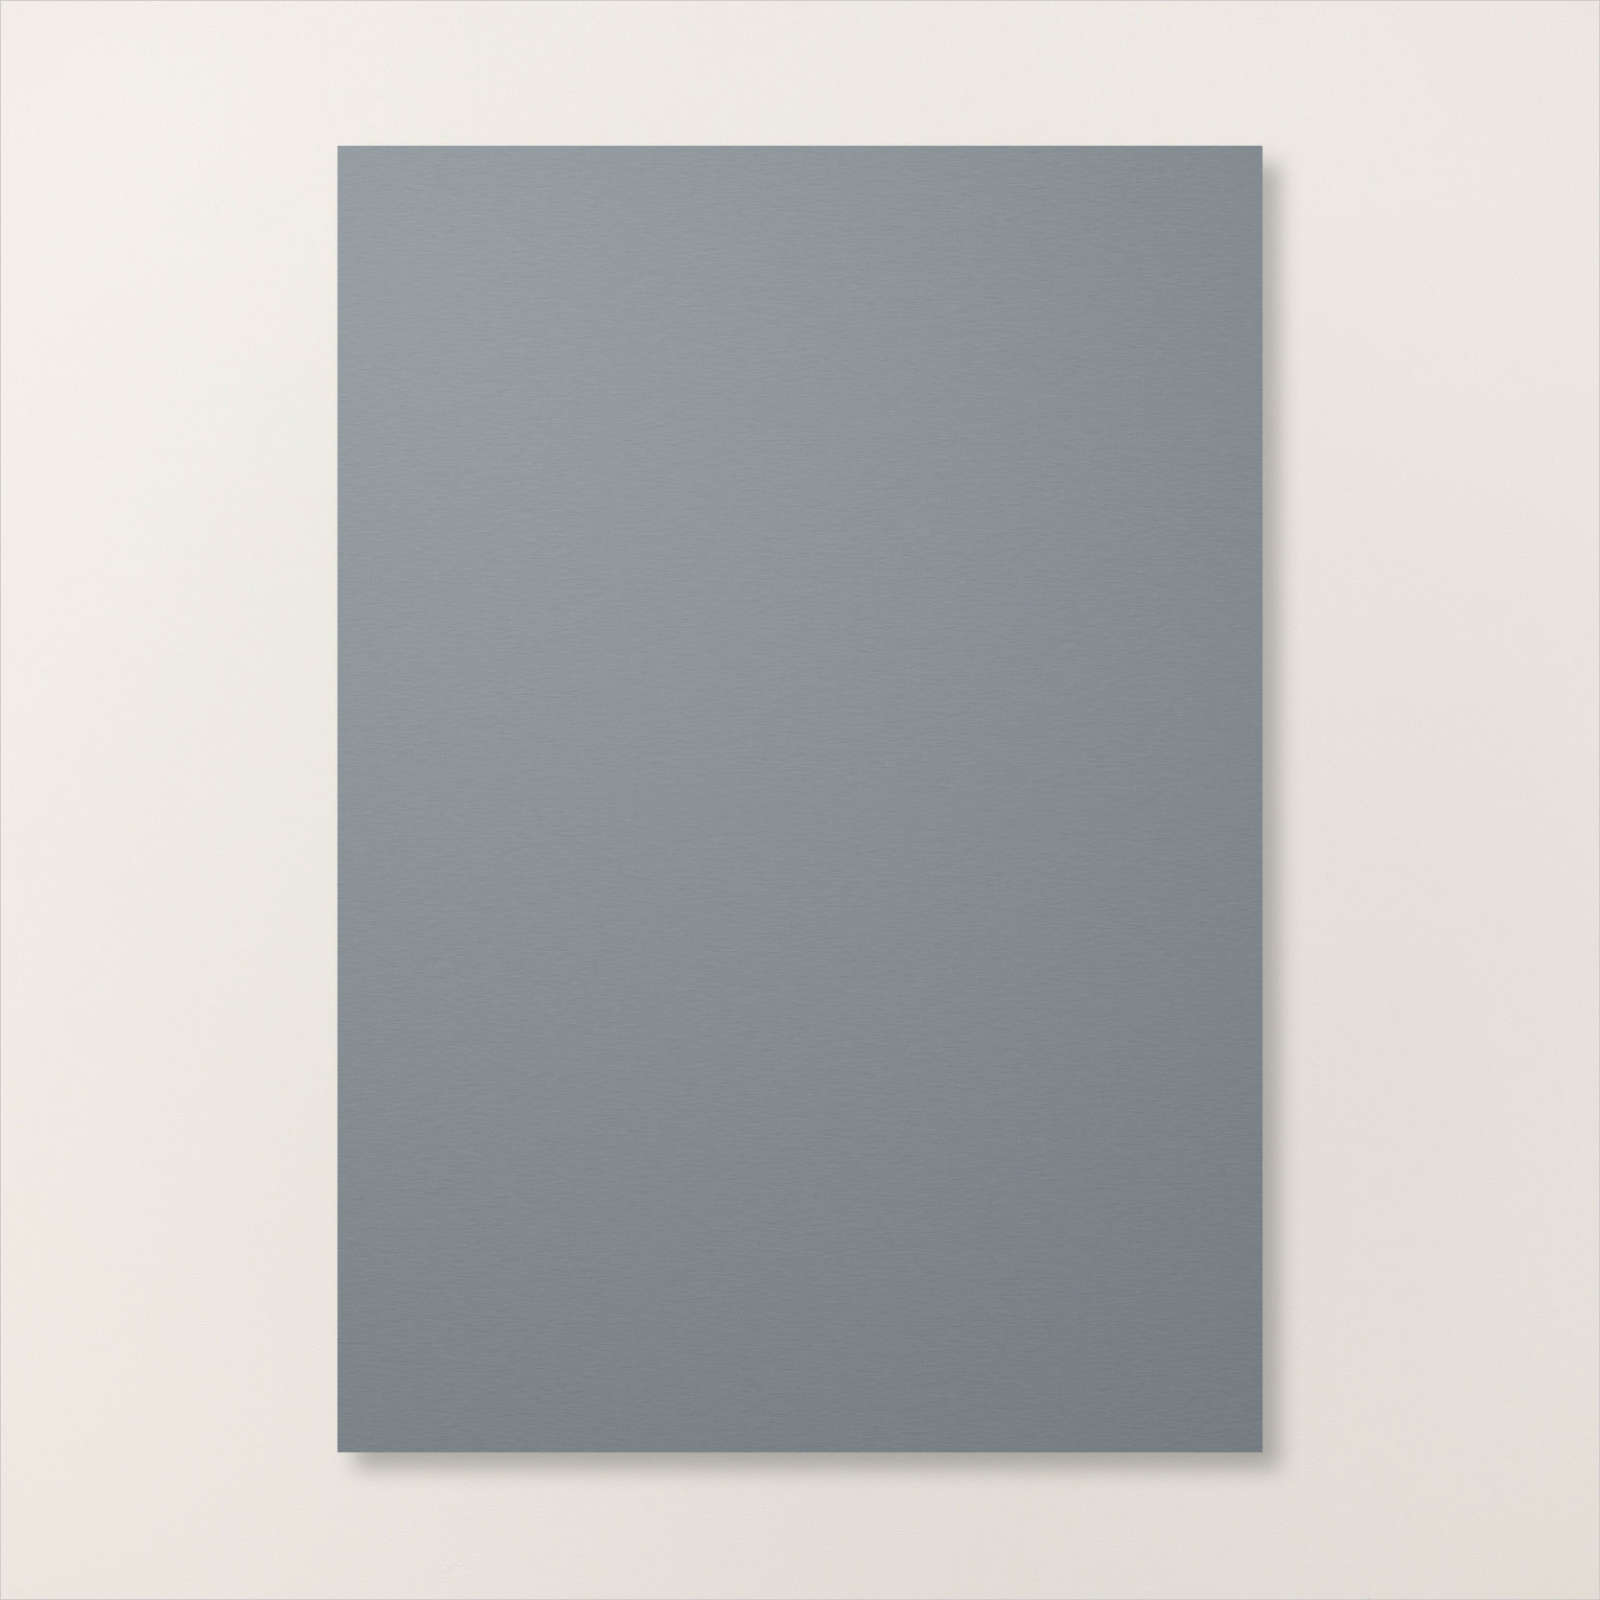
I attached the smaller piece of the “jacket” to the card front and attached the second piece so that it sits over the first piece. I attached the small decorative topper to the pocket. I attached the second shirt collar piece (which is folded to look like a handkerchief) behind the pocket before attaching it to the card front. I cut Basic Gray card using the button die from the Suite & Tie Dies and attached three buttons to the coat. I cut my card base from Basic Gray card and scored and folded it to create an easel card base before attaching the suit piece. I stamped “a happy birthday to you” from the Handsomely Suited stamp set onto Basic White card using Basic Gray ink. I punched the stamped panel using the Lovely Labels Pick a Punch. I punched both ends of Basic Gray card using the Lovely Labels Pick a Punch and attached the greeting. The whole piece is attached to the bottom of Basic White card using dimensionals before attaching the panel inside the easel card base.
I am rather happy with the way this card turned out. What do you think?
Bye for now,
Kris
Product Used:


Happy Birthday Elyssa

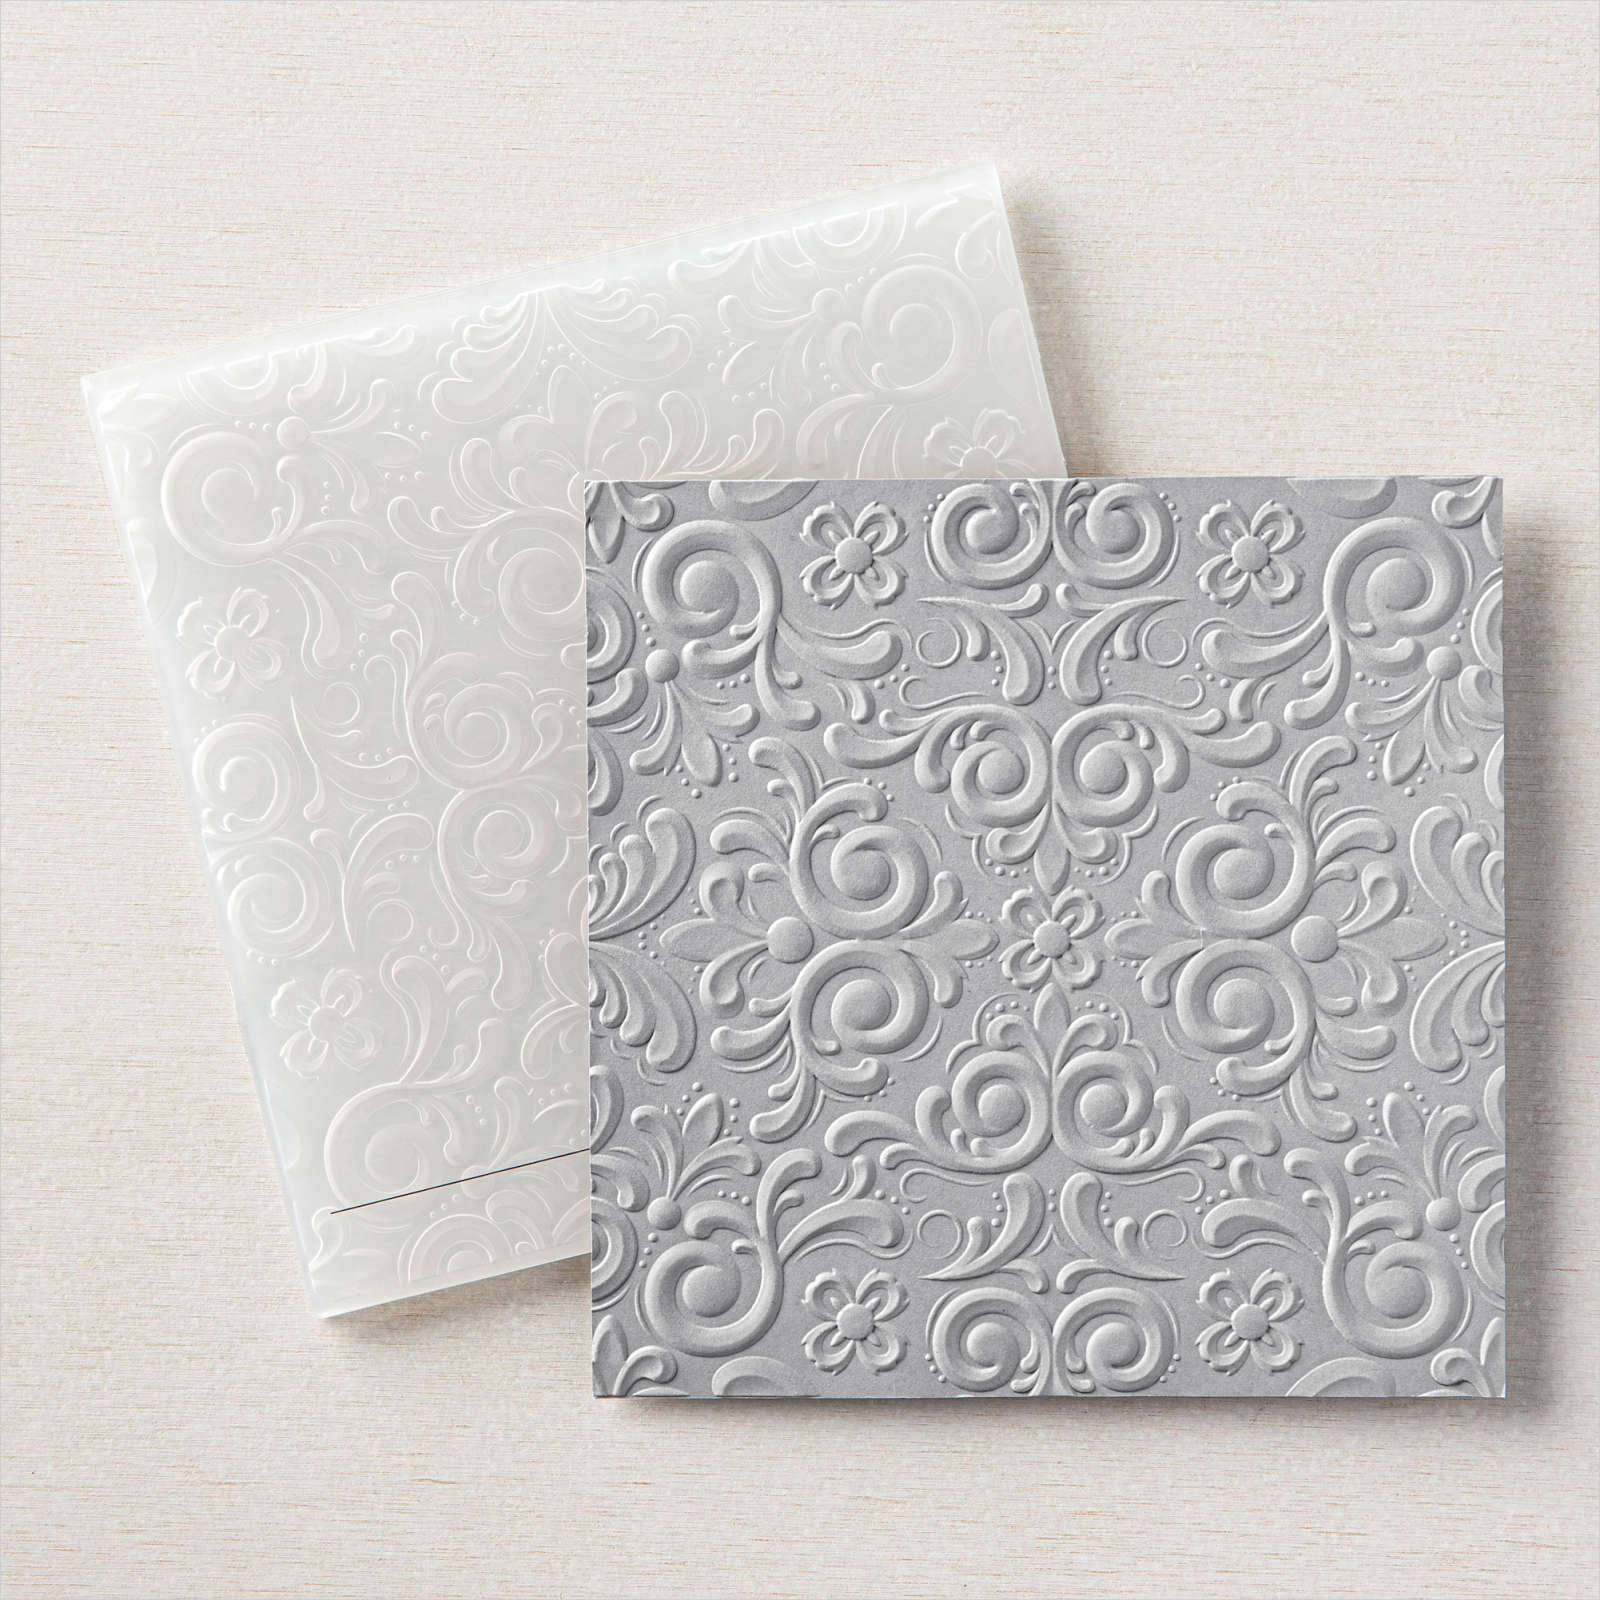
My granddaughter Elyssa celebrated her 13th birthday last week and I thought I would share the card I made for her. Since I was on a roll making Z-Fold cards, I had to make Elyssa one! I cut the card base and the Z-Fold from Rococo Rose card. I cut all of the panels from Basic White card and embossed all but one using the Parisian Flourish 3D Embossing Folder.

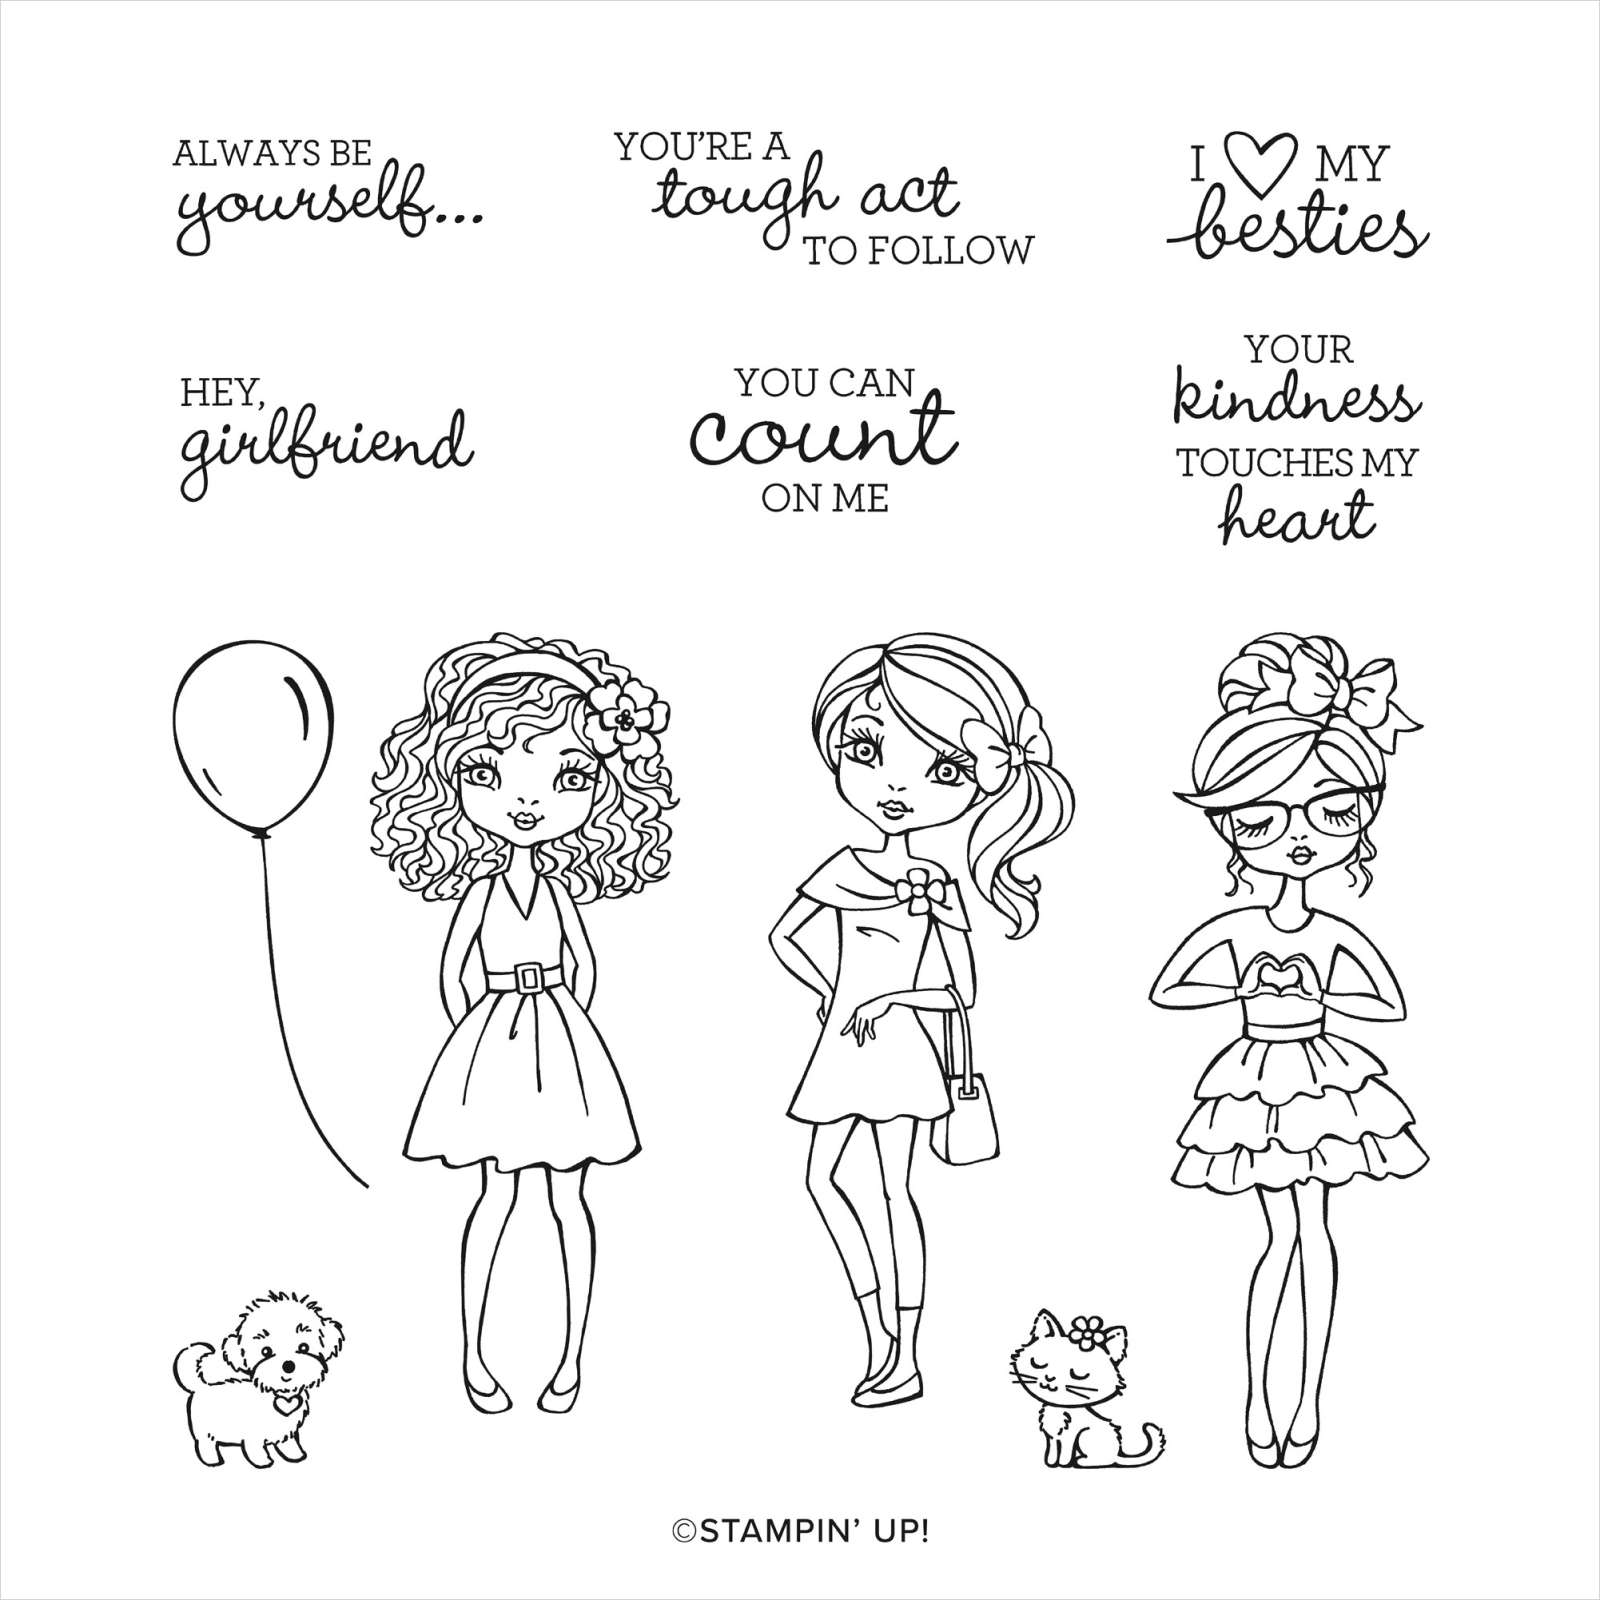
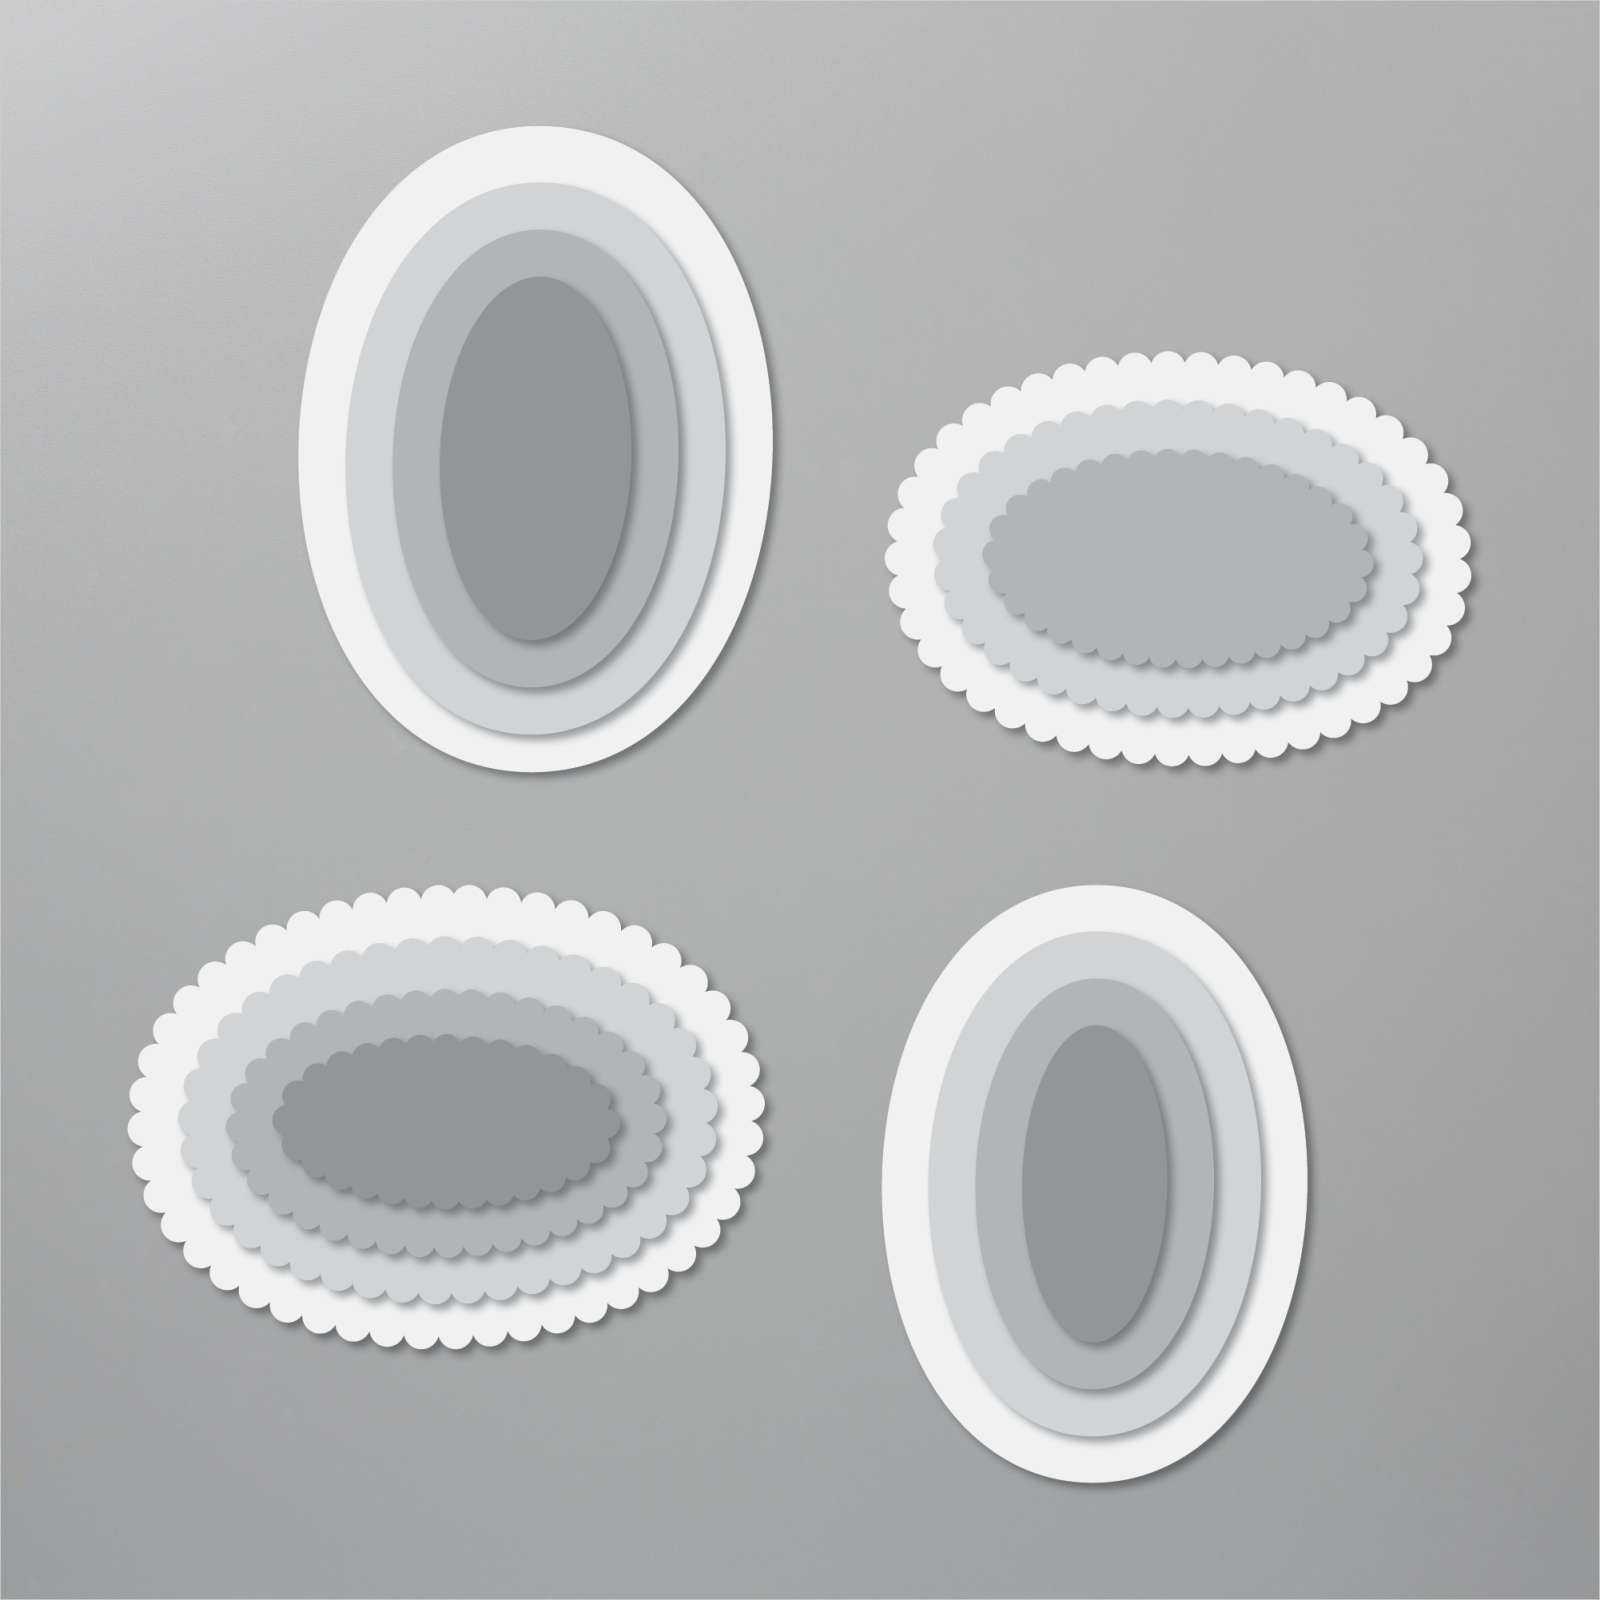
I stamped the image from the Hey Girlfriend stamp set onto Basic White card using Memento Tuxedo Black ink. I coloured the image using Rococo Rose, Ivory and Light Soft Suede Stampin’ Blends. I cut out the image using the Layering Ovals Dies and attached it to a scalloped oval cut from Rococo Rose card. The image panel is attached to the centre of the card front.

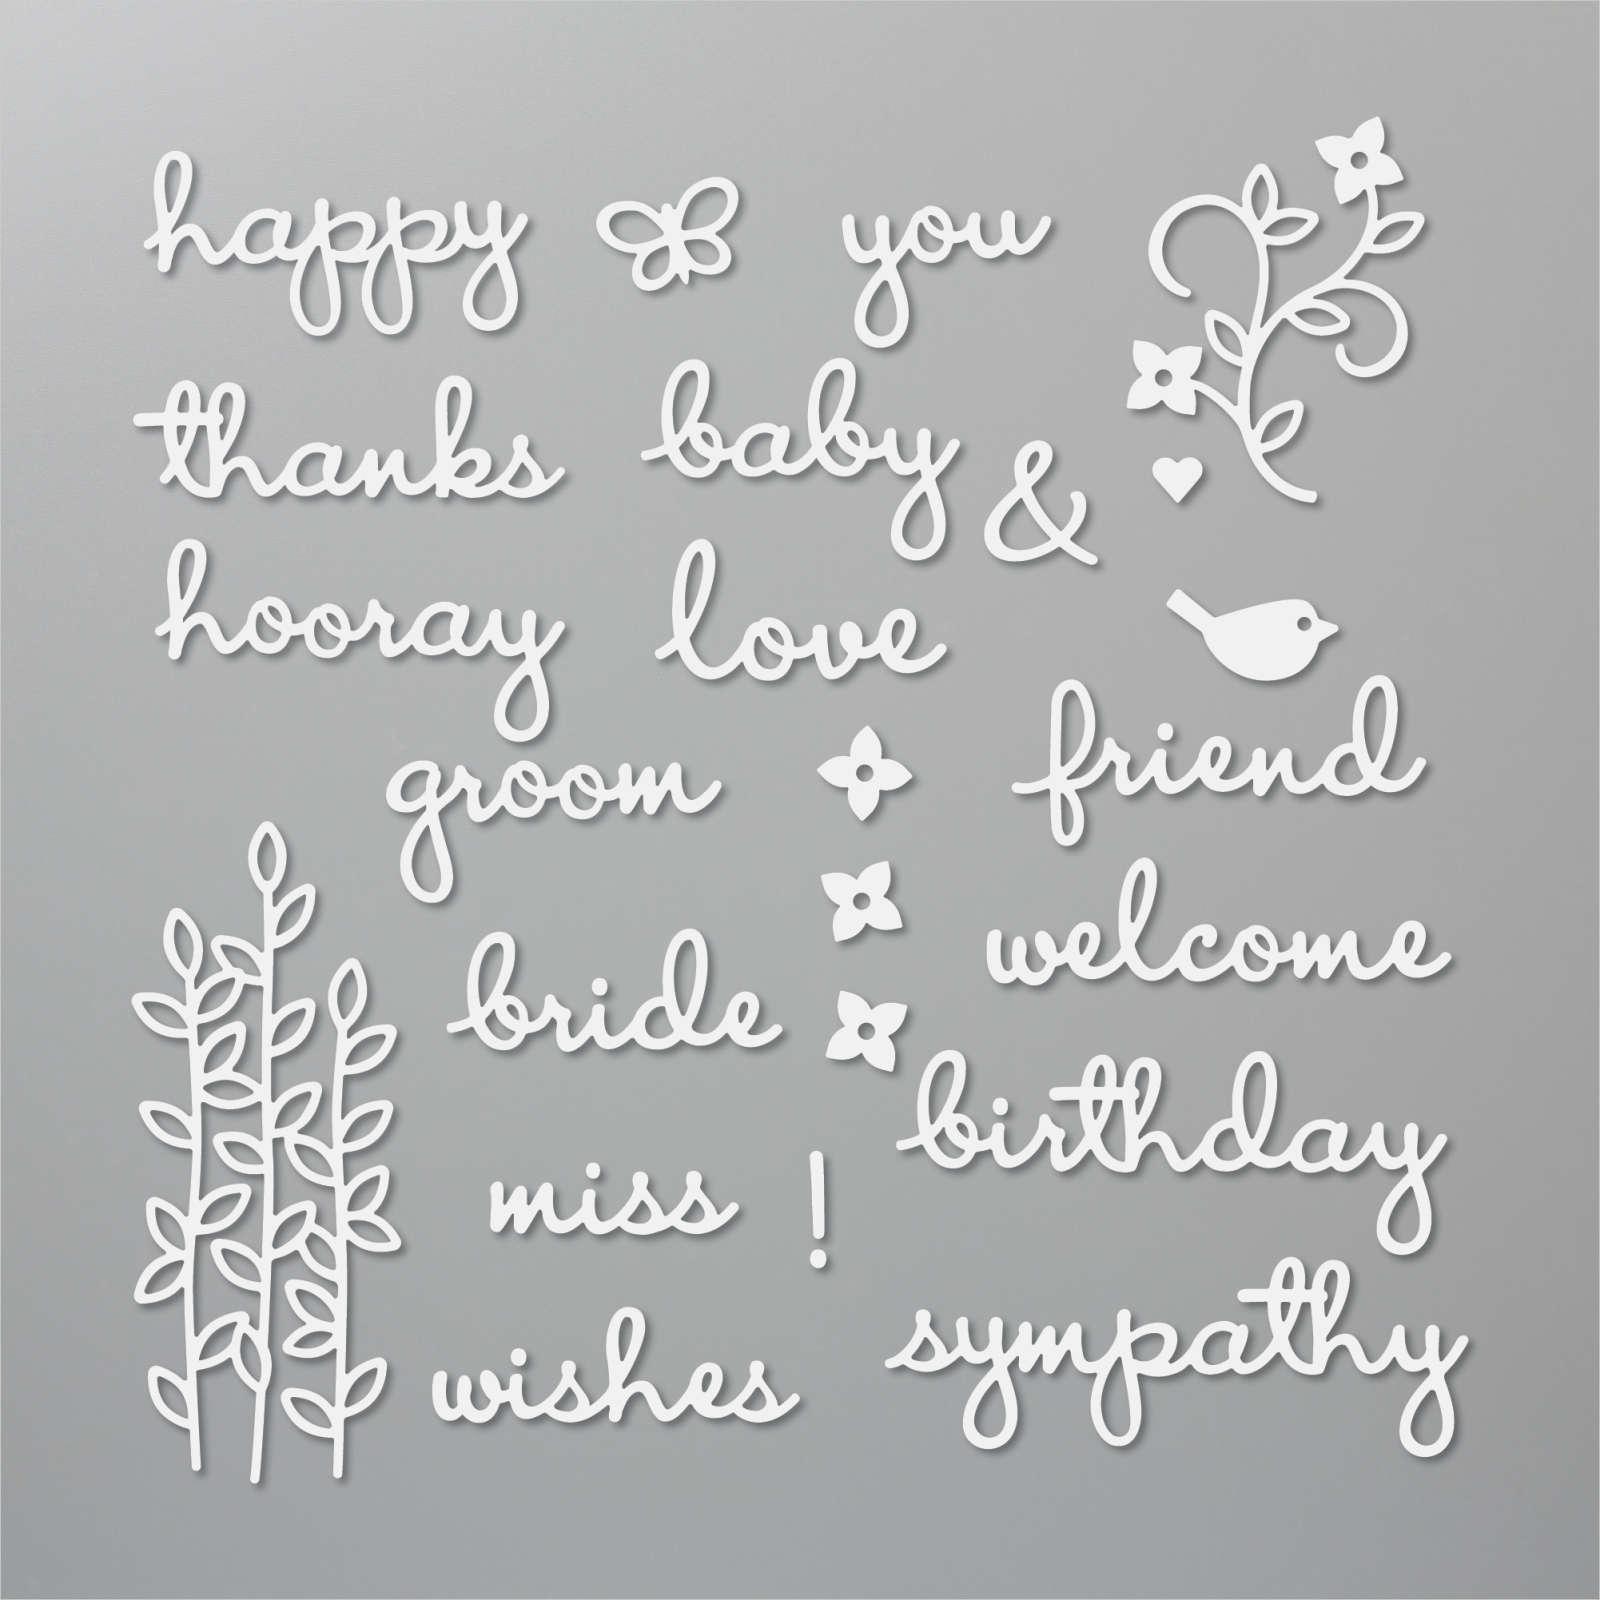
I cut “happy” and “birthday” from Rococo Rose card using the Well Written Dies. I used the Playful Alphabet Dies to cut “13” and to create the “th”, I die cut Rococo Rose card using the “birthday” die from the Well Written Dies and trimmed out the “th”. The die cuts are attached to the centre panel on the Z-Fold. The last panel is plain Basic White card so that I could write a greeting.
I just love the finished result, so soft and pretty but kind of grown up for someone entering their “teens”. I’d love to know what you think.
Bye for now,
Kris
Product Used:


First Day 2021

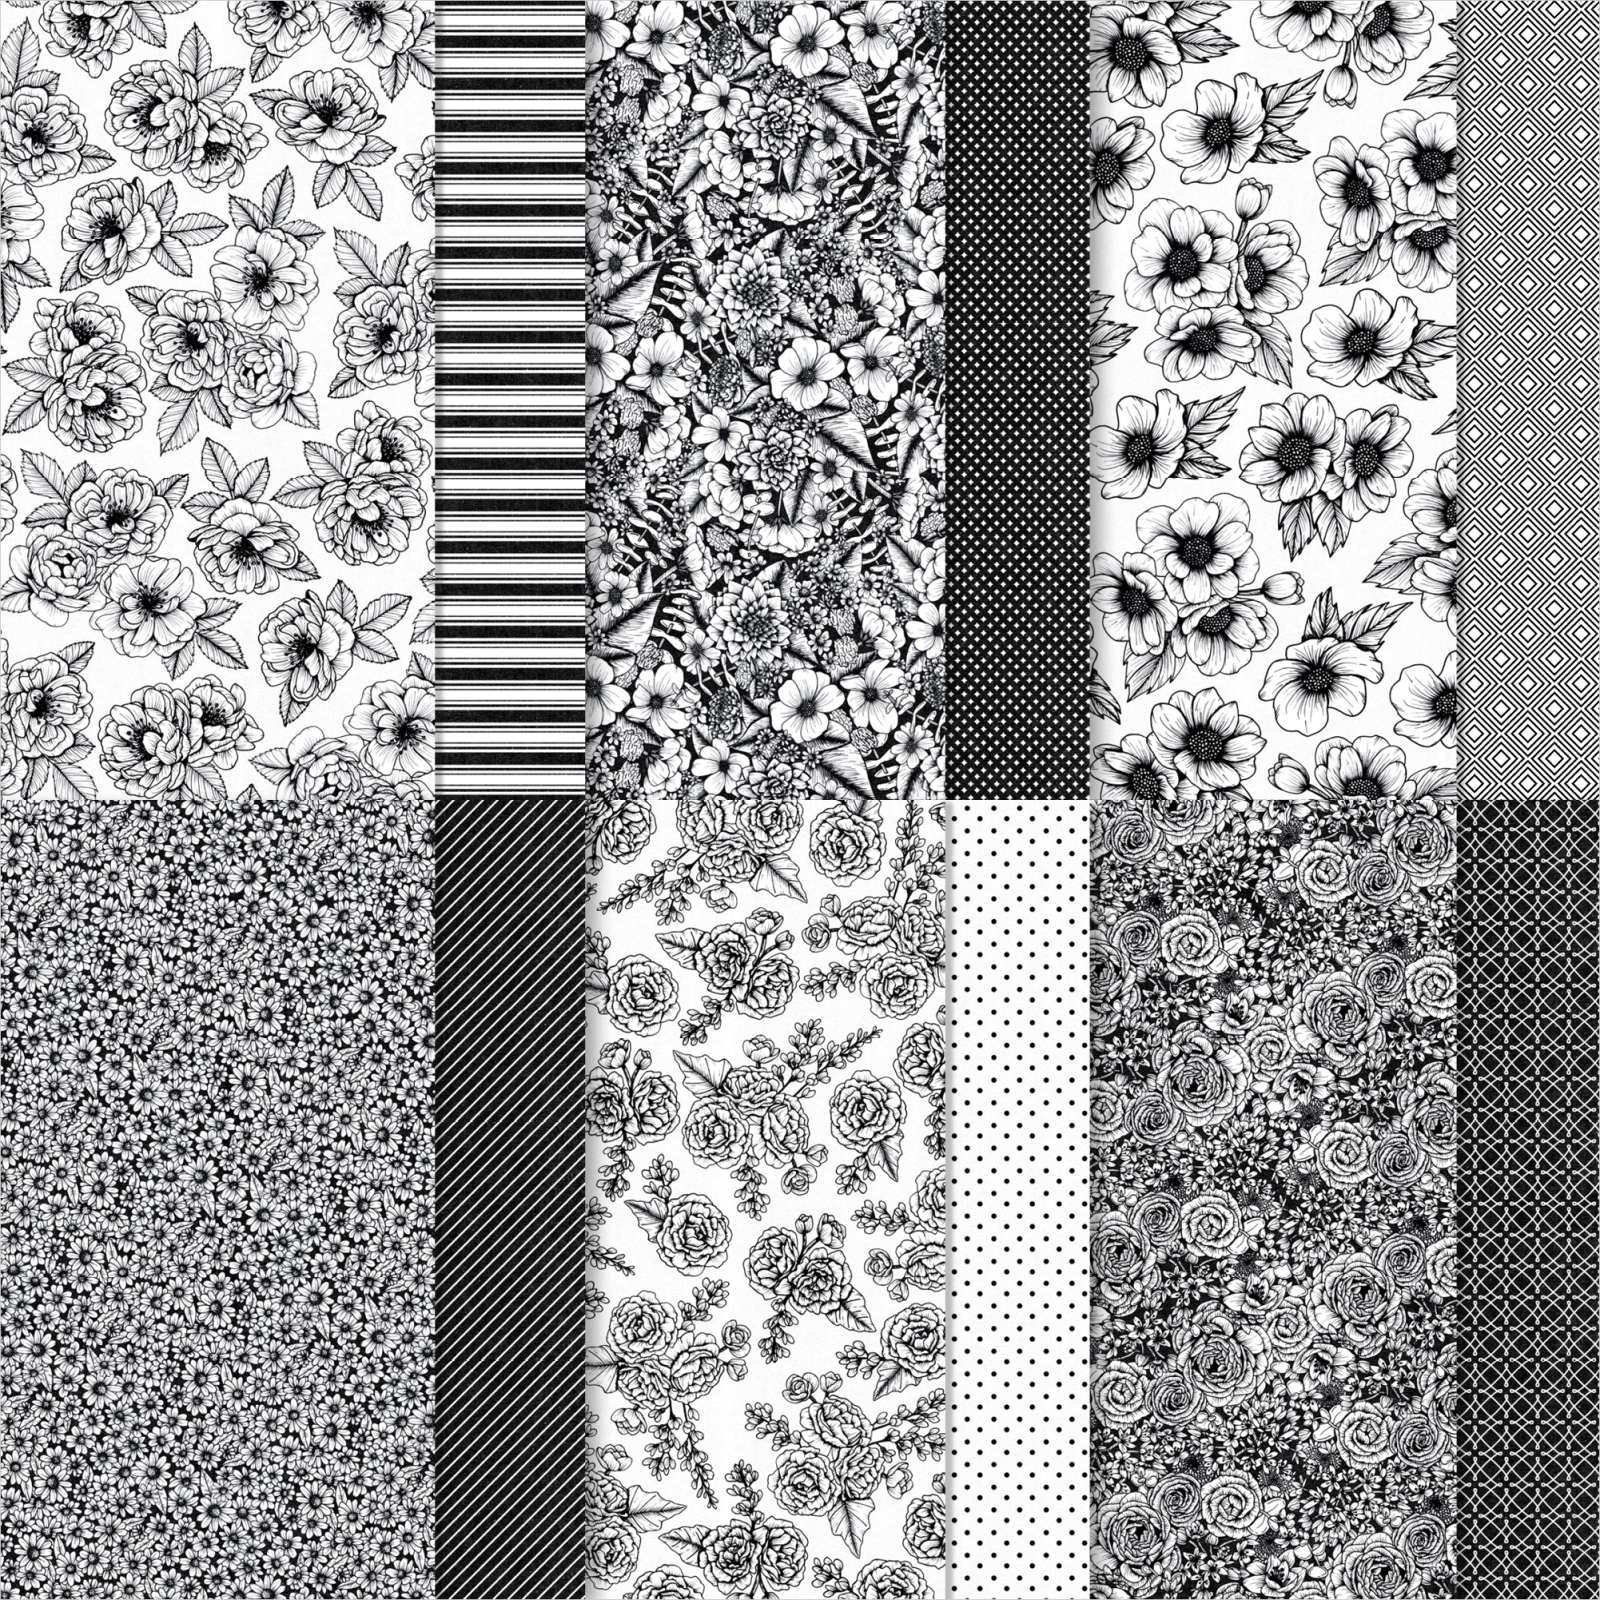
Today’s pages show off photos of my gorgeous grandchildren on the first day of school this year. I can’t believe we only have one left in primary school, all the rest in high school! I decided to use the Paper Blooms Designer Series Paper which was FREE during Sale-A-Bration to create my page. For the first page, I attached strips of the Paper Blooms Designer Series Paper in three different patterns to the Basic White 12″ x 12″ page. I wrapped the edge of the “blue” patterned paper using a length of Denim Ribbon.

I attached the photo to Night of Navy card before placing it over the Designer Series Paper panels. I did not add adhesive to the left hand edge. I cut the circles and the flowers from the Paper Blooms Designer Series Paper and layered them together. I created a panel with the details on my computer and printed them onto Basic White card.

I cut out the journaling using the Layering Circle Dies and attached the panel to a Night of Navy scalloped circle cut using the same dies. I attached the journaling to the layered circle and flowers before attaching the whole piece underneath the left hand side of the photo. I cut more circles and flowers from the Designer Series Paper and attached them to the lower right hand corner.

I cut the title from Night of Navy card using the Playful Alphabet Dies. For the second page I layered pieces of two of the same patterned papers from the Paper Blooms Designer Series Paper across the bottom of a Basic White 12″ x 12″ page. I also added a length of the Denim Ribbon to cover the edge of the “blue” patterned paper. I created another journaling panel which I attached to some more circles and flowers cut from the Paper Blooms Designer Series Paper before attaching the panel to the lower left hand corner of the page. I attached the photos to Night of Navy card and attached them to the top half of the page.
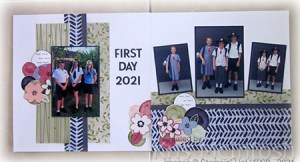
I love how these pages turned out and although I know this paper is no longer available, I couldn’t help but create one more page using this lovely Designer Series Paper.
Bye for now,
Kris
Product Used:


Posies Celebration
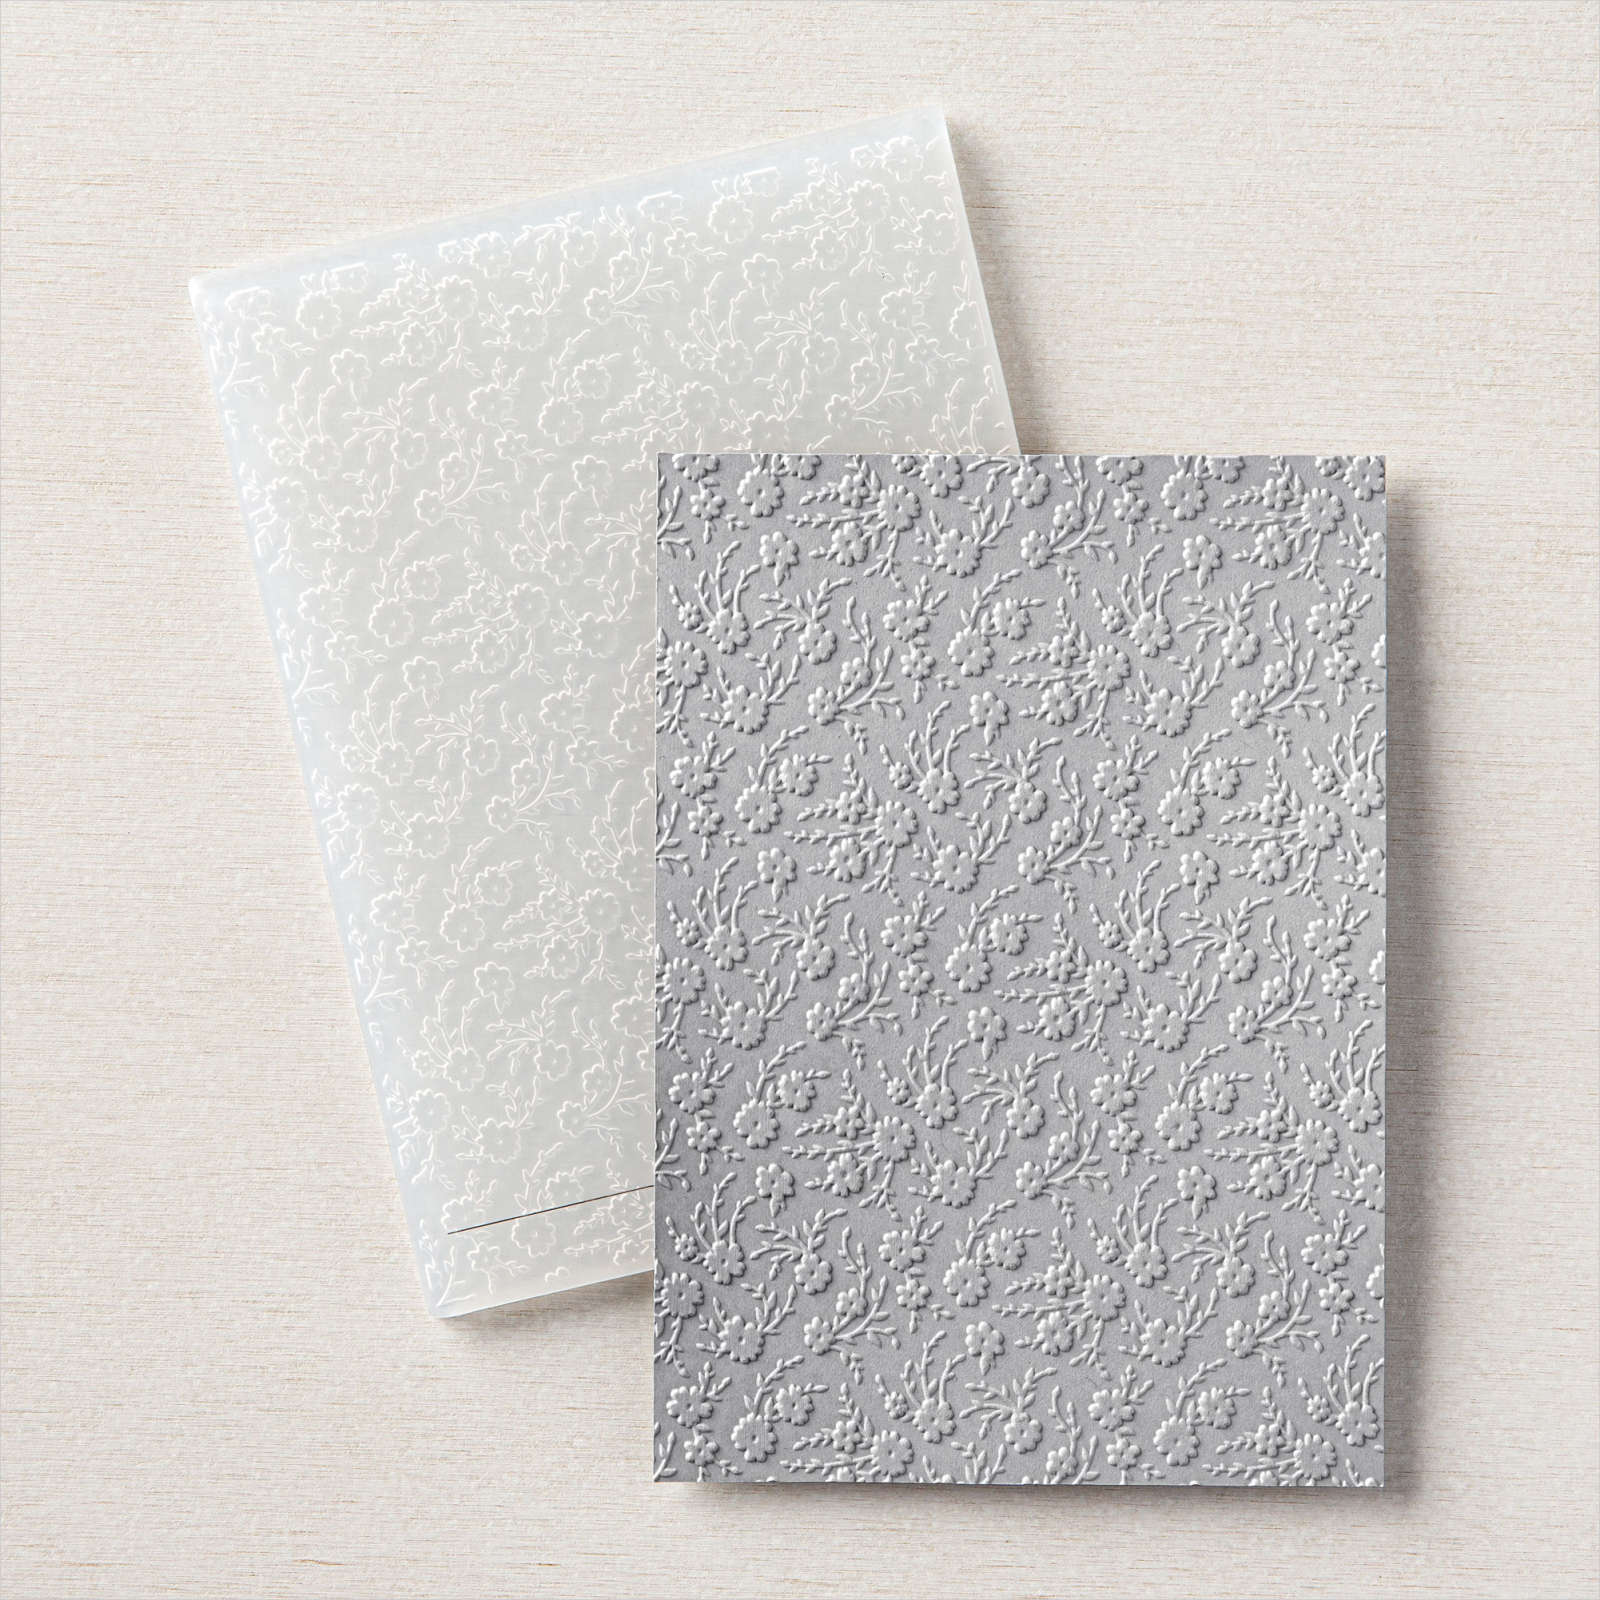
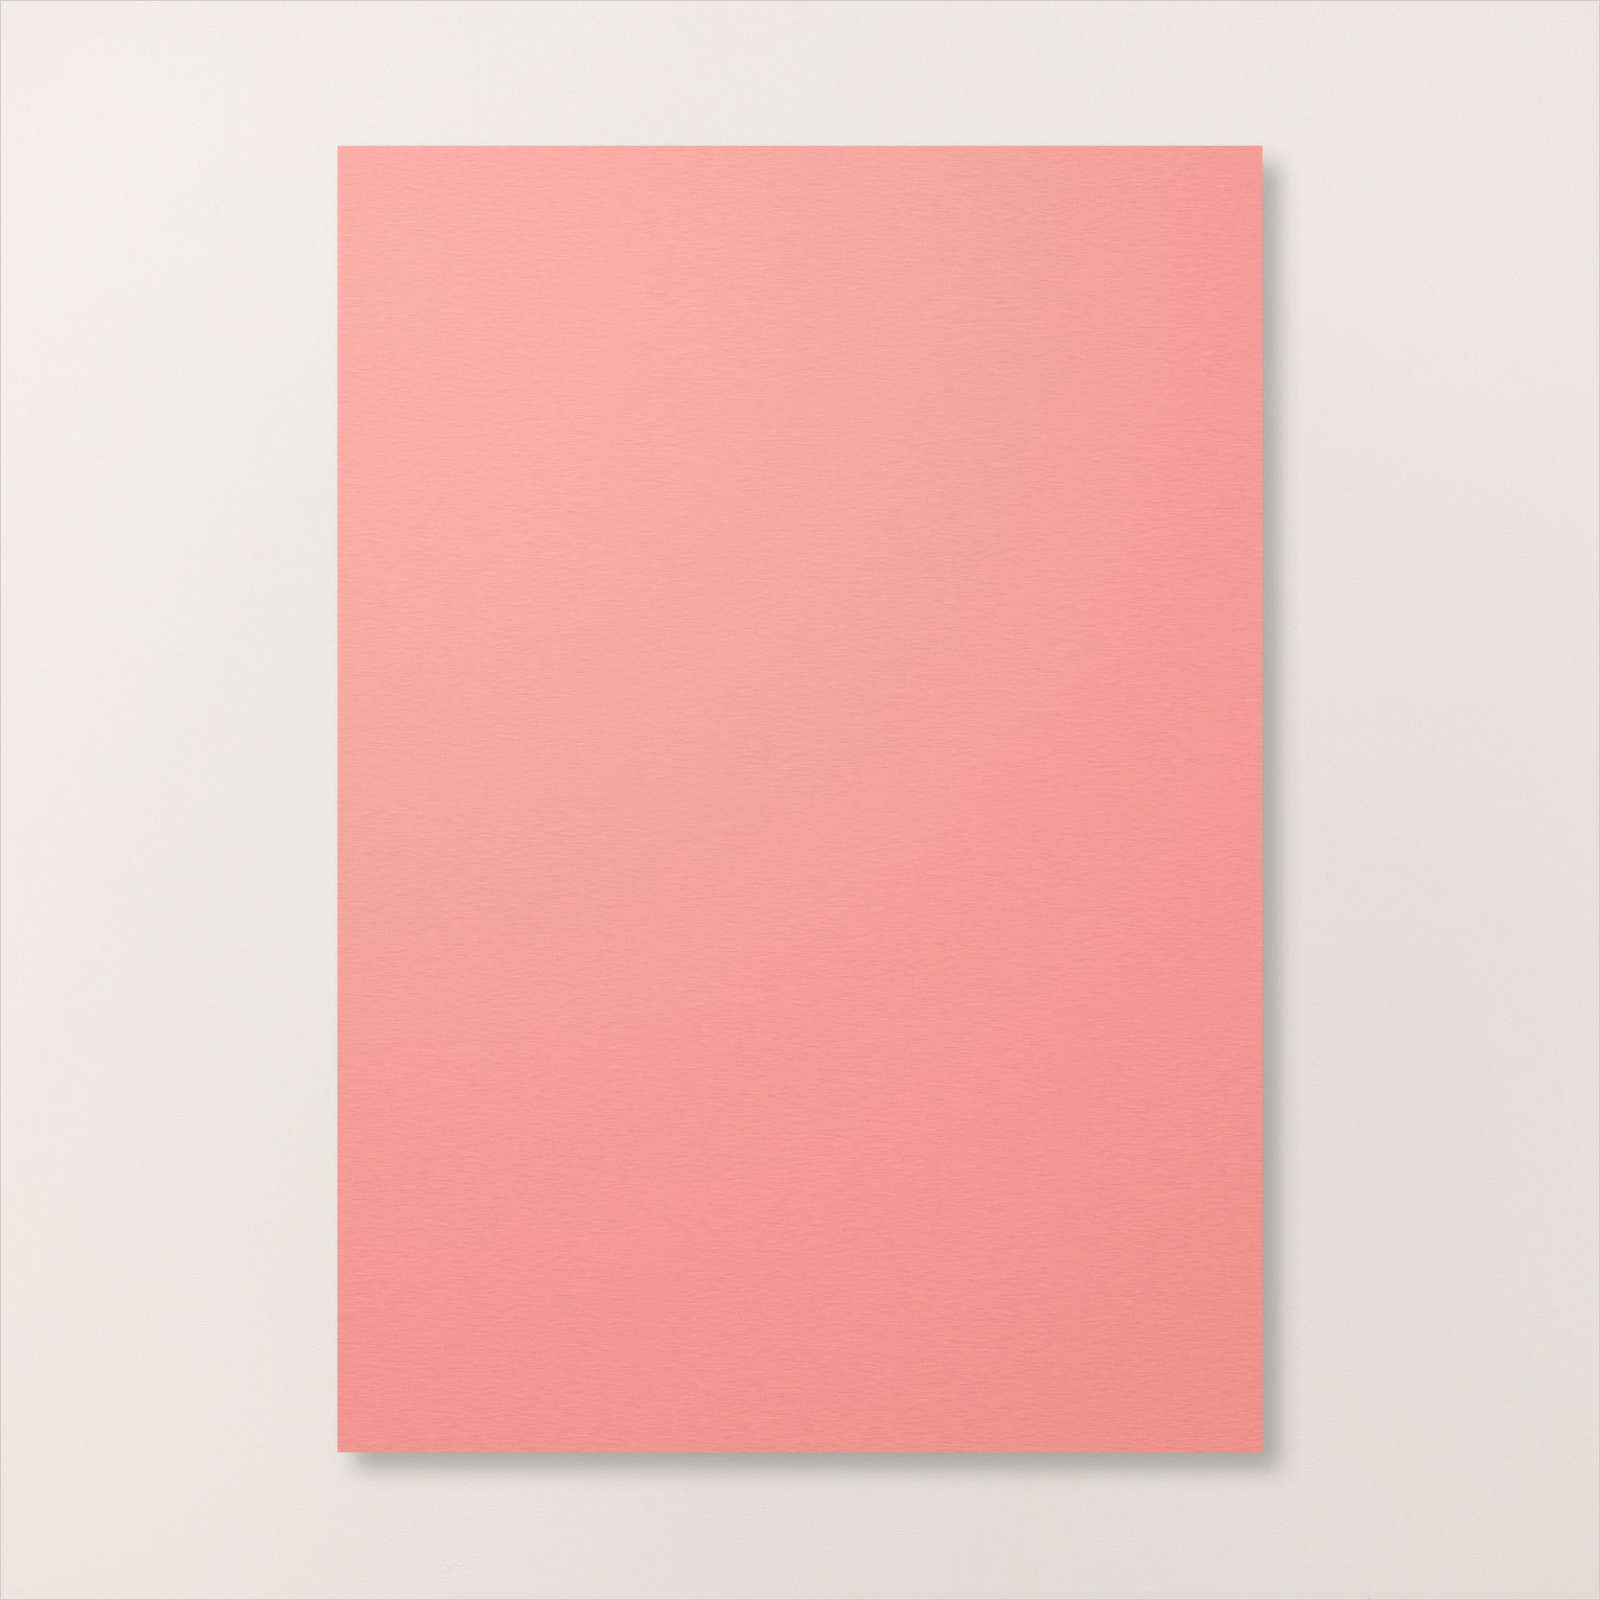
Another Z-Fold card today – I told you I was falling in love with these! I cut Thick Basic White card for the base card and attached Flirty Flamingo card. I embossed Basic White card using the Ornate Floral 3D Embossing Folder and attached the embossed pieces to the Flirty Flamingo card. I cut the Z-Fold from Thick Basic White card and attached it to the embossed panels.

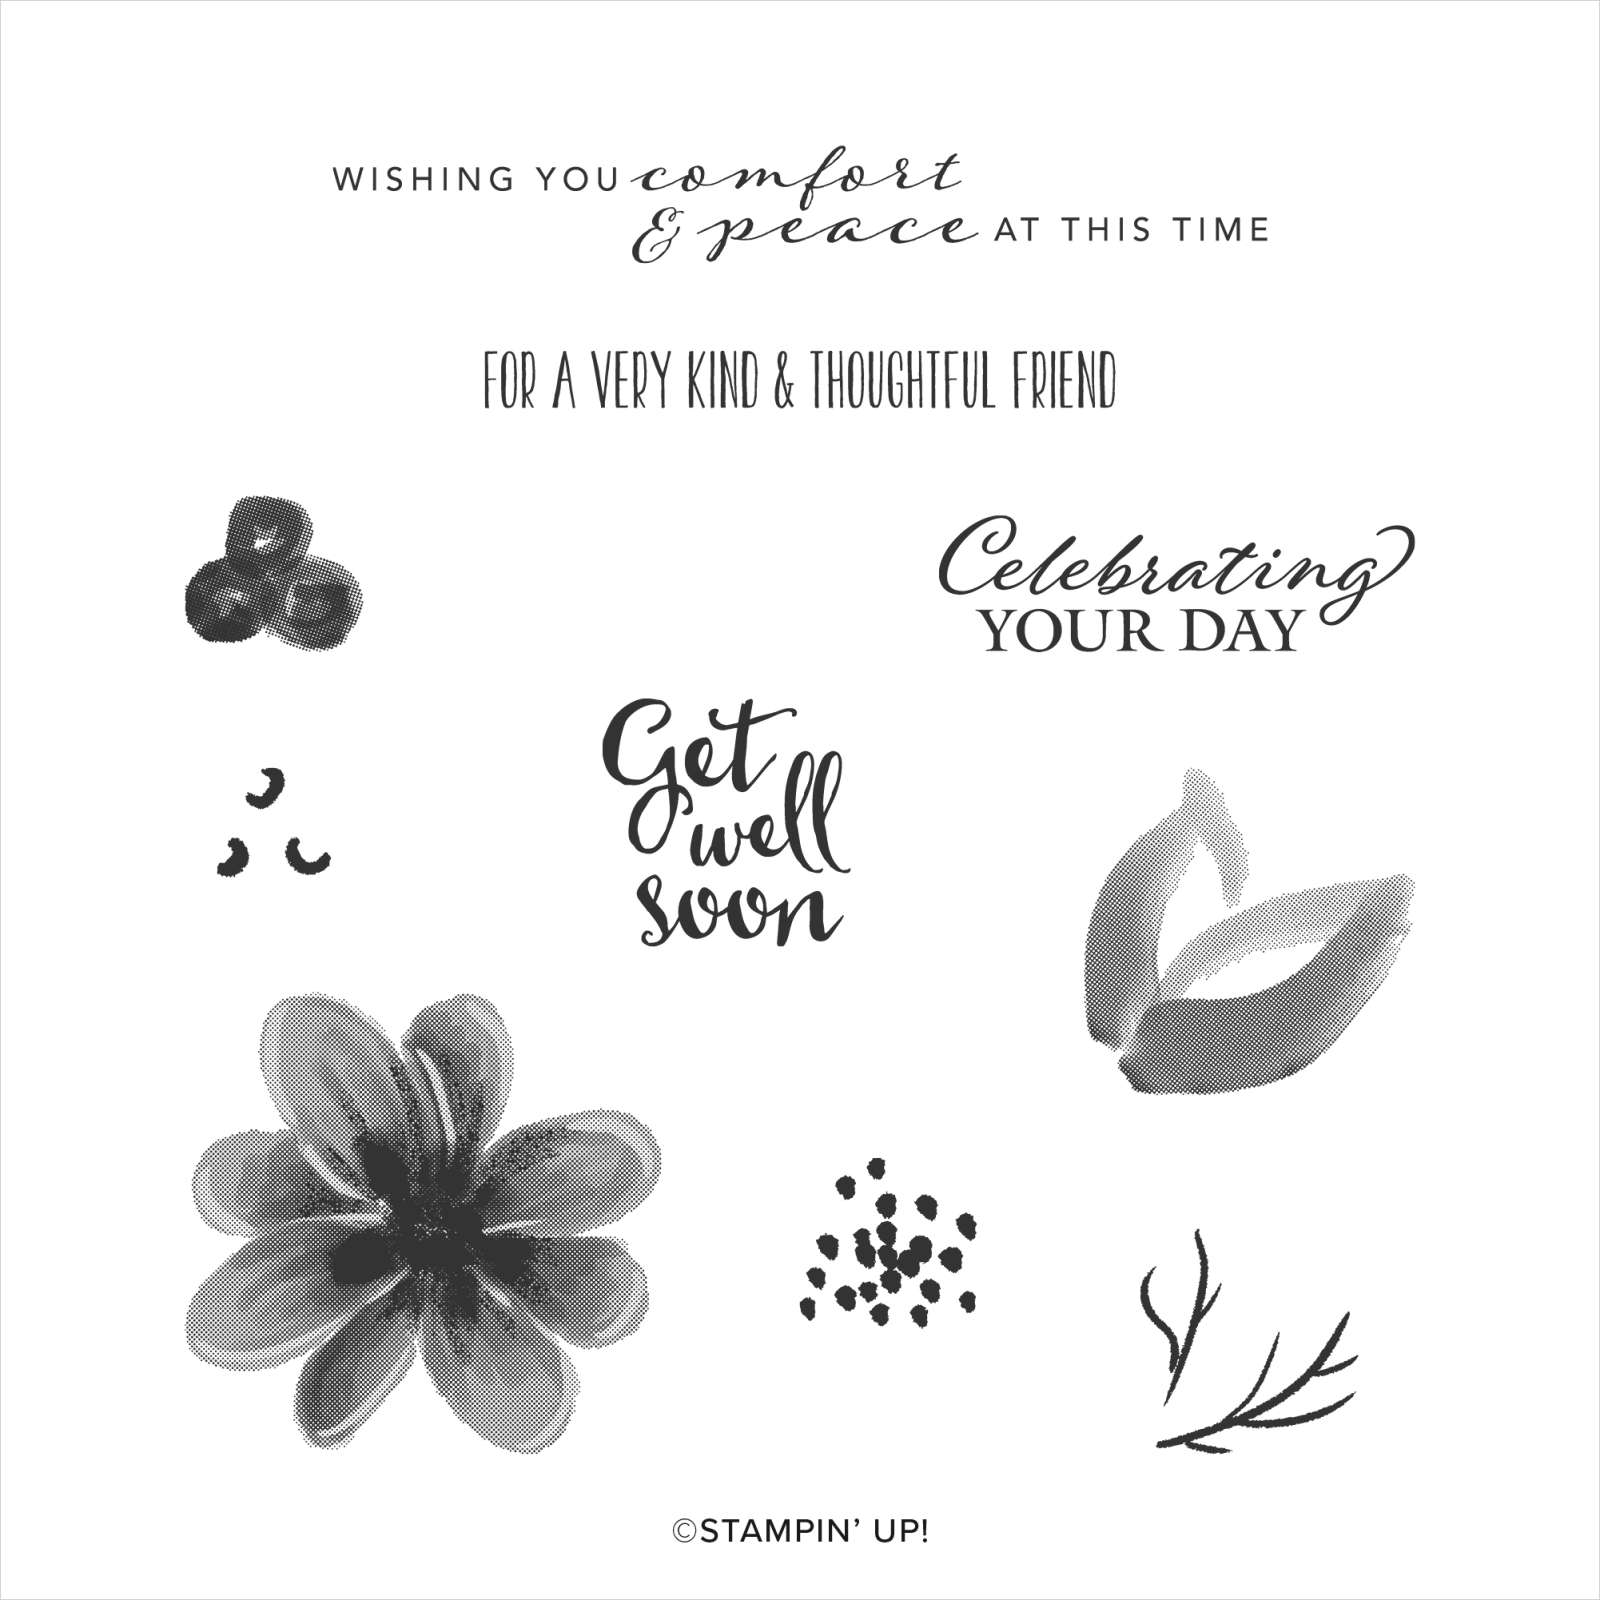
I cut Flirty Flamingo card and attached it to each of the panels on the Z-Fold card. I cut Basic White card for each of the panels on the Z-Fold. For the card front, I stamped the flower from the Gorgeous Posies stamp set using Flirty Flamingo card. I covered the flower each time I stamped with a post-it-note mask so that I could sit the flowers over each other. I kept the masks in place and stamped the leaves using Granny Apple Green ink.
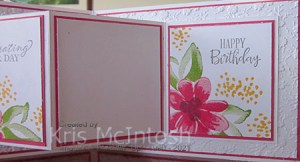
I stamped the greeting from the Gorgeous Posies stamp set using Basic Gray ink and added the dotted image from the same stamp set using Daffodil Delight ink. I stamped one of the smaller panels in the same manner and added “happy birthday” from the Peaceful Moments stamp set using Basic Gray ink. I attached the stamped panels to the Flirty Flamingo card. I also added Basic White card to the central panel so that I could write a message.
I haven’t used this stamp set in a while and I had forgotten how much I love it. I hope you are not tired of these cards, I have one more left to show you.
Bye for now,
Kris
Product Used:


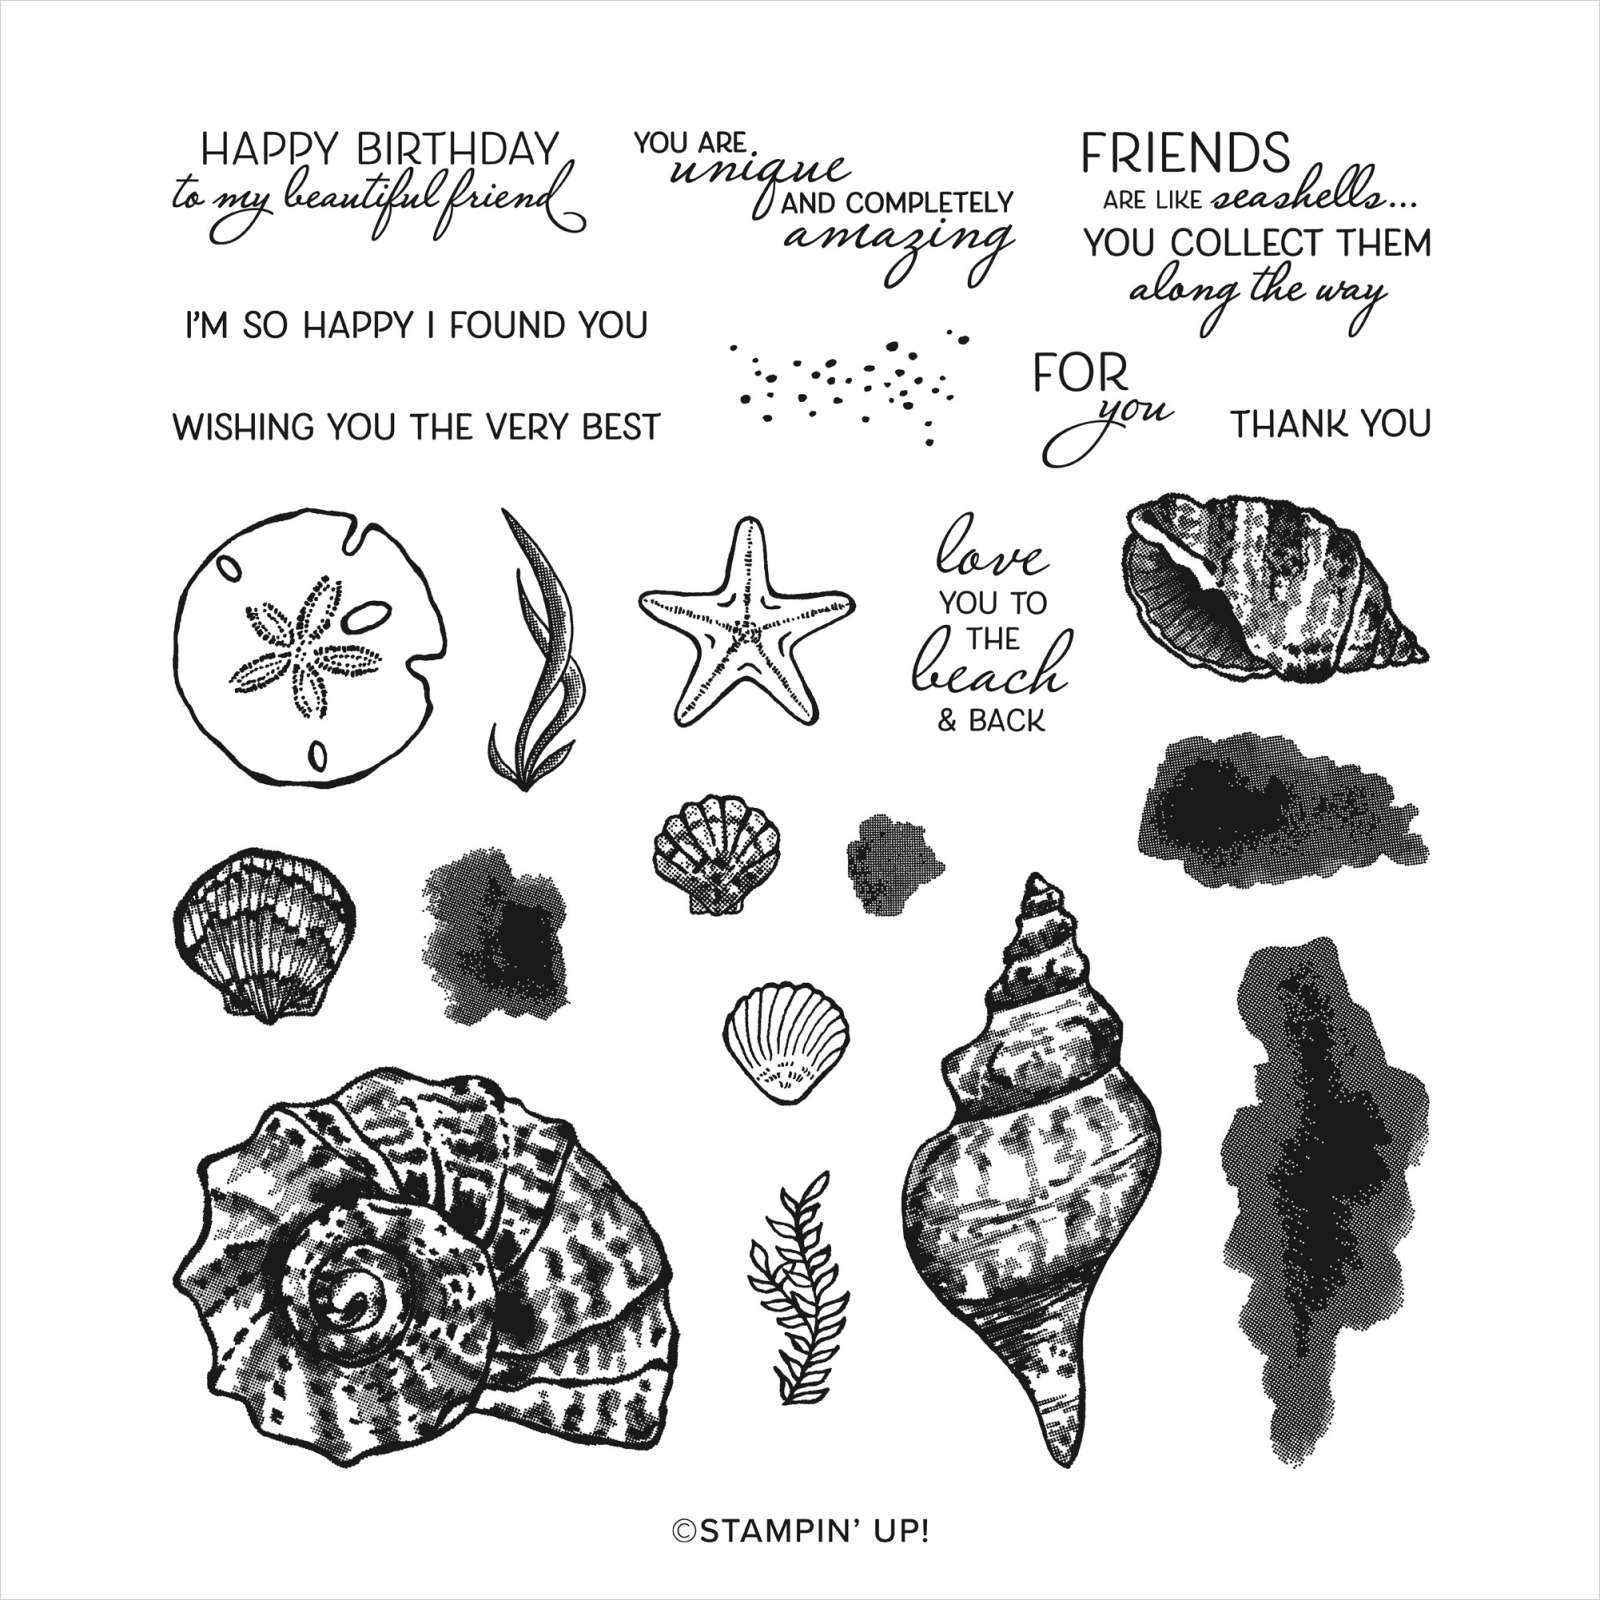
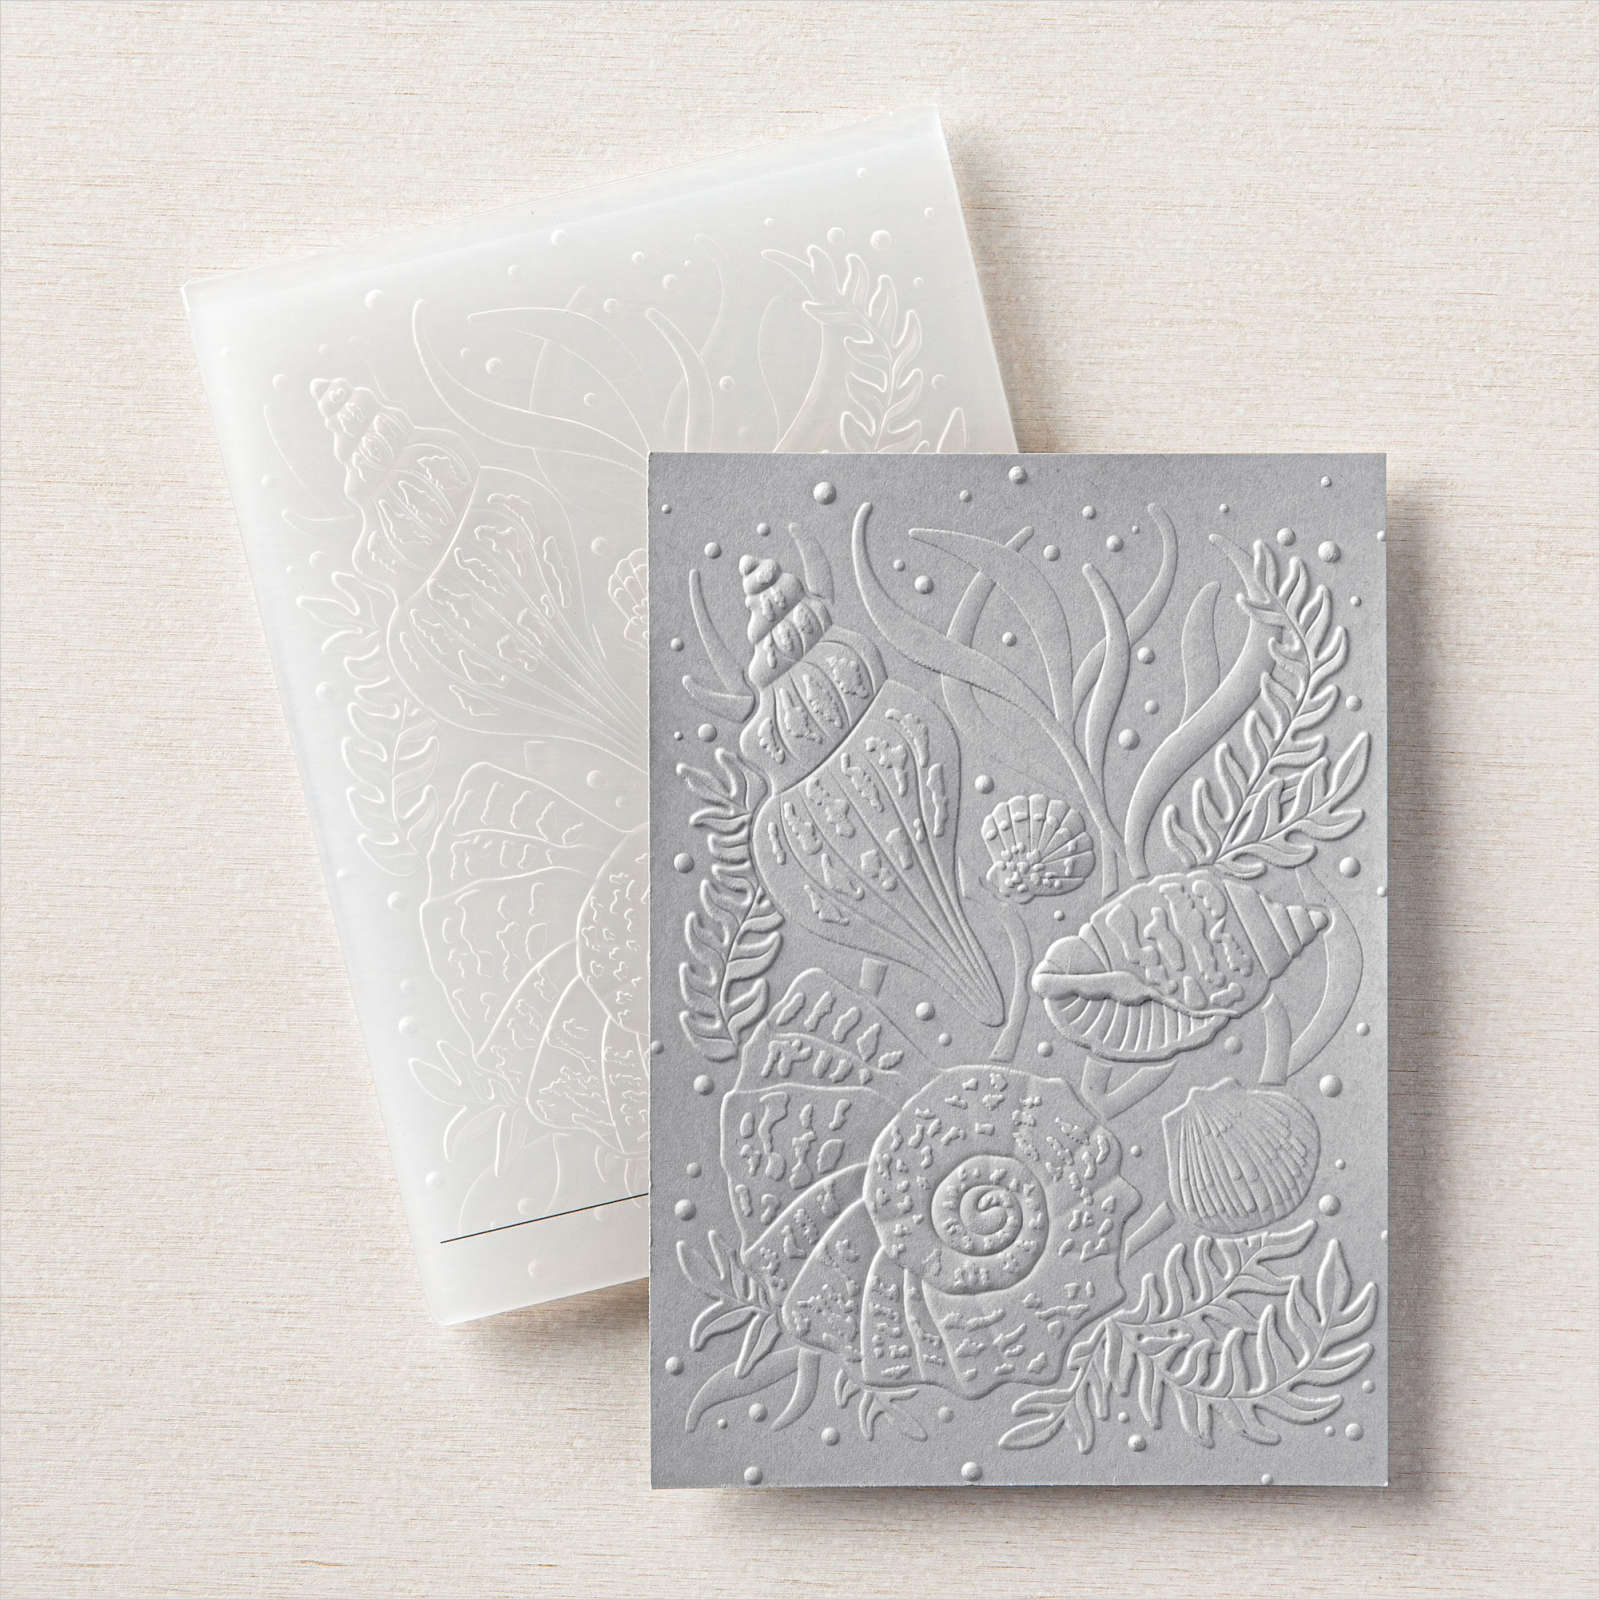
Seashells Z Fold

Yesterday in my Facebook Live I showed how to make a Z fold card following Lisa Curcio’s instructions. I did however convert the dimensions to fit our A4 card. I cut the base of the card and the Z fold from Gray Granite card and used my bone folder to make sure that the folds were all straight and neat. I cut the layering pieces for the card base from Basic White card and embossed the panels using the Seashells 3D Embossing Folder. After attaching the embossed panels, I attached the Z fold piece using Tear and Tape because I wanted to make sure that the cards were attached to each other well.

I cut Basic White card and Mossy Meadow card using the Seaside Seashells Dies. I stamped the seashell images from the Friends are Like Seashells stamp set onto the Basic White die cut using Gray Granite ink. I embossed both the Basic White panel and the Mossy Meadow panel using the Seashells 3D Embossing Folder. I cut both panels and attached the stamped Basic White panel to the Mossy Meadow panel so that the seaweed is green.

I also stamped the sand dollar and the starfish images onto Basic White card using Gray Granite ink and cut them out using the co-ordinating Seaside Seashells Dies. I layered most of the images onto Basic White card to decorate the front panel. I added the large seashell image and the starfish image to Basic White card to decorate the last panel on the inside of the card. I attached Basic White card to the centre panel and left it bare so that I could write a message. I stamped “friends are like seashells…” from the Friends are like Seashells stamp set onto Basic White card using Mossy Meadow ink. I punched out the greeting using the Story Label Punch and attached it to the card front using dimensionals.
I think I could become addicted to this fancy fold card. What about you? Have you made one of these yet? If not I can highly recommend you try it.
Bye for now
Kris
Product Used:


Butterfly Celebrate

Today’s card once again uses some of the Butterfly Brilliance Product Collection which is available for purchase from today until the beginning of May. This is such a lovely stamp set and at the moment along with co-ordinating dies, you can also purchase two different Designer Series Paper packs which co-ordinate beautifully. Today I decided to create a card where you cut a panel from the front of the card base and use it to add your decoration.
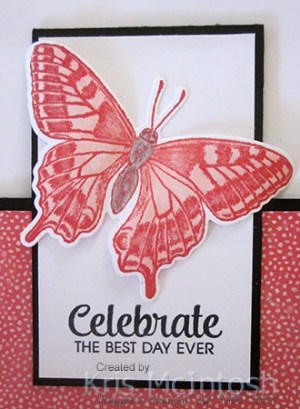
My card base is cut from Basic Black card and I attach the Butterfly Bijou 6″ x 6″ Designer Series Paper to the bottom flap on the card front. I cut Basic White card to fit the piece of Basic Black card I cut away and stamped the greeting from the Band Together stamp set using Memento Tuxedo Black ink.

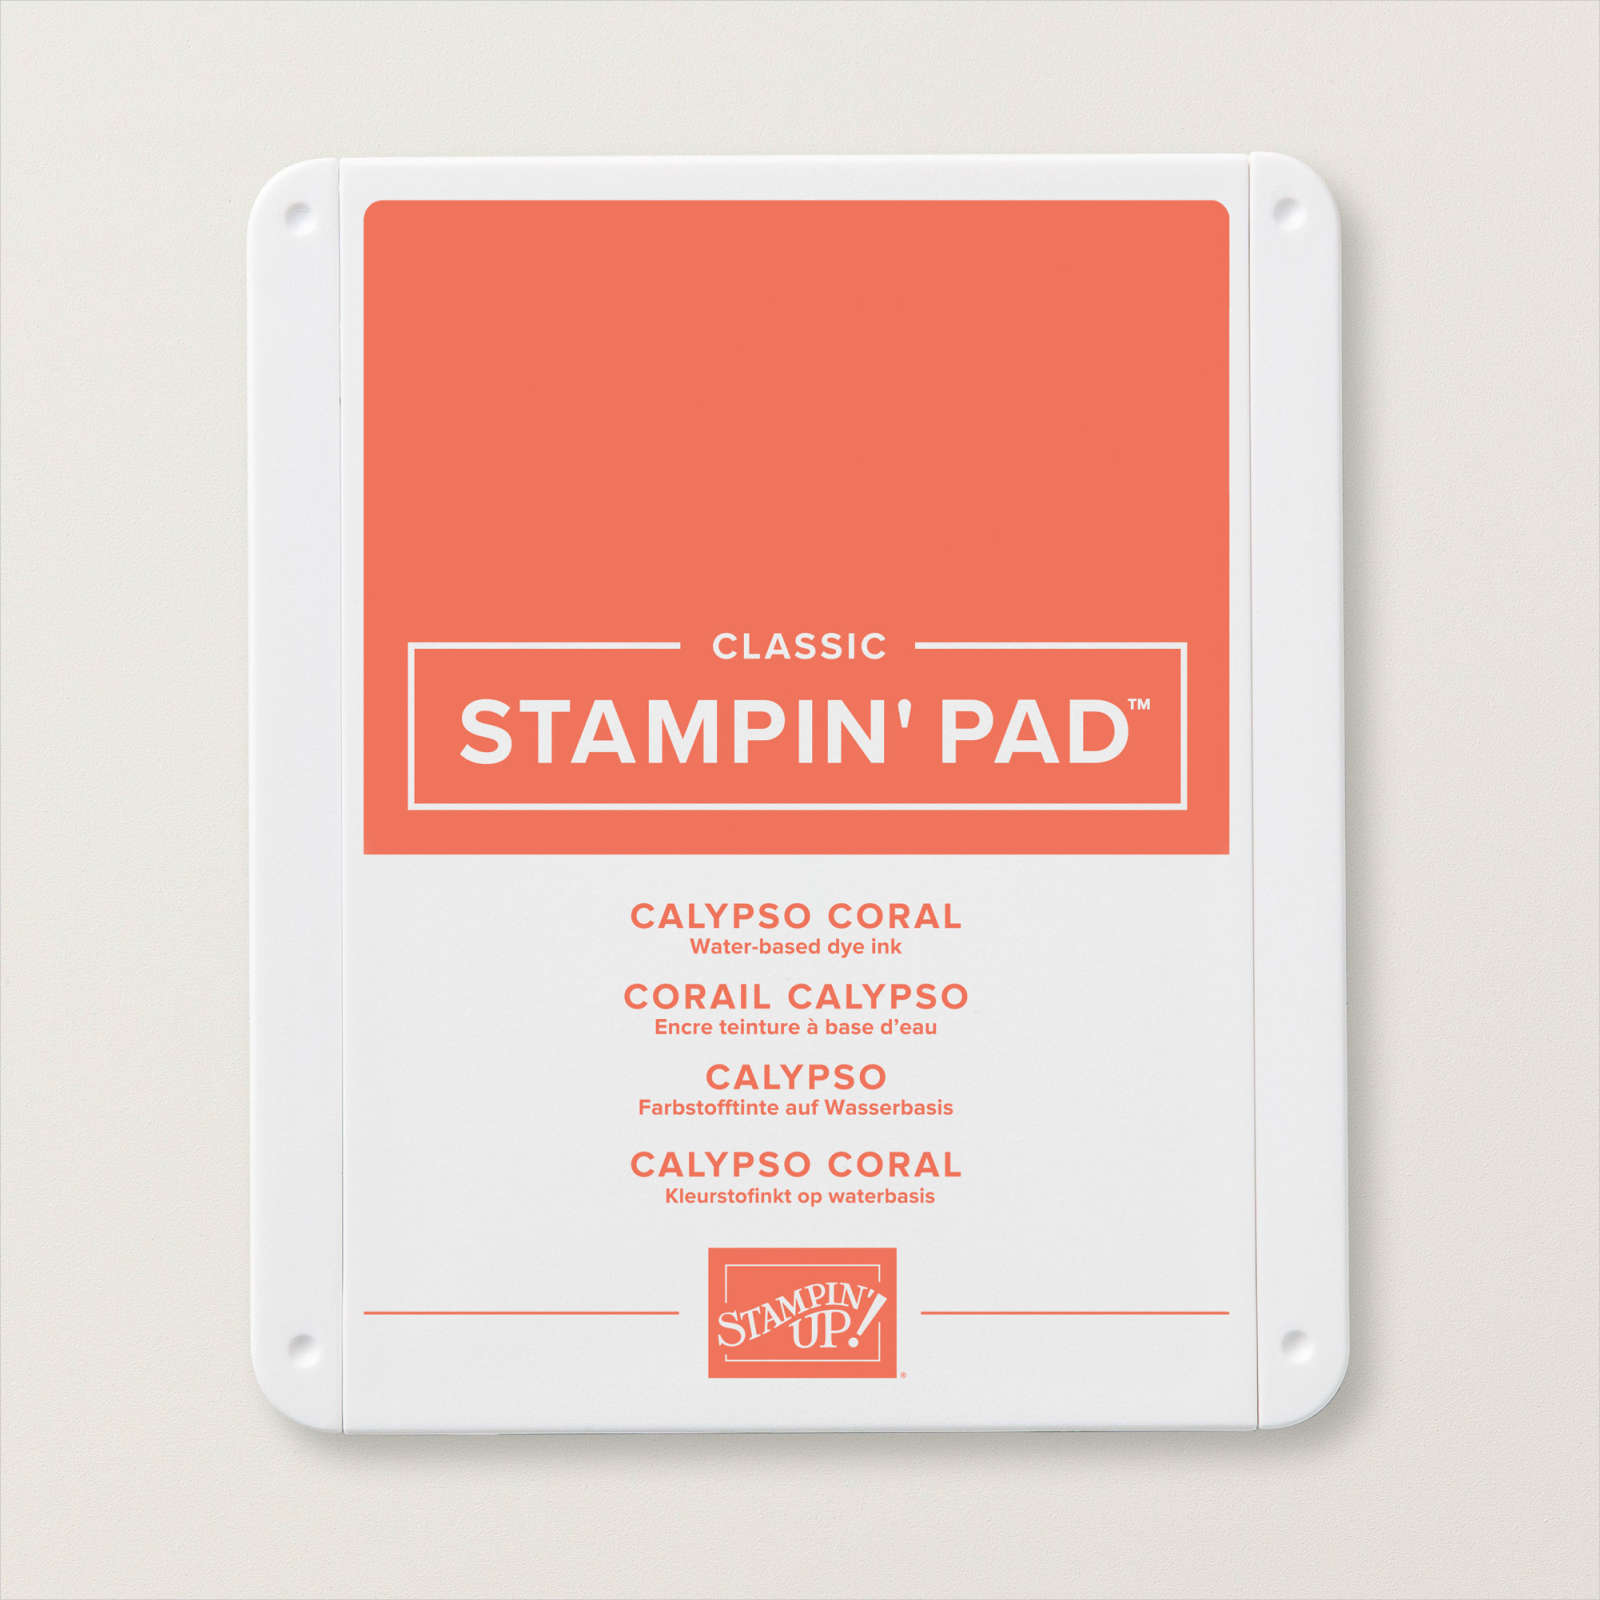
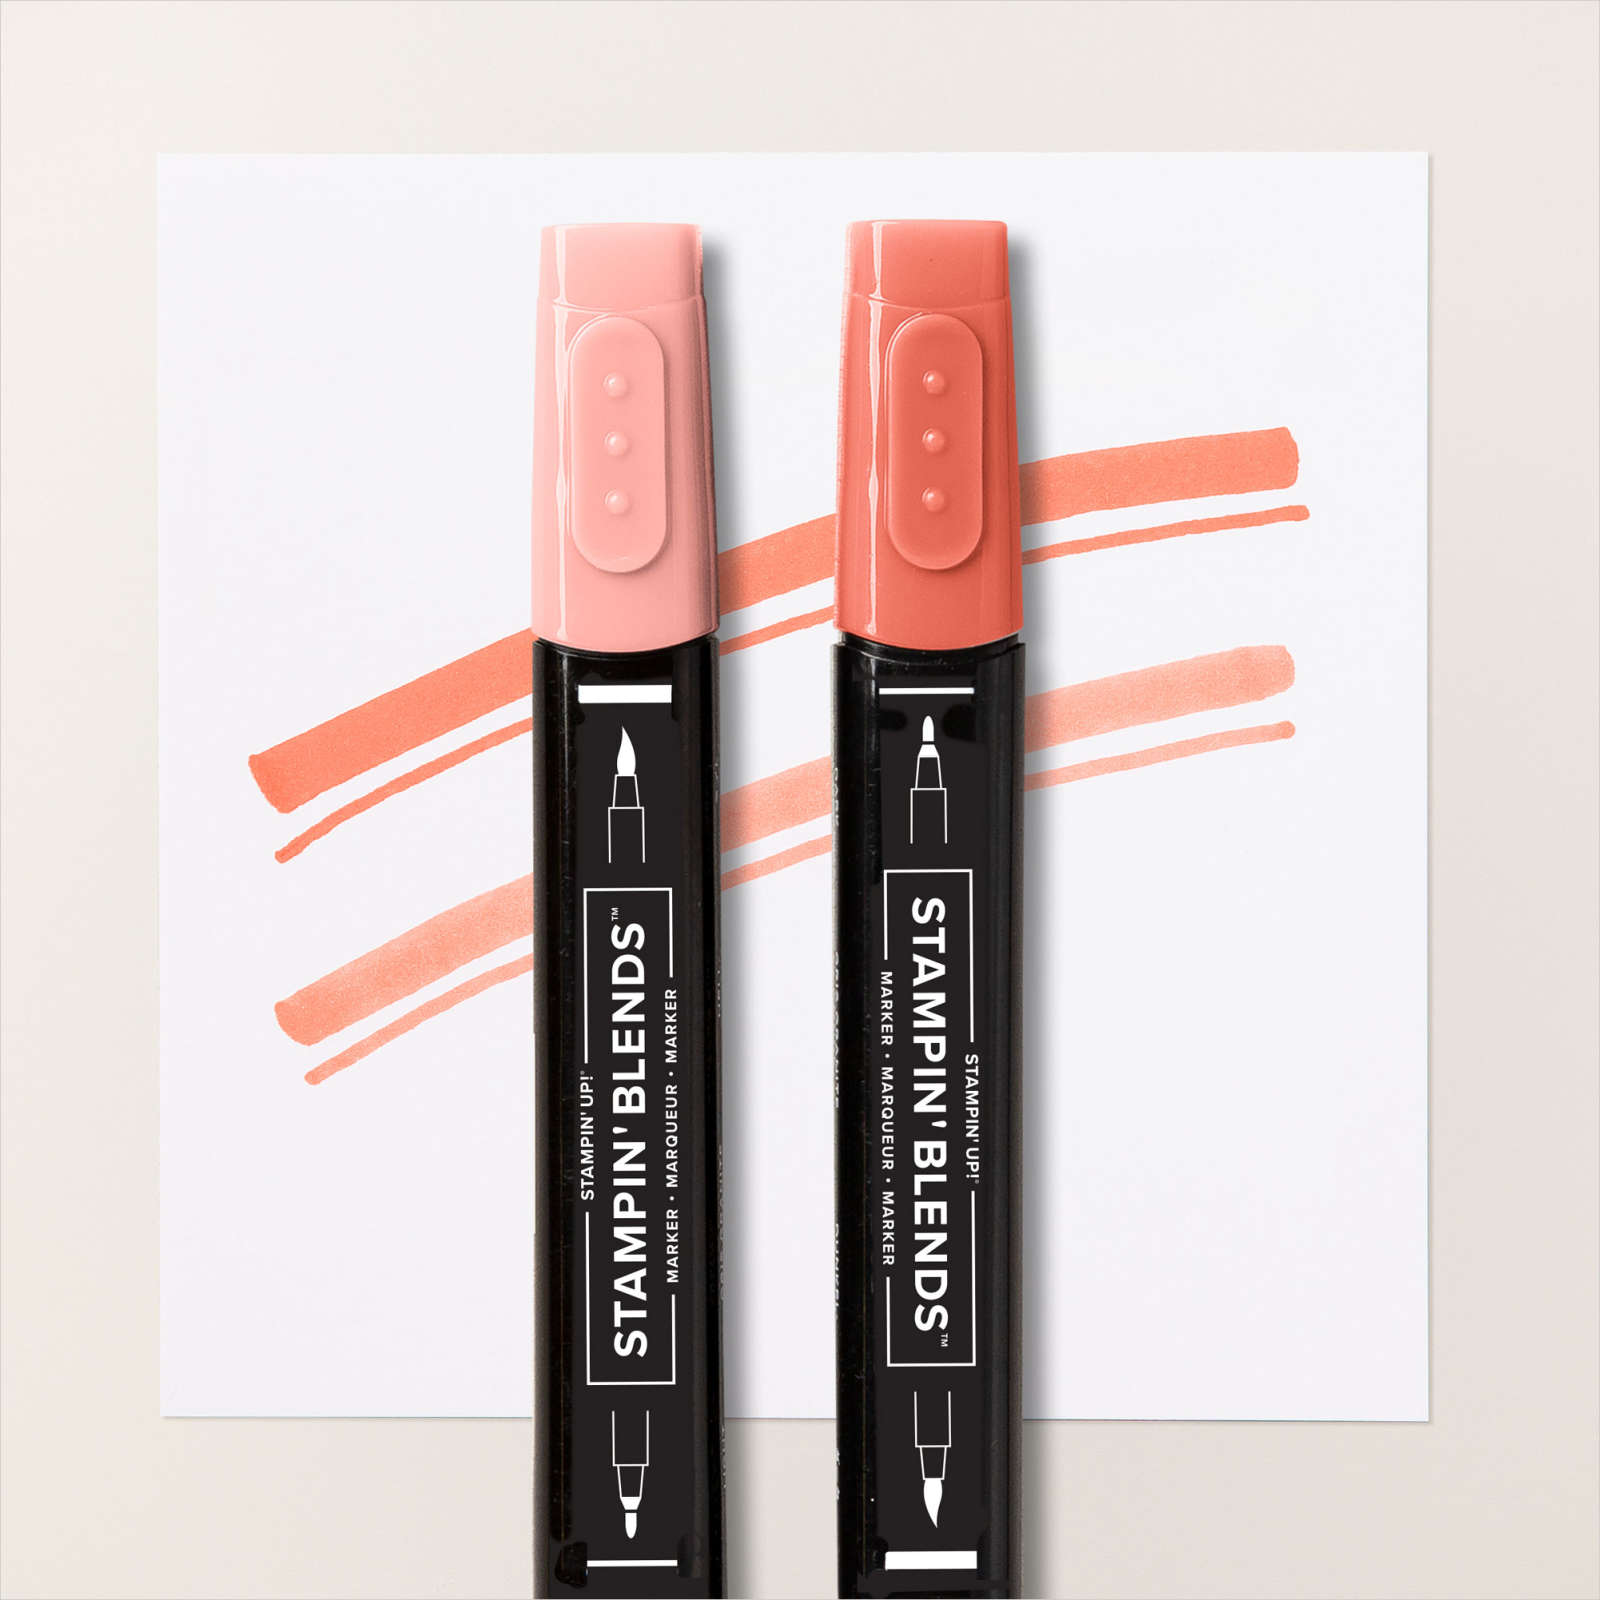
I stamped the butterfly from the Butterfly Brilliance stamp set onto Basic White card using Calypso Coral ink. I coloured the butterfly using the Light Calypso Coral and Light Smoky Slate Stampin’ Blends. I used the co-ordinating Brilliant Wings Dies to cut out the butterfly. I used my bone folder to curl the wings slightly and added mini dimensionals under the curve. I used glue dots on the centre of the body and attached the butterfly to the stamped panel. To decorate the inside of the card, I stamped another greeting from the Band Together stamp set onto Basic White card using Memento Tuxedo Black ink. I stamped one of the smaller butterflies onto Basic White card using Calypso Coral ink. I coloured the butterfly using the Light Calypso Coral and Light Smoky Slate Stampin’ Blends. I cut out the butterfly using the co-ordinating Brilliant Wings Die and attached it next to the greeting.
I really like the way this card turned out and although the card base is Basic Black, the colour of the butterfly and the designer series paper makes it bright and happy, don’t you think?
Bye for now,
Kris
Product Used:

Freshly Made Sketch 474

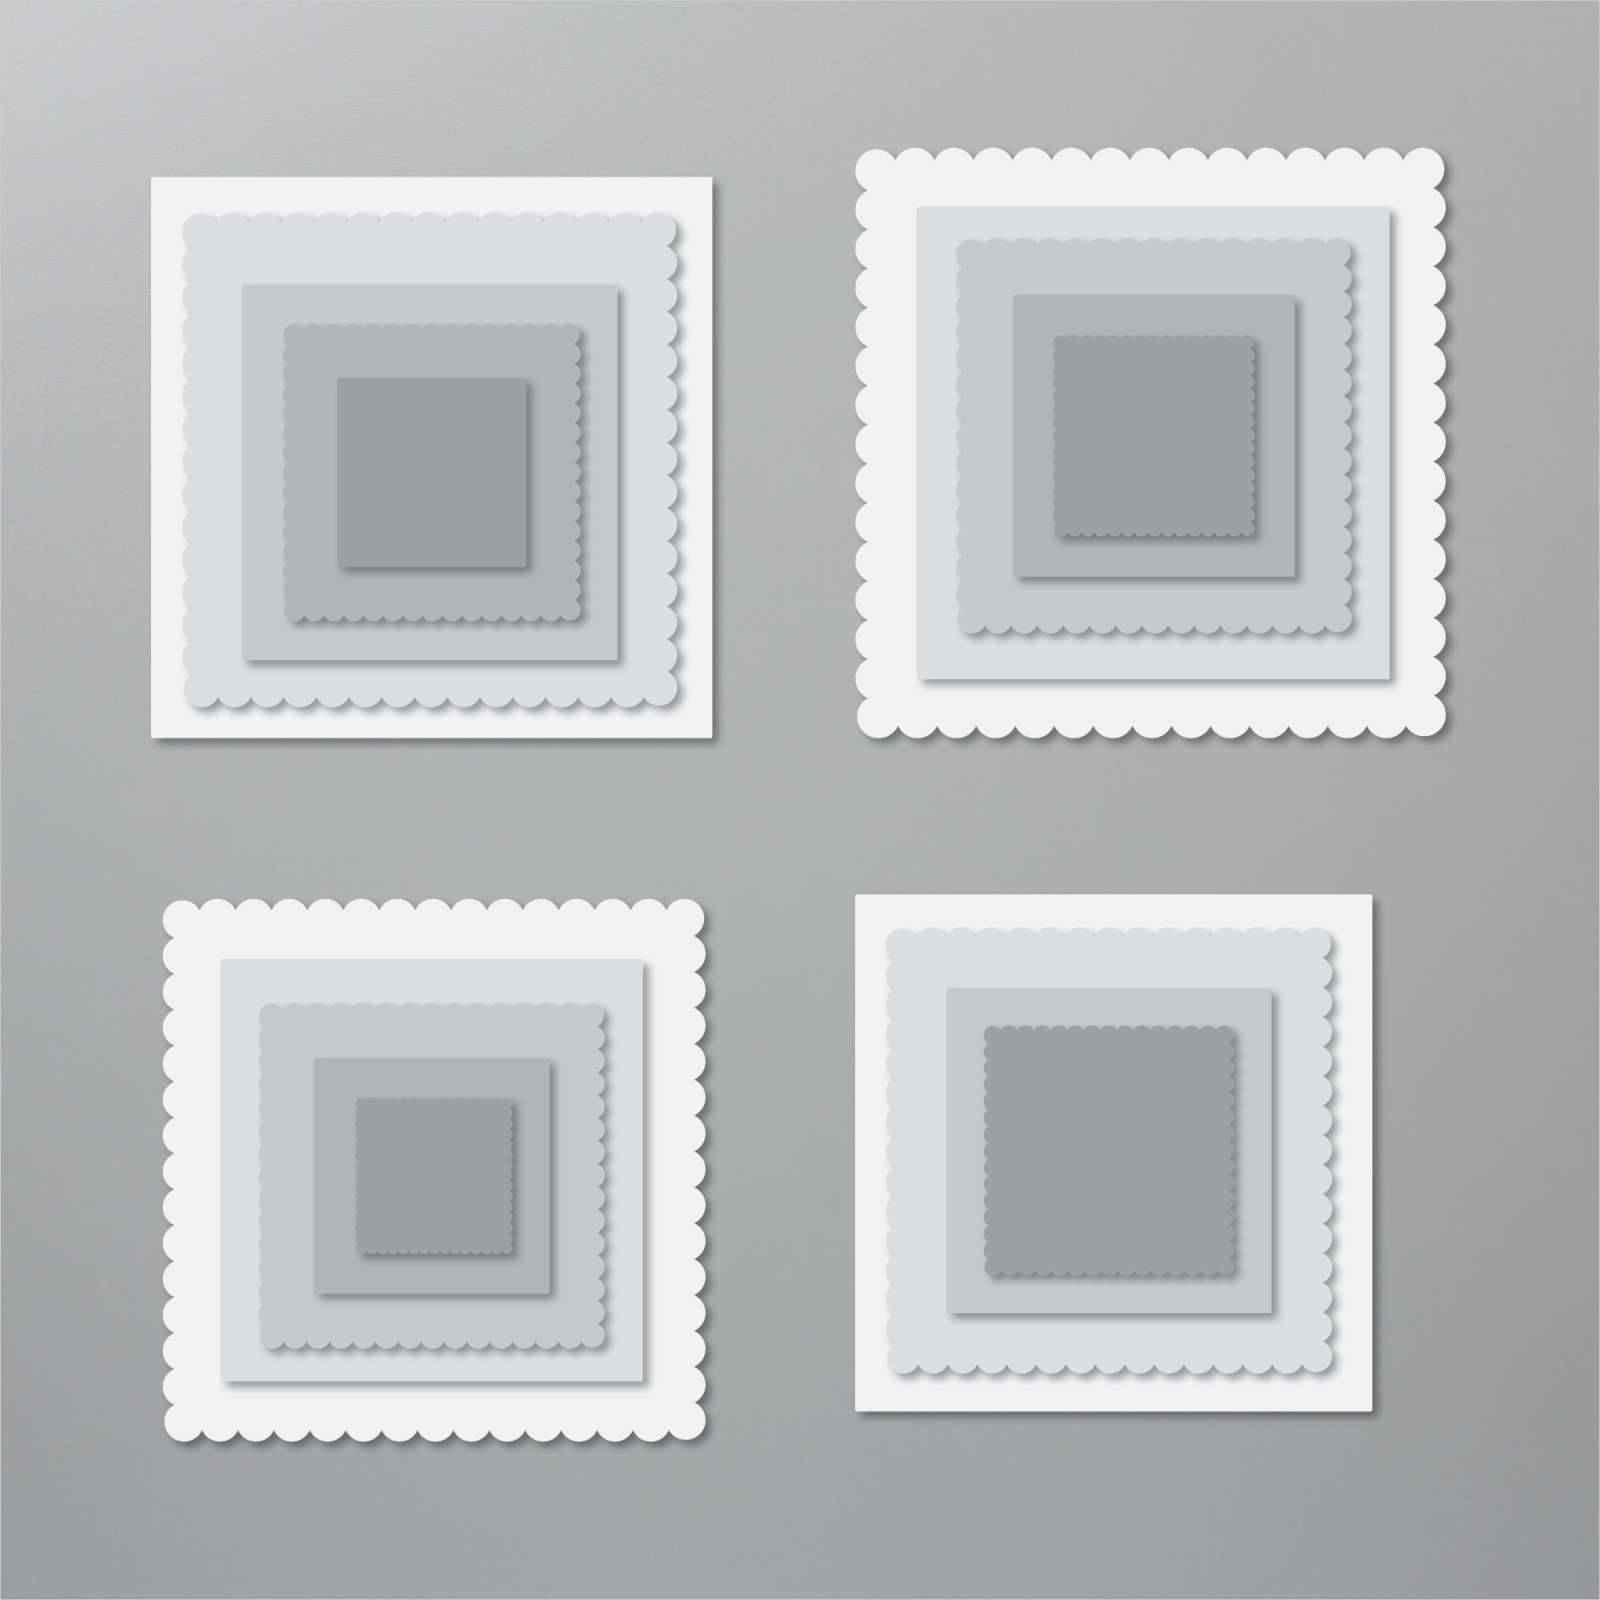
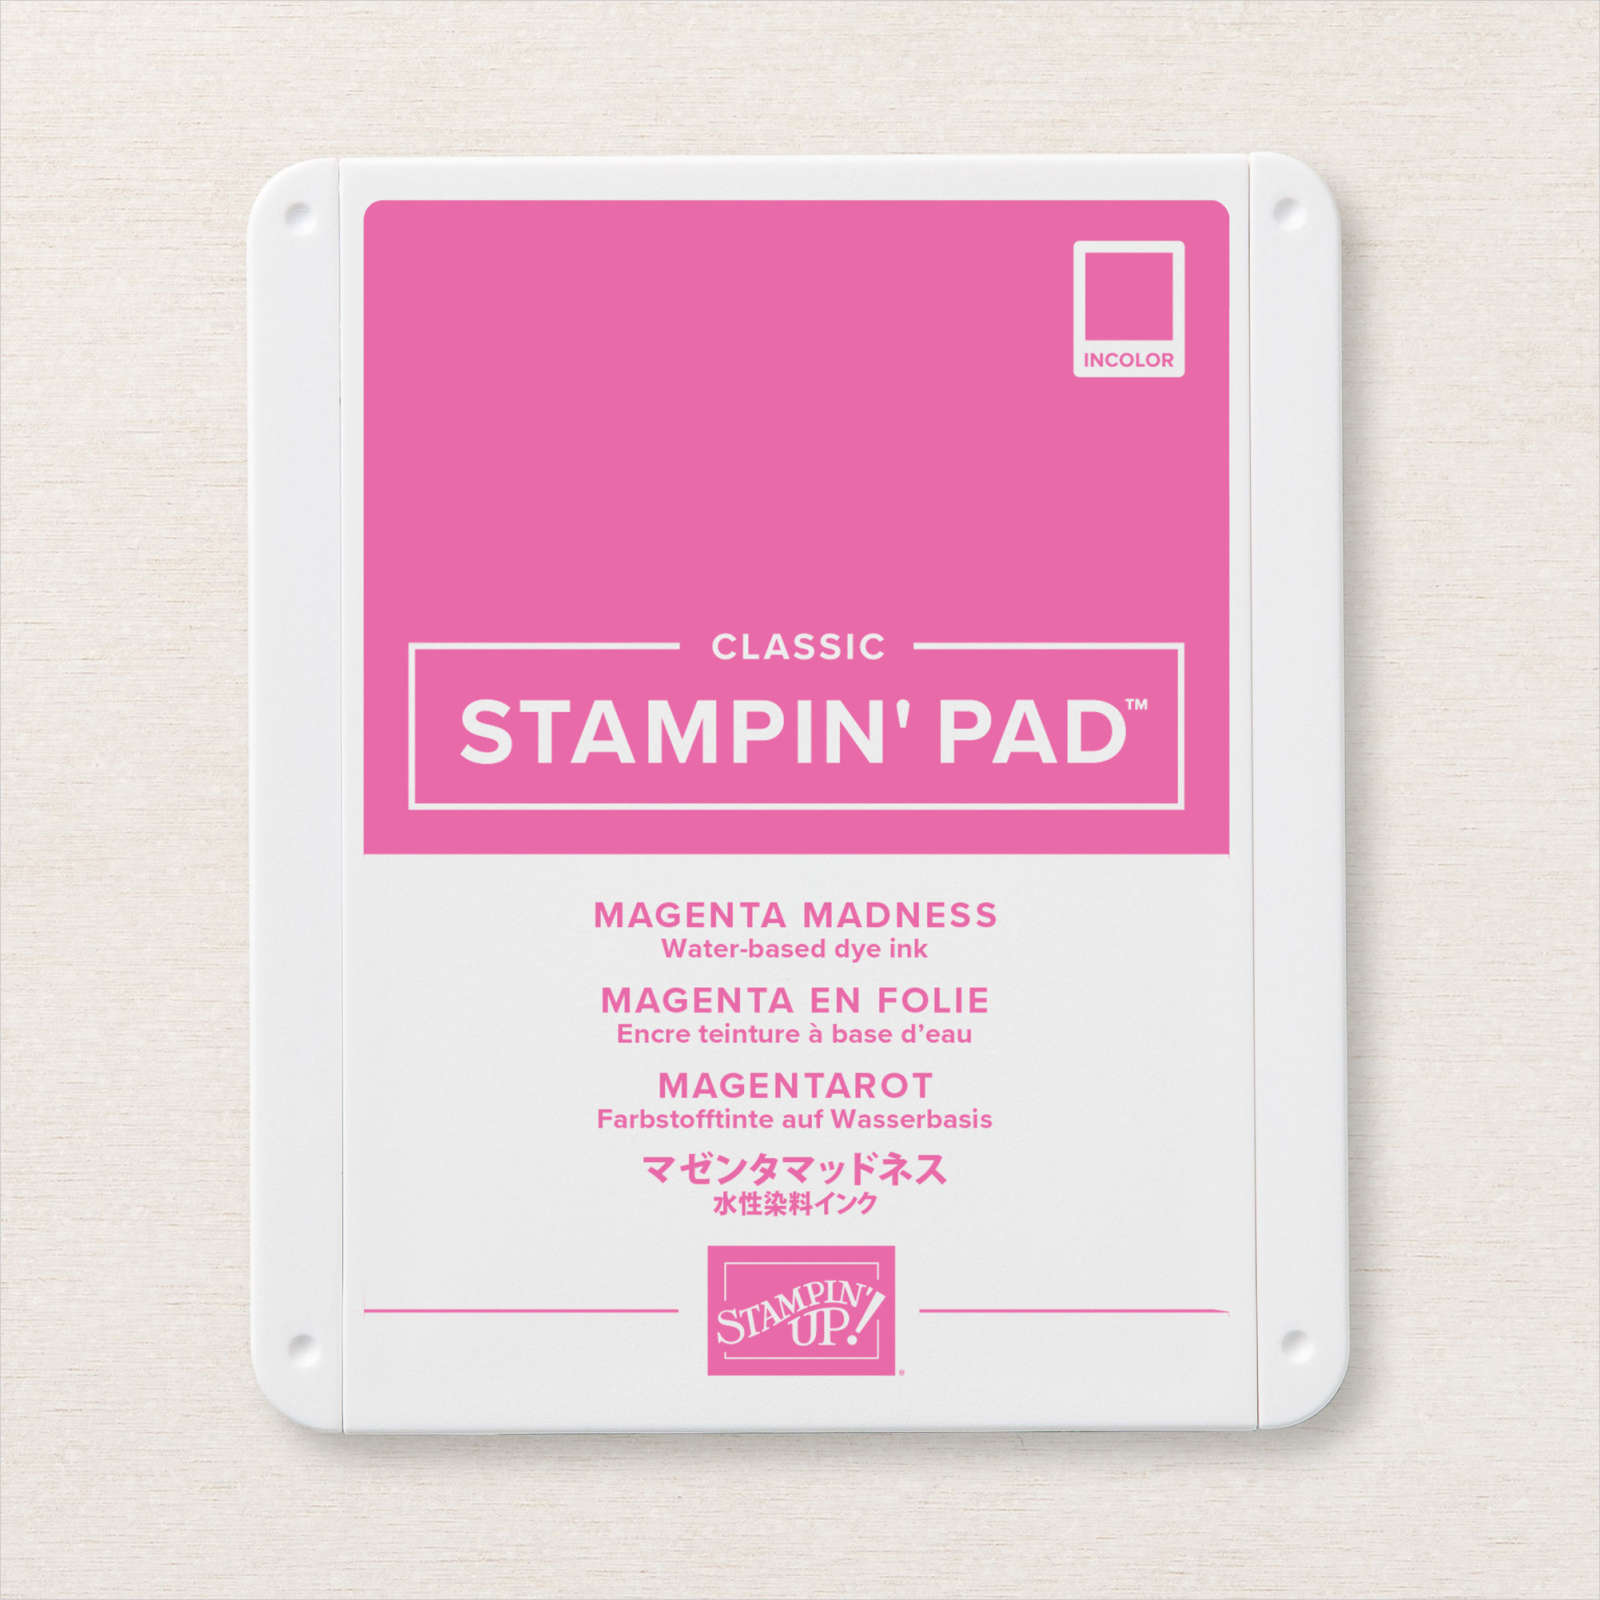
I saw the sketch challenge at Freshly Made and I just had to give it a try. I attached a piece of Butterfly Bijou 6″ x 6″ Designer Series Paper to Magenta Madness card and then scored and folded Thick Basic White card. I stamped “happy birthday” from the Peaceful Moment stamp set onto a narrow strip of Basic White card using Magenta Madness ink. I attached the Basic White panel across the card front. I cut BasicWhite card using one of the Layering Squares Dies which I attached to a scalloped square cut from Magenta Madness using the same dies.

I attached the two pieces together before attaching to the card front using dimensionals. One of the patterns of the Butterfly Bijou Designer Series Paper with butterflies, is able to be cut using the Butterfly Brilliance Die to give 6 beautiful butterflies. I used two of these butterflies on this card, the two with the Magenta Madness colour.

I curled the wings of one of the butterflies using my bone folder, added mini dimensionals under the wings and glue dots in the centre of the body and attached it to the Basic White square. To decorate the inside of the card, I stamped another greeting from the Peaceful Moments stamp set using Magenta Madness ink and attached another of the die cut butterflies. I also attached a piece of the same pattern Buttefly Bijou Designer Series Paper across the bottom of the inside of the card.
This card turned out so pretty I created two more using the rest of the die cut butterflies. They each use a different patterned paper from the Butterfly Bijou Designer Series Paper. One card uses Bermuda Bay card and ink and the other uses Calypso Coral card and ink.

Don’t you think they look prettty? Thank you Freshly Made for the inspiration.
Bye for now,
Kris
Product Used:


Beau

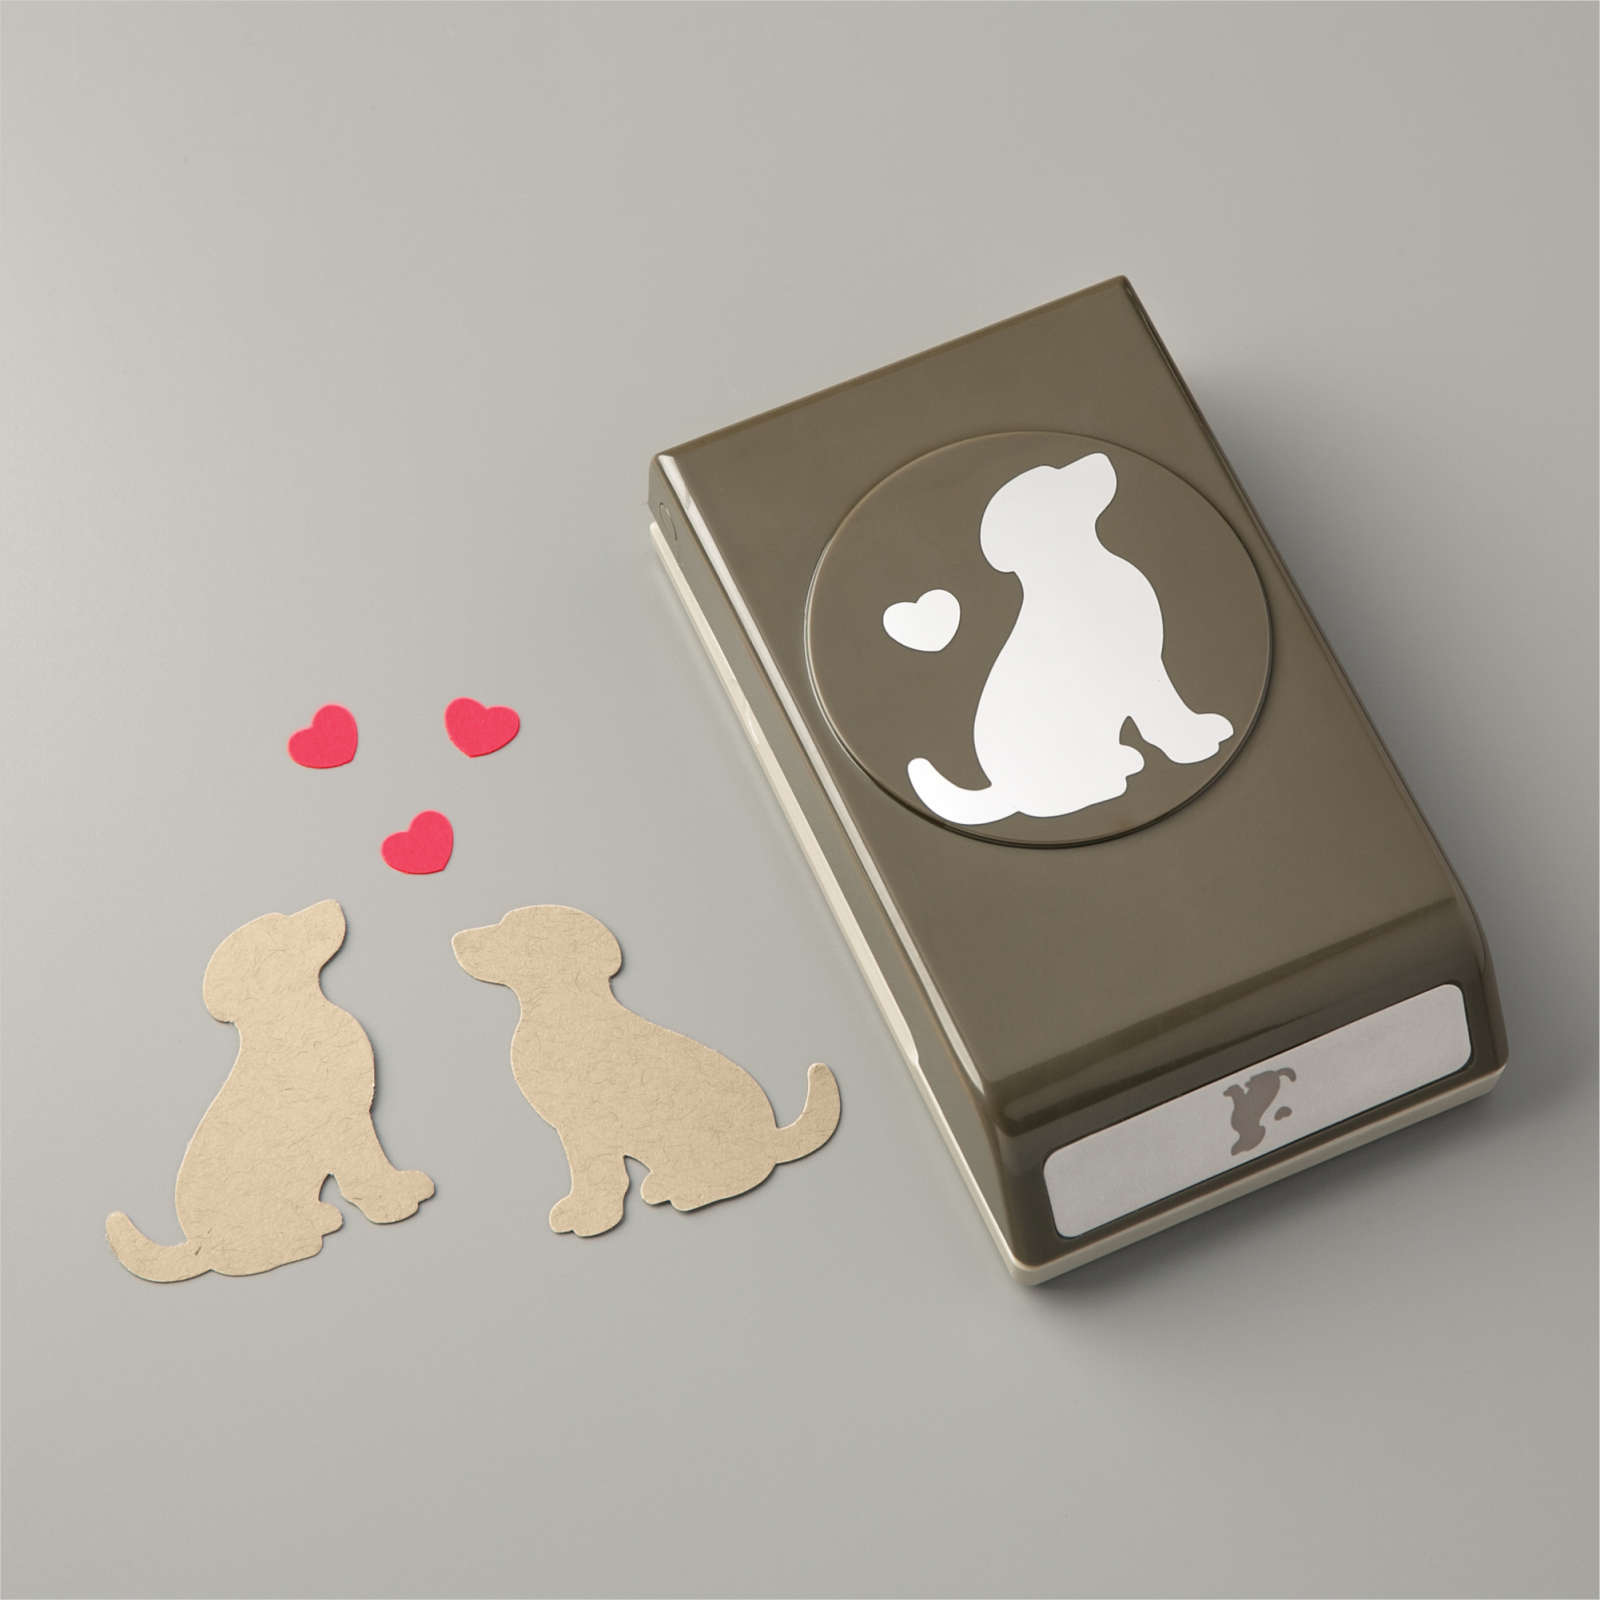
While my Dad was in Vietnam my Mum bought a beautiful Basset Hound who we called Beauregard. Distinguished name for a distinguished dog. I attached the photo to the centre of a strip of Night of Navy 12″ x 12″ card. I attached strips of the Paper Blooms Designer Series Paper to each side of the photo before attaching the panel to a Basic White 12″ x 12″ page. I punched one end of a 1″ strip of Basic White card using the Lovely Labels Pick a Punch and attached it across the bottom of the right hand side of the photo, trimming the end to match the edge of the page. I cut the title from Night of Navy card using the Playful Alphabet Dies and attached them to the banner.
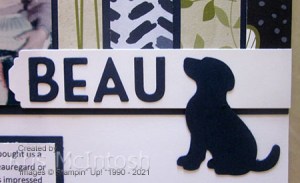
I punched Night of Navy card using the Dog Builder Punch and attached it to the right hand side of the title. I created the journaling on my computer and printed onto Basic White card. I attached the journaling to Night of Navy card. I attached the journaling panel to the page below the photo. We loved Beau very much, but one day someone left the back gate open and he got out. We searched and searched and couldn’t find him. We have always believed that someone picked him up and kept him and hopefully loved him as much as we did.
Bye for now,
Kris
Product Used: