Male cards
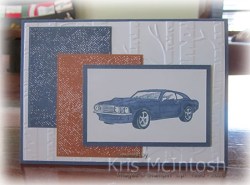
I struggle sometimes to come up with ideas for cards for the males in my life. I have oodles of stamp sets suitable for females but not so many for males. So today I made an effort to create a set of male cards. I began by embossing Whisper White card using the Woodlands Embossing Folder. I attached the embossed card to scored and folded Misty Moonlight card.
I attached pieces of Misty Moonlight and Cinnamon Cider paper from the 2020-2022 In-colour Designer Series Paper to Misty Moonlight and Cinnamon Cider card. The panels are cut to different sizes and placed in different layouts to create three slightly different cards.

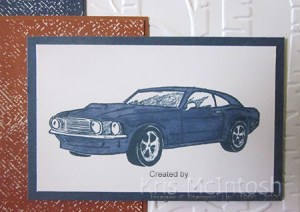
The main image panel is the car from the All Geared Up stamp set which is stamped in Misty Moonlight ink onto Whisper White card. I used the Light Misty Moonlight Stampin’ Blend to add some more colour to the card. The image panels are attached to Misty Moonlight card and then the card front using dimensionals. To decorate the inside of the card, I stamped the greeting from the Geared Up Garage stamp set using Misty ink. I attached a narrow strip of Misty Moonlight card behind one long edge of Whisper White card embossed using the Woodland Embossing Folder which is attached across the bottom of the stamped Whisper White card.
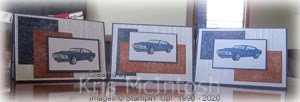
I think these cards are really lovely and just what guys usually want, clean and simple!
Bye for now,
Kris
Product Used:


Joy To The World

Yesterday in my Facebook Live, I shared a couple of more cards made using the Joy To The World Paper Pumpkin Kit. Today I thought I would share some cards created using the stamp set only from the kit. I cut a piece of the Classic Christmas 6″ x 6″ Designer Series Paper using the Curvy Dies. I also cut a piece of Real Red card using the same die. I attached the Designer Series paper to the Real Red card and then Whisper White card.
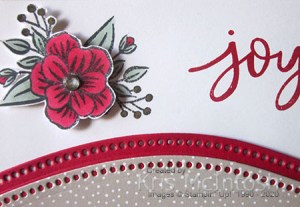
I stamped the floral image from the Joy To The World stamp set onto the left hand side of the Whisper White card using Memento Tuxedo Black ink. I coloured the image using the Real Red, Soft Sea Foam, Dark Soft Suede and Dark Crumb Cake Stampin’ Blends. I stamped “Joy” and “to the world” from the Joy to the World stamp set onto the right hand side of the Whisper White card using Real Red ink. I attached the panel to scored and folded Soft Sea Foam card.

I stamped the floral image onto scrap Whisper White card using Memento Tuxedo Black ink and coloured the image using the same Stampin’ Blends. I cut out the image and attached over the stamped image using dimensionals so that the leafy parts of the stamped image showed. I added a large Basic Rhinestone to the centre of the flower. To decorate the inside of the card, I stamped the greeting from the Joy To The World stamp set onto Whisper White card using Real Red ink. I stamped the flower onto scrap Whisper White card using Memento Tuxedo Black ink, coloured it as before and cut it out. The flower is attached to the bottom left hand corner of the stamped Whisper White card.
I really love the softness of this card, the Real Red is toned down by the Soft Sea Foam. Do you agree?
Bye for now,
Kris
Product Used:
You can see the Joy to the World Paper Pumkin Kit here.


Another Pop Up Cube card
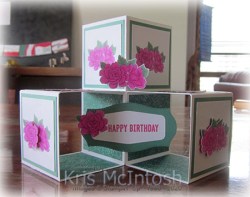
Today’s card was made with a special friend in mind. I wanted to create a card that would be super special and I think this one has delivered. I cut the card base pieces from Thick Whisper White card and attached pieces of the Just Jade 2020-2022 In-colour Designer Series Paper to the inside panels and a couple of the outside panels.
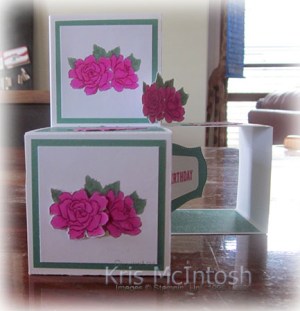
I stamped the floral image from the Four Season Floral stamp set onto three separate squares of Whisper White card using Smoky Slate ink. I coloured the images using the Magenta Madness and Just Jade Stampin’ Blends. I attached the panels to Just Jade card before attaching one panel to each of the panels on the Large Cube and to the front panel of the smaller left hand cube.
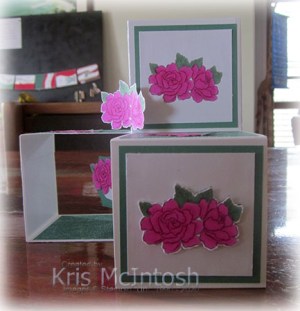
I stamped the same image from the Four Season Floral stamp set six times onto scrap Whisper White card. I coloured the images using the Magenta Madness and Just Jade Stampin’ Blends and cut out the images. I attached one image to the front of the large cube and one each to two of the Designer Series Paper panels. I attached one to a Whisper White square using dimensionals before attaching to Just Jade card and then the front of the small right hand cube.
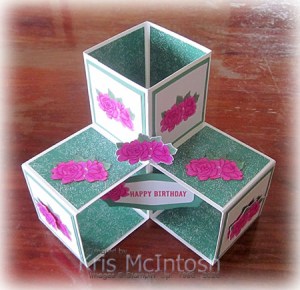
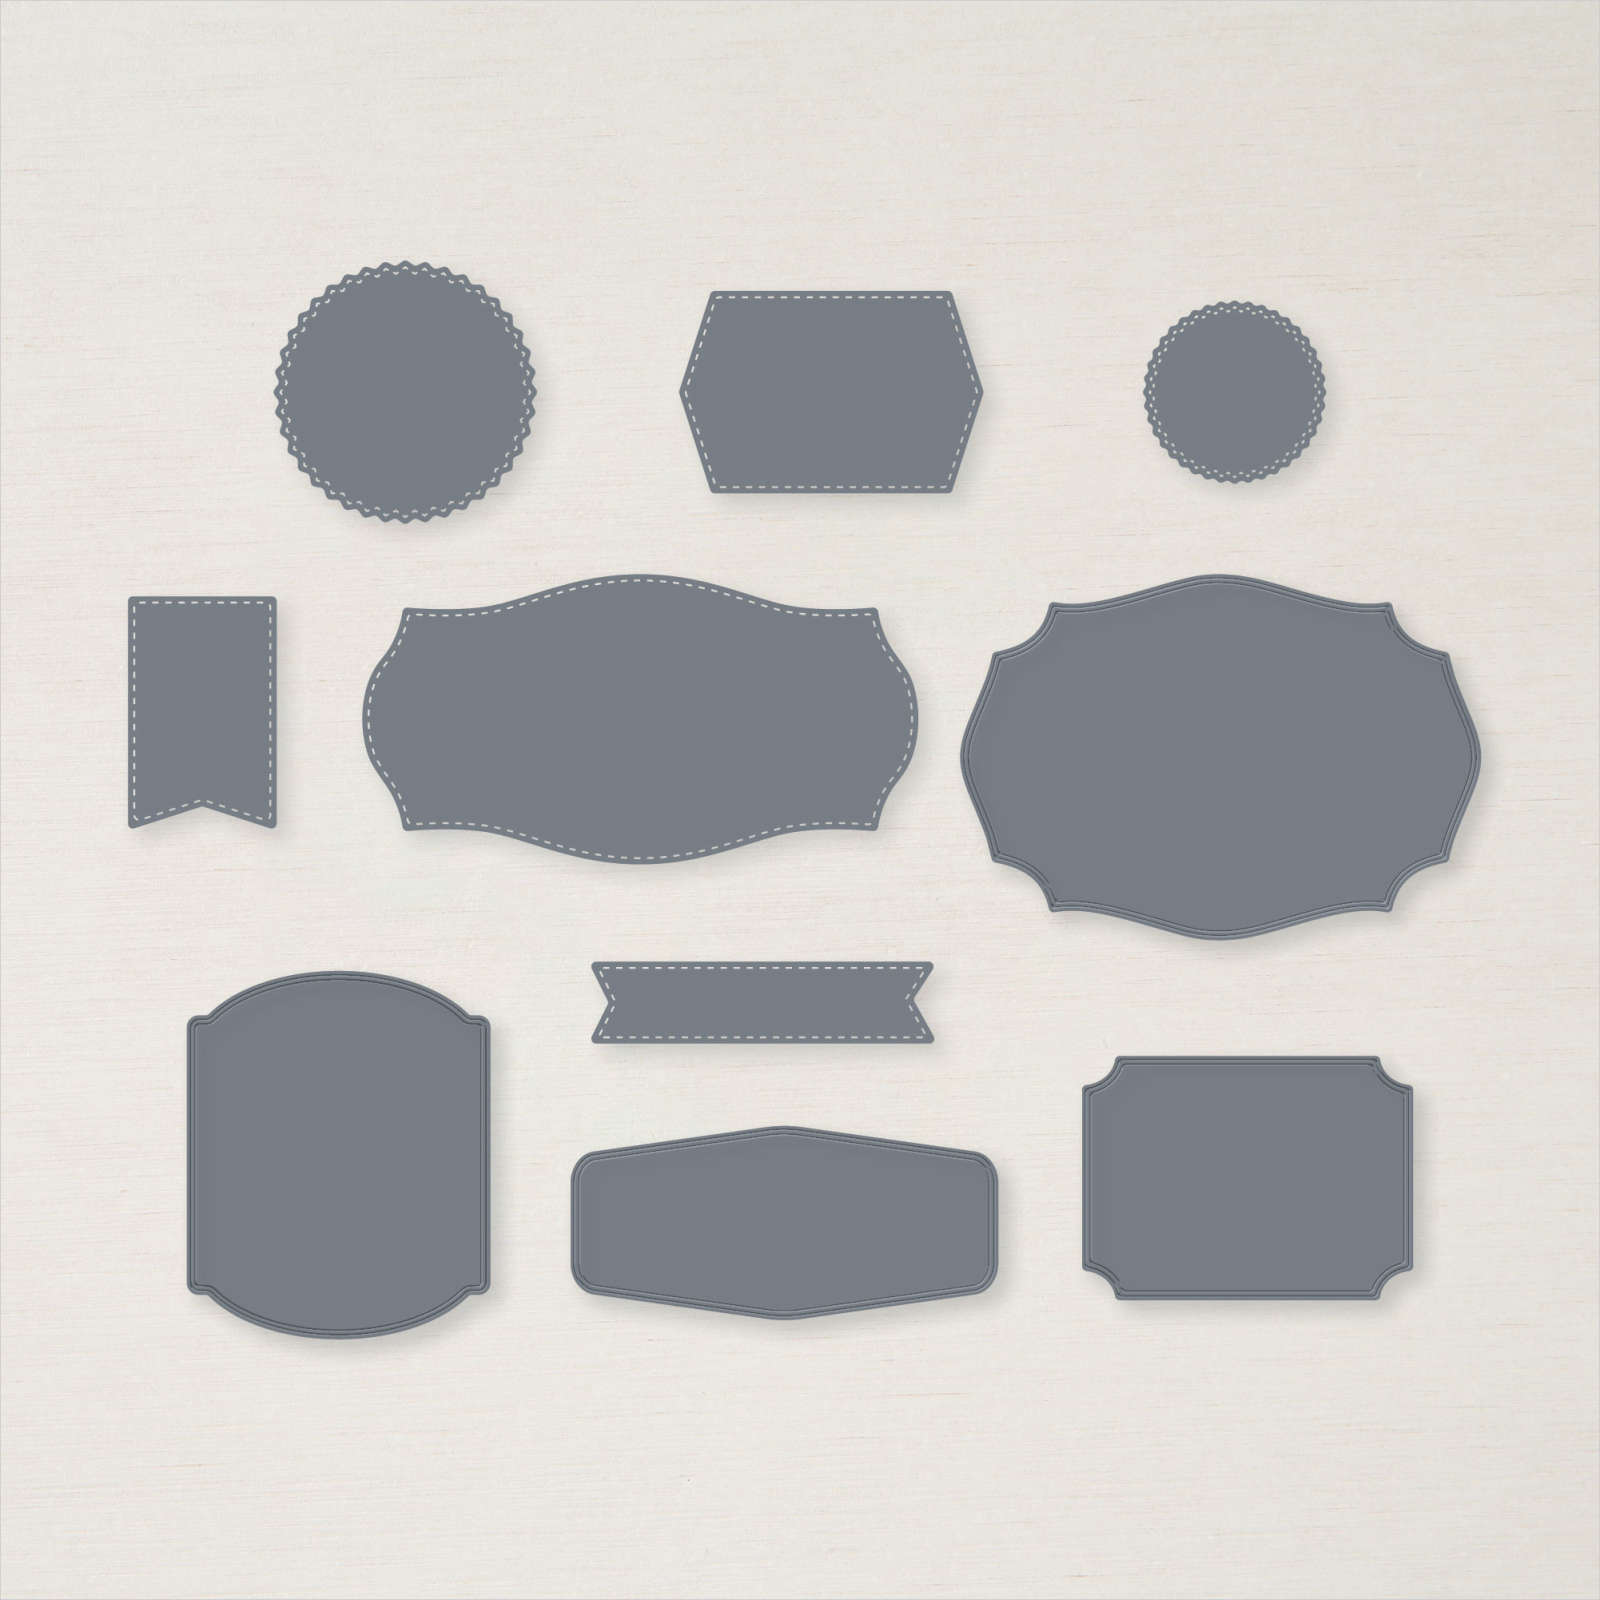
I cut the larger flower from each of the two remaining images and attached one over the image on the front of the left hand small cube using dimensionals. I stamped “happy birthday” from the Itty Bitty Birthday stamp set onto Whisper White card using Magenta Madness ink. I cut out the greeting using one of the Tasteful Labels Dies. I also used one of the Tasteful Labels Dies to cut Just Jade card. I attached the two labels together and added the last large flower to the panel. The whole piece is attached to the inside of the small cubes. I attached the same Just Jade 2020-2022 In-Colour Designer Series Paper to one of the panels on the back of the large cube. The second panel has a Whisper White panel attached to Just Jade card so that I have somewhere to write my message.
These Pop-Up Cube cards are seriously addictive. If you haven’t tried one, you really should.
Bye for now,
Kris
Product Used:


Happy Birthday Jason
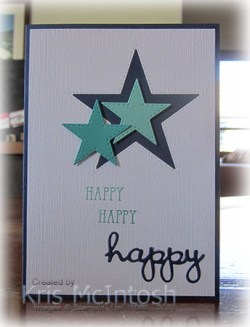
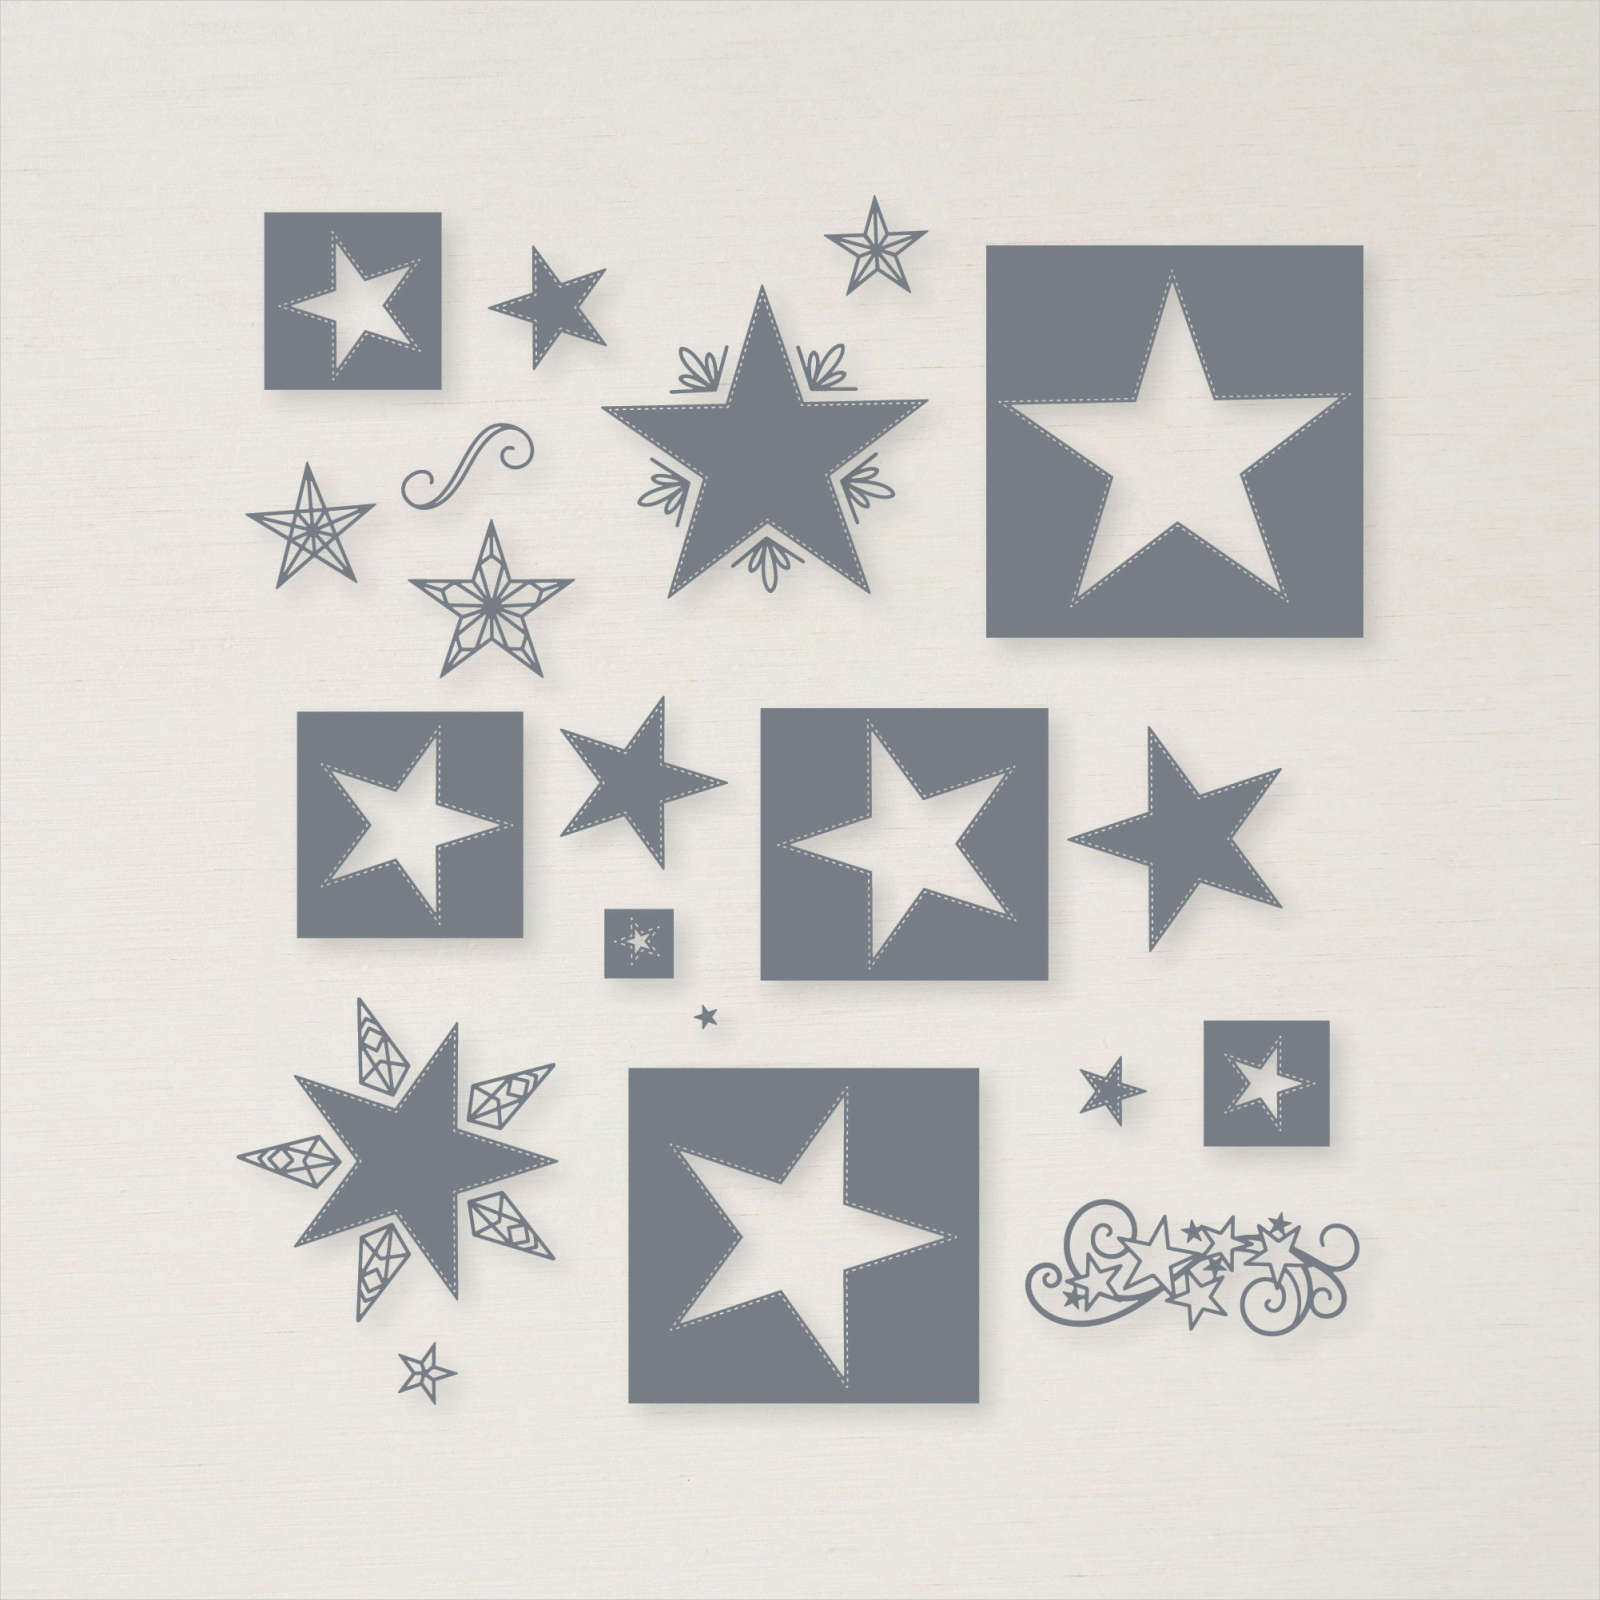
My son-in-law just celebrated his 40th birthday and today I am sharing the card I made for him. I was inspired by this one on Pinterest. I began by cutting a star from Whisper White card using the Stitched Stars Dies. I stamped “happy” from the Well Said stamp set below the die cut star, firstly using Coastal Cabana and then using Bermuda Bay. I embossed the panel using the Subtle 3D Embossing Folder. The panel is attached to scored and folded Night of Navy card. I cut a smaller star from Coastal Cabana card using the Stitched Stars Dies and another star from Bermuda Bay using the same dies.

I attached the Coastal Cabana star in the centre of the die cut star using Mini Dimensionals. I attached the Bermuda Bay star to the left of the Coastal Cabana star also using Mini Dimensionals. I die cut “happy” from Night of Navy card using the Well Written Dies and attached it below the stamped “happy”.
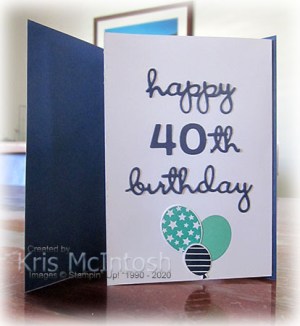
To create the inside of my card, I created a slightly smaller folded card from Whisper White card. I cut “happy” and “birthday” from Night of Navy card, I also cut just the “th” from birthday using the Well Written Dies. I cut “40” from Night of Navy card using the Playful Alphabet Dies. I attached the die cuts to the front of the folded Whisper White card, making sure that the fold was on the right. I stamped the solid balloon from the So Much Happy stamp set below the greetings using Coastal Cabana ink. I stamped the starry balloon from the same stamp set onto Whisper White card using Bermuda Bay ink and cut it out using the co-ordinating Happy Die. I stamped the small striped balloon from the So Much Happy stamp set onto Whisper White card using Night of Navy ink and cut it out using the same Dies.

I attached the two die cut balloons partially over the Coastal Cabana balloon. I decorated the inside of the card by stamping three balloon strings from the So Much Happy stamp set onto the left hand side of the panel using Night of Navy ink. I stamped each of the balloons using the same coloured inks and cut them out using the Happy Dies. The balloons are attached to the ends of the strings with the solid Bermuda Bay balloon on dimensionals. The Whisper White card is attached to the inside of the Night of Navy card. I have made this fancy fold before and I am always delighted with the finished product. Thankfully Jason loved his card as well.
Bye for now,
Kris
Product Used:


Rocketman
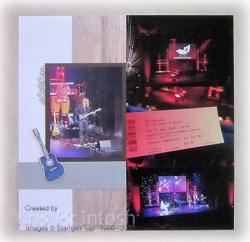
We were finally able to visit the Redcliffe Entertainment Centre and watch Dave, who gives Ron and Ethan guitar lessons, play in the Rocketman Elton John Tribute Band. What a performance! So, today’s page shows off some photos from that event. I used Whisper White 12″ x 12″ card as the base for each page and to each one I attached a piece of In Good Taste Designer Series Paper. I embossed the strips of Smoky Slate and Early Espresso card using the Pinewood Planks 3D Embossing Folder.
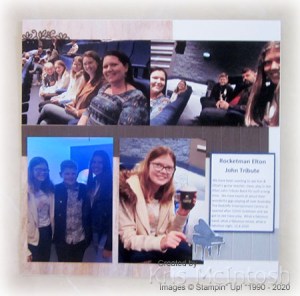
The filigree pieces on each page were cut from Smoky Slate and Early Espresso card using the Be Mine Stitched Dies. I stamped the guitar from the retired Country Life stamp set onto Whisper White card using Memento Tuxedo Black ink and coloured the image using the light Night of Navy and Light Smoky Slate Stampin’ Blends. I stamped the piano image from the retired Music From My Heart stamp set onto Whisper White card and coloured it using the Light Basic Black Stampin’ Blend. All of the stamped images were cut out by hand. The journaling, which is printed onto Whisper White card, has a Night of Navy mat. All of the photos are attached directly onto the page, except the one of Dave which has an Early Espresso card mat.

So glad to have created these pages of this fantastic memory.
Bye for now,
Kris
Product Used:


More Joy To The World
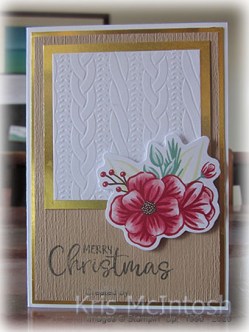
Today’s cards are made from the product included in the Joy to the World Paper Pumpkin Kit to create one card. To create the cards, I cut the card base in half and trimmed down the Crumb Cake panel. I stamped “Merry Christmas” onto the lower left hand corner of the Crumb Cake panel using Memento Tuxedo Black ink. I embossed the stamped panel using the Subtle 3D Embossing Folder and attached it to Gold Foil card and then scored and folded Thick Whisper White card.
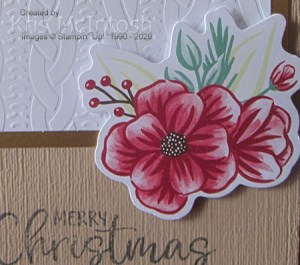
I trimmed down the embossed card front and attached it to Gold Foil card. The panel is attached to the embossed Crumb Cake card. I attached the floral die cut to the bottom right hand corner of the Whisper White embossed panel using dimensionals.

To decorate the inside of the card, I stamped the greeting from the kit using Memento Tuxedo Black ink. For the second card, I embossed Whisper White card using the Subtle 3D Embossing Folder, attached it to Gold Foil card and then scored and folded Thick Whisper White card.

I trimmed down the gold embossed front panel and attached it to Gold Foil card and then the card front. I attached the floral die cut to the bottom left hand edge of the card front using dimensionals.
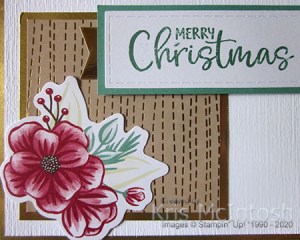
I attached the gold banner included in the kit across the top right hand section of the card front. I stamped “Merry Christmas” from the included stamp set onto the label from the using the Just Jade Stampin’ Spot.

I attached the greeting to Just Jade card and then the card front over the gold banner using dimensionals. To decorate the inside of the card, I stamped the greeting from the stamp set using the Just Jade Stampin’ Spot. I attached Gold Foil card behind one long edge of a piece of the gold embossed front panel. The panel is attached across the bottom of the inside of the card.
I think these cards look so pretty, don’t you.

If you need more inspiration there are plenty of examples on the internet and pinterest in case you need more persuading to purchase the Joy to the World Paper Pumpkin Kit.
Bye for now,
Kris
Product Used:
You can find the Joy To the World Paper Pumpkin Kit here.

Joy To The World
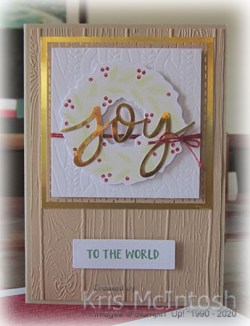
That’s what the Paper Pumpkin kit is called that became available for purchase on the 3rd December (Item No. 155876, $37.00). The kit contains enough product for you to create four cards each of two different designs. The only thing you will need in addition to the kit is a clear block. I created one of each of the cards yesterday on my Facebook Live and thought you might like to see a variation using the card kit pieces. To begin I embossed Crumb Cake Card using the Pinewood Planks Embossing Folder. I attached the embossed panel to scored and folded Crumb Cake card. I cut down the gold embossed front panel of the card and attached it to Gold Foil card before attaching it to the card front.

I trimmed the embossed panel from the card kit and wrapped it with the Cherry Cobbler twine and tied a bow. I attached the embossed panel to the card front using dimensionals (also included in the kit). I attached the wreath die cut from the kit to the embossed panel using dimensionals.

The joy is a Gold Foil die cut from the card kit. I stamped the greeting from the stamp set onto the label using the Just Jade stampin’ spot which is also included in the kit. The greeting is attached to the card front using dimensionals. To decorate the inside of the card, I stamped the greeting using the Just Jade Stampin’ Spot. I attached some Gold Foil card behind one long edge of another piece of the gold embossed card front. The panel is attached across the bottom of the stamped Whisper White card. I used up most of the kit, just a couple of small pieces of the gold embossed card front which I have kept “just in case”.
If you haven’t purchased your Joy To The World Paper Pumpkin kit, take another look. You won’t regret it!
Bye for now,
Kris
Product Used:
You can find the Joy To The World Paper Pumpkin Kit here.

Happy Holidays

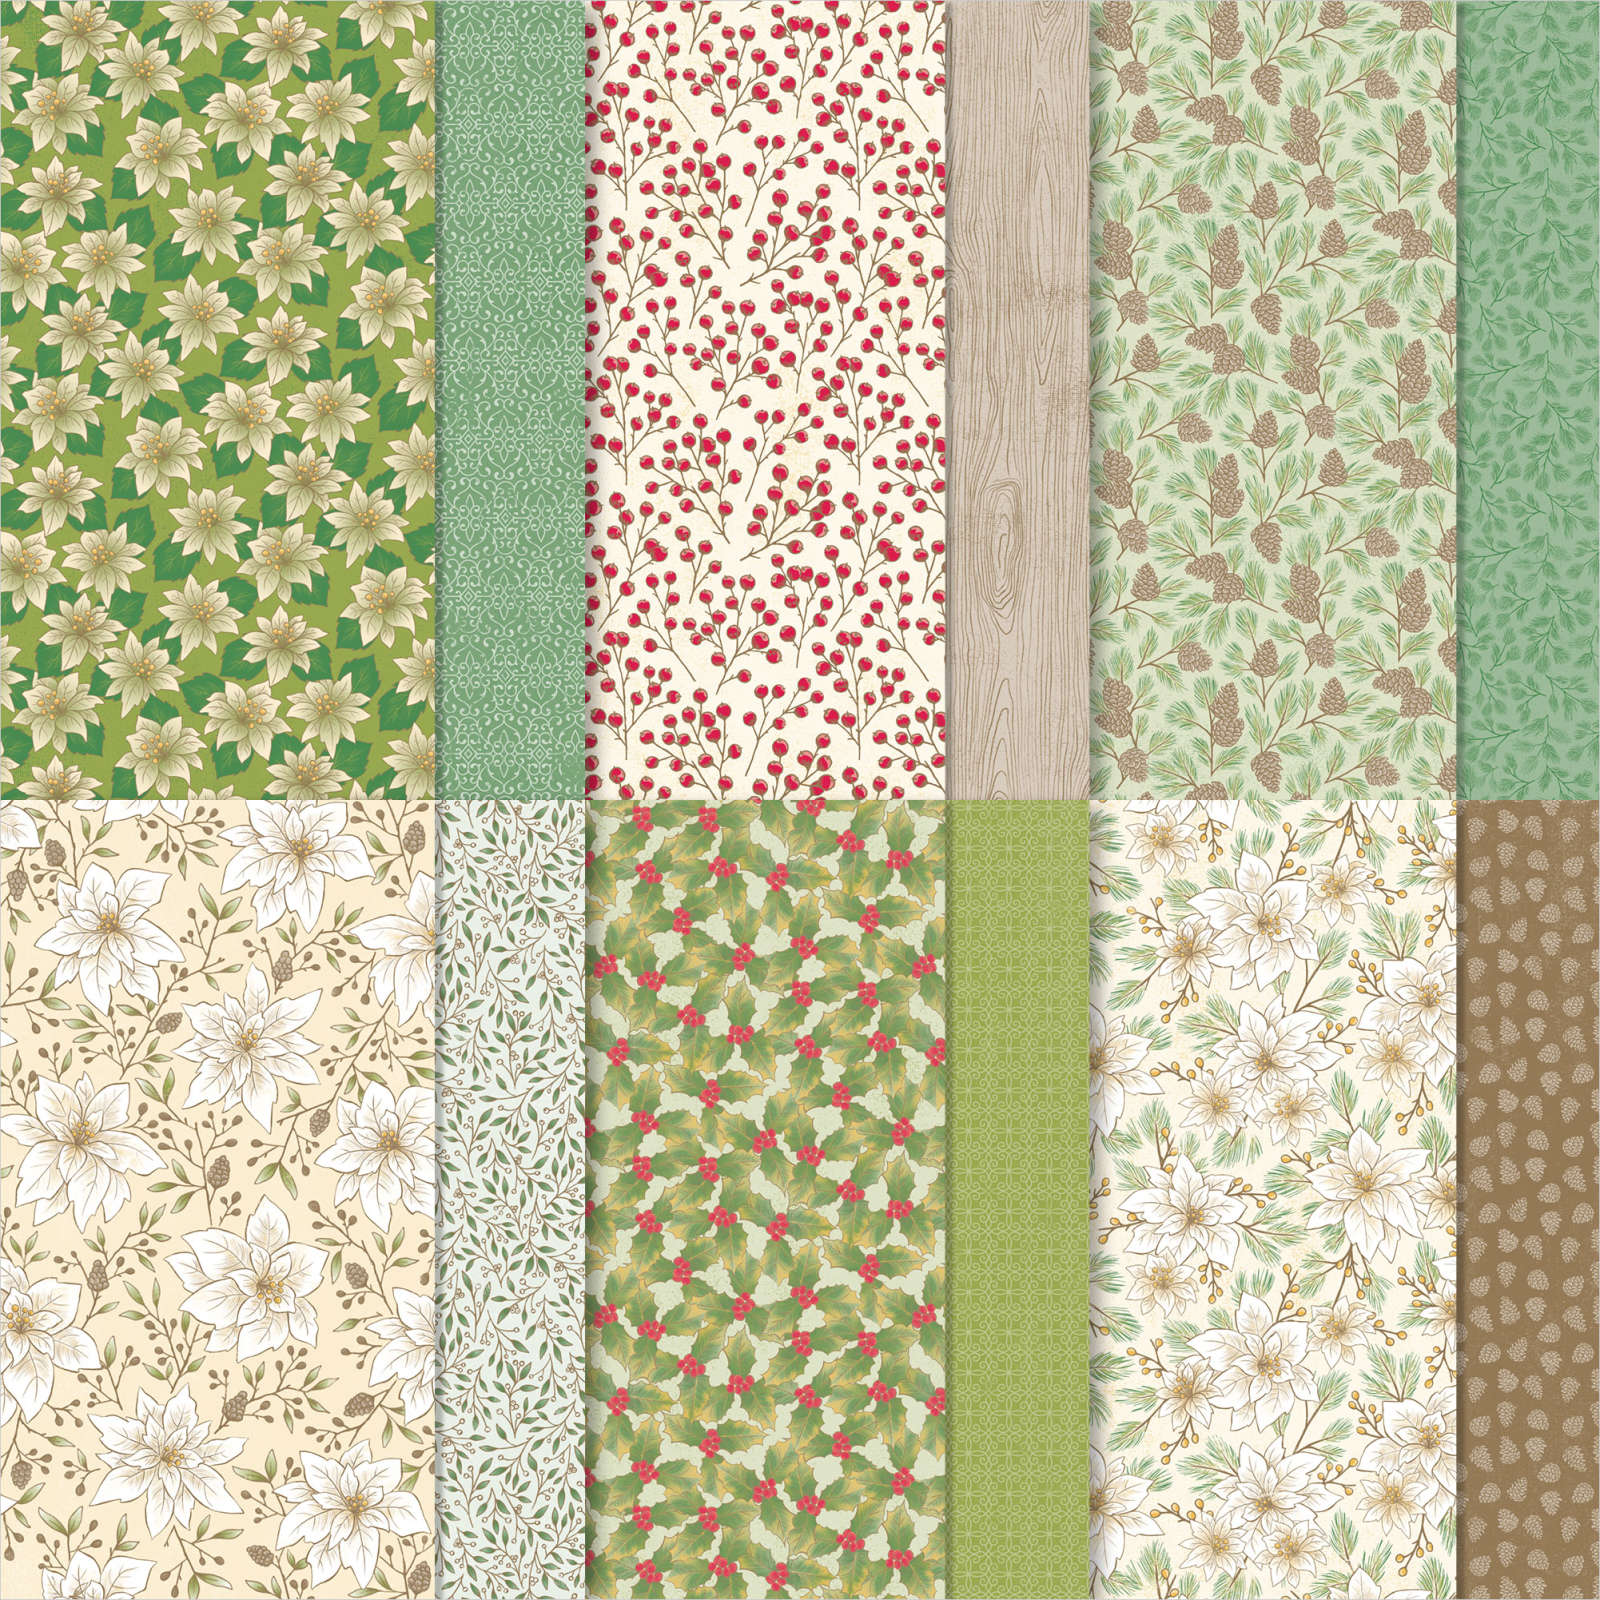
Sometimes I get stuck for ideas when I want to use a specific stamp set, so I often purchase tutorials from Connie & Mary to get me started. Today’s card was inspired by one of their creations but, of course, I had to put a little of my own spin on it. I attached two different pieces of the Poinsettia Place Designer Series Paper to the left hand side of Cherry Cobbler card. I stamped the greeting from the Poinsettia Place stamp set onto Whisper White card using Garden Green ink and attached it to the card front partially over the Designer Series Paper.
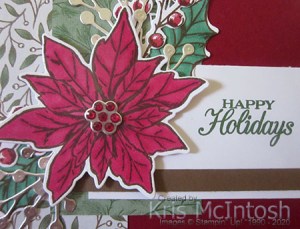
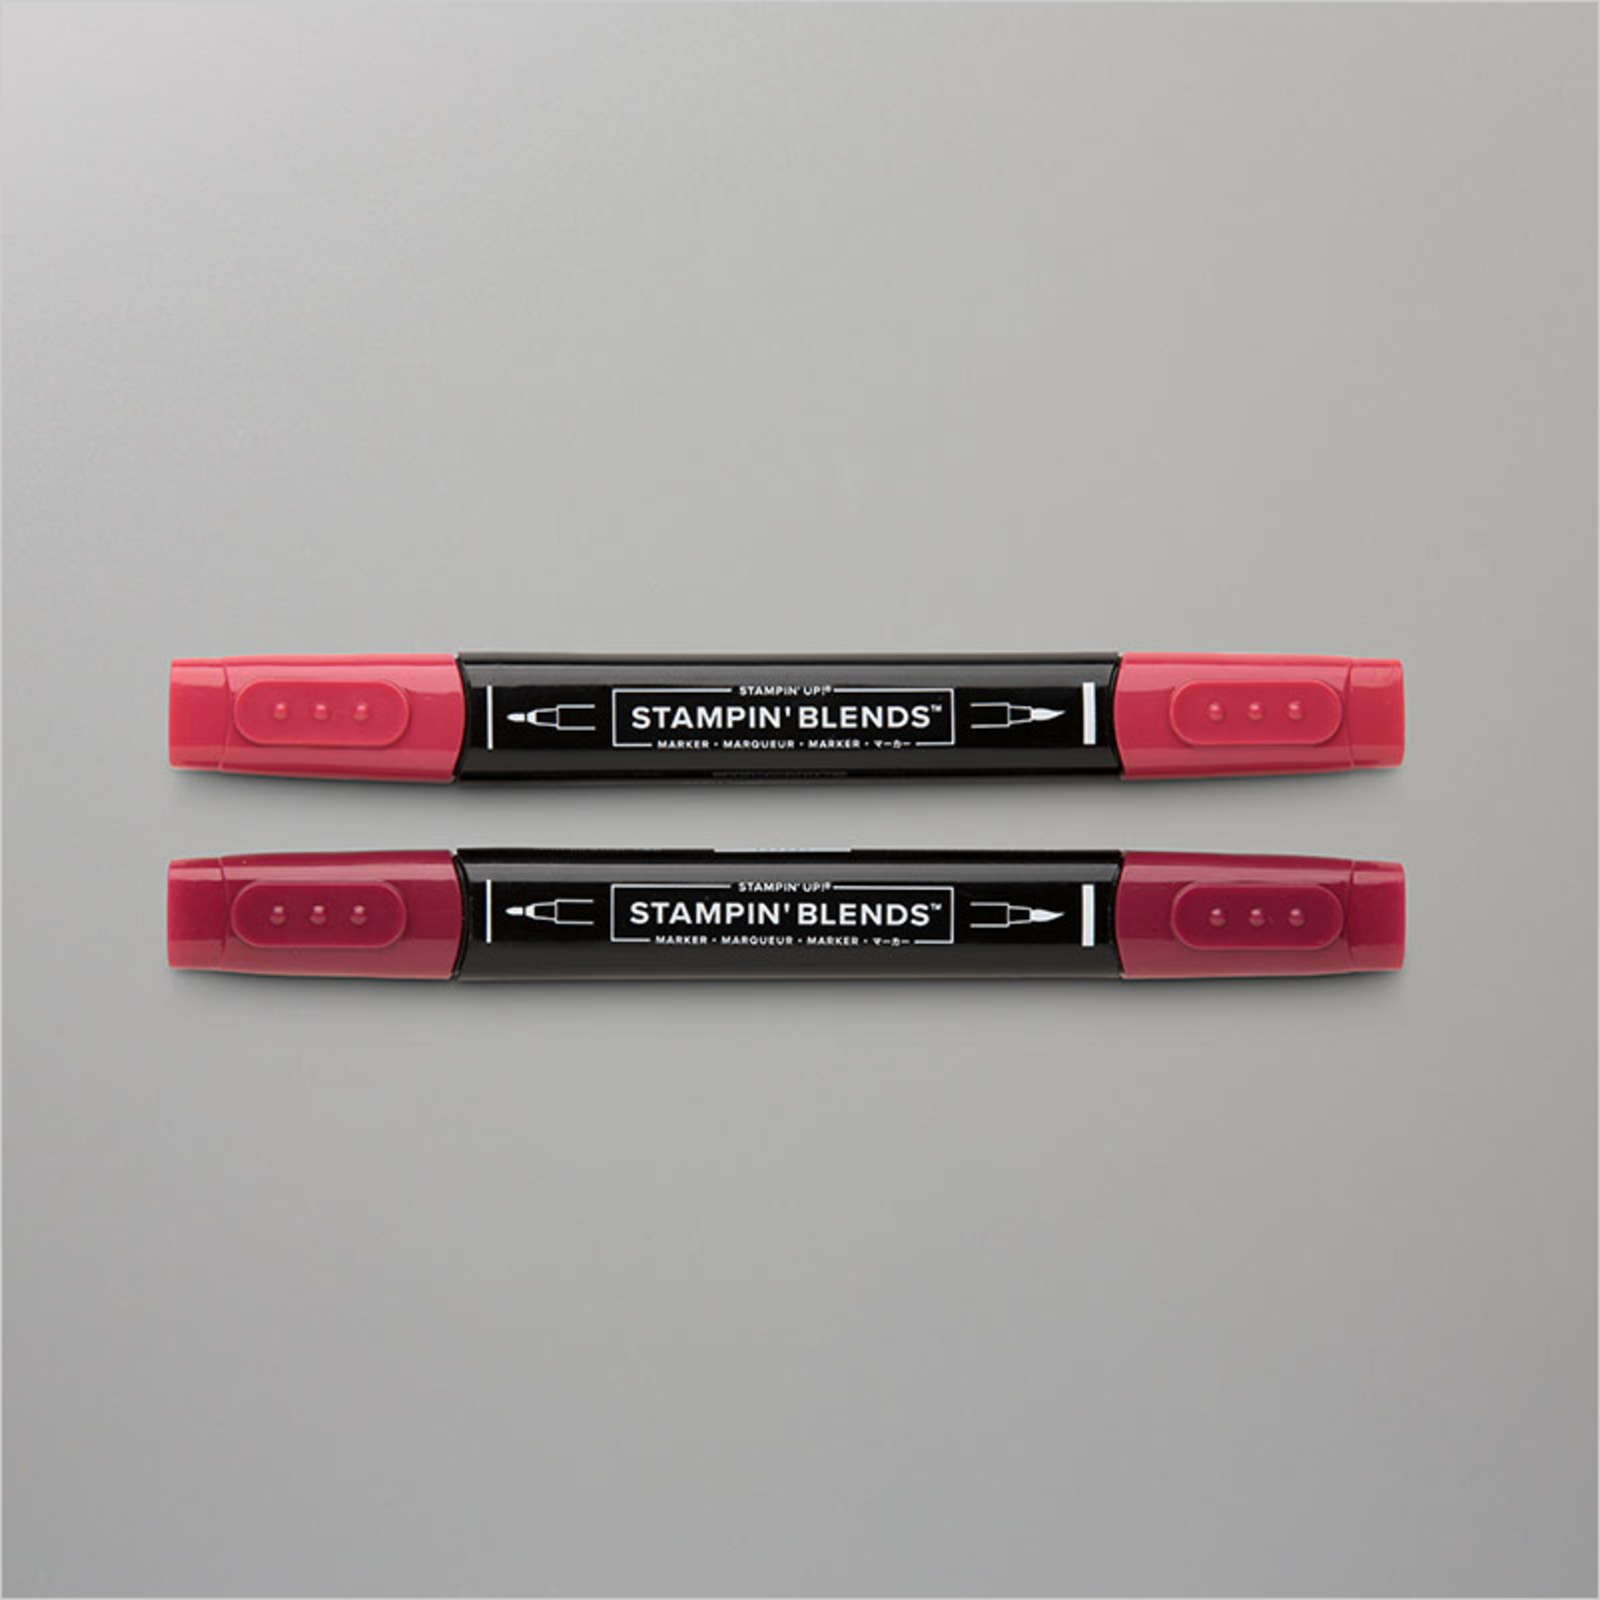
I attached a narrow strip of Soft Suede card across the card front before attaching the whole panel to scored and folded Thick Whisper White card. I stamped the flower, two leaves and two berry stem images from the Poinsettia Place stamp set onto Whisper White card using Soft Suede ink. I added the berries to the berry stems using Real Red ink and coloured the flower using Cherry Cobbler Stampin’ Blends and also the leaves using Shaded Spruce Stampin’ Blends.
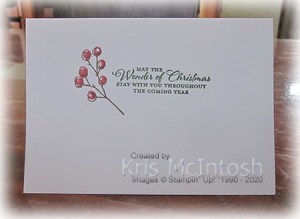
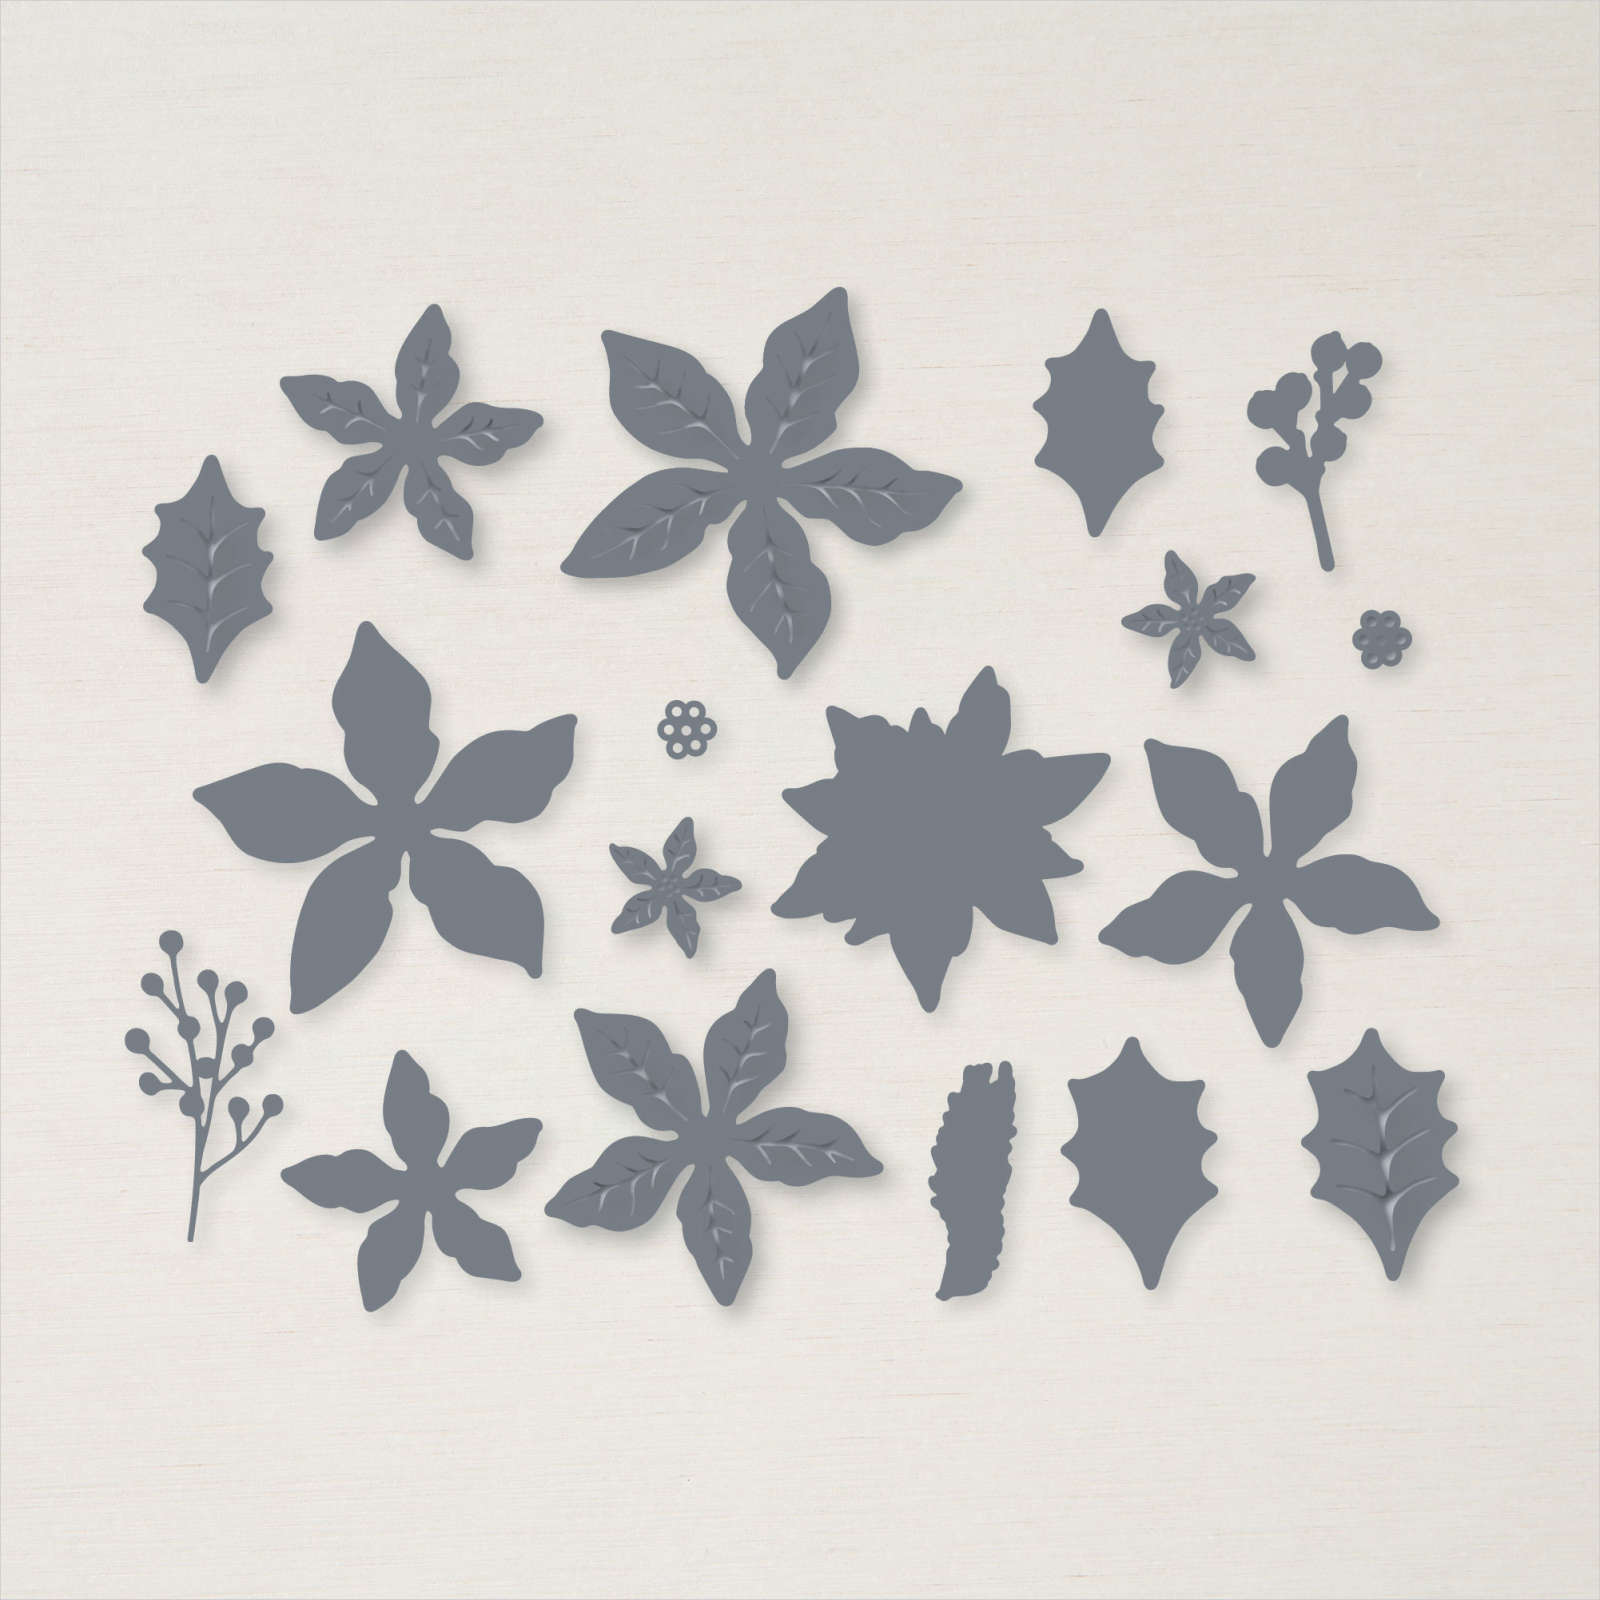
I cut out the images using the co-ordinating Poinsettia Dies. I cut Silver Foil card using another leaf die and the flower centre from the Poinsettia Dies. I attached the flower to the card front using dimensionals and attached the leaves and berry images behind the flower. I coloured six small Basic Rhinestones using the Dark Cherry Cobbler blend and attached them to the flower centre. The flower centre is attached to the flower using a Glue Dot. To decorate the inside of the card, I stamped the greeting from the Wishes & Wonder stamp set using Garden Green ink. I stamped the berry stem from the Poinsettia Petals stamp set next to the greeting using Soft Suede ink. I added the berries to the stem using Real Red ink.
I love this card, don’t you? Thanks Connie & Mary for the inspiration.
Bye for now,
Kris
Product Used:


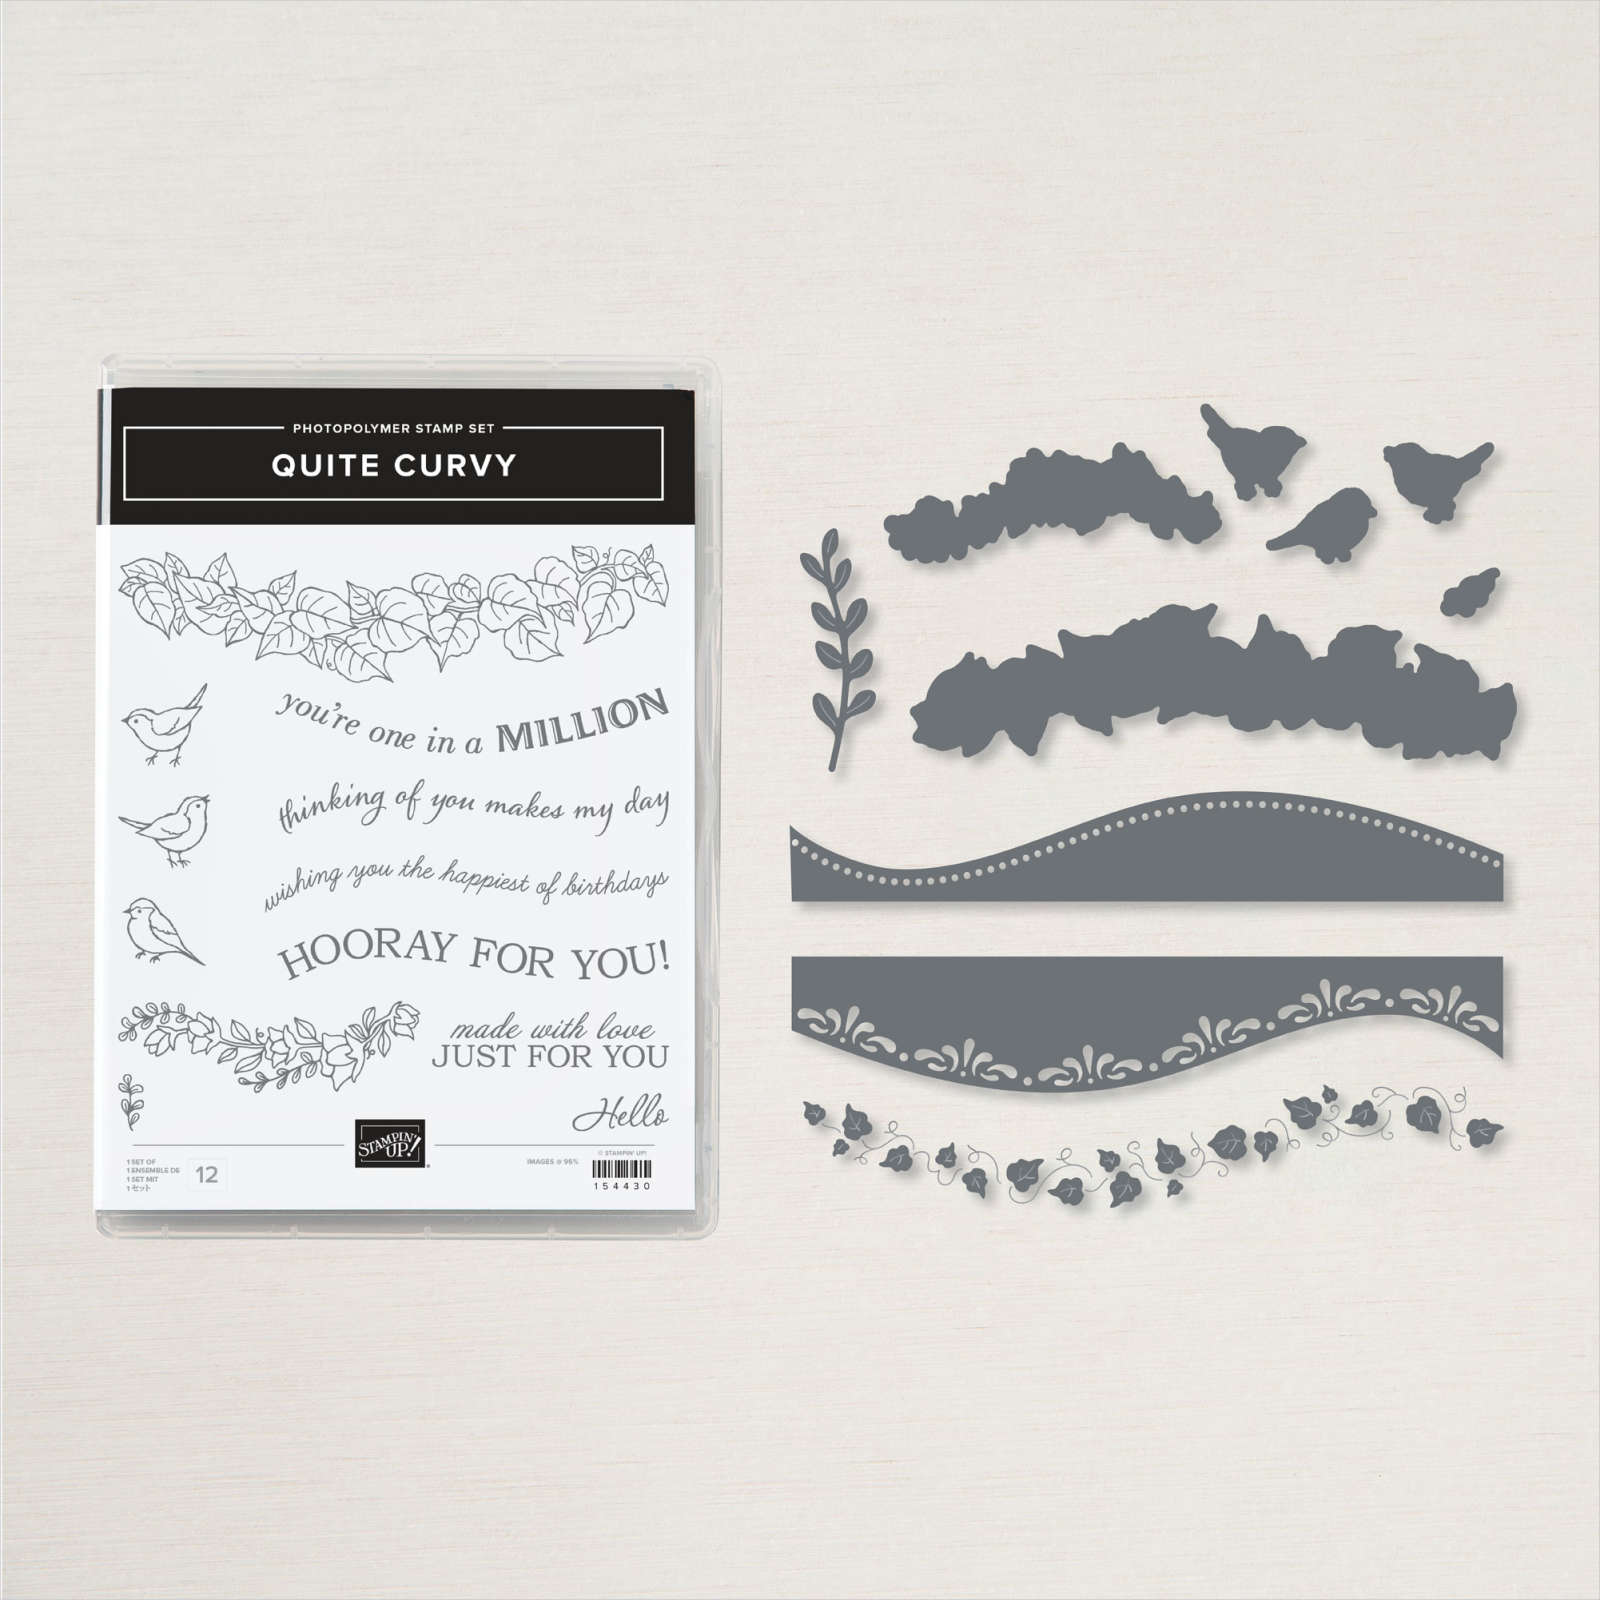
Curvy Thinking of You
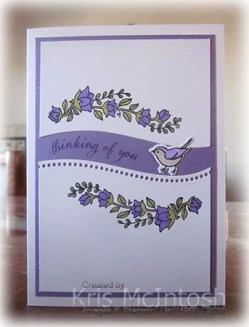
Today’s card uses the Quite Curvy stamp set and the Curvy Dies which are part of the Curvy Celebration collection. This stamp set and the co-ordinating dies will be part of the next Mini Catalogue launching in January, but we (demonstrators and customers) are able to pre-order them and get to know them early. I love this idea and so will you once you have seen how amazing these products are! Today’s card is relatively simple but quite pretty. I cut Whisper White card approximately in half using the dotted Curvy Die.
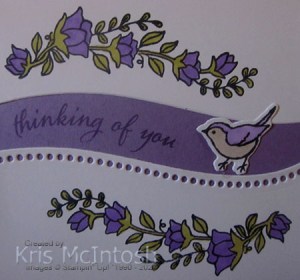
I stamped the floral image from the Quite Curvy stamp set onto the bottom left hand side of the piece without the dots and the top right hand side of the piece with the dots. I coloured the images using the Dark Highland Heather and Light Old Olive Stampin’ Blends.

I attached the Whisper White pieces to Highland Heather card and then scored and folded Thick Whisper White card. I stamped the bird image from the Quite Curvy stamp set onto scrap Whisper White card and coloured it using the Light Crumb Cake and Light Highland Heather Stampin’ Blends. I cut out the bird using the co-ordinating Curvy Die and attached it to the card front. To decorate the inside of the card, I stamped the floral image on the top and the bottom of Whisper White card using Memento Tuxedo Black ink. The images are coloured using the Dark Highland Heather and Light Old Olive Stampin’ Blends.
I hope you are inspired to take another look at this early-bird special.
Bye for now,
Kris
Product Used:


Pizza Night

Sarah & Sean invited us around for a Pizza night. What fun Sean cooked all the pizzas on the barbeque and then we sat around the fire pit listening to Ethan play the guitar. I attached my photos to a piece of Sahara Sand card before attaching it to a Whisper White 12″ x 12″ page. I created the journaling on the computer and printed onto Whisper White card.

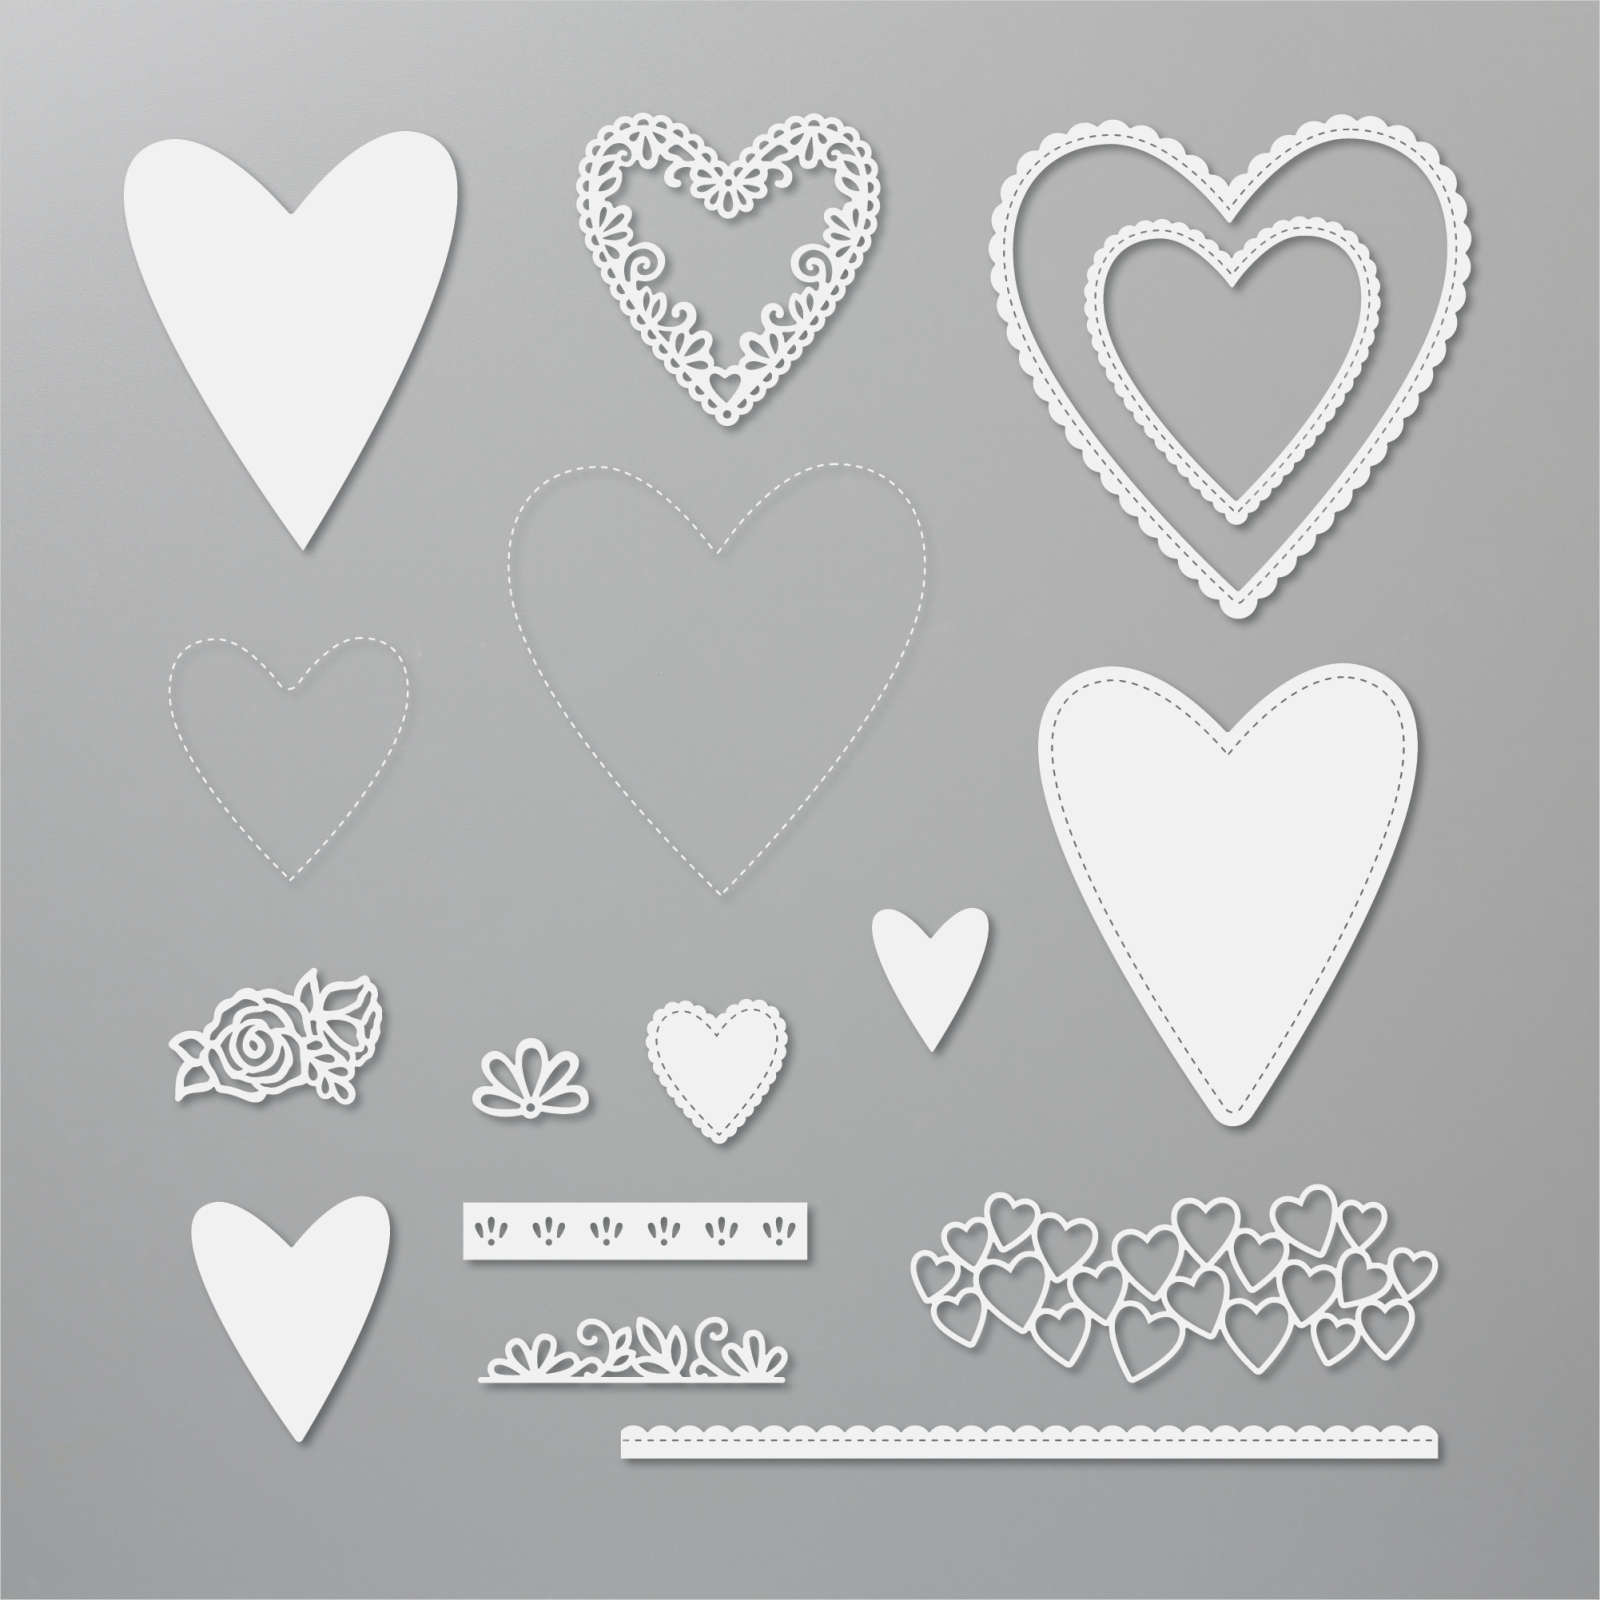
I stamped the greeting from the retired Hug in a Mug stamp set using Memento Tuxedo Black ink. I attached the journaling to Basic Gray card and then the page. I cut the multi heart image from Soft Sea Foam card and the large heart from Blushing Bride card using the Be Mine Stitched Dies. I stamped the greeting from the retired Part of my Story stamp set onto the Blushing Bride heart using Memento Tuxedo Black ink. I attached the large heart slightly over the Soft Sea Foam hearts. Lastly I added one of the hearts from the Soft Sea Foam die to the journaling panel.
I know, it’s simple, but you already know that’s my style.
Bye for now,
Kris
Product Used: