Glenrowan

Today’s page uses the 1, 2, 3 Layout from April’s Memory Keeping class. I used one piece of Woven Textures 12″ x 12″ Designer Series Paper and attached the pieces to Basic White 12″ x 12″ card. I cut my title from Early Espresso card using the Alphabet A La Mode Dies. Since the page was focused on Glenrowen, I searched on the internet and found a picture of Ned Kelly’s armour and cut out the face mask and also the gun which was taken from him on his arrest at Glenrowan.
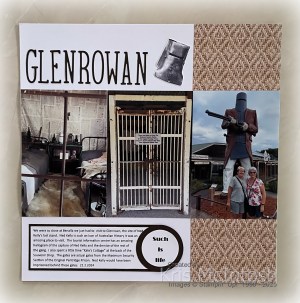
The images are printed onto Basic White card and fussy cut before attaching them to my pages. “Such is LIfe” is attributed as being Ned Kellly’s last words before he was hanged. I printed the words onto Basic White card and punched them out using the 1-3/4″ Circle Punch. I attached the words to a Early Espresso 2″ Circle before attaching the greeting to the journaling panel. I really enjoyed visiting Glenrowan. The hallogenic re-enactment of the seige and subsequent arrest at the Tourist Information Centre, it was just amazing.

I couldn’t resist a visit to Kate’s Cottage at the back of the souvenir shop, Kate being Ned Kelly’s sister. I truly love using these 1,2,3 layouts from Noreen Smith which you can find if you do a search on You Tube. I hope I am inspiring you to create pages about your daily life.
Bye for now,
Kris
Product Used:
You can view the Woven Textures 12″ x 12″ Designer Series Paper here in my online store.


Gallery Blooms Three Ways
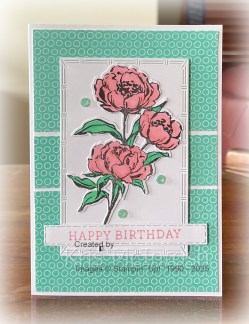
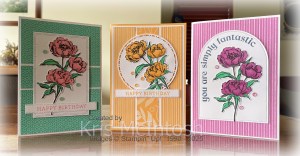
Today I have three cards to share with you that I created using some of the products from the Beautiful Gallery Suite Collection. I wanted to show how you can mix and match products which you have on hand and may not necessarily be co-ordinated product. I also wanted to feature to ongoing In-colours. The first card uses pieces of the Shy Shamrock paper from the 2024-2026 In-Colour 6″ x 6″ Designer Series Paper which retires with the 2024-2025 Annual Catalogue and are attached to scored and folded Thick Basic White card.
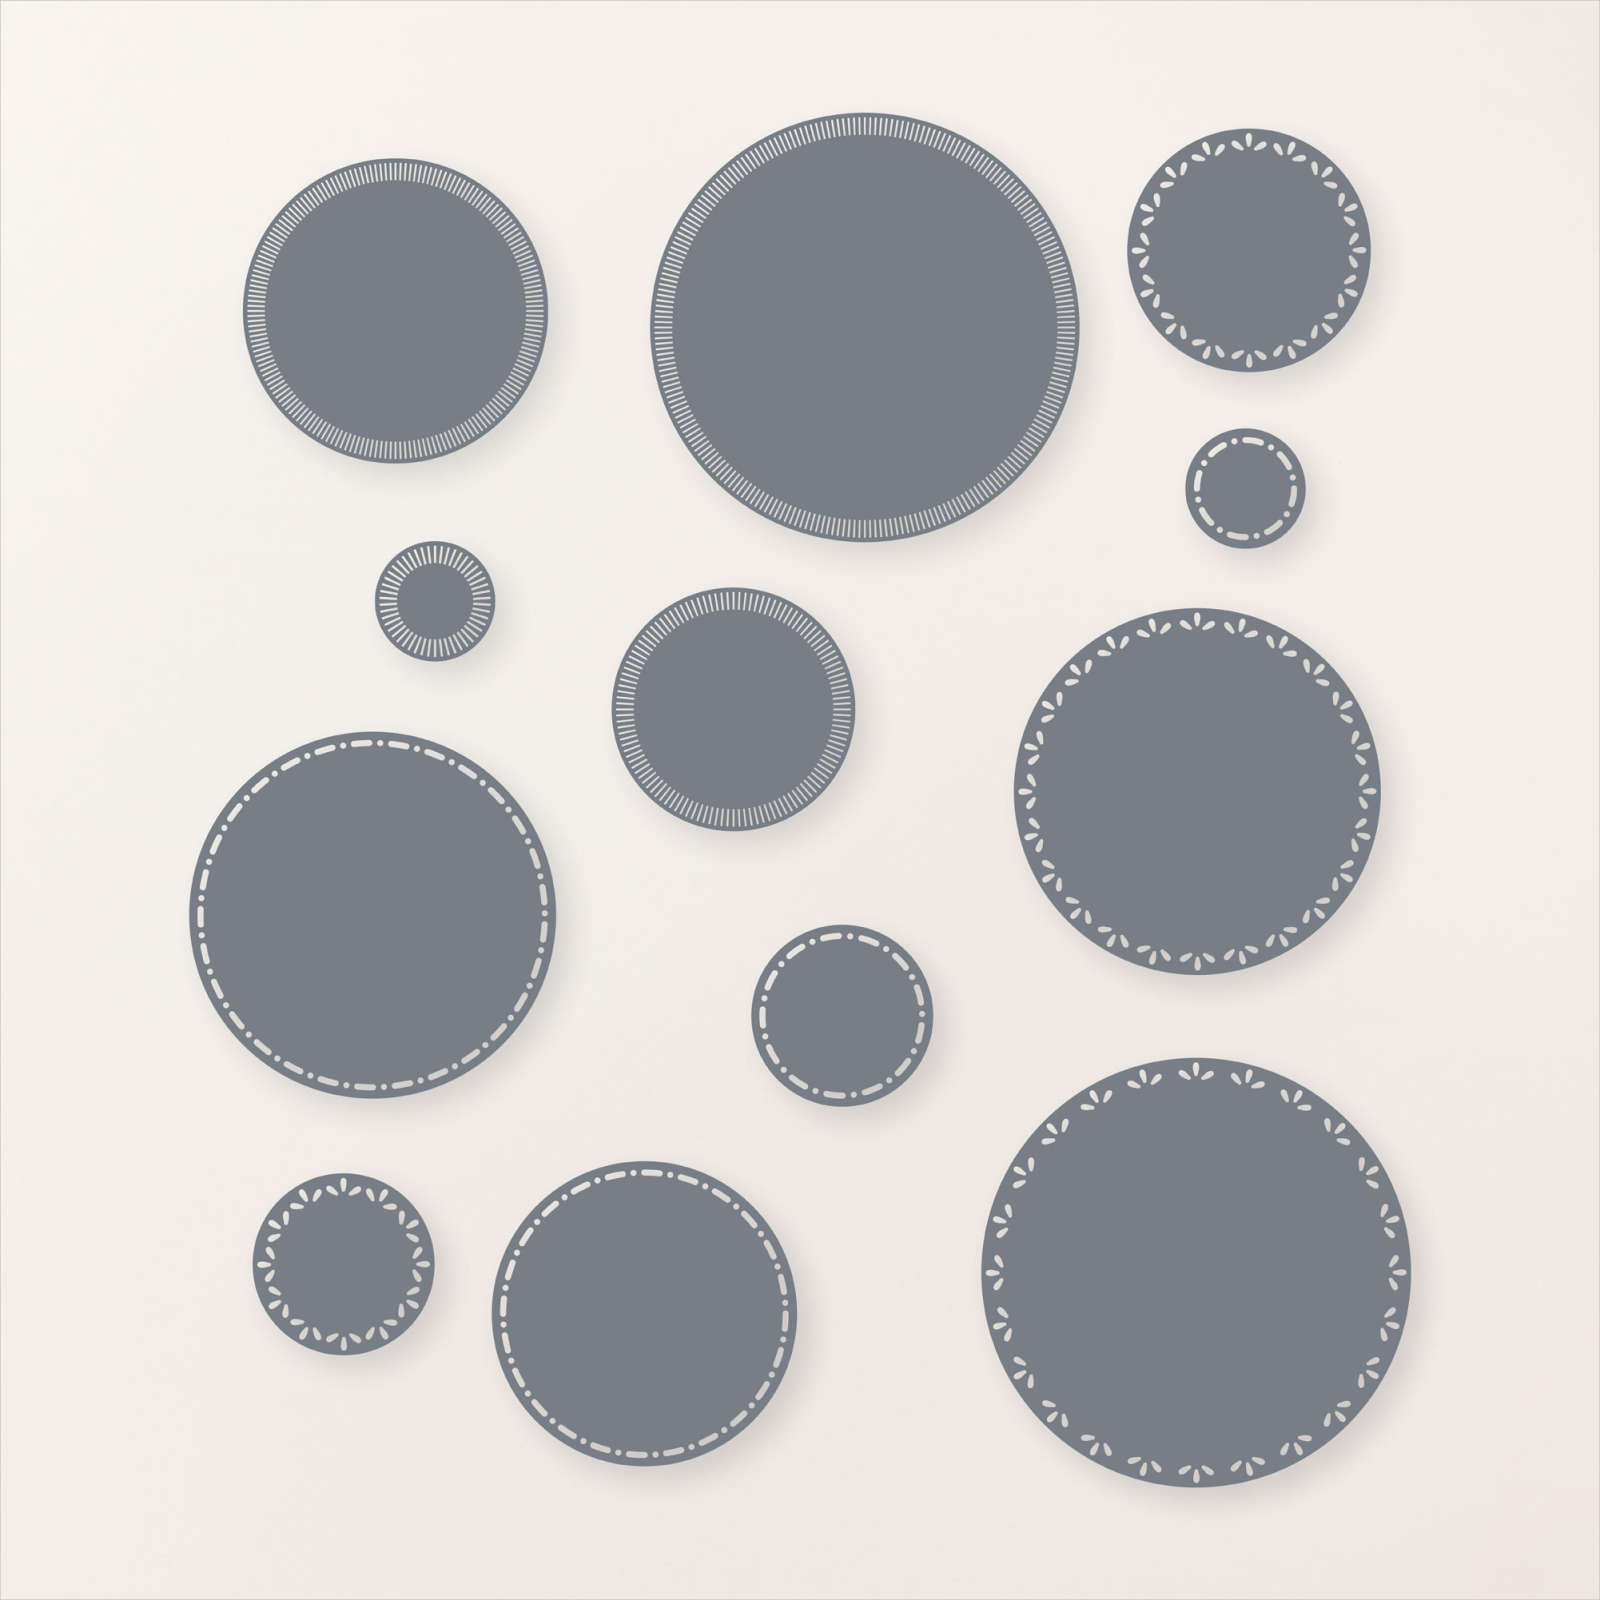
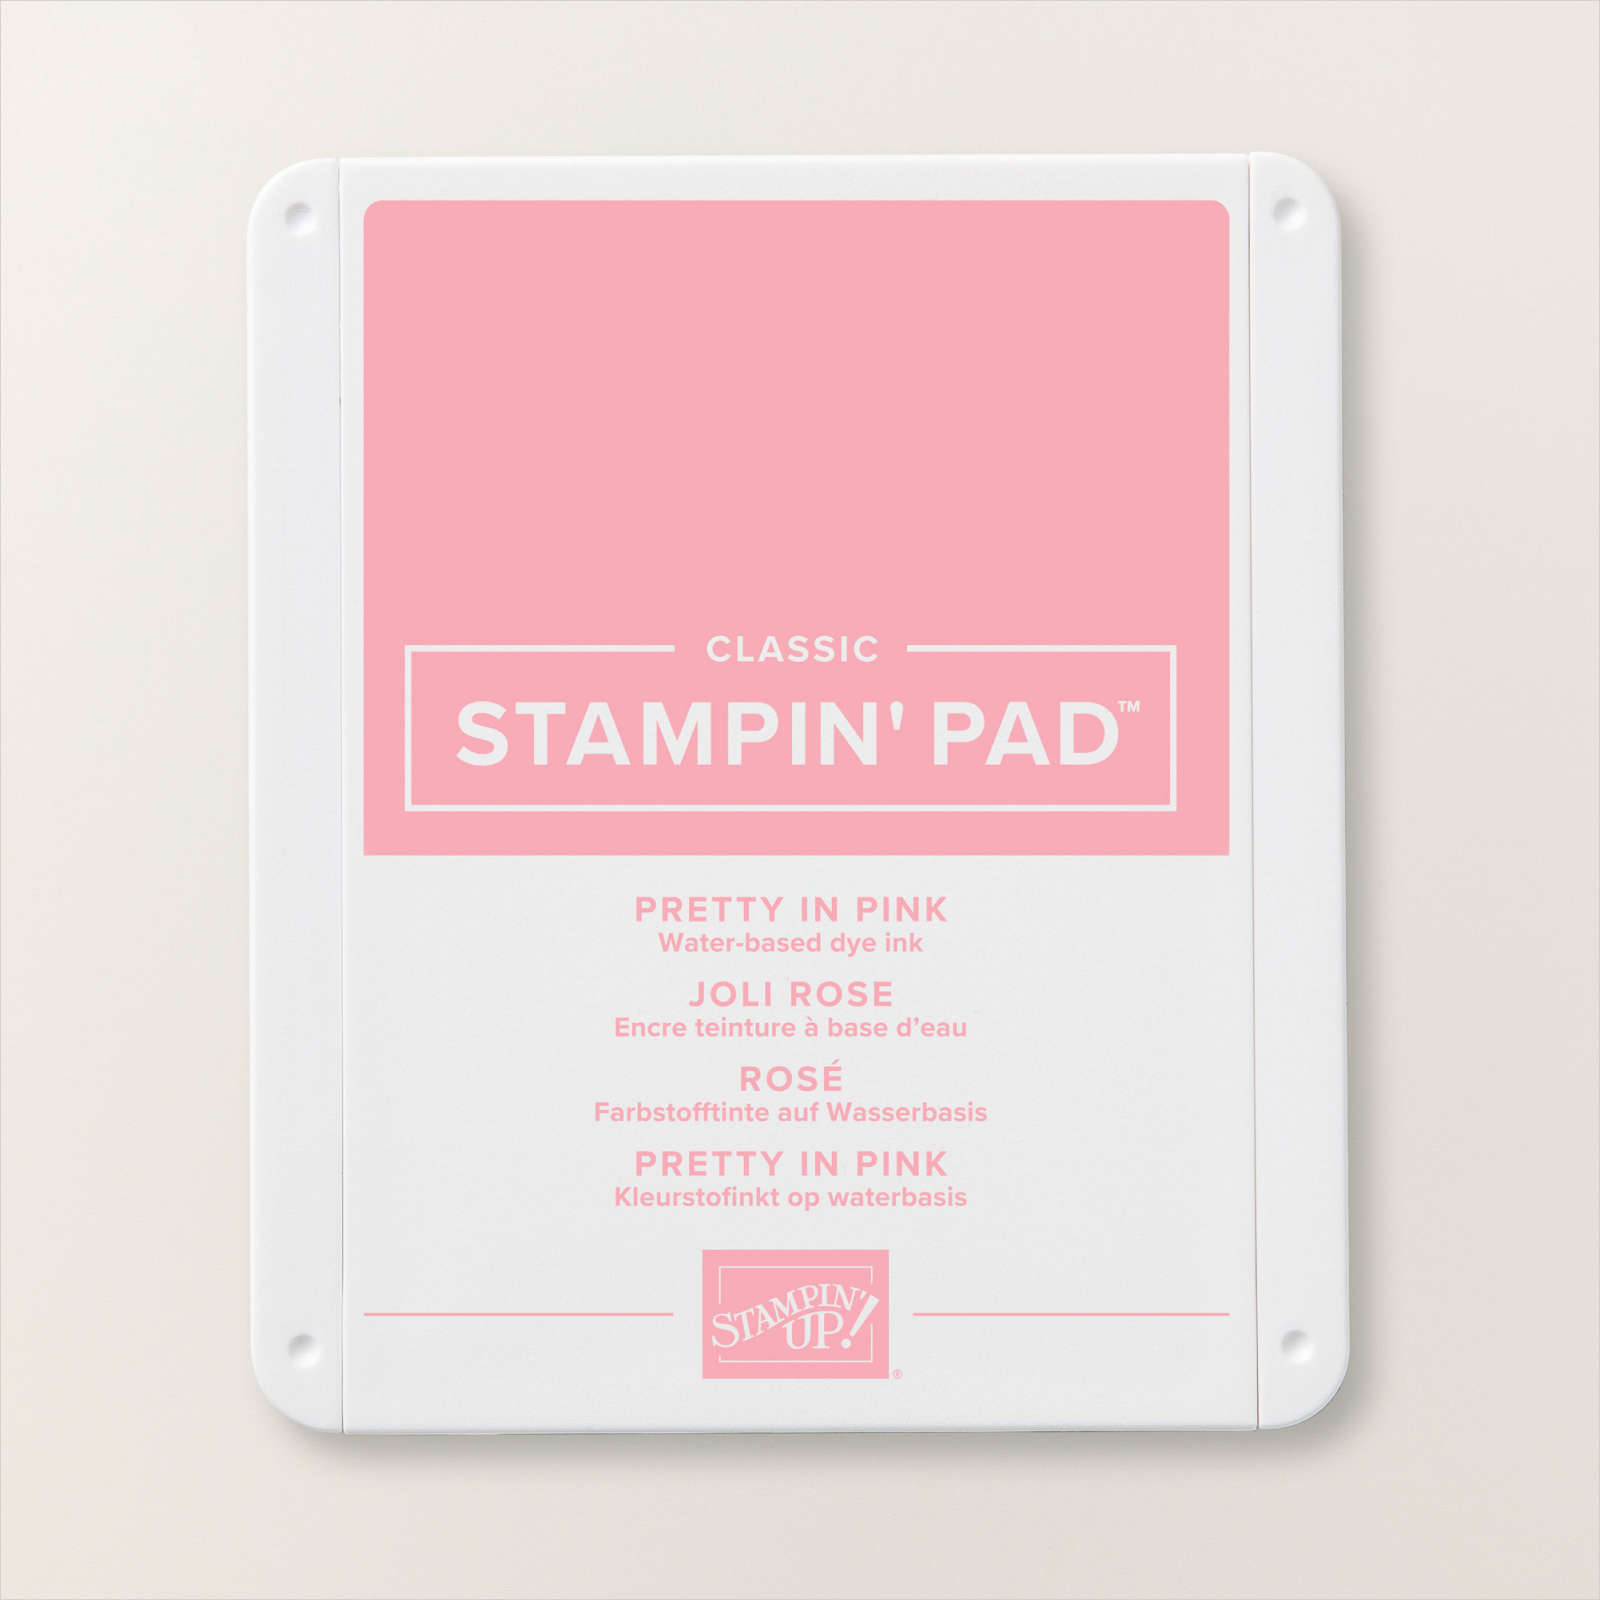
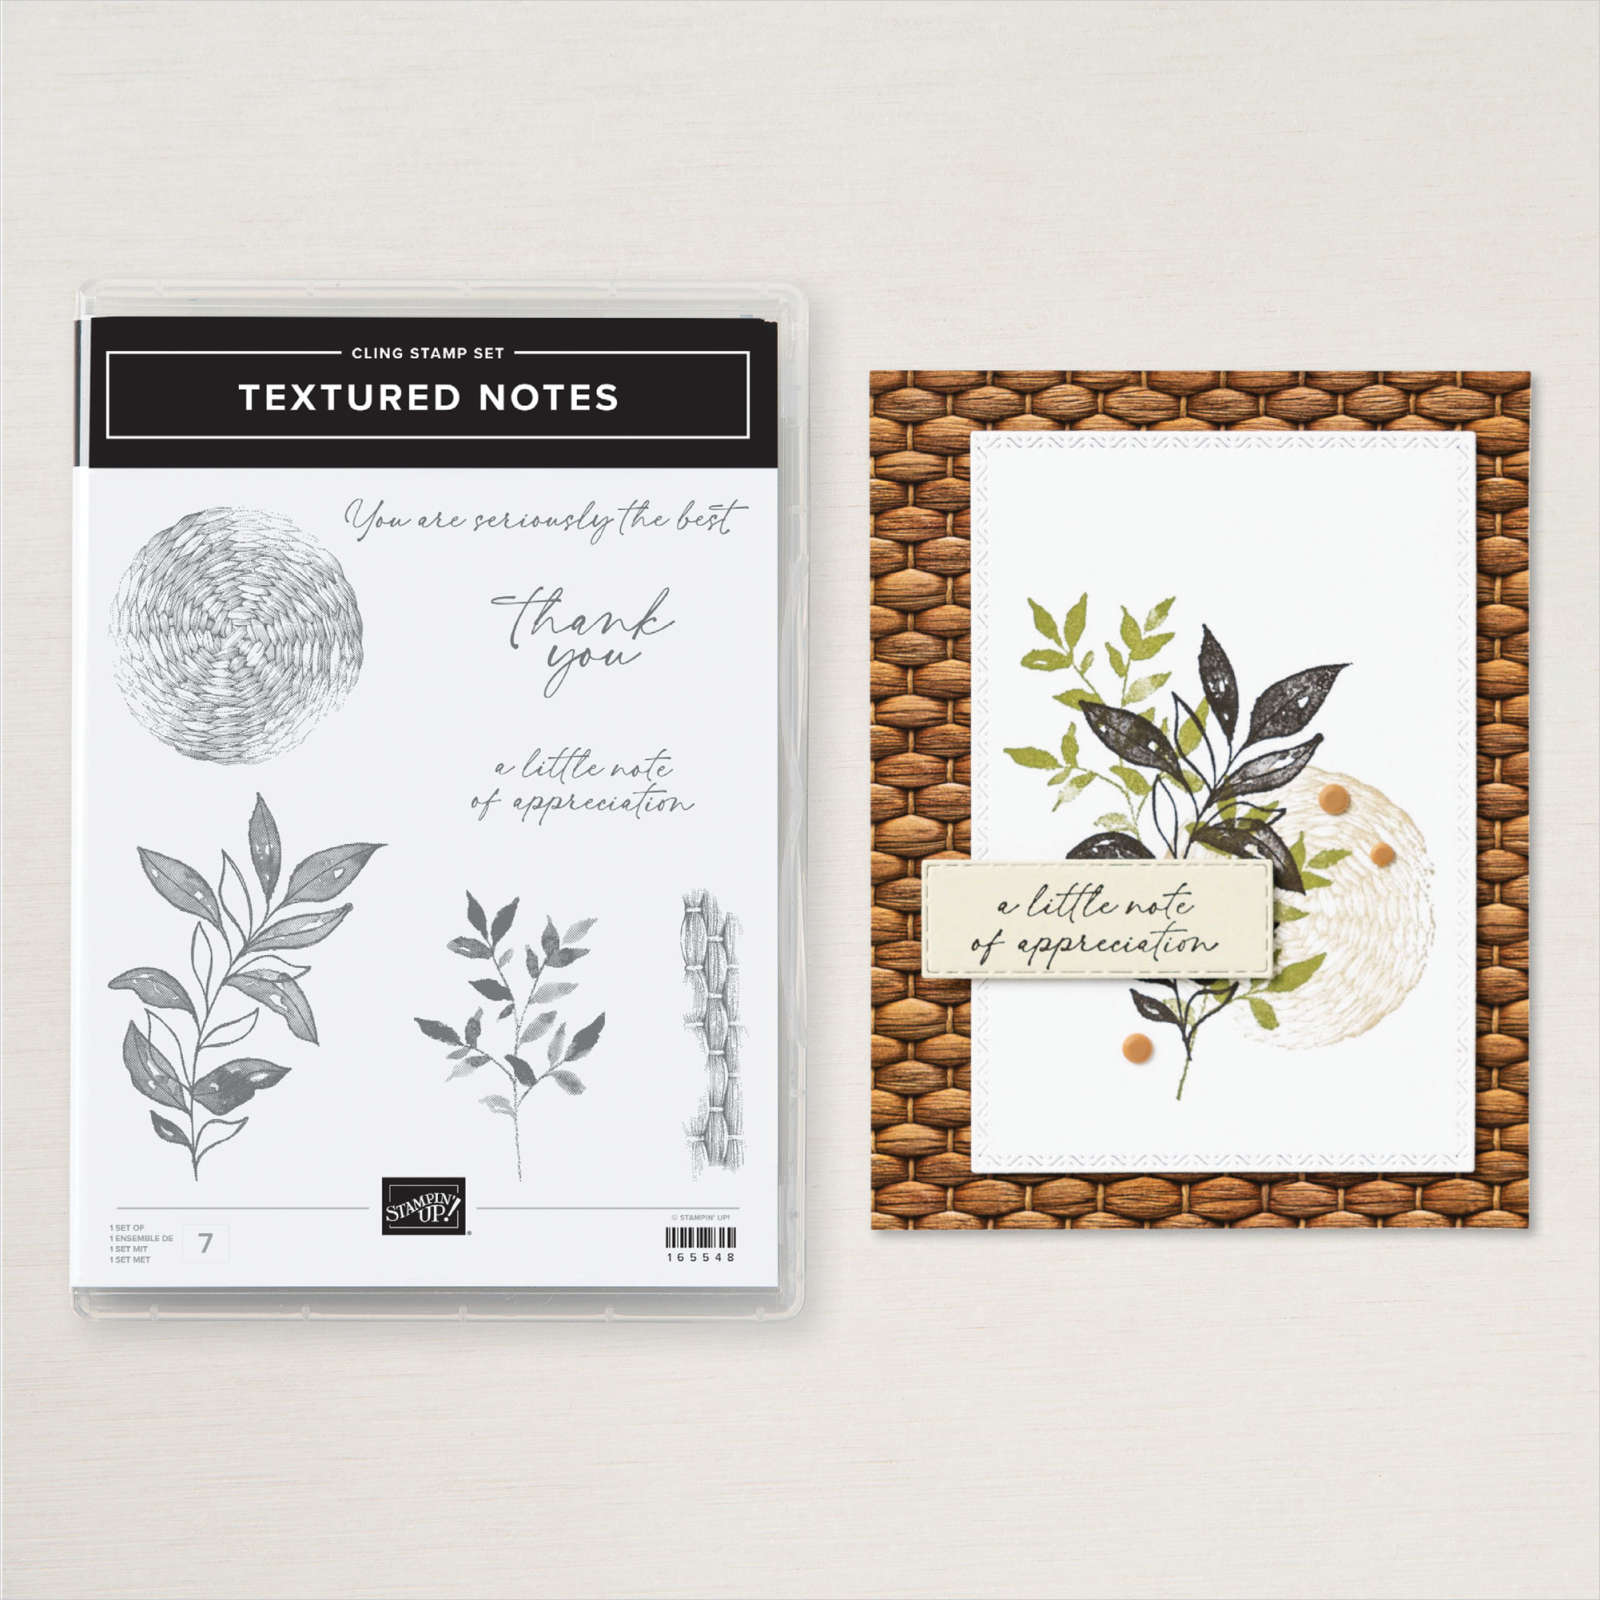
I die cut Basic White card using one of the Textured Notes Dies and attached the large floral image from the Gallery Blooms stamp set. The flower is stamped onto Basic White card using Memento Tuxedo Black ink and coloured using Shy Shamrock and Pretty in Pink Stampin’ Blends. The greeting comes from the Simply Said stamp set and is stamped onto Basic White card using Pretty in Pink ink and cut out using the banner from the Textured Notes Dies.
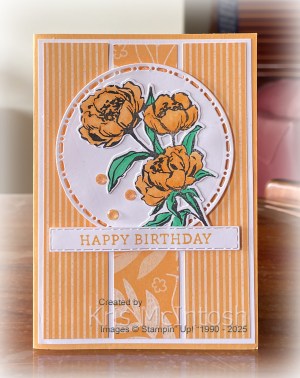
The second card features the same Designer Series Paper but this time the Peach Pie colour. The card base is scored and folded Peach Pie card. I die cut Basic White card using the Spotlight on Nature Die. I attached the flower from the Gallery Blooms stamp set which is stamped in Memento Tuxedo Black ink and coloured using Peach Pie and Shy Shamrock Stampin’ Blends. I did have to trim some of the stem from the floral image. The greeting comes from the Simply Said stamp set and is stamped onto Basic White card using Peach Pie ink.
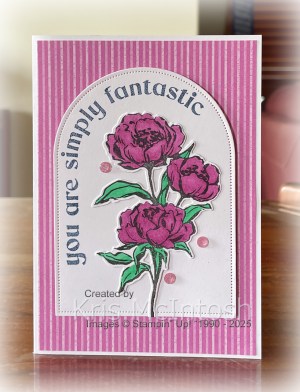
The greeting is cut using the banner die from the Textured Notes Dies. The last card uses the same Designer Series Paper but this time Petunia Pop paper. The card base is Thick Basic White. I stamped the greeting from the Everyday Arches stamp set onto Basic Whtie card using Memento Tuxedo Black ink. I cut out the greeting using one of the Everyday Arches Dies and attached it to the card front using dimensionals. The flower from the Gallery Blooms stamp set is stamped onto Basic White card using Memento Tuxedo Black ink and coloured using Petunia Pop and Shy Shamrock Stampin’ Blends. Each of the cards has three Gems from the 2024-2026 In Colour Shimmer Gems attached around the floral image. All of the cards are decorated on the inside with a strip of co-ordinating Designer Series Paper and a greeting from the So Sincere stamp set stamped in the co-ordinating ink colour.
I love how these cards turned out. Some of the products are retiring, some are new and some are continuing, but I am sure that most of you will have something similar in your stash to use. Check out the Last Chance products to see if you need to purchase something perhaps you can bag a great bargain.
Bye for now,
Kris
Product Used:


Balloon Birthday

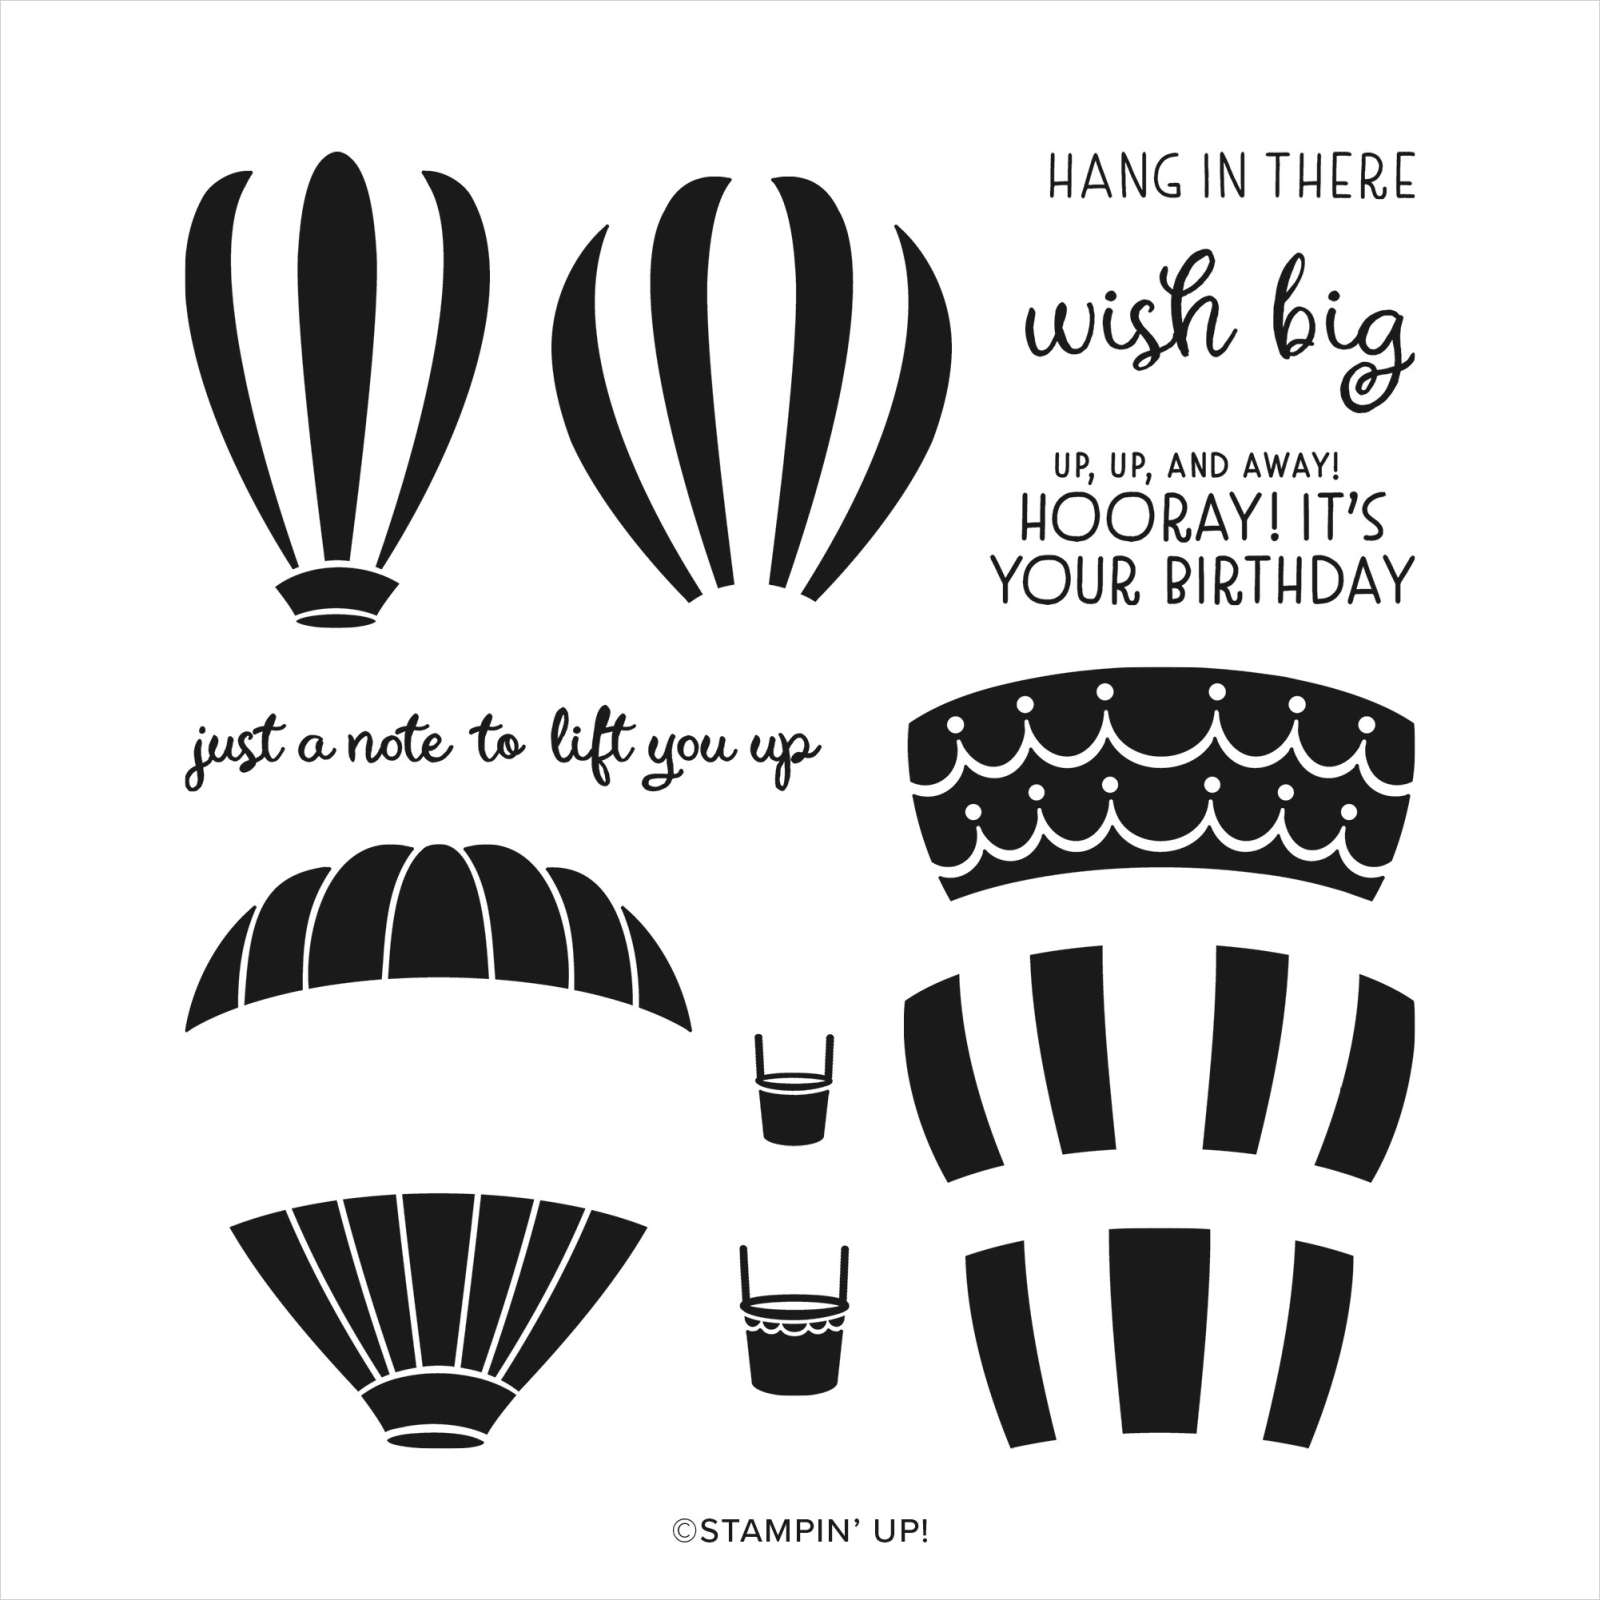
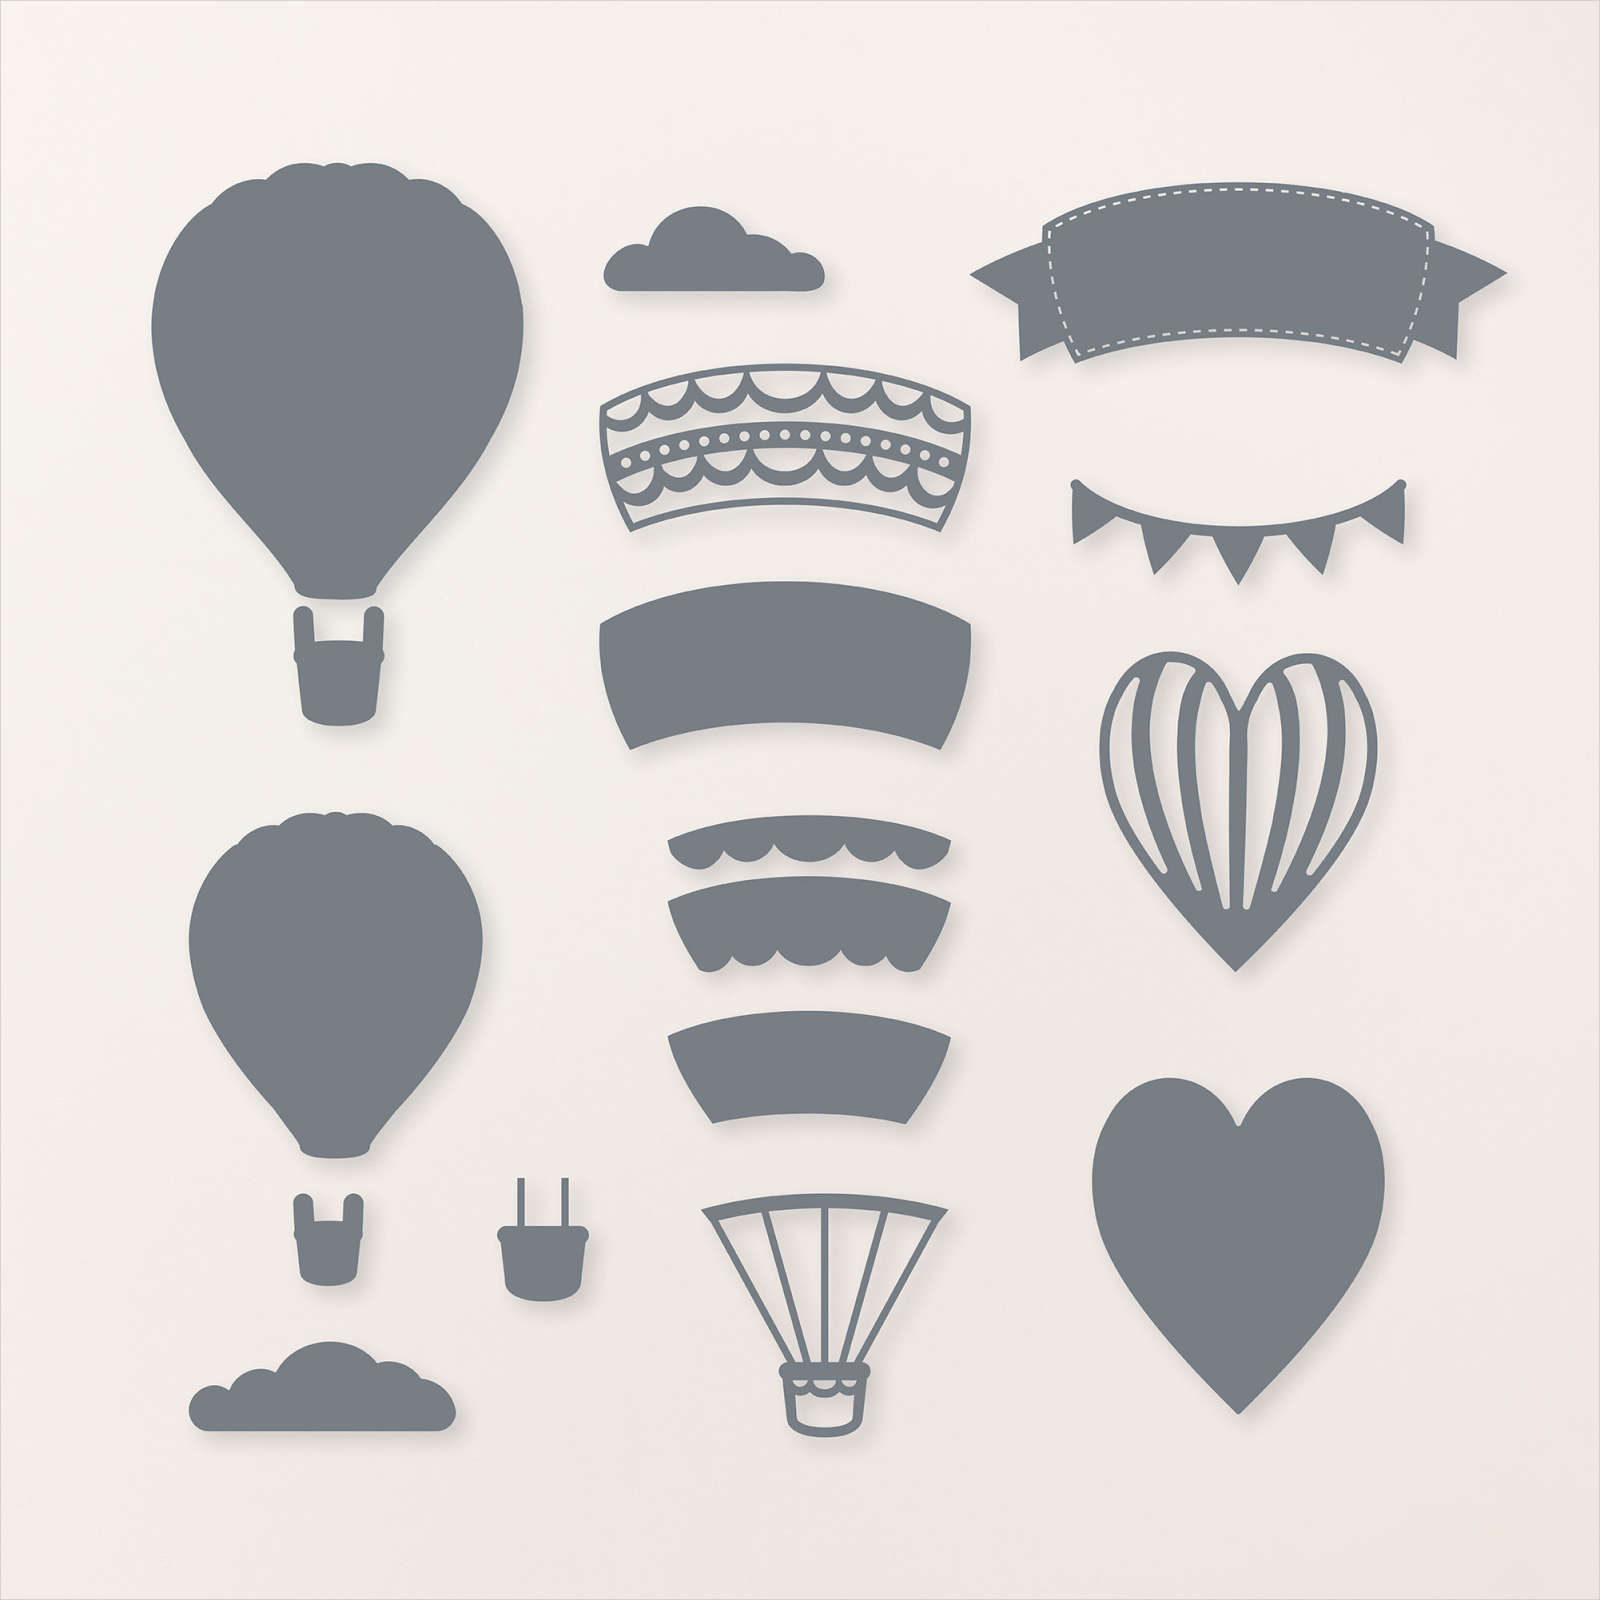
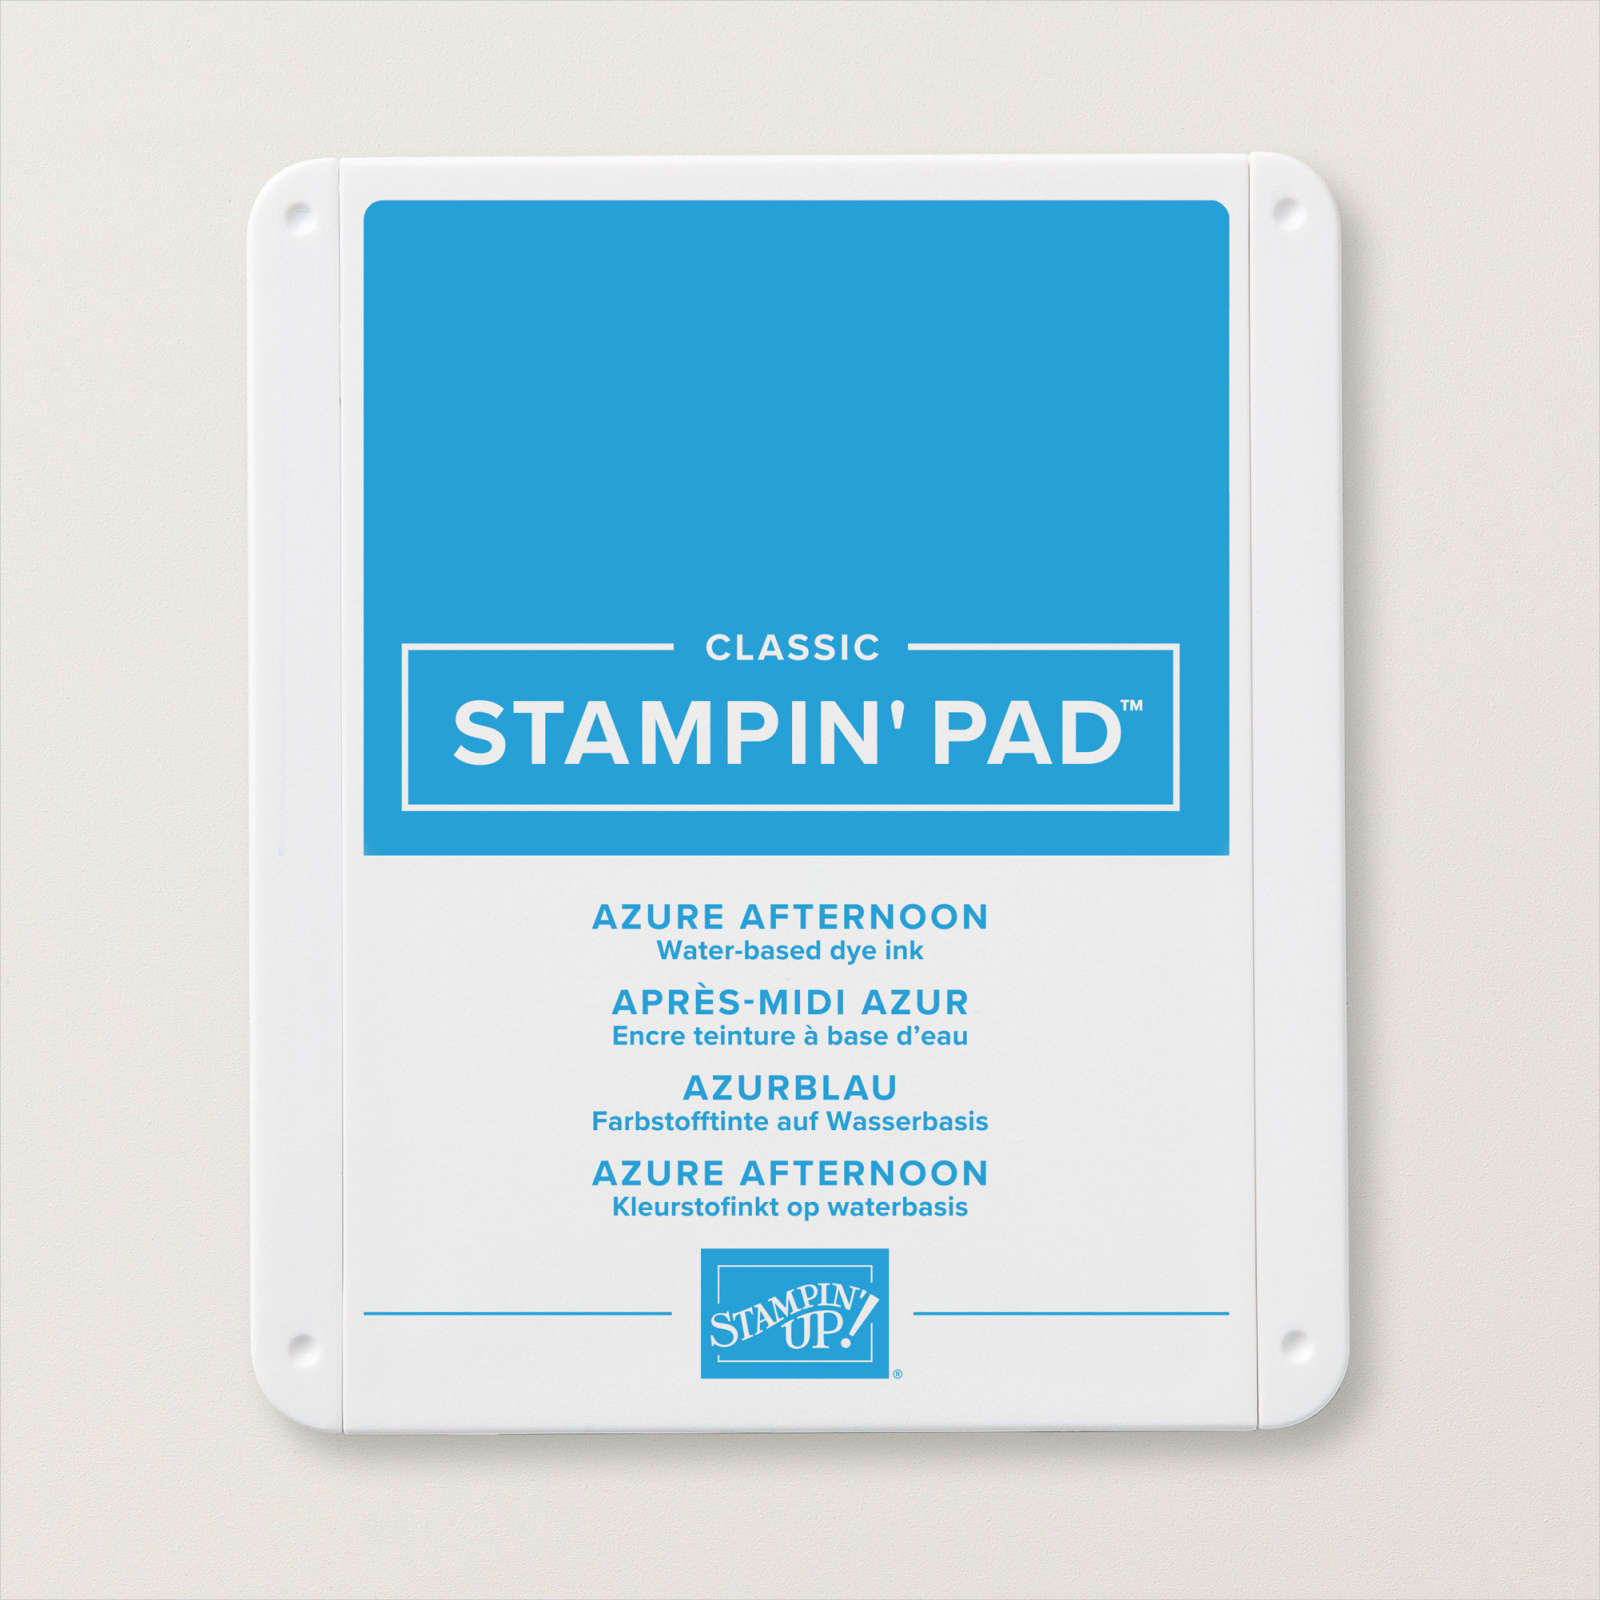
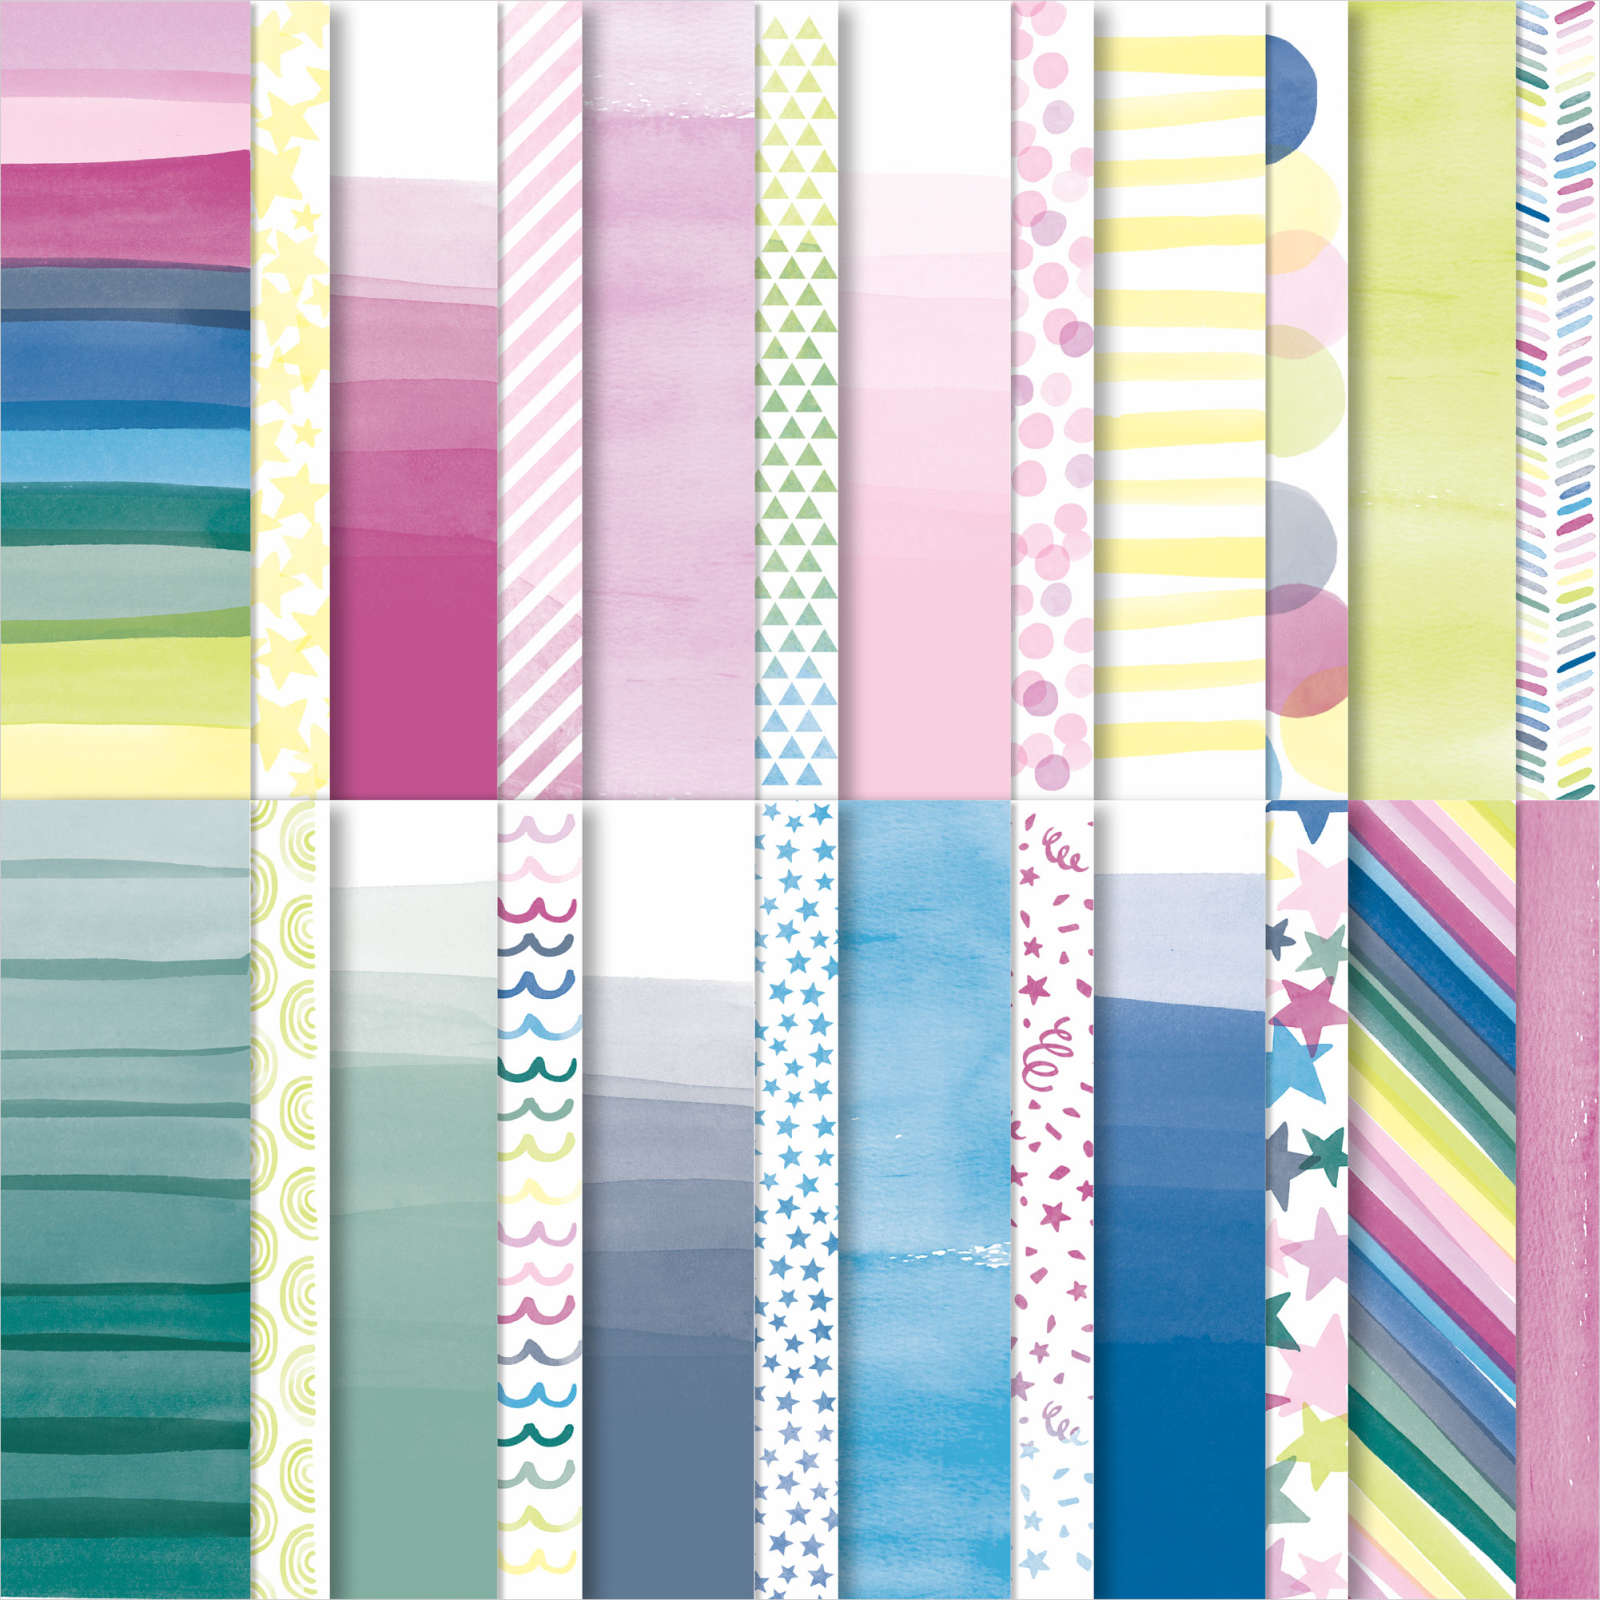
For today’s card I attached a piece of Bright & Beautiful 6″ x 6″ Designer Series Paper to scored and folded Azure Afternoon card. I embossed a piece of Basic White card using the Birchwood 3D Embossing Folder and attached it to the card front using dimensionals. I cut another piece of Bright & Beautiful Designer Series Paper using the larger balloon die from the Hot Air Balloon Dies.
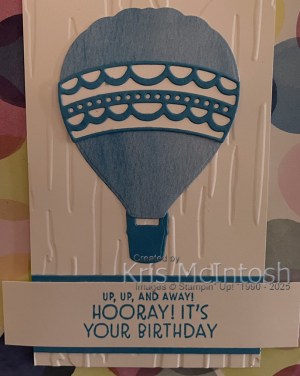
I cut Basic White card and Azure Afternoon card using the Hot Air Balloon Dies, attached them together and then attached them across the balloon. The balloon is attached to the upper part of the embossed Basic White card. I die cut Azure Afternoon card using the larger basket die from the Hot Air Balloon Dies and attached it below the balloon.

I stamped the greeting from the Hot Air Balloon stamp set onto a strip of Basic White card using Azure Afternoon ink. I attached a piece of Azure Afternoon card behind the greeting before attaching it to the card front using dimensionals where necessary. To decorate the inside of the card, I stamped the greeting from the Hot Air Balloon stamp set onto Basic White card using Azure Afternoon ink. I also attached a narrow strip of the Bright & Beautiful Designer Series Paper across the bottom of the stamped card. Such a bright happy card, don’t you think? Make sure you place your order for these products as soon as you can because they are all on the Last Chance List.
Bye for now,
Kris
Product Used:


Bendigo

Today’s pages showcase some photos from our visit to Bendigo in February last year. I used a double page layout designed by Chris Robertson. The instructions for these pages can be purchased from her website. You will need to have the Everyday Happiness Designer Series Paper & Sticker Sheets to be able to complete the pages. I cut the Designer Series Paper and created the pages according to Chris’ instructions however I did add an extra panel for my journaling. Of course my embellishments and title are different from Chris’ pages but that’s the beauty isn’t it.

I always create the pages following the cutting instructions for the Designer Series Paper but the embellishments I don’t add until I find the right photos for the pages. I followed Chris’s layout ideas to add two embellishment clusters but of course I did change out which stickers or die cuts to suit my layout. I am truly loving the input all the previous Close to My Heart Makers are contributing to the Stampin’ Up! product range.

So thank you Chris for your great instructions and thank you Stampin’ Up! for bringing more scrapbooking/memory keeping products to the already fabulous Stampin’ Up! product range.
Bye for now,
Kris
Product Used:


Everyday Birthday

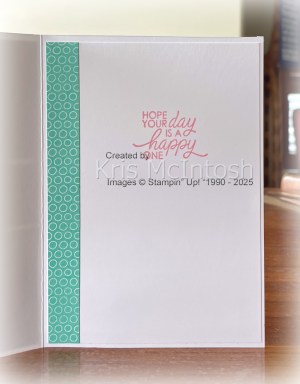
This week in my Facebook Live, I shared some cards created using the Everyday You & Me Bundle which co-ordinates with the Everyday You & Me Scrapbook Workshop. For today’s card, I cut three strips of Everyday You & Me Designer Series Paper and attached them to Basic White card. The panel is attached to scored and folded Shaded Spruce card. I stamped “happy” from the Everyday You & Me stamp set onto Basic White card using Shaded Spruce ink.

I cut out the greeting using one of the rectangle dies from the Nested Essential Dies. I did cut out the greeting twice to make the rectangle narrower. I attached the greeting to a full size Shaded Spruce rectangle cut using the same die.

The greeting is attached to the card front using dimensionals. To decorate the inside of the card, I attached two strips of the Everyday You and Me Designer Series Paper to the left hand side of Basic White card. I stamped the greeting from the Simply Said stamp set using Shaded Spruce ink. This is a simple card but I think it is quite effective, don’t you?
Bye for now,
Kris
Product Used:
You can see the Everyday You & Me Bundle here in my online store.
You can view the Everyday You & Me Workshop Kit here in my online store.
You can view the Everyday Happiness Designer Series Paper here in my online store.
You can view the Nested Essential Dies here in my online store.


Up, Up and Away

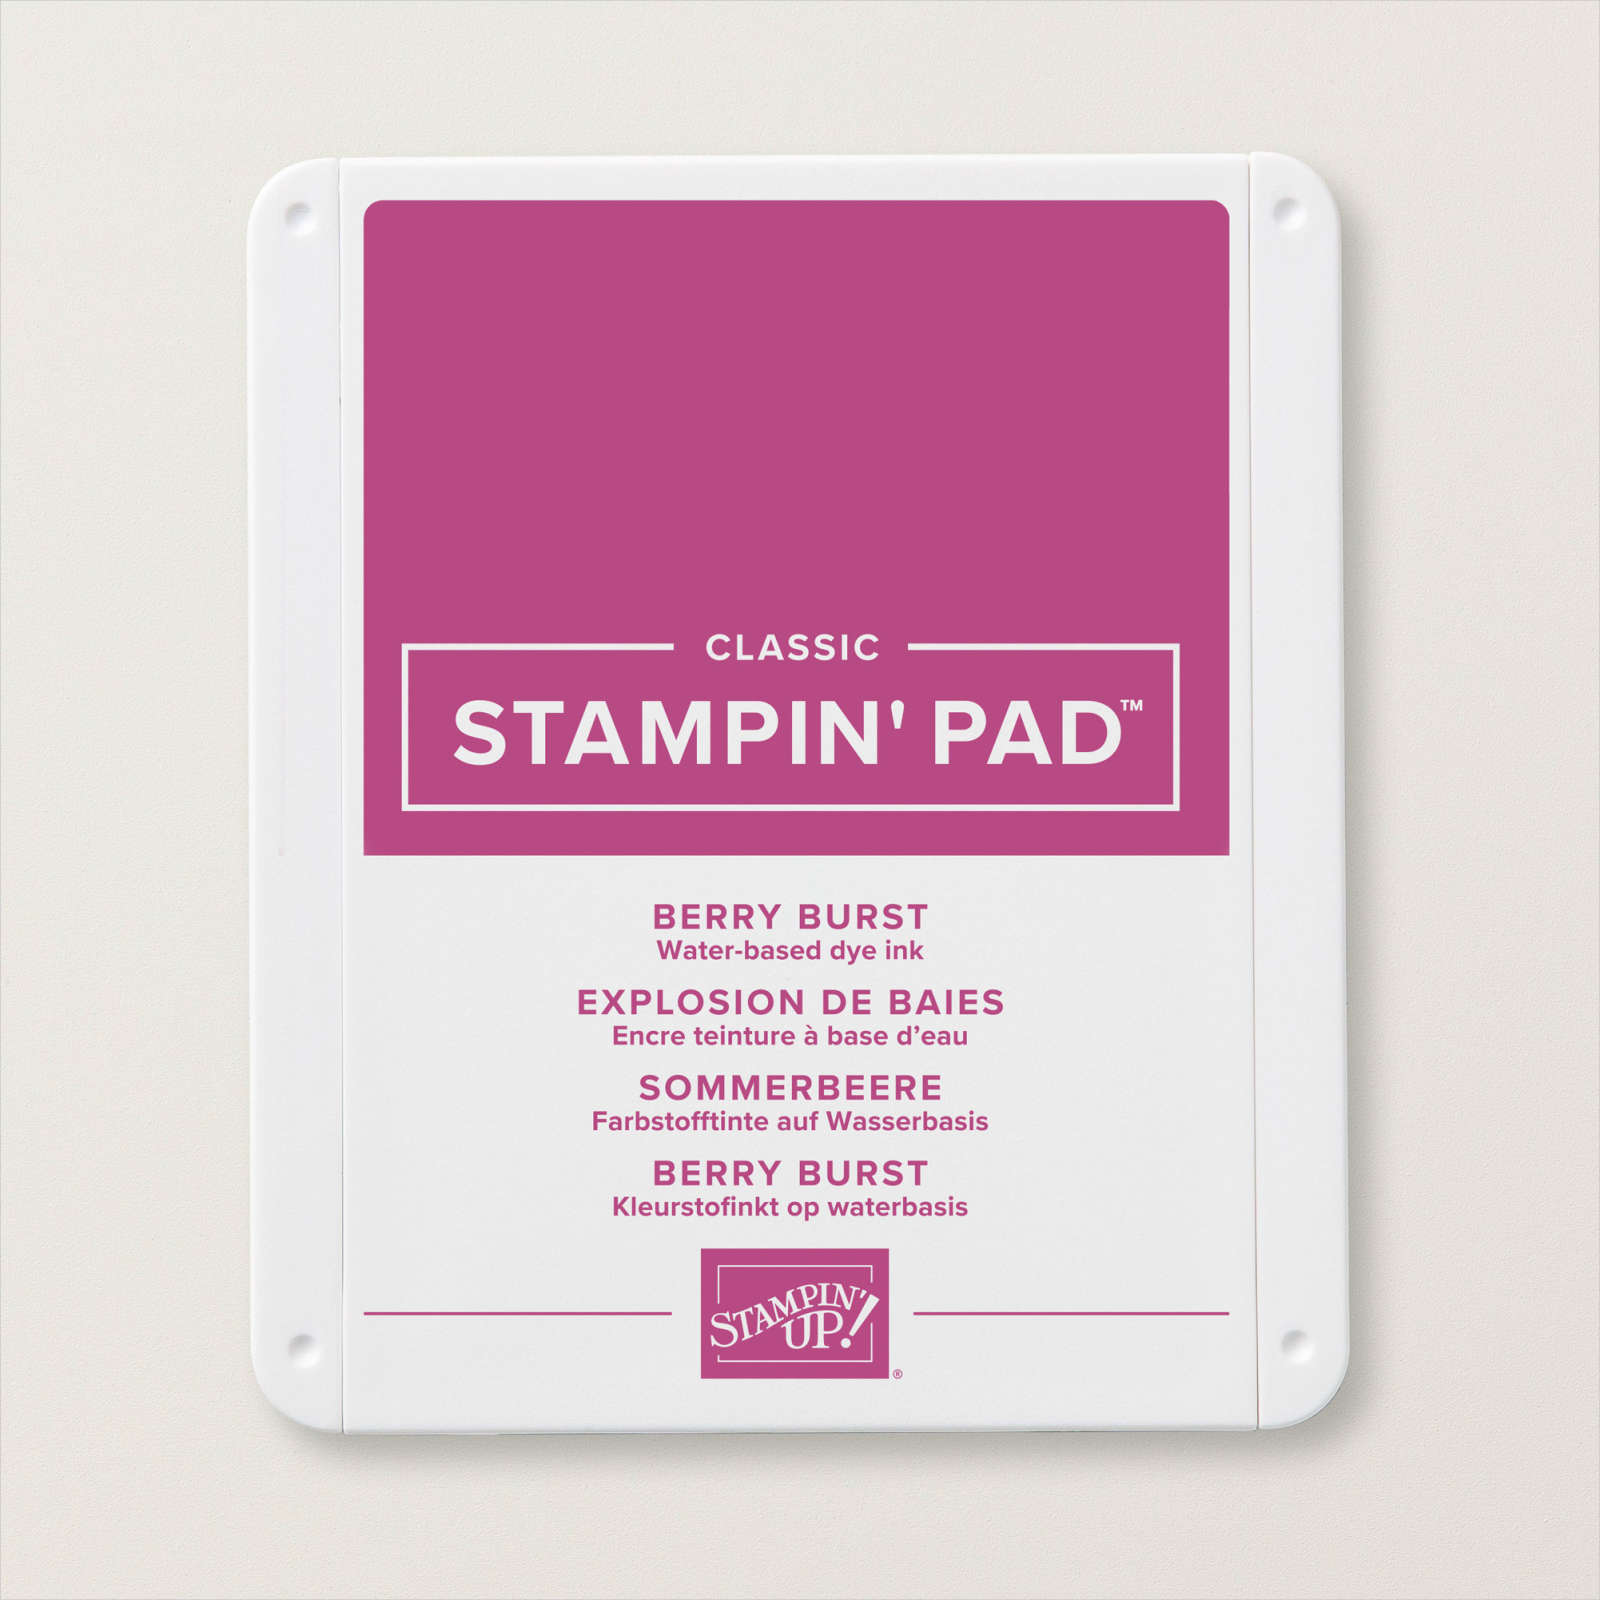
Today’s card is one I made for my youngest granddaughter who celebrated her birthday recently. I cut the card base from Thick Basic White card and trimmed down the front panel. I attached pieces of the Bright & Beautiful 6″ X 6″ Designer Series Paper to Berry Burst card and then the card base. I used the piece that I cut off from the card front and stamped the greeting from the Hot Air Balloon stamp set across the bottom using Berry Burst ink.

I attached the stamped panel to Berry Burst card and then the card front. I cut the balloon and balloon basket from Bright & Beautiful Designer Series Paper using the Hot Air Balloon Dies. I attached them together before attaching to the card front using dimensionals.

I cut the decorative panels for the balloon from Basic White and Berry Burst card using the Hot Air Balloon Dies. I attached the decorative panels together before attaching them to the die cut balloon. Lastly I added three Purple Adhesive Backed Sequins (retired Sale-A-Bration product) around the balloon. I cut Basic White card, the same size as the front panel and stamped “wish big” from the Hot Air Balloon stamp set using Berry Burst ink. I attached the stamped panel to Berry Burst card and attached it to the inside of the card making sure that it sits behind the front panel. Simple card, but happy and bright for a special birthday, don’t you think?
Bye for now,
Kris
Product Used:

Love Every Moment

Today I am sharing a layout which Janice Gilhooley shared here on You Tube. She very generously shows the process of cutting the Designer Series Paper, stamping and embellishing the pages. I followed her instructions and cut one piece of Woven Textures 12″ x 12″ Designer Series Paper following Janice’s instructions. I did use my scissors to add texture to one edge of each of the pieces of Designer Series Paper.

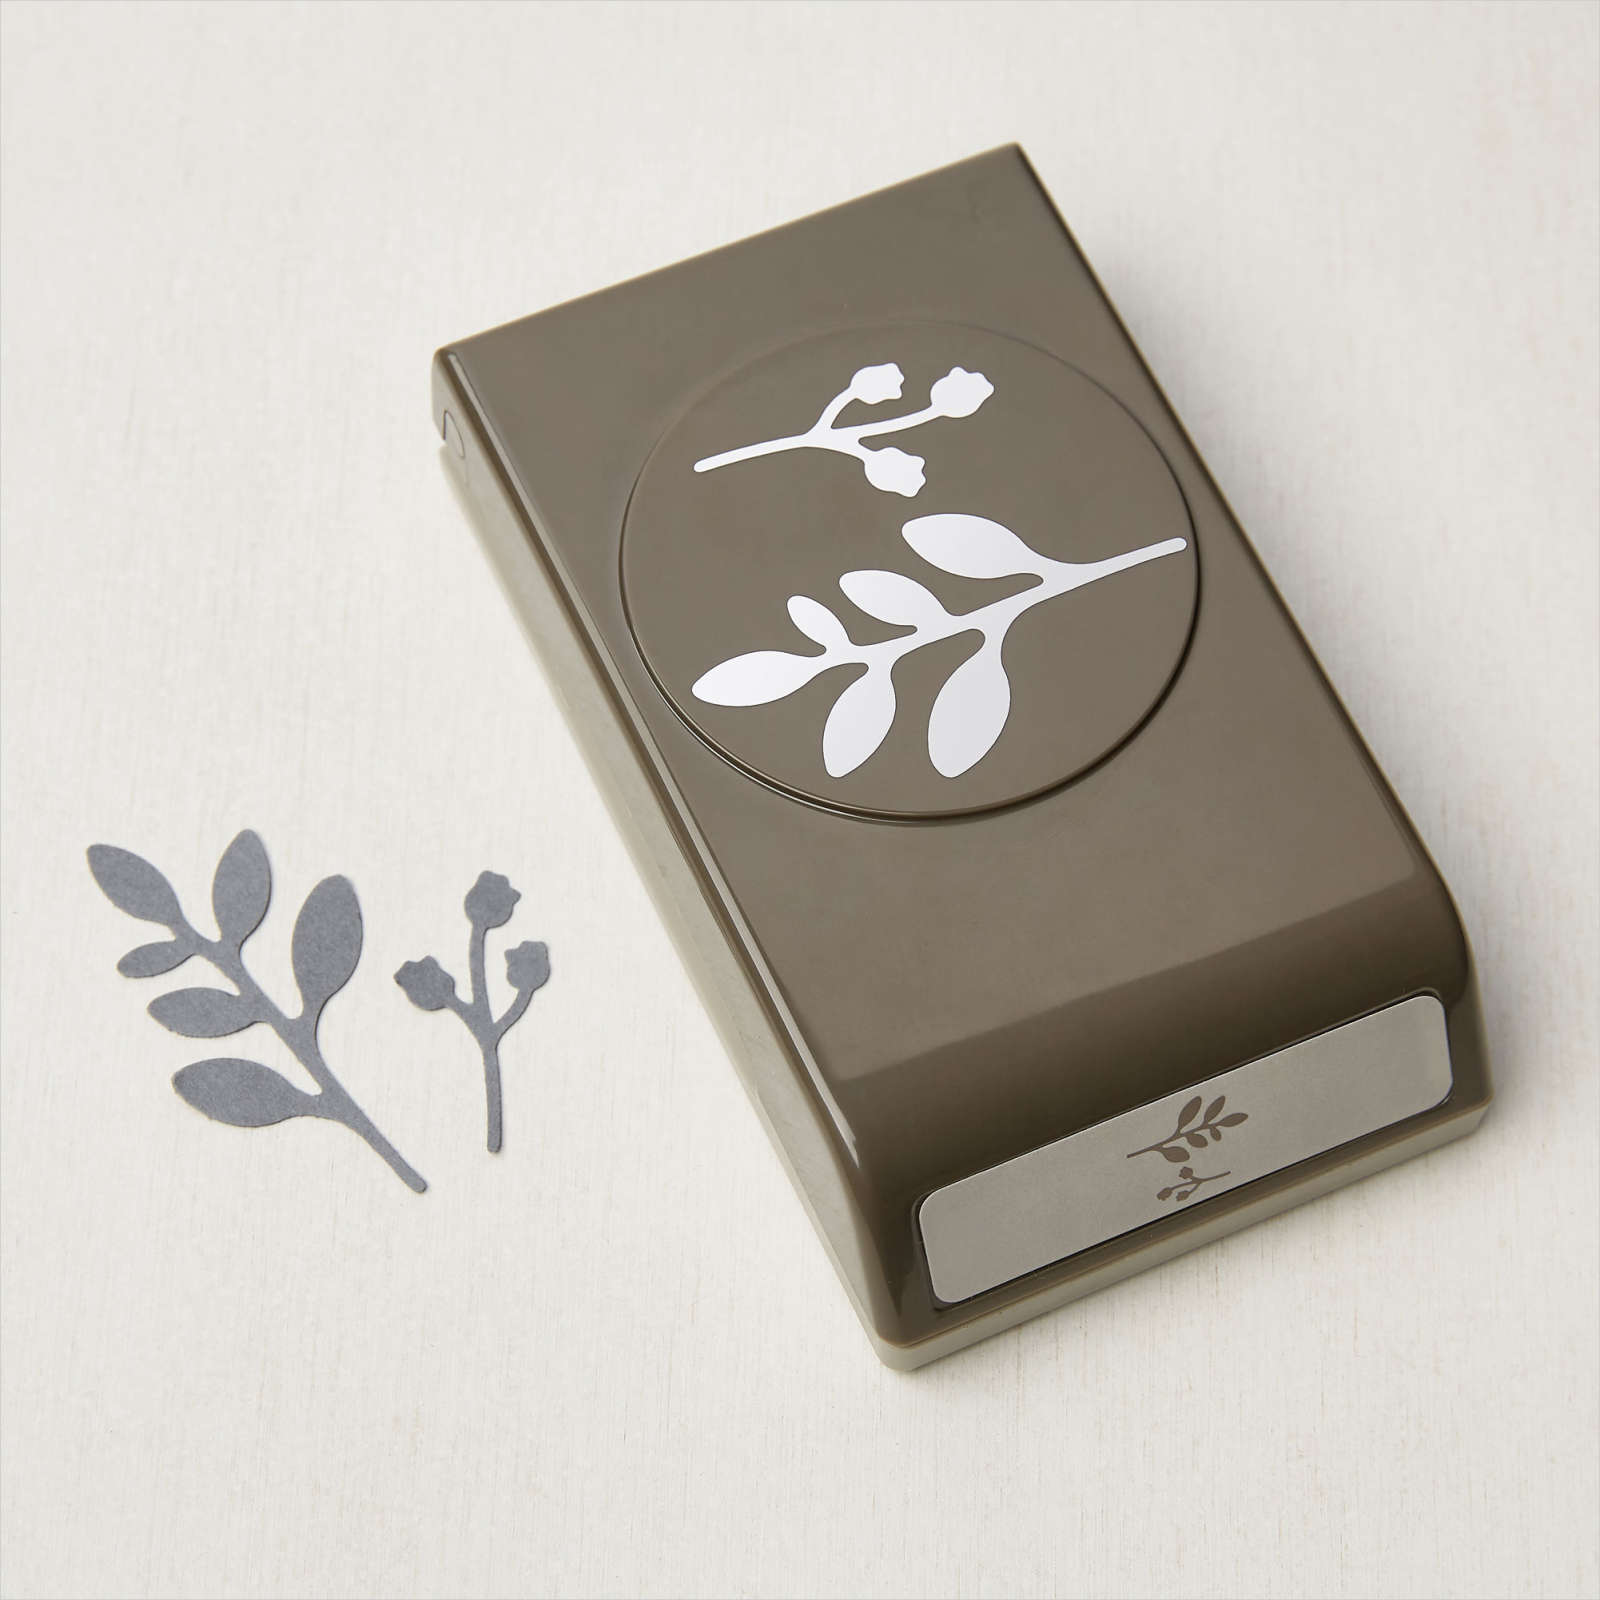
Janice showed us how to stamp the image from the Textured Notes stamp set to give an extra dimension to our pages. I used the same stamp that Janice used to create the title which is from the Everyday You & Me stamp set. It is stamped onto Basic White card using Basic Gray ink which is die cut using one of the Textured Notes Dies . I punched Basic White card using the Bough Punch and stamped on the pieces as Janice did to create some texture. I decided not to use Basic Black card for the extra embellishments instead punching a piece of Thoughtful Designs 12″ x 12″ Specialty Paper.
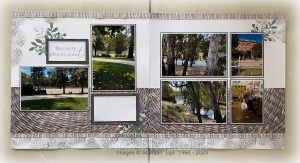
I did as Janice suggested and attached my photos to Basic White and then Basic Gray to add to the pages. I also created a journaling box slightly larger than suggested by Janice. Such a great way to cut one piece of 12″ x 12″ Designer Series Paper to create a double page layout. Thank you so much Janice for the inspiration. I love how I was able to show off some photos from our visit to Wagga Wagga early last year.
Bye for now,
Kris
Product Used:


Seriously The Best
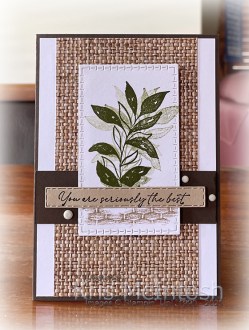
This week in my Facebook Live I shared some cards I created using the Botanical Textures Suite Collection and today I have another card to share. I cut a piece of Woven Textures 12″ x 12″ Designer Series Paper and attached it down the centre of a Basic White panel. I also attached a strip of Early Espresso card across the panel before attaching it to scored and folded Early Espresso card. I die cut Basic White card using one of the Textured Notes Dies. I stamped the large leaf image from the Textured Notes stamp set onto the die cut panel three times using Mossy Meadow ink.
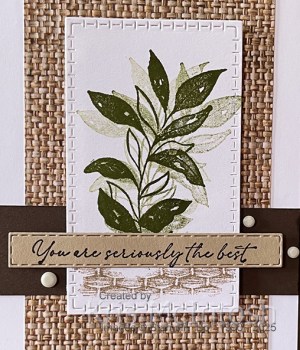
The image is stamped without re-inking so that each image was slightly lighter in colour. I also stamped the basket weave image from the Textured Notes Stamp Set across the bottom of the panel using Crumb Cake ink. The image panel is attached to the card front using dimensionals. I stamped the greeting from the Textured Notes stamp set onto Crumb Cake card using Early Espresso ink.
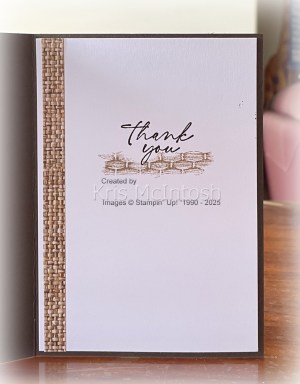
The greeting is cut out using the TExtured Notes banner die before being attached to the card front using dimensionals where necessary. Lastly I added three Neutral Matte Dots. To decorate the inside of the card, I attached a narrow strip of the same pattern Woven Textures Designer Series Paper down the left hand side of Basic White card. I stamped “thank you” from the Textured Notes stamp set onto the Basic White card using Early Espresso ink. I also stamped the basket weave image from the same stamp set below the greeting using Crumb Cake ink. I am really in love with the colours and the texture in this particular Suite Collection and I am sure it will become a favourite for everyone.
Bye for now,
Kris
Product Used:
You can see the Basic White A4 card in its new format here in my online store.


Make a Wish

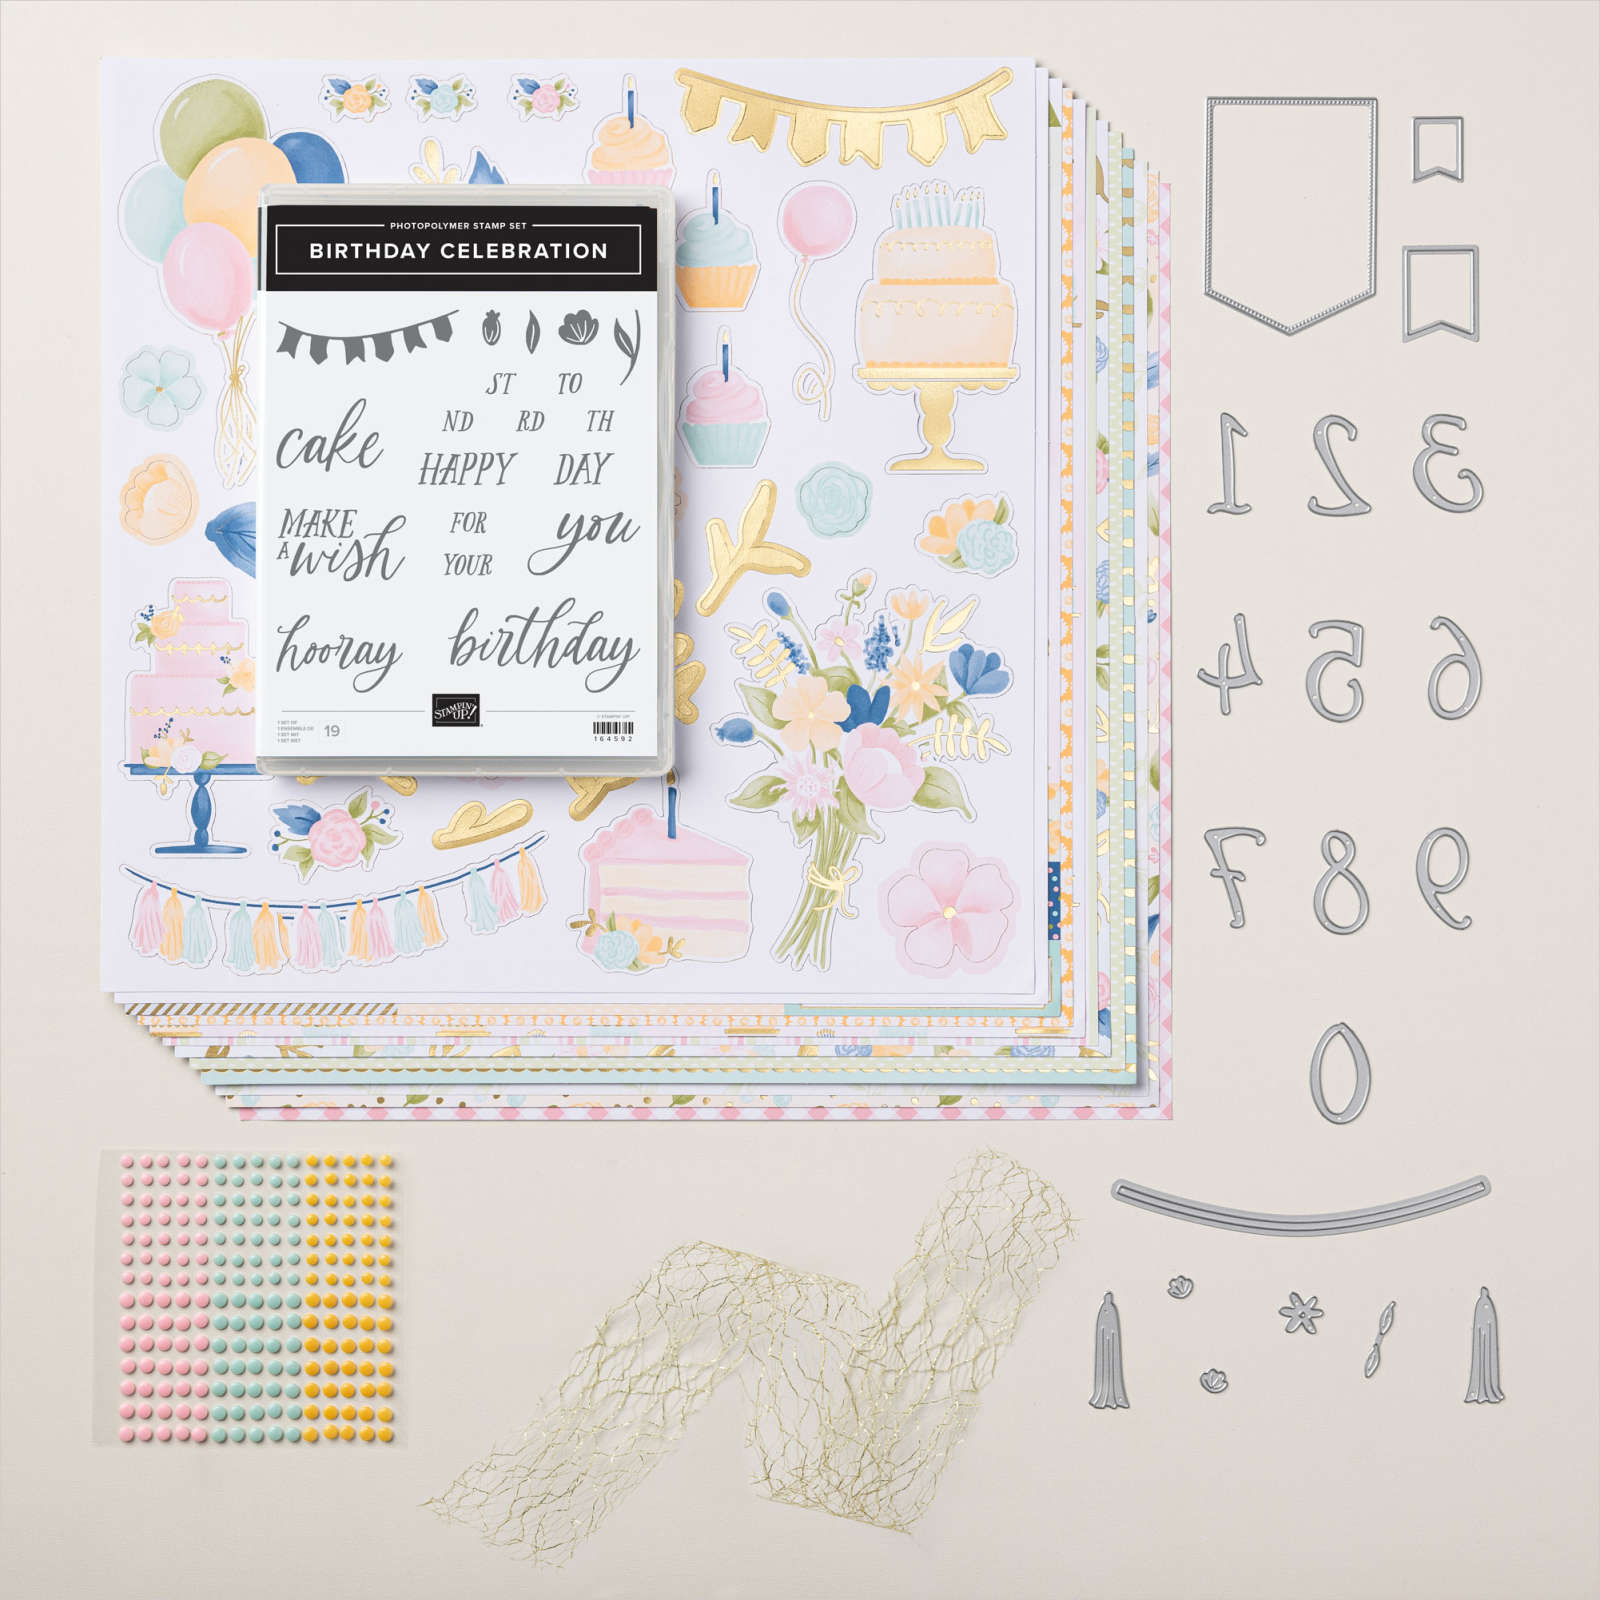
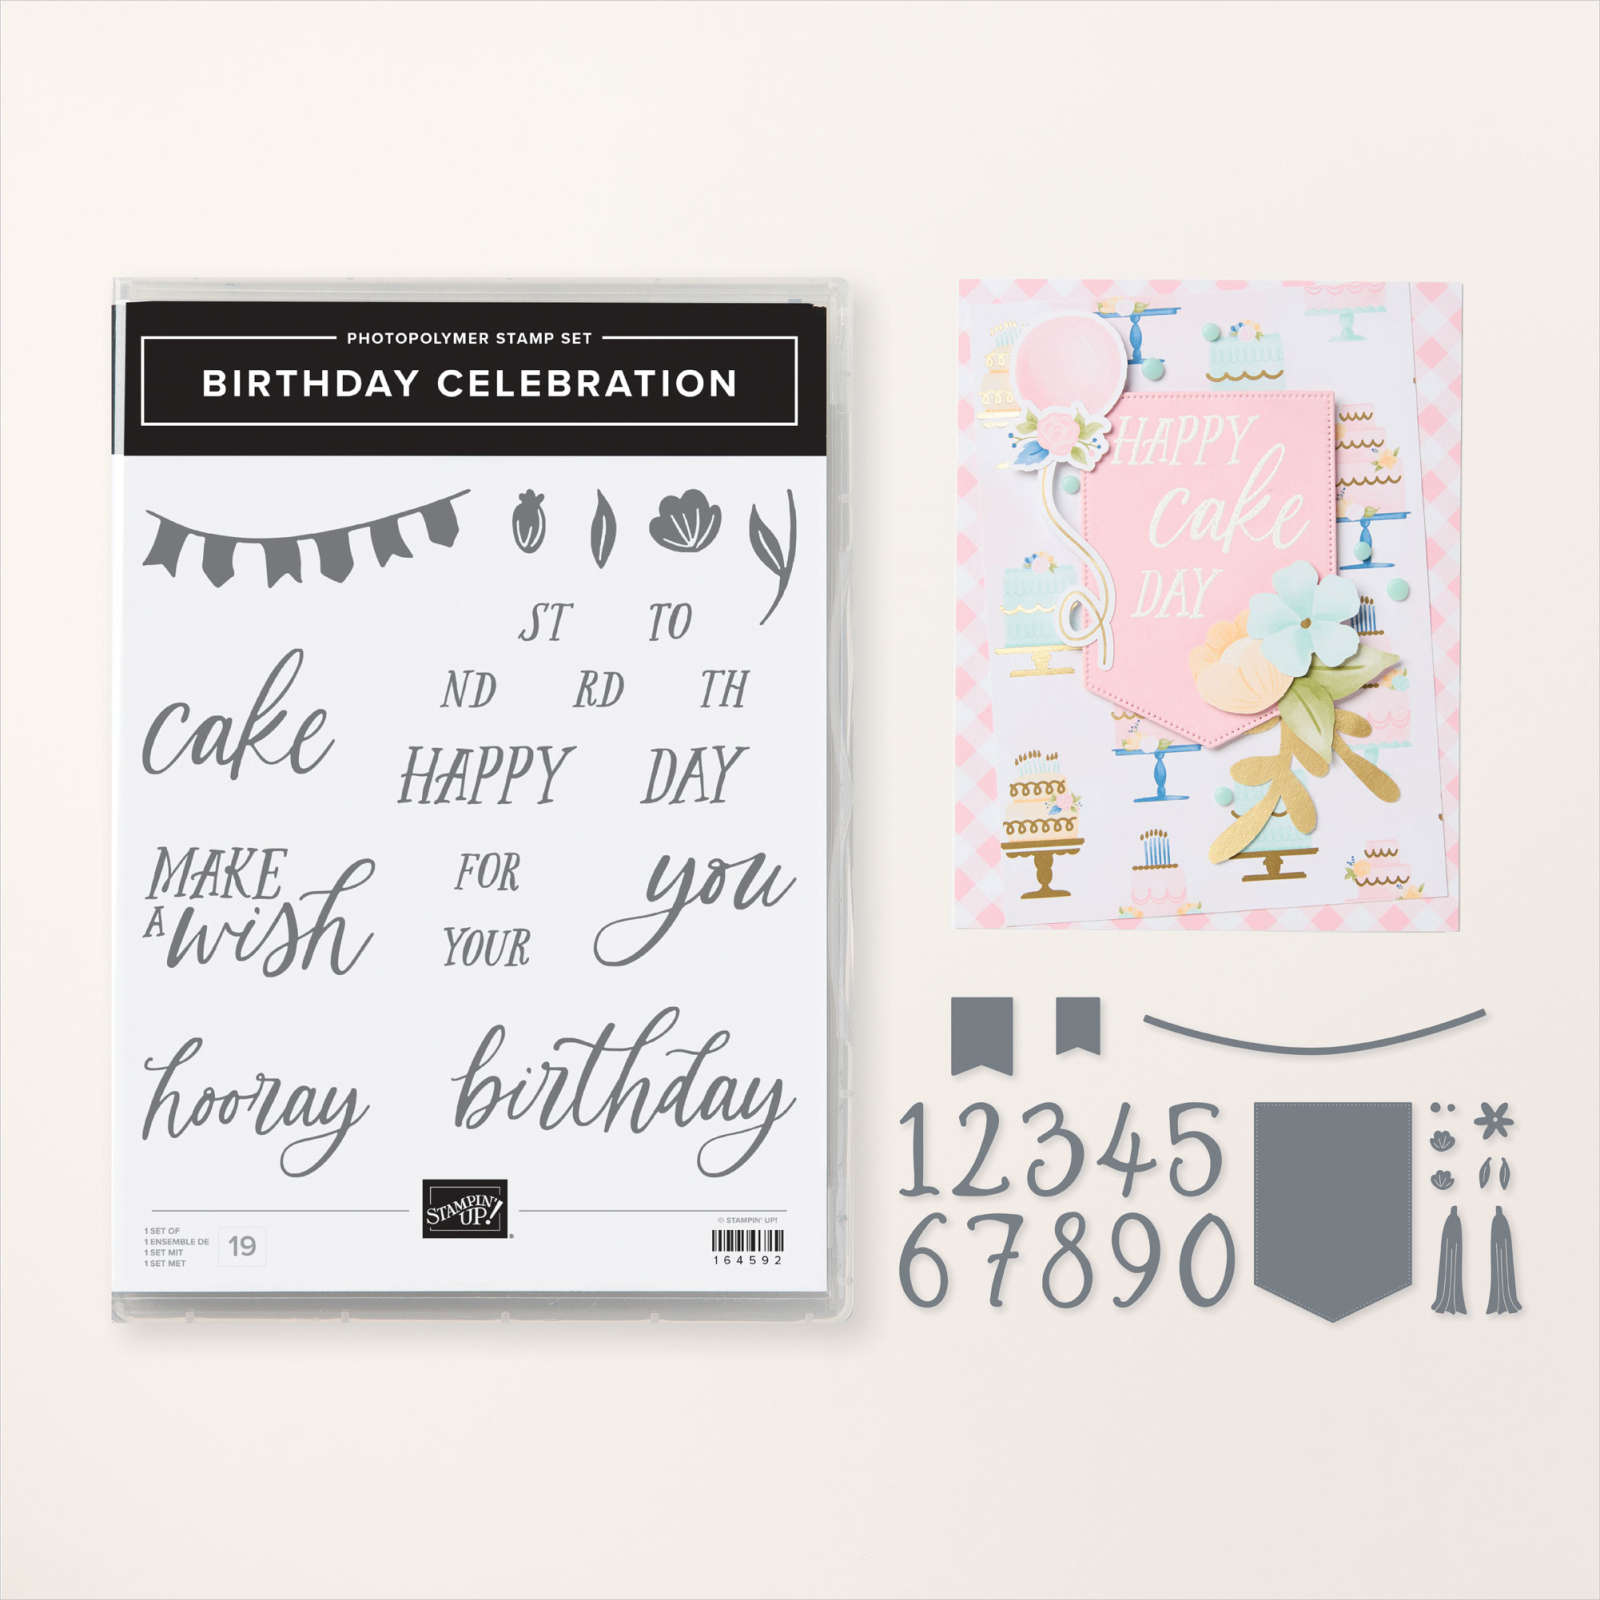
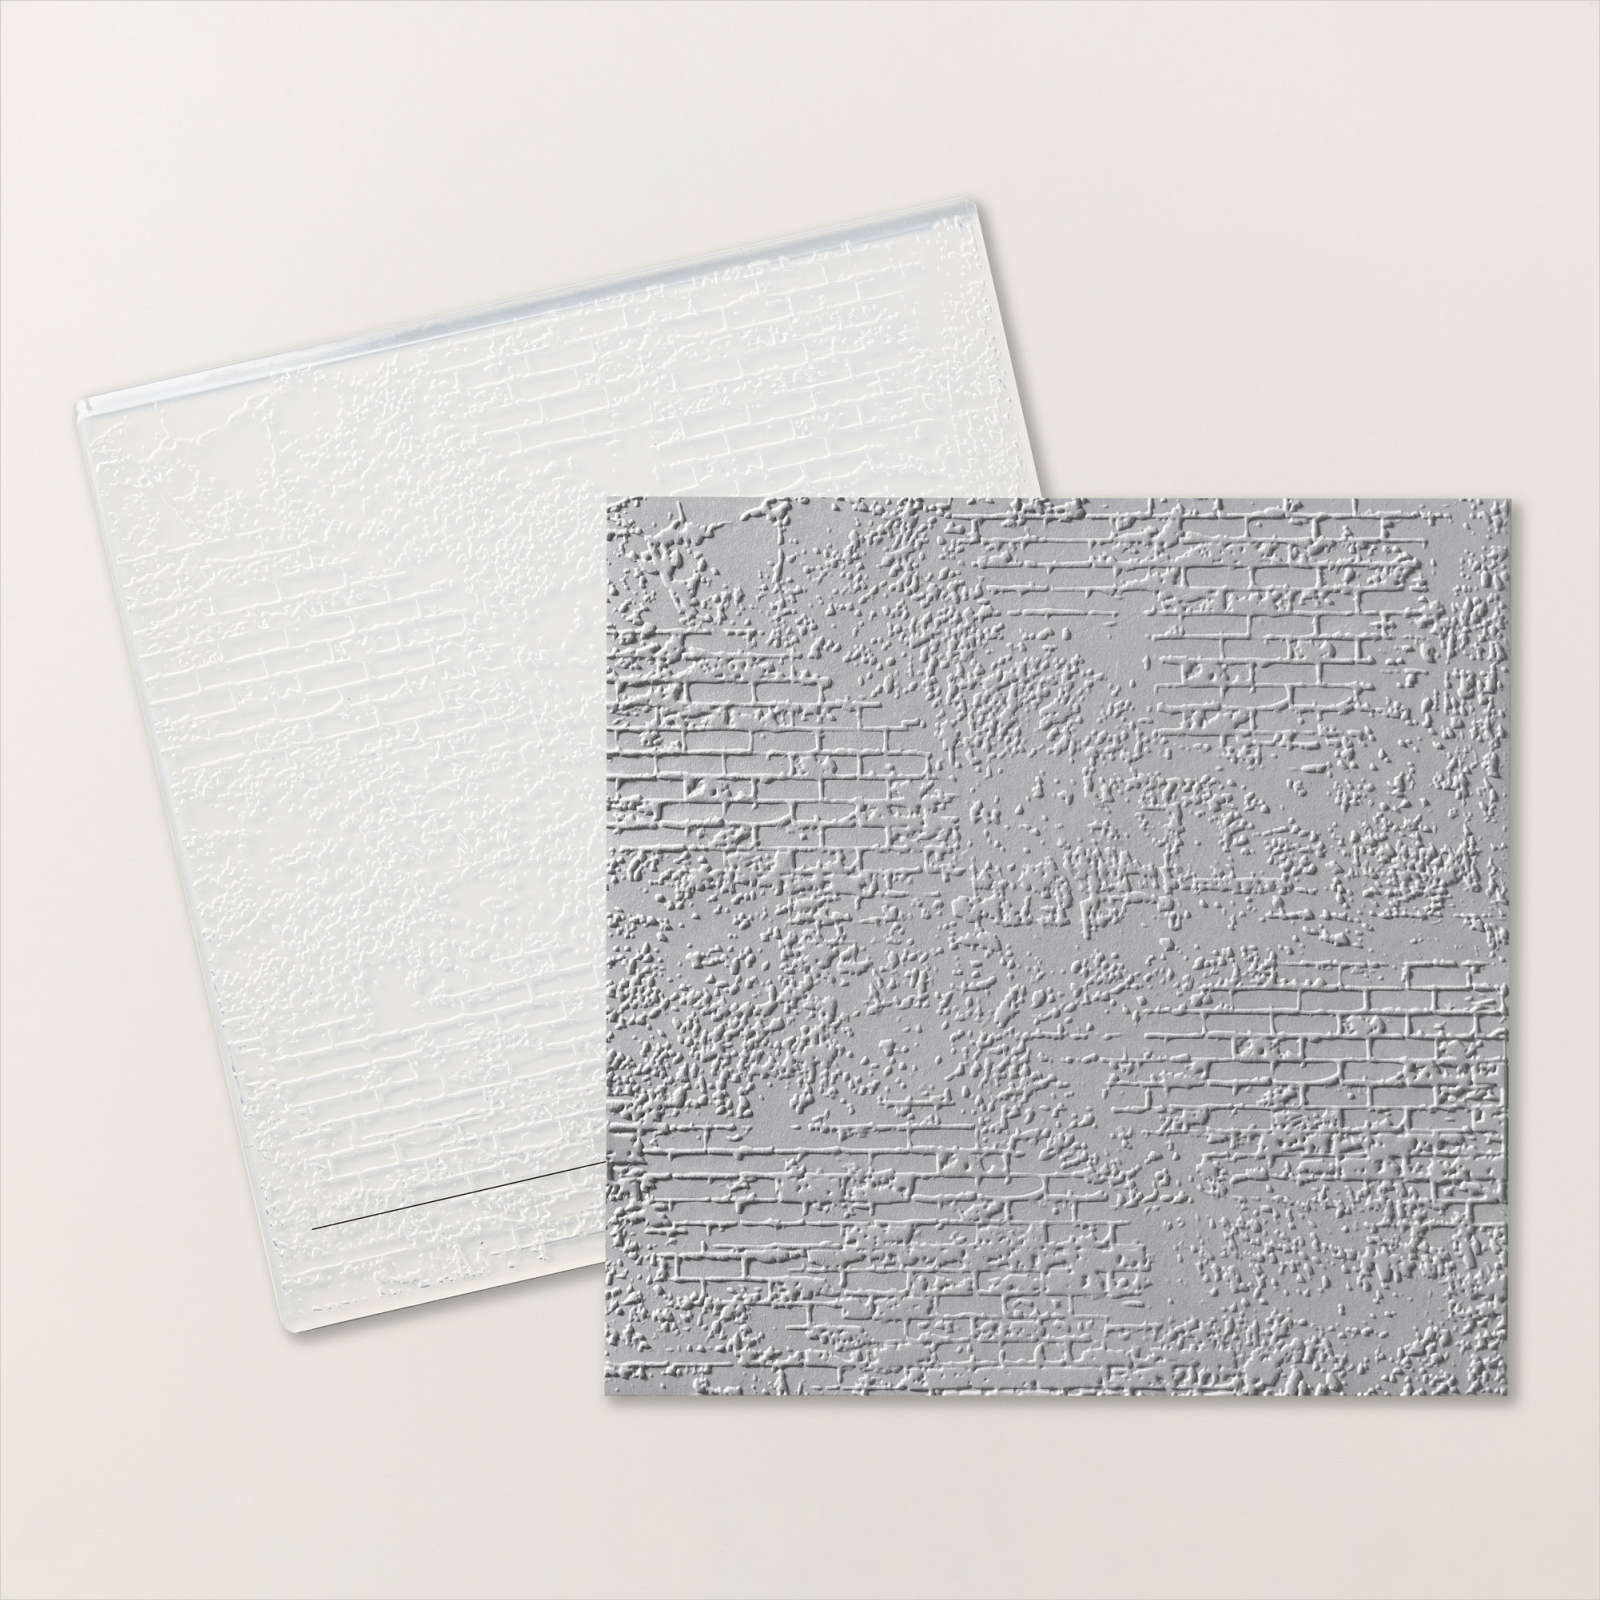
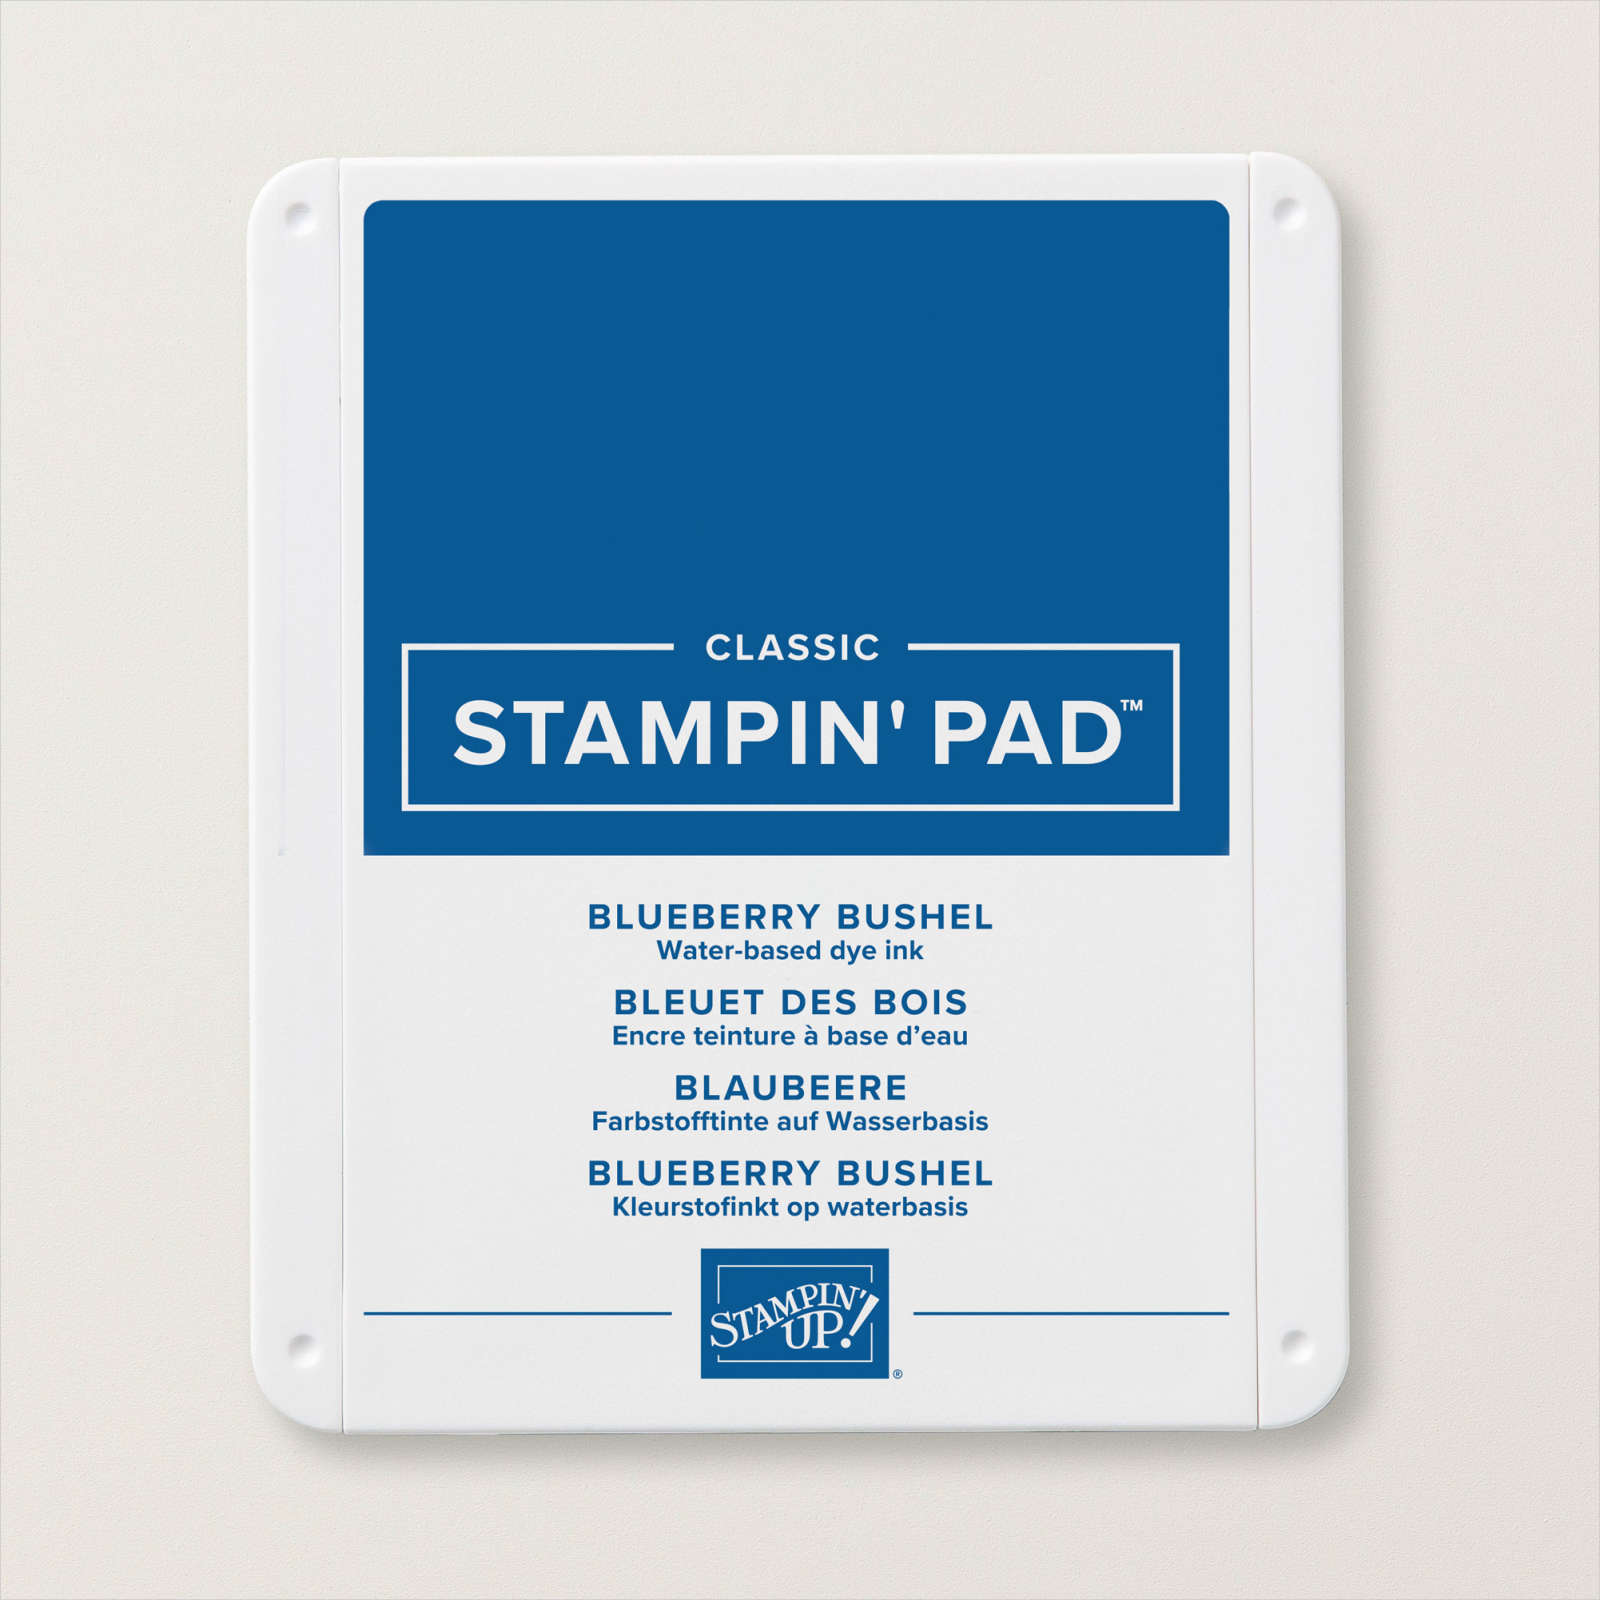
Today I have another card to share with you using the Wildflower Birthday Suite Collection. For this card I stamped “Make a Wish” from the Birthday Celebration stamp set onto the lower right hand corner of Basic White card using Blueberry Bushel ink. I embossed the Basic White card above the greeting using the Exposed Brick 3D Embossing Folder.

I attached a narrow strip of Blueberry Bushel card over the end of the embossed section and attached the whole panel to scored and folded Blueberry Bushel card.

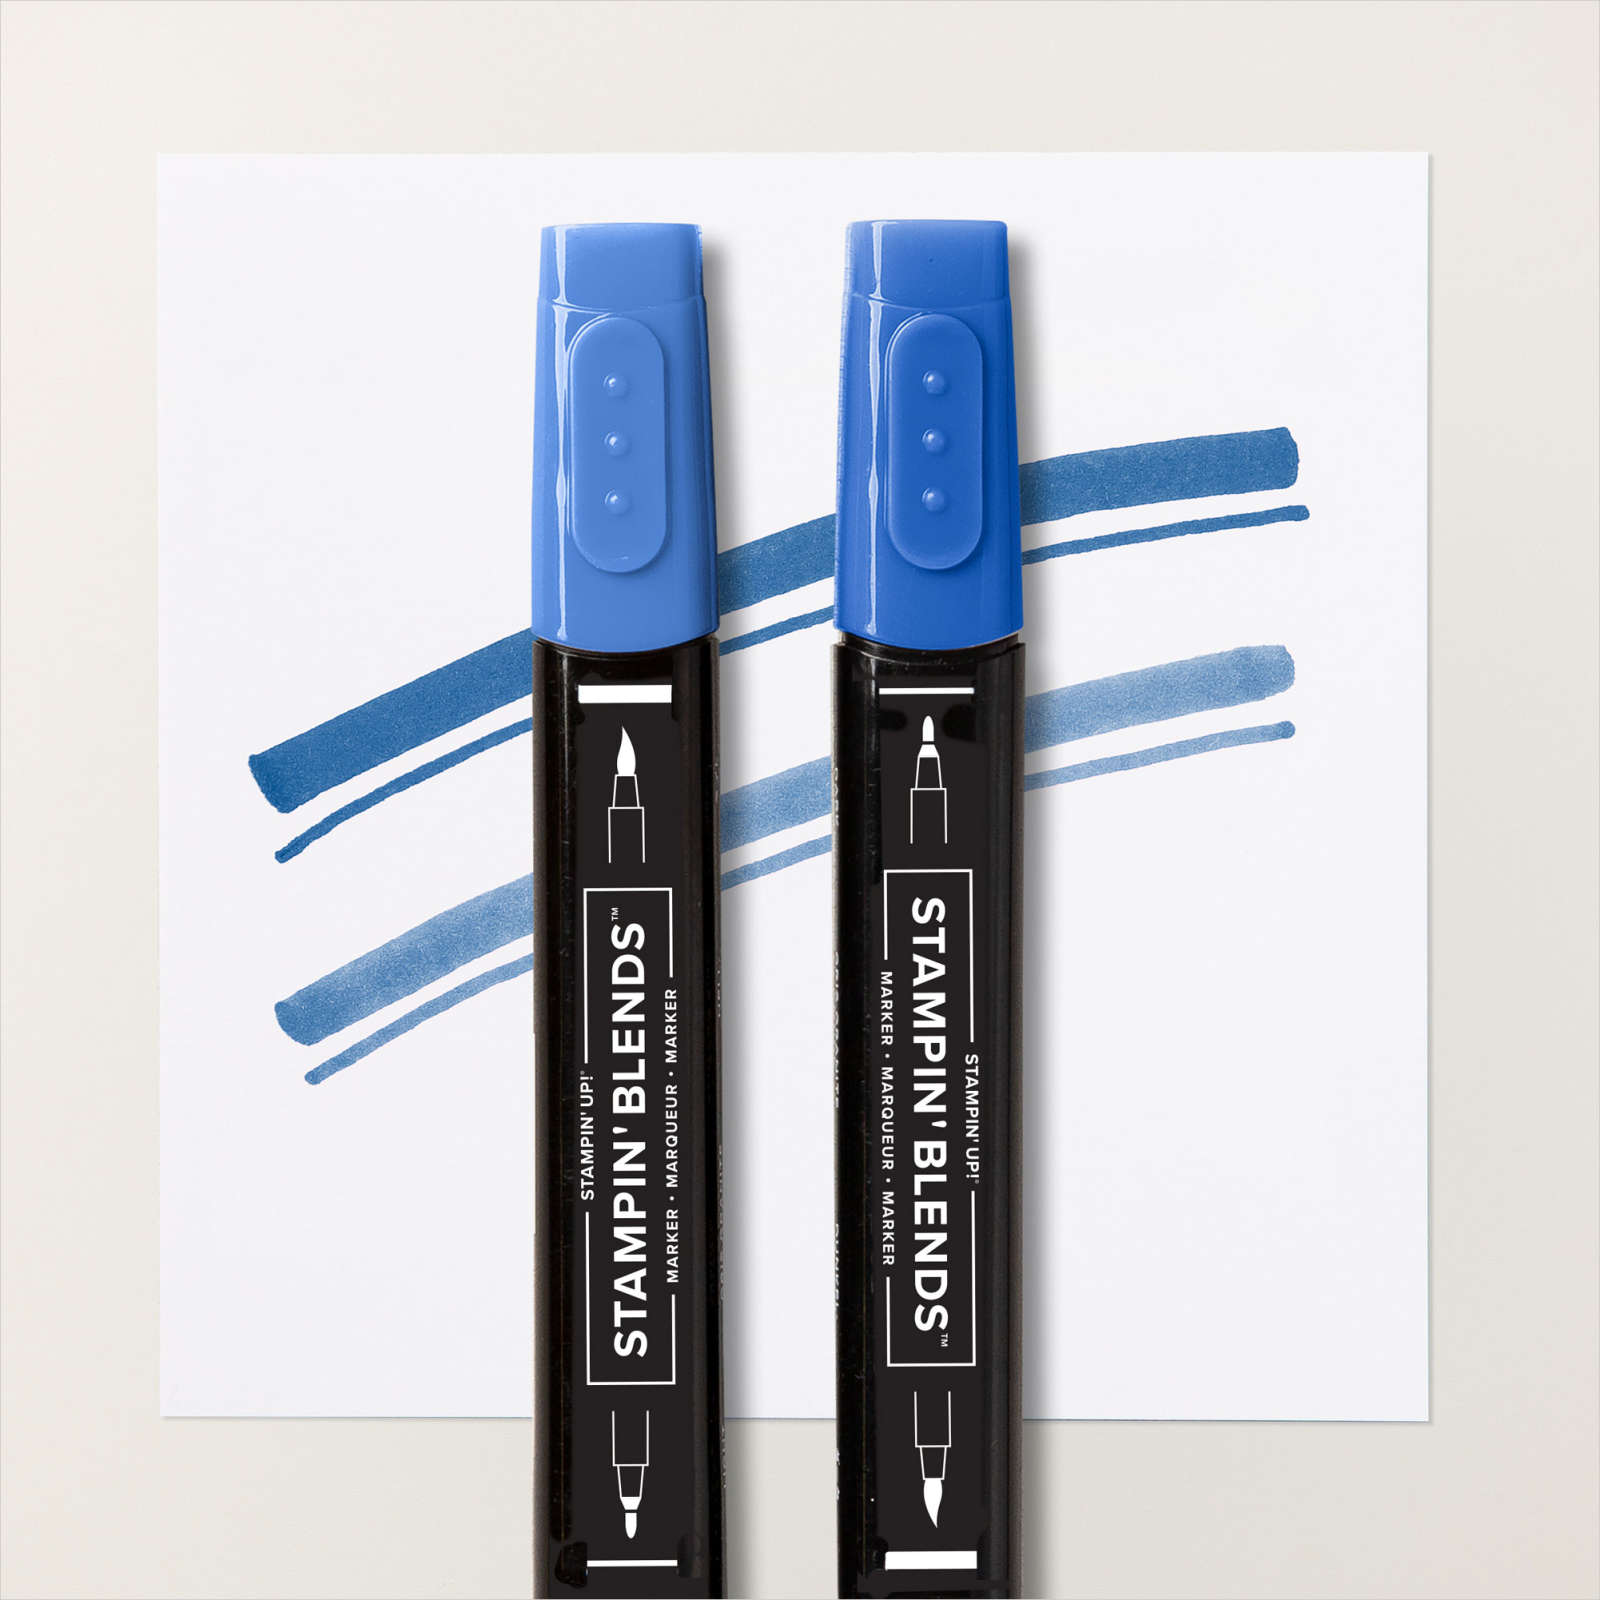
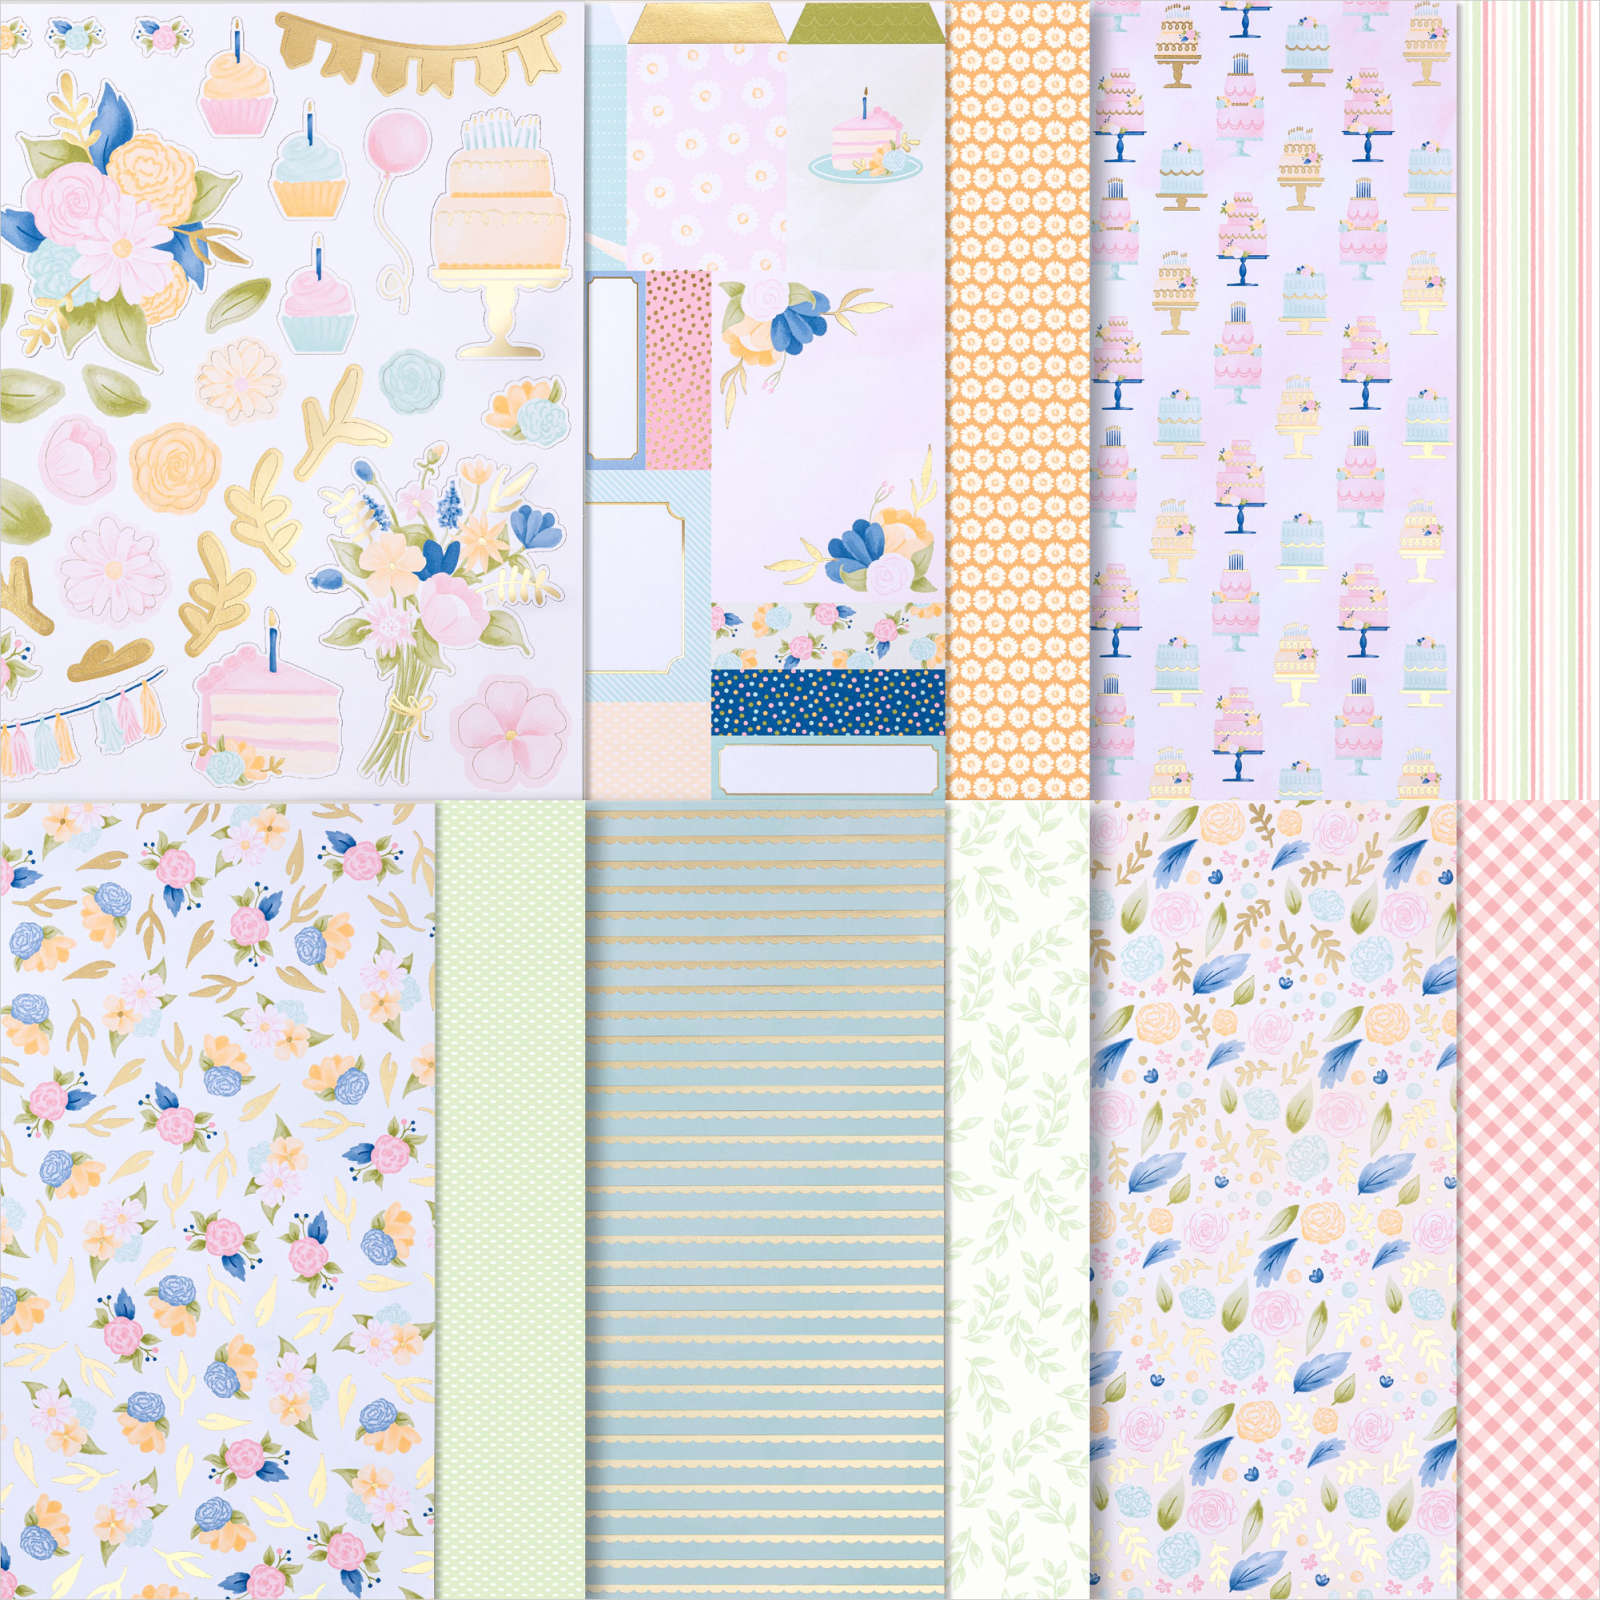
I attached the die cut from the Wildflower Birthday 12″ x 12″ Designer Series Paper to the card front using dimensionals. I coloured three clear Rhinestones from the Pecan Pie & Clear Ribboned Adhesive Backed Dots using the Dark Blueberry Bushel Stampin’ Blend and added them to the card front around the floral image. To decorate the inside of the card, I embossed a narrow strip of Basic White card using the Exposed Brick 3D Embossing Folder. The embossed panel is attached across the bottom of Basic White card with a narrow strip of Blueberry Bushel card across the top edge. I am really loving this gorgeous Product Suite and I am sure that you will too.
Bye for now,
Kris
Product Used:


Bountiful Blessings
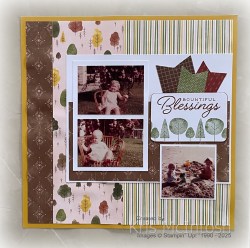
Today I am sharing how I completed Layout 3 from the Autumn To Remember Scrapbooks Workshop Kit. I cut the Designer Series Paper and the other elements including the photo mats as soon as I get the Workshop Kit but I don’t add the embellishments until I have my photos ready. I didn’t used the title panel that the workshop suggested but created one of my own. I stamped the greeting from the Autumn to Remember stamp set onto Basic White card using Cajun Craze ink.
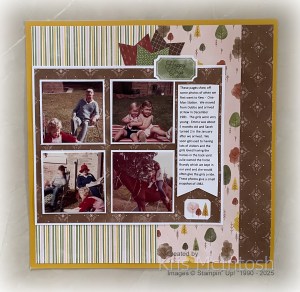
I stamped the three tree image from the same stamp set across the bottom of the panel using Old Olive ink. I rounded the corners with an retired Stampin’ Up! punch before dipping the edges into the Cajun Craze ink pad. I also added one additional 3″ x 3″ photo below the title. I printed my journaling onto Basic White card using the journaling tag included in the kit as a guide. This panel also has its edges dipped into the Cajun Craze ink pad. I added one of the stickers from the Workshop kit below the journaling.
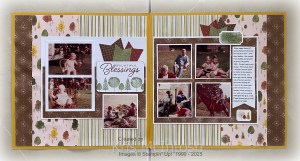
I love having these pages in my stash, so when I find the right photos, it doesn’t take long at all to complete my pages. Unfortunately the Autumn to Remember Scrapbooking Workshop Kits have already sold out and the remaining products from the suite are now only available while stocks last. Hopefully they haven’t all gone yet.
Bye for now,
Kris
Product Used:


