Cheese & Wine
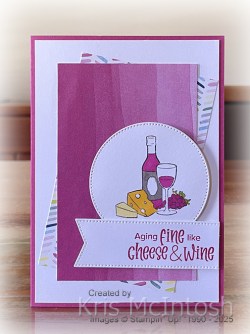
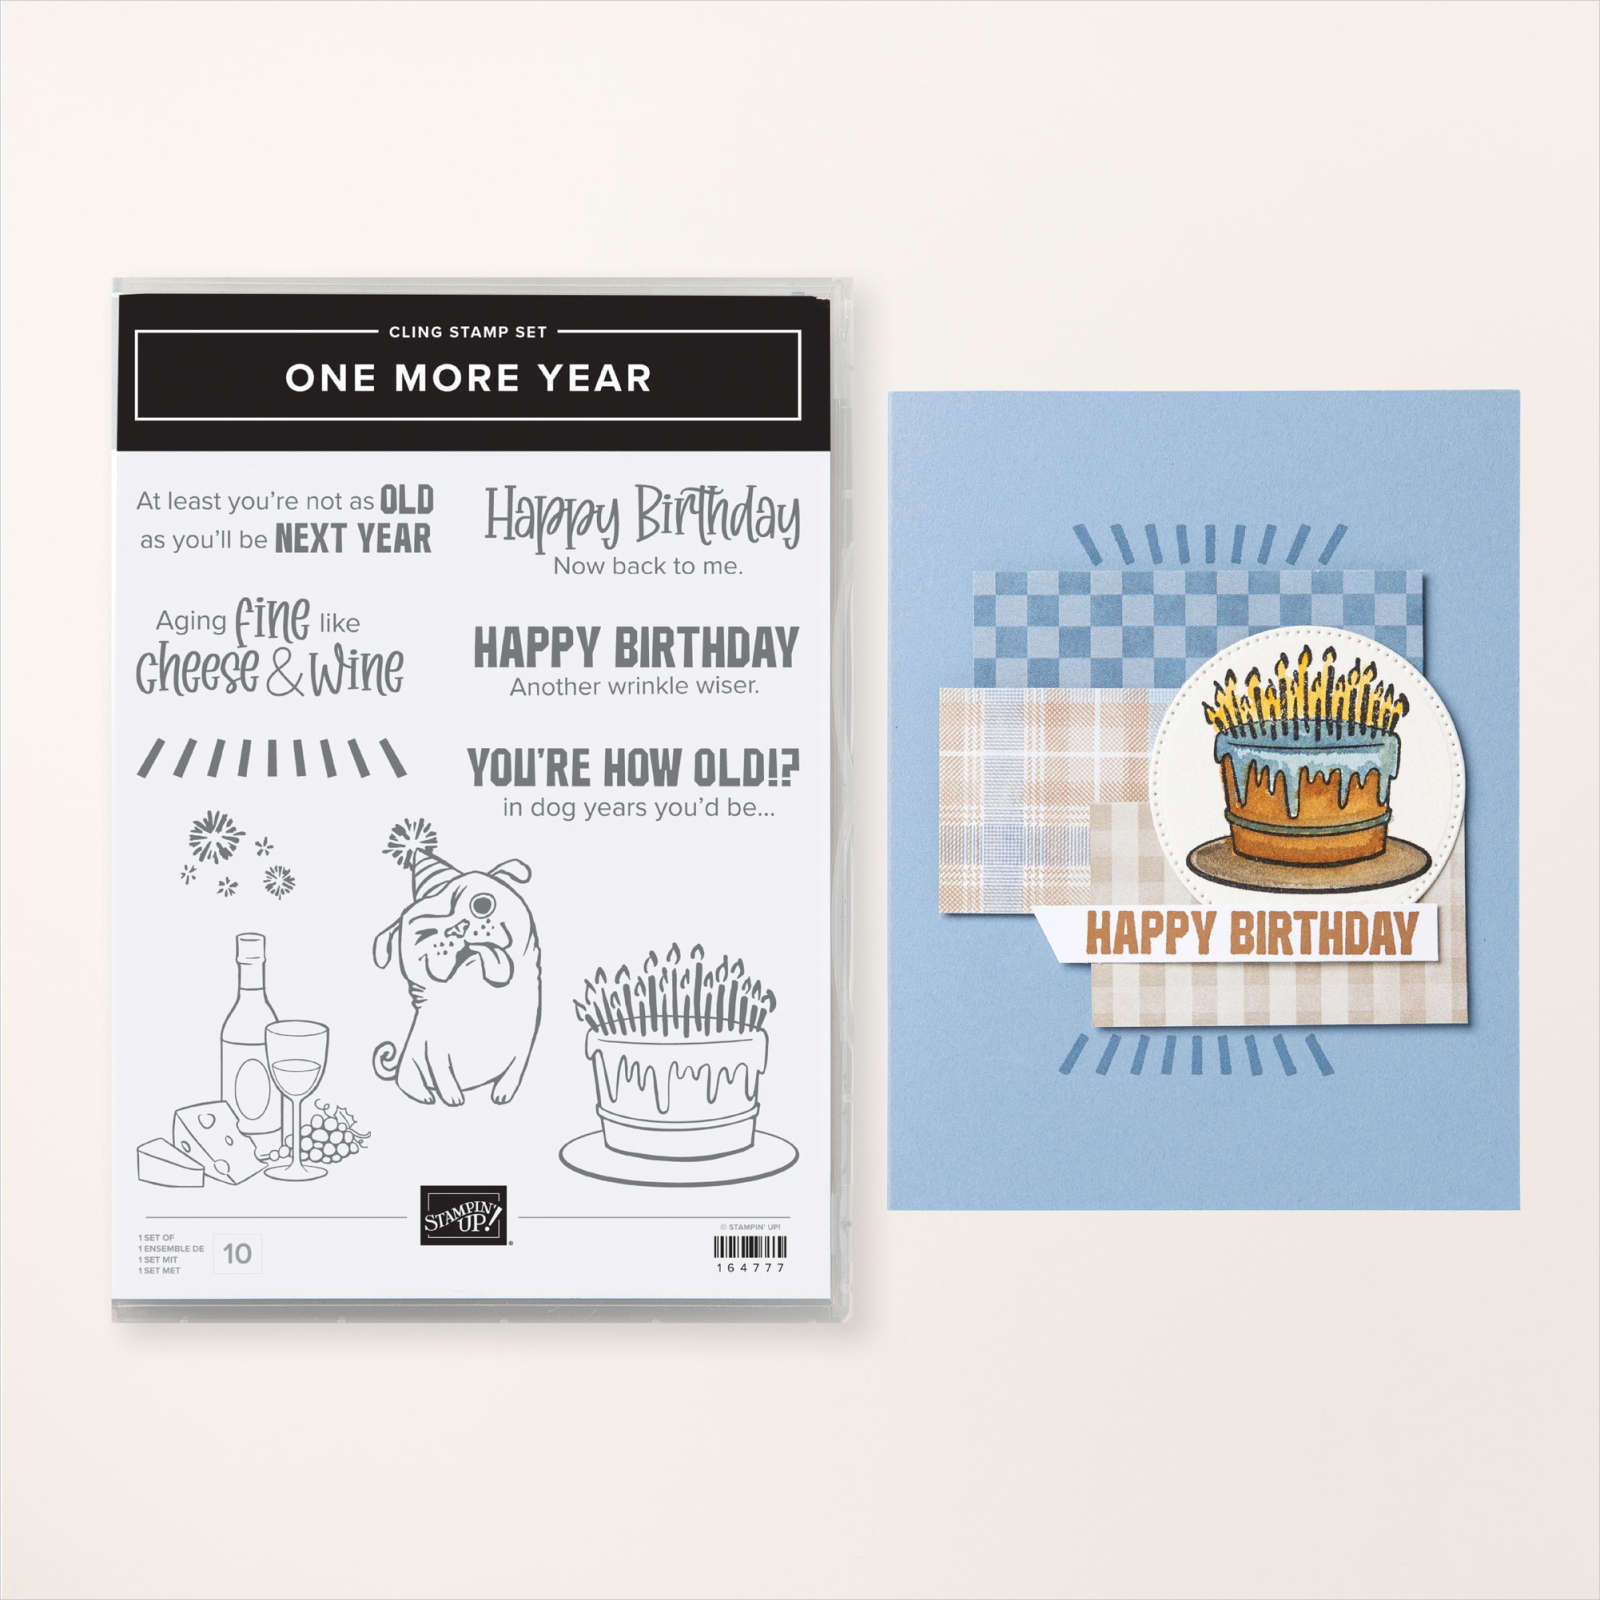
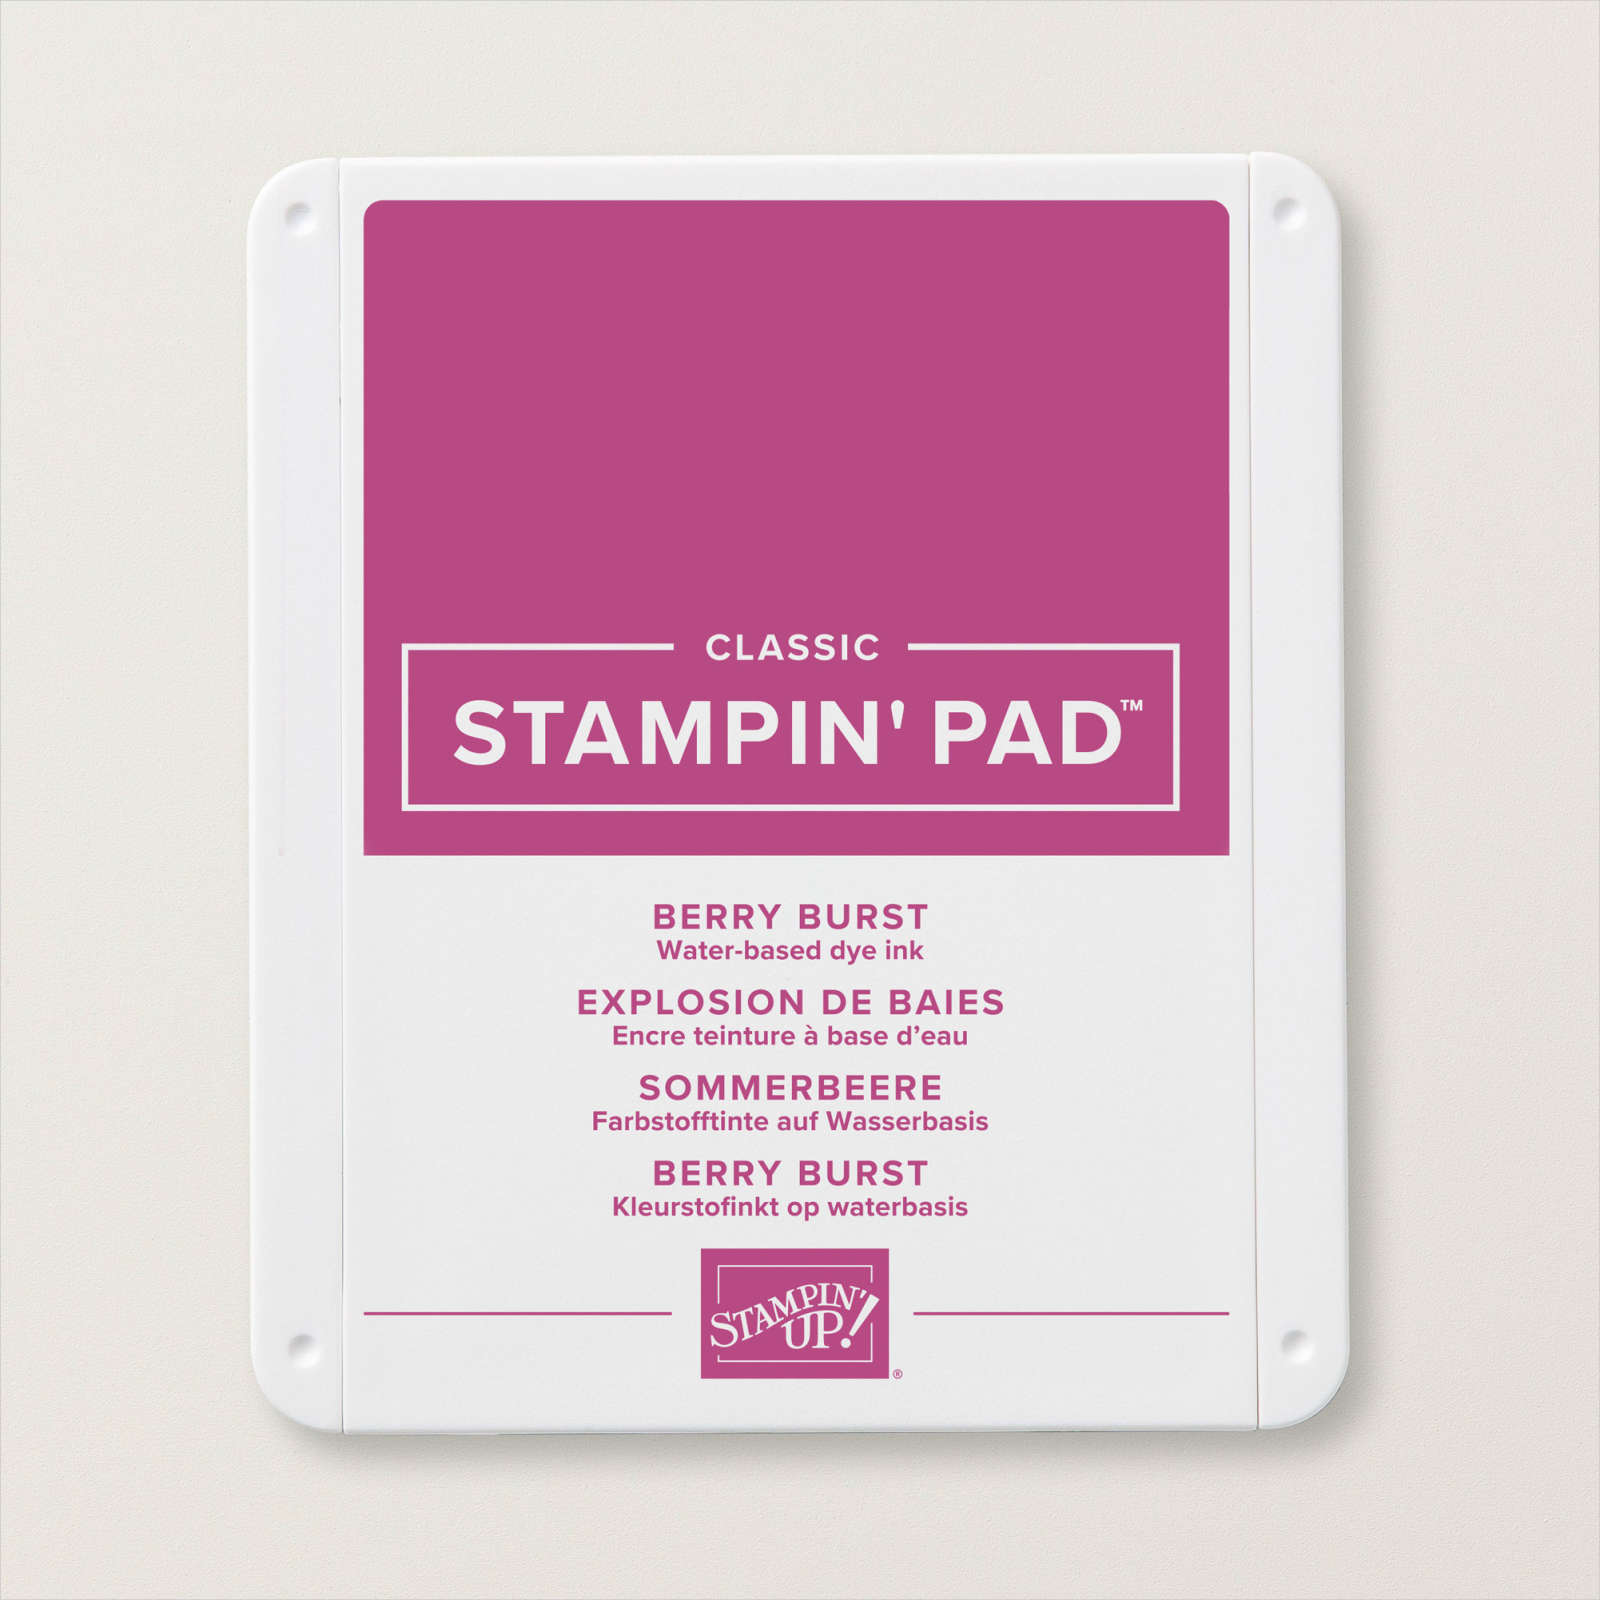
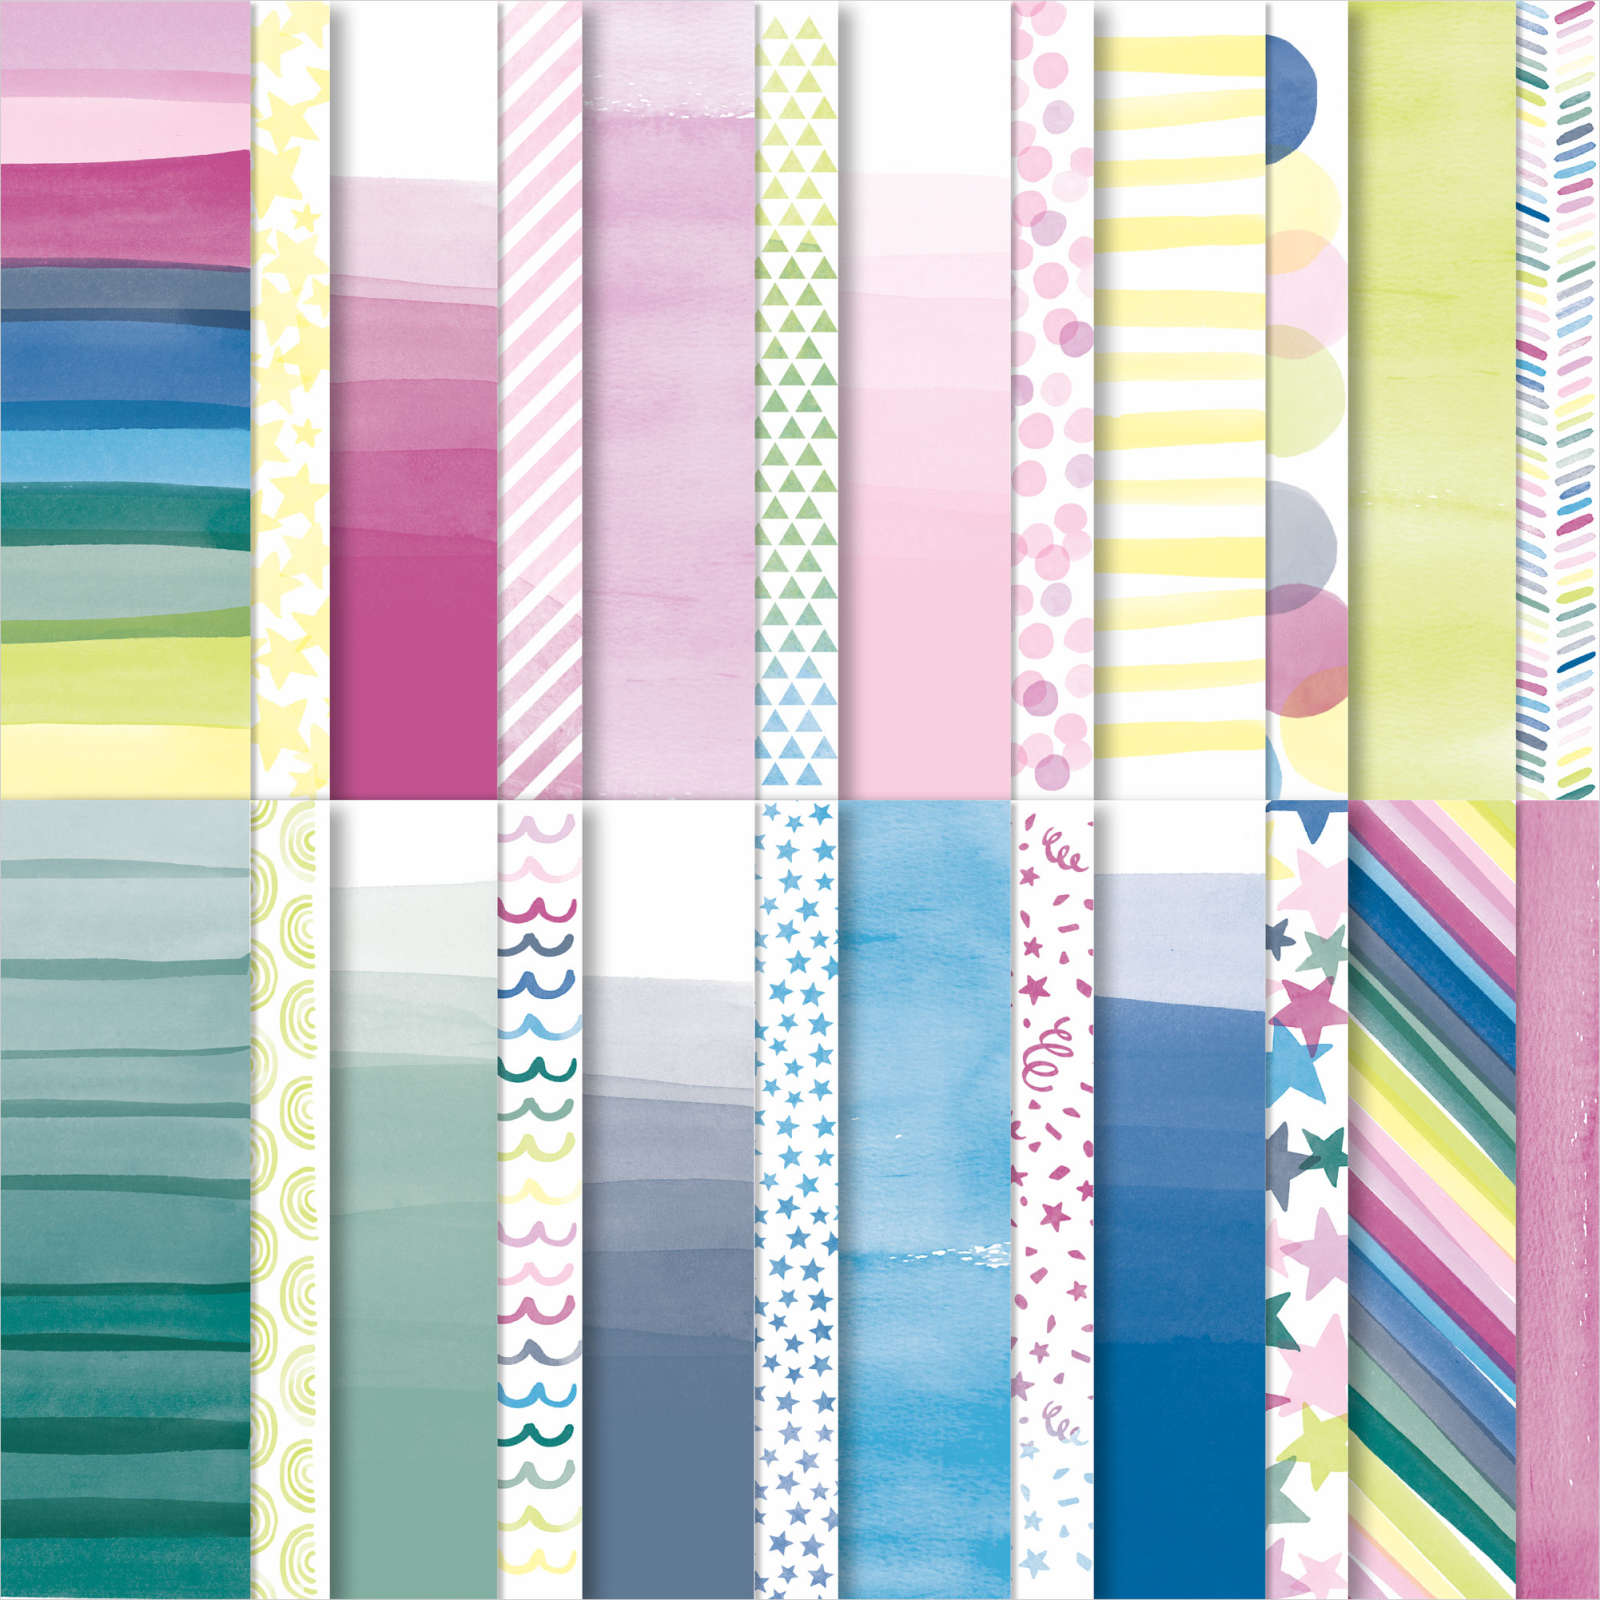
Today’s card once again uses the One More Year stamp set from the January to April Mini Catalogue. For this card I attached two pieces of Bright & Beautiful 6″ x 6″ Designer Series paper to Basic White card. The whole panel is attached to scored and folded Berry Burst card. I stamped the wine & cheese image from the One More Year stamp set onto Basic White card using Memento Tuxedo Black ink.
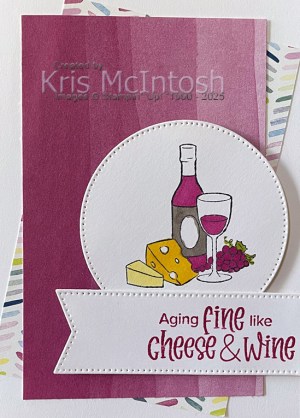
I coloured the image using Berry Burst, Dark Granny Apple Green, Daffodil Delight and Light Pebbled Path Stampin’ Blends. The image is cut out using the 2nd largest circle from the Stylish Shapes Dies. I attached the image panel to the card front using dimensionals.

I stamped the greeting from the One More Year stamp set onto Basic White card using Berry Burst ink. I cut out the greeting using the largest banner die from the Stylish Shapes Dies. I trimmed off the right hand edge and attached the greeting to the card front using dimensionals where necessary. To decorate the inside of the card I inked “Happy Birthday” from another greeting from the One More Year stamp set using Berry Burst ink and stamped onto Basic White card. I stamped the “starry” image from the One More Year stamp set on either side of the greeting using Berry Burst ink making sure to stamp on scrap paper first. Another fun card using this stamp set.
Bye for now,
Kris
Product Used:


Flagstaff Hill

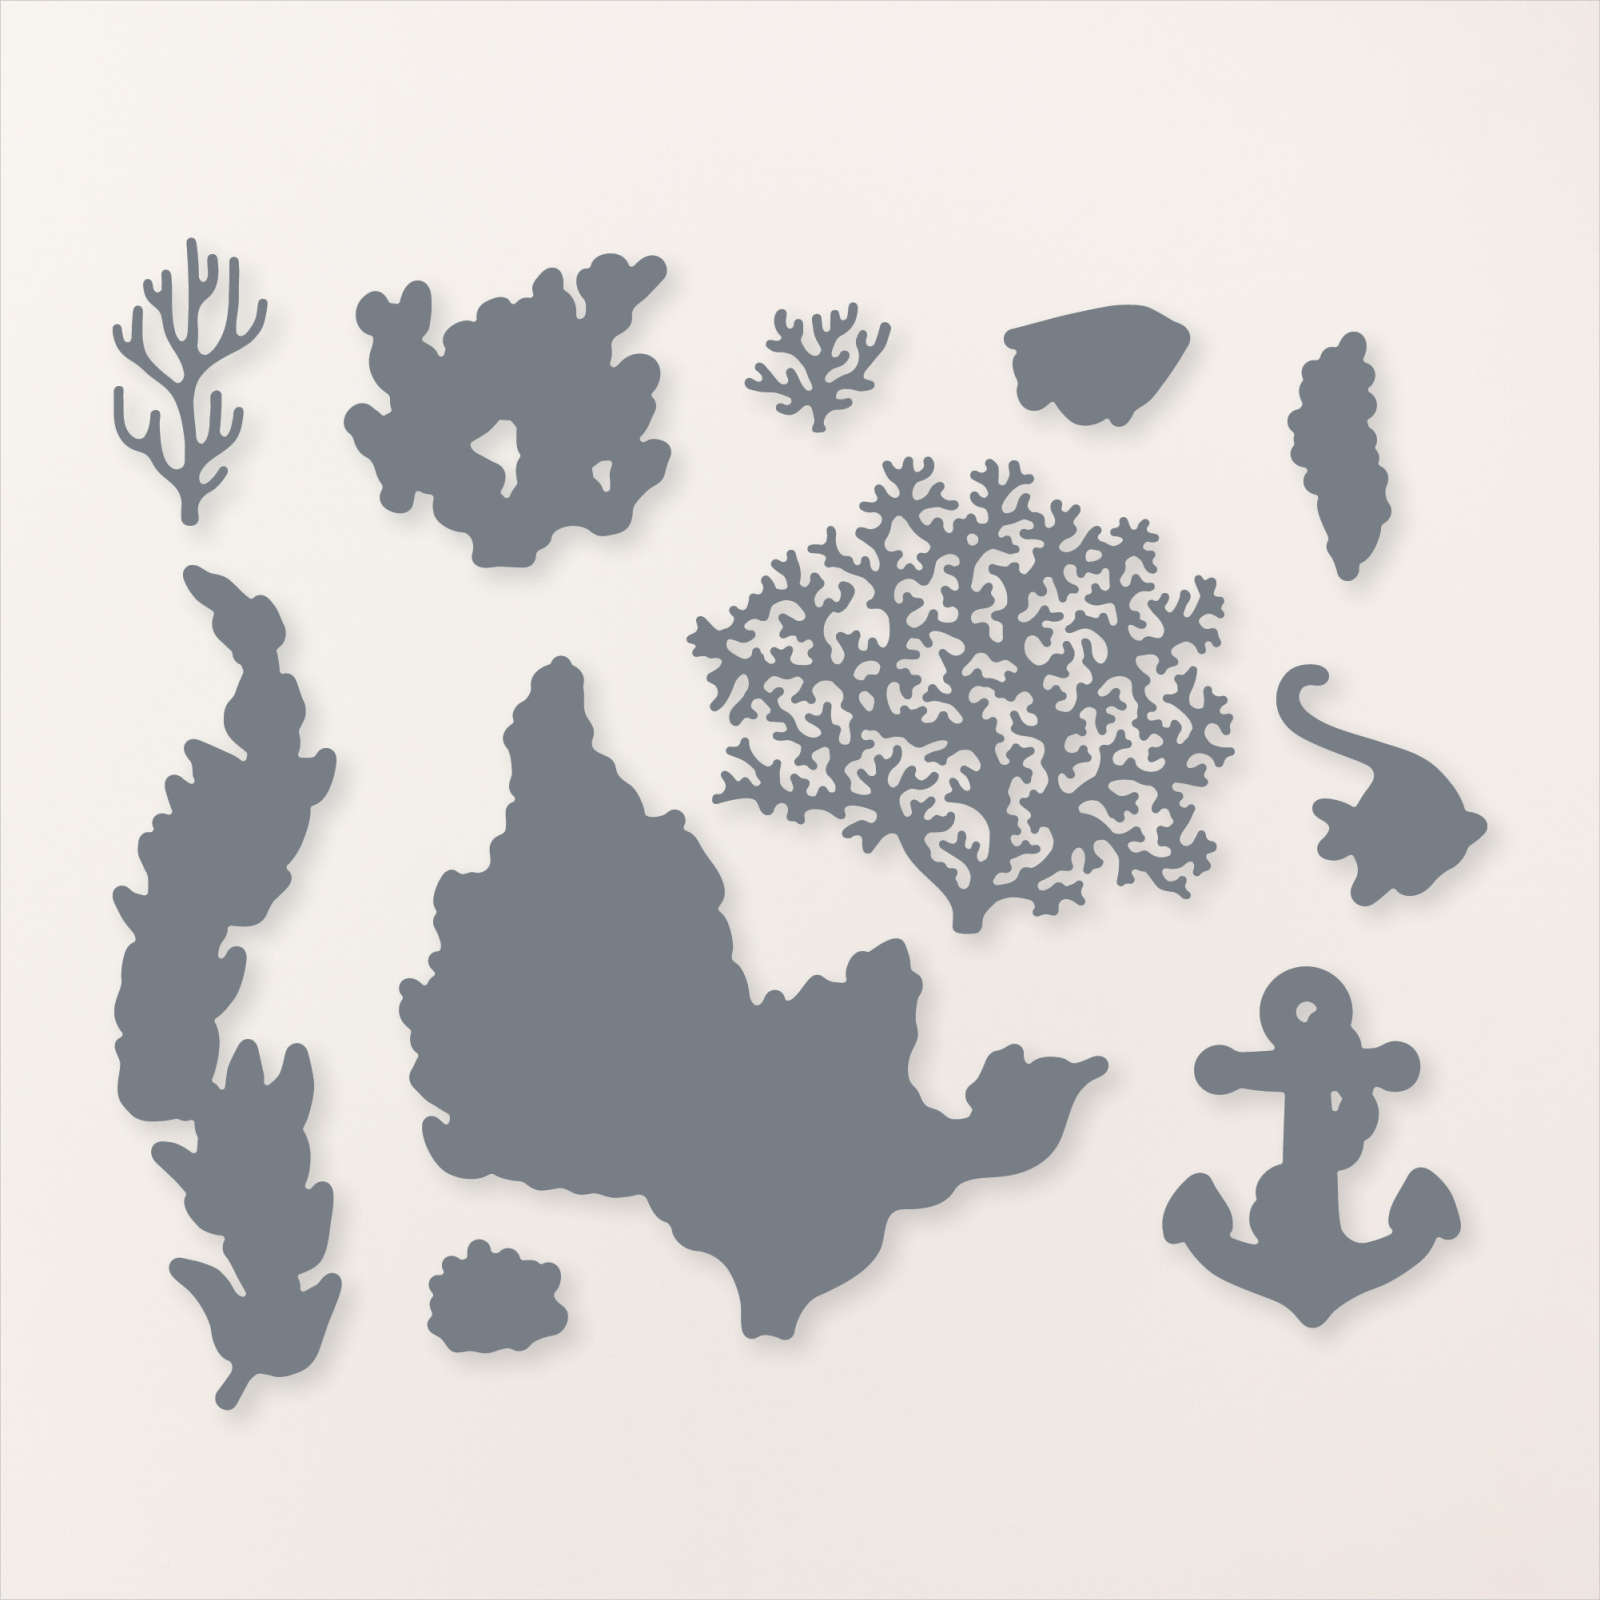
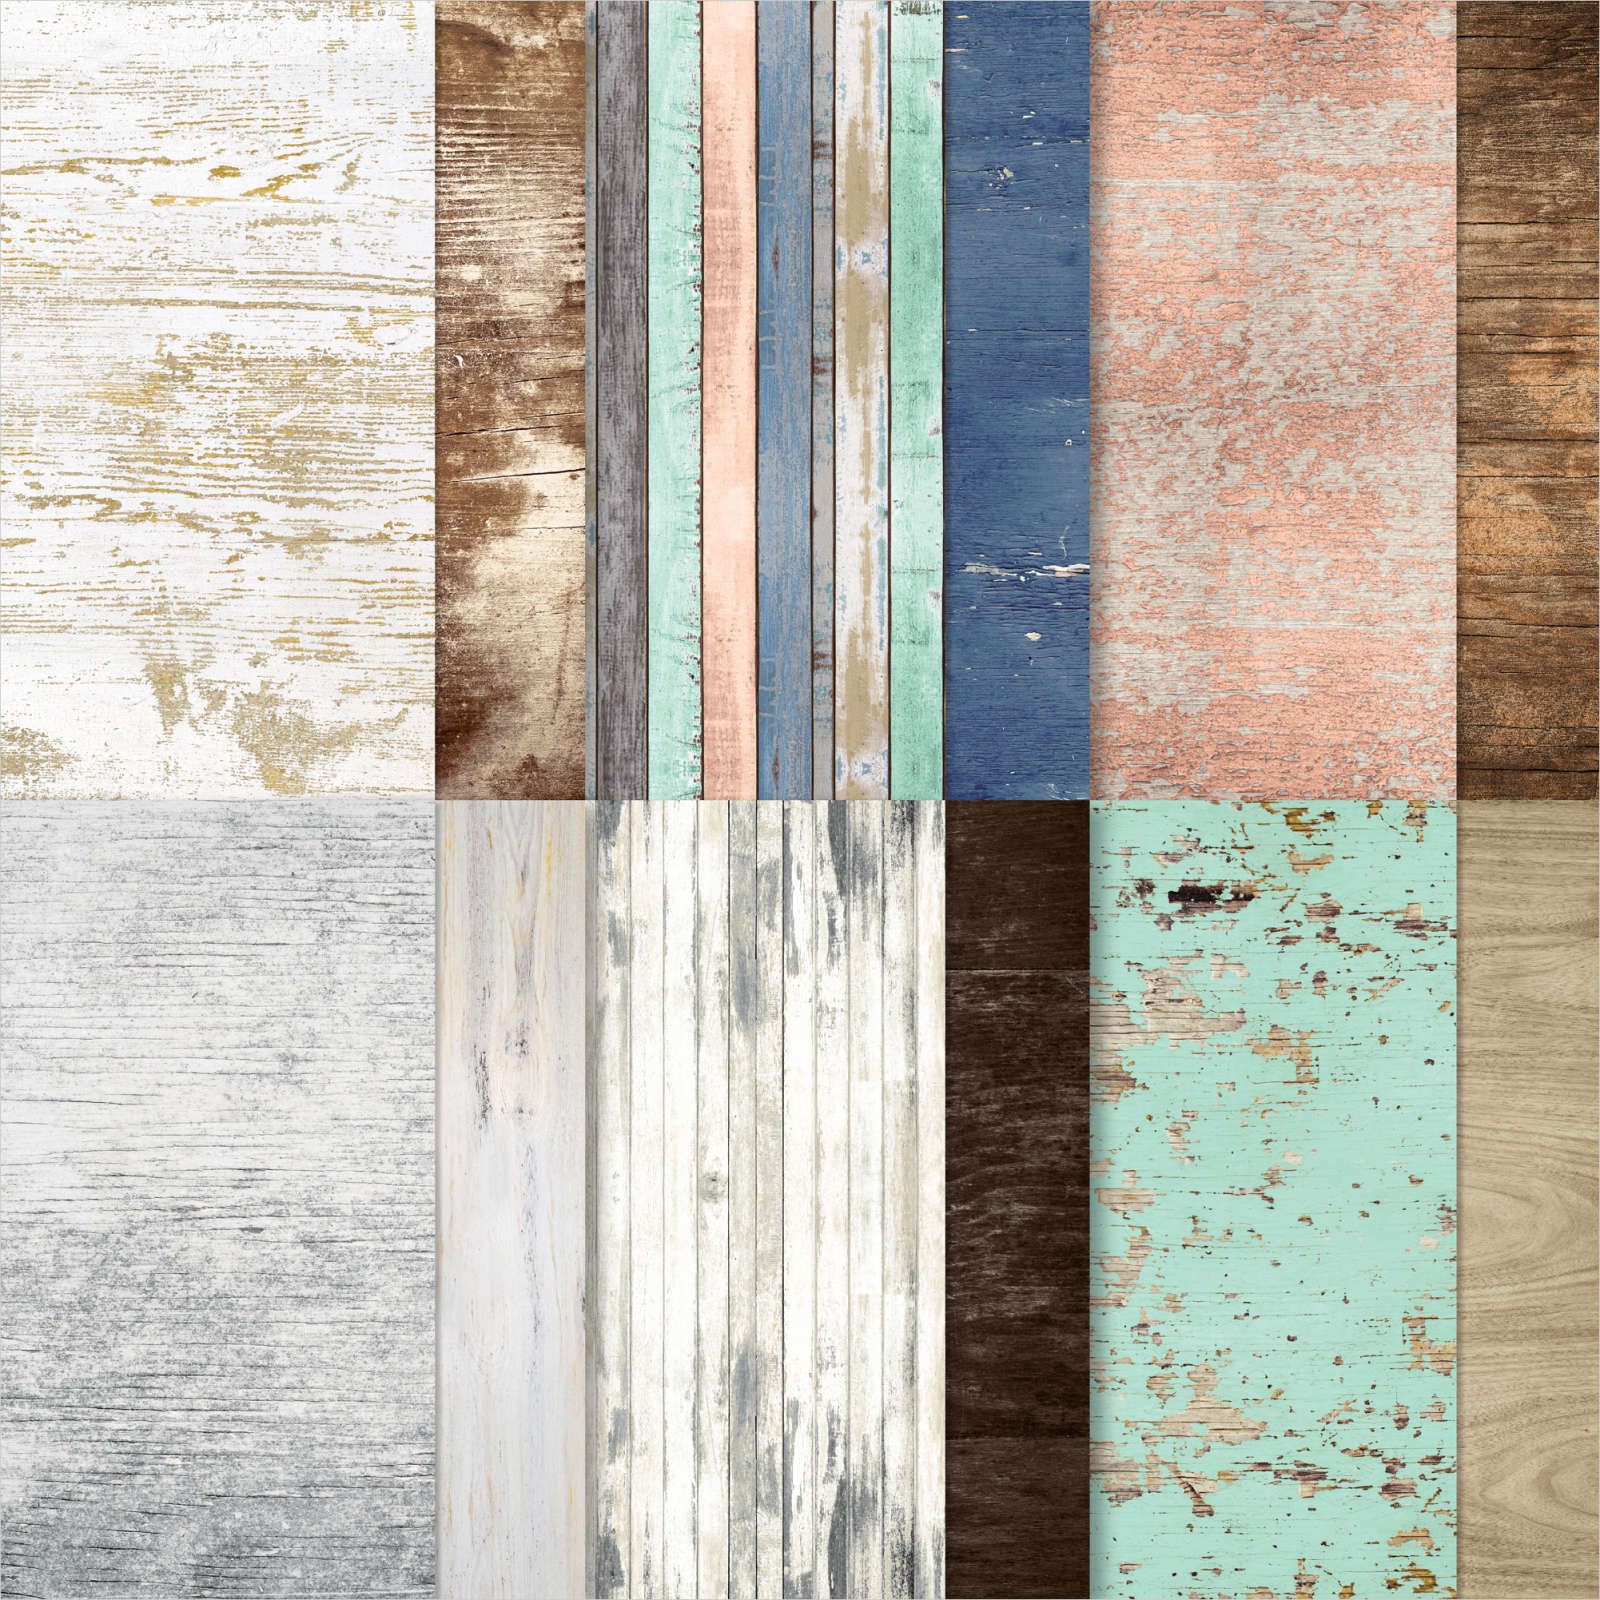
Today’s page is one I created using the 1, 2, 3 Scrapbook Layout used in my February Scrapbook Class. Again this cutting layout was created by Noreen Smith (Creative & Organized Mom) and you can find it too if you do a search on You Tube. I cut one piece of Country Woods 12″ x 12″ Designer Series Paper, sponged the edges using Basic Gray ink on the darker side of the paper and Basic Beige ink on the lighter side of the paper and attached the panels to White Willow 12″ x 12″ card. Before I attached the panels to the right hand page, I stamped one of the seaweed images from the Beauty of the Deep stamp set onto the top left hand corner using Pool Party ink, which I stamped onto scrap paper first. I cut the title from Basic Gray card using the Alphabet A La Mode Dies.

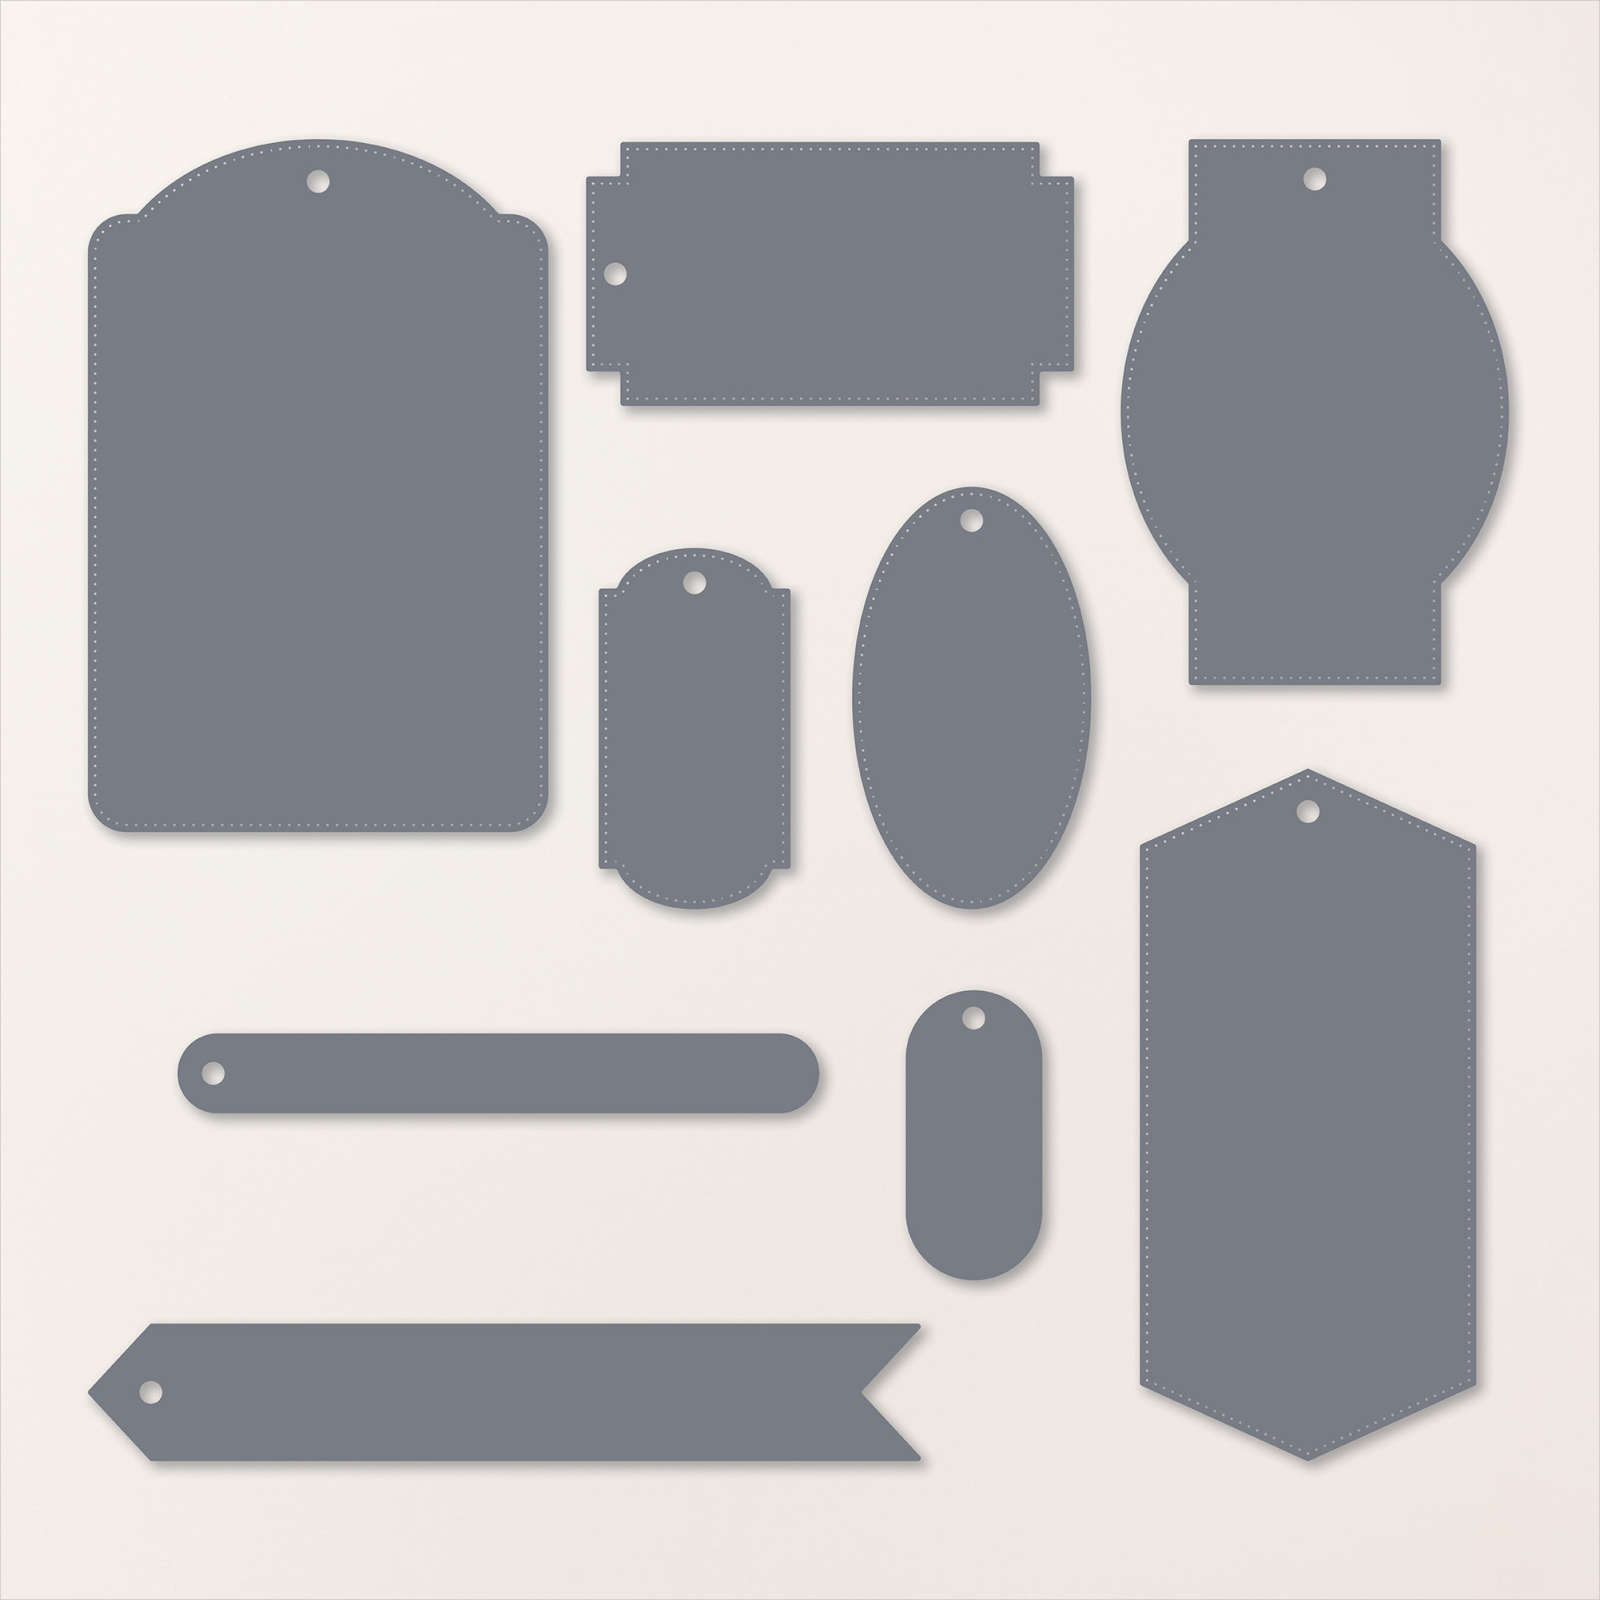
I did use Adhesive Sheet on the back of the Basic Gray card to make attaching it to the page easier. I die cut Basic Beige twice and Petal Pink once using the die from the Beauty of the Deep Dies. I also stamped the “sand dollar” image from the Seaside Wishes stamp set twice onto Basic White card using Pool Party ink. The images were cut out using the co-ordinating Seaside Wishes Die. I also die cut Basic Beige and Petal Pink card using one of the intricate “sand dollar” dies from the Seaside Wishes Dies. I stamped the greeting from the Seaside Wishes stamp set onto Basic White card using Basic Gray ink and cut it out using one of the tag dies from the Greetings of the Season Dies. I stamped the “sand dollar” image from the Seaside Wishes stamp set onto the right hand side of the tag using Pool Party ink which I stamped onto scrap paper first.
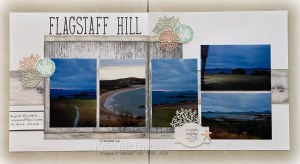
I stamped one of the seaweed images from the Beauty of the Deep stamp set onto the left hand side using Petal Pink ink which I stamped onto scrap paper first. I also used the small star fish die from the Seaside Wishes Dies to cut Petal Pink card. The star fish is attached to the tag to cover the ribbon hole. To create the journaling panel I stamped the line image from the Wildflower Celebrations stamp set onto Basic White card using Basic Gray ink which I stamped onto scrap paper first. I attached it to Basic Gray card before attaching the panel to the page. I hand wrote the journaling onto this panel – something I only do occasionally when I don’t have much to say. These photos were taken on our first road trip to Cooktown back in 2010 and bring back such happy memories.
Bye for now,
Kris
Product Used:


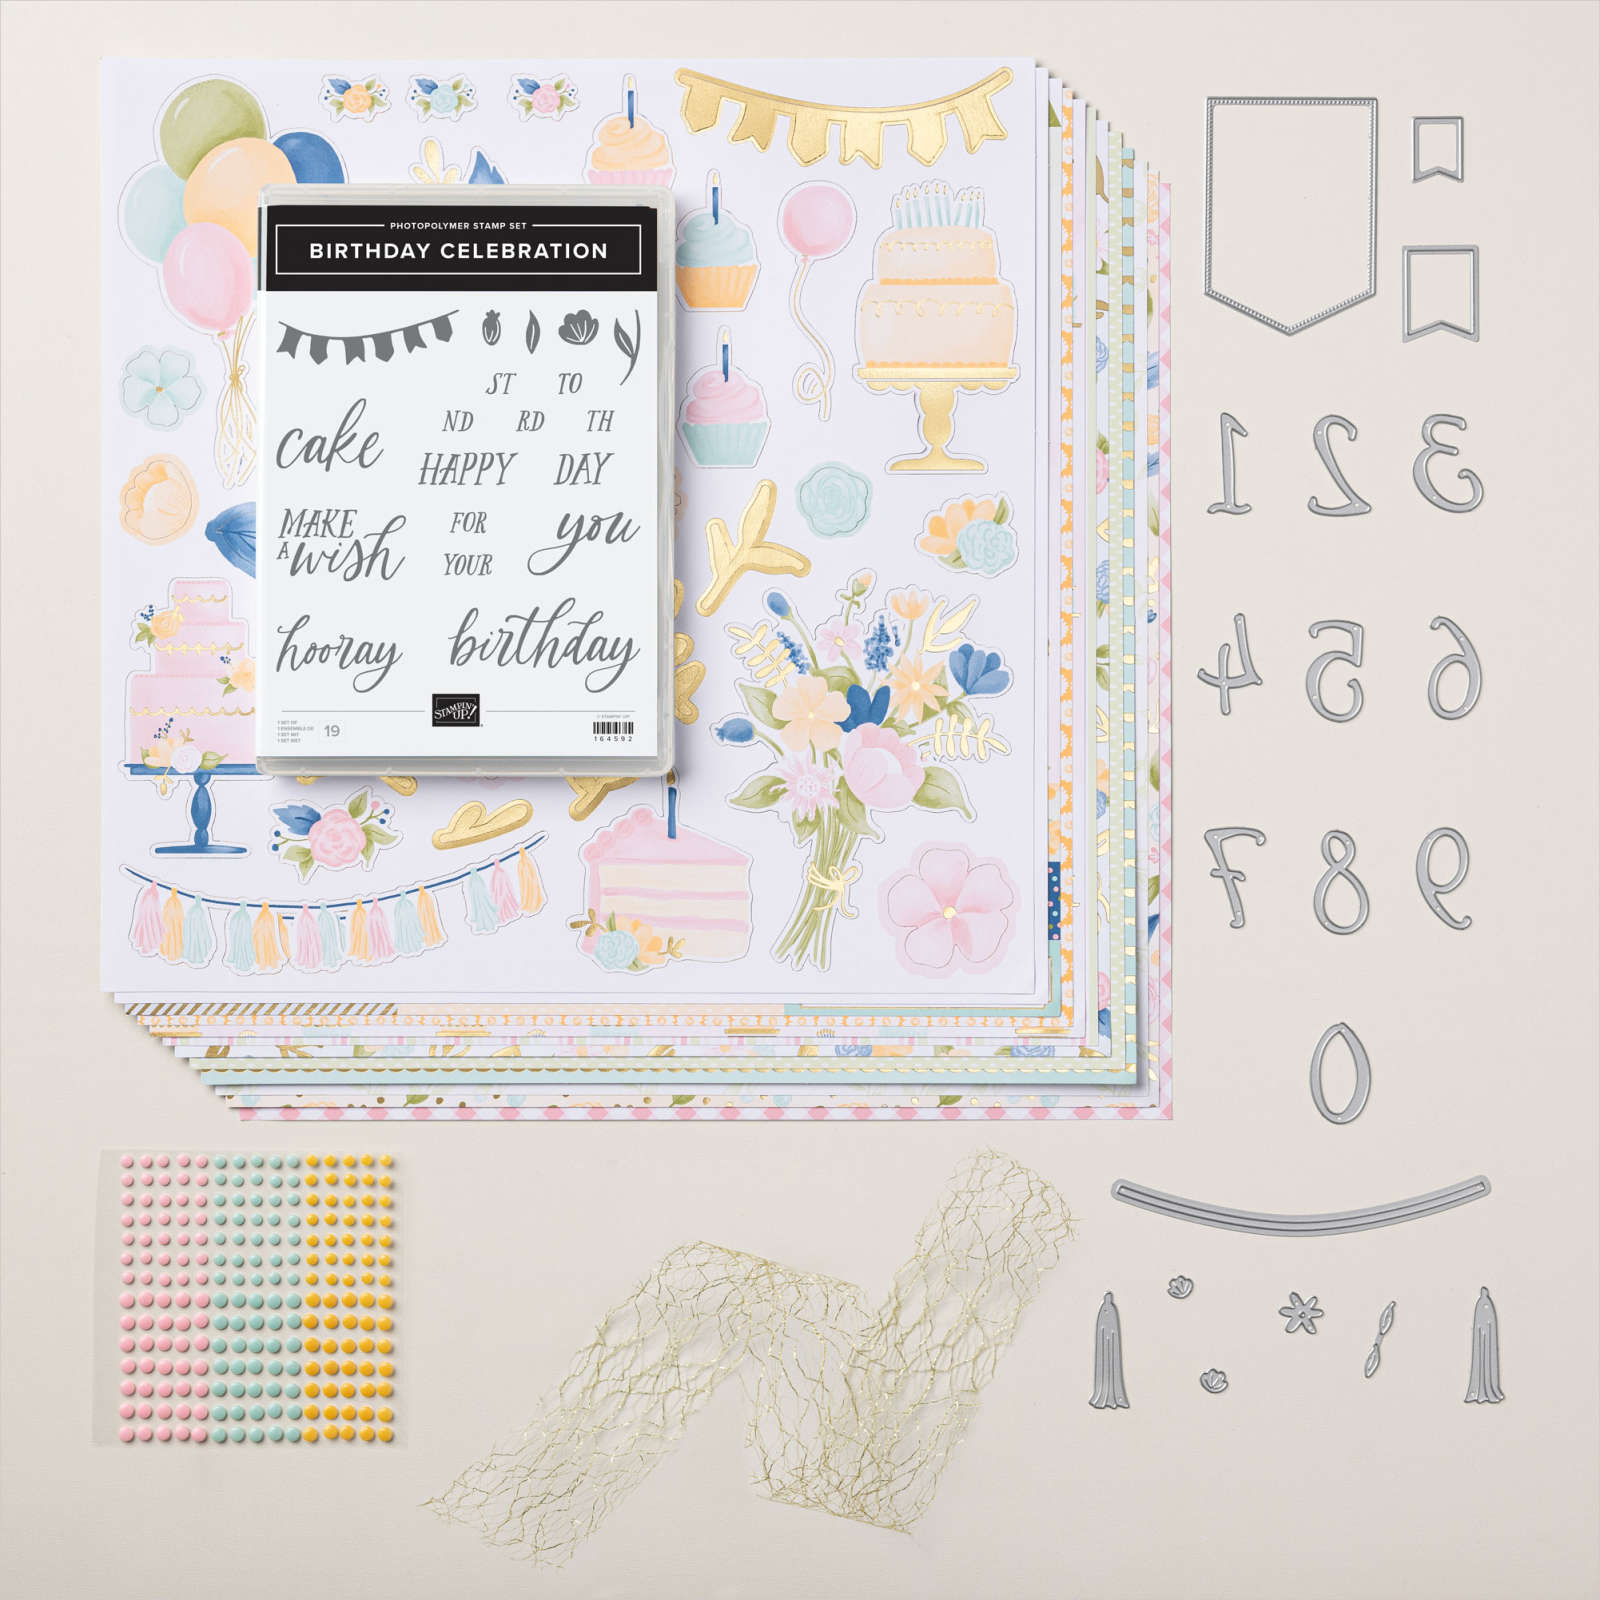
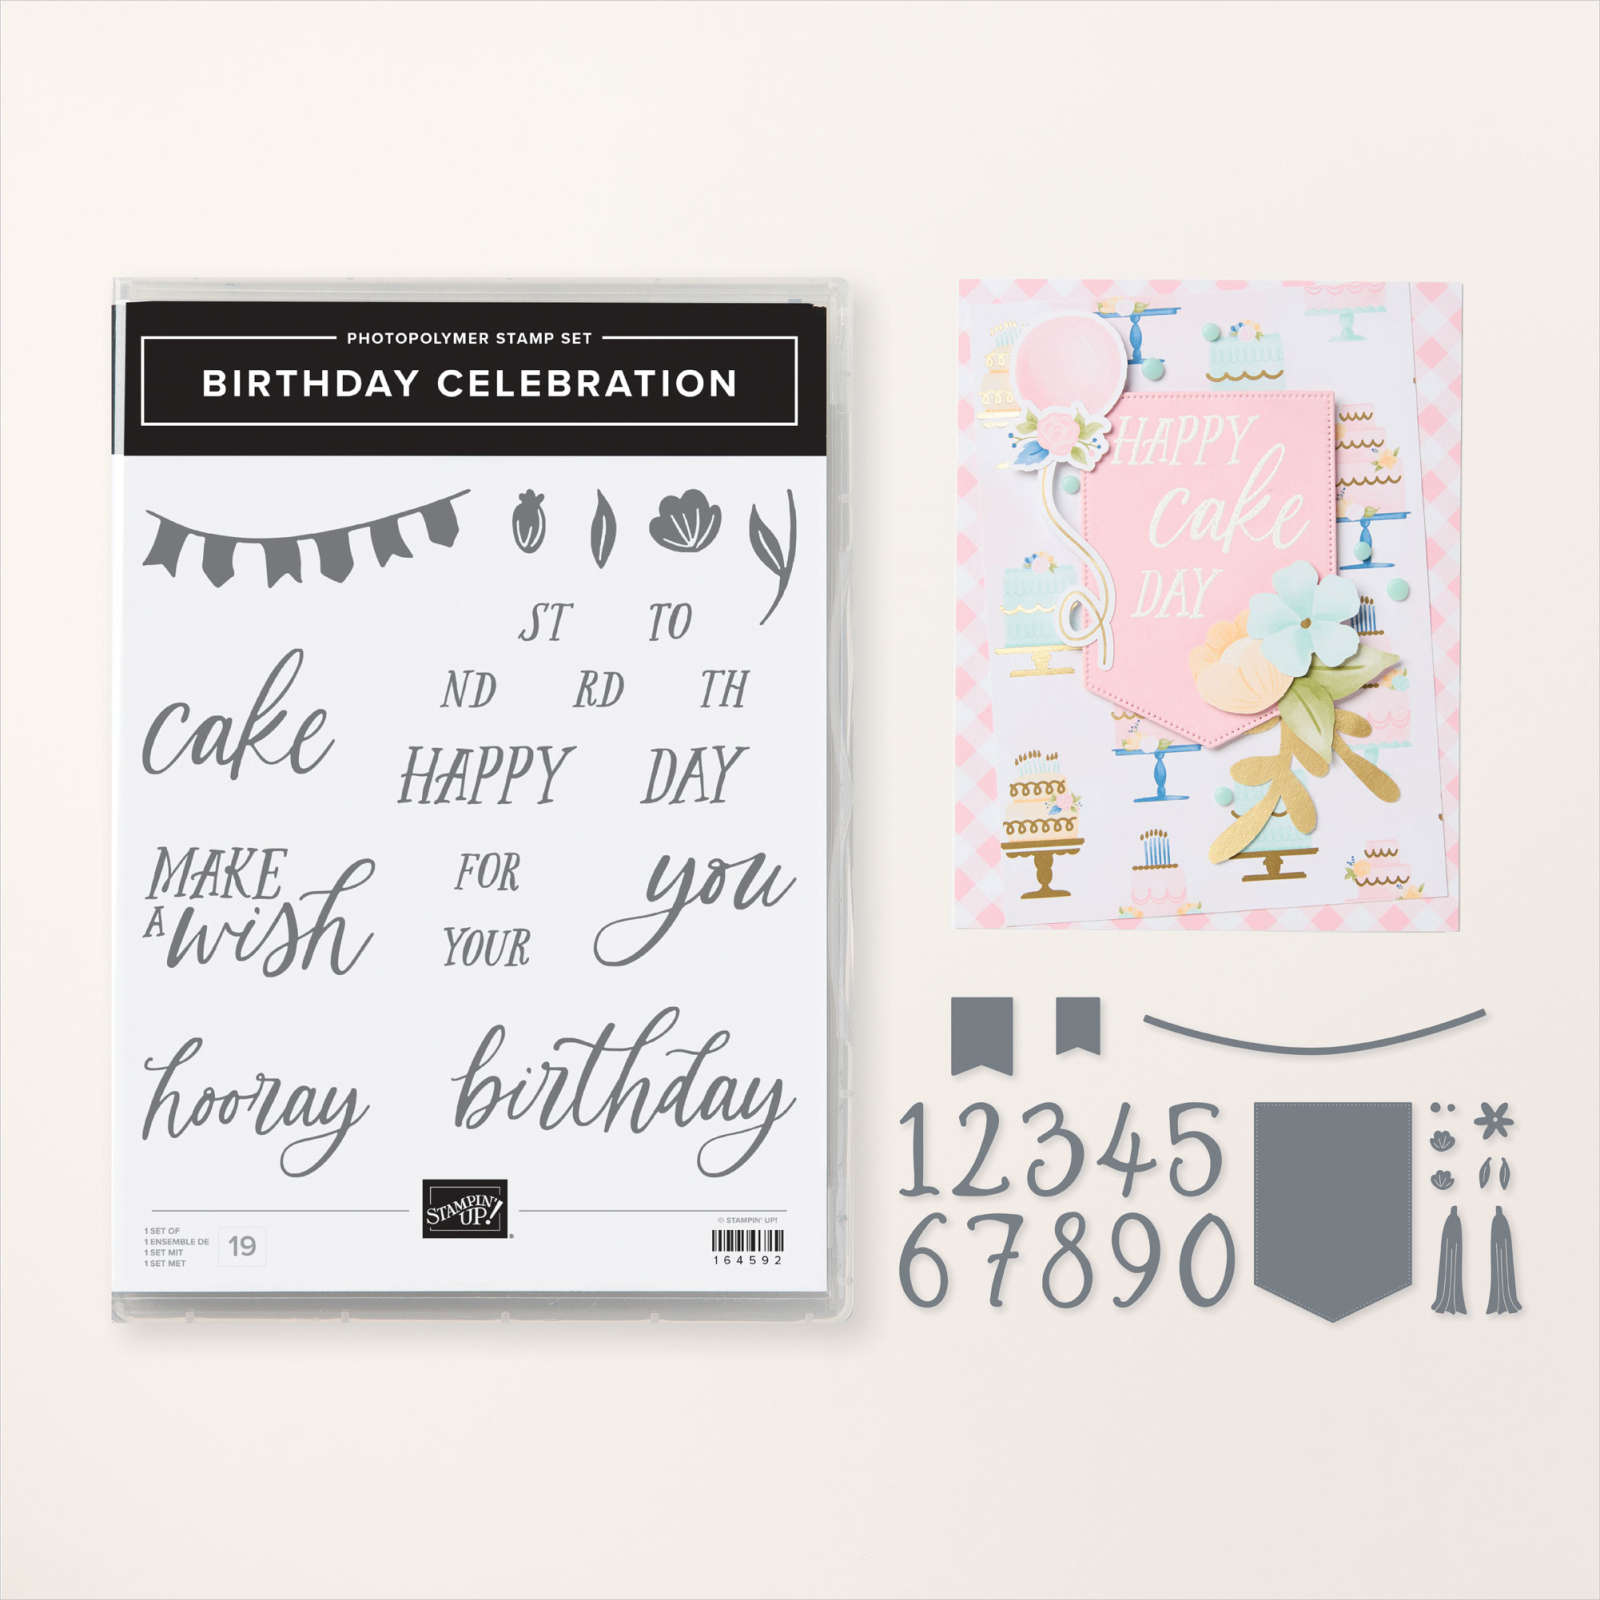
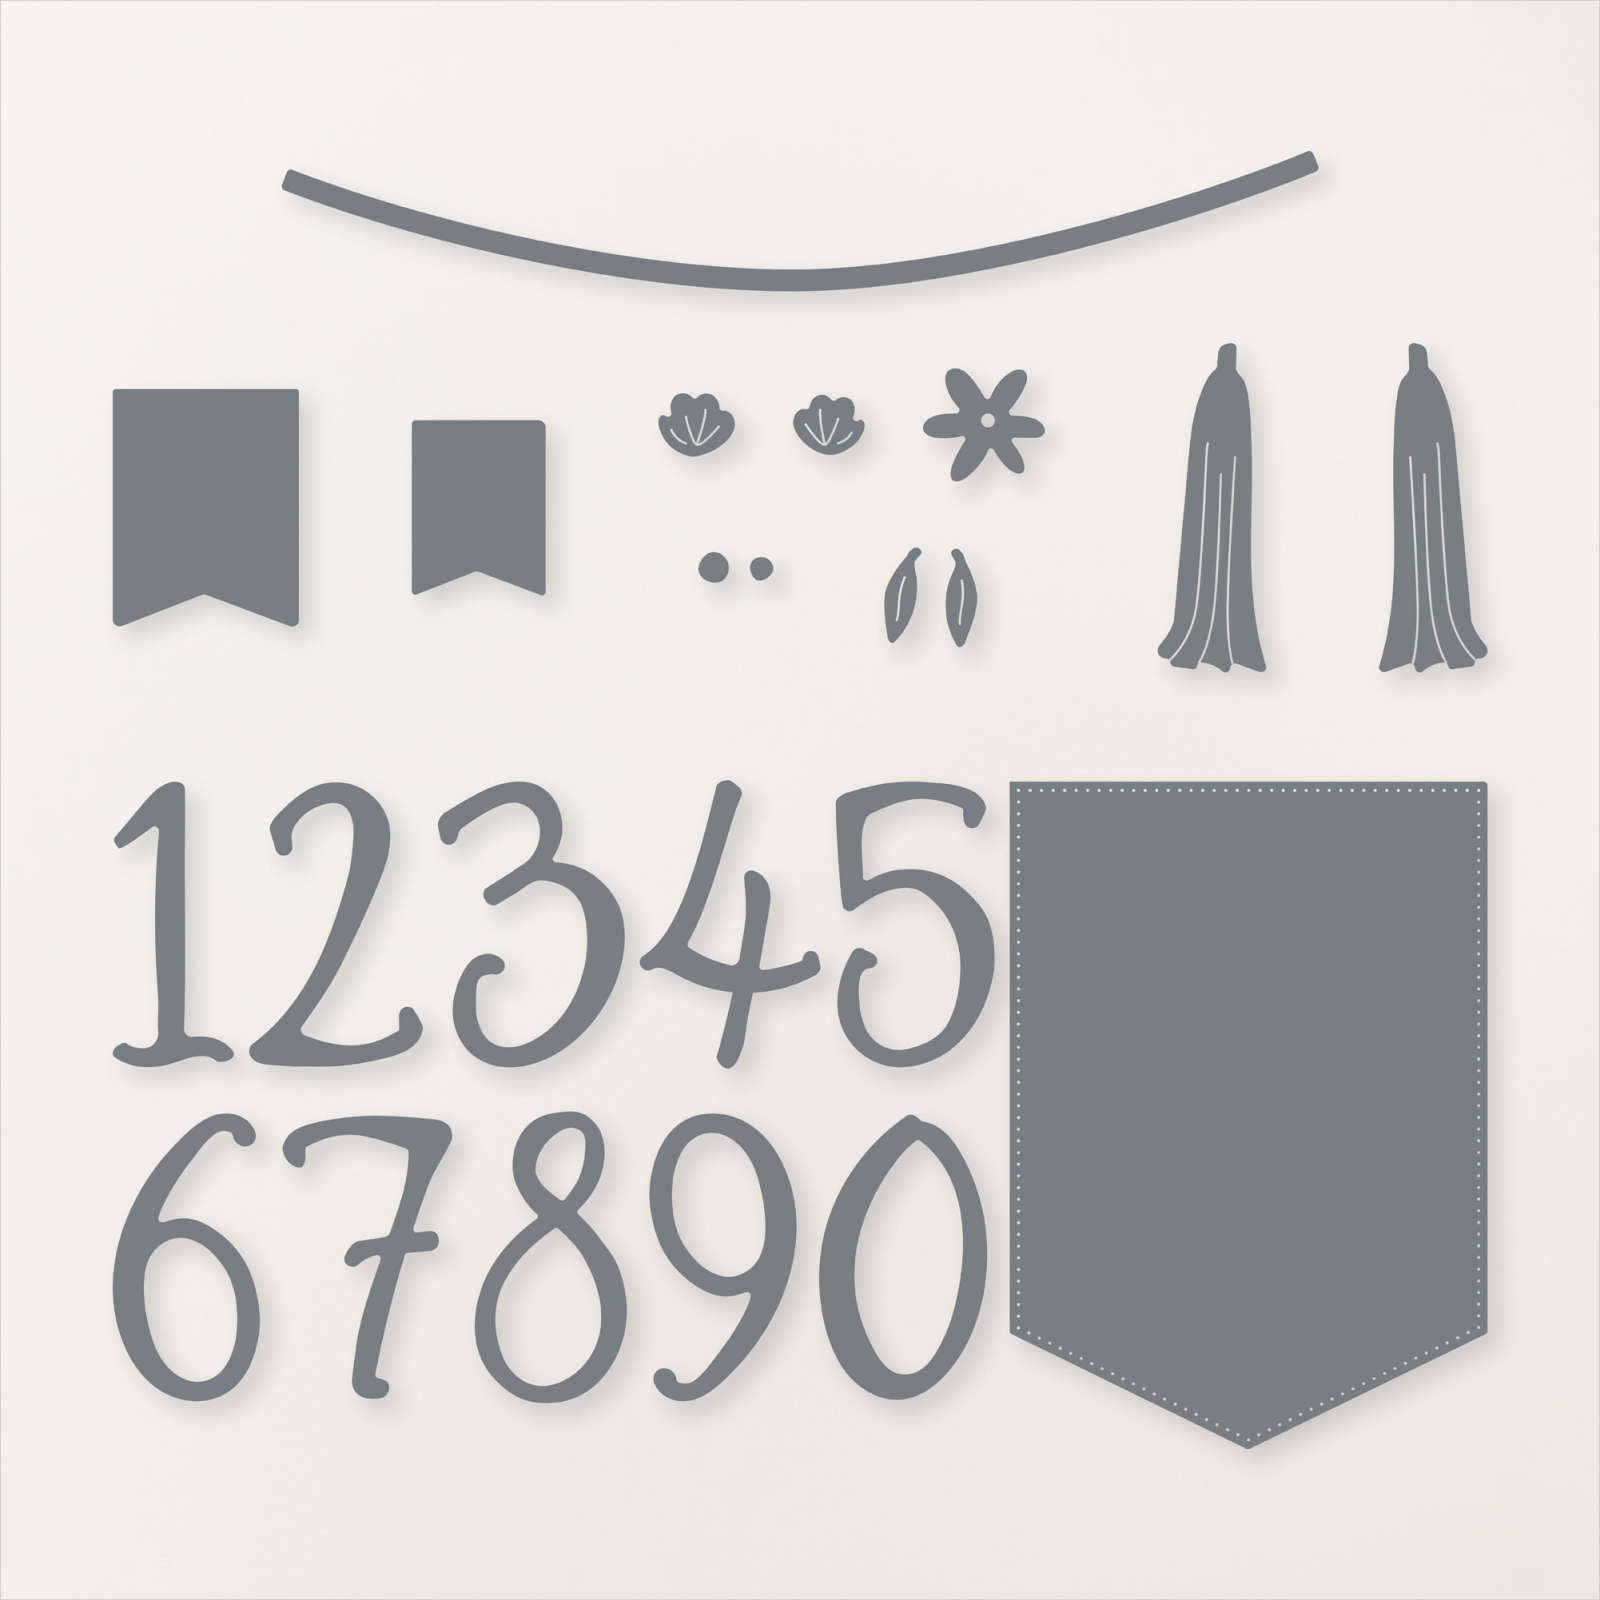
Birthday Celebration
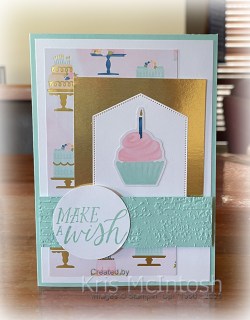
This week in my Facebook Live I shared some cards I created using some of the products from the Wildflower Birthday Suite Collection. Today I have another card to share. For this card I attached a piece of Wildflower Birthday 12″ x 12″ Designer Series Paper to the left hand side of Basic White card. I attached a piece of Gold Foil card to the right hand side of the Basic White card. I die cut Basic White card using the large flag image from the Birthday Celebrations Dies and attached it (upside down) to the Gold Foil card.
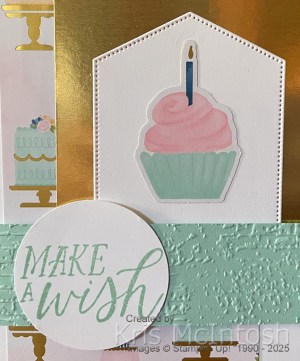
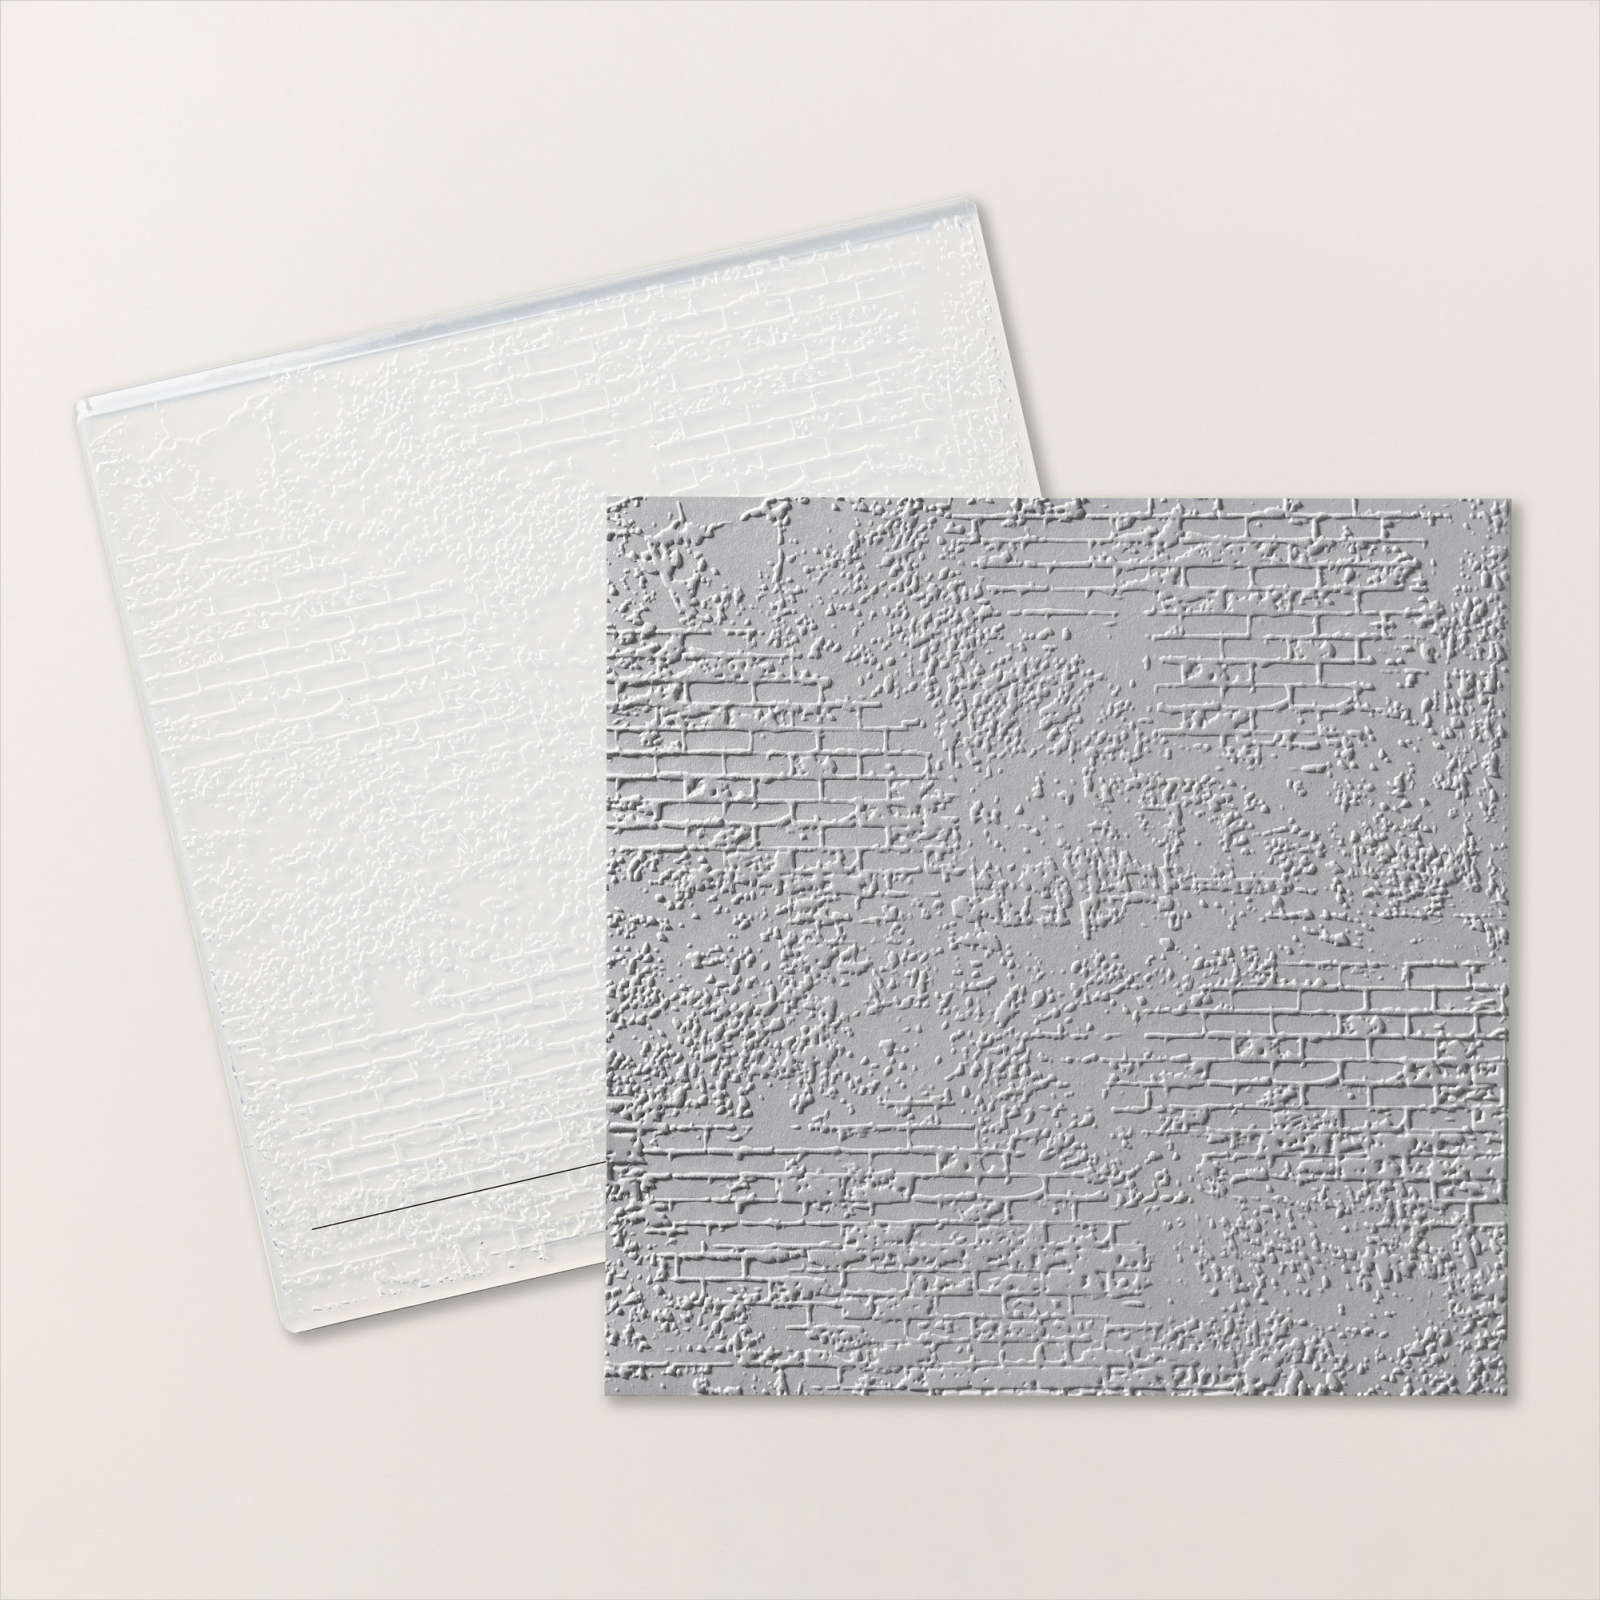
I attached one of the die cut cupcake images from the Wildflower Birthday Designer Series Paper to the die cut flag. I embossed a strip of Pool Party card using the Exposed Brick 3D Embossing Folder before attaching it across the card front using dimensionals. The whole panel is attached to scored and folded Pool Party card.
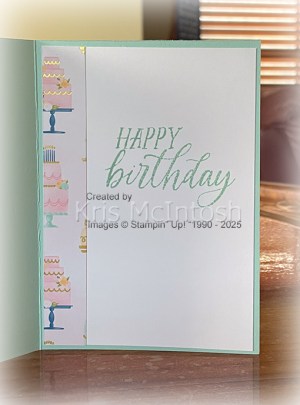
I stamped “make a wish” from the Birthday Celebrations stamp set onto Basic White card using Pool Party ink and punched it out using the 1-3/4″ Circle Punch. I attached the greeting across the left hand side of the embossed panel. To decorate the inside of the card, I attached a piece of Wildflower Birthday Designer Series Paper down the right hand side of Basic White card, I stamped “happy” and “birthday” from the Birthday Celebrations stamp set onto the Basic White card using Pool Party ink. This is such a gorgeous product suite and I love that it comes with some lovely die cut images to use on my creations. This Product Suite has a co-ordinating Wildflower Celebrations Scrapbooking Workshop Kit in the current Scrapbooking release by Stampin’ Up!. I am excited to do some more creating with all of these products.
Bye for now,
Kris
Product Used:


Translucent Birthday
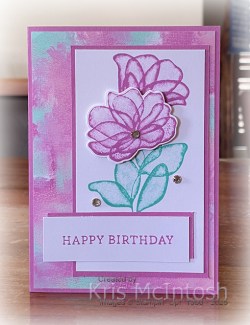
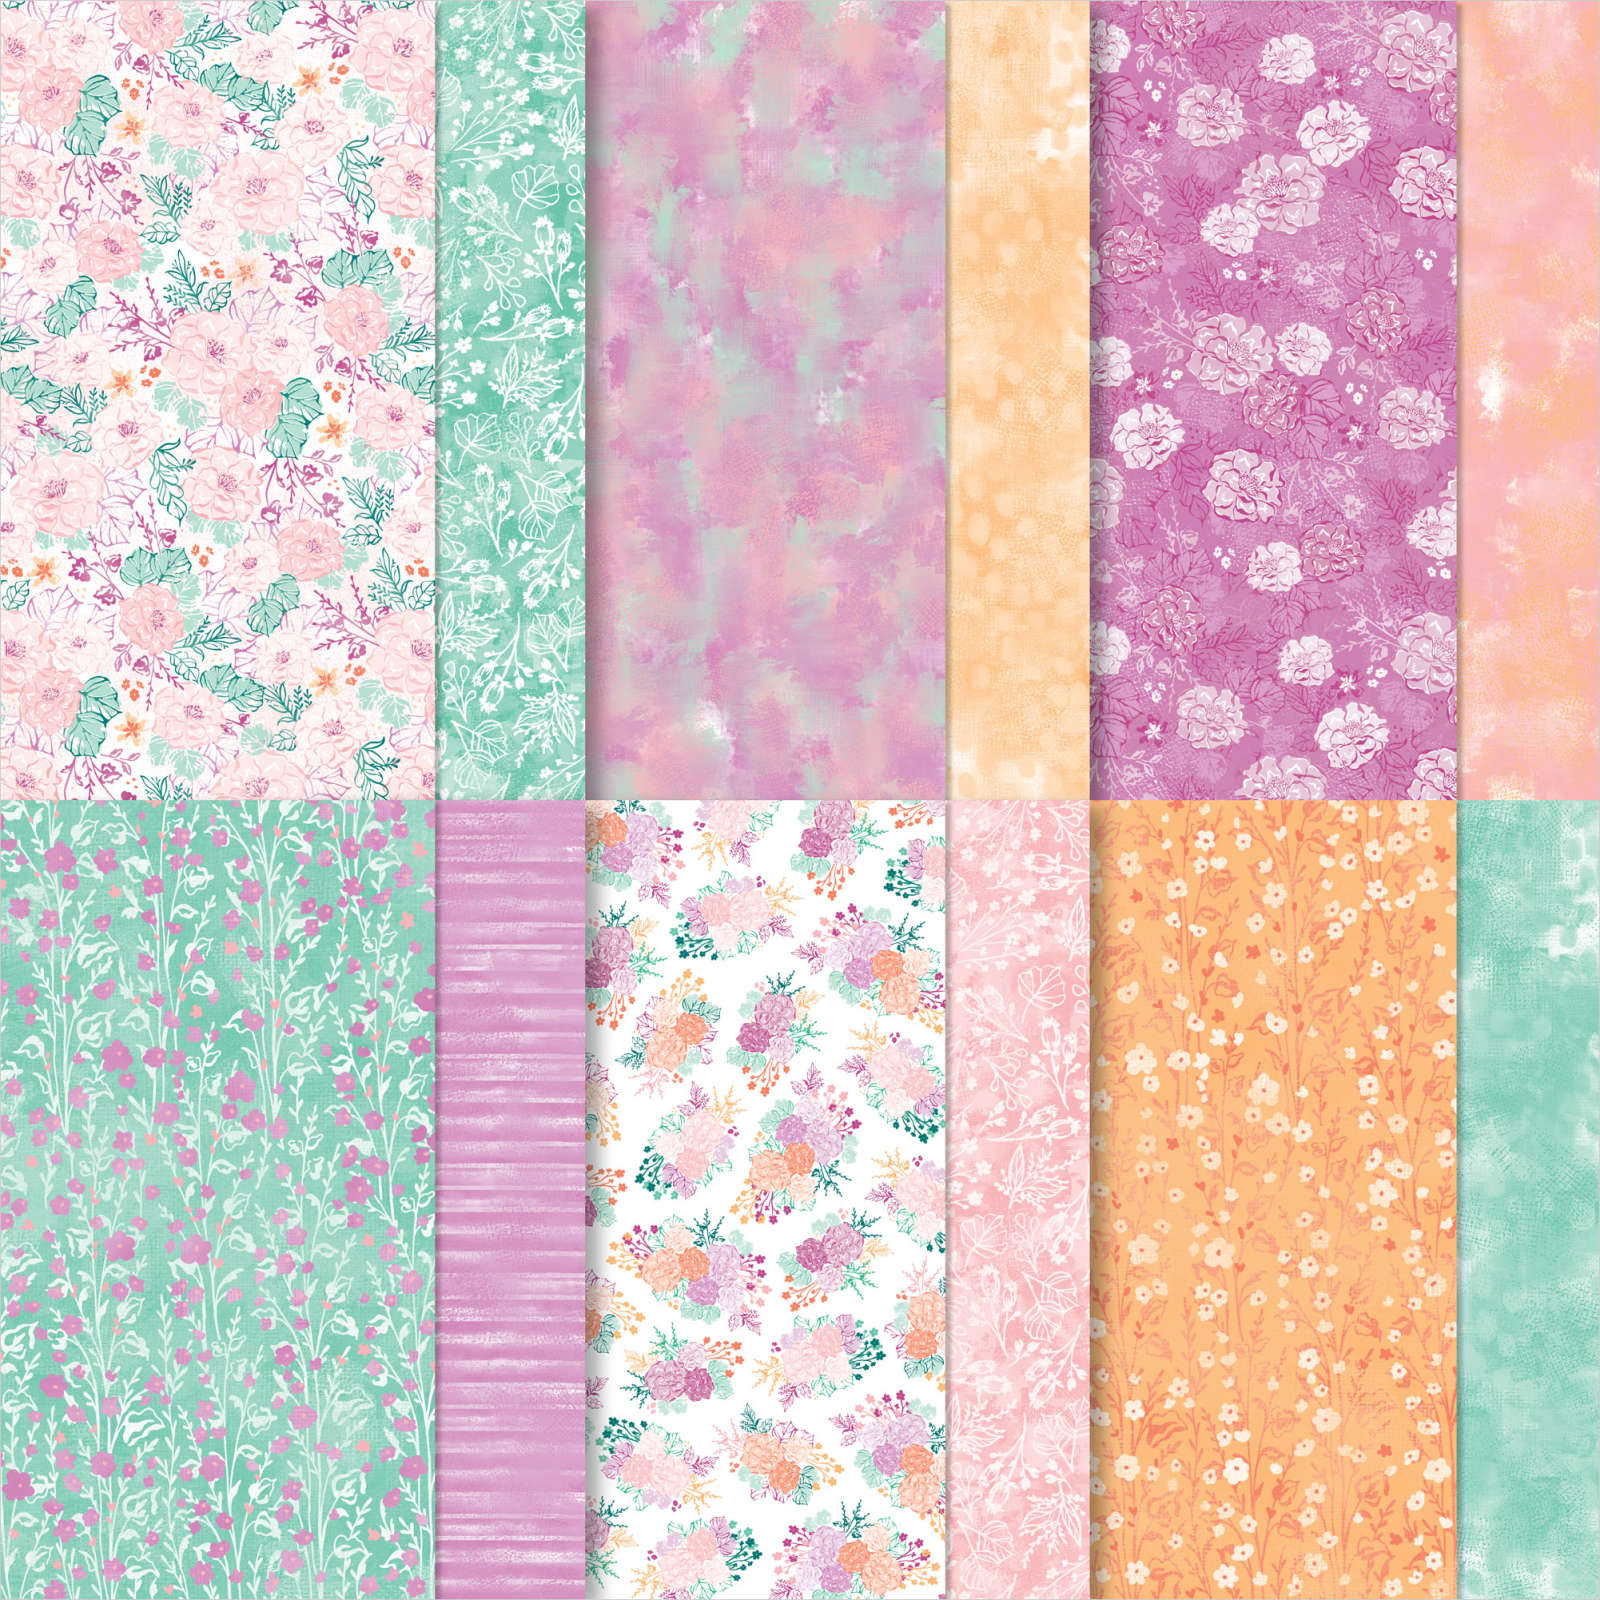
Today’s card is one I made for a friend to celebrate her birthday. I began by attaching a piece of Unbounded Beauty 12″ x 12″ Designer Series Paper to scored and folded Petunia Pop card. I stamped the large leaf image from the Translucent Florals stamp set onto Basic White card using Summer Splash ink. I also stamped one of the flowers from the Translucent Florals stamp set onto the Basic White card using Petunia Pop ink. I attached the stamped panel to Petunia Pop card and then the card front.

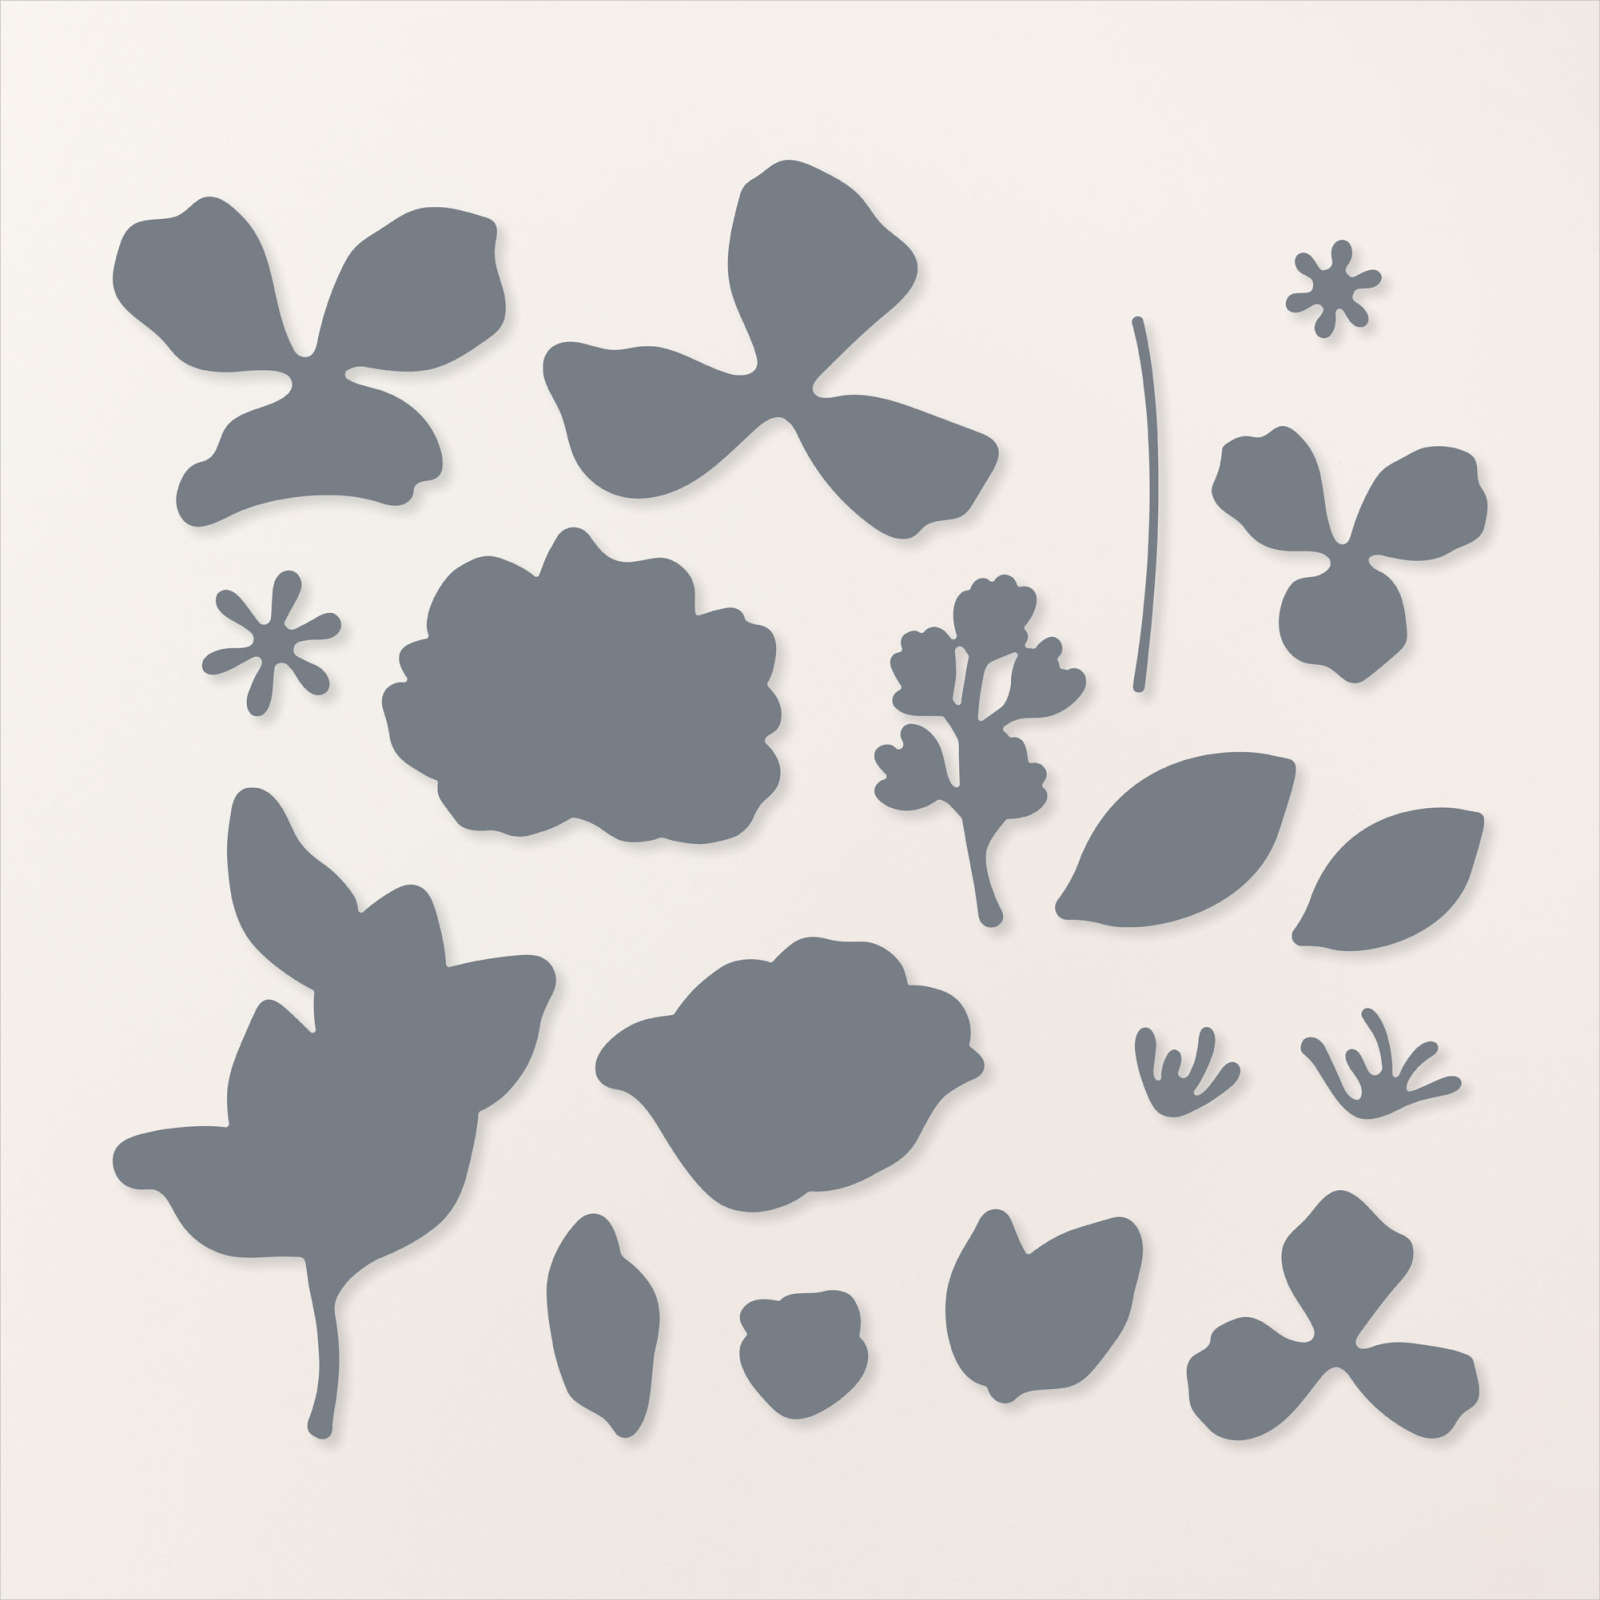
I stamped the larger flower from the Translucent Florals stamp set onto Basic White card and cut it out using the co-ordinating Translucent Florals Die. The flower is attached to the card front using dimensionals. I stamped “happy birthday” from the Simply Said stamp set onto Basic White card using Petunia Pop ink.
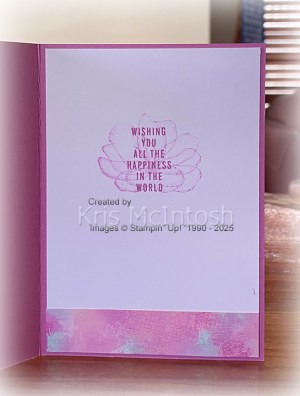
I attached the greeting to Petunia Pop card and then the card front. I also added three Basic Rhinestones to the card front. To decorate the inside of the card I stamped the larger flower from the Translucent Florals stamp set onto Basic White card using Petunia Pop ink. I did however, stamp the flower onto scrap paper first so that I got a lighter image. I stamped the greeting from the Translucent Florals stamp set over the flower also using Petunia Pop ink. I attached a narrow strip of the same Designer Series Paper across the bottom of the stamped Basic White card before attaching it inside the card base. So pretty isn’t it? You might also have noticed that I used Card Template Four from the Annual Catalogue to create the layout.
Bye for now,
Kris
Product Used:


Celebrate
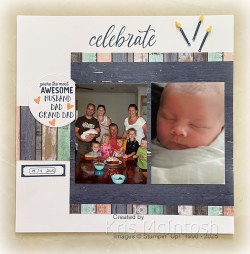
Today’s pages show off some photos from my husband’s birthday way back in 2010. I used a piece of Country Woods 12″ x 12″ Designer Series Paper to create my pages using the 1,2, 3 Layout from this month’s Memory Keeping Class. I attached the Designer Series Paper to Basic White 12″ x 12″ card. I stamped the greeting from the Wildflower Celebrations stamp set onto the left hand page using Misty Moonlight ink to create my title. I stamped the candle image from the Iconic Imagery stamp set onto Basic White card three times using Misty Moonlight ink and cut them out using the co-ordinating Iconic Imagery Die. I cut the “flames” from Daffodil Delight card using an Iconic Imagery Die. I attached the candles beside the title and the “flames” using dimensionals.
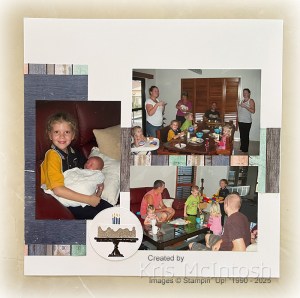
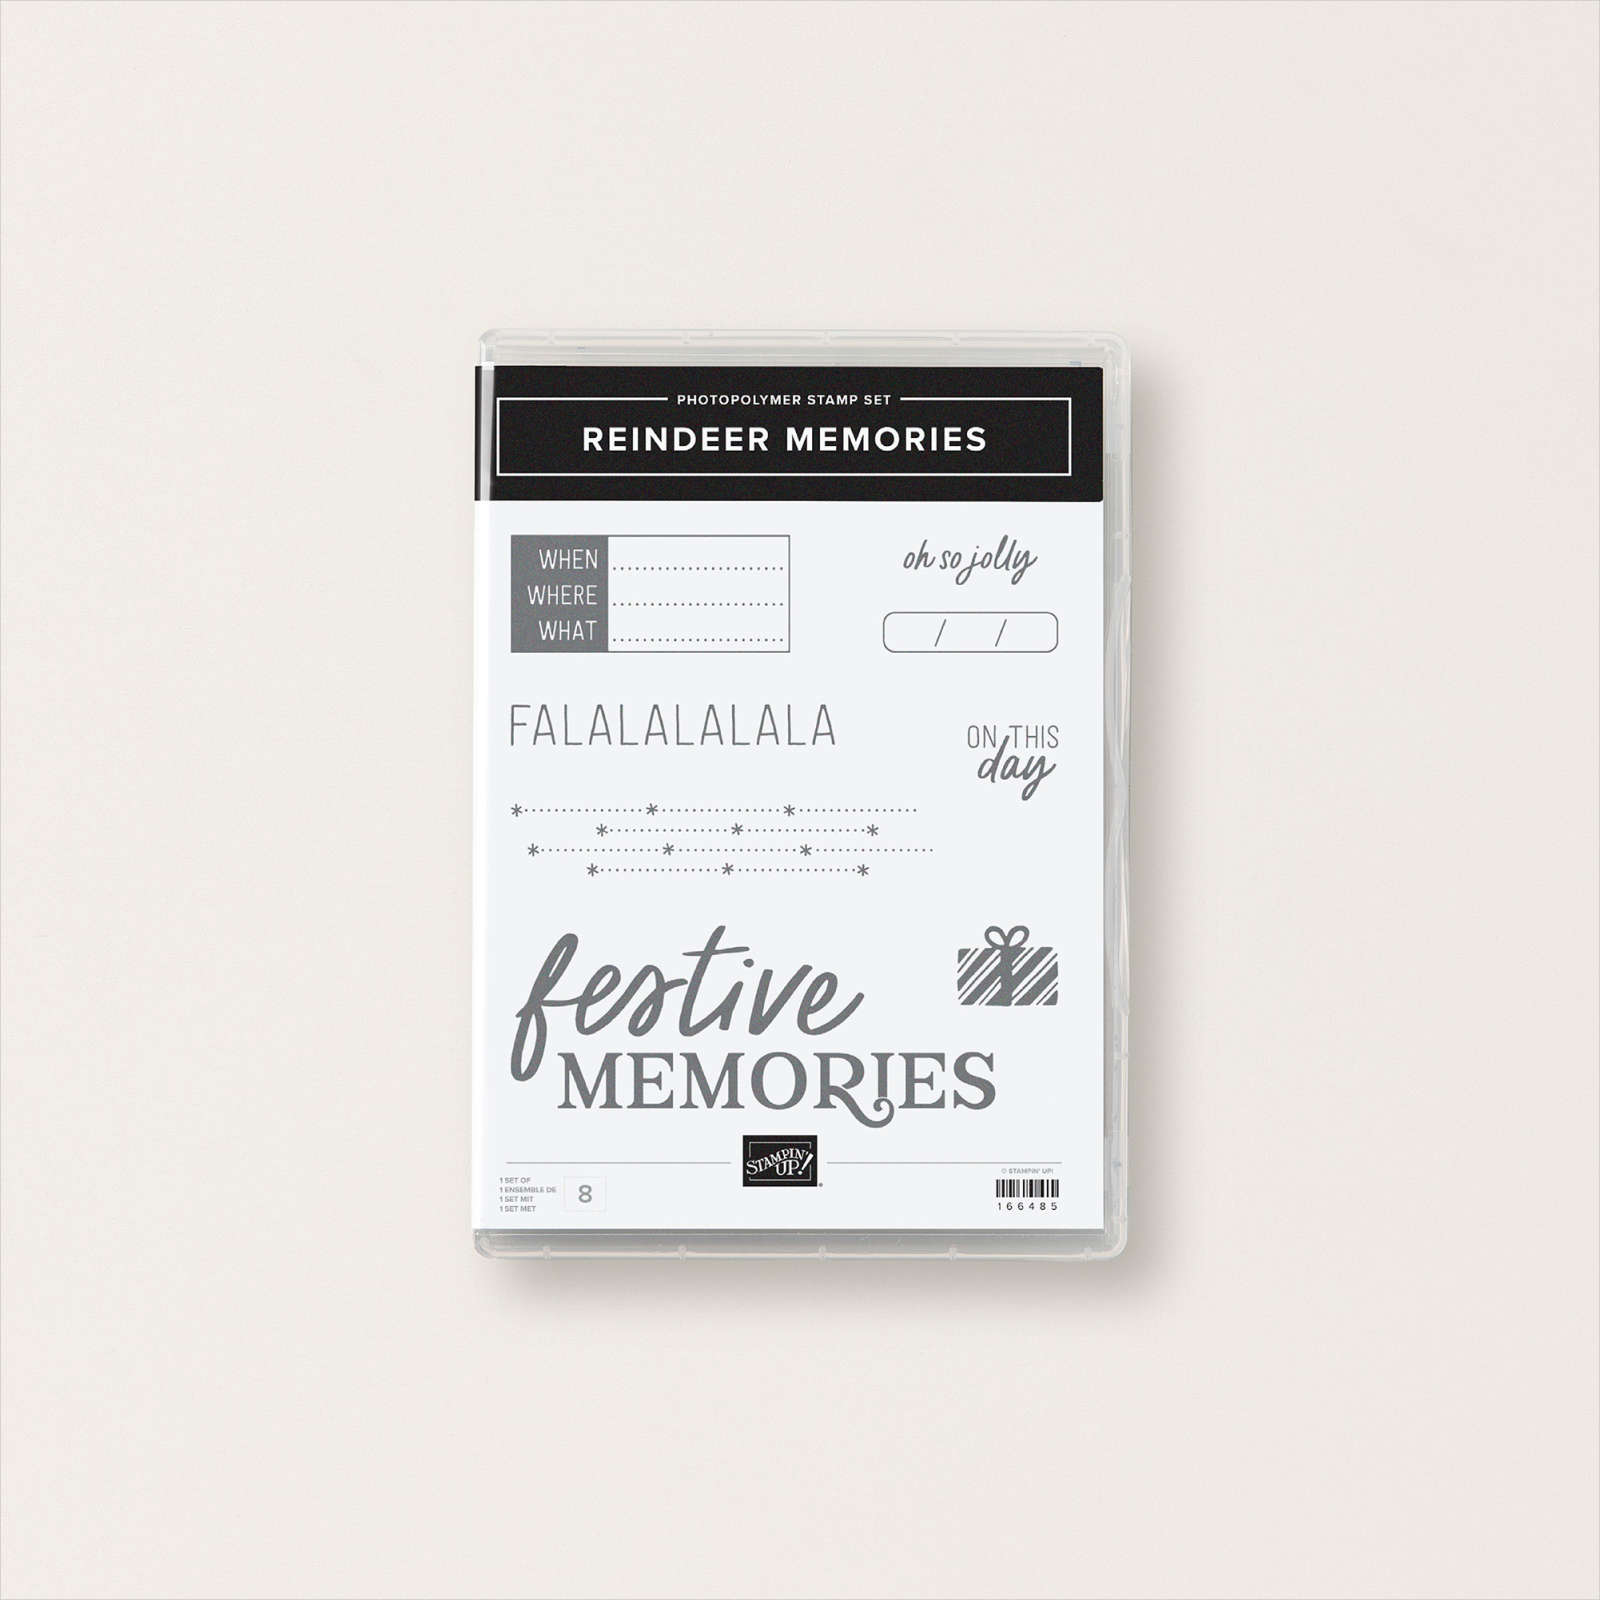
I cut Basic White card using the largest circle from the Stylish Shapes Dies and stamped “you’re the most Awesome” from the Trusty Tools stamp set using Misty Moonlight ink. I used the same ink to stamp “husband”, “dad” and “grand dad” from the Best Family Ever stamp set onto the Basic White circle. I stamped three hearts from the Iconic Imagery stamp set around the greetings using Petal Pink ink. The panel is attached to the left hand page slightly underneath one of the photos. I stamped the outline image from the Wildflower Celebrations stamp set onto the left hand page using Misty Moonlight ink. I stamped the “date” stamp from the Reindeer Memories stamp set inside the outline using Misty Moonlight ink. I hand wrote the date using a Night of Navy Stampin’ Write Marker. I stamped the cake stand image from the Cake Celebrations stamp set onto Basic White card using Early Espresso ink. I stamped the large rectangle “cake” image from the same stamp set onto the cake stand using Crumb Cake ink. I cut the icing image from Basic White card using the Cake Celebrations Die. The candles from the Cake Celebration stamp set are stamped in Misty Moonlight and Daffodil Delight ink.
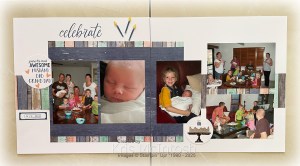
I cut out the cake image using the second largest circle from the Stylish Shapes Dies before attaching it to the right hand page. Another page I am happy to complete. Slowly working my way through “mountains” of photos and memories.
Bye for now,
Kris
Product Used:
You can view the Wildflower Celebrations stamp set here in my online store.


Wishing You

This week in my Facebook Live, I shared some cards I created using the Spring Corners Bundle which is an Online Exclusive. Today I have another card to share using the same bundle. I embossed Bubble Bath card using the Plaster Painting 3D Embossing Folder and attached it to scored and folded Thick Basic White card. I stamped the “wishing you an amazing day” corner greeting from the Spring Corners stamp set onto a square of Basic White card card twice using Fresh Freesia ink. I used the large floral die from the Spring Corners Dies to cut into the centre of the square.

I attached a piece of Basic White card to the back of the stamped and die cut panel. I used the same die to cut Lemon Lolly, Lost Lagoon and Fresh Freesia card. I filled the leaves using the Lost Lagoon die cut, the flower petals using the Fresh Freesia die cut and the flower centres using the Lemon Lolly die cuts. The whole panel is attached to the card front using dimensionals.

I stamped “happy birthday” from the Spring Corners stamp set onto Basic White card using Fresh Freesia ink and cut it out using the banner die from the Iconic Imagery Dies. The greeting is attached to the card front using dimensionals. To decorate the inside of the card, I stamped the greeting from the So Sincere stamp set onto Basic White card using Fresh Freesia ink. I also die cut the top left hand corner of the stamped Basic White card using the small floral die from the Spring Corners Dies. The panel is attached to the inside of the Thick Basic White card base. I also cut Lemon Lolly and Lost Lagoon card using the same die. I used the Lost Lagoon die cut to fill the leaves and the Lemon Lolly die cut to fill the flower centre. I love how this little die doesn’t completely cut out the petals so you can add a little dimension. Such a fun stamp set and hopefully I have inspired you to take a look at this Online Exclusive Bundle.
Bye for now,
Kris
Product Used:
You can view the Spring Corners Bundle here in my Online Store. You can view the Plaster Painting 3D Embossing Folder here in my Online Store.


Blooming Birthday

Today’s card is another one that I created using the Corner in Bloom stamp set which you can earn for free during Sale-A-Bration if you spend $200.00 on any current product. I attached a piece of Daffodil Delight card to Basic White card and embossed the panel using the Layered Florals 3D Embossing Folder.

The embossed panel is attached to scored and folded Daffodil Delight card. I stamped the corner image twice using Memento Tuxedo Black ink to create a square. I coloured the image using Dark Daffodil Delight & Dark Soft Sea Foam Stampin’ Blends. The image panel is attached to the card front using dimensionals. I stamped the greeting from the So Sincere stamp set onto Basic White card using Memento Tuxedo Black ink and punched it out using the 1-3/4″ Circle Punch.
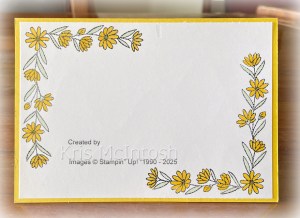
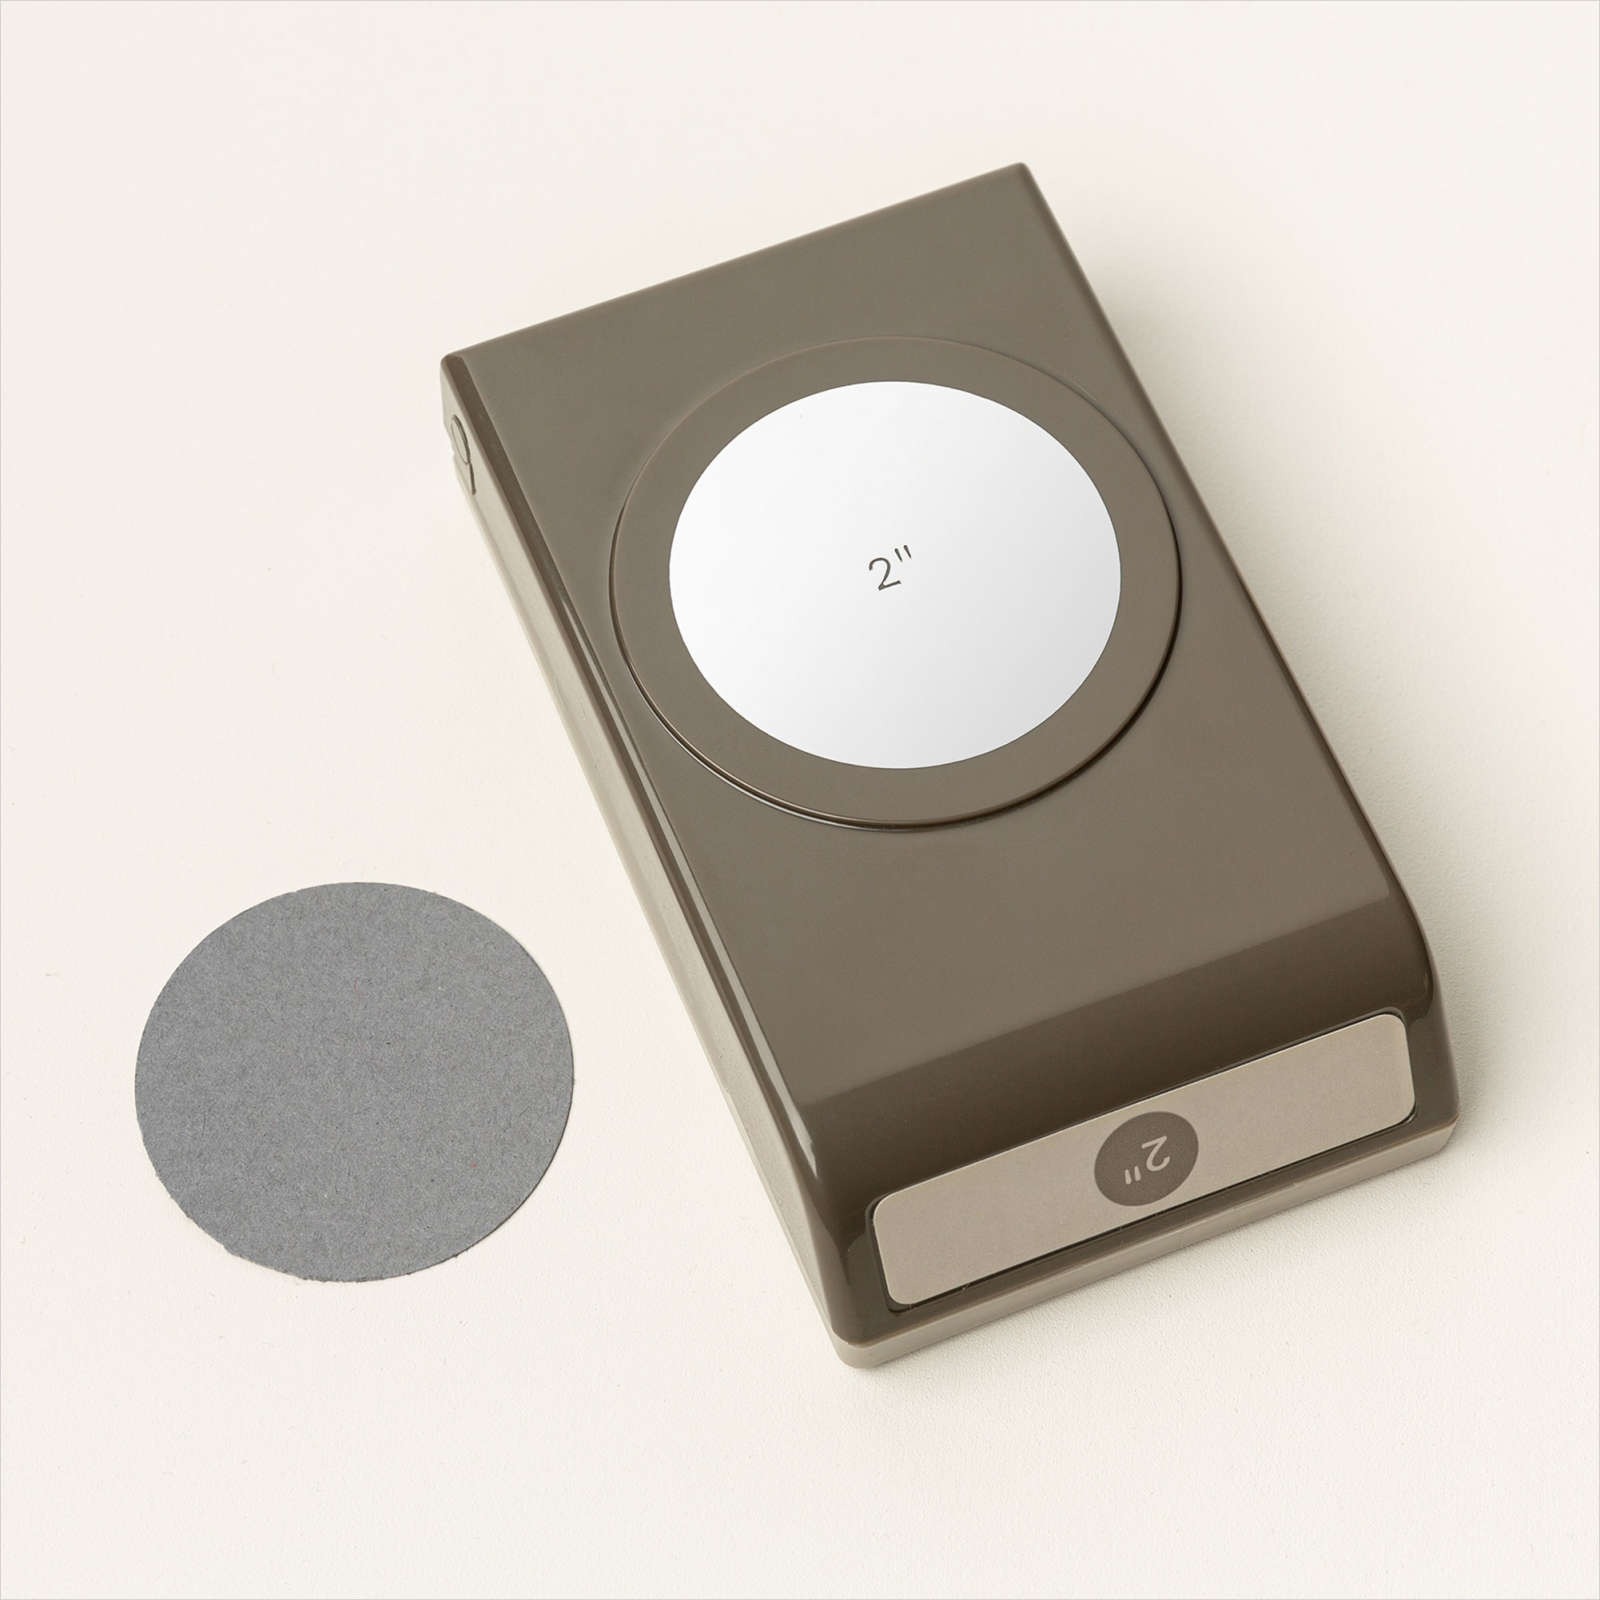
I attached it to a Daffodil Delight circle punched using the 2″ Circle Punch. The greeting is attached to the centre of the stamped panel. To decorate the inside of the card I stamped the same image from the Corner in Bloom stamp set onto the upper left and lower right hand corners of Basic White card using Memento Tuxedo Black ink. I coloured the image as before using the Dark Daffodil Delight and Dark Soft Sea Foam Stampin’ Blends. I love the way this card turned out, don’t you. Don’t forget if you want to get this stamp set you need to purchase a qualifying order before the 28th February.
Bye for now,
Kris
Product Used:
You can view the Corner in Bloom stamp set here in my online store.


Dickies Beach
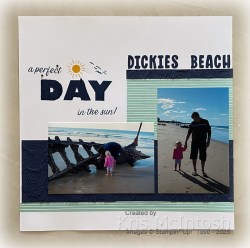
Today’s page shows off some photos from a stay at Dickies Beach Caravan Park with our granddaughter Elyssa. I used Night of Navy card which I embossed using the Plaster Painting 3D Embossing Folder. I can’t remember which Designer Series Paper I used for this one but it goes well with the water theme, I think. I stamped “a perfect” “day” “in the sun” from the Documenting The Day (free with a qualifying order until 28th February) stamp set onto the left hand page using Night of Navy ink. I also stamped the sun image from the same stamp set using Daffodil Delight ink.

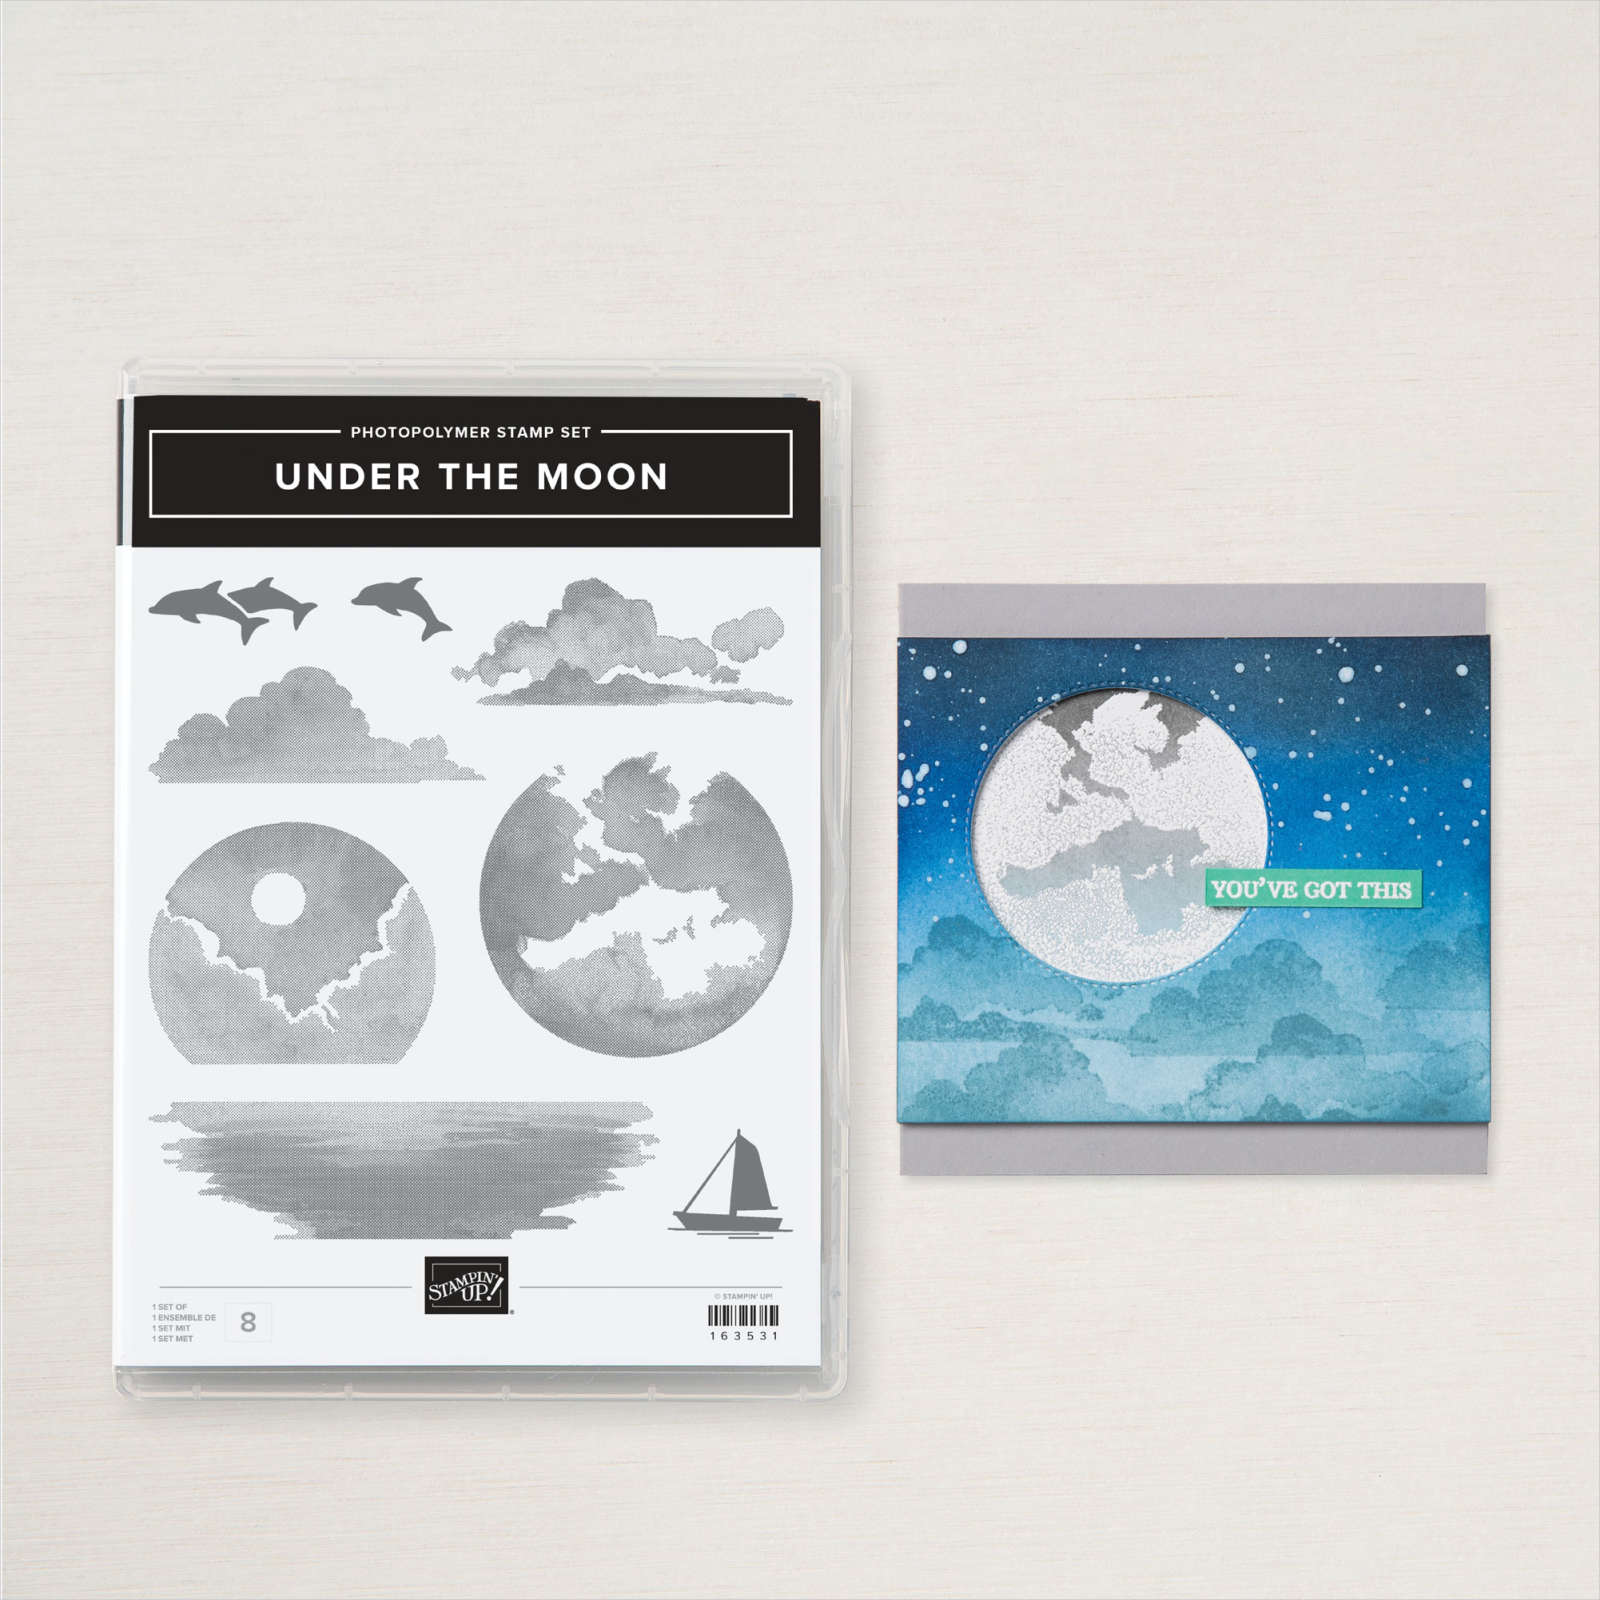
The birds are stamped in Night of Navy ink and are from the Friendly Seagulls stamp set which is available free with a qualifying order until the 28th February. I used the retired Oceanfront stamp set to stamp some sand, sea and sky on the right hand page using Crumb Cake, Pool Party and Balmy Blue ink. I stamped the boat image from the Under the Moon stamp set using Night of Navy. The birds from the Friendly Seagulls stamp set are also stamped in Night of Navy ink. I also stamped the seashell image from the Friendly Seagulls stamp set using Crumb Cake ink. I did add a few “dots” using the image from the Oceanfront stamp set and Crumb Cake ink. I printed my journaling onto Basic White card and punched it out using the 2″ Circle Punch.

I stamped the shell image from the Friendly Seagulls stamp set below the journaling using Crumb Cake ink and attached it to a Night of Navy circle punched using the retired 2-1/4″ Circle Punch before attaching it to the right hand page. Lastly I added some Ombre Matte Decorative Dots around the stamped images. I love how much fun Elyssa is having exploring the beach.
Bye for now,
Kris
Product Used:
You can view the Documenting the Day stamp set here and the Plaster Painting 3D Embossing folder here in my online store.


Memorable Birthday

This week in my Facebook Live I shared some cards I created using the Memorable Birthday Bundle which is part of the product release in the January to April Mini Catalogue. For this card I cut a piece of Bloom Impressions 12″ x 12″ Designer Series Paper and attached it to scored and folded Thick Basic White. This paper is available FREE with a qualifying order during Sale-A-Bration. I embossed a Basic White piece of card using the Exposed Brick 3D Embossing Folder and attached it to the centre of the Designer Series Paper.

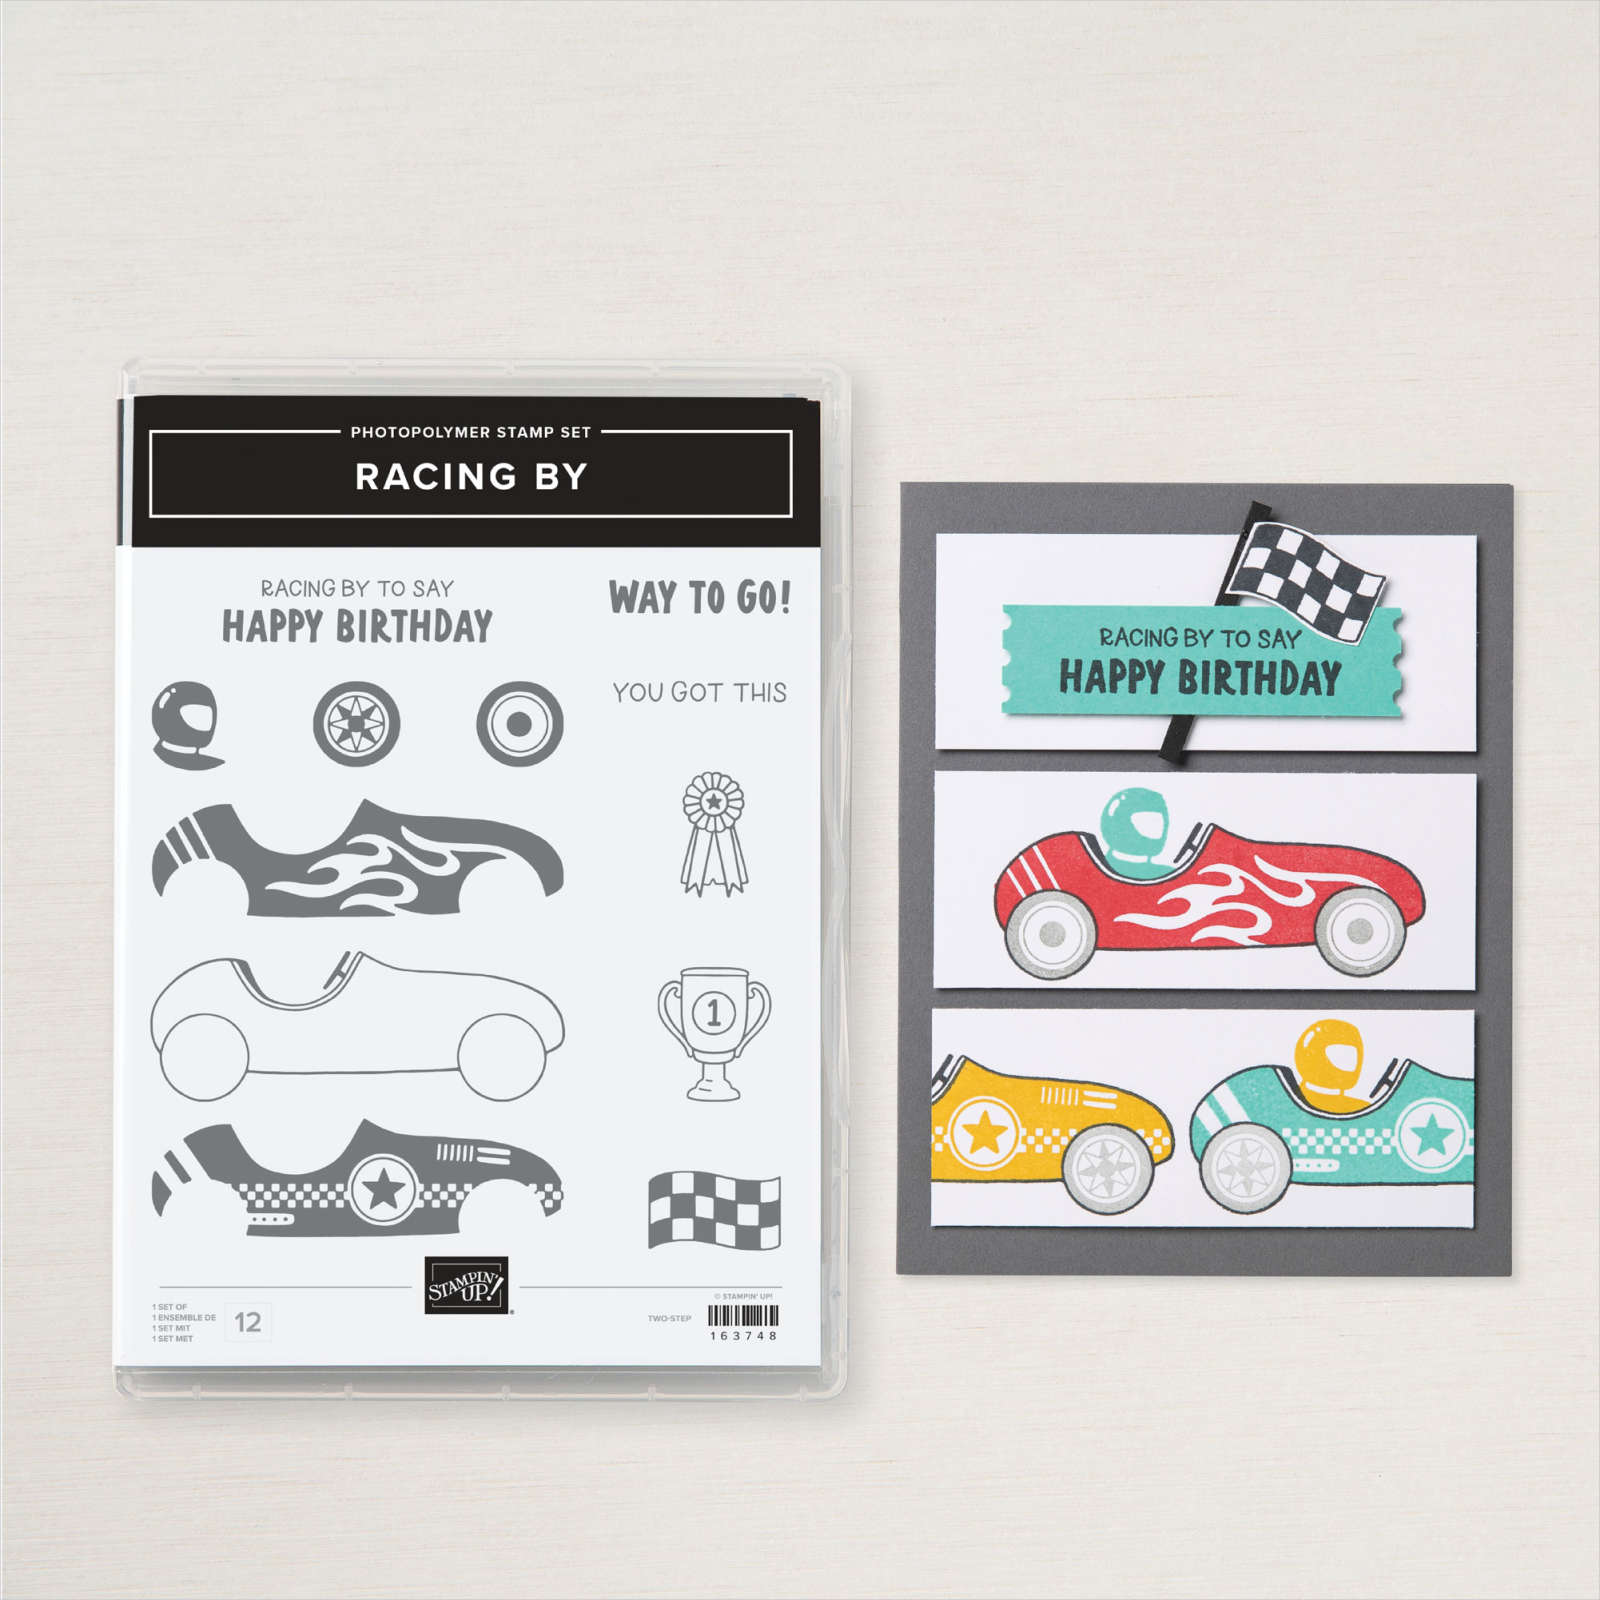
I stamped the large floral image from the Memorable Blooms stamp set onto Basic White card using Memento Tuxedo Black ink. I coloured the image using Petunia Pop and Summer Splash Stampin’ Blends before cutting out the image using the co-ordinating Memorable Blooms Die. I attached the floral image to the card front using dimensionals. I stamped “happy birthday” from the Racing By stamp set onto a strip of Basic White card using Petunia Pop ink.

I attached the greeting to Summer Splash card and then the card front using dimensionals. Lastly I added three Basic Rhinestones around the floral image. To decorate the inside of the card I stamped a greeting from the So Sincere stamp set onto Basic White card using Petunia Pop ink. I attached a narrow strip of the same pattern Bloom Impressions Designer Series Paper across the bottom of the stamped card before attaching the panel to the inside of the card base. I am loving this beautiful paper and can’t believe that you can add it to your order for FREE when you stock up on items from your wish list!
Bye for now,
Kris
Product Used:


More One More Year
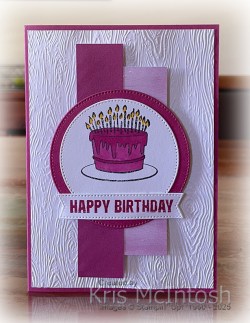
Recently I shared this card I created using the One More Year stamp set. I was inspired to keep creating and came up with this stepped up version of the card. This time I embossed a piece of Basic White card using the Timber 3D Embossing Folder and attached it to scored and folded Berry Burst card. I used two pink patterns of paper from the Bright & Beautiful 6″ x 6″ Designer Series Paper to attach to the embossed Basic White card using dimensionals.
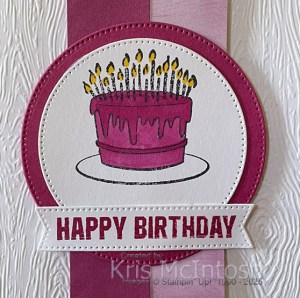
I stamped the cake image from the One More Year stamp set onto Basic White card using Memento Tuxedo Black ink. I coloured the image using Berry Burst and Dark Daffodil Delight Stampin’ Blends. The image is cut out using the 2nd largest circle from the Stylish Shapes Dies and attached to a Berry Burst circle cut using the largest circle from the same dies.

The image panel is attached across the designer series paper using dimensionals where necessary. I inked “happy birthday” from one of the greetings from the One More Year stamp set using Berry Burst ink and stamped onto Basic White card. I cut out the greeting using one of the banners from the Stylish Shapes Dies. The greeting is attached across the card front using dimensionals where necessary. To decorate the inside of the card, I stamped another greeting from the One More Year stamp set onto Basic Whtie card using Berry Burst ink. I stamped the starry image one each side of the greeting using Berry Burst ink which has been stamped onto scrap paper first. I love both versions of this card, although I do think the Berry Burst one “pops” just a little more than the Azure Afternoon version. What about you, which one do you like the most?
Bye for now,
Kris
Product Used:


