Captured Memories

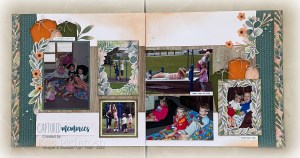
You all know that I am a scrapbooker at heart and love creating pages to showcase photos from significant and not so significant events in my life. Since the previous Close to My Heart Makers have joined Stampin’ Up! I am constantly inspired to create. Today I have a double page layout to share which I created from some instructions I purchased from Julie Carriere on her You Tube channel.
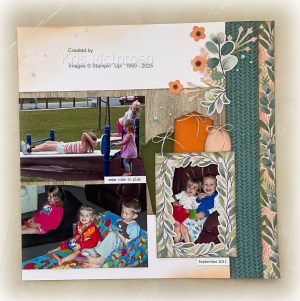
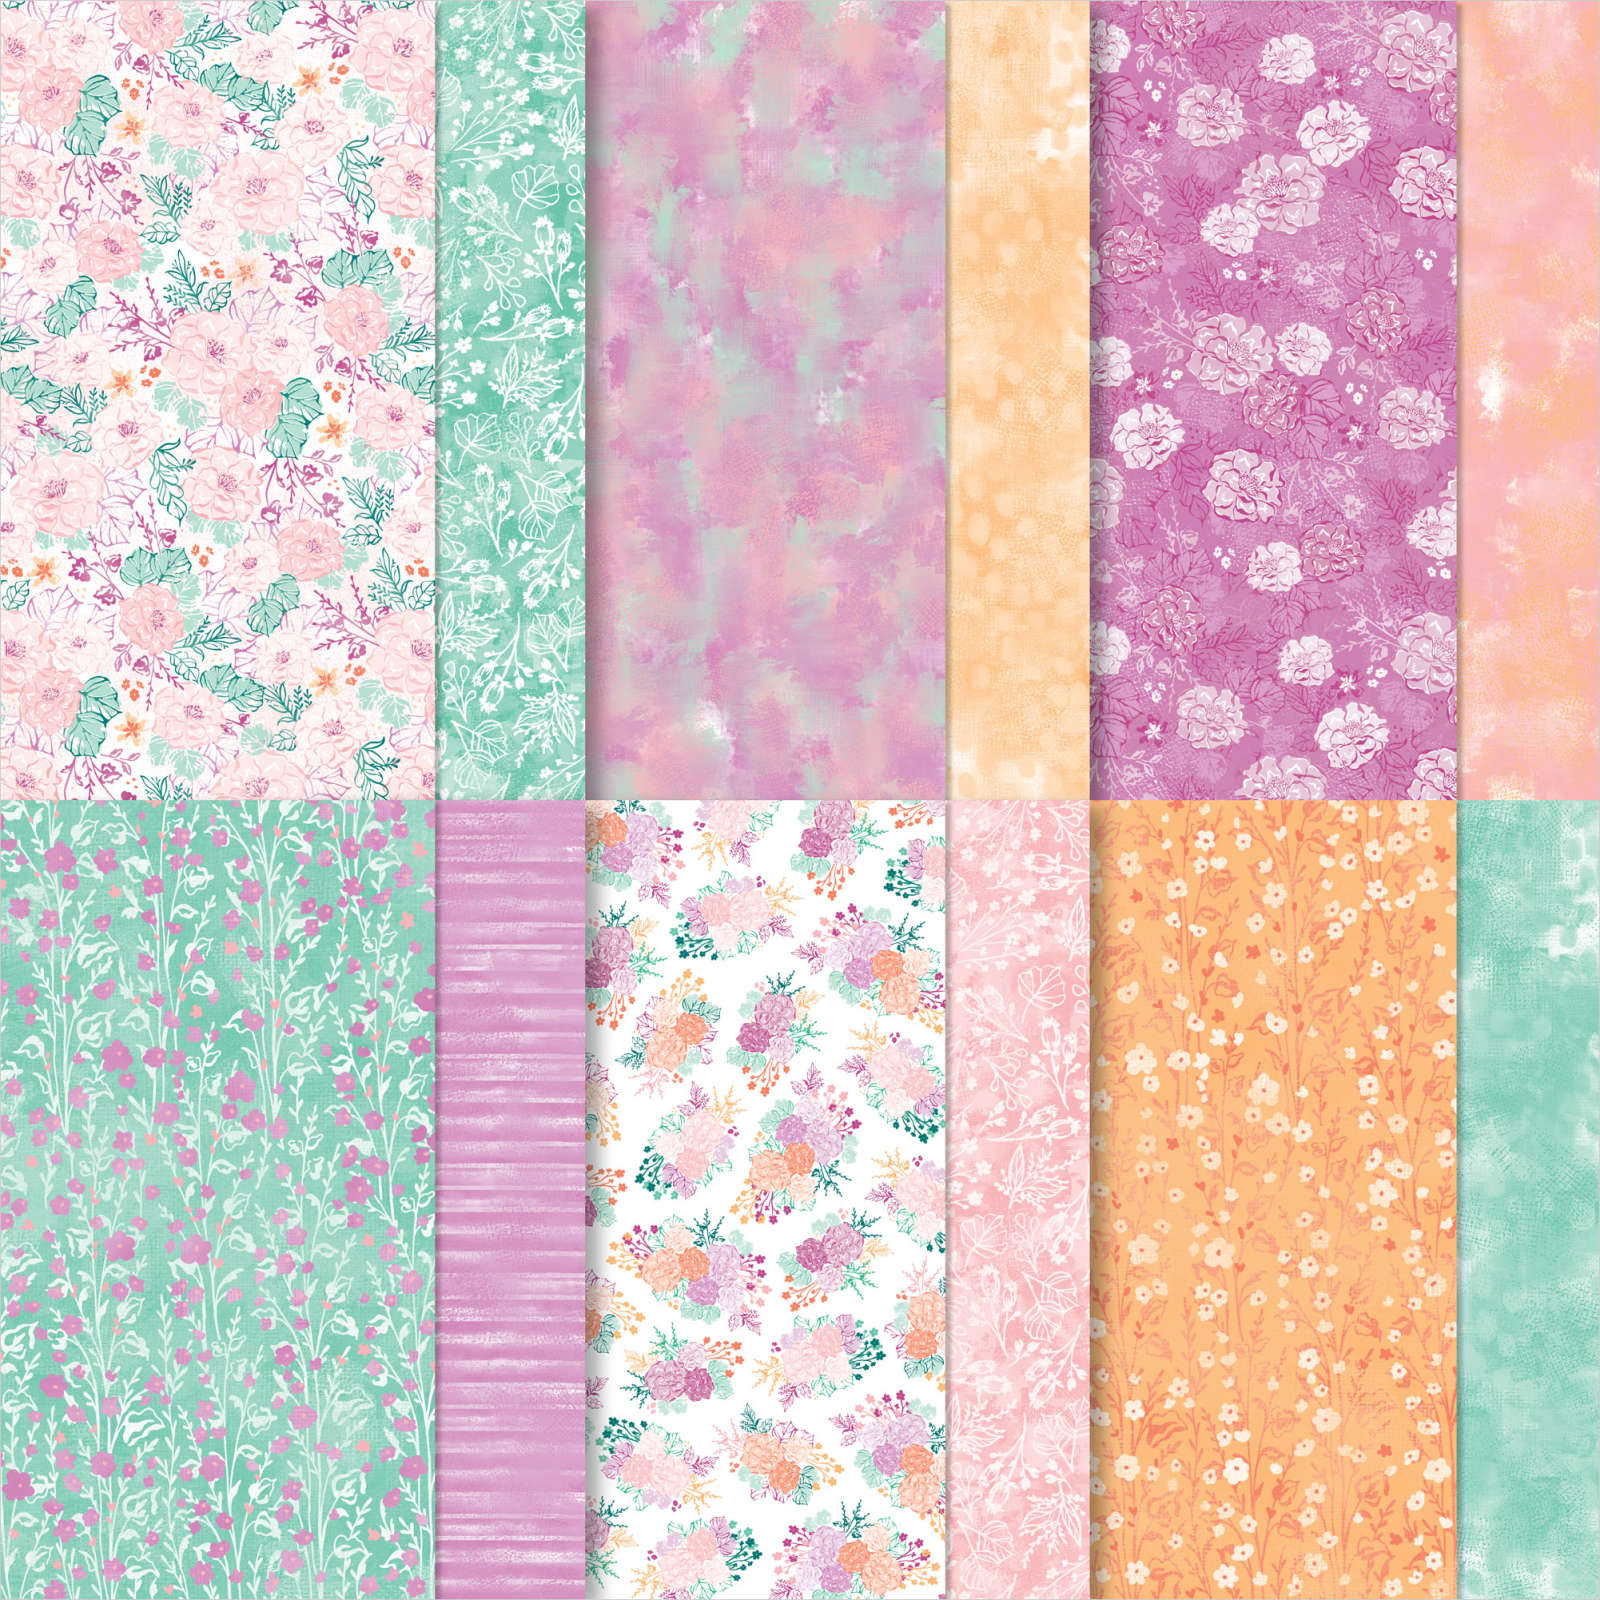
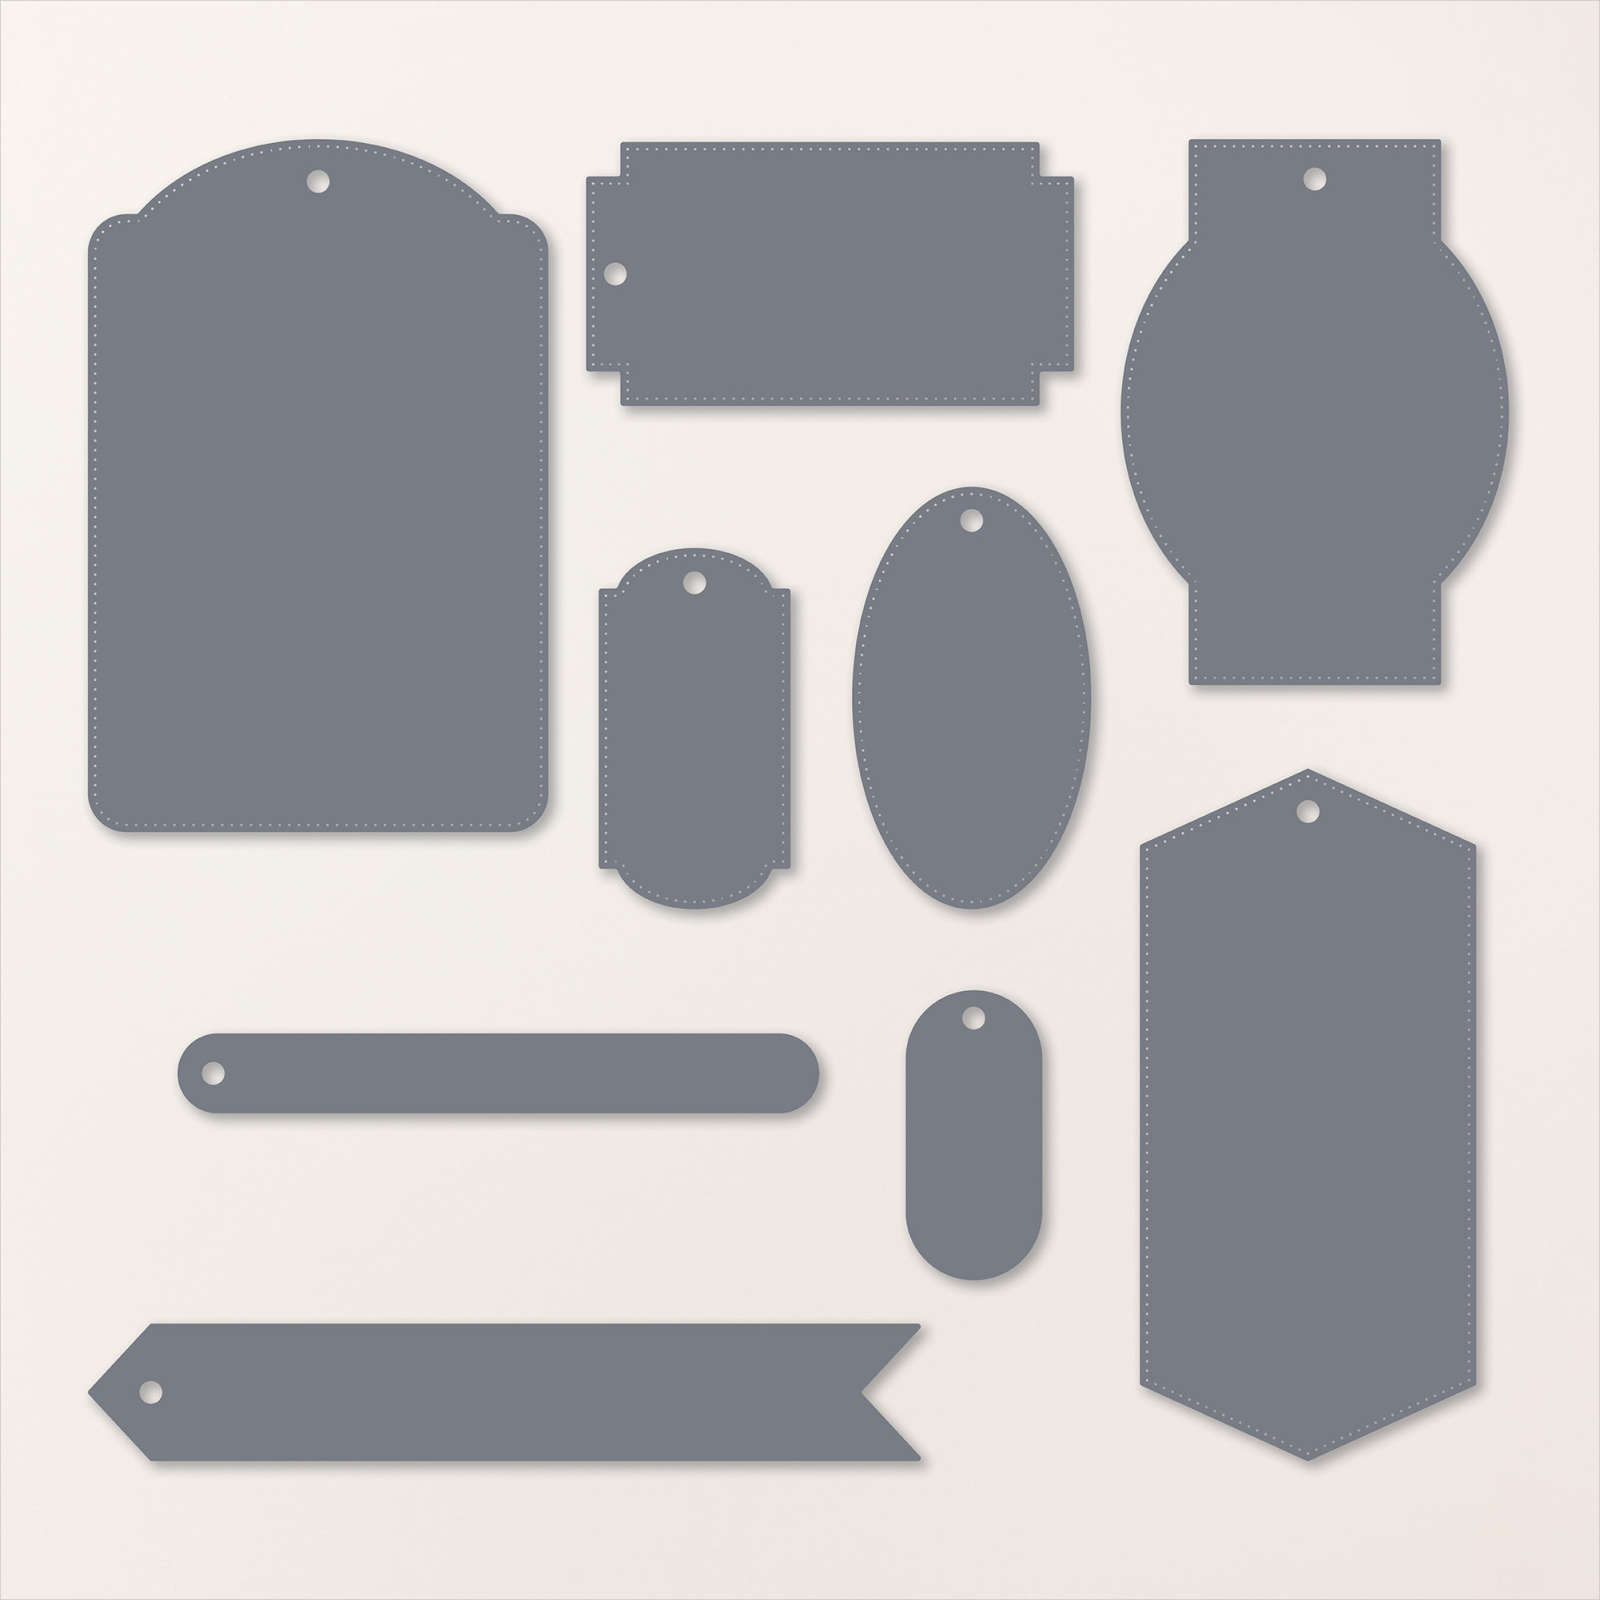
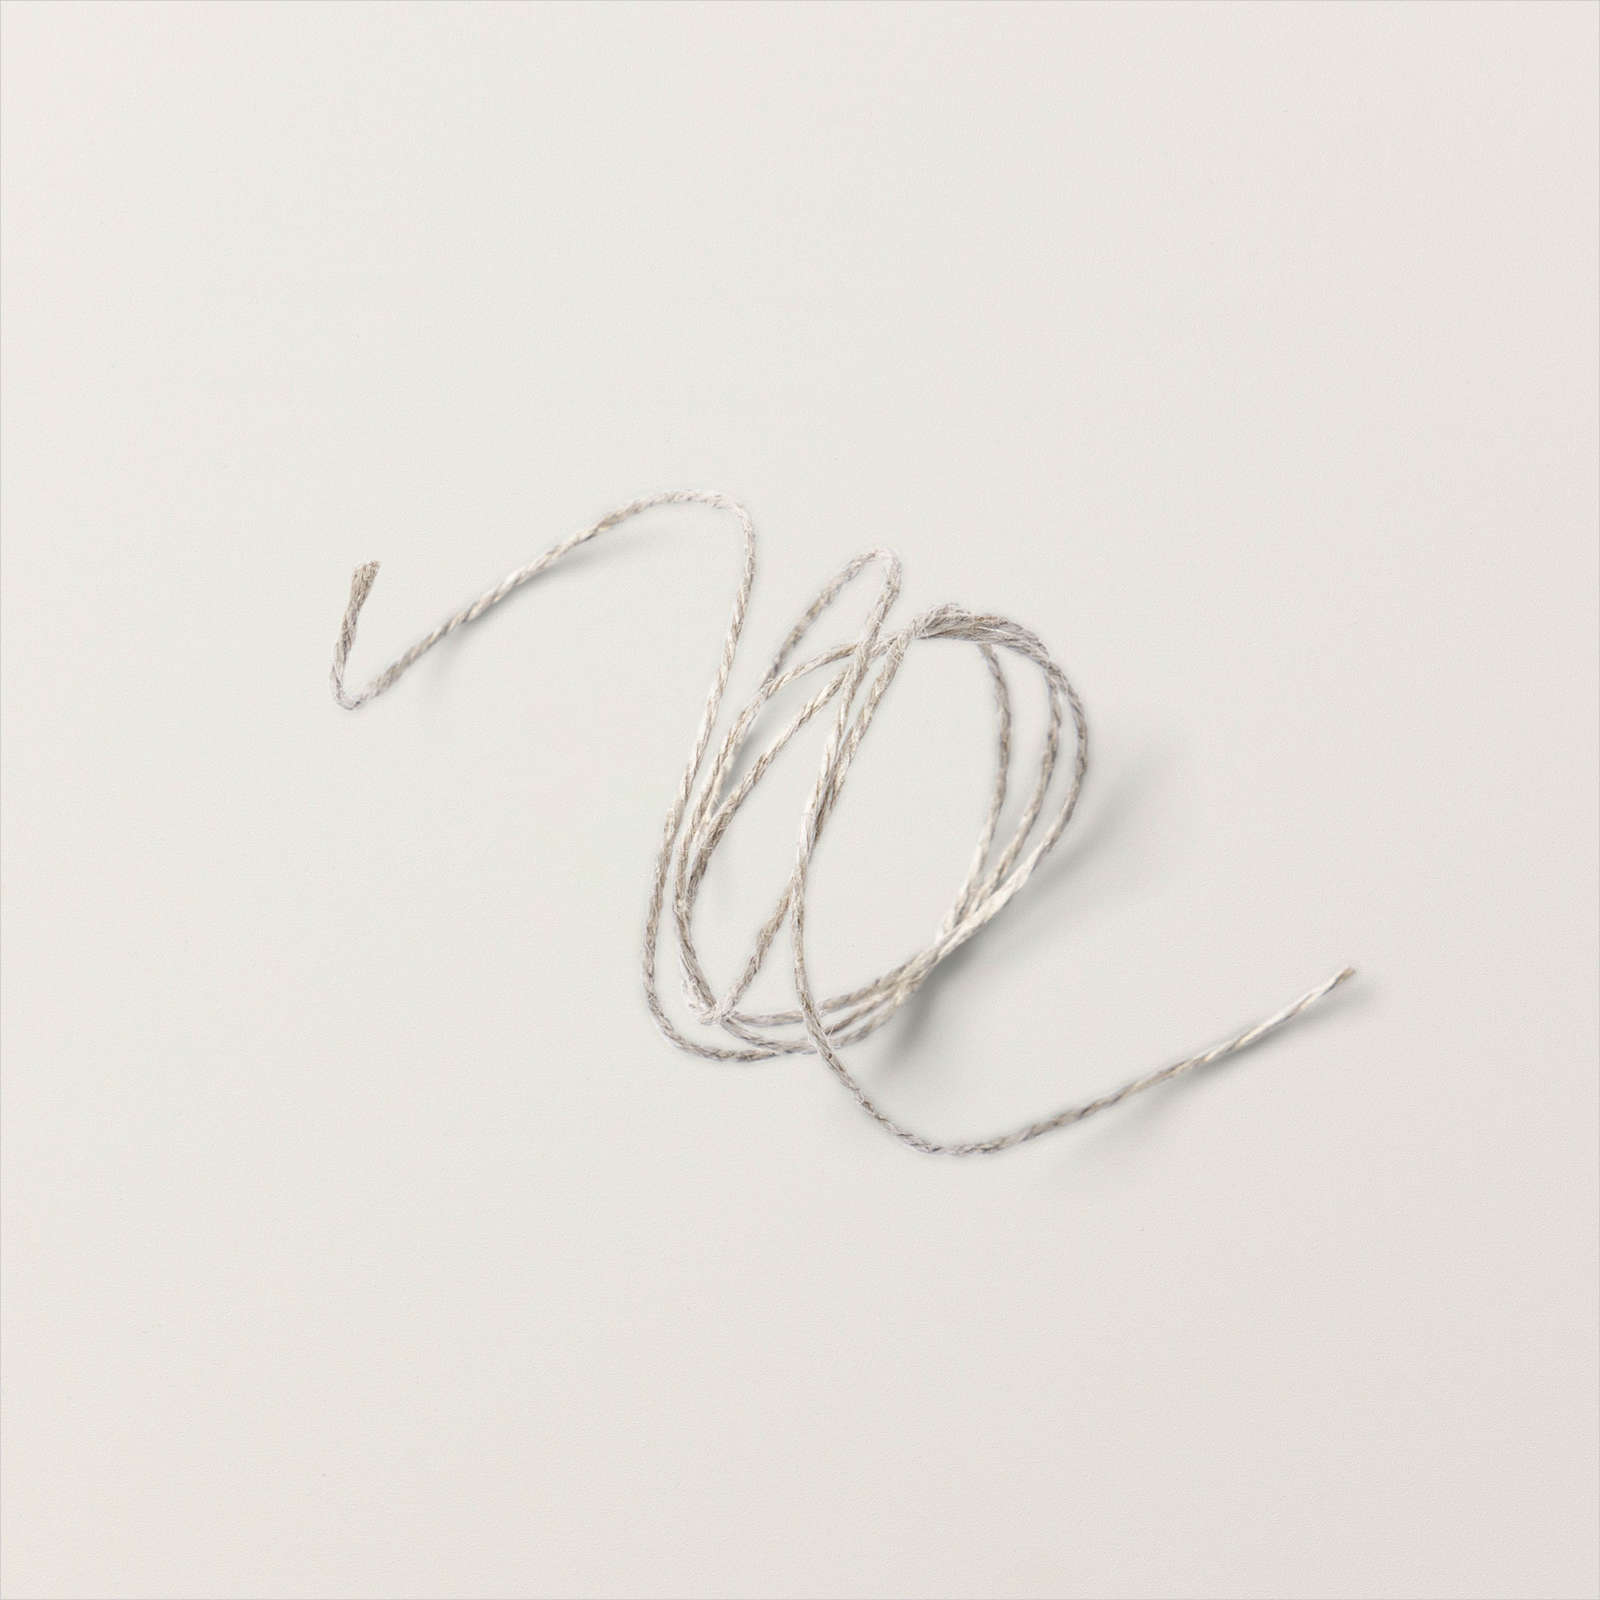
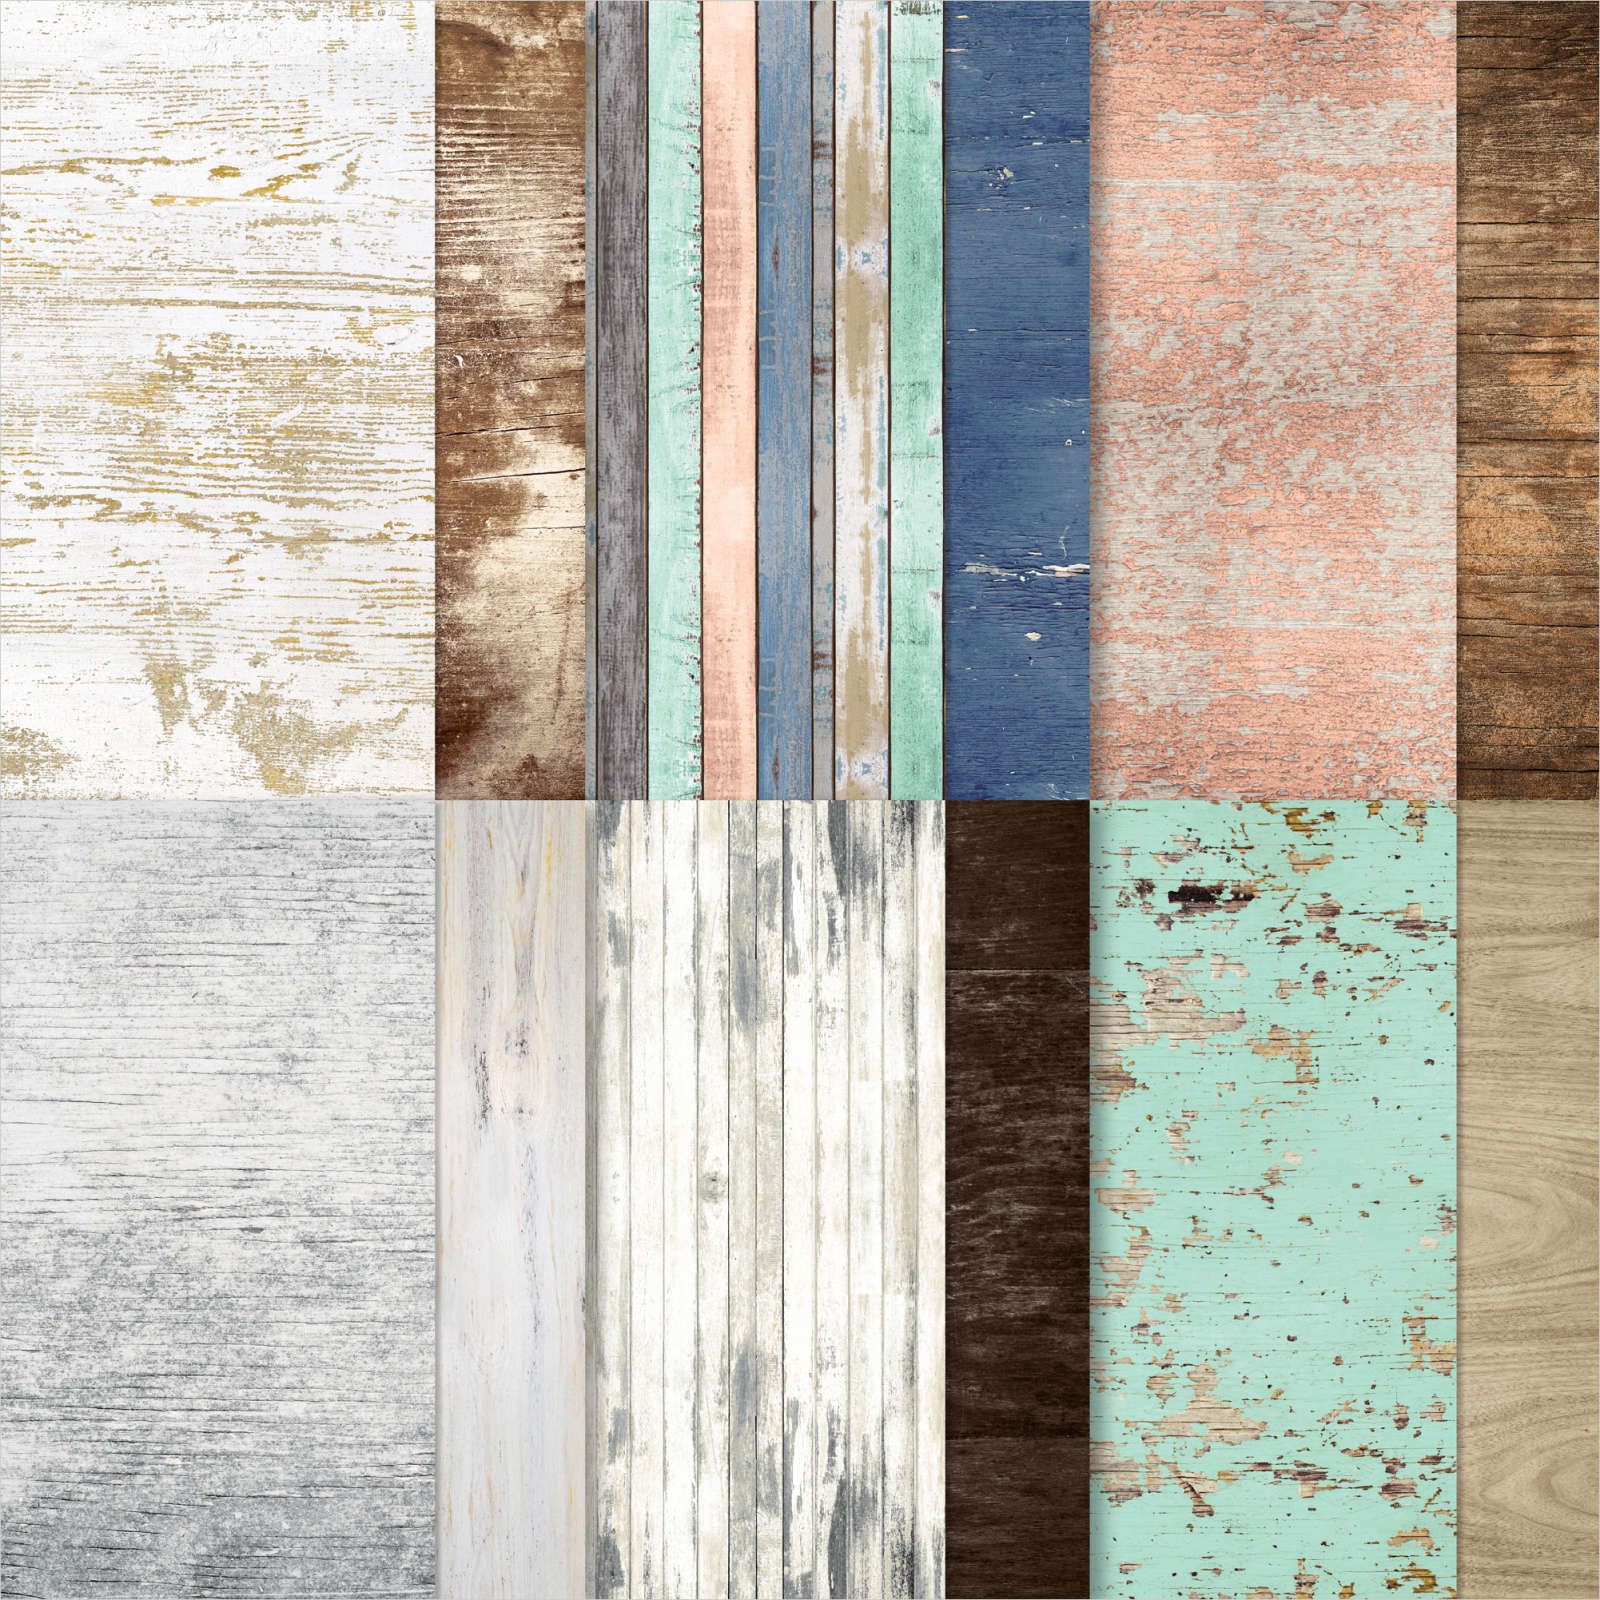
The pages are created using the Frames & Flowers 12″ x 12″ Specialty Designer Series Paper. This paper not only has some 12″ x 12″ papers but lots of ephemera and card fronts that you can use to create cards and in this case Memory Keeping pages. I followed Julie’s instructions to showcase some photos of a day at the park with my grandchildren. In addition to the Frames & Flowers Designer Series Paper. I have used one pattern of paper from the Country Woods 12″ x 12″ Designer Series Paper. The tags were all created using the Greetings of the Season Dies and I have used Linen Thread for the bows. The title and some of the word panels were supplied by Julie in her instructions. I am hoping that I can use the layouts and cutting plans to create pages using different papers in the future.
I am really excited to be able to puchase some of the Close to My Heart paper packs and the new scrapbooking products released by Stampin’ Up!. How about you? Are you a scrapbooker at heart? If you are I bet you are just as excited as I am.
Bye for now,
Kris
Product Used:


It’s Your Birthday

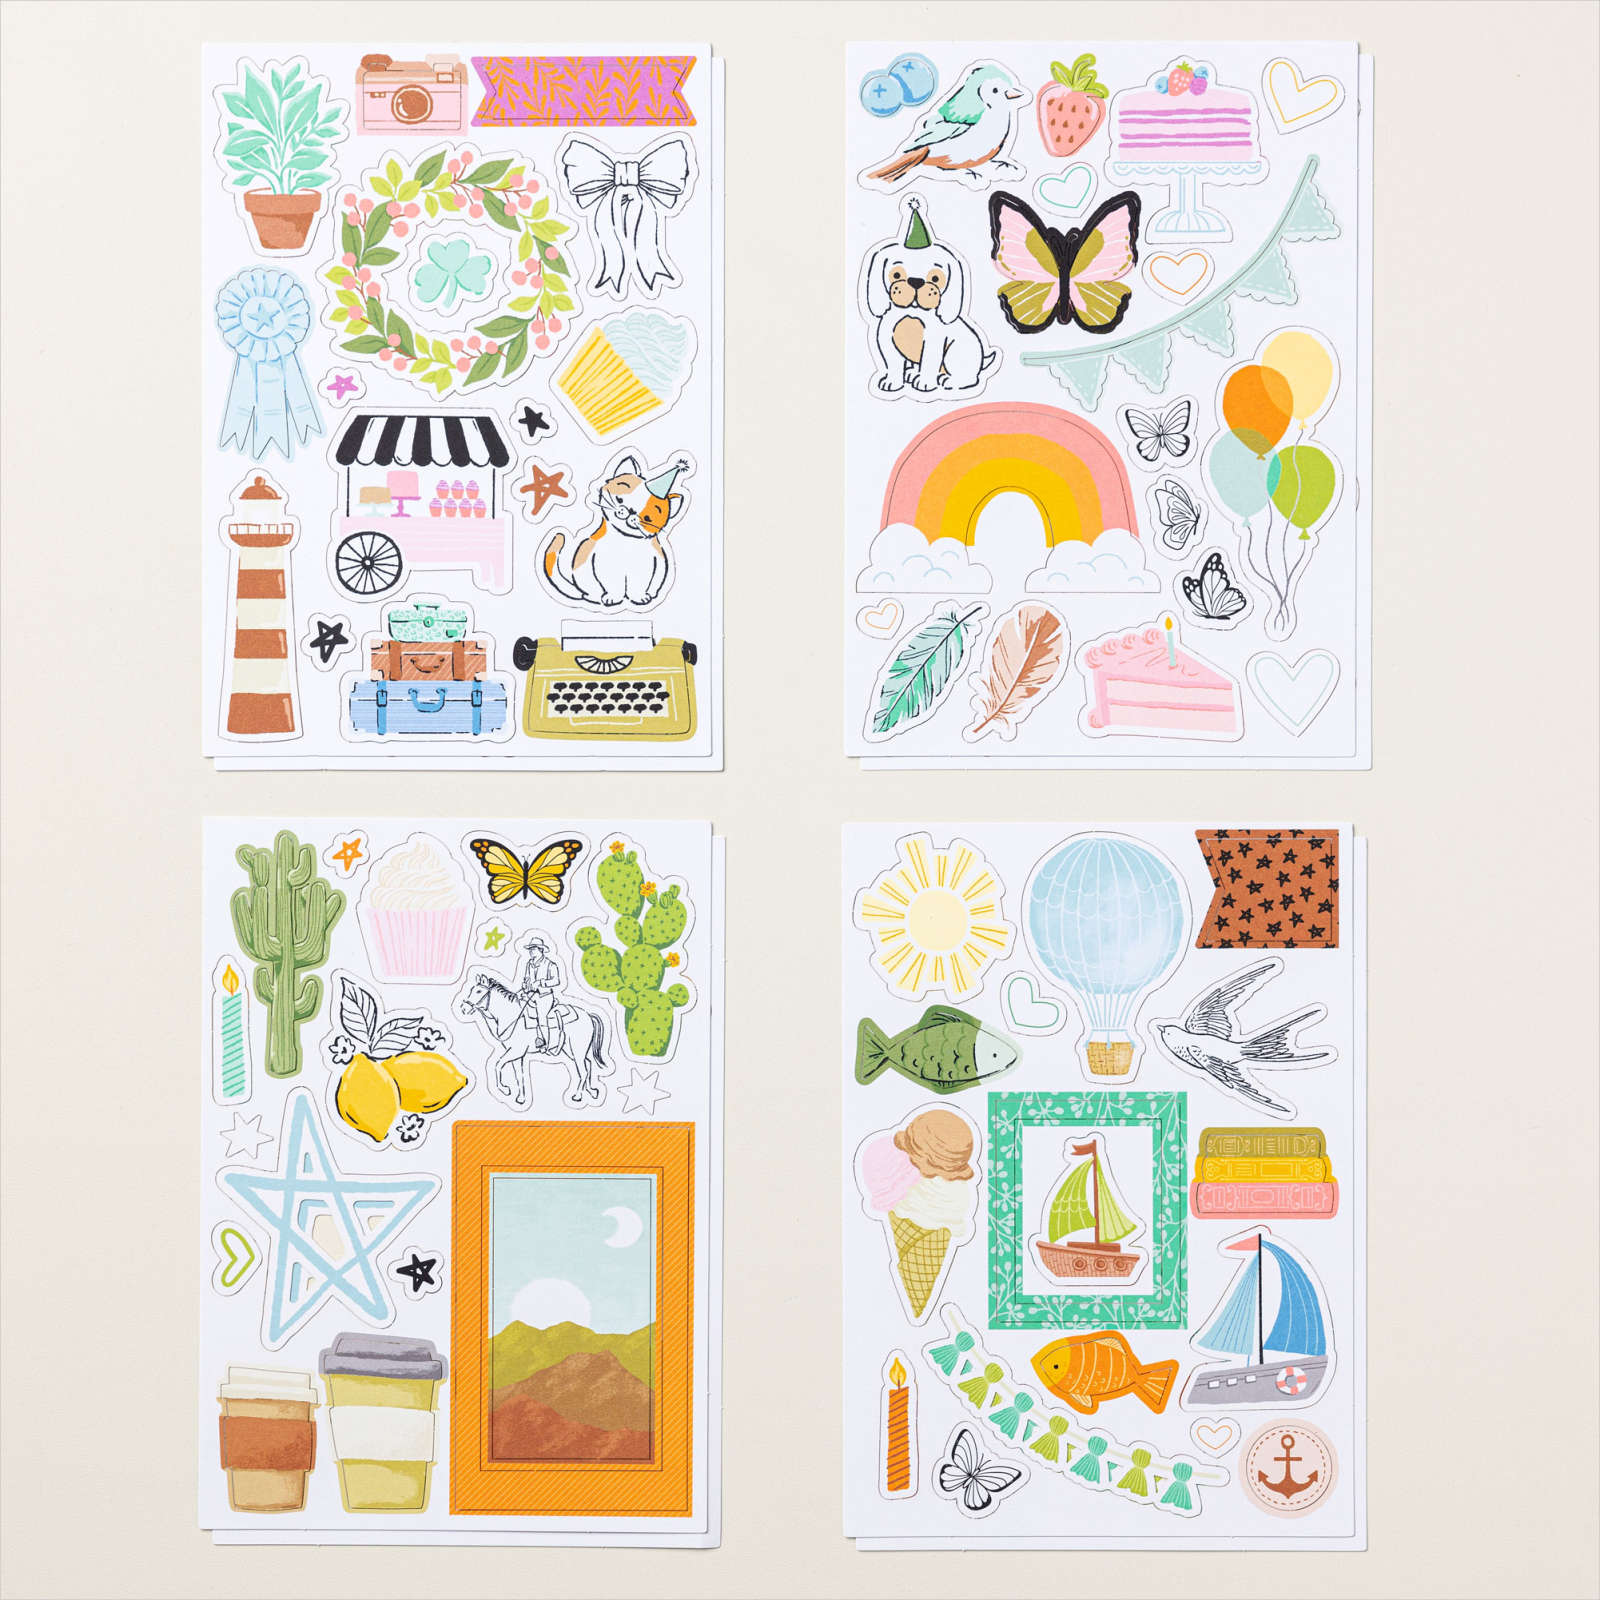
This week in my Facebook Live I shared some cards I created using the Ephemera Packs from the Annual Catalogue. Today I have another card to share with you. For this card, I attached a piece of Crushed Curry card across the bottom of Basic White card and embossed the panel using the Dotted Circle 3D Embossing Folder. I attached the embossed card to scored and folded Thick Basic White card. I attached the balloon image from the Something For Everyone Ephemera Pack to the card front using dimensionals.

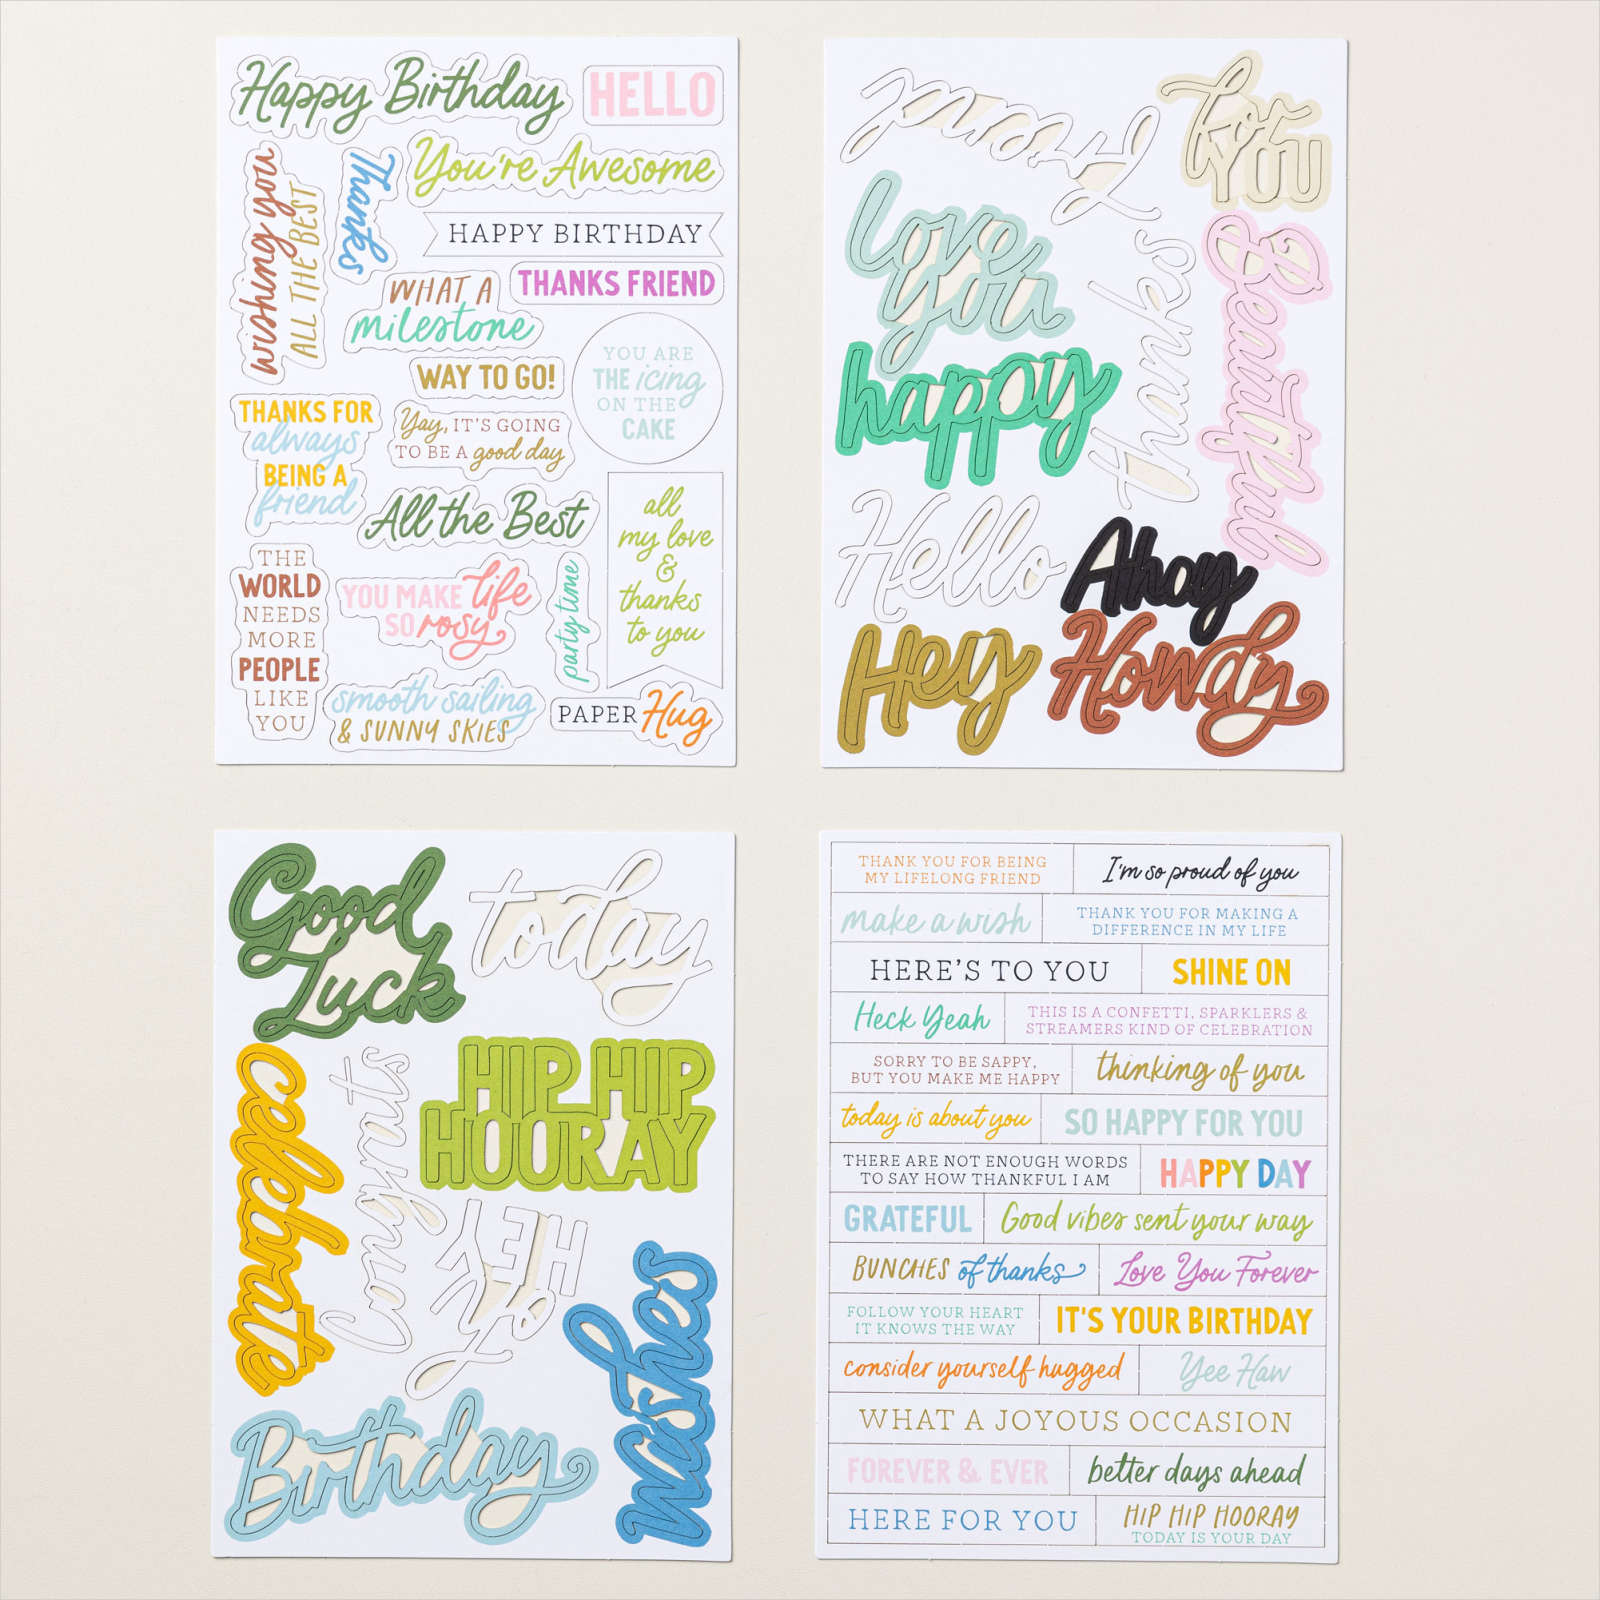
I attached the greeting from the Saying Something Ephemera Pack across the balloon strings also using dimensionals. To decorate the inside of the card I attached a cupcake image from the Something For Everyone Ephemeral Pack to Basic White card. I attached the greeting from the Saying Something Ephemera Pack partially covering the cupcake.

I have to admit that it has taken me a while to play with these Ephemera packs and I don’t know why. I had so much fun playing with all the different Ephemera Packs, the Calming Creek Cards & Envelopes as well as the Sunny Springs Cards & Envelopes. If you want to see how I created two cards from one card and co-ordinating envelope take a look at the video on my Facebook page. I hope I have inspired you to have another look at these Ephemera Packs in the Annual Catalogue.
Bye for now,
Kris
Product Used:


More Golden Greenery
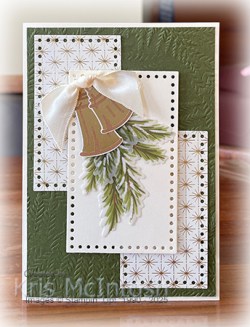
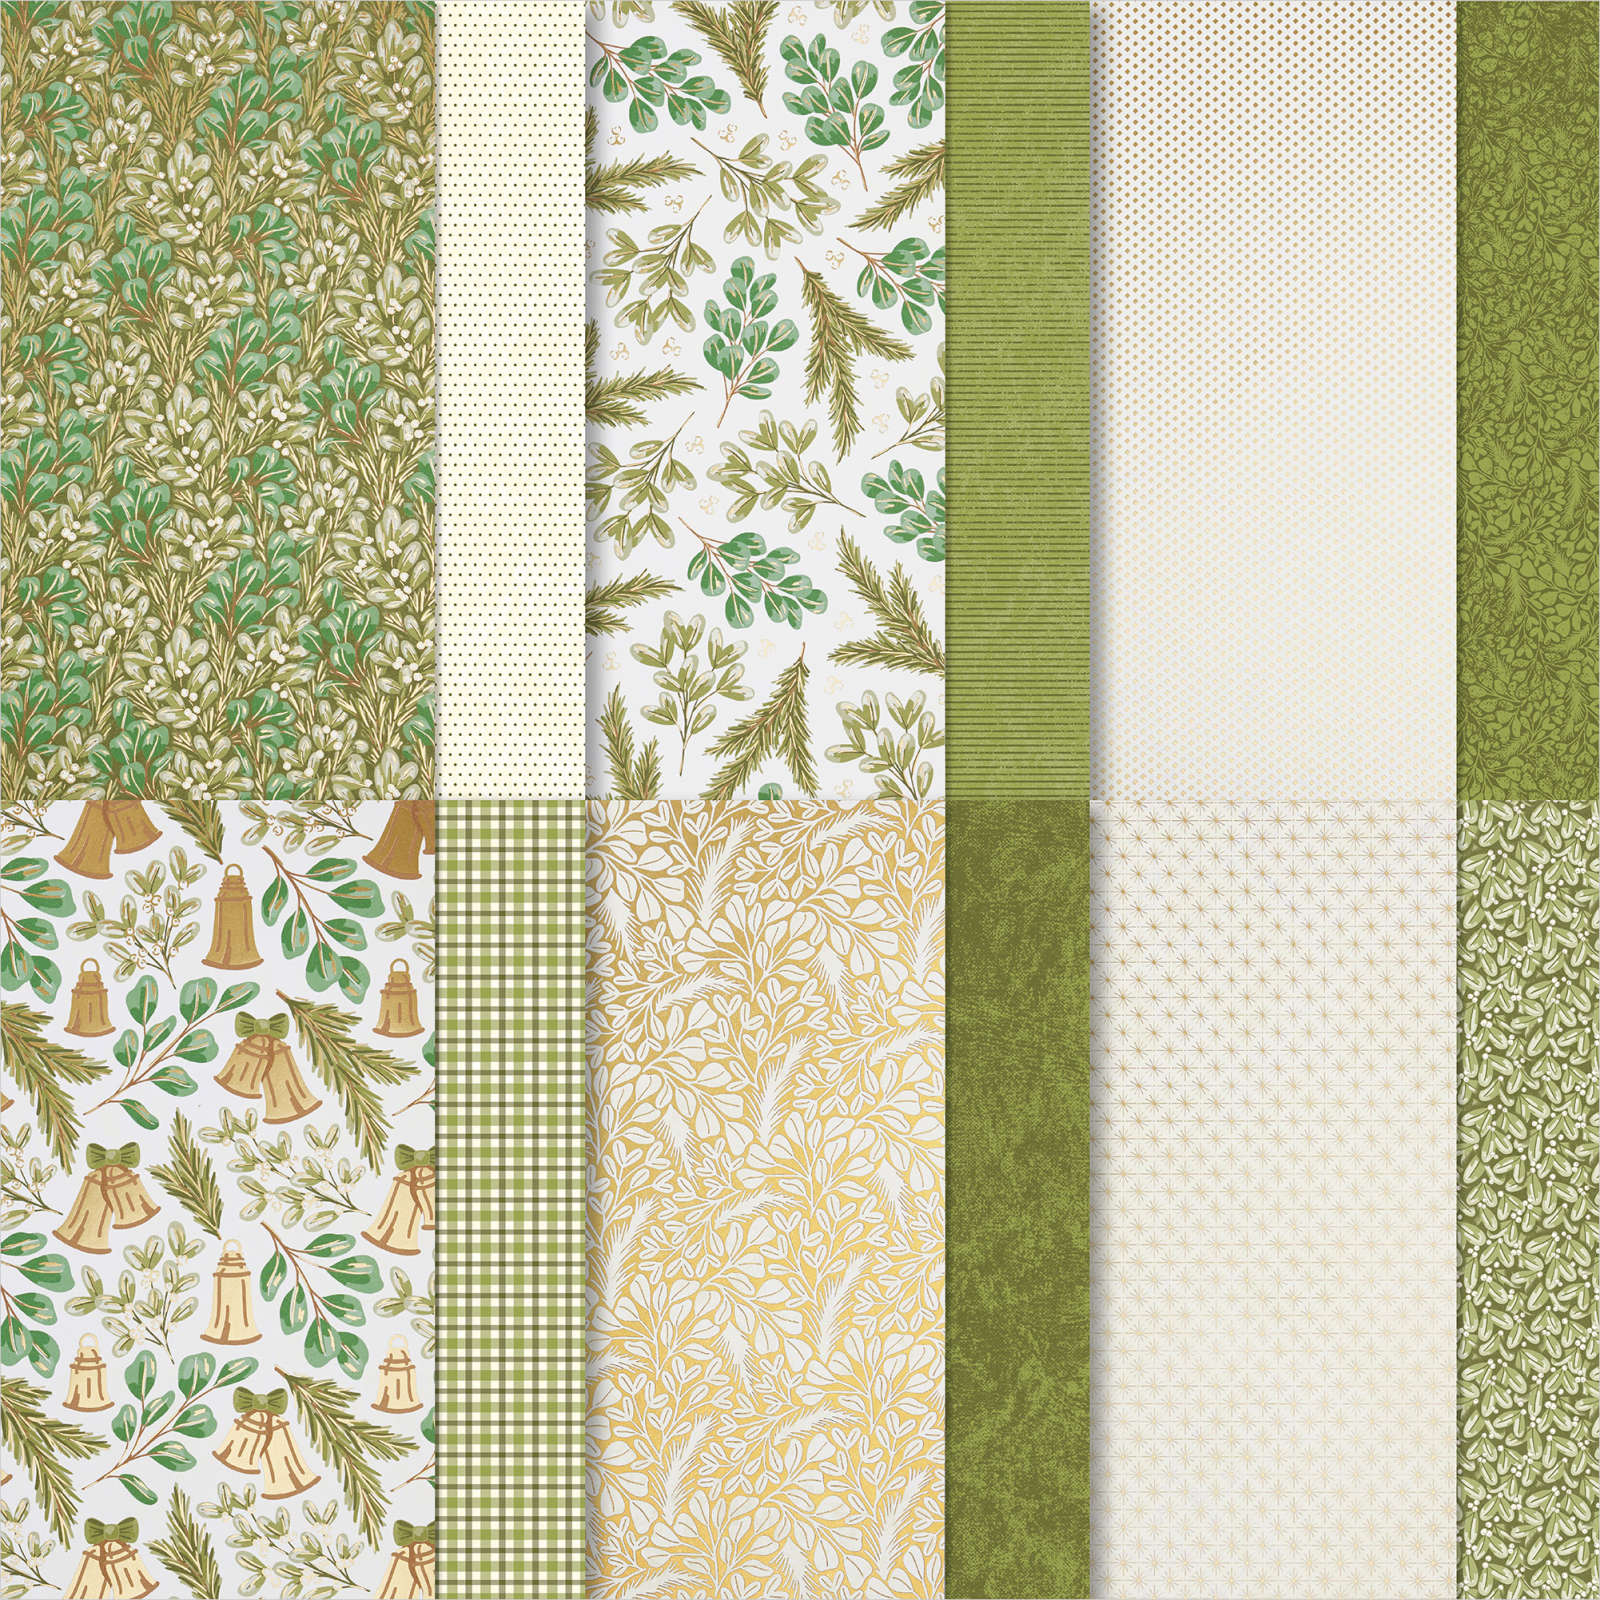
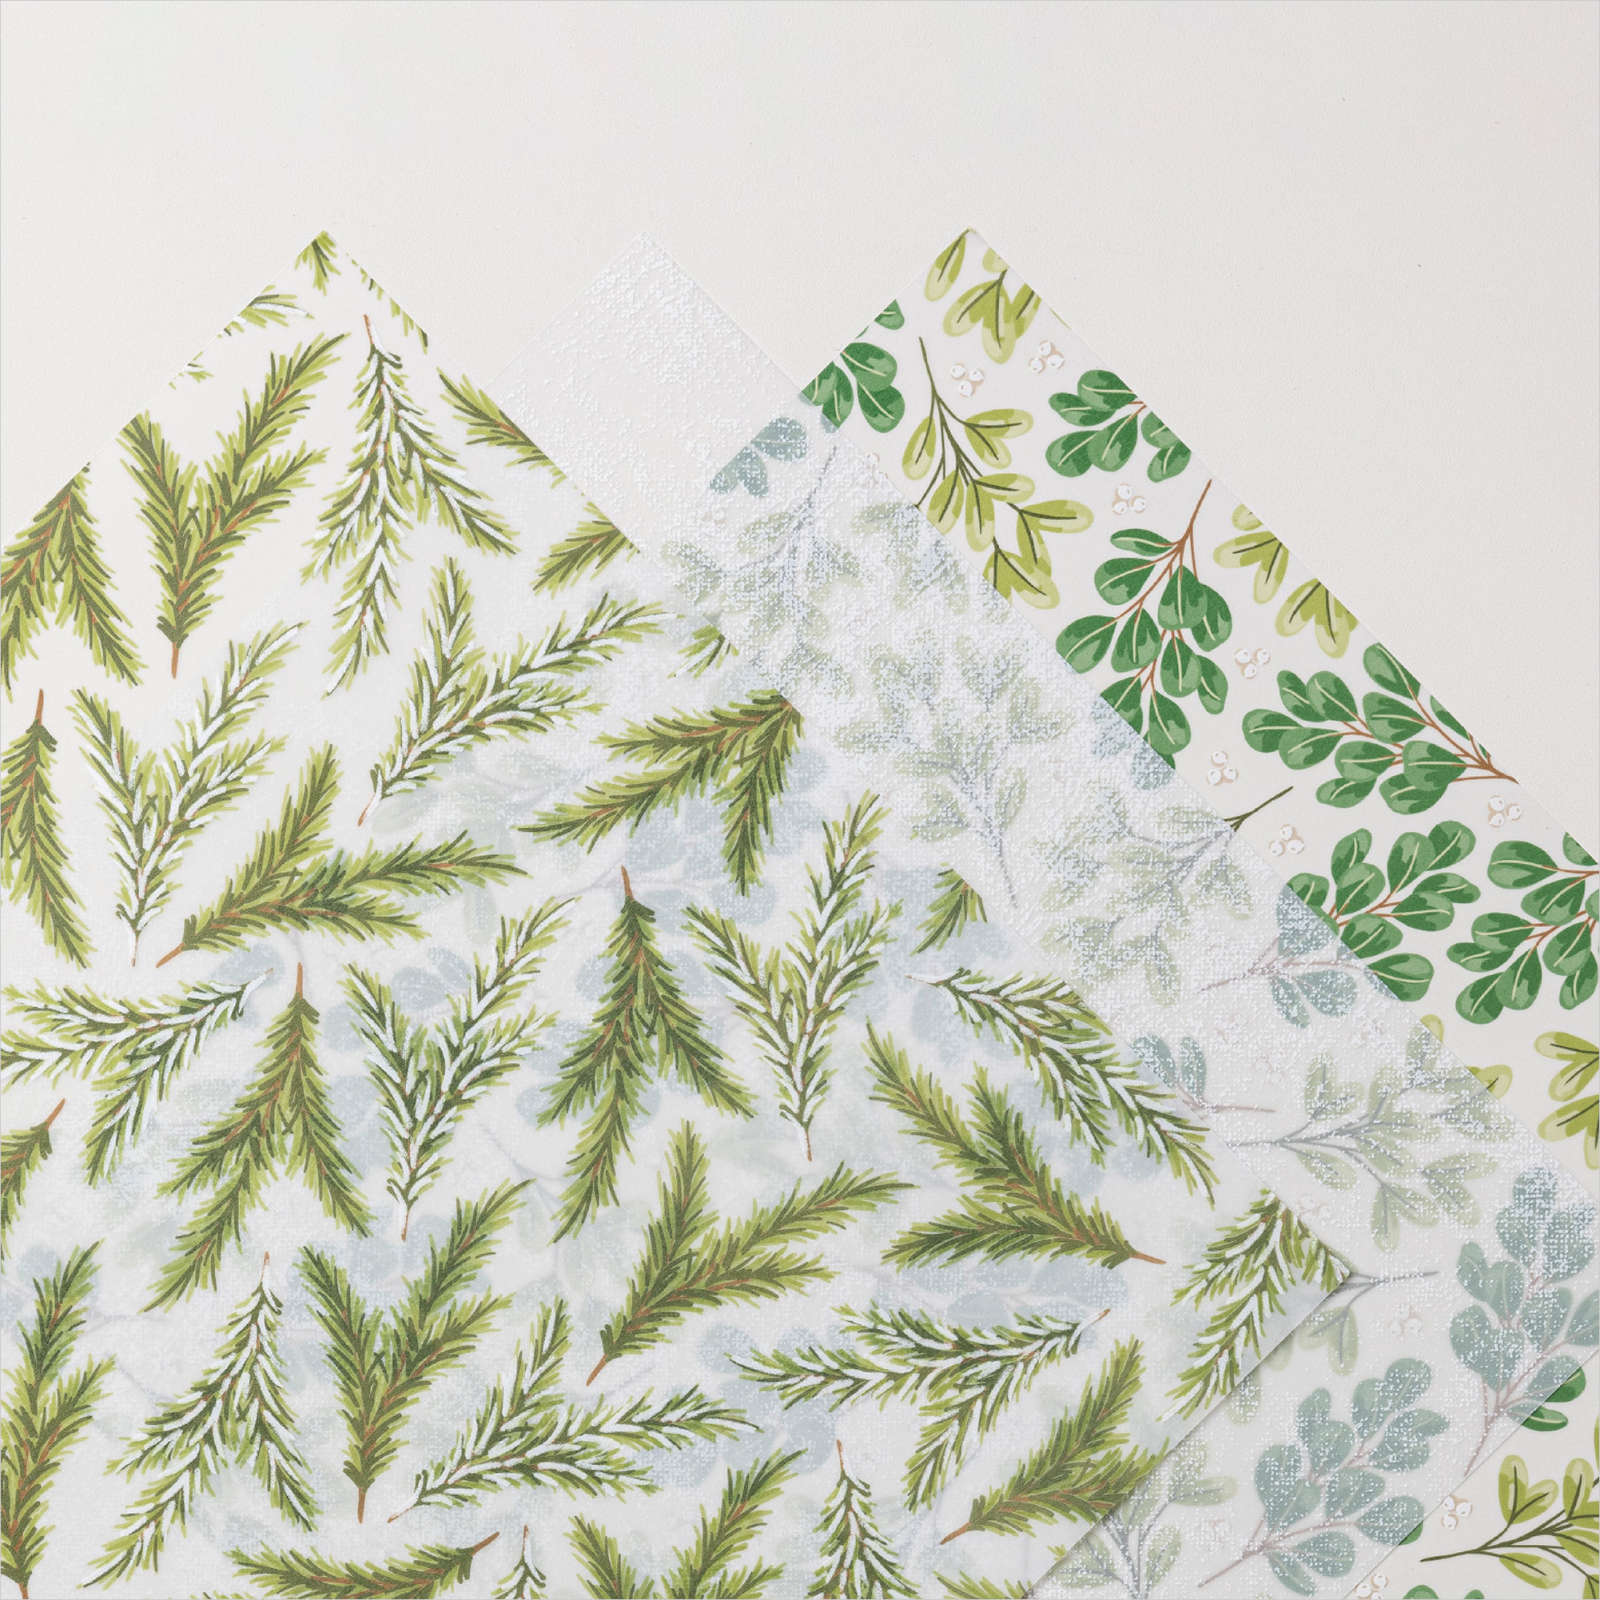
For today’s card, I cut two pieces of Season of Green & Gold 12″ x 12″ Specialty Designer Series Paper using one of the Everyday Details Dies. The Designer Series Paper panels are attached to Mossy Meadow card which I embossed using the Fern 3D Embossing Folder. The whole panel is attached to scored and folded Very Vanilla card. I cut Very Vanilla card using the same Everyday Details Die.

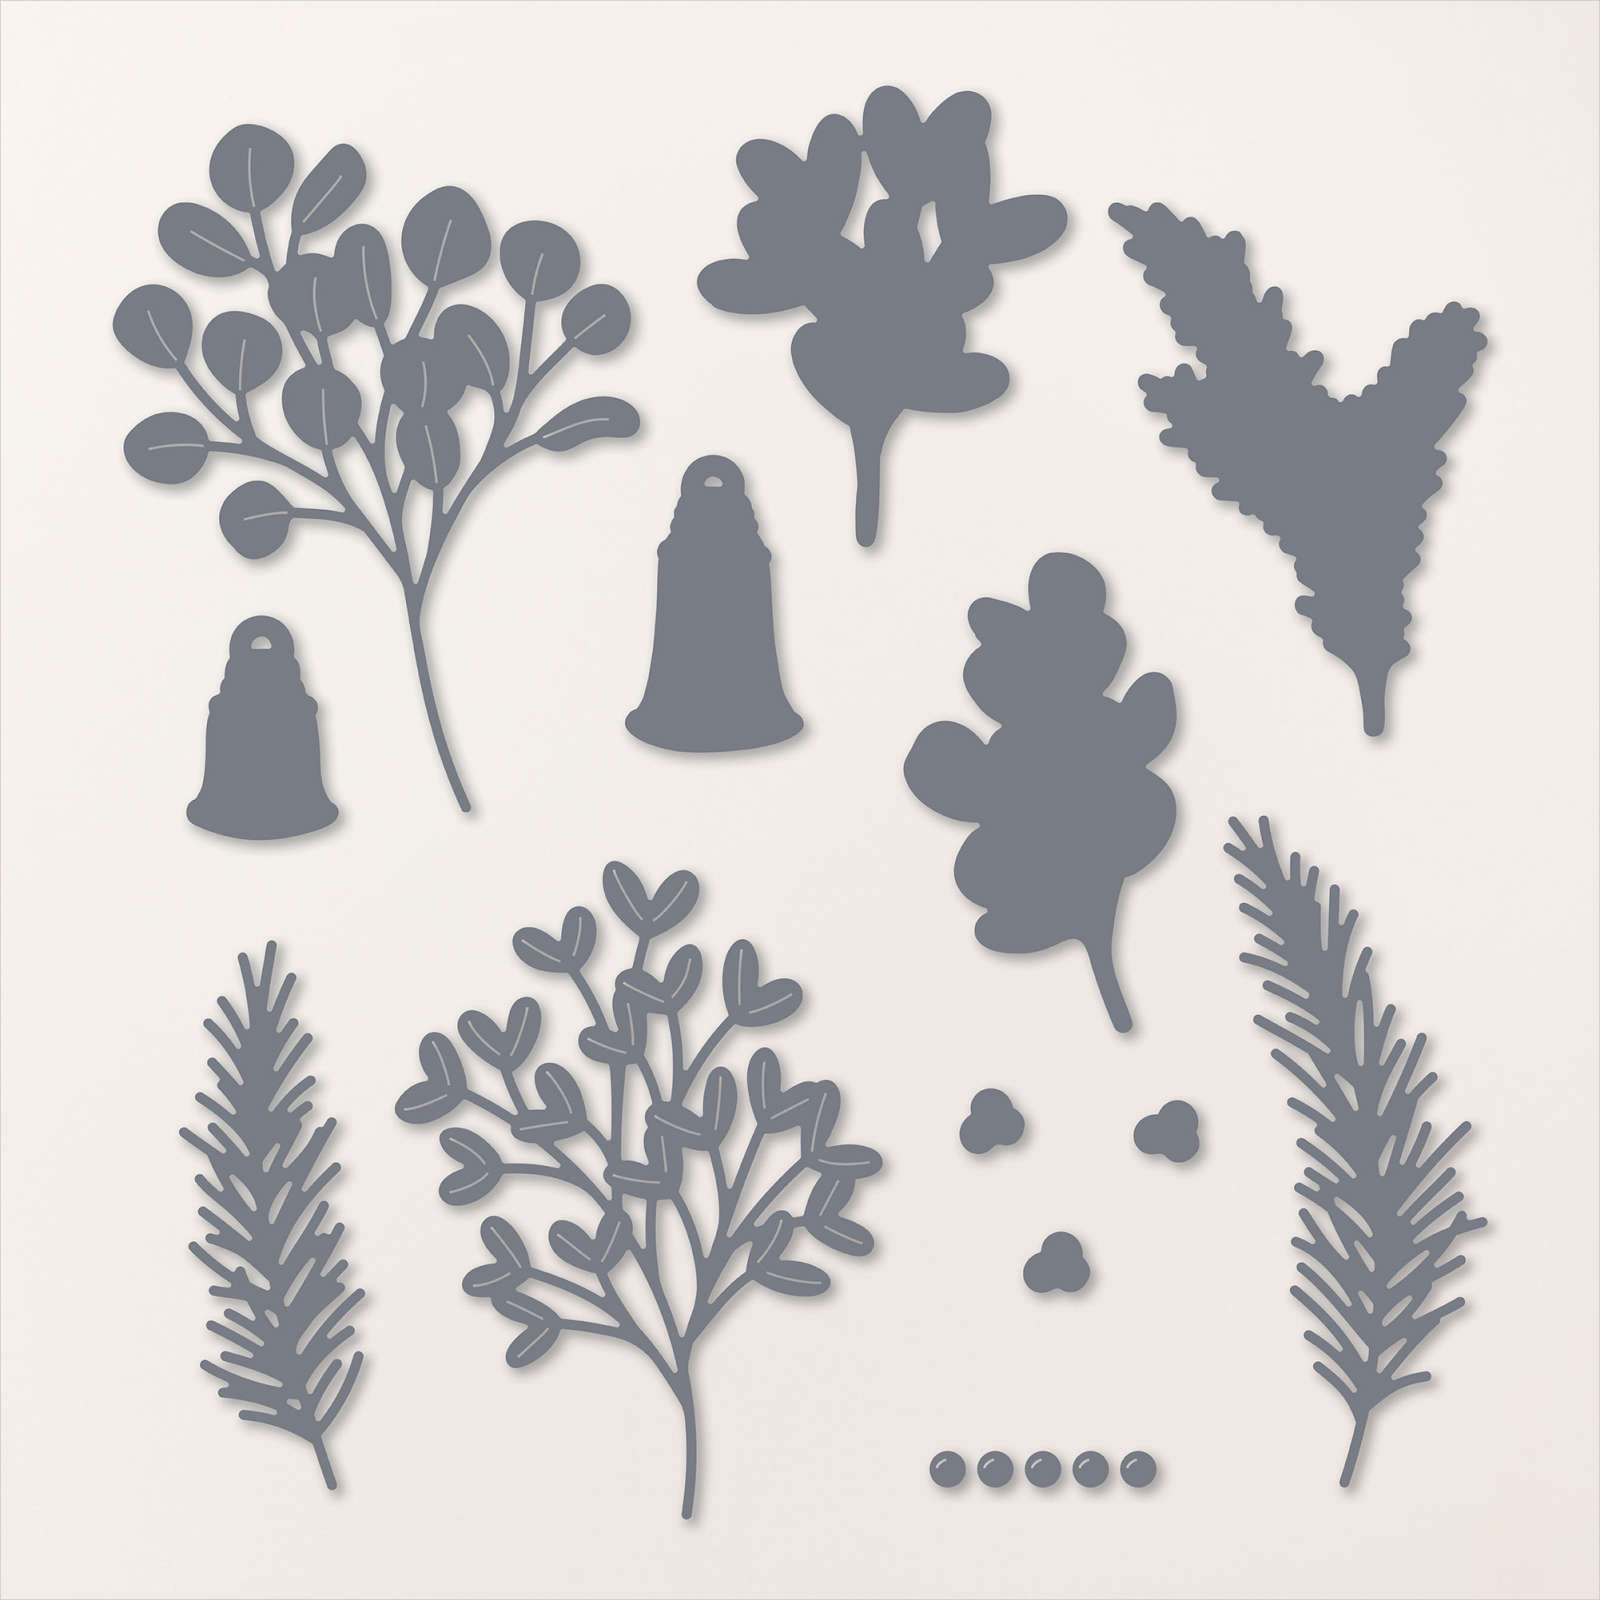
I used the Golden Greenery Dies to cut two fern images from the Graceful Greenery Vellum 12″ x 12″ Specialty Paper and attached them to the Very Vanilla die cut using Mini Glue Dots. I fussy cut the bell images from the Season of Green & Gold 12″ x 12″ Specialty Paper and attached them to the top of the fern die cuts.
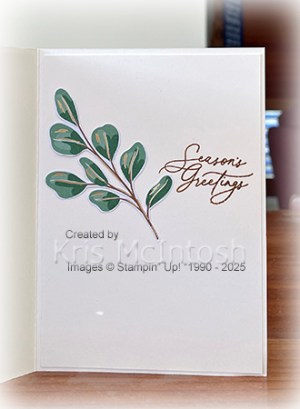
I tied a knot in a length of Very Vanilla 3/4″ Satin Ribbon and attached it to the top of the bells using a Mini Glue Dot. The image panel is attached to the card front using dimensionals. To decorate the inside of the card, I stamped the greeting from the Greetings of the Season stamp set onto Basic White card using Cherry Cobbler ink. I cut the leafy image from the Season of Green & Gold 12″ x 12″ Specialty Paper. The leaf is attached next to the greeting. Another card using this fabulous collection that I truly love.
Bye for now,
Kris
Product Used:


Great Grandparents

Today’s page highlights some photos from a trip Ron & I took from Brisbane to Pottsville and Evans Head with Elyssa way back in 2010. It was lovely to see her spending time with her Great Grandparents. I embossed a panel of Pretty in Pink card using the Dotted Circles 3D Embossing Folder and attached it a panel of Basic Black card which I attached to a Basic White 12″ x 12″ page. I attached the main photo of Elyssa onto Basic Black card before attaching it to the centre of the embossed panel. I attached the remaining four photos to the Basic Black card side of the page. I cut the title from Basic Black card using the Alphabet A La Mode Dies and attached it across the top of the page. I printed my journaling onto Basic White card which I cut into strips. The Basic White strips are attached to Basic Black card and then the lower right hand corner of the page. Simple but effective page, don’t you think?
Bye for now,
Kris
Product Used:


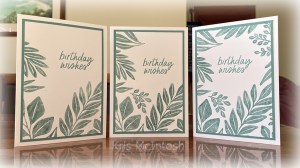
Three Variatons

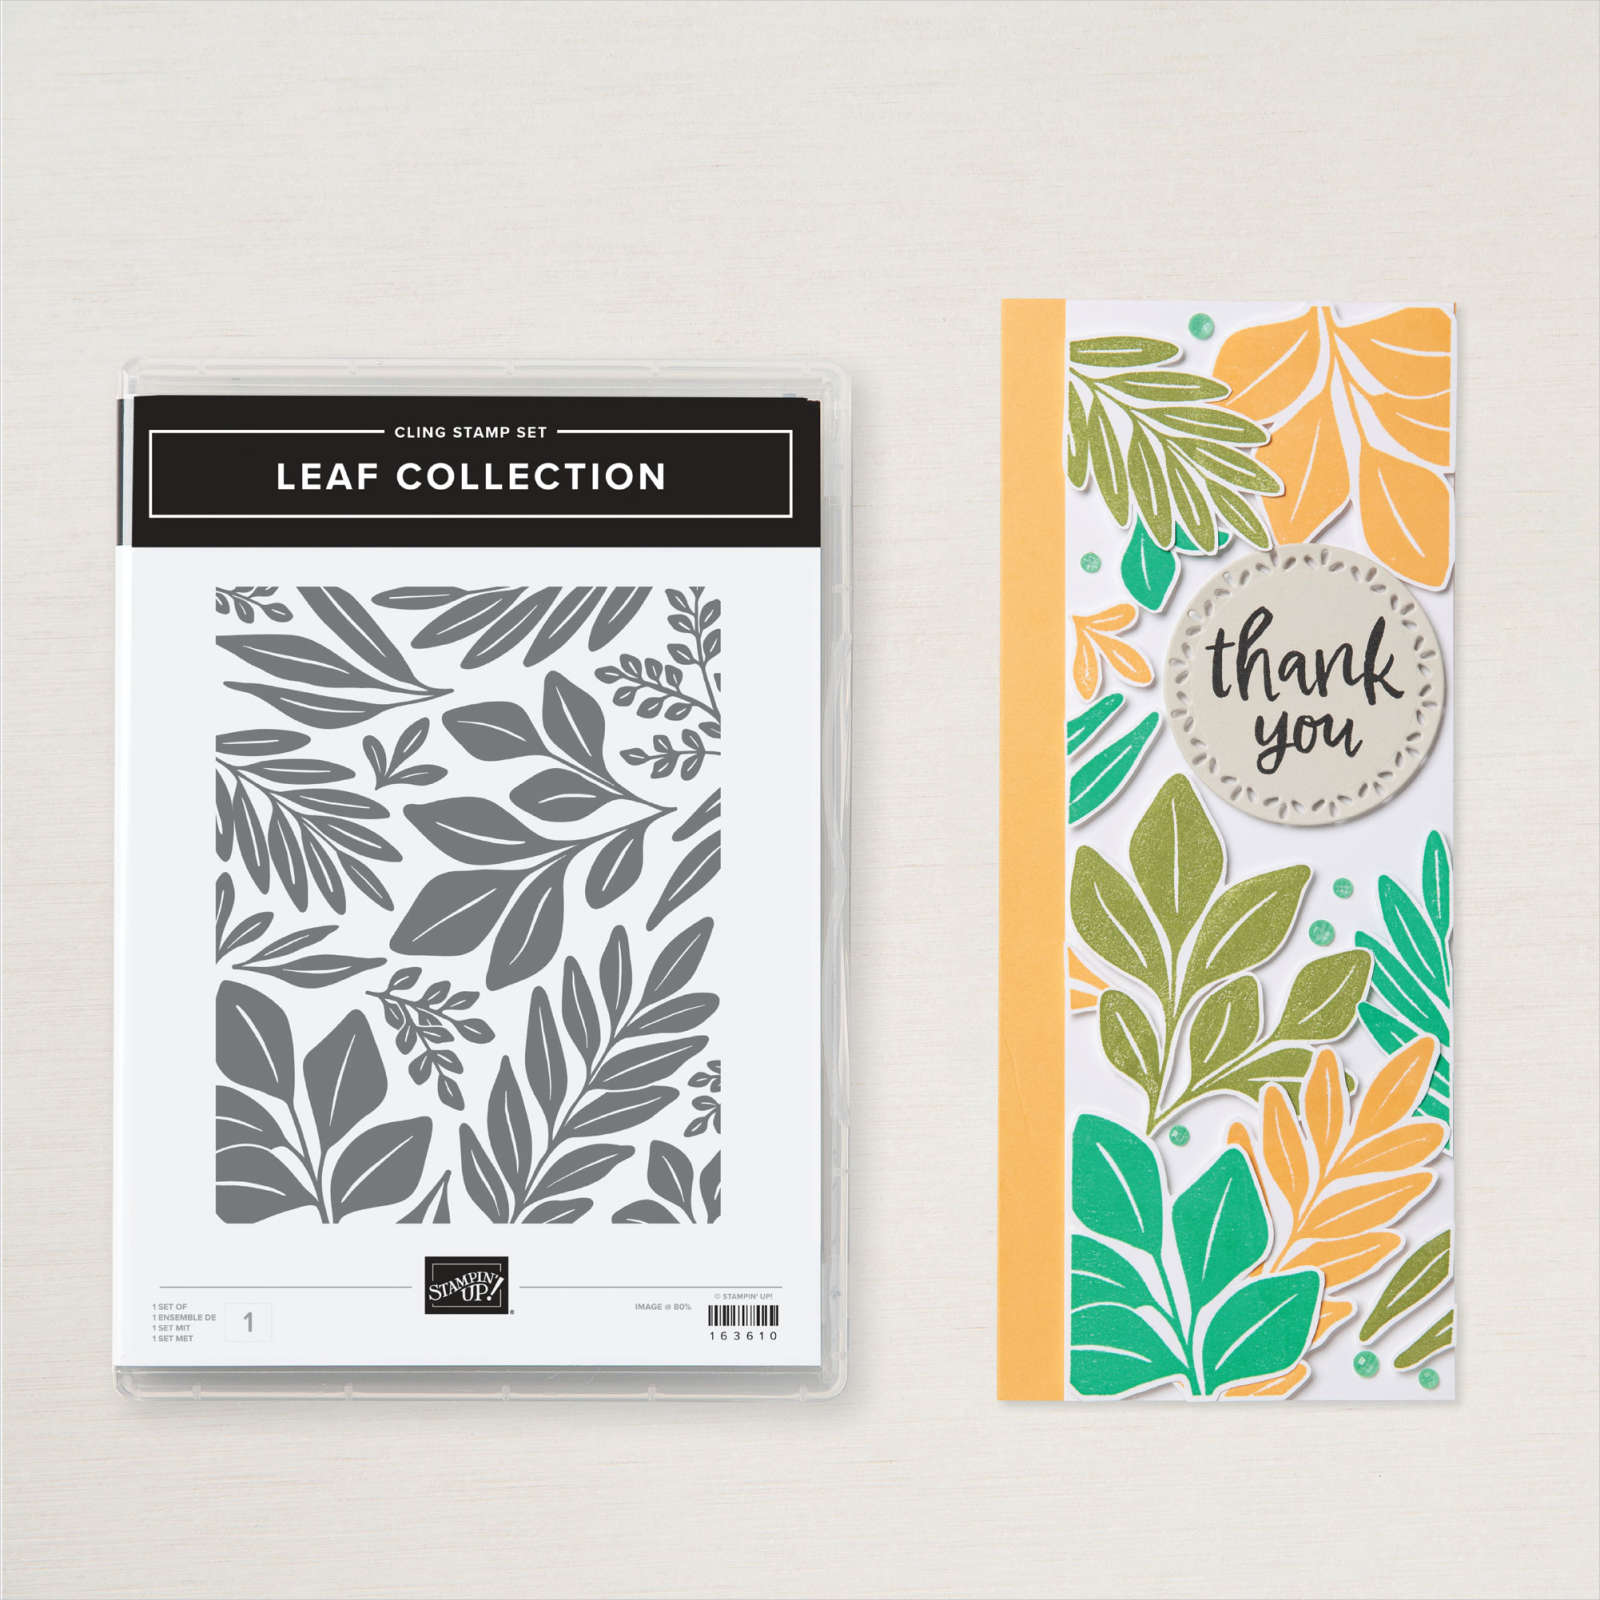
of stamping the same card using the Leaf Collection stamp. I used a Lost Lagoon Stampin’ Write Marker to colour some of the leaves on the Leaf Collection stamp. I stamped the images onto Basic White card which I trimmed down. Each time I inked the Leaf Collection stamp, I added more leaves.

For the second card I inked completely up the left hand side and for the last card, I inked all around the edges leaving a space in the centre for my stamping. I stamped “happy birthday” from the Simply Said stamp set onto each one using Lost Lagoon ink.
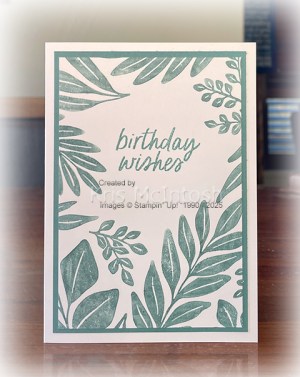
The first one I left a lot of white space at the top, for the second one I tucked the greeting between the leaves and of course for the last one it had to go where there was space.
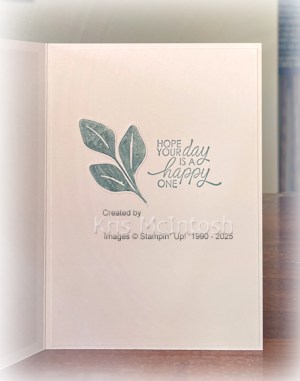
Each of the stamped panels is attached to Lost Lagoon card and then scored and folded Thick Basic White card. To decorate the inside of the card, I stamped the greeting from the So Sincere stamp set onto Basic White card using Lost Lagoon ink. I inked a single leaf from the Leaf Collection using a Lost Lagoon Stampin’ Write Marker and stamped the image three times onto Basic White card. I cut out the leaves and attached one to each of the card inserts before attaching the panel to the inside of the card base.
I had so much fun creating these cards and really love how they turned out. I think it would also look great in multiple colours. What do you think?
Bye for now,
Kris
Product Used:


A Festive Season
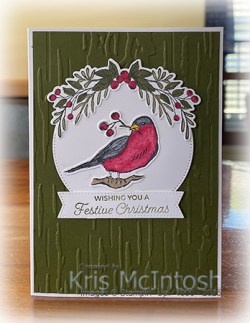
Today I am sharing a card I made with the Winterly Tree Tops Bundle which Demonstrators who attended a Demonstrator Only Online event could purchase early. This bundle will be available to customers when the August to December Mini Catalogue goes live. For this card I used the Birch 3D Embossing Folder (part of the product suite) to emboss a piece of Mossy Meadow card. I attached the embossed panel to scored and folded Thick Basic White card. I stamped the bird from the Winterly Tree Tops stamp set onto Basic White card using Memento Tuxedo Black ink. I coloured the image using Cherry Cobbler, Basic Black and Crumb Cake Stampin’ Blends.
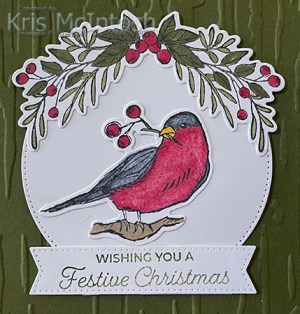
I did use the colour lifter to remove some of the Black and Cherry Cobbler colouring to give a lighter shade. I stamped the leafy banner image from the Winterly Tree Tops stamp set onto Basic White card using Memento Tuxedo Black ink and coloured the image using Mossy Meadow & Cherry Cobbler Stampin’ Blends. Both images were cut out using the co-ordinating Winterly Tree Tops Die.
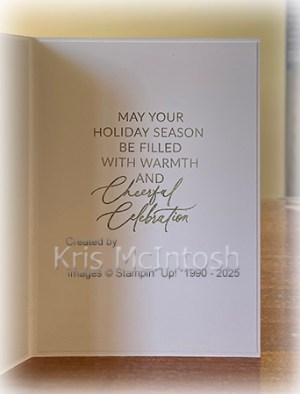
I die cut a circle from Basic White card using the largest Stylish Shapes Die and attached the leafy banner image to the top of the circle and the bird image onto the centre of the circle. I stamped the greeting from the Trucking Along stamp set onto Basic White card using Mossy Meadow ink. The image is cut out using one of the banners from the Stylish Shapes Dies before being attached to the card front using dimensionals where necessary. To decorate the inside of the card, I stamped one of the greeting from the Greetings of the Season stamp set onto Basic White card using Mossy Meadow ink. I created this card before the Online event and so I only used the stamps and dies, I didn’t want to cut the Nests of Winter 12″ x 12″ Designer Series paper which is part of the product collection until after the event. I am sure you are going to see plenty of examples using the Winterly Tree Tops Bundle in the future. Let me know what you think.
Bye for now,
Kris
Product Used:
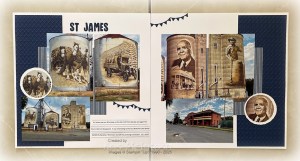
St James
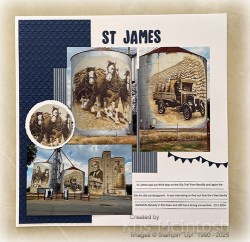
Today’s pages show off some photos from our stop at St. James on the Silo Trail from Benalla. This was quite an eye opener for us because apparently this is where the Coles story began. I embossed two pieces of Night of Navy card using the Cane Weave 3D Embossing Folder and attached each one to the outer edge of a Basic White 12″ x 12″ page. I also attached a piece of Misty Moonlight Paper from the Neutrals 6″ x 6″ Designer Series Paper to each page.
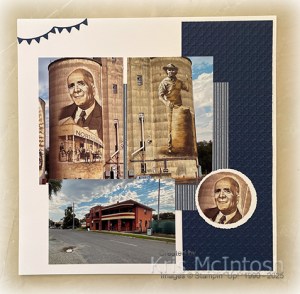
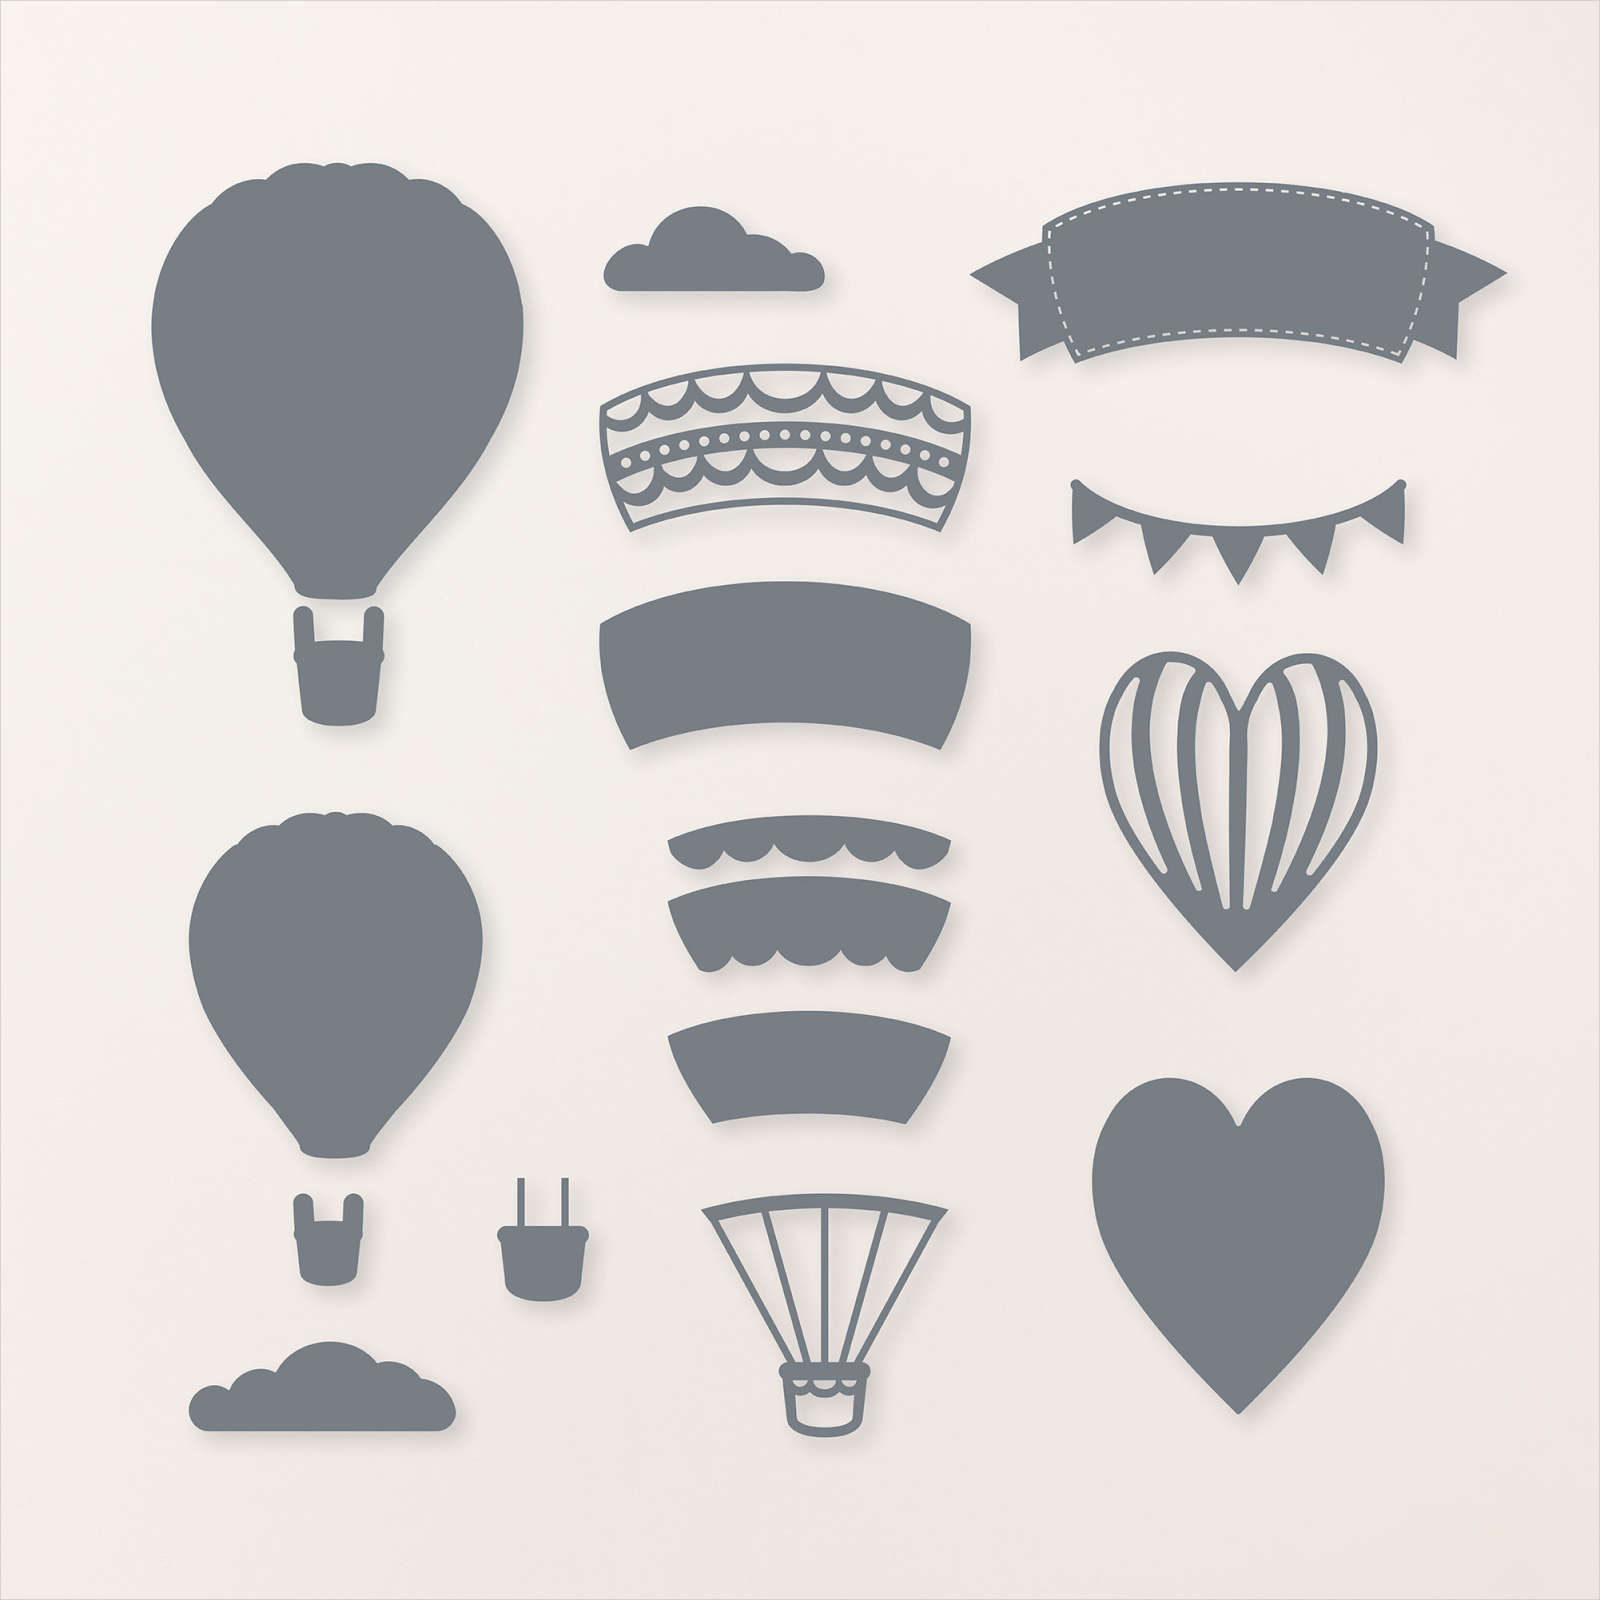
I attached the photos directly to the pages without adding any additional photo mats. I cut out the horse image and the image of G.J. Coles using one of the Deckled Circle Dies. Each photo is attached a Basic White circle also cut using the Deckled Circle Dies. I cut the title from Night of Navy card using the Mini Alphabet Dies (I absolutely love these dies!) which is attached to the left hand page. I cut the flag image from Night of Navy card using the Hot Air Balloon Dies. I attached two flag images to each page. I printed my journaling onto Basic White card and cut it into strips. I dipped the edges of the strips into Night of Navy ink before attaching them to the left hand page.
Another great reminder of our fabulous Road Trip. I hope I am inspiring you to get your photos printed onto pages that you can share with your family and friends.
Bye for now,
Kris
Product Used:


Happy Birthday

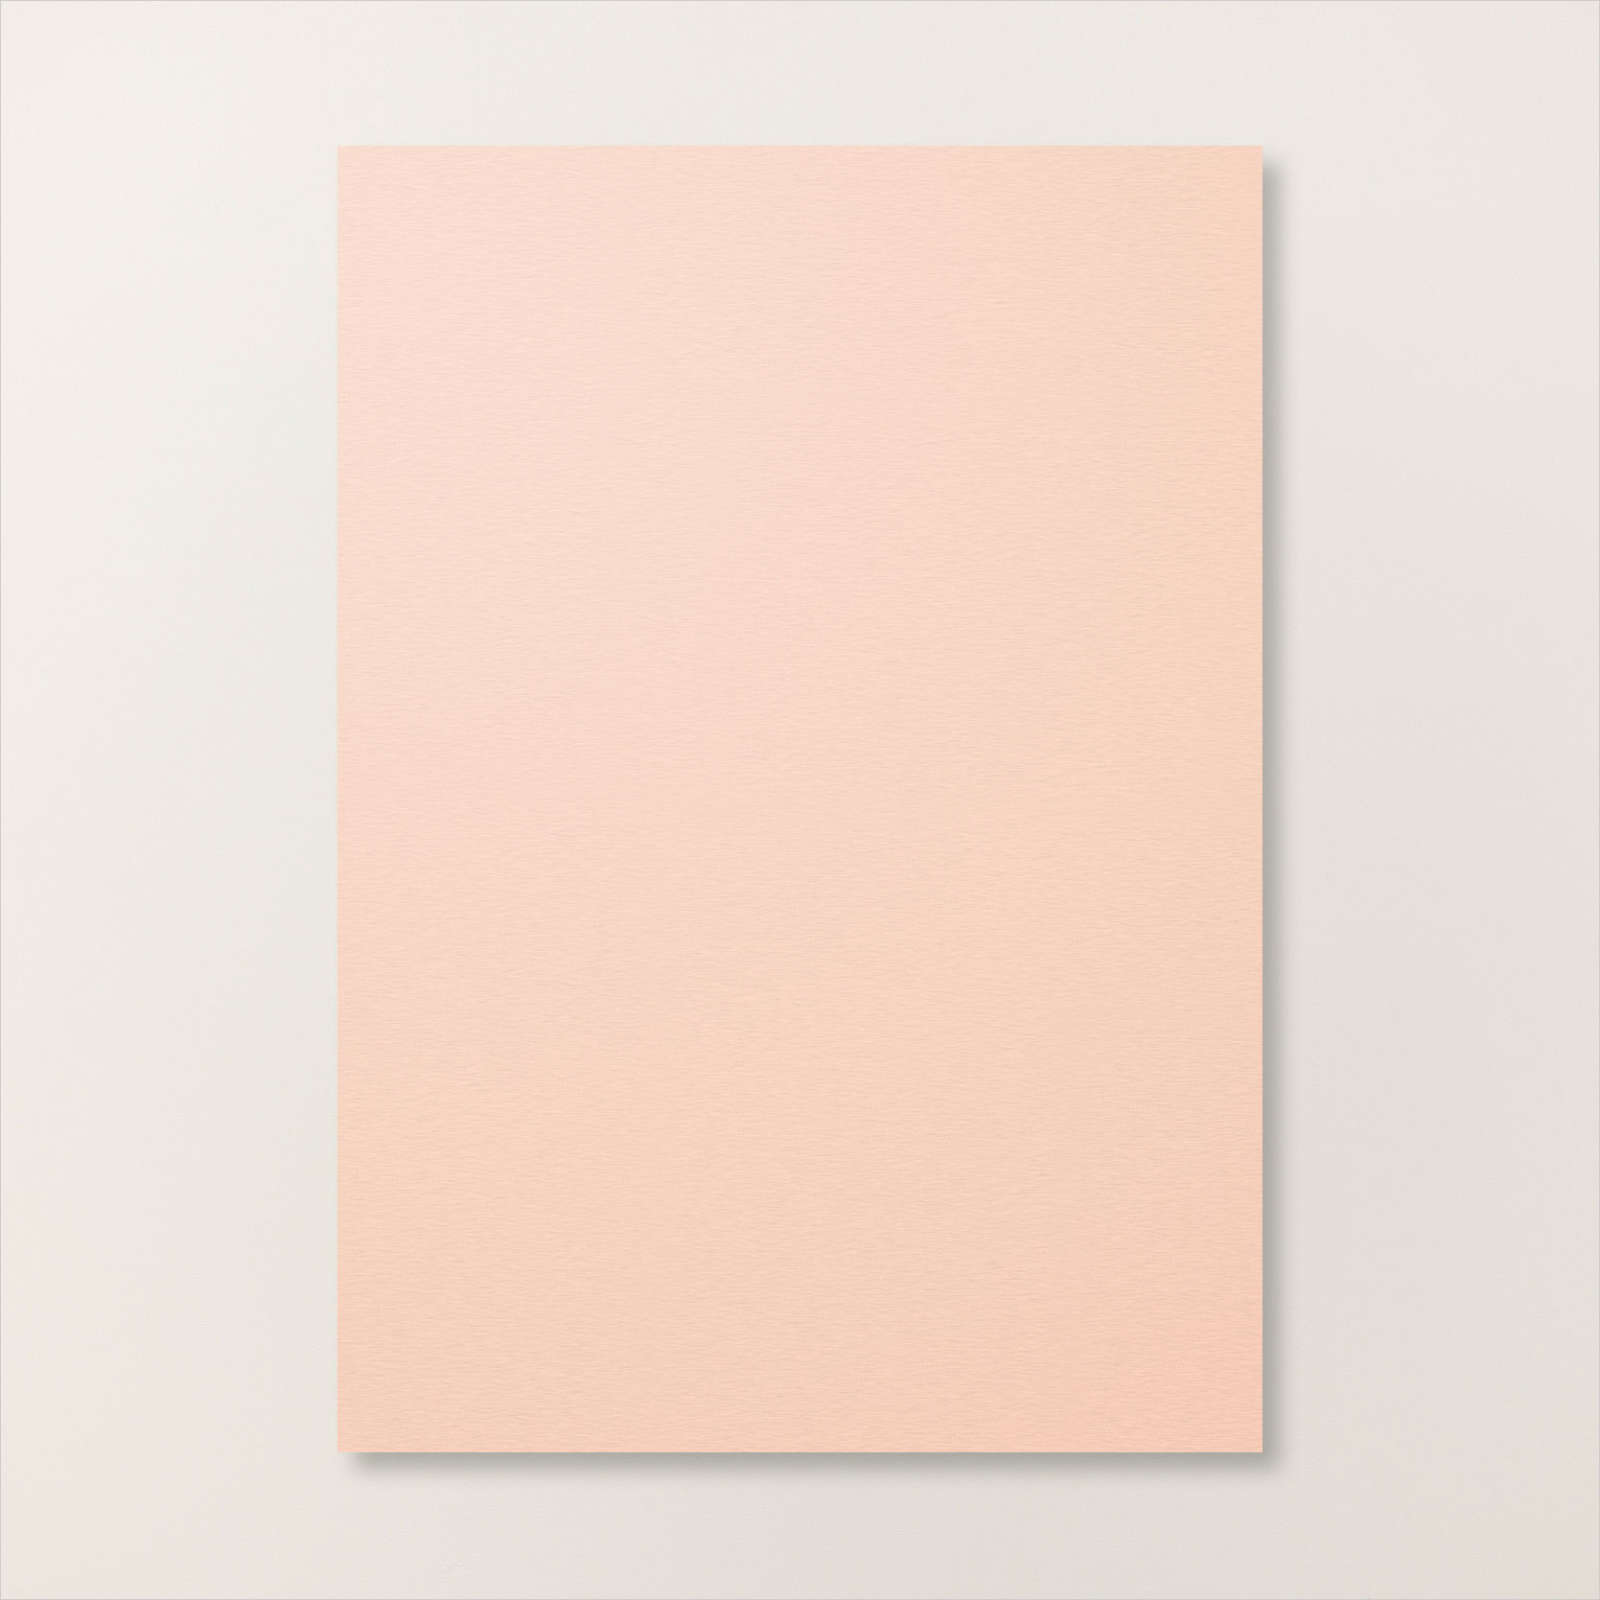
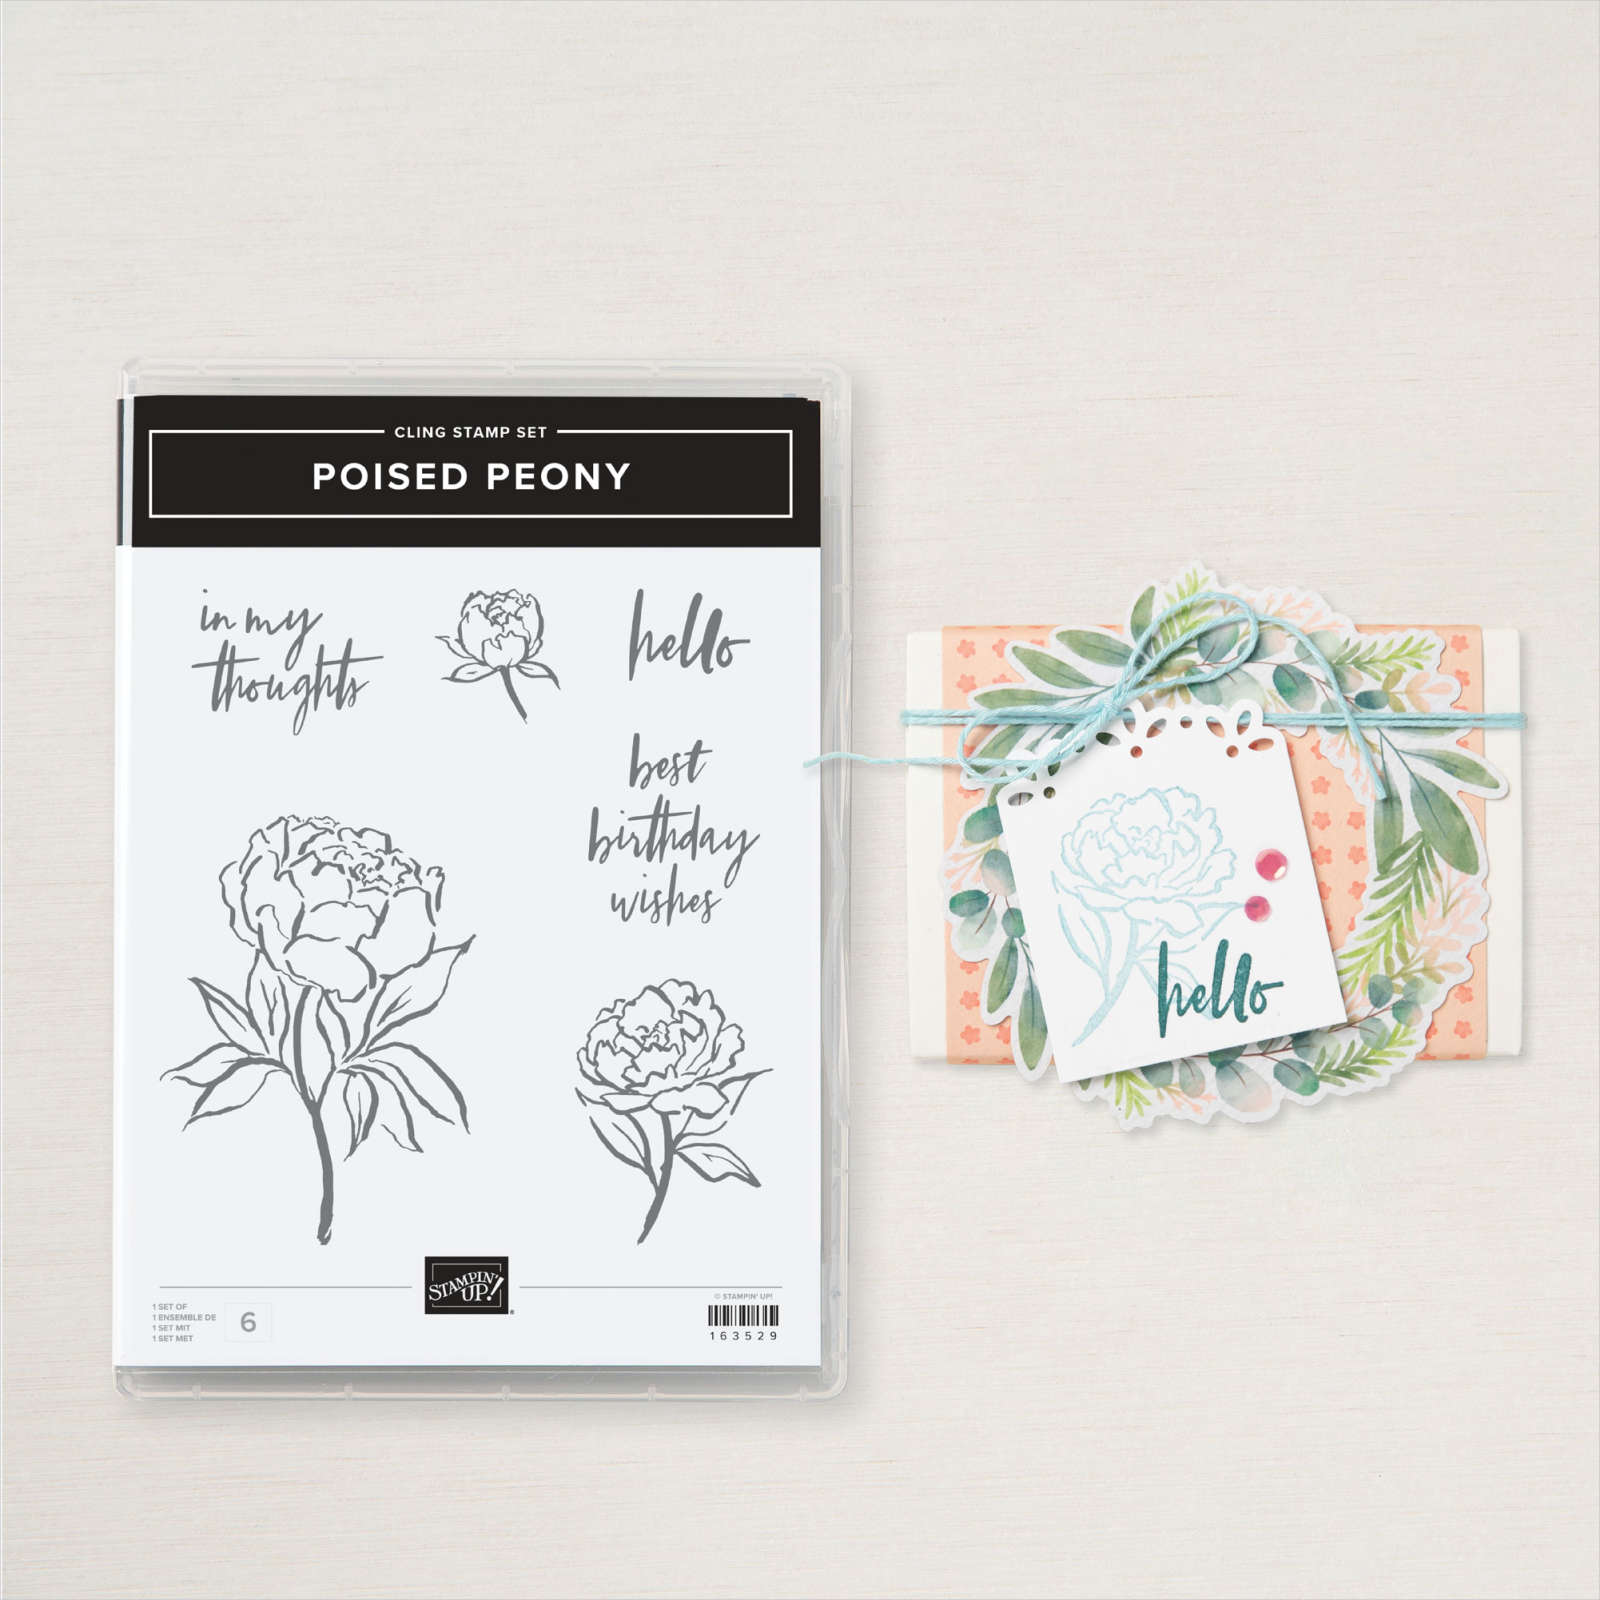
Today I have another card to share using card template fourteen from page 22 of the current Annual Catalogue. For this card I cut a piece of Shy Shamrock 2024-2026 In Colour 6″ x 6″ Designer Series Paper to the size of a card front. I used the largest rectangle from the Everyday Details Dies to cut out the centre of the Designer Series Paper before attaching it to scored and folded Shy Shamrock card. I cut Basic White card using a slightly smaller rectangle from the Everyday Details Dies. I stamped the medium flower from the Poised Peony stamp set onto the die cut using Memento Tuxedo Black ink.

I coloured the image using Shy Shamrock and Pretty in Pink Stampin’ Blends. I attached the stamped panel to the centre of the cut out in the Designer Series Paper using dimensionals. I stamped “happy birthday” from the Simply Said stamp set onto Basic White card using Shy Shamrock ink. I trimmed around the greeting and attached it to a piece of Shy Shamrock card trimmed to match.

The greeting is attached across the card front using dimensionals where necessary. To decorate the inside of the card I stamped a greeting from the So Sincere stamp set onto Basic White card using Shy Shamrock ink. I stamped the smallest flower from the Poised Peony stamp set beside the greeting using Memento Tuxedo Black ink. I coloured the floral image using Pretty in Pink and Shy Shamrock Stampin’ Blends. I love how happy this card makes me feel and how easy to create using the template as a starting point.
Bye for now,
Kris
Product Used:


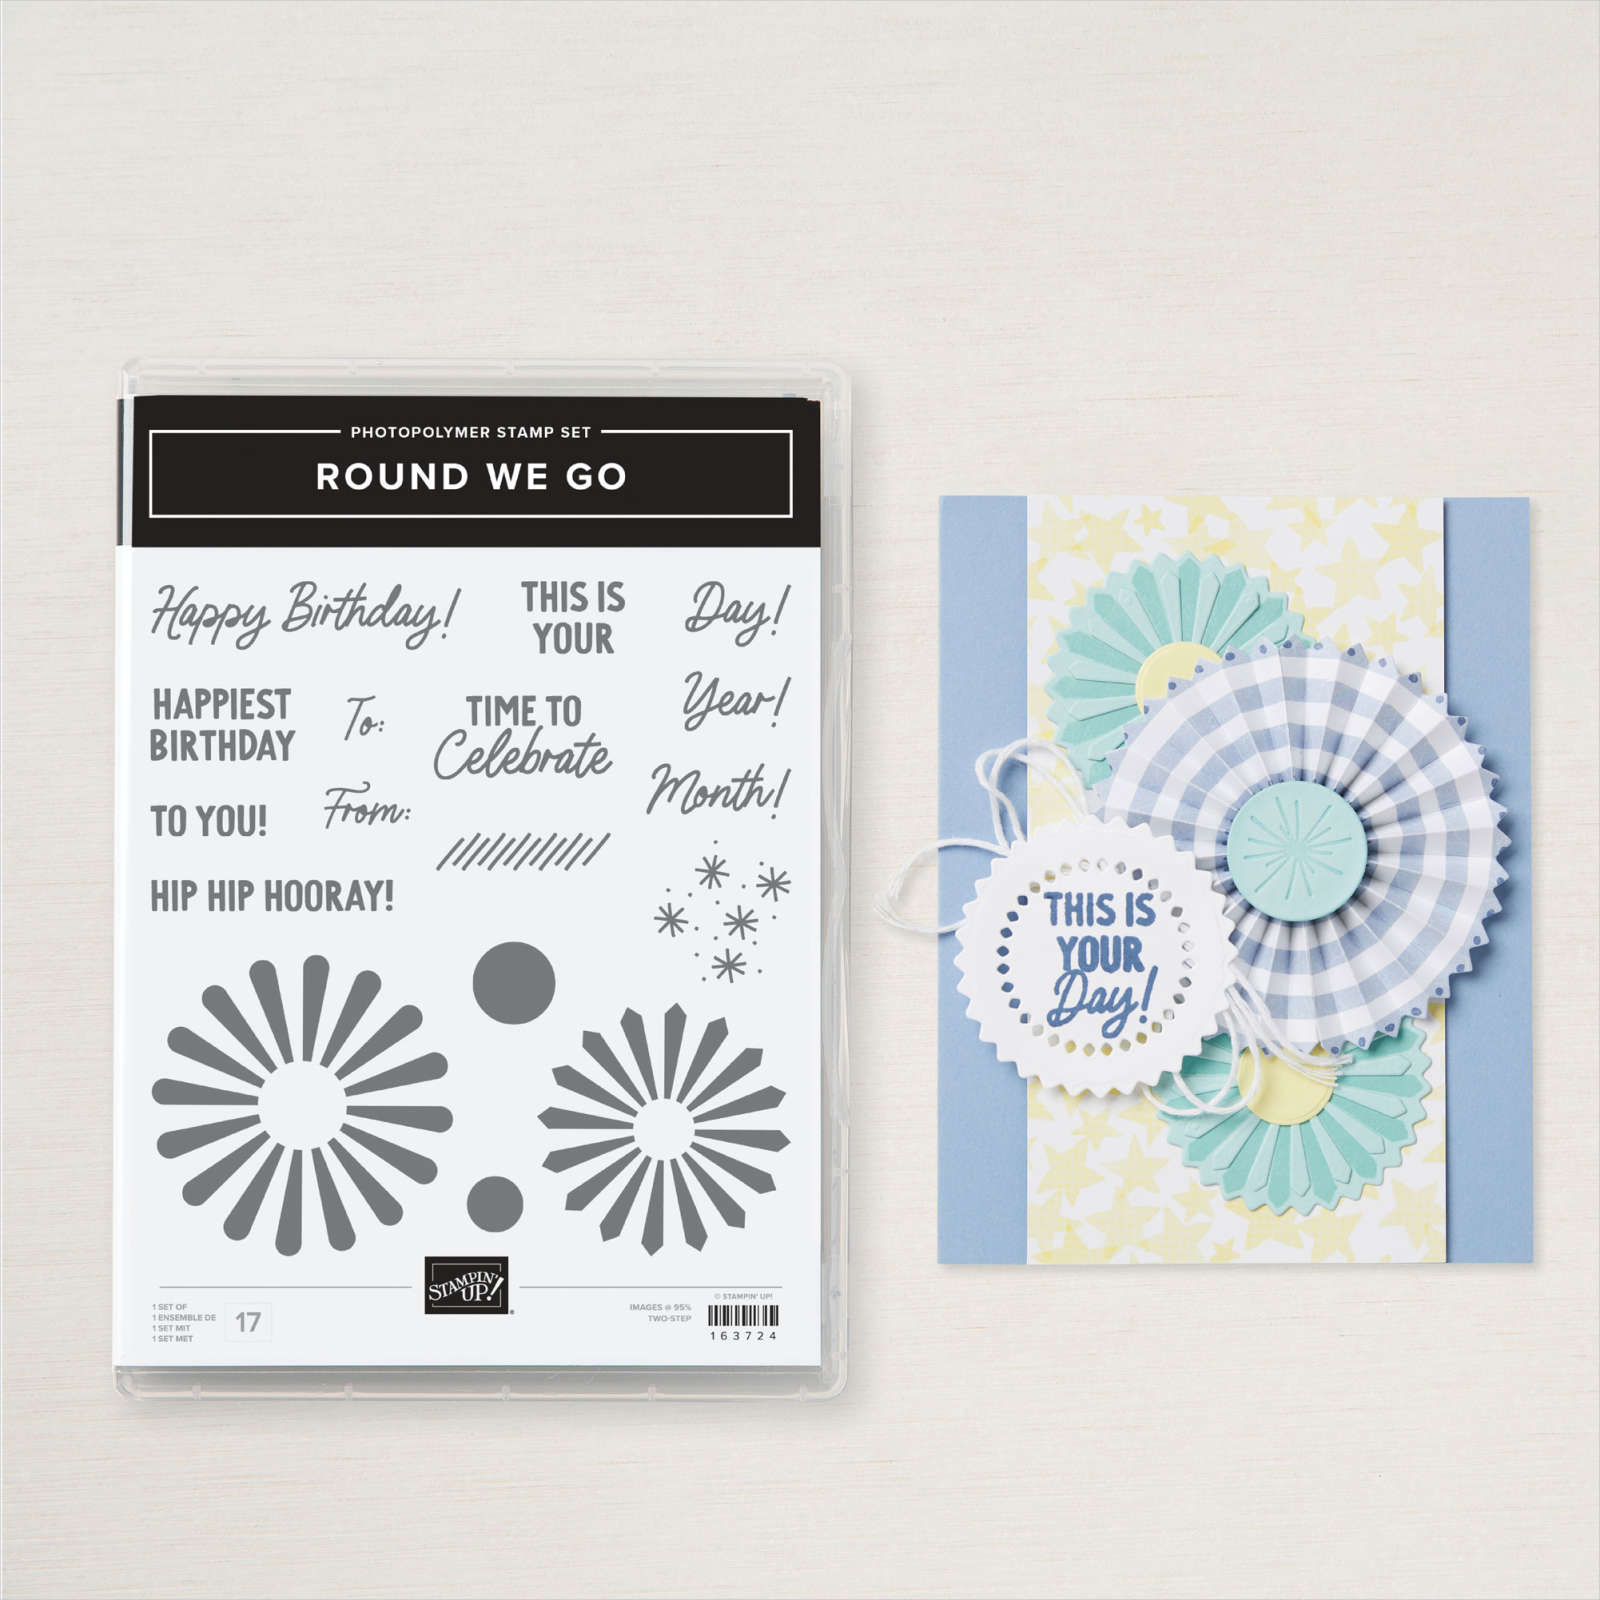
Time to Celebrate
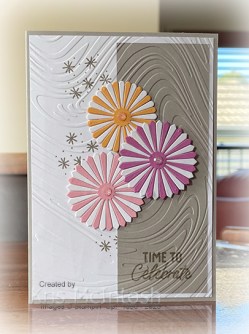
Here is another card I created using the Round We Go Bundle from the Annual Catalogue. I stamped the starry image from the Round We Go stamp set onto the left hand side of Basic White card three times using Gray Granite ink. I attached a piece of Gray Granite card to the right hand side of the stamped Basic White card and stamped the greeting from the Round We Go stamp set onto the bottom right hand corner using Gray Granite ink. The whole panel is embossed using the So Swirly Embossing Folder before being attached to scored and folded Gray Granite card.
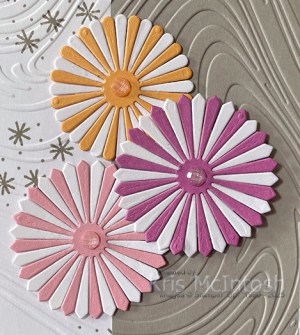
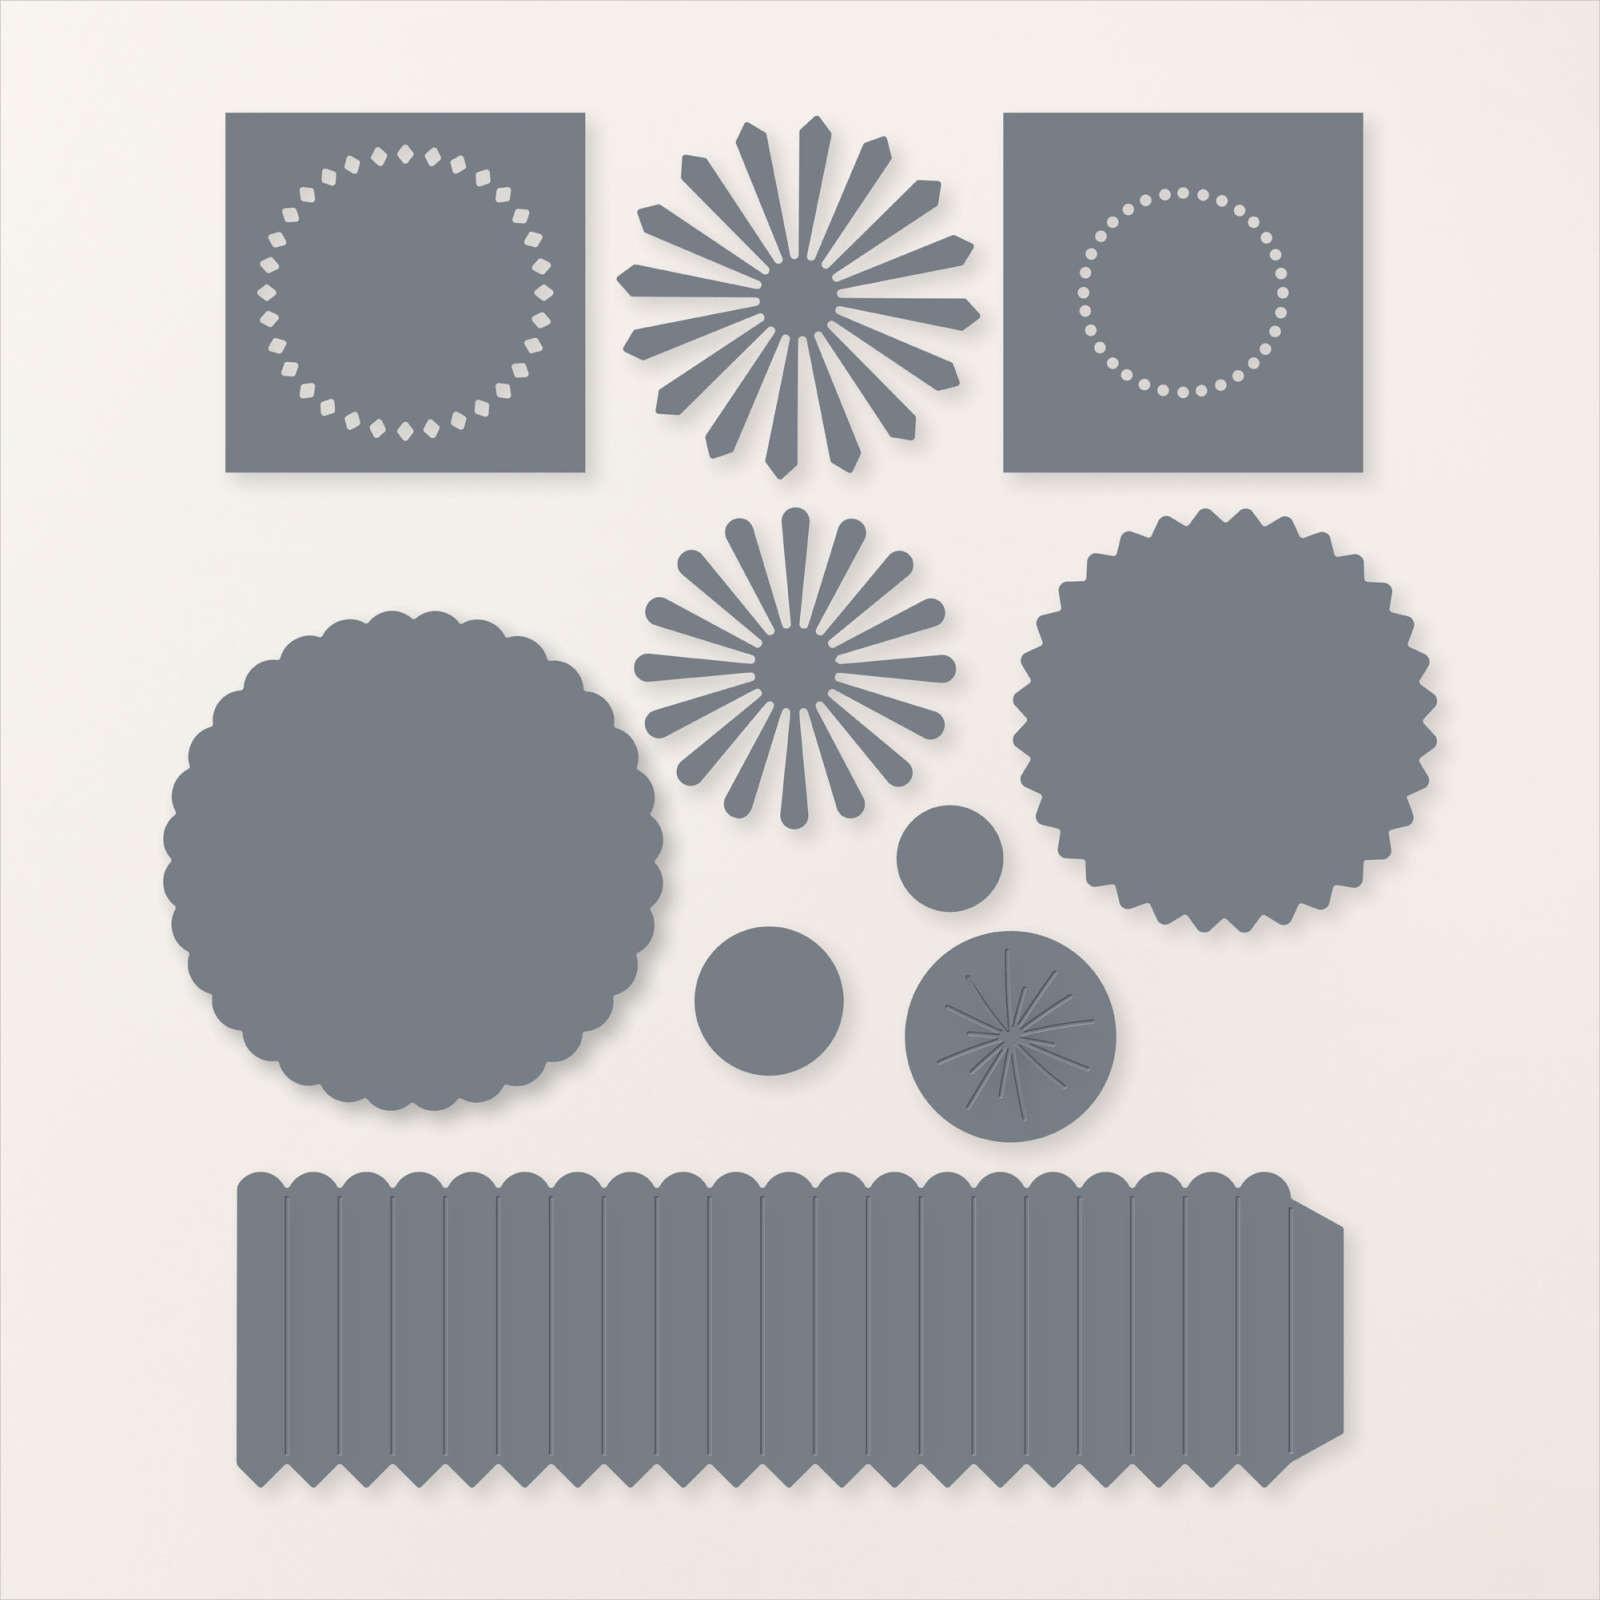
I cut Basic White card once using the small flower die and twice using the large flower die from the Round We Go Dies. I cut Peach Pie card using the same small flower die and Pretty in Pink and Petunia Pop card using the same large flower die.
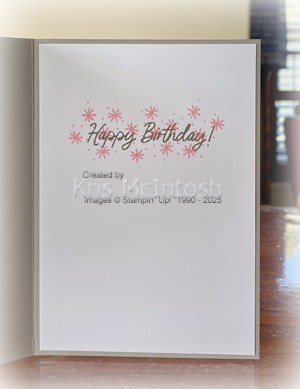
I punched 1″ circles from Basic White card and attached each of the Basic White flowers to a circle. I attached the coloured flowers so that the petals sit flat inside the Basic White flowers. I attached the Peach Pie and Pretty in Pink flowers to the card front with the Petunia Pop flower raised on dimensionals. I added a 2024-2026 In Color Shimmer Gem to the centre of each flower using co-ordinating colours. To decorate the inside of the card, I stamped “happy birthday” from the Round We Go stamp set onto Basic White card using Gray Granite ink. I stamped the starry image three times over the top of the greeting using Pretty in Pink ink. I really love the different combinations you can achieve using this gorgeous bundle, don’t you.
Bye for now,
Kris
Product Used:


Happy Birthday
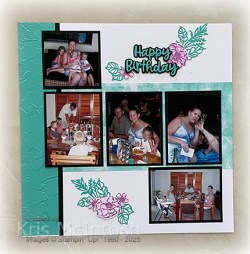
Today’s page shows off some photos from my eldest daughter’s birthday back in 2010. We celebrated with cake at my house in the morning and dinner at Hog’s Breath in the evening. I embossed strips of Summer Splash card using the Painted Texture 3D Embossing Folder. This folder is very forgiving and lets me emboss several times to cover the whole strip without looking “wrong”. I attached the embossed panels down the outside edges of Basic White 12″ x 12″ pages.

I attached pieces of Summer Splash patterned paper from the Unbounded Love 12″ x 12″ Designer Series Paper across the Basic White panels. I attached narrow strips of Basic Black card down the edges of the embossed card. Unfortunately at the moment we do not have 12″ x 12″ Basic Black card, so I needed to cut the narrow strips so that the cut sits behind one of the photos.
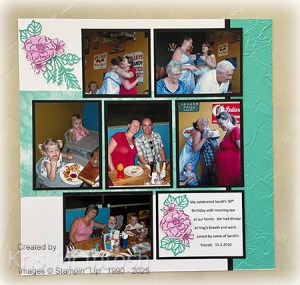
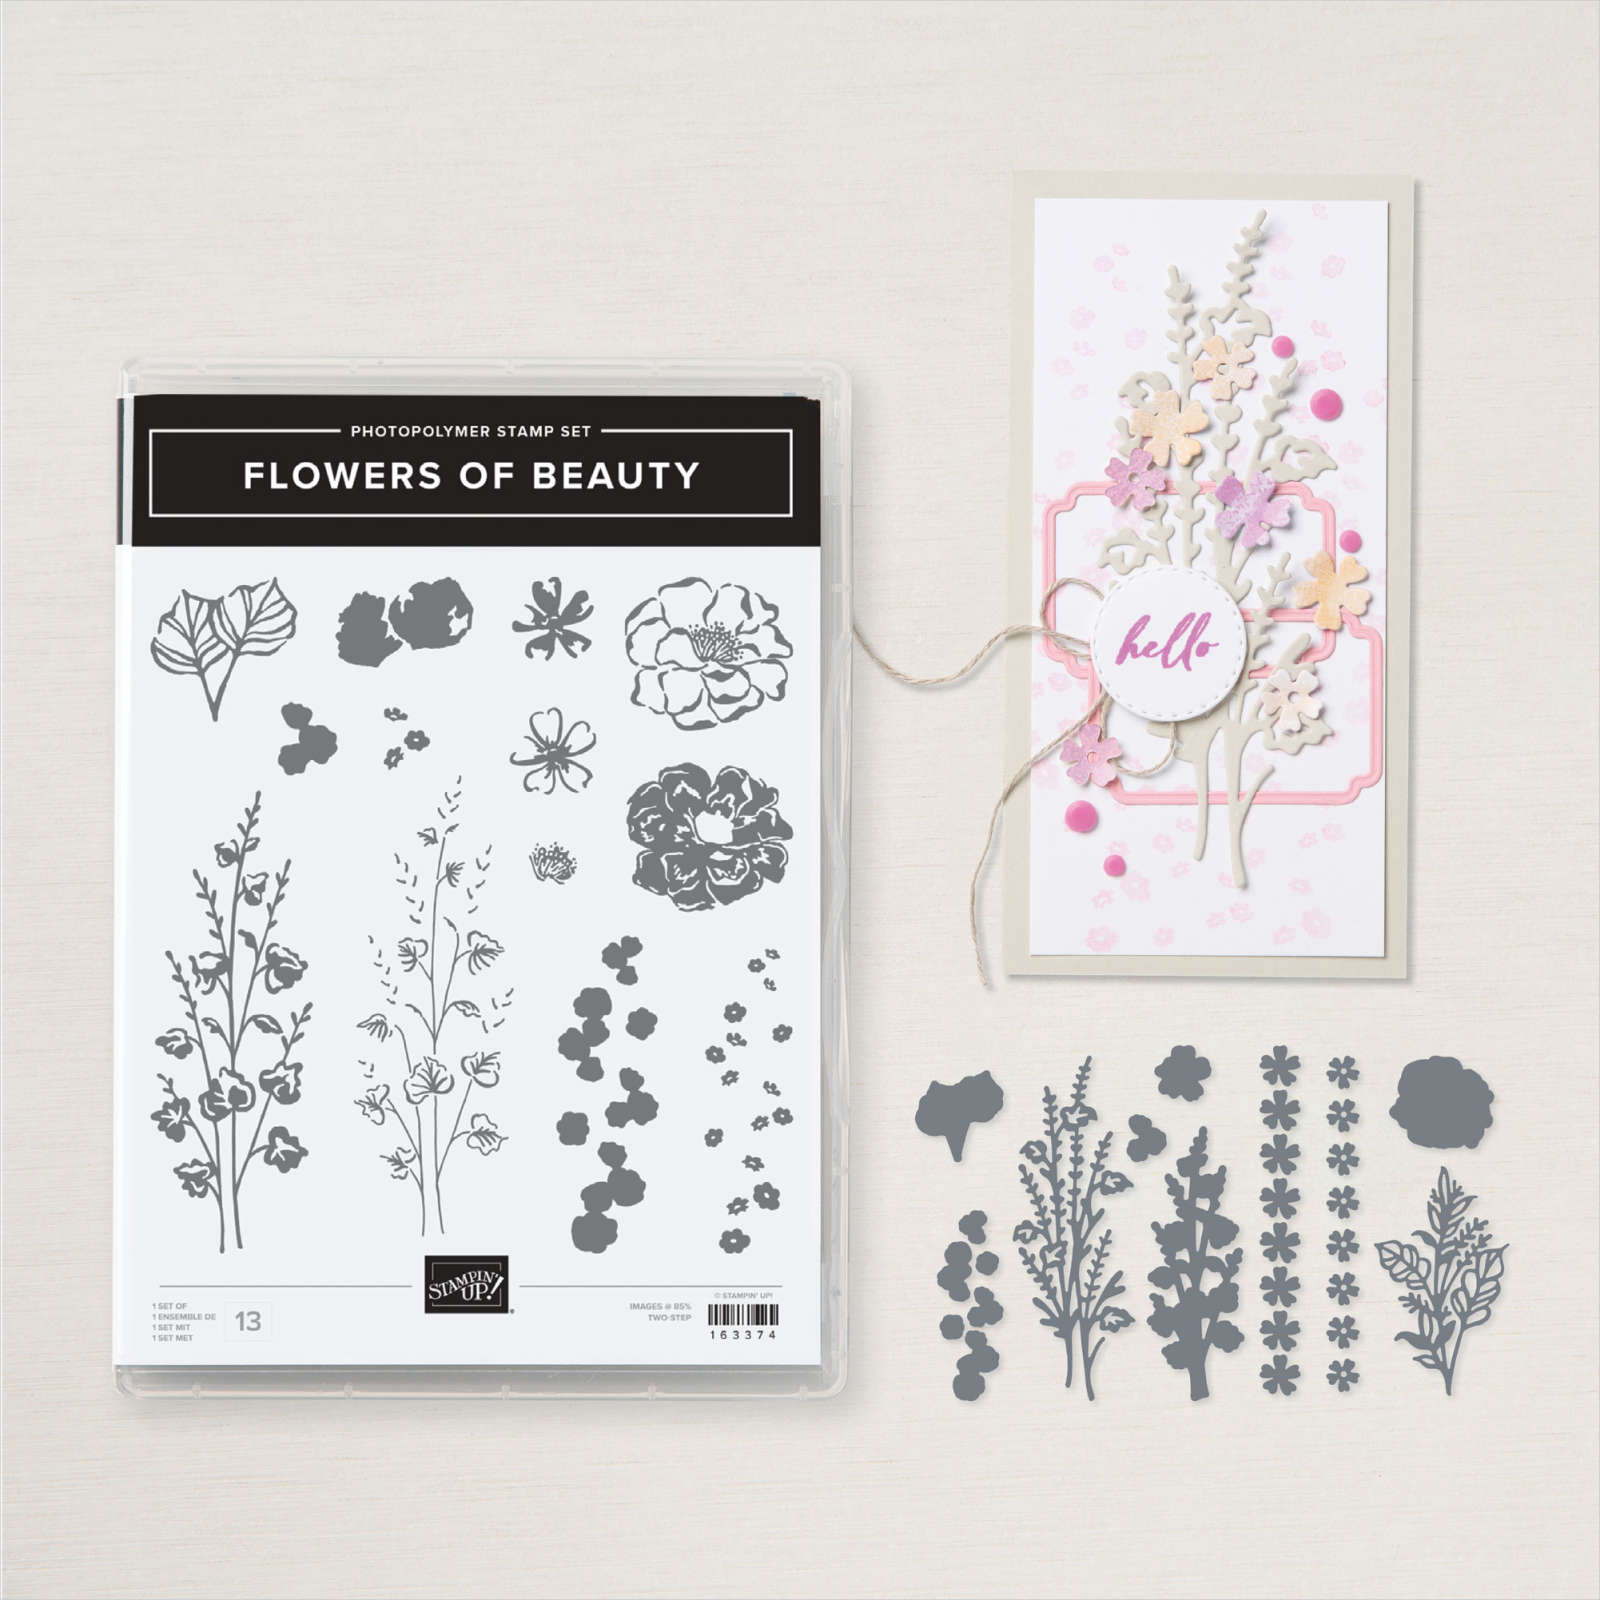
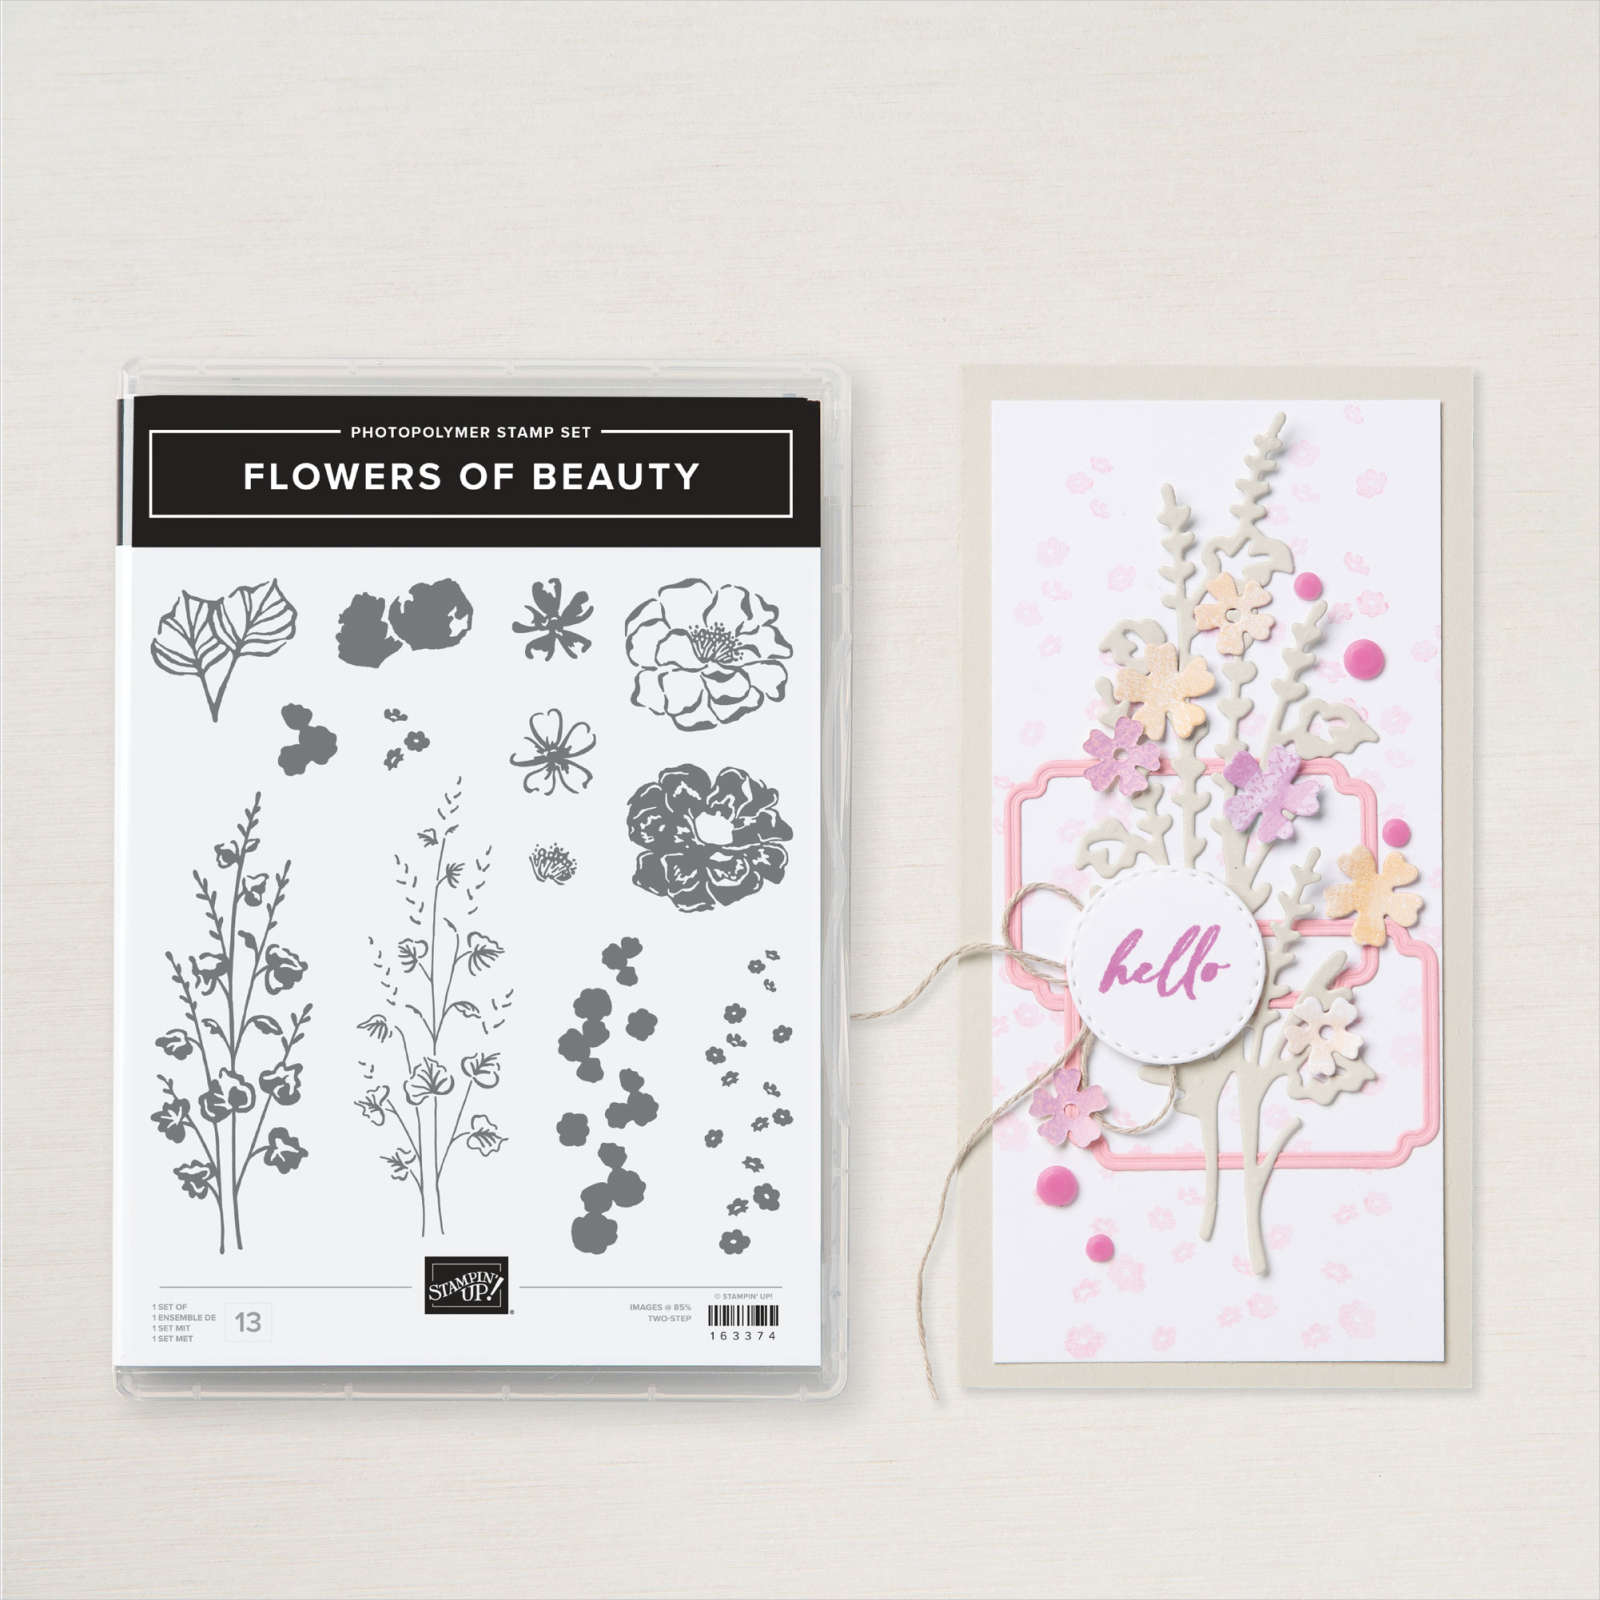
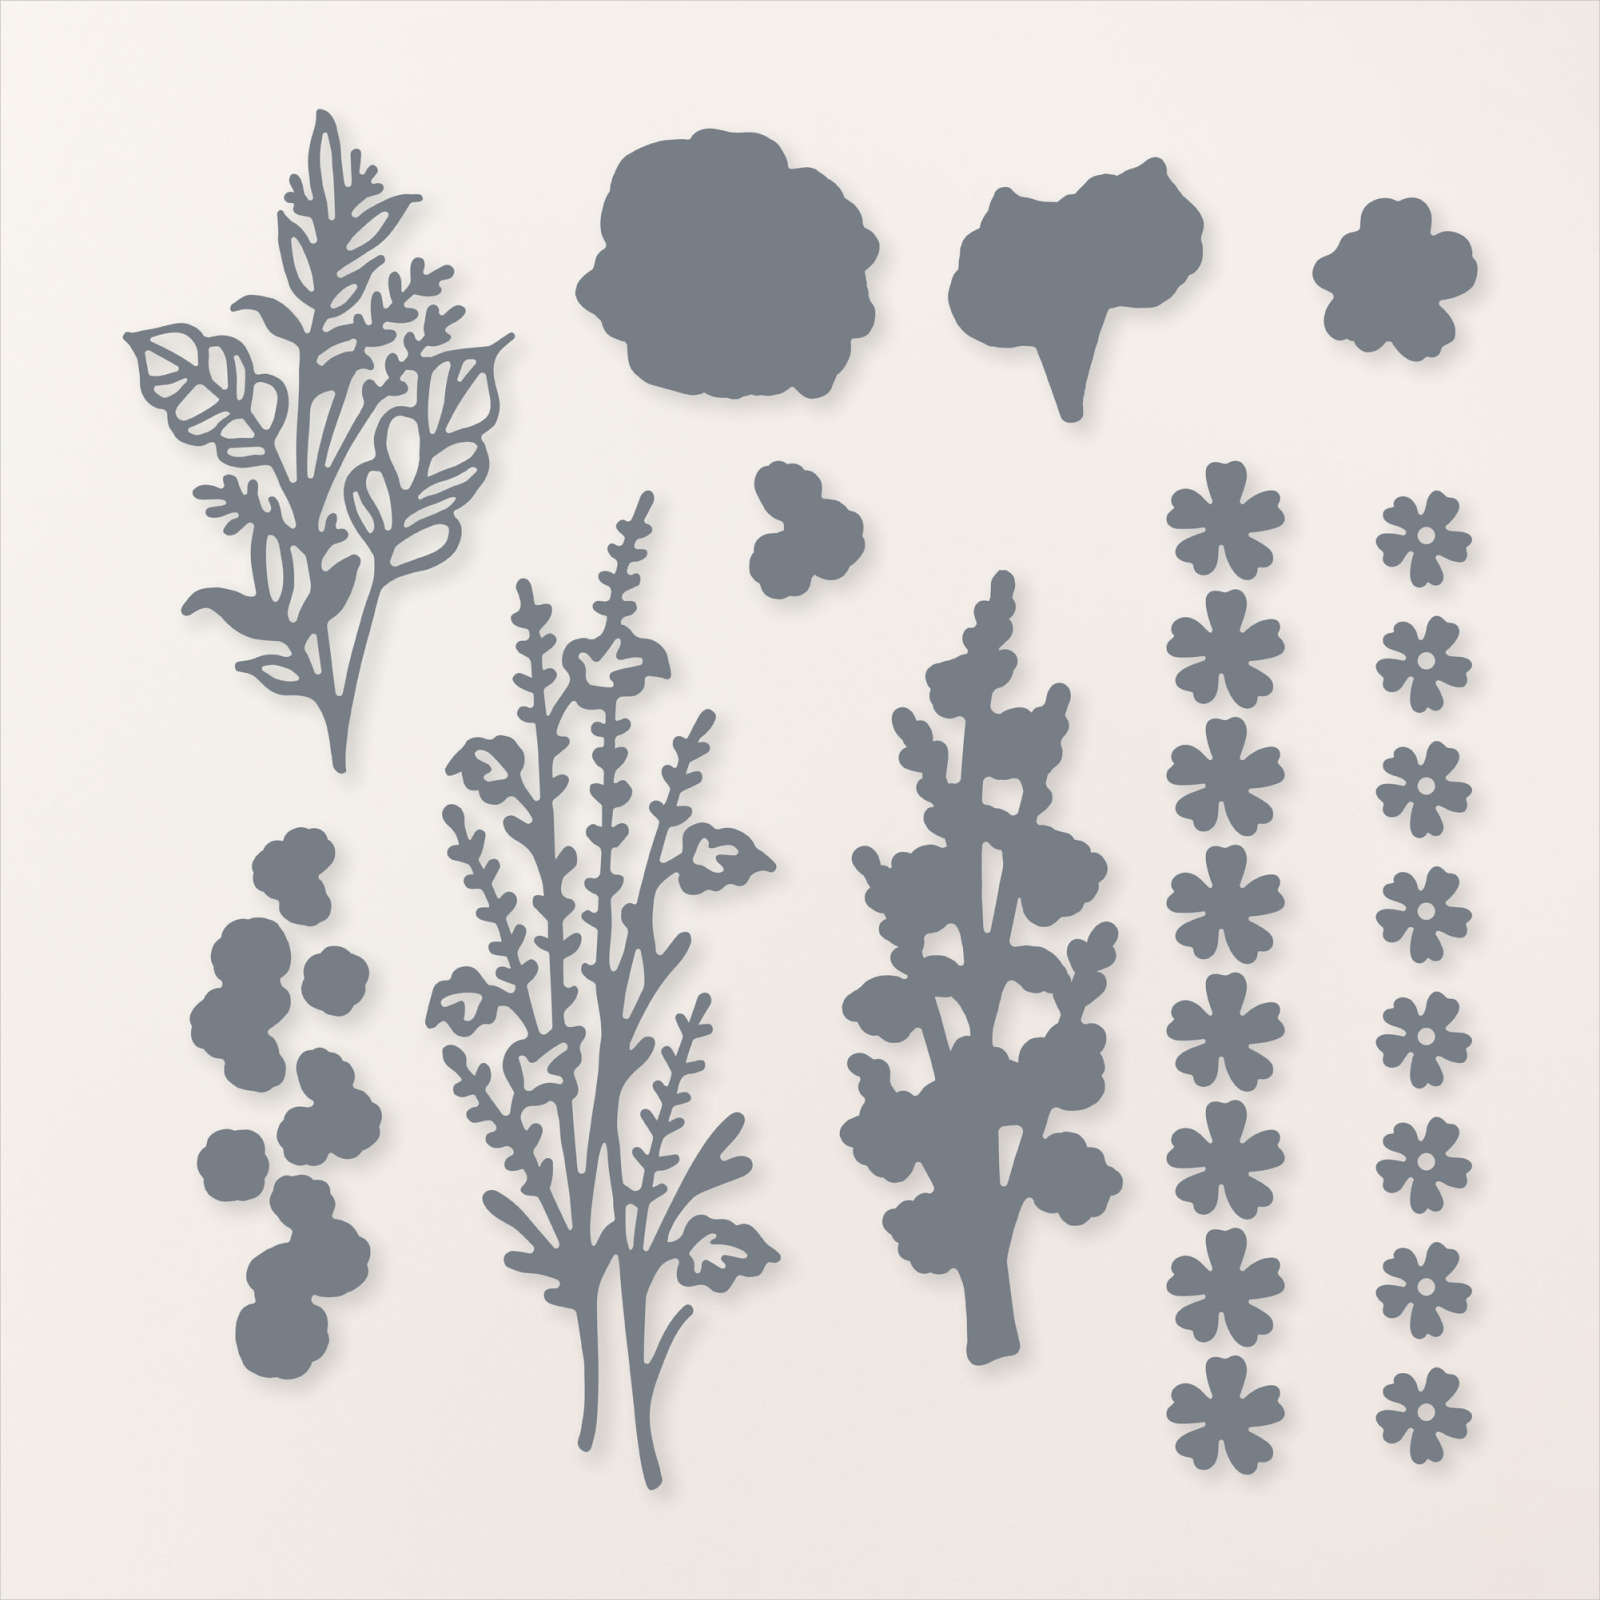
I attached all of my photos to Basic Black card before attaching them to the pages. I printed the journaling onto Basic White card and attached it to Basic Black card. I cut the title from Basic Black and Summer Splash card using the Wanted to Say Dies. I stamped several large outline flowers from the Flowers of Beauty stamp set onto Basic White card using Petunia Pop ink. I stamped the solid large flower image over the top using Petunia Pop ink which I stamped onto scrap paper first. I stamped several small flowers from the Flowers of Beauty stamp set in the same manner using the same ink. I die cut the large leaves from Summer Splash card using the large leafy die from the Flowers of Beauty Dies. The small leaves are cut from Summer Splash card using the Unbounded Love Die. I layered the leaves and flowers around the photos and title, some of the flowers are on diminsionals.

I love how pretty this page is, don’t you.
Bye for now,
Kris
Product Used: