Happy Birthday
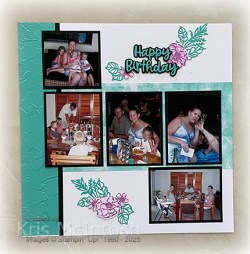
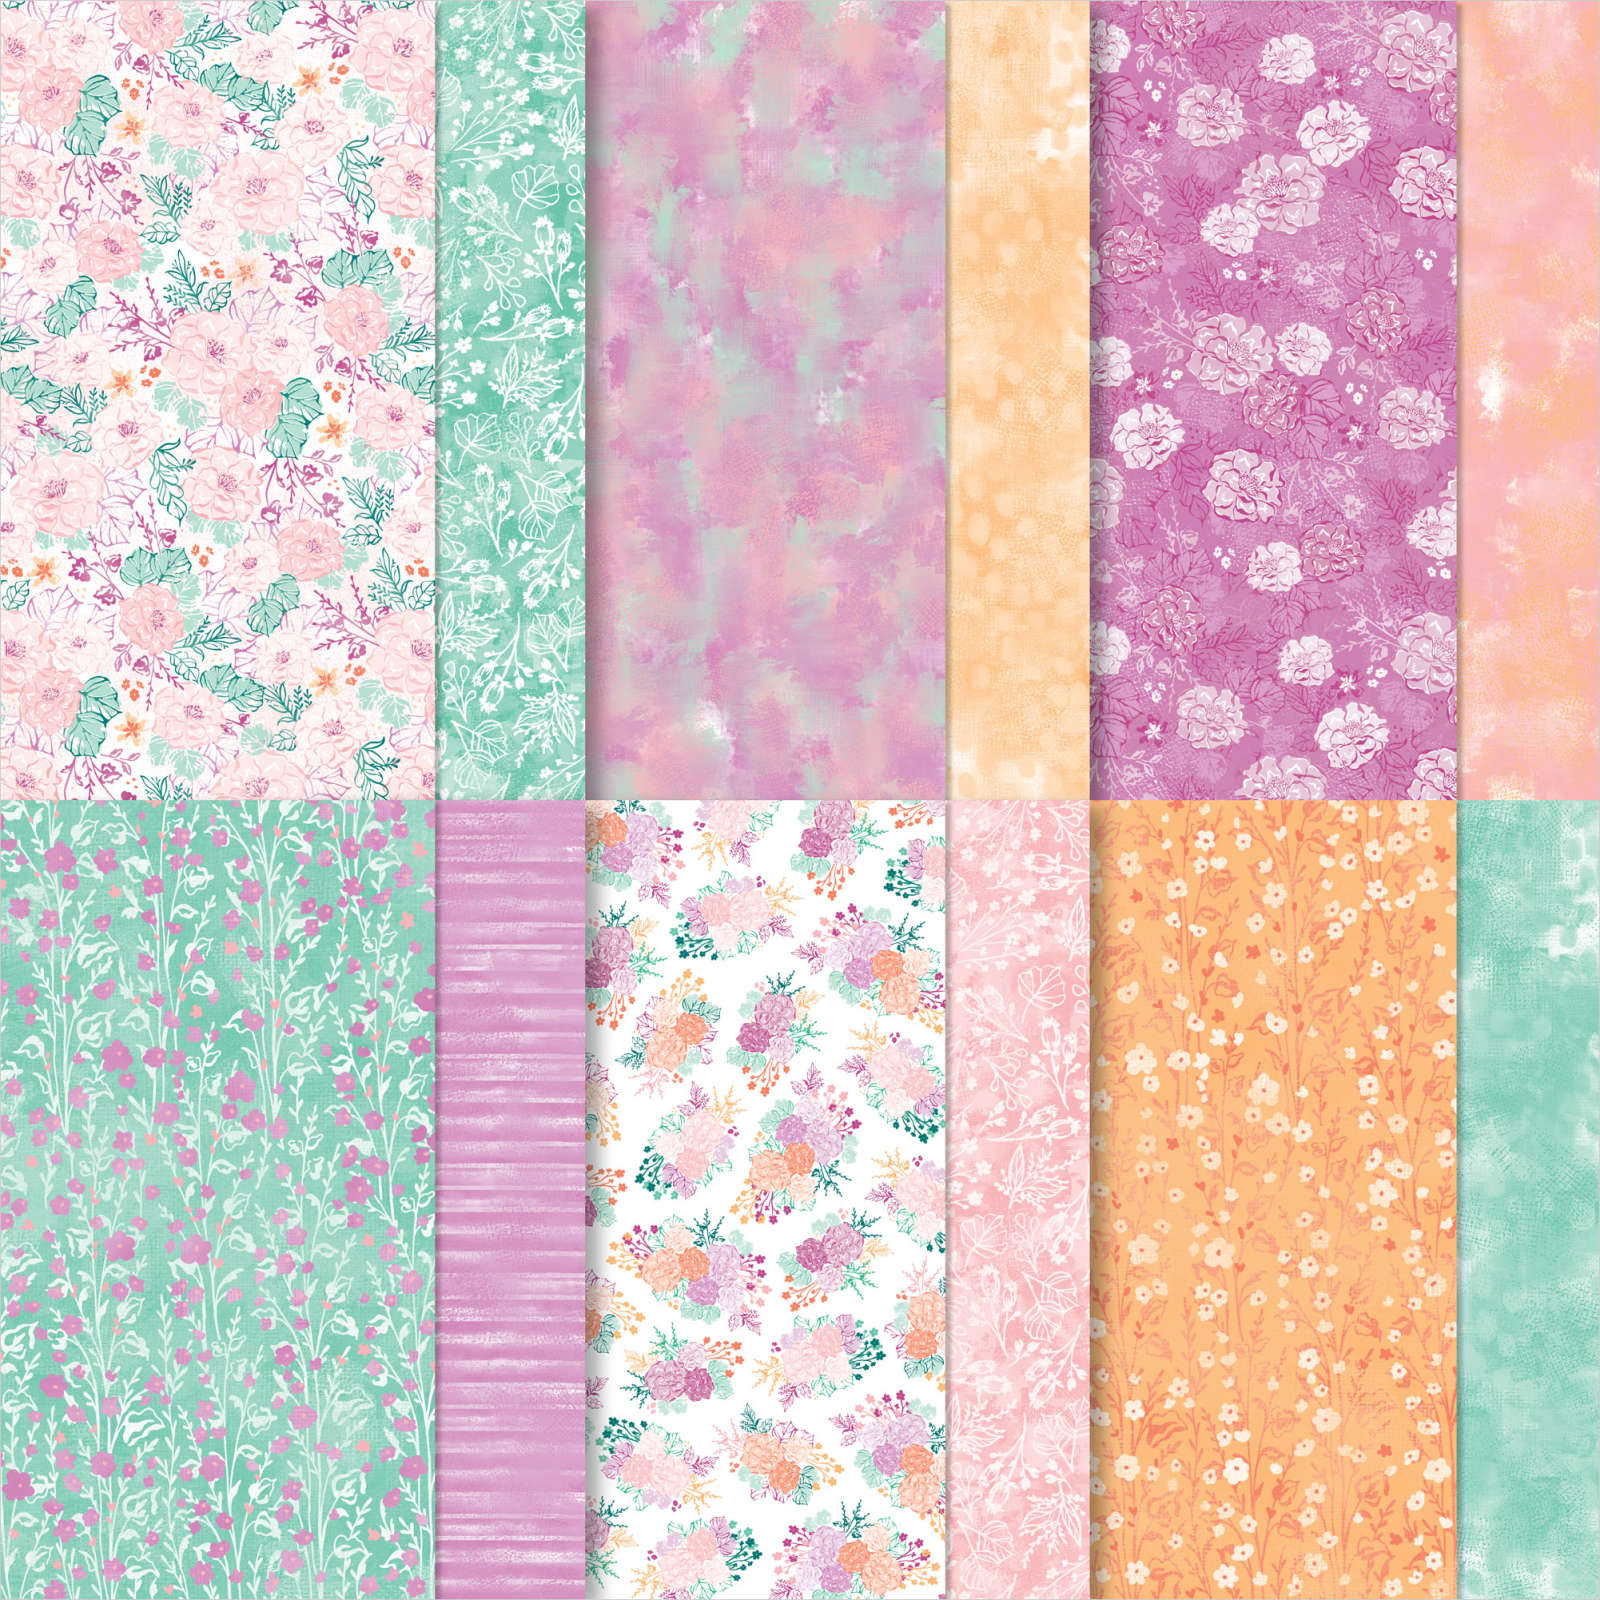
Today’s page shows off some photos from my eldest daughter’s birthday back in 2010. We celebrated with cake at my house in the morning and dinner at Hog’s Breath in the evening. I embossed strips of Summer Splash card using the Painted Texture 3D Embossing Folder. This folder is very forgiving and lets me emboss several times to cover the whole strip without looking “wrong”. I attached the embossed panels down the outside edges of Basic White 12″ x 12″ pages.

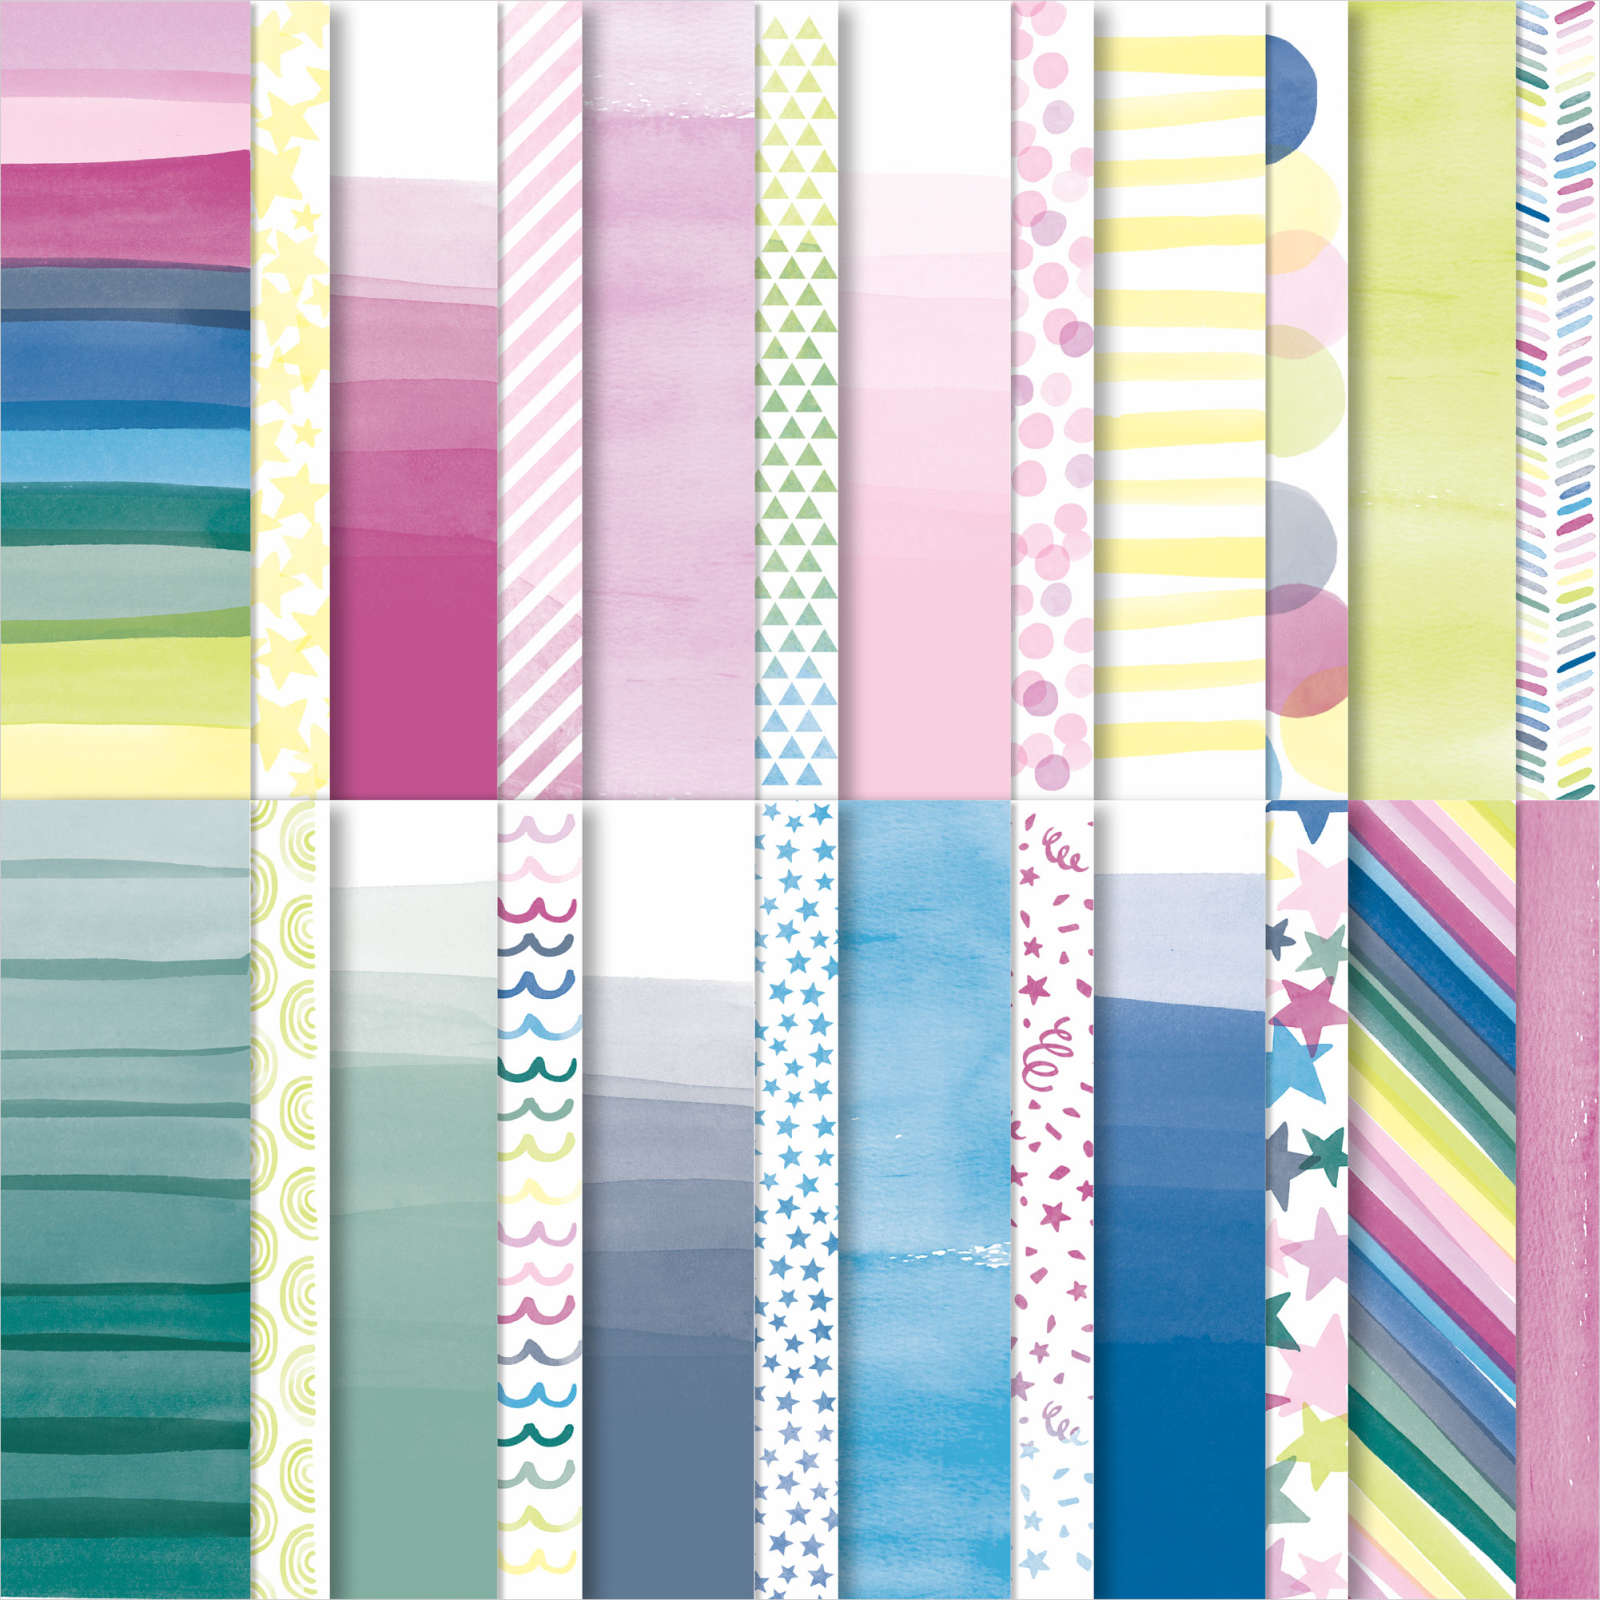
I attached pieces of Summer Splash patterned paper from the Unbounded Love 12″ x 12″ Designer Series Paper across the Basic White panels. I attached narrow strips of Basic Black card down the edges of the embossed card. Unfortunately at the moment we do not have 12″ x 12″ Basic Black card, so I needed to cut the narrow strips so that the cut sits behind one of the photos.
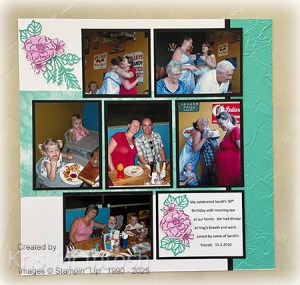
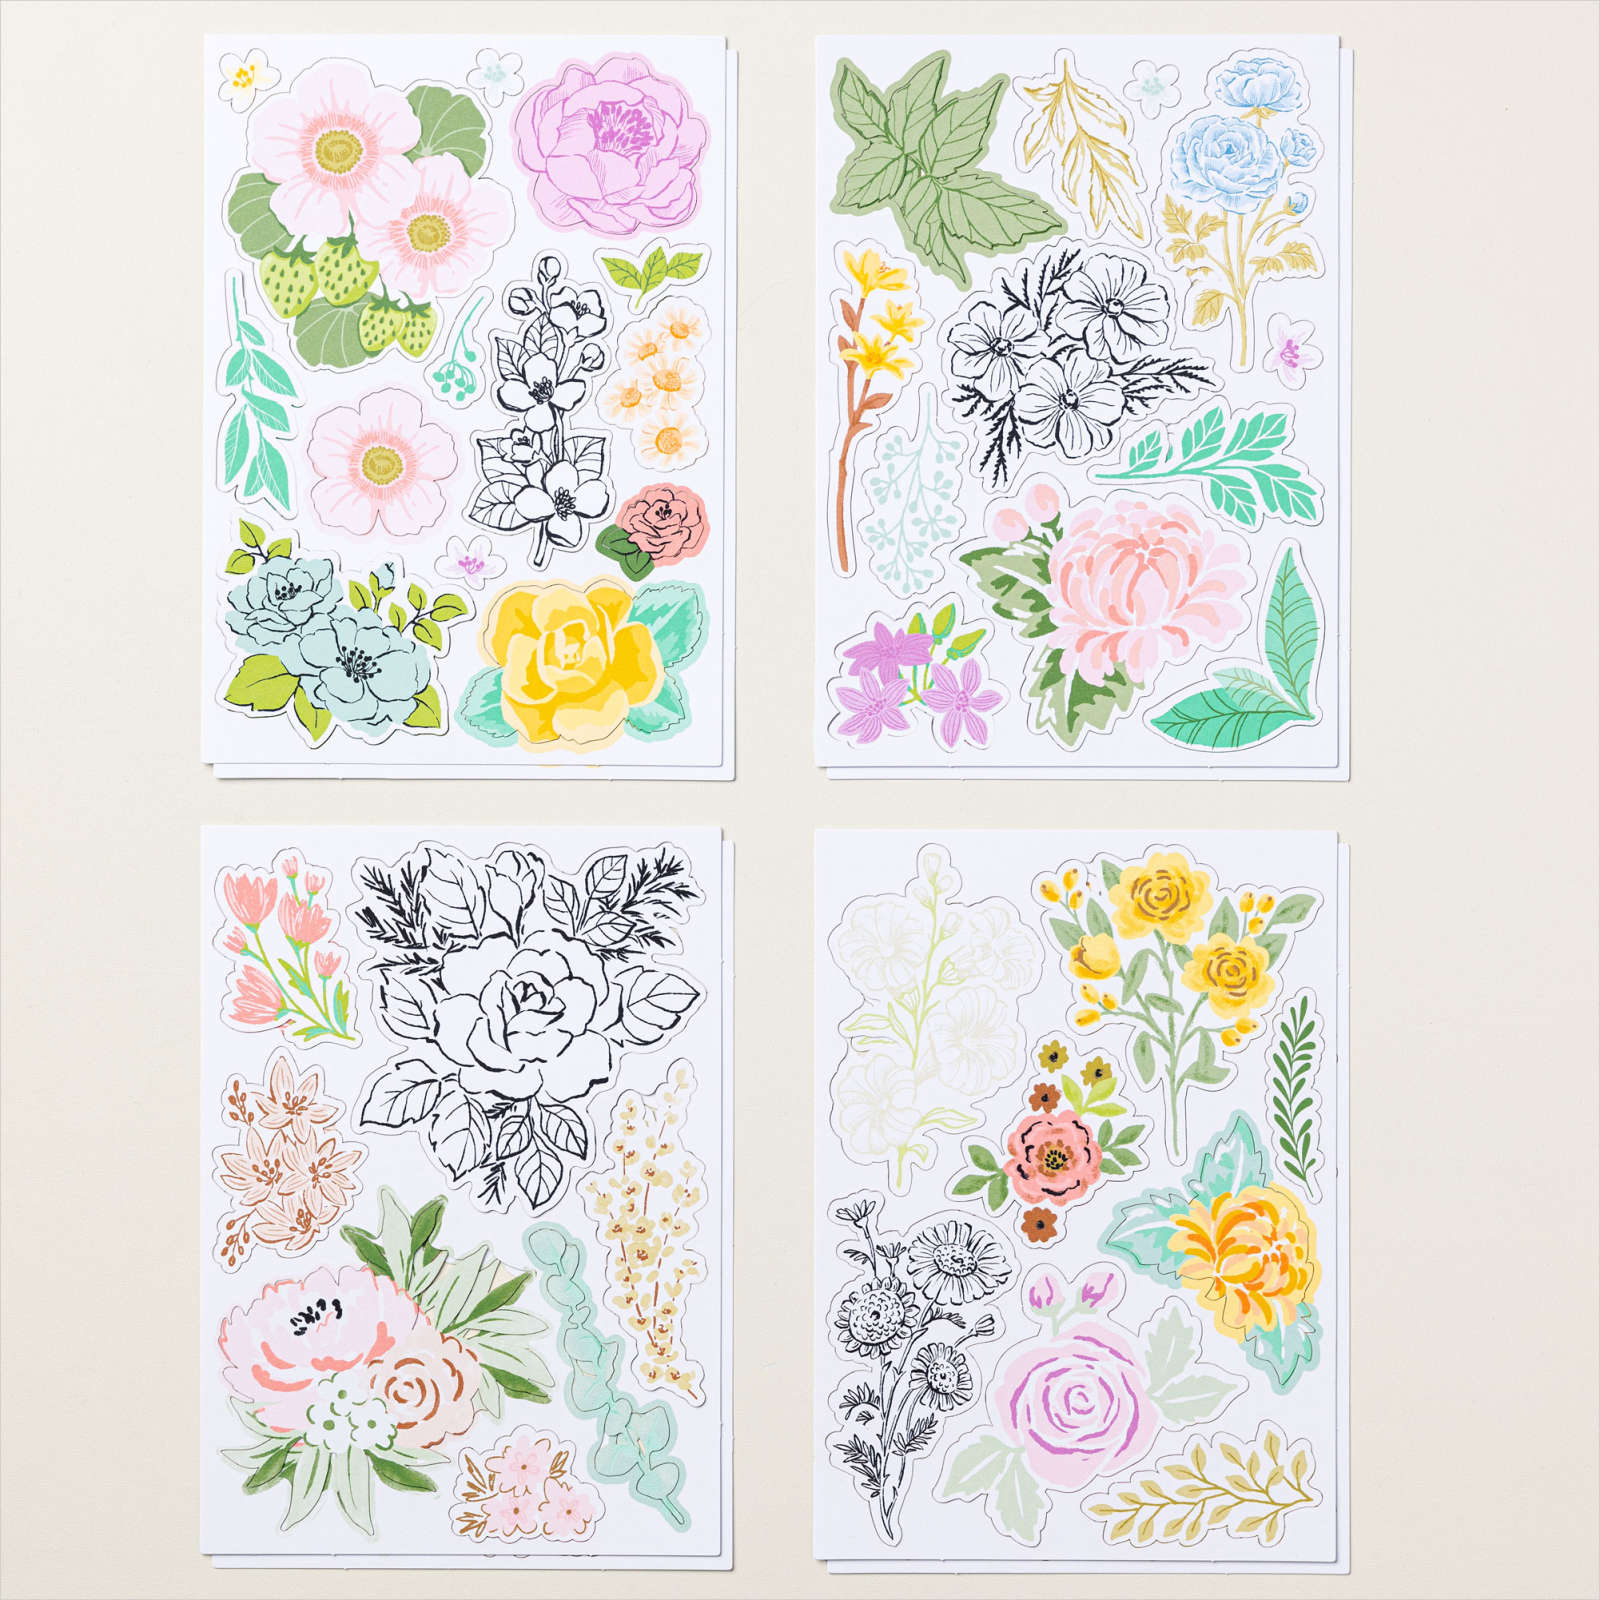
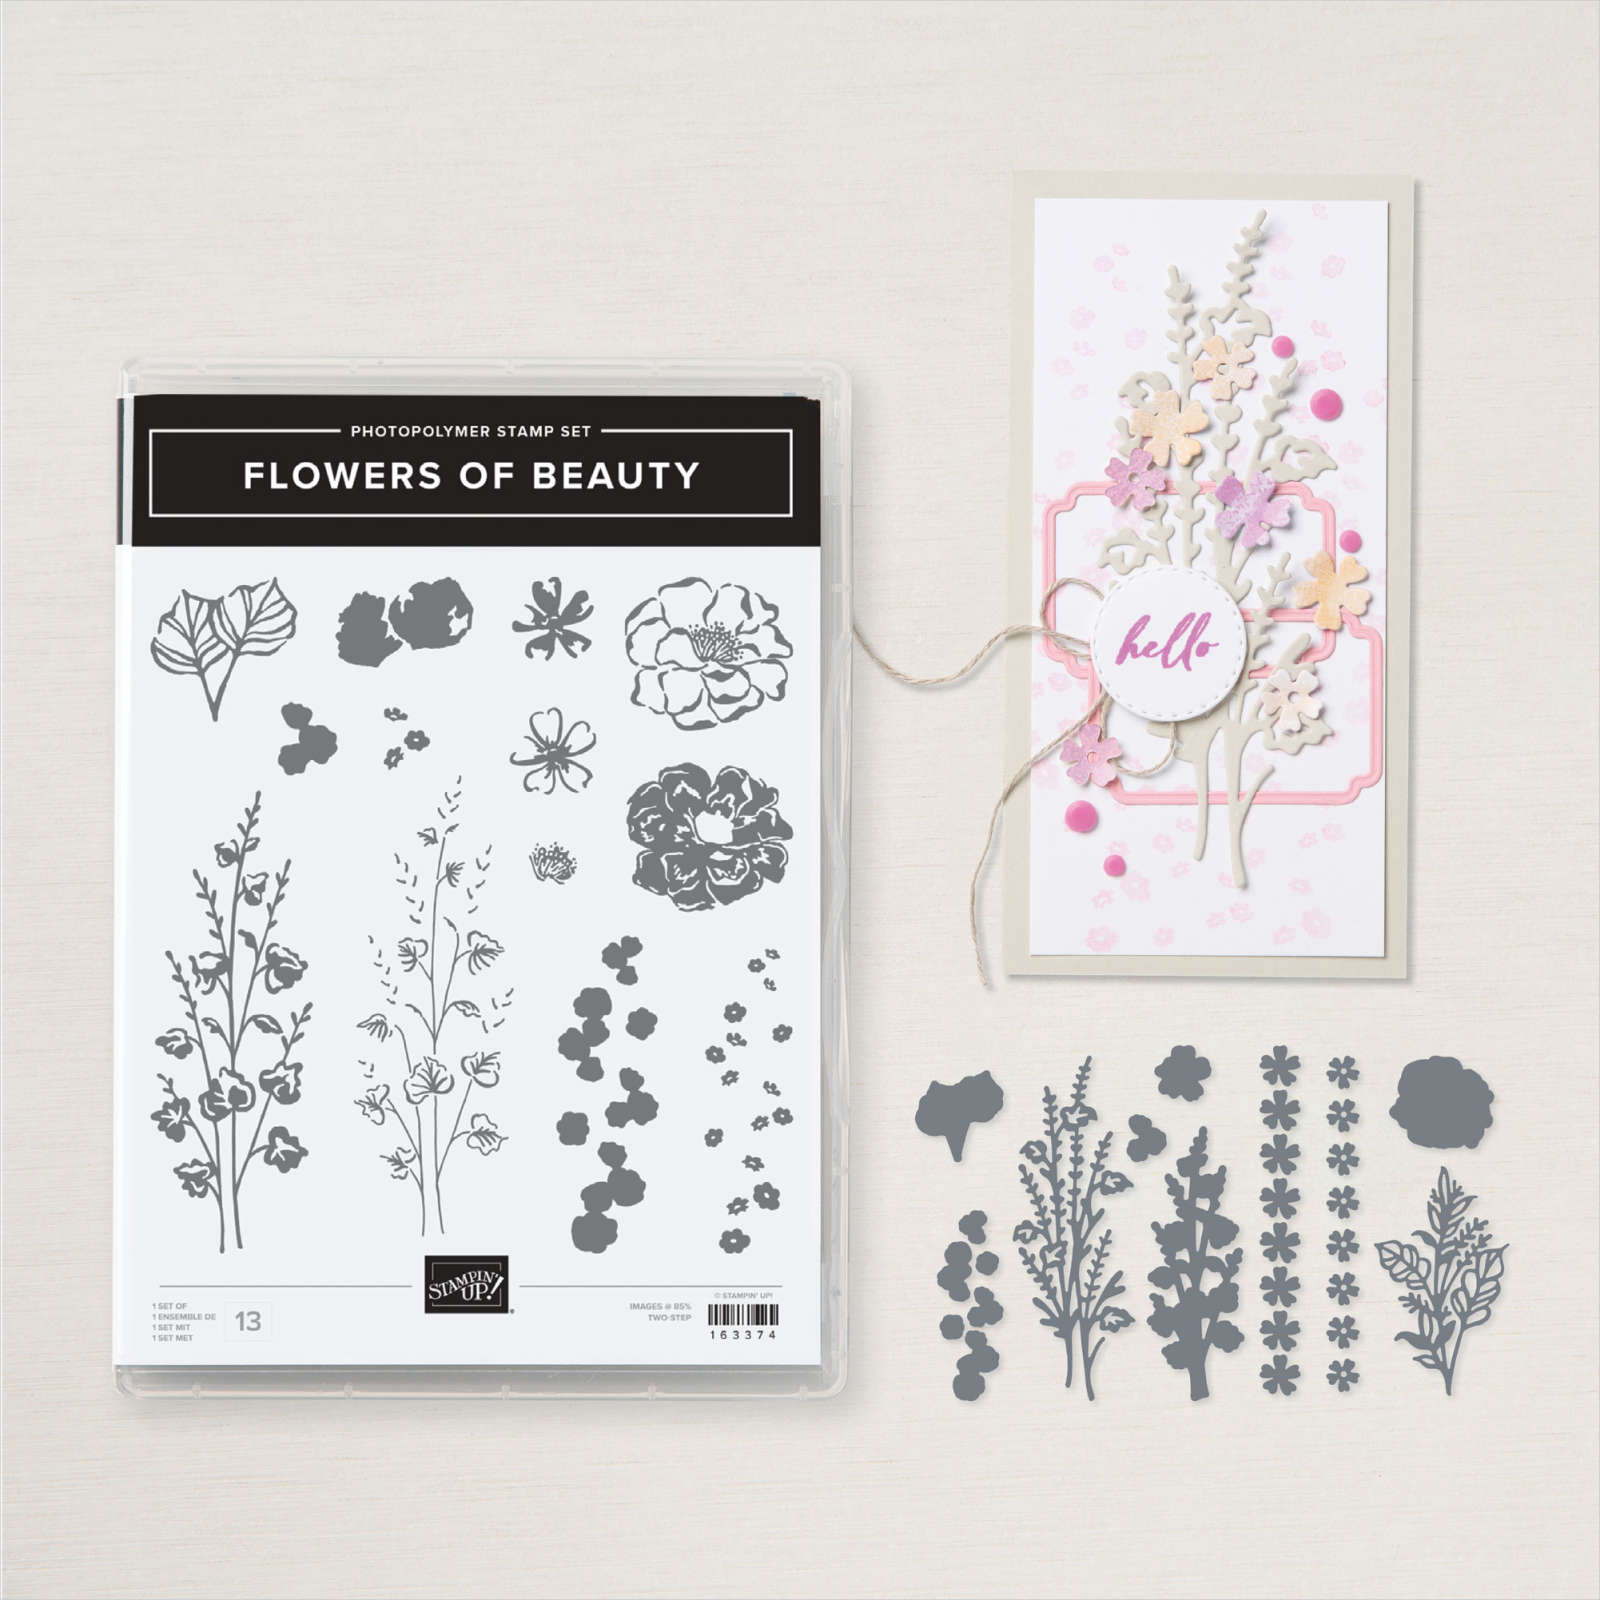
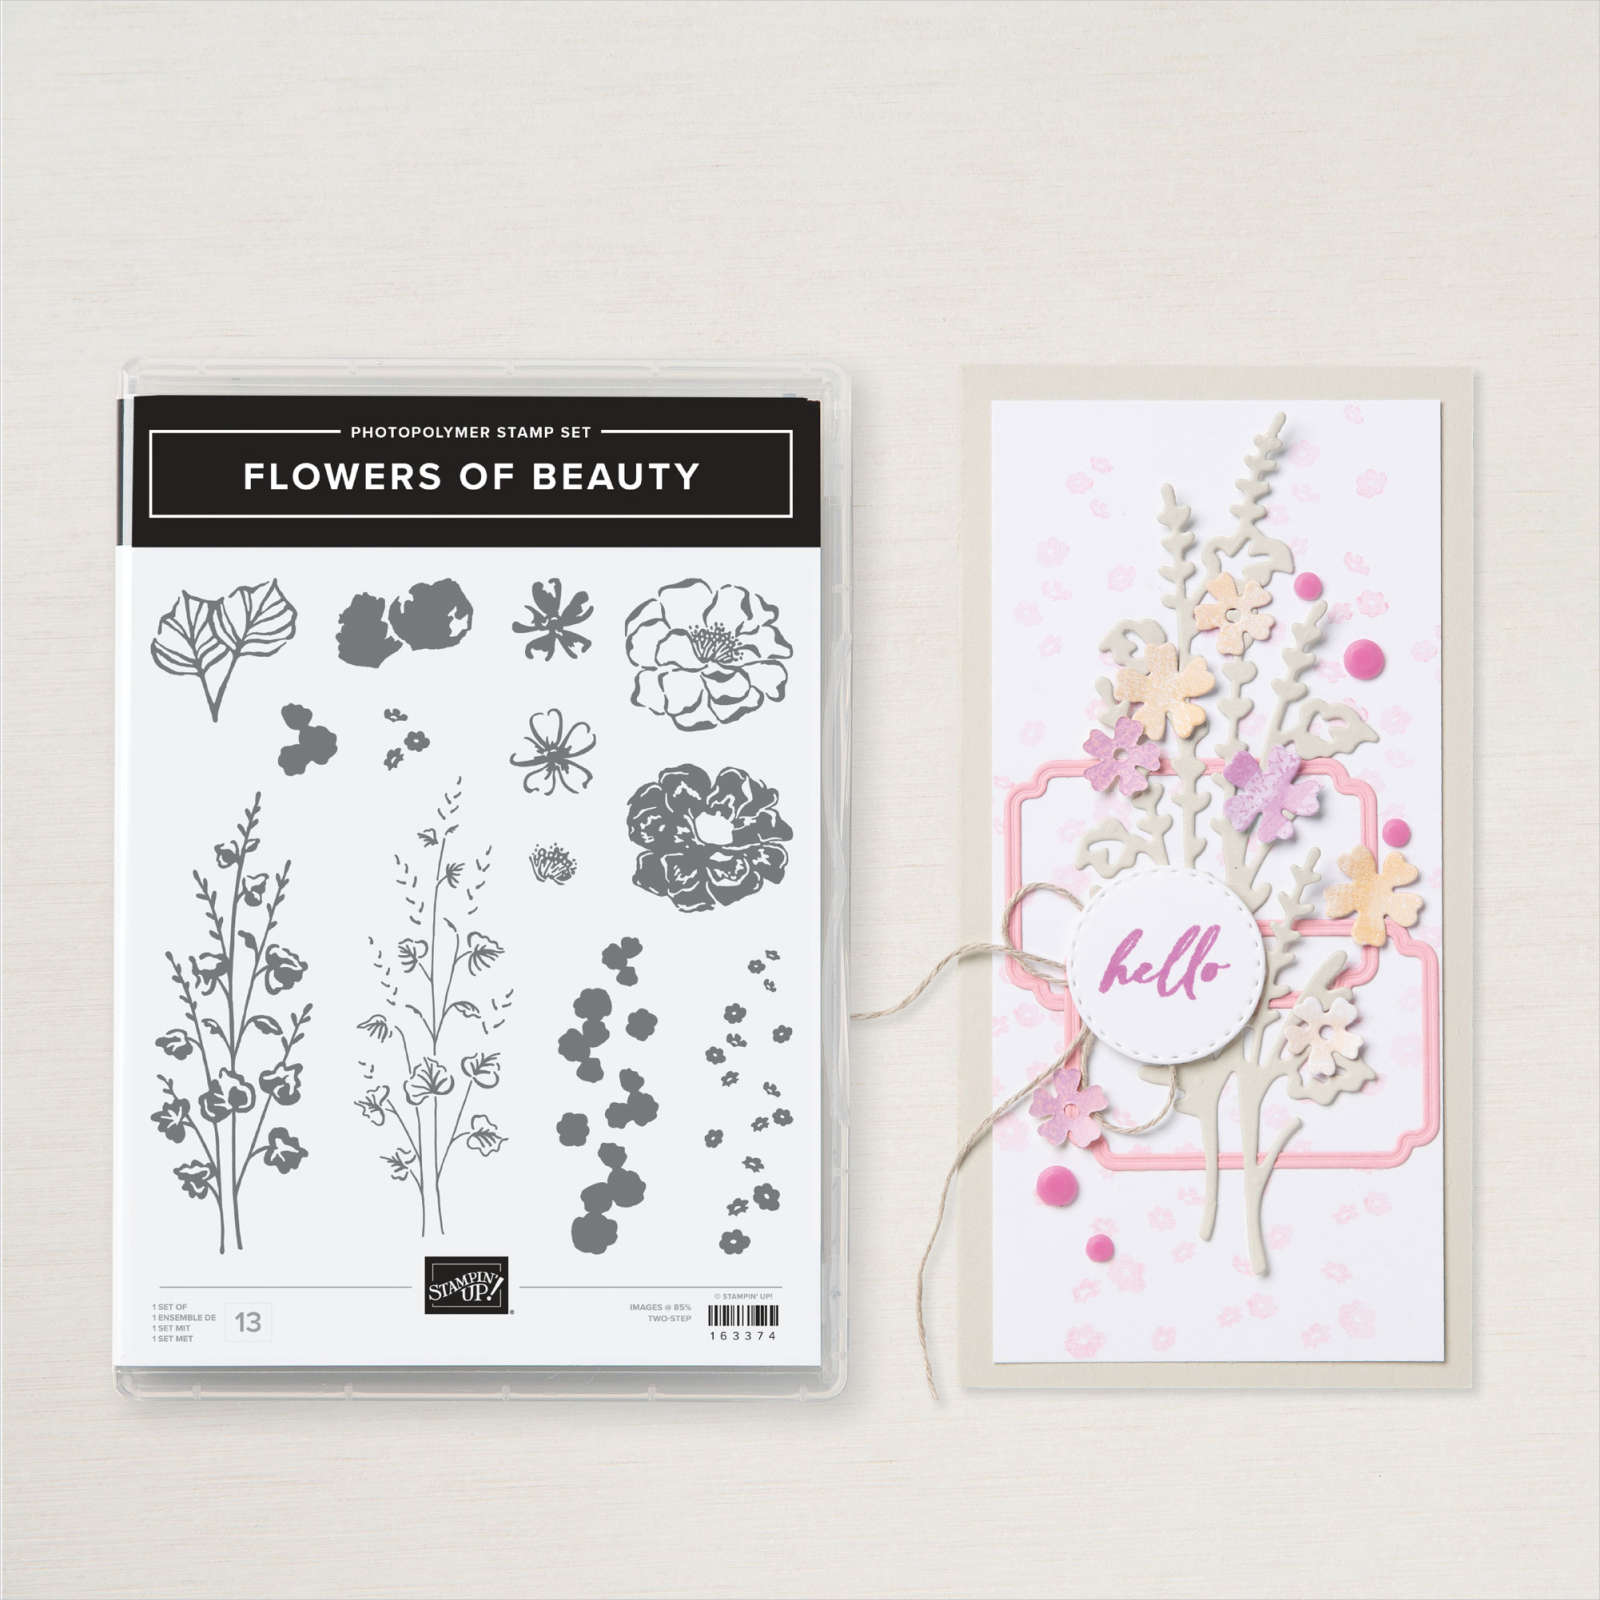
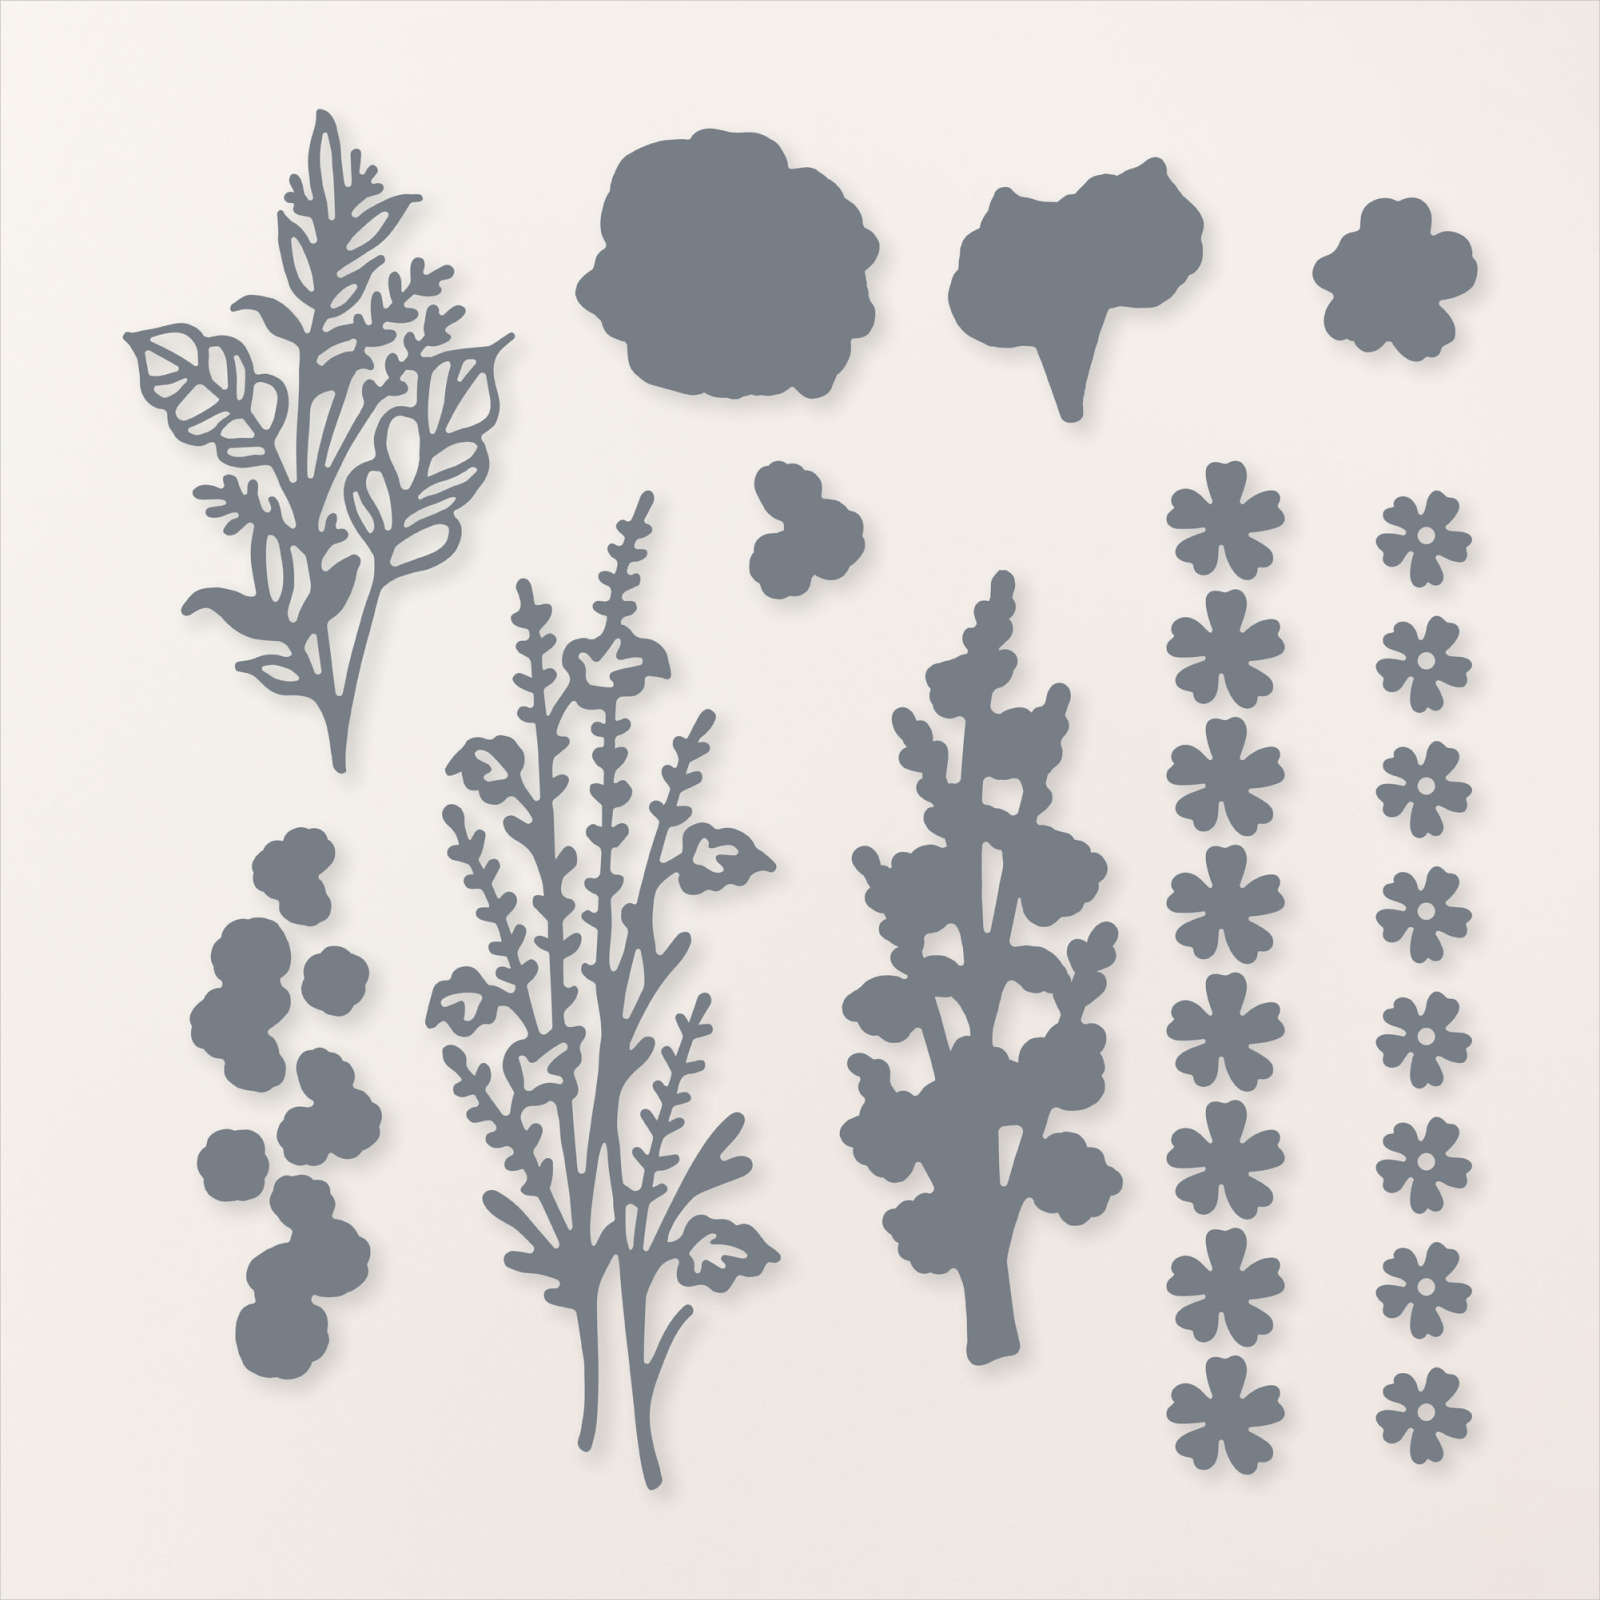
I attached all of my photos to Basic Black card before attaching them to the pages. I printed the journaling onto Basic White card and attached it to Basic Black card. I cut the title from Basic Black and Summer Splash card using the Wanted to Say Dies. I stamped several large outline flowers from the Flowers of Beauty stamp set onto Basic White card using Petunia Pop ink. I stamped the solid large flower image over the top using Petunia Pop ink which I stamped onto scrap paper first. I stamped several small flowers from the Flowers of Beauty stamp set in the same manner using the same ink. I die cut the large leaves from Summer Splash card using the large leafy die from the Flowers of Beauty Dies. The small leaves are cut from Summer Splash card using the Unbounded Love Die. I layered the leaves and flowers around the photos and title, some of the flowers are on diminsionals.

I love how pretty this page is, don’t you.
Bye for now,
Kris
Product Used:


Garden Birthday
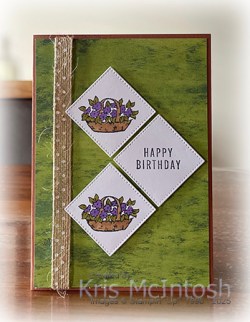
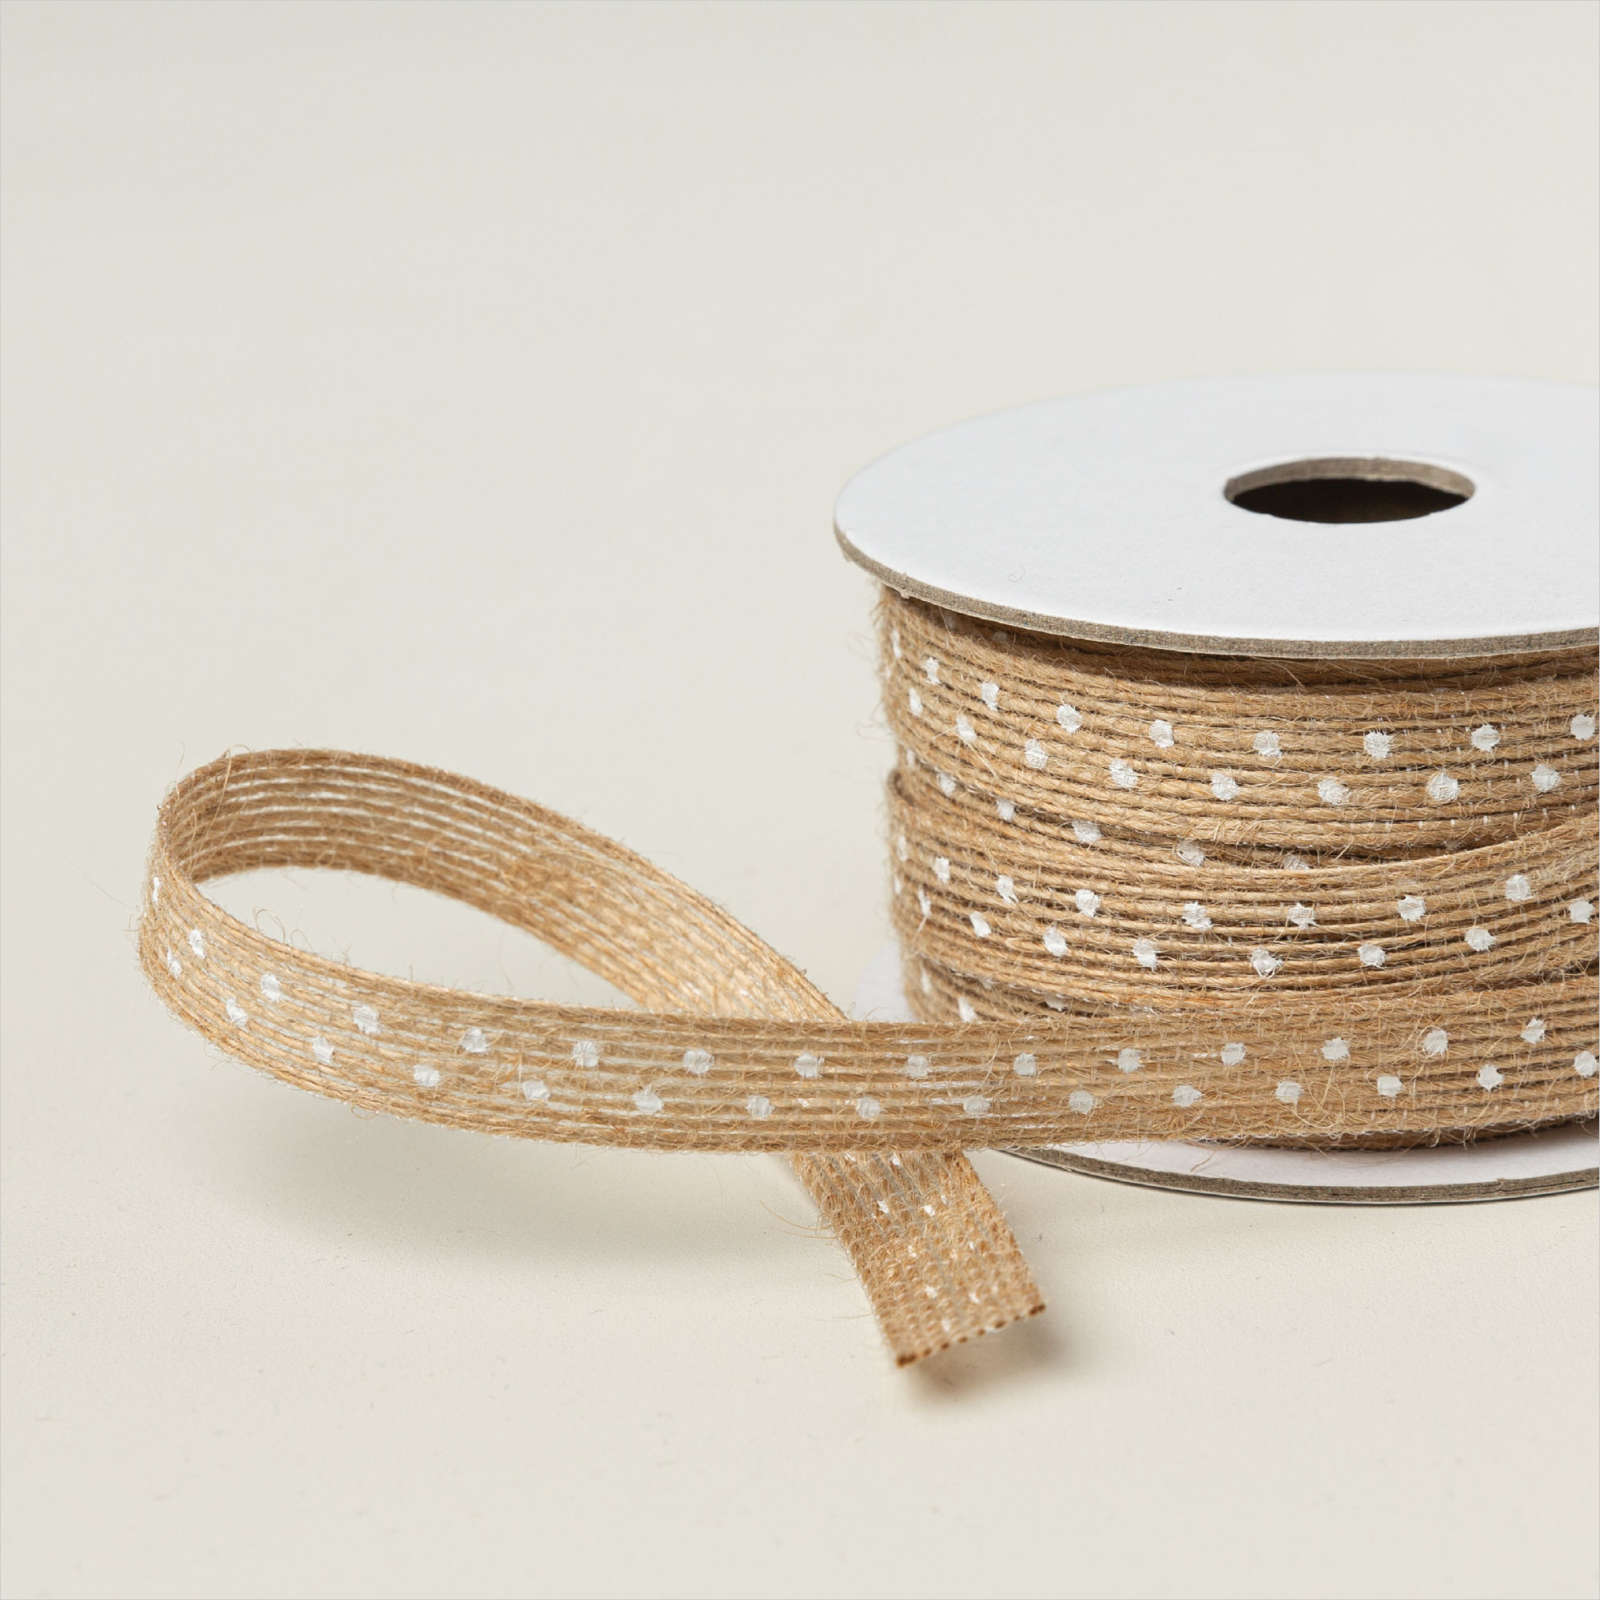
I pulled out the Garden Meadow stamp set to create today’s card. I have been playing around with a few card sketches using small squares and I decided to use one of them again. For this card I wrapped a length of Natural Polka Dot Trim across the left hand side of a piece of Meandering Meadows 6″ x 6″ Designer Series Paper. The whole panel is attached to scored and folded Pecan Pie card.
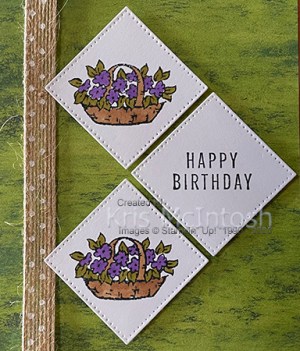
I cut Basic White card using the 2nd largest square from the Stylish Shapes Dies and stamped “happy birthday” from the Translucent Florals stamp set onto one of them using Memento Tuxedo Black ink. I stamped the basket of flowers image from the Garden Meadow stamp set onto the other two squares using Memento Tuxedo Black ink.
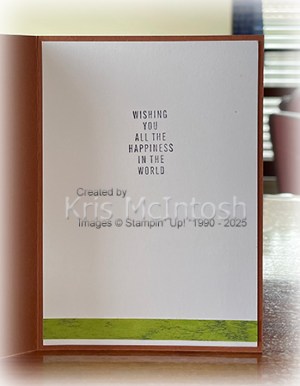
I coloured the images using Dark Highland Heather, Dark Granny Apple Green and Light Pecan Pie Stampin’ Blends. The squares are attached to the card front using dimensionals. To decorate the inside of the card, I stamped the greeting from the Translucent Florals stamp set onto Basic White card using Memento Tuxedo Black ink. I attached a piece of the Meandering Meadows Designer Series Paper across the bottom of the stamped card. Such a simple card to create and quite pretty don’t you think?
Bye for now,
Kris
Product Used:


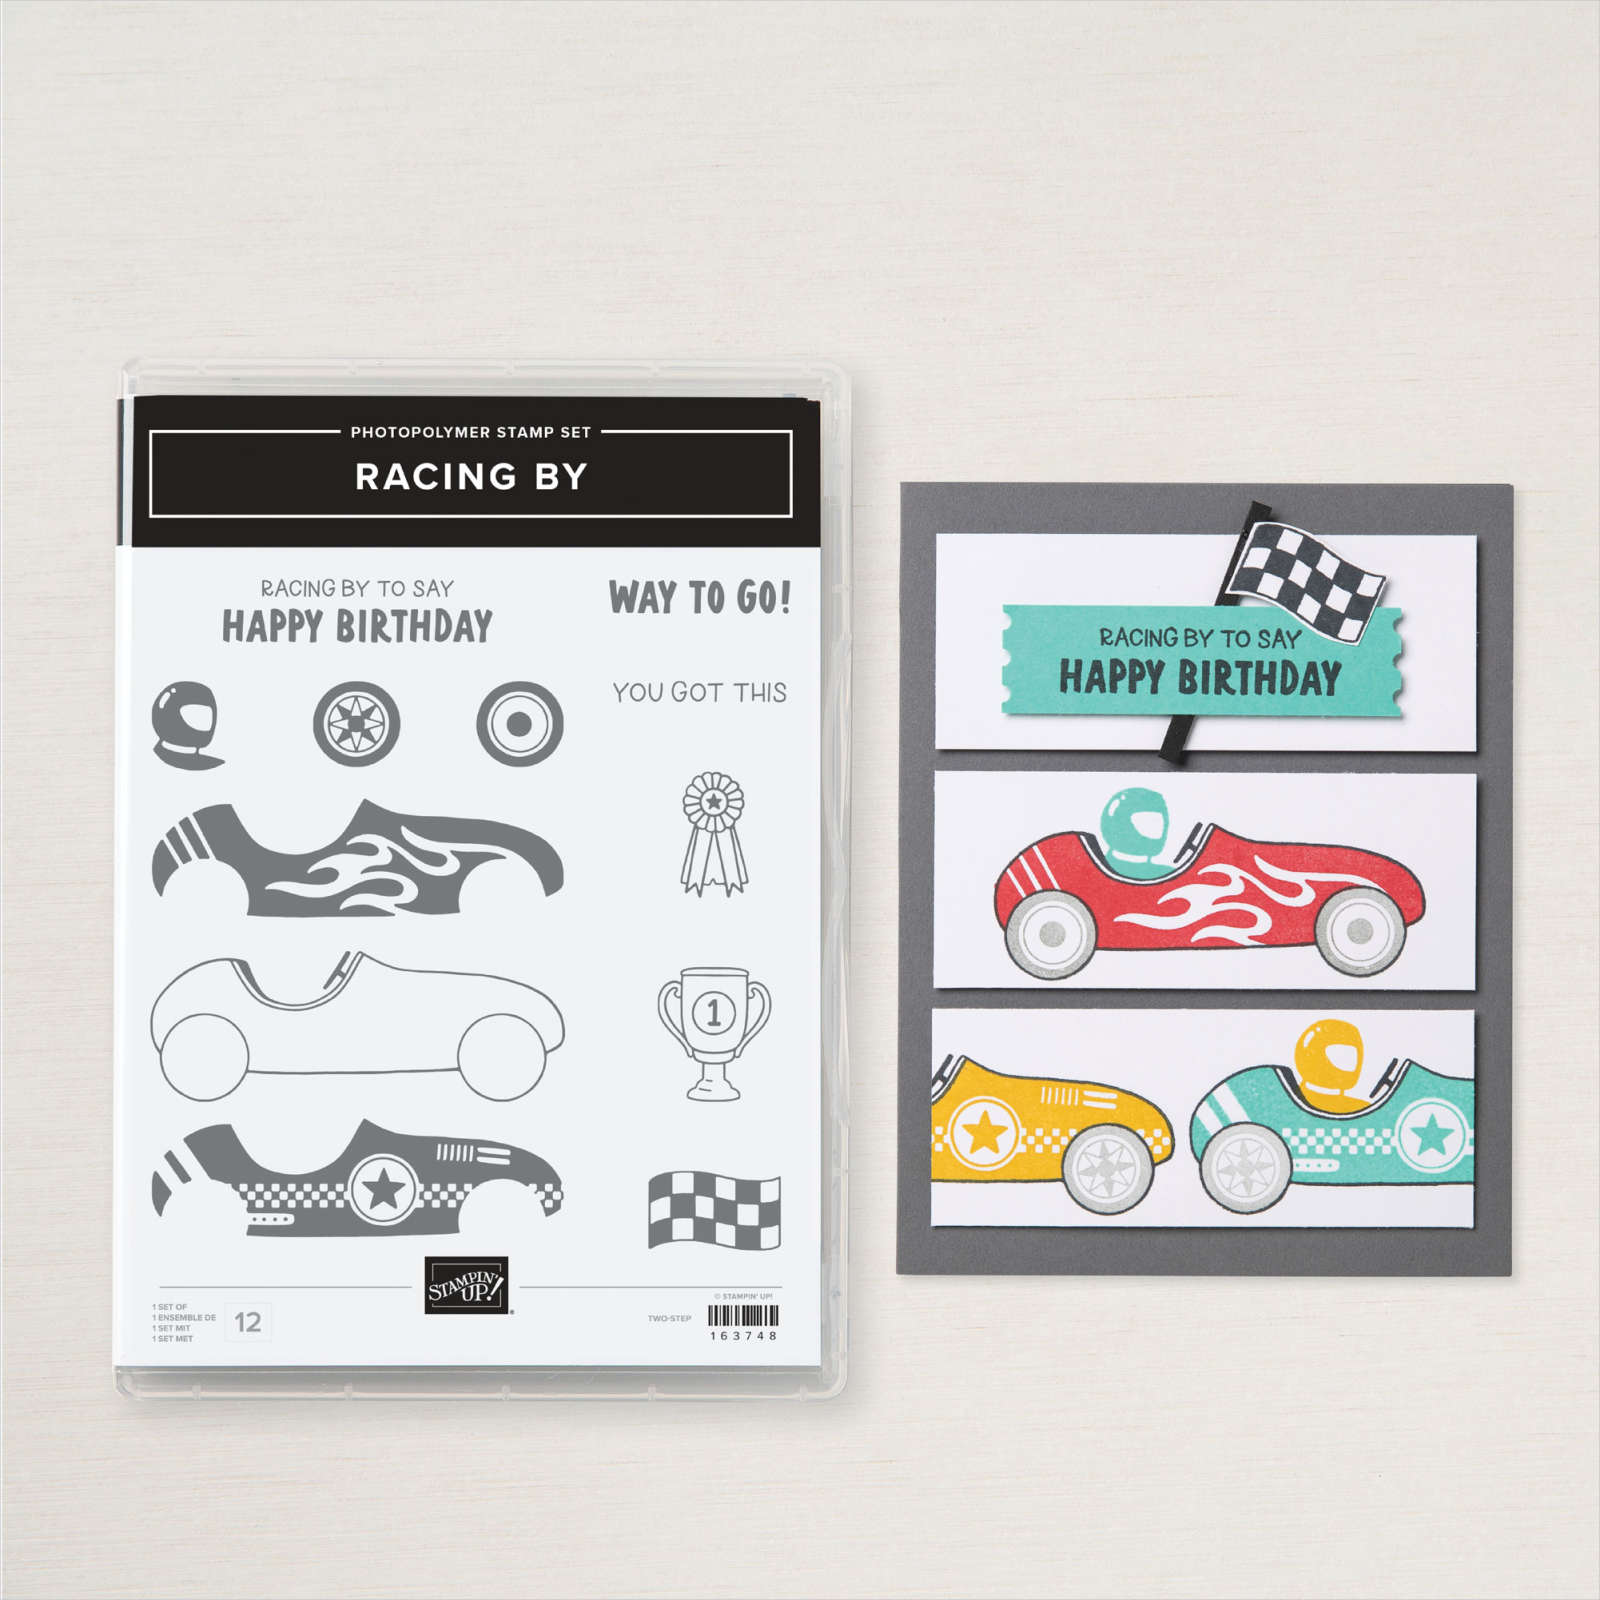
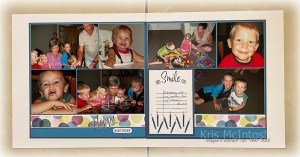
Racing Birthday
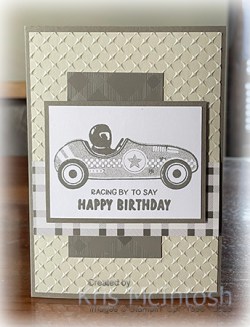
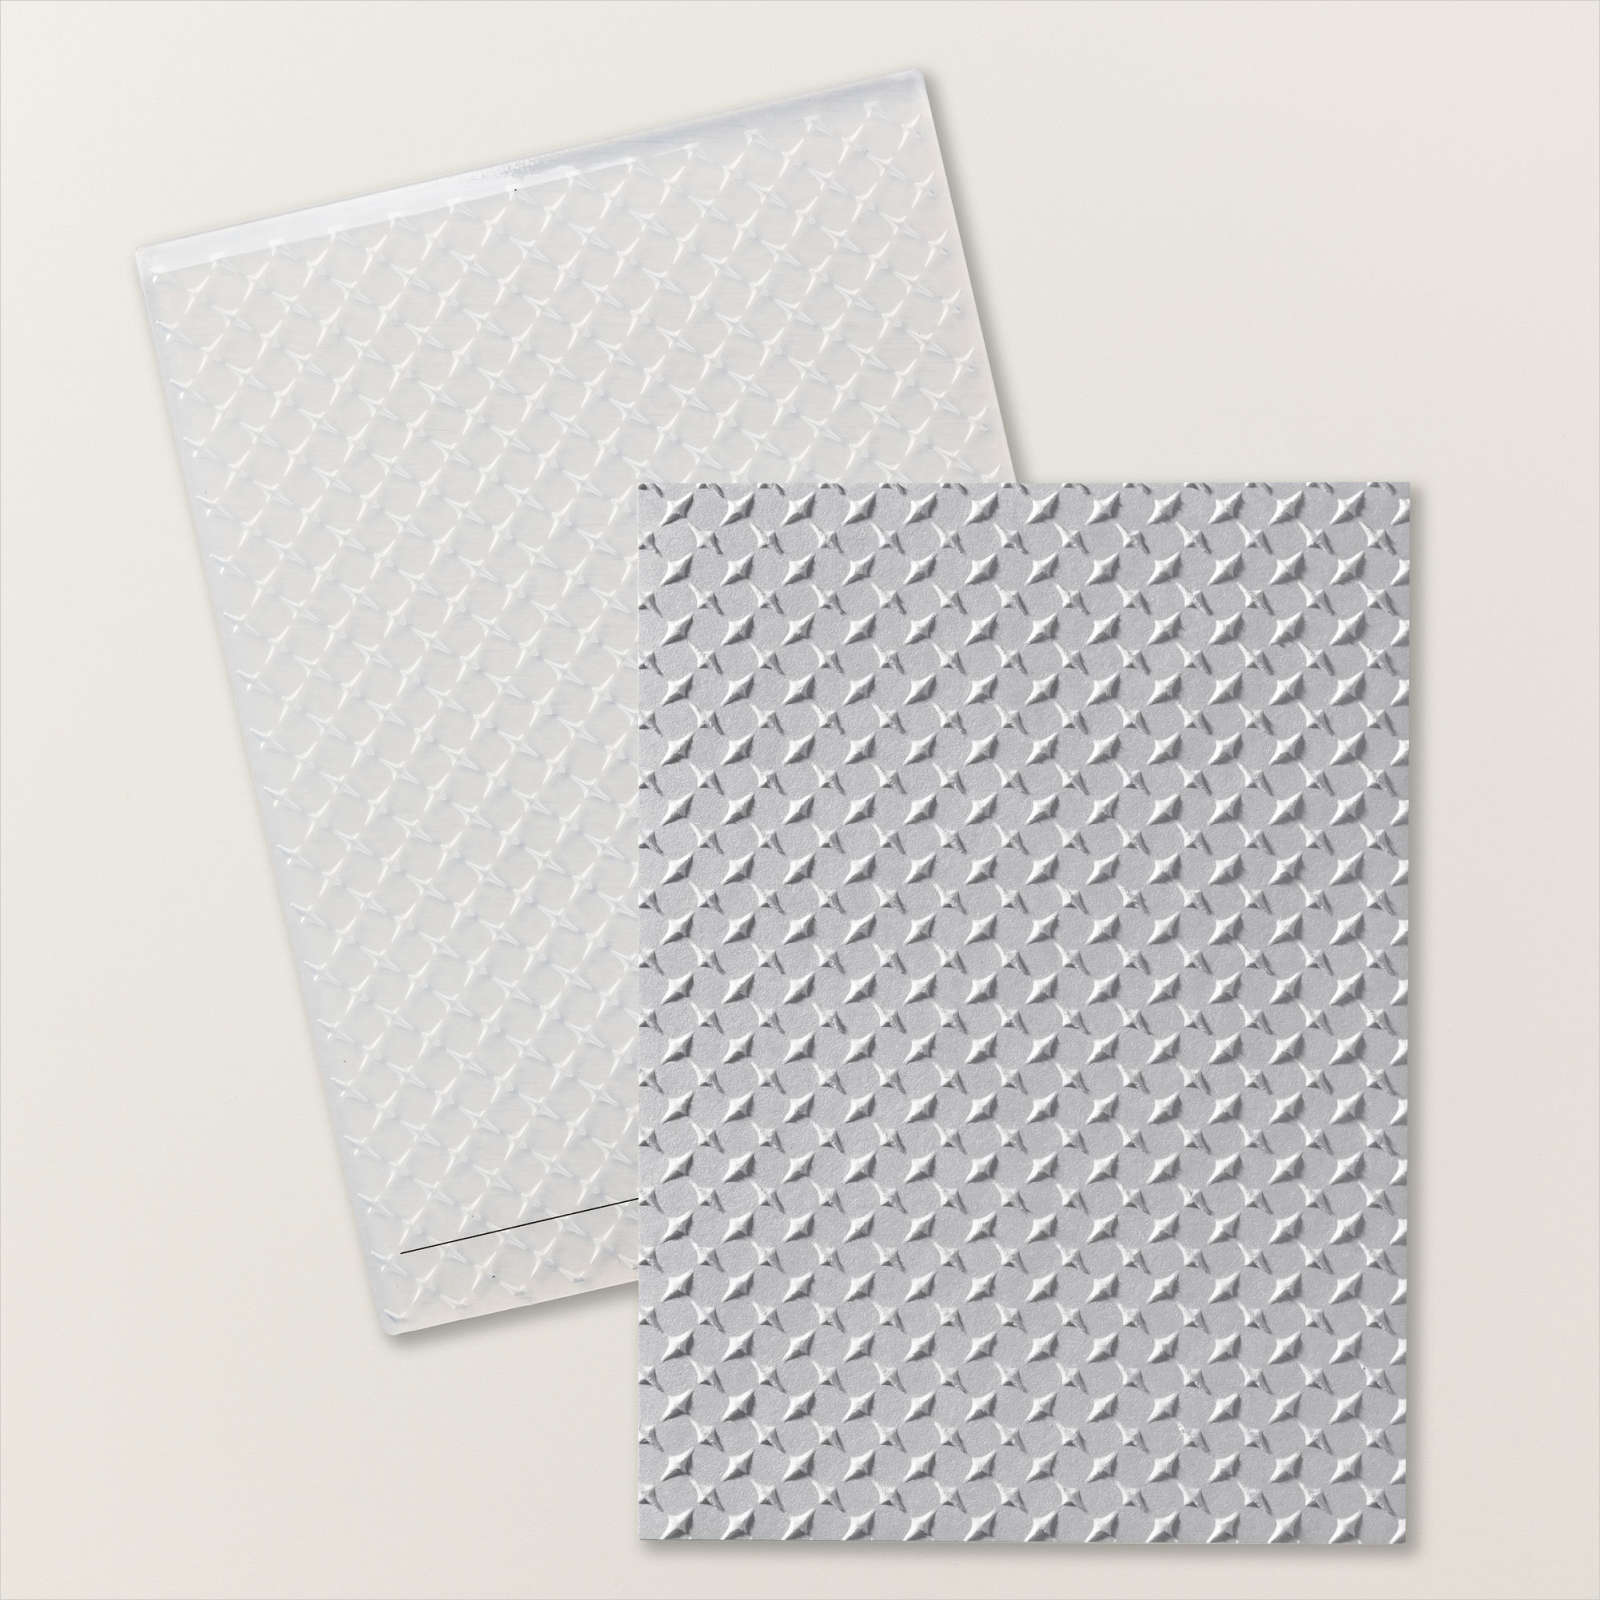
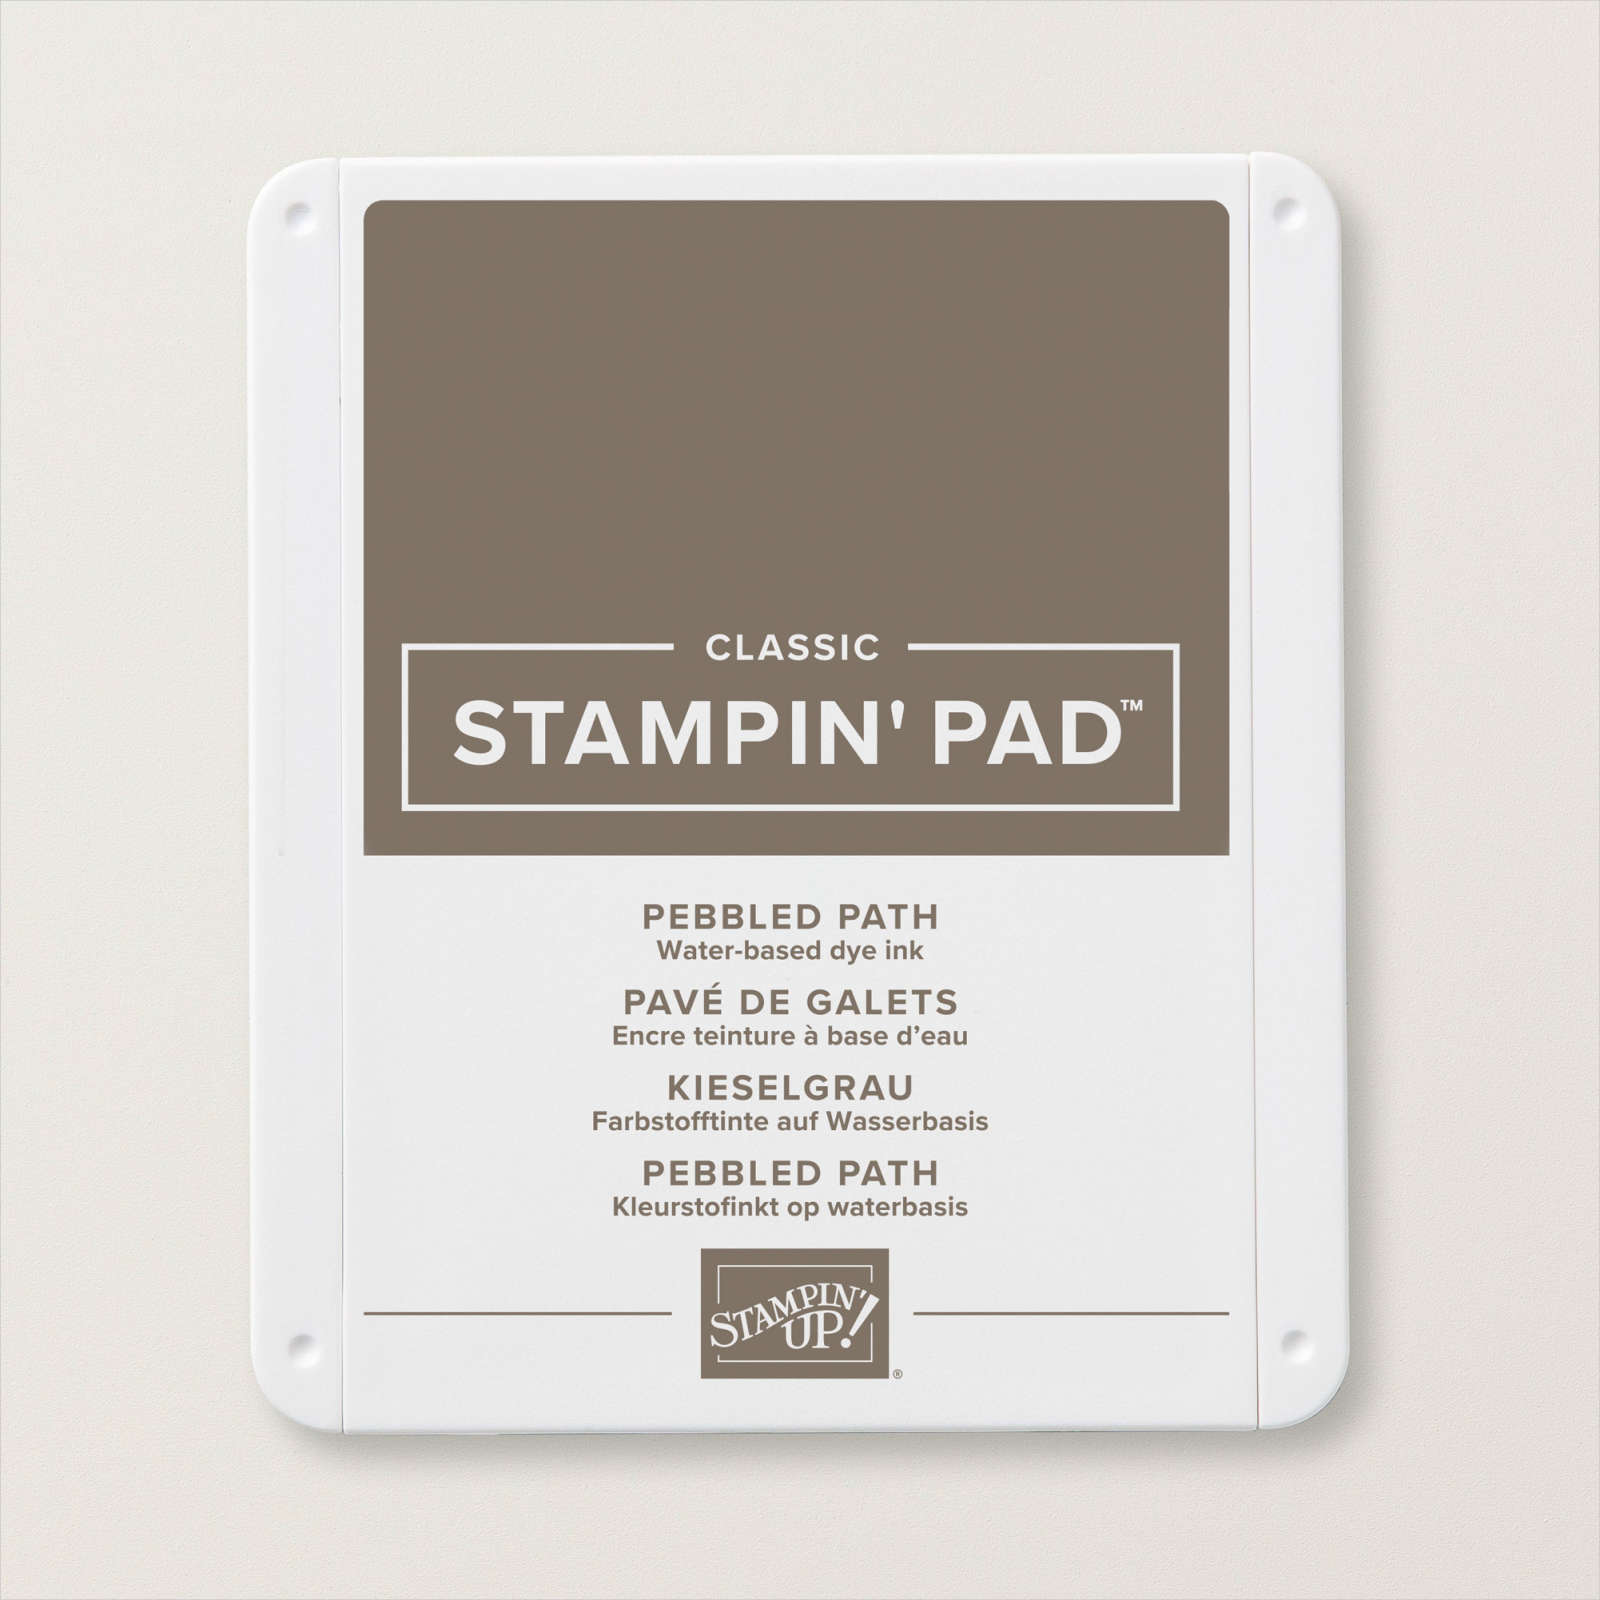
Today I have another card using the Racing By stamp set. I embossed Basic Beige card using the Metal 3D Embossing folder and attached it to scored and folded Pebbled Path card. I attached one piece of Pebbled Path Tartan Foil 12″ x 12″ Specialty Designer Series Paper done the left hand side of the embossed panel. I attached the reverse side of the paper across the embossed panel.

I stamped the solid car image from the Racing By stamp set onto Basic White card using Pebbled Path ink which I stamped onto scrap paper first. I stamped the outline car image, the wheel image and the helmet image from the Racing By stamp set over the solid car image using full strength Pebbled Path ink.
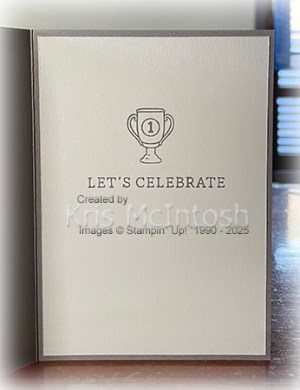
I stamped the greeting from the same stamp set below the car image using Pebbled Path ink. I attached the stamped panel to Pebbled Path ink and then the card front using dimensionals. To decorate the inside of the card, I stamped the cup image from the Racing By stamp set onto Basic Beige card using Pebbled Path ink. I stamped the greeting from the Simply Said stamp set below the cup using Pebbled Path ink. Another fun card using this stamp set.
Bye for now,
Kris
Product Used:


2010 Birthday

Today my pages show off some photos with my family from my birthday afternoon tea. I was lucky enough to be able to spend lots of time with my girls and their children when the grandies were little. I attached my photos to a piece of Azure Afternoon card and added a strip of Bright & Beautiful 6″ x 6″ Designer Series Paper beneath them. The designer series paper is attached to Basic White card first. The photo panels are attached to Misty Moonlight card and then Basic White 12″ x 12″ pages.

To disguise the join in the paper on the left hand page I stamped “happy” from the Love This Moment stamp set onto Basic White card using Misty Moonlight ink and fussy cut it. The “H” covers the join perfectly. I stamped only the “birthday” from the happy birthday greeting in the Simply Said stamp set onto Basic White card using Misty Moonlight ink. I used one of the banners from the Greetings of the Season Dies to cut around the greeting before attaching it to the page. I stamped “smile” and two of the camera images from the Love This Moment stamp set onto Basic White card using Misty Moonlight ink. I stamped the line image from the same stamp set twice below the greeting using Misty Moonlight ink. I also stamped the solid candle image from the Iconic Imagery stamp set across the bottom of the panel using Misty Moonlight ink. I stamped the flame image from the same stamp set onto each of the candles using Daffodil Delight ink. I hand wrote my journaling. This panel is attached to Misty Moonlight card and then the right hand page.
I love the gorgeous smiles on all of their faces, and the fact that four of the five helped me blow out the candles! So lucky.
Bye for now,
Kris
Product Used:


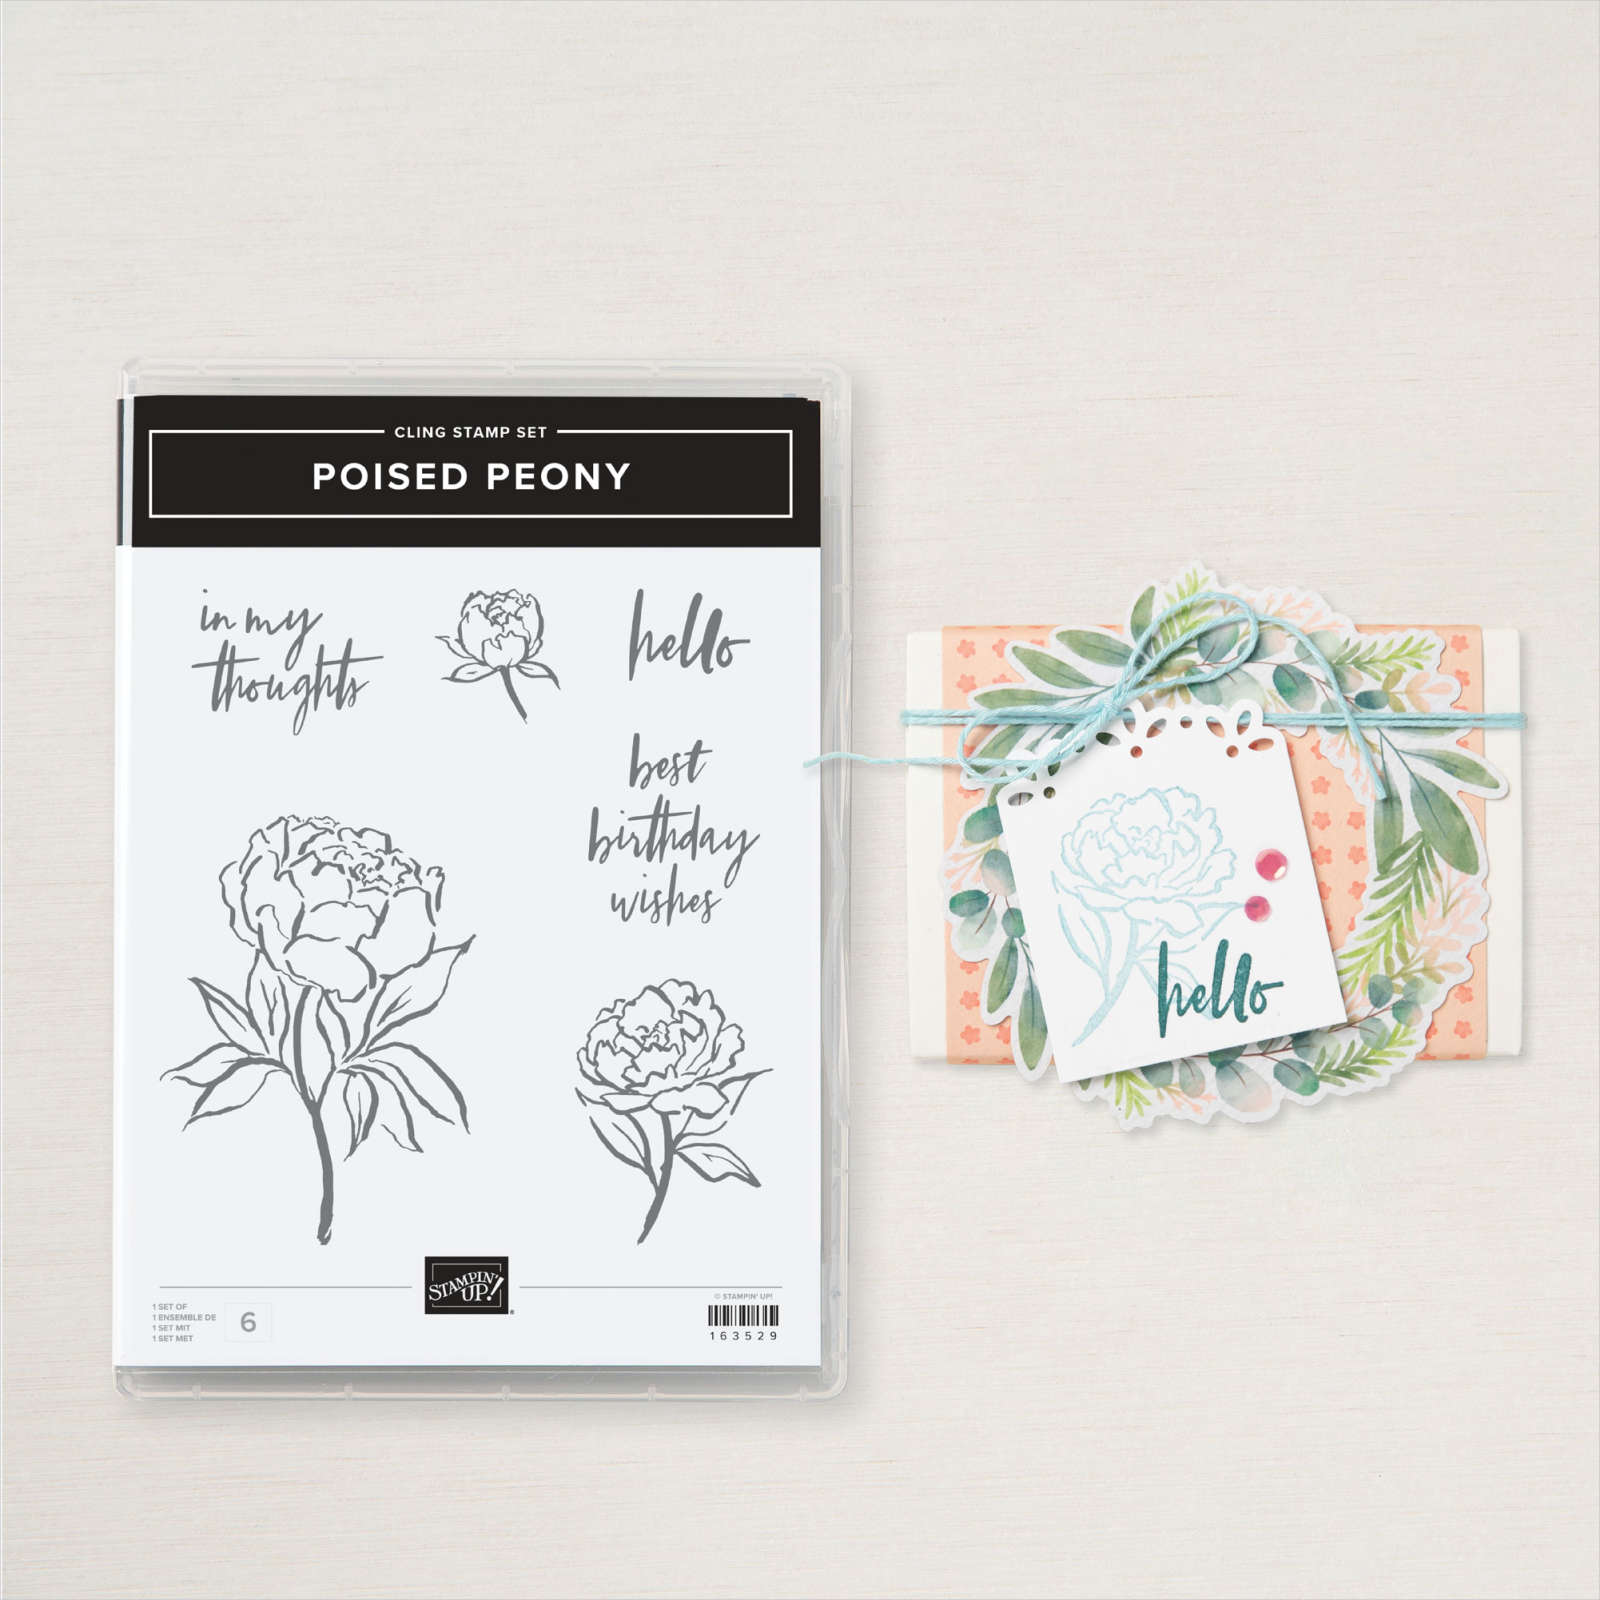
Poised Peony
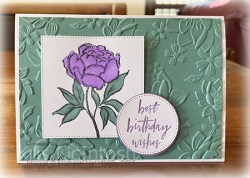
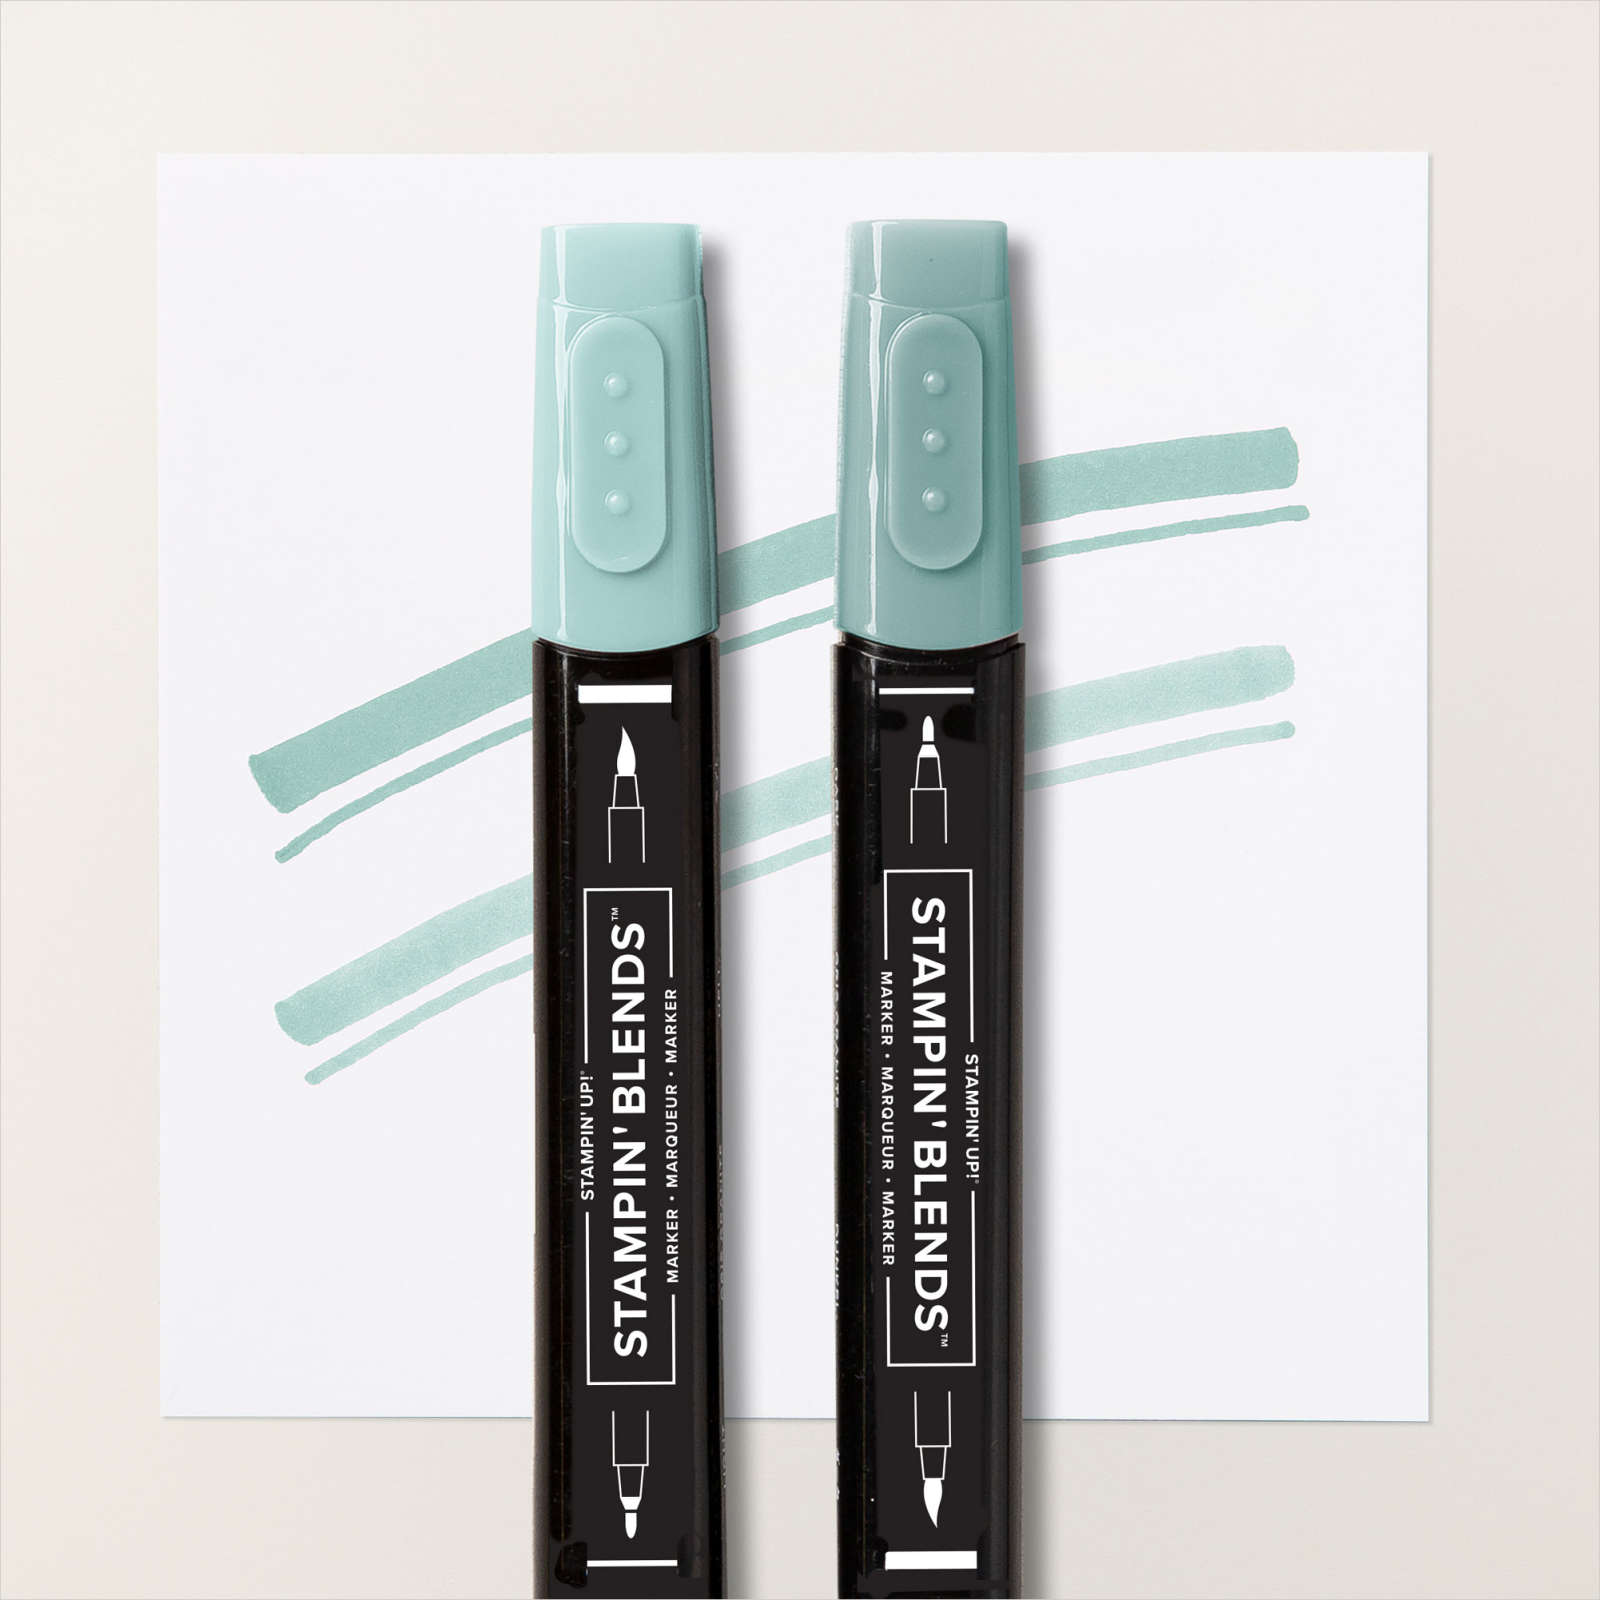
Today I am sharing a card I created using the Poised Peony stamp set. I embossed a piece of Lost Lagoon card using the Layered Floral 3D Embossing Folder. I attached the embossed panel to scored and folded Thick Basic White card. I stamped the large floral image from the Poised Peony stamp set onto Basic White card using Memento Tuxedo Black ink. I coloured the image using Highland Heather and Lost Lagoon Stampin’ Blends.
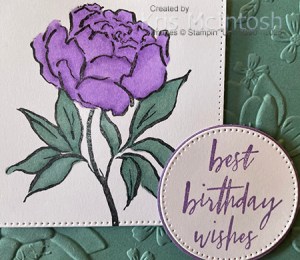
I cut out the image using the largest square from the Stylish Shapes Dies. The image panel is attached to the card front using dimensionals. I stamped the greeting from the Poised Peony stamp set onto Basic White card using Highland Heather ink. I cut out the greeting using one of the circles from the Stylish Shapes Dies.

I punched Highland Heather card using the 1-3/4″ circle punch. I attached the two circles together before attaching the greeting to the card front using dimensionals where necessary. To decorate the inside of the card, I stamped a greeting from the So Sincere stamp set onto Basic White card using Highland Heather ink. I stamped the smallest floral image from the Poised Peony stamp set beside the greeting using Memento Tuxedo Black ink. I coloured the image using Highland Heather and Lost Lagoon Stampin’ Blends. The panel is attached to the inside of the Thick Basic White card base. This is a lovely stamp set, for which I am sure I will find many uses.
Bye for now,
Kris
Product Used:


Thank You

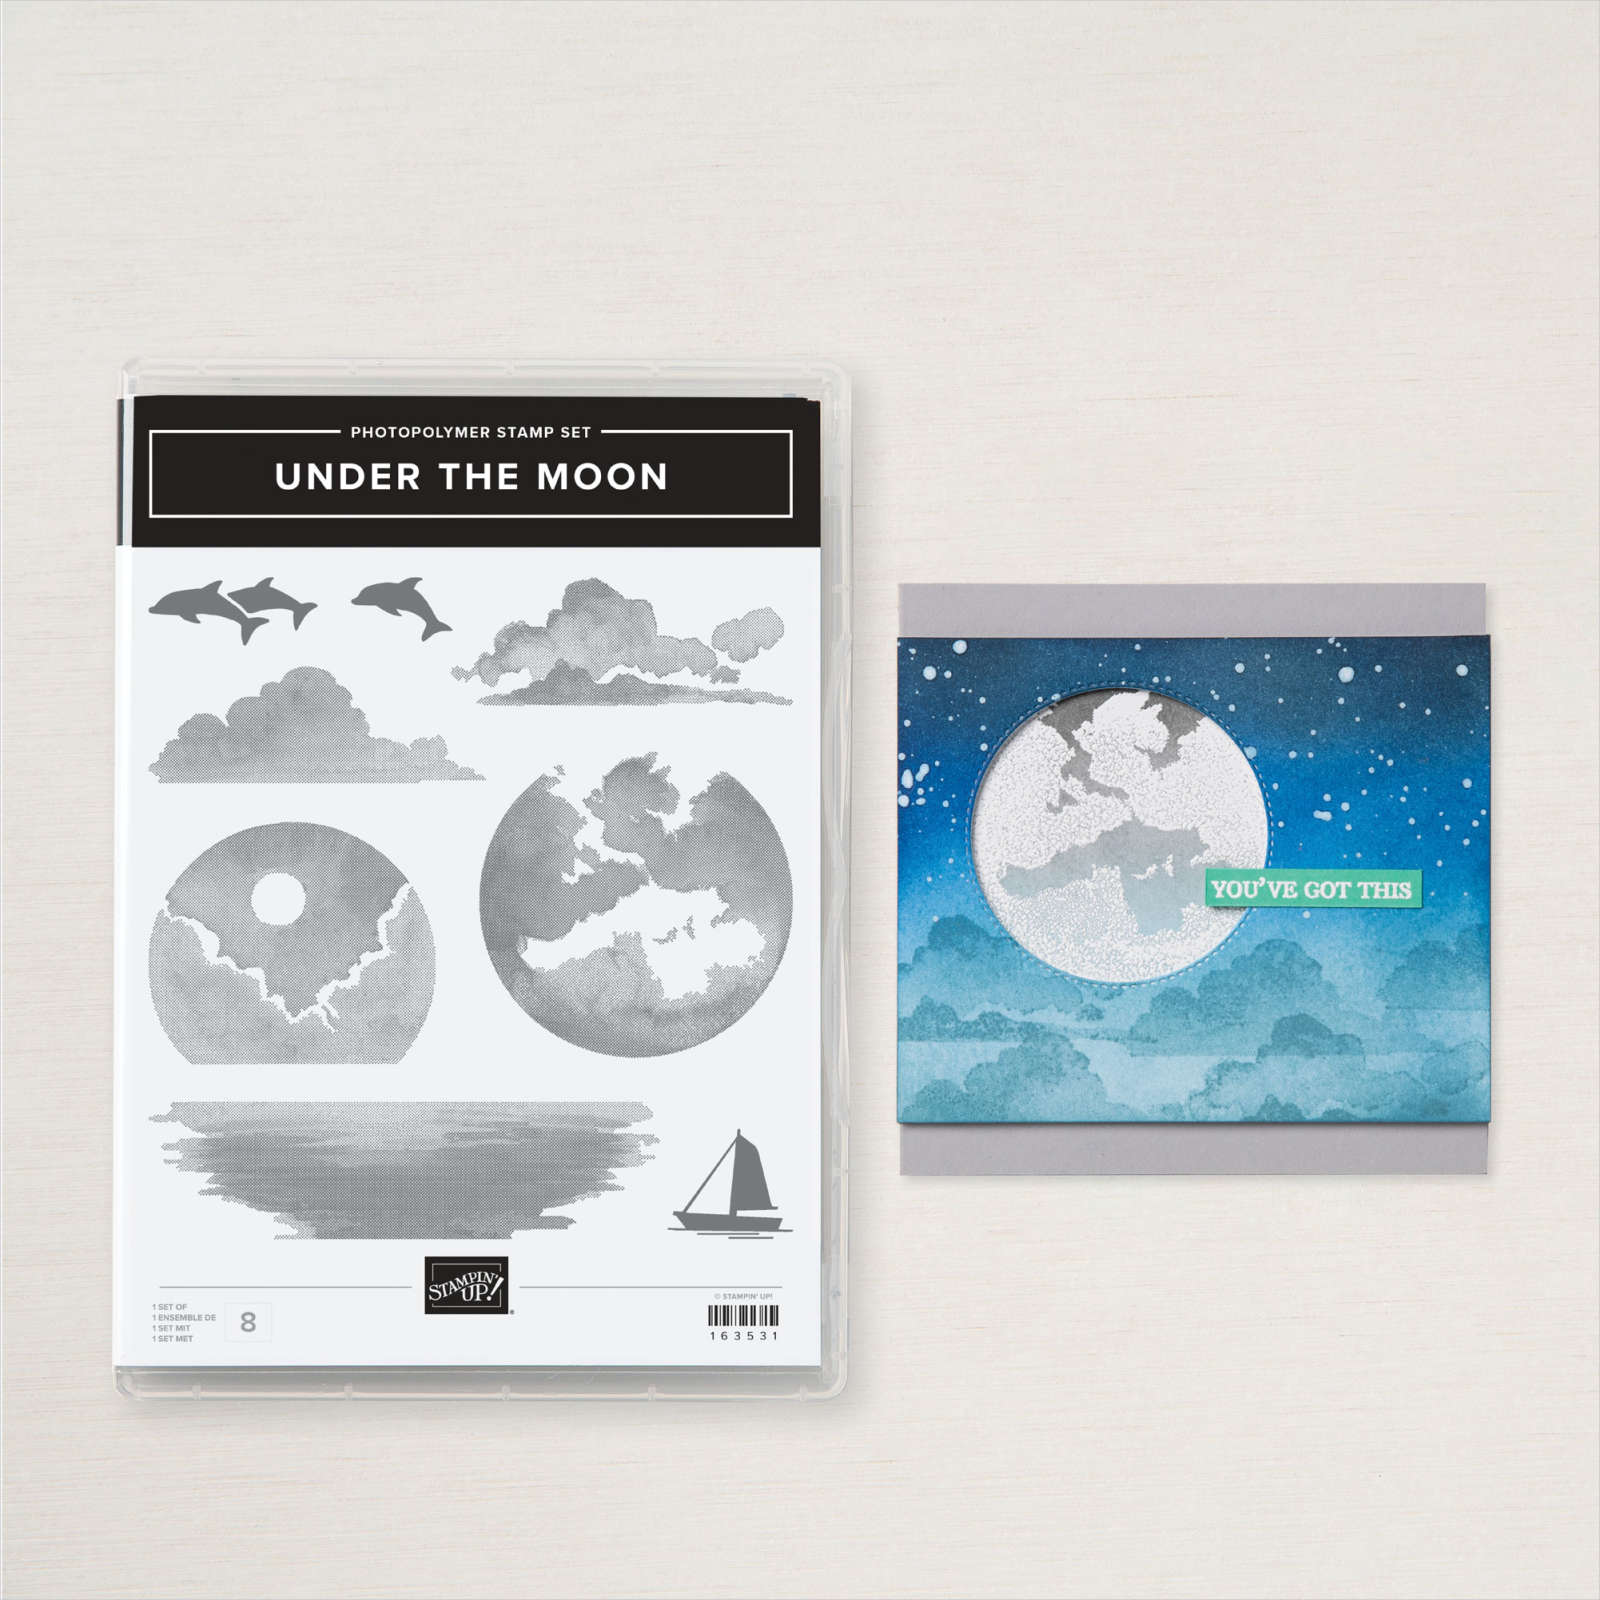
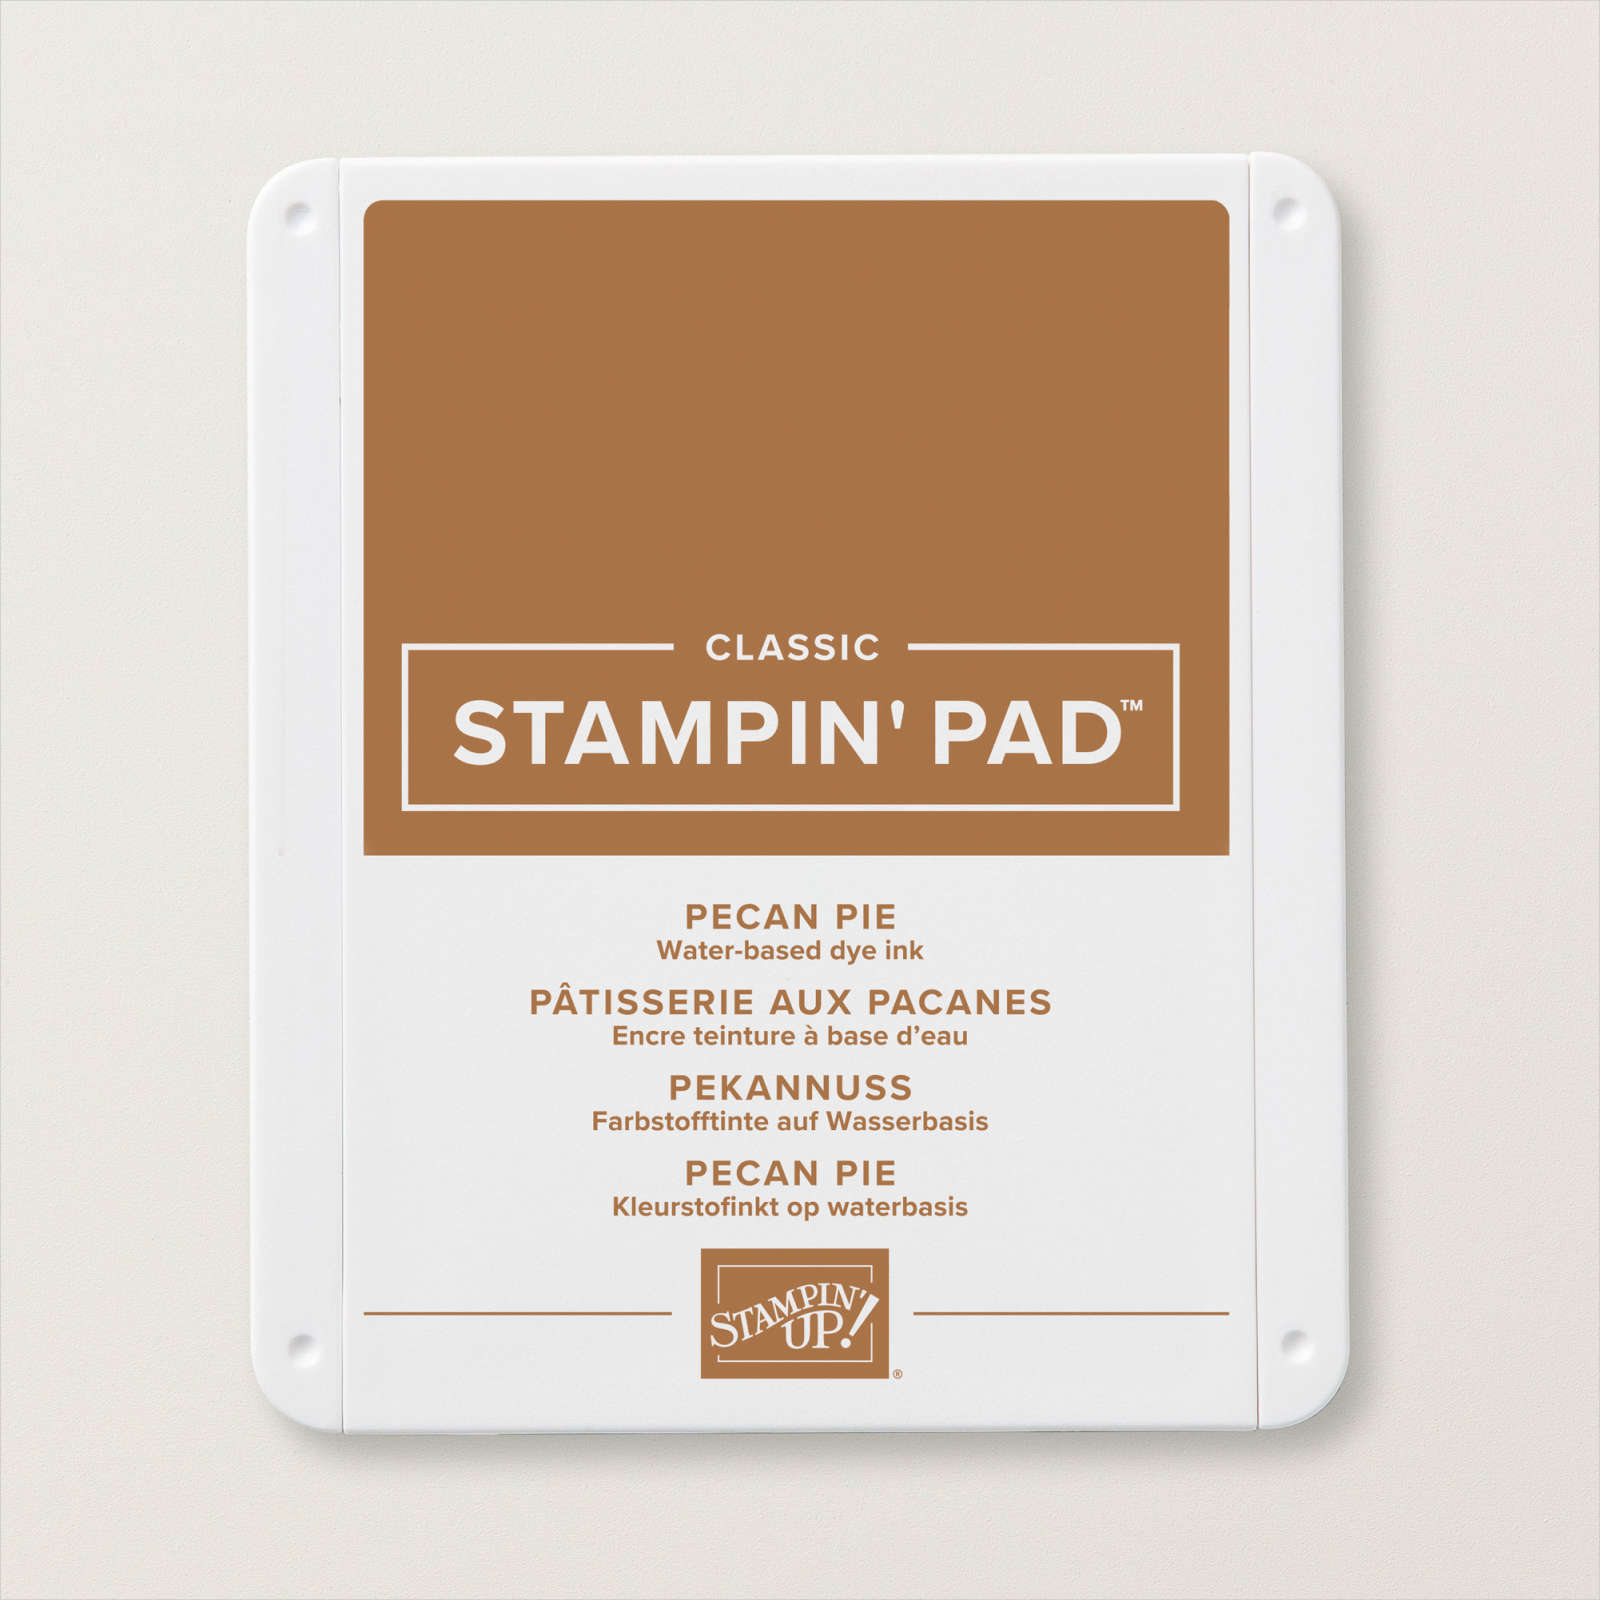
Today’s card came about when I was “playing” with the Frosted Forest Bundle for the first time. I decided to stamp the image from the Under The Moon stamp set onto Basic White card using Daffodil Delight ink. I masked the image and across the card under the stamped image. I used Blending Brushes to add Daffodil Delight, Crushed Curry, Pecan Pie and Early Espresso ink around the stamped image. I removed the mask across the card and rotated it to cover the area already coloured.
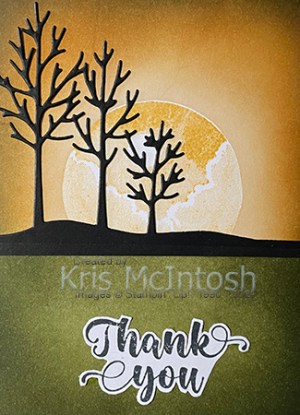
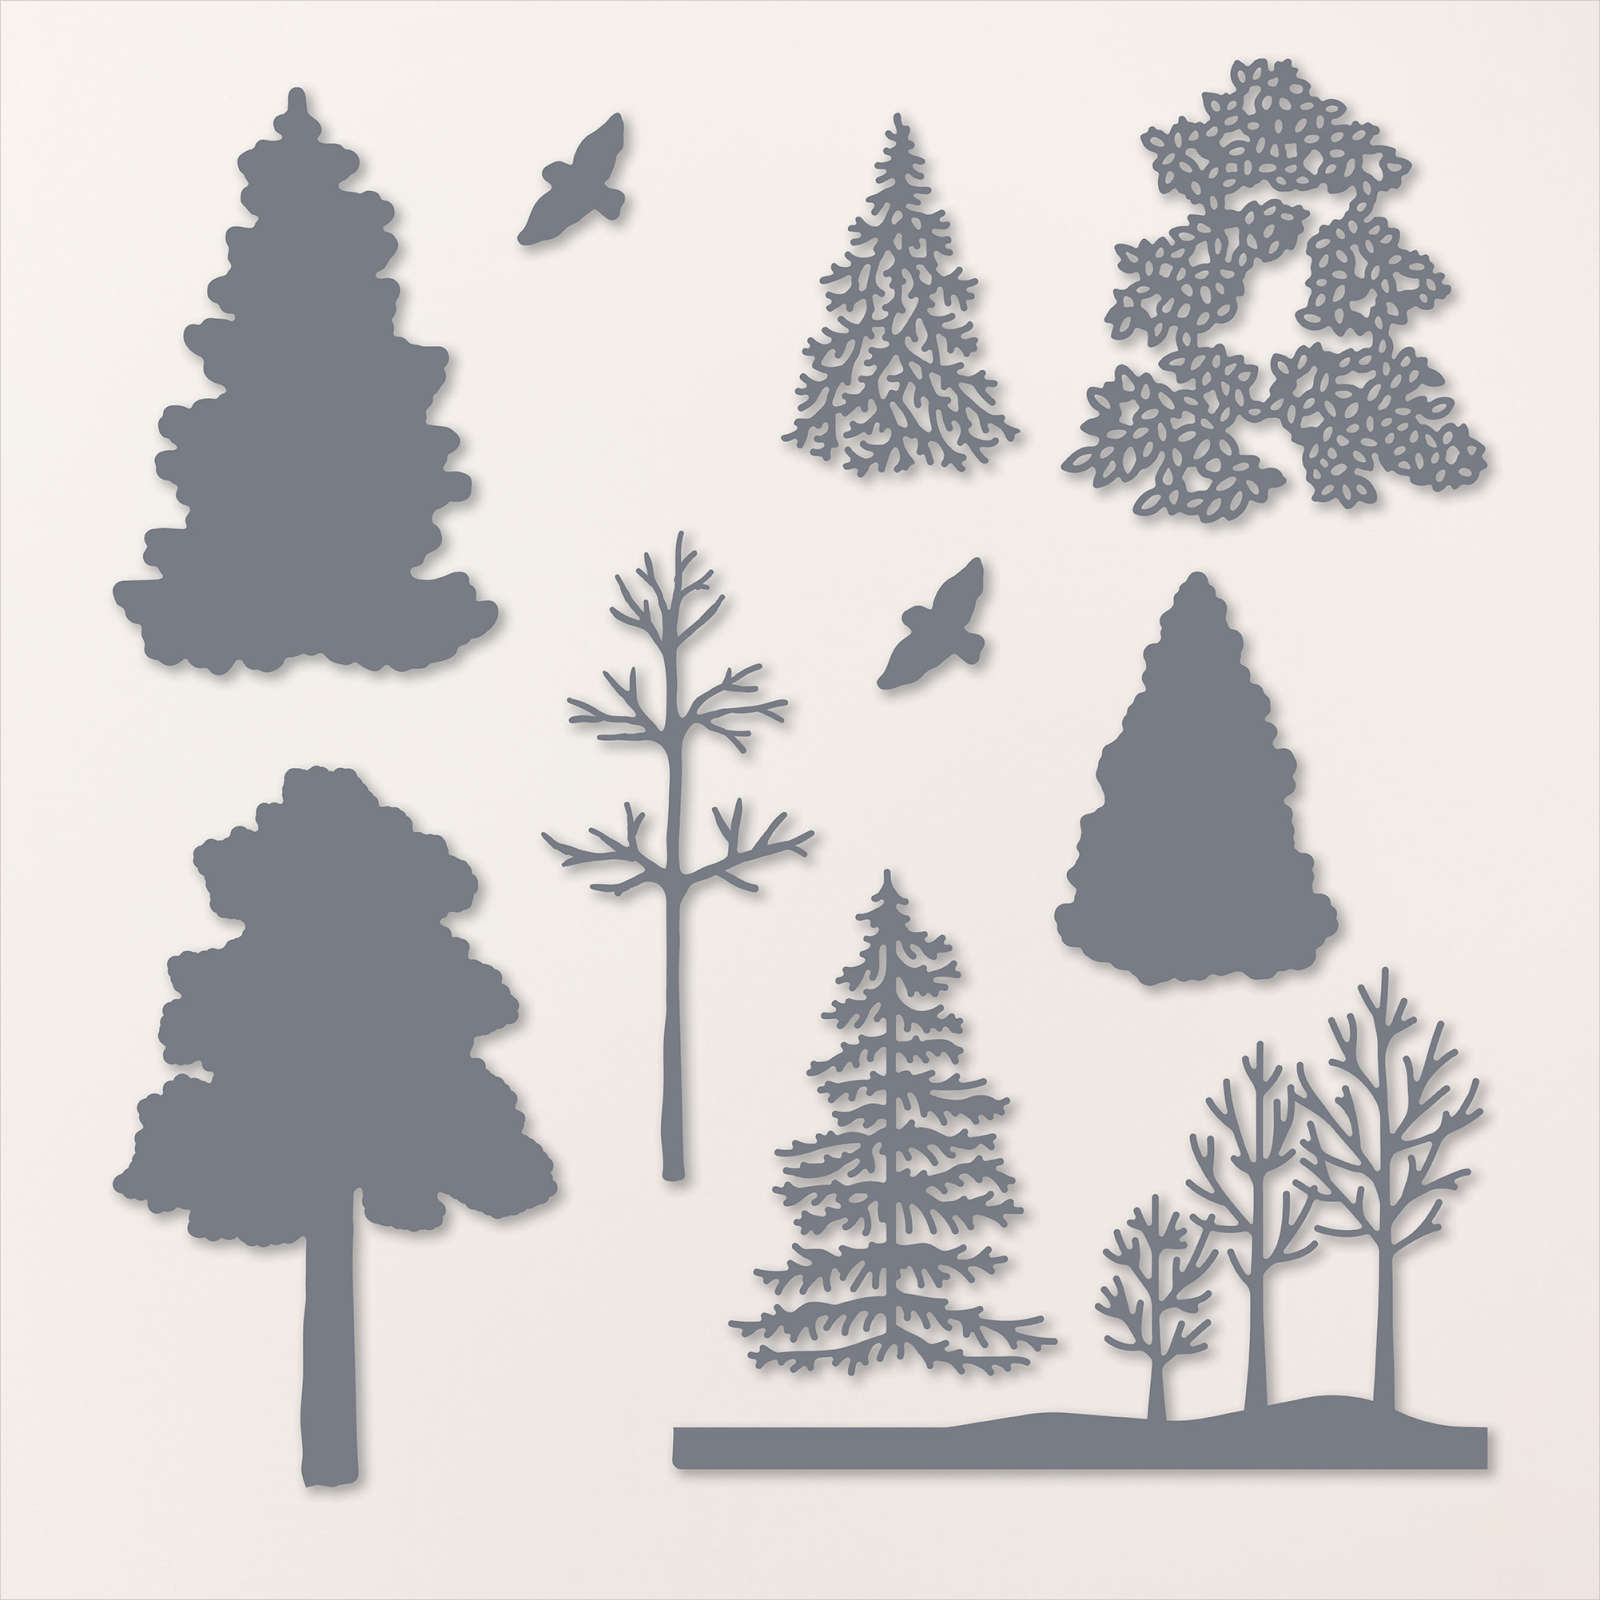
This time I used Blending Brushes to add Mossy Meadow and Memento Tuxedo Black ink to cover the bottom half of the card. I removed all of the masks. I die cut Basic Black card using the die from the Frosted Forest Dies which I attached across the join between the top and bottom of the card.
The whole panel is attached to scored and folded Thick Basic White card. I stamped “thank you” from the Irresistible Blooms stamp set onto Basic White card using Memento Tuxedo Black ink. I fussy cut around the greeting and attached it to the lower half of the card front. To decorate the inside of the card, I stamped the greeting from the Something Fancy stamp set using Memento Tuxedo Black ink. Although I am not too great at this type of technique, I love the finished result. I would love to hear what you think.
Bye for now,
Kris
Product Used:


First Day

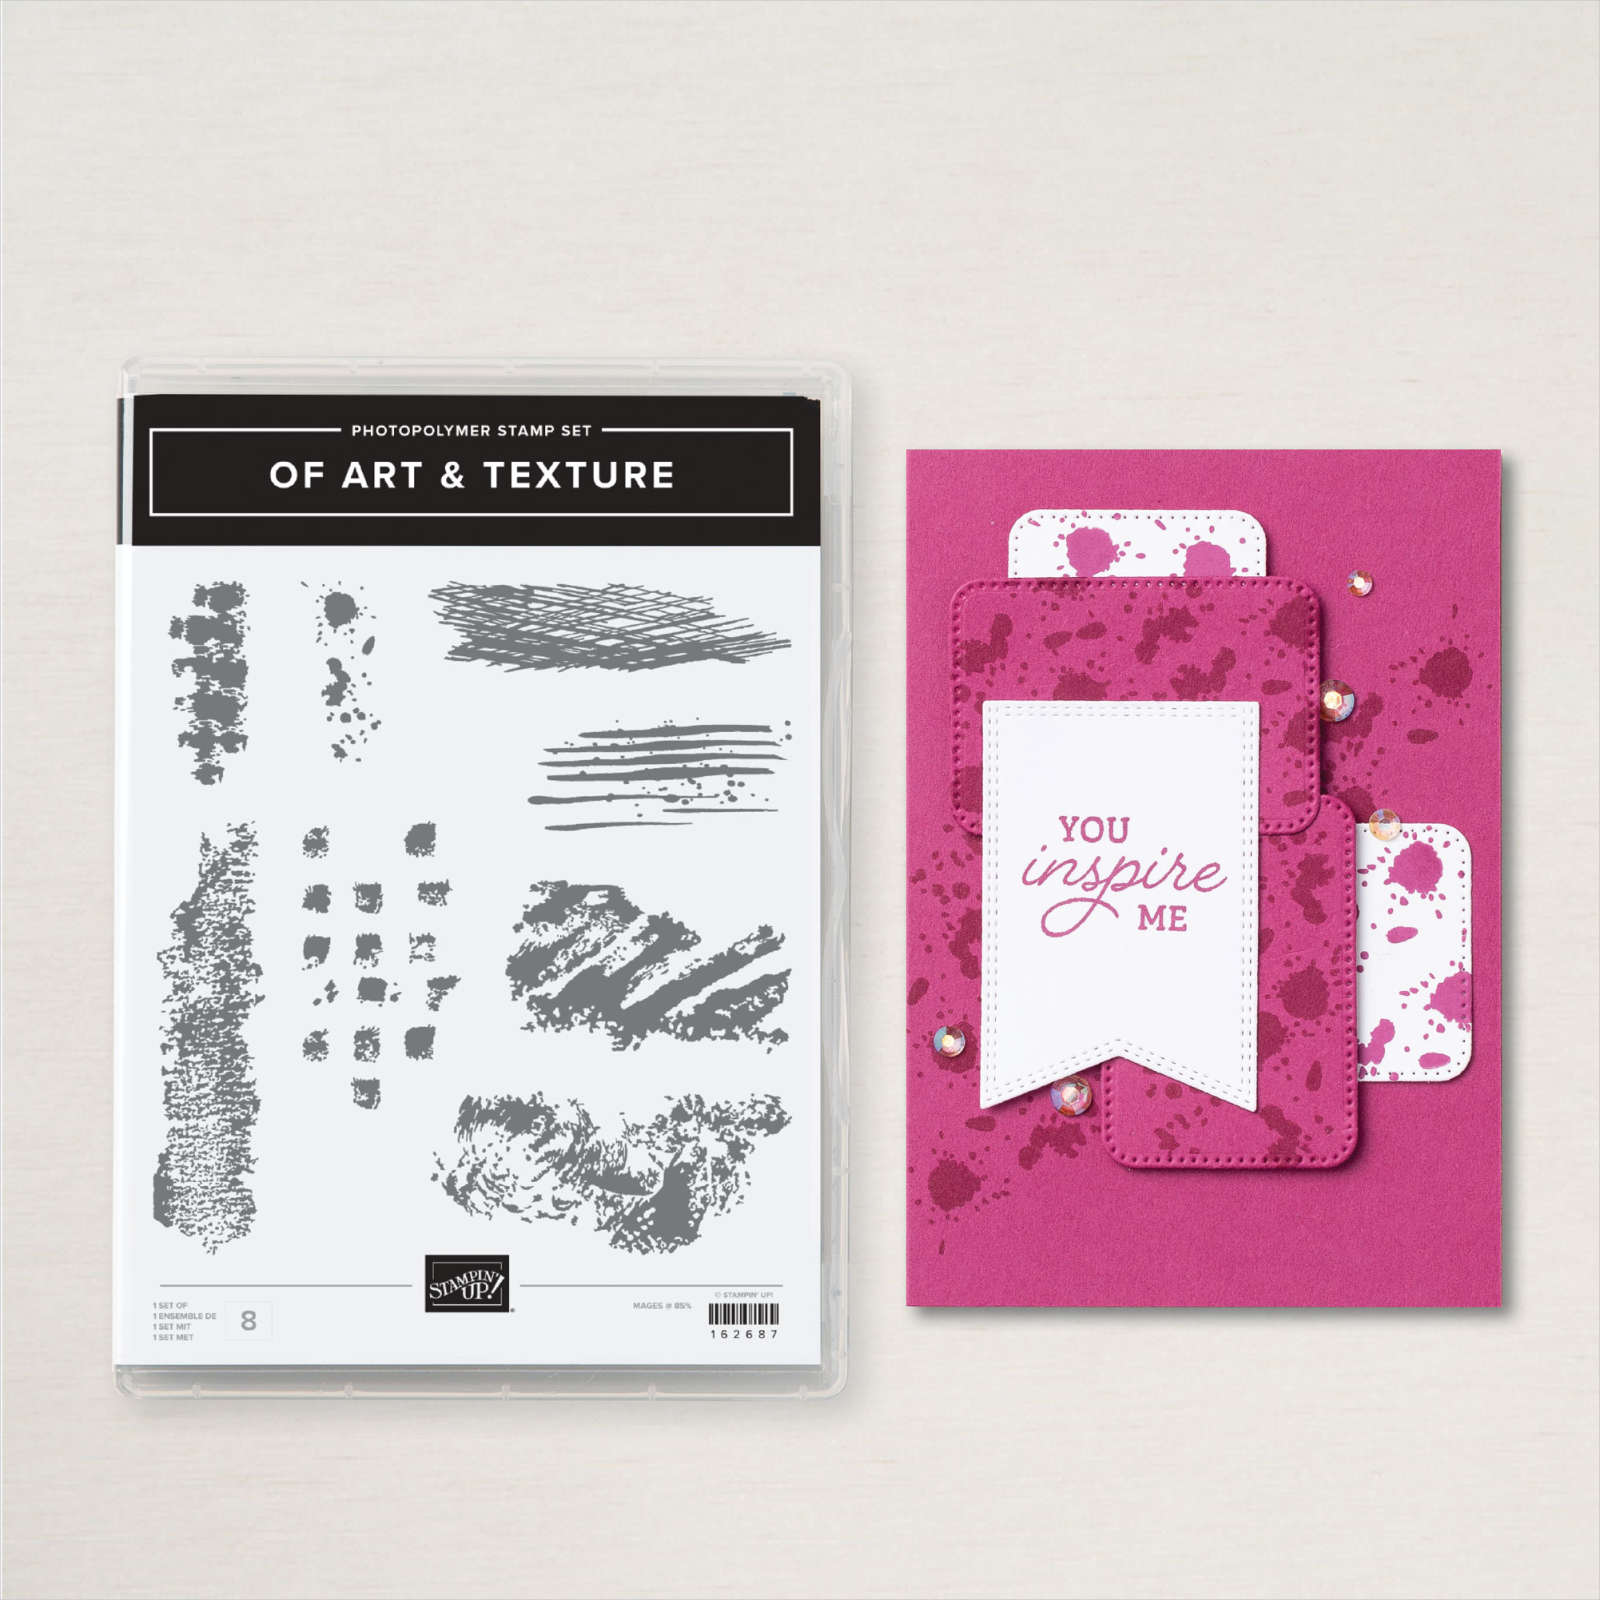
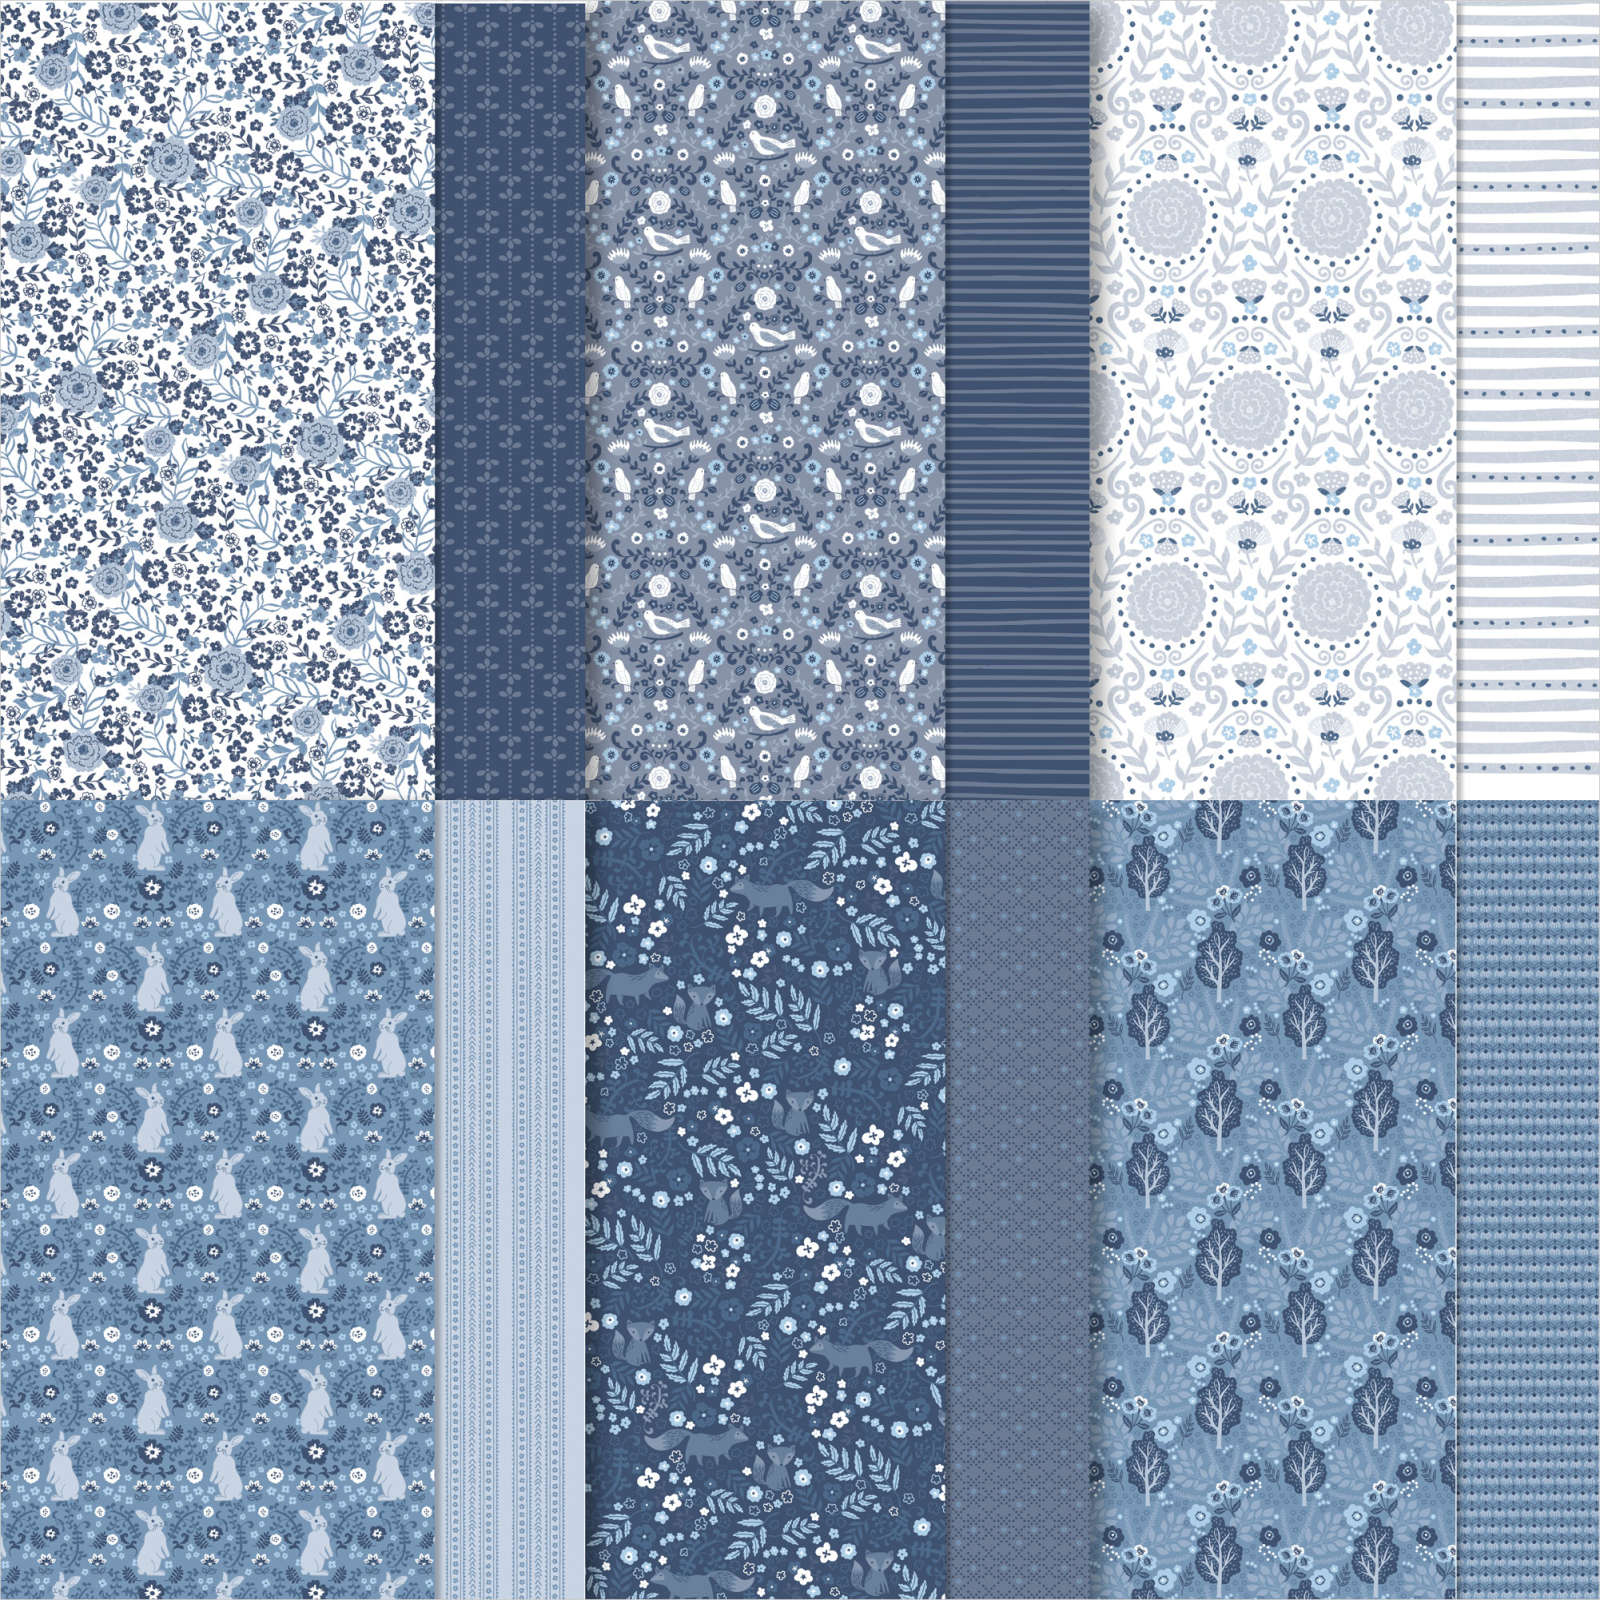
Today’s page shows off some photos from the day my eldest granddaughter started school back in 2010. I found a sketch layout on Pinterest and used it as a starting point for my page. I cut down two Basic White 12″ x 12″ pages and attached them to Night of Navy 12″ x 12″ pages. I cut strips of the Country Woods 12″ x 12″ Designer Series Paper to attach to the pages. I attached all the photos to Basic White card and then to Night of Navy card. The photos on the right hand page are all attached to the same piece of Night of Navy card. I placed the designer series paper and the photos onto each page to work out where to stamp the image from the Of Art & Texture stamp set using Night of Navy ink. I stamped the greetings from the Wonderful Thoughts stamp set onto Basic White card using Night of Navy ink.

The greetings were cut out using one of the Greetings of the Season Dies. Once the stamping and die cutting was done, I attached the Designer Series Paper strips across the middle of each page. On the left hand page, I attached the large photo and tucked the greeting panel underneath the right hand side. I did add the date using one of the long retired Jounaling Pens. I cut the title from Night of Navy card using the Alphabet A La Mode Dies and attached it below the photo. On the right hand page I attached the photos and again tucked the greeting underneath the right hand side. I stamped “so proud of you” from the So Sincere stamp set onto Basic White card using Night of Navy ink. I cut out the greeting using the retired Stitched Stars Dies and attached it to a Night of Navy star cut using the same dies. The star is attached to the centre of the photos.

I have been working hard to scrap as many photos as I can because I lost so many when an external hard drive died. I hope that you have all your photos stored safely or that you are creating pages to remember happy times.
Bye for now,
Kris
Product Used:


Happiest Birthday

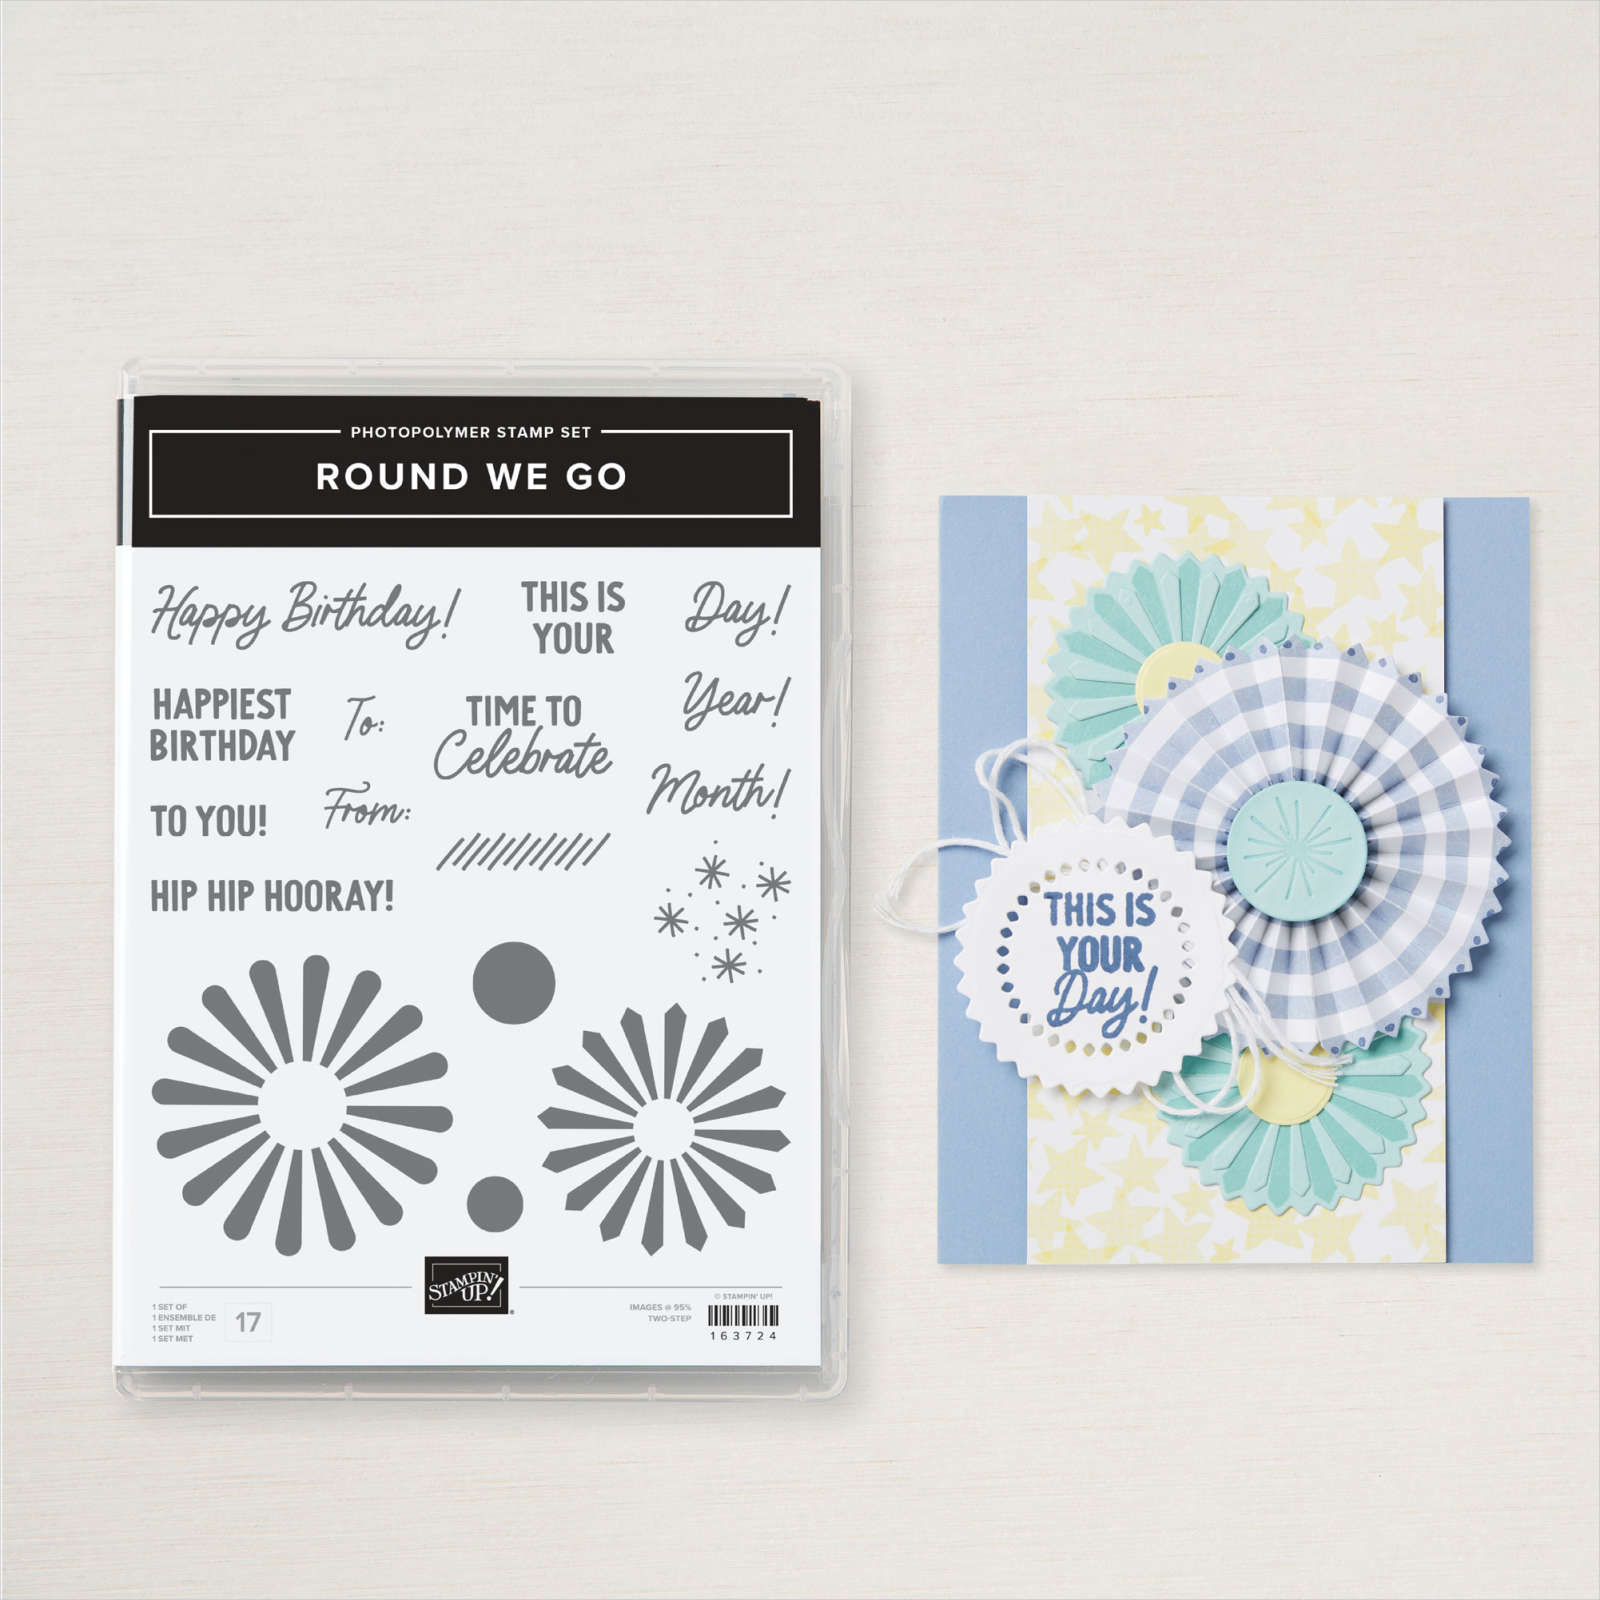
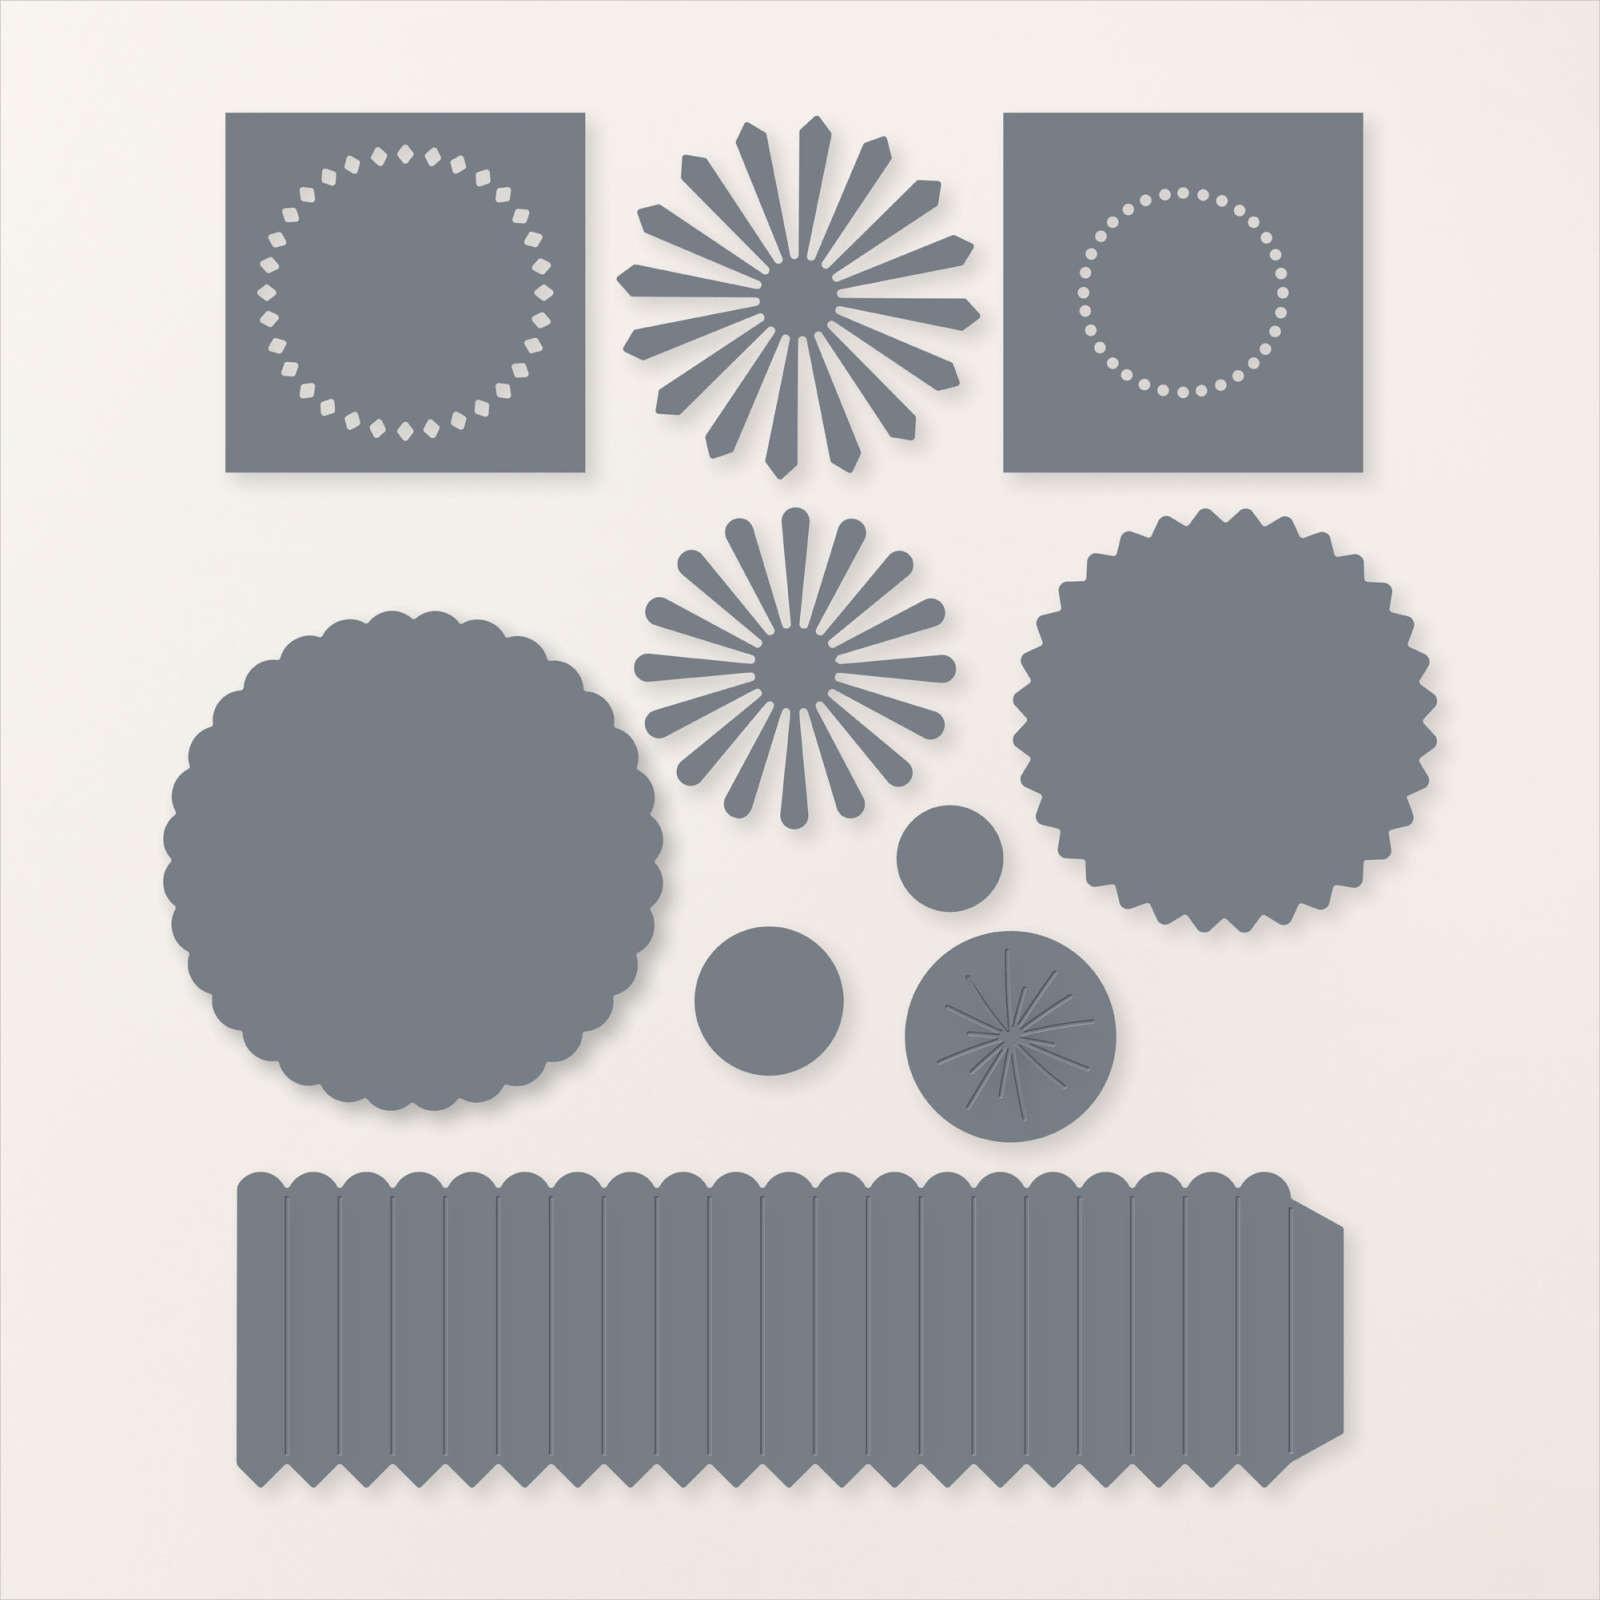
This week in my Facebook Live I shared a few cards I created using the Round We Go Bundle and today I have another one to share with you. For this card, I embossed Basic White card using the Dotted Circles 3D Embossing Folder and attached it to scored and folded Fresh Freesia card. I cut Fresh Freesia card twice using the pinwheel die from the Round We Go Dies. I folded the score lines and attached the two panels together. I attached the pinwheel to a circle cut from Basic White card using one of the circles from the Stylish Shapes Dies.

I stamped the greeting from the Round We Go stamp set onto Basic White card using Fresh Freesia ink and cut it out using the same circle from the Stylish Shapes Dies.

I attached the stamped circle to the front of the pinwheel. I did place a clear block on top and let it sit for a while to make sure that it was properly adhered together. The pinwheel is attached to the card front. To decorate the inside of the card, I stamped the petal image from the Round We Go stamp set onto Basic White card using Bubble Bath ink. I stamped the greeting from the Round We Go stamp set over the top using Fresh Freesia ink. So much fun to play with this Bundle. I can see banners created with this pinwheel to celebrate many different occasions.
Bye for now,
Kris
Product Used:


Beautiful Birthday

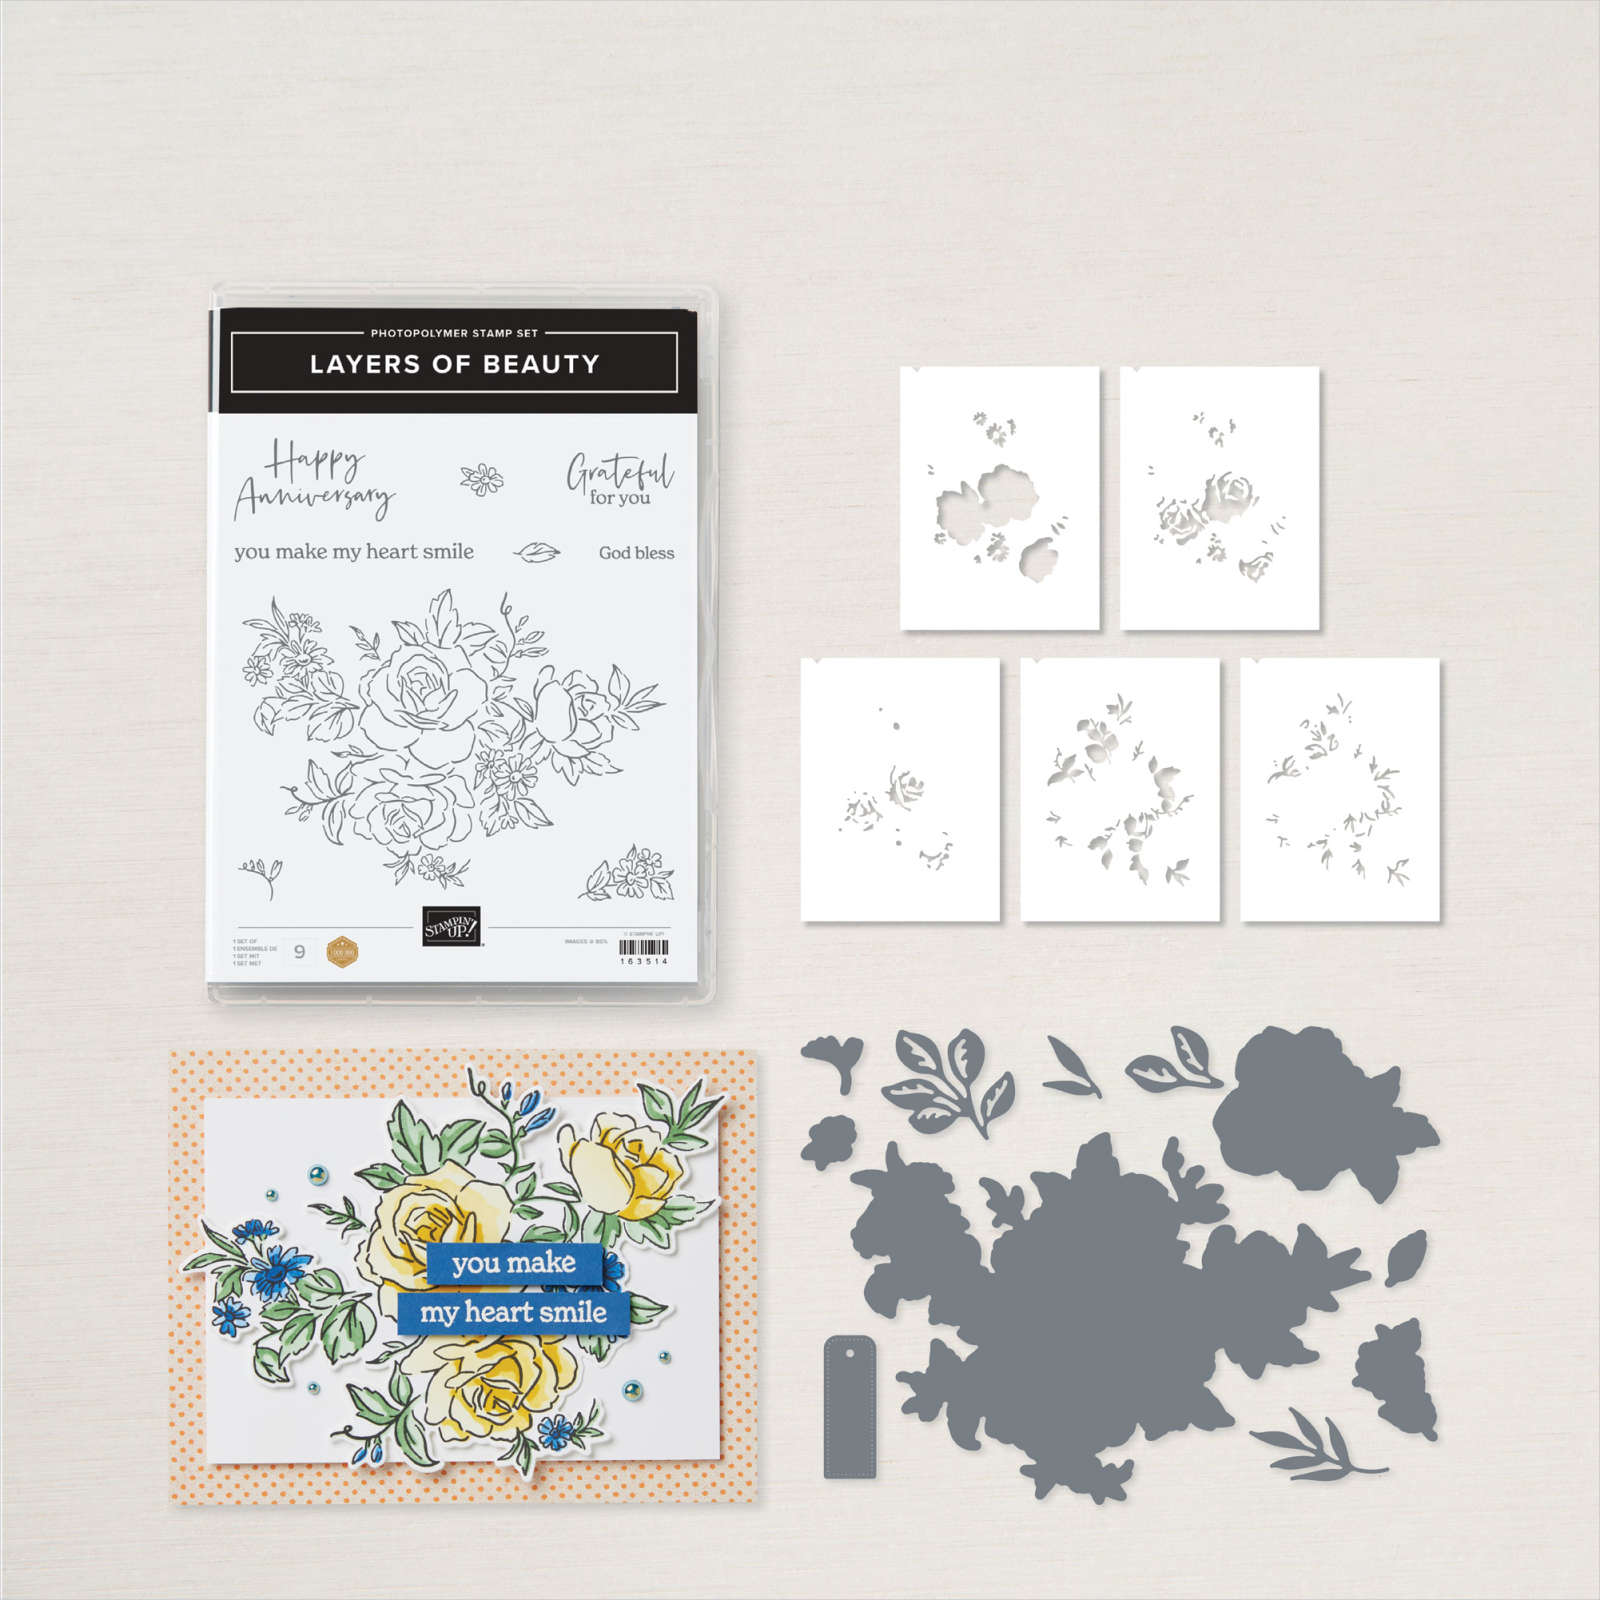
For today’s card I used a card sketch I found on Pinterest for inspiration. I cut strips of Countryside Inn 12″ x 12″ Designer Series Paper and trimmed the lower edge diagonally to add a little interest. I attached the strips to the top of Basic White card. I attached a strip of Night of Navy card across the panel using dimensionals. The whole panel is attached to scored and folded Night of Navy card. I stamped “happy birthday” from the Sweetly Scripted stamp set (an Online Exclusive) using Night of Navy ink. I stamped the floral image from the Layers of Beauty stamp set onto Basic White card using Memento Tuxedo Black ink.

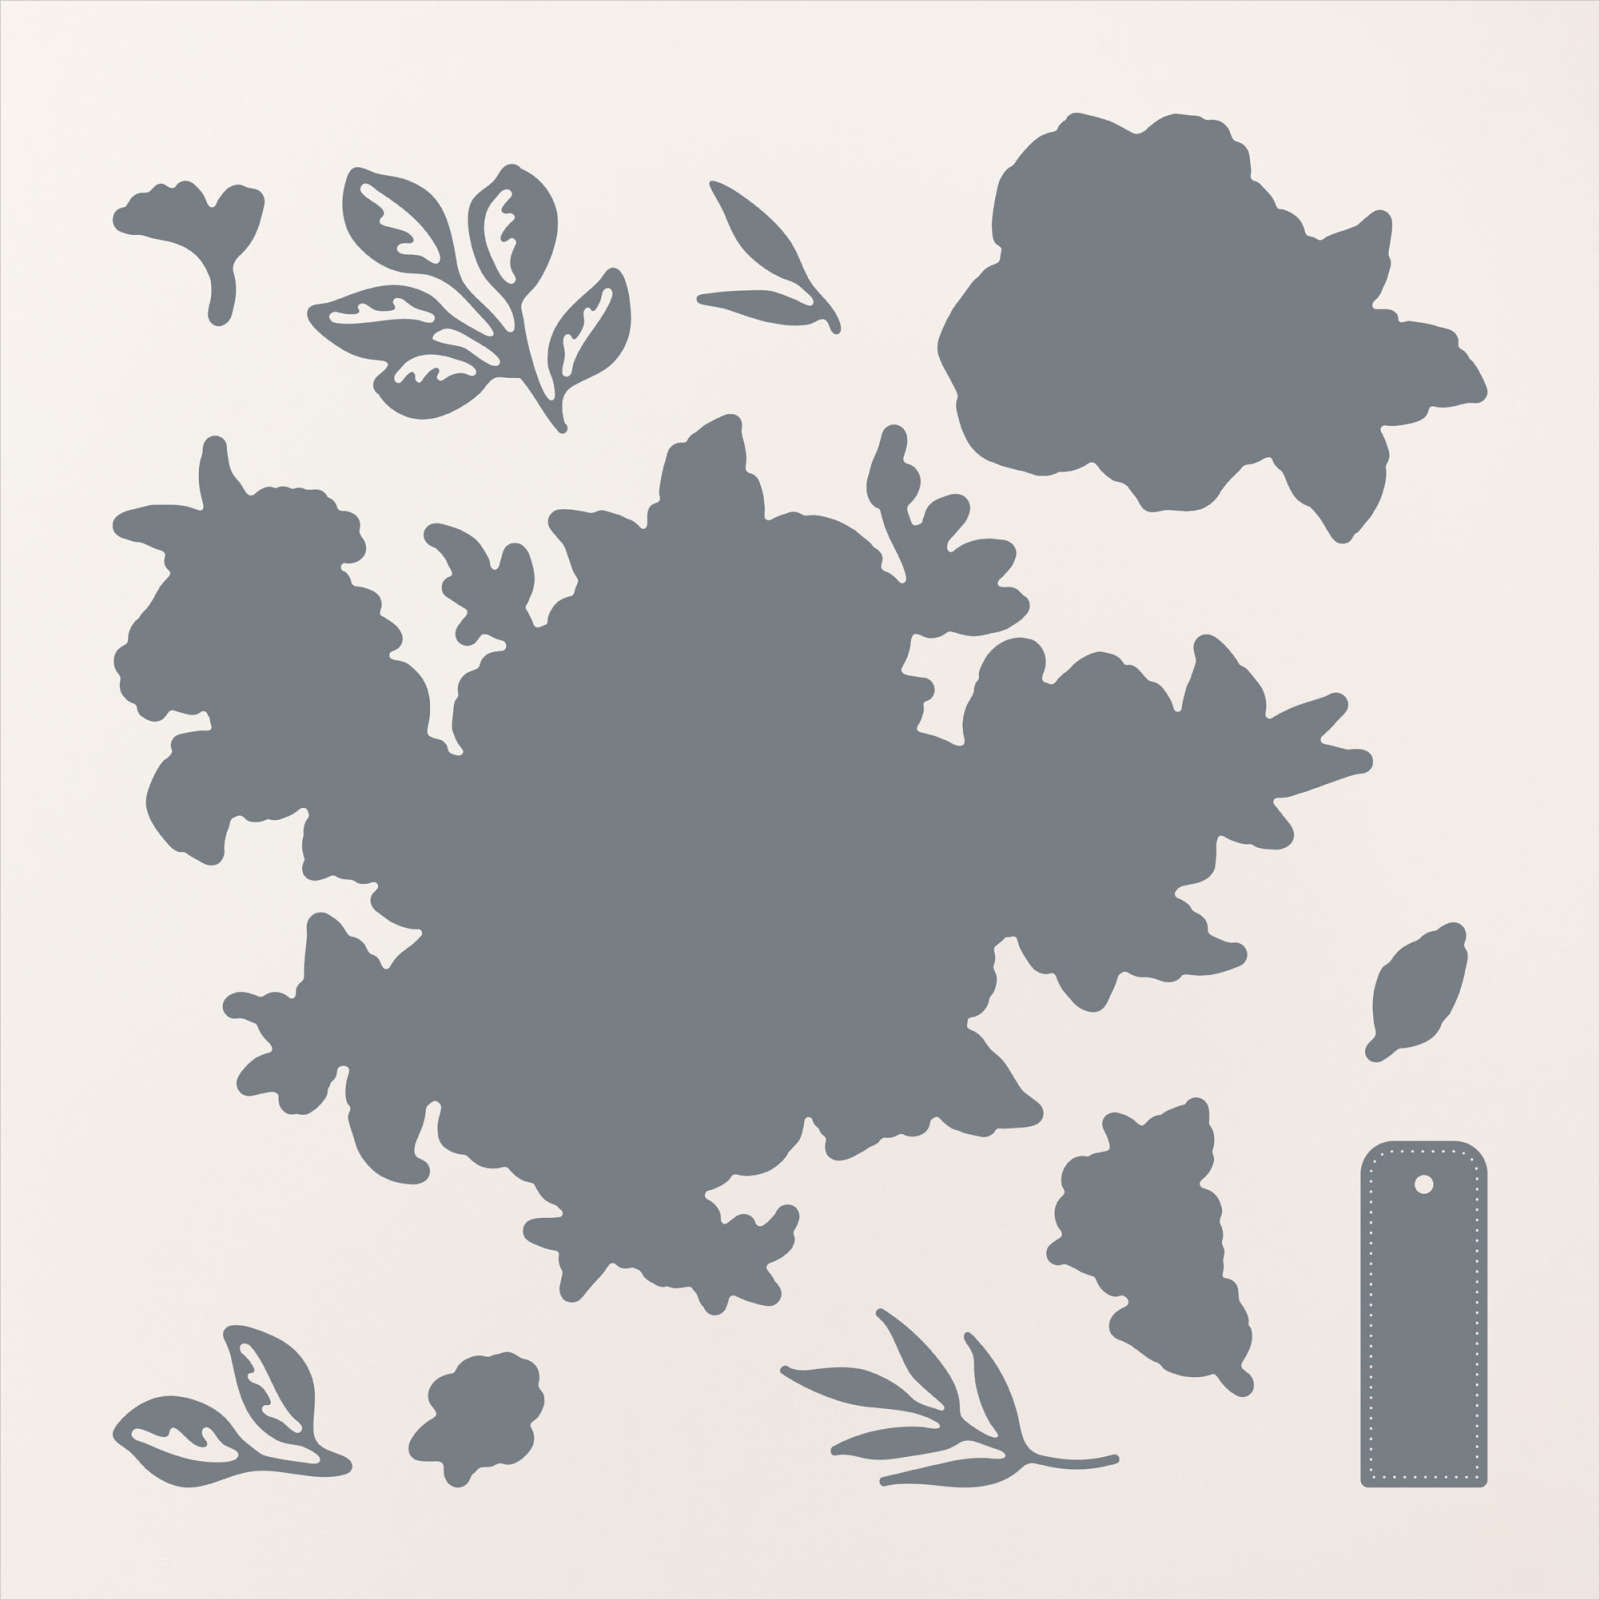
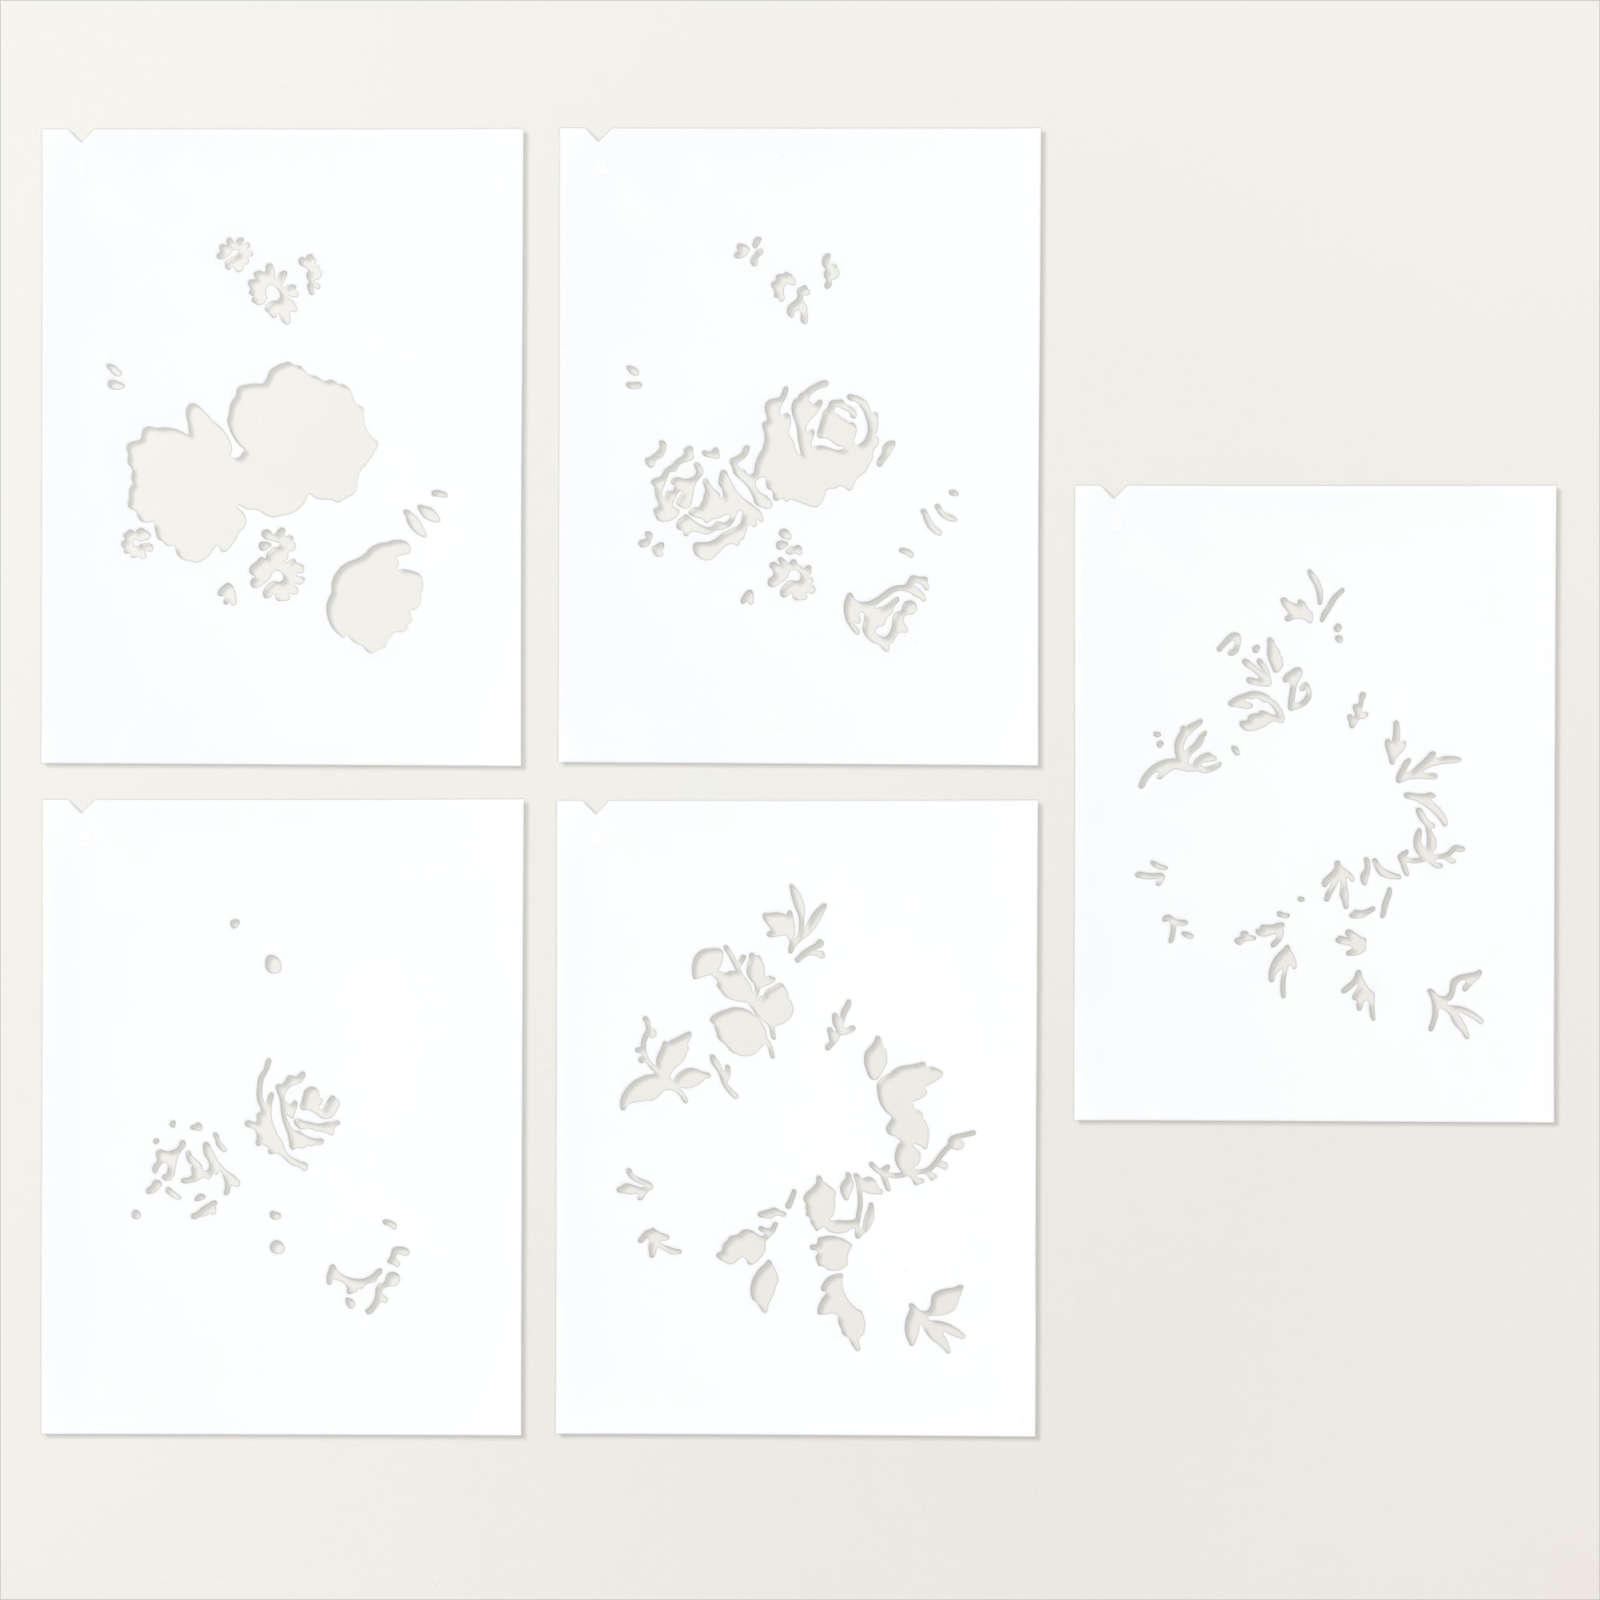
I used the Layers of Beauty Decorative Masks to add Daffodil Delight, Crushed Curry, Lemon Lime Twist and Granny Apple Green ink to the flower. The image is cut out using the co-ordinating Layers of Beauty Die. I attached the flower to the card front using dimensionals where necessary.

To decorate the inside of the card I stamped the greeting from the Everyday Details stamp set using Night of Navy ink. I attached a piece of Countryside Inn Designer Series Paper across the bottom of the stamped panel before attaching it to the inside of the card. I love how the flower really “pops” on the Night of Navy background, don’t you?
Bye for now,
Kris
Product Used:


Kenilworth
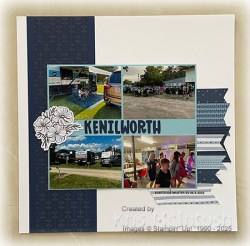
Brisbane RV’s who sell Fortitude caravans had a muster at Kenilworth which we joined and had a fabulous time. For this page I attached a piece of Countryside Inn 12″ x 12″ Designer Series Paper to Night of Navy card and then the left hand side of a Basic White 12″ x 12″ page. I attached my photos to the top and bottom of a piece of Balmy Blue card. I cut the title from Night of Navy card using the Mini Alphabet Dies and attached it between the photos. I printed the journaling onto a strip of Countryside Inn Designer Series Paper. I layered the title and various scrap strips of Countryside Inn Designer Series Paper, which have a “v” on one end behind the right hand side of the photo mat. To finish the page I attached floral bouquet from the Fully Flowering Ephemera Pack to the left hand side of the photo mat. A simple page but brings a smile to my face remembering this happy time.
Bye for now,
Kris
Product Used: