Labeled Birthday
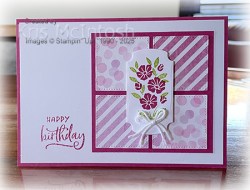
This week in my Facebook Live, I shared some cards I created using the Labeled with Love Bundle. Today I have another card to share with you. I cut four pieces of Bright & Beautiful 6″ x 6″ Designer Series Paper using one of the squares from the Stylish Shapes Dies. I attached the four Designer Series Paper pieces to Berry Burst card before attaching the whole panel is attached to Basic White card.
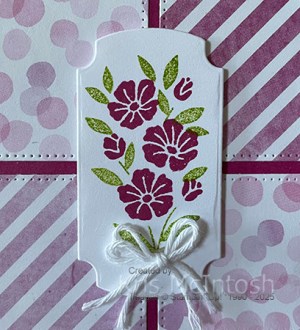
I stamped the greeting from the Labeled with Love stamp set beside the Designer Series Paper panel using Berry Burst ink. The whole panel is attached to scored and folded Berry Burst card. I stamped the floral image from the Labeled with Love stamp set onto Basic White card using Berry Burst ink. I stamped the leaf image around the flowers using Granny Apple Green ink. The floral image is cut out using the Labeled with Love Die before being attached to the centre of the Designer Series Paper panel using dimensionals.
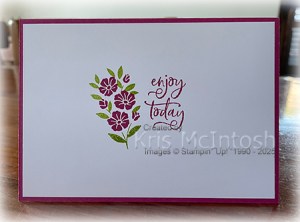
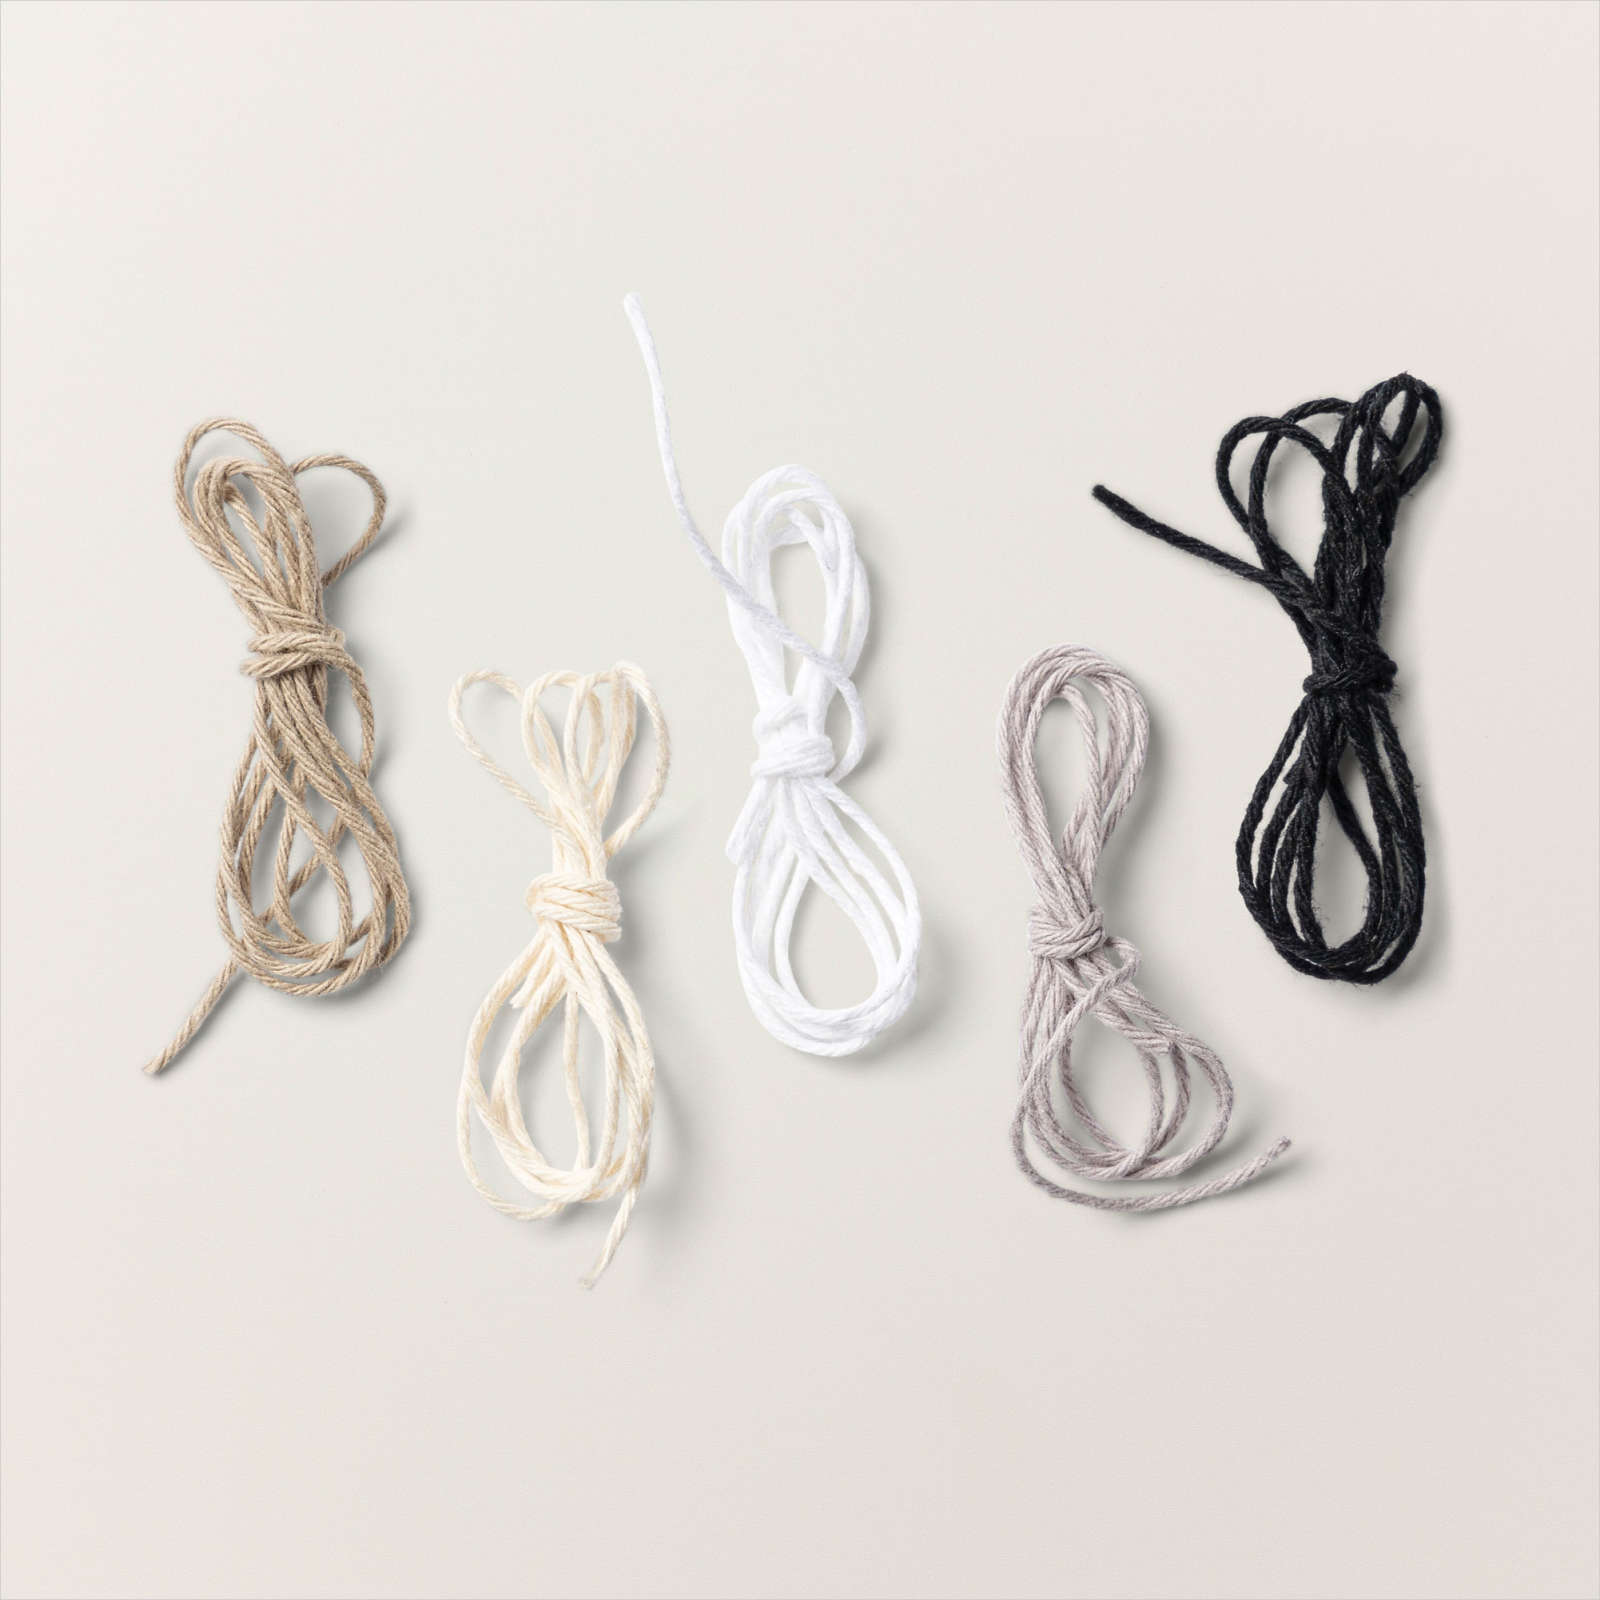
I tied a bow in a length of White Twine from the Baker’s Twine Essentials Pack and attached it to the flower stem using a Glue Dot. To decorate the inside of the card, I stamped the greeting from the Labeled with Love stamp set onto Basic White card using Berry Burst ink. I stamped the flower image from the Labeled with Love stamp set beside the greeting using Berry Burst ink. I stamped the leafy image from the same stamp set around the flowers using Granny Apple Green ink. This is such a fun stamp set to play with, it has images and greetings to suit many occasions. You can purchase it as a bundle with a punch or as I have with dies.
Bye for now,
Kris
Product used.


With Sympathy
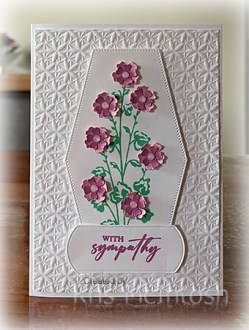
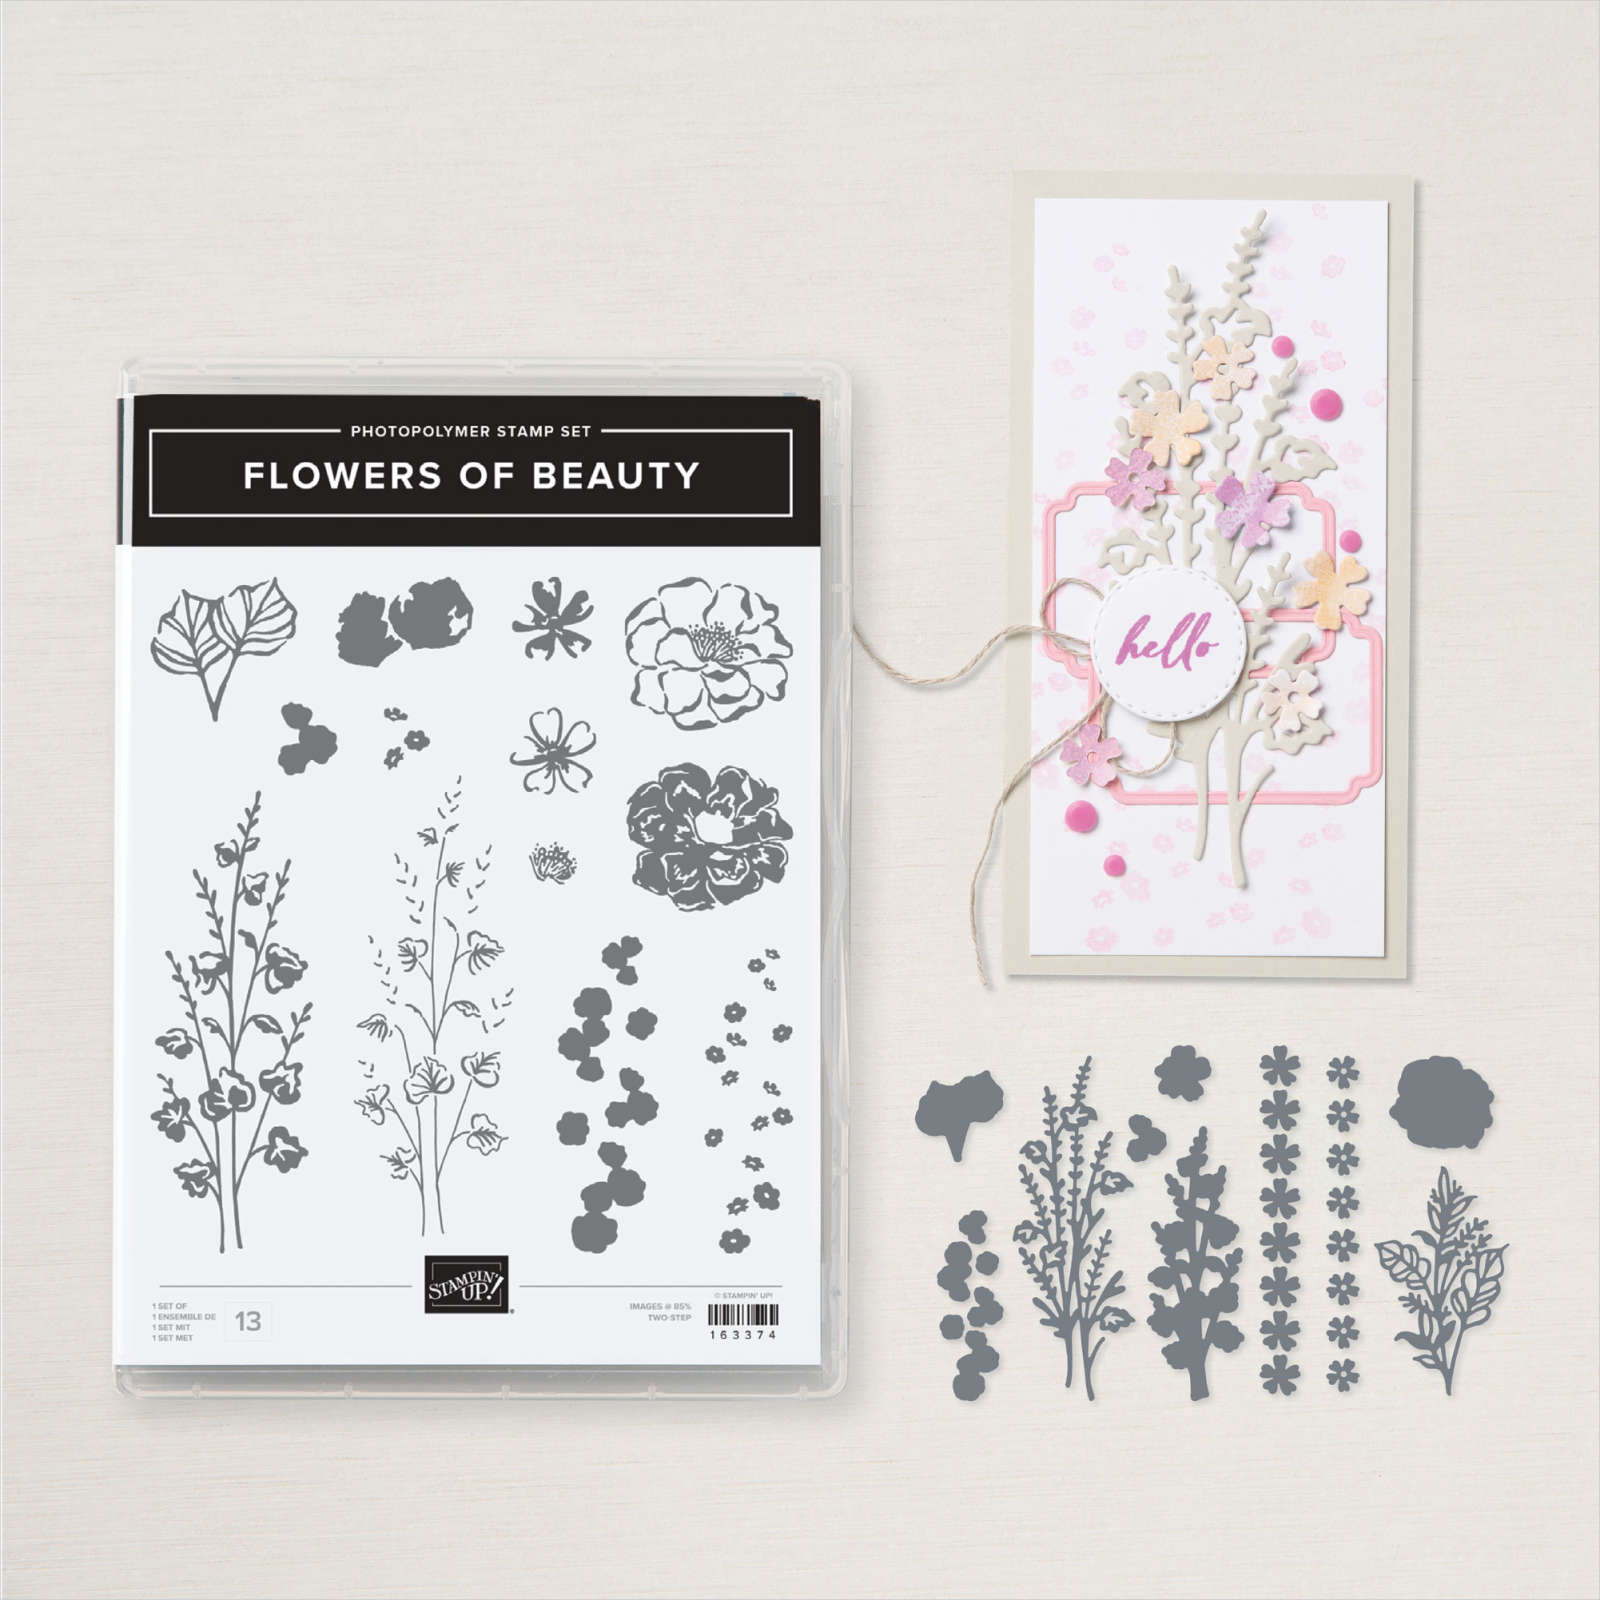
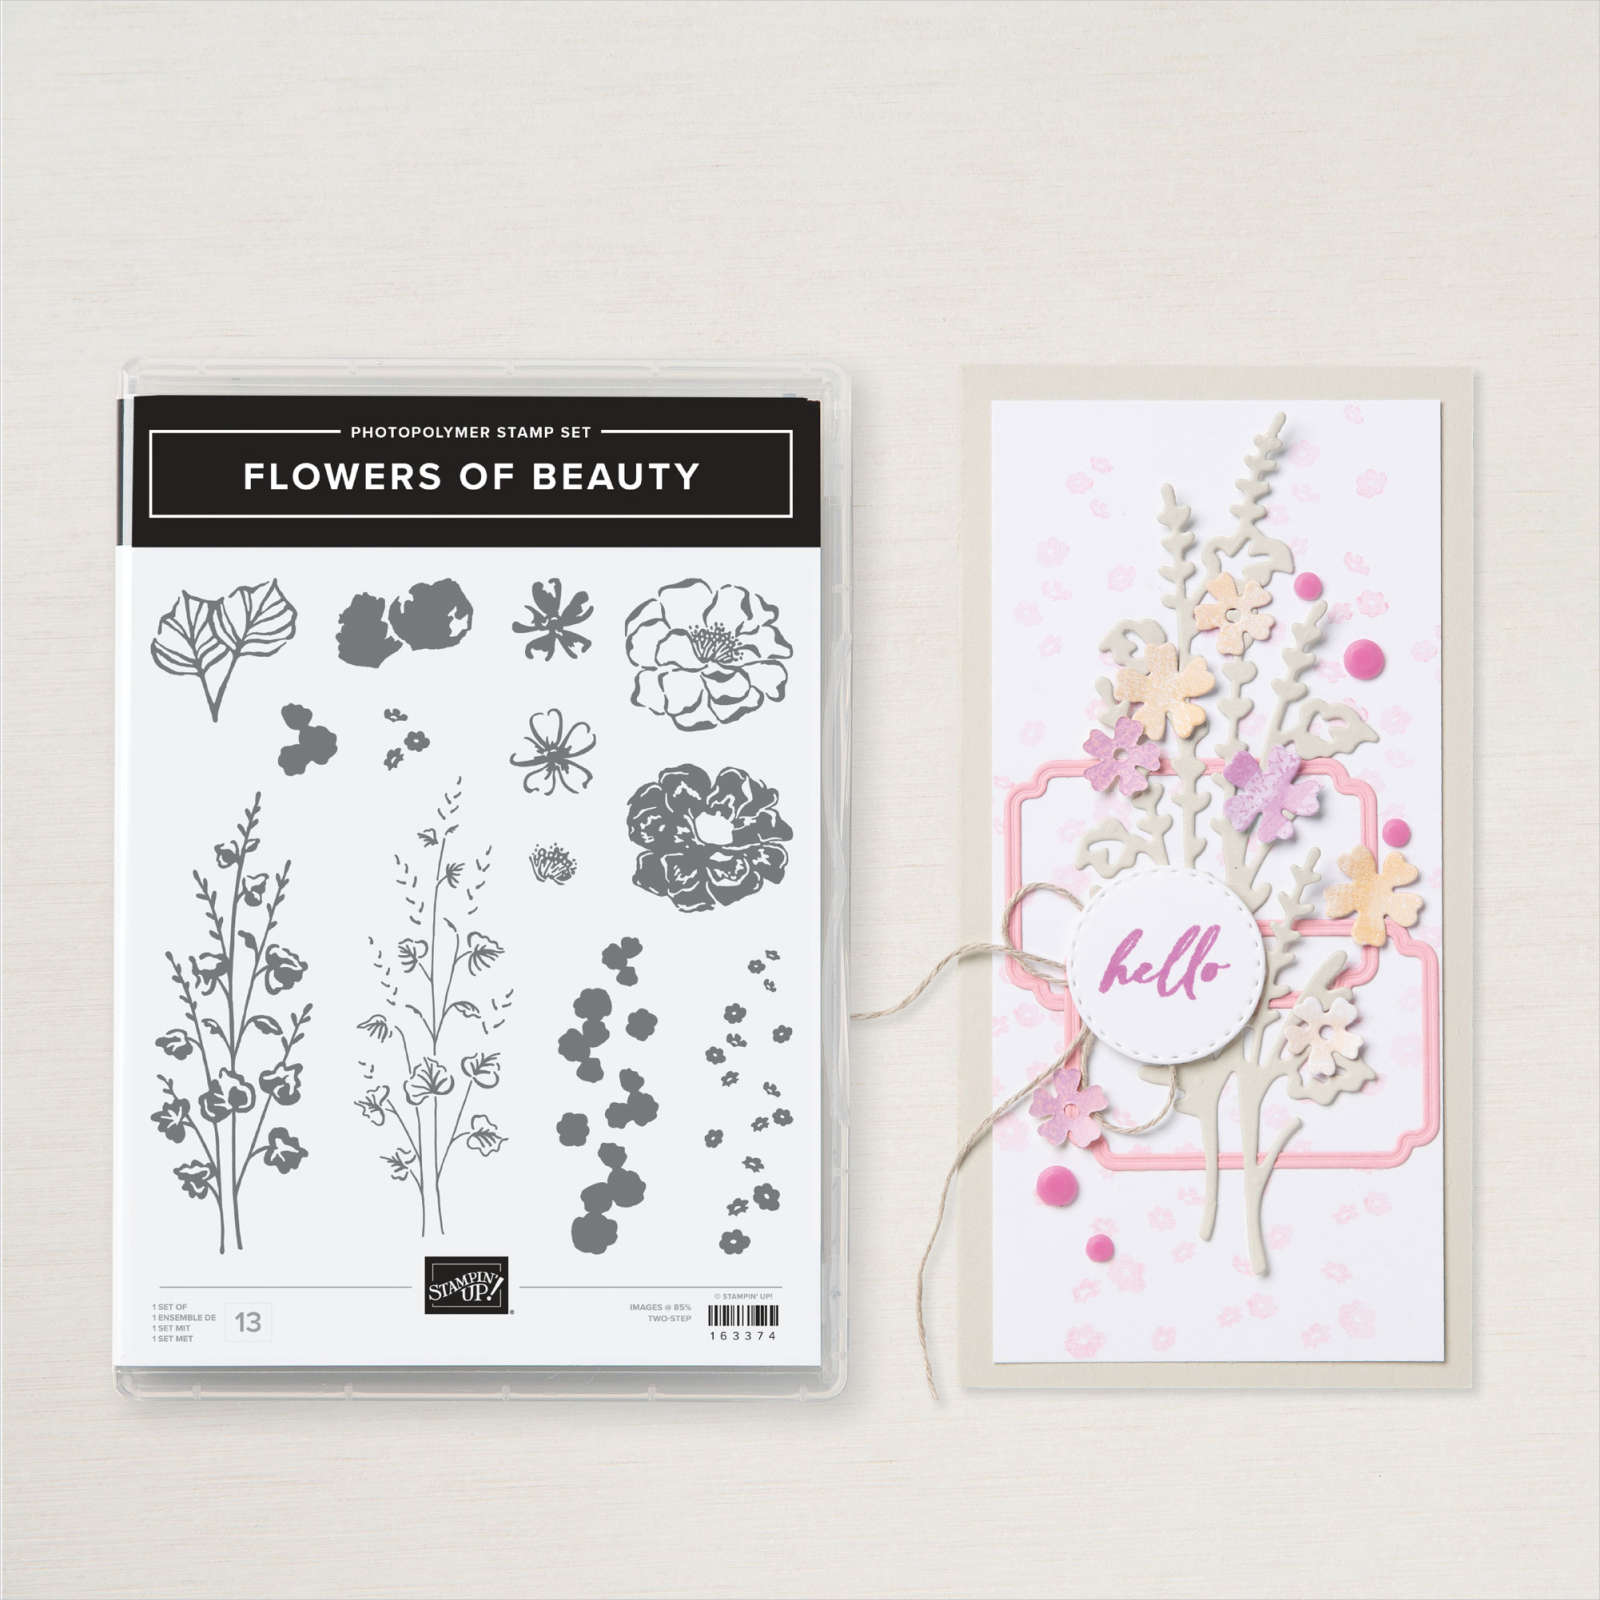
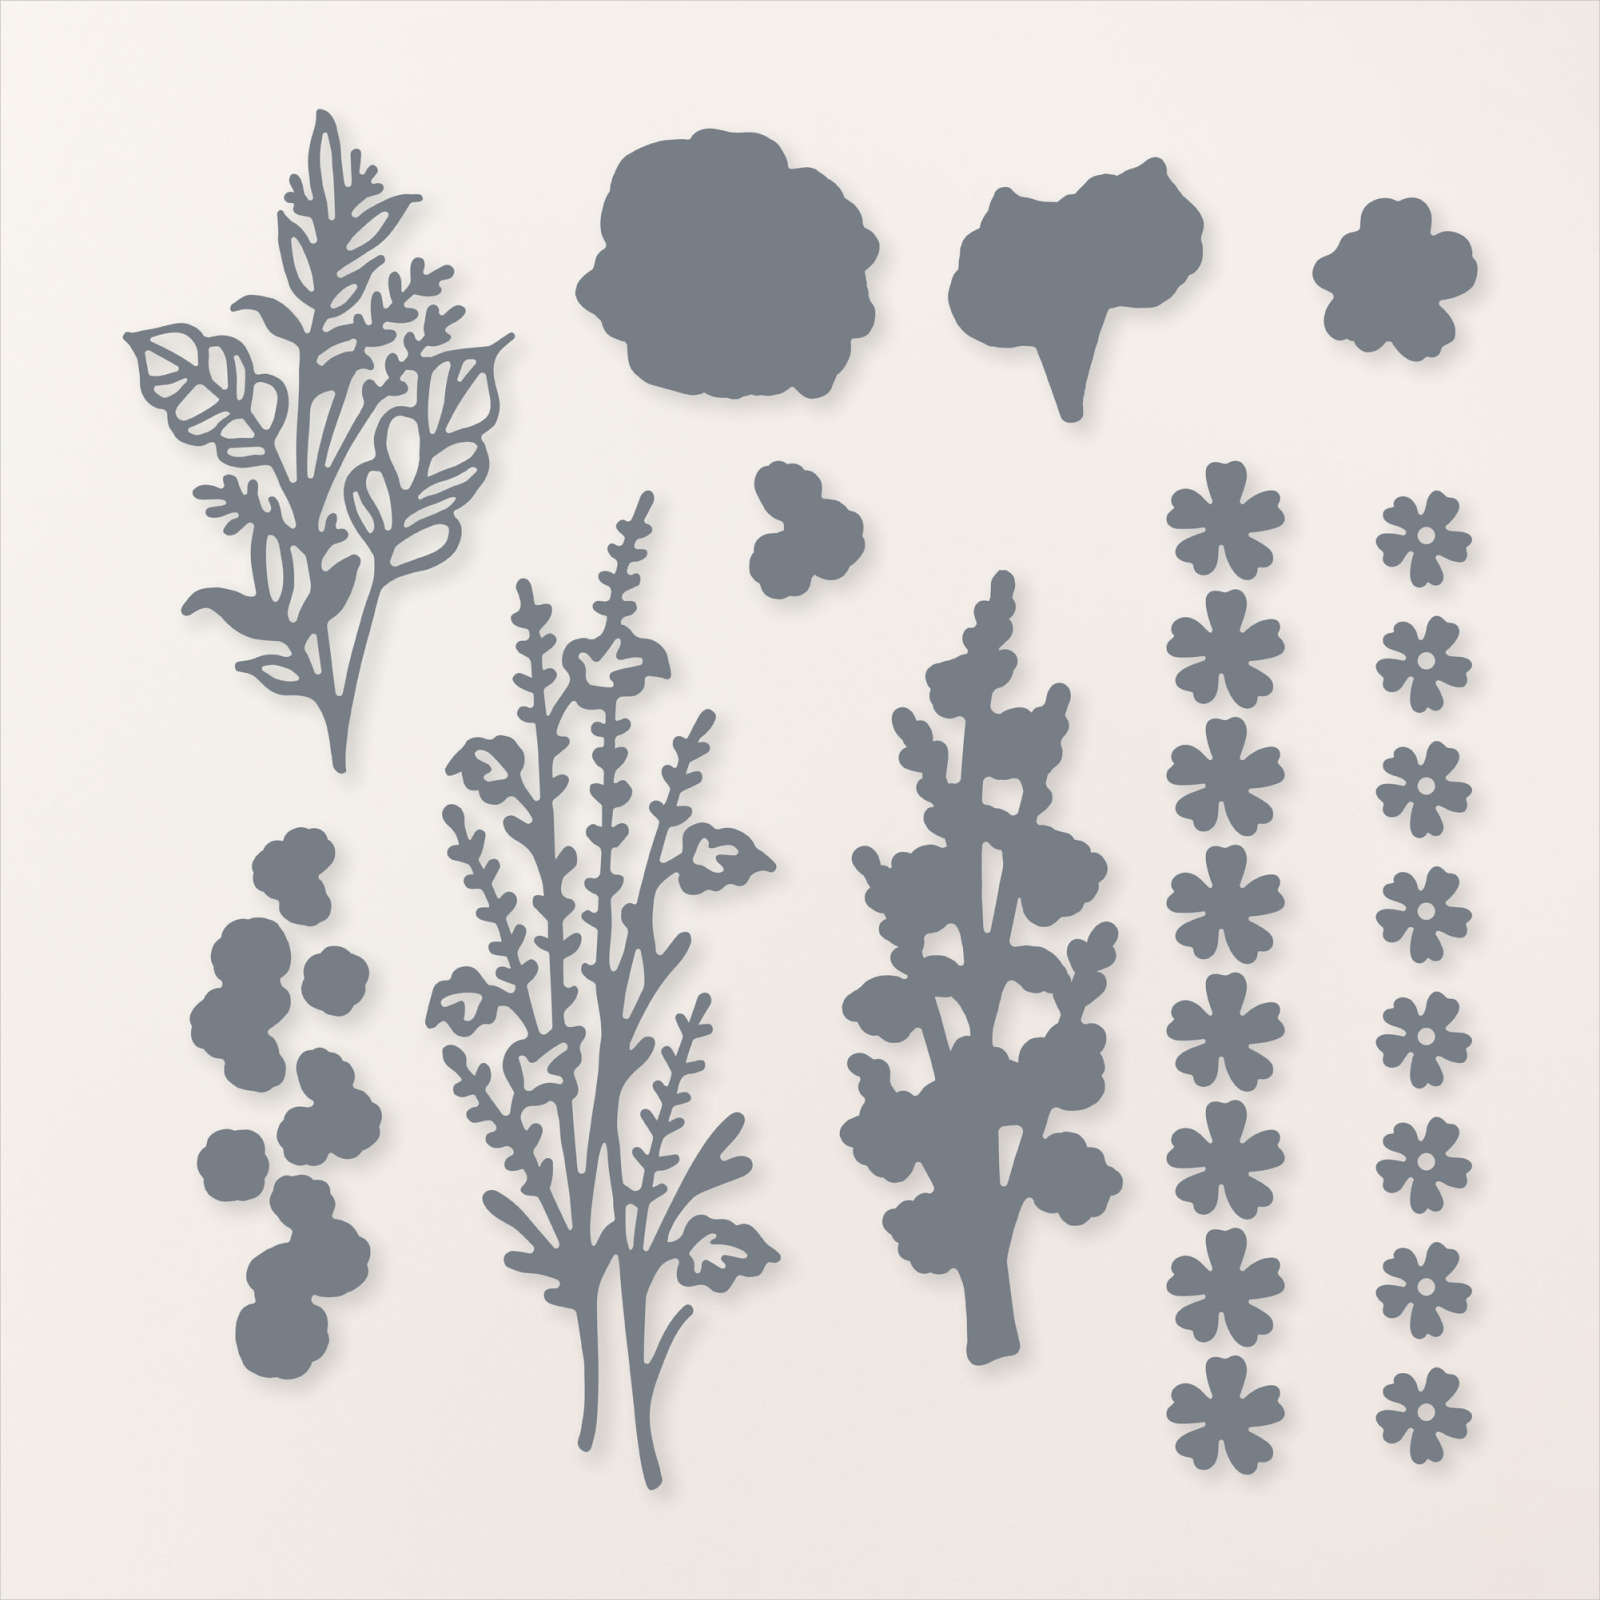
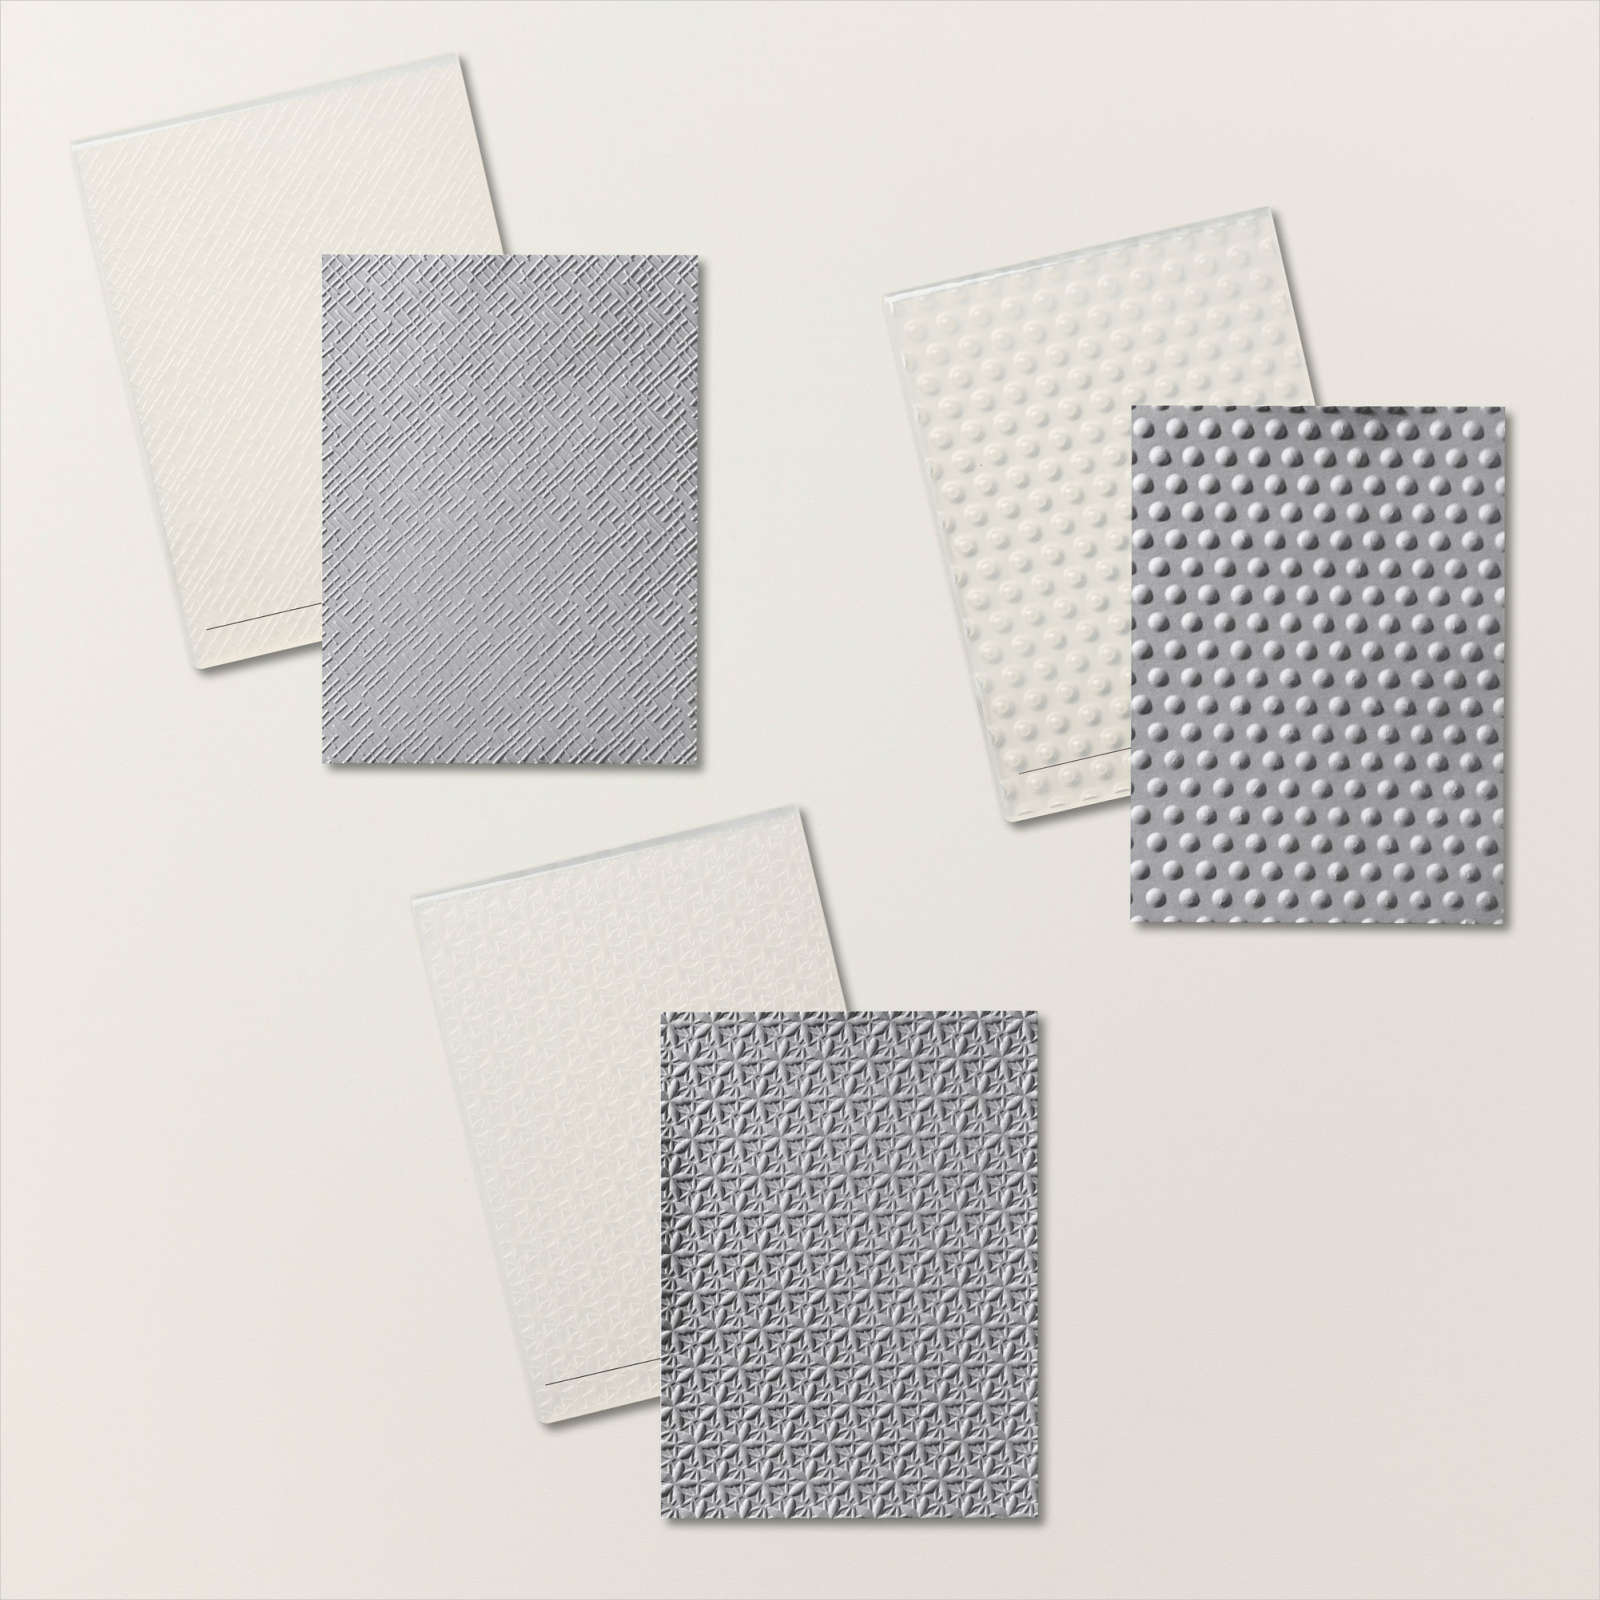
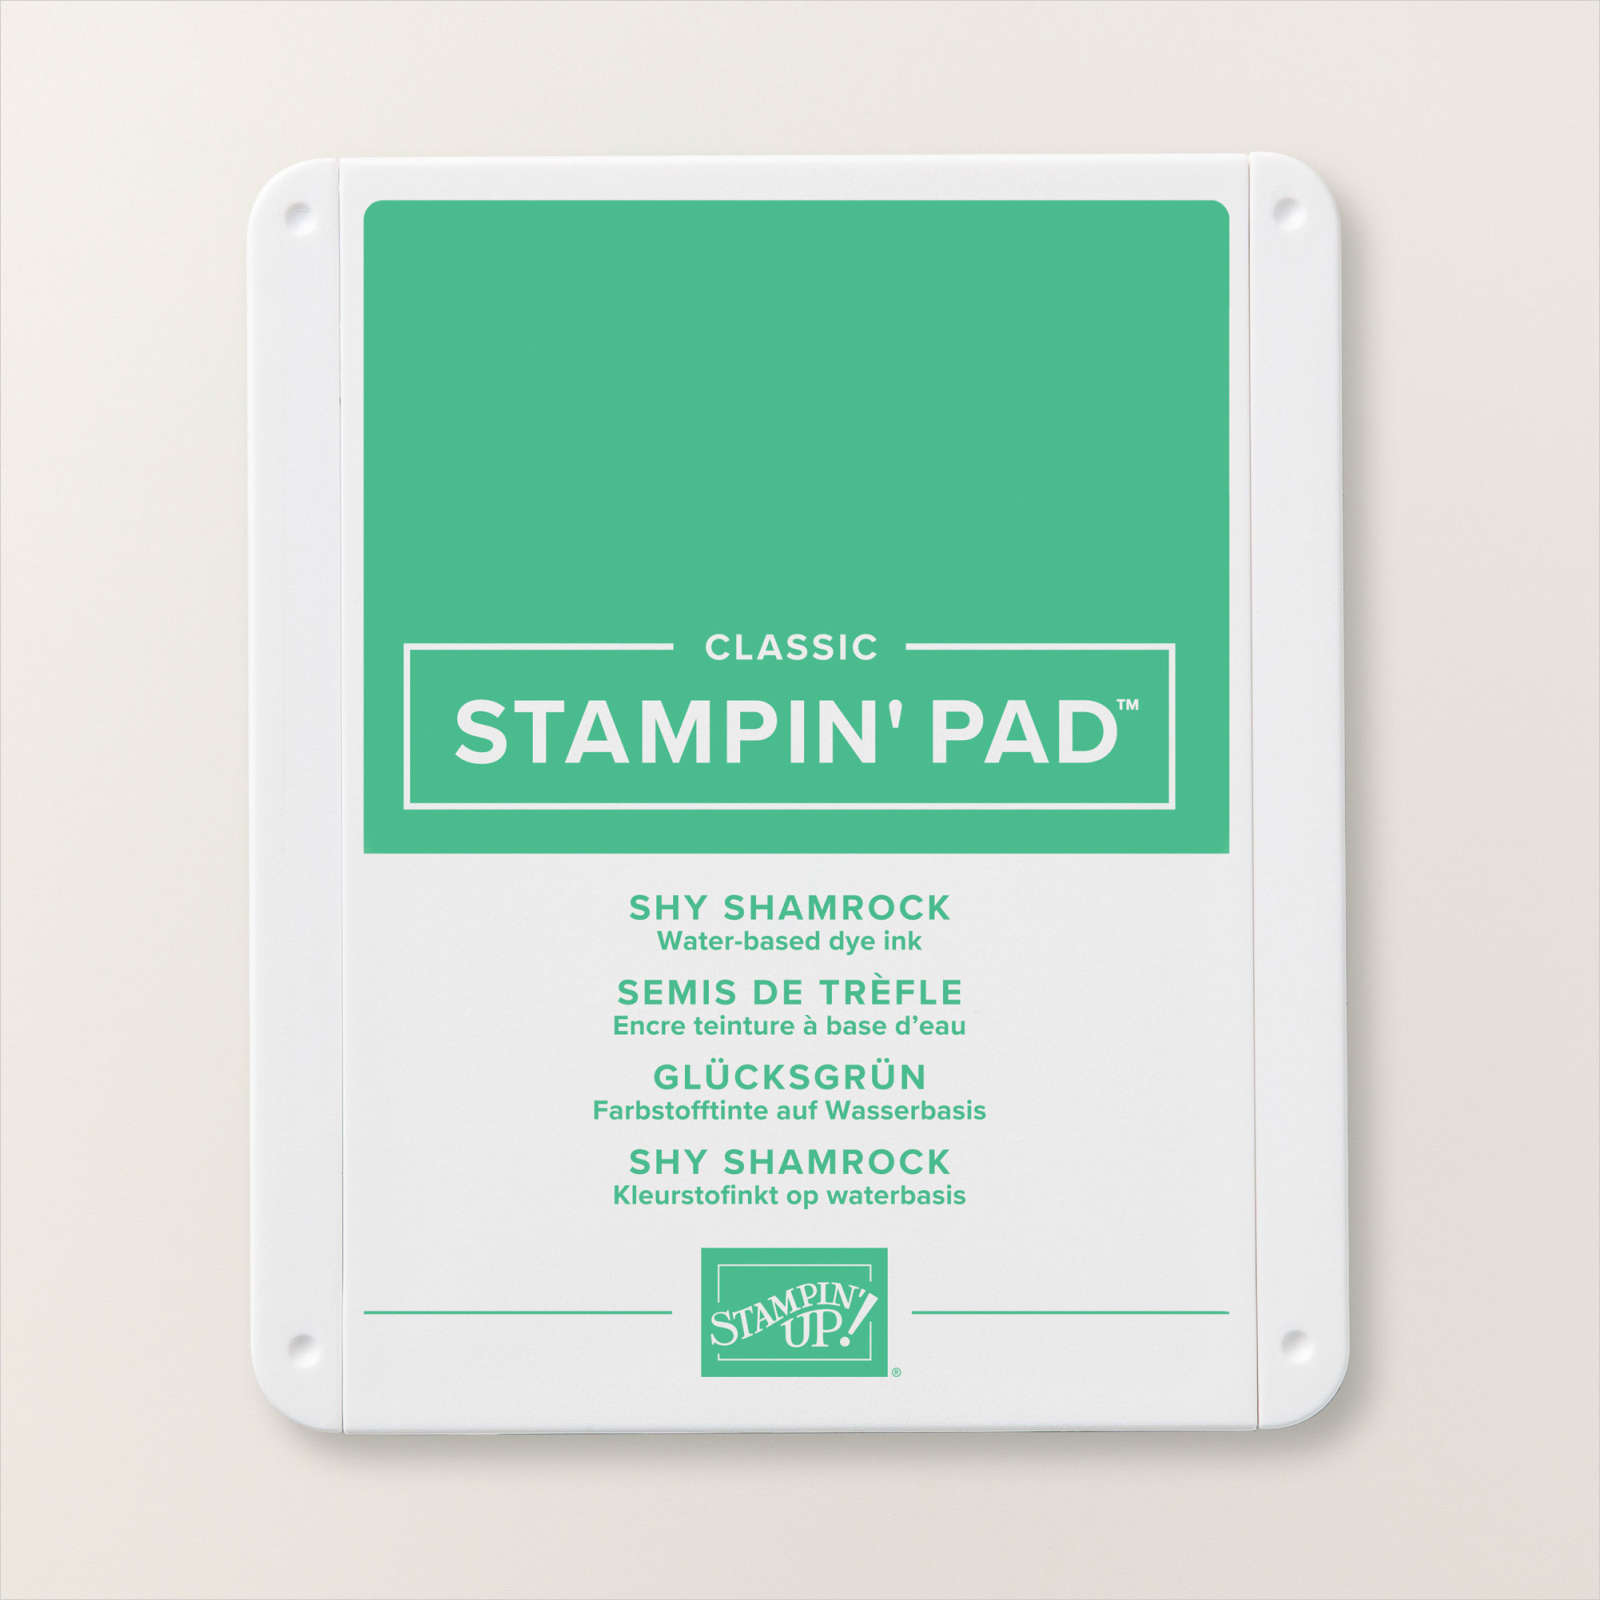
Today I am again using the Unbounded Beauty Collection. I embossed a piece of Basic White card using one of the Basics 3D Embossing Folders and attached it to scored and folded Thick Basic White card. I cut Basic White card using one of the Nested Essential Dies. I stamped the leafy image from the Flowers of Beauty stamp set onto the die cut using Shy Shamrock ink. I die cut Pretty in Pink card using the large multi flower die from the Flowers of Beauty Dies and Petunia Pop card using the small multi flower die. I curled each of the flowers and attached a Petunia Pop flower to the centre of a Pretty in Pink card.

I attached seven of these flowers to the stamped leafy image. I added a Pretty in Pink 2024-2026 In Colour Shimmer Gem to the centre of each flower. The die cut panel is attached to the embossed card front using dimensionals. I stamped “with sympathy” from the Unbounded Love stamp set onto Basic White card using Petunia Pop ink.
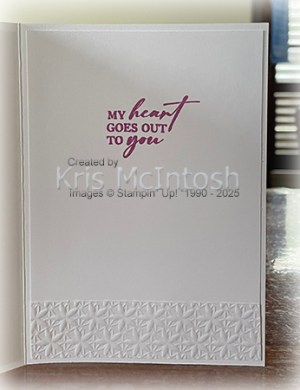
I cut out the greeting using one of the Unbounded Love Dies – I did cut it twice to make the die slightly smaller. The greeting is attached across the bottom of the stamped panel using dimensionals where necessary. To decorate the inside of he card I stamped a greeting from the Unbounded Love stamp set onto Basic White card using Petunia Pop ink. I embossed a narrow strip of Basic White card using the same Basics 3D Embossing Folder. The embossed panel is attached across the bottom of the stamped card. I simply love how gorgeous this card is. Sympathy cards are usually hard to make when you need them so it’s nice to have them on hand. I would really love to know what you think of this card. Are you in love with this beautiful Unbounded Beauty Collection as much as I am?
Bye for now,
Kris
Product Used:


Halle
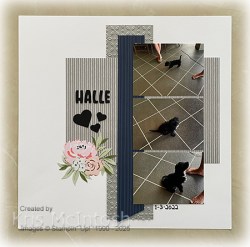
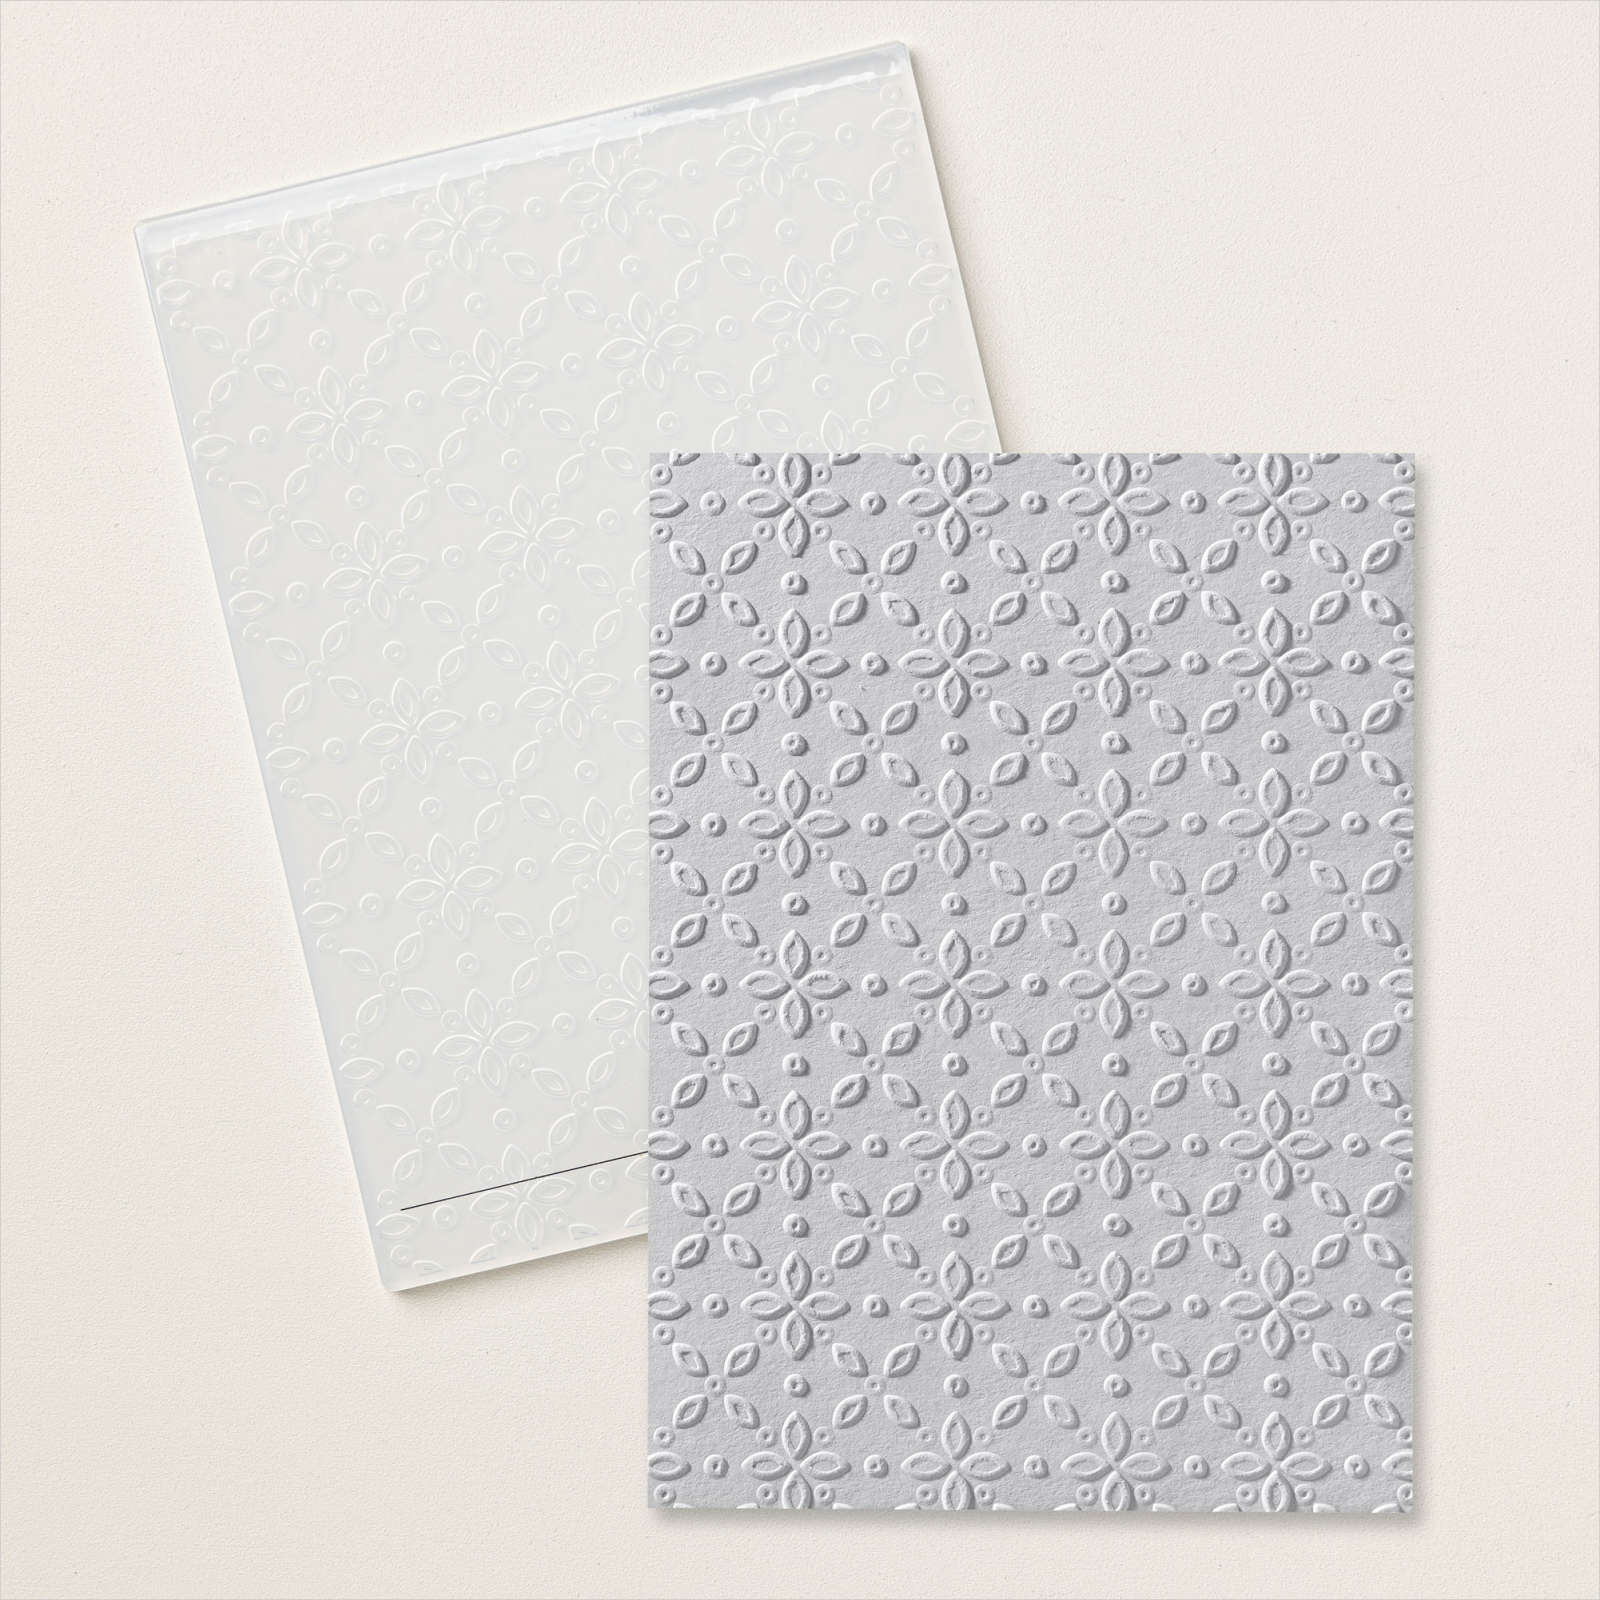
Today’s page shares some photos of my daughters new puppy. I embossed a piece of Smoky Slate card using the Eyelet 3D Embossing Folder and attached it to a Basic White 12″ x 12″ page. I cut two pieces of the same Smoky Slate patterned paper from the Neutrals 6″ x 6″ Designer Series Paper and attached them side by side across the page. I cut a strip of Countryside Inn 12″ x 12″ Designer Series Paper and trimmed the bottom edge on an angle before attaching this panel down the page.
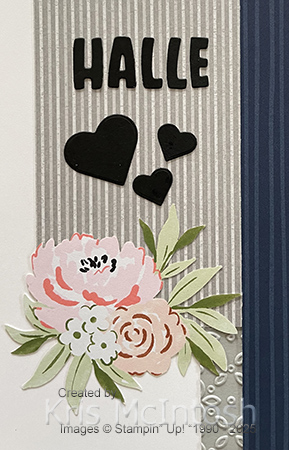
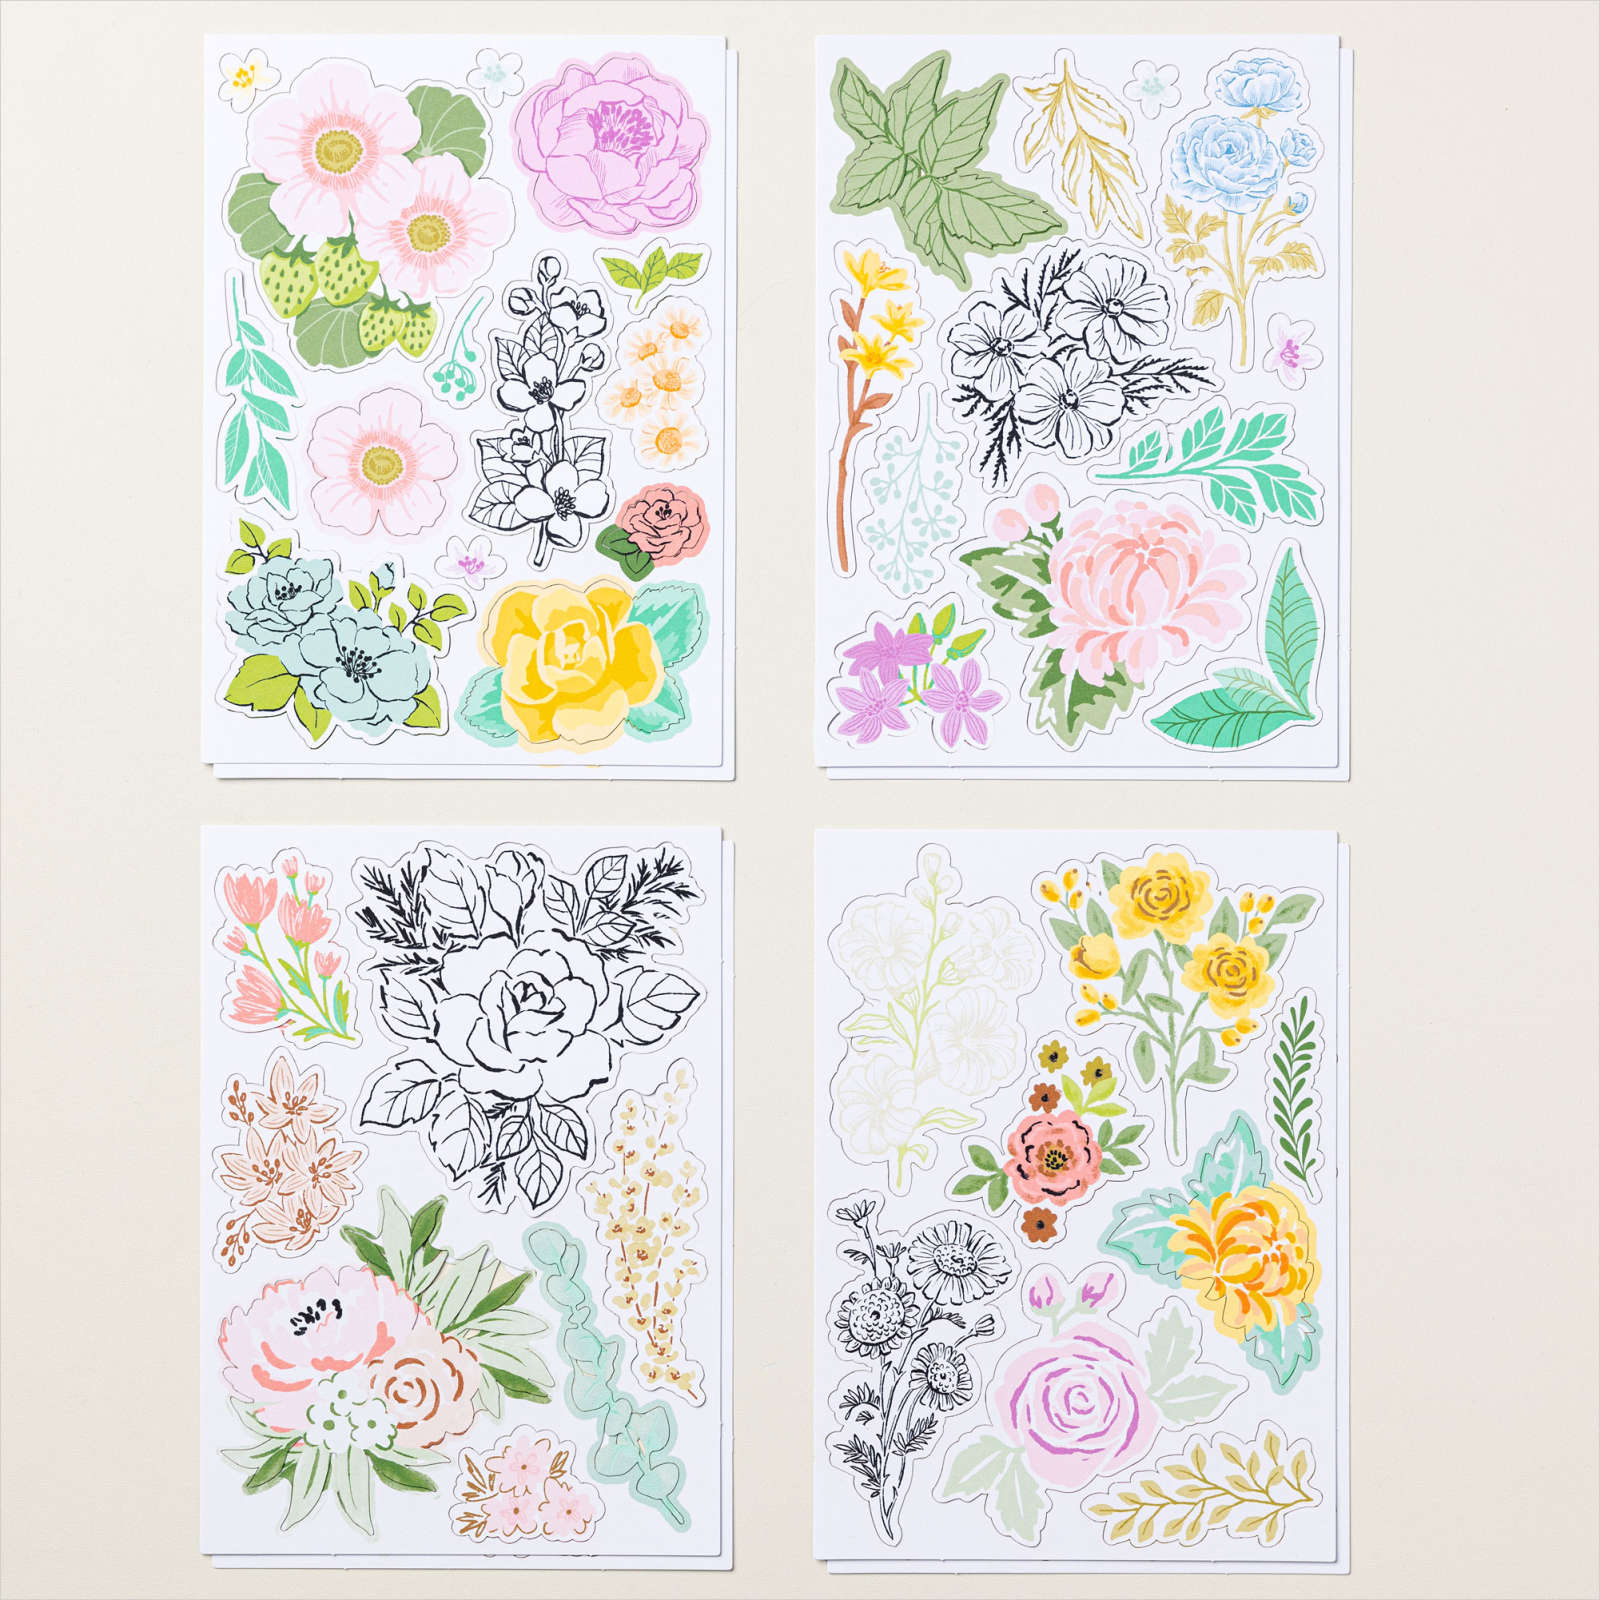
This strip of Designer Series Paper hides the join in the two pieces of Neutrals Designer Series Paper. I attached my photos onto the right hand side of the page without adding any additional layers. I cut the title from Basic Black card using the Mini Alphabet Dies and attached it onto the left hand side of the page. I cut Basic Black card using the heart dies from the Wonderful Thoughts Dies. I also attached one of the flowers from the Fully Flowering Ephemera Pack onto the bottom left hand corner of the Designer Series Paper. I love how quickly this page came together and I am so happy to have used some of the gorgeous Fully Flowering Ephemera Pack. I would love to hear what you think.
Bye for now,
Kris
Product Used:


Peace Love Joy
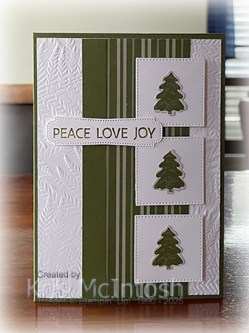
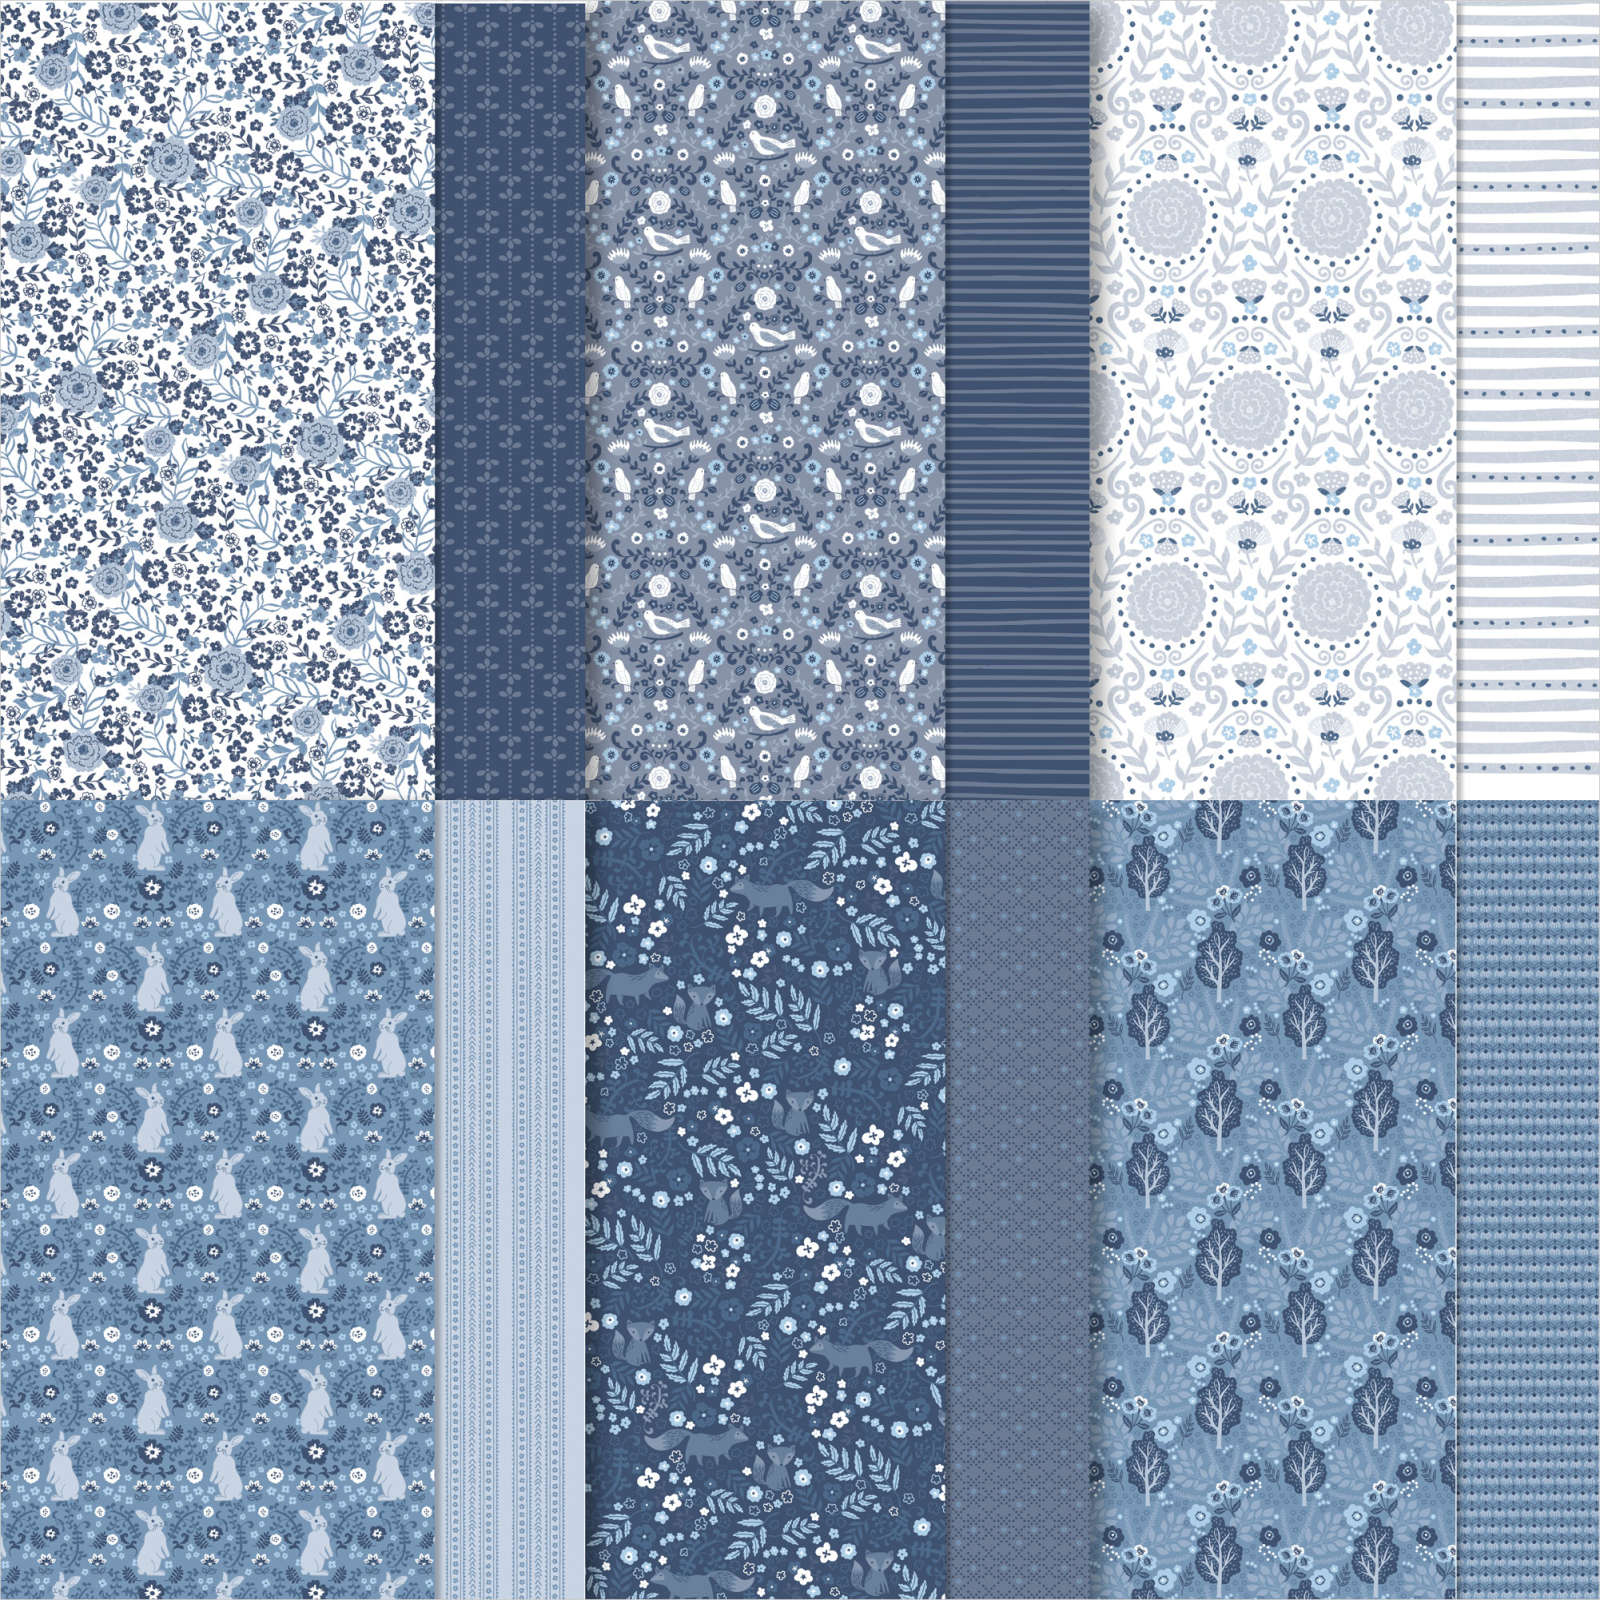
This week in my Facebook Live I shared some cards made using the Iconic Imagery Suite Collection and today I have another card to share with you. For my card today I embossed a piece of Basic White card using the Fern 3D Embossing Folder. I attached a strip of Iconic Celebrations 6″ x 6″ Designer Series Paper to the right hand side of the embossed card. I attached a strip of Mossy Meadow onto the embossed panel on the left hand side of the Designer Series Paper.
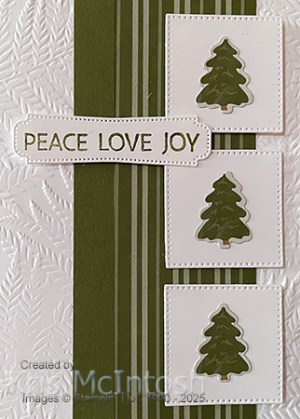
The whole panel is attached to scored and folded Mossy Meadow card.I cut Basic White card three times using the second smallest square from the Stylish Shapes Dies. I used the die from the Iconic Imagery Dies to cut out the trees from the Iconic Celebrations Designer Series Paper.

I attached a tree to each of the Basic White squares before attaching them to the card front using dimensionals. I stamped the greetings “peace love joy” from the Iconic Imagery stamp set onto Basic White card using Mossy Meadow ink. I cut out the greeting using one of the banners from the Iconic Imagery Dies. The greeting is also attached to the card front using dimensionals. To decorate the inside of the card, I stamped “celebrate” and “the season” from the Iconic Imagery stamp set onto Basic White card using Mossy Meadow ink. I love playing around with these small images and the best thing is this suite covers many different occasions, not just Christmas.
Bye for now,
Kris
Product Used:


A leafy note

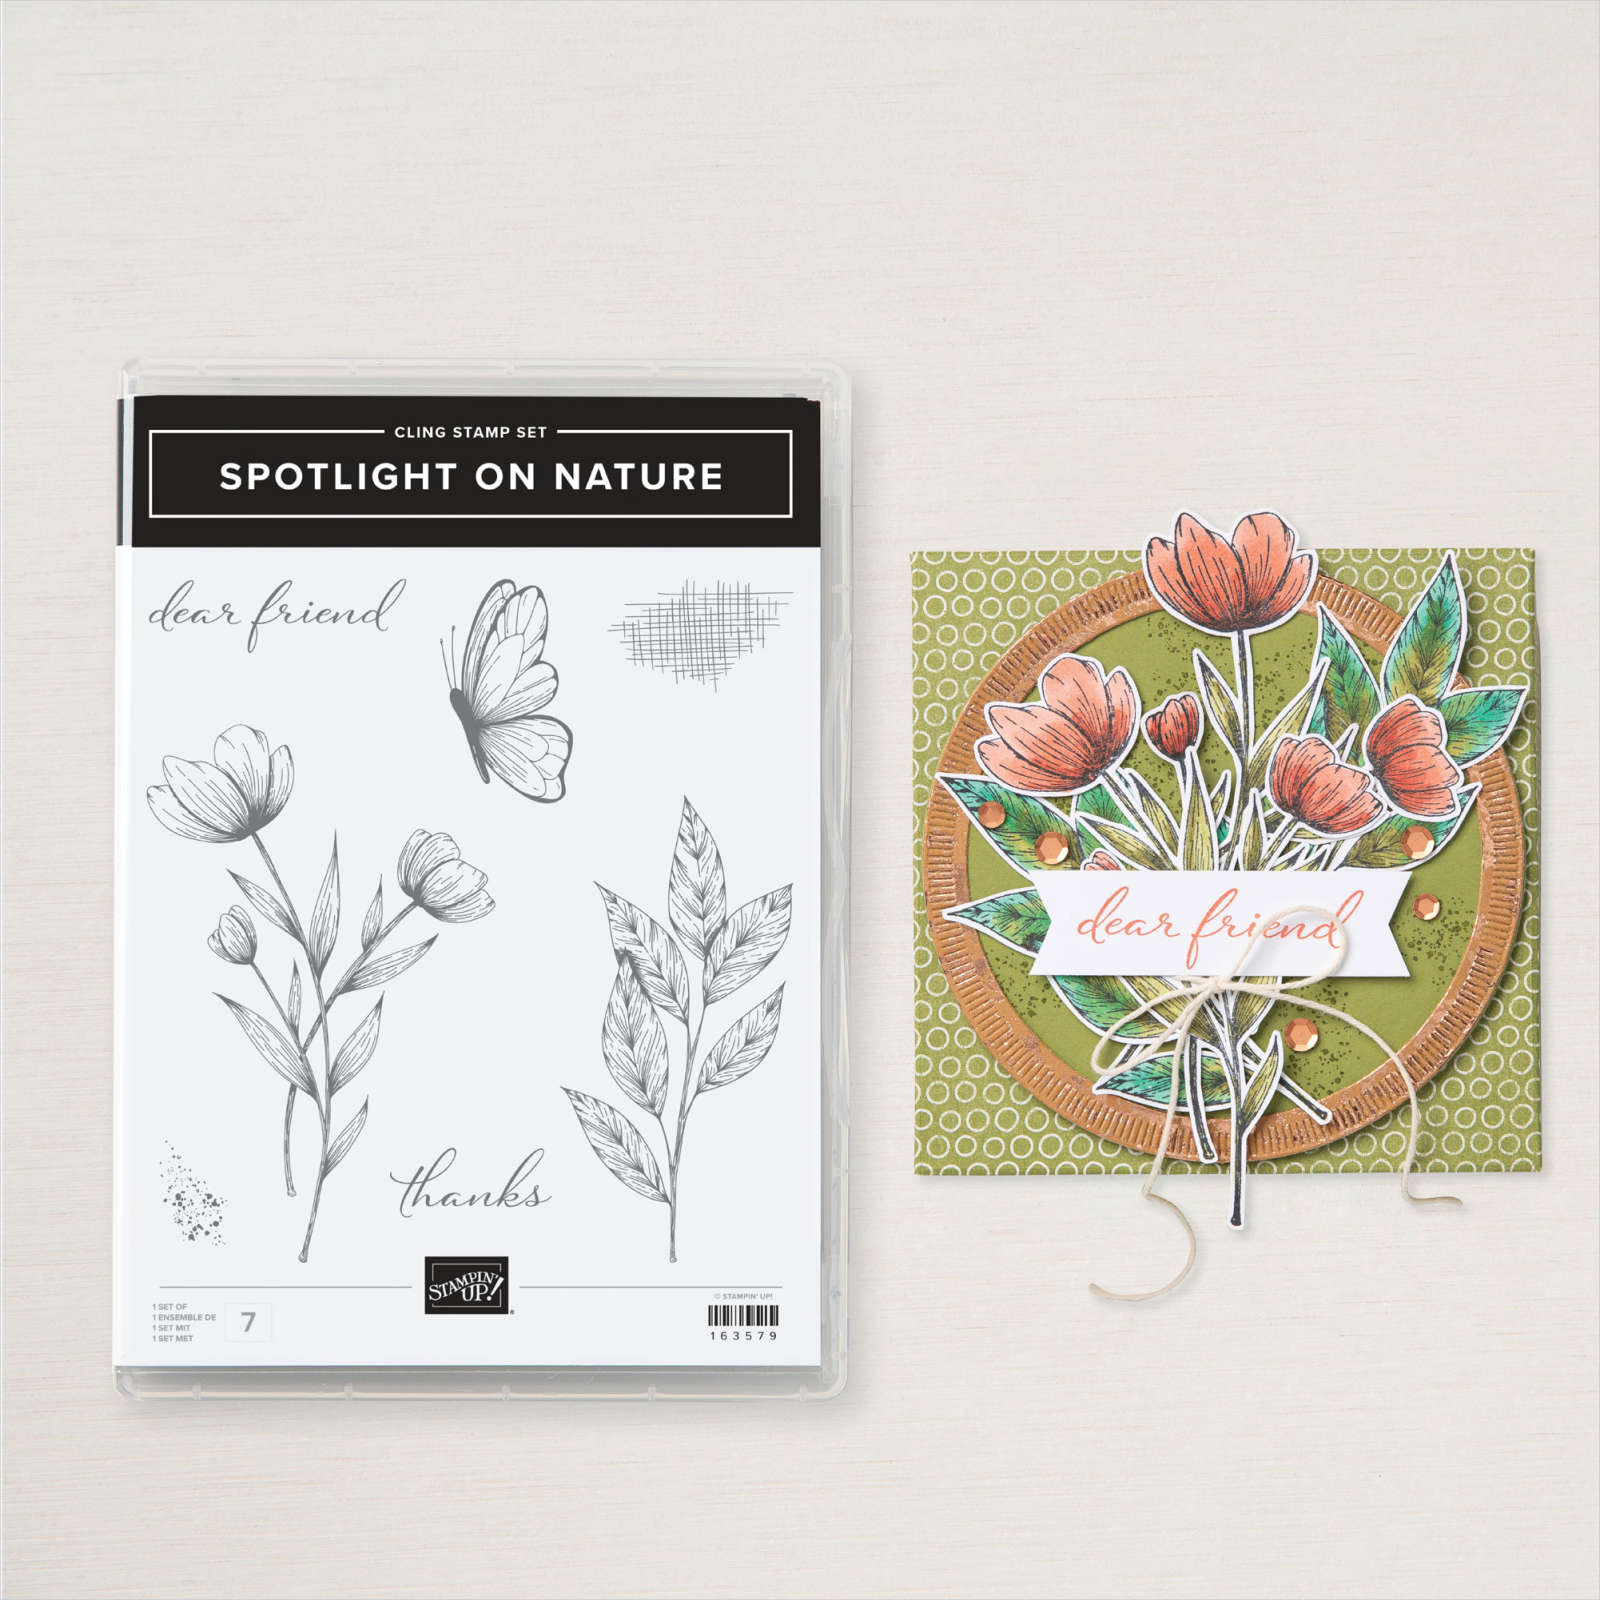
Today’s card uses a new embossing folder and I think it is the first time I have used it. I embossed Basic Whtie card using the Dotted Circles 3D Embossing Folder and attached it to scored and folded Pretty Peacock card. I stamped the leaf image from the Spotlight on Nature stamp set onto Basic White card three times using Pretty Peacock ink.
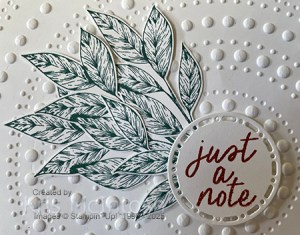
I fussy cut each of the leaves before layering them together and attaching them to the embossed Basic White card. I stamped the greeting from the Simply Said stamp set onto Basic White card using Cajun Craze ink and cut it out using one of the Spotlight on Nature Dies.
The greeting is attached to the card front using dimensionals. To decorate the inside of the card, I stamped the leaf from the Spotlight on Nature stamp set onto the left hand side of Basic White card using Pretty Peacock ink. I stamped the greeting from the Simply Said stamp set beside the leaf using Cajun Craze ink. A simple card but pretty, don’t you think?
Bye for now,
Kris
Product Used:


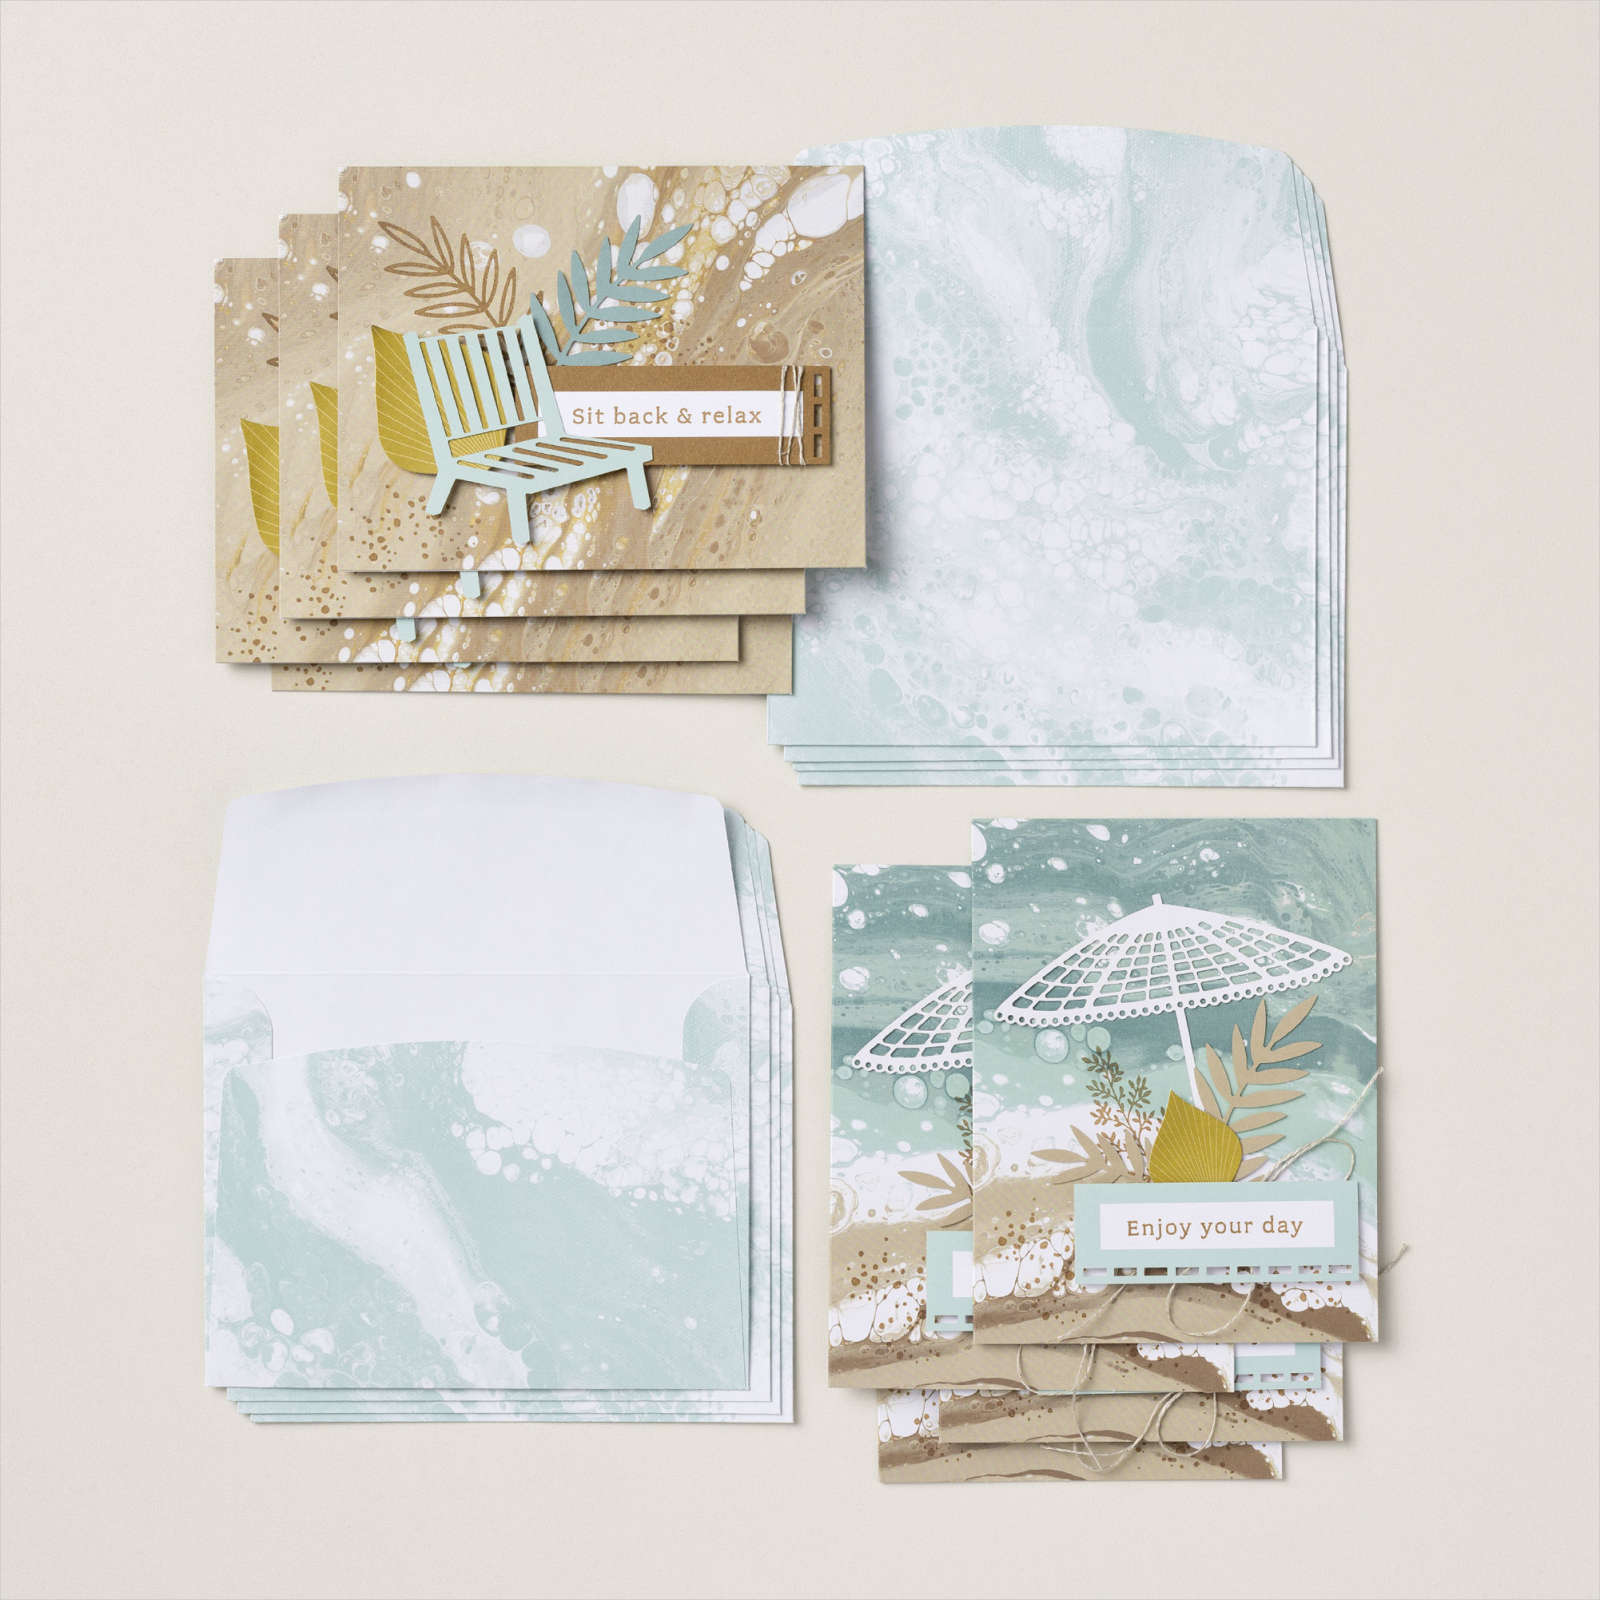
Australia Day
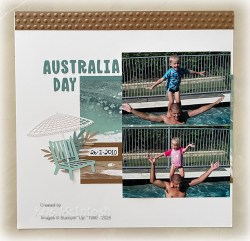
2010. Such a long time ago. It makes me smile when I look at these photos because the grandies had so much fun when they were little, swimming in Nan and Pop’s pool. I used a sketch I found on the internet as the starting point for this page, bearing in mind that I wanted to use the Boho Beach Kit to create the page. I cut two pieces of Pecan Pie card and embossed them using the polka dot folder from the Basics 3D Embossing Folders.

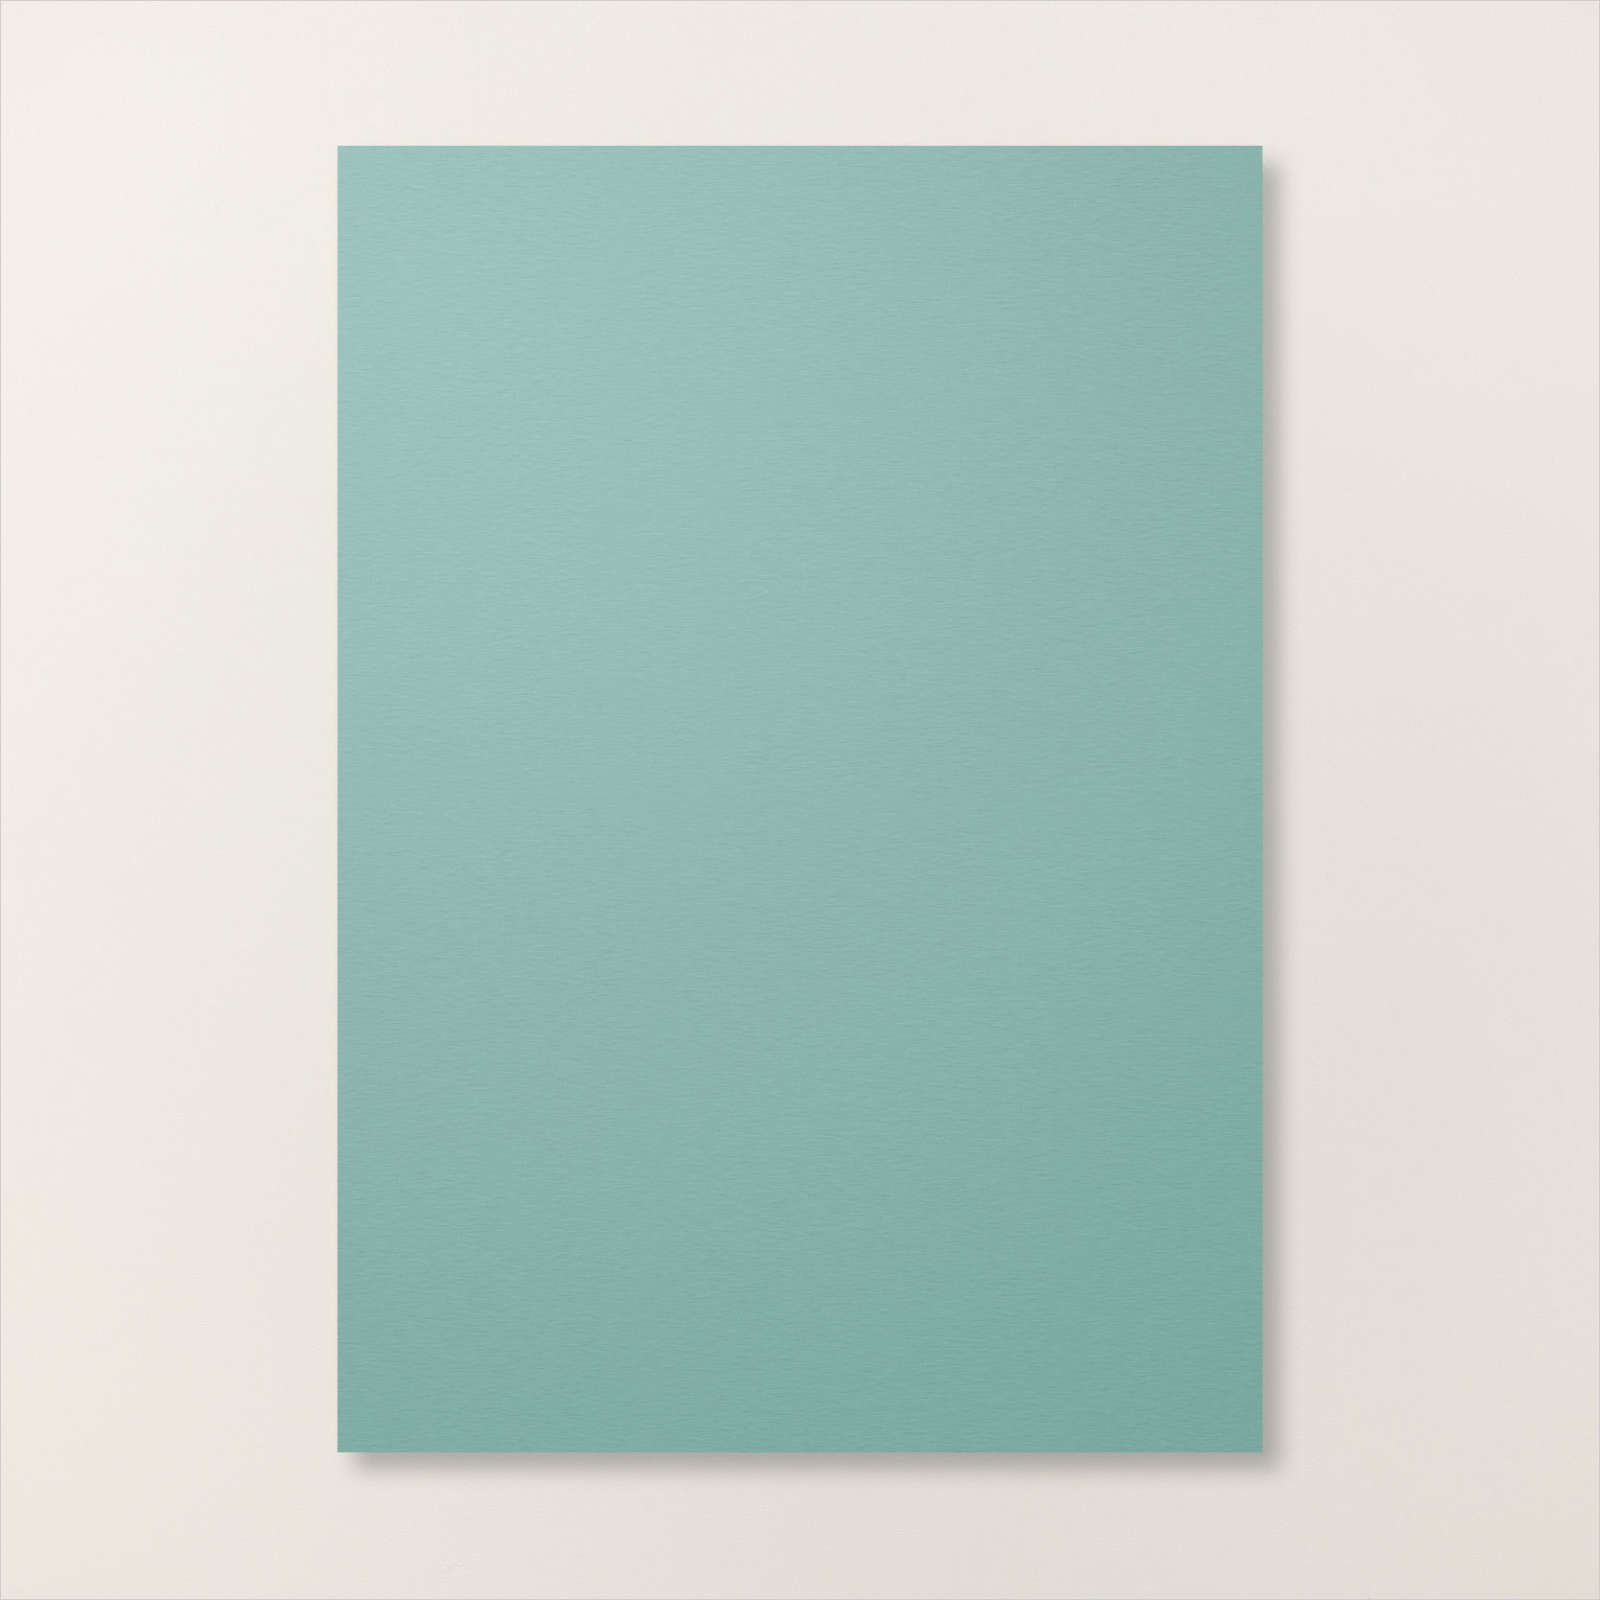
I attached the embossed panels across the top of two Basic White 12″ x 12″ pages. I attached a card base from the Boho Beach Kit to the centre of both pages. I also attached narrow strip of Lost Lagoon card across the top of the card bases and a narrow strip of Pecan Pie card across the bottom of the card bases.
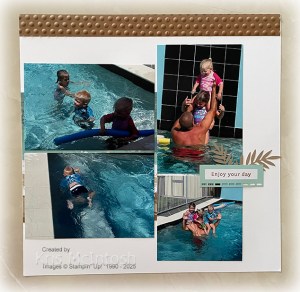
For the left hand page, I attached two photos to the right hand side of the page overlapping the card base. I cut my title from Lost Lagoon card using the Mini Alphabet Dies. I wrote the date on one of the labels from the Boho Beach Kit and attached it beside the photos. I layered the seat, umbrella and two leaf images from the card kit onto the the left hand edge of the label. For the right hand page, I stamped the greeting from the stamp set included in the Boho Beach Kit onto another label from the kit using the included Pecan Pie ink. I attached the photos to the page, tucking another leaf from the kit underneath the top of the 4″ x 4″ photo. I attached the label across the bottom of the leaf image.

I love how these pages turned out and makes me think about the card kits in a very different light. What do you think? Does it make you think about the card kits for your Memory Keeping?
Bye for now,
Kris
Product Used:
Merry Christmas

This week in my Facebook Live, I shared some cards I created using the Nests of Winter Suite Collection. This collection was available to Demonstrators to purchase early to attend an Online Creative event and won’t be available to customers until the release of the September to December Mini Catalogue. For this card, I attached a piece of Nests of Winters 12″ x 12″ Designer Series Paper to scored and folded Blueberry Bushel card. I cut the bird image from the same Designer Series Paper and attached it to a piece of Blueberry Bushel card using dimensionals. The whole panel is attached to the card front using dimensionals.

I stamped “Merry Christmas” onto Basic White card using the greetings from the Greetings of the Season stamp set and Blueberry Bushel ink. The greeting is attached across the top of the image panel.

To decorate the inside of the card I stamped the greeting from the Greetings of the Season stamp set onto Basic White card using Blueberry Bushel ink. I cut another bird from the Nests of Winter 12″ x 12″ Designer Series Paper and attached it beside the greeting. I know that this Collection is going to be very popular, and even though the Winterly Tree Tops stamp set does not contain any Christmas greetings, it will be perfect for Christmas cards. So don’t forget to take a look when you get your copy of the Mini Catalogue.
Bye for now,
Kris
Product Used:


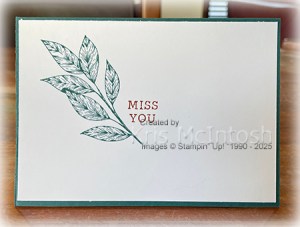
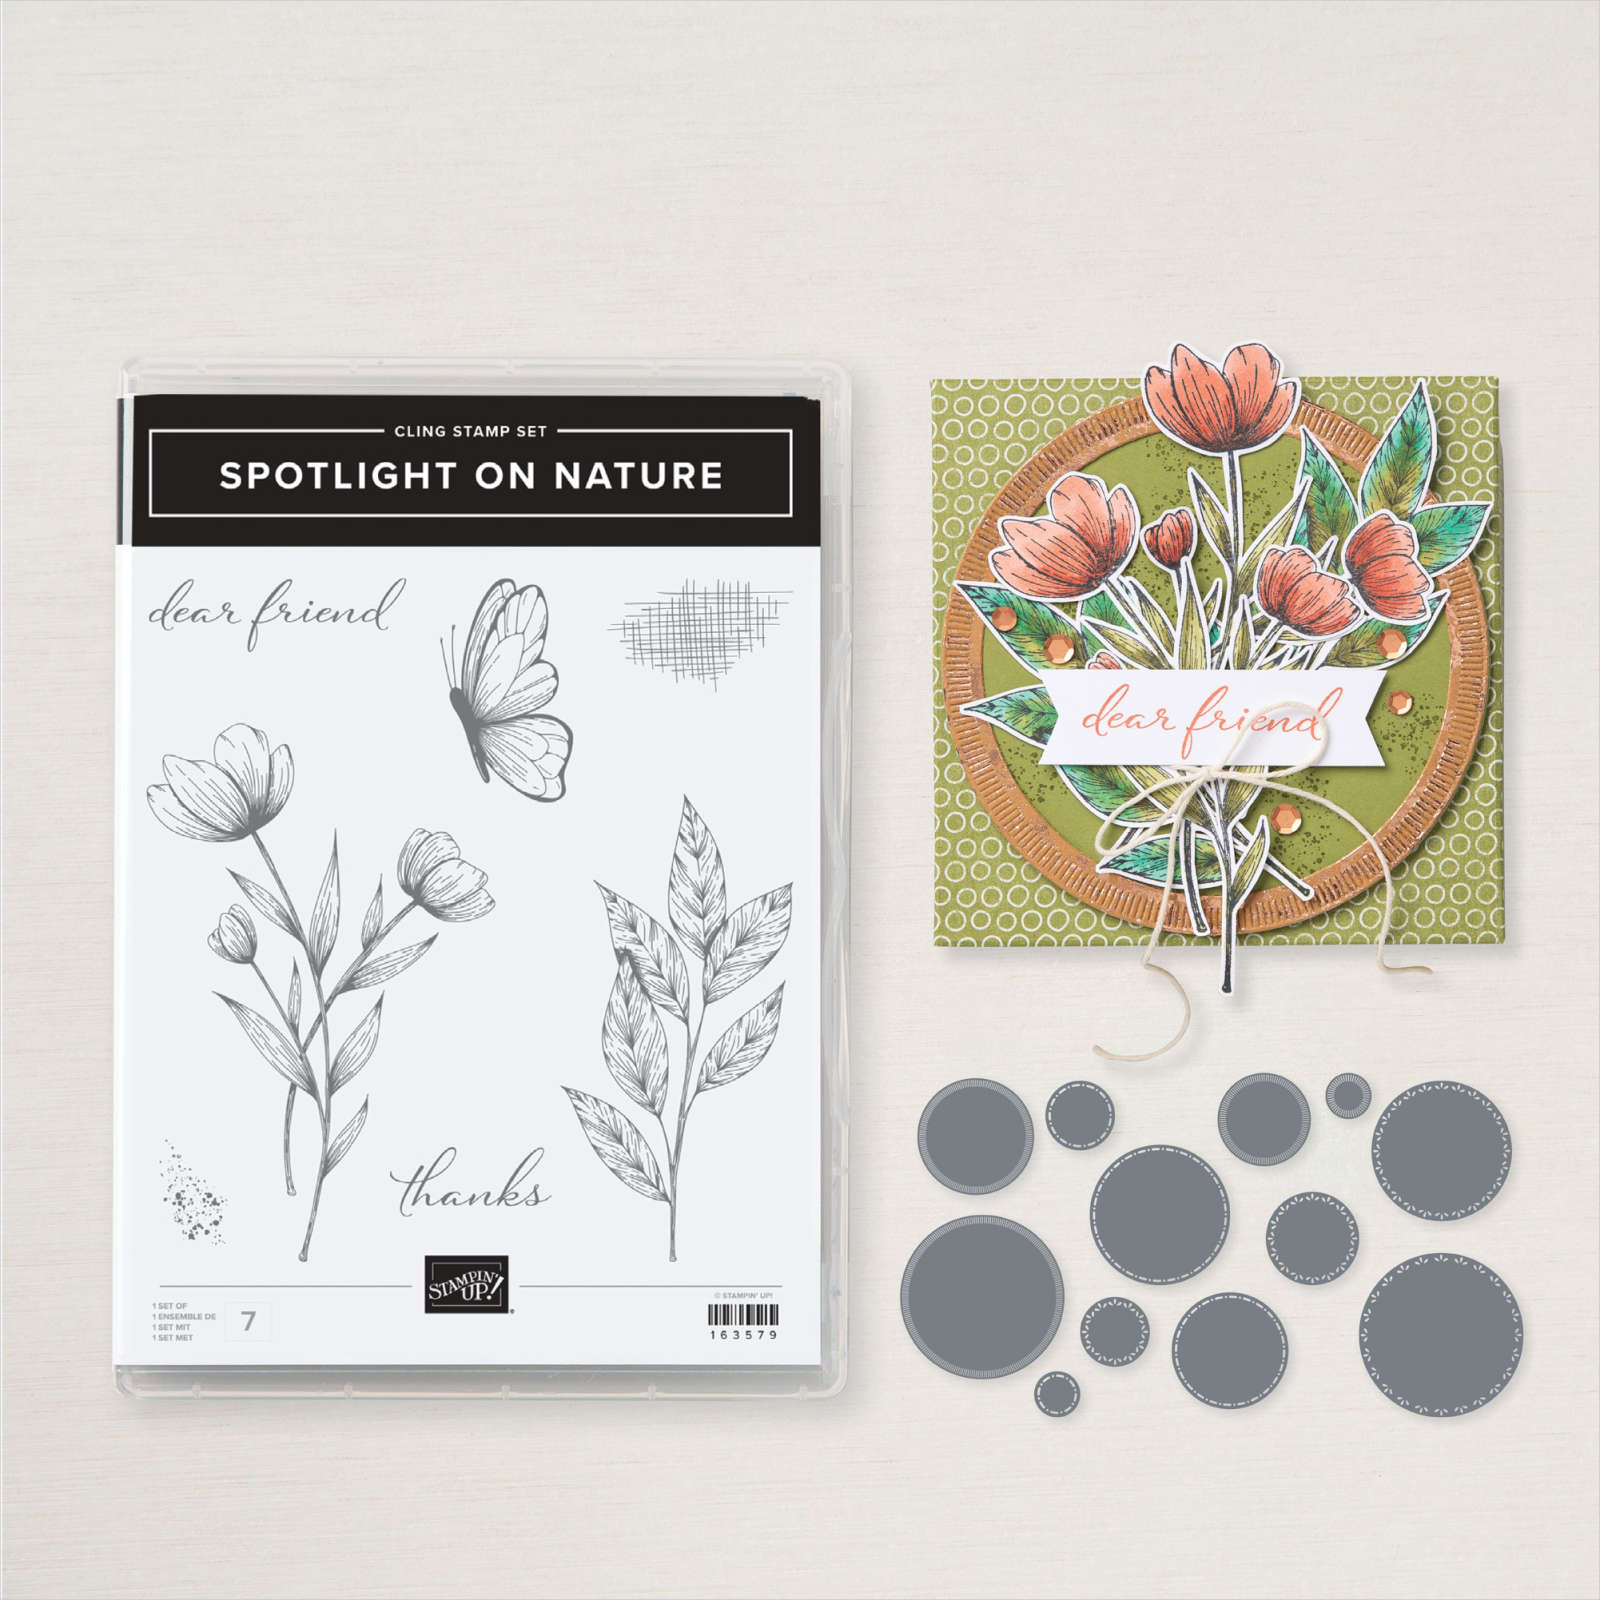
Pretty in Pink Thank You

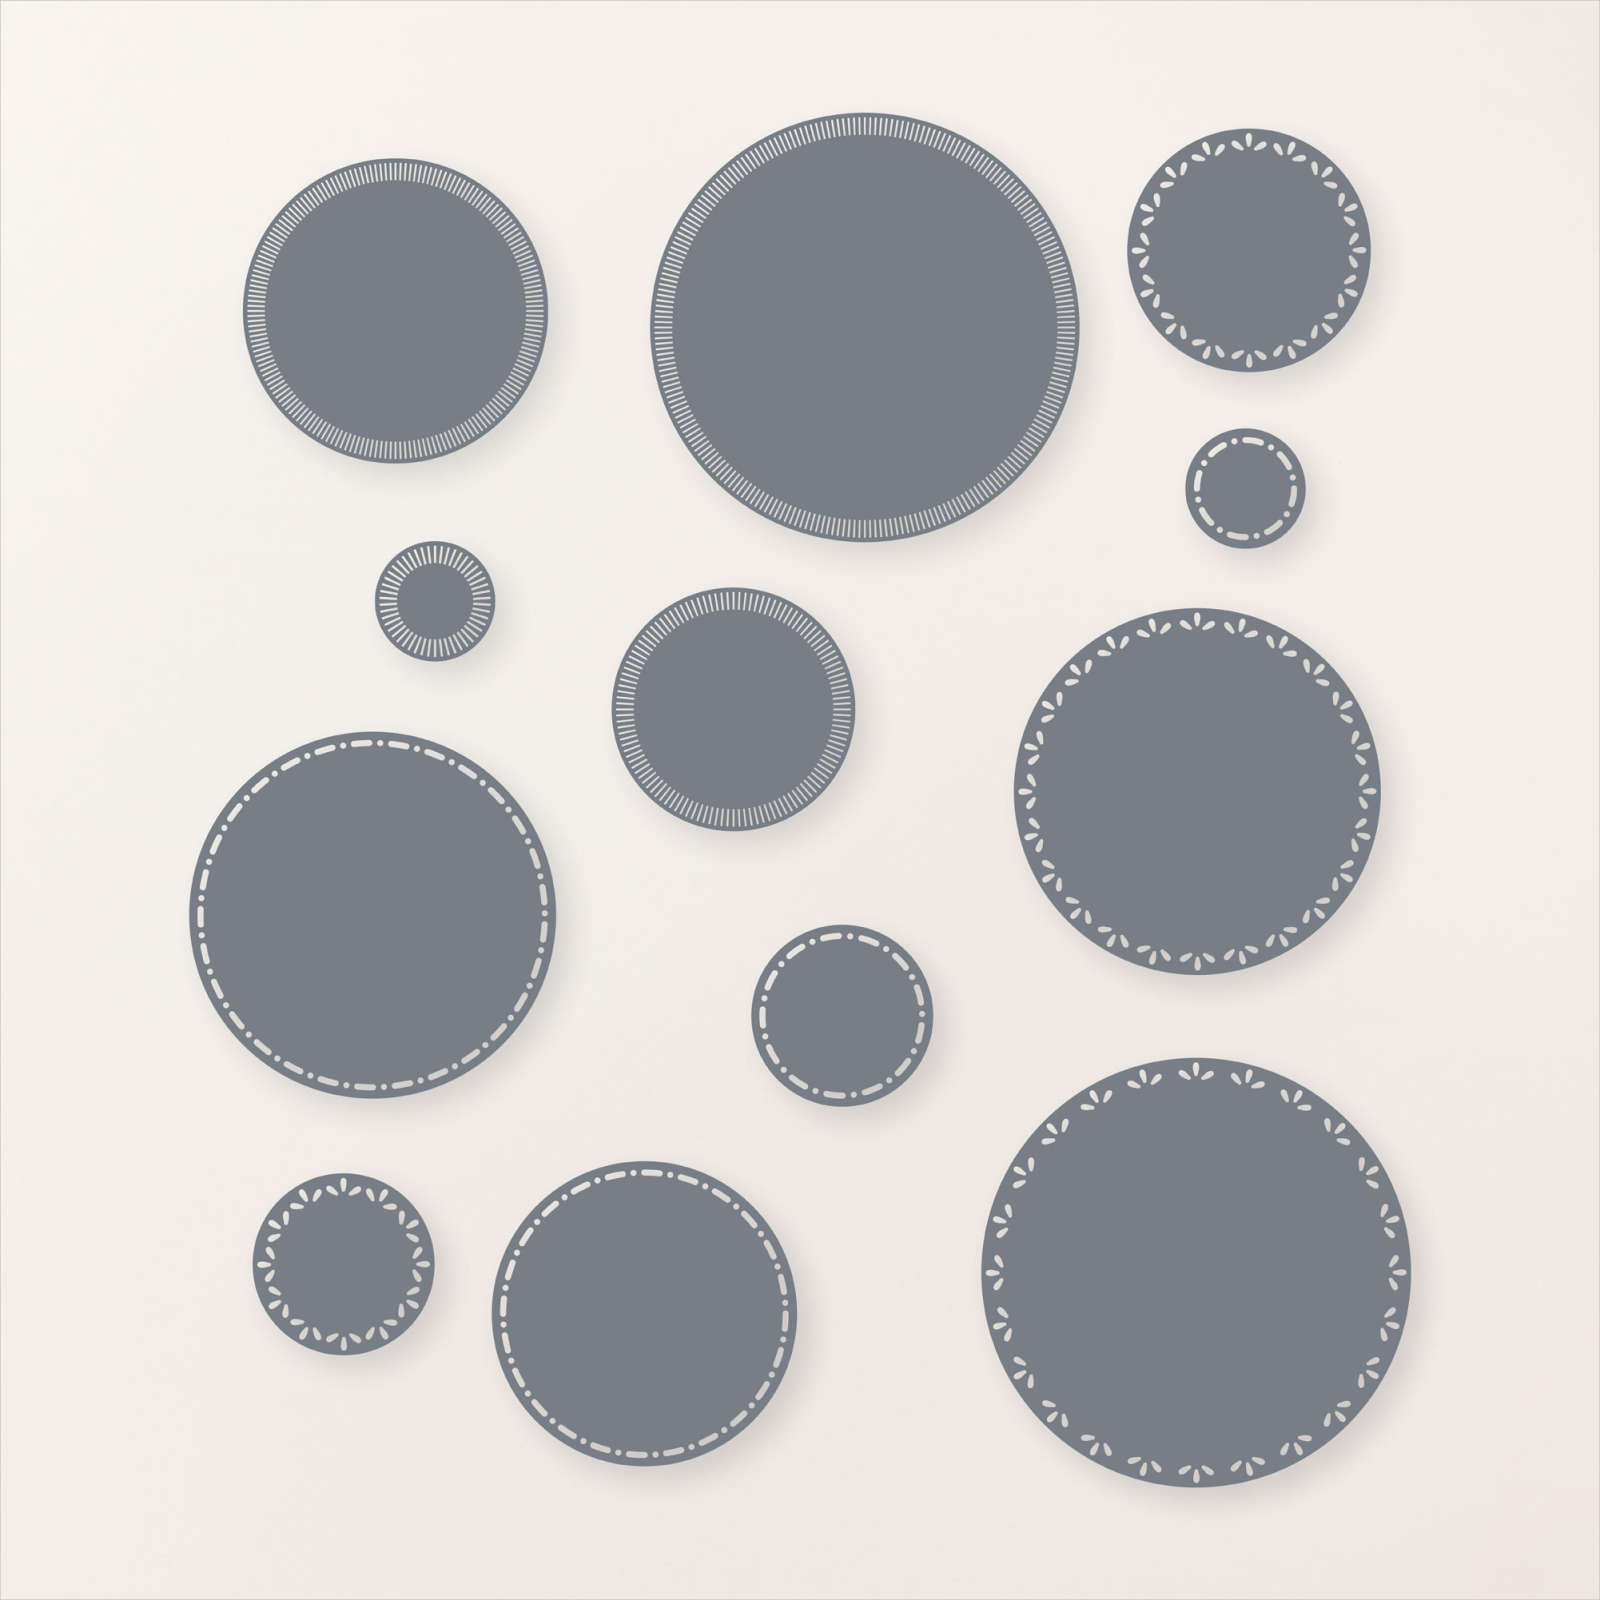
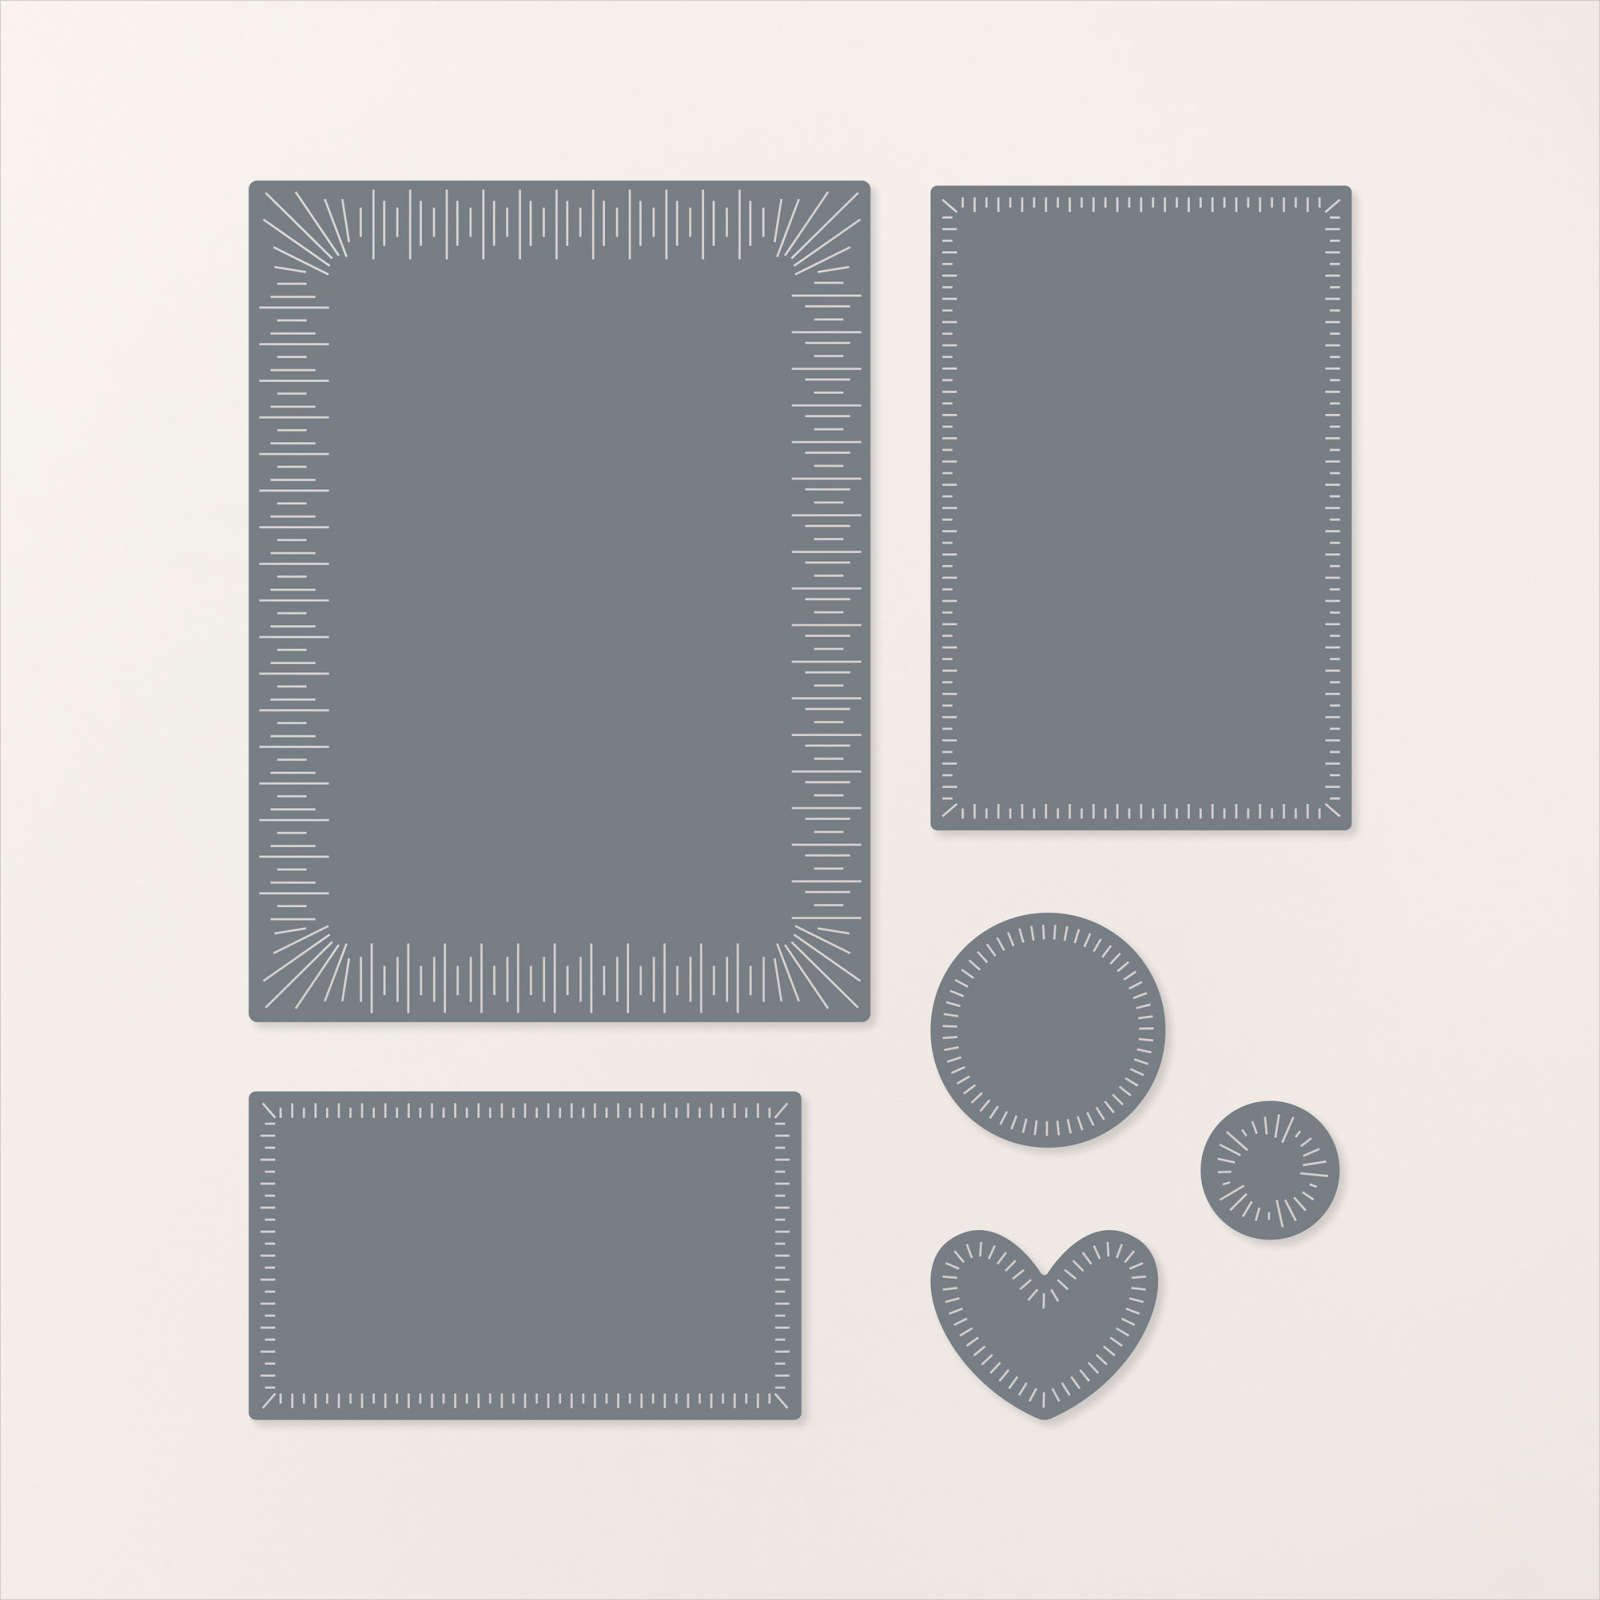
Today I have used the Spotlight on Nature Bundle to create my card. To begin I cut two pieces of Unbounded Beauty 12″ x 12″ Designer Series Paper and attached a piece to the top and the bottom of Basic White card. I cut a narrow strip of Shy Shamrock card and attached it between the Designer Series Paper panels. The whole piece is attached to score and folded Shy Shamrock card. I cut Basic White card using one of the Radiating Stitches Dies.
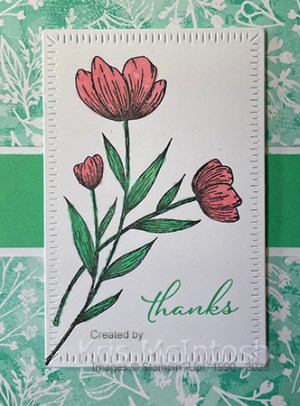
I stamped the floral image from the Spotlight on Nature stamp set onto the die cut panel using Memento Tuxedo Black ink. I coloured the image using Pretty in Pink and Shy Shamrock Stampin’ Blends. I stamped “thanks” from the Spotlight on Nature stamp set onto the die cut panel using Shy Shamrock ink.

The stamped panel is attached to the card front using dimensionals. To decorate the inside of the card, I stamped the floral image onto the lower left hand corner of Basic White card using Memento Tuxedo Black ink. I coloured the image using the same Stampin’ Blends. Another lovely card using this amazing Bundle, especially with the beautiful Unbounded Beauty Designer Series Paper.
Bye for now,
Kris
Product Used:


Free Shipping

Just letting you know that for one day only on the 23rd July, you can get free shipping on any order of $65.00 or more. Yay! So what a great opportunity to purchase some of those things on your wish list. And don’t, forget if you spend $90.00 this month you earn a $9.00 voucher to spend next month. A great way to whittle away at that long list of what you want. I know that I am adding lots of great product to my stash and at the same time saving for a discount again next month.
So free shipping for one day only on the 23rd July for orders of $65.00 or more.
Spend $90.00 and you will receive a $9.00 voucher to spend next month. Just remember that you need to store your voucher numbers safely as Stampin’ Up! cannot resend them to you.
Visit my online store here.
Happy Shopping
Kris
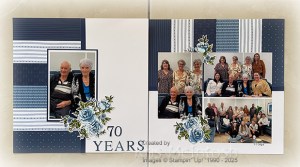
Celebrating 70
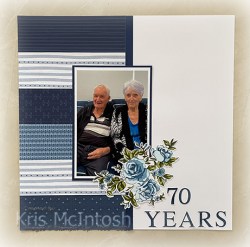
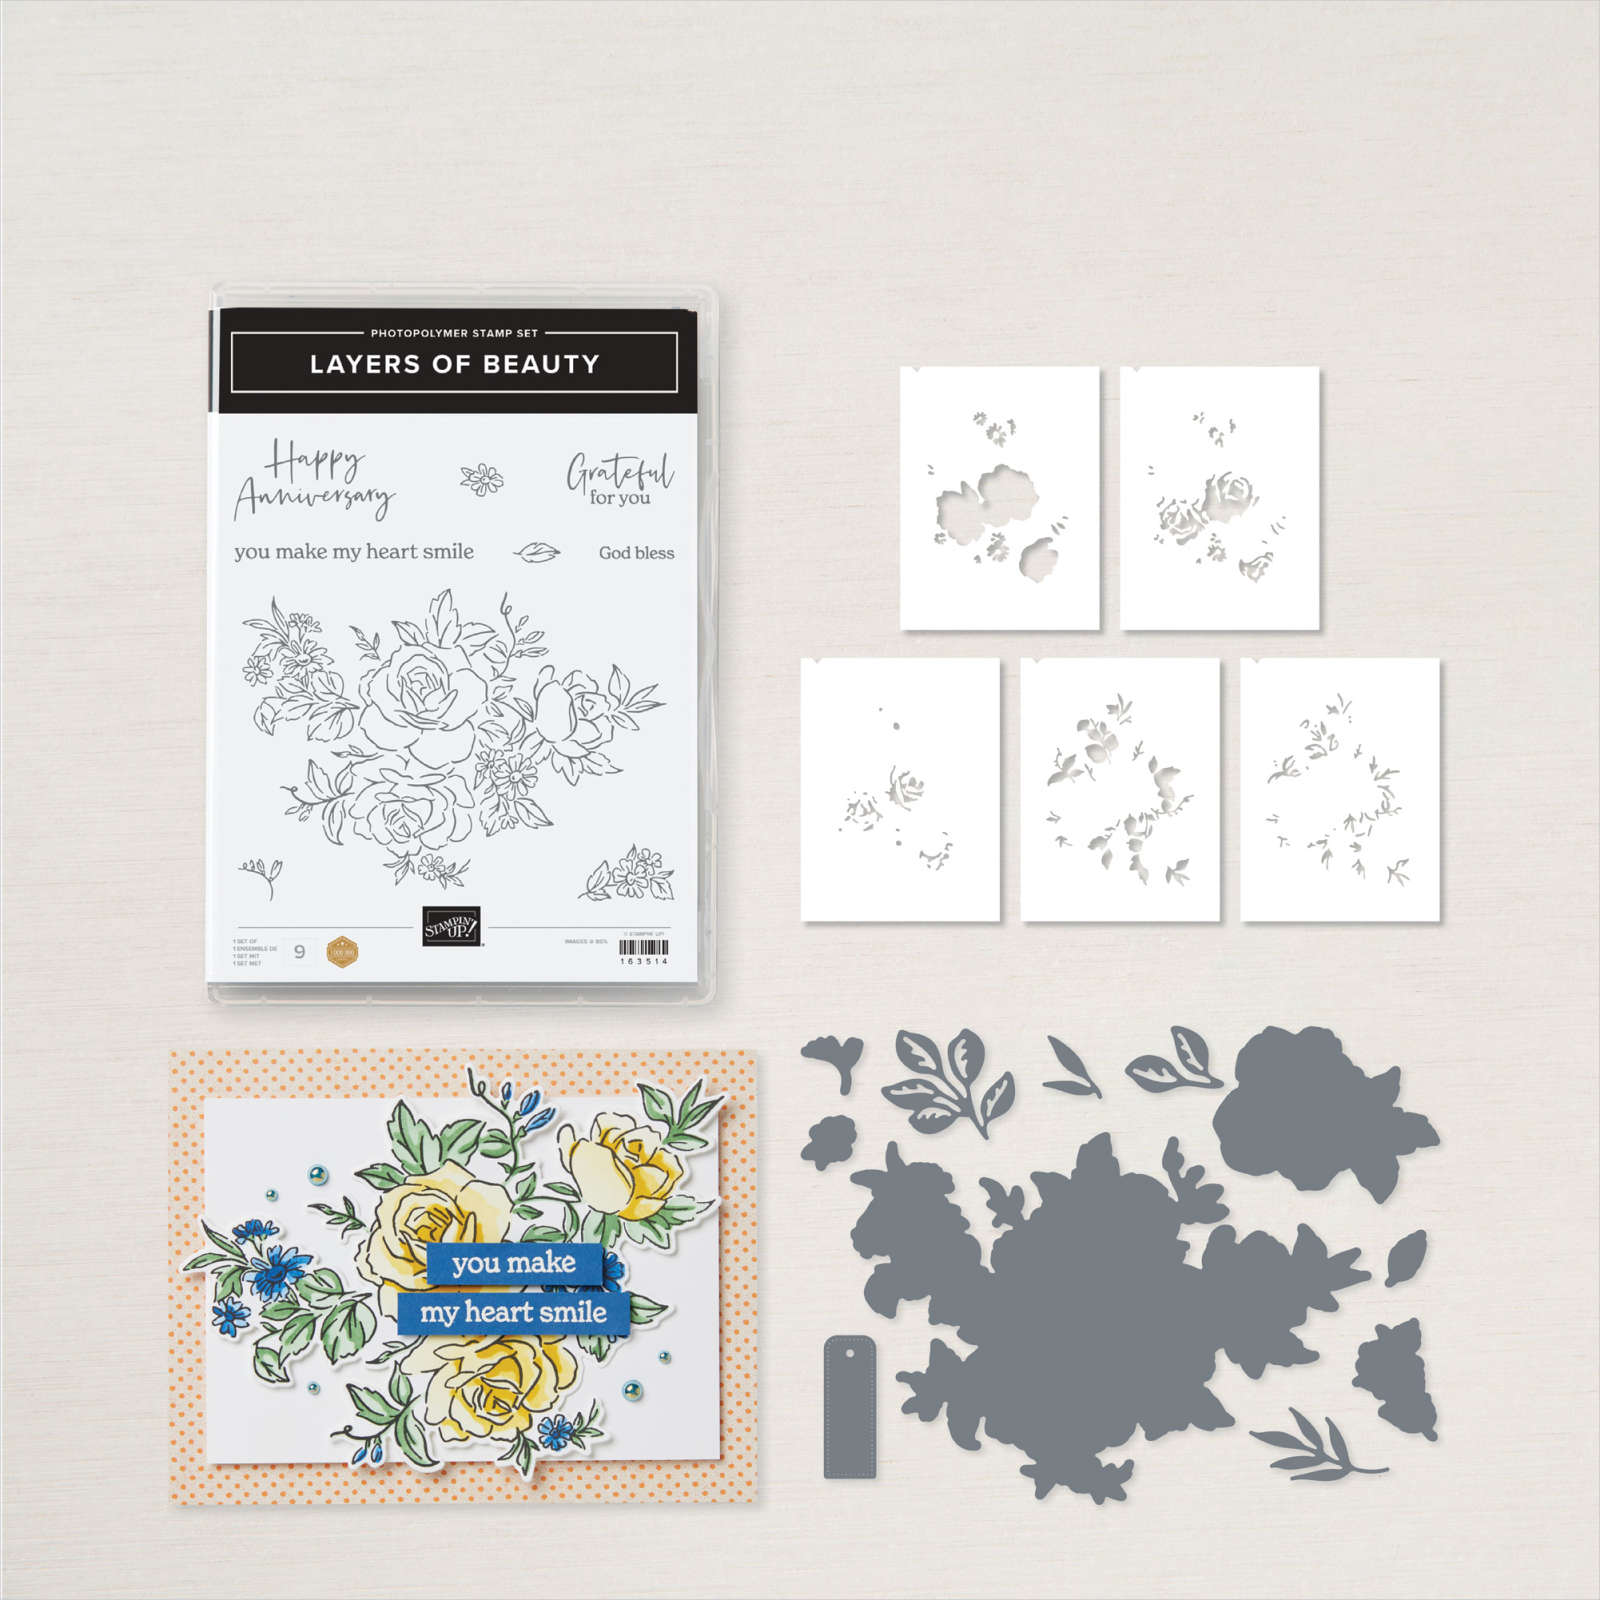
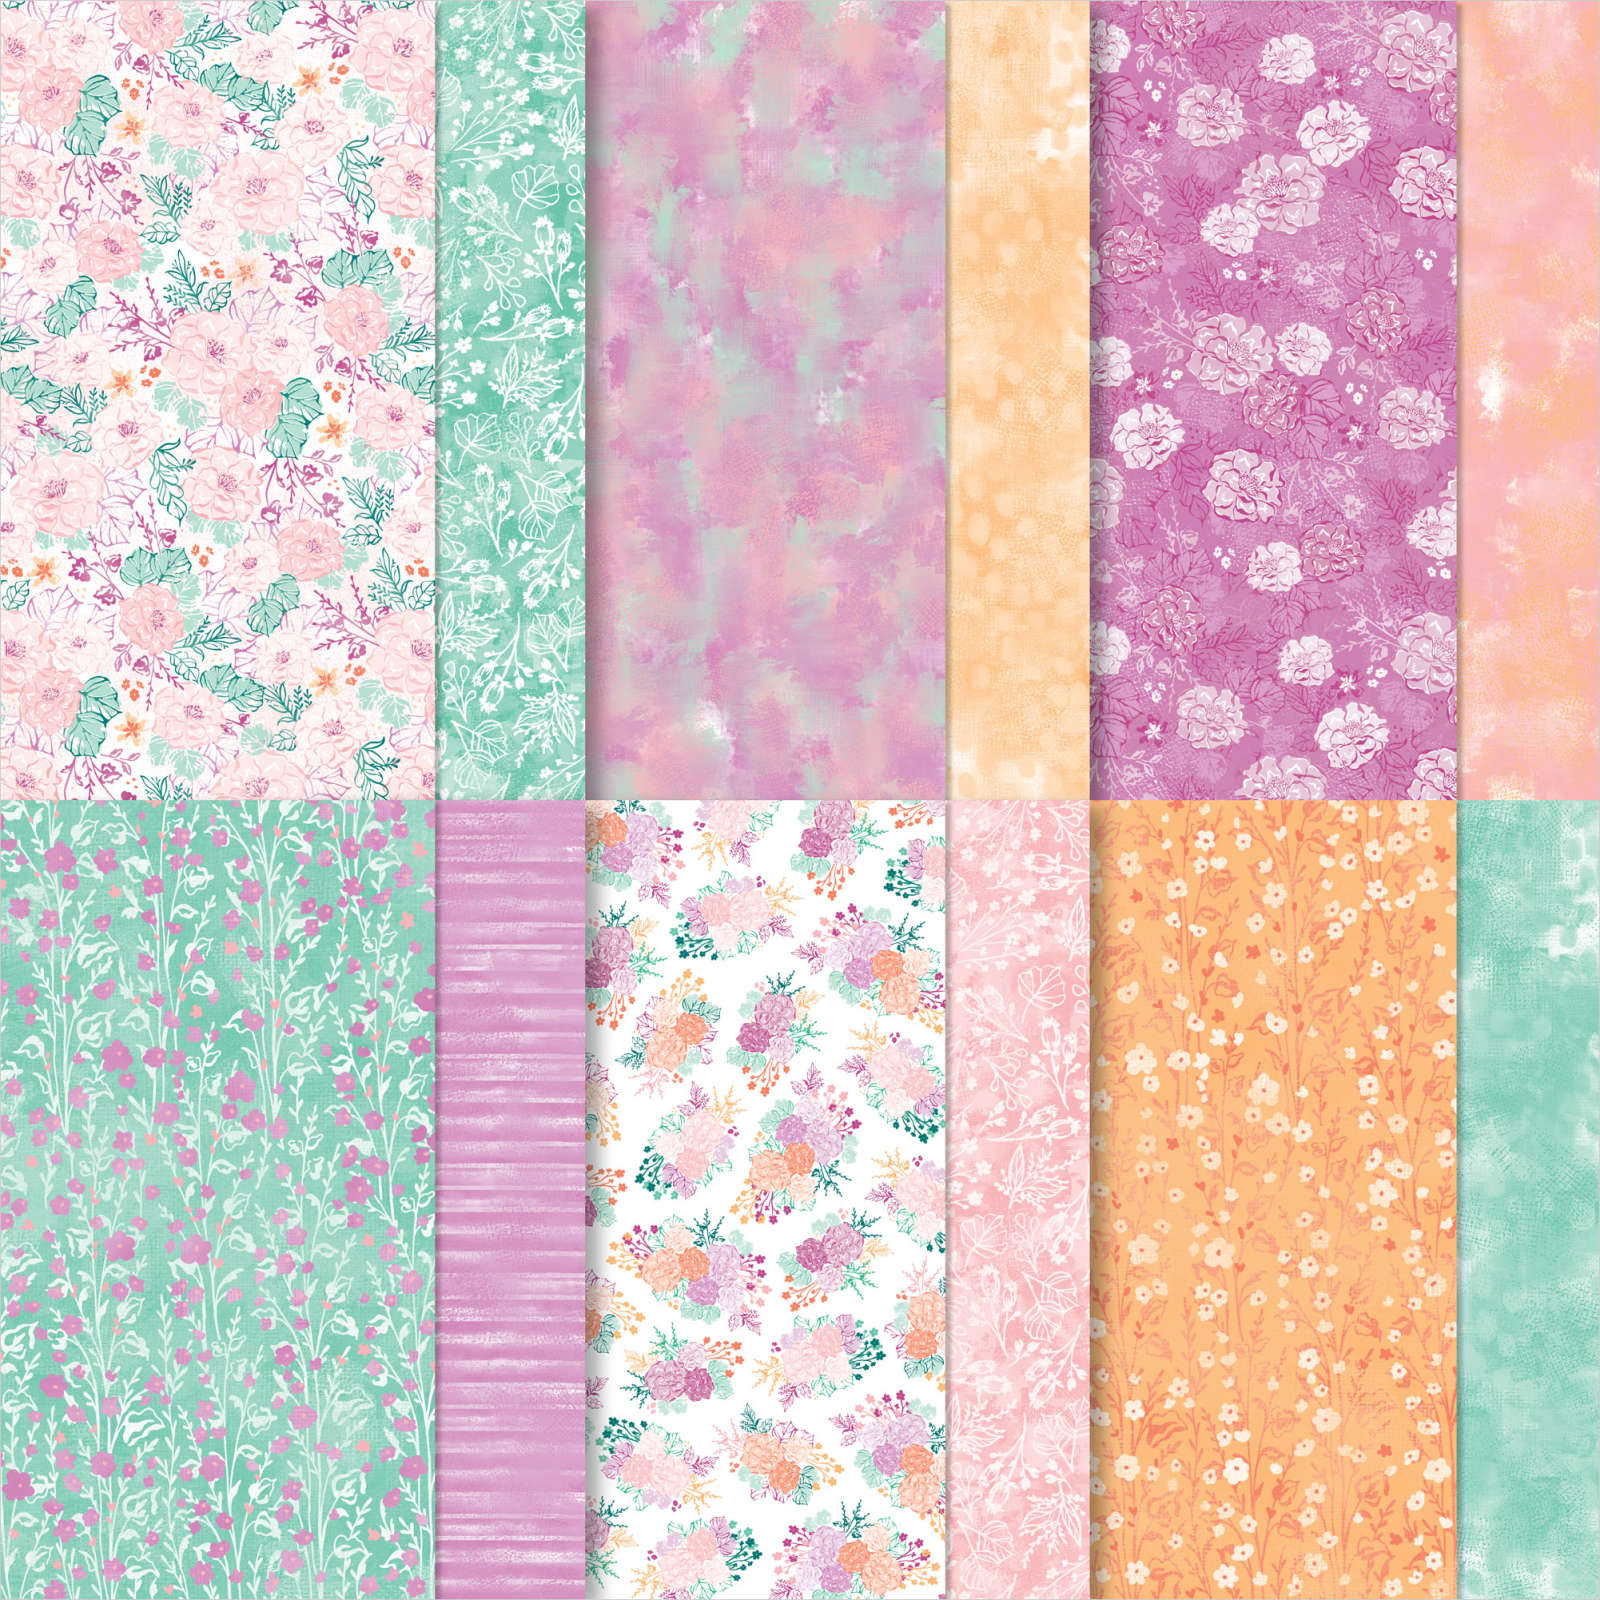
Years of marriage for my Mum and Dad. Last weekend we had a party to celebrate my Mum and Dad’s 70th Wedding Anniversary and today I have two pages which share some of the photos. I cut 12 pieces of Countryside Inn 12″ x 12″ Designer Series Paper 6″ x 2″. I attached six pieces of Designer Series Paper down the left hand side of a Basic White 12″ x 12″ page and six pieces across the top of the second Basic White page. I attached a narrow strip of Night of Navy card along the inner edge of the Designer Series Paper. I attached the photo of my parents to Basic White card, Night of Navy card and then the left hand page. I stamped the large floral image from the Layers of Beauty stamp set twice onto Basic White card using Memento Tuxedo Black ink.
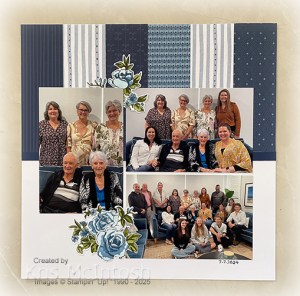
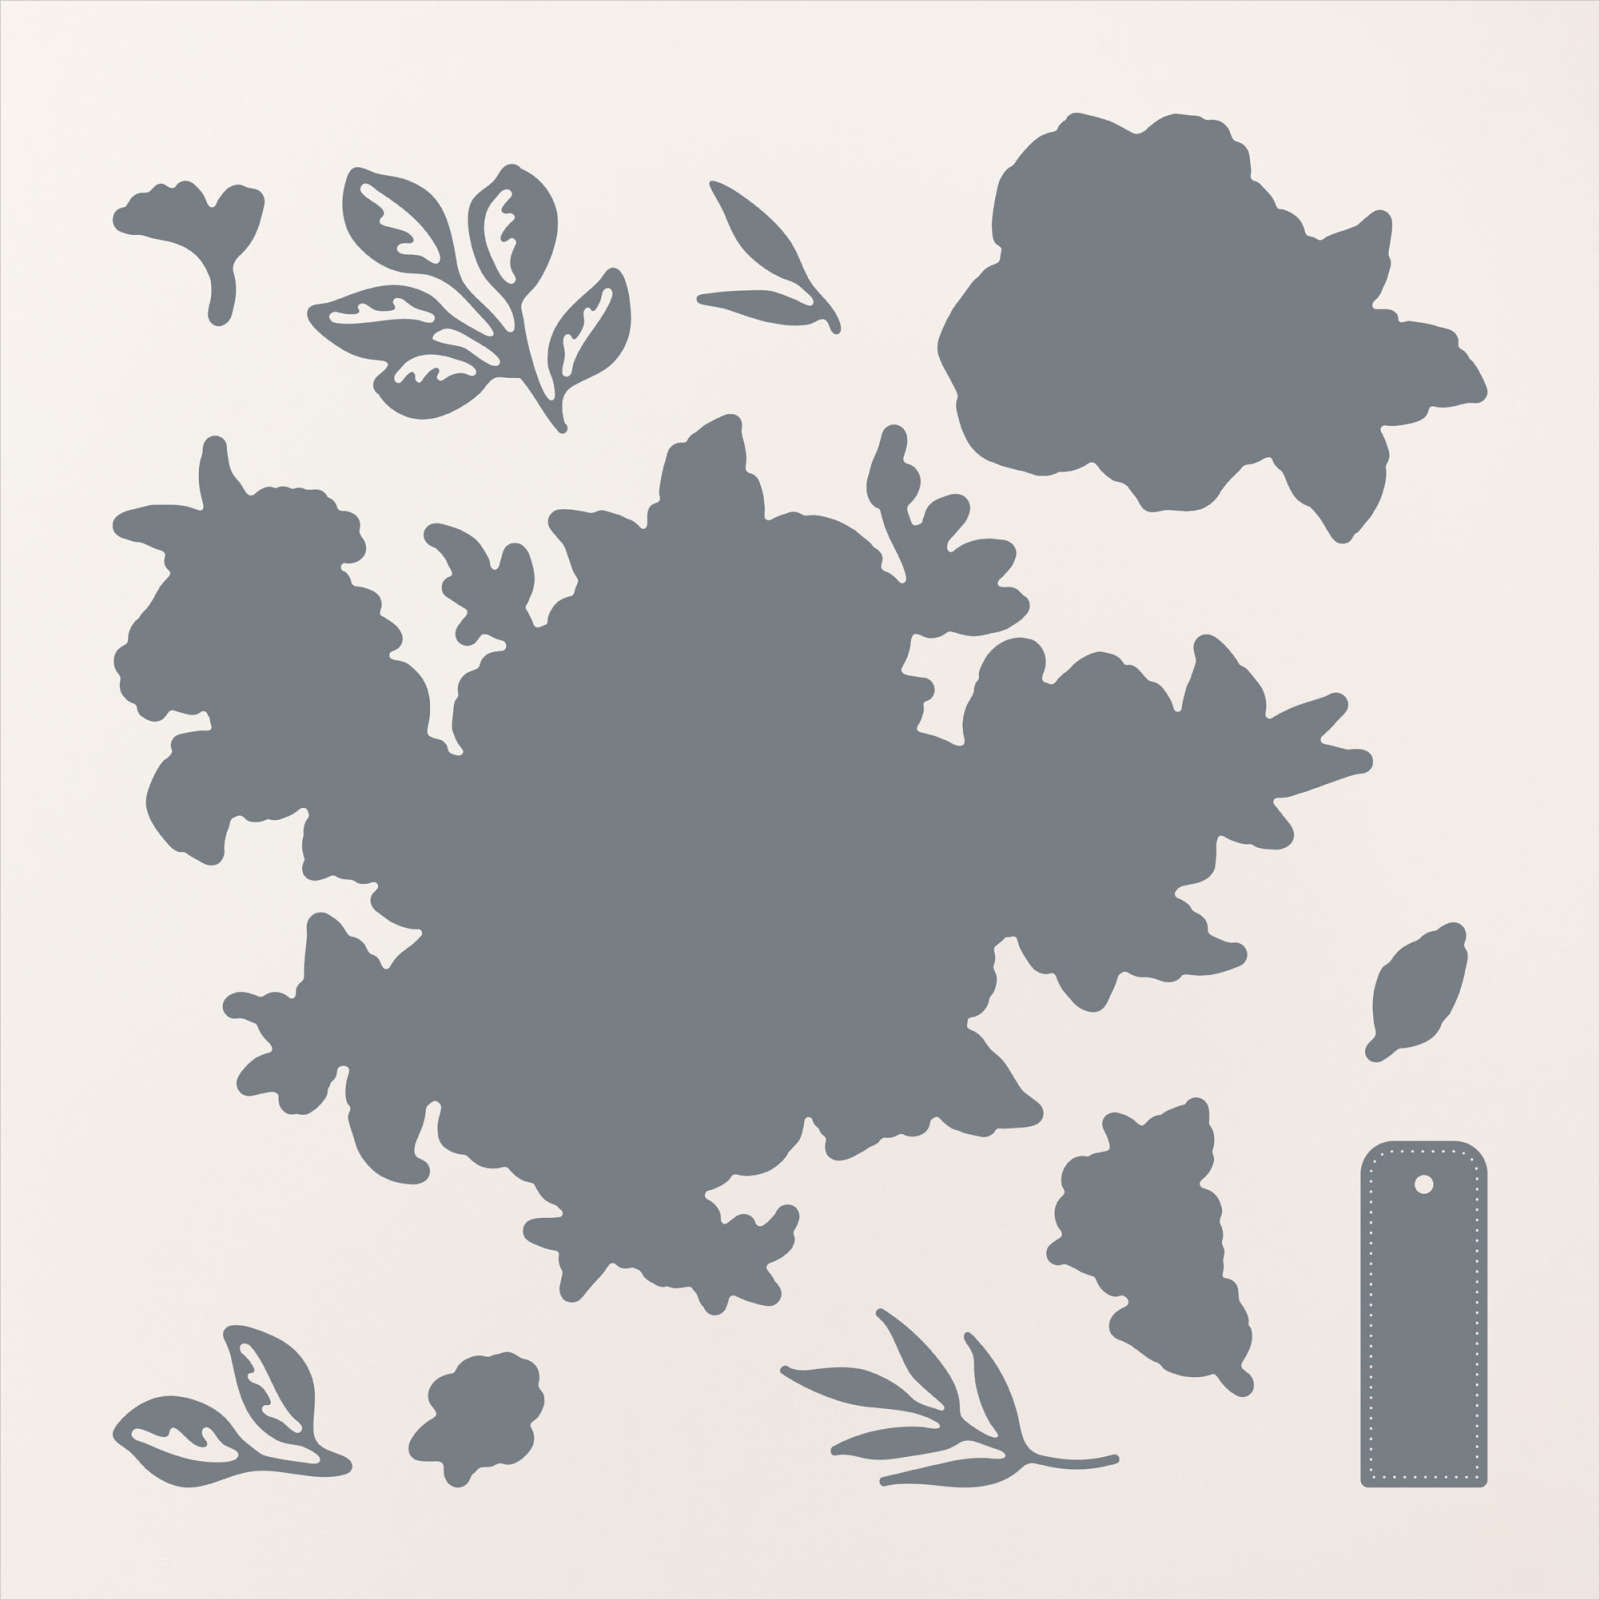
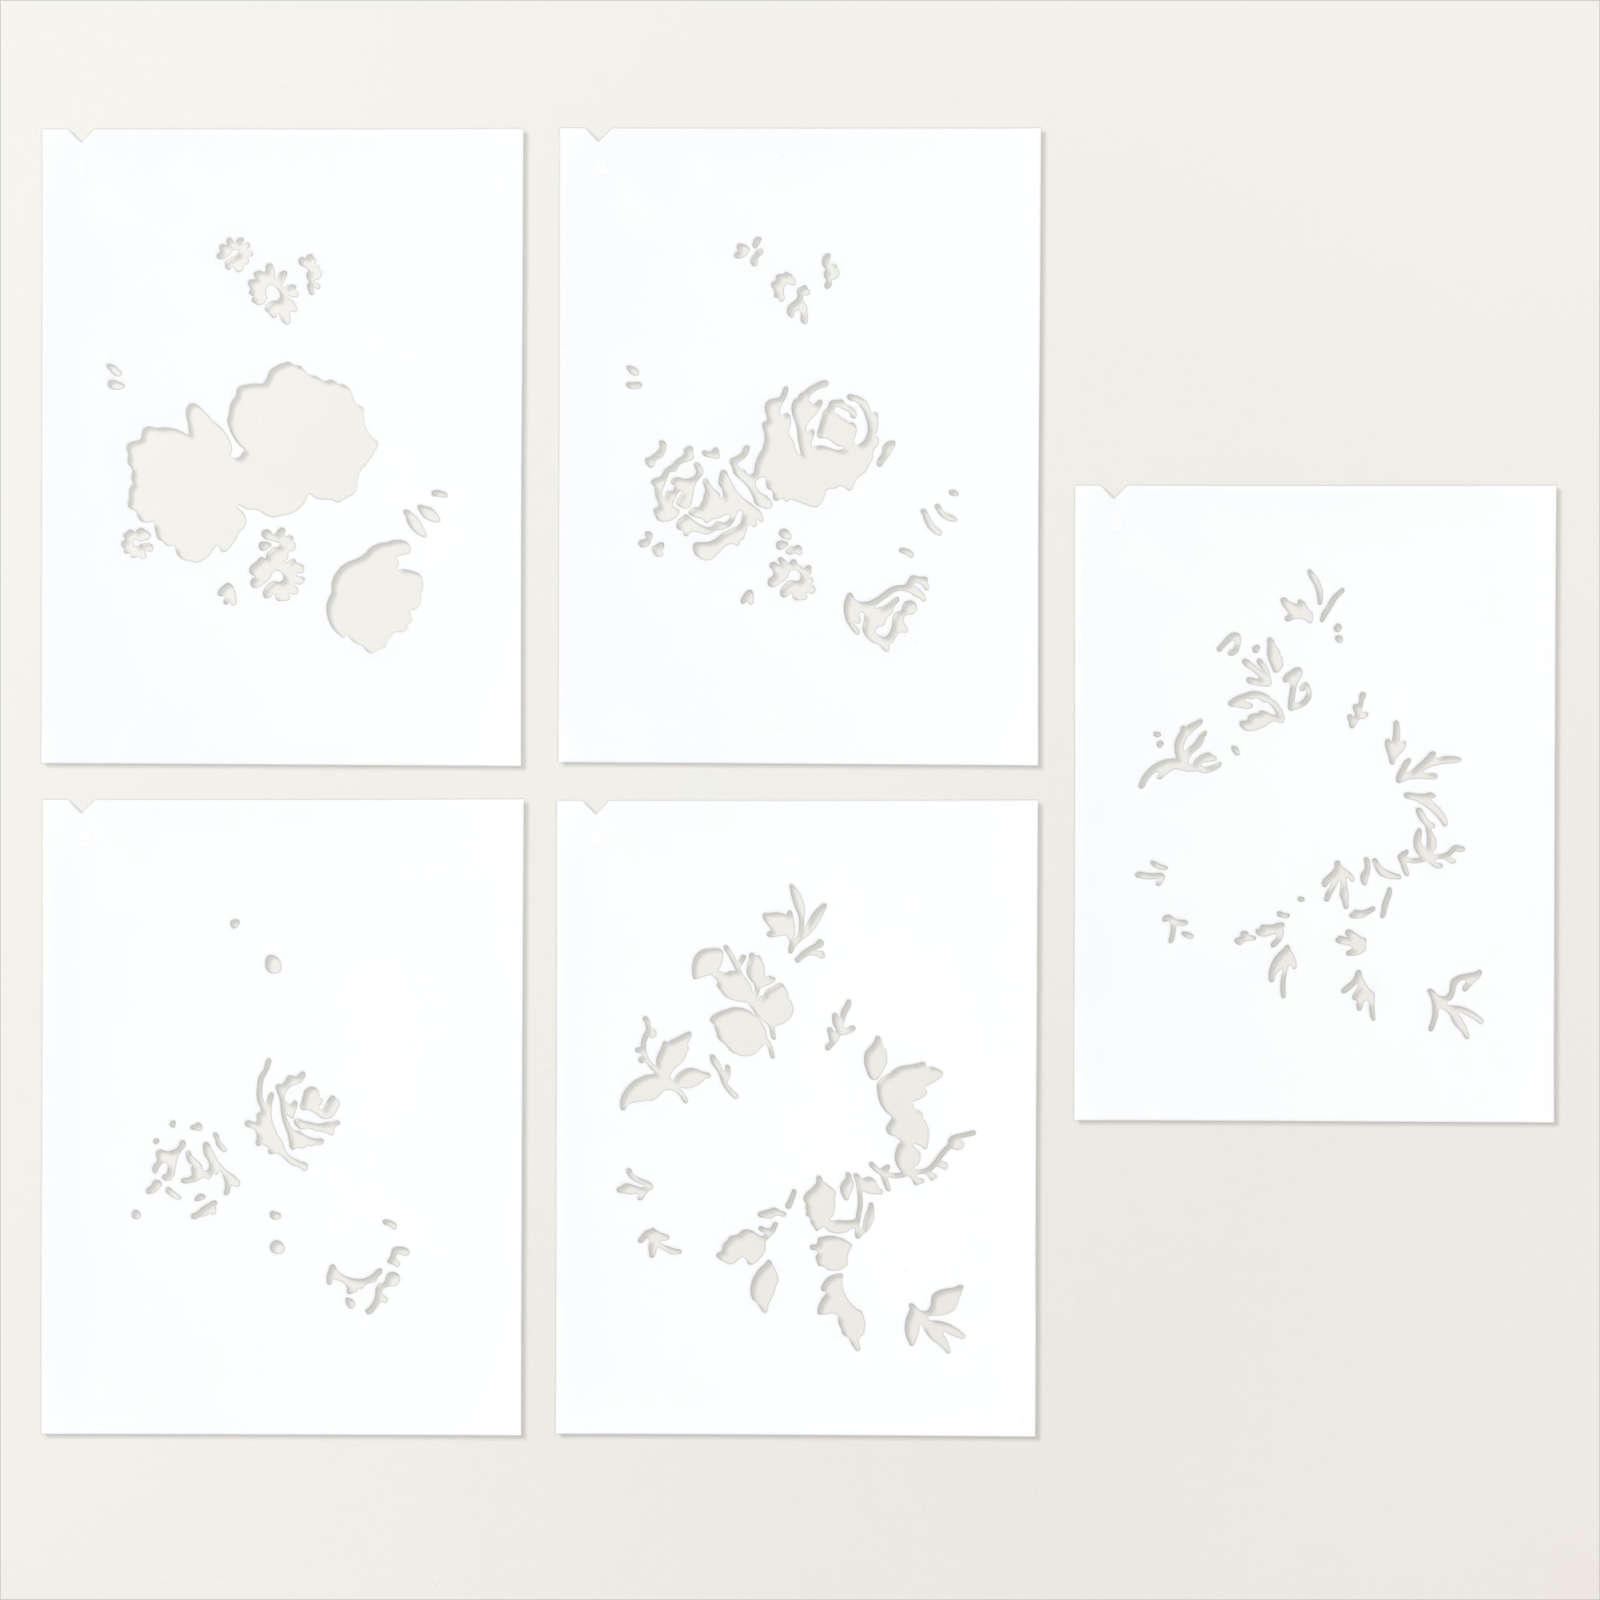
I used the Layered with Beauty Decorative Masks, Blending Brushes and Balmy Blue, Boho Blue, Misty Moonlight and Granny Apple Green ink to colour the images. I used the co-ordinating Layered with Beauty Die to cut out the images. I attached one image across the bottom right hand corner of my parents photo. I stamped the title onto Basic White card using the Classic Letters stamp set and Night of Navy ink. I cut out the numbers and letters and attached them to the lower right hand corner of the first page. For the second page, I attached the photos before cutting the second floral image into several pieces and layering them onto the page. I wrote the date onto the second page using a retired Journaling Pen.
I love how these pages turned out. I do have some more photos from this event to share when I get some more pages completed.
Bye for now,
Kris
Product Used: