Labeled Birthday
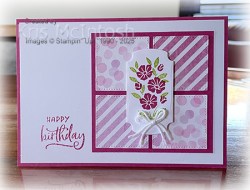
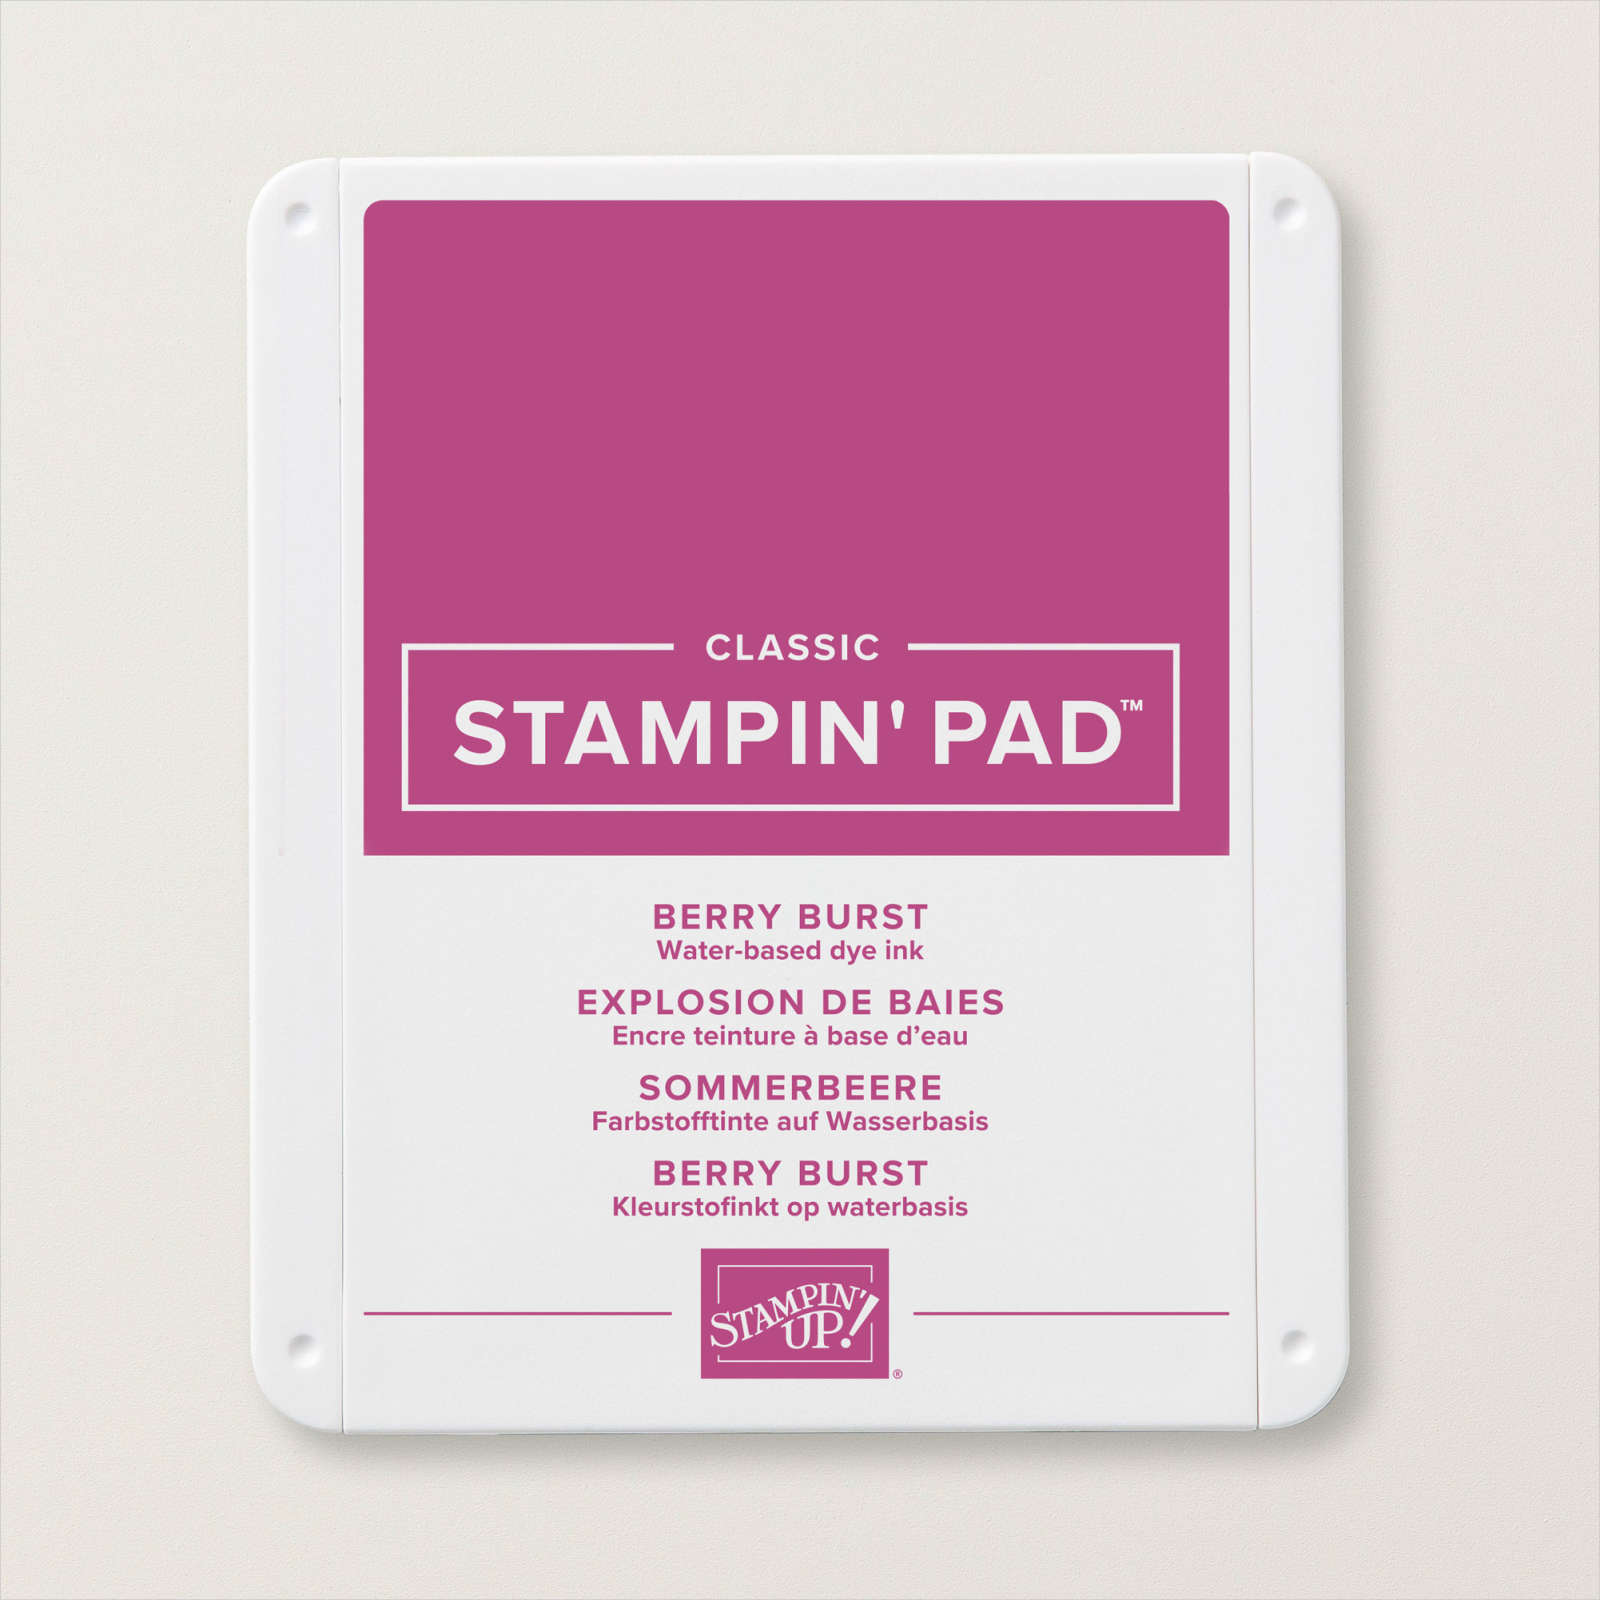
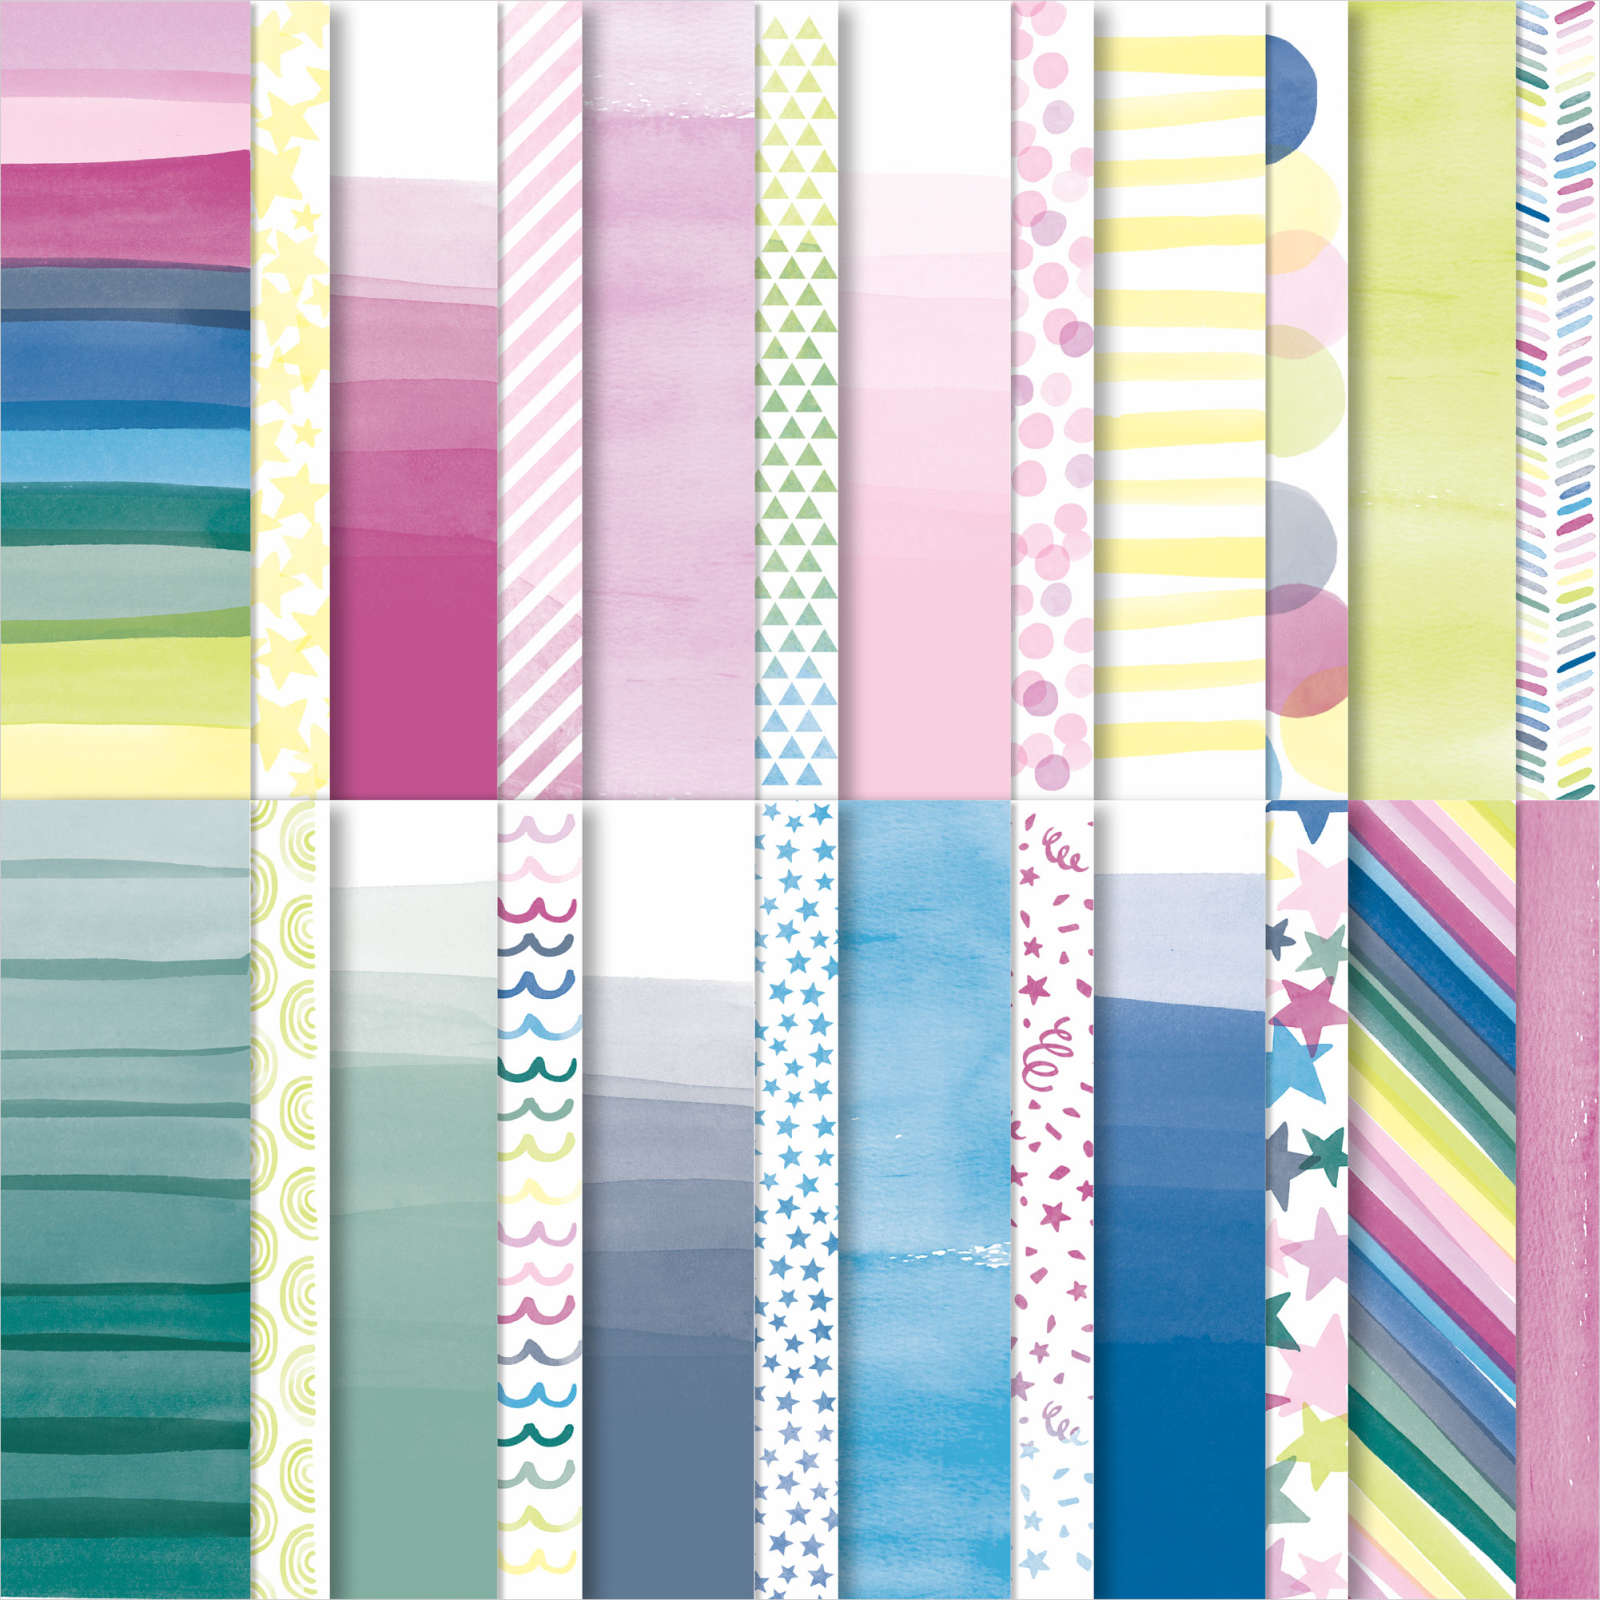
This week in my Facebook Live, I shared some cards I created using the Labeled with Love Bundle. Today I have another card to share with you. I cut four pieces of Bright & Beautiful 6″ x 6″ Designer Series Paper using one of the squares from the Stylish Shapes Dies. I attached the four Designer Series Paper pieces to Berry Burst card before attaching the whole panel is attached to Basic White card.
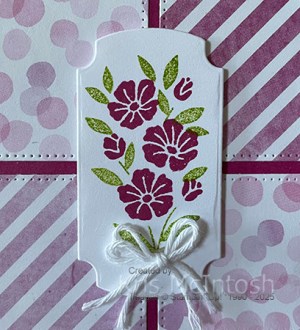
I stamped the greeting from the Labeled with Love stamp set beside the Designer Series Paper panel using Berry Burst ink. The whole panel is attached to scored and folded Berry Burst card. I stamped the floral image from the Labeled with Love stamp set onto Basic White card using Berry Burst ink. I stamped the leaf image around the flowers using Granny Apple Green ink. The floral image is cut out using the Labeled with Love Die before being attached to the centre of the Designer Series Paper panel using dimensionals.
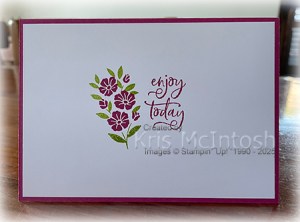
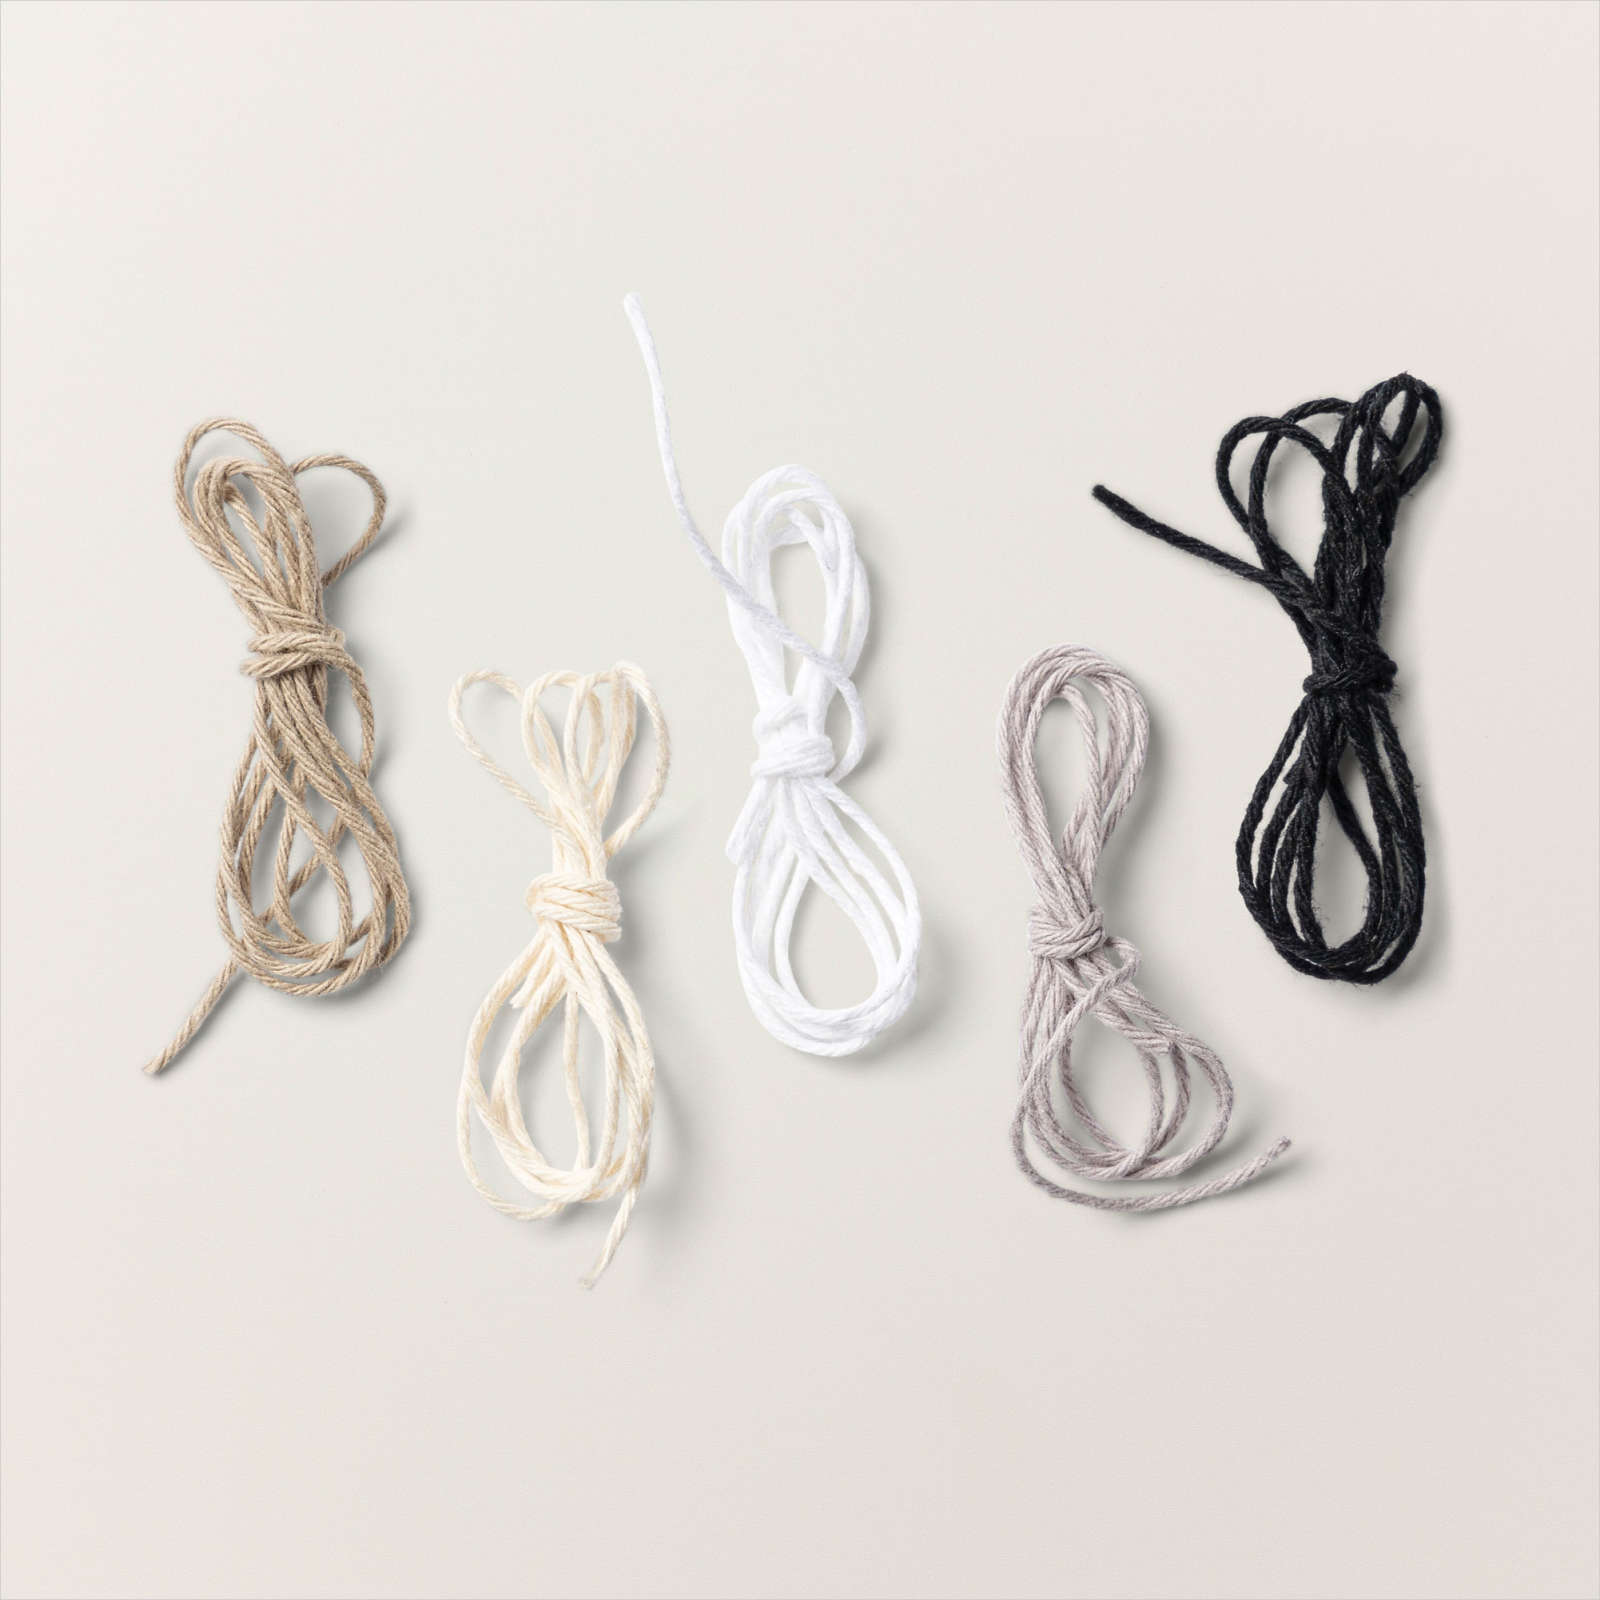
I tied a bow in a length of White Twine from the Baker’s Twine Essentials Pack and attached it to the flower stem using a Glue Dot. To decorate the inside of the card, I stamped the greeting from the Labeled with Love stamp set onto Basic White card using Berry Burst ink. I stamped the flower image from the Labeled with Love stamp set beside the greeting using Berry Burst ink. I stamped the leafy image from the same stamp set around the flowers using Granny Apple Green ink. This is such a fun stamp set to play with, it has images and greetings to suit many occasions. You can purchase it as a bundle with a punch or as I have with dies.
Bye for now,
Kris
Product used.